
Dishonored 2 Guide Stealth Walkthrough
The Royal Conservatory
While held captive, Anton Sokolov learned the identity of one of Delilah’s chief allies, Breanna Ashworth. An architect of the coup that took the throne in Dunwall, Ashworth is powerful and full of secrets. She is building a mysterious device for Delilah. Breanna Ashworth must be eliminated.
Collectibles
| Runes | 6 |
| Shrines | 1 |
| Bonecharms | 9 |
| Coins | 3813 |
| Blueprints | 3 |
| Paintings | 3 |
Special Actions
| Shrewd Negotiations | Get the best price for the Roseburrow Prototype |
| Parley with Delilah | Talk to the statue in Ashworth’s office after eliminating Ashworth |
| Witch No More | Sever Ashworth’s connection with the Void |
| Black Market Heist | Rob the black market |
| Spying Overseers | Find Vice Overseer Byrne’s outpost |
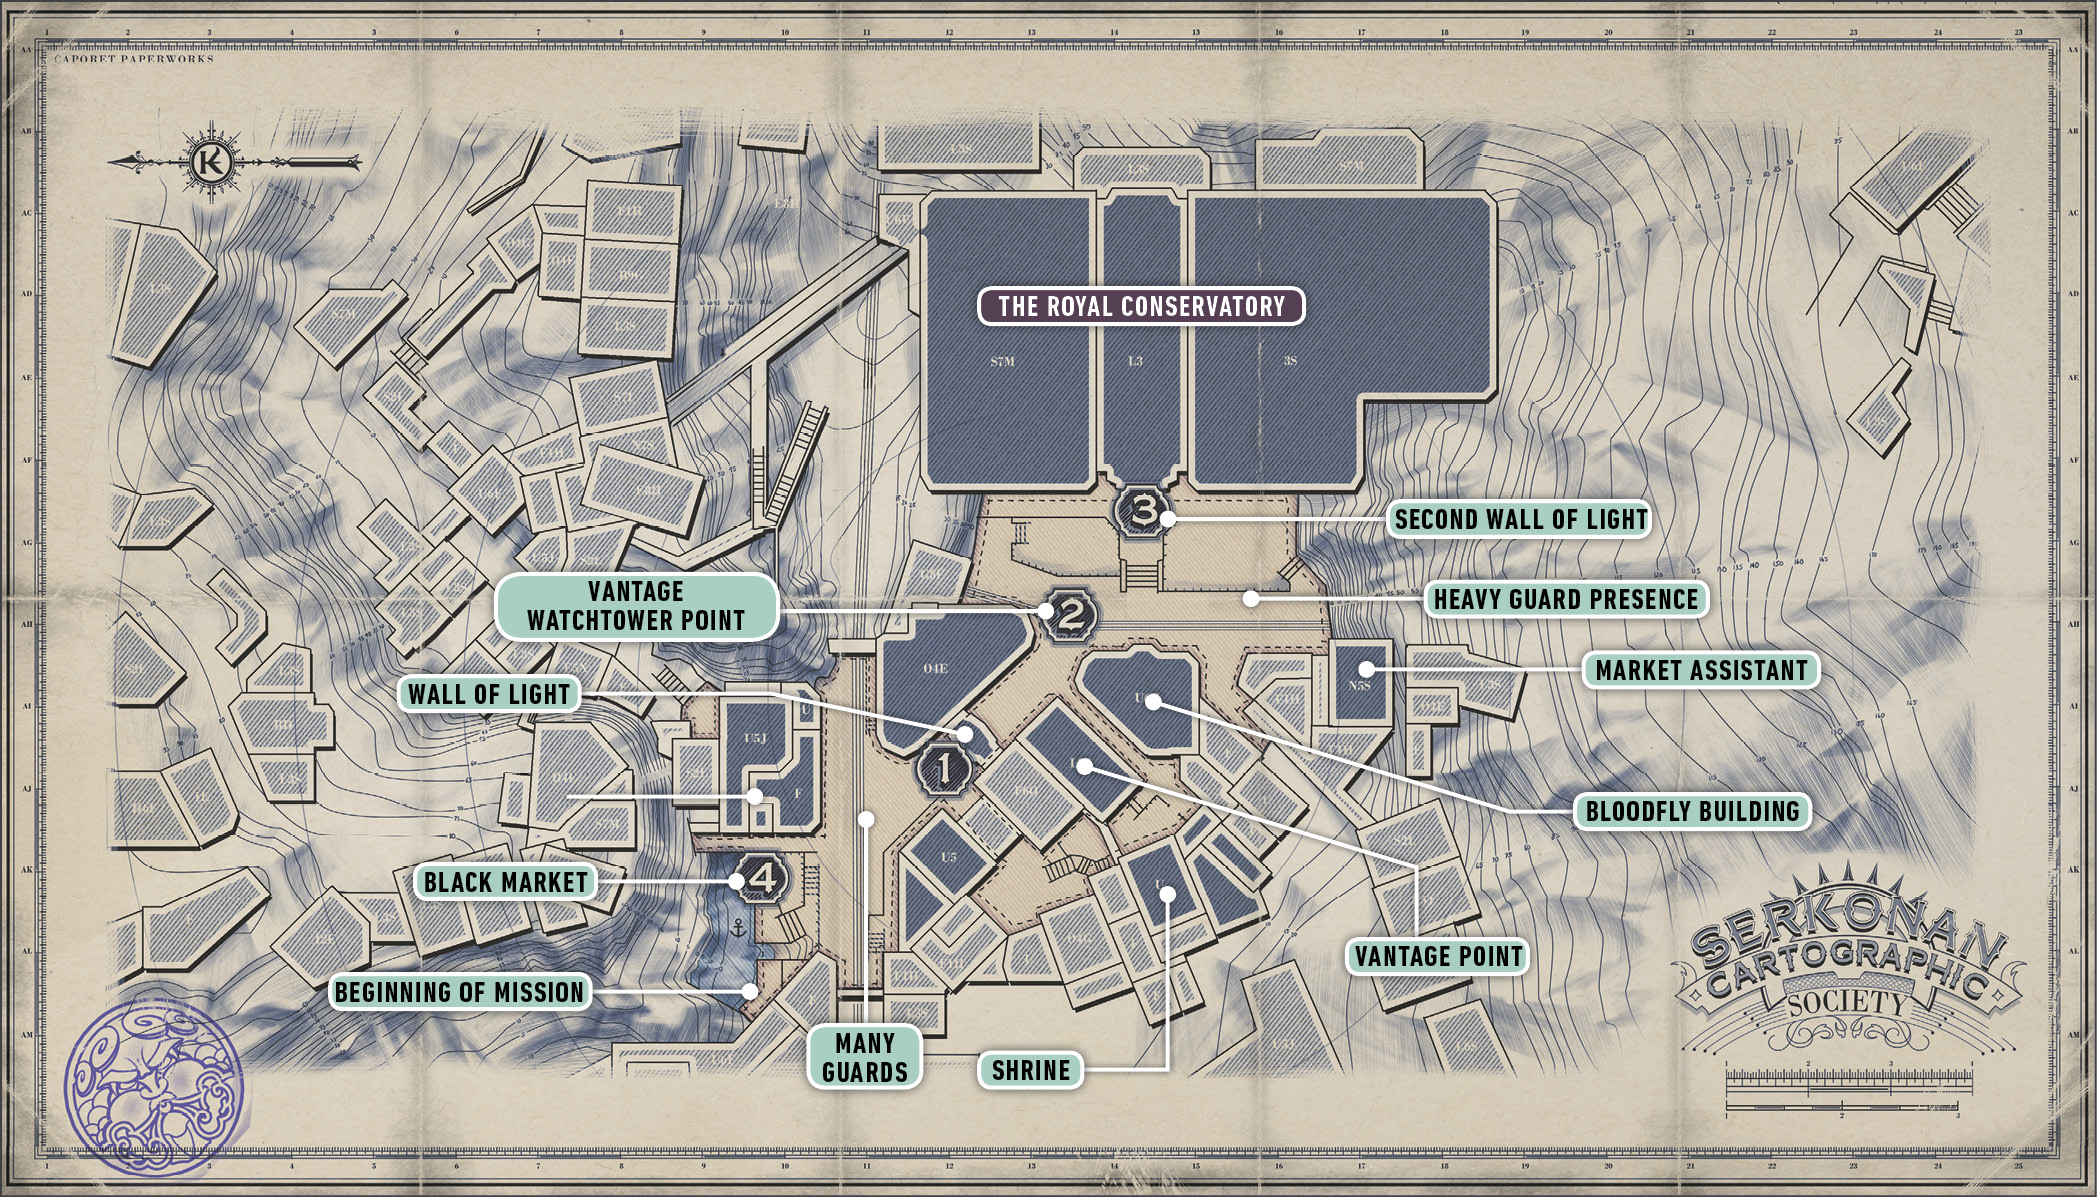
Cyria Gardens
Find Out What Vice Overseer Byrne Knows
Breanna Ashworth runs the Royal Conservatory, but you also discover she’s a secret ally of Delilah. Your next task is to find out more about Breanna and then stop her. Captain Foster takes you to a dock in Cyria Gardens, where she drops you off.
Before approaching the Conservatory, find out more information from the Overseers (and take a fair sum of collectible items).
Grab some supplies from a tiny room on the right as you leave the boat behind and advance toward the main town. Another boat is docked ahead, and that holds even more minor items.
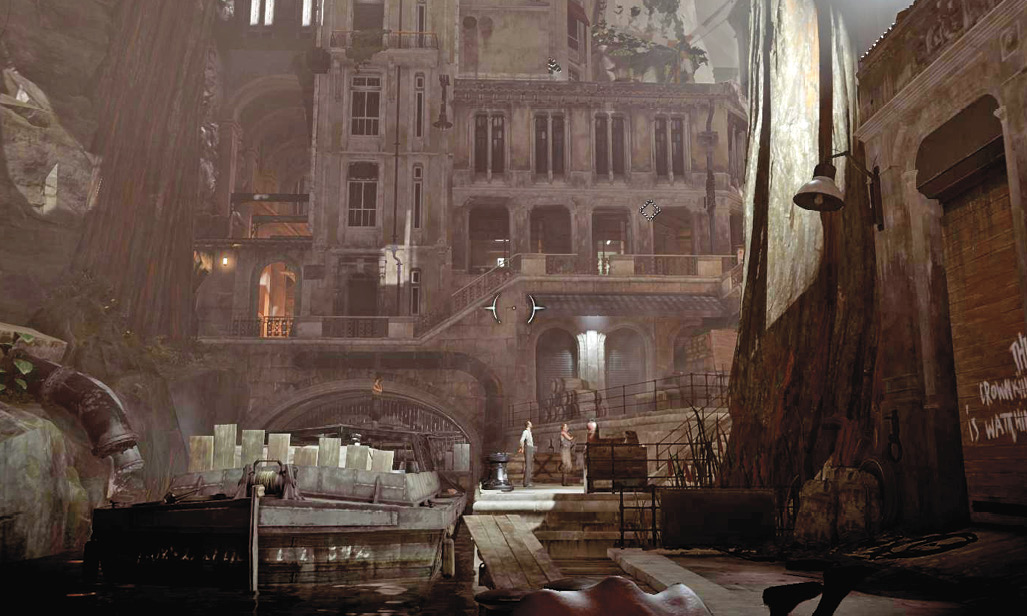
Finish looting, crouch, and look to the right. A Guard is up on a higher tier, patrolling over the docks. When he turns toward the stairs, Far Reach behind him and knock him out. This is a quieter area, and he’s the only patroller in sight. Looking ahead, you see far more Guards by the next few buildings.
Black Market Goods
| Item | Cost |
|---|---|
| Crossbow Bolt | 20 |
| Pistol Bullet | 30 |
| Sleep Dart | 30 |
| Grenade | 70 |
| Stun Mine | 70 |
| Spring Razor | 50 |
| Addermire Solution | 150 |
| Health Elixir | 75 |
| Rewire Tool | 200 |
| Safe Combination | 250 |
| Rune | 400 |
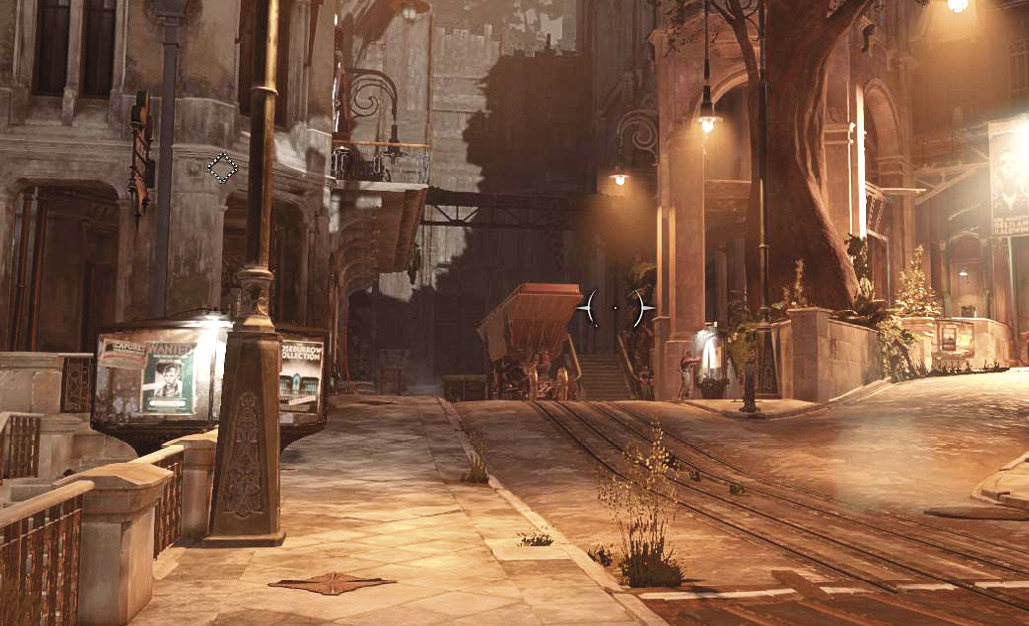
Far Reach along the left side of the street when the patrollers are away. You leave the Guards behind as you cross over the small canal, but slow down on the other side. The people in the next alley look like civilians at range, but they’re all armed criminals. Ick.
Use Shadow Walk to move quickly and without catching their attention. Stay to the left and watch for the basement entrance to the black market. Talk to the shopkeeper inside to get another mission and to buy more items.
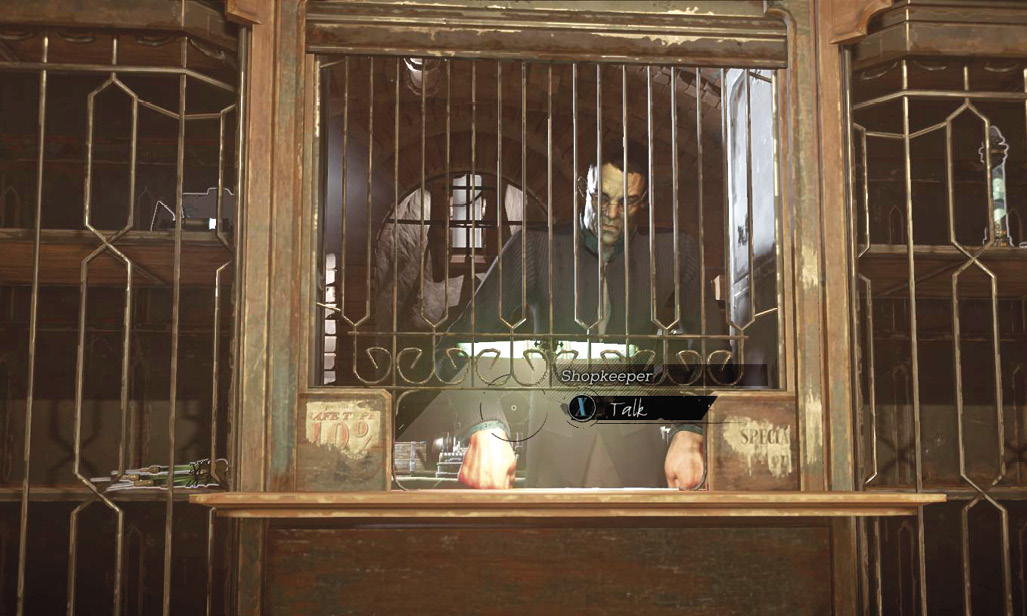
Stock up, and leave the store with care.
The criminals on this side of town are still hanging around. Because they like to shout and call out frequently, people tend to call them Howlers. This group has several members patrolling around the area. None of them have much treasure to their name, so back away without being spotted and leave them be.
Return to the canal. Stay on the upper walkway above the water and crouch as you return to the pawnshop. Guards are easily close enough to see you, but the short half-wall there is enough to block line of sight. Be quiet and look for a door into the pawnshop’s building. There are three soldiers up top (two Guards and an Elite); because they spend most of their time looking out over the street, you can choke all of them with ease.
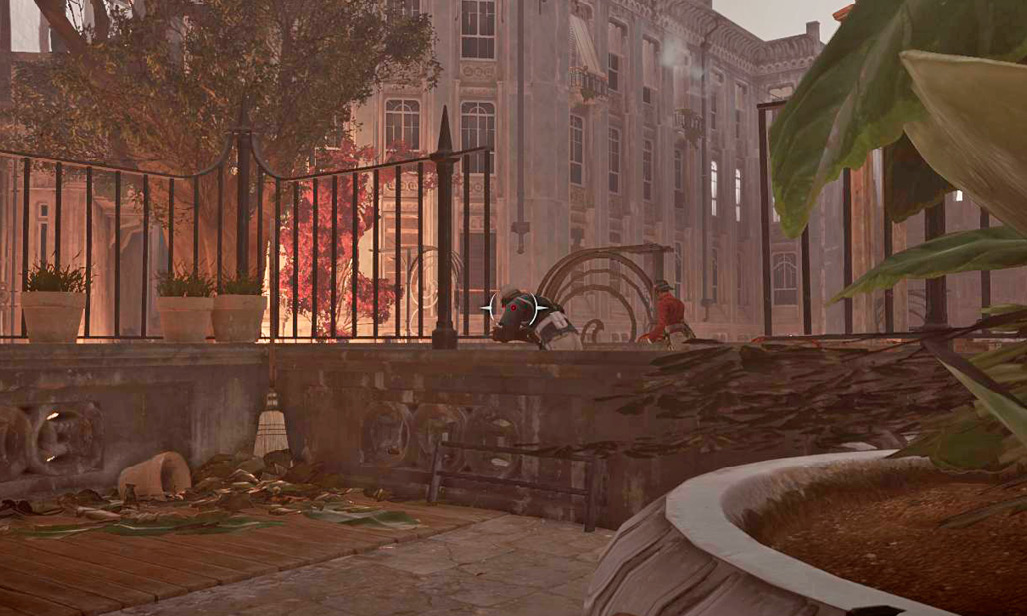
Use an open vent in the roof to drop into an Overseer’s chamber. Knock him out (he’s sleeping already), and loot the place for a massive amount of intel. An Audiograph completes your mission goal.
Search the Associate’s Last Known Location
The black market shopkeeper wanted some help from you (as long as you didn’t rob him). Why not do the guy a favor, especially since you steal his inventory later. Your next goal, then, is to find an associate of his. There’s also a good number of collectibles on the way, as you search the remainder of the district.
Cross to the building on the other side of the street. Use a large pipe to do this quickly and easily. The ground level has way too many Guards to deal with. From there, Far Reach to the area above the Wall of Light, and then over to another balcony. That building has trivial loot (money and a Mana Elixir) if you take the time to rob the place.
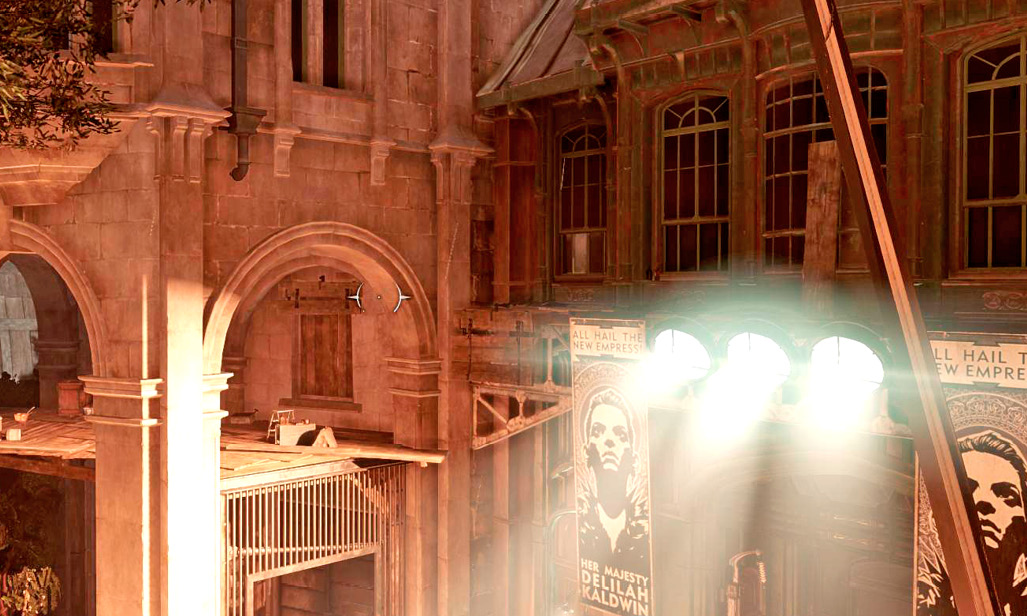
However, you can get onto its roof with some jumping or Far Reach. Follow the rooftops on the other side as you move around the Wall of Light below. The next important roof you reach includes an Elite Guard and a civilian. The two of them talk for a short time, but either or both are easily knocked out once they separate. Note that you come back to this rooftop multiple times; it’s a hub for this entire half of the level.
Search the building. The bar in the upper floor contains a Bonecharm. Only a single civilian is sweeping the place, so stealing is easy whether you knock him out, avoid him, or ignore him. An Elite Guard and a regular Guard are outside and can be knocked out or avoided as well. Go with your preference.
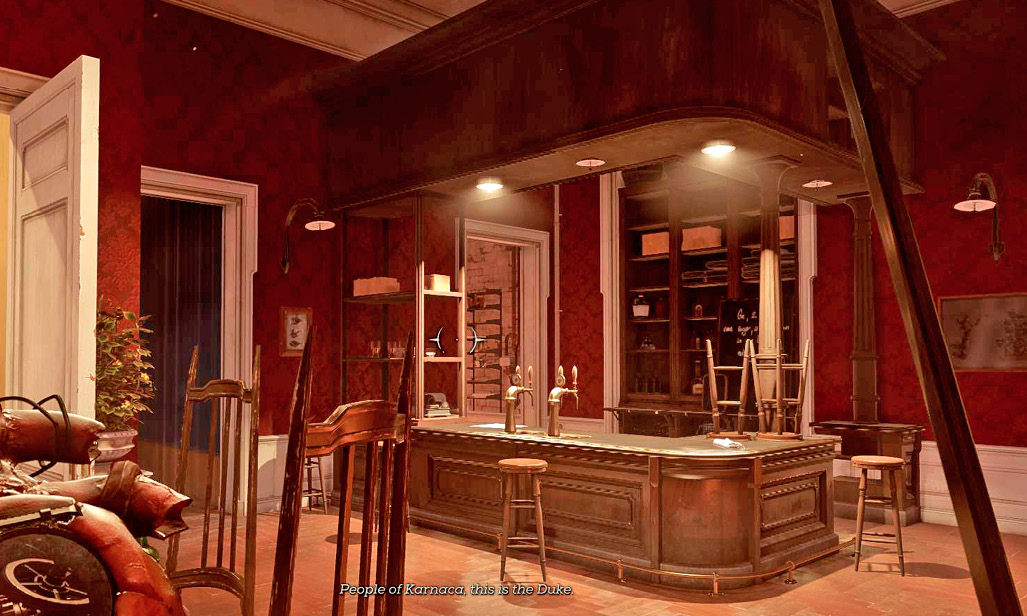
After the search, Far Reach from the outside roof into another building. Bloodflies are all over the place. Be careful. The nests here are normal, but a Nestkeeper lurks among them, living with them but overtly unharmed by them. If you missed the one Nestkeeper earlier, this is a new threat. Hide until you spot this guy, and then use a Sleep Dart on him so he can’t call the Bloodflies to attack you. Clear the house normally after that (but don’t use fire anywhere near his body, just to be safe).
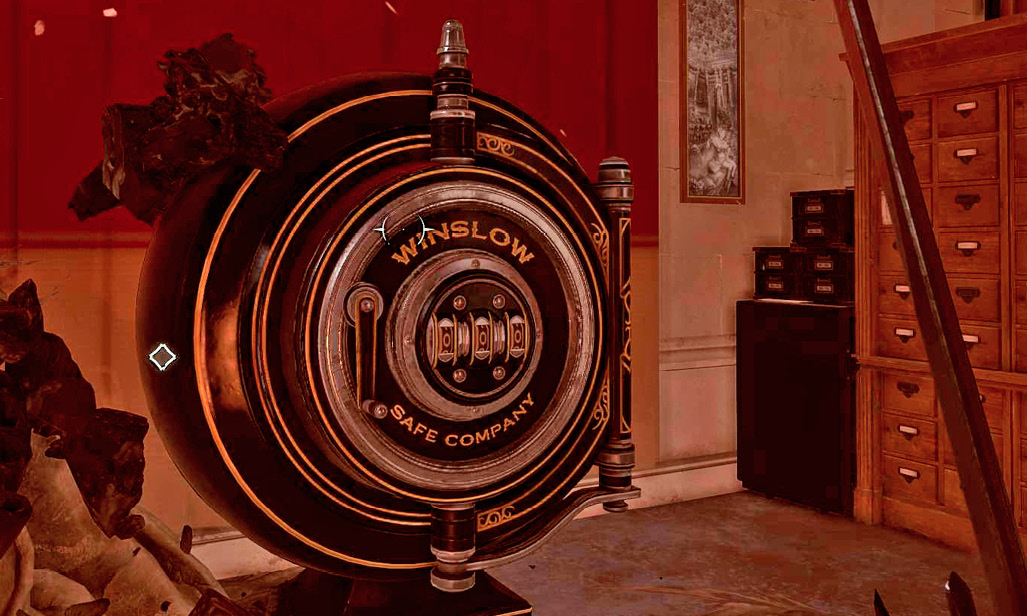
Once you’ve cleared the infestation from this large building, grab the Painting and look for a safe. Use the combination from the black market to unlock it and collect a substantial amount of money and some Bullets. On the floor close to the safe is a Corrupt Bonecharm.
Far Reach back to the previous rooftop (with the maid and Elite). Get onto the roof and use your Heart to find a Rune on the edge of the map, inside a faded teal house. Use Dark Vision to spot a number of traps as you head in. Disarm them and Far Reach to an upper floor. Use the Outsider Shrine up there.
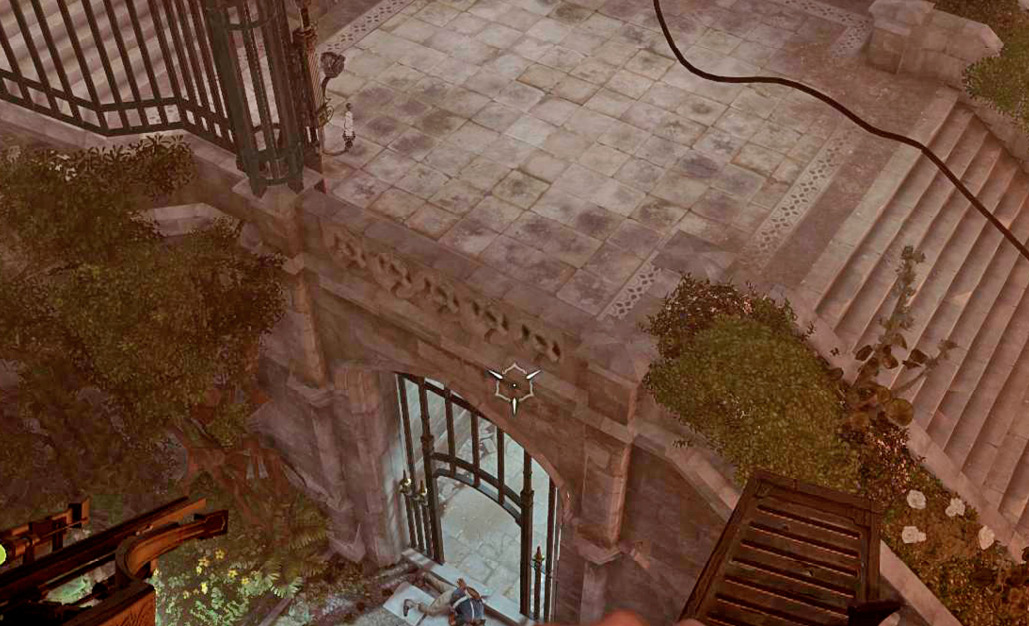
Yet again, return to the maid’s roof. Far Reach to the gray building across the big street. Use the second balcony to get on top of a Watchtower. Disable the Whale Oil Tank to shut it off (nobody notices). Then get a good perch to examine the enemies below.
Use Sleep Darts on the patrollers on the lower side. Your targets are the ones patrolling through a gated room under the stairs. Take one out, Far Reach down there, and Sleep Dart the second during his approach. Remove another Whale Oil Tank from the area, and then Far Reach up to the Wall of Light above. Stealth your way through quickly, using Shadow Walk, and turn left. Far Reach up the hill on your left to get onto the upper ledges of the Conservatory. These lead all the way across the building and onto another ledge. Take that to get onto a balcony. It’s a roundabout route, but it lets you avoid many Guards by the bottom entrance.
Once you enter the building, search the desk. A Document guides you to the next stage of the shopkeeper’s mission. You also gain a Bonecharm and a Blueprint.
Uncover Ashworth’s Role
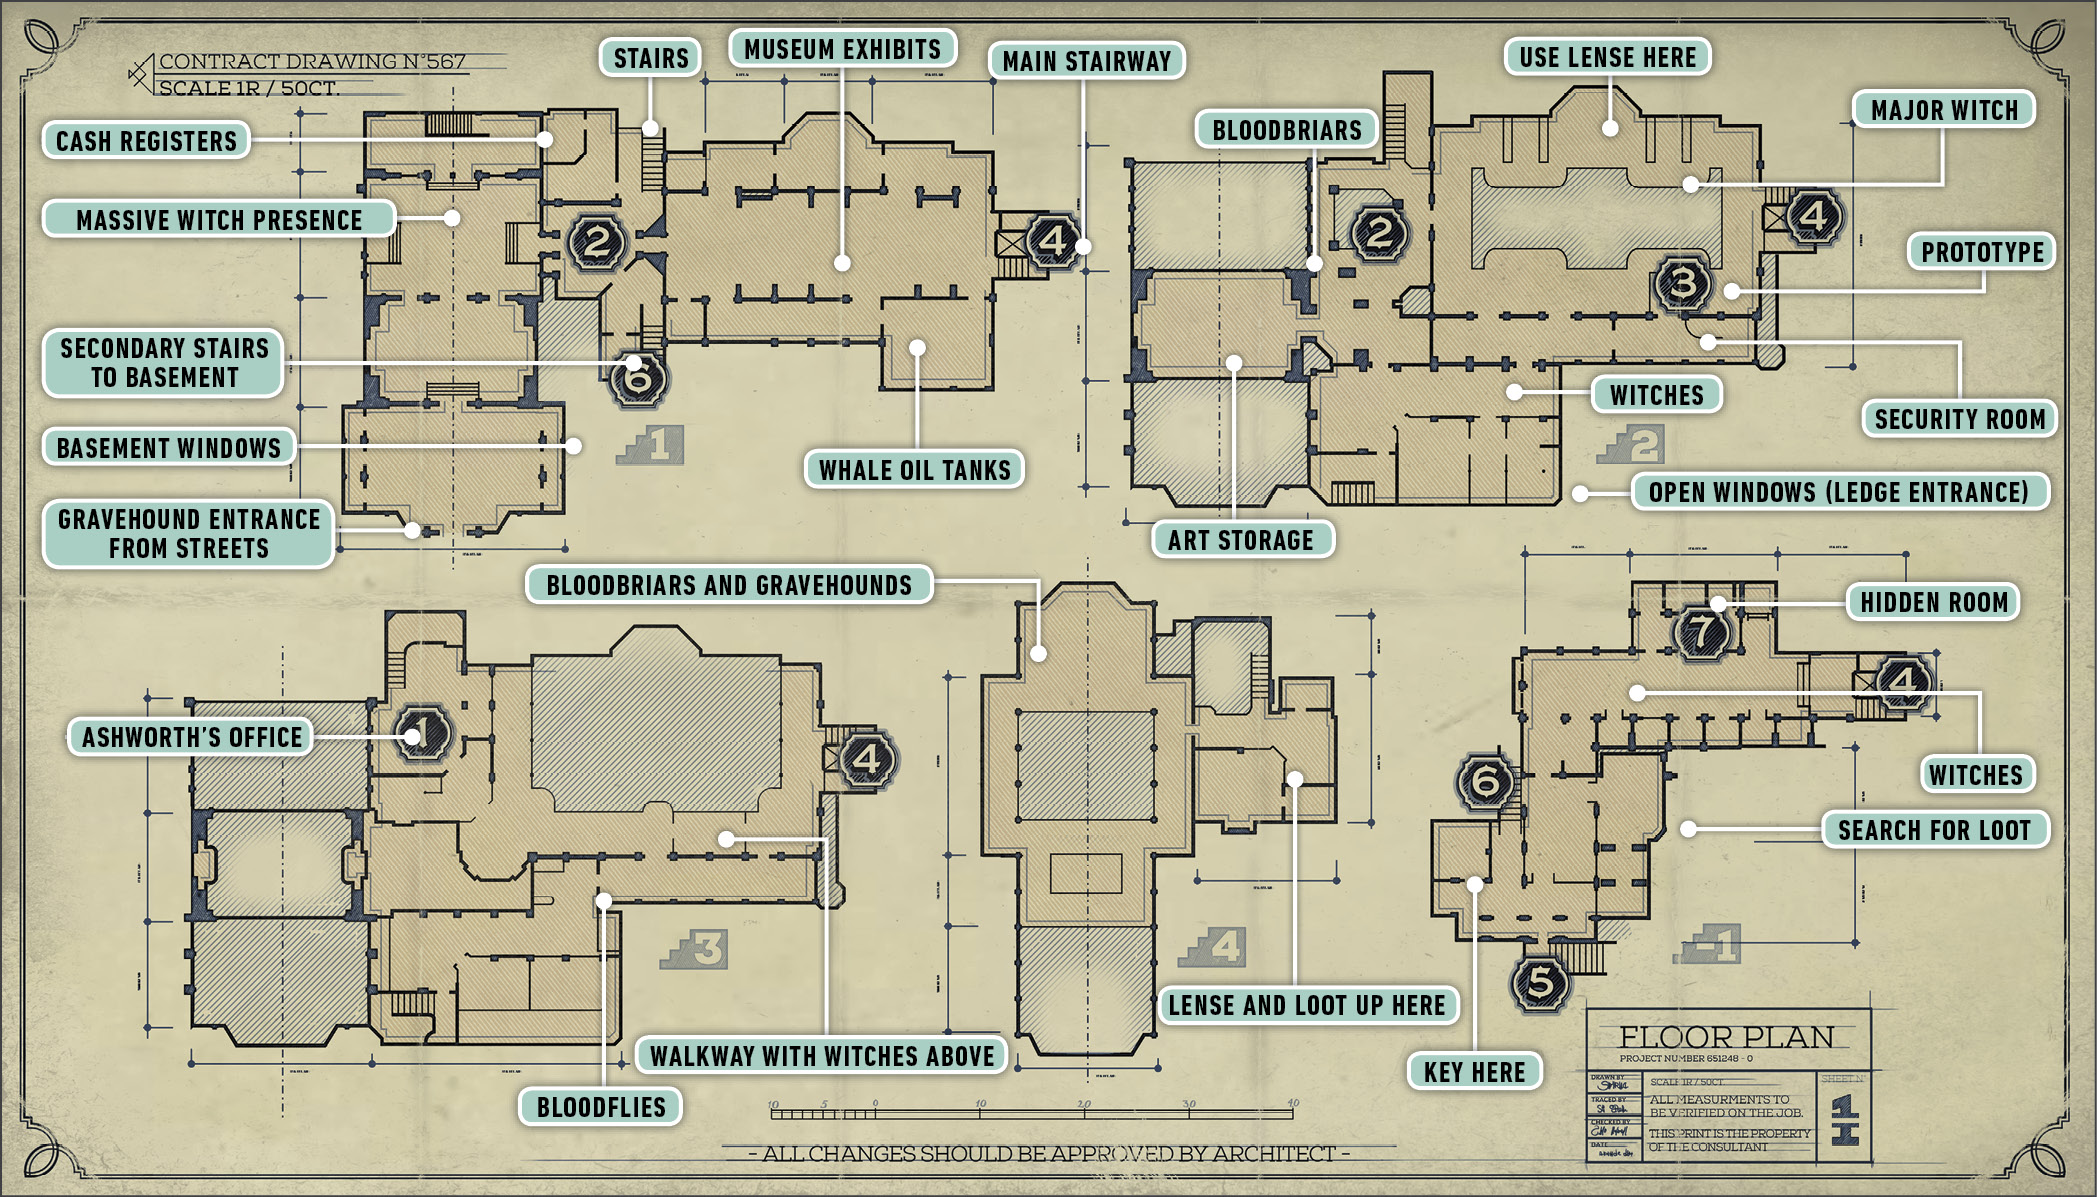
Get back to the ledges and enter the Conservatory through a partially open window.
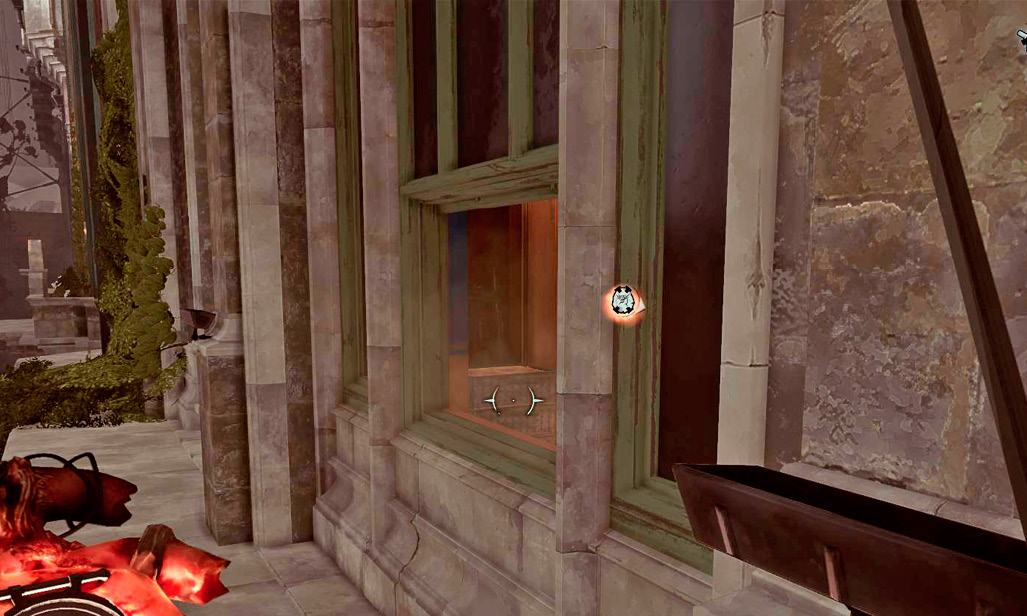
Crouch and walk through a lab. The room ahead has two talking women. Listen in on their conversation and wait for them to part ways. Both of them are Witches; they have the Outsider’s powers, but they still go down quickly if you get the drop on them. The one who splits off down the hallway is your first target. When she puts her back to the wall, approach and quietly choke her. Pull her into the lab area while you do this, and leave her there when she’s unconscious.
The other Witch is still sitting on her bed. Though you could Far Reach to her for a takedown, it’s much easier and safer to plop a Sleep Dart into her at range.
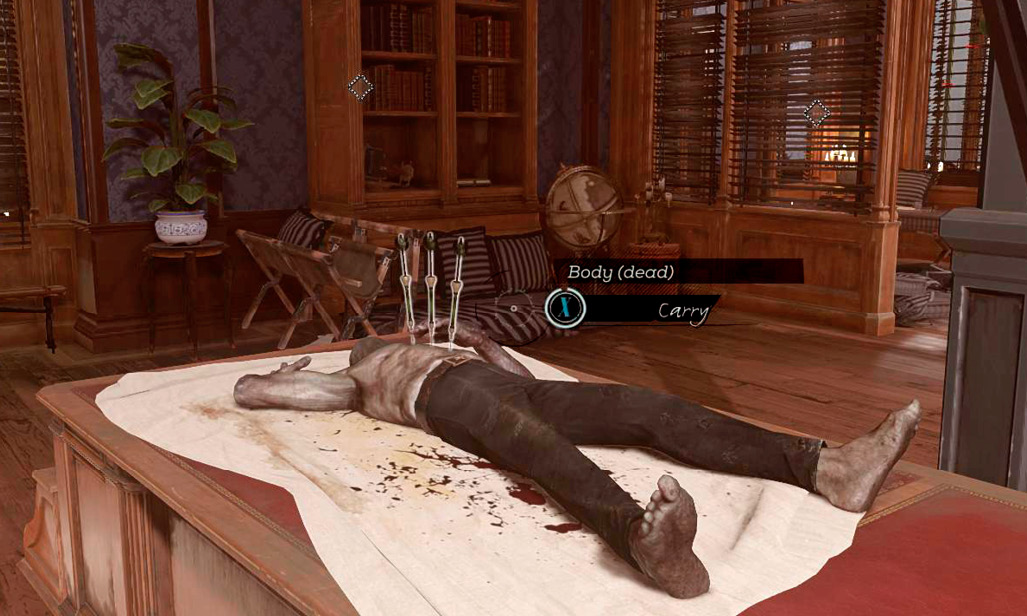
Look for food, Documents, and a Mana Elixir in the lab area. A body there hides extra Sleep Darts as well. Stock up on them before you proceed.
Use your Heart to find the Rune on the left side of this level. It’s unguarded now. Take it and look for the Roseburrow Prototype waypoint. It’s on this level, and you don’t have to go far.
Traverse the main hallway and use Dark Vision to find a Witch patroller inside a massive room. She patrols on the outer edges. Choke her and drag her to the cleared area you’ve made.
The other side of the main Conservatory room is the harder part. Multiple Witches guard and patrol that end. Use bookcases for cover while you approach closer to the Oraculum. Be patient, and let a couple of Witches come toward you. When they start to turn around and walk away, knock out both. Drag them behind the bookcase for disposal.
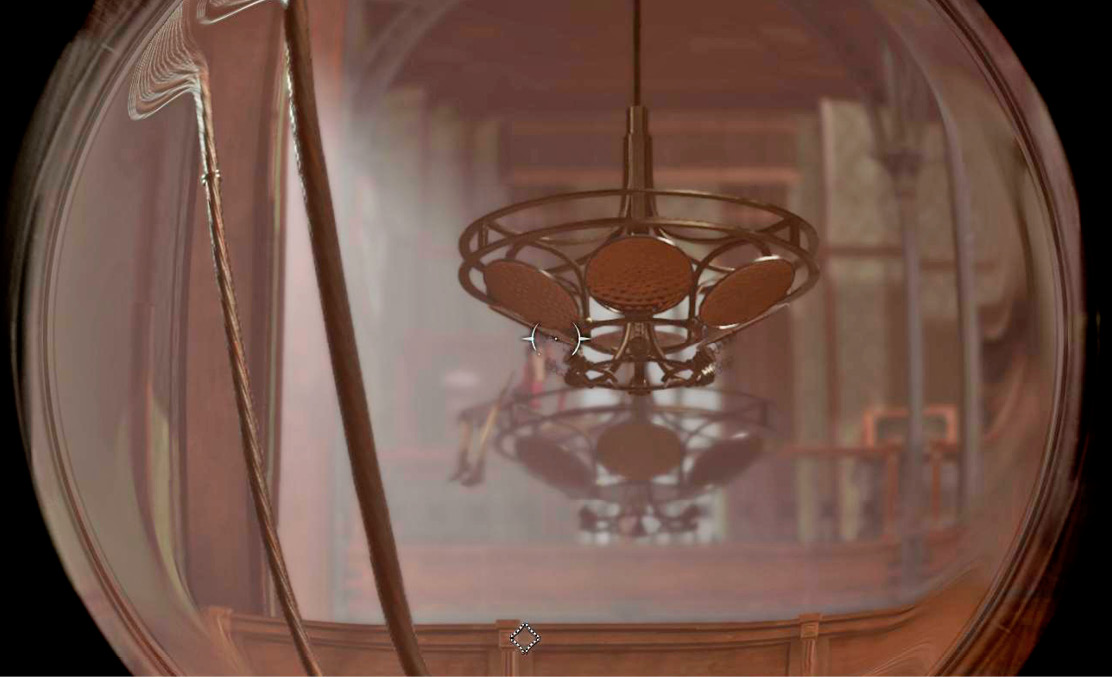
Watch out for the Witches on the upper tier of the room. They can see you down there, so stay behind cover as much as you can. The only other Witch on this floor is stocking books, and can be knocked out easily while you finish your circuit of the chamber. With her down, you gain somewhat free rein to explore.
Crawl up the stairs by the end of the room, and wait for a patroller to approach the summit. Choke her and put her halfway down the steps, where no one will find her.
Explore the third floor (you were on the second before). The front of the building has Bloodfly nests everywhere, but no Nestkeepers to bug you. Destroy the nests as you pass them. Look for a Bonecharm on a chalkboard as you clear everything out.
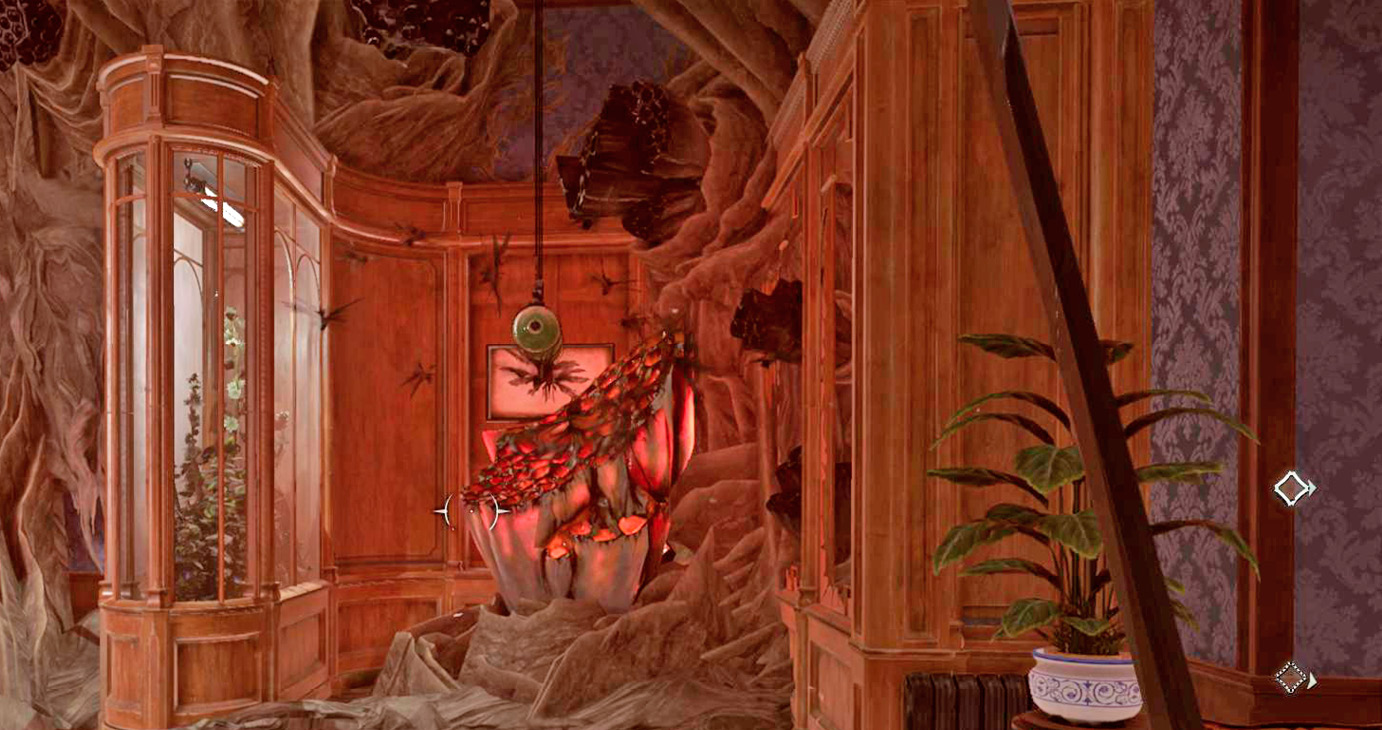
Return to the stairs. Press the button on the elevator, but hide as it comes up. The ring of the elevator arriving briefly draws a Witch’s attention, and you don’t want to be spotted. Enter the elevator once the coast is clear, and Far Reach above it through a hole in the top. A Black Bonecharm is hidden in a crawlspace just a few feet away.
Stay up here. Your Heart points toward another Black Bonecharm on this floor. Head toward it, across a small upper ledge for the library below. Go through a window at the other side and into a room on your right. The Black Bonecharm is there.
Outside that room, you hear a conversation coming up from the lower floor. Eavesdrop for some interesting information.
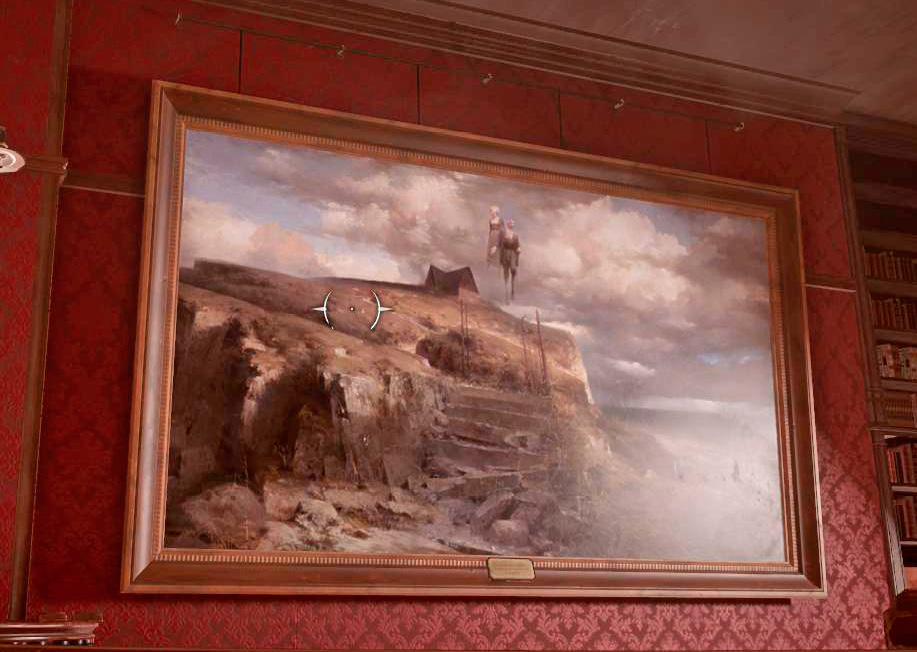
The office and lab on the other side of the hallway contain a bunch of good stuff. You find Lenses (very important), Raw Whalebone, a Mana Elixir, and plenty of money. Take it all.
A door leads outside onto a large ledge filled with two Gravehounds and a few Bloodbriars. A Rune sits on a small altar to the right. You can Far Reach past the Bloodbriars, but the Gravehounds are right there. Killing them isn’t a good idea. They return from the dead and make plenty of noise, making it a poor for Ghost players. Instead, destroy the Bloodbriar in front of you with ranged attacks.
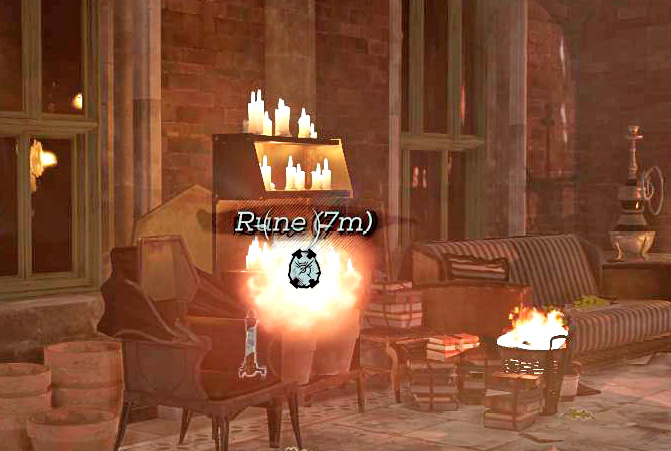
Far Reach past the plant’s body, and come at the altar from the other side. Far Reach onto the altar, take the Rune, and back off the way you came. The Gravehounds don’t wake up, and that’s a good thing.
Go back into the building carefully to make sure no patrollers can see you (if a Gravehound comes up from the lower level, wait it out). The half-floor down the stairs holds a Painting. As long as the Gravehound is far away, you can steal it without repercussion.
Search the office at the bottom of the stairs, doing everything in your power to avoid the gaze and detection of the Gravehound. You need the Documents from the main desk. Everything else here is just a bonus. Watch out for the statue of Delilah; it’s more than it appears and should be avoided.
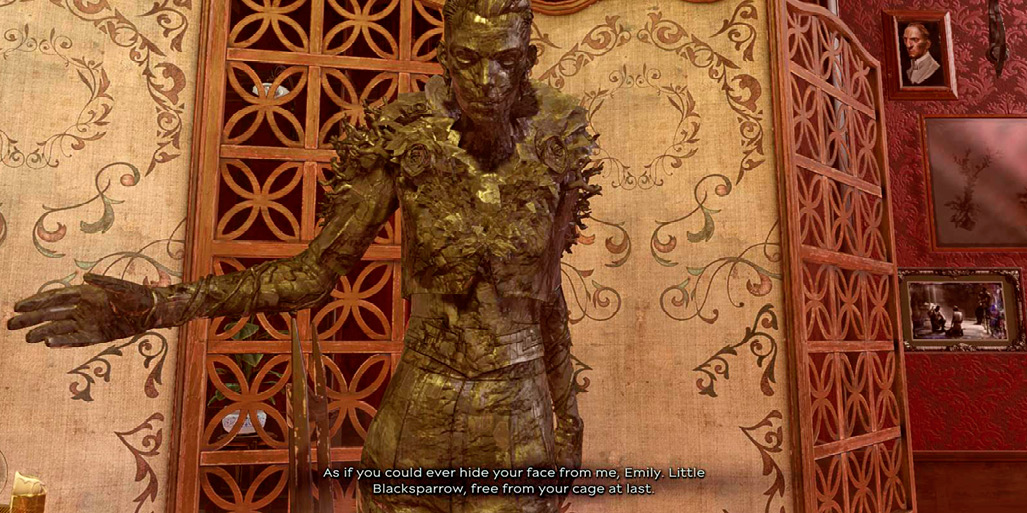
There is an Audiograph downstairs that you also need, but it can wait for you to clear the whole place out while you explore.
Eliminate Breanna Ashworth
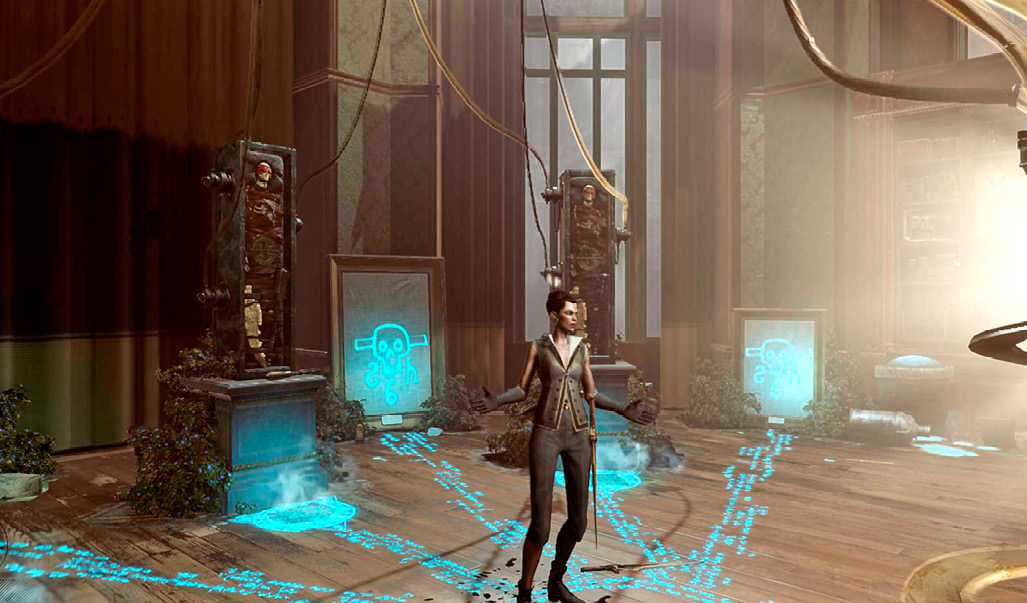
First, backtrack all the way to the second floor that you cleared while looking through the library. When you arrive, use the Lenses on the Oraculum. After installing everything, pull the lever on the right, and watch the end of your adversary.
Acquire the Roseburrow Prototype
Head to the other side of this level and look for the Prototype. It’s clear on your HUD because of the waypoint, but a locked door prevents you from reaching it. Instead, use Shadow Walk and go through a Rat hole to the left of the device, when you’re still in the library. Search with Dark Vision if you have trouble finding it.
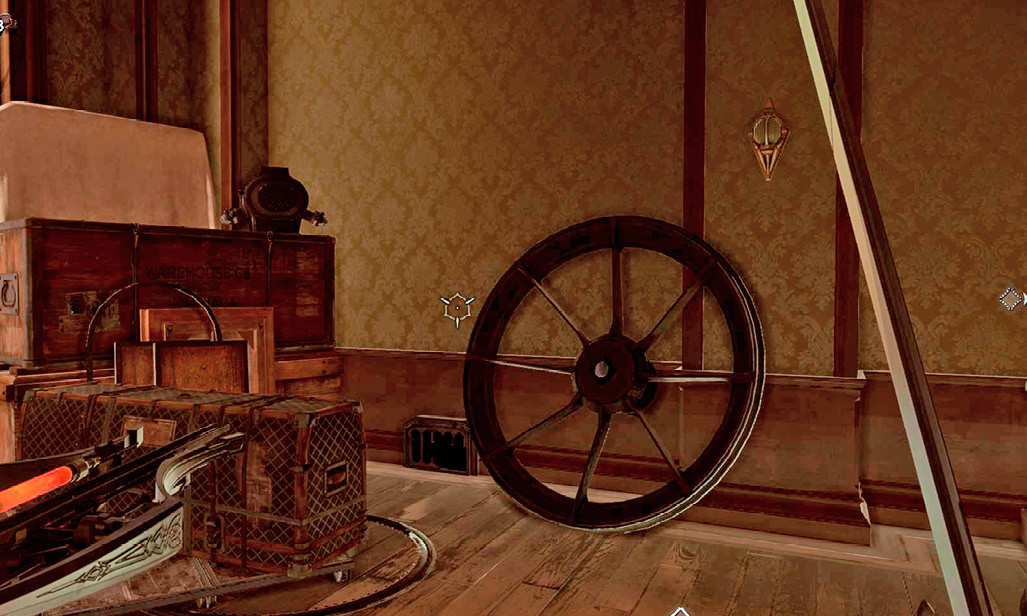
From the other side, look for a Security Panel and rewire it. Now you’re able to steal the Prototype without causing any alarms. Go into its cubby, take the machine, and back out. When you are almost done with the town, deliver the machine to the black market shopkeeper. Receive your reward, and consider robbing him afterward if you’re really in a dirty mood!
Retrieve Breanna Ashworth’s Audiograph
You’re almost done. Descend onto the first floor and look for the stairs down into the basement (not the elevator stairs, the ones on the other side of the building). With Ashworth’s power broken, this building is much safer to explore. The quartermaster’s room is by the bottom stairs. Jump through an open window to get outside, and then turn right around to go into the window of the quartermaster’s room. A Bonecharm is inside. Take it and the Archive Key from the room, and then get back into the basement.
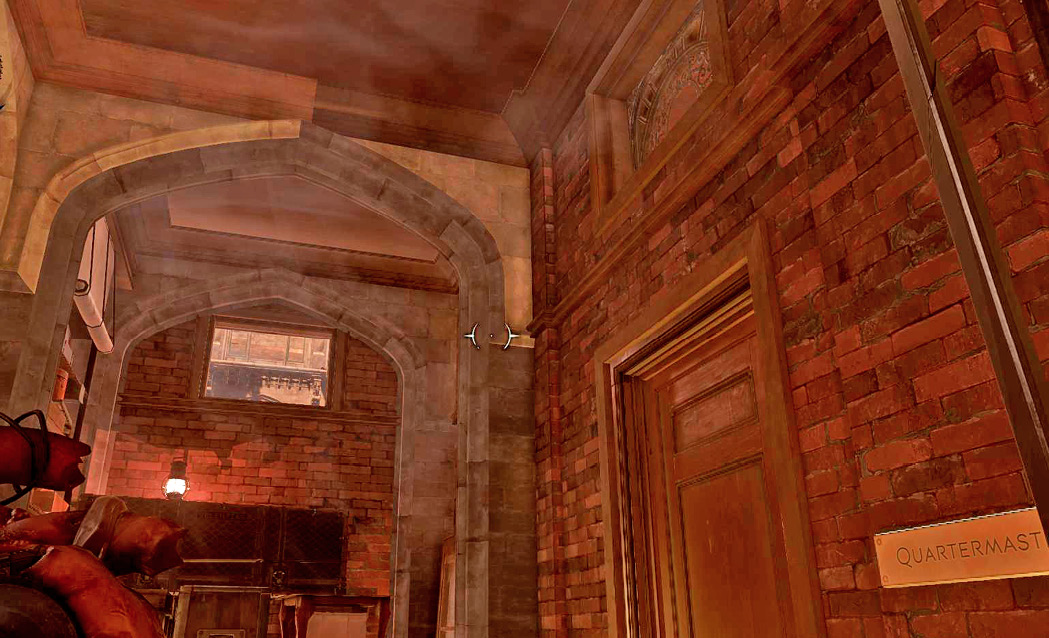
Grab a few pieces of Raw Whalebone from a table, and explore the one path that leads deeper into the basement. Destroy a few small Bloodfly nests, and follow your Heart toward the last Rune in the level. The Archive Key opens a door back there, and you find the Rune and the Audiograph you’re looking for. Take both. Far Reach onto the bookcase behind the Audiograph table. Crouch, get up there, and find a small hidden room in between the bookcases. A Painting is in there.
This completes the side tasks and missions here. Get out of the building quietly and return to Captain Foster. Visit the black market again on the way to finish the side task if you haven’t already.