Dishonored 2 Guide Combat Walkthrough
The Clockwork Mansion
Anton Sokolov is being held at the mansion of Kirin Jindosh, Grand Inventor to the Duke and creator of the Clockwork Soldier. Get inside, rescue Sokolov, and eliminate Jindosh before he builds an army of Clockwork Soldiers.
Collectibles
| Runes | 6 |
| Shrines | 1 |
| Bonecharms | 8 |
| Coins | 4802 |
| Blueprints | 4 |
| Paintings | 6 |
Special Actions
| Ghost Between the Cogs | Reach Jindosh without revealing your presence |
| Hidden Repository | Discover Jindosh’s hidden repository by manipulating the walls of the mansion |
| Flawless Extraction | Free Sokolov without alerting the Clockwork Soldier in the Assessment Chamber |
| A Man of the People | Kill Paolo, the Howler Leader (Once) |
| Black Market Heist | Blast your way into the black market |
| Looted Aventa Station | Rob the ticket booth in the station |
The Dreadful Wale
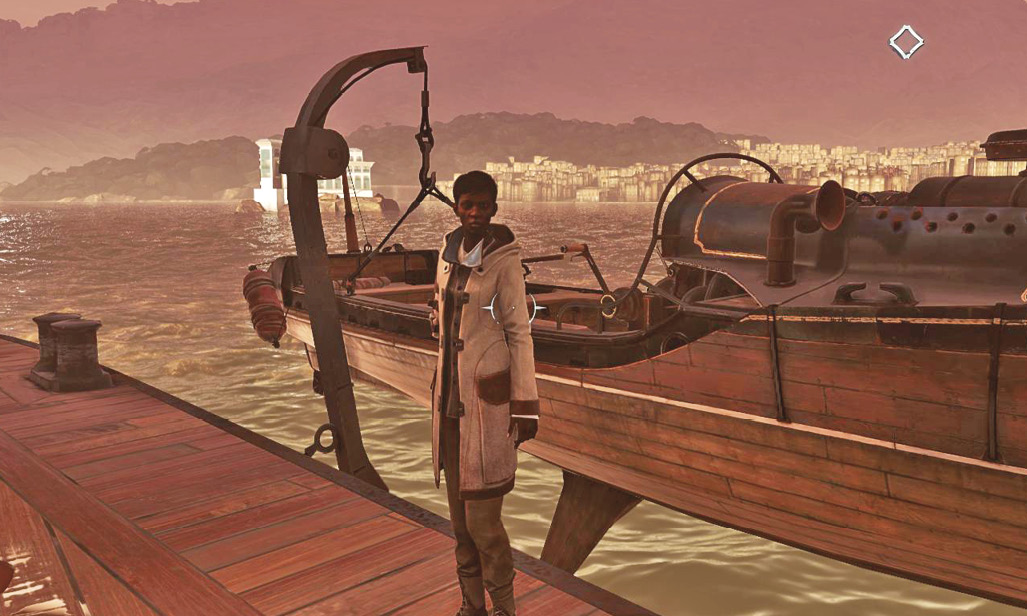
Corvo takes a nap once he’s back aboard the Dreadful Wale. You watch a cutscene, and then wake back in your cabin. Write in your journal after getting up.
Look for a crank wheel in Captain Foster’s part of the ship, on the same level where you wake up. Pick it up from a table, and bring it to the engine room. Attach it to a valve at the bottom of the ship, and then turn the device. This finishes an optional goal.
Meet the captain at the stern of the ship, out on deck. Tell her you’re ready to go, and she takes you to shore again. Your next task is to eliminate Kirin Jindosh while saving Sokolov. Both are in the same mansion, so you’re working as both assassin and rescuer. Good luck.
Serkonos: The Lower Aventa District
Gather Items
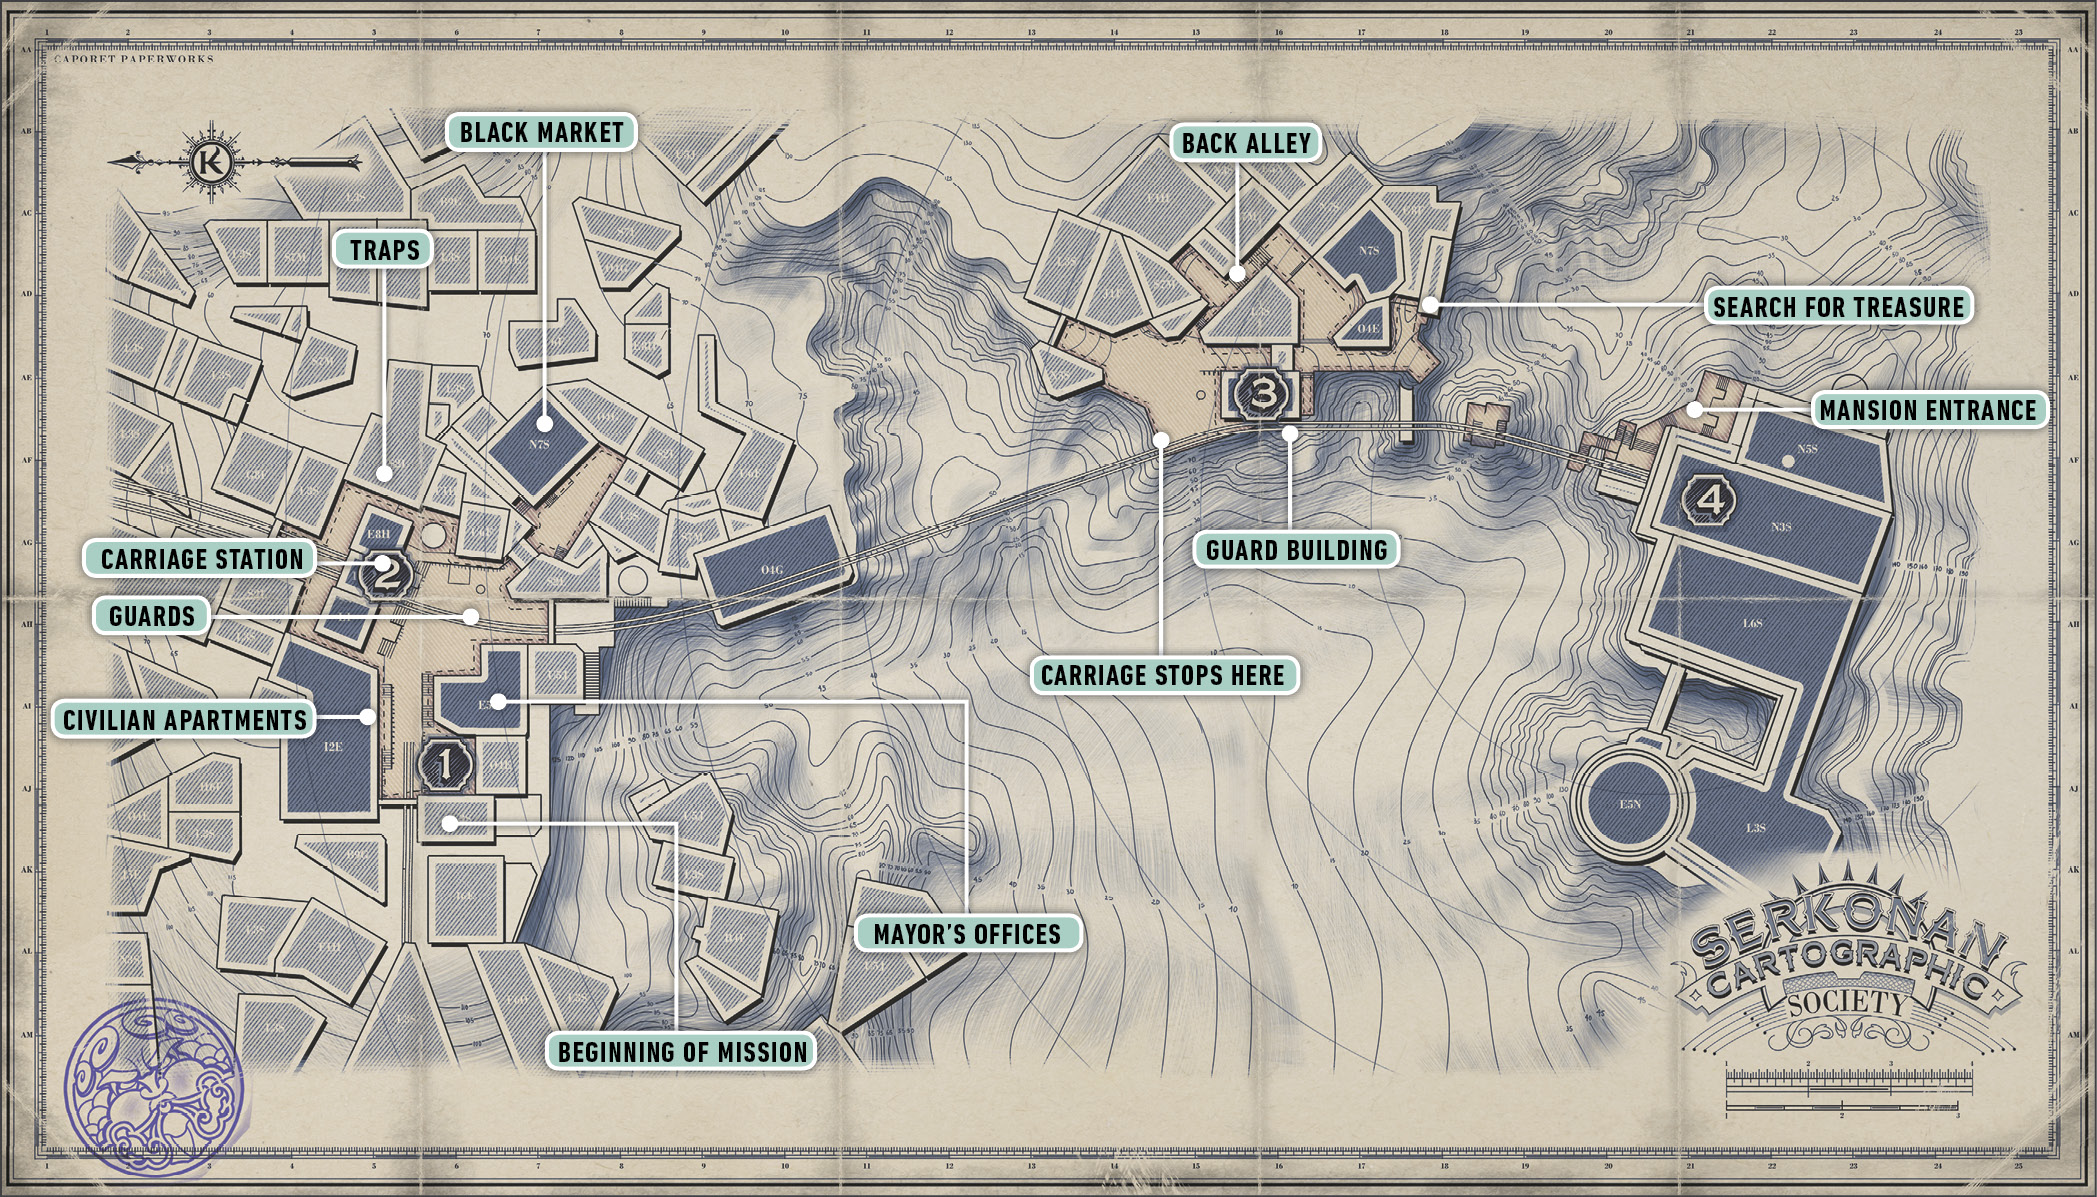
You’re dropped off in the streets of Serkonos. Get your Heart out and walk forward to leave the shores behind; all the items ahead are higher up. You soon arrive in a guarded district of the city. Draw your blade and dispatch two enemies (a Guard and an Elite Guard) protecting the area. There are two more Guards out patrolling, but they don’t come back for a while. Kill them later, when they’re isolated.
The mayor’s office is above this initial street. To reach it, Blink onto the roof of a small structure on your right, near the Guard post. Then Blink again to get onto a balcony higher up and around the corner. This leads onto the office. Smash a display case to find a Bonecharm. The opposite wall holds a Painting.
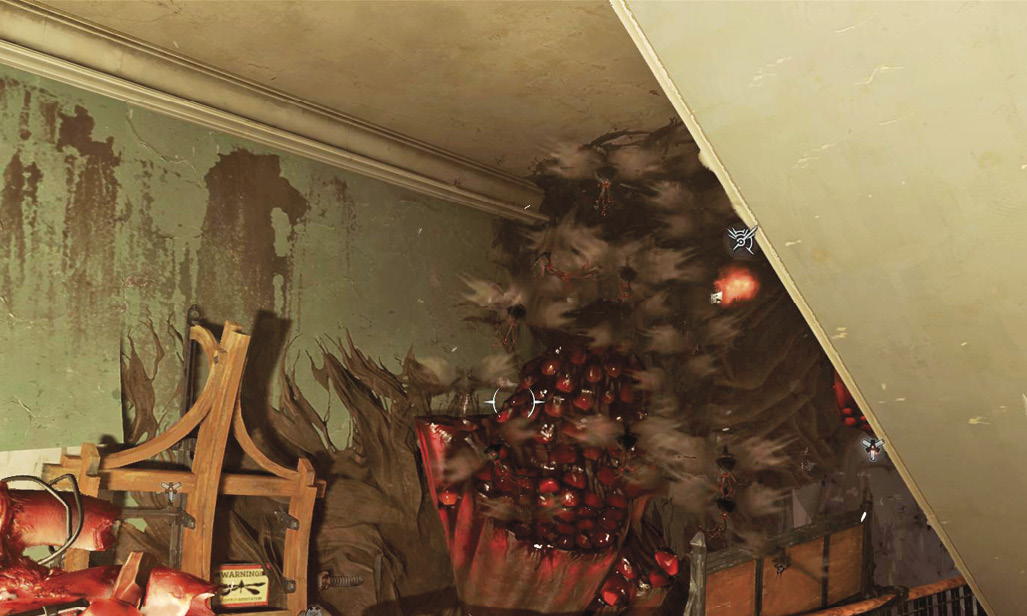
Next, return to ground level and locate a “Checkpoint Enforced” sign by a liquor store on the left. Jump over the sign and break into the building behind it. Bloodflies infest the structure, so move carefully. Look for some Raw Whalebone on the second floor, in a lab area. Climb the stairs to the third floor and jump through a window to get past a locked door. Turn right and use an Outsider Shrine. Poke your head out the window and Blink down to ground level safely, because you’ve gotten everything important inside.
A Black Bonecharm is here too. Go around the next corner after leaving the last building. You bump into a cluster of civilians talking about their problems. Blink onto a small building to their side. Rest to get your Mana back, and then Blink again onto a pillar higher up. From there, climb onto a roof and look for a balcony across the alley. Use your Heart to locate the Black Bonecharm inside. Jump or Blink over to the balcony, go inside, and claim your prize. Take a Painting from the wall by the balcony when you leave.
For more money, unlock the front door of the apartment and go to the second floor. Search for a safe inside the lower apartment, and use the code on the blackboard in the hallway to open it. Move the bottle to see the whole thing.
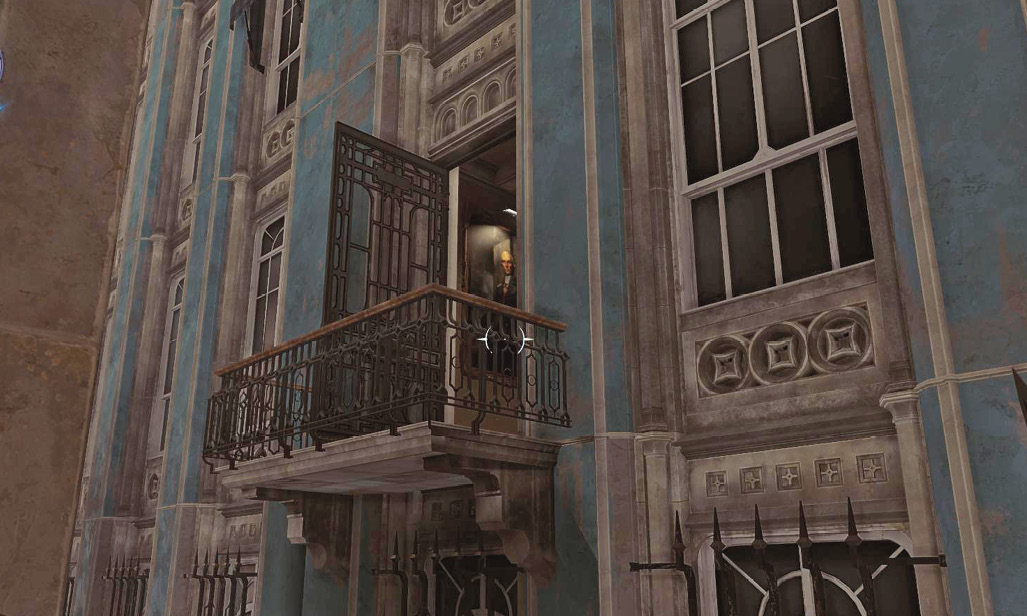
Follow the streets all the way to the back end of town. Another collectible is back there, plus the black market, so it’s well worth your time. You find a series of dark, boarded-up buildings. Locate a basement entrance to these buildings near the corner. Descend to a lower door and look inside to find the black market.
Black Market Goods
| Item | Cost |
|---|---|
| Crossbow Bolt | 20 |
| Pistol Bullet | 30 |
| Sleep Dart | 30 |
| Stun Mine | 70 |
| Spring Razor | 50 |
| Addermire Solution | 200 |
| Health Elixir | 100 |
| Rewire Tool | 200 |
| Rune | 400 |
| Key to the Ticket Booth | 250 |
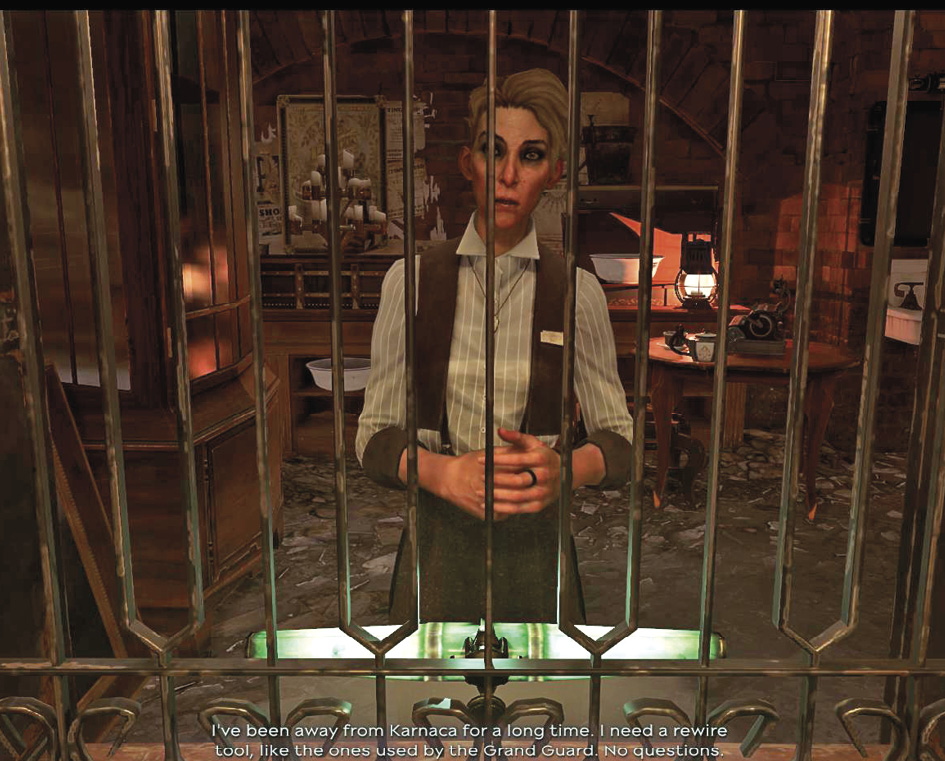
Before you shop, there are some problems. A few people arrive to threaten the shopkeeper. Equip your Pistol and talk to them to trigger a fast and enjoyable fight. Start it off with a Pistol blast to the first thug’s head, and then slaughter his two bodyguards. Shop without any trouble after that’s done. The leader of the group turns into a swarm of Rats when he dies. Maybe that means this isn’t over.
Take a Carriage to the Upper Aventa District
You can leave the district after you’ve purchased everything you want. Buy a Rewire Tool, and head to Aventa Station. Be careful if you go around to the rear of the building. The bandits hiding there lure you toward them, asking for help, then jump you as a massive group. Back into the alleys nearby to force them into a chokepoint, then savage the poorly trained fools. With them down, look for a Rune at the back of their yard.
To get into the station, approach the front of the building and locate a Security Panel. Open it, rewire the system, and walk through the Wall of Light at the entrance. You’re clear because of the rewiring.
The ticket booth is on the first floor. You get the Key from the black market (either buy buying or stealing). Inside the booth is a pile of wealth and a Blueprint. You also find a Whale Oil Tank in a receptacle on the first floor. Bring it back to the basement near the black market to blow up the wall.
A Bonecharm is up on the second floor. Kill the Guards there before you search for it. Then, after collecting everything you need from this area, use the carriage to head into the Upper Aventa District.
The Upper Aventa District
Get the Carriage to the Mansion
Your arrival in this part of town isn’t noticed, and you have time to look around for a moment. An Elite Guard is ahead, plus a watchful patroller, but that’s about it. Get some food from a stand to your right, and then sneak up to the Elite for a fast kill. The other two Guards notice, but they are weak and can be dispatched with a Pistol shot and a Sword cut or two. Just make sure no one runs to the Wall of Light to get reinforcements.
The building to your right is a Guard station, with several men inside. Run through the front door and walk up to the front desk. This alarms two enemies, so shoot the guy at the desk and then block to counter and kill his buddy. Climb the stairs and search for a Bonecharm on the second floor as you clear the remainder of the building. No dangerous enemies lurk here, so the fights are super fast. A Blueprint sits out on a desk on the third floor. Find the gate code in a small, rear office.
On the way out, stop on the second floor and take the Whale Oil Tank from the wall. This turns off a tricky Wall of Light that blocks access to the mansion. Carry the tank outside, approach the chokepoint, and throw it into the Guards ahead. You get a decent fight out of this encounter, though there aren’t enough special targets to threaten you much. After the tank explodes, charge forward and use a Pistol plus melee combo to kill the first two survivors of the explosion. Everyone else is farther back, and they trickle in.
Clean up the fight and examine the building ahead and to the left. Blink up to a balcony to enter the second floor. Destroy a couple of Bloodfly nests, and search for a Rune inside a desk at the back end of the building.
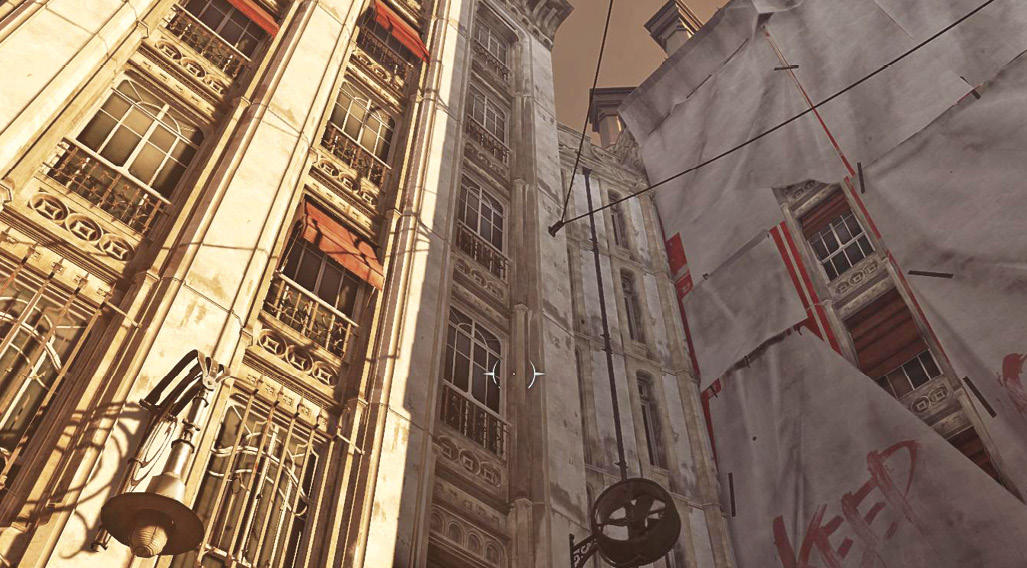
A much smaller area on the right, also contains loot. Go around the building and look for an open window on the other side. Crawl through, destroy more Bloodfly nests, and grab a Corrupt Bonecharm and a Painting.
Return to the entrance of this district. A machine controls the gate access for the mansion. Dial the number you found on the third floor of the Guards’ building into the console to open the way. Re-enter the carriage and select “Go to the Clockwork Mansion” to continue your mission. You arrive at the estate soon. Walk through the front doors to proceed.
The Clockwork Mansion
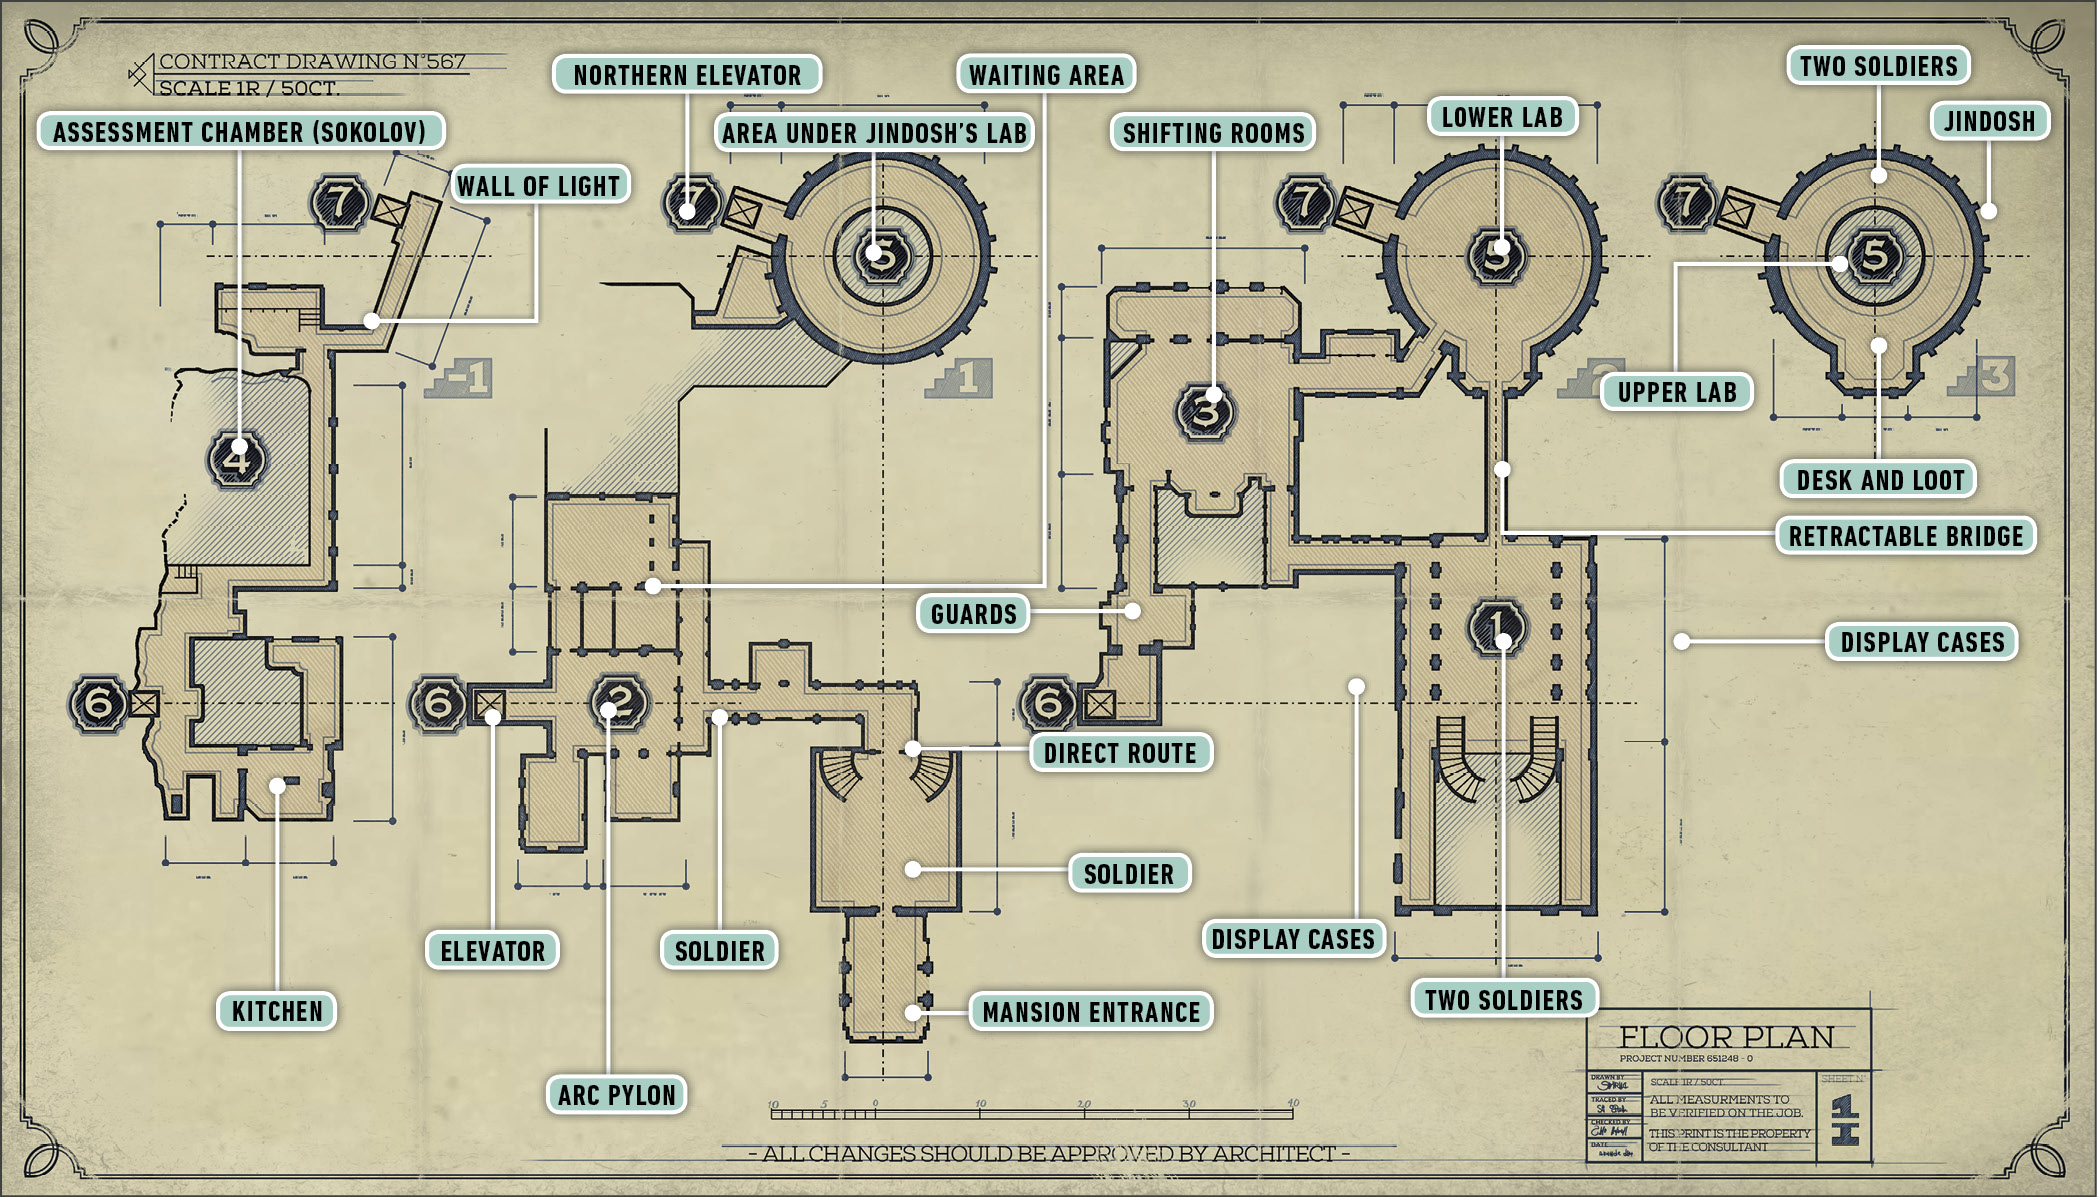
Locate Kirin Jindosh and Destroy Him
You’re inside Jindosh’s home, but it’s a gigantic estate. You don’t find him quickly. This place transforms, so several rooms have machinery that shifts things around, making them multi-functional. Stealth players have to worry about jumping into the machinery to avoid being seen.
You don’t.
Instead, the plan is to face Jindosh’s Clockwork Soldiers head-on.
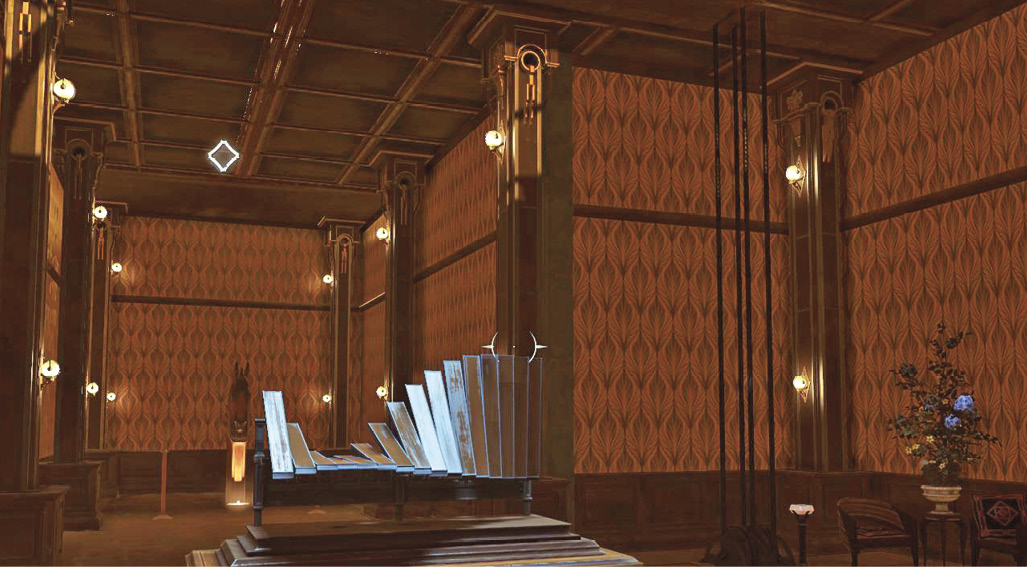
Leave the initial room and enter the next chamber. Pull a lever to transform the room into a much larger area, and take a look at your first Clockwork Soldier. It doesn’t attack (it’s here on display), but there isn’t anyone to help out if you trigger the attack here.
Put a Stun Mine on the soldier and then attack it viciously. The sooner you master your skills against Clockwork Soldiers, the more fun you have in here!
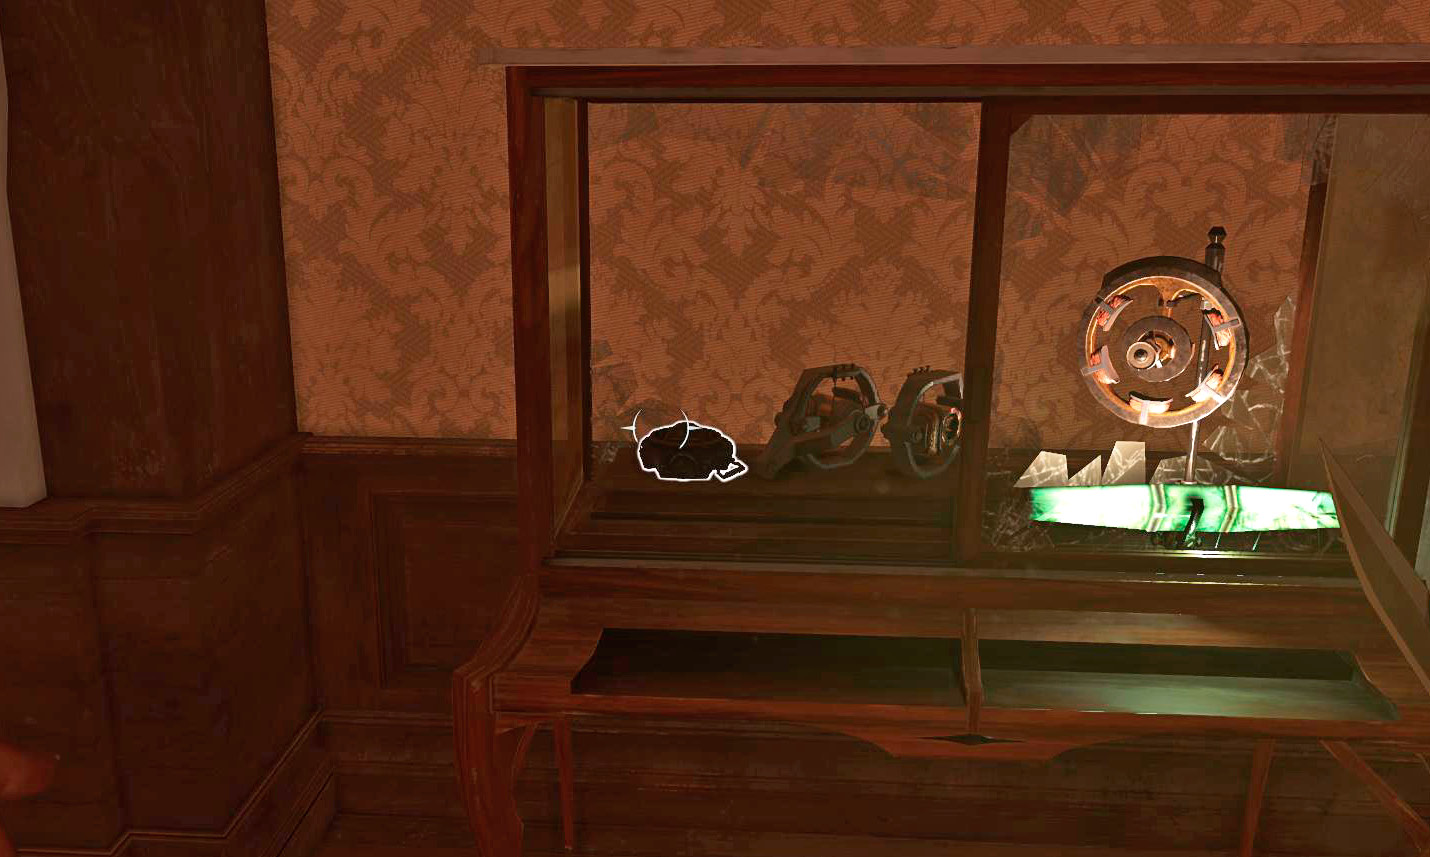
After the battle, search the display cases all over the room. You find two Elixirs around the chamber, a Stun Mine, and a Rewire Tool.
Three obvious routes lead out of here. The back-left hallway contains a Wall of Light, so scratch that for now. The other hallway at the back leads directly into Jindosh’s lab, but you can’t take it yet. Instead, head into the roped-off exit on the lower level.
It says “No Admittance,” so you know it’s a good choice. The corridor beyond the door contains two Elites, a Guard within hearing range, and a resting Clockwork Soldier. You can wait for the Elites to split up and kill them outside the soldier’s detection.
Or you can take them all on at once. It’s dangerous, but really exciting. Sneak up lets you kill the Elites almost immediately. The Clockwork Soldier boots up, and the other Guard arrives to check out the noise. Back off to the previous hall and get your Stun Mine ready. Ambush the soldier with your Stun Mine, and switch back to your Pistol after planting it. Shoot and slash repeatedly during the stun period to bring it down almost before it has a chance to attack. The Guard is an afterthought once the machine is down.
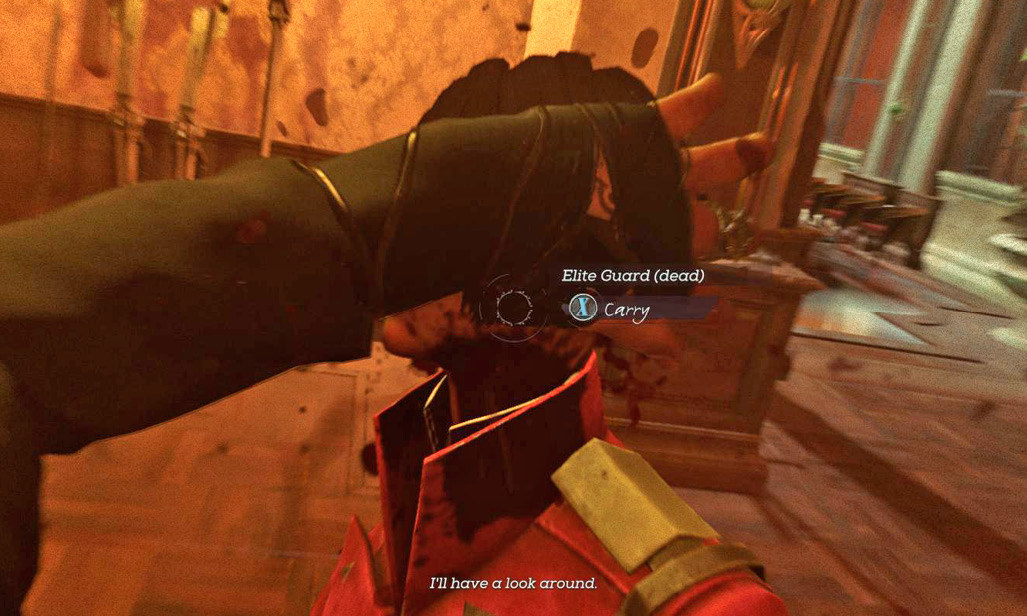
The next room features a glass floor. A new machine you’ve never seen before dominates the center. This is an Arc Pylon. They spew deadly electricity at you if you trigger an alert. The damage is almost directly lethal, so you don’t ever want to take a hit (much less two). Never fight in a room when a Pylon is active.
This one is already live because of the fighting you did a moment ago. Blink to get into the lounge on the left. Loot it for food, and then Blink most of the way across the Pylon’s room. Reach the far side to find a waiting area with two rich people. Steal from them, and look for a Key not far from there, by a locked door. Open the door to gain easier access to the hallway leading into this entire wing of the building.
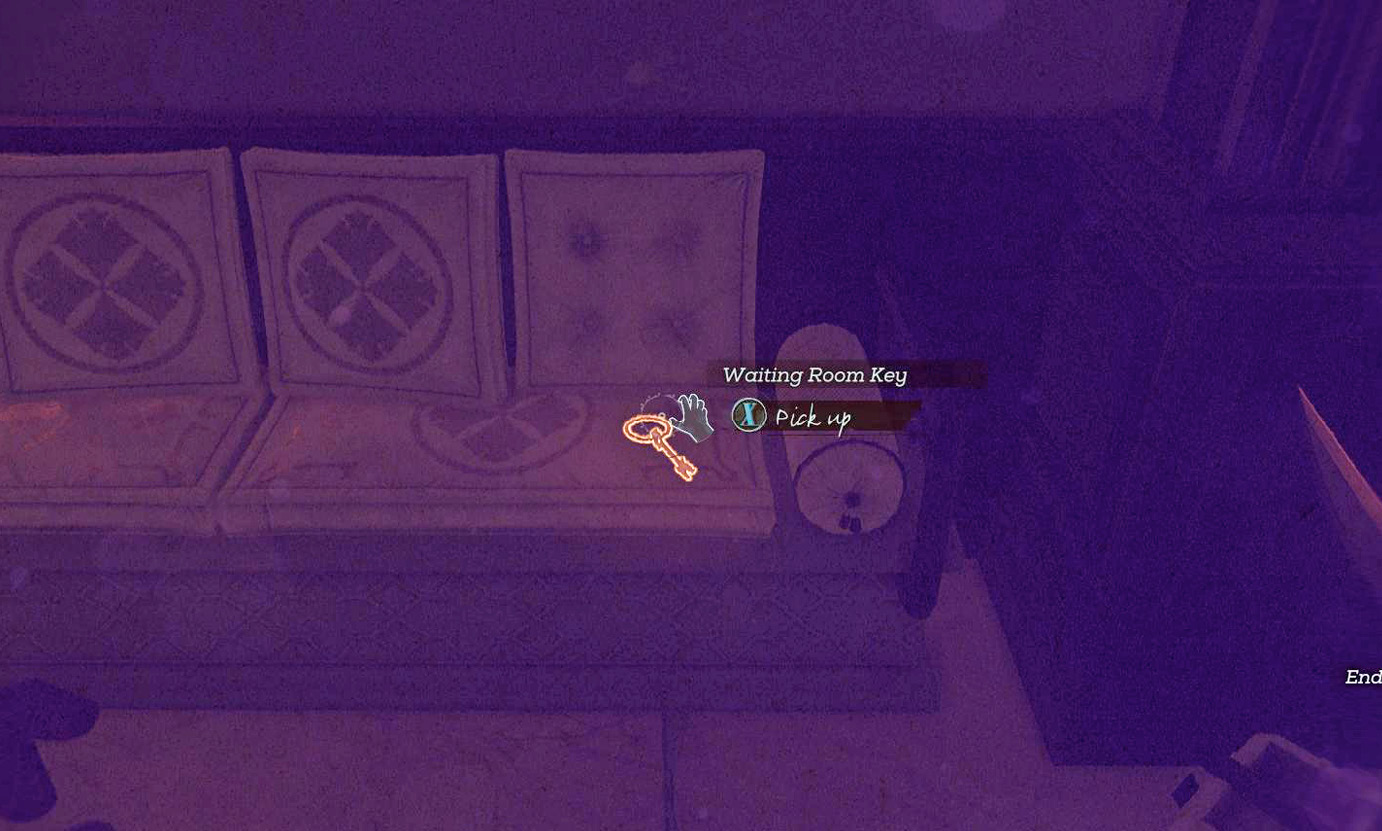
Return to the Pylon room and Blink toward the elevator. Quickly sprint away to avoid getting shot after the Blink. Call the elevator and ride it to the second floor.
Two Elites and a Clockwork Soldier wait above. Rush the Elites as soon as they spot you coming out of the elevator. Kill both before the soldier attacks (a Pistol shot with your rush should make that doable).
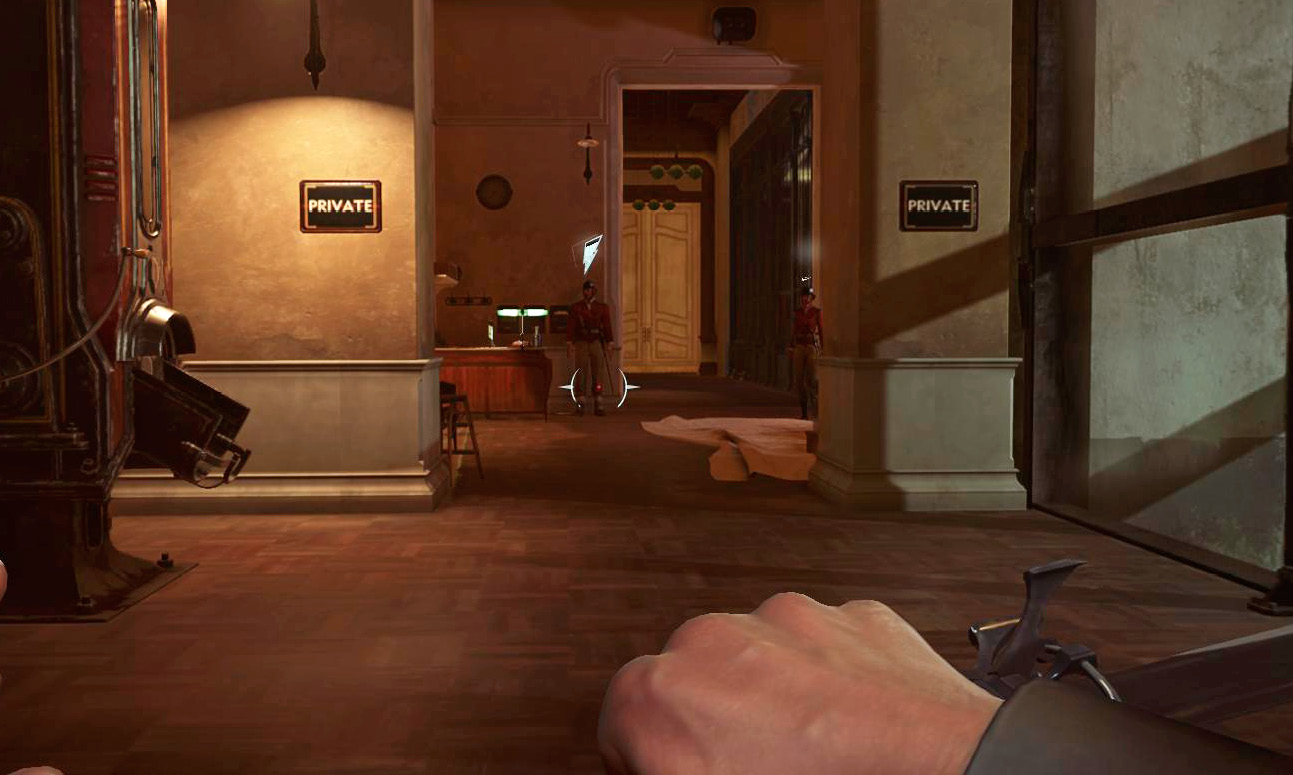
If you don’t have a Stun Mine this time, the Clockwork Soldier presents more of a threat. Spend your ammo well to augment your Sword’s damage, and use your Mana with any attack abilities you have. Elixirs are common around here, so resupplying isn’t hard.
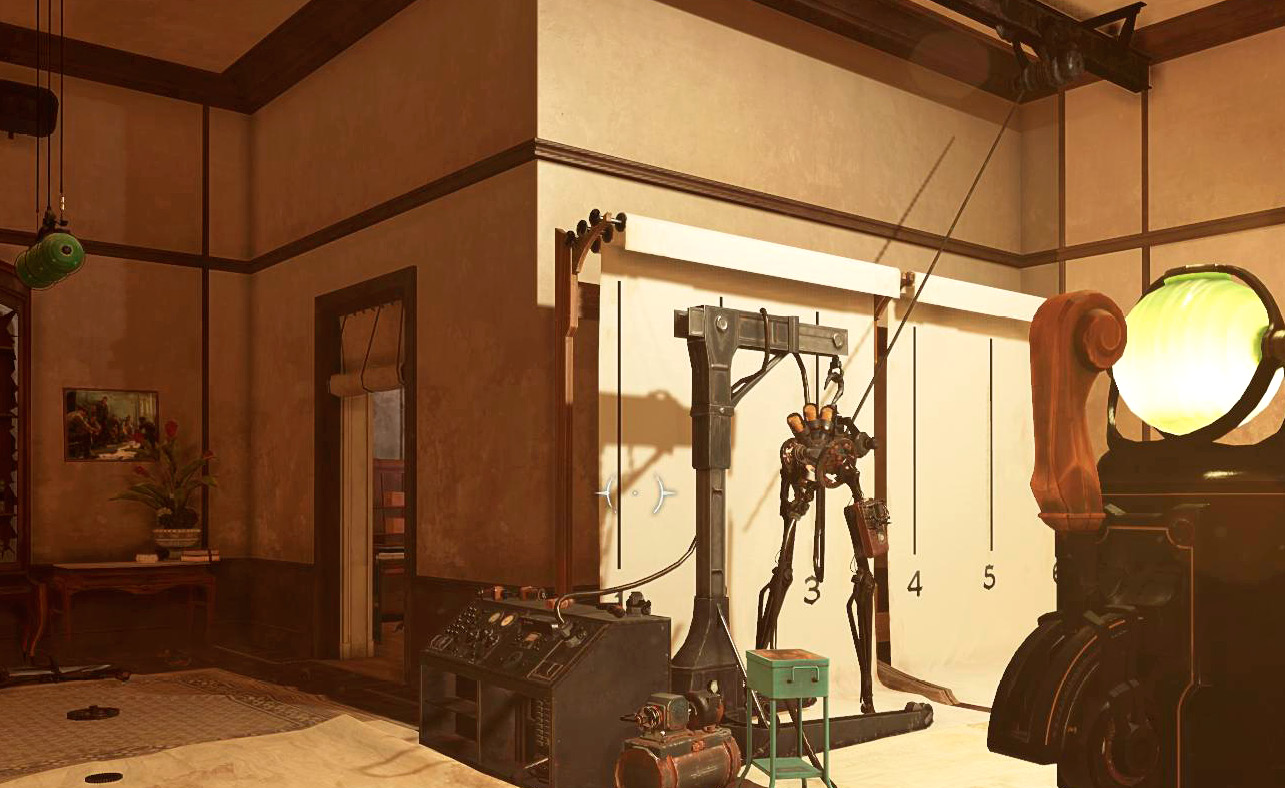
Search for various supplies in the area, and then take the hallway back into Jindosh’s private quarters. A bedroom lies ahead. Though a soldier is in there too, it’s likely in a resting state unless you tick it off.
Grab everything in the bedroom, and use the lever to transform it afterward. Rush into the corner room while this happens. The room descends into a lower level and lets you pick up a Black Bonecharm below. Press a red button on the wall to get back up to the bedroom.
This chamber boasts four configurations, two on each side. Visit each—both variations of the bathroom, and both of the study/sitting rooms.
You get a lot of money! You also find a Painting in one of the bathroom variants. If you have trouble finding it, stay with the bathtub in the inner circle and rotate it to find the version of the room you want.
When you’re done, spin in the bathroom and use a large set of double doors to exit. You enter a red-carpeted hallway that leads quickly into Jindosh’s laboratory.
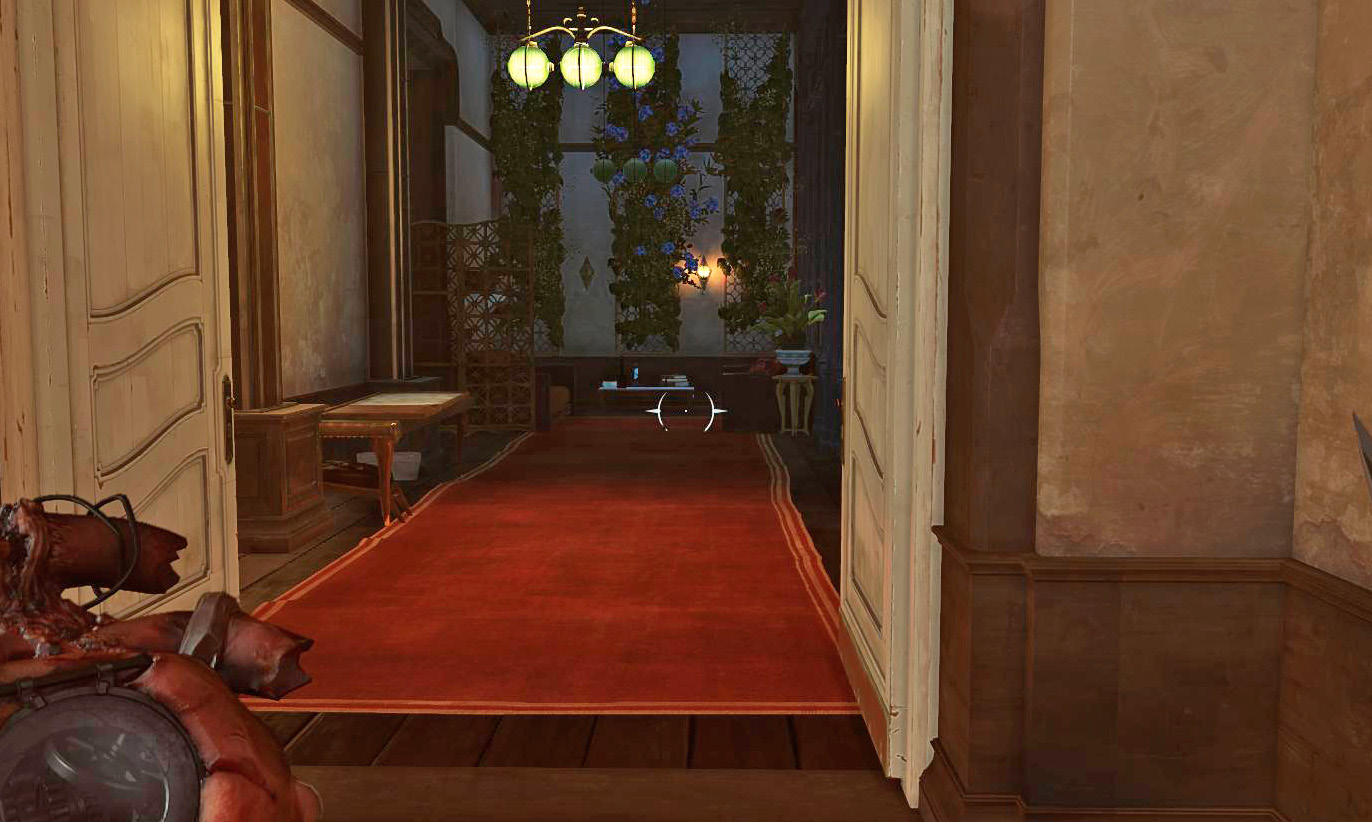
Jindosh walks around the lab. Sneak up on him to break his neck as easily as you would a provincial town Guard’s. Splatter this monster without a second thought.
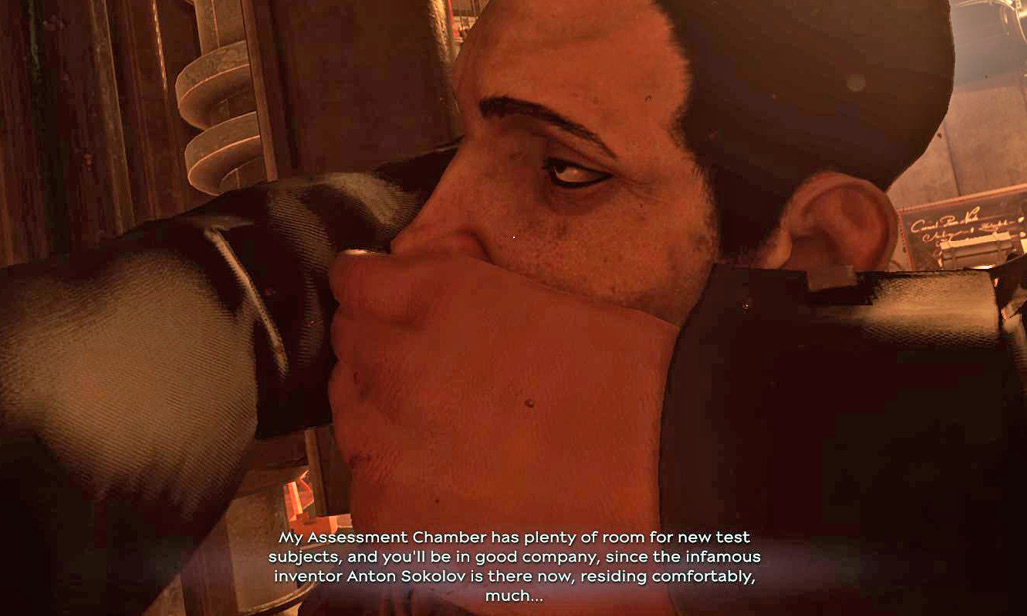
Find and Rescue Sokolov
Search every single nook in the lab. You can avoid the Clockwork Soldiers if you’re really careful, but tons of Stun Mines are hidden here. If you use those, you can win the fights rather easily.
The Stun Mines are in the lower tier of the room; get there by accessing a console on the main floor. Call up a module (such as anatomy) and jump down into the lower tier while the module is coming up. There is a Rune on the anatomy module, and the lower tier holds tons of weapons.
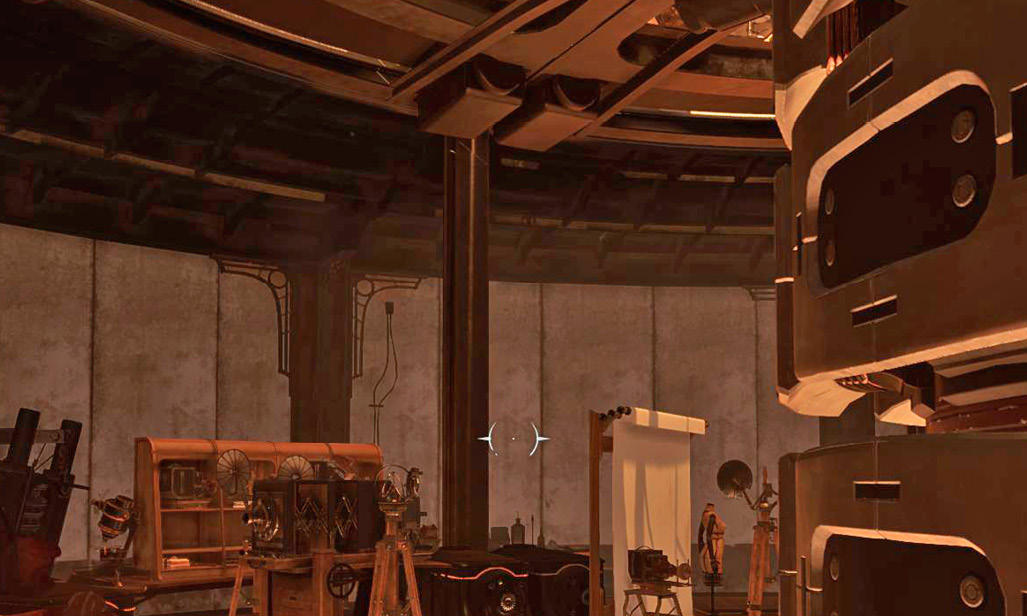
A Maintenance Key sits on the side desk of the lower tier. This lets you unlock a door back into the elevator. Otherwise, you have to rise back up on a module to re-enter the main lab. Ride it all the way to the top if you want more loot!
The top tier contains a Painting behind the main desk. You also find Blueprints (inside the desk), and multiple good regular items.
Finish your fun run through the lab and get into the middle tier again. Use a button by the main exit to create a bridge between the laboratory and the initial greeting chamber you cleared a good while ago.
Backtrack to the original elevator. Instead of going to the second floor this time, descend into the Assessment Chamber.
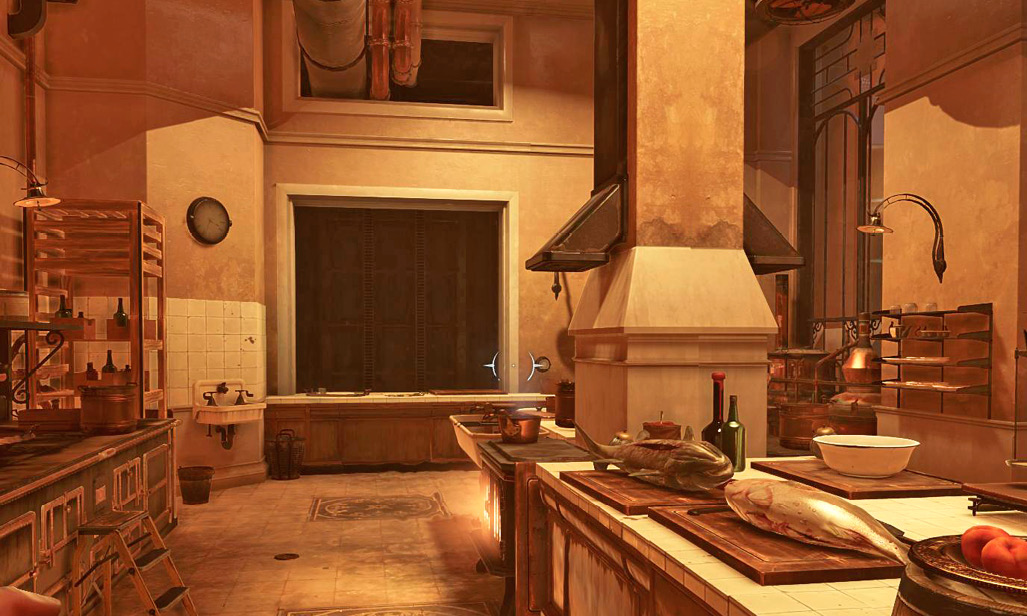
Kill two Guards at the bottom. They’re surprised when the elevator opens, so charge into them for one or even two assassinations. This startles the kitchen staff; either let them go or knock them out if they’re bothering you.
Search the kitchen, on the right. There is a piece of Raw Whalebone in there, and another out in a side hallway that connects to the kitchen.
Locate a lever in the back hall. Use it to pull down the waiting room from the guest level. While the room is in transit, get into a small connecting area between the two floors of the waiting room. Use the Configuration Mechanism inside to send the floor up. At the top, exit into another recessed space. A Bonecharm is hidden there, on a body. Use a hatch to get back onto the elevator and escape from this place.
Return to the Assessment Chamber. Turn left outside the elevator and walk in that direction. Stock up on Crossbow Bolts on the way, because quite a few are shot into a dummy close by.
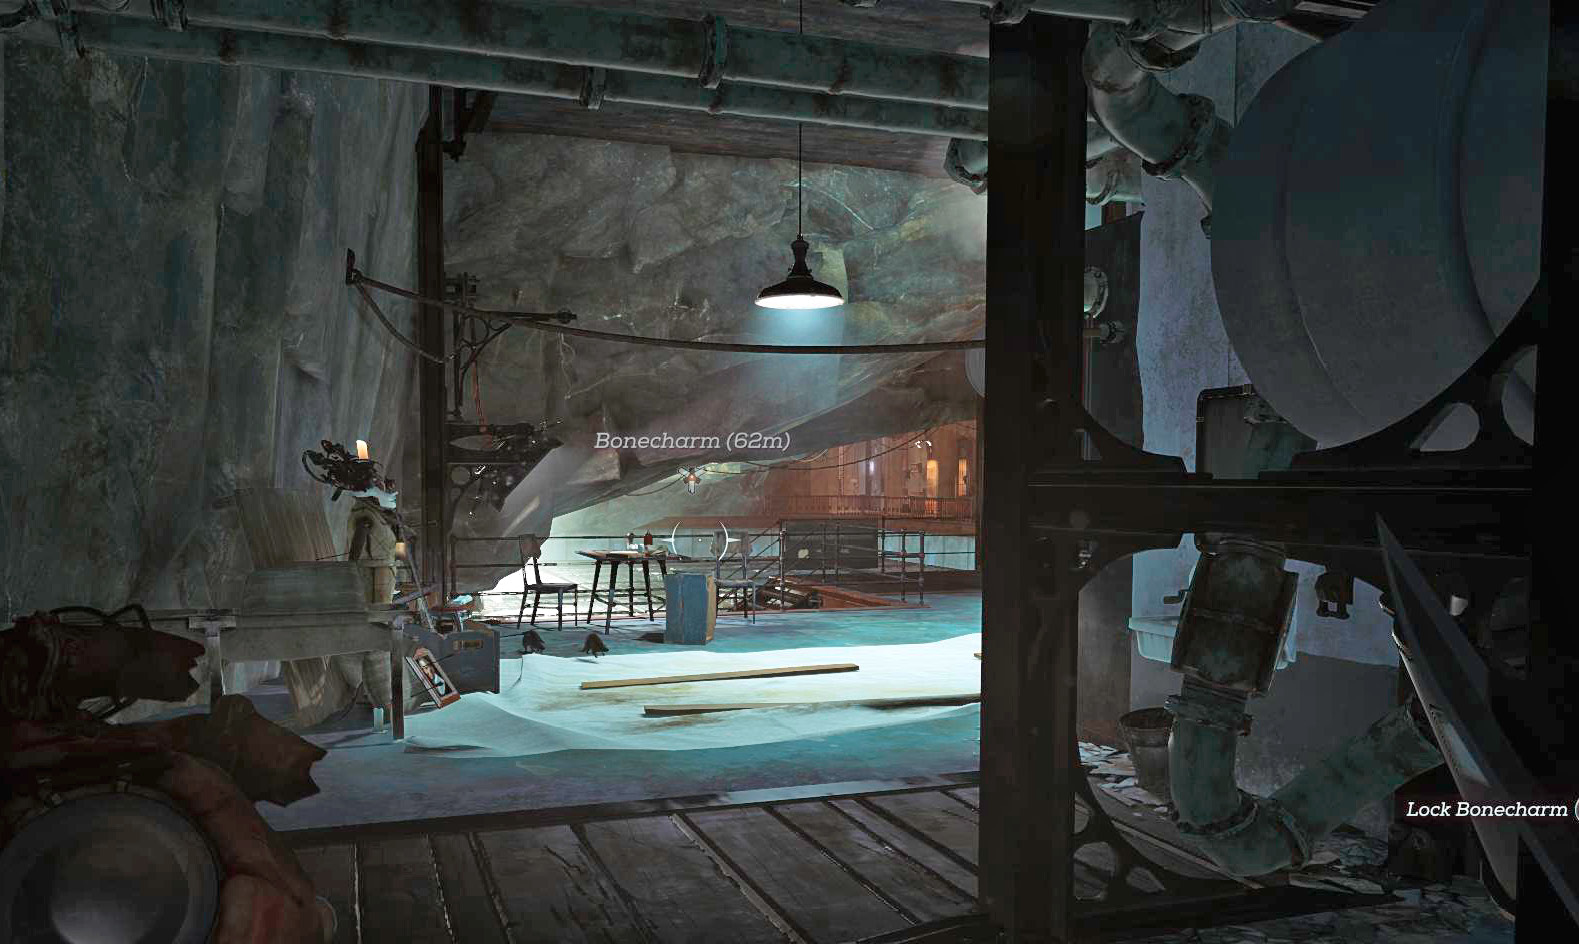
You bump into the chamber itself; stairs lead down into it, but wait another moment. Blink up to the walkway beyond and above the chamber. Eliminate a solo Elite, and go past her. The passage leads into a machine room. Search a drawer for a Bonecharm.
Take the stairs down into the real Assessment Chamber. A mechanism opens a puzzle area. Each golden square you step onto changes the configuration of the walls. If you don’t take the perfect route, you bump into a Clockwork Soldier and are spotted. But that’s fine, because it’s alone and you’re stocked up on weapons. Destroy it if it notices you.
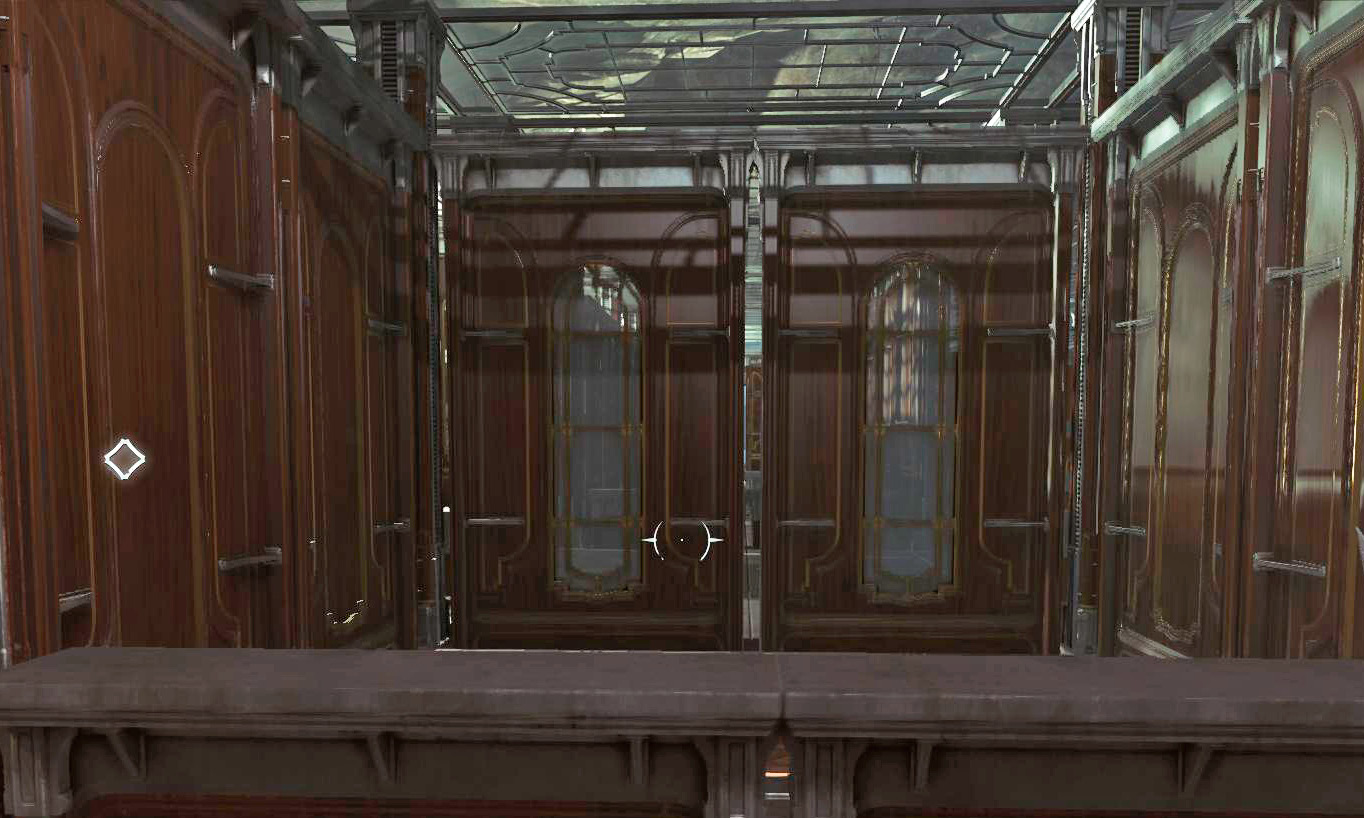
Take the following path:
- Step into the puzzle and get onto the first square
- Walk forward and right, then step on a square ahead as you continue forward and right
- Let the walls finish shifting, and then move around the corner ahead and left of your position
- Break a set of wooden boards on the floor
- Step on the revealed square
- Anton Sokolov’s cell opens
Wake up Sokolov. Take the Painting inside the cell, and then break another set of boards over a square. Pick up Sokolov and step on the square. This reopens the cell. Blink out of it, and use the square outside to change the walls. Head toward the exit door.
Use a square to the left (if you’re facing the exit) to open the tiny entrance area. It’s pretty clear from here, so hurry out and get Sokolov back to the elevator.
Get Sokolov Back to the Skiff
Ride the elevator back to the middle level. You’ve already killed everyone there, so follow the waypoint back through the cleared room and hallway beyond. Use the Configuration Mechanism at the end to open the way out. Carry Sokolov through the front door when it’s time to go.
Take Sokolov back to the Lower Aventa District, and then carry him to the skiff. Have Blink ready, because you don’t want to get into a fight right now. Blink to avoid being spotted, or to hurry away if someone sees you.
Captain Foster is at the boat, waiting to take you two back to the Dreadful Wale.
Another Strange Visit in the Void
You rest for a time, but wake feeling strange. You’ve returned to the Void. Get up and leave your cabin. Walk through the next few scenes and learn as much as you can. There are no fights or challenges to overcome.