
Dishonored 2 Guide Enemies of the Crown
Enemies of the Crown
It’s always wise to know your enemies. In Dishonored 2, there are many categories of foes, each with their own strengths and weaknesses. We discuss these here so that you have a good understanding of the tactics you need to survive. We talk about techniques that defeat enemies regardless of the supernatural abilities you choose, which means you can use these methods with any character build.
Guard
| Health | Weapons | Special Attacks |
|---|---|---|
|
Moderate |
Sword |
Sword |
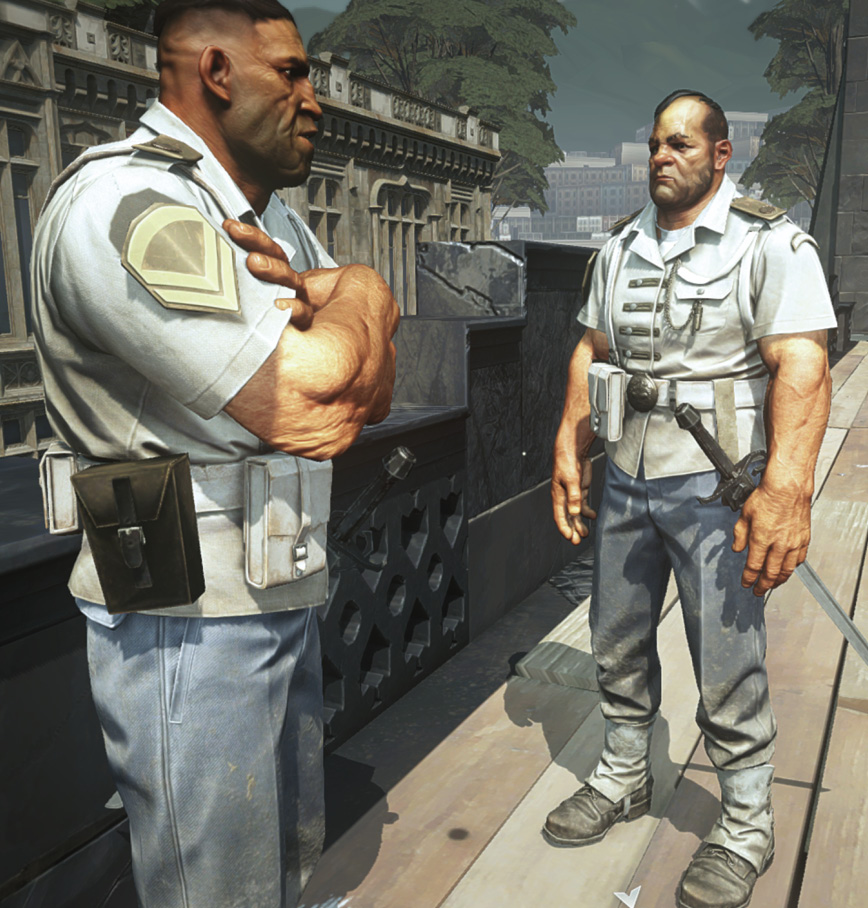
Regular Guards don’t have much Health or armor, so they don’t take many hits to kill. Any type of assassination kills them instantly, and you can also parry and counterattack to eliminate them without much fuss.
At range, Guards are defenseless. They have to close the gap and engage you in melee combat. This means shots from your Pistol or Crossbow have a major advantage and can kill Guards before they respond. Use this to thin the ranks of groups by killing one or two of them at range while you back up and lead the rest into a narrow area where their superior numbers can’t be used against you.
You only get into serious trouble with Guards if there are multiple attacks on your flanks. This makes it hard to block them, and your character can take damage quickly. Instead of fighting to the bitter end, use Blink/Far Reach to flash out of the way and get to range while you look for a better place to fight.
Later in the game, you start seeing Guards with extra armor on their chests or head. This protects them against some of your ranged attacks. Avoid shooting at the armor, whenever possible. Helmets can be knocked off with a first shot, leaving the target vulnerable to a lethal second blast.
Elite Guard
| Health | Weapons | Special Attacks |
|---|---|---|
|
Decent |
Sword and Pistol |
None |
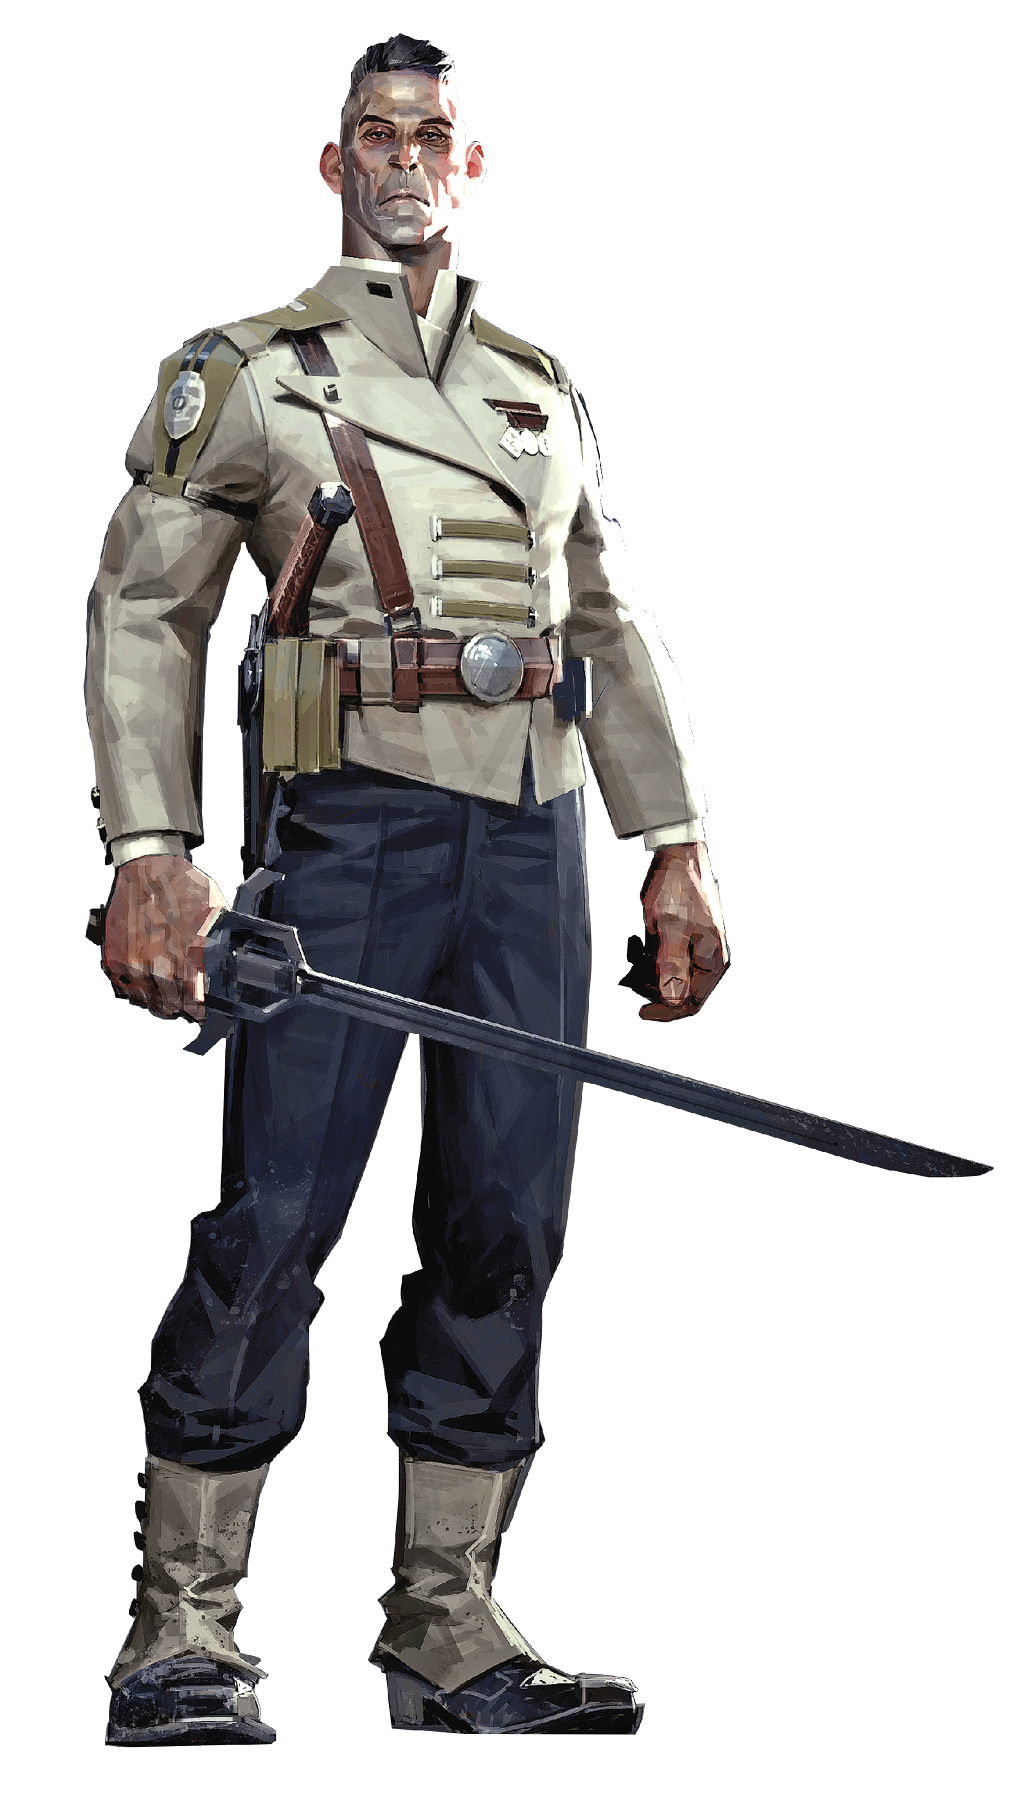
Elite Guards have red coats to show their greater status in the military. These enemies fight similarly to Guards, but they carry Pistols and are better at blocking to protect themselves. You can’t easily spam Sword attacks against them, because they avoid the damage and sometimes parry you, leaving your character exposed to counterattacks. To win in melee, you must learn to fight defensively yourself! Wait for them to attack, parry their blows, and counter with instant kills. That’s how it’s done!
Preferably, kill the Elite Guards in a group before they set up a substantial melee defense against you. Accomplish this by assassinating Elite Guards before they’re aware of your presence. If there are six targets in a room, use your initial assassination attacks on these enemies even if they’re harder to reach than generic Guards.
Ranged attacks are still effective against Elite Guards. Pistol shots to the head kill them instantly, and Crossbow attacks are wonderful too. If you’re discovered before you assassinate the Elite Guards, equip your Pistol and shoot these enemies in the middle of your skirmish. Stay close while doing this so that you can dispatch them with your Sword if you miss the headshot and only wound them.
Elites wearing helmets are called Veterans. They’re similar in fighting style to usual Elites, but they’re certainly harder to get with headshots. They’ll also have Explosive Bullets for their Pistols. This makes it easier for them to hit and hurt your character.
Always remember to search Elites’ bodies. They’re better paid and frequently have money or Bullets.
Overseer
| Health | Weapons | Special Attacks |
|---|---|---|
|
Moderate |
Sword and Either Pistol or Grenades |
None |
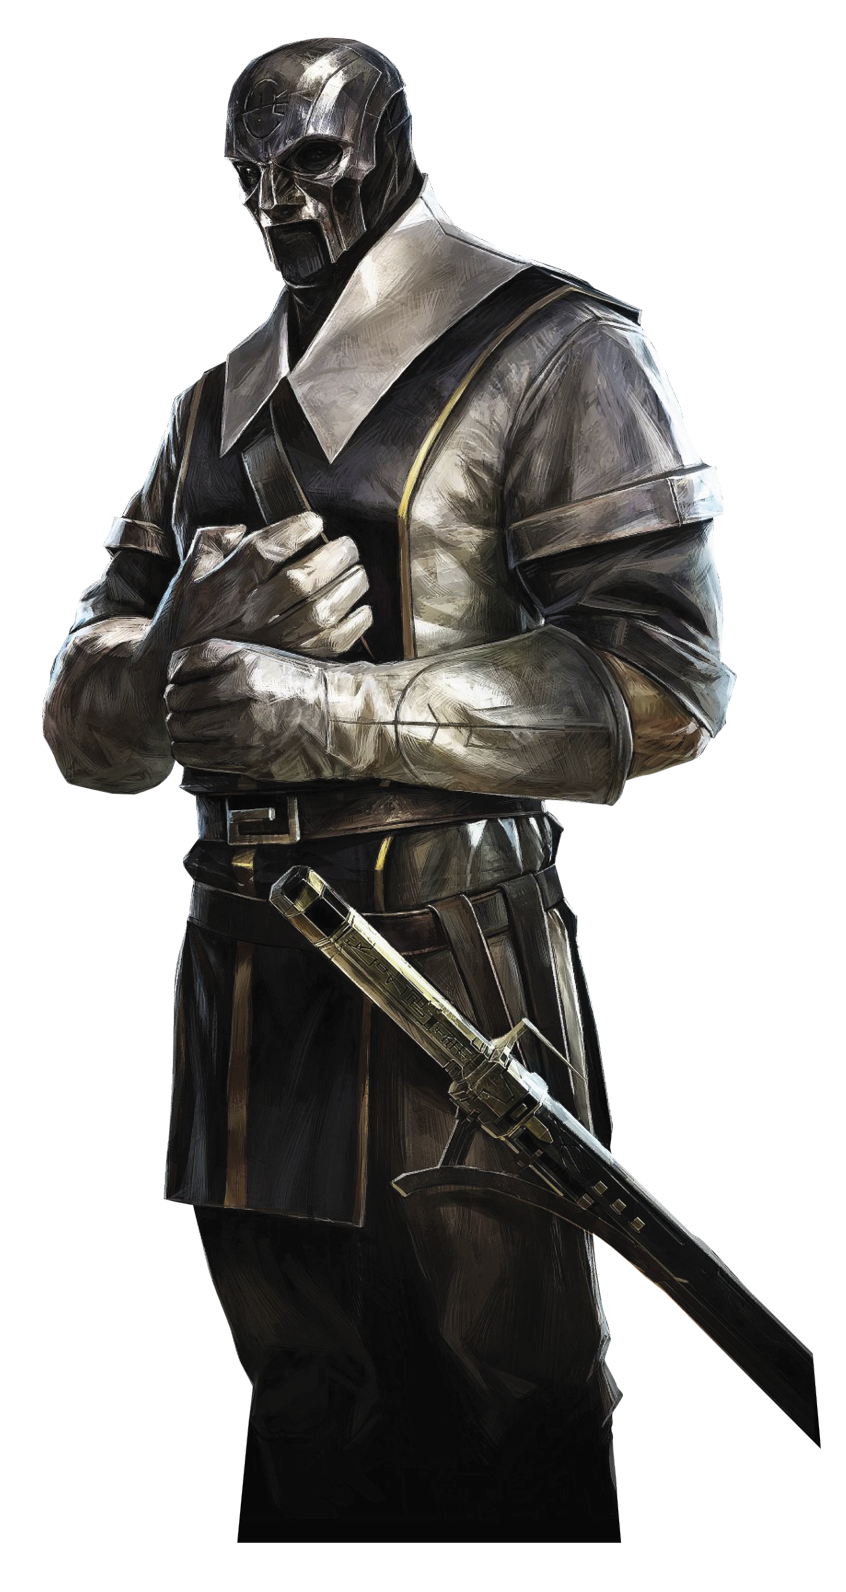
Overseers are the people who hunt down heretics and apostates within the nation. They’re violently opposed to the use of Bonecharms, belief in the Outsider, and anything that seems too magical in nature.
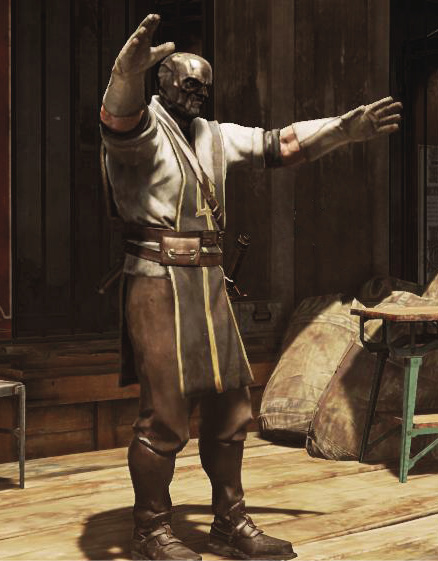
Spot Overseers by the masks they wear. They’re often found in groups, investigating buildings where Runes might be hidden. It’s good news to see Overseers, because it usually means treasure is close by.
Overseers attack you on sight. They have Swords and either Pistols or Grenades, so either engage them in direct melee combat, or use speed to shoot them before they shoot you. Failing that, retreat around corners so that Overseers don’t have the chance to shoot at you from long range. That way, they have to approach your area, losing the advantage of their ranged weapons.
If you invest in Reflexes and take Superior Deflect, you gain the option to parry Bullets and Bolts. This really helps to limit your risk when you fight groups of Overseers. Even Reflexes by itself makes your life much easier. Block when you see Overseers aiming at you, and then re-engage as soon as you block their attacks.
Aim for the body when you shoot Overseers; their masks are extremely well-made, so headshots don’t take them down. Instead, use faster shots to ensure you disrupt your targets easily, and then kill them with follow-up melee strikes.
Warfare Overseers appear late in the game; they’re the ones with music boxes made to counter those with the Mark of the Outsider. Your abilities get disrupted in a wide circle of effect around Warfare Overseers. If you get closer and are in front of them, you take damage as well. These are always primary targets for assassination or avoidance because they’re such a pain for you. If you have to fight them, use heavier weapons (Special Crossbow Bolts, repeated Pistol shots, etc.). Major attacks can disrupt the Overseers’ music.
Wolfhound
| Health | Weapons | Special Attacks |
|---|---|---|
|
Low |
Bite |
Grapple, strong sense of smell |
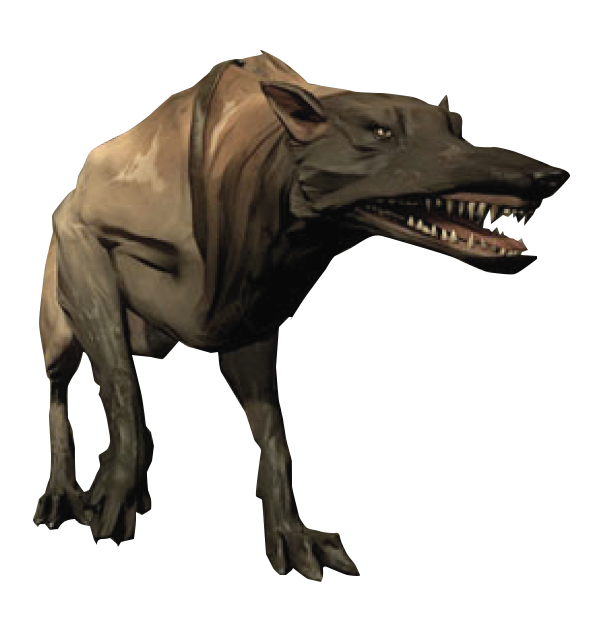
Wolfhounds are deployed to patrol areas and sniff out intruders. They’re fast and extremely aggressive once they detect someone. It’s not wise to play defensively against them; they attack too quickly and hold on to you if they get a chance. Wolfhounds are doubly effective when Guards come forward at the same time. You’re soon flanked and killed.
Avoid that scenario by attacking Wolfhounds without mercy. They can’t dodge or block your Sword strikes, so they drop quickly under your assault. Use your Pistol as well to kill incoming Wolfhounds at range before they become a threat. By taking the initiative, you are able to stop the beasts and then focus on any of their handlers in a more traditional fight.
Remember that Wolfhounds are able to smell intruders, so they detect you by sight, sound, and smell. If they get close to your position, either attack or Blink away so that they don’t realize you’re there.
Gravehound
| Health | Weapons | Special Attacks |
|---|---|---|
|
Low |
Bite |
Grapple, strong sense of smell |
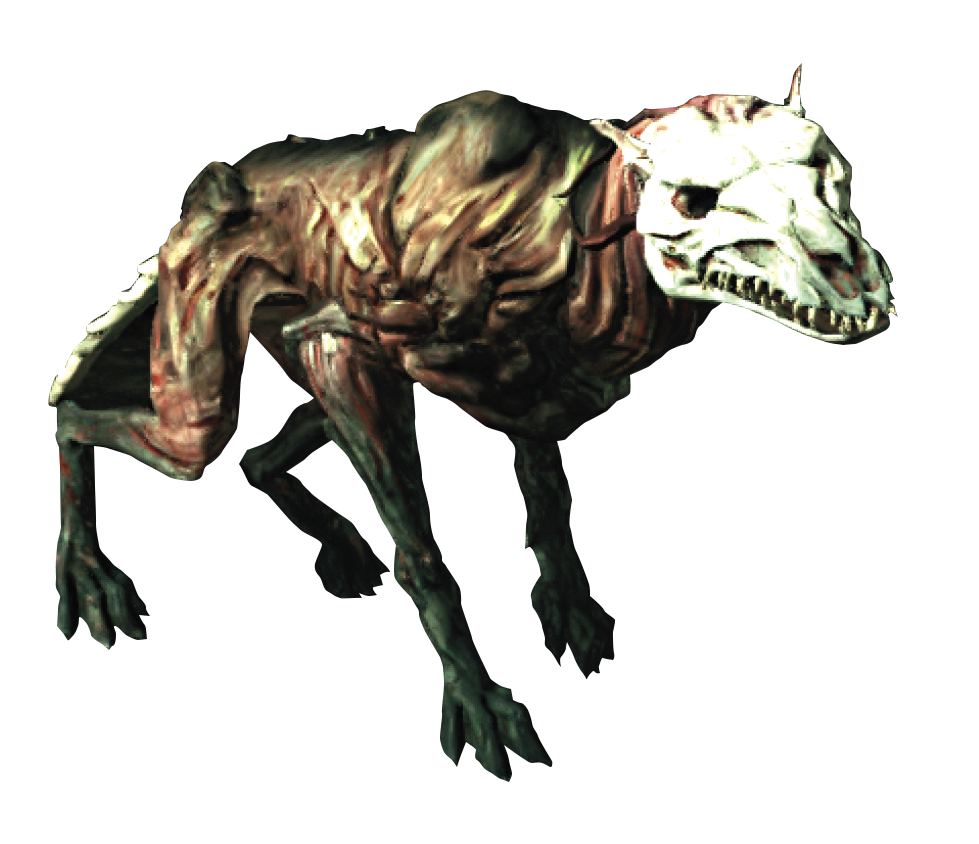
Gravehounds fight like Wolfhounds, except they look a bit smoky and magical. In addition, they respawn after six seconds. This makes them a huge threat if you don’t know what to do. Destroy the skull that appears when a Gravehound goes down. Pick it up and throw it, or smash the skull directly as soon as you can. This prevents the resurrection.
Sleep Darts don’t work on Gravehounds, so they’re even more of a pain for stealth players. Avoid the entire areas where these dogs are wandering, or wait until they’re isolated. Then, shoot them with a regular Crossbow Bolt to get a kill. Crush the skull, and move away. No body will be left behind, and Gravehounds (like all animals) don’t count against your kill tally. So you won’t get any extra Chaos.
Nestkeeper
| Health | Weapons | Special Attacks |
|---|---|---|
|
Very High |
Fist |
Call Bloodflies |
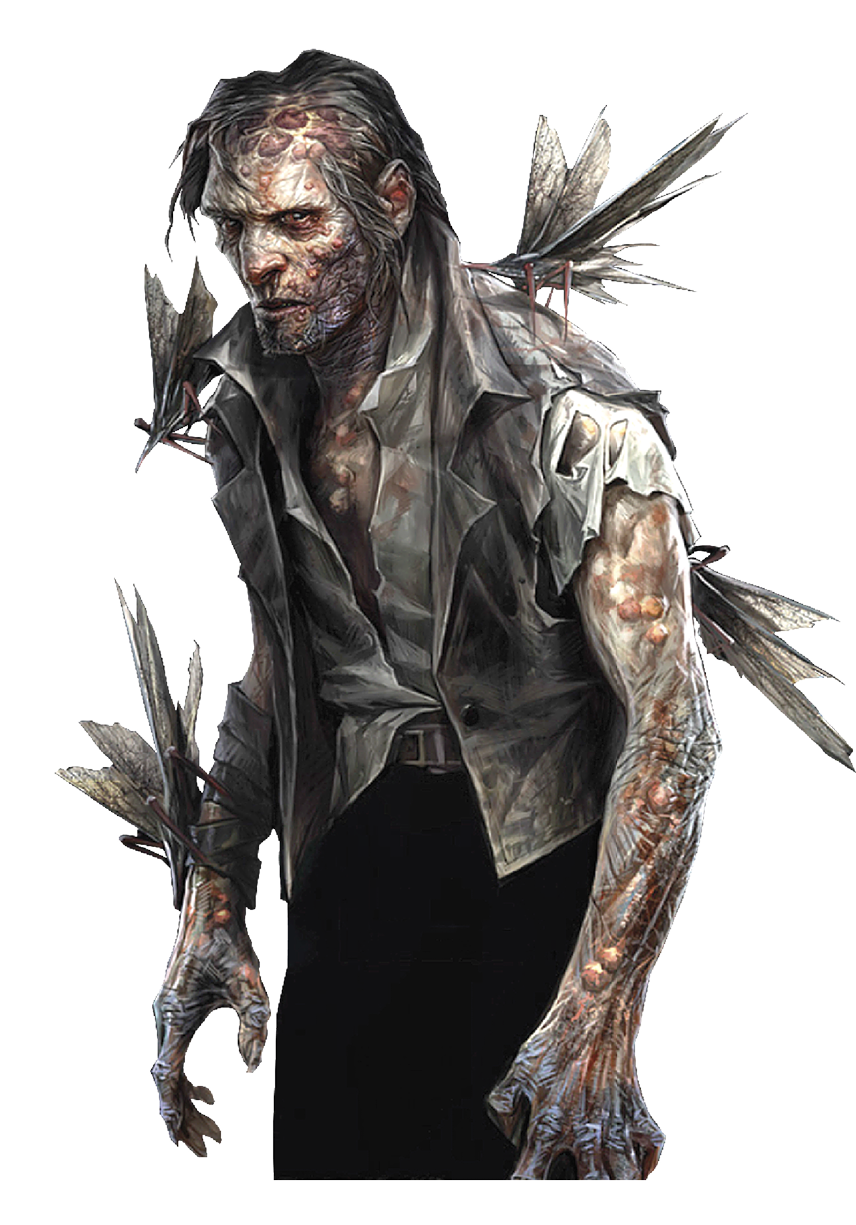
Nestkeepers are uncommon enemies only found inside Bloodfly-infested buildings. The higher your Chaos rating is, the more you see these terrifying foes. They aren’t attacked by Bloodflies, for whatever reason, so they move among the nests and talk to their disease-ridden friends.
If they detect your character, they charge you immediately and make weak melee attacks against you. However, they also alert the Bloodflies in the area. The insects swarm and do substantial damage over time if you can’t get away or deal with the threat. To make matters worse, Nestkeepers explode into a swarm of Bloodflies if you sever their arms in melee combat. Between this and their high Health, it’s just not worth getting into close range with these monsters.
It’s usually effective to hit Nestkeepers at range before they see you. They almost never appear in groups, with two Nestkeepers being a “large” encounter for their kind. That makes them easy to kill with a Bolt or knock out with a Sleep Dart before they see you. The Bloodflies won’t freak out about that.
Then, destroy the nests in the area, loot the building, and move on without fear.
Bloodbriar
| Health | Weapons | Special Attacks |
|---|---|---|
|
Moderate |
Tentacle |
None |
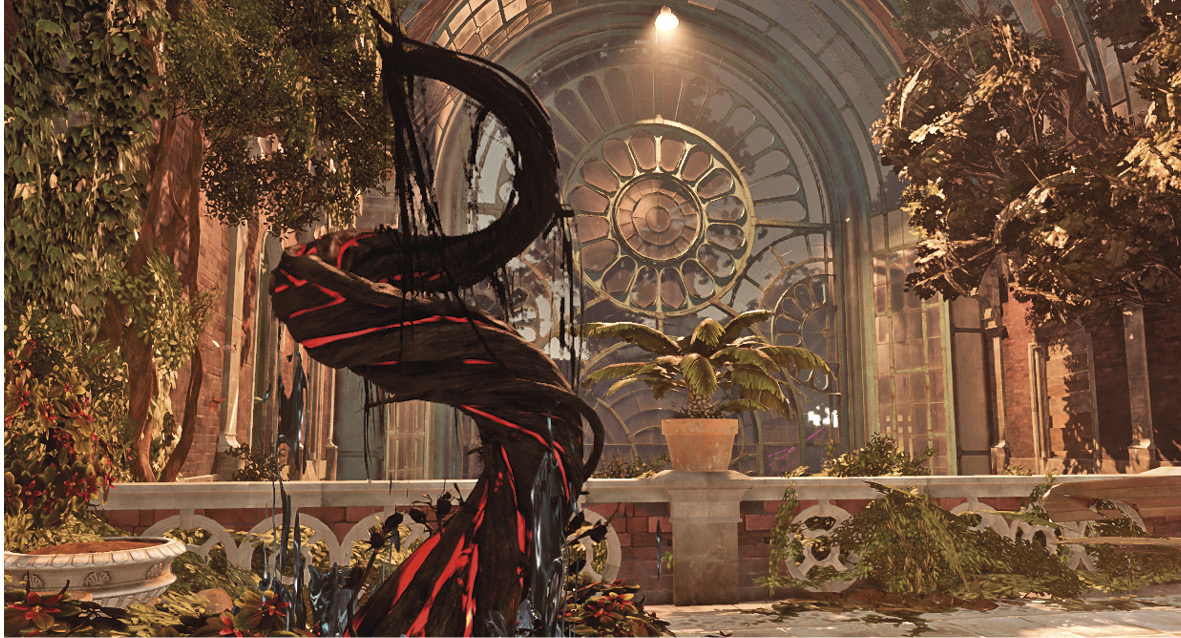
Bloodbriars appear in areas that have a Witch presence. They are animated plants that can detect and attack your character. They’re defenseless at any decent range and can be killed with Bolts or Bullets. Up close, Sword strikes work well against them, but you have to dodge their swiping attacks to avoid damage.
Sidestep to dodge Bloodbriar vertical attacks, and jump if they try a horizontal swipe. A strong offense makes it much easier to win, because it only takes a couple of hits to lay the Bloodbriar low.
Clockwork Soldier

| Health | Weapons | Special Attacks |
|---|---|---|
|
Special |
Claws |
None |
Clockwork Soldiers are powerful opponents. They aren’t killed by many conventional attacks without a great deal of setup. A Drop assassination is the only type of assassination that works against them. Even then, the first Drop assassination takes out the head, and you need a second Drop assassination to finish the job.
Attacks that try to disrupt, blind, or put the Clockwork Soldiers to sleep are all futile. So too are abilities that try to disorient the machines. They can’t be possessed. They don’t feel pity, or remorse, or fear.
When sneaking around Clockwork Soldiers, avoid both of their cones of sight. They see directly in front of themselves AND behind as well. Their blind spots are on the flanks. Also, you can’t see these guys with regular Dark Vision; because they are security devices, you need Greater Dark Vision to detect them.
Kill Clockwork Soldiers with Drop assassinations, by destroying all four of their arms, or by taking out the Whale Oil Tanks on their backs. Given time and some stealth, you can also open up their security panels and use a Rewire Tool on them. This turns a Clockwork Soldier into your friend. They avoid attacking you, and will go after any of your enemies (including other Clockwork Soldiers).
To destroy the head and arms on these enemies, target those areas directly with Sword strikes or ranged attacks. The armor paneling breaks off rather quickly, and then you can sever the limb. If the head gets severed, Clockwork Soldiers can’t see. They then attack based on sound alone. If you use thrown objects, you can get them to run off or attack other targets. Standing on tables lets you target the soldiers’ heads in melee without needing to get above them.
A pair of Stun Mines also does the trick. These weapons disable Clockwork Soldiers. Save Stun Mines for Clockwork Soldier encounters.
During battle, Clockwork Soldiers stop to vent heat periodically. This gives you a couple of seconds to attack them aggressively. Make your shots count while the machines recover. Be more defensive when they return to full power. Clockwork Soldiers have a leaping attack to close the gap against you. Some of them have four arms, and these soldiers also have a wicked spinning attack. Give ground and block to defend yourself while avoiding these heavier strikes.
Howler
| Health | Weapons | Special Attacks |
|---|---|---|
|
Moderate |
Sword, Crossbow (not always) |
Howling Bolts |
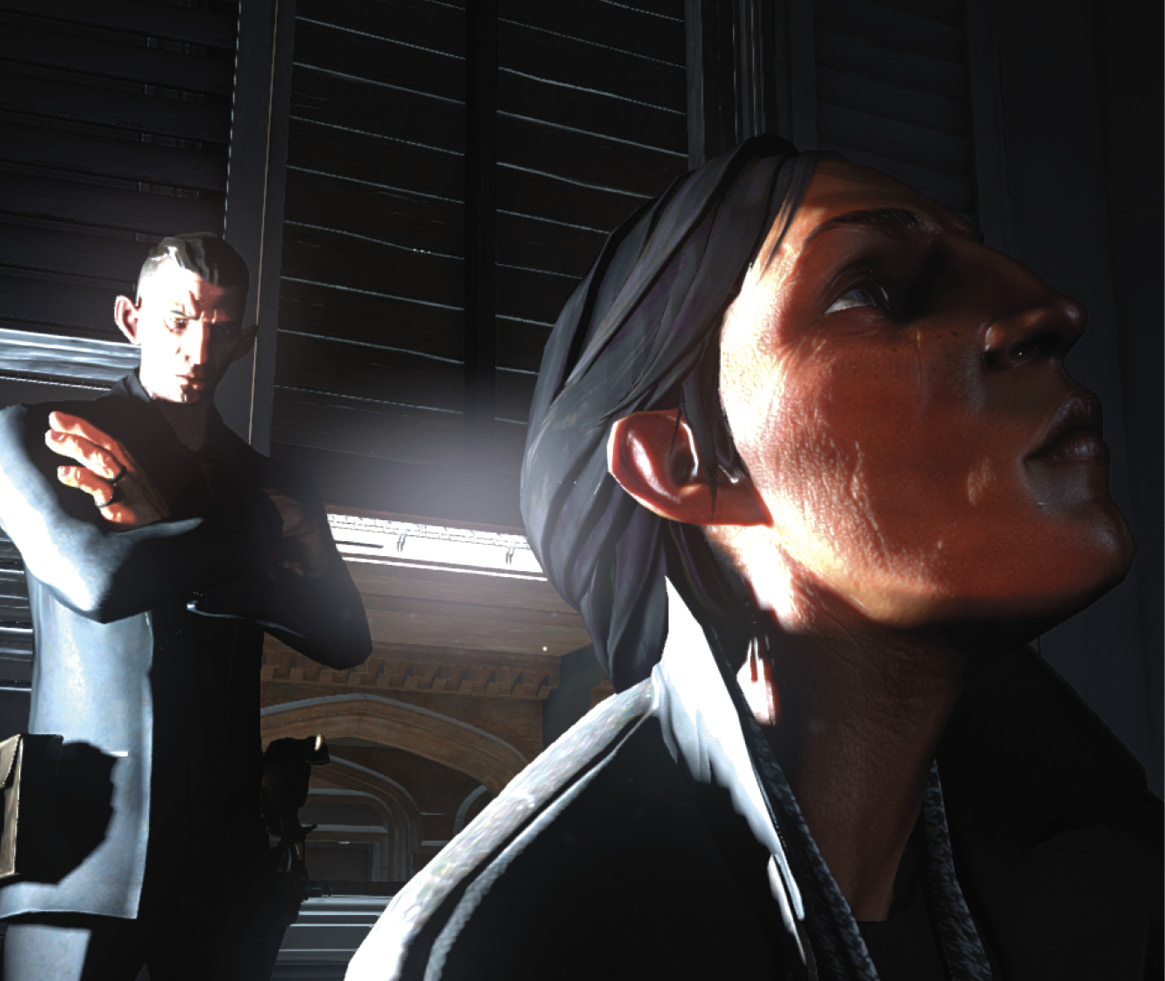
Howlers are a strong gang of criminals who operate out of Karnaca. They’re at constant odds with the Overseers, who violently stomp out most gangs. Your character has problems with the Overseers too, but the Howlers aren’t overly sympathetic. They’re nasty folks.
Thus, you often have trouble with the Howlers. All of them are adequate Sword users, but most of them also have Crossbows they use at range. You take Bolts from them as well as occasional Howler Bolts. This gives your enemies a chance to disrupt your hearing and sight with each ranged strike. Masked Howlers usually have a hallucinogenic powder as well. They toss that at you with similar disrupting results.
Negate this either by knocking out Howlers before combat so that their numbers are highly limited, or by using blocking and superior Reflexes to protect yourself from these attacks. If a Howling Bolt hits you, back away while you give the effect time to fade. Take cover to avoid additional strikes, and recommence the battle when the Howlers come after you.
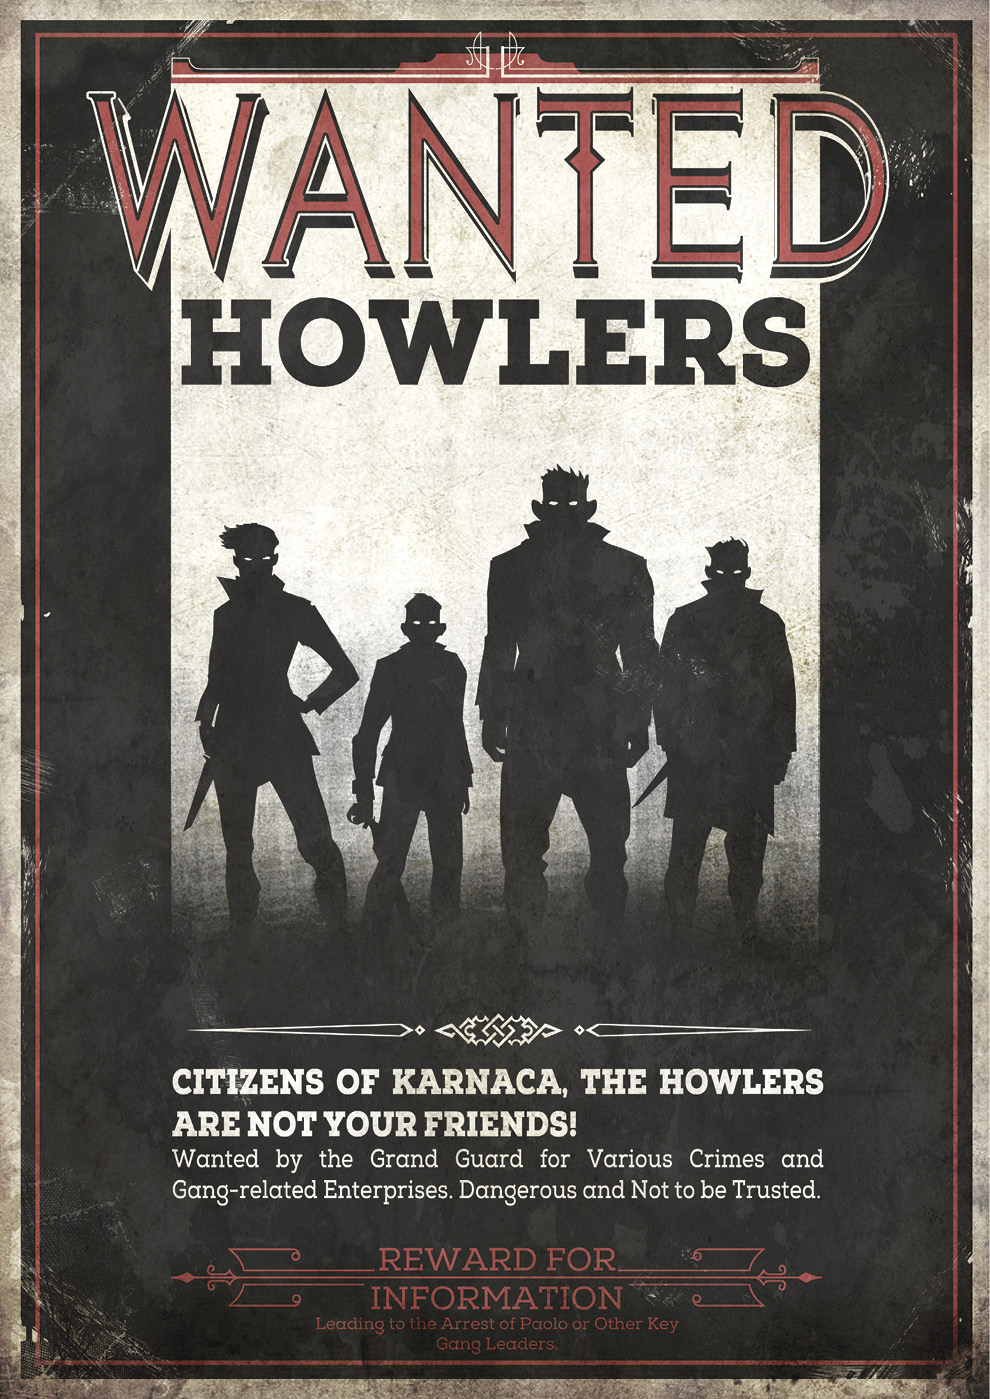
It’s easy to tell which areas of the city are under Howler control. The game is named for the constant yelling and howling they do to intimidate civilians and Overseers alike. If you hear people yelling like that, you know Howlers are on the prowl.
Witch
| Health | Weapons | Special Attacks |
|---|---|---|
|
Decent |
Sword |
Teleport, magical spells |
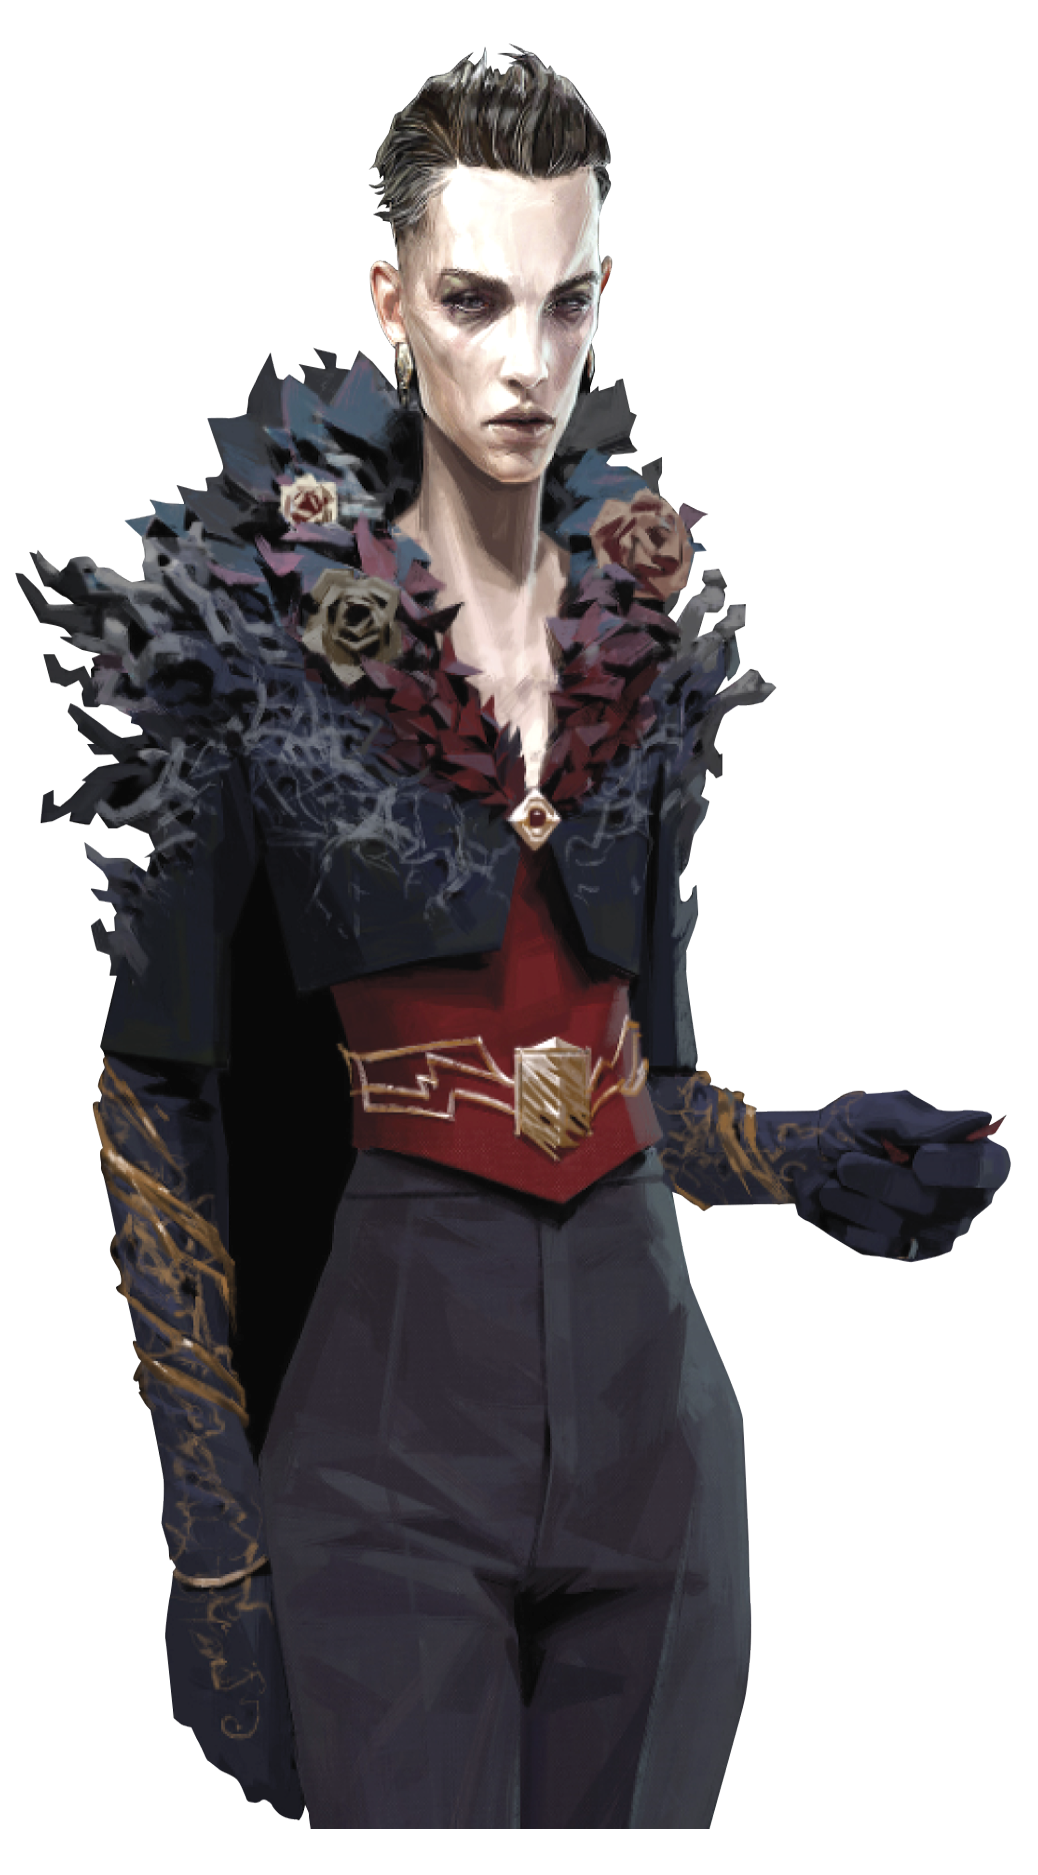
You only see Witches in a few parts of the game. That’s good, because they’re troublesome to deal with. All Witches can teleport, so they sometimes guard areas that are higher up or otherwise difficult to reach. They’re harder to knock out with a takedown in these cases, so bring plenty of Sleep Darts.
Up close, Witches rely on Swords to attack, block, and dodge. They don’t have the skill to parry and counterattack, so they’re not too deadly as long as you’re good at your own defensive techniques.
Each individual Witch has a second type of spell they’ll mix in with their teleportation and swordplay. They can either shriek to disrupt your character, fire spikes at range, or summon a Bloodbriar so you have to deal with those nasty plants in addition to the Witch.
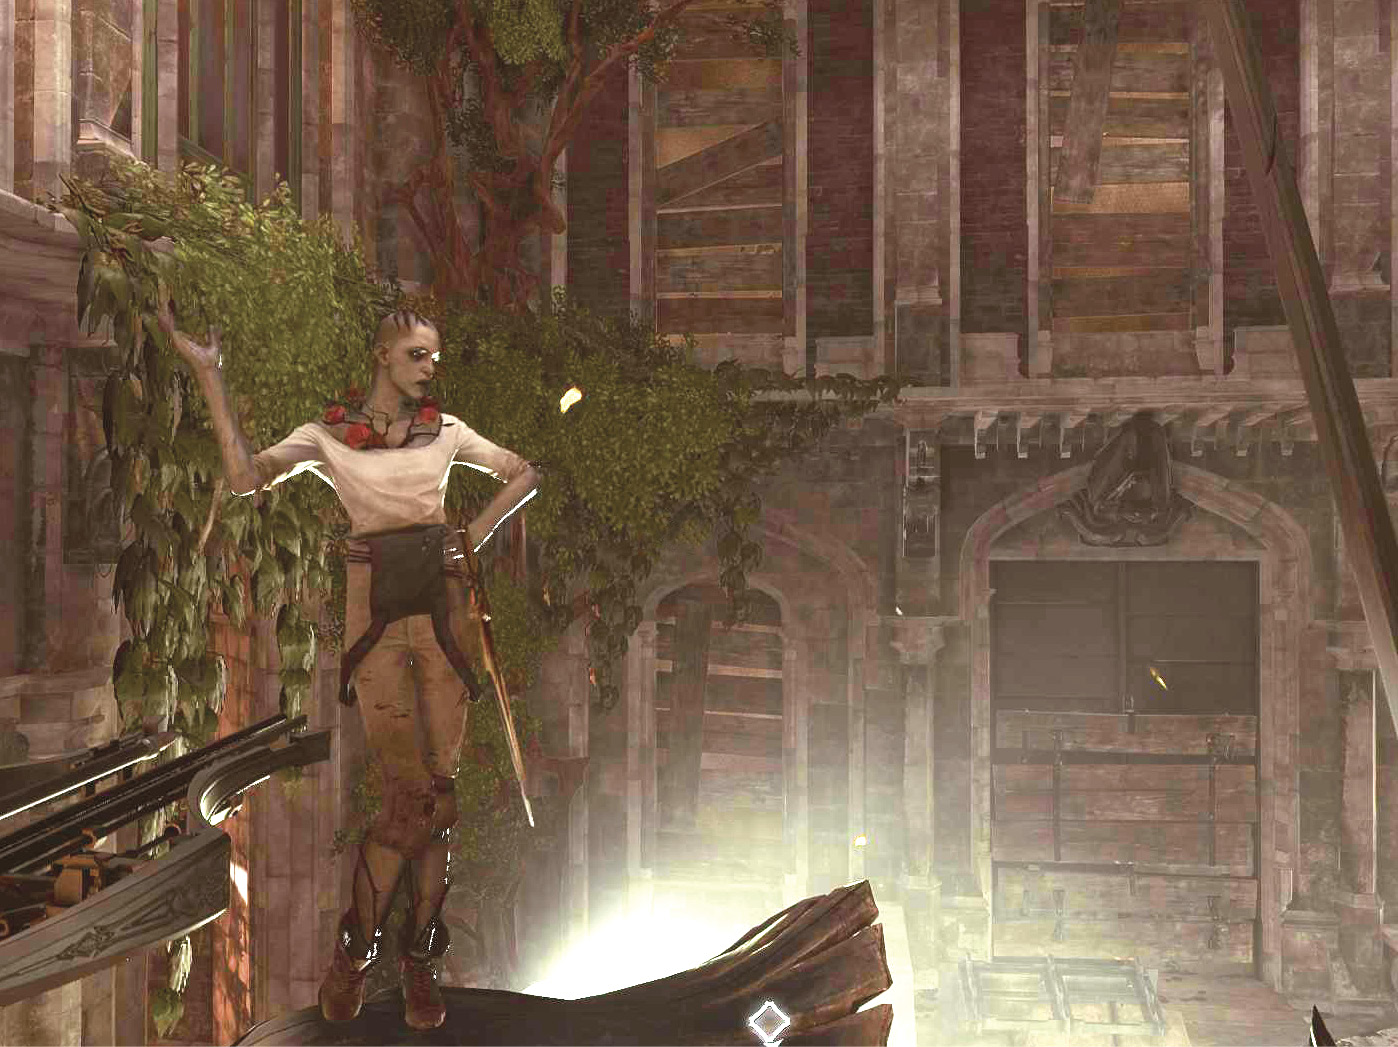
If stealth fails and a major fight breaks out, use Pistol and Crossbow attacks to punish Witches after they teleport. Swing your blade and press the fight to your advantage, and then immediately fire a shot if your enemies try to escape with their magic.
The Innocent
| Health | Weapons | Special Attacks |
|---|---|---|
|
Low |
Sword or none |
None |
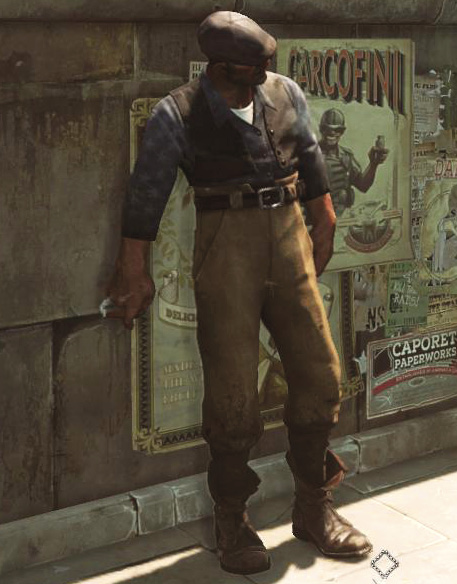
All sorts of civilians inhabit each part of Dunwall and Karnaca. These are not your targets or your enemies unless you make them such. At worst, these are more people who might detect you and get you into trouble with the soldiers of the area.
Some civilians, like Beggars, are practically on your side. They don’t summon Guards even if you cause trouble around them. At most, they flee.
Shopkeepers and house owners are a tier of threat up from that. They don’t aggressively seek to cause you trouble, but they absolutely go to the Guards or Elites if they see you for too long or if you do anything extreme around them. Don’t use takedowns or abilities in their presence. If they start to look at you for too long and say anything, walk away. Staying in their line of sight for a long time triggers a problem.
Workers are the most dangerous type of civilian because they’re armed. If they freak out around you because you bump into them too much or stay near them too long, they may draw their weapons. In that case, flee or fight them.
Avoid all these problems by keeping violence away from civilians, and by moving past civilians quickly and quietly. This isn’t their struggle, and you have no need to drag them down into it.
Dangerous Animals
| Health | Weapons | Special Attacks |
|---|---|---|
|
Very low |
Bite |
None |
Several types of violent animals inhabit Dunwall and Karnaca. Most of them aren’t a huge threat, but it’s still important to know what they are.
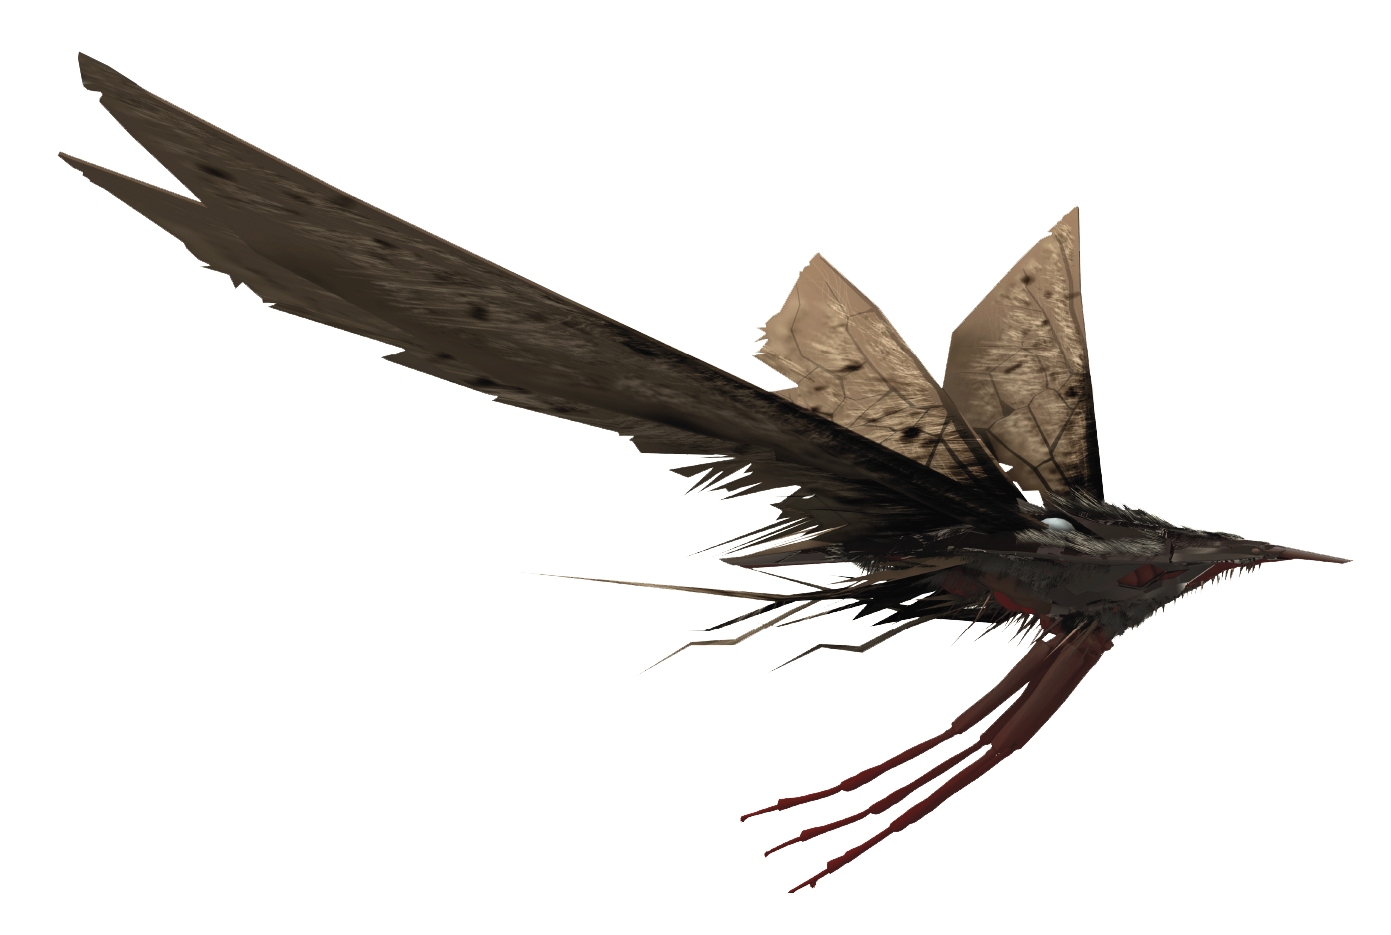
Bloodflies infest areas filled with disease and death. The creatures lay their eggs inside people, and a new generation of these monsters bursts forth after a short period. By the time you find an infested area, it’ll have nests all over the place.
Bloodflies attack anything that gets too close to their nests. They do a fair amount of damage over time as they bite at you in swarms. Swinging your blade dispatches them, but it takes many blows to get all the individual Bloodflies. Cutting them down with melee attacks is more of a last resort than a solid strategy.
Instead, use bottles of alcohol to blow up nests and burn the Bloodflies. Pistol shots are also effective at range. If you can’t find any of these items, rush up to a nest and destroy it with a couple of Sword strikes. Then, run away while the Bloodflies disperse. You take damage from doing this, but if you’re really fast, it won’t be that much and the area becomes safer to travel in the future.
Note that Bloodflies do not count against you in terms of Chaos or a loss of your Merciful rating. You can kill them at any time, because they’re absolutely horrible creatures and you’re doing a good deed by destroying them.
Some types of Fish are aggressive too. If you’re in deep water, they attack you and do a modest bit of damage. Get out of the water as soon as you can to minimize this. Don’t try to fight the Fish. Areas with carnivorous Fish will eat bodies you throw into the water. If you need something disposed of, that’s always an option.
And speaking of flesh-eating, there are the Rats. They eat bodies, and swarms of the creatures even attack adult humans. Stay at range, and the swarms won’t be any threat to you.