
Dishonored 2 Guide The Supernatural Arts
Shared Abilities
Dark Vision—Cost 2
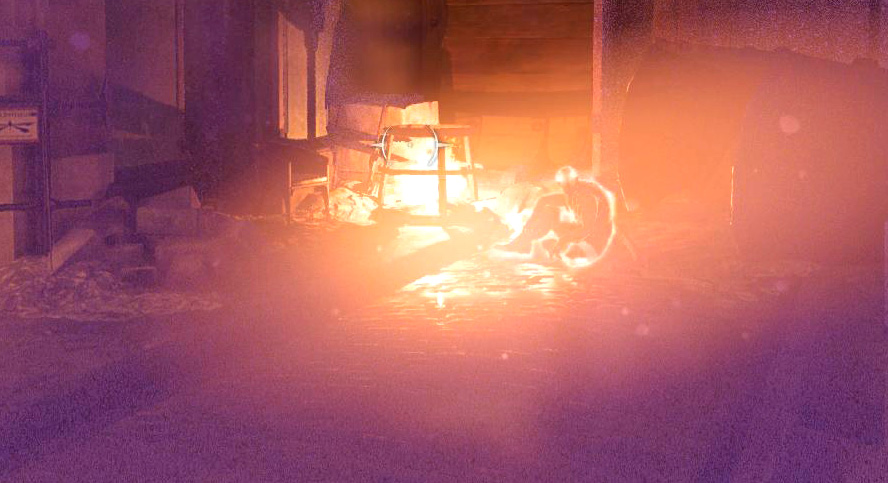
Dark Vision is a massive aid to stealth characters. You can see through walls, detect guards, and plan your routes through an area without getting into trouble. This helps a little bit for combative players who want to set up ambushes, but it’s far less impressive for them in comparison.
If you let your Mana regenerate properly, you don’t end up losing Mana to cast Dark Vision. It’s like Far Reach/Blink in that the cost is fully returned unless you cast another ability before you finish your regeneration period.
Note that Dark Vision updates every second or so, in a pulse. Give yourself time to see items that appear instead of sprinting through an area hoping to notice anything that you pass. It’s better to move at a moderate speed and look around carefully.
Greater Dark Vision
Cost 3
This secondary bonus reveals objects and security systems when you’re using Dark Vision. It’s a substantial improvement, especially when you’re searching levels thoroughly to find every little nook and cranny. Seeing security systems through walls helps a bit, but most of them are not subtle or hidden anyway.
Turn on Dark Vision after you’ve cleared an area to help discover valuable items that are hidden behind or inside objects. Your searches become both faster and more lucrative with Dark Vision on.
Premonition
Cost 2
Enemy patrol routes show up when you’re using Dark Vision. Once you know where people are and where they travel, this becomes unneeded. But when you’re first learning a level, this makes Dark Vision especially valuable. Find a safe spot where you can’t be detected, and use your Dark Vision in bursts to see a wide area of patrols and figure out the best ambush points.
Note that this makes Dark Vision a more visually confusing ability because you get tons of information on your screen. That makes it somewhat frustrating at times, so be careful about grabbing Premonition without saving ahead of time and testing it out for yourself.
Strength—Cost 3
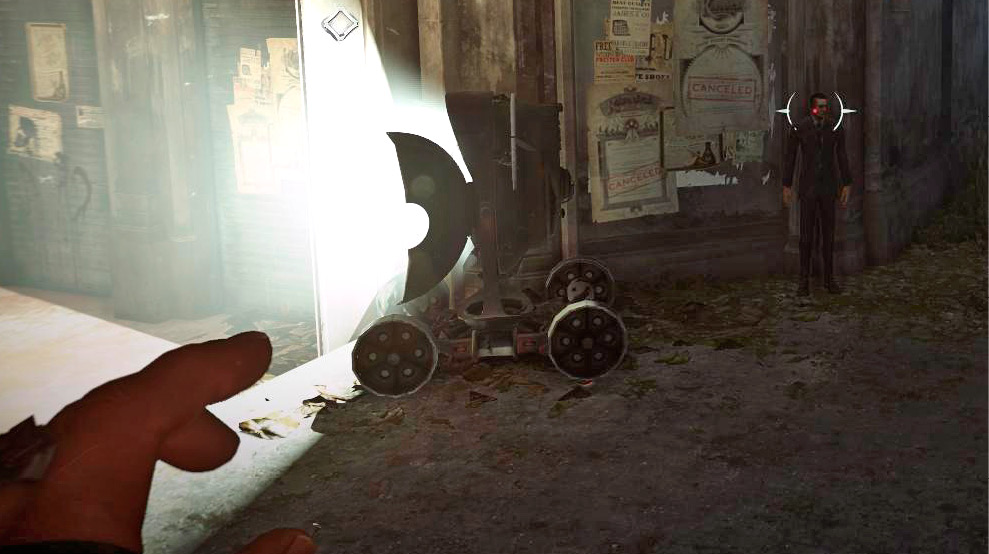
Throw objects farther, with the potential to knock out targets even during combat if thrown objects hit them on the head. This niche ability doesn’t usually fit into a major stealth or combat build. Stealth players don’t want the risk of getting into combat at all, so half of the ability is worthless to them. Plus, throwing objects farther doesn’t let you create particularly better ambushes. You normally want to distract targets and lure them into areas you control (not have them wander too far away and become another variable to worry about when they return).
Strength provides combative players with another tool, but there are far more potent abilities to use during combat. The only big perk for this is that it doesn’t require any Mana, Bullets, or Bolts.
Greater Strength
Cost 2
Destroy wooden barricades with basic Sword attacks. Again, this is a niche function that is fun but doesn’t need to be part of your core build.
Vitality—Cost 2
This ability increases your base amount of Health. It’s useful for combative players, who frequently take damage and have to survive long enough to drink an Elixir, flee, or finish their battle. Stealth players don’t need this as much, because their actions are either successful or fail utterly, making extra Health somewhat moot. It’s only good for them if they are mostly stealthy but don’t care about Ghost and sometimes still get into fights.
Greater Vitality
Cost 2
Health regenerates faster, and you regain more of your total Health without needing to resort to an Elixir. This is a modest bonus to add onto your Vitality, and should be taken later on if you’re a combative player who has already finished with the major elements of your build.
Reflexes—Cost 1

Deflect incoming projectiles when you use your Sword to block. Ignore this if you’re a stealth player, but take this every single time if you’re a combative player. It’s an inexpensive purchase that can save you from massive damage time and time again. You don’t need to get all the associated secondary bonuses, but take this and use it whenever a distant enemy starts to bear down on you with a ranged weapon.
Focused Slide
Cost 2
No one can argue that this isn’t a cool bonus to add onto your Reflexes. Time slows when you engage a slide while one of your precise ranged weapons is equipped. This gives you time to charge a group of enemies, slide into them, and take out a target easily before continuing the fight. It feels powerful, looks amazing, and has a high fun factor. This isn’t particularly required for a good combative build, but you might want to take it anyway because it makes the game feel more epic.
Superior Deflect
Cost 2
Bullets and Bolts can be parried into the nearest enemy target. Consider this heavily in the mid or late game when you start to face more and more groups of enemies with multiple shooters. This bonus is a good add-on to Reflexes because you’re already going to make last-minute blocks to try and save yourself from ranged attacks. Instead of trying intentionally to hold back and score kills with your deflections, think of this more as a bonus that sometimes happens as a result of your proper defensive play. In other words, don’t hold back and wait for ranged enemies to attack you, hoping to get a deflection kill. Fight normally, block when the ranged attacks come, and be happy when the timing works out for a deflective parry. Don’t give up your momentum in combat just to pull off these moves.
Adept Parry
Cost 1
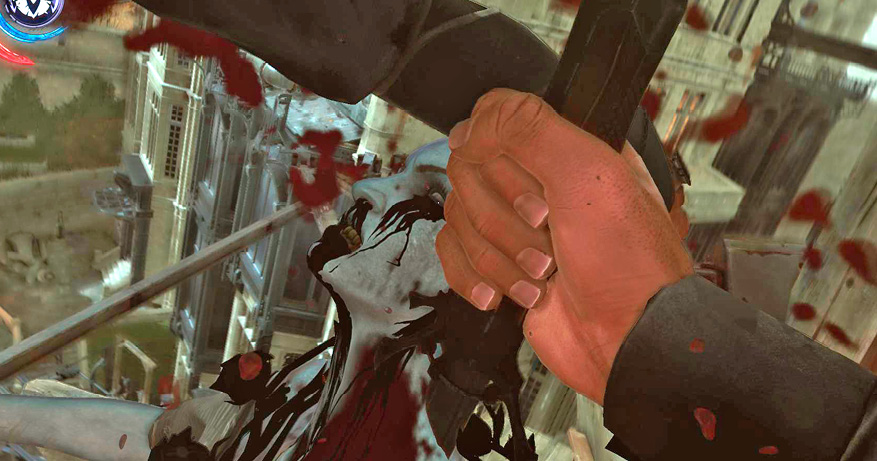
Your parrying window is increased. This makes it much easier to pull off parries, and thus get easy counterattack kills. Because this is useful and inexpensive, it’s a required element for a combative player unless you’re so good at the game that you’re already getting parries almost every single time. For this low cost, it’s still a must-have for almost every brawler.
Snap Reaction
Cost 3
Time slows heavily when an enemy first spots you. This is usually a combative ability (because stealth players don’t get spotted much), yet combative players start larger fights that roll from target to target. You don’t usually need the break to figure out a plan. You have a plan already; use your combative abilities to kill everything in the area. This bonus adds a quality-of-life improvement to your Reflexes, but it isn’t worth three points early in the game, when you’re still getting your most important abilities set up.
For stealth players that aren’t trying for perfection, Snap Reaction gets more powerful. If you don’t need to keep a Ghost rating, Snap Reaction allows you to quickly target a Guard that spots you. Hit them with a sudden Sleep Dart to avoid having a real fight break out. You save yourself from needing to survive a large rush, and use far fewer resources as a result.
Agility—Cost 2
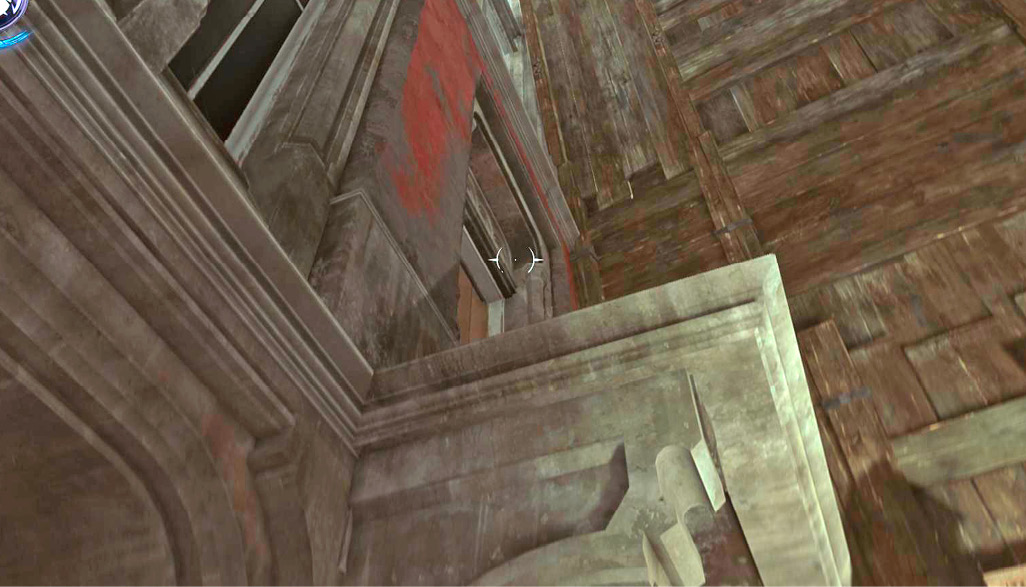
Agility helps with your character’s mobility, both in and out of combat. It’s one of the few advantages that both major types of players might consider. This initial purchase gives you higher jumping. Several places in the game are harder to reach without Agility. It’s a good idea to try out Agility (with Rapid Sprint) before you commit to it. This is more of a fun purchase rather than a necessary one, so make sure you like what you’re getting before you spend all those Runes and continue with the story.
If you fall in love here, consider adding Far Reach/Blink upgrades to get the most out of your enhanced mobility.
Rapid Sprint
Cost 2
The speed of your sprint improves. This is useful for crossing cleared areas, charging distant foes without giving them time to react, and for making the game itself generally feel faster and more responsive. This Agility bonus is best for combative players. Stealth players can’t normally afford to move out in the open this boldly (or to create that much noise). However, you can get some later game upgrades for silent sprinting. Once those are purchased Rapid Sprint becomes viable for stealth players. They’ll be able to charge through safe areas, along rooftops, and anywhere else that keeps line of sight minimal.
Cat Fall
Cost 1
Take less falling damage. This is not essential, but can be nice for impatient players who like to run off edges without taking the time to find safer routes.
Blood Thirst—Cost 2
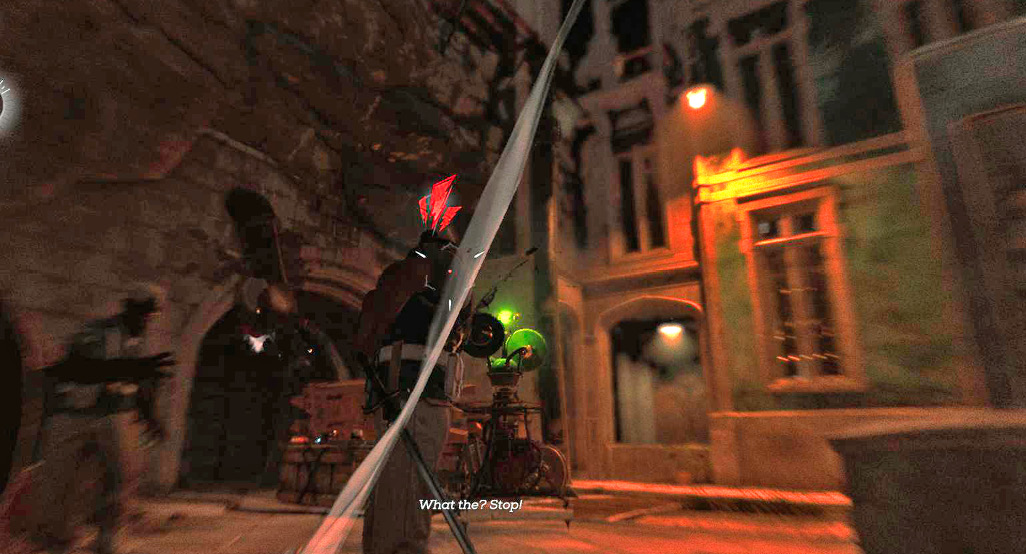
Build up Adrenaline during combat. Killing and parrying your enemies raises this internal stat. When it reaches its limit, the screen turns darker and you can automatically kill a target with a fast attack. Blood Thirst is fully in the combative line of abilities. Even there, it can be divisive. The autokill you gain is useful, and finishes large melee encounters that much faster. But Adrenaline’s visual effects are distracting and take time to build. You don’t get constant free kills out of the bonus. It’s best for players who want to dedicate to their Sword-fighting. They’ll get the most Adrenaline and thus the most free kills. Ranged killers should look elsewhere.
Adrenaline Burst
Cost 1
Adrenaline builds to mid-level when you’re outside of combat. This means your first Adrenaline kill comes much earlier in each battle. If you get Blood Thirst at all, this bonus is absolutely necessary for getting the most out of it. You can get autokills even during smaller fights.
Greater Blood Thirst
Cost 3
Blood Thirst becomes stronger, allowing for two deadly swings. If you purchase all of Blood Thirst’s bonuses, you end up putting six Runes into this line. That’s quite a bit, so get the most out of it by specializing in Reflexes and Vitality, and then make sure you have good Bonecharms for melee combat and survival.
Bonecharm Crafting—Cost 1
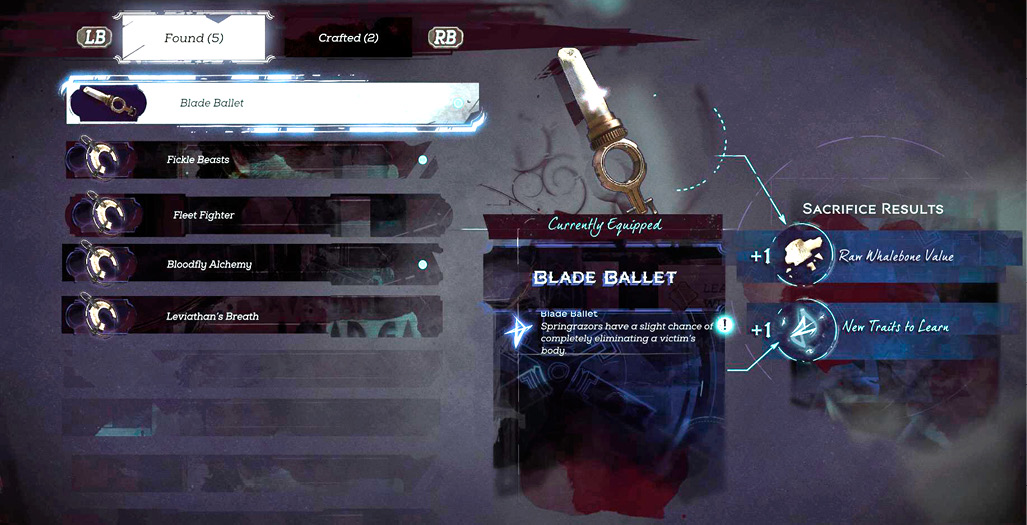
If you want to make your own charms, this is a required ability. You’re then able to take Raw Whalebone and carve it into Bonecharms that you have some control over. This is discussed in the Gameplay chapter of this guide.
Trait Synergy
Cost 3
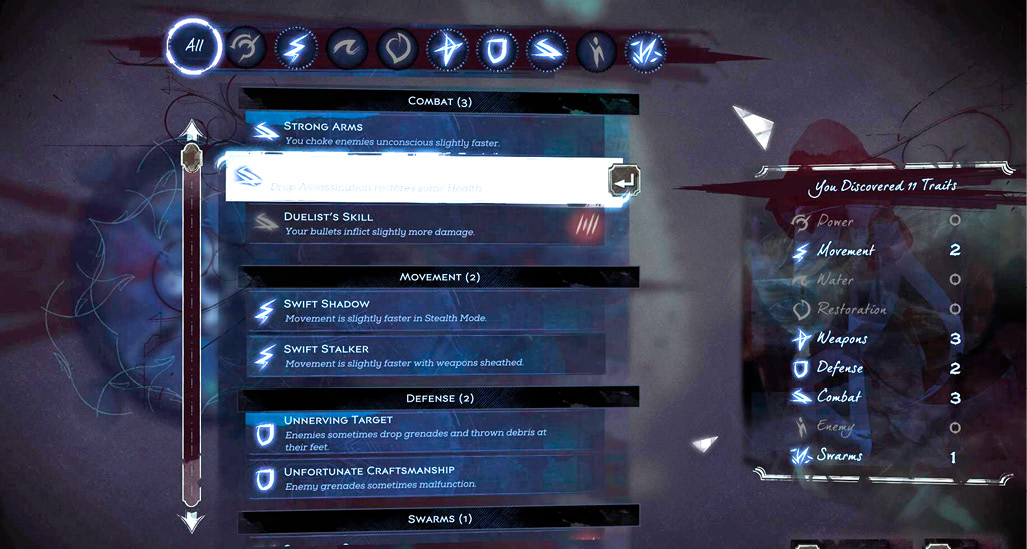
Use the same trait up to four times. This lets you focus heavily on the traits you need and enjoy the most.
Witch Crafting
Cost 2
This bonus lowers the chance that your Bonecharms will be corrupted. Corruption adds negative effects to your charms, so this is very useful once you get farther into the game and have more materials for making powerful charms. Pair this with Trait Synergy so that you can make incredibly strong Bonecharms. Almost all players should get this combo.
Master Crafting
Cost 2
A charm with three traits has no chance of becoming corrupted. This also further lowers the chance of corruption for charms with four traits.
Craft Runes
Cost 4
Convert Runes into Raw Whalebone, or turn Raw Whalebone into Runes. This is a late-game powerhouse that really pays off if you’re a good collector. People who have gotten a large amount of both Runes and Raw Whalebone can examine their build, find out which resource they have in excess, and convert it into the other. Expensive builds with tons of abilities benefit the most from this.
Shadow Kill—Cost 2
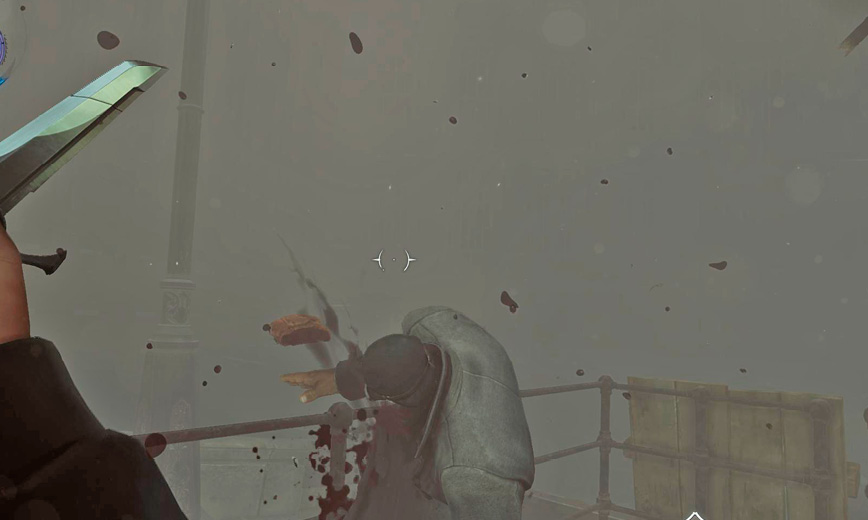
When you kill unaware enemies, they turn into ash. Shadow Kill is most effective for stealth players who want a Ghost run but don’t care about Merciful status. It’s not important for combative players because they’re high Chaos under any real circumstance.
Shadow Kill is for players who don’t want to be seen, but who are happy to slaughter their victims. In this context, Shadow Kill is nice because you don’t have to worry about hiding bodies, or having them discovered. It’s a big time-saver, and if you’re really frugal with kills, it can keep your Chaos rating down a fair bit.
Greater Shadow
Cost 2
Turn all enemies into ash when they die, so even enemies engaging you in direct combat disappear. This isn’t a very powerful addition to your arsenal, because even Shadow Kill can’t keep you from getting high Chaos if you’re seen by tons of people and are fighting them out in the open.
Bloodfly Swarm
Cost 3
Slain enemies burst into Bloodflies that attack nearby foes. Though cool to watch, this is an expensive option for a line that isn’t trying to be combative. Only go up this far if you think it’s cool or fun. For pure utility, there are better uses for your Runes.