
Dishonored 2 Guide Stealth Walkthrough
Dust District
You must travel through the Dust District to Aramis Stilton’s Manor, which contains more of Delilah’s secrets. Vice Overseer Byrne and his religious followers are at war with Paolo, leader of the Howler gang. Either Byrne or Paolo will aid you, for a favor.
Collectibles
| Runes | 5 |
| Shrines | 1 |
| Bonecharms | 8 |
| Coins | 3973 |
| Blueprints | 3 |
| Paintings | 2 |
Special Actions
| The Jindosh Lock | Solve the Jindosh Lock on your own |
| Childhood Home | Explore Corvo Attano’s childhood home |
| Power of the Streets | Side with the Howlers |
| Theocratic Support | Side with the Overseers |
| Book of the Fallen | Add Byrne’s name to the Book of the Fallen |
| Another Solution | Eliminate both faction leaders |
| Black Market Heist | Rob the black market |
| Uninvolved | Don’t take sides with either faction |
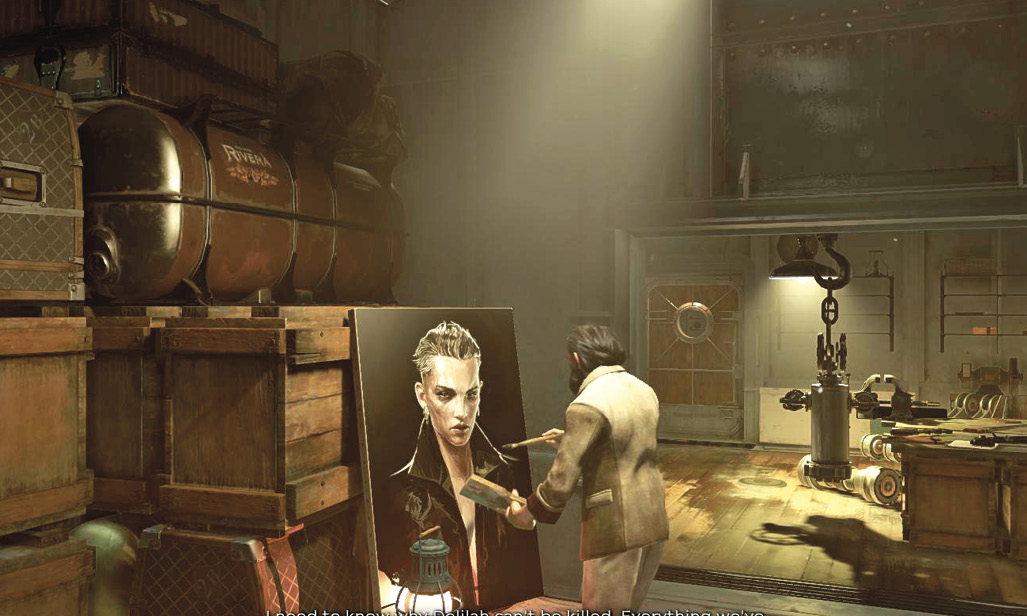
Between missions you get some more time aboard the ship. Talk to Sokolov in the briefing room. He has some ideas about what you can do next. Afterward, meet him up by the skiff. There isn’t much else to do right now, so start the next mission pretty much immediately.
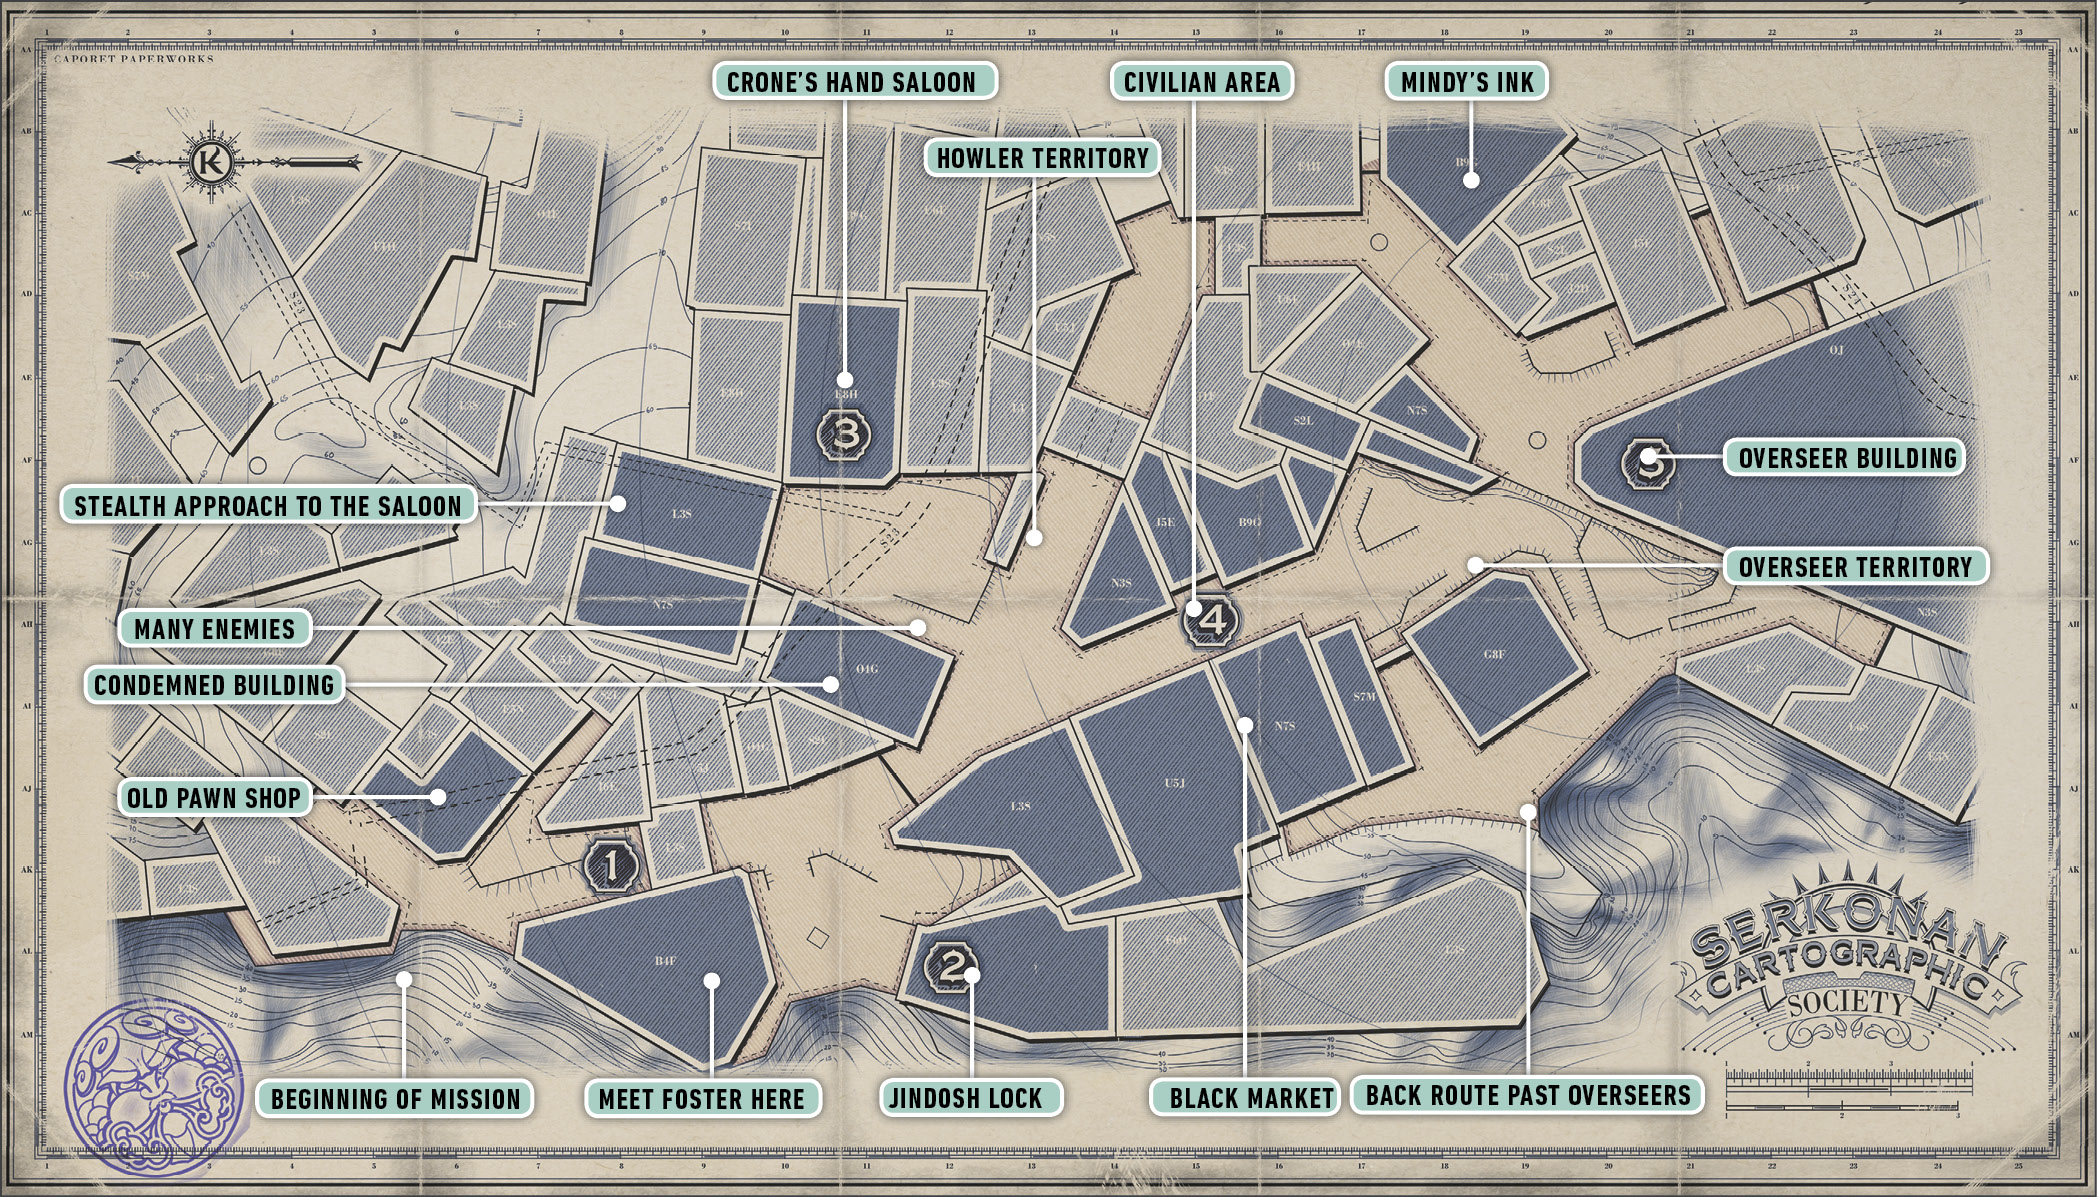
Old Batista District
Finding a Way
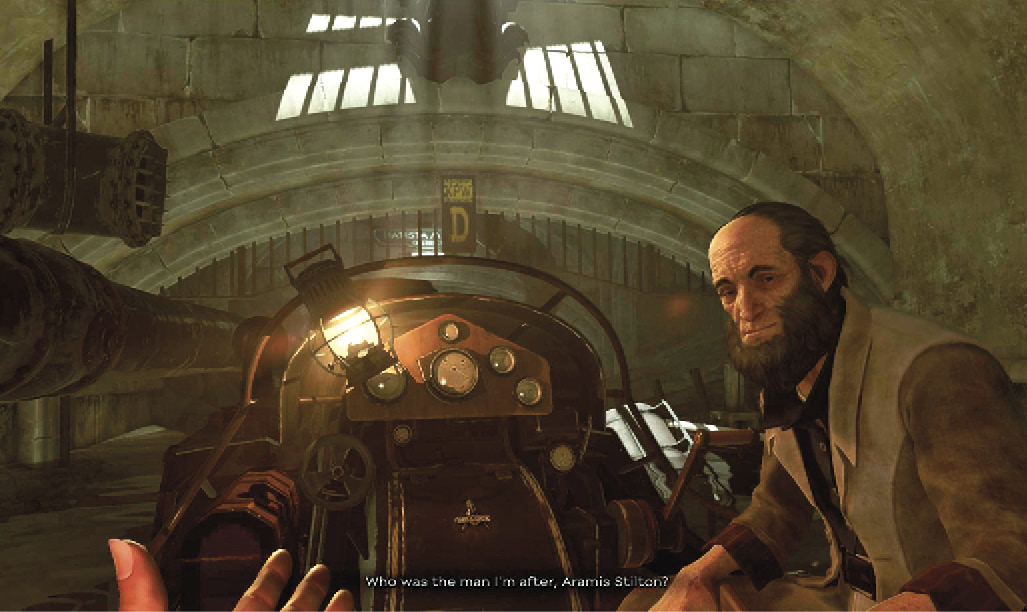
Aramis Stilton is your next target. He’s a man of wealth and power. Self-taught, he’s not some noble dandy you can break with a few moments of effort. You might need help, but Sokolov knows the area and the people. His plans should be of use. Make your way out of the submerged basement where you begin. Treasure is minimal, though there is a piece of Raw Whalebone on a desk before you leave the first greater chamber. Pick it up and follow the waypoint toward Captain Foster.
Far Reach across the street to the left as you emerge into the sunlight. This avoids a few Guards who are busy chatting. Go into the damaged building and climb the steps. Two regular Guards are at the top. Wait for one to patrol away. Far Reach to the other, extract your Sleep Darts quickly, then Sleep Dart the farther target and choke the first.
Grab the Blueprint from the bottom of a wooden table, and then shut down a Wall of Light by disabling the Windmill up here. When the patrols are by the front of the street, Far Reach down and stealth your way past the group. Go through the Wall of Light and turn right to reach another damaged building.
Far Reach to a higher level of the building and look for Captain Foster. She gives you a bit of information. Nab more Raw Whalebone from the small apartment, and then hop out of the building from an opening nearby. Turn around and smash a wooden barricade to enter the lower part of the same building. A Rune is hidden in that room.
Leave the building and brave the dust storm that’s starting to rage throughout the district. Visibility is horrible, but that’s kind of in your favor. So, no big deal.
The streets funnel you through a chokepoint ahead. A number of Overseer masks are nailed to a signpost, letting people know that this area isn’t so safe for their kind.
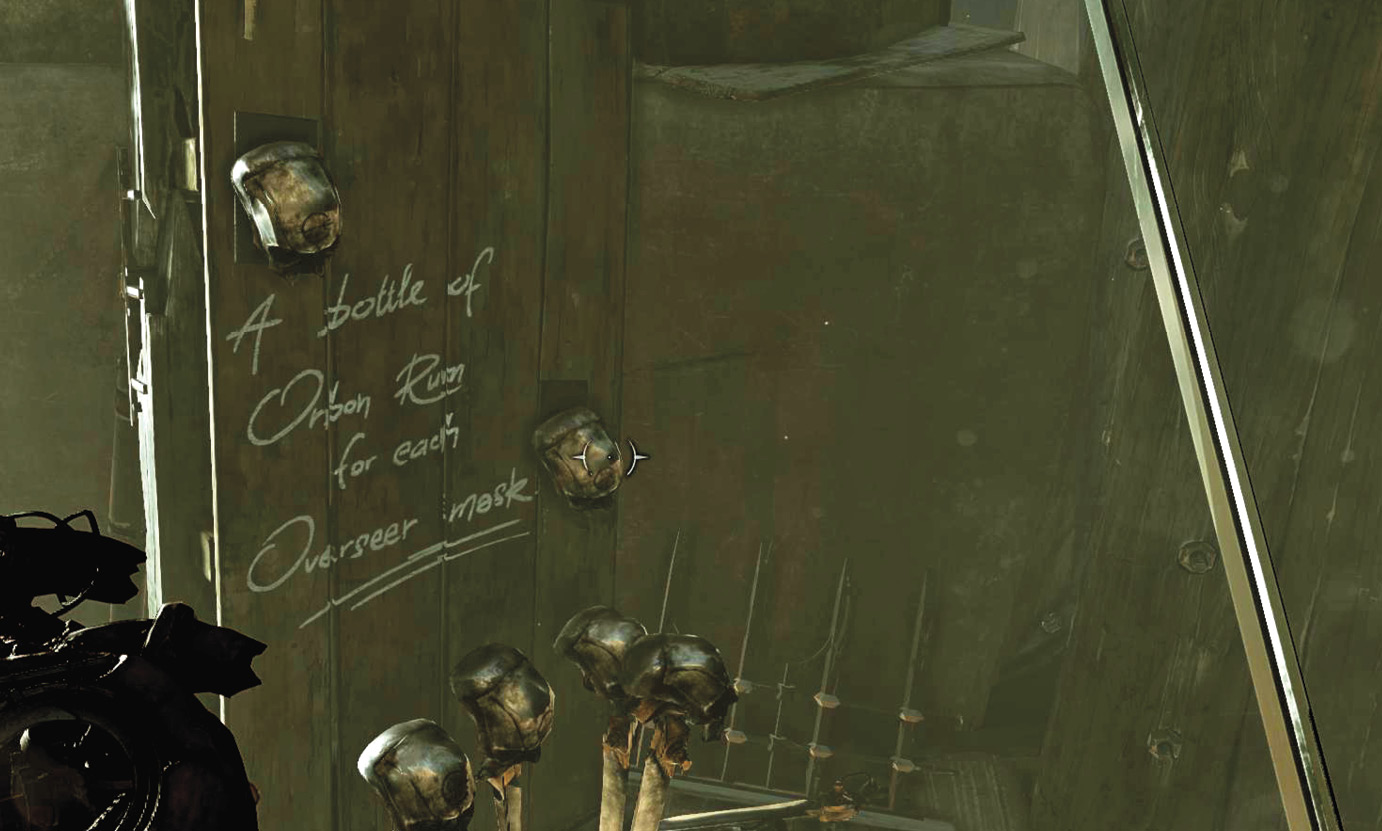
Hug the wall to the right as you pass the sign, and look for a Winslow Safe Company store. Loot it if need be, and continue right afterward to find the black market, which is in a lower part of the district. Descend the stairs and pass some workers until you find the store entrance. A couple of Howlers are already there, so give them time to clear out before you shop.
Black Market Goods
| Item | Cost |
|---|---|
| Crossbow Bolt | 20 |
| Pistol Bullet | 30 |
| Sleep Dart | 30 |
| Grenade | 70 |
| Stun Mine | 70 |
| Spring Razor | 50 |
| Addermire Solution | 150 |
| Health Elixir | 75 |
| Rewire Tool | 200 |
| Map of Stilton’s Home | 100 |
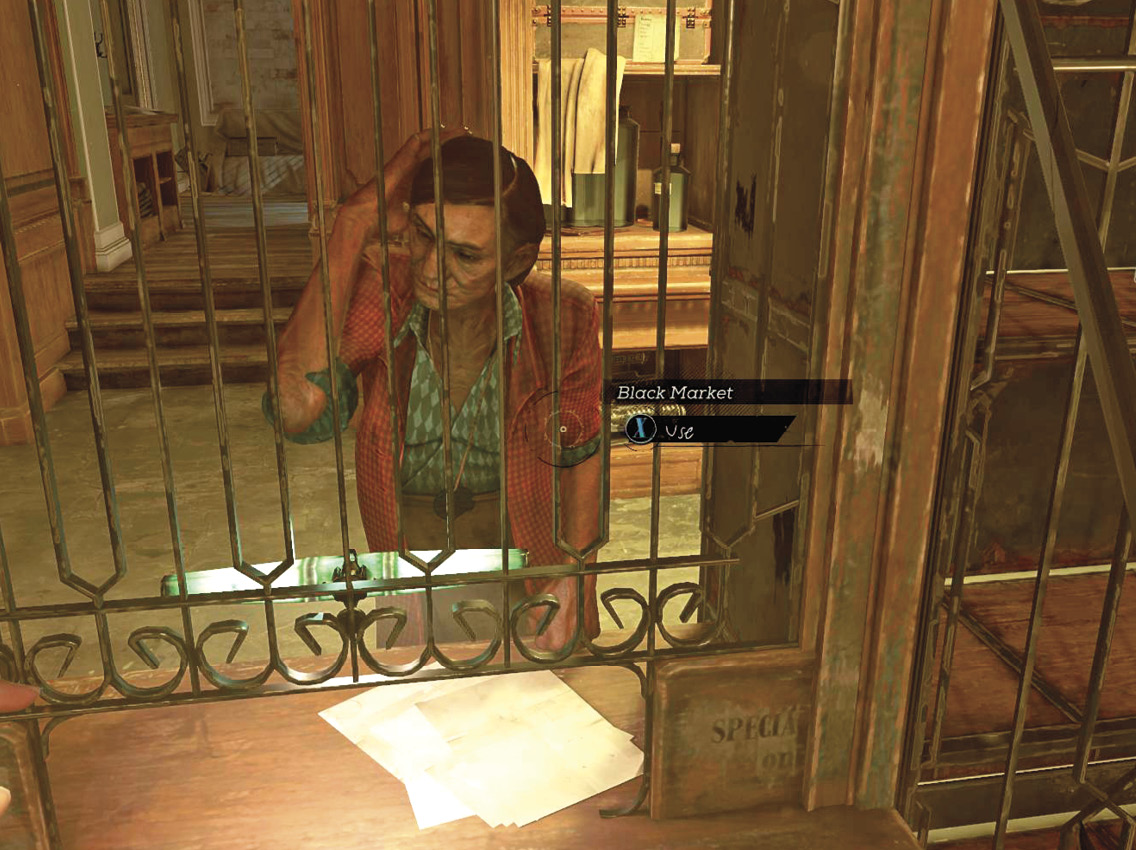
After buying the upgrades you want, it might be time to steal from the market again.
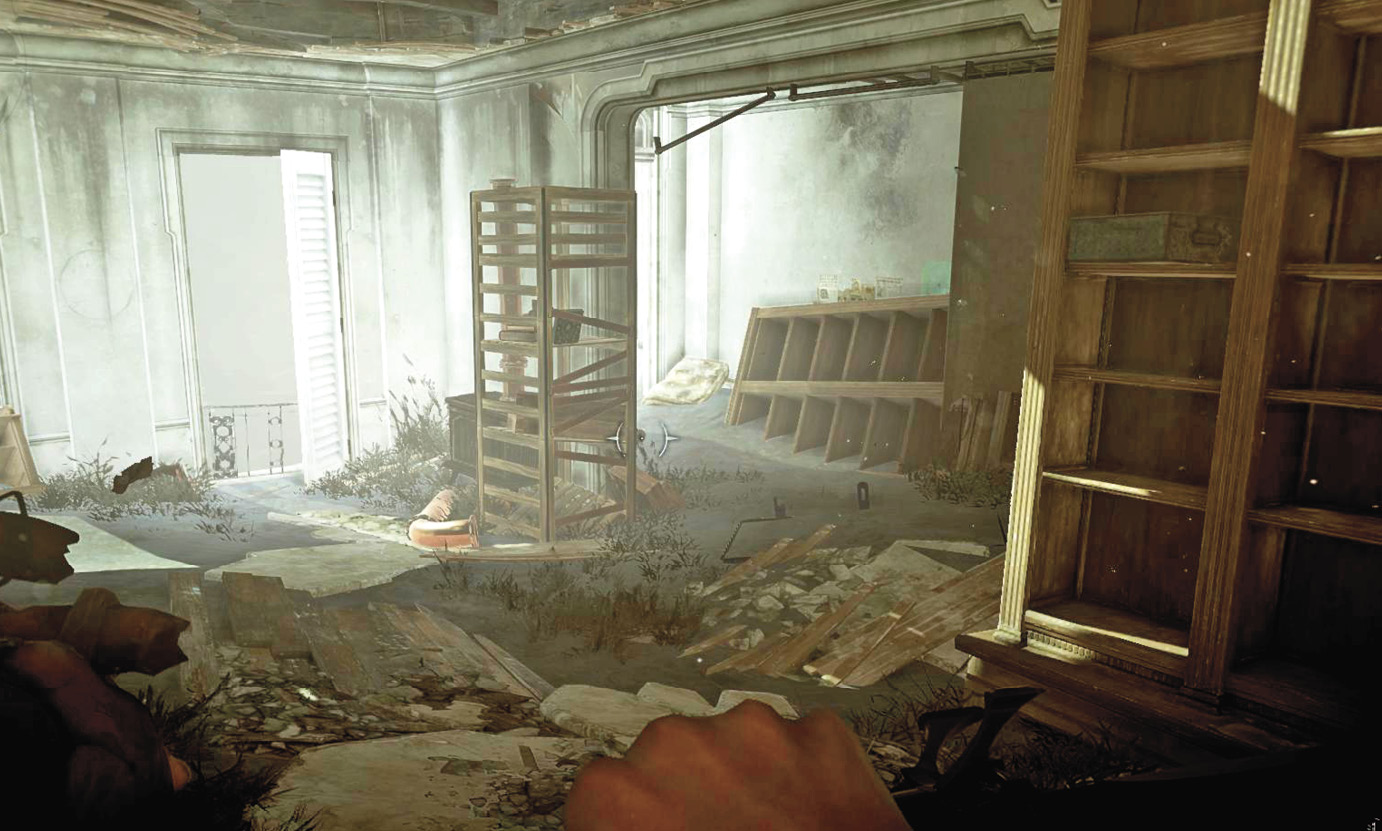
Return up to the main boulevard and search for a condemned building. Break in through a barricaded door and destroy a Bloodfly nest by the entrance. Climb to the second floor and search for a Rune. It’s in a side room, contained in a dresser. There are more nests, but this is a fairly safe house compared to some.
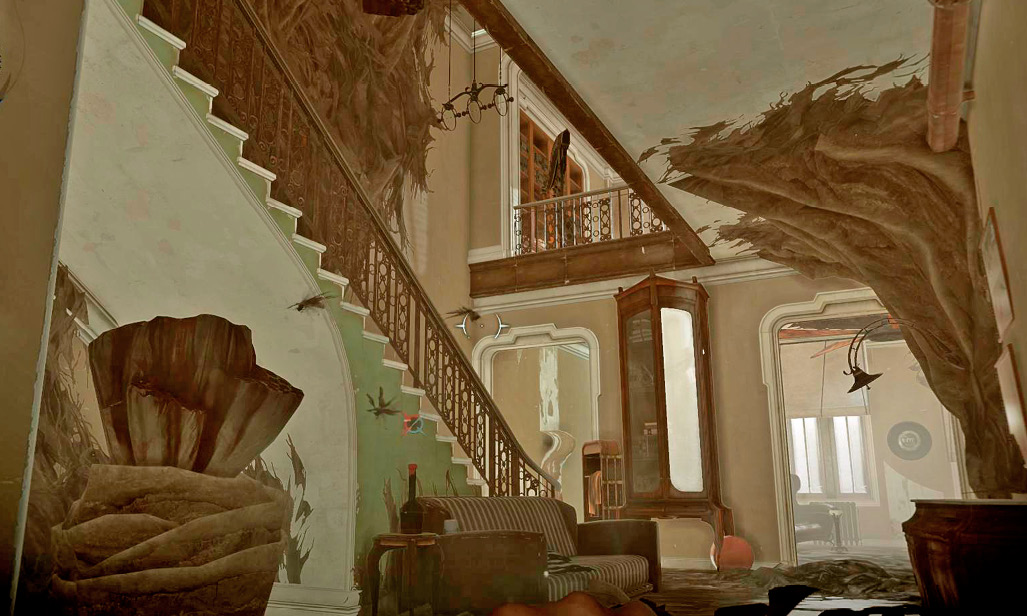
Use an open window at the top of the building to climb outside. Far Reach to a pipe and examine another open building. This one has Bloodflies too, plus two Nestkeepers. Foul people. Use Sleep Darts on them at long range so you aren’t spotted or attacked. They don’t usually stay in the same room, so neither notices when the other goes down if you’re patient.
Destroy the nests in the building and look around. Grab some minor loot and use another set of windows to exit outside afterward. The Heart shows a Rune just a few feet away, so snag that next.
Look outside for an awning on your left. Far Reach onto it, and enter a new structure. Knock out a lone Howler on the floor you enter, and silently go down to the lower floor. Two patrollers are below, so don’t run for any reason. Stay quiet and hide in the stairwell. When one approaches, open the door into the stairwell, choke them, and drag them into that area as they fall unconscious. Repeat this for the next patroller, and the building is yours.
Search for two Paintings and an Outsider Shrine on the lower floor. You’re inside Paulo’s apartment; he’s the guy running all these criminals you’ve practically bumped into a few times. His bedroom is loaded with money, inside an unlocked chest. You also get a Blueprint from a metal case in the living room. Stealing from him is gutsy, but so what? He’s a jerk.
Investigate Durante
Now that you’re close to the Howlers’ apartments, it’s time to investigate their actions. You might be able to get the information you need from these people without helping the Howlers or the Overseers to kill each other.
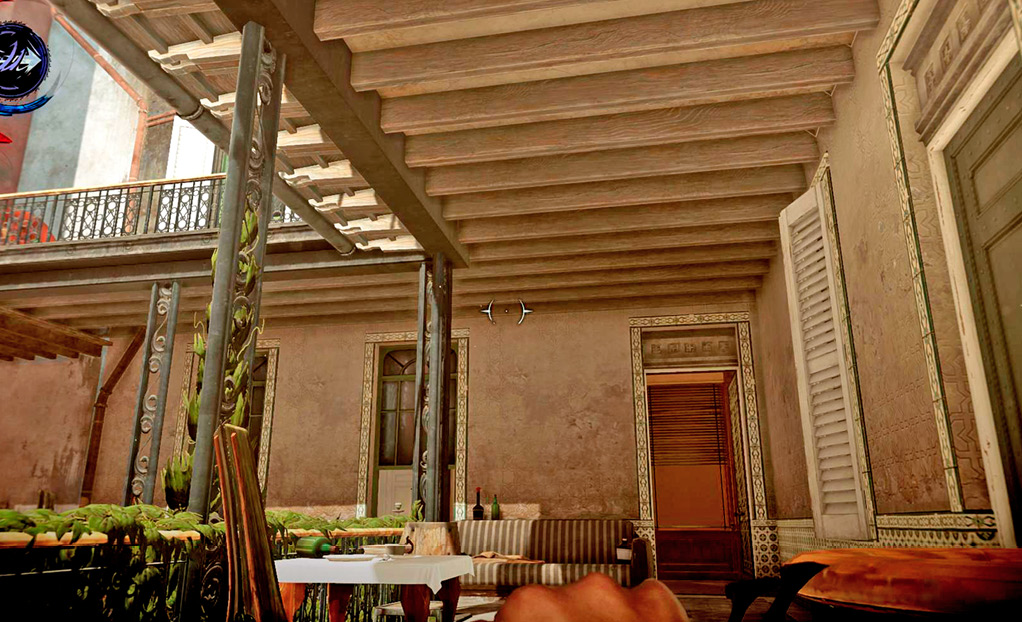
Far Reach from the balcony of Paulo’s place onto a railed balcony one tier down. Look for a Note tacked onto a door. Take it and read it.
The man who owns this apartment is named Durante. He’s been taken to the Overseer Outpost, so that’s your next point of call.
Retreat all the way into neutral territory between the Overseers and the Howlers. Near the black market is a soup kitchen where miners get their food. Look for a damaged brick wall about 12 feet away, around a cement pillar. Break the wooden repair beams underneath that wall and crawl through.
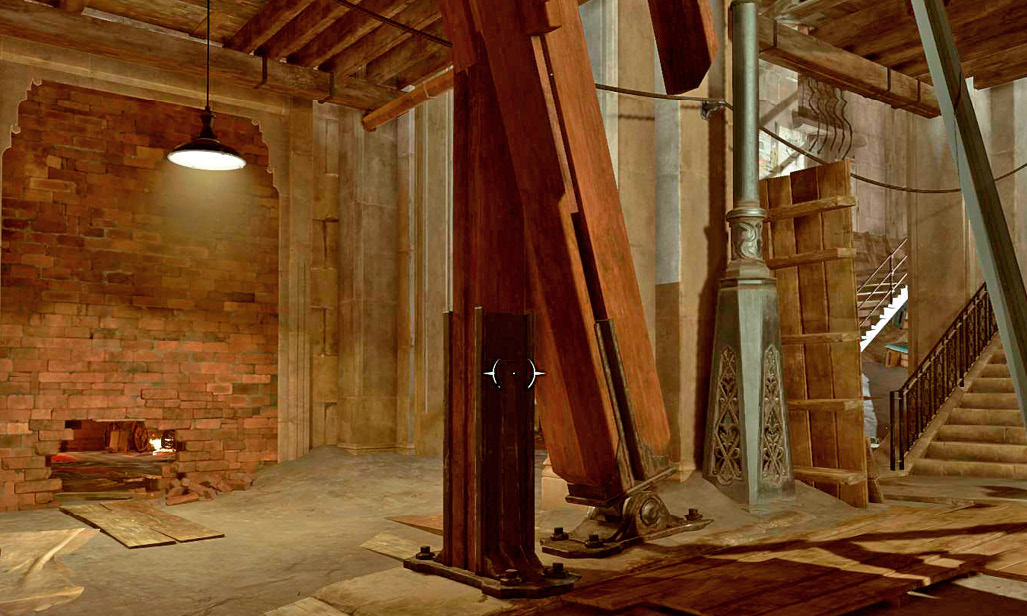
This gets you into Overseer territory from a side route they don’t guard well. Silence their lonely patrollers with Sleep Darts or normal takedowns. The outpost isn’t far up the hill, but you’re not in good shape yet. There are many Overseers by the main building.
Far Reach onto the scaffolding on the second level of the outpost you’re approaching. Jump around up there until you get to a window, and slip inside. A Rune is in this direction, but be patient. Far Reach from the inside of the window to the left; there aren’t many patrollers there. Stay on this upper level, and look for a barracks where Overseers are sleeping. Sleep Dart the only alert Overseer to keep that room clear. Pickpocket a resting Overseer to get the Confiscation Room Key. With that in hand, move in toward you Rune. It’s really close now.
Choke out the Overseer in the far hallway, and then the next one inside the small room to your left. Both are easily ambushed. Unlock the door nearby with your new Key and take the Rune and money inside.
Climb down the stairs and Sleep Dart an Overseer at the main desk. Dump him in the room behind there so no one can see he’s down. Durante’s cell is back there (throw the body in the cell if you think it’s funny). A Document on the cell explains that Durante is dead and his possessions were moved.
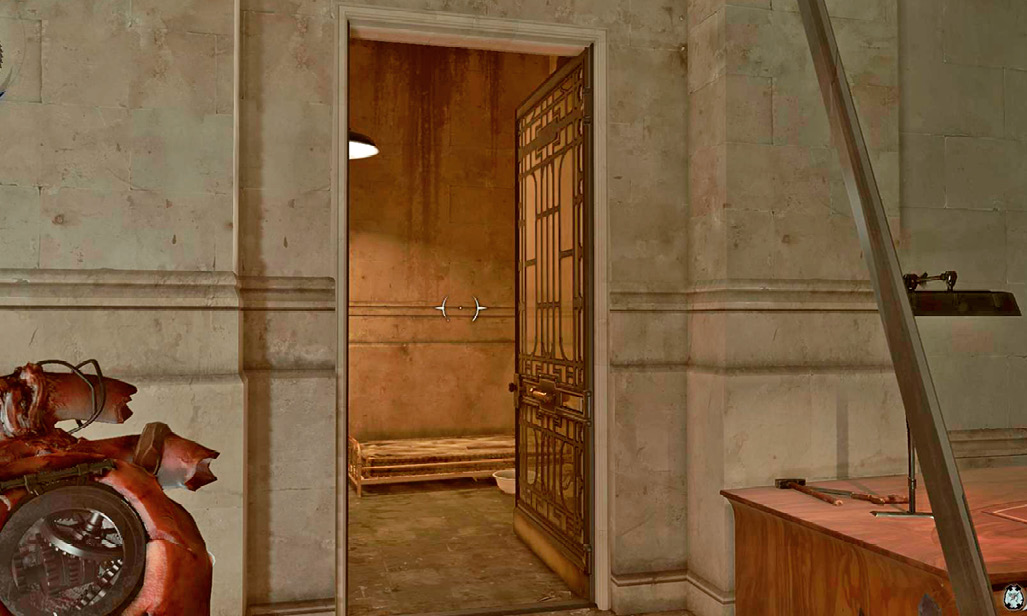
Return up the stairs and then keep moving until you reach the elevator and another set of steps. Go to the third floor. Two side rooms contain weapons and a Mana Elixir. The main route forward leads toward the Vice Overseer’s office.
Far Reach through a small window in the side rooms to get behind an Overseer Guard and knock him out. A doctor on the left side of the hallway is just as easy. There are several more Overseers in the level—the Vice Overseer and his buddies. A group Mesmerize takes care of them really well if you combine it with Sleep Darts and some choking for the last fellow. However, making noise and taking out the investigators works too.
When everyone is down, take Durante’s Key from a desk in the Vice Overseer’s office. Look for a Bonecharm in the same desk.
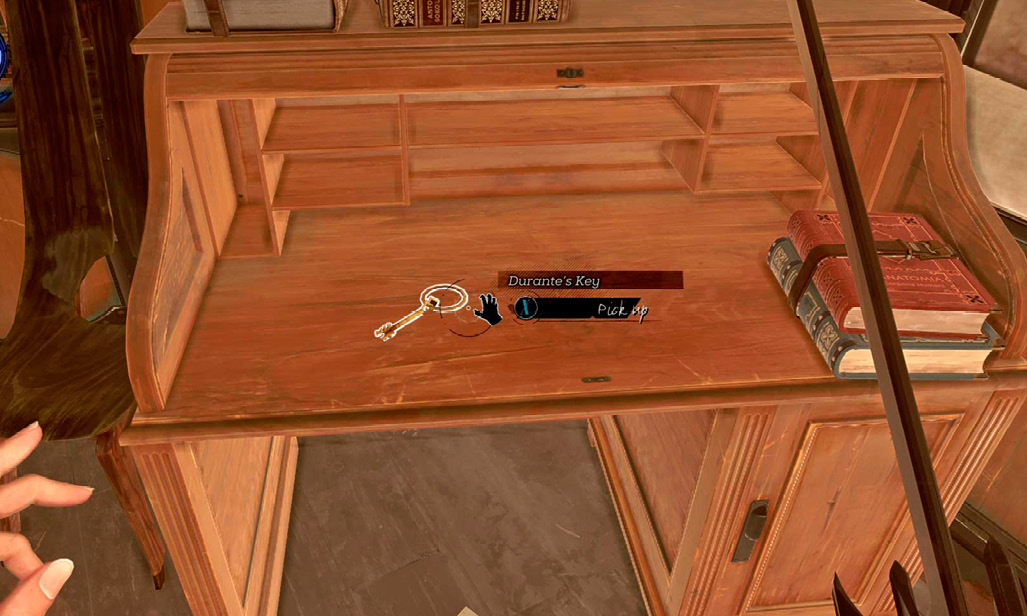
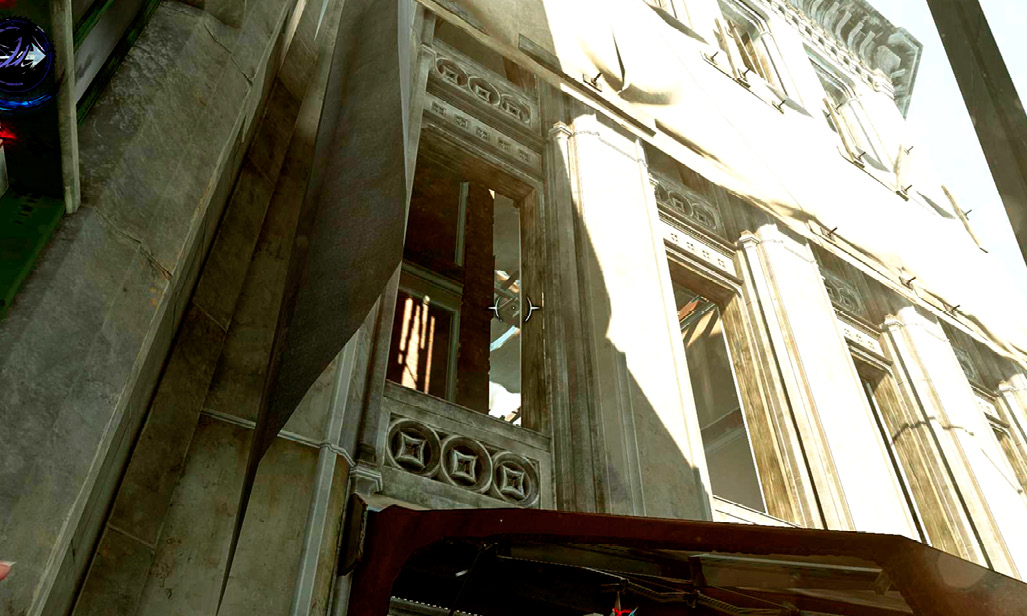
Exit the building and return to neutral territory. Far Reach on top of a simple building close to the Overseer checkpoint. Our screenshot shows you which one we’re talking about.
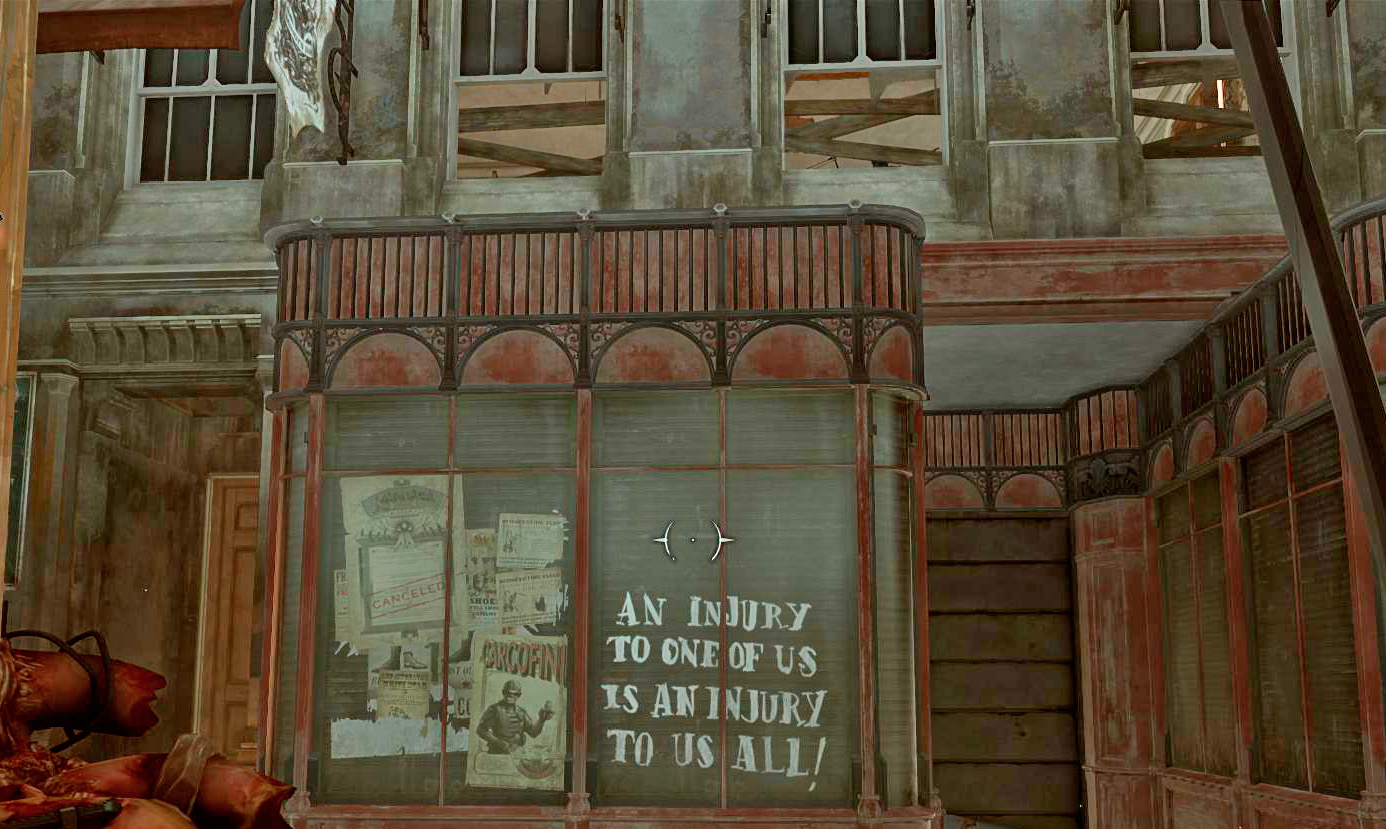
Break through the wooden boards on the second story and slip into the house. Search for the Bonecharm, some Raw Whalebone, and other items of lesser importance.
Head to Howler territory again after leaving the house. Use the upper pathway you took earlier to reach Paulo’s apartment, and then Far Reach again to get to Durante’s office without being seen. Unlock his door with the Key from the Vice Overseer’s room.
Enter and read everything there. You get a Silvergraph Studio Key while taking Durante’s Documents. Look behind a bottle of booze to find a Bonecharm before you go.
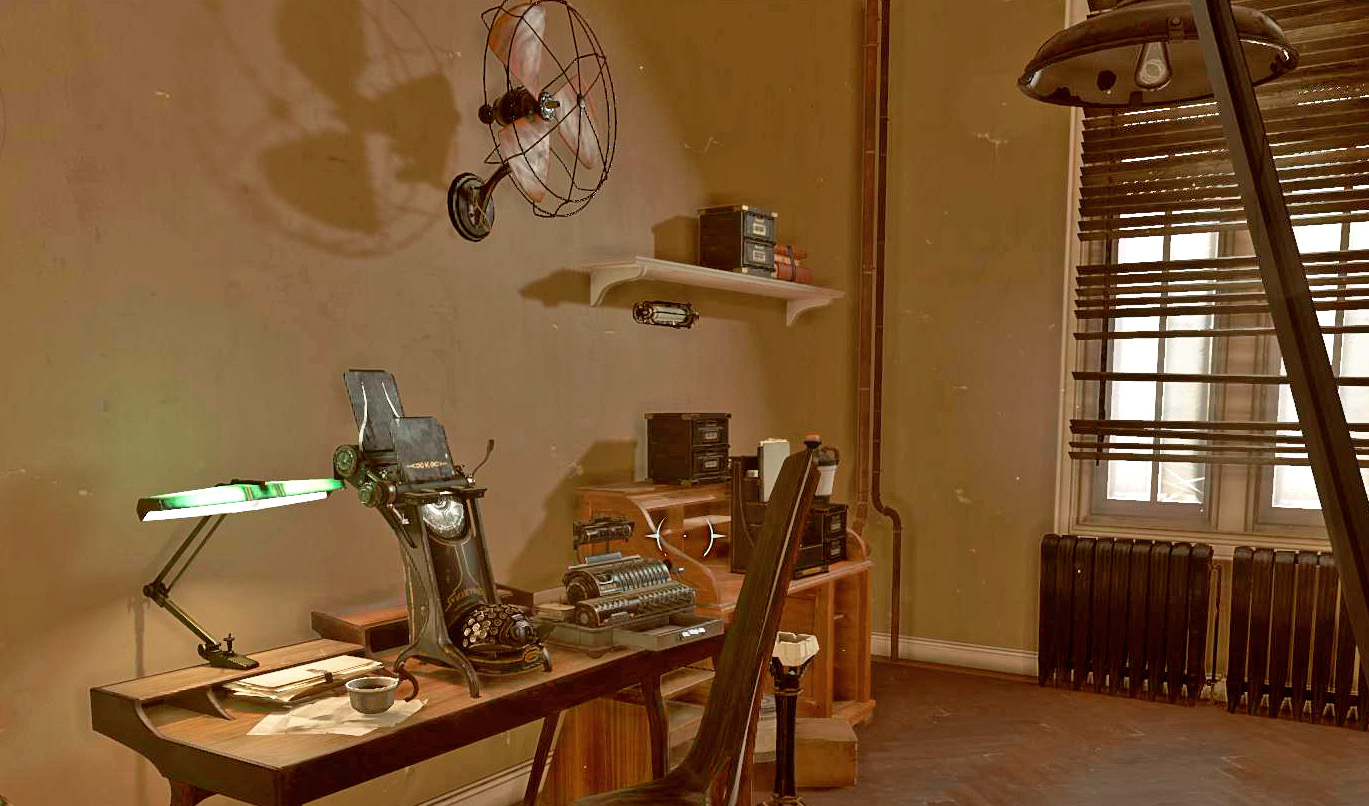
The only other collectible in this mission is underground. Spot it with the Heart and then go to the other side of the balcony when you leave Durante’s office. Far Reach to enter the alley below the balcony (otherwise you make way too much noise when you fall).
Crouch and go around the corner when no one is looking, and Far Reach down into a basement entrance. The cellar contains a Blueprint and a Bonecharm. If you want, knock out a Howler keeping an Overseer captive.
Exit the cellar and get away from the Howlers’ territory. Retreat almost all the way to the beginning of the district, where the large statue is located. Your waypoint leads toward the Jindosh Lock.
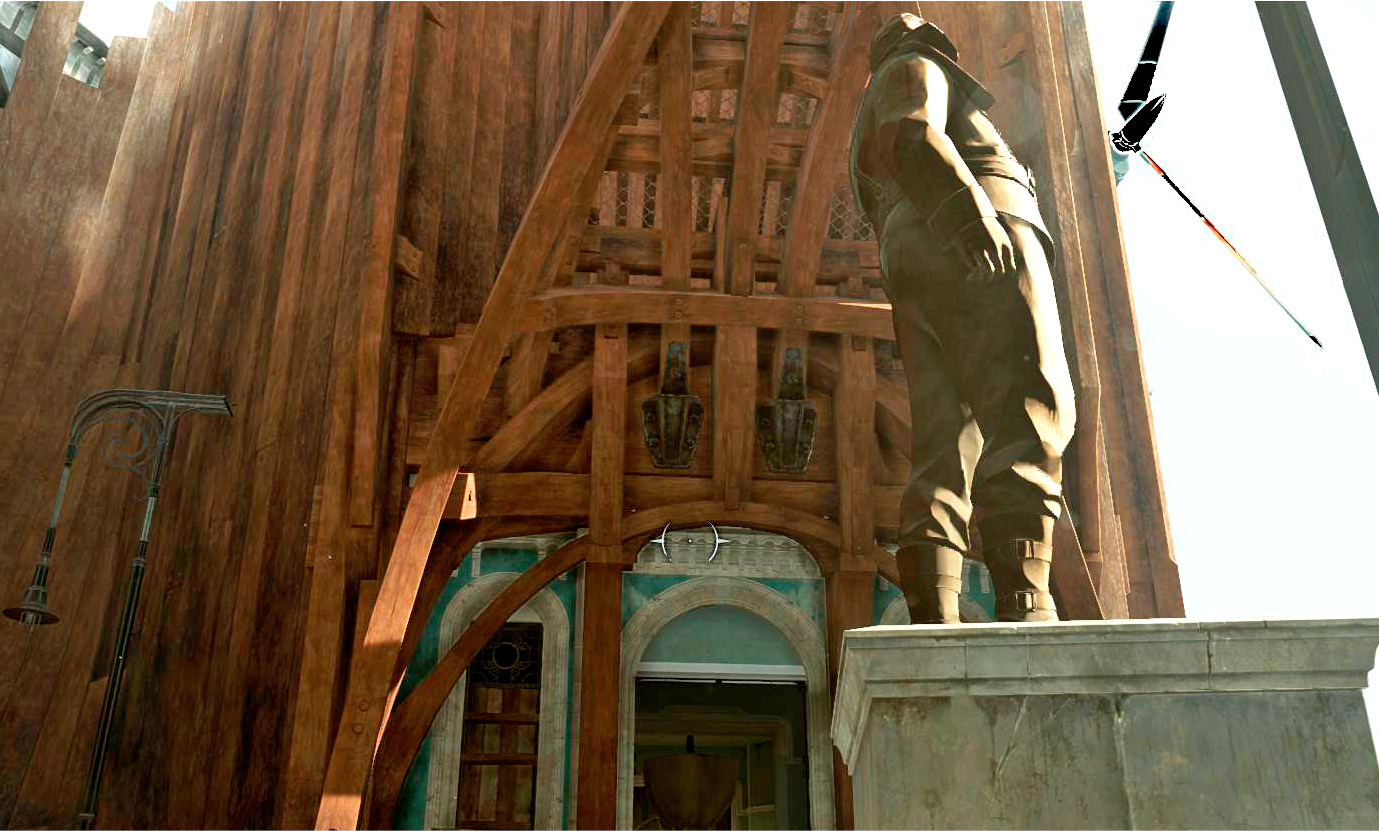
When you arrive, input the answer to the riddle you receive, from left to right. Ignore the hints to the riddle found next to the door. Instead, put in the answers you found in Durante’s study. The combo changes each time you play the game, so you can’t just memorize the answer and use the same one in the future.
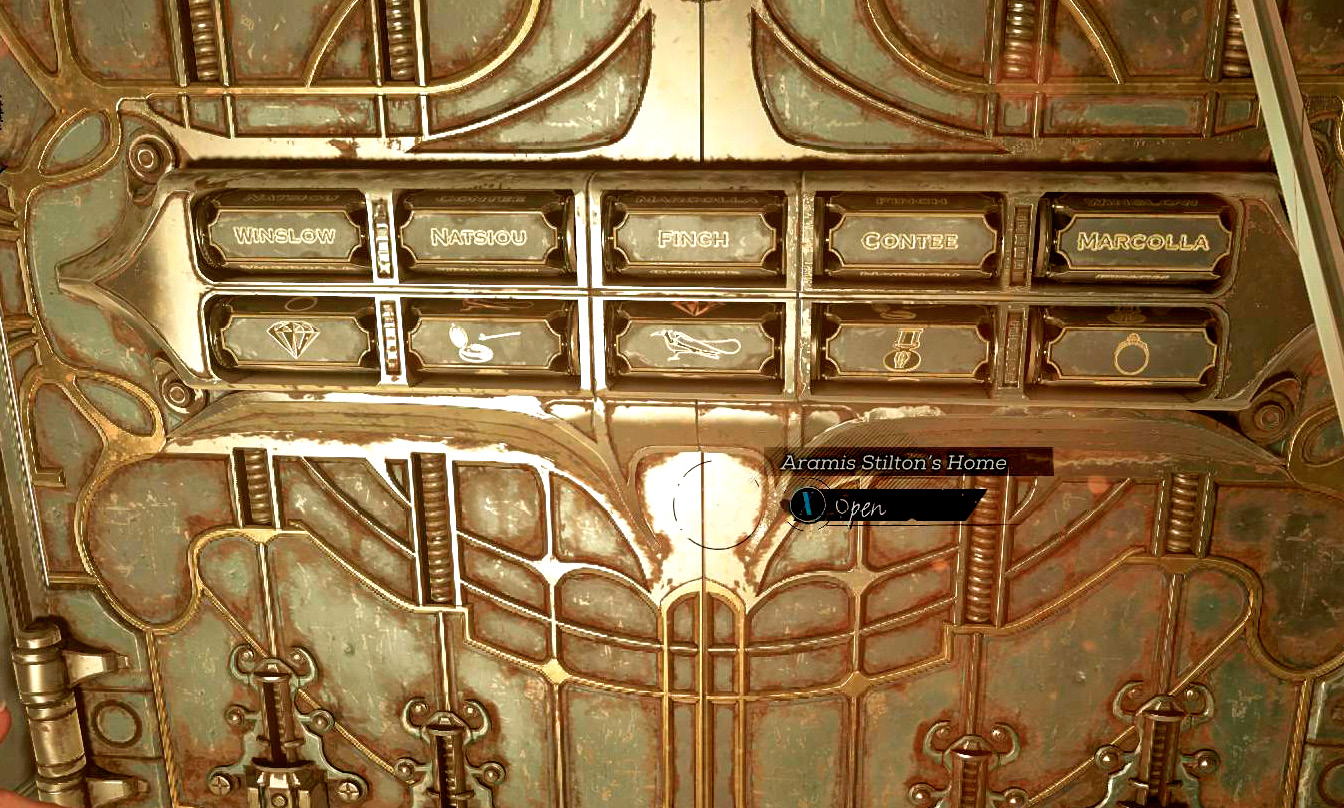
The door unlocks when the correct code is entered. Proceed to the Stilton Mansion.