
Dishonored 2 Guide Stealth Walkthrough
The Grand Palace
Self-serving and corrupt, Duke Luca Abele rules Serkonos, and orchestrated the Coup against you. Enter the Grand Palace to find and eliminate the Duke, who protects himself from assassins with a body double. You must also locate Delilah’s spirit, the only means of counteracting her immortality.
Collectibles
| Runes | 5 |
| Shrines | 1 |
| Bonecharms | 7 |
| Coins | 4430 |
| Blueprints | 3 |
| Paintings | 3 |
Special Actions
| Through the Pantry | Enter the Vault through the secret pantry passage |
| Sunken Storage | Swim into the submerged storage room beneath the Palace |
| Friends in High Places | Place Duke Luca Abele with his body double |
| Haunted by the Past | Steal the broken gazelle from the Vault |
| Black Market Heist | Steal yet again from the black market |
| Addressing Karnaca | Use the speaker in Duke Abele’s chambers |
Ravina Boulevard
Find a Way to the Grand Palace
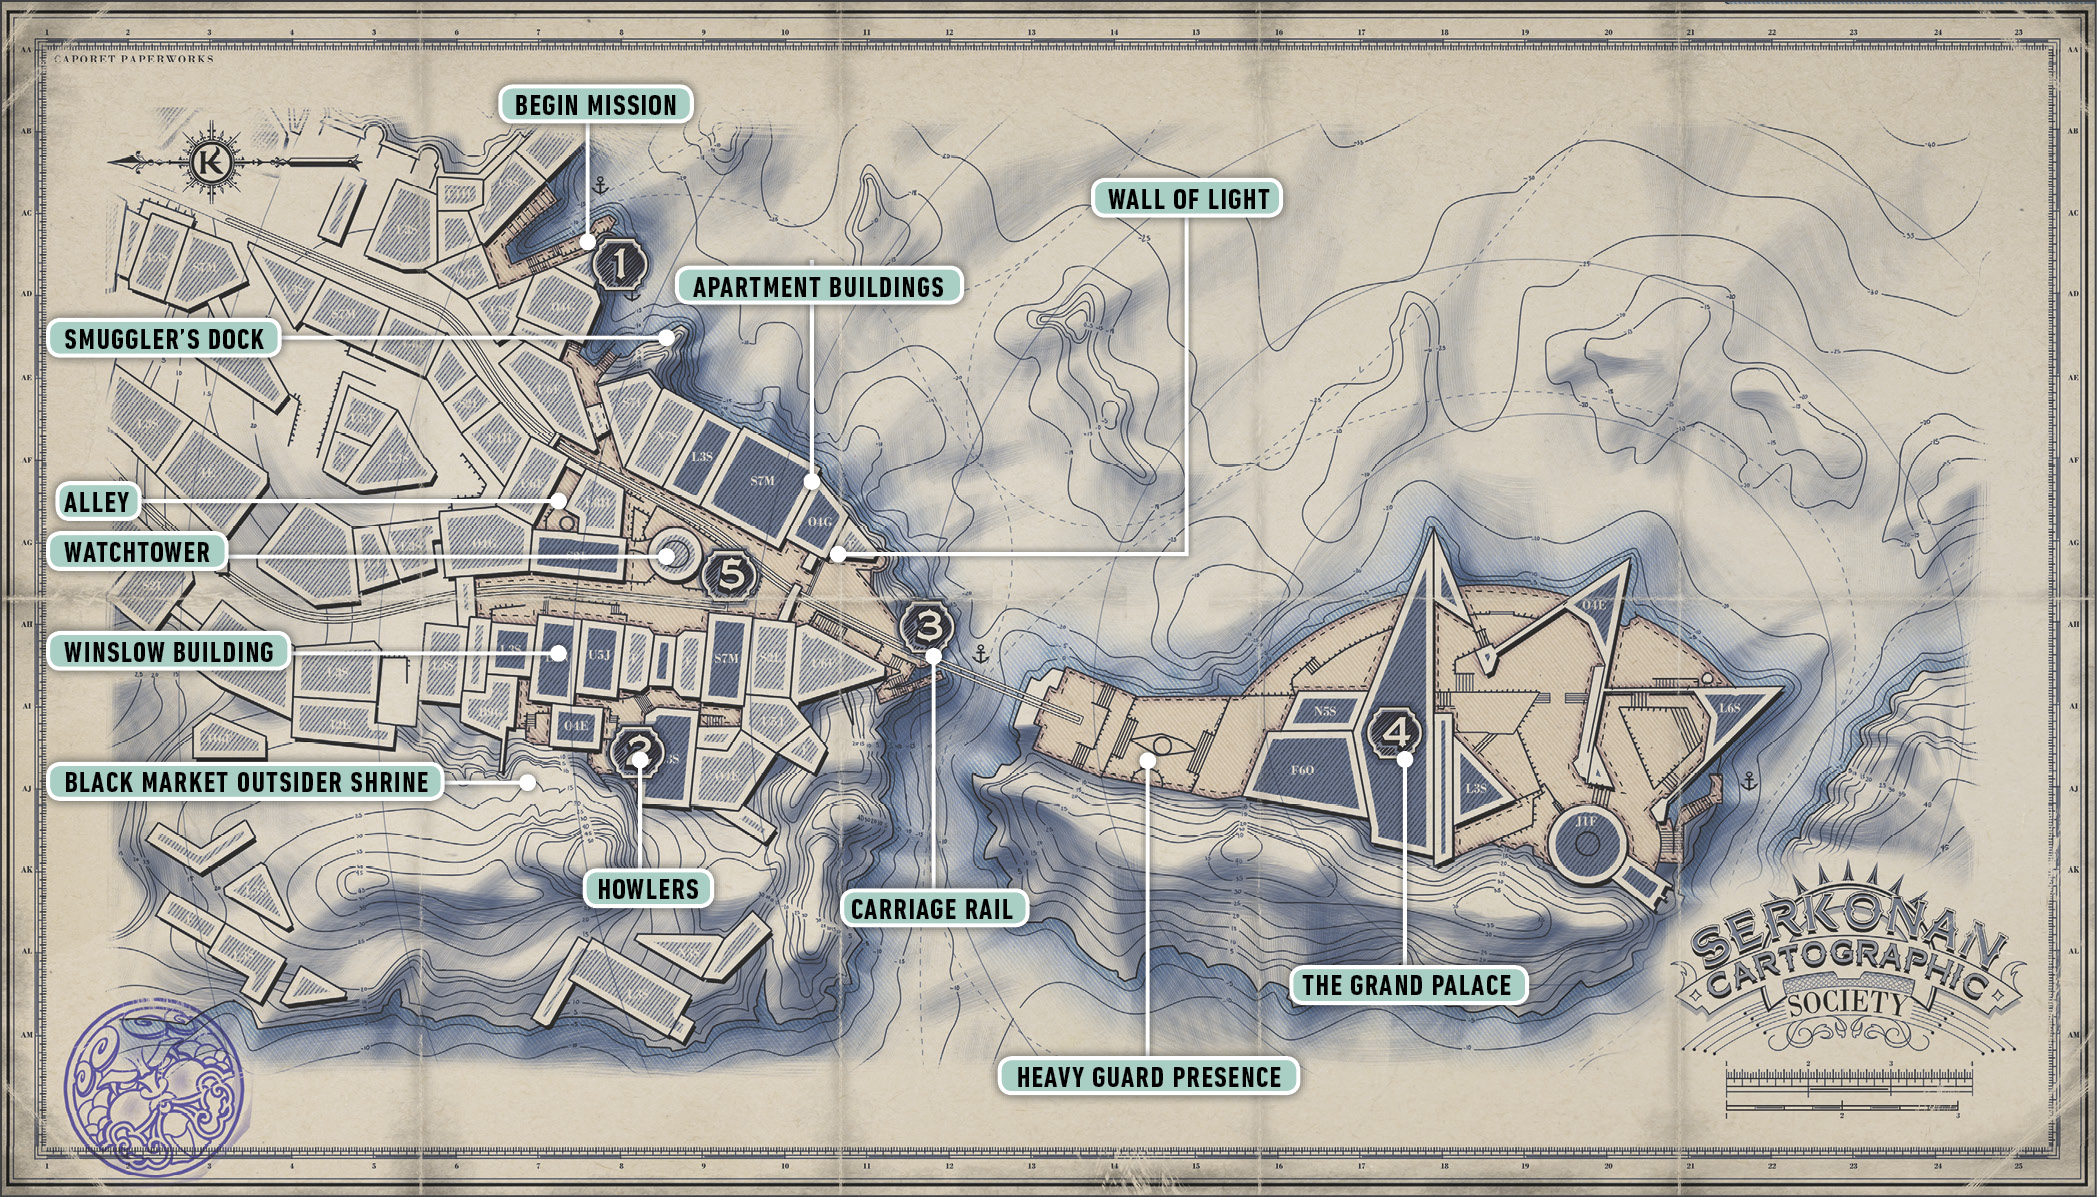
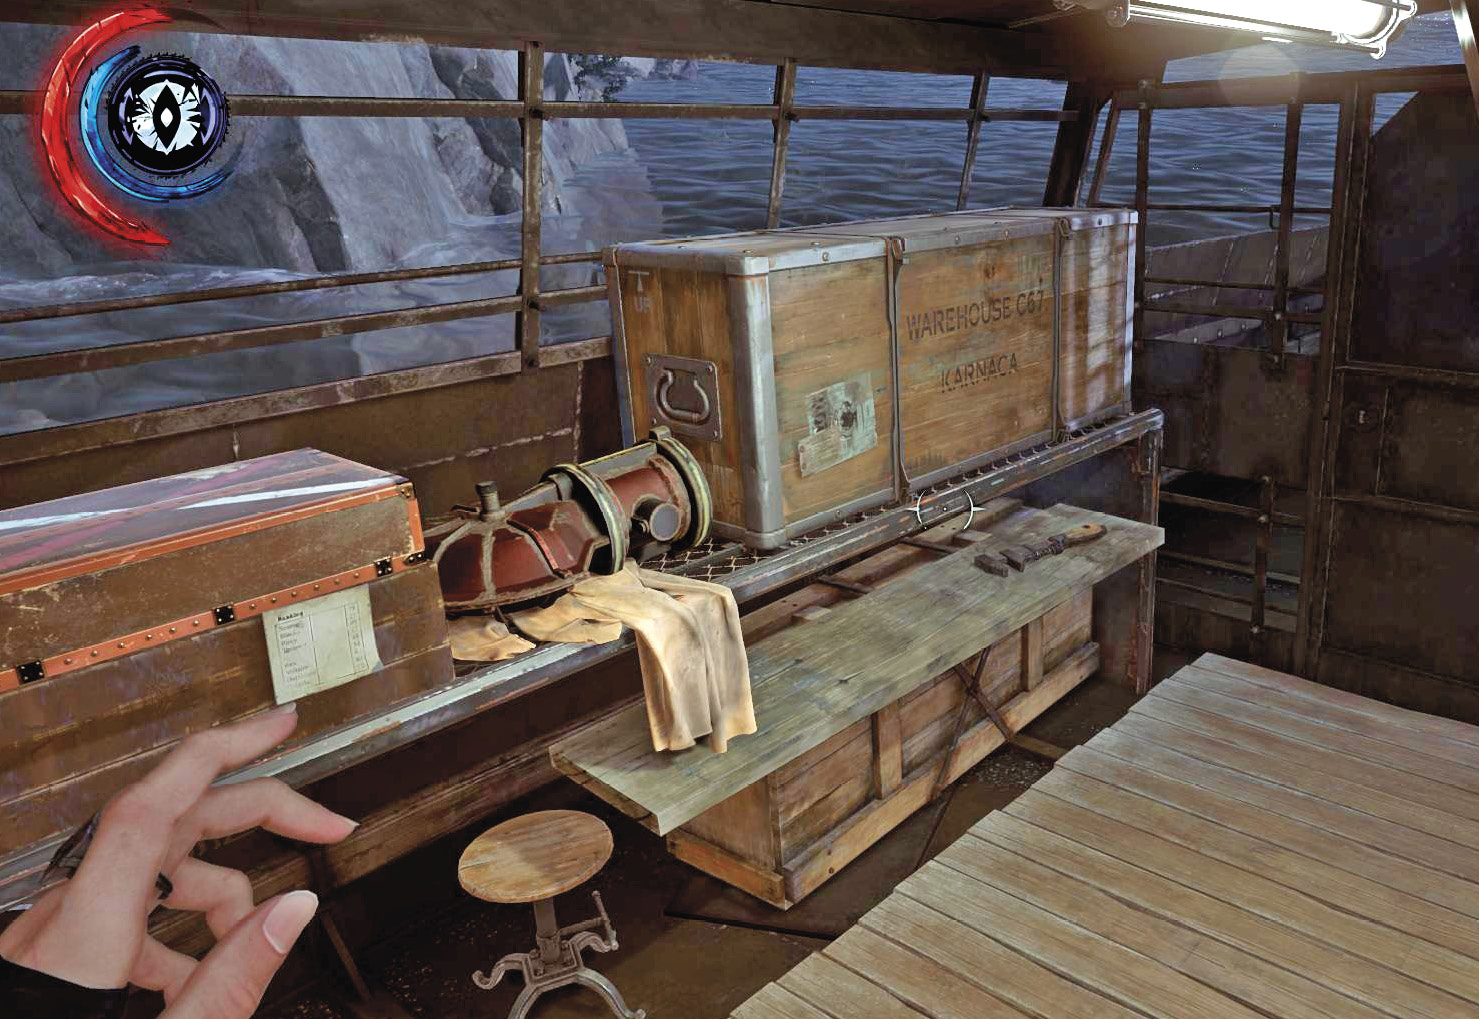
Climb the stairs above the docks after you land. There’s Raw Whalebone over by some fish stalls, but that’s about it for the dock area. Follow the only path away from the docks and through this civilian area. Two smugglers down on the beach are talking about their work. Listen in for a moment as you pass above them.
You can’t board their boat without the Delivery Boat Key. If you get it later, return for some money and quite a few minor weapons inside.
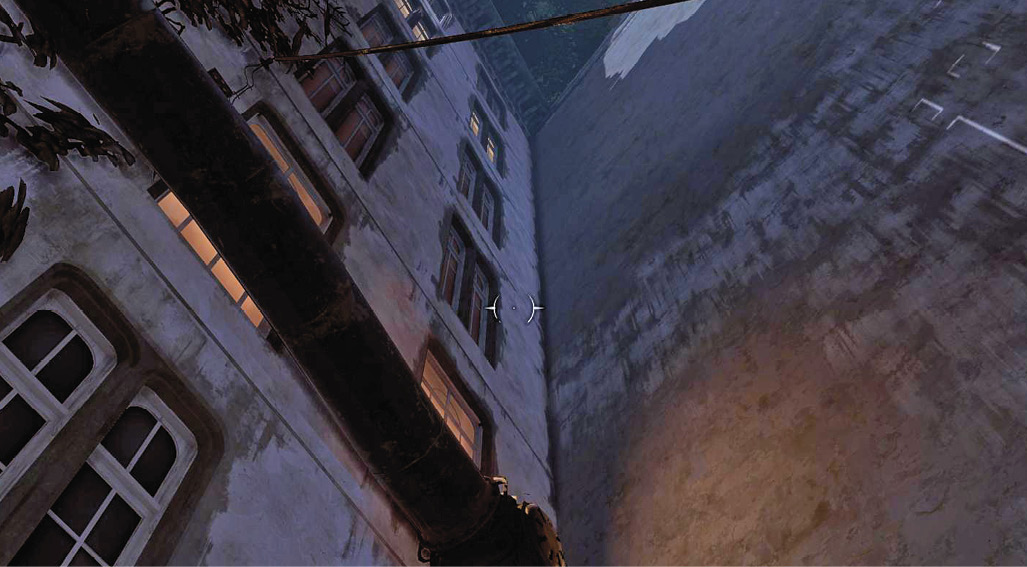
Take out your Heart and get an idea what’s spread around this map. Your first target is a Black Bonecharm. It’s the farthest collectible on the right. Follow the docks until the path finally splits. Take the route to the right, through an alley. Pass a beggar and stop a few feet later. Far Reach onto a wooden scaffold above you, and then keep going up with Far Reach until you reach a pipe way higher up.
Crawl through an open window at the top. Go inside and open a vise to collect the Black Bonecharm. You also find Raw Whalebone.
Watch the street below the other side of the apartment. Far Reach down and into the Winslow Safe Company store when the Guards are patrolling the other way. Inside, you find a code for the gate in the adjoining alley and an Apartment Key from the register. Knock out the clerk in the store to make sure he doesn’t freak out while you’re taking everything. Steal the Key afterward.
Black Market Goods
| Item | Cost |
|---|---|
| Crossbow Bolt | 20 |
| Pistol Bullet | 30 |
| Sleep Dart | 30 |
| Grenade | 70 |
| Stun Mine | 70 |
| Spring Razor | 50 |
| Addermire Solution | 150 |
| Health Elixir | 75 |
| Rewire Tool | 200 |
| Disable the Carriage Rail | 250 |
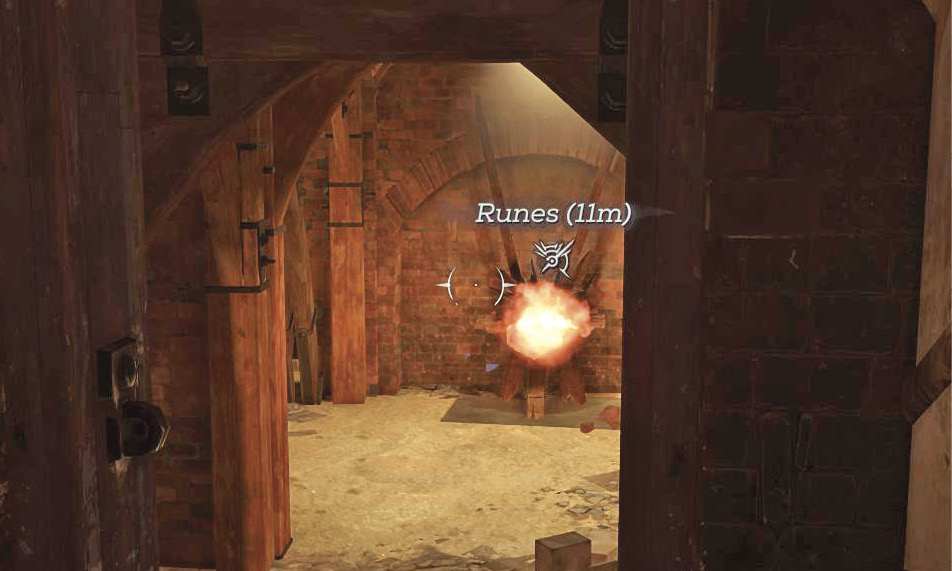
Don’t leave the black market area just yet. Go out the back door and hop up the embankment that overlooks the store. Crouch, creep past a bright light in the area above, and hug the wall as you turn right. You come to a wooden barricade. Break through it and look for the Outsider Shrine in the room within. You also get Raw Whalebone there.
You’re done looting the right side of the region. Backtrack to the split in the path, before you met the beggar. The route to the left leads toward two Bonecharms. As soon as you start along that road, you spot Guards ahead. Don’t approach them.
Instead, Far Reach up to the balconies above the road. Jump to them, and then onto a circular platform that surrounds a massive tree in the middle of the area. Far Reach from there onto a third-floor balcony, to the left side of the road. Toss the place for the first Bonecharm in this apartment block.
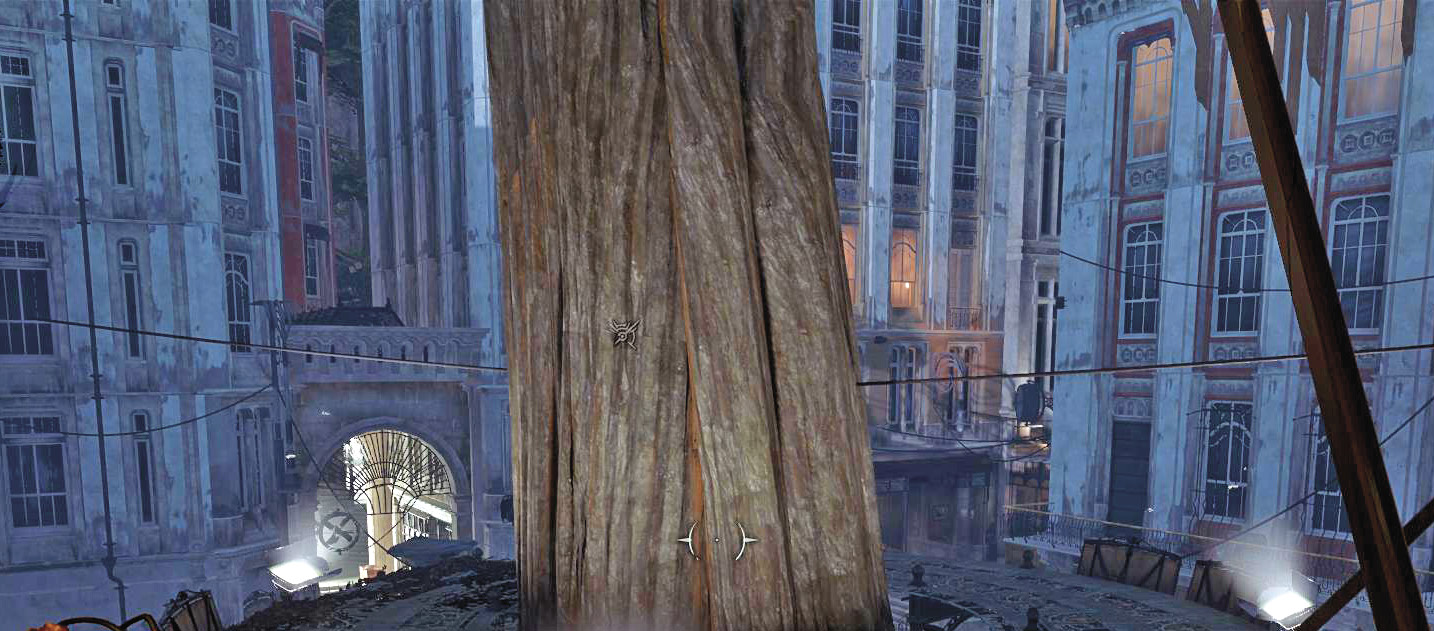
The apartment with the second Bonecharm is farther along the same street. Far Reach out to the Watchtower that overlooks the area and turn it off by removing its Whale Oil Tank. Observe the Guards from above, and Far Reach over to the next apartment building when they’re away.
Climb to the third floor and use the Apartment Key from the Winslow Safe Company area to enter. Search for a Blueprint and some valuables inside. Head into the bedroom and slice a pillow off the bed. Underneath is the Bonecharm you’ve been tracking. The safe in the apartment has 225 coins and some Bullets. Search the area by the desk to find a picture of a man with a safe behind him. The combo is right there in the picture (123).
Use the door up here to get into the next part of the map at your leisure.
Outside, at ground level, is another Blueprint. It’s down in an open-air store not too far away from the Wall of Light. Sneaking in and stealing it requires great stealth. Shadow Walk really helps here. Either use that and wait for an opening, or knock out all the patrollers. Both take some time.
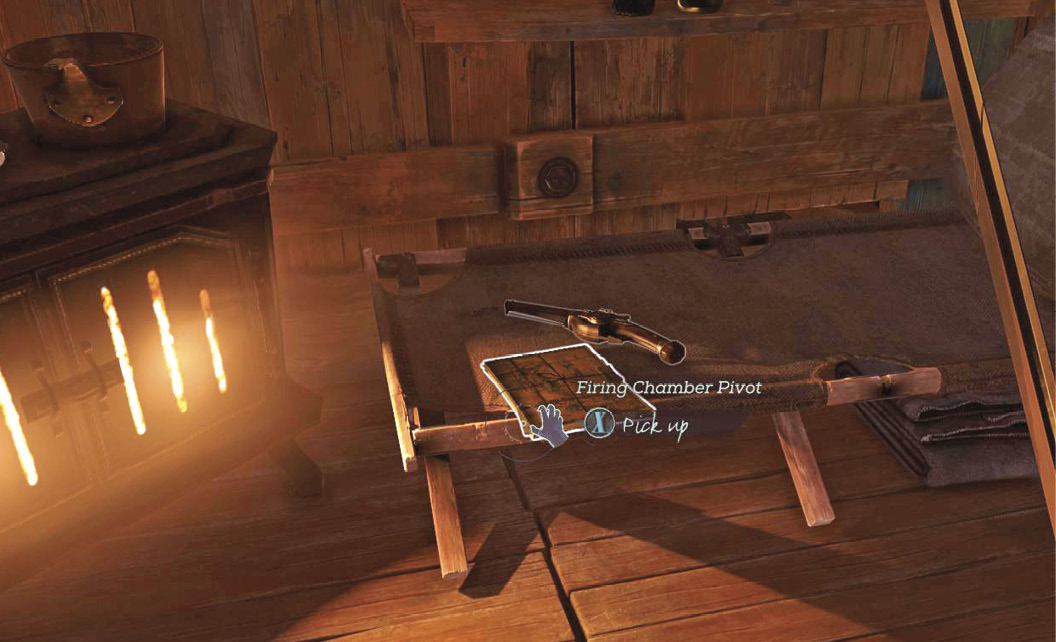
If you want more collectibles, cross the street and enter another apartment building. This one has a Windmill on the roof.
Climb to the top floor and knock out two Guards protecting the Windmill. Turn off the Wall of Light now, if you wish, but that’s not why you’re here. Instead, stand by the Windmill and look over the edge. Far Reach to a balcony almost directly underneath you, on the right.
A Rune is tucked away in here, but several Bloodfly nests and a Nestkeeper protect the place. Use a Sleep Dart on the Nestkeeper before you go far inside from the balcony. Then take out the nests without worrying about watching your back. If you’ve knocked out enough Guards nearby, you might even be able to use your Pistol on the nests without triggering anyone. The Rune is in the bathroom area. You also get money from the bedroom and a Painting of an old acquaintance of your father.
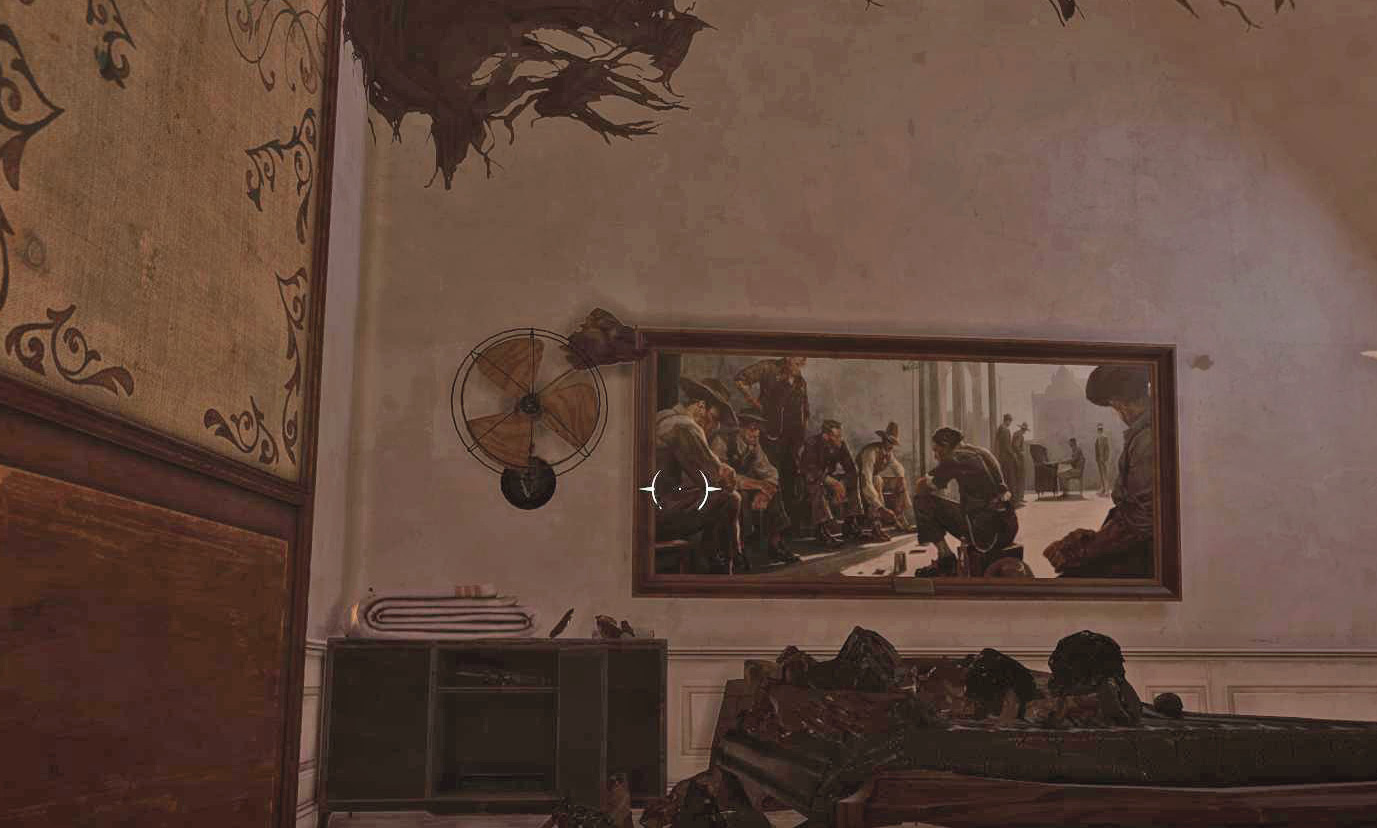
You have everything in the district. Retreat safely to the upper apartment and use the door to leave the area. You’re ready to approach the Palace itself.
Far Reach to ground level on the other side of the door. Sneak past two talking Guards, and Far Reach up onto the carriageway above. Use that to cross toward the Palace.
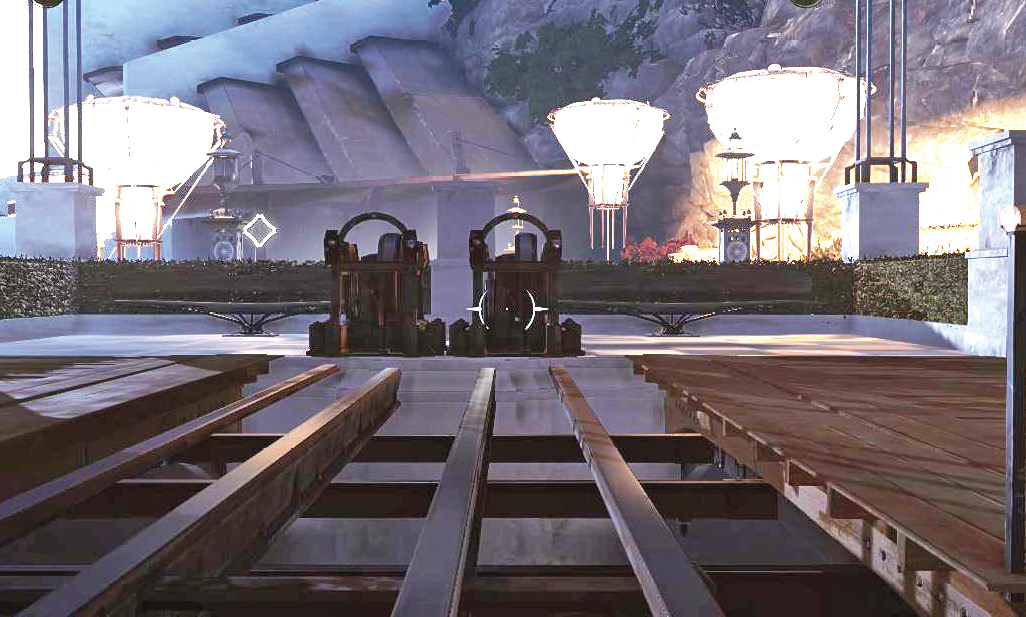
You can get to the other side easily, but there are still many Guards in between you and the main entrance.
The Palace
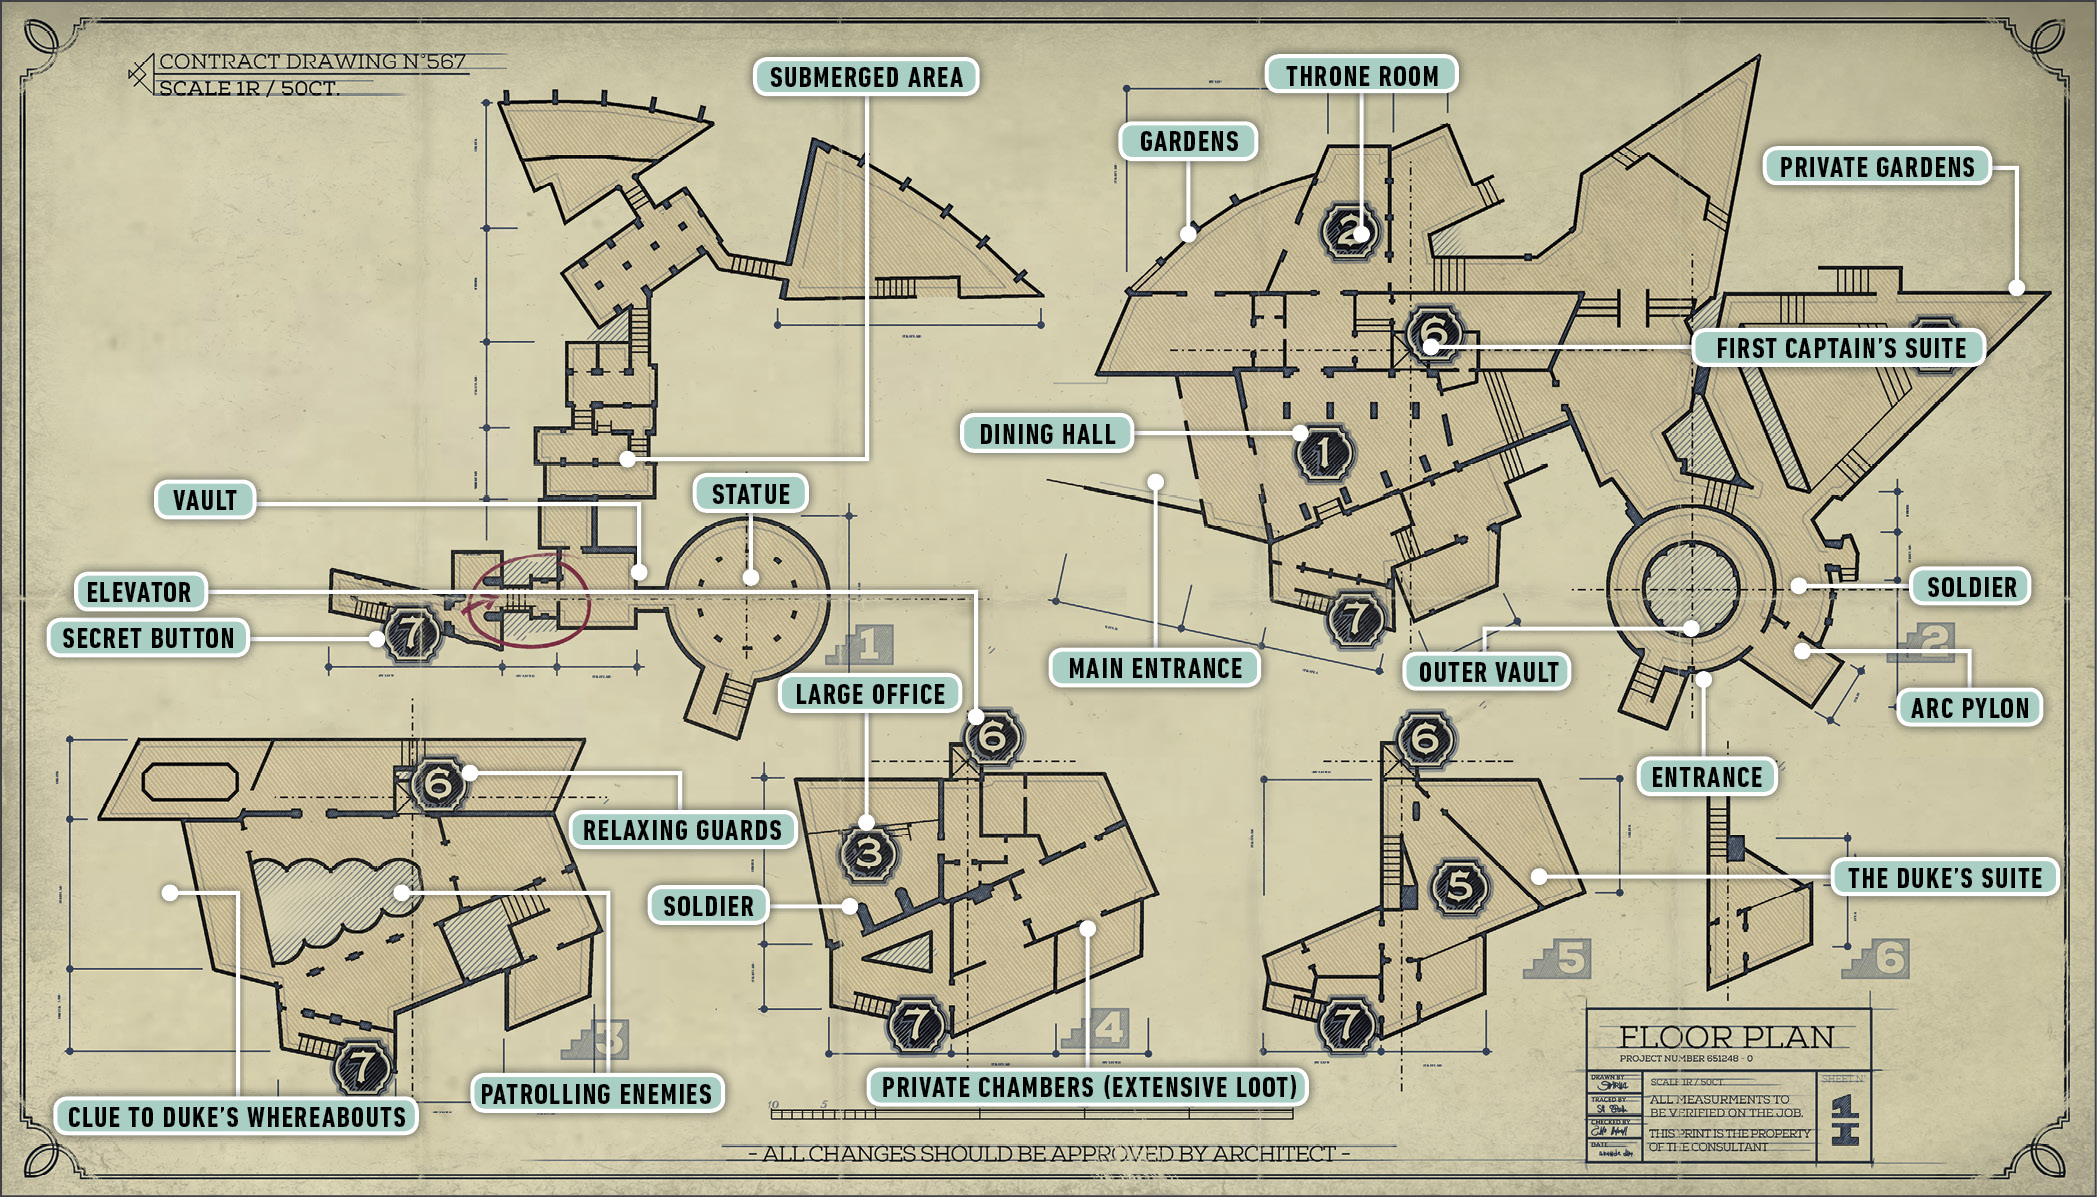
Getting Collectibles
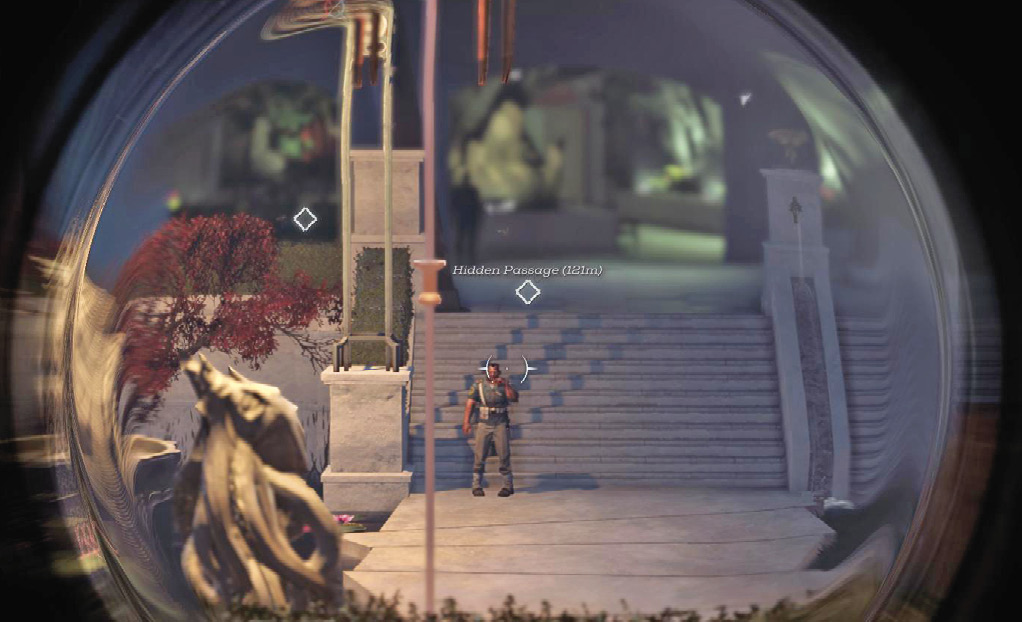
Go through the first yard, clearing out the Guards ahead of you. Do this by luring the first couple forward; almost let them spot you, and then hide while they approach to see what’s going on. Choke them out and leave them behind cover when they’re unconscious. Far Reach past the next two Guards. Hit the Elite Guard in back with a Sleep Dart, and then knock out the closer one from behind.
Don’t go up to the front door. The Wolfhound and Elite Guard there are an annoying combo to face. Instead, hop over the left wall and crouch as you descend into the garden. Two civilians are in the lower level, while a single Guard watches them from above. Far Reach up and behind him for the easy knockout.
When the civilians split up, knock them out too. It’s not necessary, but it reduces the chance of complications.
Climb up the stairs toward the main building. There are many more civilians ahead, so watch your targeting. You can reach two rooms from here. The pool doesn’t contain anything of importance yet. Ignore it. The Duke’s throne room farther along contains loot, but it’s guarded and hides a trap.
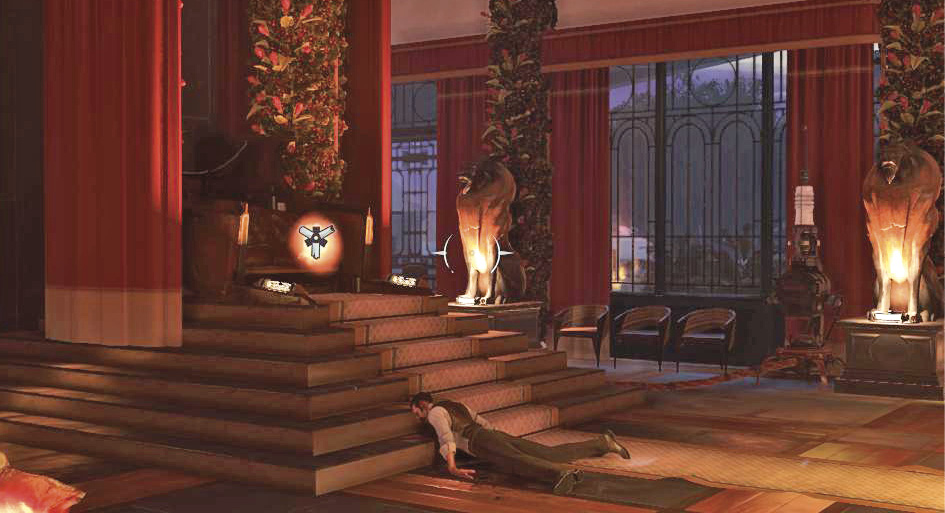
The lone Guard isn’t a problem. He’s in there with a maid and can be dispatched in so many ways. However, an electrical coil goes off on anyone who isn’t supposed to be in there. To loot the Bonecharm in the room, you need to disable that trap.
Use Shadow Walk to enter and get behind the throne. Pull out the Whale Oil Tank back there to disable the trap. Turn on Dark Vision to watch the maid and Guard. When the Guard isn’t close enough to notice, slip out and steal the Bonecharm on the throne. Then leave the room.
Get Far Reach ready and enter the pool for just a moment. Use Far Reach to zip past the talking civilians inside, and enter a room on the left. You go through a few small rooms afterward. This takes you near a closet, through a sitting room with a resting civilian (who should be knocked out), and then forward into a longer hallway. These are the First Captain’s Quarters.
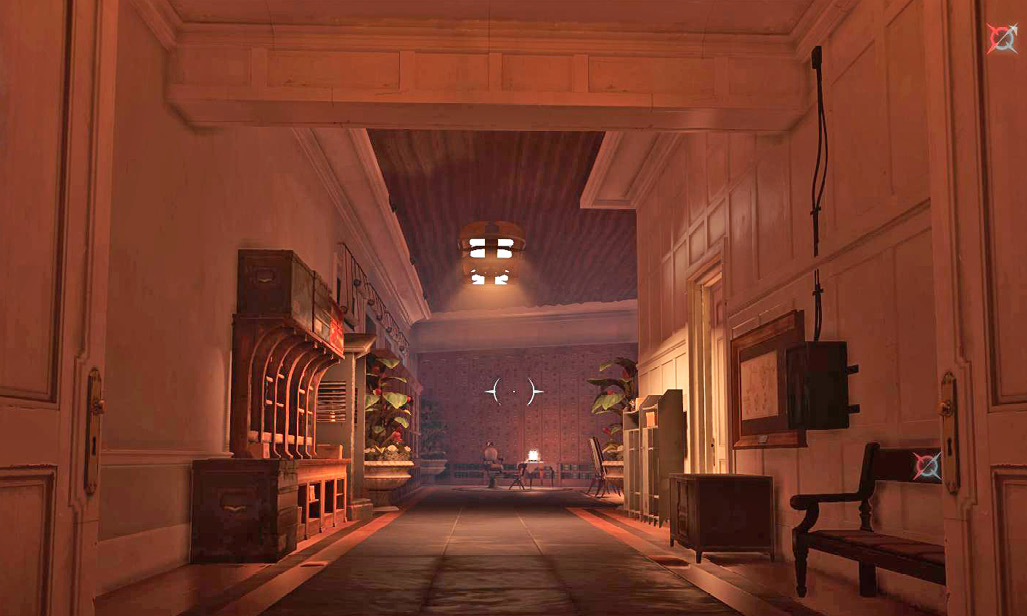
Two drunk Guards are in rooms to the right. Knock them out if you wish. Then sneak up on the Veteran at the far end of the office. Far Reach behind him for a knockout, or use a Sleep Dart if the proximity worries you. Grab all the Elixirs in the suite, and examine the safe. It contains a Rune and 300 coins, but the combination isn’t here. It’s in the Duke’s quarters.
Backtrack to the sitting room. Dump the unconscious civilian in the First Captain’s Quarters, and then look through the door to your left. This opens into the banquet hall. No one is paying attention here. Knock out the Guard close by, the resting civilian, and the Elite across the way without getting caught. Take them all into the First Captain’s Quarters.
Cross the banquet hall and head toward the Bonecharm close by. Your Heart picks it up clearly. The item is inside a room on the right as you move away from the banquet. Save before you enter, because there are multiple civilians inside. Getting the Bonecharm from the inner bedroom without freaking them out is tricky.
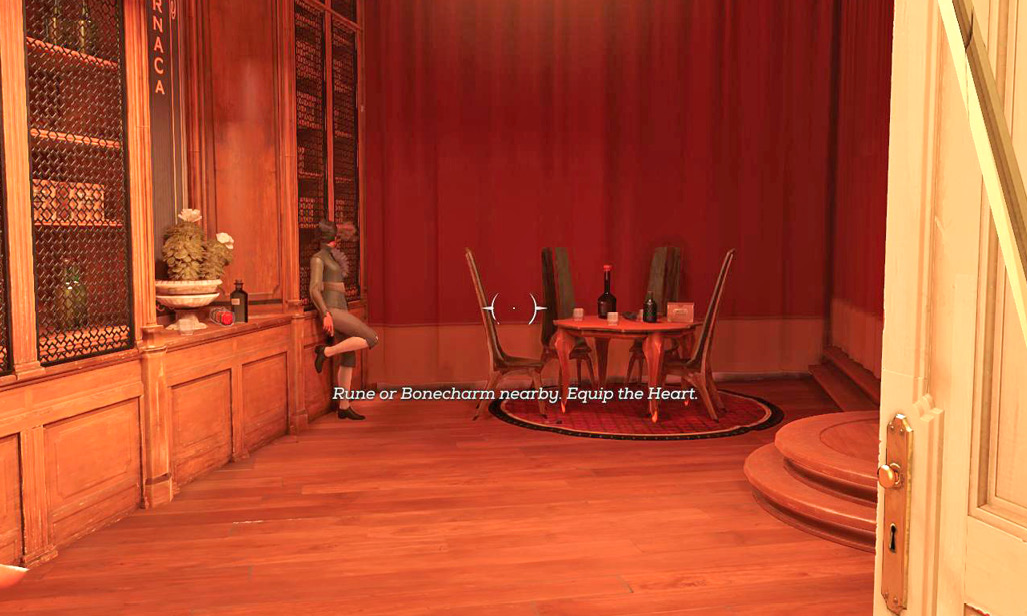
Use Sleep Darts after the two women separate, or Shadow Walk to knock them out. This gives you much more time to nab the Bonecharm from the bed, and the Sleep Dart under a table in the front part of the suite.
Close the doors to the suite when you leave, and sneak along the wall to reach another exit, closer to the banquet hall where you started. This leads into a stairwell that goes both up and down.
Take the lower stairs and knock out the Guard at the bottom. Proceed through the lower kitchen and knock out the Elite as well. Those are the only two defenders down here. Then look for a small button near some heavy wooden paneling. We give you a picture of it so you know where to look.
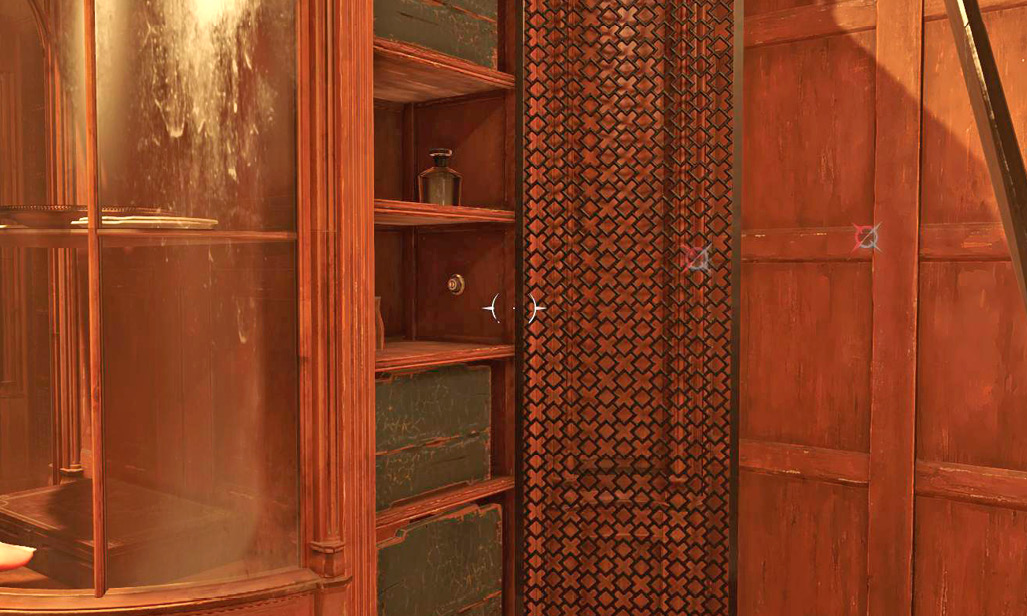
Press the button and open a secret door. You enter a series of rooms with excellent treasure. Get a Blueprint for a long table two chambers into the secret passage, and a Black Bonecharm from a side room. You can’t get through the heavy Vault doors from this side. You’ll be back.
The side room with the Black Bonecharm has one more secret to reveal. Look for a screen placed against the wall. Slash it apart with your Sword to reveal an abandoned area within the basement. Swim into the water collected there, and take a fast dive underneath some stairs. If you move quickly, you can collect the Rune there and return before you drown.
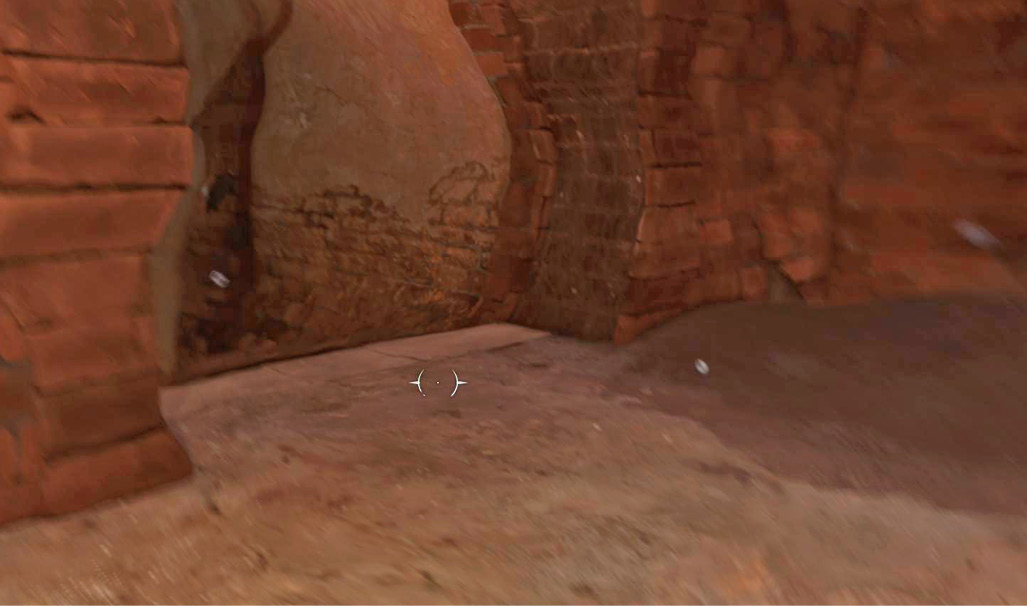
Leave the secret chamber and return to the stairway. Ascend a few flights while using your Heart to locate your new target, a Corrupt Bonecharm. Knock out the only Guard by the landing, and then open the doors to your right. Knock out a civilian cleaning the room you’ve reached, but stay close to the walls. A Guard is in a second room, and he can get a line of sight on you if you’re careless.
Follow the suite to the bathroom at the back. Knock out yet another maid on the way; she’ll be fine. Take the Corrupt Bonecharm from a cabinet in the bathroom, and then back out. Examine a windowsill on your way out for two pieces of Raw Whalebone.
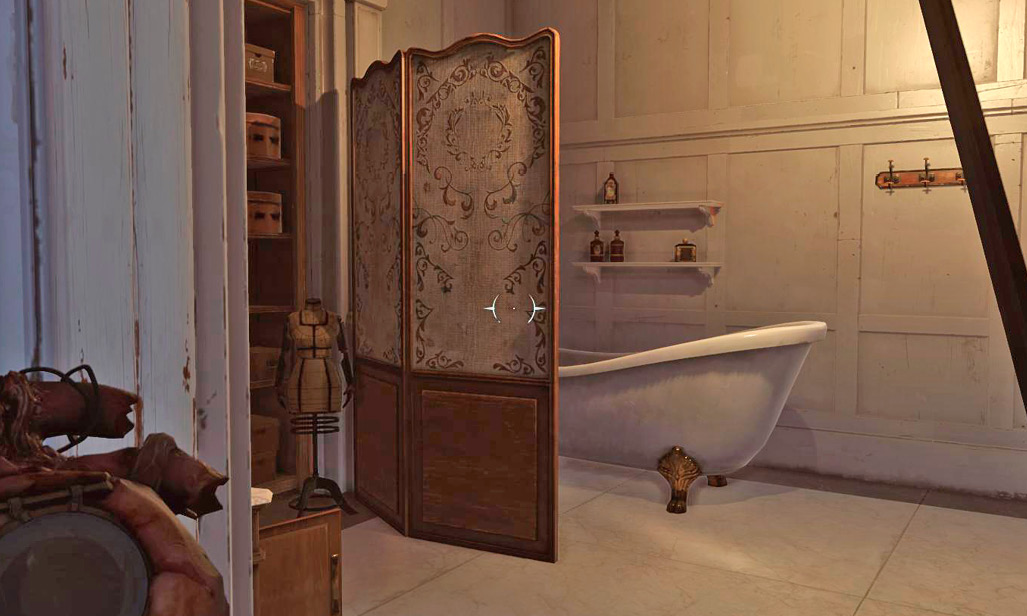
The other suite on the same level contains a Blueprint inside a dresser, but a maid and a Clockwork Soldier are in the room too. You don’t have to fight anyone. Wait for the maid to look away, sneak into the room, and grab the Blueprint (turn right and hug the wall to locate it). Exploring the rest of the room nets you the code to the safe in the First Captain’s Quarters.
Go out to the stairs and ascend another level. This entire floor is dominated by a single suite. Explore it for minor loot. An internal stairway leads to the top. That’s one of the spots where the Duke or his double might be located.
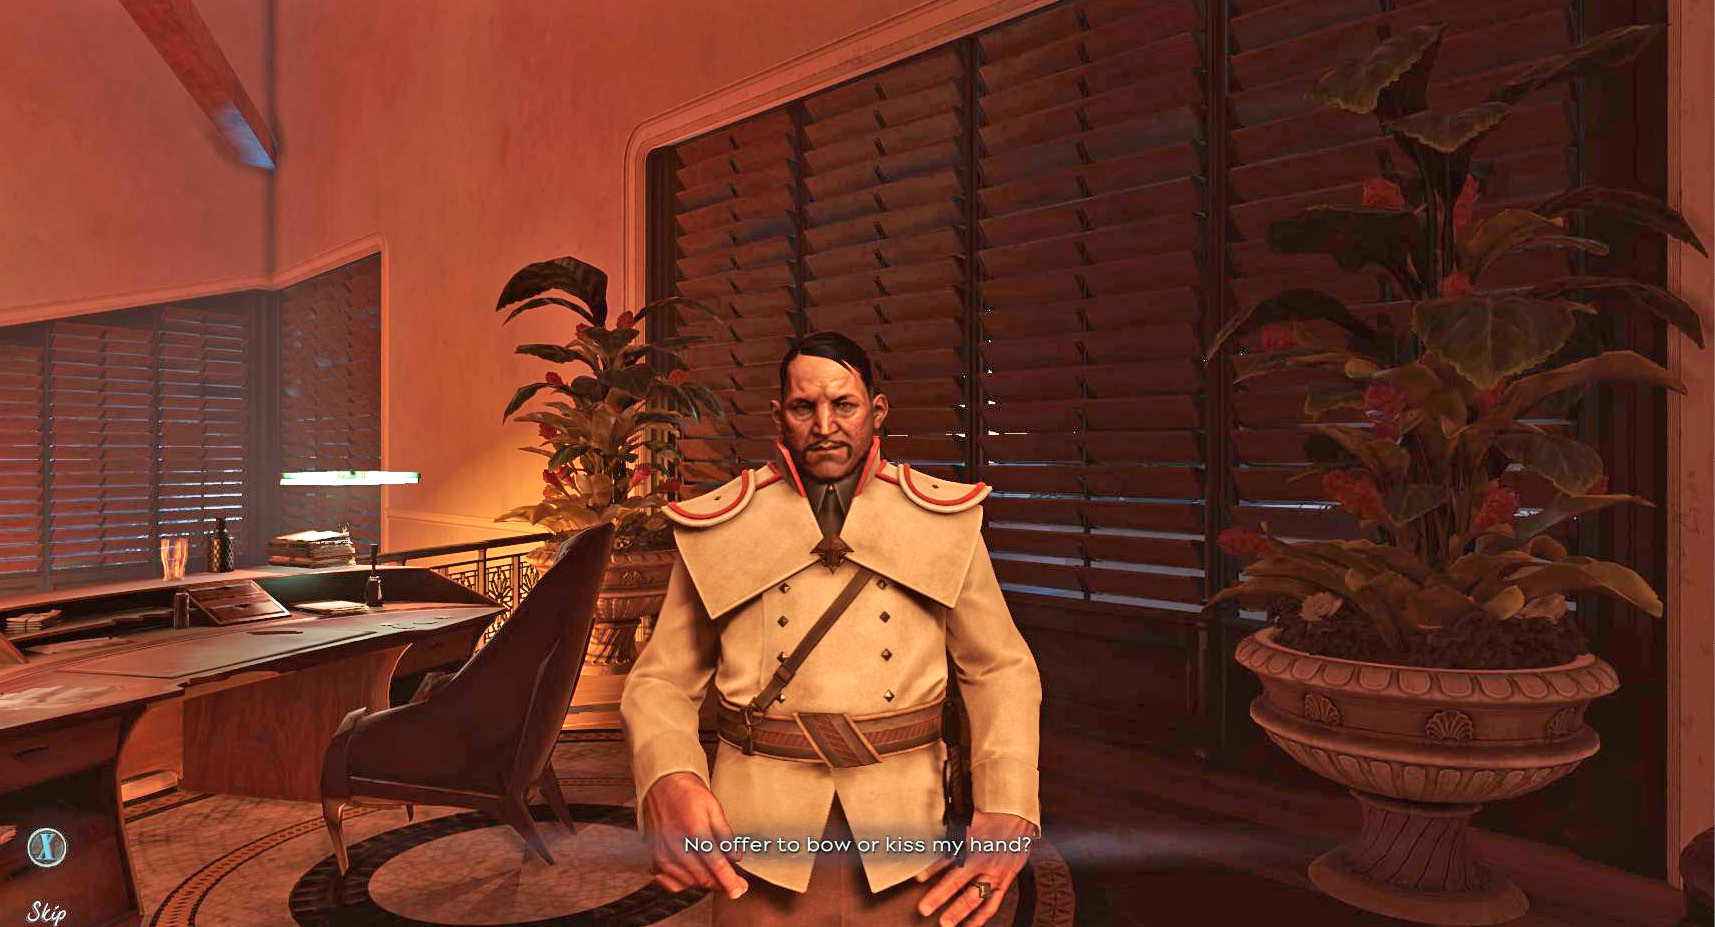
Double Cross
For this plan to work, you have to retrieve the Medal that Duke Abele carries. Get a Chest Key from the double before you leave, and loot the desk nearby for a pile of good materials.
Unlock the door to the outer balcony and go outside from the Duke’s suite. Use Far Reach to safely descend and move toward the private garden. It’s marked, but don’t fully go to ground level. Use the wooden support beams to move out and over the private garden.
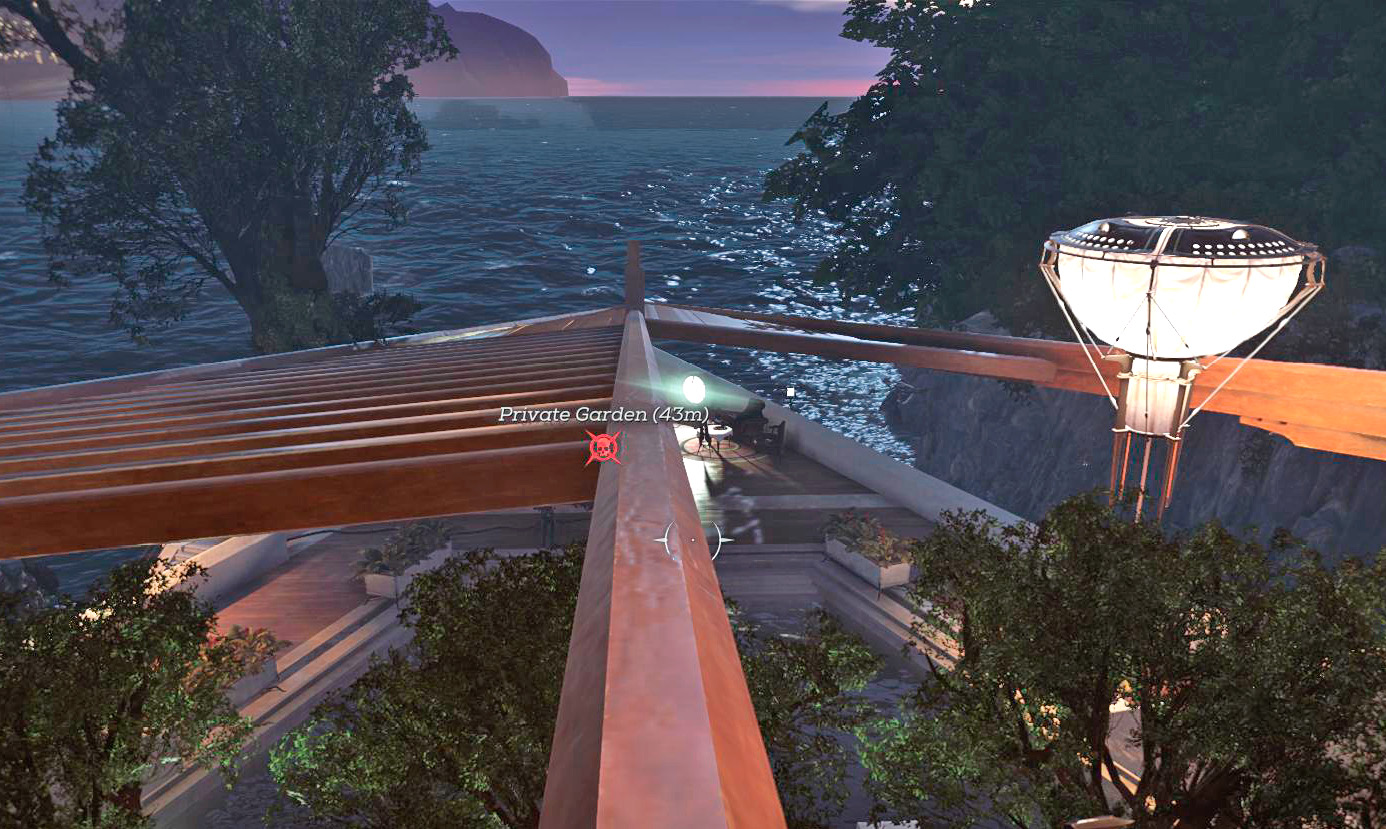
Use Dark Vision to find some cables below you. They’re feeding one of Jindosh’s Arc Pylons. Far Reach to the cables and follow them to a panel. Remove a Whale Oil Tank to disable the device, and then climb back up the steps toward the garden. Disable a lonely Elite Guard, and then the Duke is fully isolated.
Approach, surprise him, and knock the ruler out. Take his Vault Key, but don’t pick him up yet. Leave him in the garden while you prepare the Vault. There is a patrolling Clockwork Soldier, and another Arc Pylon in front of the Vault itself. Shadow Walk to the machine’s Whale Oil Tank and disable it from the shadowy corner. Wait for the Clockwork Soldier to leave on the far end of his patrol, and then bring the unconscious Duke to the Vault.
While passing through the Vault again, use the effigy to seal away Delilah’s Spirit. This is important for your final mission. A short cutscene plays before you continue. Loot everything in the Vault for a massive amount of money and the Haunted by the Past secret action, and leave the Duke’s body by the inner Vault door.
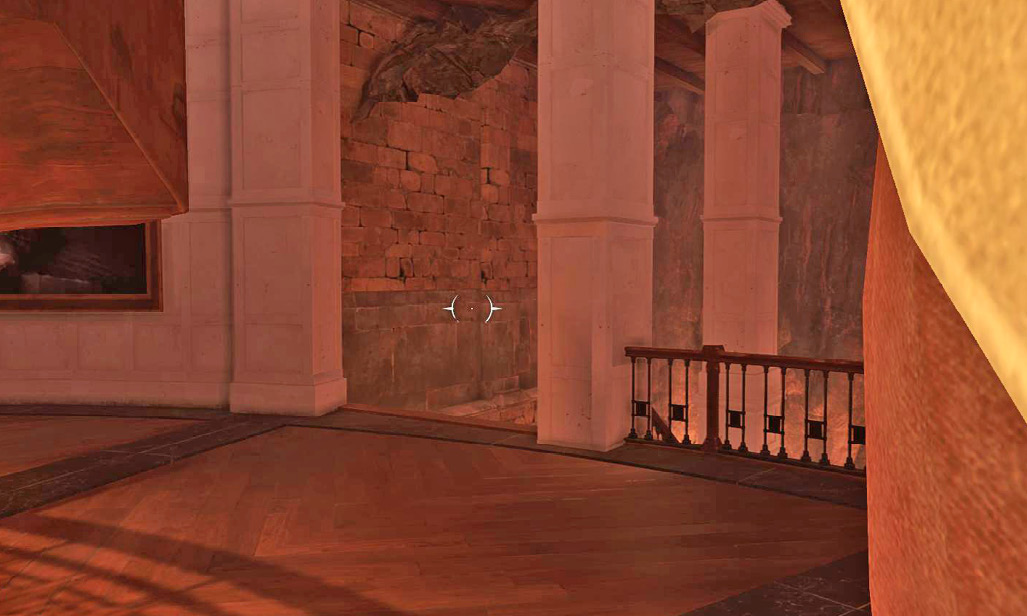
By yourself, return into the Palace and the secret passage. Unlock the inner Vault door so you can grab the Duke without having to carry him all the way through the more dangerous parts of the Palace.
Take him upstairs to his room. Place the Duke on the bed and watch an enjoyable cutscene.
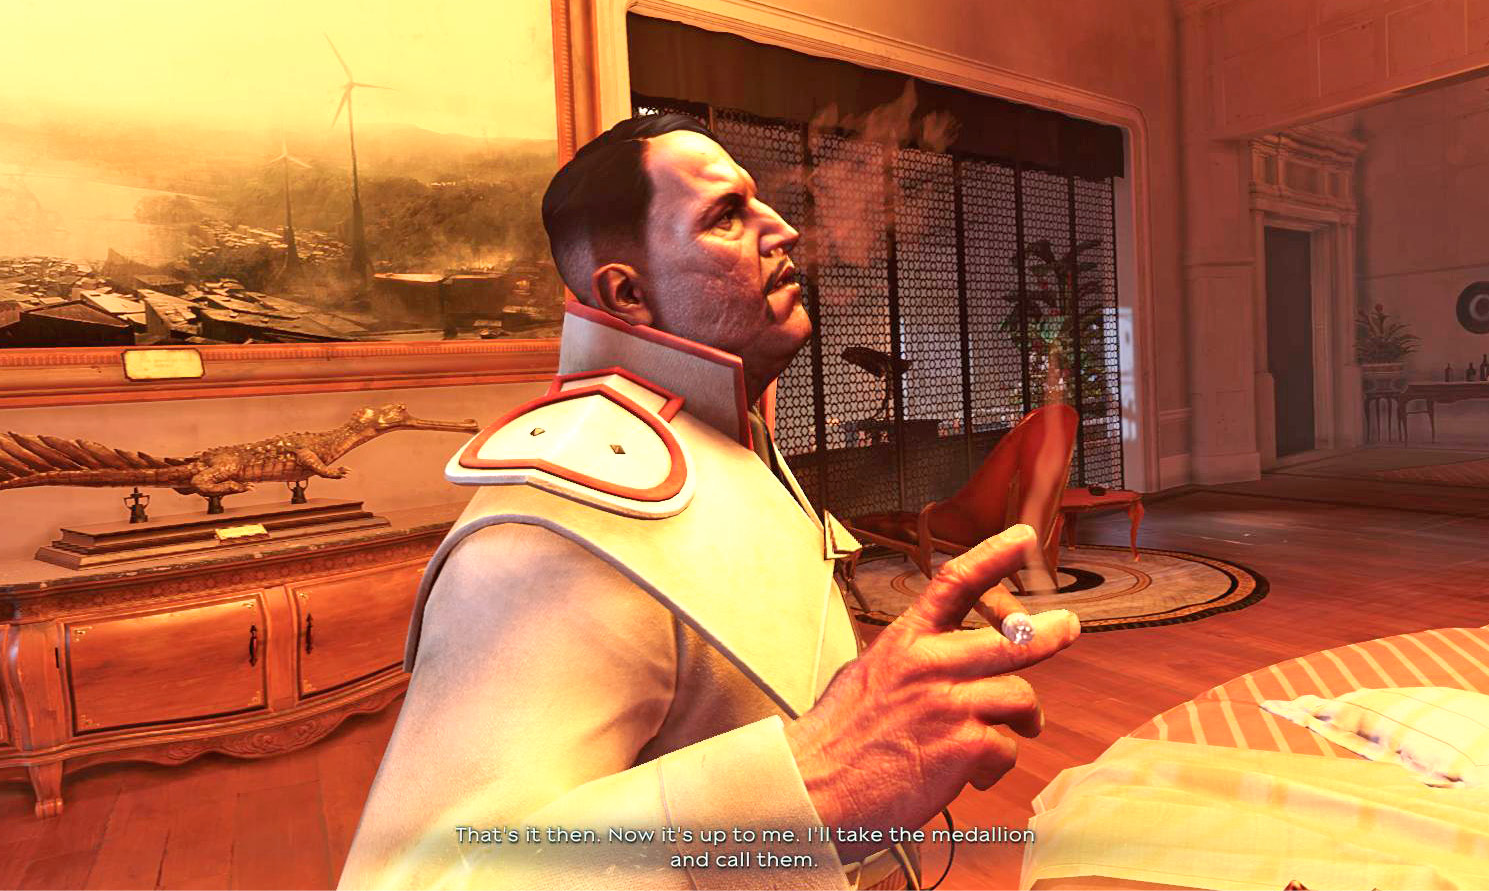
You’re done at the Palace. Exit and follow the waypoint to the Duke’s private dock. Leave as soon as Captain Foster arrives to pick you up.
Last Trip on the Dreadful Wale
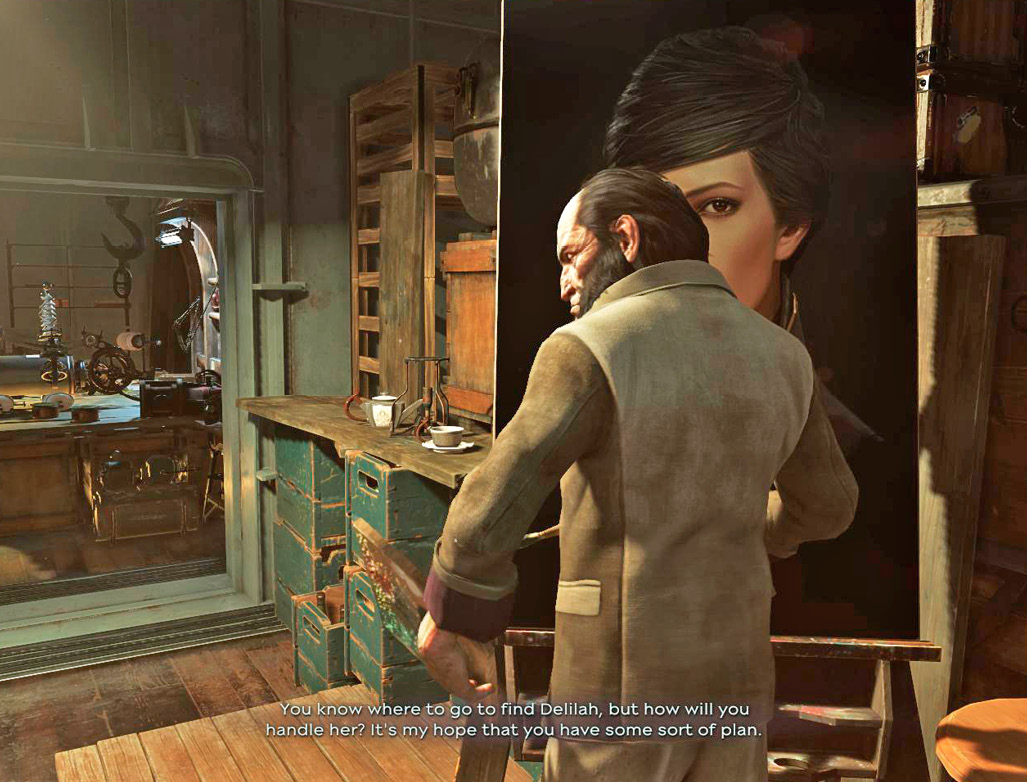
Wake up on the Dreadful Wale and go to the briefing room. Talk to Sokolov and examine his most recent painting. Search the room behind it for a Blueprint on the worktable, then meet Captain Foster on deck and talk to her. Pickpocket a Cabin Key when the conversation is over, and go belowdecks again. Open her cabin (beside the briefing room), and steal two Bonecharms from a desk.
With all that done, use the skiff to go ashore.