Dishonored 2 Guide Combat Walkthrough
The Good Doctor
Eliminate the Crown Killer, who’s been murdering your enemies to make you look guilty. Find your ally, Anton Sokolov, last seen being carried toward Addermire. Alexandria Hypatia, who runs the place, should know more.
Collectibles
| Runes | 6 |
| Shrines | 1 |
| Bonecharms | 5 |
| Coins | 2206 |
| Blueprints | 4 |
| Paintings | 3 |
Special Actions
| Sunken Wreck | Swim out to the submerged boat |
| Abandoned Basement | Find the basement |
| Release the Hounds! | Let the starving Wolfhounds out |
| Three Witnesses | Save Hamilton, read Valiente’s letter, and talk to Vasco |
| The Counter-Serum | Craft an antidote |
The Addermire Institute
Get a Map of Addermire
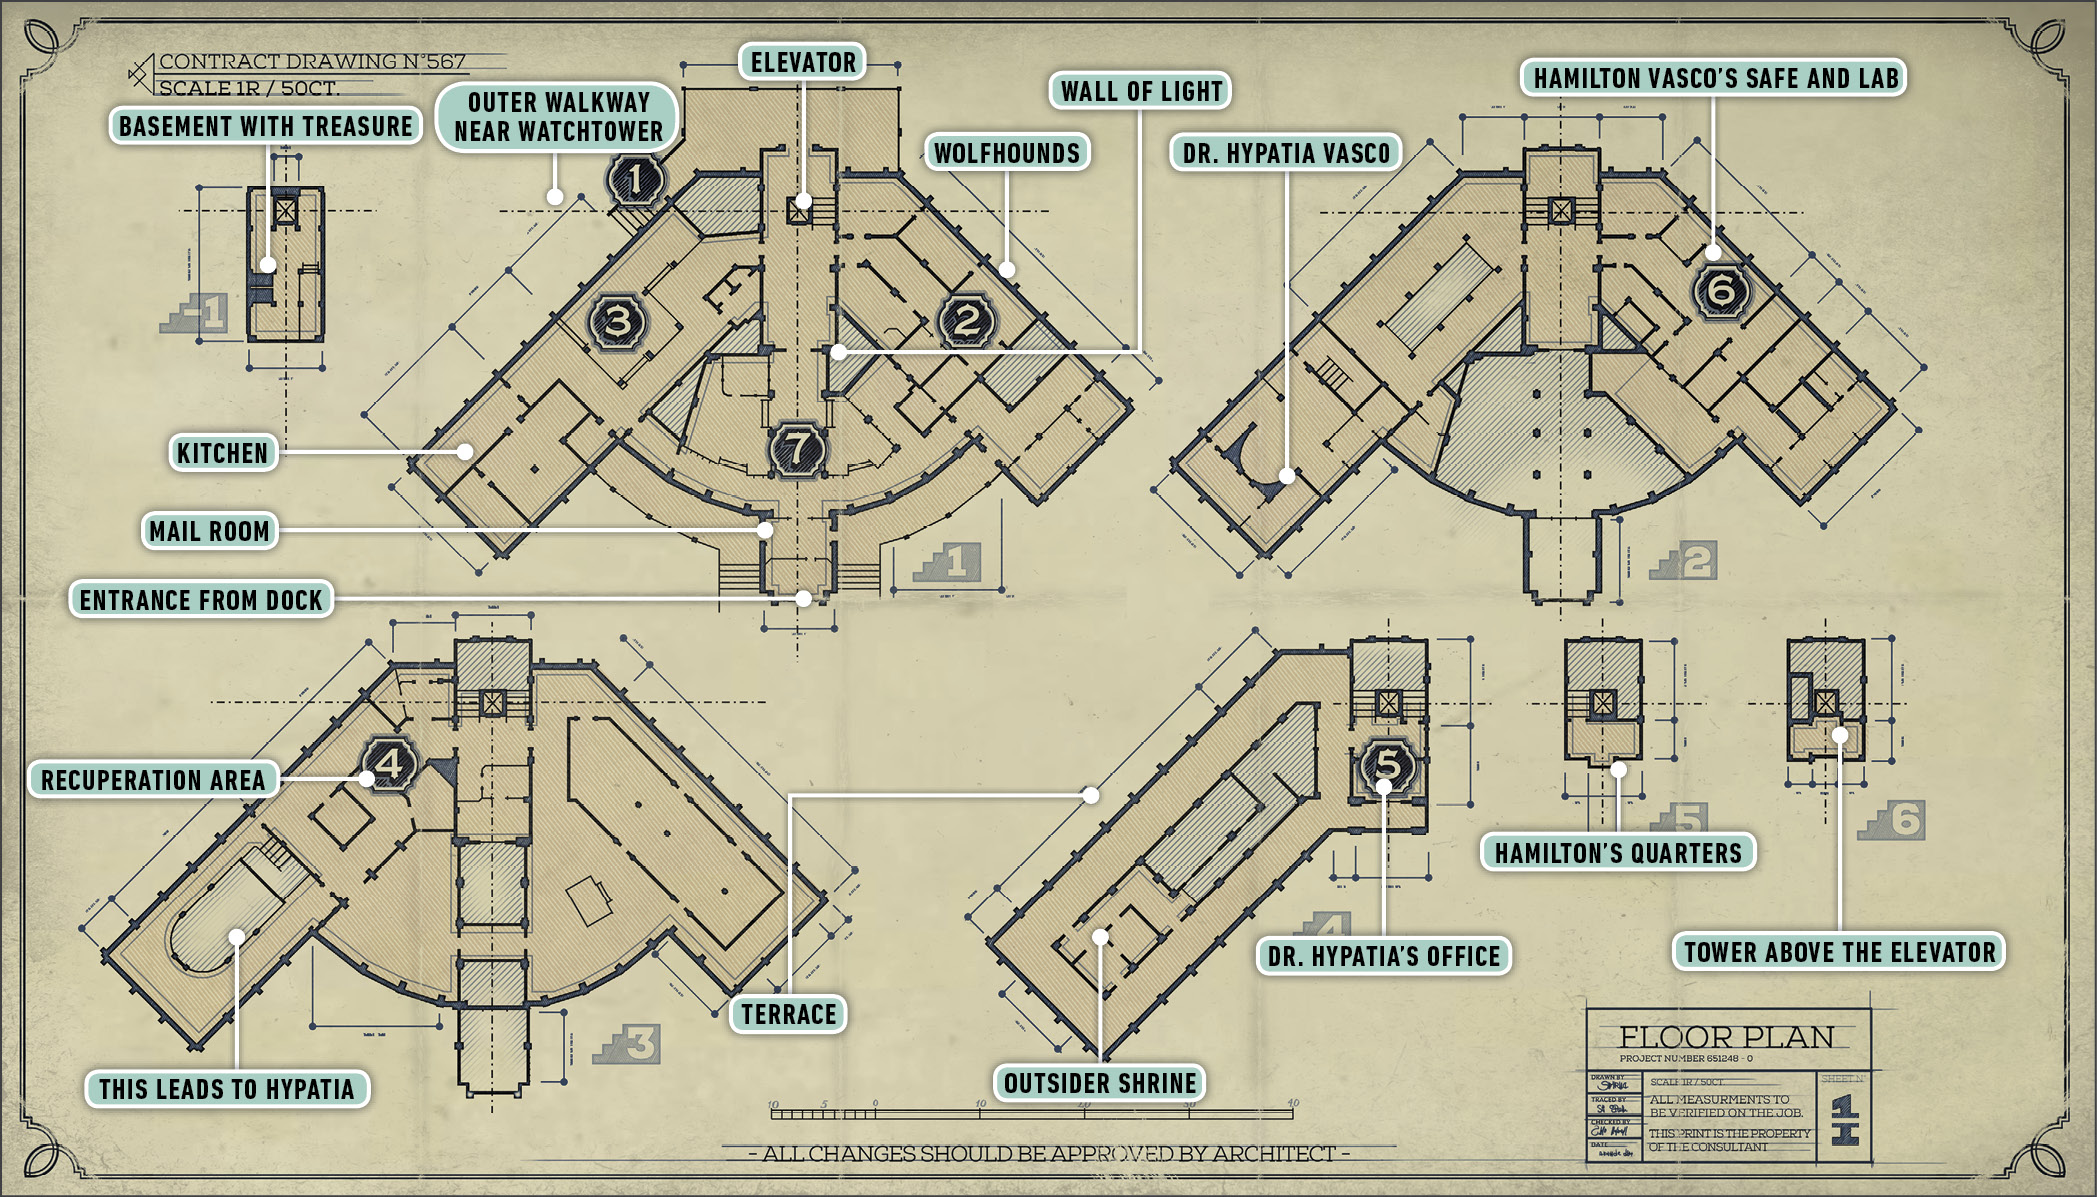
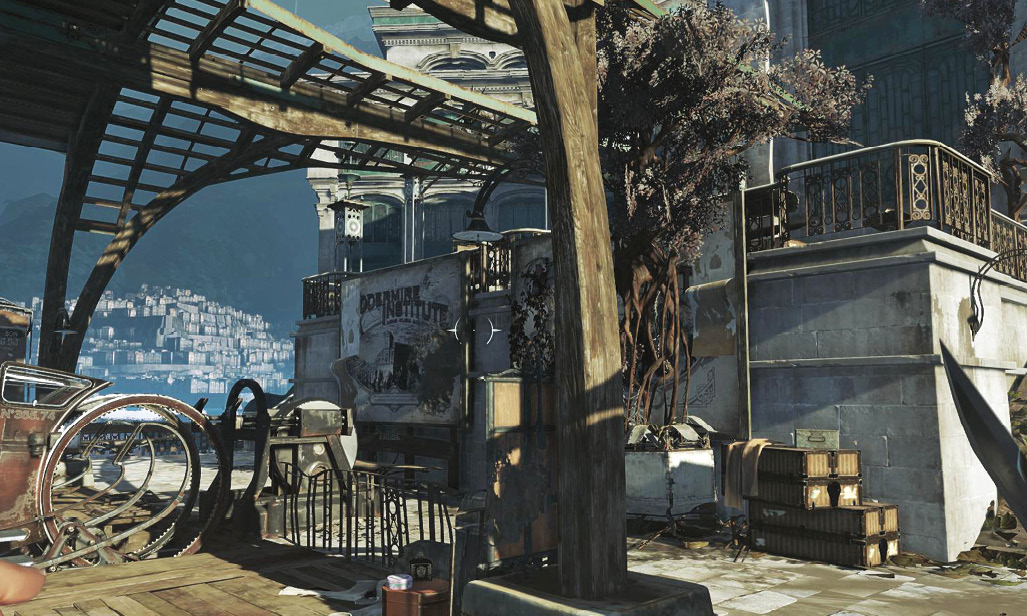
Dr. Hypatia runs the Addermire Institute. It’s a place where people of means have gone to recover from various ailments. You ride the carriage over there, hoping to find out more about the Crown Killer. You hope to meet Dr. Hypatia as well. For better, and for worse, no Guards greet you as you arrive at the institute.
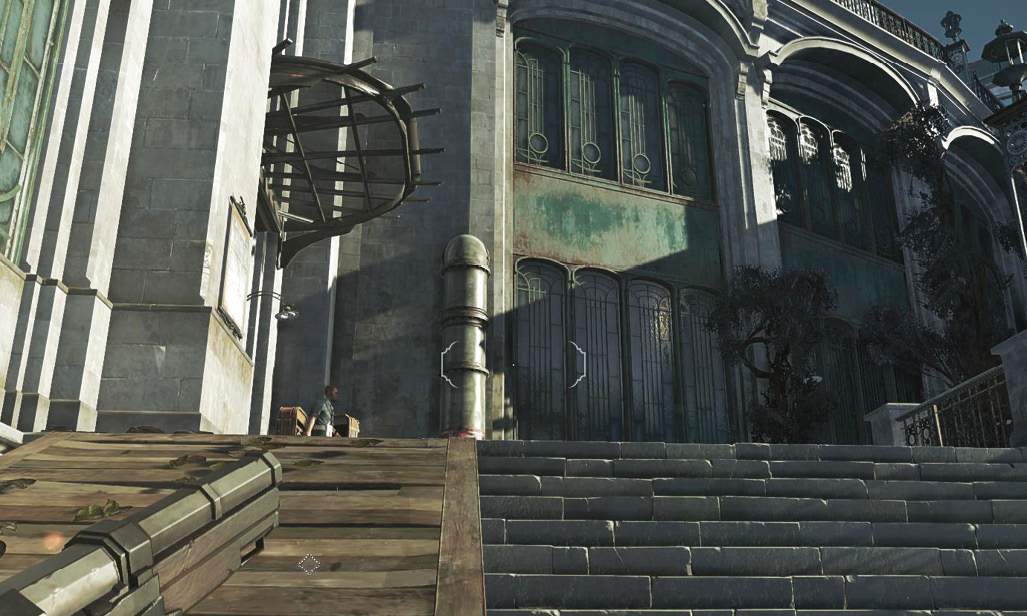
Turn around and look over the wall behind your starting position. Drop onto a pipe below, and then look underneath the walkway above. A Bonecharm lurks in the dark recess there. Use your Heart if you have trouble seeing it. Jump back up the wall when you’re done; it has handholds, so Corvo makes it to the top without mishap.
Walk toward the main building. You find your first sign of people when you turn a corner and approach a small receiving room. A patrolling Guard is close by, and two more men are talking inside. Kill the patroller quietly when he isn’t looking, and ambush the men inside. At worst, you face one of them alone in a simple duel. Loot the room, and then enter the institute proper.
A Bonecharm is on the ground, a few feet inside the entrance. Take it! Turn left and enter a large room with many enemies. Sneak up to the guy on the left and kill him quietly. Stay crouched and repeat this for the lone patroller on the right. This thins the ranks fairly well, but the two men in the center of the room are more alert.
Instead of creeping up on them, line up a Crossbow shot against one, and then close as the other stands. Kill him with your Pistol out, and use that as an Elite Guard closes to assist him. If anything goes pear-shaped, retreat to the starting room and lure the enemies back to you so you know where everyone is.
Search the kitchen and pantry in the left corner for tons of food and some wealth. A Rune is in the Guards’ area, hung up on the wall.
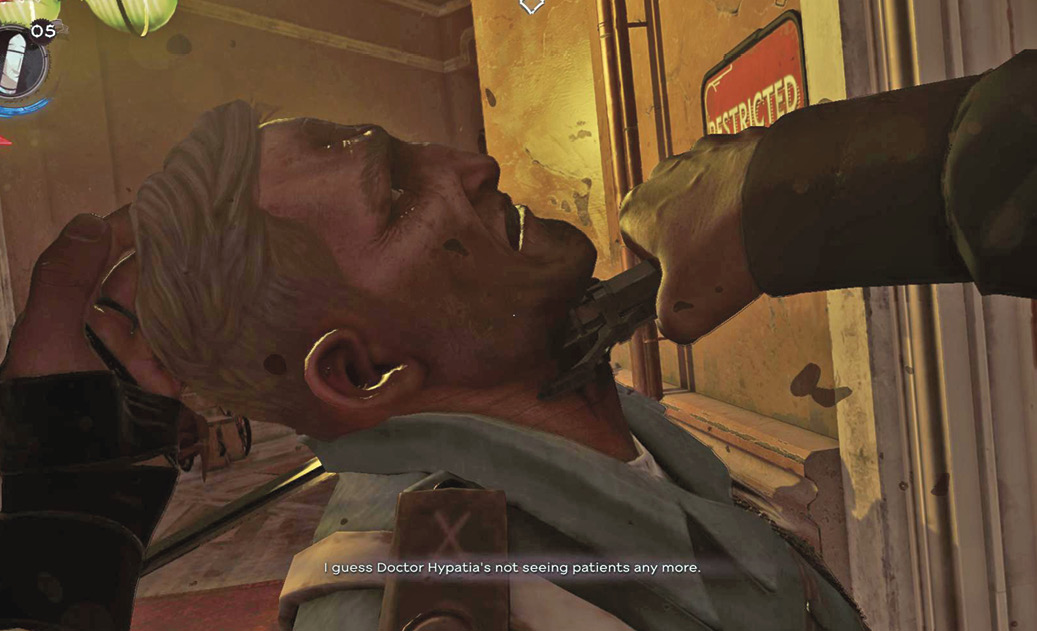
Head into the next hallway, on the right side of the dining hall. Multiple Guards aren’t far from there. To be extra careful, pop out to kill a patroller, and then hide the body back in the last room to continue getting free kills. Otherwise, take the fight to them and retreat to the previous room to avoid ranged attacks while the incoming Guards approach.
A map hangs a few feet away in the new hall. Grab it, because it’s an optional goal for this mission. Examine it closely before you pick it up, to get a decent sense of the place’s layout.
Go to Dr. Hypatia’s Office
Wolfhounds lurk in the next hall, if you continue forward. There are two of them patrolling, and two more inside a locked room. Ranged weapons or sneak attacks kill these enemies easily, but they’re a pain in prolonged fights and dangerous if you attack them while Guards are still alive. Since Wolfhounds aren’t good at defending themselves, spam your Sword attacks if they ever get close to you.
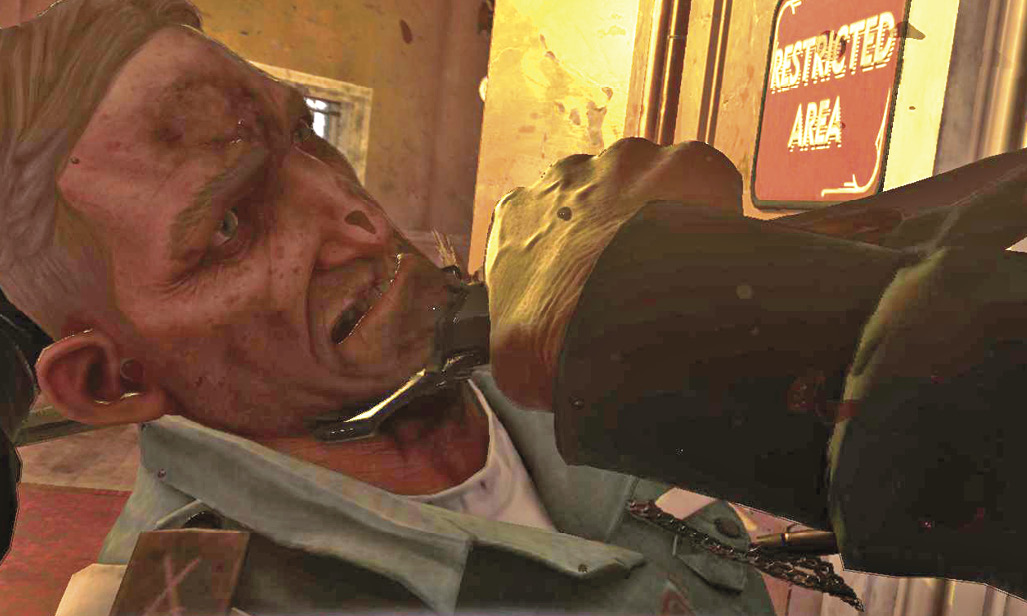
You can go around the Wall of Light without any trouble; it just connects the main lobby with the route you’ve cleared. However, if you want to bring down the Wall of Light, look for a ledge above it, on the lobby side. Blink up onto the ledge and get the tank of Whale Oil. This disables the circuit and turns off the Wall of Light. The second floor, around that spot, holds a code to a safe on a far-off desk. Find the code and search for the safe at the end of that wing to obtain a Blueprint.
Go back down after you get the items in the safe. Finish exploring the first floor, and then use the main staircase to start climbing.
Walk to the top floor. A couple of enemies are at the top. Shoot the Elite and finish them immediately afterward if necessary. The partner is a regular Guard and can’t stop you alone.
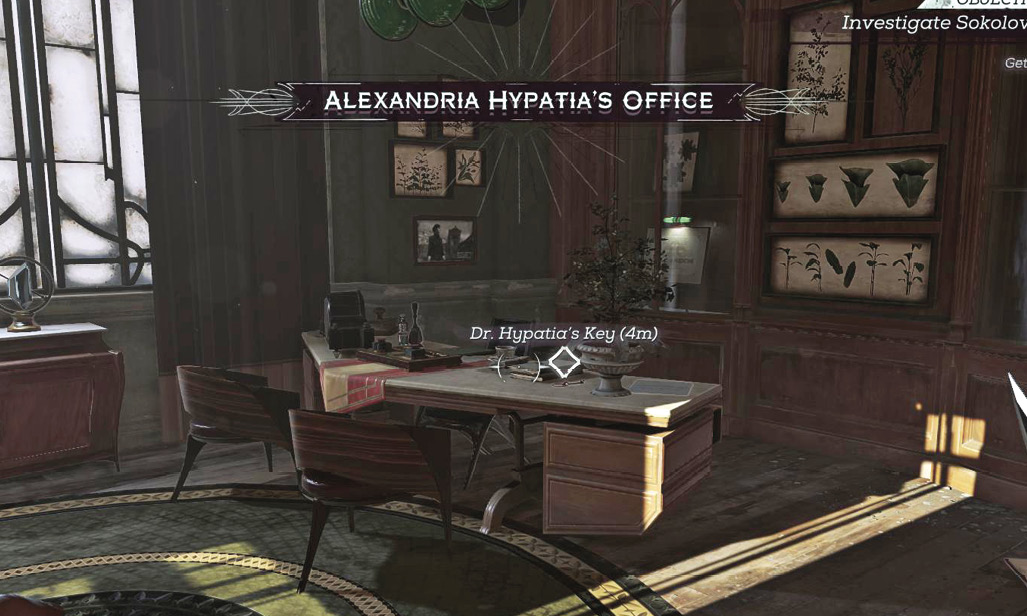
Open the doors into Dr. Hypatia’s office. A Note on the door explains a little bit, but you learn even more when you read the doctor’s journal. It’s inside the office, near her desk. Also grab Dr. Hypatia’s Key from the top of the desk. You now have access to way more of the facility. Look for a Gold Ingot tucked into the bookcase by the door.
Grabbing Collectibles
Stay up on the fourth floor and get out your Heart. Runes are stashed on an Outsider Shrine close by. Approach it and search a small unguarded room halfway through the level. Corvo gets a message from the Outsider after interacting with the shrine.
Return toward the main building, but don’t go inside. Instead, look up! Blink onto the roof. It’s high up, but explore there until you see a window into a tower. Blink inside and grab a Rune! Look around to locate the cables that hold up the elevator. Shoot either of the red canisters that power the device. This collapses the elevator, breaking it through into a locked-off basement area.
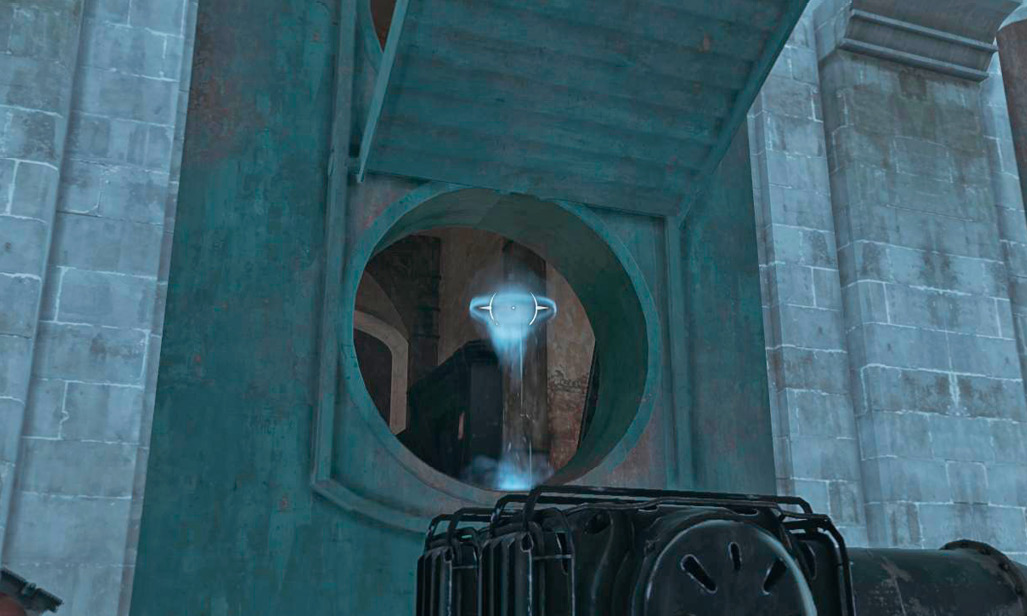
Go back outside and Blink to the middle roof, then onto some smokestacks. Turn around and Blink up to the highest roof to collect the Black Bonecharm in the bird’s nest.
Return to the first floor and Blink onto a small ledge above the elevator entrance. Hop down onto the collapsed elevator, and from there into the basement. Grab a Rune, a Painting, and some money from the left side of the room.
Descend to the third floor and use your Key to open the door close by. You find a huge Recuperation Area where Bloodflies have congregated. A Rune is several feet from the entrance. Use flammable bottles to clear out the Bloodflies, or rush in, destroy their nests, and retreat to let them cool down. Either way, you score an easy Rune. Halfway through that room is a tank (like an iron lung) you can crawl through to reach a recessed room. A Bonecharm is inside.
Talk to Hamilton
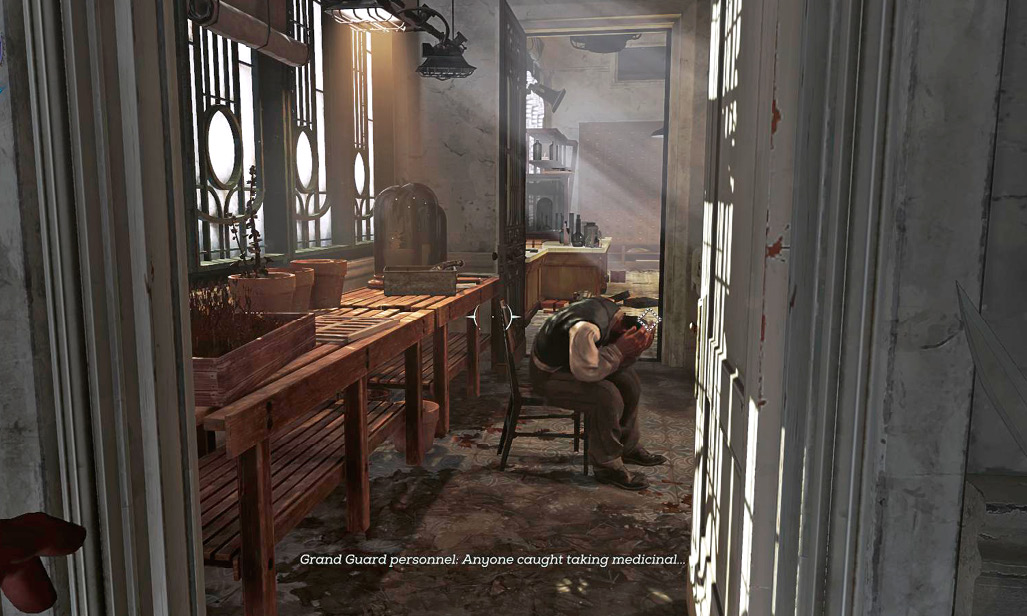
Climb to the second floor. Look around for Joe Hamilton inside the area that was formerly locked. He’s being held in a small room. Use Hypatia’s Key to open that section and the door into Hamilton’s holding area. Kill a lone patrolling Guard and make sure the coast is clear. Then get inside and talk to Hamilton. Obtain Hamilton’s Quarters Key while you’re there; it’s inside a small container behind him, along with a huge stash of Bullets.
Return to the fourth floor and look for a small set of stairs that leads farther up. They’re marked as long as you’ve talked to Hamilton. Disarm a tripwire by the top of the stairs.
Unlock Hamilton’s room and take everything that isn’t nailed down. Bullets, wealth, and information are everywhere. A diary on the far desk is what you need the most. Read that now.
Go to the third floor and walk all the way through the Recuperation Area. You hear a woman’s voice as you come out the other side. Locate a staircase that leads down; it’s a back set of steps. You can’t get to this spot by walking through the second floor normally. Dr. Hypatia is in a laboratory.
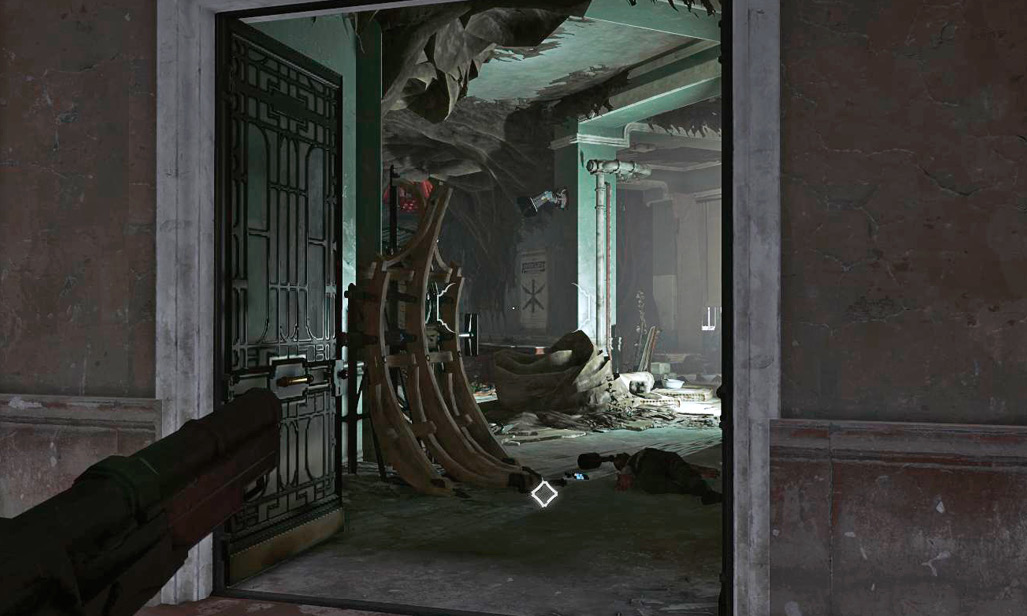
Talk to Hypatia and then collect any items you need from the offices nearby. One small lab contains a Corrupt Bonecharm. Behind it, a Painting hangs on the wall.
A man named Vasco is lying down in a side area, behind where you first see the doctor. Talk to him last, because this starts a confrontation with the Crown Killer.
Stopping the Crown Killer
The Crown Killer is a powerful foe, possessed of high health and speed. Luckily, this engagement begins to your advantage, because the boss doesn’t know where you are. Set a Stun Mine inside the doors to your area and then get out a ranged weapon.
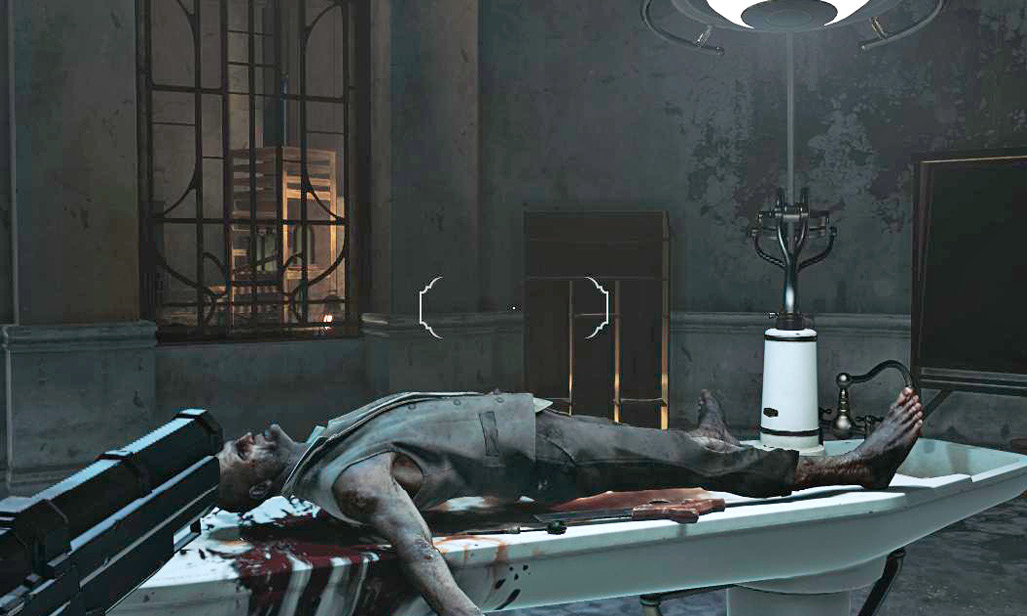
Peek out and take a Crossbow shot at the Crown Killer’s head to start the fight off correctly. Then retreat past your Stun Mine and switch to your Pistol to get faster, easier shots off during the coming brawl.
Ambush the Crown Killer when they step on the mine. Come forward with a mix of melee and ranged attacks to maximize your damage output.
This soon causes the enemy to stumble, and that gives you an opening for a killing blow. Take the shot and finish your enemy without mercy.
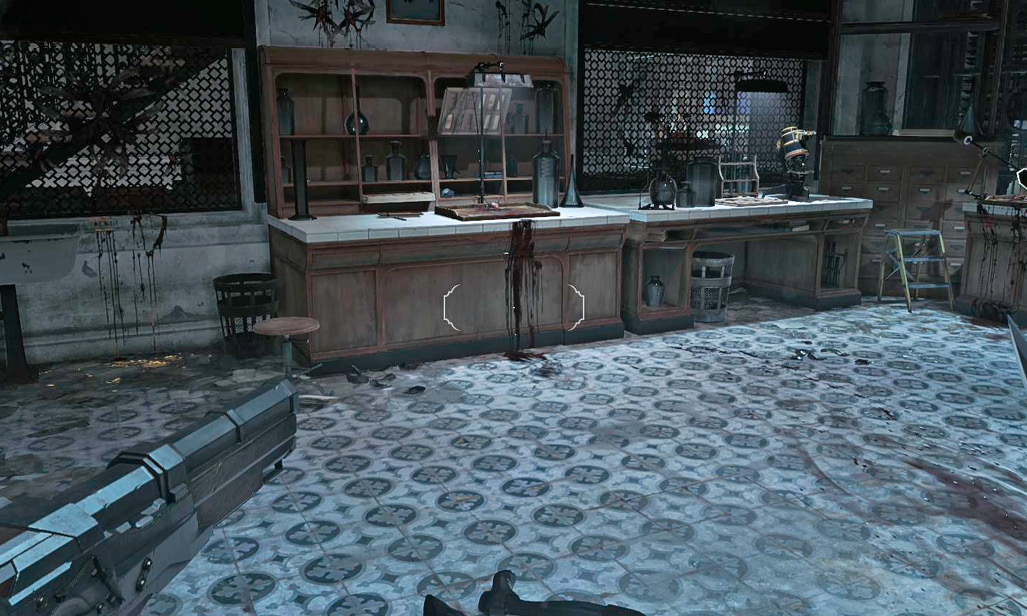
Though vicious, another method for this battle is to murder Dr. Hypatia before triggering the Crown Killer fight. If you attack her from behind while she’s working, and then press the attack quickly, she dies. This prevents the Crown Killer from appearing and attacking you at all.

Heading Out
Retreat to the ground floor and follow the waypoint out toward a Watchtower. Open the door that leads outside, and use your Pistol to shoot a tank of Whale Oil sitting between two Guards. They blow up and leave the area clear.
Blink over to the Watchtower’s control system, and pull out the Whale Oil battery. This disables everything and allows Captain Foster to approach the docks.
Blink down from the Watchtower and attack a Guard below. He’s the last person standing between you and your extraction. The captain pulls up at the docks as you finish your work, so meet her and leave the area.