
Learning the Controls
Dishonored 2 has a similar style of control to the first game, so you can skip this chapter if you already feel comfortable with the controls. Otherwise, this is where we’ll quickly get you acquainted with the game’s basic commands and options.
Commands
Like most games, there are quite a few controls that let you get your character around the world. Corvo and Emily have various movement options, attacks, and special abilities. Let’s talk about how you use them!
Movement
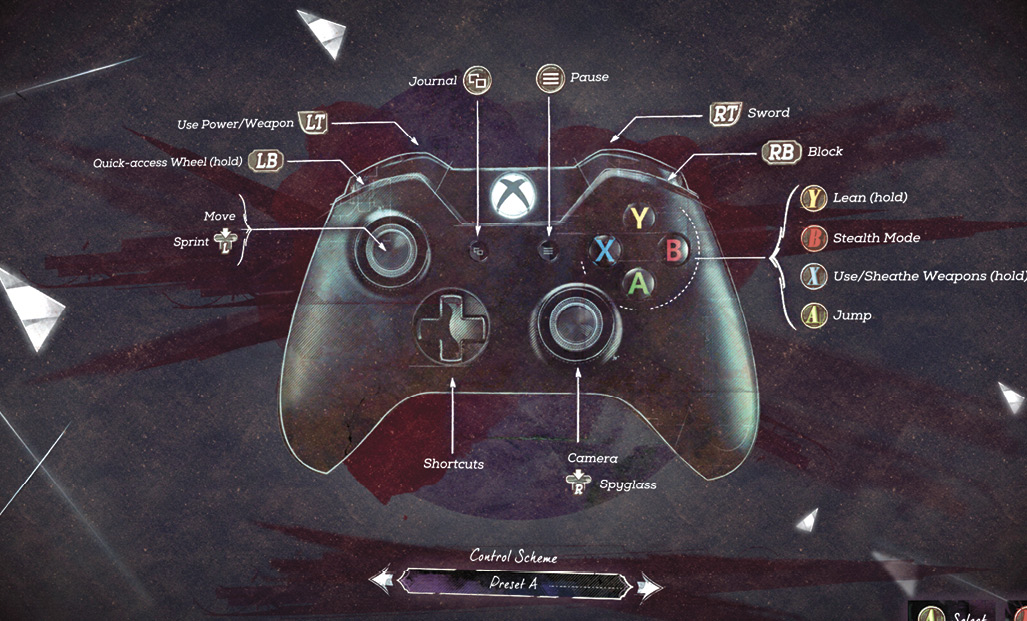
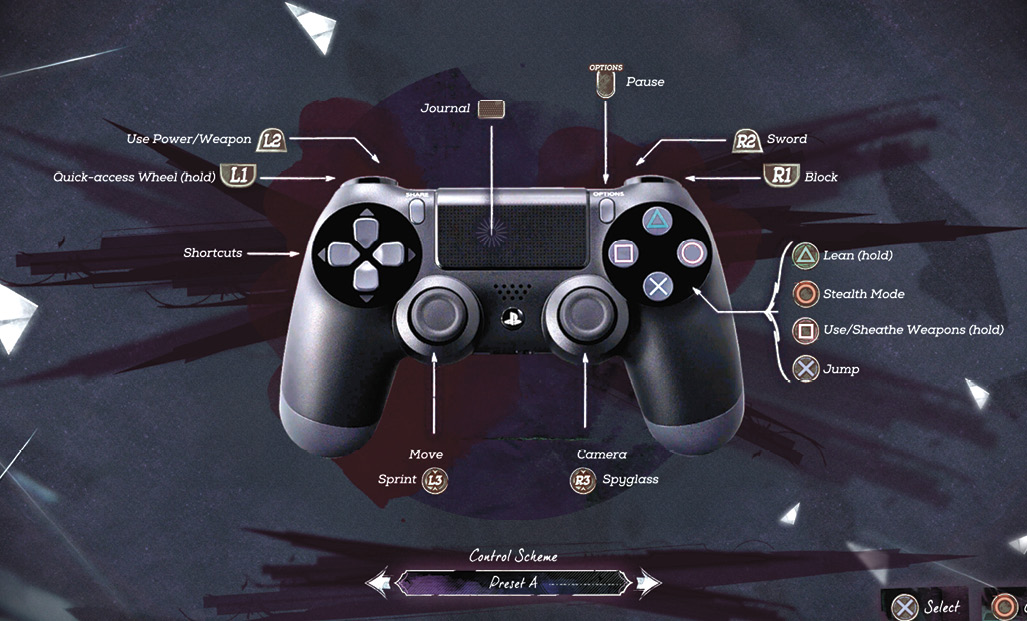
Your controller’s left stick or your WASD keys control standard movement. This takes you forward or back, left or right. This is all normal, so you shouldn’t have any trouble getting used to the system.
Camera Control
Your right stick or mouse controls the camera. Look around frequently so that you see patrols behind you, figure out good angles of attack, and so forth. If you get close to a corner, you can pan your camera to look into hallways without exposing yourself.
Sprinting
If you aren’t worried about making more noise and need speed instead, go ahead and sprint. This gets your character around much faster. Enemies hear your actions and notice you at a much greater range, so that is only a good idea if you’re already in a fight or are in a zone that is safe (because you’ve cleared out the enemies or are not suspected by anyone, like in a civilian area).
Note that crouching while sprinting puts your character into a slide. This gets you under low-hanging obstacles.
You don’t need any special abilities to slide, but taking Focused Slide lets you slow time while sliding as long as you have a ranged weapon equipped. You get enough time to aim and shoot at nearby enemies, gaining a major advantage over them.
Sneaking
Though walking doesn’t make too much noise, it still allows enemies to hear you once you get close to them. Sneaking makes your movement so quiet that even people inches away from you won’t detect your character unless you are spotted visually. As such, you can sneak behind people and get all the way up to them without causing any trouble. This is essential for choking people out or assassinating them.
Even when you aren’t going after targets directly, sneaking is wonderful for allowing you to get through areas without having to fight. There are multiple times when you need to grab an item out of a room or pass through a hallway, and it’s not worth starting a fight. See where the patrollers are heading, sneak behind them when they aren’t looking, and you’re good to go.
The more interested you are in low-Chaos styles of play, the more important it is to master sneaking!
Another tool to help with sneaking is leaning. Hold down the Lean button, and you can shift left, right, or up to help you see around corners or over ledges and windows. Enemies won’t spot you as quickly when you’re doing this. Note that they still can spot you, so don’t just stick yourself out there and relax.
Jumping
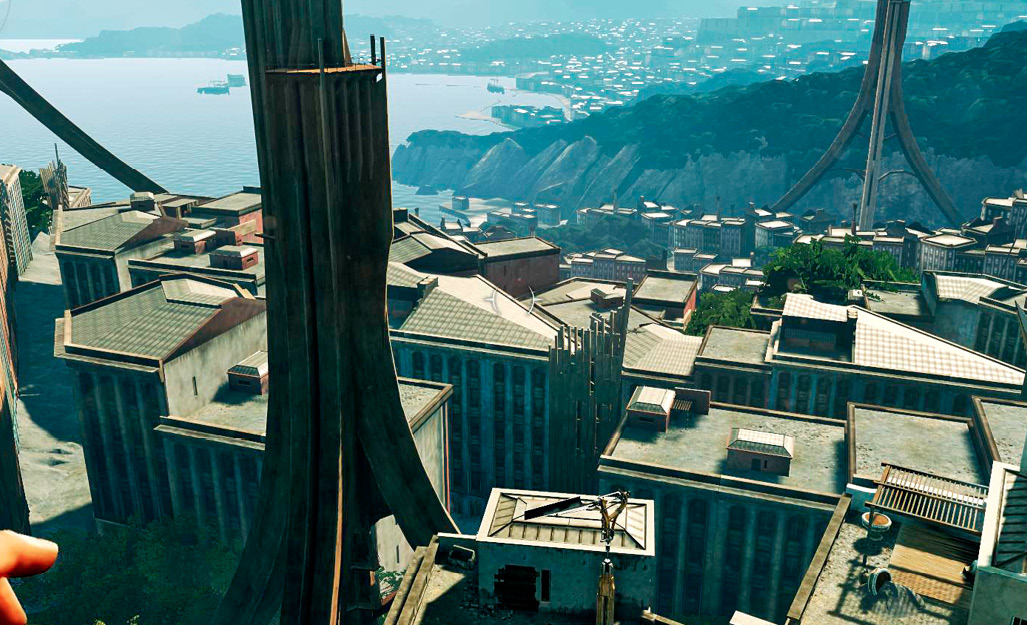
There aren’t a lot of tricky jumps or things of that sort in Dishonored 2, but your character is athletic and can jump across gaps without any difficulty. Combine this with Blink/Far Reach, and you can jump over huge chasms, cross from rooftop to rooftop, and so forth.
Takedowns
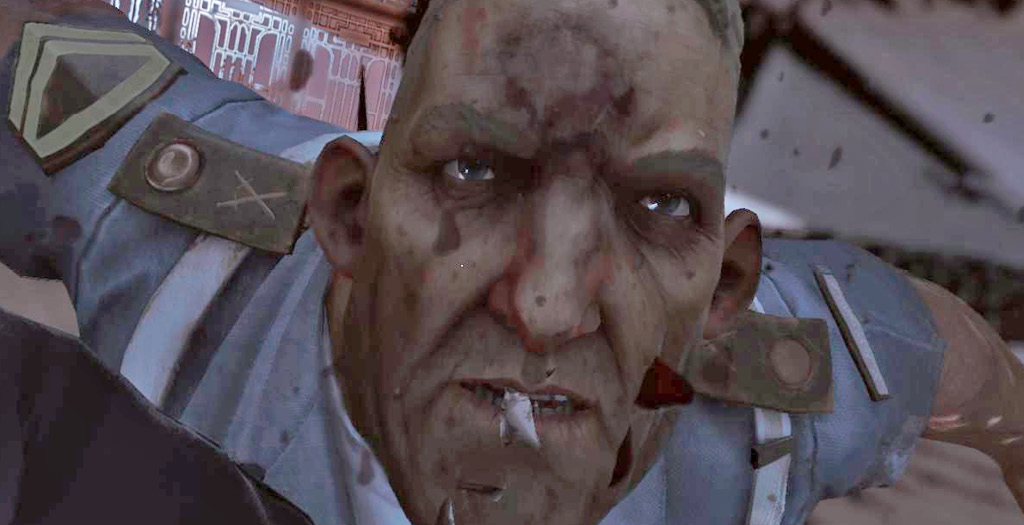
If you are close to a target and they aren’t in combat mode, you’re able to either choke them unconscious or quickly assassinate them. There is even a short grace period once a target realizes you’re there when it’s still possible to take them down instantly. If someone hears or sees you, quickly tap the correct button and hopefully secure your instant victory. If you drop onto a target from above or run and slide into them, you can initiate a takedown immediately. Takedowns can also be initiated through windows or from ledges against targets that get close enough to you.
This is one of the most vital techniques for getting through the game in low-Chaos mode. You need to knock people unconscious, hide them so that other patrollers won’t see anything, and then repeat the tactic against other foes in the area. By doing this, you can clear out groups and free the level for exploration without having to kill anyone or face your own death. Notice that you can transition instantly from a choke into carrying an unconscious person if you hold down the carry button as you complete your choke.
It’s also possible to choke people during combat if you’re really quick. Parry their attacks to stun them briefly, and use the time when they’re disabled to grab the victim and begin your choke. While holding these victims, you are partially protected from enemy attacks because of your meatshield. During this time, you can move slowly. Make sure that your victim is between you and other enemies. Also, try to back away from unaware targets so that they don’t see you choking their buddy! If enemies are approaching, you can throw the body shield forward and defend yourself. While getting back up, the victim is vulnerable to assassination. Grab and throw people over ledges or into breakable objects for really spectacular kills.
High-Chaos killers still use this technique as well, though in a different way. If you fall into this category, a takedown is a fast kill that either starts a fight with additional enemies or leaves you undetected so that you can repeat the maneuver and continue scoring instant kills without needing to draw your Sword.
In general, most high-Chaos players assassinate eve ryone they come across until they’re detected. At that point, they draw their blade and use a mix of swordplay, equipment, and special abilities to kill anyone who comes calling. It’s not subtle, but it’s quite fun.
Finally, note that it’s possible to do a takedown during combat if you get special opportunities. Parries leave enemies vulnerable for about a second, so you can parry and then assassinate or choke out a target. If you get behind a foe, there is also a brief period of vulnerability to takedowns. A fast Blink, 180 turn, and takedown does the trick; this isn’t an easy technique to master, but it works.
Sword Strikes
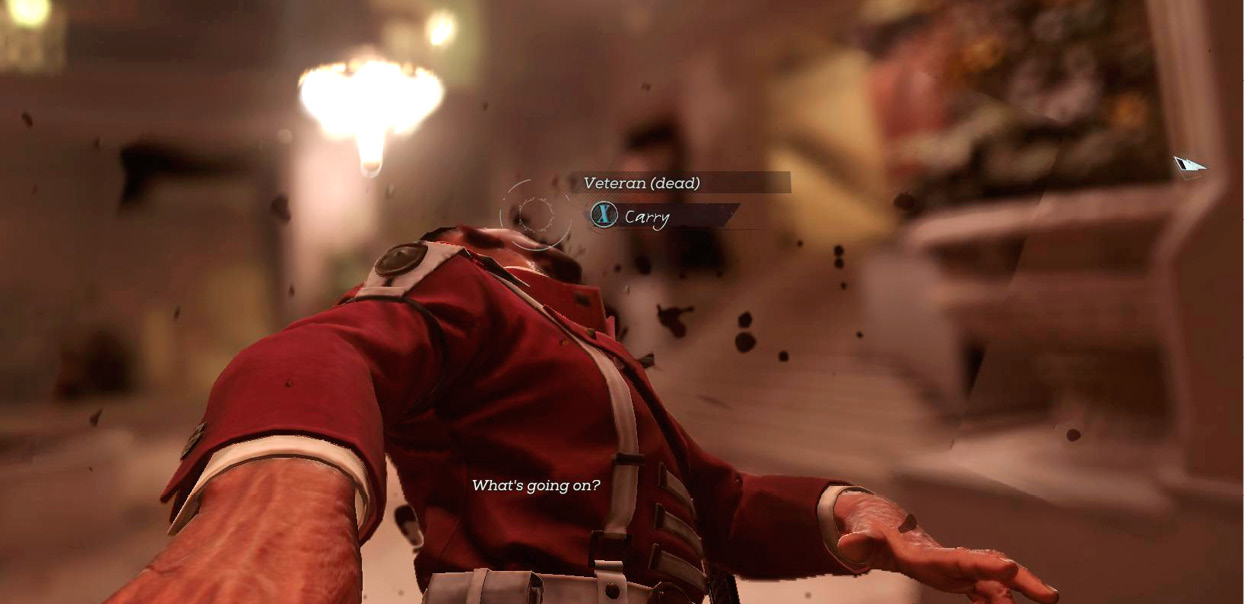
At close range, your character is a capable killer. By carefully blocking attacks and then counterattacking afterward, you can avoid heavy damage and eliminate target after target. Practice mixing in attacks with your other equipment to kill additional enemies or to throw off the defenses of your current target.
Swordplay is extremely important in high-Chaos playthroughs. It is almost irrelevant in low-Chaos play because it’s deadly, loud, and dangerous.
Blocking
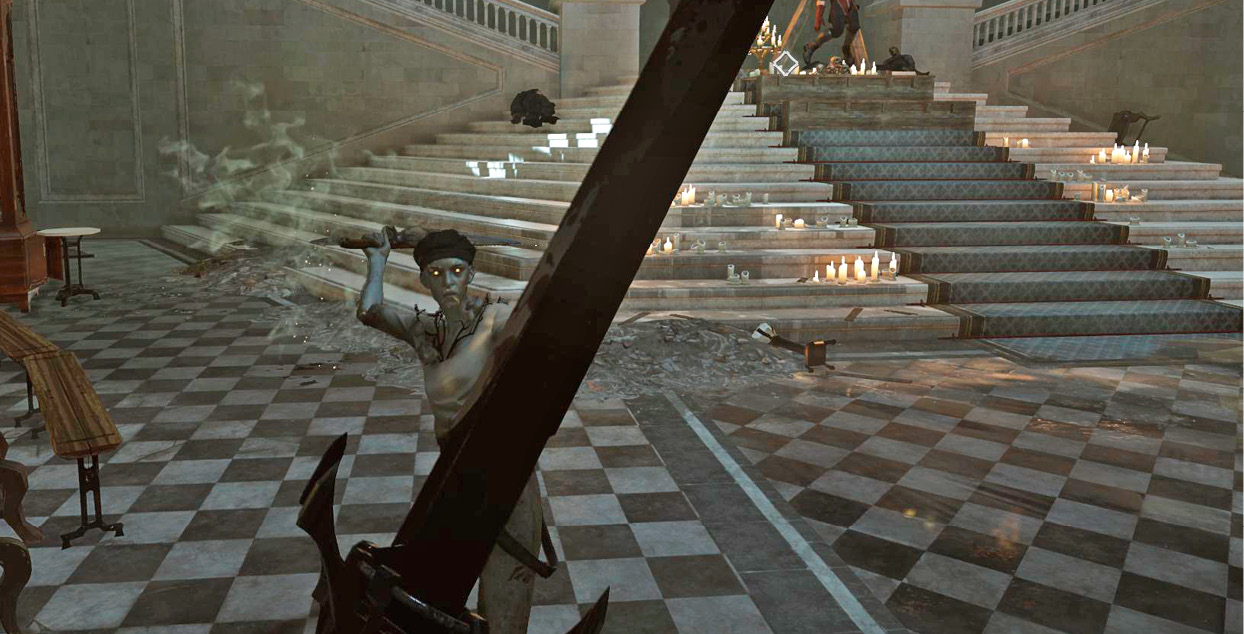
Blocking takes up your character’s time and attention but deflects melee attacks made in a wide arc in front of you. With certain abilities purchased, you can even deflect ranged attacks. In this game, you often get destroyed if you go wildly aggressive during battle. It’s smarter and safer to take a little bit longer, block, play defensively, and kill everyone in the room without taking a hit.
The most important blocking technique to learn is a parry. When you hold down the Block button, it defends you constantly but won’t trigger a parry. Hitting Block right before an enemy attack lands triggers a parry. This badly throws off your enemy and leaves them vulnerable to an instant kill or a takedown. The timing window for a parry is reasonably generous, so it’s not too hard to master and turns brutal fights into fun frenzies of murder.
Climbing
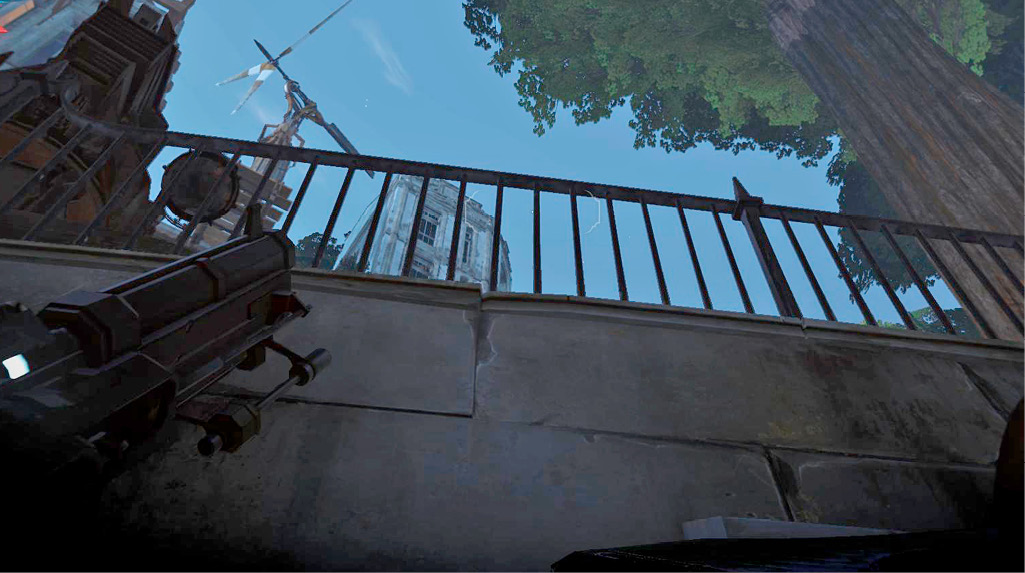
Blink and Far Reach handle much of your vertical movement, but your characters can climb over ledges, jump high to catch railings, and so forth. Climbing is automatic as long as you get close enough to a ledge that your character can grab it. The Agility ability helps you to jump higher, making it easier to reach difficult places without using any magic.
Swimming
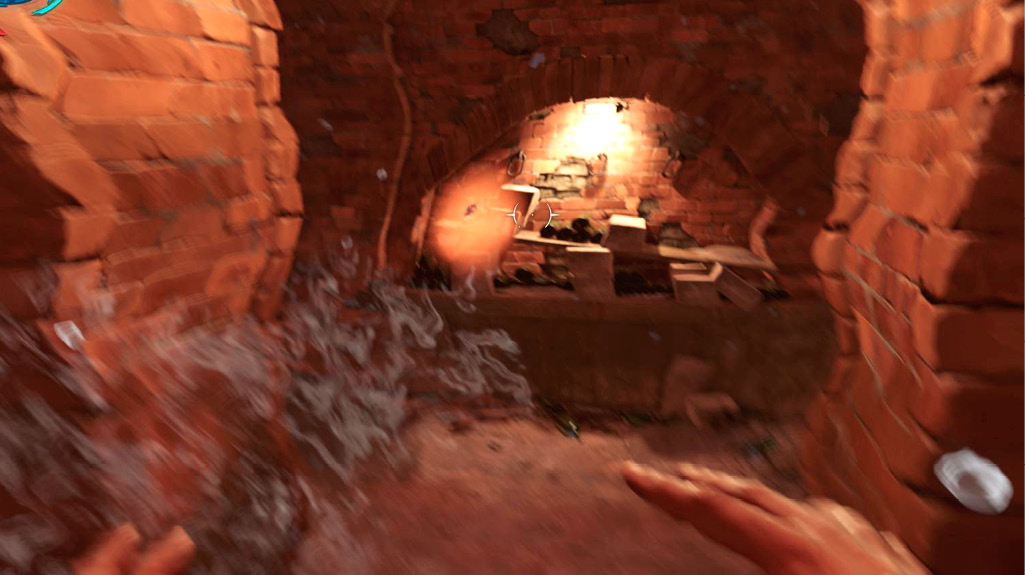
When you’re underwater, a breath bar appears on your HUD (it’s an aquamarine color, quite appropriately). If you let this run out, your character begins to drown. Make sure not to stay submerged for very long so that this doesn’t happen.
There aren’t many swimming sections in the game, so you usually end up submerged because you’re exploring and looking for extra treasure. Come to the surface frequently to replenish your air, and then continue on your treasure hunt.
Using Special Abilities
Unless you’re playing through the game without using special abilities, these are likely to be a cornerstone of your playstyle. Both Corvo and Emily have a number of powers that are incredibly useful for moving around, avoiding detection, surviving battle, or for raw lethality.
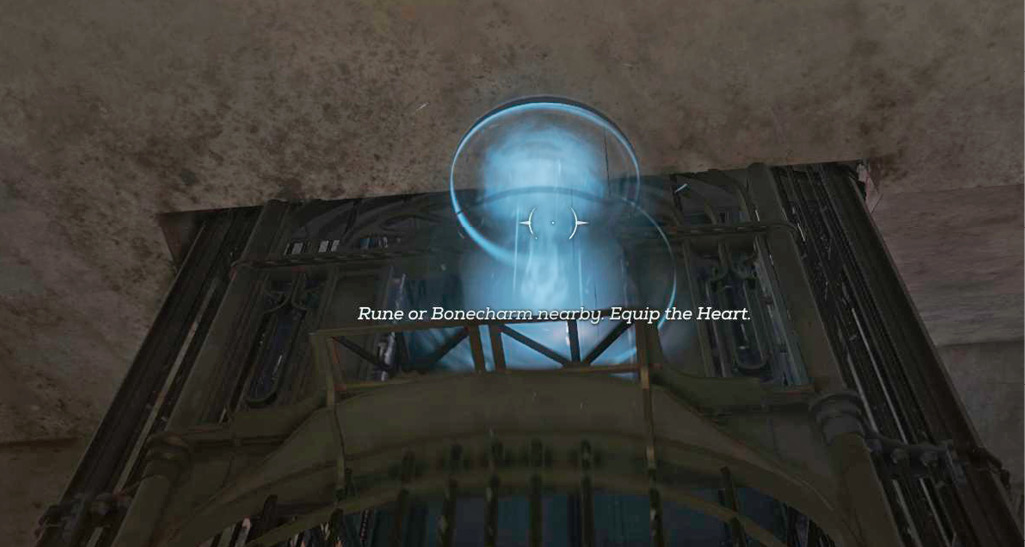
You only want to have a small set of active abilities. That way, you aren’t using them all over the place and running out of Mana constantly. Find a balance of active and passive abilities to invest in so that your character has a strong baseline of survivability and a distinct playstyle.
We explain all the abilities at length in their own chapter.
Using Your Equipment
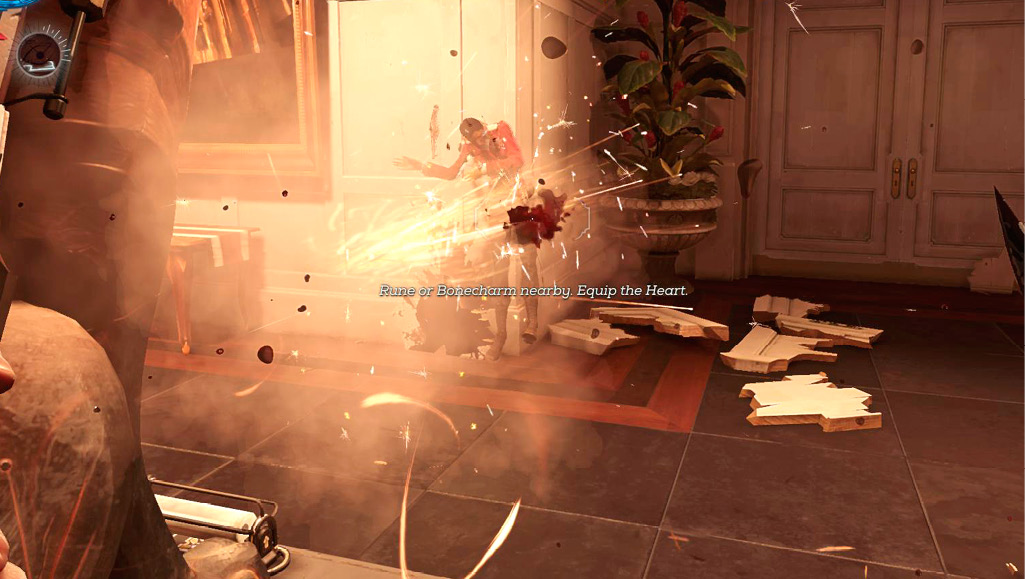
Your equipment adds ranged attacks, traps, and explosives to your lineup. These have myriad uses. You can eliminate patrollers quietly when they don’t know you’re there. Throw these into your melee routine to kill enemies quickly even when you’re heavily outnumbered.
There are both lethal and non-lethal options for your equipment, so collect and upgrade the items you need the most for your style of play. Low-Chaos players should improve their Crossbow and get plenty of Sleep Darts (they’re a godsend when you want to deal with out-of-the-way patrollers). High-Chaos players get major benefits from the Pistol and Grenades.
Drinking Elixirs
There are Health and Mana Elixirs in this game. These allow you to restore yourself if you take too much damage or exhaust yourself by relying on your abilities. In larger battles or more difficult situations, use these freely and don’t worry about conserving anything. But in all other cases, save up these critical items. If you have all ten Elixirs of a given type and find another one while exploring, drink one of your Elixirs to make room. This lets you top off your Health or Mana more often.
Drinking Elixirs
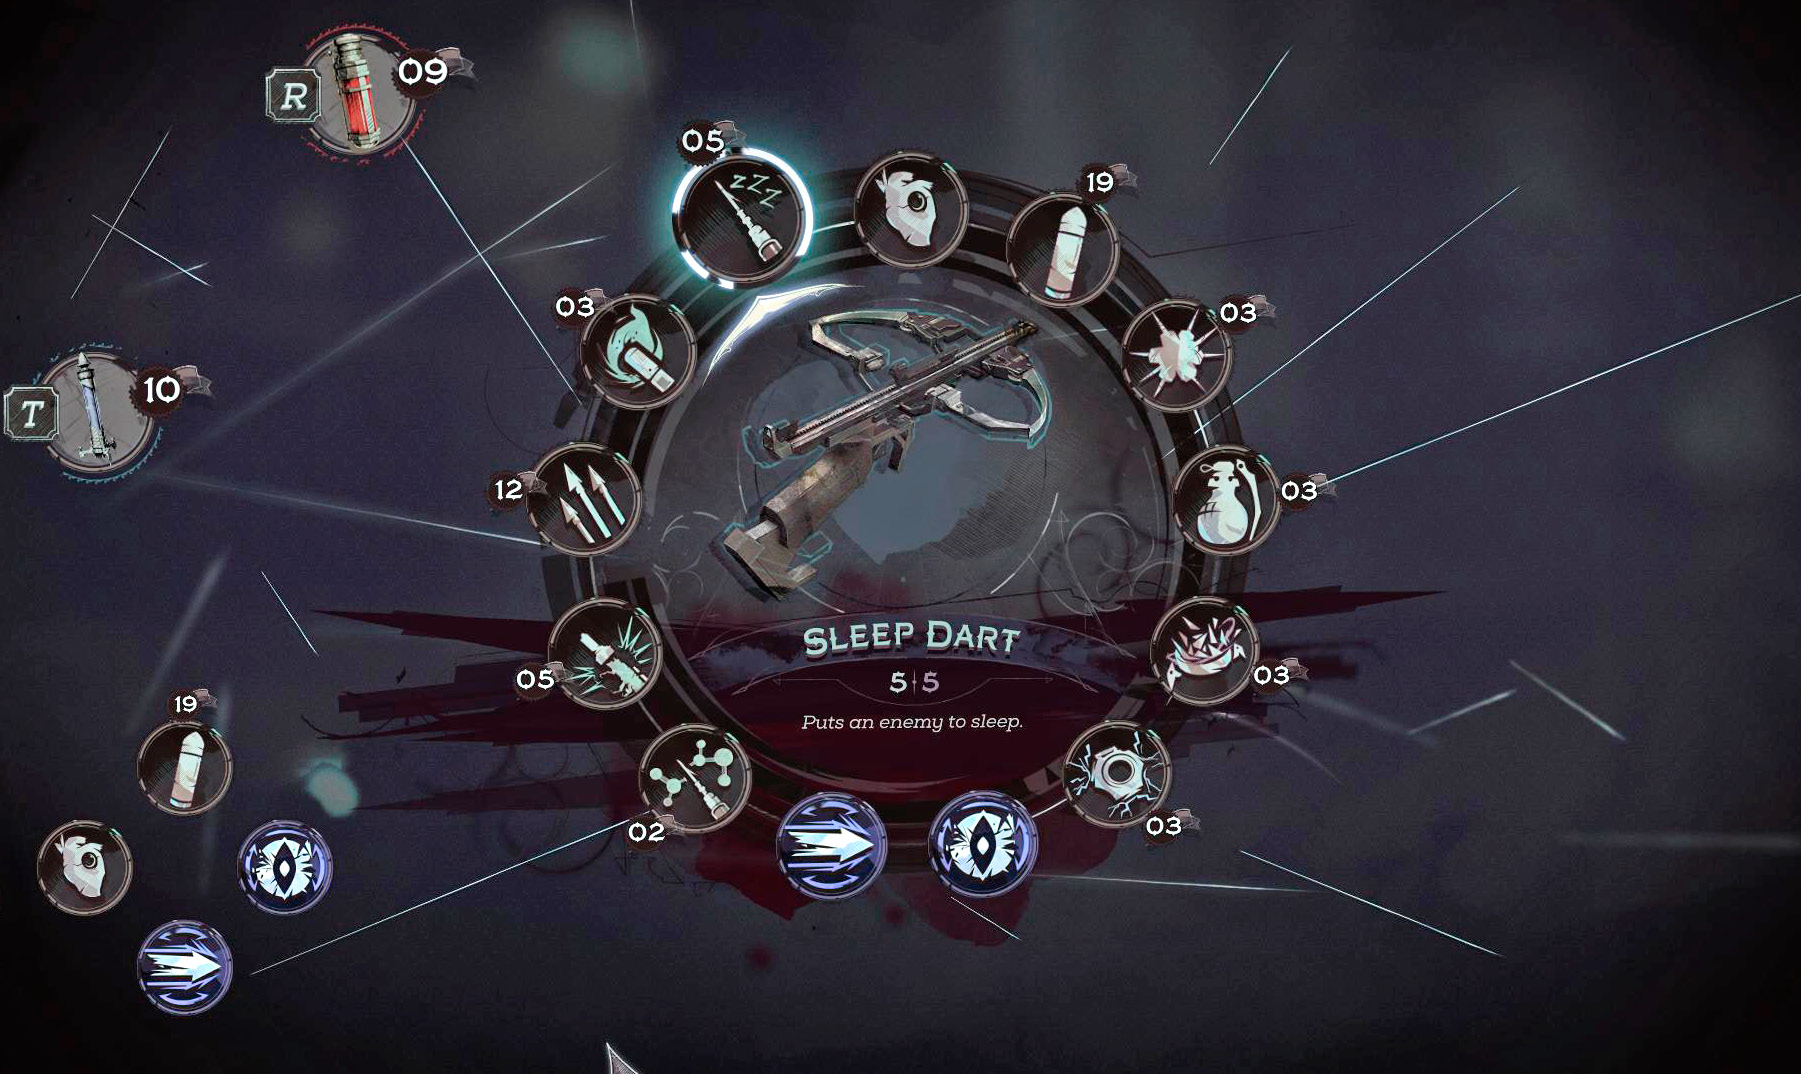
Another way to conserve is to look for food to restore your Health between smaller fights. Similarly, let your Mana regenerate as much as possible in between uses of your abilities so that you don’t bottom out and require your Mana Elixirs as often.
Looking Through Your Spyglass
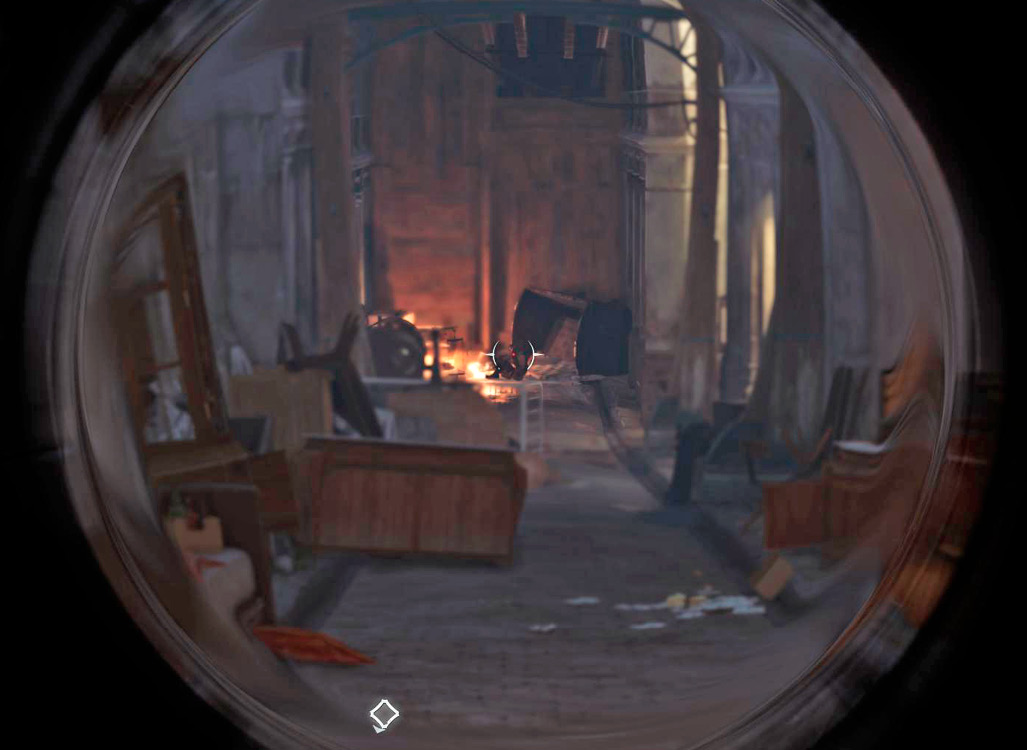
Quite early in the game, you get a Spyglass that lets you look at things from quite a distance. This allows you to listen in on conversations at range as well (because Corvo and Emily have awesome equipment). Use this to watch enemies from farther away, when they don’t have any real chance of spotting you.
The Menu
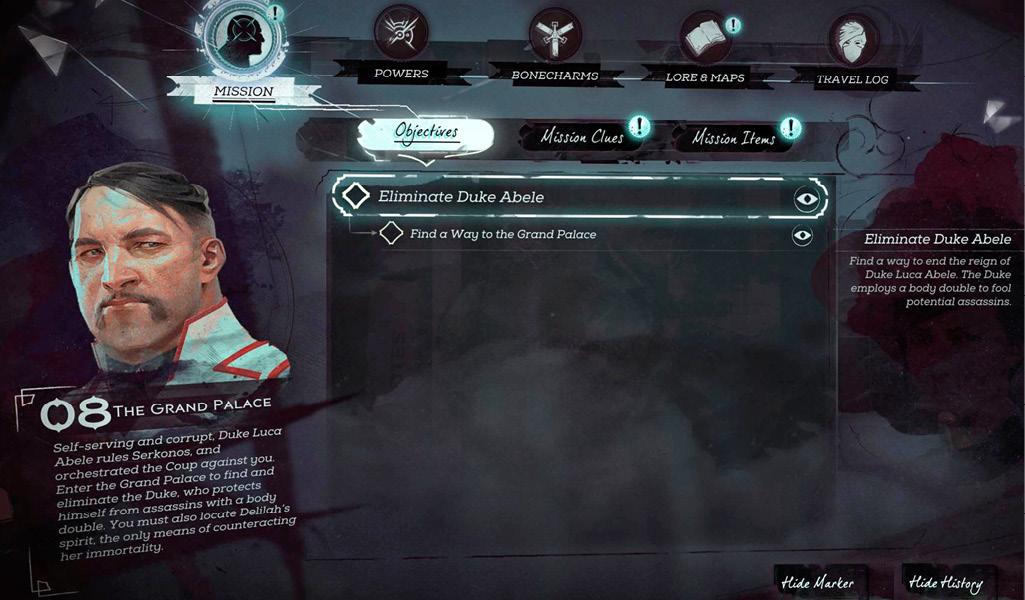
After loading the game, you are put into the Main menu. From here, you can access the Tutorial, which is short and effective for getting you used to the controls. After playing that, set up the Options to your preferences and then go into the main campaign.
Each time you start a new campaign, you’re asked to select a difficulty level. We strongly suggest that you avoid the Easy setting. The game is much more complex and enjoyable if you try some of the harder settings, and even a newcomer will find that Medium is doable without investing much practice time. The higher modes are even better!
Options
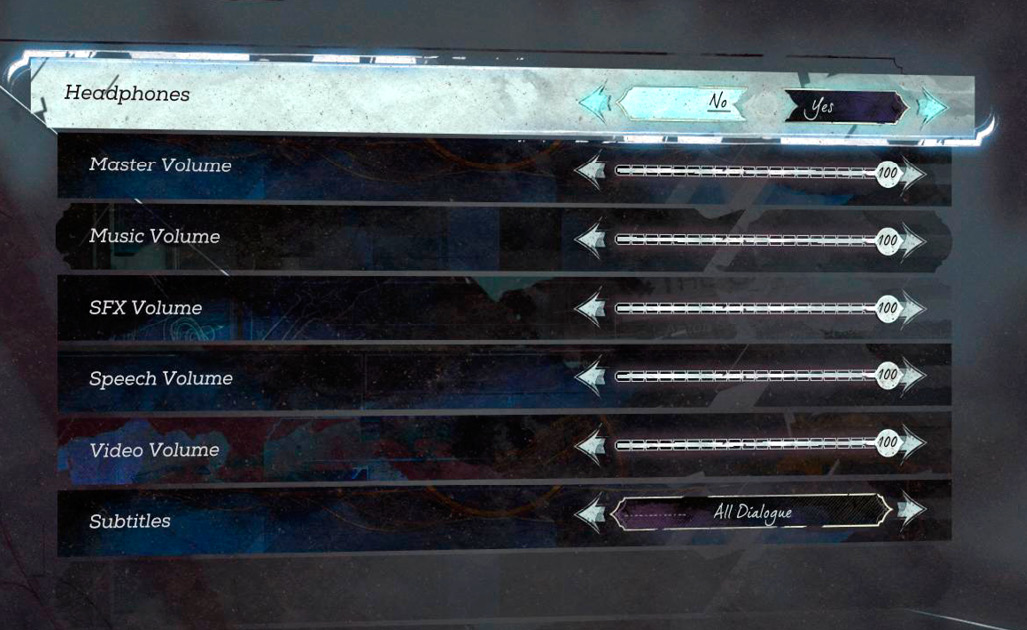
The Options page lets you mess around with the controls, visuals, audio, and gameplay settings for Dishonored 2. We always recommend that you go through these carefully to make sure you get the best configuration for your playstyle.
This is most important for sensitivity. Gamepad and mouse sensitivity make a massive difference in your ability to move around easily and aim. The more you fine-tune these levels, the better you can become. Make sure you can aim with precision and still turn 180 degrees without taking much time. The middle ground between fast turning and precision aiming is usually the best way to go. The game benefits a bit more from movement than from high-end sniping, so you can afford to have a little more sensitivity than you would for a pure shooting game.
This game is fairly dark in color, so turn up your gamma setting if you’re having trouble seeing things clearly.
Gameplay settings are primarily a matter of comfort. You can turn on or off a number of HUD options if you prefer more information or a cleaner setup. If you get headaches from motion in games, make sure to keep the Head Bob setting all the way down. This really helps.
Your HUD
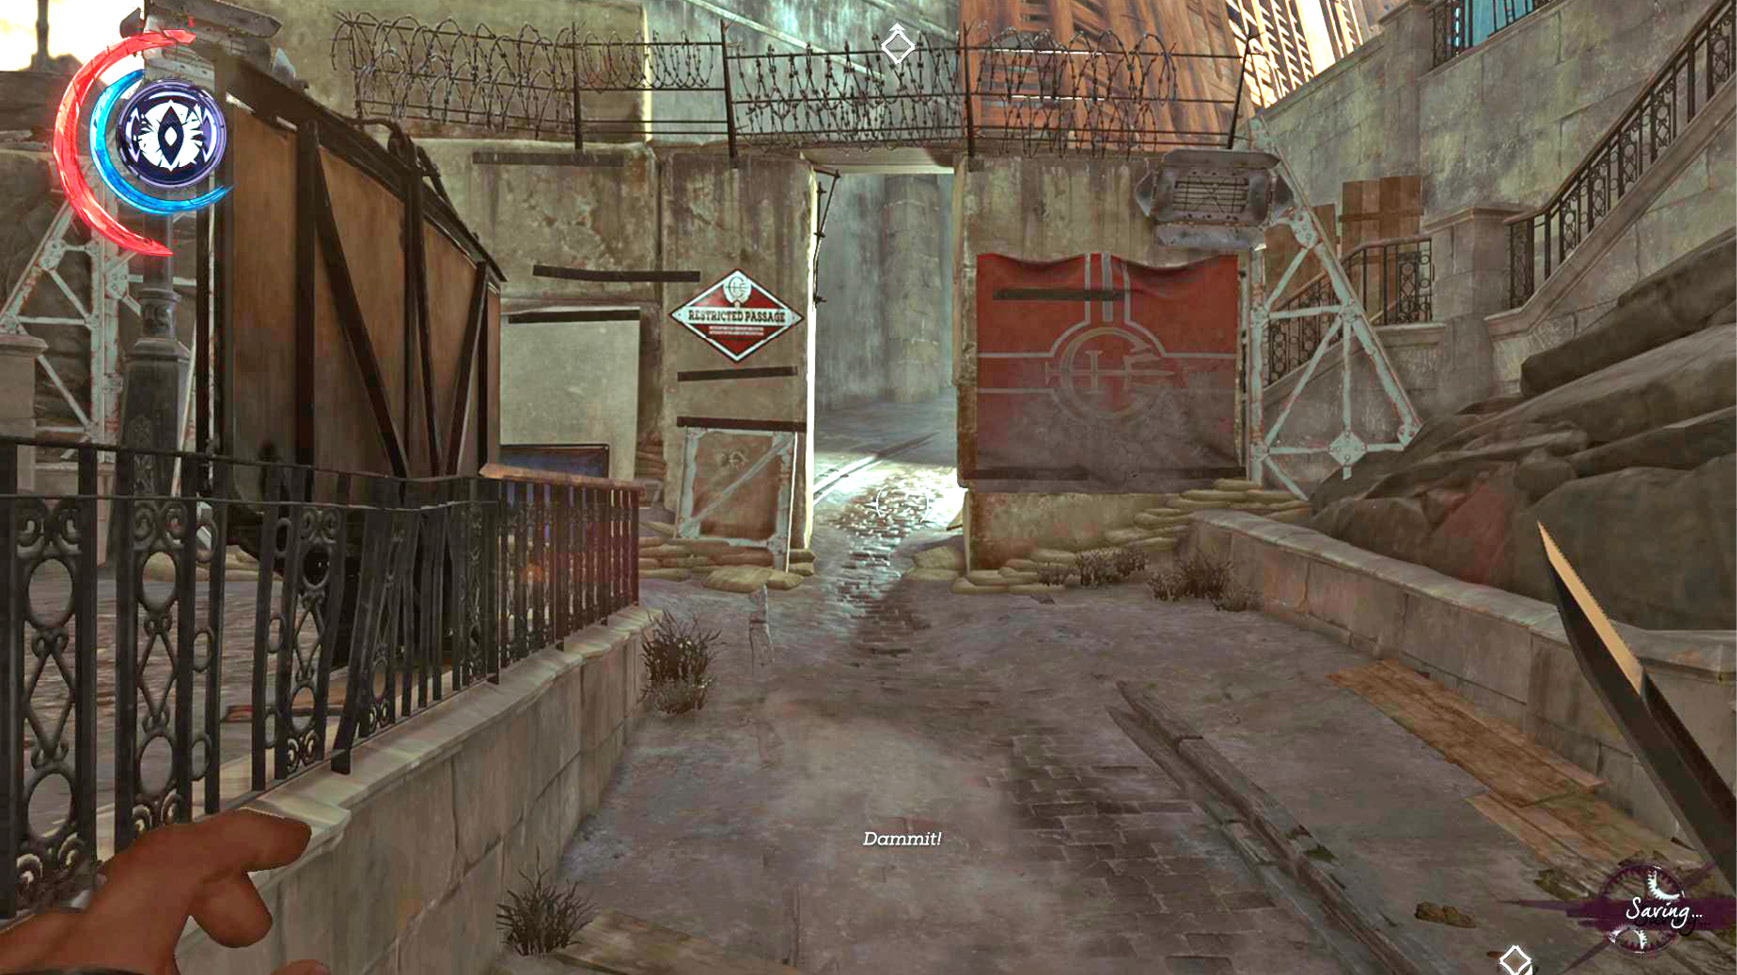
The HUD gives you a constant and impressive amount of information about your character, equipment, and abilities.
In the upper-left corner, you see bars for your Health (in red) and Mana (in dark blue). Health controls whether you live or die, so you can’t afford to let that bottom out. Eat food or drink Health Elixirs to restore it beyond a fairly minimal base level. Mana lets you use your special abilities. After using one, notice that the bar falls but retains a transparent portion for a short time. This is the level of Mana regeneration you’ll receive as long as you don’t use another ability before the regeneration is complete. That’s why you want to stagger your ability use!
In the center of those bars, you see an icon that reveals the current weapon or ability you have readied. This quickly reminds you whether you’re set to shoot, Blink, etc.
In the lower-left corner, you see the equipment and abilities that are accessed by your D-Pad. This image hides itself after a moment, so tap the D-Pad if you want to see the loadout you have prepared. You can have four weapons/abilities hotslotted this way. Tap the various directions on the D-Pad to change between these weapons/abilities. If you want to switch to different ones, bring up the Radial menu and change your loadout. This pauses the game, so it’s doable at any time without risking your character.
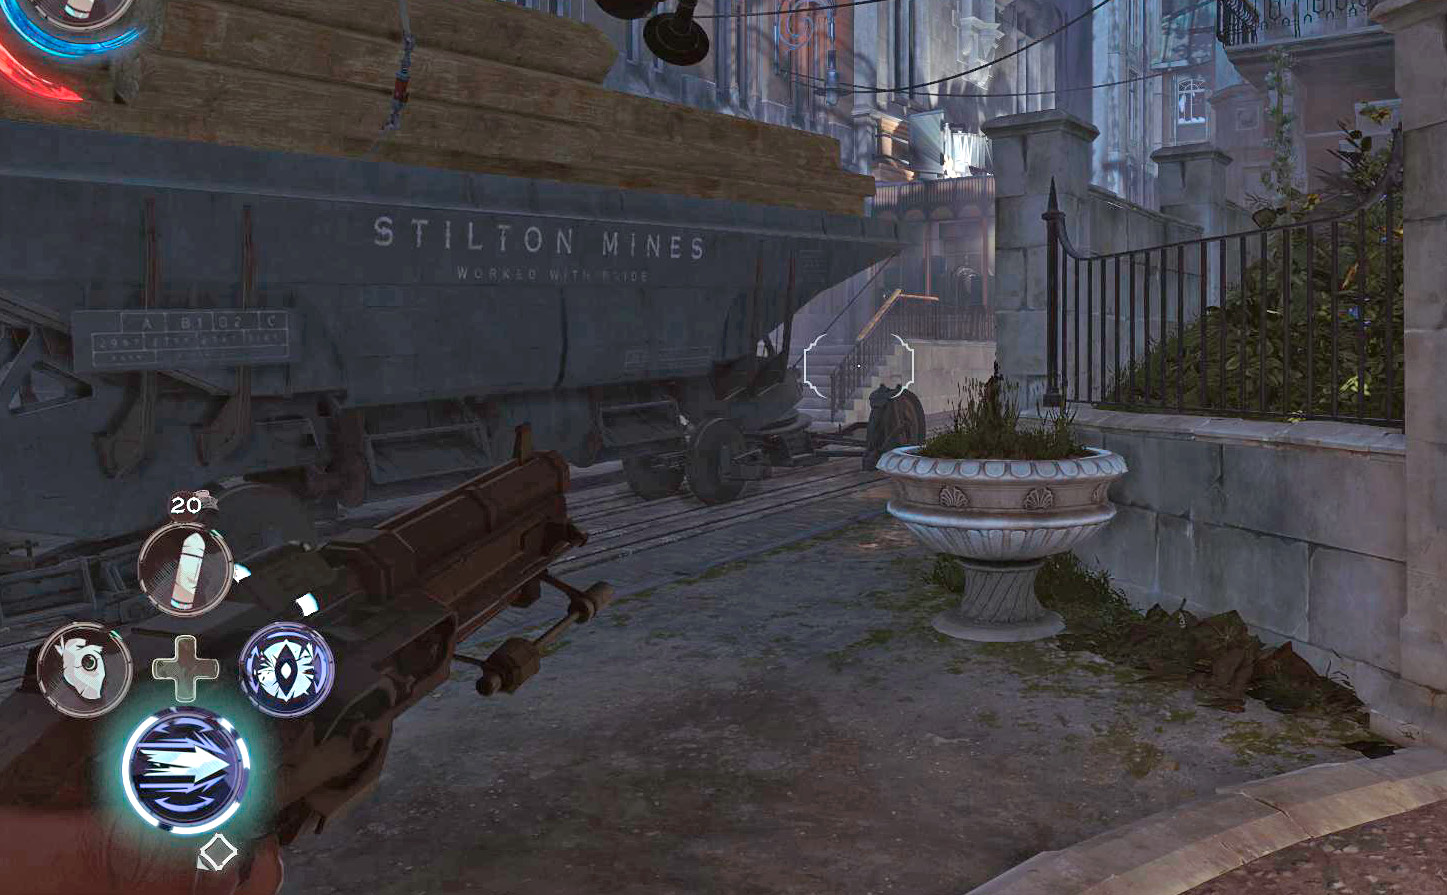
The Radial menu is also where you select your Health and Mana Elixirs, when you need to use either of those.
The lower-right corner tells you if the game is saving.
There is a reticle in the center of the screen. This shows where your character is looking, and it helps you aim your ranged weapons. For extra lethality, keep the reticle on enemies’ heads before you fire to ensure you take them out with as little ammunition as possible.
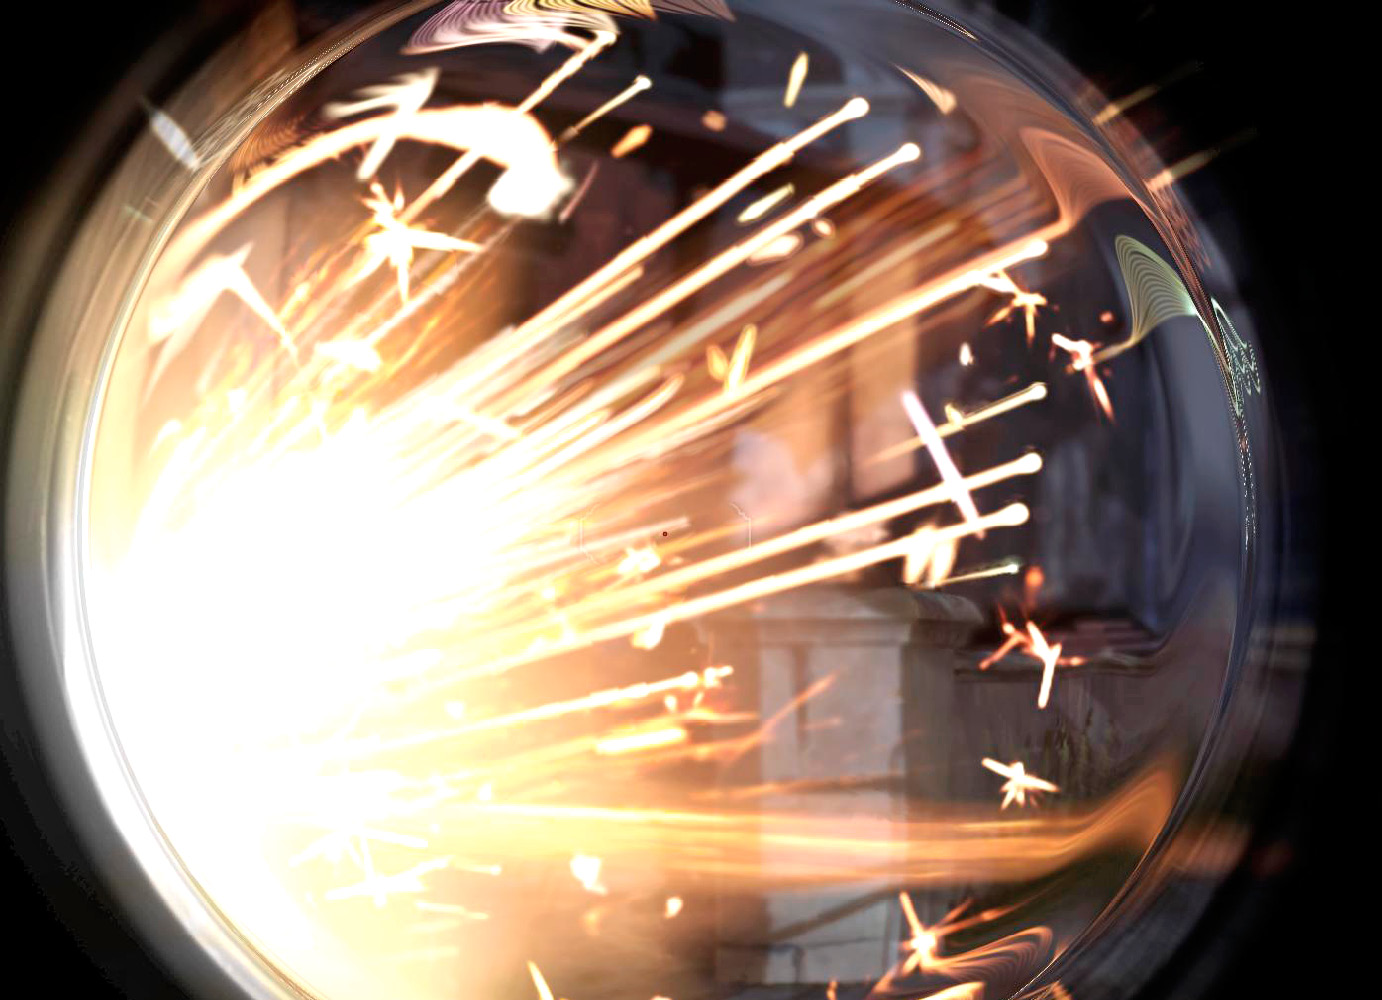
Enemies give you some information through the HUD as well. People who are starting to detect your character get a charging lightning bolt symbol. If it fills up most of the way, they’ll get suspicious and come to investigate the area where they saw you or last heard something strange. If they see or hear anything too weird, the bolt turns red. That means the target is fully alerted. They’ll draw their weapons, grab buddies if they can, and you lose your Ghost status if you hadn’t already.
Objectives also appear on your HUD. These waypoints track missions you’re working on. If you take out the Heart (a piece of equipment) and highlight one of the collectible objects it detects, you can also lock that on to your HUD until it’s collected.