
Dishonored 2 Guide Stealth Walkthrough
A Long Day in Dunwall
Today marks the anniversary of the death of Empress Jessamine Kaldwin, assassinated 15 years ago. Visitors from across the Empire of the Isles have journeyed to Dunwall Tower for the occasion.
Collectibles
| Runes | N/A (1 from the Void, after the Mission) |
| Shrines | N/A |
| Bonecharms | N/A |
| Coins | 1490 |
| Blueprints | N/A |
| Paintings | 2 |
Special Actions
| Freedom of the Press | Go to the upper level of the Dunwall Courier and knock out the Guard there before he slaughters the paper’s editor |
| Jessamine’s Words | Play an Audiograph from the old Empress |
| Time Capsule | Find a room boarded up since the Rat Plague |
| Coin of the Realm | Take the gold from the safe inside the tower’s Safe Room |
| Dr. Galvani’s Safe | Open the safe inside Dr. Galvani’s laboratory and take its contents |
| The Ramsey Fortune | Lock Mortimer Ramsey inside the Safe Room |
Take a calm breath and begin your quiet pursuits. Justice is nothing without compassion, so we use a gentle hand to uncover the truth and save our family. Instead of fighting, we use guile, deception, and patience as our most powerful weapons.
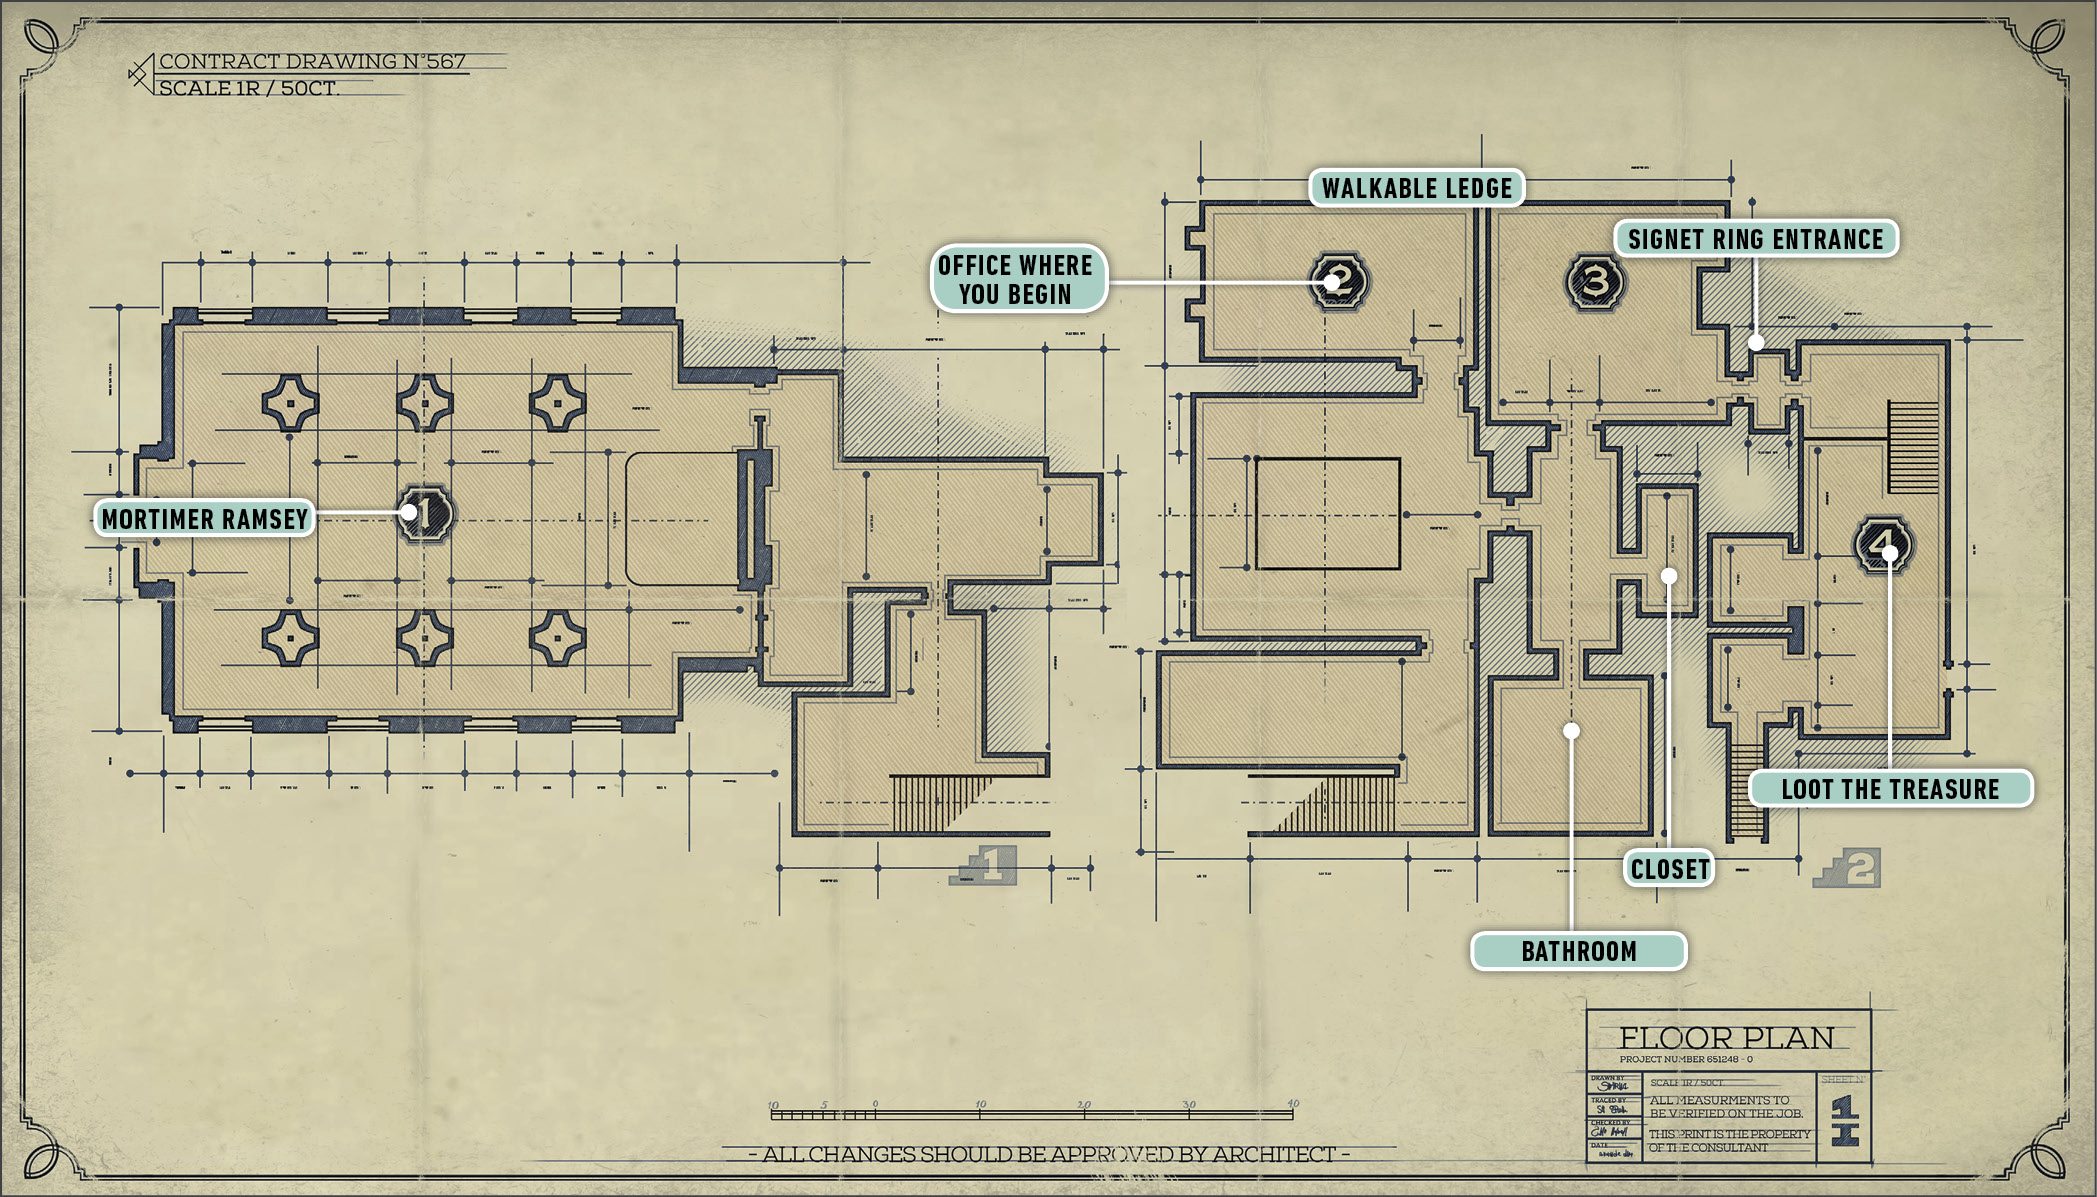
Dunwall Tower
Escape the Imperial Chambers
Select Emily Kaldwin as your character during the introduction. Observe the scene in the throne room and wait to get control of your character. You’re brought to a small room in the upper level of Dunwall Tower. That is where our game truly begins.
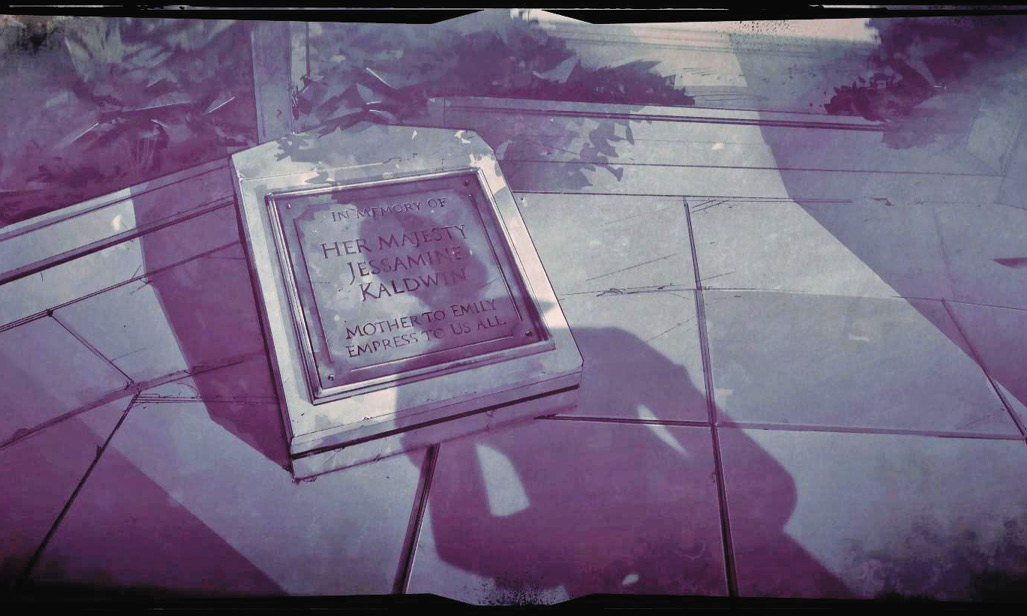
Look around the room when you have control of your character. There are several items of food close by. Eat all of those to regain your health. You also get to read some Documents on the desk.
Look for a window on the far side of the room. Open it and climb out. Sneak over to another window farther down. The first window you reach is locked, but the second one is wide open. Crawl into it.
Check on Alexi Mayhew
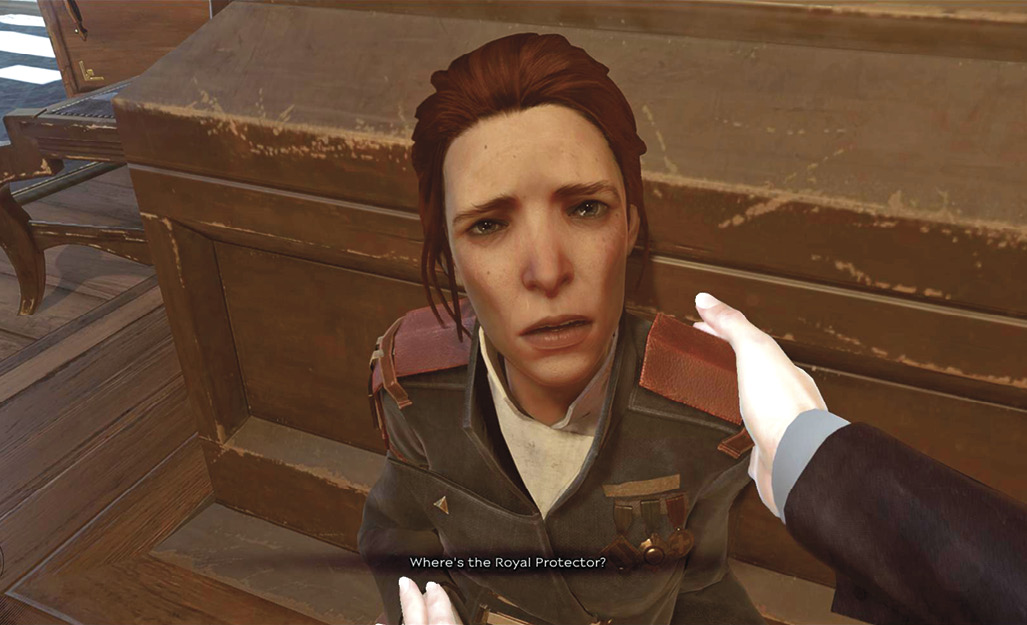
You’re now in the adjoining hallway. Alexi Mayhew is on the ground close to you.
She’s in horrible shape and won’t last long. Talk to her. You get yourself a blade, though you don’t need it. Afterward, look in the bottom of the cupboards for some spare change. You may be Empress, but it looks like you need everything you can get your hands on. There is also an Audience Request lying next to Alexi.
Knock Out Mortimer Ramsey
Start creeping down the hall. There’s a bathroom at the other end. You don’t find much of importance there, but a few items are worth money. You can also listen to an Audiograph Corvo left.
Sneak into the other room along the main hall. A Guard there has his back turned. Creep up to him and choke him out. This takes much longer than assassination, so remember to be careful if your target is observed by anyone else. In this case, you’re totally in the clear.
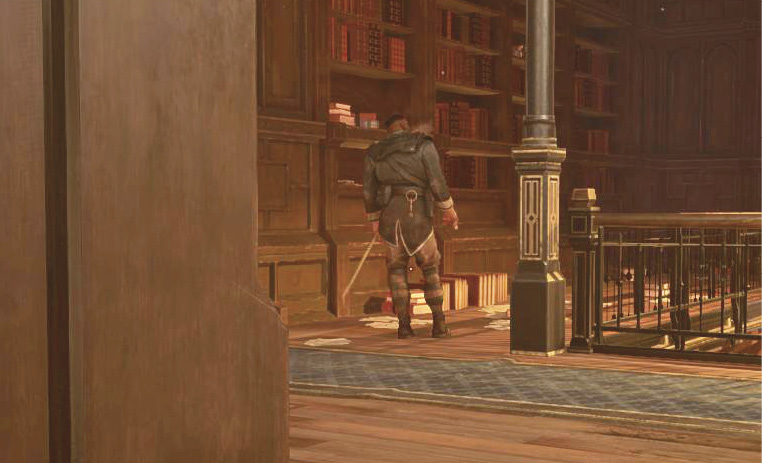
Grab the Key from the Guard’s body once he’s down. Stay crouched, because another Guard is close enough to hear if you make any loud noises. Unlock the room to your right; that’s where you were being held earlier, and now you can go back and forth at leisure.
Then look for the stairs that lead down, and take those. Sneak up on the lower level’s Guard and choke him as well. Either wait until he turns away, or make enough noise to lure him toward you while you’re beside the doorway or around a corner. With a quick ambush, you can knock him unconscious without being spotted.
Open the door that leads away from the Guard’s room and into the throne room. Mortimer Ramsey and two Guards are inside, but they’re farther into the chamber and can’t see you enter. Hide behind the pillars on the right while they talk, and then wait for Mortimer to split off from the other two men. He walks over to the door you used to enter the room. Stay crouched behind those pillars until he’s fully past you. Then sneak up to him and knock him out. Loot his body for your Signet Ring afterward.
Open the Safe Room
Carry Mortimer out of the room. Go back upstairs. The entrance to your Safe Room is near the beginning of the area, near Alexi. Use your Signet Ring to unlock the Safe Room, and go inside. Drop Mortimer there. Use the button by the door to lock Mortimer in the room so he can’t wake up and escape later.
Search the room for the following:

- Health Elixir
- Documents to read
- Bullets (3)
- Your Pistol
- Spyglass
- Money from a safe
When you have everything, exit the tower. A door at the other end of the Safe Room takes you out toward the streets.
Dunwall Streets
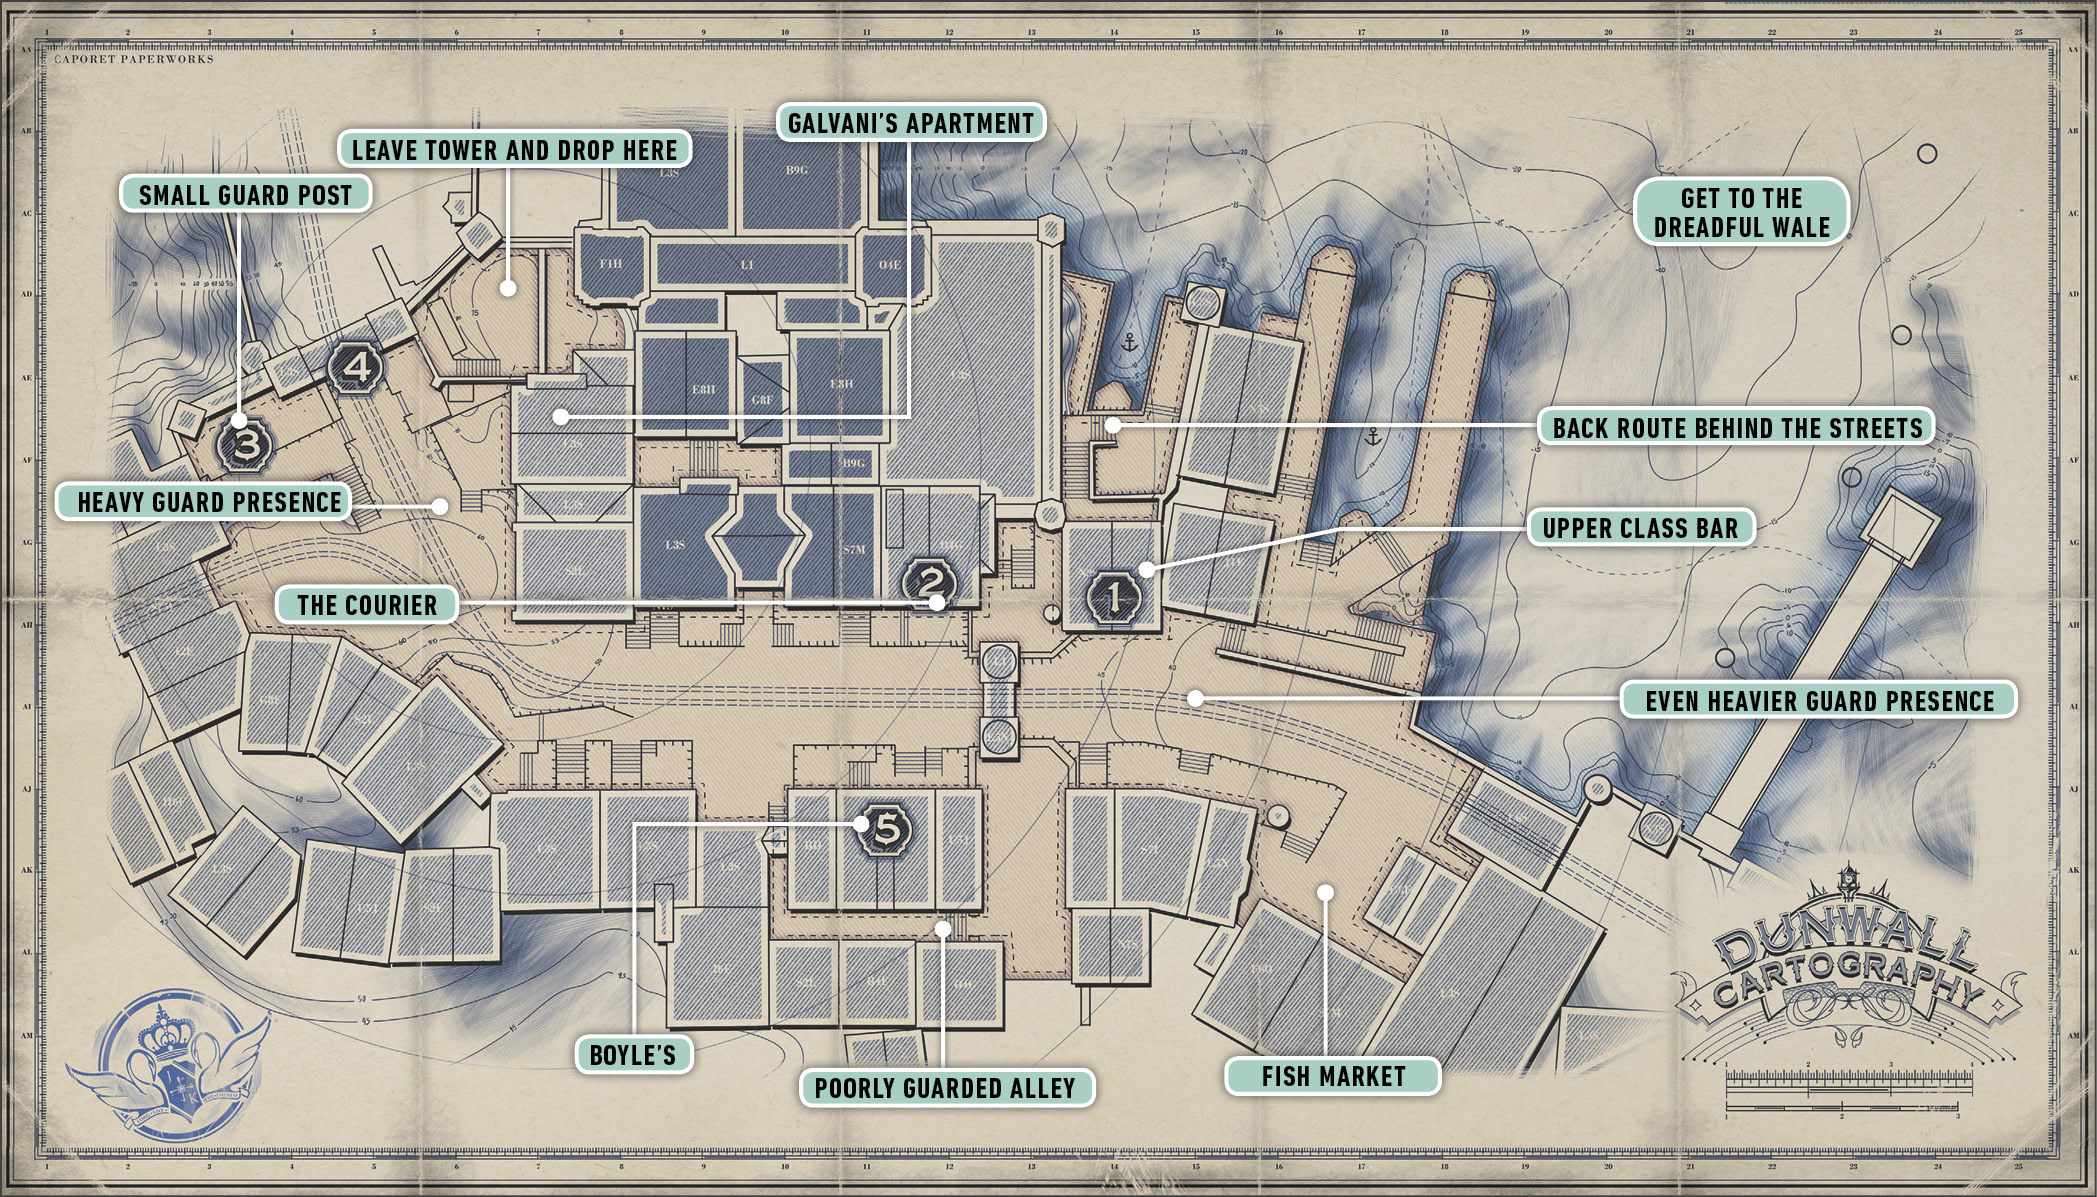
Reach the Streets
Exit the tower and go through a short passage with a couple of books and some coins. A collectible Painting hangs on the right side of the passage. Unlock the door at the end of the route and head into the fresh air.
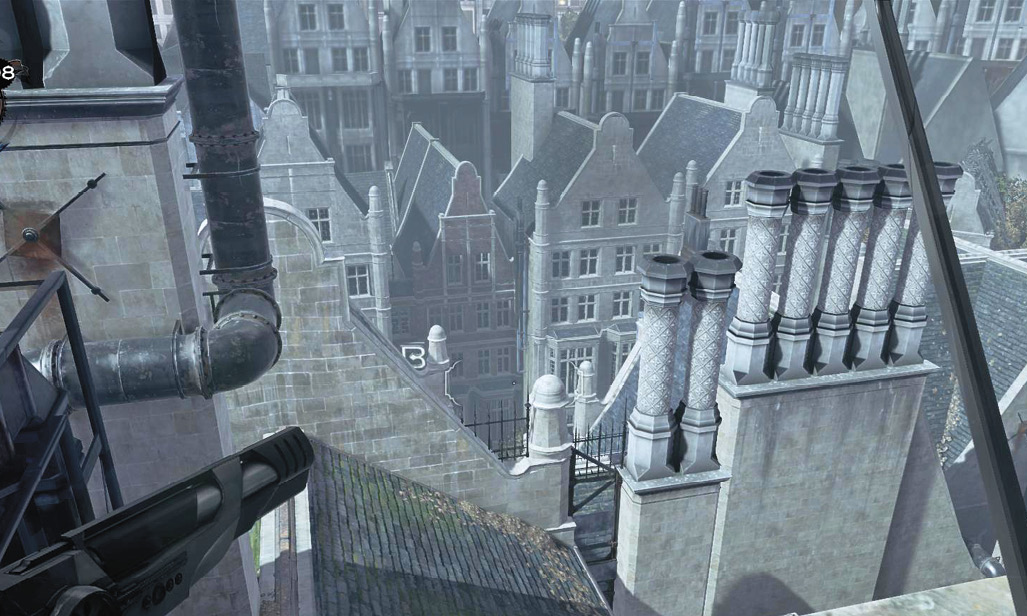
Carefully descend from the tower, using the ledges on your right to drop lower without taking any damage on the way. A lone Guard is below, farther down. Use a non-lethal takedown from above against him. A tutorial pops up to advise you that this is a good spot to practice it.
Go over the next wall and drop onto a lighting rig on the other side so you can observe the men in the streets nearby. You find many Guards here, so it’s time to get cautious again.
Reach the Boat
You don’t have any supernatural abilities yet, which means your options are highly limited for avoiding all this trouble. Instead of taking everyone out, use discretion. Wait for people to split up and move apart. The buildings below and behind you are filled with ammunition and trouble. You don’t really need either in a non-lethal playthrough.
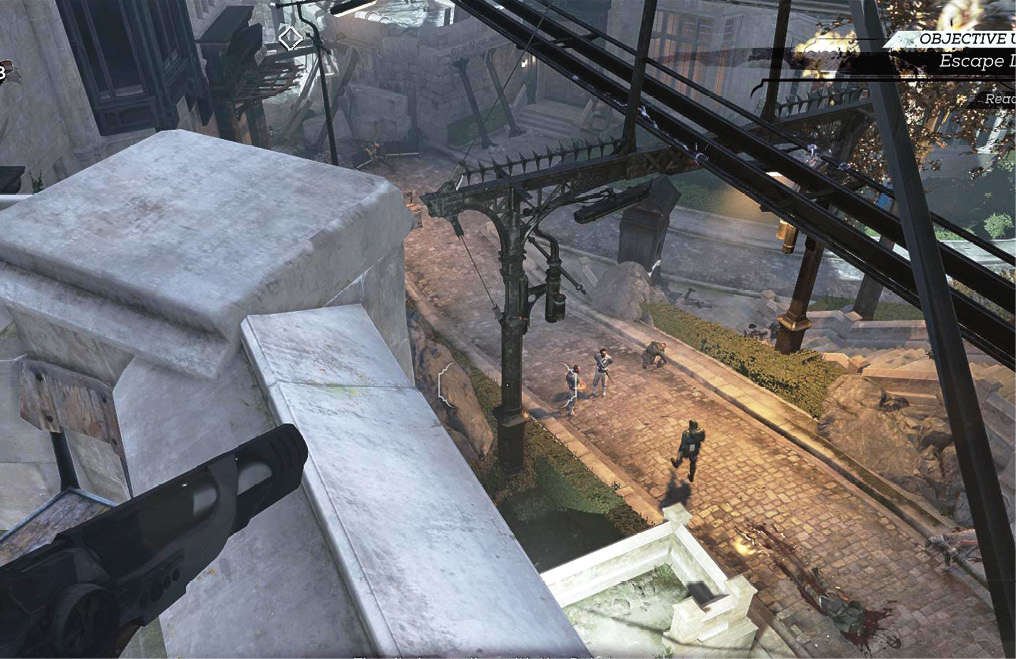
However, the building on the left side of the street contains some great loot if you can spare the time and risk.
The building on the right houses a single Guard. Quietly knock him out if you want more coins; that building has a few decently valuable lootable pieces.
When you’re done looting, proceed along the main street. Tons of Guards patrol the next area, but you split off before you bump into them. Approach the man making his announcement, but stay crouched and split off to the right before you reach him. Get onto the upper ledges and knock out a patroller up there. He’s by himself and is likely walking away from you. But don’t leave him where he falls. Another patroller will see the body if you do.
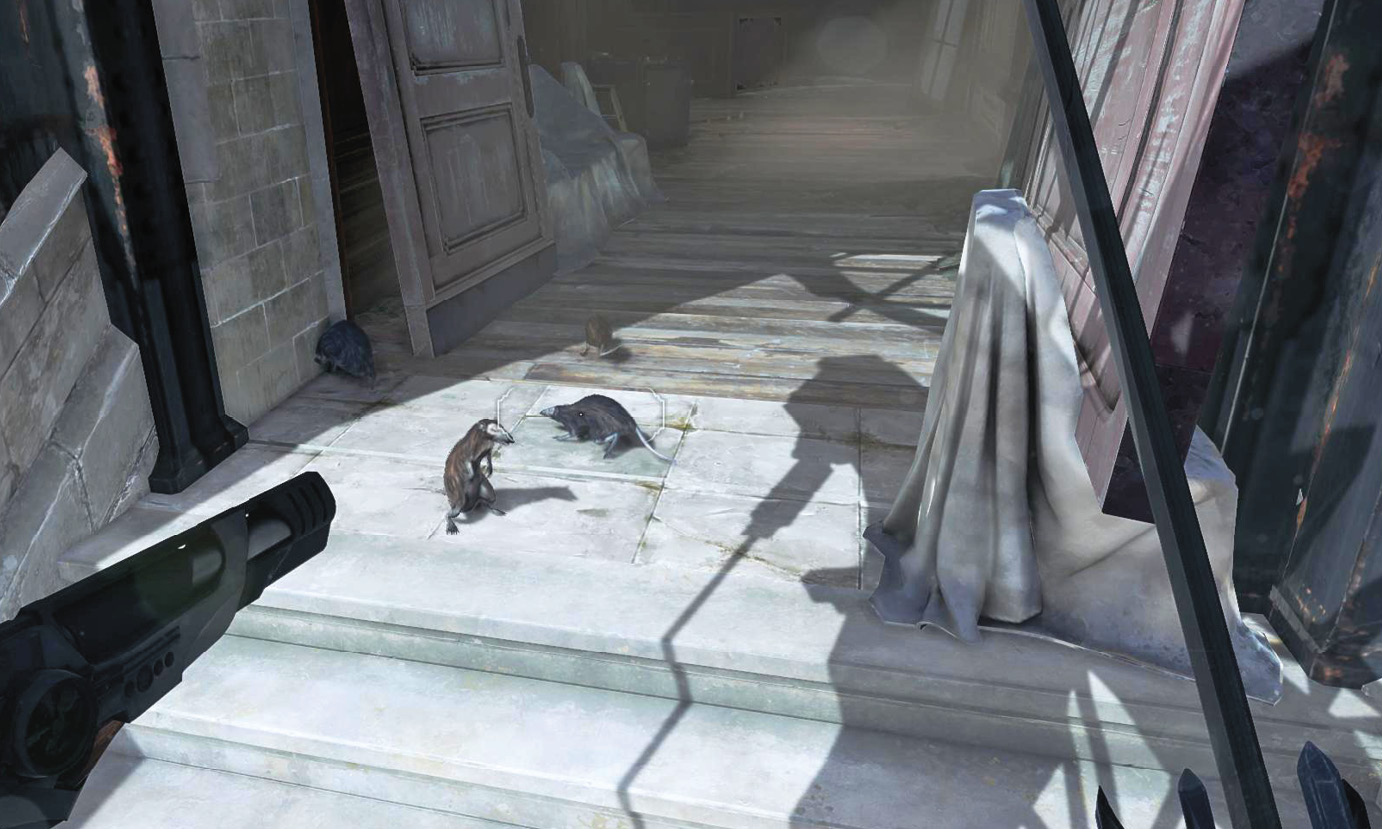
Instead, carry him into the nearby building and leave him behind a fallen display case. If you’re patient, wait and get the next patroller that way too, and leave the two together.
A small route goes forward from here, beside the main road. Take it carefully and quietly; Guards are very close to you. Climb up some pallets beside a Dumpster and into a yard.
Don’t knock out the Guard you see, because other people in the main road are watching him. Instead, pass him and use the alley on your right. It’s just up ahead.
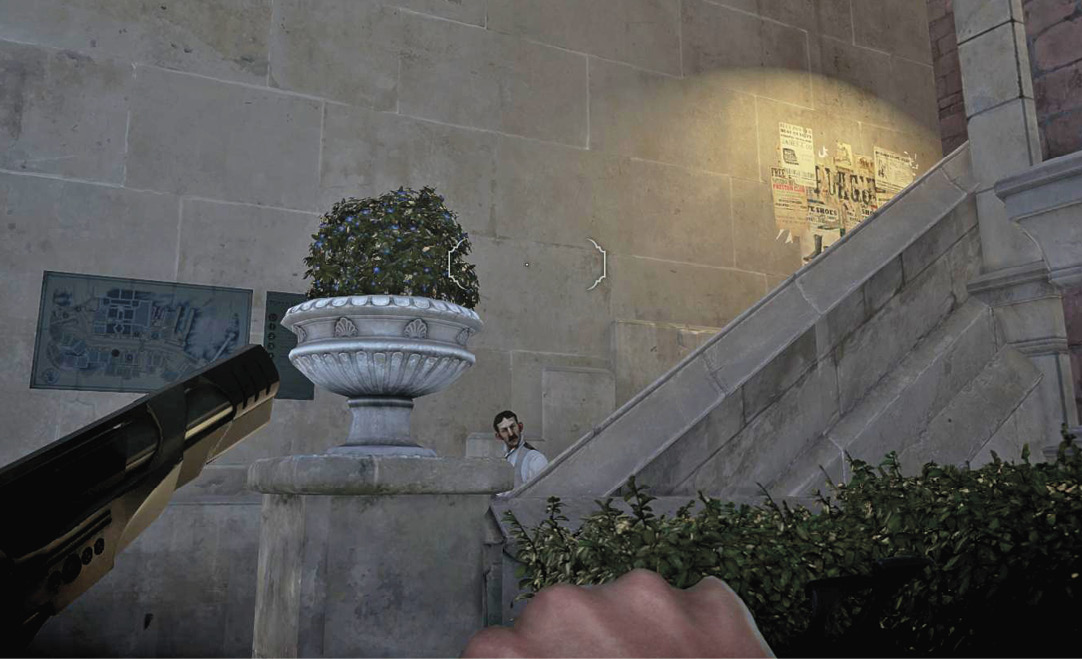
There are civilians here, but they’re not a problem and don’t rat you out. However, there is also a Guard. Wait for him to patrol toward the far end of the adjoining alley. Ambush him when he’s far away from the civilians, knock him out, and carry him into the next yard, which is an abandoned fish market. There’s a Dumpster here, to your left as you enter. If you leave him on the ground, civilians can walk up here and freak out.
You passed a building by doing all this. Unless you’re very comfortable with your stealth skills already, consider leaving this one alone. It contains three Guards, and getting the coins sometimes involves making a lot of noise (smashing display cases, opening cash registers, etc.). The Crown Killer has been there, so a gruesome display is on the first floor, but you don’t need to see that or do anything with it.
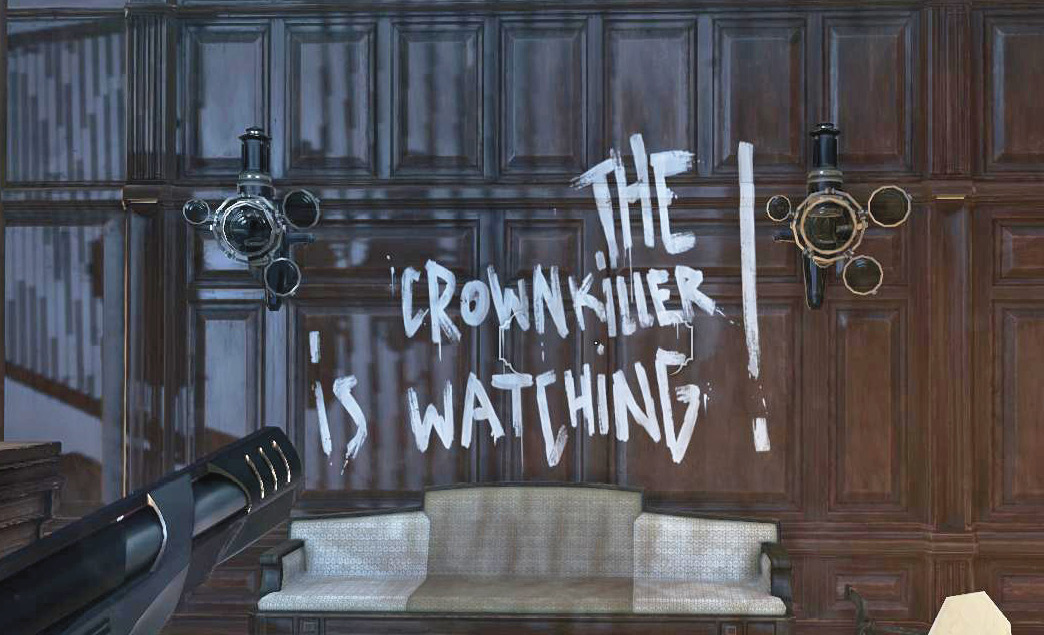
From the fish market, go to the edge of the area and look out over the next street and the harbor. Jump to an overhang and quietly drop onto a mattress below.
Creep to the end of this area below the street and go under a large vat to choke out a guy sitting on a crate.
Continue into a worker’s yard (all the men have been slaughtered). Leave and return to the main street—you’re now at the far end and have avoided most of the Guards.
Knock out one more and carry him back into the worker’s yard to keep him out of sight.
Don’t run out into the middle of the main street. The patrollers sometimes watch even this part of the road. Wait for the route to clear, then cross the road, leap down into the water, and swim out to the ship.
Climb up the left side of the ship and talk to the captain to complete your mission.
The Void
Cross the Floating Island
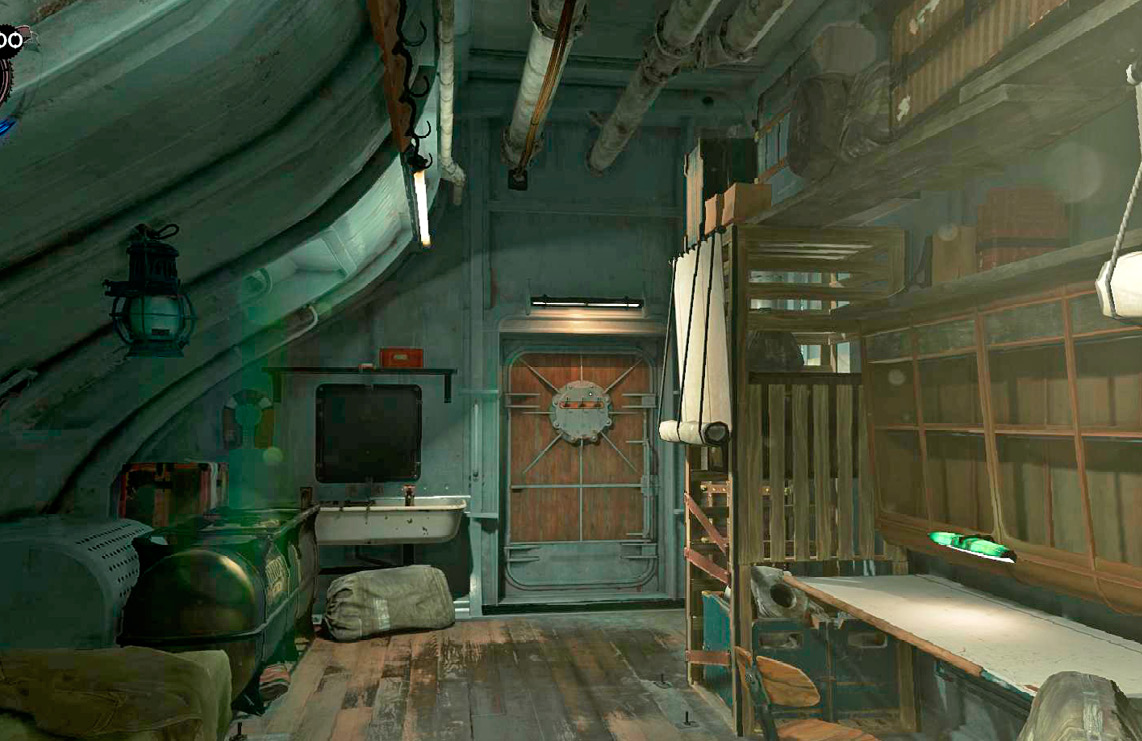
You wake up in your cabin aboard the ship, but something is very off. Try to open the door to your cabin, but turn around afterward. The wall fades away, and you see the Void. It’s just like Corvo described.
Walk forward until you meet the Outsider. He speaks with you briefly, and then asks if you want to receive the Outsider’s Mark. If you refuse, you go through the game without the use of supernatural abilities. This makes the game a bit harder, but it’s an interesting way to play. This style is far more viable for combative players rather than stealth players, because you can still focus on your weapons and equipment.
We highly suggest you accept the Mark. You immediately learn Far Reach and go through a tutorial that shows how to use this ability. Though similar to Blink, this ability has more motion to it, so get used to the arc that determines your destination.
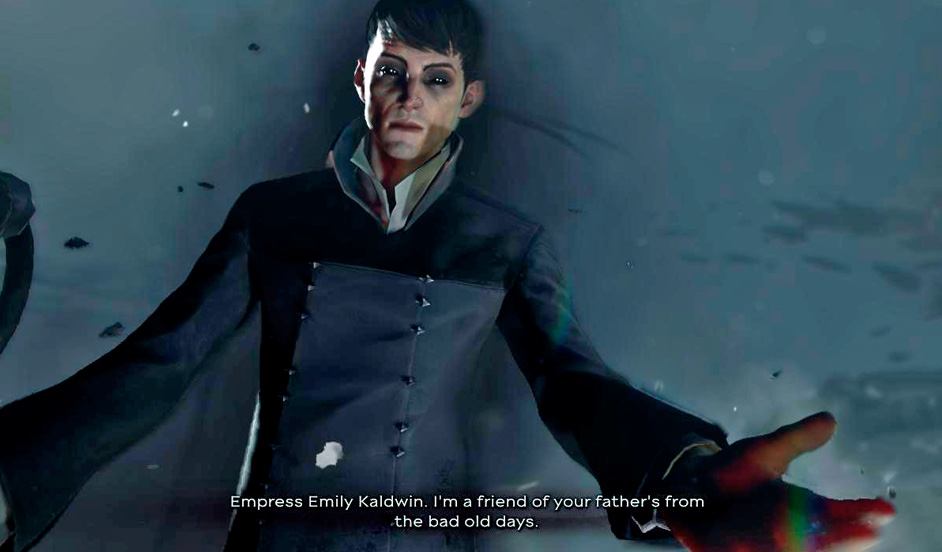
Look up when you reach the second gap. Far Reach up to a higher platform, then jump and Far Reach to cross the divide. You find a dark scene on the other side.
Run to the end of the area and collect a Heart. You see an apparition and listen to it for a short time. You then are able to equip the Heart, which helps track down Bonecharms and Runes.
Let the Heart guide you to a Rune farther ahead. It’s out in the open, so it’s easy to find. The level ends after you pick it up.
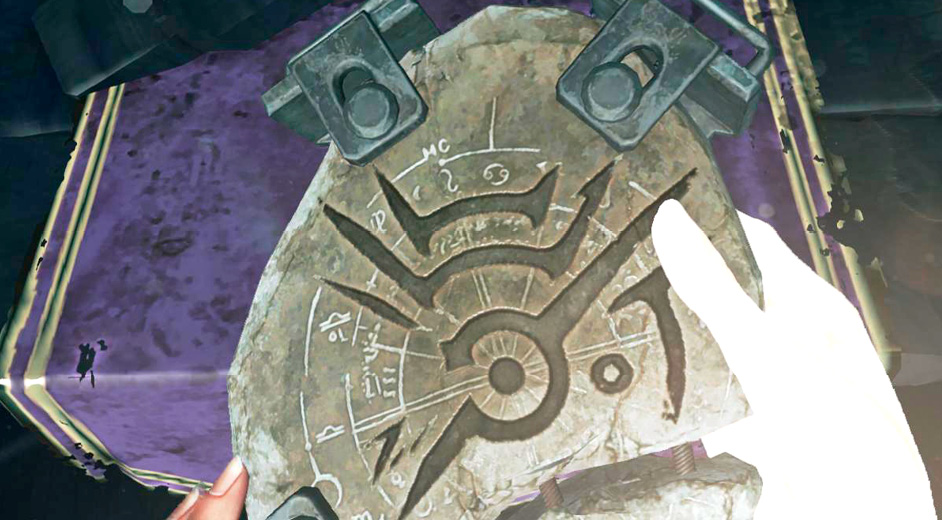
Aboard the Dreadful Wale
Meet with Meagan Foster

You wake up aboard the Dreadful Wale again. This time it’s in the real world, so get up and search your cabin. Write in your log, if you wish. A Crossbow hangs by the door. Take it and the Note next to it. Captain Foster tells you about the hidden stores throughout the region (marked with two hands, to let people know the black market is nearby).
Getting a new weapon is nice, since your loud and deadly Pistol isn’t of much use. But your Crossbow is quiet and can eventually be armed with Sleep Darts, once you get a few. These non-lethal devices are a blessing for a stealth/non-lethal player.
Open the door to your cabin and explore the lower level.
A blocked cabin lies on the other side of the floor. You can’t force it open. Instead, go into the briefing room and climb out an open porthole. Crawl along the outside of the ship and jump into another porthole on the right. This takes you into the barricaded cabin.
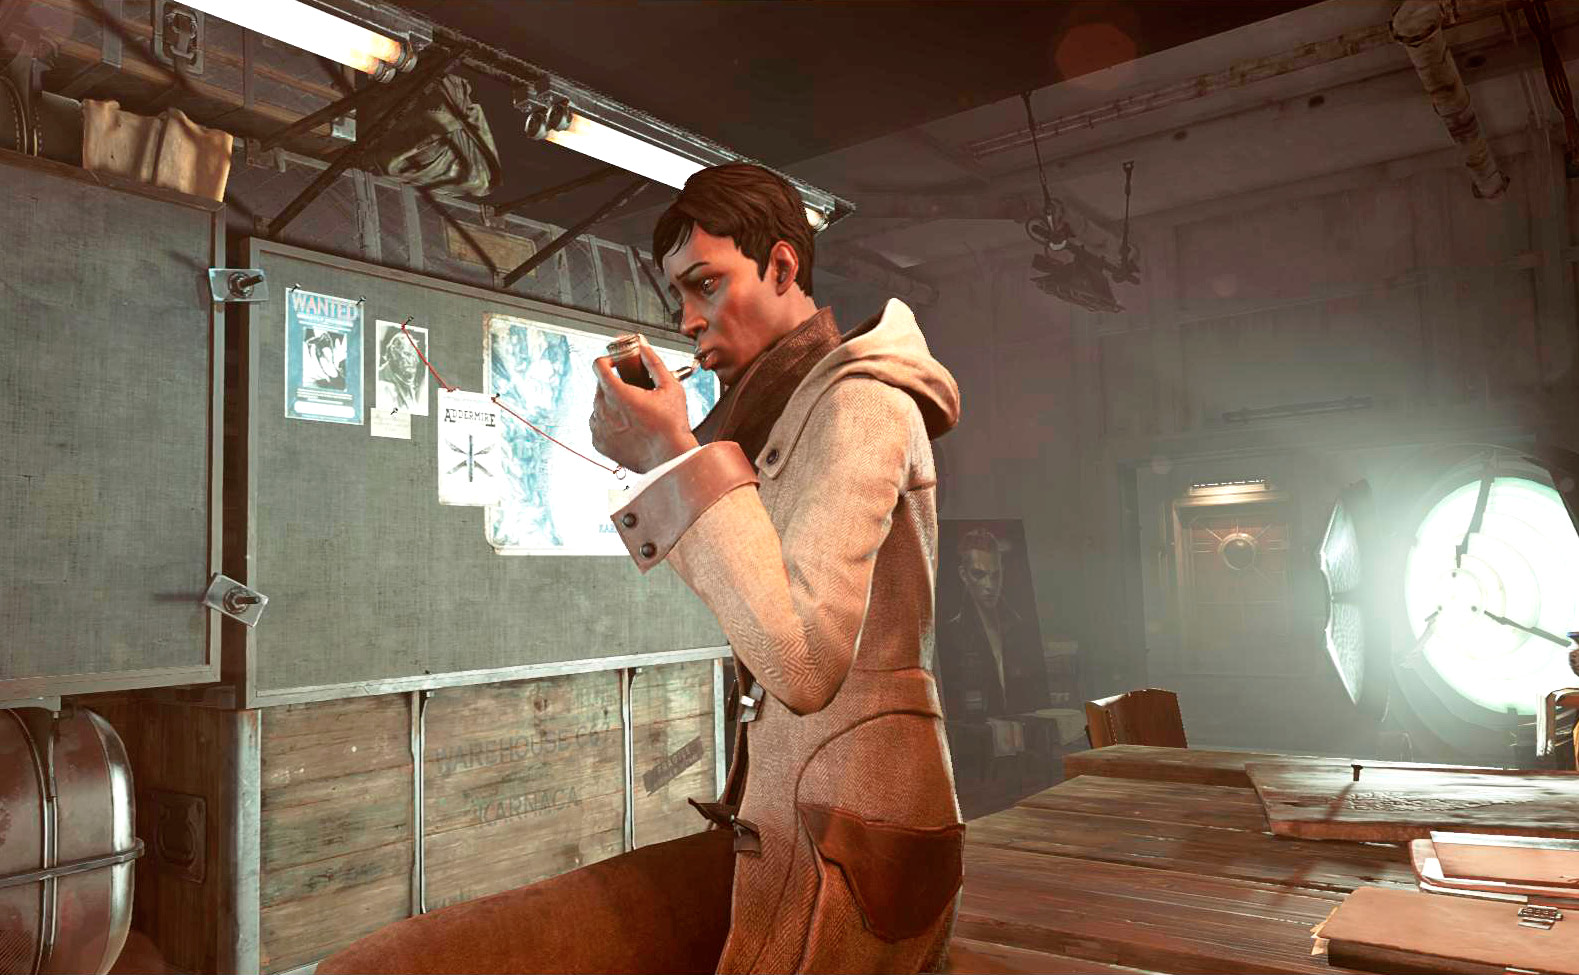
You find Notes, money, and a Mana Elixir (also called Addermire Solutions). There are some Incendiary Bolts too, but they’re not of use to you.
Follow the objective marker toward Captain Foster and talk to her. This starts your briefing for the next mission. Listen to the captain, and then search the room and the private berth behind it for more goodies. You get a couple more Elixirs! There are also Documents all over the place, and an Audiograph to listen to.
Go to the upper levels of the ship and head out onto the deck. Meet the captain again there, and tell her you’re ready to go ashore. This starts the next stage of the mission.