Dishonored 2 Guide Combat Walkthrough
Edge of the World
Find Addermire Station, and take a carriage to Addermire Institute. It is the best lead you have for tracking down the “Crown Killer.”
Collectibles
| Runes | 7 |
| Shrines | 1 |
| Bonecharms | 6 |
| Coins | 3334 |
| Blueprints | 1 |
| Paintings | 3 |
Special Actions
| A Fresh Grave | Snatch a body for Mindy Blanchard |
| Black Market Heist | Rob the black market |
| Hypatia’s Apartment | Explore Dr. Hypatia’s apartment |
| Try to Unlock Me | Win the safe contest in the Winslow building |
| The Nest Keeper | Put down the Nestkeeper in the Bloodfly-infested building |
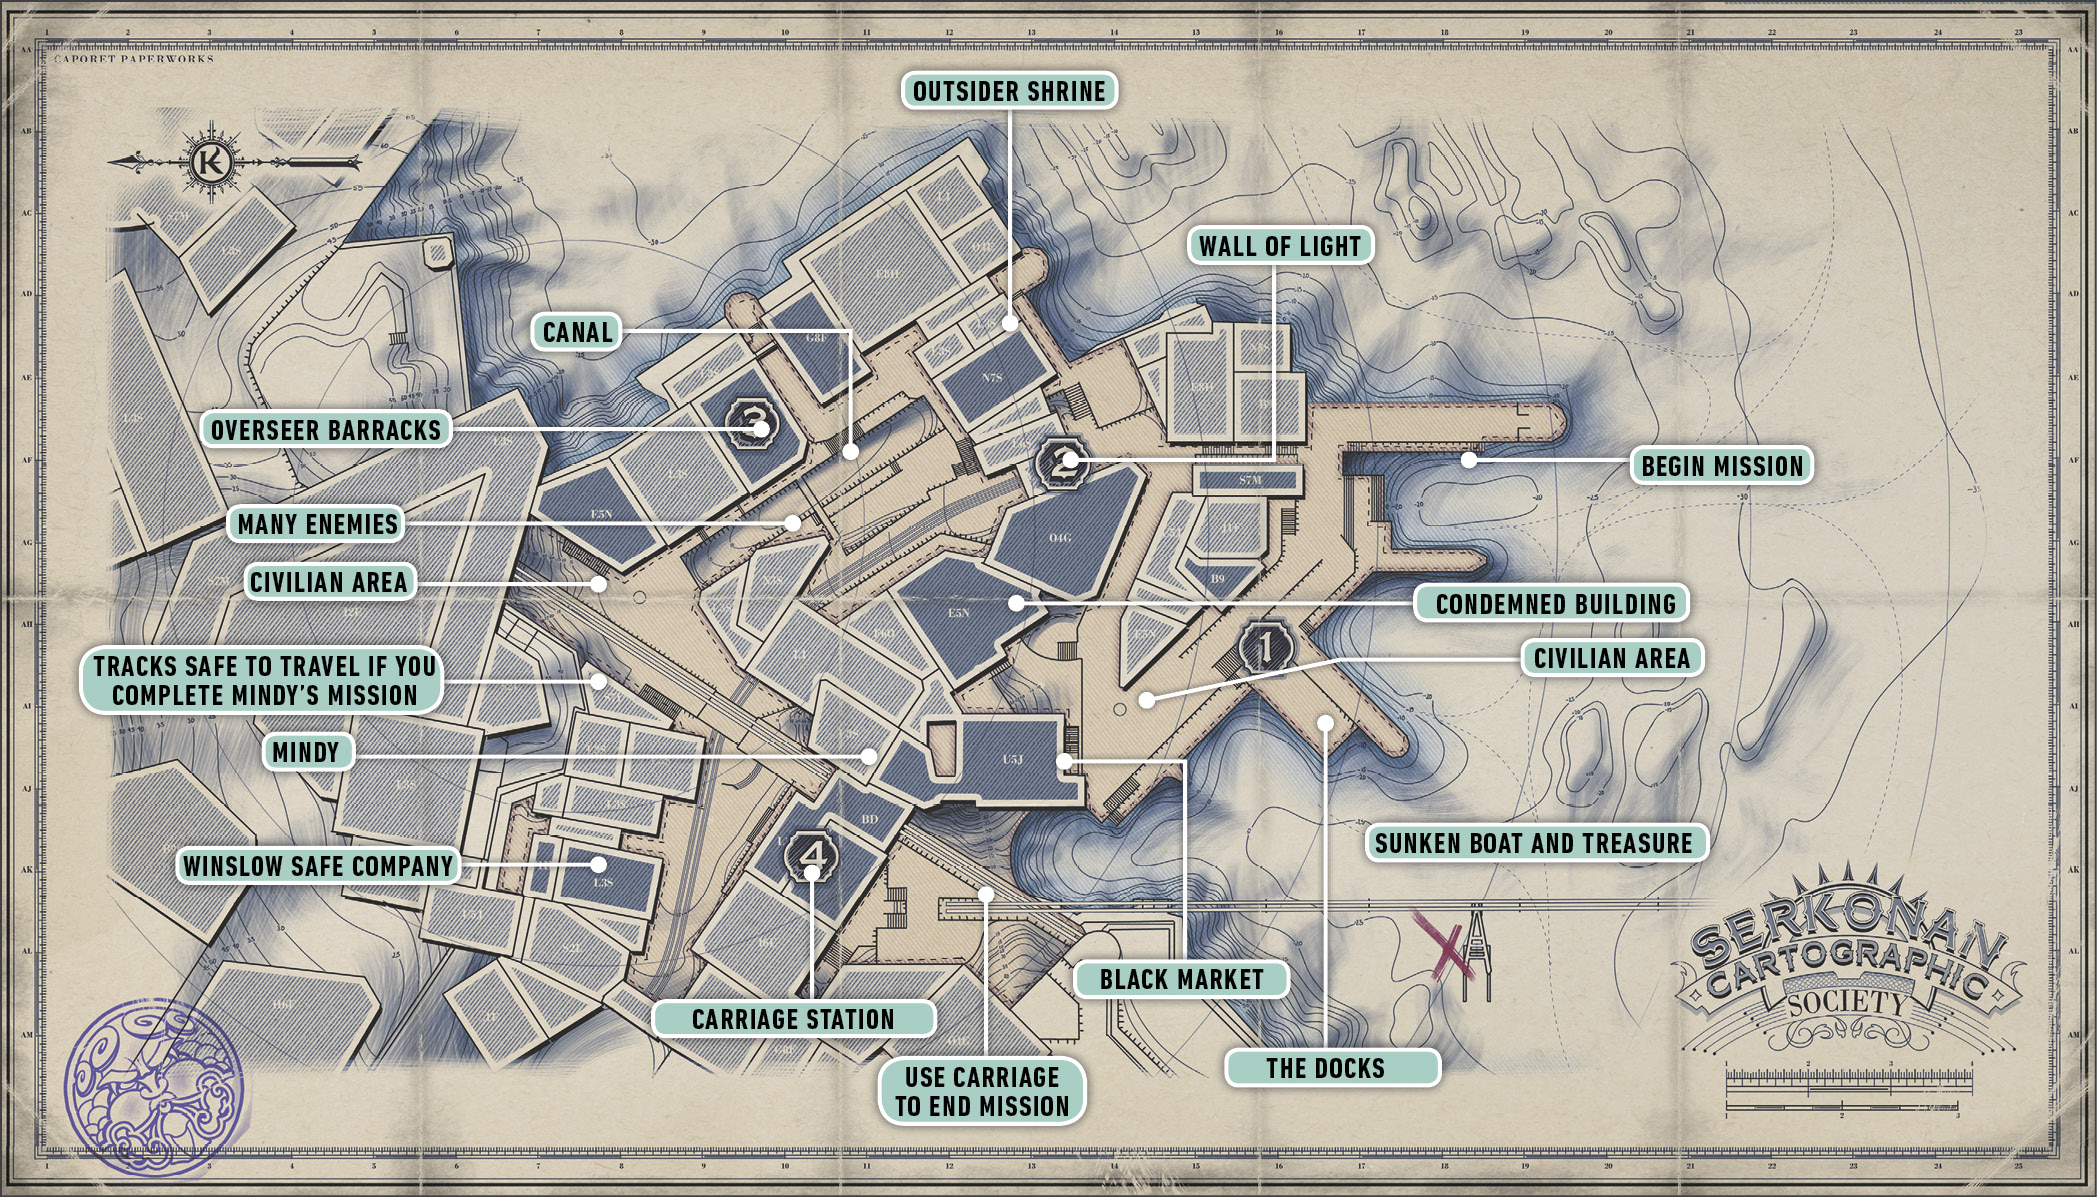
Karnaca Docks
Locate the Black Market Shop
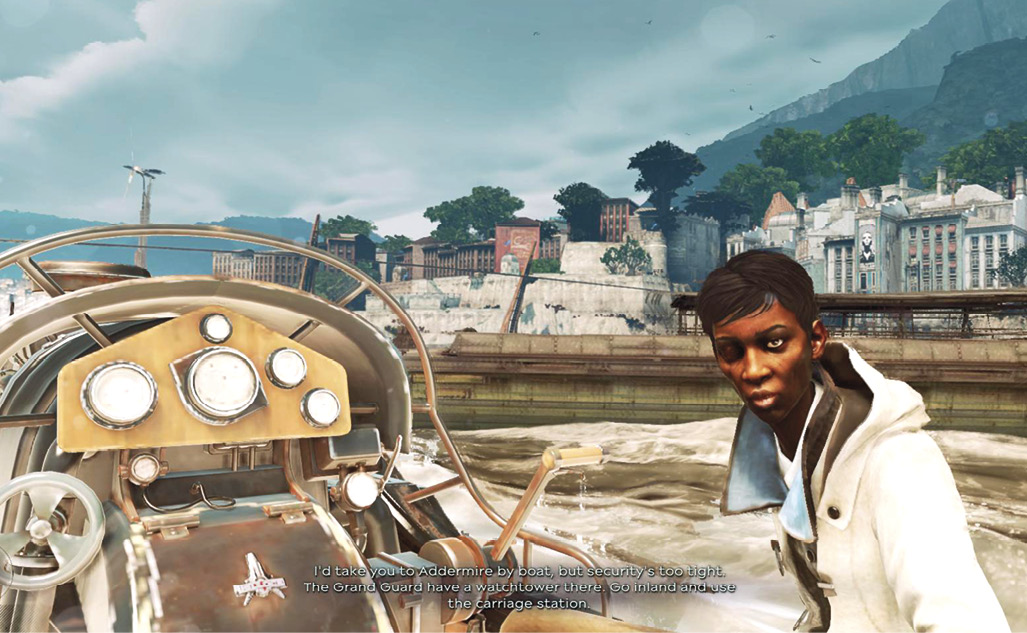
Captain Foster takes you to the coast. She can’t get you all the way to your destination because of a Watchtower that guards against strange vessels, so that has to be disabled at some point. You make landfall in neutral territory. You aren’t attacked or harassed unless you cause trouble.
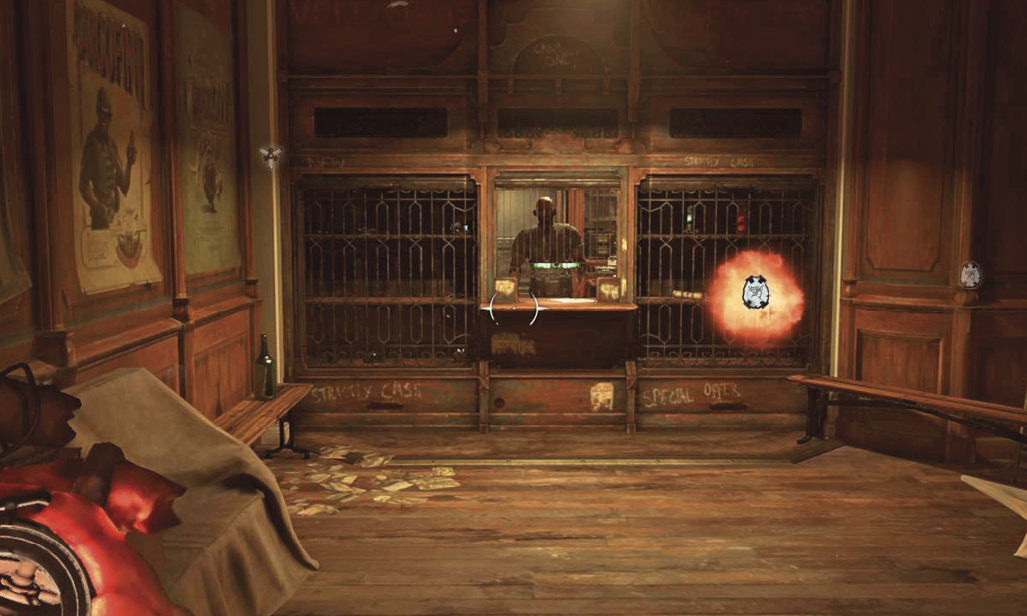
Take the wharf all the way down to the end of the route. Enter a building and keep your eye out for the black market symbol (two hands). Search inside the building until you find the market. It’s on an upper floor. See what you want to purchase, because they have pretty useful stuff!
Collect Items Before Starting Your Work
After you’ve explored for a few minutes, equip your Heart and search for collectible items here. Let’s list where you find a couple things.
The black market shop has a Rune.
Black Market Goods
| Item | Cost |
|---|---|
| Crossbow Bolt | 20 |
| Pistol Bullet | 30 |
| Sleep Dart | 30 |
| Grenade | 70 |
| Stun Mine | 70 |
| Spring Razor | 50 |
| Addermire Solution | 150 |
| Health Elixir | 75 |
| Location of Sunken Supplies | 250 |
| Rune | 400 |
You have to purchase it for 400 coins unless you stole it from the market already. A whale carcass along the wharf has a free Rune. It’s not far from where you begin this level.
The toughest collectible to get here is a Bonecharm inside an infested building of Bloodflies. The building is on the left when you start to get close to the Wall of Light. Going through there is dangerous (there are dozens of Bloodflies inside). You lose tons of health if you fight all of the insects without first destroying their nests. Crouch and move carefully to loot the place without drawing their ire. The Bonecharm is upstairs, and there are Elixirs and loose wealth all over the place too. Break a barricaded door on the other side of the house if you want to skip over to the canal area (on the other side of the Wall of Light).
The black market map, that you purchase for 250 coins, leads you to a downed boat in the harbor. If you walk to the end of the farthest point on the docks, you can swim out to get several items there. It’s at roughly 2 o’clock from the front of that pier. You get a couple of Sleep Darts, Spring Razors, Bolts, and other goodies. This is mostly great for more combative players.
Go to Addermire Station
The path above the wharf takes you toward a Wall of Light. These are defensive structures designed to kill people who cross through them without proper access. There are many ways to avoid this dangerous trap. A stealthy player might use the apartments above to skip the area entirely. A brave adventurer could use the gutter below and deal with the Bloodflies there.
But that’s not what we do!
Walk into the yard near the Wall of Light and attack the three Guards on patrol. These men are poorly armed and have little recourse when you go after them.
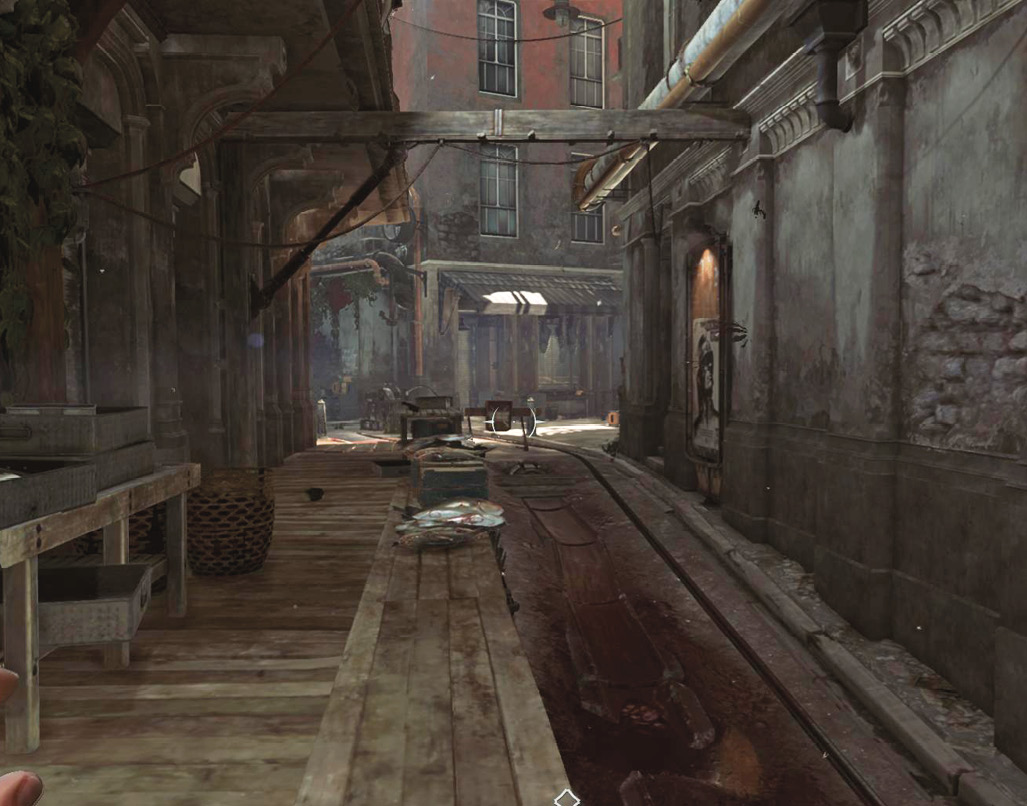
After the three are dead, climb to a higher area and look for a Windmill. Use your Blink to get up onto the device, and turn it off from a small platform higher on the machine. This shuts down the Wall of Light, making it useless against you.
Enter a building near the Windmill. Two Overseers are searching for heretical artifacts inside. Sneak in to assassinate them, because they’re slightly tougher targets. Have your Pistol at the ready, in case they see you before you finish your work.
Afterward, search the back rooms for an Outsider Shrine and a Bonecharm (on the floor). There are also multiple valuable items, plus a Mana Elixir. Slot your Bonecharms to get their bonuses! Grab the Painting near the Shrine as well.
Go through the wall and into Canal Square. Kill the two soldiers below with a fast ambush and search a table for a small number of useful supplies. Do not approach the far side of the canal. Overseers above might spot you, and they carry ranged weapons. Blink up to take them out if that happens, despite the minor disadvantage. Otherwise, stay higher up and cross a bridge to reach these enemies. If you’re bold, attack them directly, but in that case you must contend with their numbers and their Pistols. For a safer attack, shoot one of them at range and then retreat past the Wall of Light. Overseers are much easier to deal with when you lure them around corners. They can’t fire at you until they’re already within Sword range.
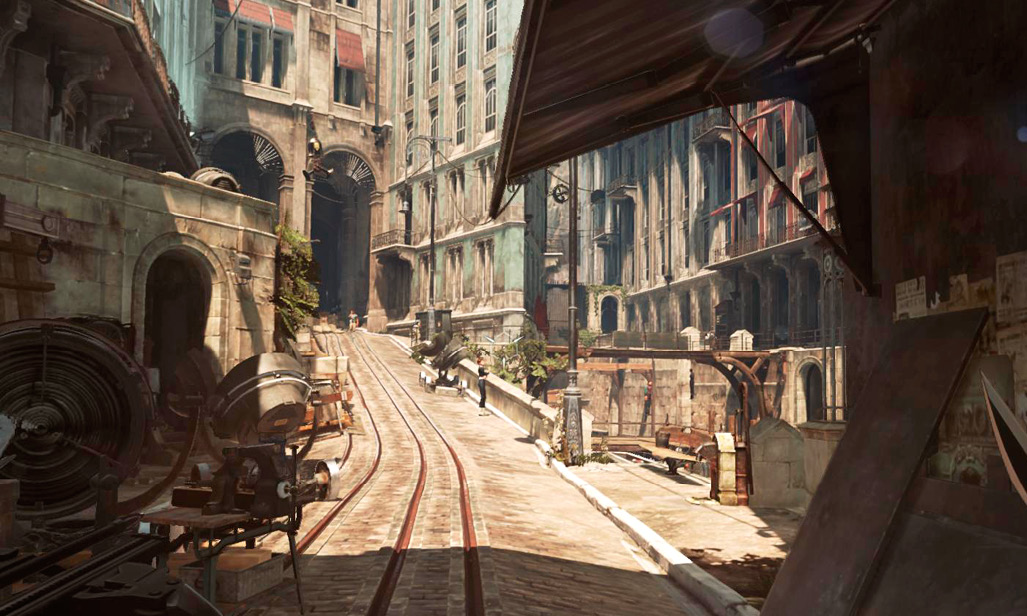
It’s important to kill this group, because they have a Bonecharm and a Rune in their midst. Find these items on a table between the various Guards and Overseers.
Down in the canal is another Rune, inside a drainage area, that you can’t directly reach. To get it, use your Pistol and shoot the wooden board partially blocking the flow of water. This brings the Rune to you.
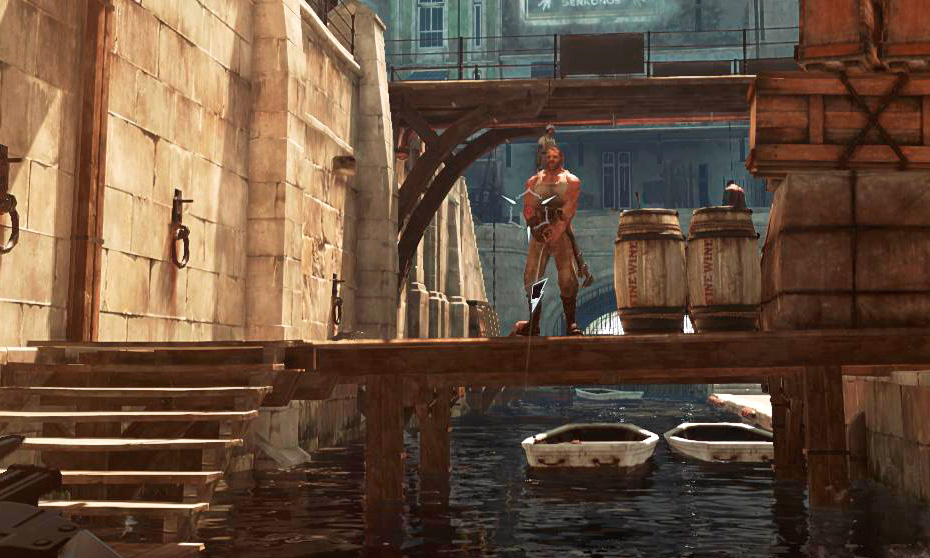
Jump from a Dumpster onto a balcony overlooking the Overseer’s area (where you grab the Rune and Bonecharm). Look for an awning and use that to get up another level onto the third floor. An open doorway leads inside the outpost there. Kill two Overseers before they react to your presence.
Another Overseer sits in the room to your left. Crouch and sneak up on him for an easy kill, and then loot the room for a Blueprint and two Elixirs. A Painting hangs close by as well. The side of the chamber contains a safe with 225 coins and a Rune. The combination shifts a little each time you play the game, so read the Note and a Book on this level to obtain the correct code. One is on the floor nearby, and the other is in a side room.
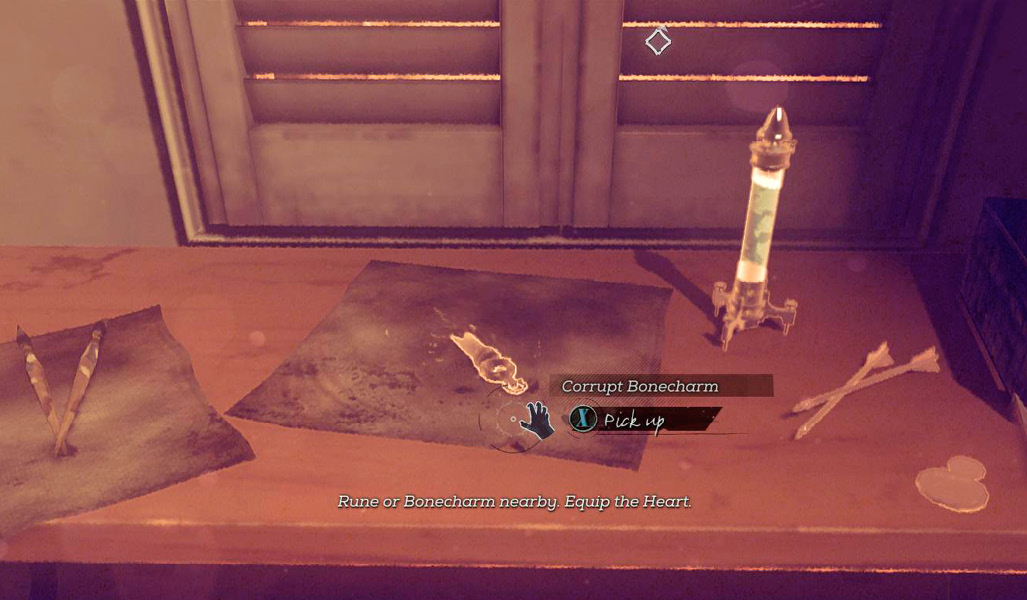
Go upstairs and sneak through that level to kill two more Overseers. They’re talking at first but split up, in case you don’t want to fight them directly. Steal an Interrogation Room Key from one of the men. Unlock the door to the interrogation area, or break through a window. Grab the Corrupt Bonecharm inside. These have stronger effects but carry a downside to their use.
Kill the two Guards on the roof and Blink over the other rooftops to reach another Bonecharm on a corpse not too far away. Kill the Bloodflies around it and take your prize.
Return to the canal area and continue up the main road. You get close to Addermire Station, but there are still a few sides area to explore if you wish. There are Guards and Elite Guards here; the tougher enemies have red coats, so they’re easy to spot. Like Overseers, they can be armed with Pistols, so it’s best to fight them at close range or to ambush them from a distance with a Crossbow shot to prevent them from shooting back at you! Kill a small cluster of these enemies as you approach the station.
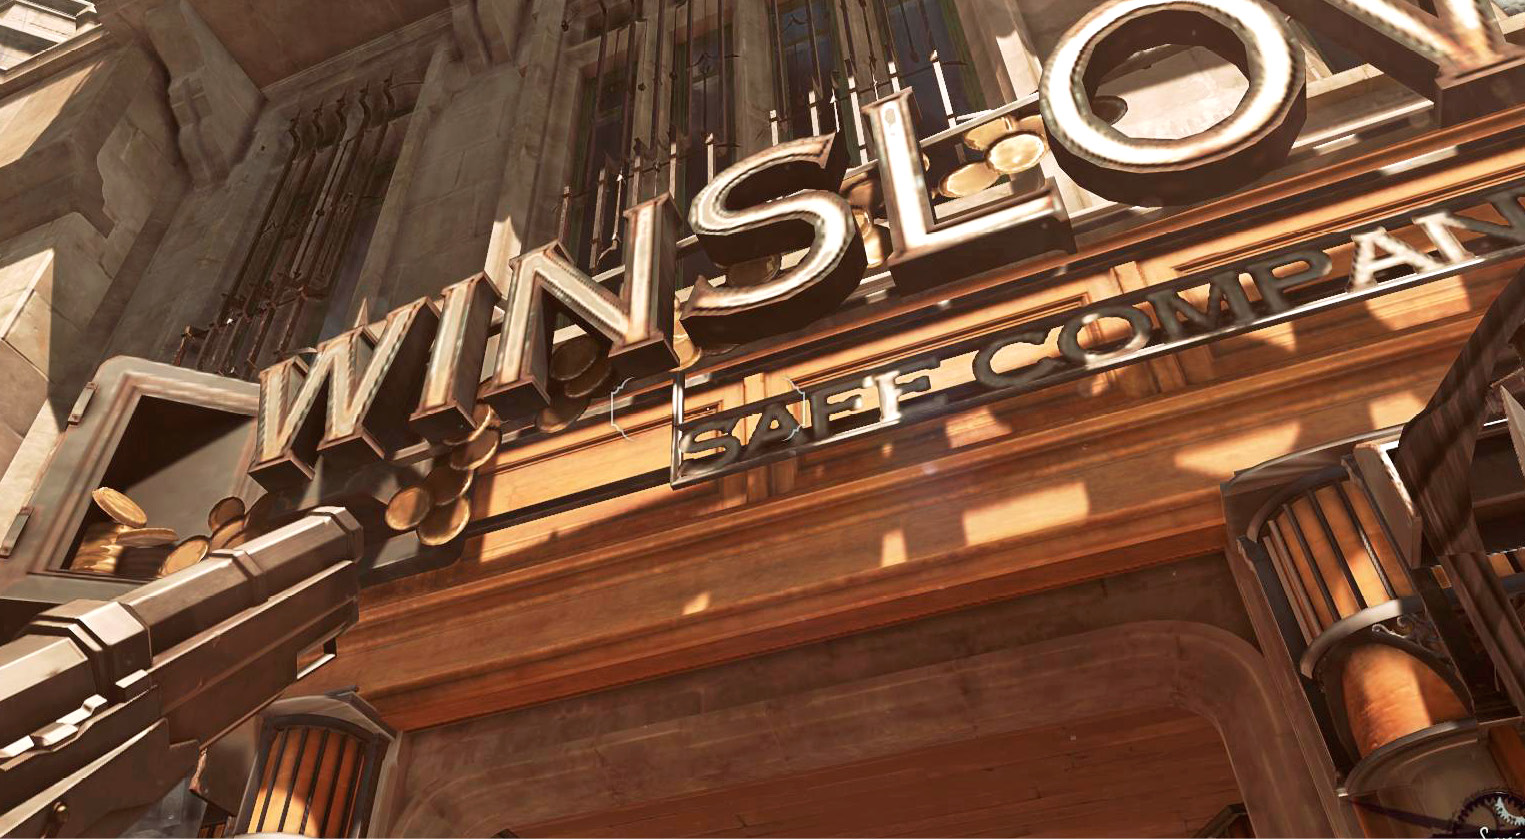
The Winslow Safe Company has a building there. It contains a Bonecharm locked in a massive safe on the ground floor (use a combination found inside the register, near the front door, to open the safe). Higher up, Hypatia has her apartment. She’s the alchemist you heard about back on the ship. However, her door is locked, so you can’t just stroll into the place. Instead, after reaching her floor and locating the locked door, open an exit onto a small balcony next to it. Go around the balcony and jump over the railing toward the front of the building. Climb onto a pipe and take that over to her balcony to get inside without mishap. Take the front door Key, search for Elixirs, and steal the Painting in the main hall. Then leave.
Addermire Station is the last major building in the area. It boasts three sets of Guards, but none of them are much for cooperation, so deal with each group on its own. Sneak upstairs, using the steps on the right to find one group. There are three people upstairs. Assassinate the man in the chair. His two buddies rush over. Use your Pistol to shoot the Elite Guard, and then finish the battle with swordplay. Search around before retreating down the stairs.
The Wall of Light in back blocks your way to a carriage. Look right, inside an armory filled with Elixirs and supplies. It contains a few regular Guards. Kill the first and then back into the doorway to avoid being flanked. Then grab a tank of Whale Oil to turn off the circuitry for the Wall of Light (it’s just inside the armory door).
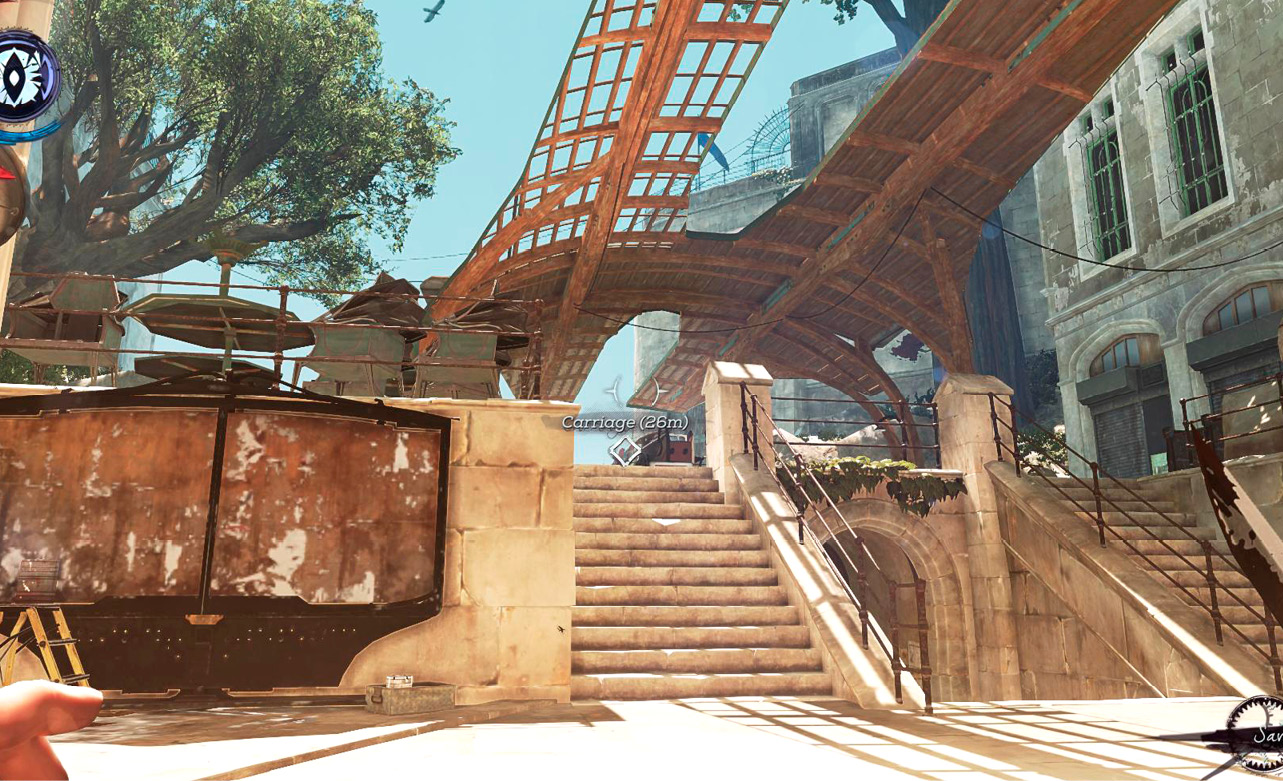
Go outside, cut through the last two Guards, and use the carriage to proceed toward the next mission.