Dishonored 2 Guide Combat Walkthrough
Death to the Empress
You must confront Empress Delilah Copperspoon before she changes all the world with her will. Enter Dunwall Tower and find a way to reunite Delilah Copperspoon’s spirit with her body to make her mortal again. Only then can you eliminate her and take back the throne.
Collectibles
| Runes | 5 |
| Shrines | 1 |
| Bonecharms | 9 |
| Coins | 2562 |
| Blueprints | 2 |
| Paintings | 1 |
Special Actions
| Captain’s Quarters | Search Meagan Foster’s cabin aboard the Dreadful Wale |
| World As It Should Be | Trap Delilah in her painting |
| Avenging Jessamine | Take revenge on Billie Lurk for her part in Jessamine’s assassination |
| Heart of the Tower | Reach the Royal Protector’s chambers |
| Saving Your Father | Rescue Corvo Attano |
| Saving Your Daughter | Rescue Emily Kaldwin |
| Black Market Heist | Sneak in one more robbery before the end |
| Your Daughter Is Safe | Take the throne as Corvo Attano, leaving Emily as a statue |
| Your Father Is Safe | Take back the throne as Emily, leaving Corvo as a statue |
| In the Coven’s Wake | Use the street speakers to address the public |
Dunwall Streets
Looting the City
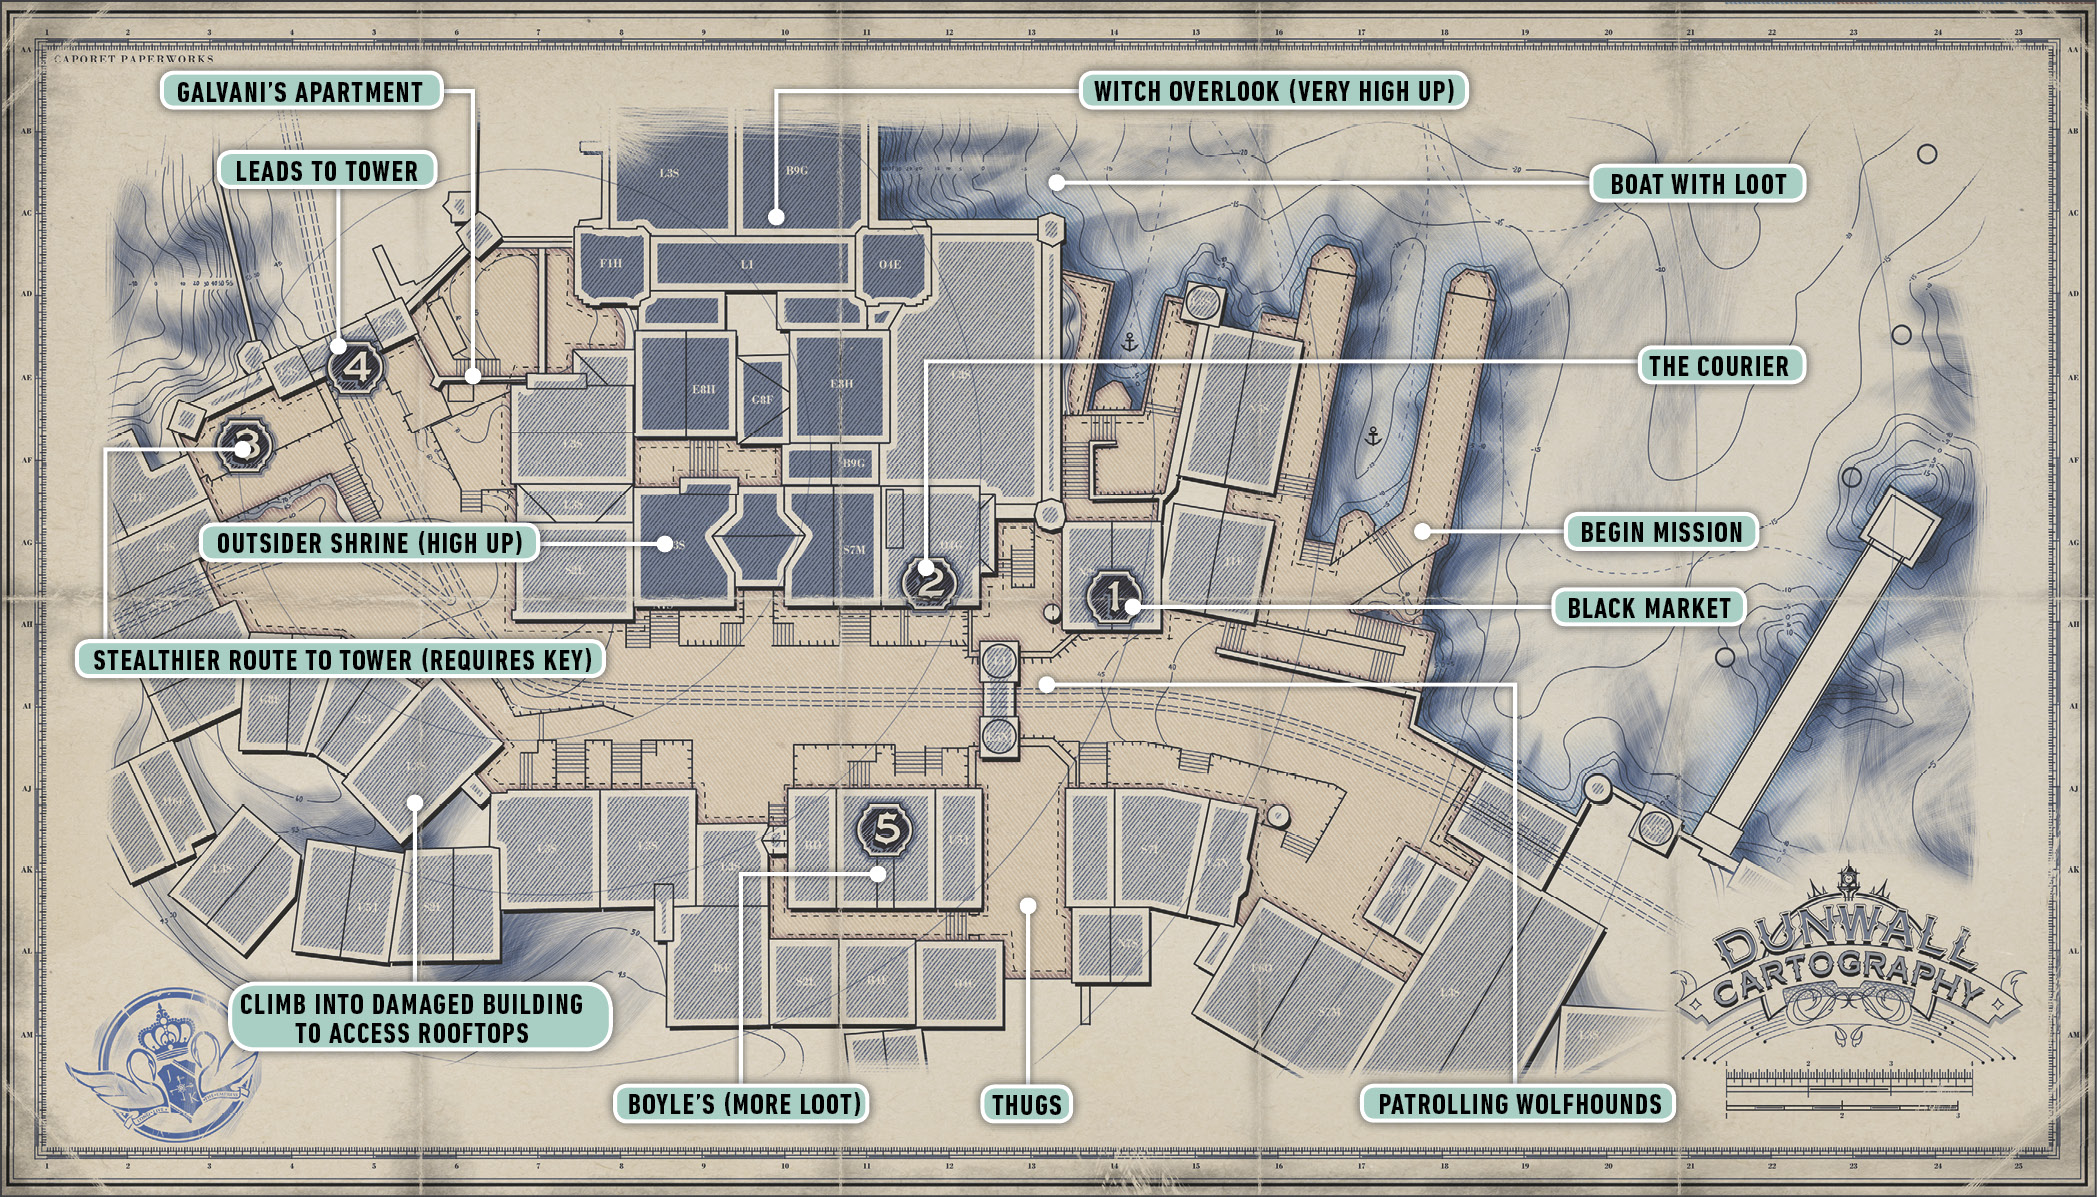
Corvo lands in almost the same place from which he left after the first mission. The city has gone to ruin, so quite a few things have changed in the meantime.
Jump and Blink to the top of the rocks after you get control of yourself. Several Wolfhounds patrol the street above the harbor. Kill them with assassination attacks, or use Bolts if you don’t mind sparing a few.
Clear out the wharf and examine the far side of the harbor. Another boat is out there. Jump into the water and swim out to it. You find minor loot, but the coinage adds up nicely.
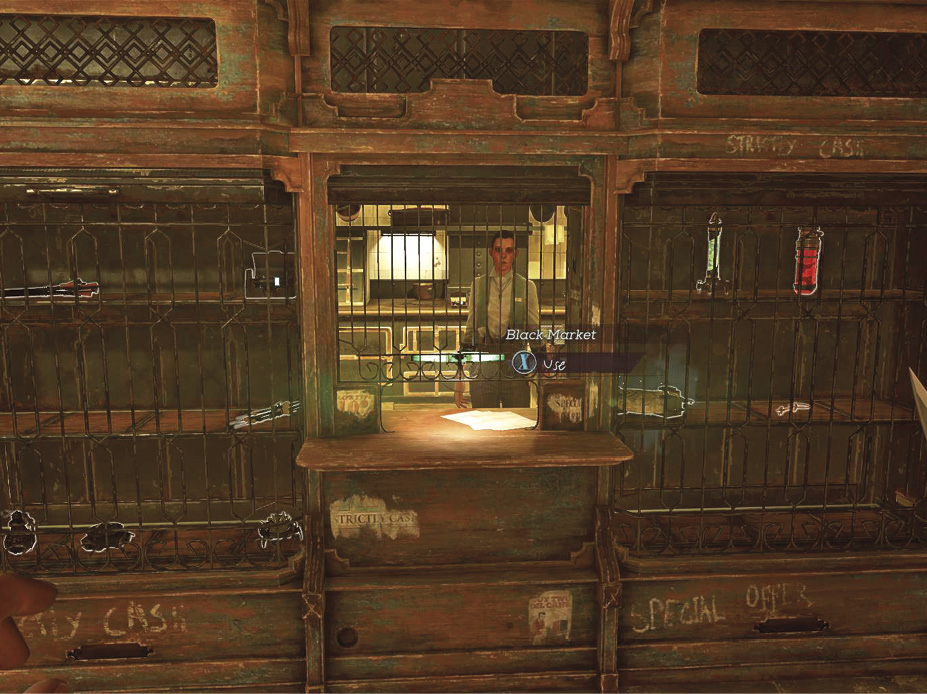
Blink back over to the docks and climb up toward the old bar that overlooks the water. It’s no longer in service, but the black market has moved in. Buy all the final upgrades you can afford.
Black Market Goods
| Item | Cost |
|---|---|
| Crossbow Bolt | 20 |
| Pistol Bullet | 30 |
| Sleep Dart | 30 |
| Grenade | 70 |
| Stun Mine | 70 |
| Spring Razor | 50 |
| Addermire Solution | 150 |
| Health Elixir | 75 |
| Rewire Tool | 200 |
| Rune | 400 |
| Key to City Watch Armory | 250 |
Fight through the Wolfhounds all the way down the road as you approach Boyle’s and the Courier. Explore the Courier first, because you find many items inside.
Up top, you can also talk to the editor of the paper. Don’t miss the Gold Ingots stashed on the upper floor. You could almost buy a whole new upgrade just with that.
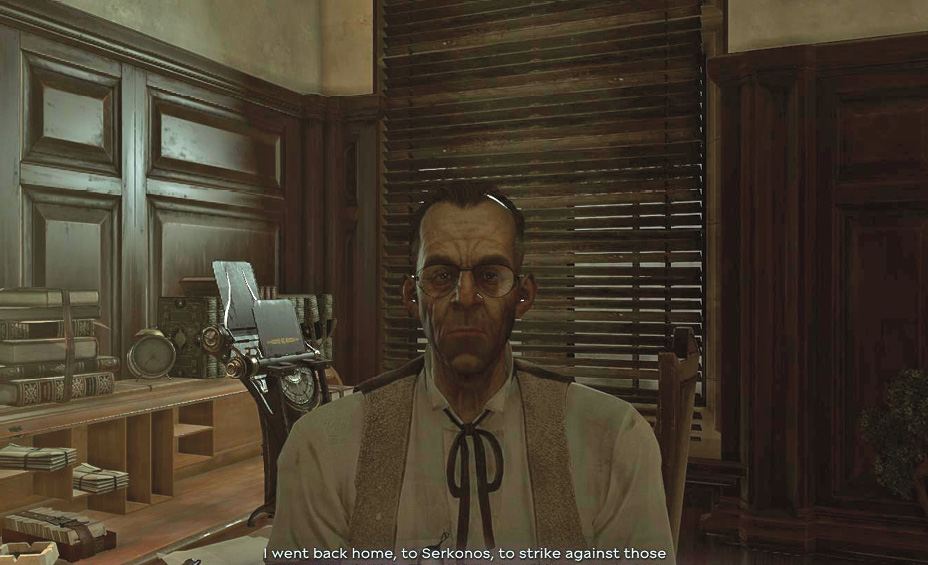
When you’re done, go to the first floor, but take the building’s safe door into a ruined alley. To your right is a metal shelf. Clear away a couple of bottles, and grab the Common Key, which is required for you to pull off the black market robbery. A decent man is hiding at the end of the alley beside the Courier building. Talk to him for more background on recent events.
The Hatters are breaking into Boyle’s. You’ve heard of this gang of troublemakers before. Head over to Boyle’s place and loot both floors of the store. There are five thugs on the first floor, and another couple are guarding the back-alley entrance.
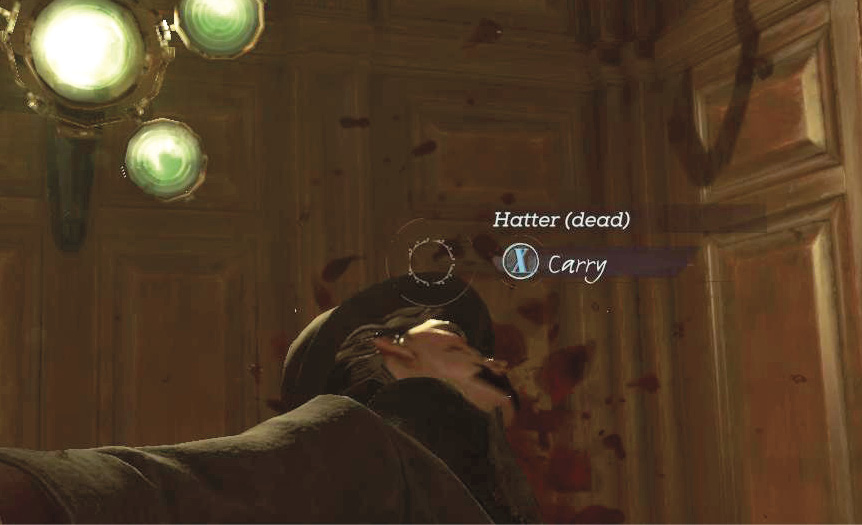
Use Grenades and bursts of Pistol fire to clear out the heavier group inside. Once they’re down, you can get hundreds of coins just by looting the tables throughout the building.
Advance around the bend in the main street and approach the end of the area.
Look for a building on your left. There isn’t anything inside, but you hear a Witch talking high above it. Enter the building through the entrance we show here.
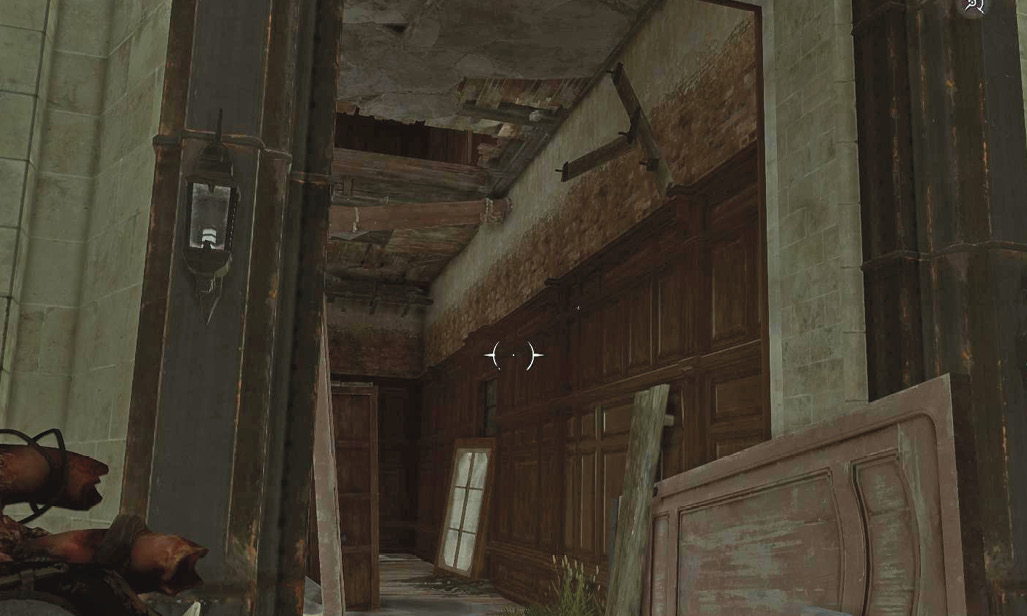
Stay quiet and Blink up through the floors of the building. You find the Witch on the fourth floor, talking to herself about a paramour. Assassinate her, and then cross the street from this lofty height; use some fallen beams to accomplish this somewhat safely.
Kill two Hatters in the apartment across the way. They’re looking for loot, and they almost found some. There is some stuff still there, but a locked secret room contains a hoard of goodies.
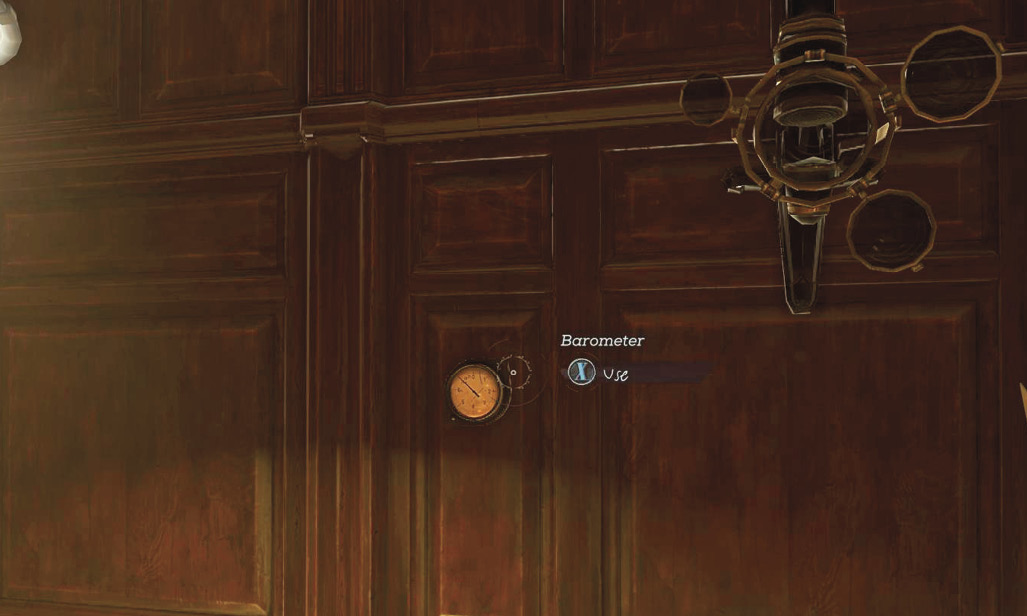
Turn a Barometer in the second room of the apartment to open the door and uncover an Outsider Shrine. Grab those easy Runes and talk to your best buddy again.
Get back onto the balcony and slip around the corner of the building. Piping leads you deeper across the rooftops. Use your Heart to locate the Black Bonecharm ahead, and guide yourself toward it. Be careful not to fall; it’s much safer to Blink than to jump up here.
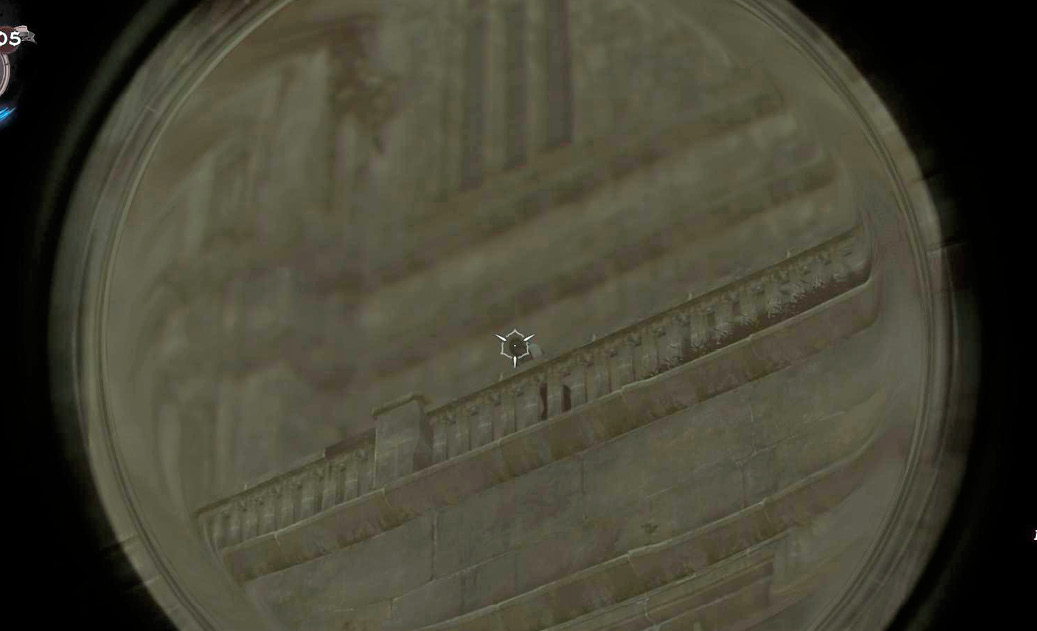
Take out your Crossbow and snipe the Witch high above before you reach your destination. Search the building behind the Witch when you get up to it. The Black Bonecharm is up high, on a mattress. It’s easy to get.
Return to the street and keep exploring. Near the end gate, you come across a locked Armory. If you got the City Watch Armory Key from the black market, unlock it and go inside. There is minor loot and a door that grants you a back way up toward the Tower. We don’t take that route because it’s a stealthier approach.
Galvani’s apartment—the building that contained a Painting when you escaped from Dunwall earlier—has new loot. Break through the front doors of the apartment and grab a Blueprint from the lab within.
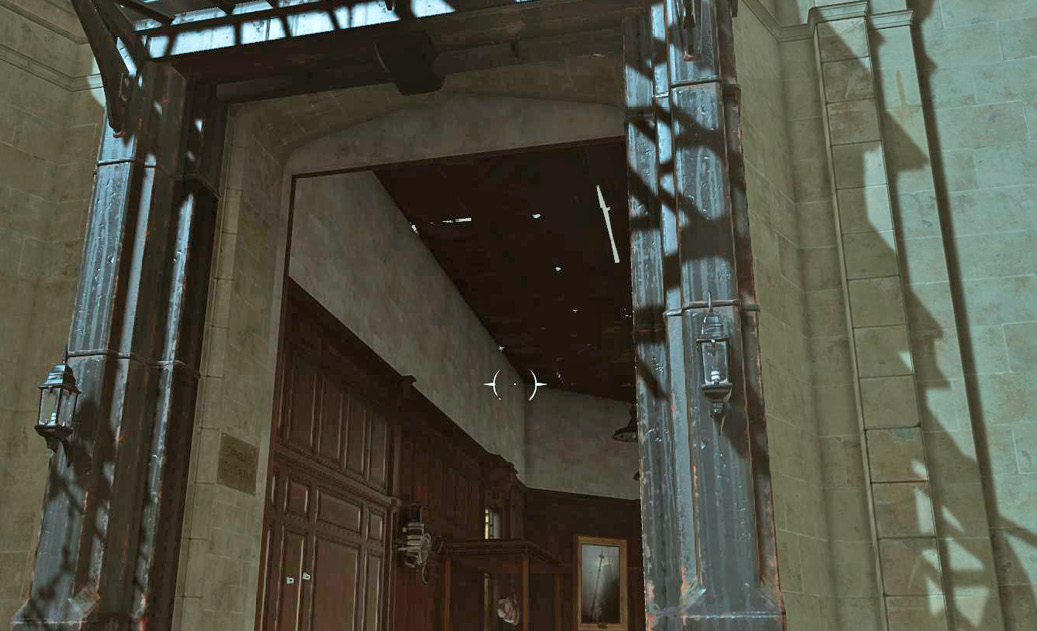
That’s all there is to nab before you leave.
Get into Dunwall Tower
Follow the trail of dead bodies in the main street. The Overseers got royally destroyed trying to retake Dunwall Tower. Walk in their footsteps and head through the door at the end of the street.
Outside the Tower
The next yard has even more dead bodies. Locate a wounded Overseer on the left and talk to him. Let him say his piece, and then check out the right side of the yard. A small building offers Whale Oil Tanks and a refueling station. Use the machine on the left to get an empty Whale Oil Tank. Put it into the receptacle on the right, use the lever to fill it, and then take it to the Gate Control on the opposite end of the room. Press the button once the tank is in place, and watch the gate to the Tower rise.
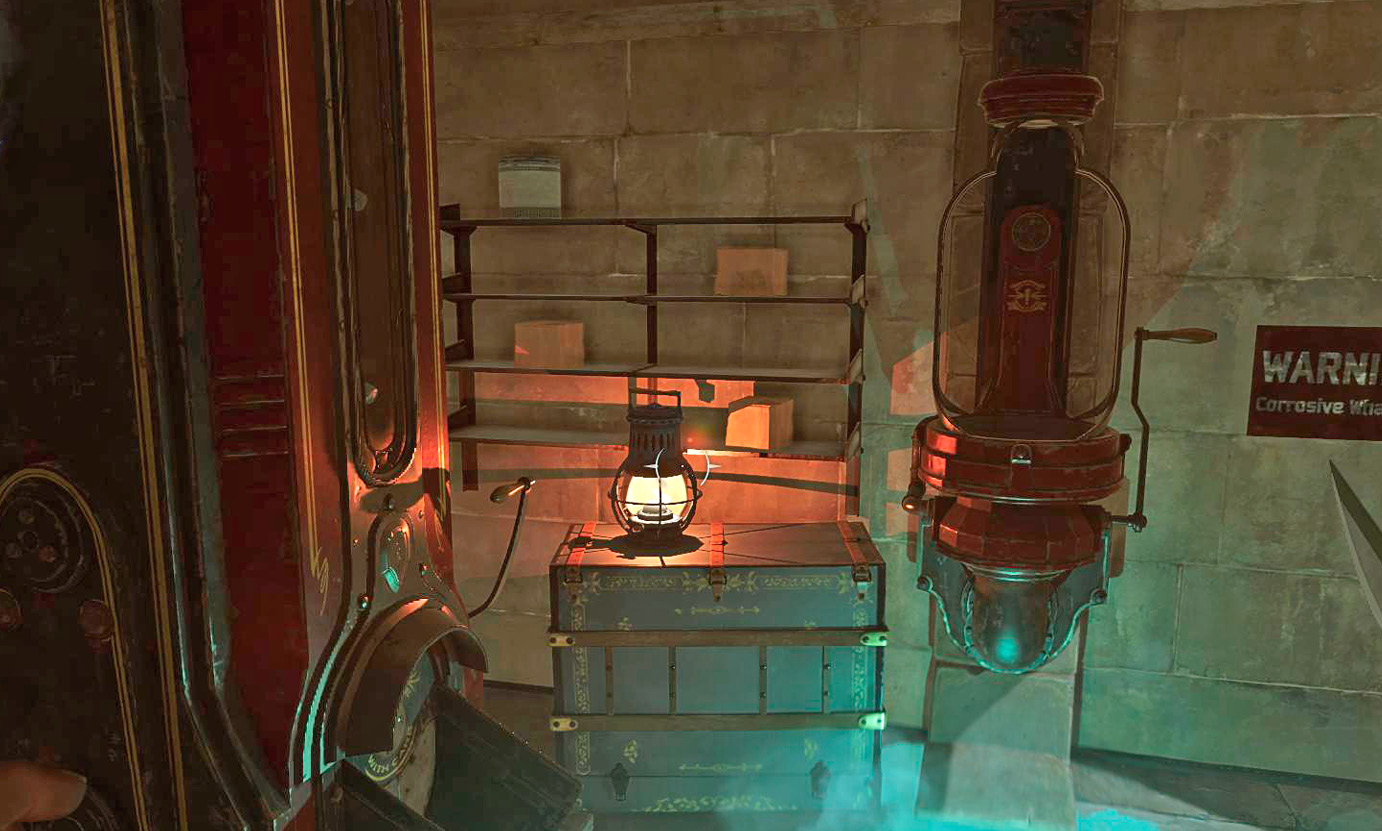
Blink past the Bloodbriars in the gatehouse and continue up the hill as you approach the Tower. For an easier time, Blink up to a building on the right near the top of the hill. A few Witches are crafting inside. You can ambush and kill them easily. Taking on the group at the top of the hill often brings in all the Witches in the region. Half-a-dozen Witches make life ugly and short for most people.
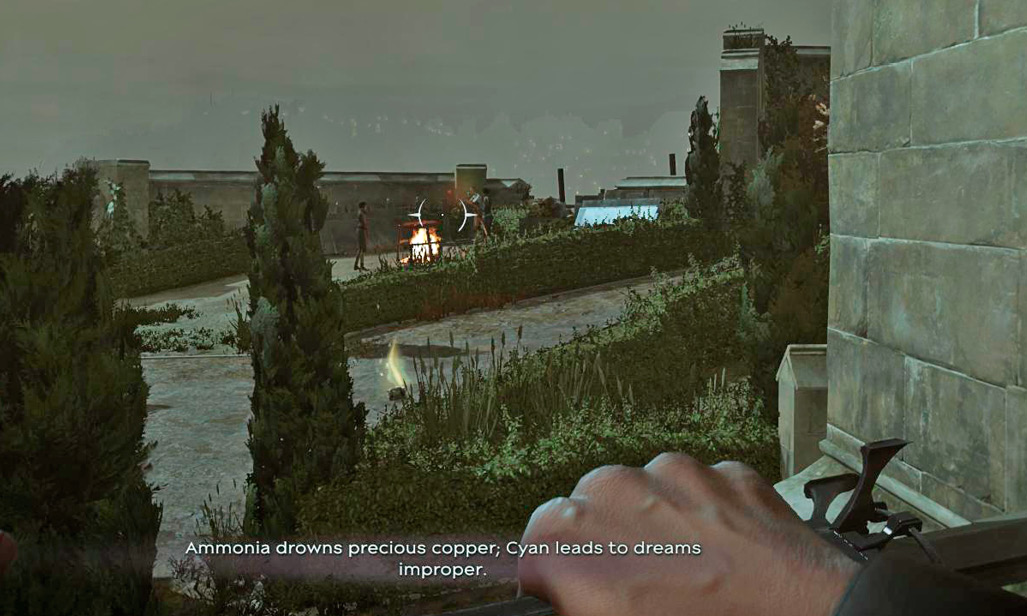
But if you try it, snipe the Gravehounds’ skulls ahead with your Crossbow so it’s quiet. Then hit at least one of the Witches from range to start the battle with a minor advantage. One free headshot gives you one fewer Witch to fight!
For the others, blow your Bullets on each target. Keep those Witches wounded and distracted, and use Sword hits only to finish them off. Don’t duel, block, or stand still. Use the few objects in the roadway to block line of sight so the Witches can’t use their spells as effectively against you.
Another wave of three Witches waits around the corner, but they’re far enough away not to join any attacks here. They have a Gravehound with them. Sneak up on the group to assassinate two Witches and turn that battle into a somewhat easy one.
The building to the right is the Green House. Search it for a Health Elixir and a Bonecharm once the Witches are all slain.
Your Heart lets you see a Rune and a Bonecharm outside the Tower. Turn left to go after the Bonecharm. Walk quietly to approach the next group of Witches with an advantage. Another group of three Witches and a Wolfhound are near the Bonecharm’s building. It’s the waterlock you passed through during the siege on Dunwall Tower all those years ago.
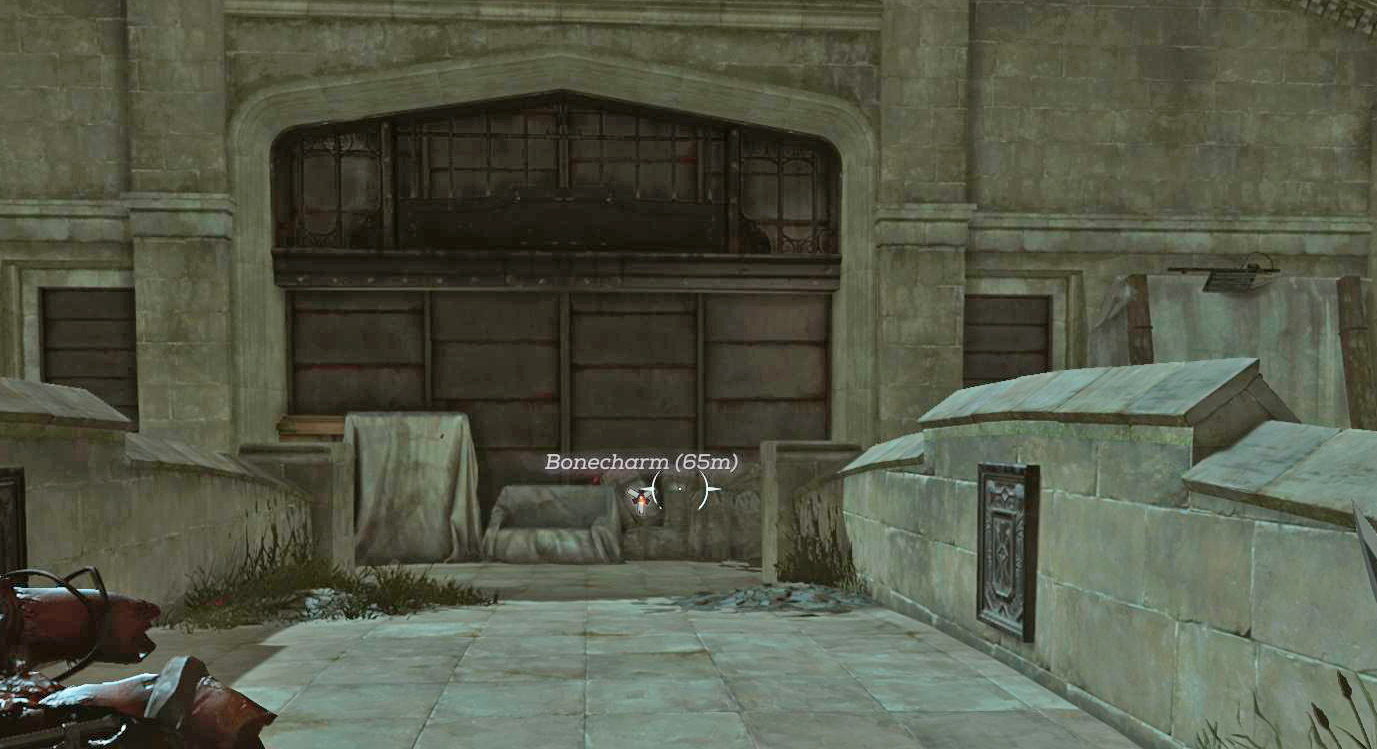
Blink and sneak across the pipes and walkway around the right side of the building. Two Witches are close to the Bonecharm, but they’re unaware of you. Jump over the wall when you hear them talking, and assassinate one of them. Dispatch the other by herself by any means.
Get the Bonecharm from a wooden box, and return to the front of the building.
Ascend the stairs ahead and to the left. You find the momentous gazebo where so much of your life changed during the Empress’s assassination. Go into the gazebo and pay your respects.
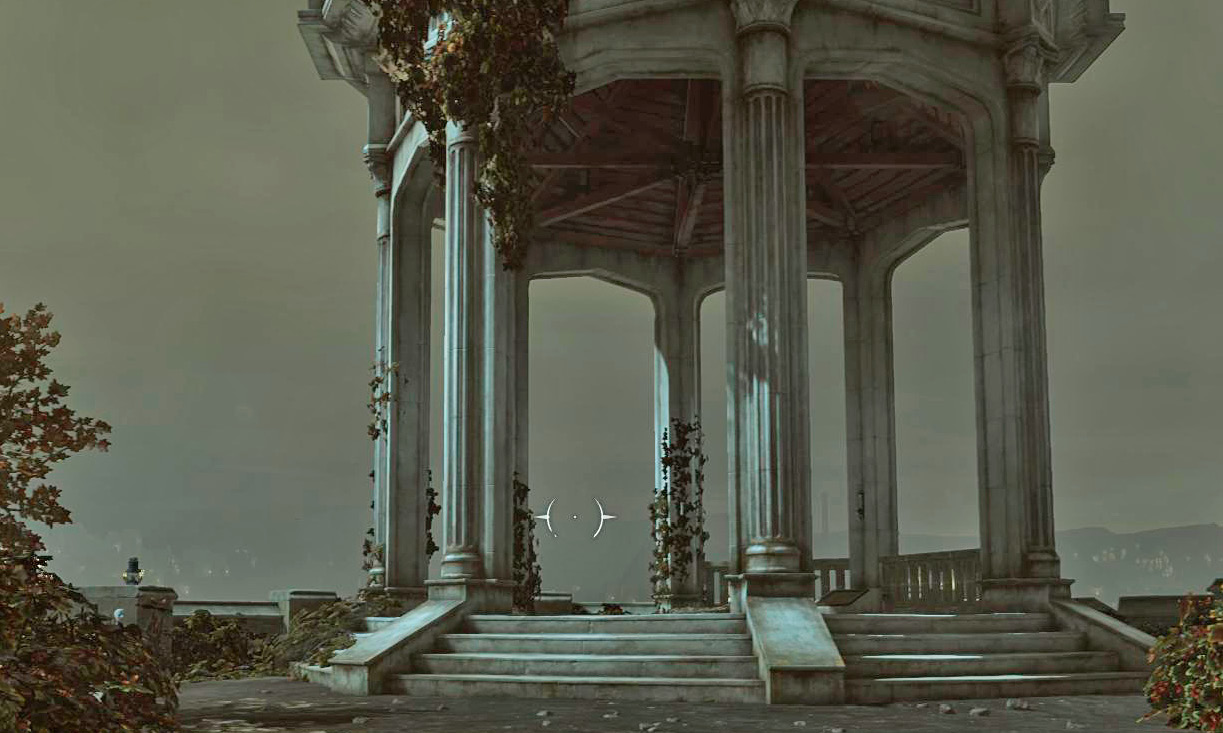
Jump onto the left wall when you’re done, and observe several Gravehounds’ skulls farther down. Snipe them, and get down there. Take a Painting along the wall.
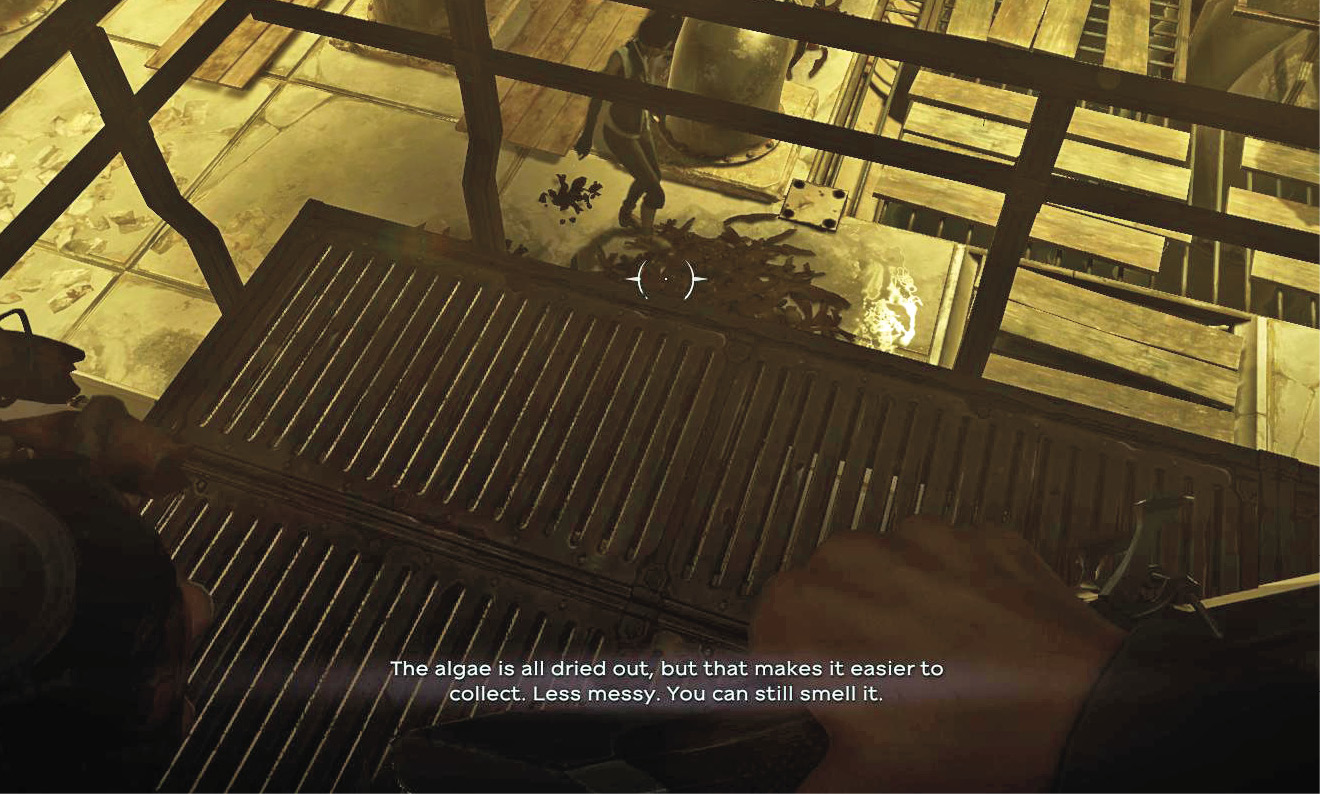
Head toward the Dunwall Tower entrance, but get one more thing before you go inside. A building to the left of the entrance hides a Rune. Crawl in through a small opening and use a Drop assassination on a Witch. Her companion sees this, but she’s isolated and vulnerable.
Kill her and enter a metal walkway above the detected Rune. Hop through a small cubby at the side of the room and crawl over to grab the Rune.
Now you can head into the Dunwall Tower front door whenever you want. You have everything here.
Dunwall Tower Interior
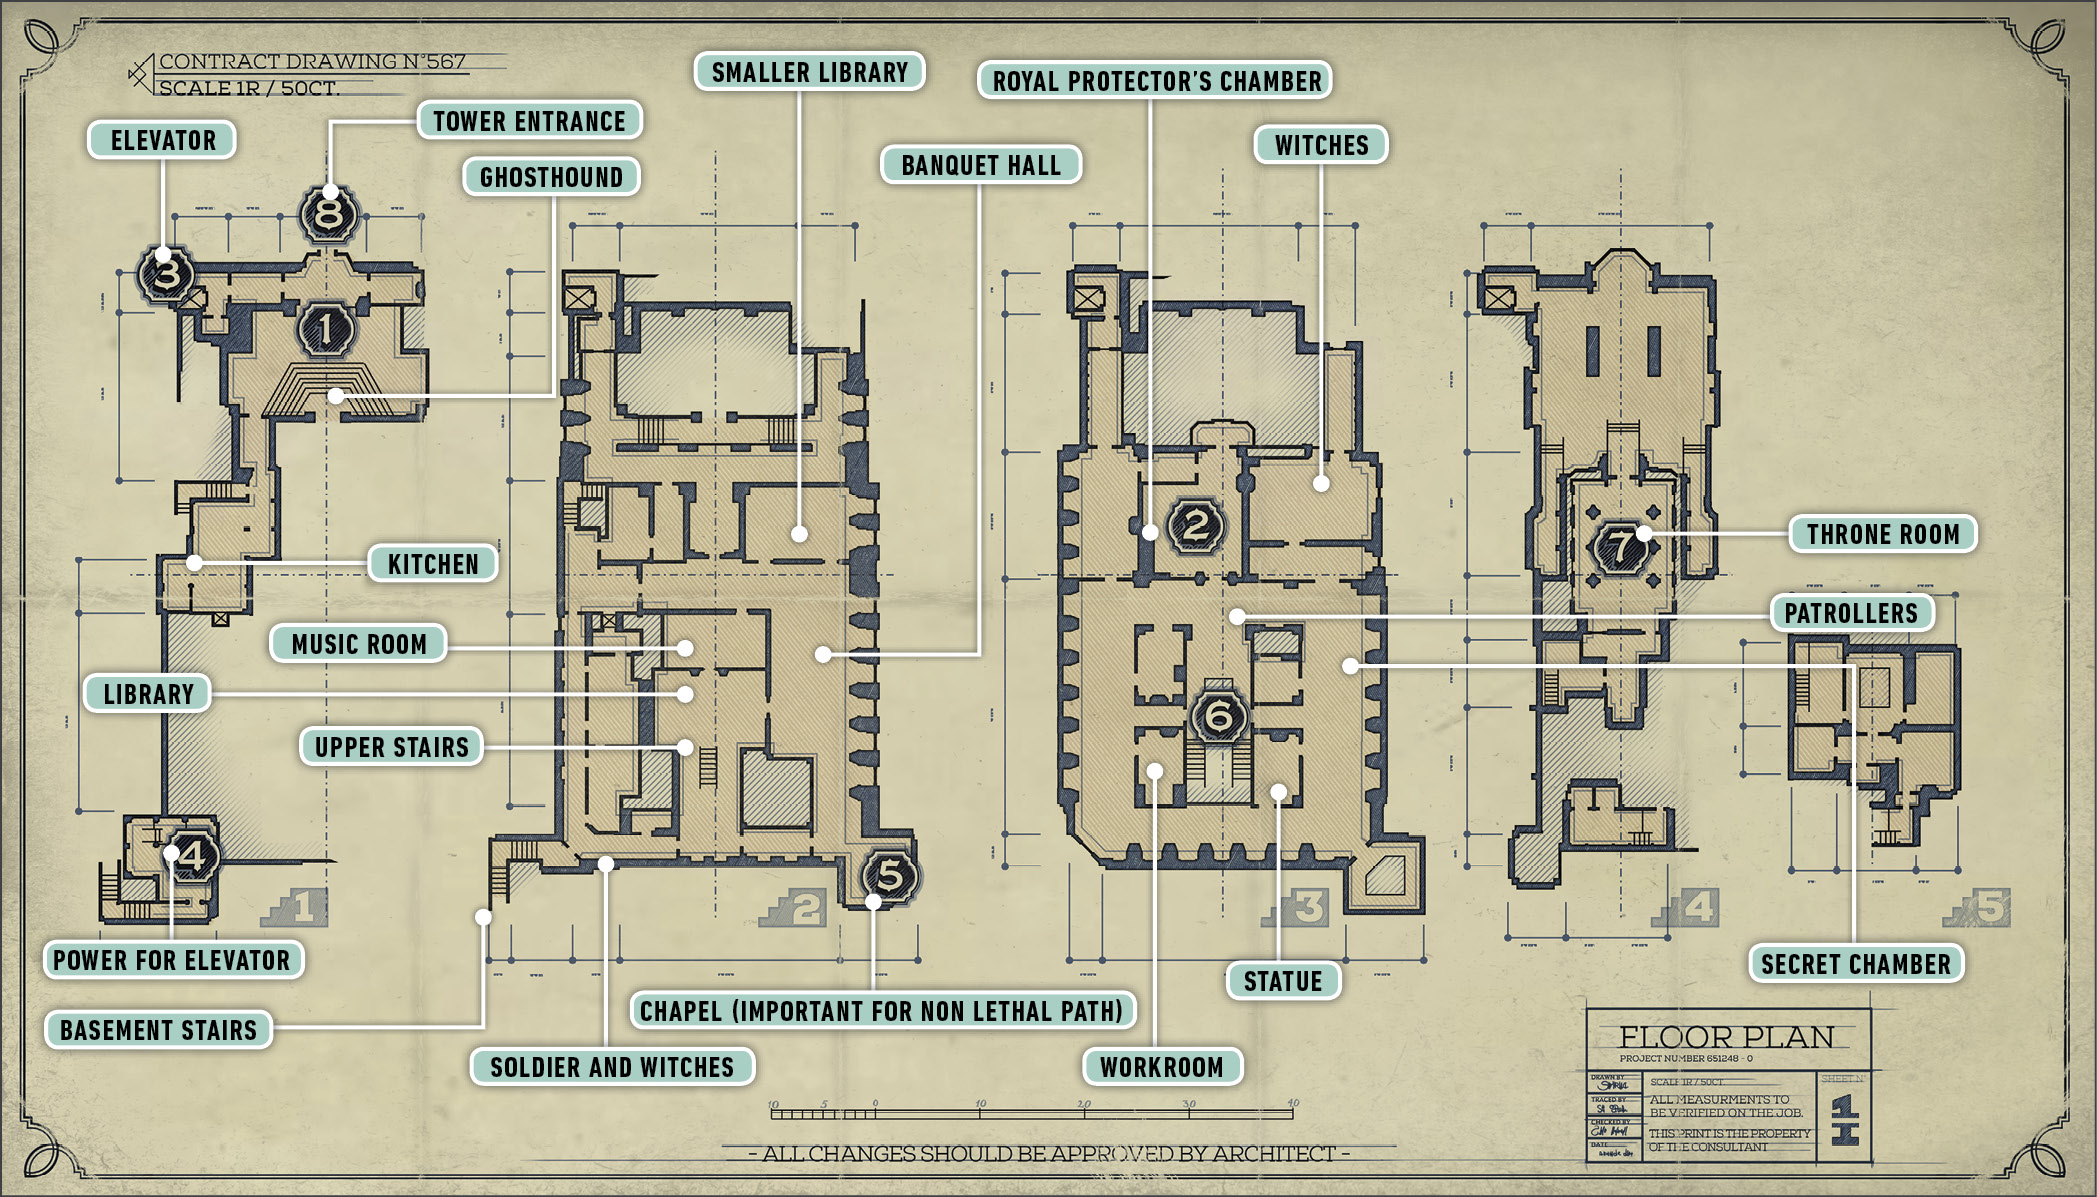
Find Delilah
Turn left when you get inside and Blink over to two Witches. Assassinate one (or both), and switch to swordplay if either survives the initial burst.
Retrieve the map next to the barricade that blocks most of the entryway, and jump over the debris. The High Overseer is in the next room, but he’s in no condition to talk. Look ahead for a Gravehound skull that’s near the dead Overseer. Destroy that ahead of time so you don’t get spotted when approaching. Afterward, get a Bonecharm and a Corrupt Bonecharm from the Overseer’s corpse.
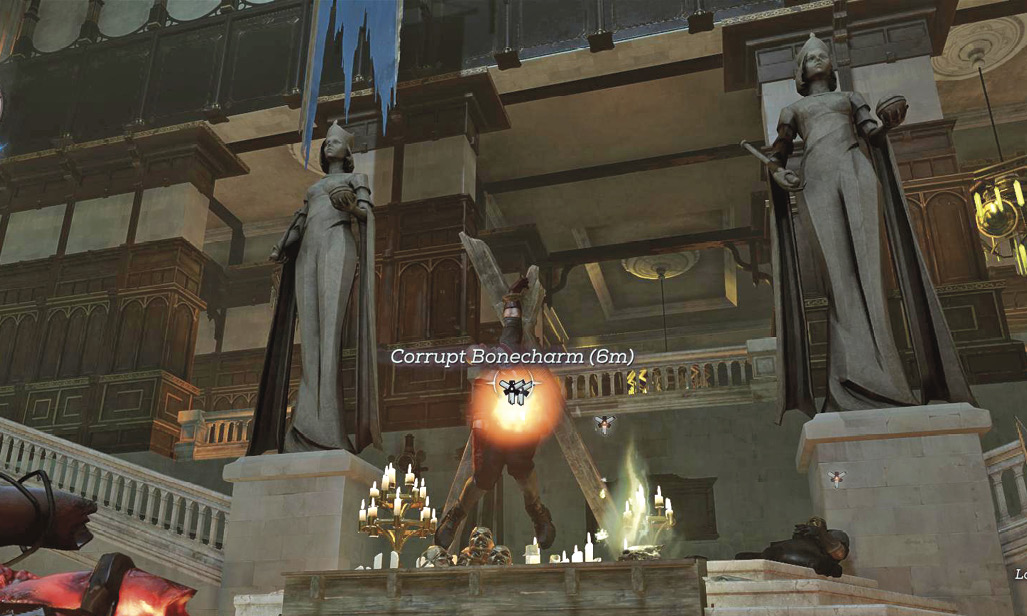
If a battle starts here, Witches come from all over the place. You face many of them in the open room, so speed is your best ally. Either flee into tighter corridors, or rush between the Witches, using gunfire and fast dispatches to keep their numbers low while reinforcements come in.
Use the lower door on the right to leave the room during or after the battle. The next room is quiet, so you have time to recover. Once you regain your bearings, follow this route and climb some stairs on the right until you find two more Witches. Ambush them with a Blink assassination and Pistol shot, and then explore.
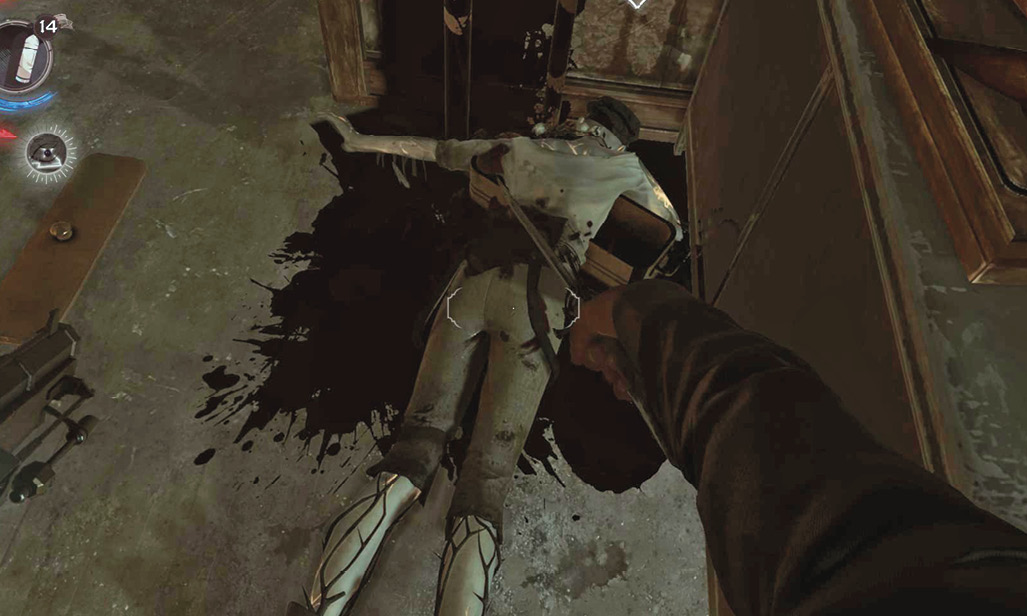
Carefully crawl across a board and through a window. If you drop off the board, you end up in the cellar and have to work your way back up here.
The kitchen is on the other side of the window. Eat up, and get ready for a tricky fight. The adjoining corridor contains a Clockwork Soldier and two Witches. Making noise and luring a target to you creates an easier run of the task. Set traps near the kitchen exit for even more help.
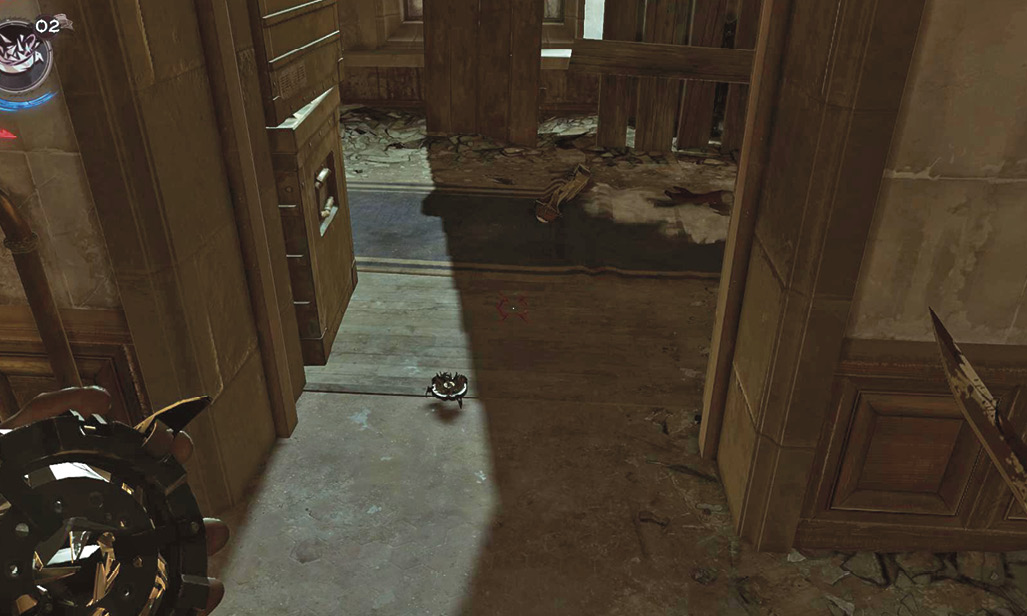
Defeat this trio and go to the corner of the building. Stairs lead down into a security room. Use the Heart to scan for a Rune on top of several pipes, then get the Tower’s elevator working by restoring power to the machinery here.
Use the Whale Oil dispenser’s lever to obtain an unfilled tank. Put the tank in the Whale Oil Fueling Station and pull the machine’s lever. When the tank is full, place it in the empty red receptacle behind you so everything is happily getting juice.
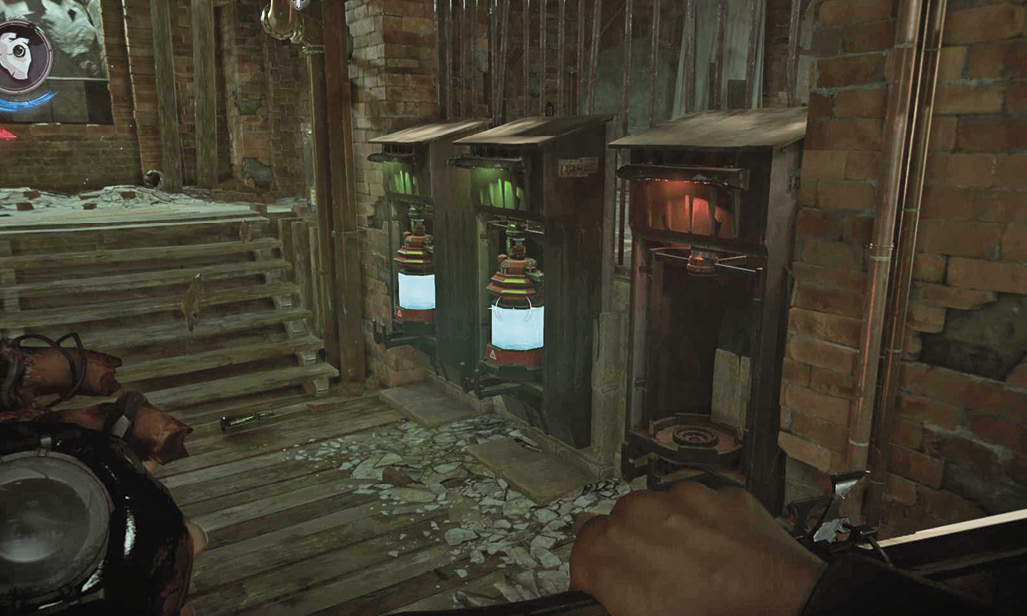
Two Witches come down to investigate. Hide around the wall and then jump out to cut them apart. Climb back up the stairs and take the hallway directly ahead. You come into the library and find stairs leading up.
Looting the Second Floor (Optional)
To avoid a massive battle, wait for a Clockwork Soldier to look away, and then Blink up the stairs to avoid its attention.
Fighting the soldier gets you into a war with it and about half-a-dozen more Witches.
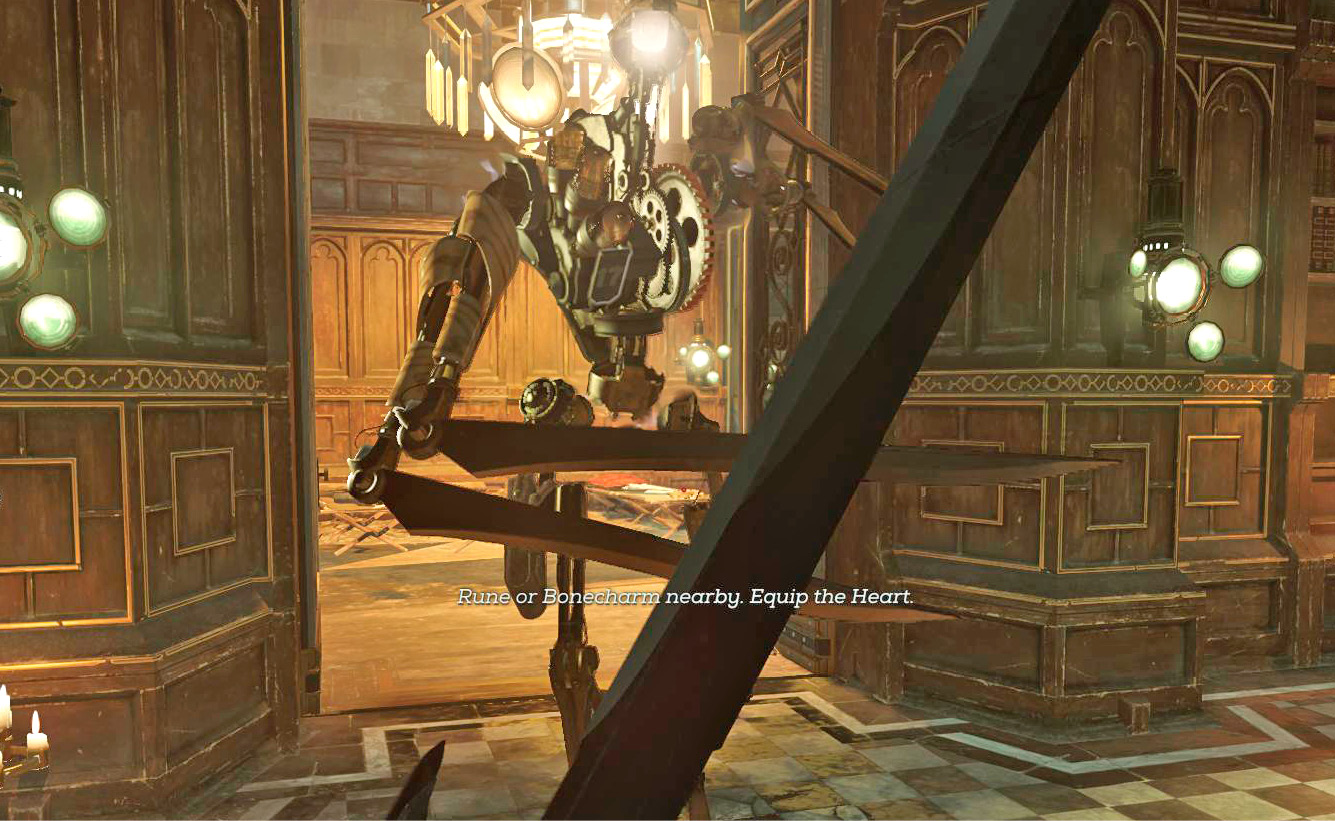
If this is the fight you want, trap the preceding hallway ahead of time. Put multiple traps down, with a decent bit of distance between them. Retreat as you fight the Clockwork Soldier, and let the Witches come to you. They teleport behind you and end up eating your traps. Back up more so they hit the second/third layers of your defenses as you get pressed.
The second floor isn’t required for completing your mission, but there are two more Bonecharms up there and some optional story aspects as well. Once you’re up there, look for the Royal Protector’s chambers at the end of the main hallway. Entering gets you credit for a special action.
However, there are patrolling Witches everywhere. Blink assassinations continue to work fairly well against them, and Crossbow sniping is good too.
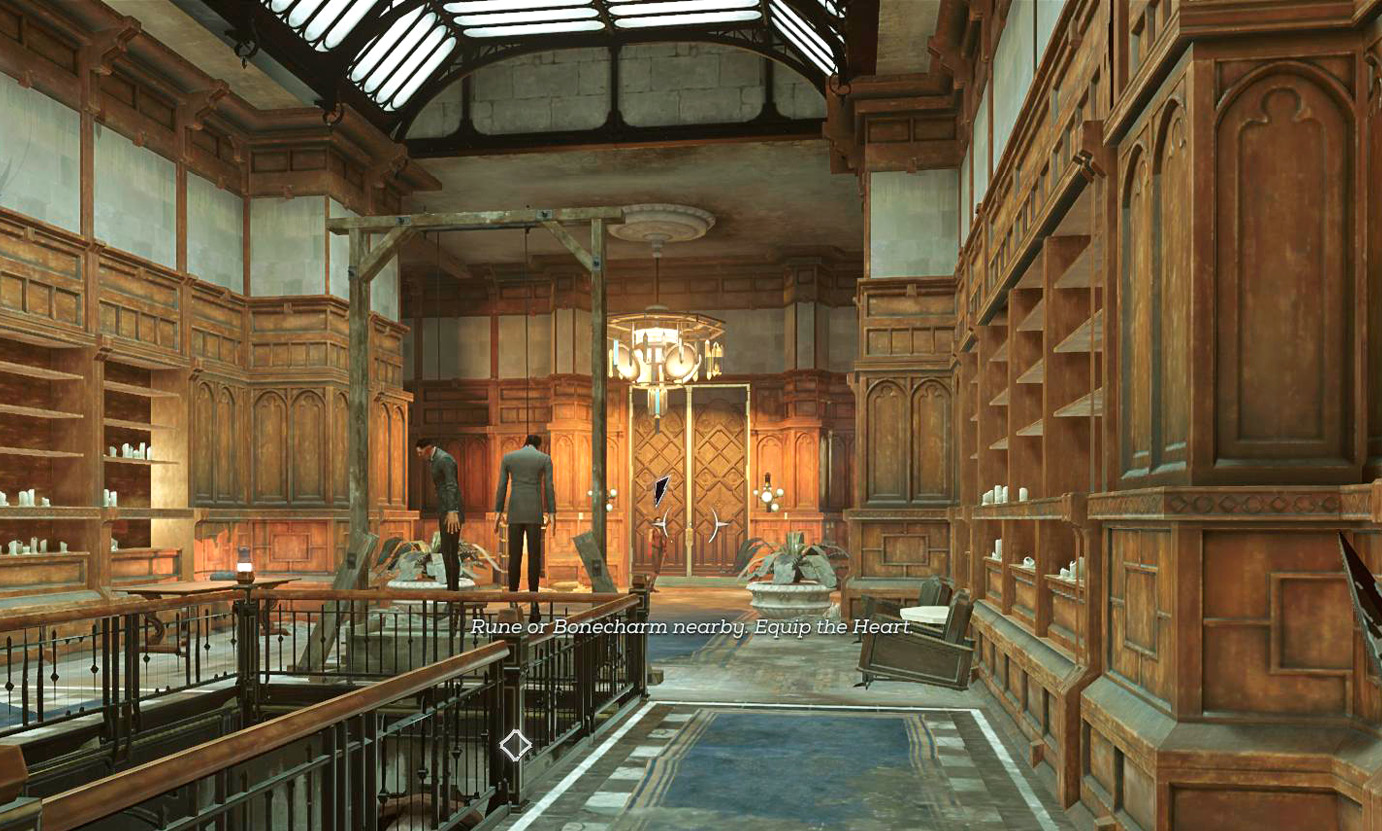
One room, to the left of the main hall, holds a Bonecharm defended by a single Witch. Once you clear the hall of Gravehounds and patrollers, you can get it at any time.
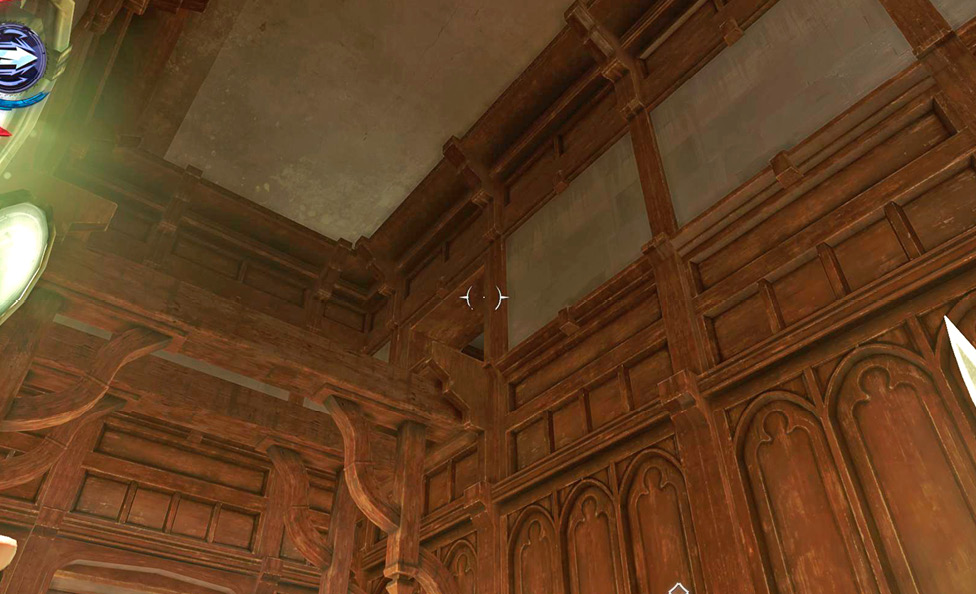
The other Bonecharm on the level is weird. There isn’t a door leading to it, so look around carefully. Turn right from the main hallway. If you have Dark Vision, locate a man hiding inside the walls. Look up near the ceiling to find a small window leading into this hidden/blockaded chamber.
Retrieve the Bonecharm from inside, and talk to the poor fellow.
Confront Delilah
Follow your waypoint to the elevator. You’ve already restored its power, so getting there is the only issue. Retreat through the areas you’ve already cleared if you want to save time.
Take the elevator up to the throne room. Nothing but a door is up there, which exits onto the Tower rooftop.
No one else stands in your way except for Delilah. Enter her throne room and use the Heart to take away her immortality.
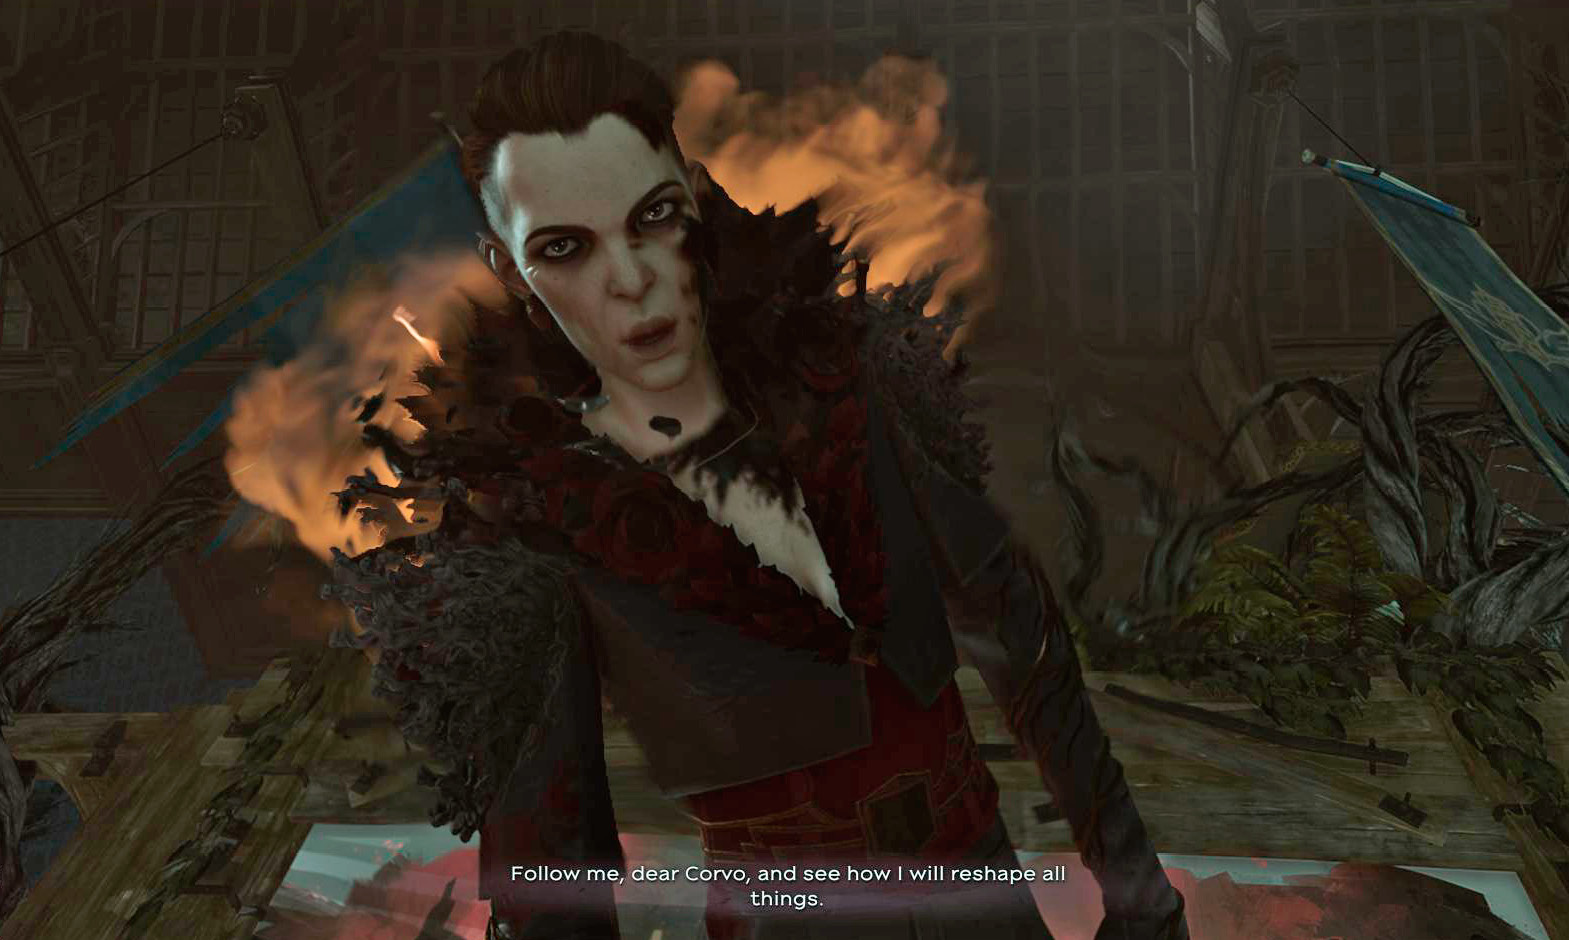
Delilah retreats into her painting, and you must pursue. Once there, you are confronted by many imposters of Delilah. They all look and fight like her, but they’re just fragments of her true self.
To win this encounter, you need to beat more and more of them until you take out the real Delilah. After her replicas are dead, she’ll appear in a beam of light in the center of the area. That’s when you’ll have your chance to destroy her.
Use all of your goodies to kill off the replicas. There isn’t anything to worry about once you win, so consider all Health and Mana Elixirs as expandable. Attack with your Pistol and Crossbow in concert with your Sword to wound and then dispatch each imposter very quickly. They won’t be able to gang up on you if you take this rapid approach.
Area of effect weapons make a big difference if you start to get overwhelmed. Use Explosive Bullets, Grenades, and Springrazors while backing away from the throng of replicas.
When Delilah falls, the battle stops. Return to the Throne Room and choose whether to free Emily or to leave her as a statue that can never be harmed. If you wish the latter, sit on the throne to end the game. This only works if you have chosen a very high Chaos playthrough, but with all of the bodies that you’ve piled up, that seems very possible.