
Become a Master of Stealth and Combat
With knowledge of the basic controls in hand, you’re ready to learn about actual fighting, stealth work, and tactics. This chapter goes into the details for this game’s mechanics, giving you a strong edge against the challenges ahead.
Fighting and Killing
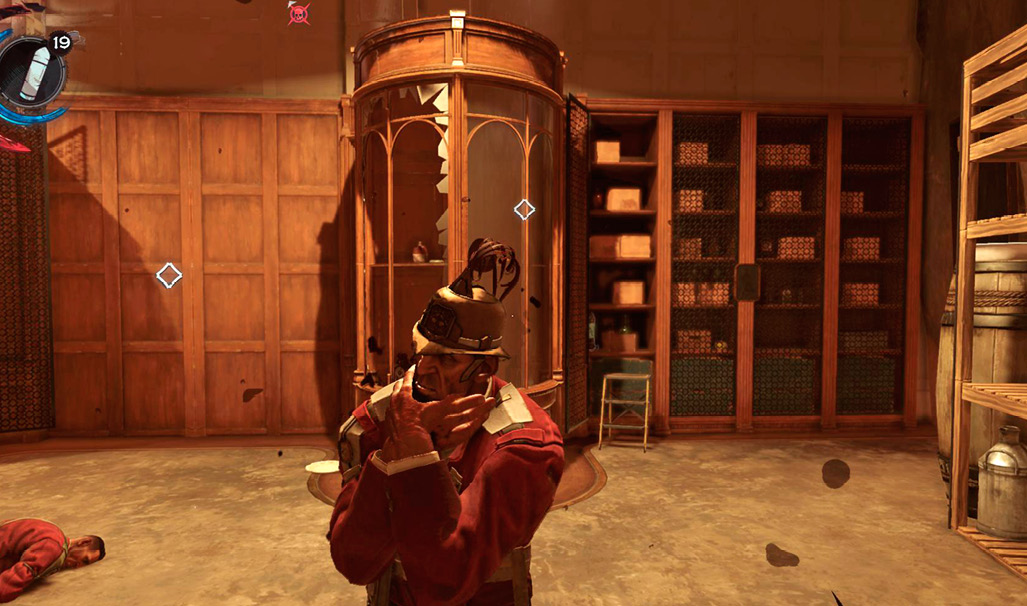
Unless you completely master stealth, it’s likely that you will engage in a number of battles throughout your journey. Either by choice or by necessity, combat can be an excellent way to deal with your opponents.
Having great reflexes and practicing with your weapons makes a huge difference, but there are also a few tactics that let you start beating enemies even sooner. We’ll go over these now so that you can take on greater difficulties that much sooner.
Thinning Enemy Numbers
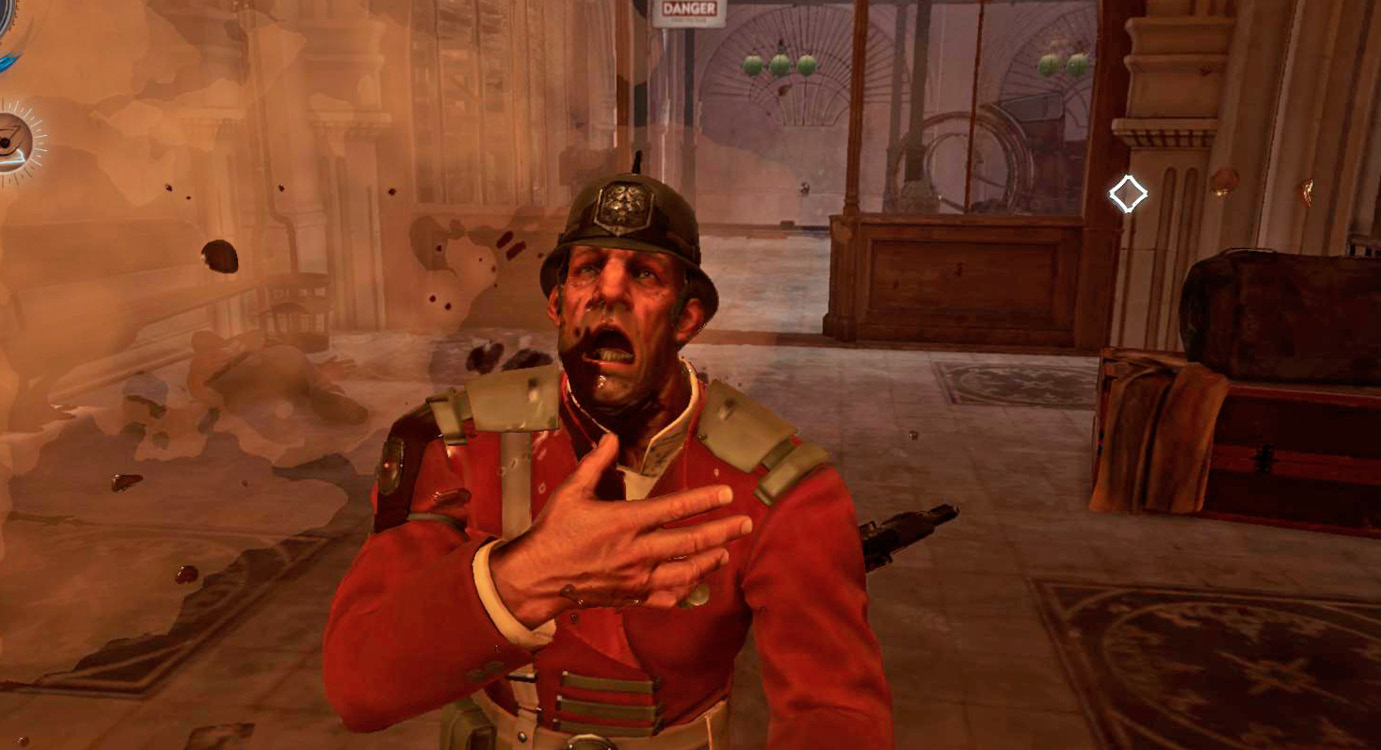
It’s easy to end up in a larger battle than you expect. You see a patroller wandering around and think, “Hey, let’s kill that guy.” It’s a perfectly fair idea, but you might not know about the two men in a side room who are within earshot. And then there is another patroller who might wander into the same room as you start to fight those three attackers. Things can get out of hand without much warning.
Even as a combative player, you need to think a bit like a stealther before you engage in a fight. Stay quiet when you’re outside of combat, and look around before you attack anyone. If you see enemies who are absolutely isolated, take them out immediately. If you use stealth assassinations, you can kill these enemies and still get the jump on other targets before the loud, chaotic battles begin. It’s easy to kill one or two people at once, so keep your options open by engaging in these stealth kills.
The best way to do this is to wait for patrollers to come as far out as their paths take them. Ambush such enemies from behind when they’re heading back to the uncleared area, kill them silently, and drag their bodies back into a place that you’ve already secured. This takes more time, so you won’t always want to choose this tactic. However, it’s vital if you’re having trouble dealing with enemies in a given area.
We usually use this as a fallback tactic if an outright assault isn’t working. “Oh, I can’t beat all six of those guys at once. Reload and try this a more subtle way.”
On your next playthrough, you might very well be able to kill untold numbers simultaneously, but that’s a lot to ask at first.
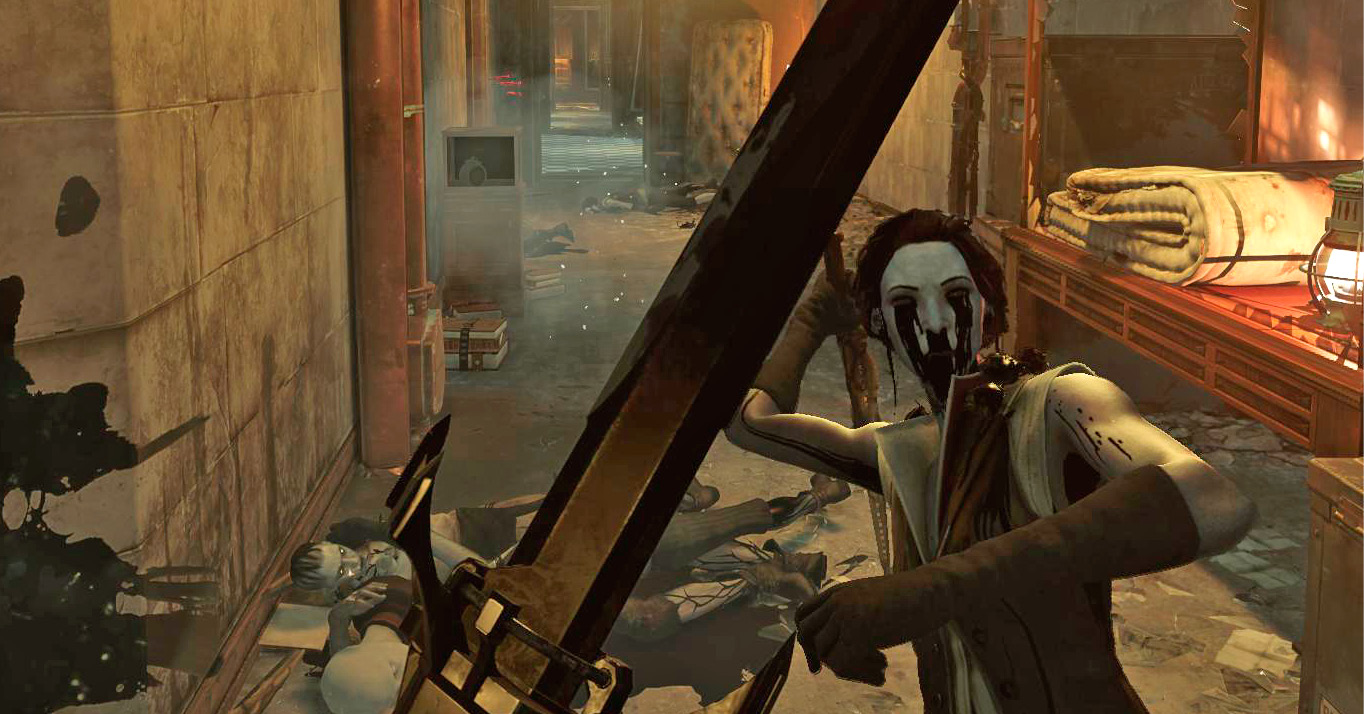
Taking Shadow Kill is a strong option for players who like to invest some time in setting up their fights. Shadow Kill automatically destroys the bodies of enemies you kill with assassinations. You save so much time with it, and it just feels cool.
If you have Shadow Kill, you don’t need to waste time on bodies and can easily eliminate patrollers without anyone being the wiser. This leads to small fights when you just go against the core enemies in a room who are watching each other’s backs.
Even with those groups, you can rush forward and kill the first member before they draw their weapon. Anyone else can ready their defenses, but they’ll be at a major disadvantage because you’ve killed yet one more member of their group.
Thrown Objects
Many smaller objects, like bottles, can be thrown. If you hit an unaware target in the head, they’ll collapse. With the Strength ability, you can even take people down by hitting them in the head during a fight.
If you find bottles with flammable liquids inside of them, you can throw them into Bloodfly nests (or people) to set things on fire. Watch out when you try this during a Merciful playthrough, because fire sometimes catches onto people that you weren’t trying to hurt.
Combined Arms
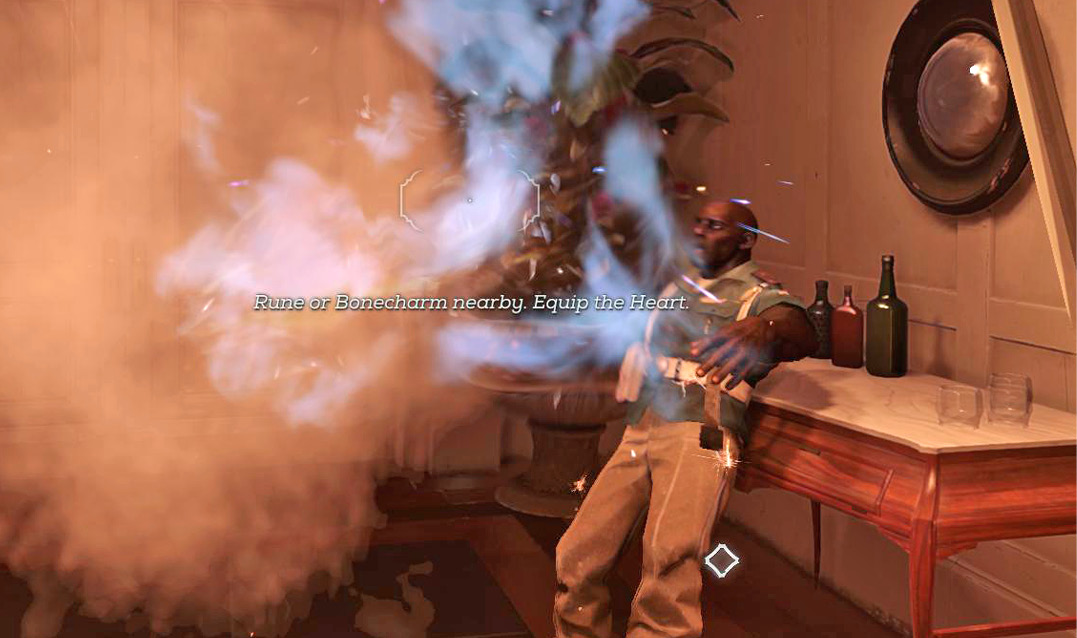
We briefly mentioned earlier that it’s important to use more than your Sword in battle. Corvo and Emily have multiple weapons at their disposal, and these aren’t meant to be used exclusively. You don’t have enough Bullets to spam Pistol shots all day and all night. You never have enough Bolts either. Instead of using one by itself, you’re best off if you combine all your weapons.
Here’s an example. Imagine a room with three enemies close together. You can’t take them out quietly (or don’t want to), so it’s going to be a fight. Charging into the group lets you automatically kill one foe with your Sword because they’re not ready to block. You kill this unaware target, and the other two draw blades. You shoot the first one who approaches with your Pistol. If you’re lucky, you score an instant kill, but even if they survive, you can attack while they’re staggered and finish them off. Block to stop the next attacker from injuring you, and then save your ammo, because a solo survivor has almost no hope against you in melee.
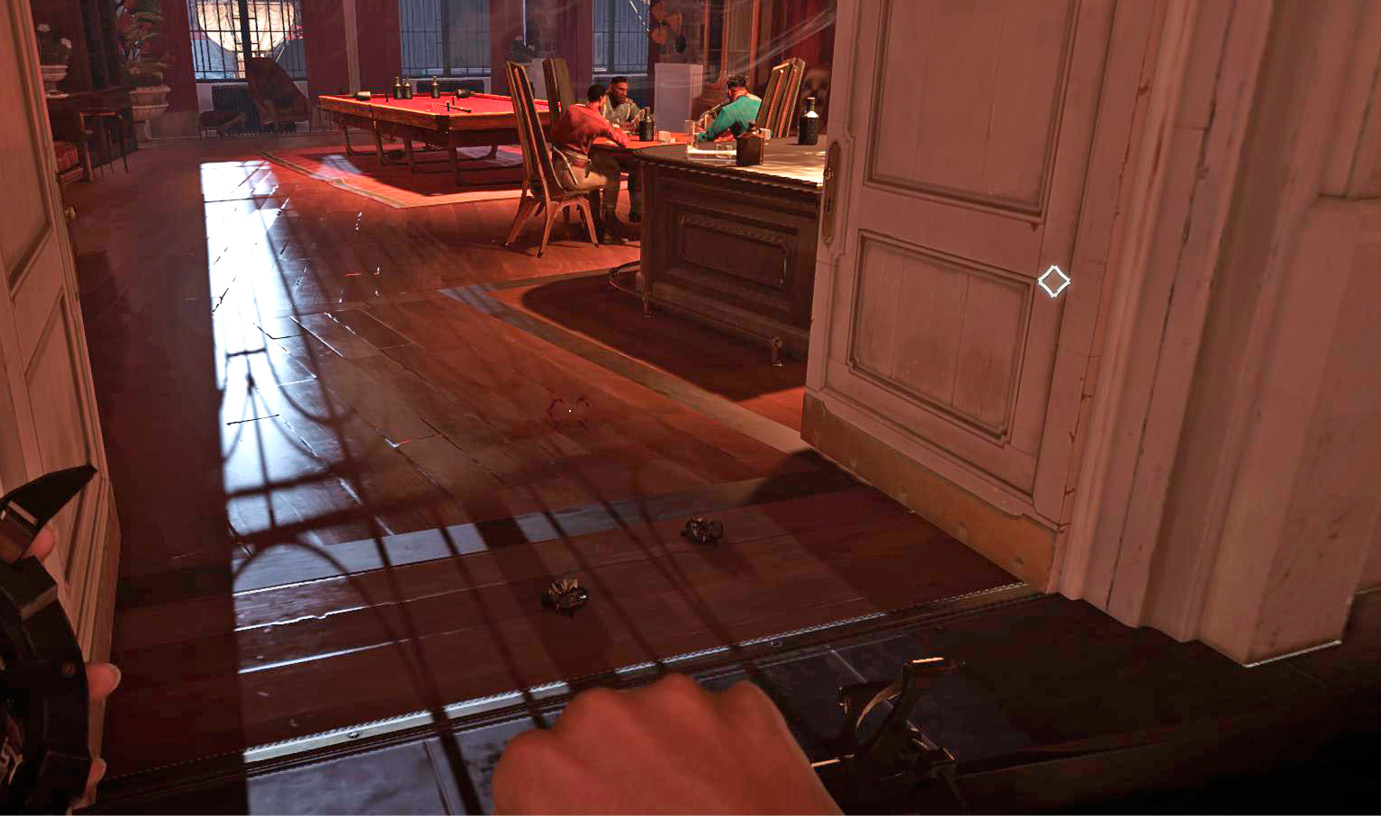
In this way, you take down three enemies with only one Bullet spent. But if you tried pure melee, you’d have to hold off two attackers at once, which is substantially trickier.
For larger battles, you add more pieces to the equation. Placing a Stun Mine or a Spring Razor gives you a chance to lure enemies into even more trouble. Attack with surprise, shoot someone else in the face, back around a corner where you have your trap set, lure the enemies into that, and then resume your attack.
The key here is to practice moving fluidly between different types of actions. This balances your resources (ammunition, Mana, Health, Elixirs). By relying on all of them, you are much more likely to stay alive and find items you need to top yourself off.
Players who only fight with their blades won’t use as much Mana or ammunition, so some of the Elixirs and ammo they find are totally wasted. The same is true for ability users who forget to enjoy their Pistols and Crossbows. If you’re a high-Chaos player, you might as well use every tool at your disposal, because you’re already loud and proud. Have fun with it!
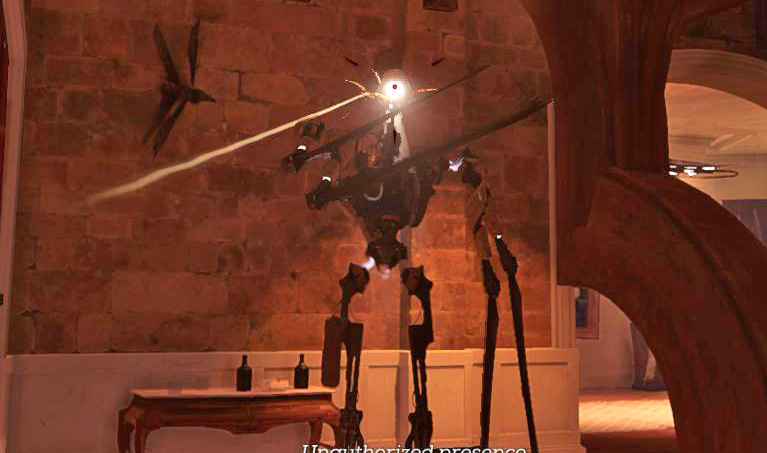
The final tier of arms combination is when you get abilities that buy you even more time to do your grim work. Bend Time, Devouring Swarm, and Doppelganger are all examples of abilities that give you tons of extra time to attack, switch between targets, and alternate your weapon use. Once you’ve learned one of these abilities, you can take on huge groups of targets.
Flee and Recover
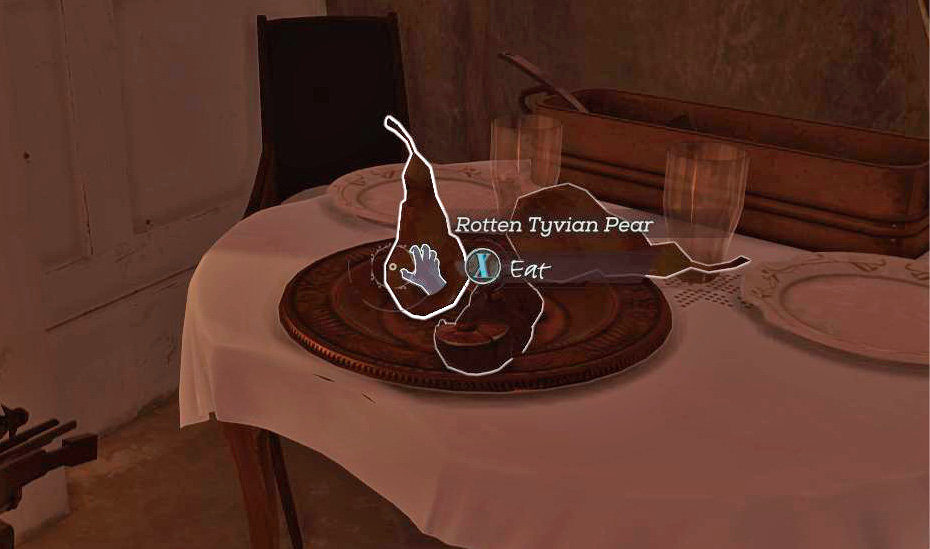
Sometimes, when you’re learning your limits, you’re going to have trouble. If a fight starts going poorly, you don’t have to stick around and take the loss. That’s not the way assassins work. Run! Get out of the area by sprinting around a corner (to break line of sight with your targets). They’ll pursue, but if they can’t see you, they can’t shoot at you. This buys you a little bit of time to get farther away.
Eventually, pursuers hit their limits and turn around. They’ll return to their initial areas to resume their duties. You get another bite at the apple and can go after them with surprise on your side yet again. Though slow, this technique allows you to thin even a group of closely clustered targets. Take out one or two in the first battle, run away, and then return for the others later on.
Never Get Surrounded
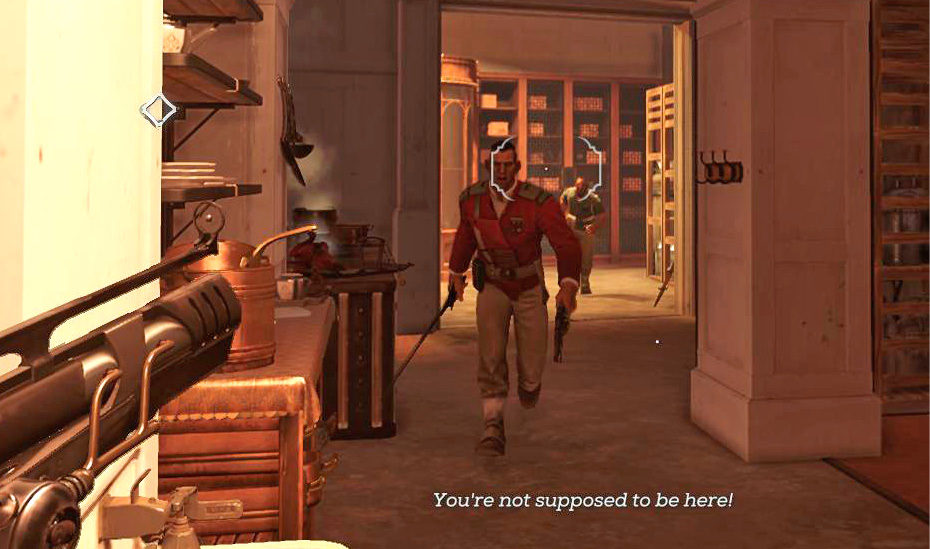
Your characters are amazing, but they can’t take many hits if you get careless. Enemies who get onto your flanks or rear are going to rip your people apart, even on lower difficulty levels. Though it sounds simplistic, the answer is to avoid getting into that position in the first place.
To do that, eliminate enemies in a specific order. If there is one guy off to the left and two enemies ahead, kill the singleton first. That way, you can turn and face both of the other attackers together. If you killed one of the pair instead, you’d get jumped by the survivor and by the flanker, ensuring that you end up in a tougher position.
If there are enemies on three or more sides, you can’t really guarantee a safe position for your character once battle starts. So here is another trick. Start the fight on your terms with a free kill or two, and then back into a hallway or room. Use a narrow corridor or a doorway as a chokepoint that forces that group to squeeze in after you from a single angle. Now you aren’t flanked anymore, and you might get to pick off someone as the group tries to approach.
In short, watch out starting fights in wide-open areas unless you know no one is going to attack you from a bad angle. If that happens, back off until all your enemies are pursuing you from a single direction.
Fighting Without Killing
Just because you get into a fight doesn’t mean that you have to kill your enemies. Non-lethal players that aren’t perfect at stealth or don’t want to be stealthy can use various techniques to survive combat and win without slaughter.
Use Sleep Darts to knock out targets ahead of time. Headshots automatically take down your targets, and Sleep Darts can be upgraded to even work well during combat! Stun Mines make great traps, but they too can be deployed during a fight; block to avoid damage while the mines charge, and watch them knock out your opponents.
Parry enemies in melee to knock them off balance, and then grab them for a fast choke. If you’re only facing one final target this is highly effective; this requires good timing, but it’s an amazing technique that makes non-lethal play even more reliable.
Our stealth walkthrough goes over these techniques frequently, despite our efforts to give good suggestions on Ghost gameplay.
Stealth and Subtlety
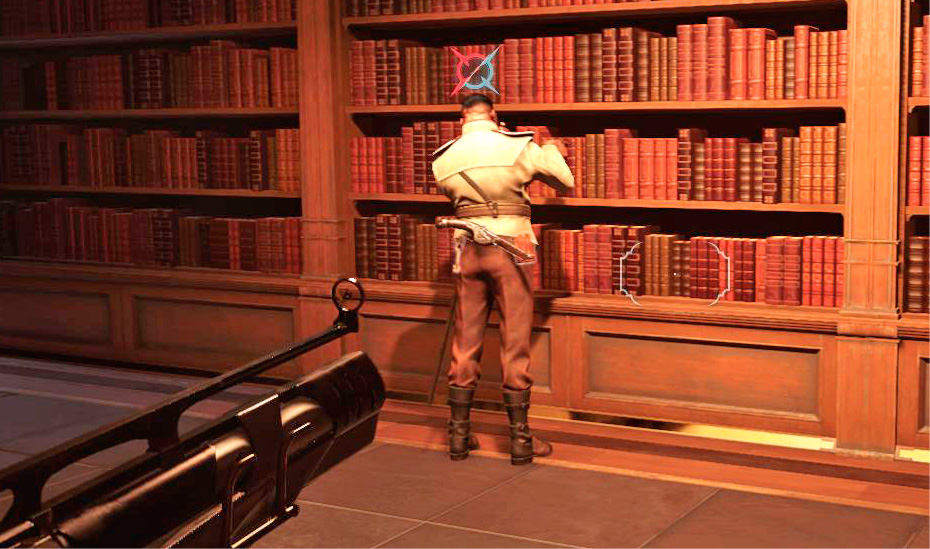
For players who don’t want to rip their way through the game, many options still exist. Sneaking, ability use, and careful observation allow you to complete every objective in the game without resorting to murder and swordplay.
This makes it way (WAY) easier to avoid the high-Chaos ending, and it is required for players who want a non-lethal run through the game.
Sneak Constantly
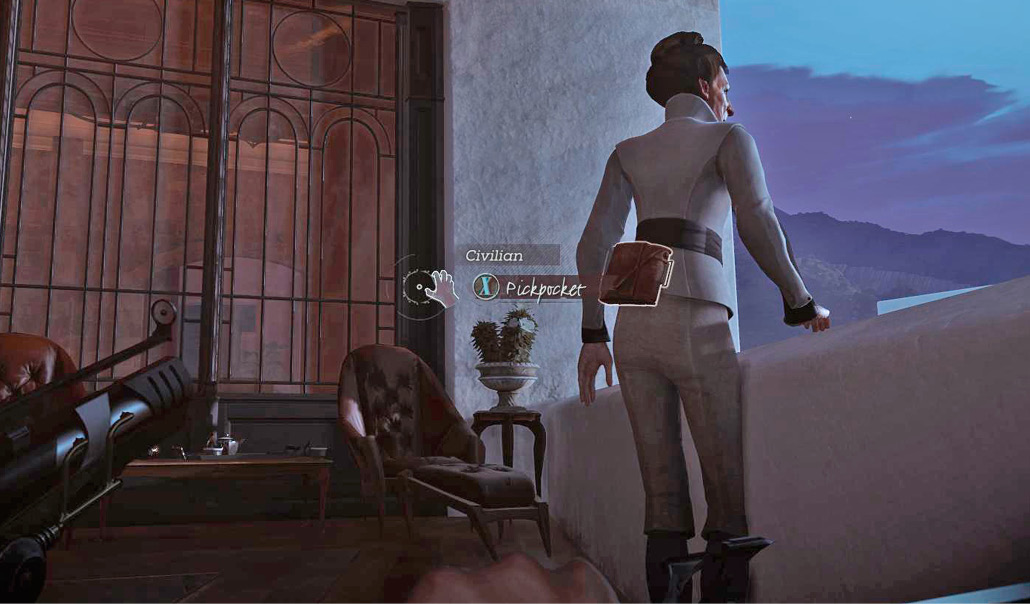
You simply can’t get far as a stealth player without getting comfortable sneaking. Don’t run unless you are certain no one can see you. Don’t even walk normally unless you’re almost that certain. Sneak everywhere. Patience is one of the greatest assets for a stealth player. Relax and settle into this slower, methodical style of play. It feels weird to some players at first, but realize that the glory doesn’t come from downing your foes. Instead, it comes from reaching the end of a level and realizing no one even knew you were there.
You should even be careful around civilians. Though these characters (like beggars, shopkeepers, etc.) aren’t out to get you, they’ll still report to the guards if they see anything scary or dangerous. That includes hostile actions, certainly, but that’s not all. If you spend too long walking around areas that aren’t neutral territory, some civilians will freak out just because of your presence. Treat most civilians as a minor threat if you’re not in a safe, neutral place. Knock out the civilians and leave them somewhere quiet so that they can’t report on your actions.
Observe, Observe, Observe
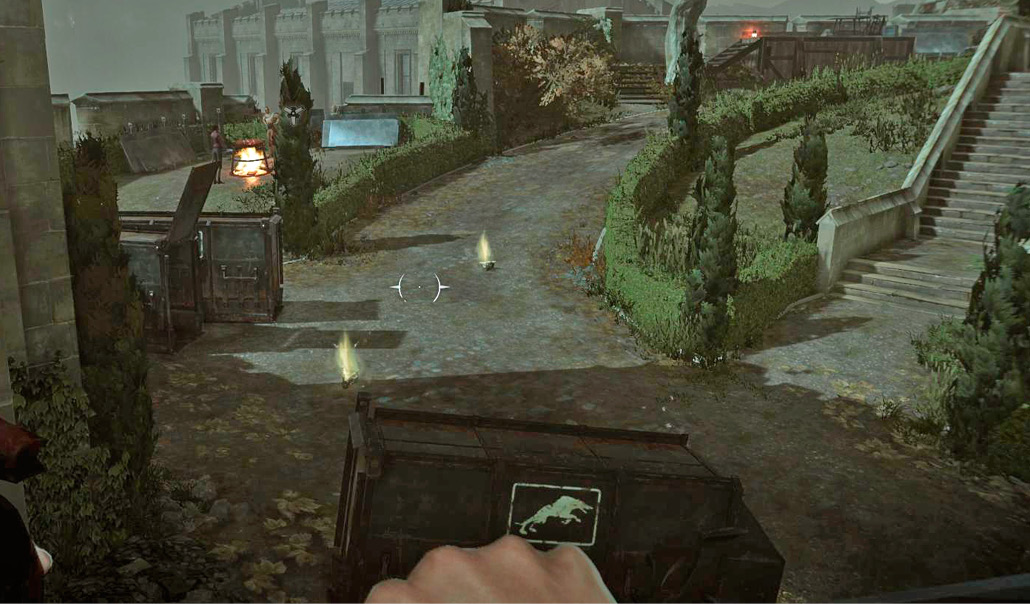
Brutes can run into a room and hope for the best, but that’s not for you. You are going to think and plan every action before you take a single step. From a distance or from hiding, watch every single patroller and enemy before approaching anyone. Figure out who is in each room, how they move, and where you can hide to avoid being seen.
If you need to pass through an area, figure out a time to slip through when no one is watching. Looting or knocking out a target takes more time and preparation. When that is the case, your goal is to sneak up and choke out everyone who might spot you. Find each person in isolation, knock them out, and then hide them somewhere nobody patrols.
Blink or Far Reach behind people to get the drop on them. Use Sleep Darts on enemies too far away to reach conveniently. And always leave your unconscious victims somewhere safe unless you don’t care about killing people. Dropping unconscious bodies near Bloodflies or Rats still counts as murder if the creatures decide to kill them. Similarly, people you drop from too high will die and count against you.
When you’re having trouble finding a vulnerable target, create one for yourself. Hit an object with your Sword to lure people over toward a dark area where they can be ambushed. If you need someone to get farther away, shoot a Crossbow Bolt over there. The noise isn’t enough to trigger an alert (like a Bullet would). Instead, it’s just enough for someone to go and check it out.
Sneaking into someone’s line of sight for a few seconds can do this as well. It’s risky, but if you hide again before the person’s attention fills all the way up you won’t get busted. Instead, they’ll come over to see what is going on. Use that time to sneak through their area, or to get behind them and ambush the person in question.
Stay Off the Expected Path
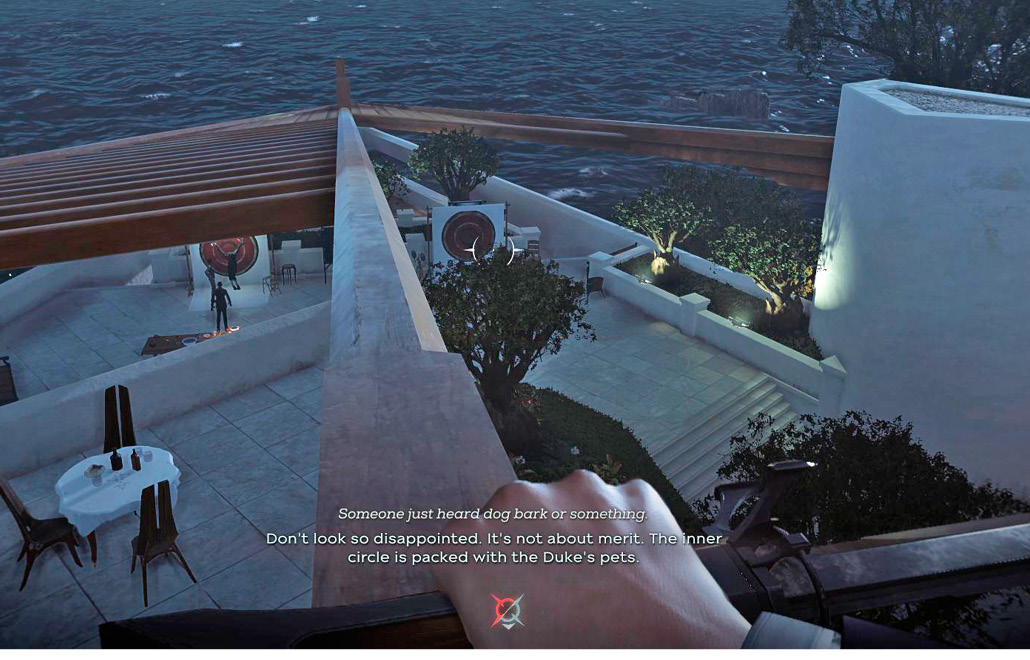
Most enemies patrol and watch major entrances and avenues through the area. They don’t spend much of their time looking at rooftops, abandoned buildings, and other non-traditional routes. Because of this, you can sneak easily and somewhat quickly by getting above your enemies or around them.
Always explore to find these optional pathways. To save time, save your game and explore without worrying about lethality, being spotted, etc. Just run around and look for anything useful. After finding a few interesting possibilities, load your game again and reach those spots quietly. Doing this can actually be faster than explorating quietly in the first place, and it’s kind of relaxing to spend a minute or two wandering around without being quiet and cautious.
The rooftops and upper reaches of most areas are perfect for safe traversal. Use Blink/Far Reach/Agility jumps to get as high as you can. From there, you can observe people more easily and often get around the level without being spotted. Sniping from above, launching drop attacks (lethal or non-lethal ones), and regular exploration are all much easier when you’re high above the city streets.
Be careful when returning to patrolled territory. In addition, you should put extra time into watching for targets if they’ve already spotted you once before. Alerted enemies return to their normal areas after a while, but they’ll still be more watchful and poke around to see if they can find you. Dark Vision really helps in finding out where enemies have gone in these circumstances.
Body Storage
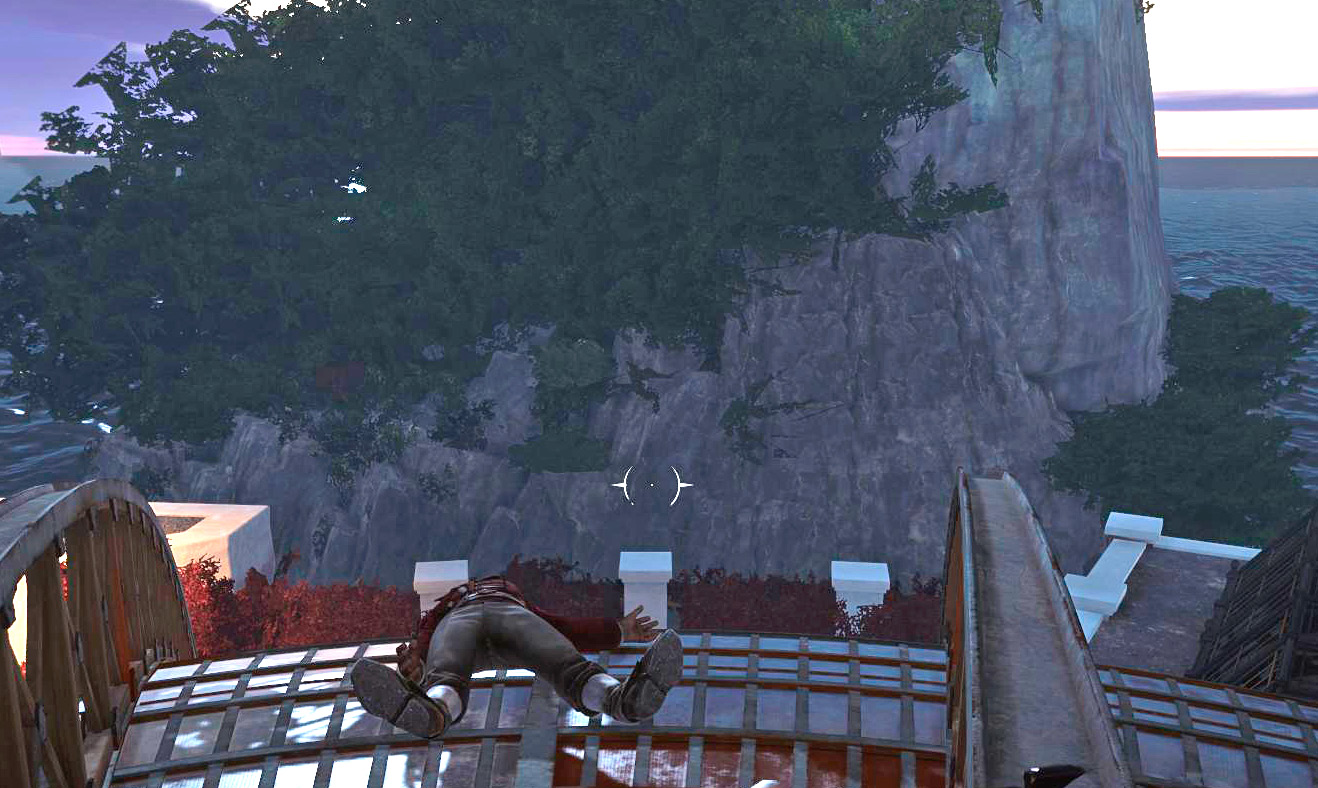
Blink/Far Reach unconscious people onto rooftops and other locations that are impossible for enemies to reach. This is usually easier and safer than putting them in Dumpsters unless targets are right next to a Dumpster when you choke them.
The Benefits of Exploration
There isn’t XP or a leveling system in Dishonored 2. You improve in power because you get better at the game, find more equipment, and use all your assets to their fullest potential.
If you explore well, you can pull in several times more money than a casual player. This, combined with a higher number of collectibles, leads to you having a much deadlier character. You also get to find more Documents, Audiographs, and people to listen to. Exploring reveals way more of the story than you’d get by racing down the streets, shooting at everyone in sight. Thus, you get to learn way more about the world while collecting everyone’s treasures.
Let’s delve into the ways you can find more items.
Have a Heart
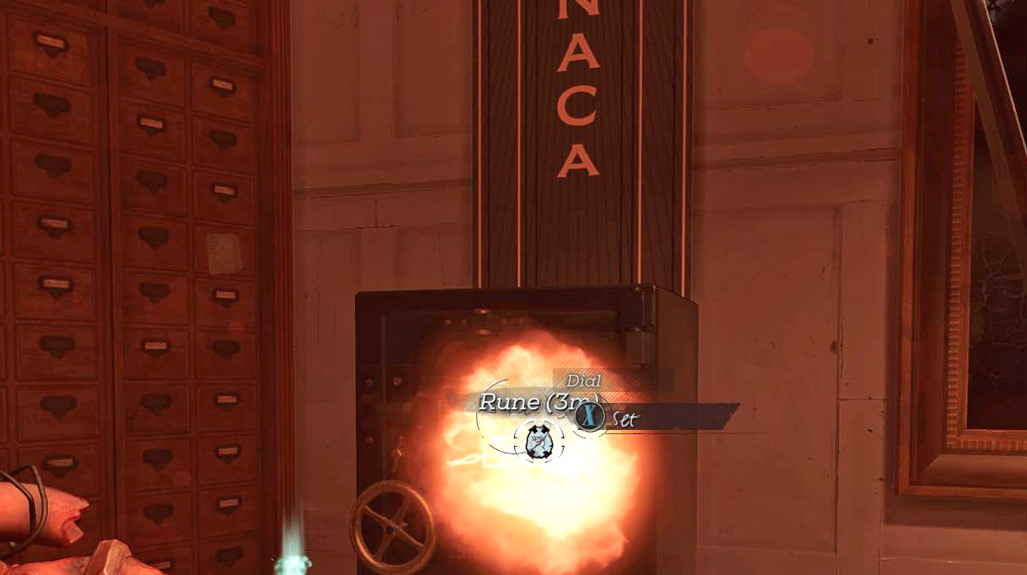
Very early in the game you receive the Heart. This item lets you track Bonecharms and Runes on your HUD, making them fairly easy to find as long as you’re willing to put in the time to get them. Our Walkthrough explains how to get these items, with extra focus on the trickier ones that aren’t easy to just walk up to and steal.
Still, even when you know where you’re going, it’s nice to have the Heart as one of your four hotslotted items. Slap that into place, make sure the Runes and Bonecharms are in the direction you think they are, and then set off. It’s a huge time-saver.
For more information about people, use the Heart while aiming at a person. This reveals things about the target’s inner life and history. It’s great for background on the characters in this world. If you’re roleplaying a character that only kills the worst members of society, your Heart really helps in finding the secret good guys and bad guys who aren’t always that obvious.
Dark Vision
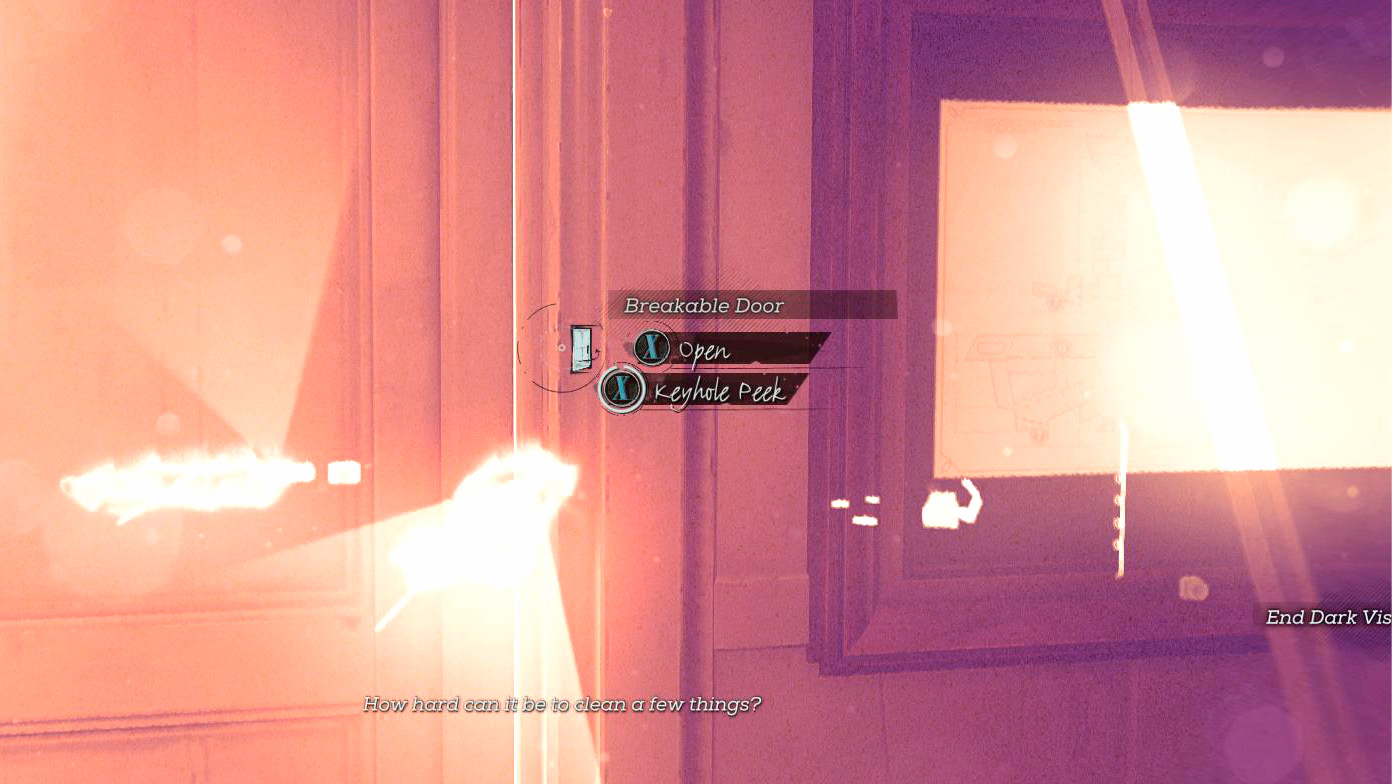
If you’re a treasure hunter, then Dark Vision is a wonderful purchase. Greater Dark Vision reveals items inside drawers, safes, through walls, etc. Even items that are supposed to be hidden (likes behind bookcases and such) are clearly visible. This lets you pick up hundreds of coins in every mission that would probably be missed otherwise. Players who want lots of expensive upgrades should really consider Dark Vision as one of their Rune investments.
PickPocketing
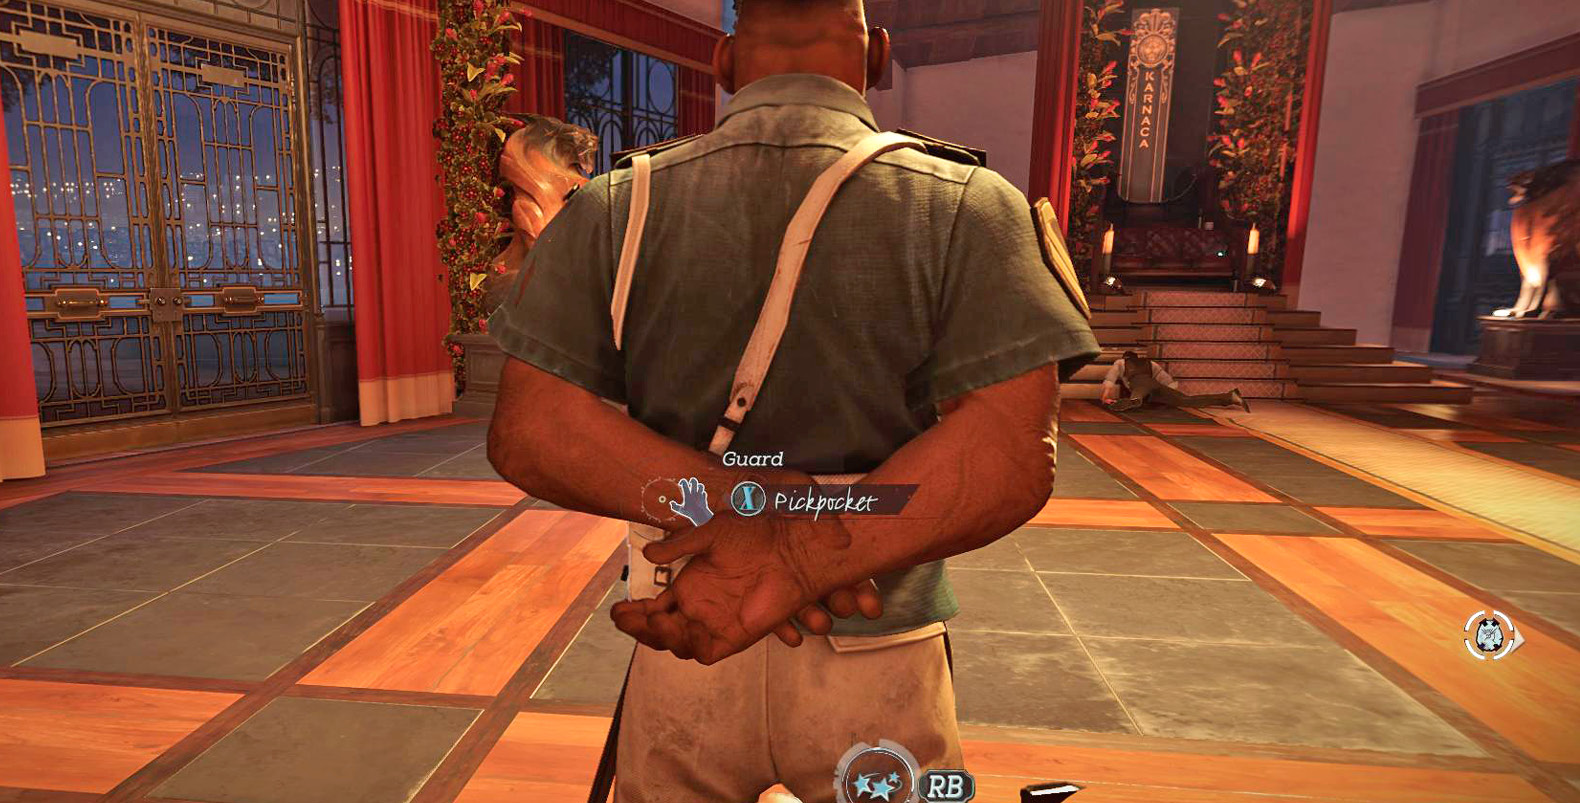
Not all money is hidden, though. Some of it is carried around by people. You might forget about these coins, because 10 here and 10 there don’t seem like too much. But try not to think that way; pickpocketing adds up way faster than you think until you try it. Wealthier Guards and civilians with better houses sometimes have pretty decent money. Ten here, 10 there sometimes becomes 25-30 a pop later in the game, and it doesn’t really take any time to do this. Crouch and look for a purse on every civilian you pass. They won’t notice.
And enemies you down—what’s the harm in looting them! It’s almost instant, and you might also get extra ammunition while you’re at it.
Stealing
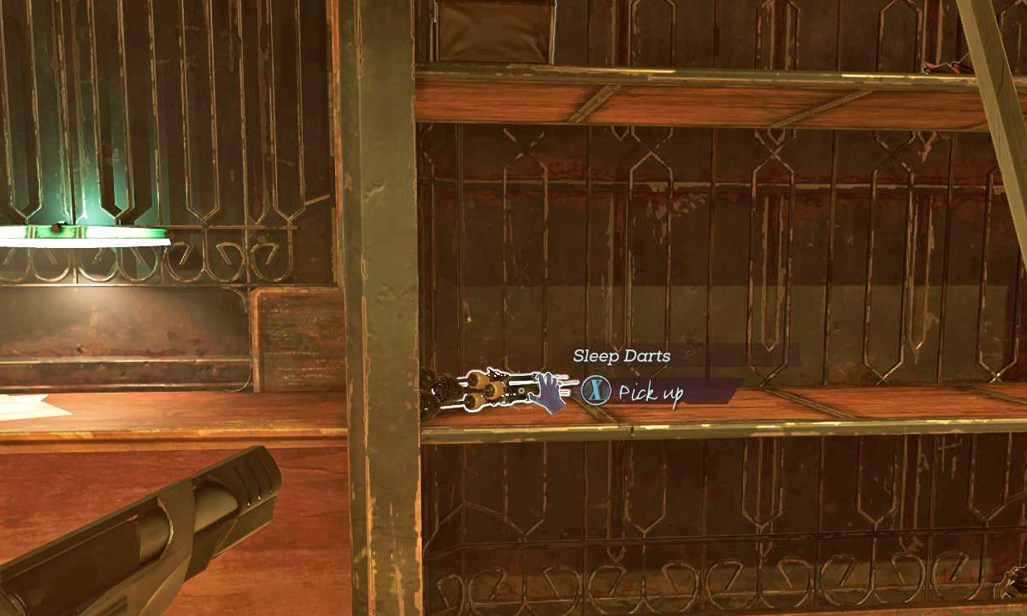
All the black markets have money too. Tons of people go there to buy from them, so you can steal valuable items AND get a fair amount of raw cash while you’re at it. Each time you find a black market, think about how to get around to the rear of the building. That’s always the key to robbing them.
If you knock out a black market merchant or scare them, they’ll lock up the store. However, you can return in five minutes and everything will be open again. Just don’t kill the merchants, and you can continue to buy from them.
Things to Buy
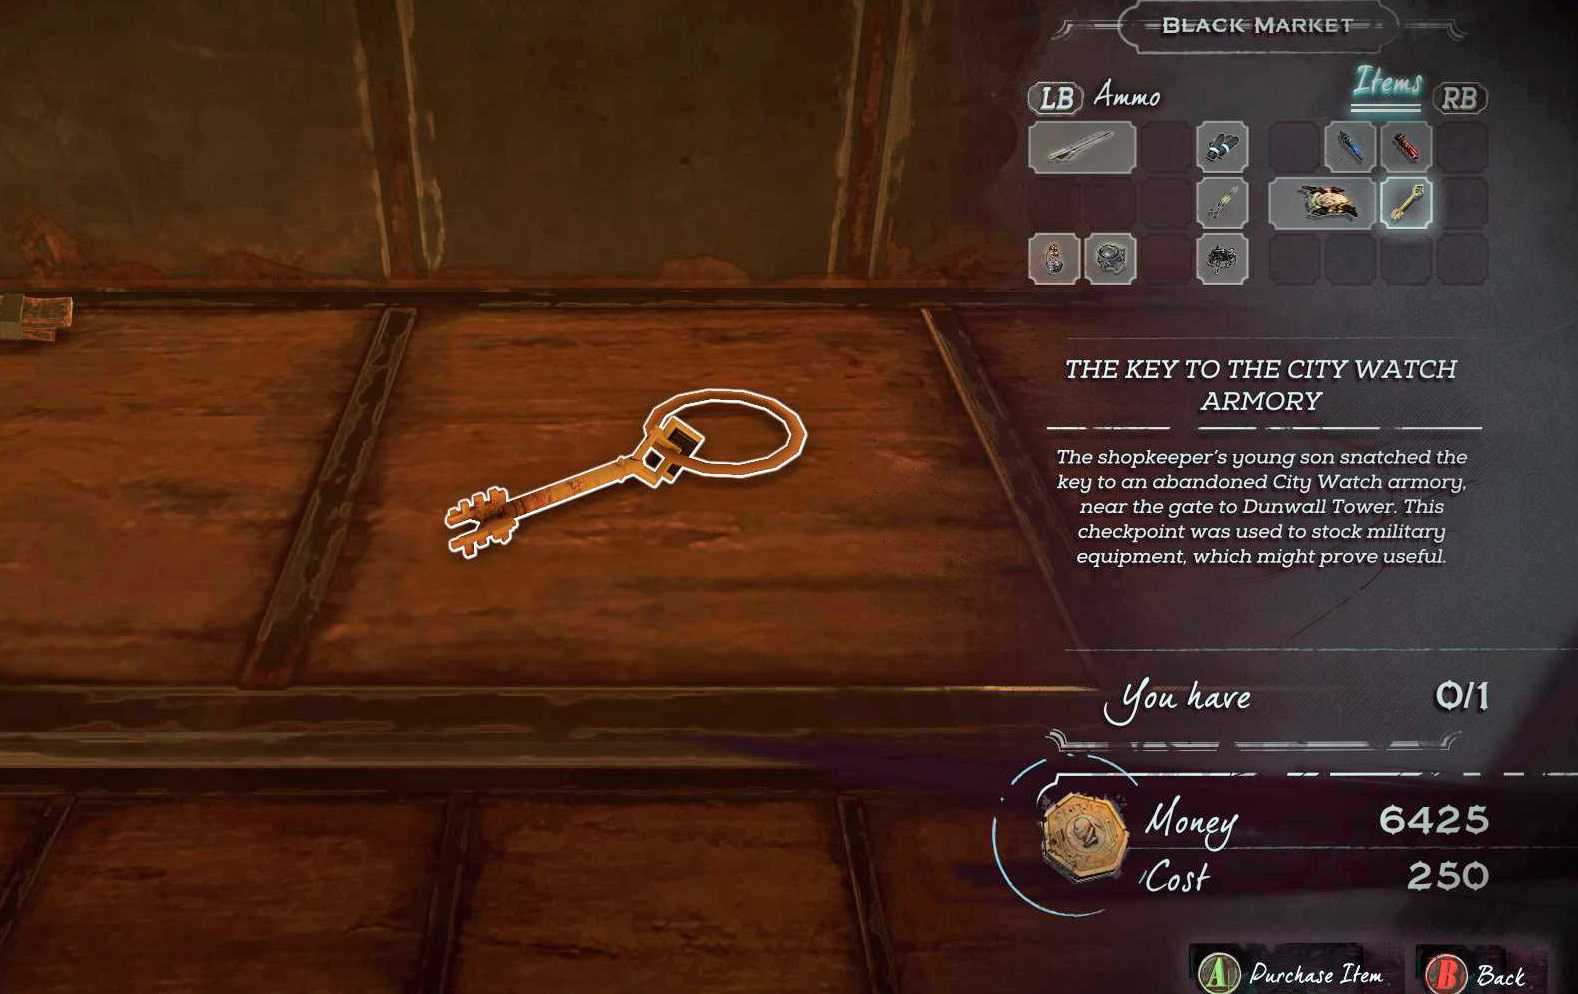
All this money is useful, but for what?
When you go to a black market, you should stock up on ammunition for all your weapons. If you’re badly lacking on Elixirs, buy them there too. They are expensive, so don’t rely on purchasing them too often (it’s better to explore, search, and steal Elixirs from other people). But if you bottom out on something, go ahead and spend the cash.
Upgrades for your weapons and equipment are also black market purchases. You can carry more ammo, fire with more accuracy, equip more Bonecharms, etc. The list of upgrades is huge, and it gets bigger throughout the game as you discover special Blueprints with otherwise locked upgrades for you. Read the Equipment chapter to see everything available.
Most black markets also contain a single special item. You might get a map to a cache of treasure, or find a key to a special location. These pay off every single time, so buy them when you see them. You get both money and materials from these locations, so you’re probably doubling or tripling your investment.
Collecting and Crafting Bonecharms
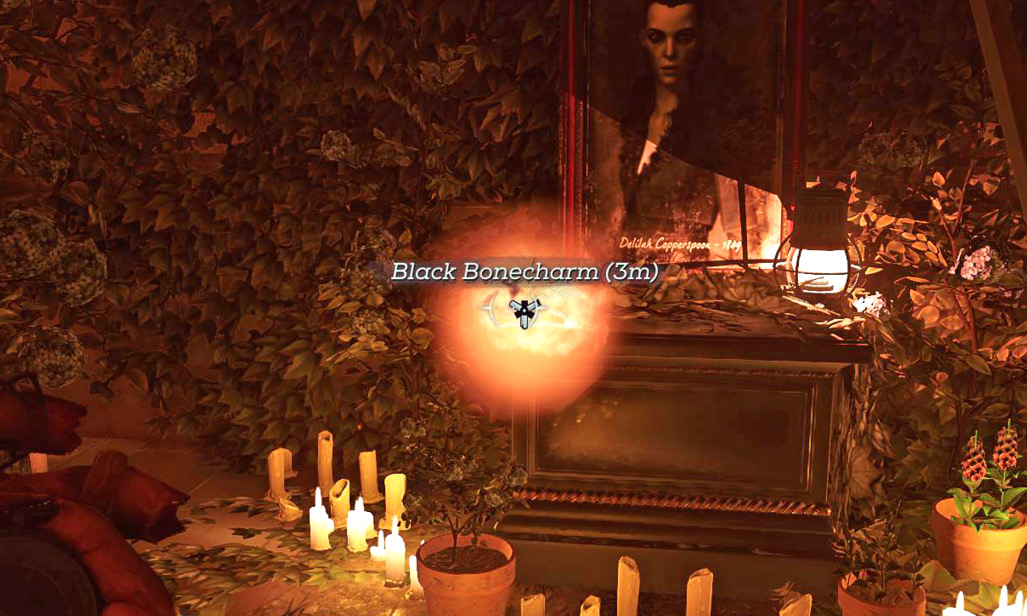
Bonecharms grant your character minor bonuses. You benefit from these whenever you equip a Bonecharm. These items can include up to four positive effects, and a single negative effect if they’ve been corrupted. Corrupted Bonecharms are either found with a negative trait, or can be accidentally created that way if you use Bonecharm Crafting as one of your abilities.
The more traits a Bonecharm gets, the higher the chance it will end up with a negative one as well. This is usually well worth the tradeoff even when it happens, because four good traits can heavily outweigh a single negative one unless you get really unlucky. Bonecharm Crafting improves as you take more bonuses for it, so corruption becomes less and less of an issue.
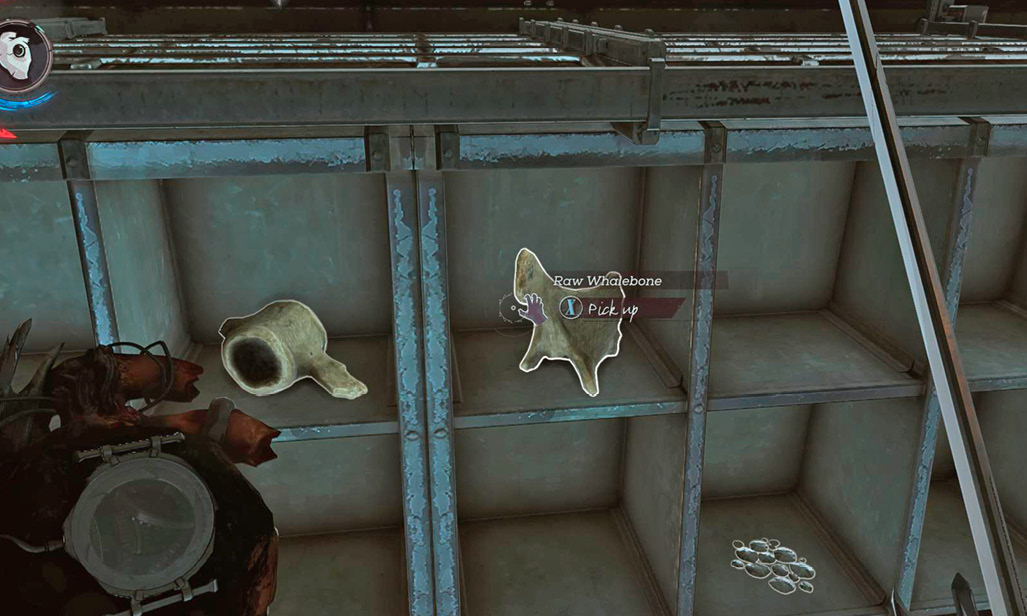
Because the Bonecharm Crafting system is so strong, we recommend that every character look into this. You can sacrifice the Bonecharms you find, learn their traits for future crafting, and get Raw Whalebone in the process. This Raw Whalebone is then used when you make your own Bonecharms.
You’re allowed to stack the same positive effect up to four times on your character. Thus, for instance, an effect that gives you health whenever you do X can be applied up to four times (either on the same item or spread over multiple Bonecharms).
This is why crafting is so useful; you can heap on all your favorite bonuses and push them to the maximum. For example, on our stealth playthroughs, we get maximum speed for our crouched movement (Swift Shadow), have a major chance to recover Sleep Darts after they’re used (Lucky Needle), move faster when carrying a body (Undertaker), and choke people faster (Strong Arms).
There are many ideal combinations. You learn traits each time you break a regular Bonecharm. Whenever you find a Bonecharm with something you really enjoy, break it immediately and craft a new Bonecharm with three or four copies of that trait.
Acquiring Runes
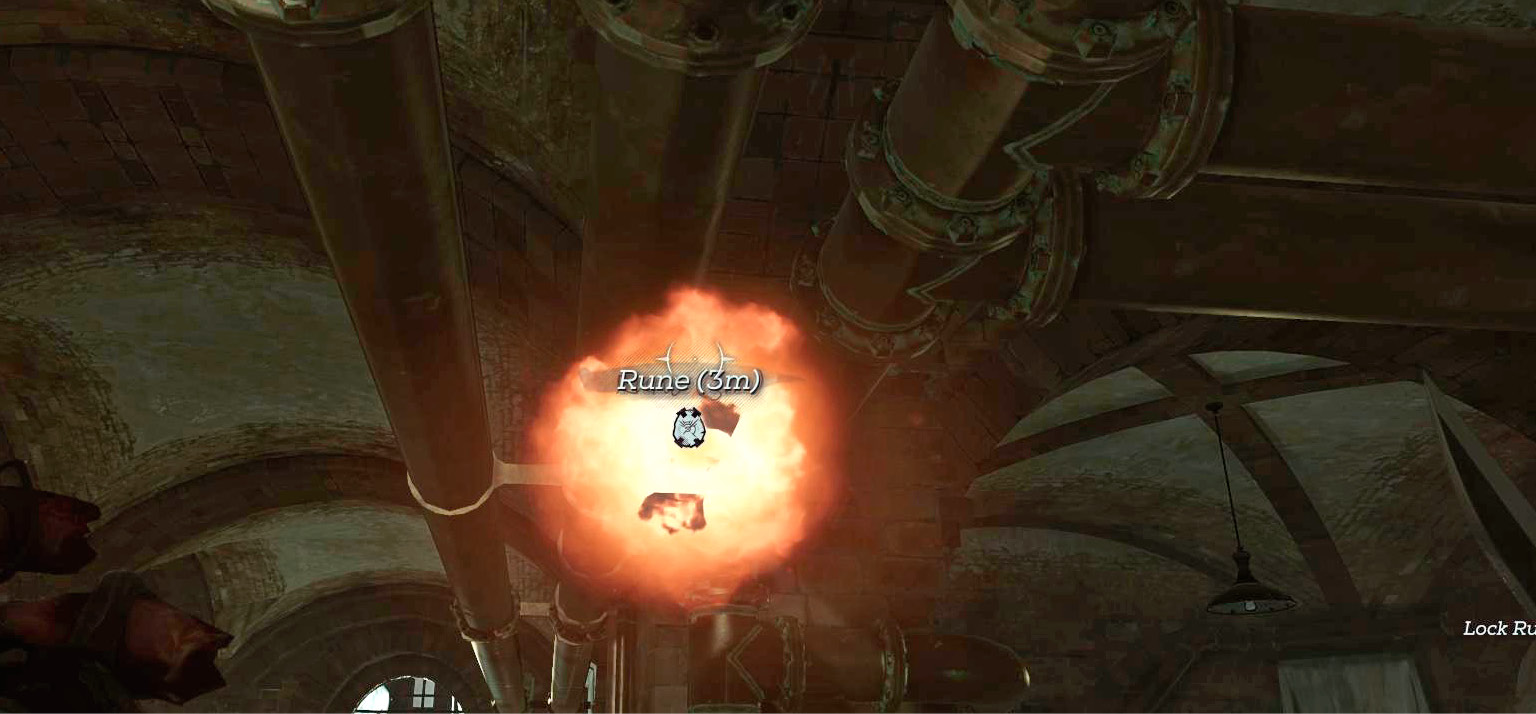
Runes let you master your abilities. At first, you won’t have many to spread around, but there are quite a few of them in the game. Some appear on their own. Others are stacked onto Outsider Shrines. Both groups appear when you use your Heart to track them, so you won’t miss many Runes if you’re careful. Some black markets have a spare Rune to sell also. They’re a bit pricey, but are always worth the cash.
Paintings
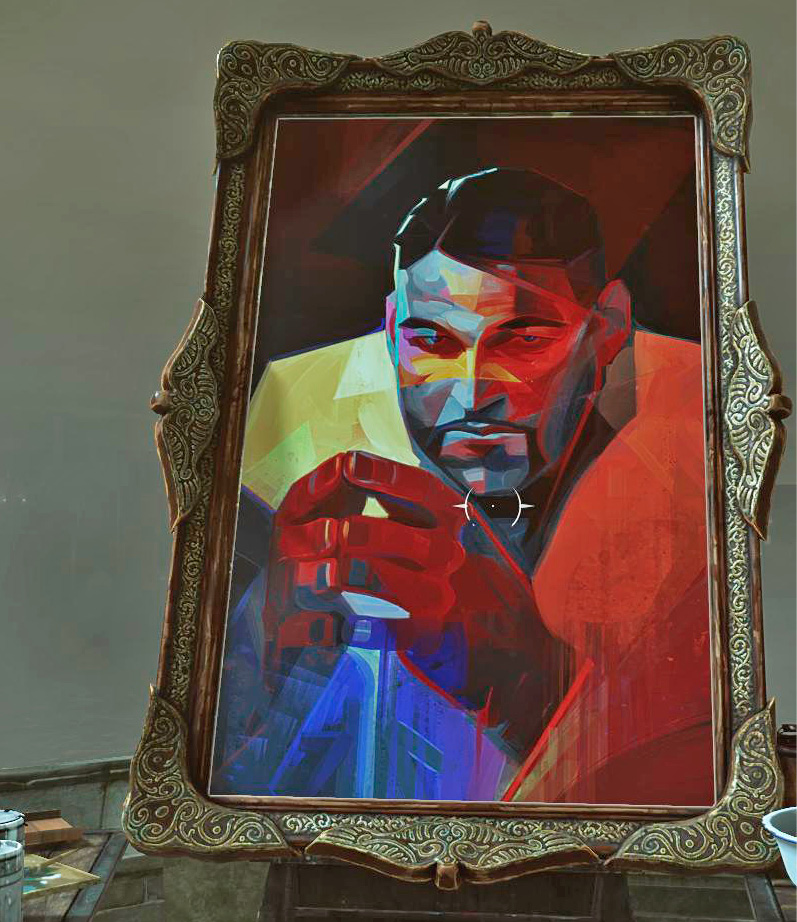
Speaking of cash, there are collectible Paintings in just about every part of the game. They’re worth a couple hundred coins each, so they really help to pad your bank account. Look for portraits; they’re the type of Painting you can normally steal. Other things on the walls are just cheap prints or are too big to carry off.
Blueprints
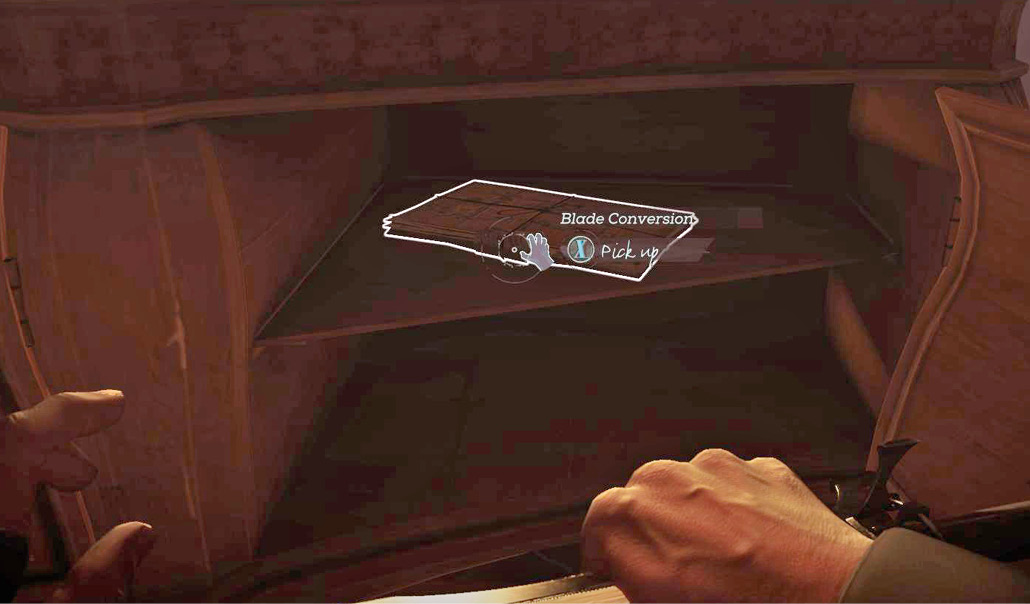
Blueprints are found on desks and worktables most of the time, as you’d expect. They are blue in color and can be seen easily once you get close to them. But they don’t show up with your Heart and are sometimes in fairly out-of-the-way buildings. This makes them very missable.
Special Actions
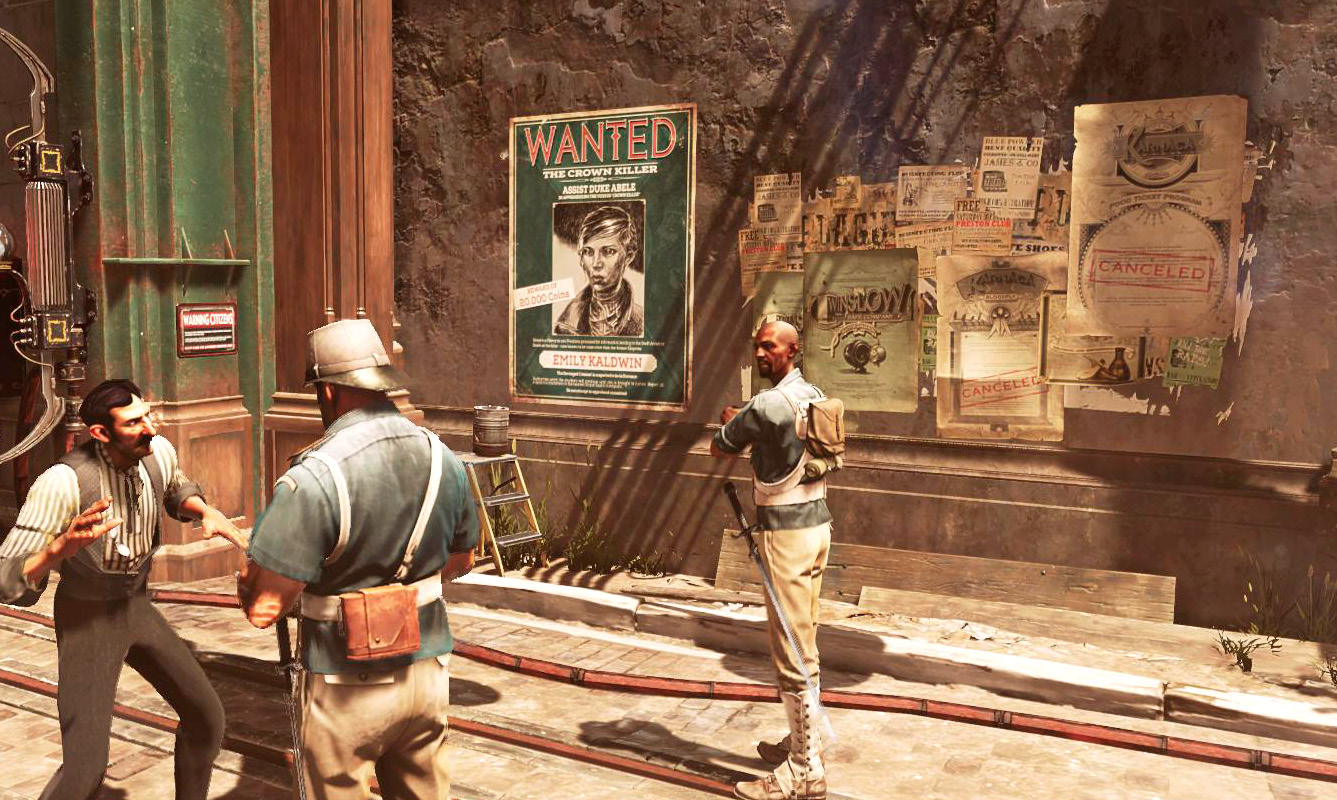
There are a few odds and ends in each mission that you can choose to work on or avoid. These are summarized at the end of each mission. We’ll alert you to these opportunities throughout the Walkthrough.
End-of-Mission Reports
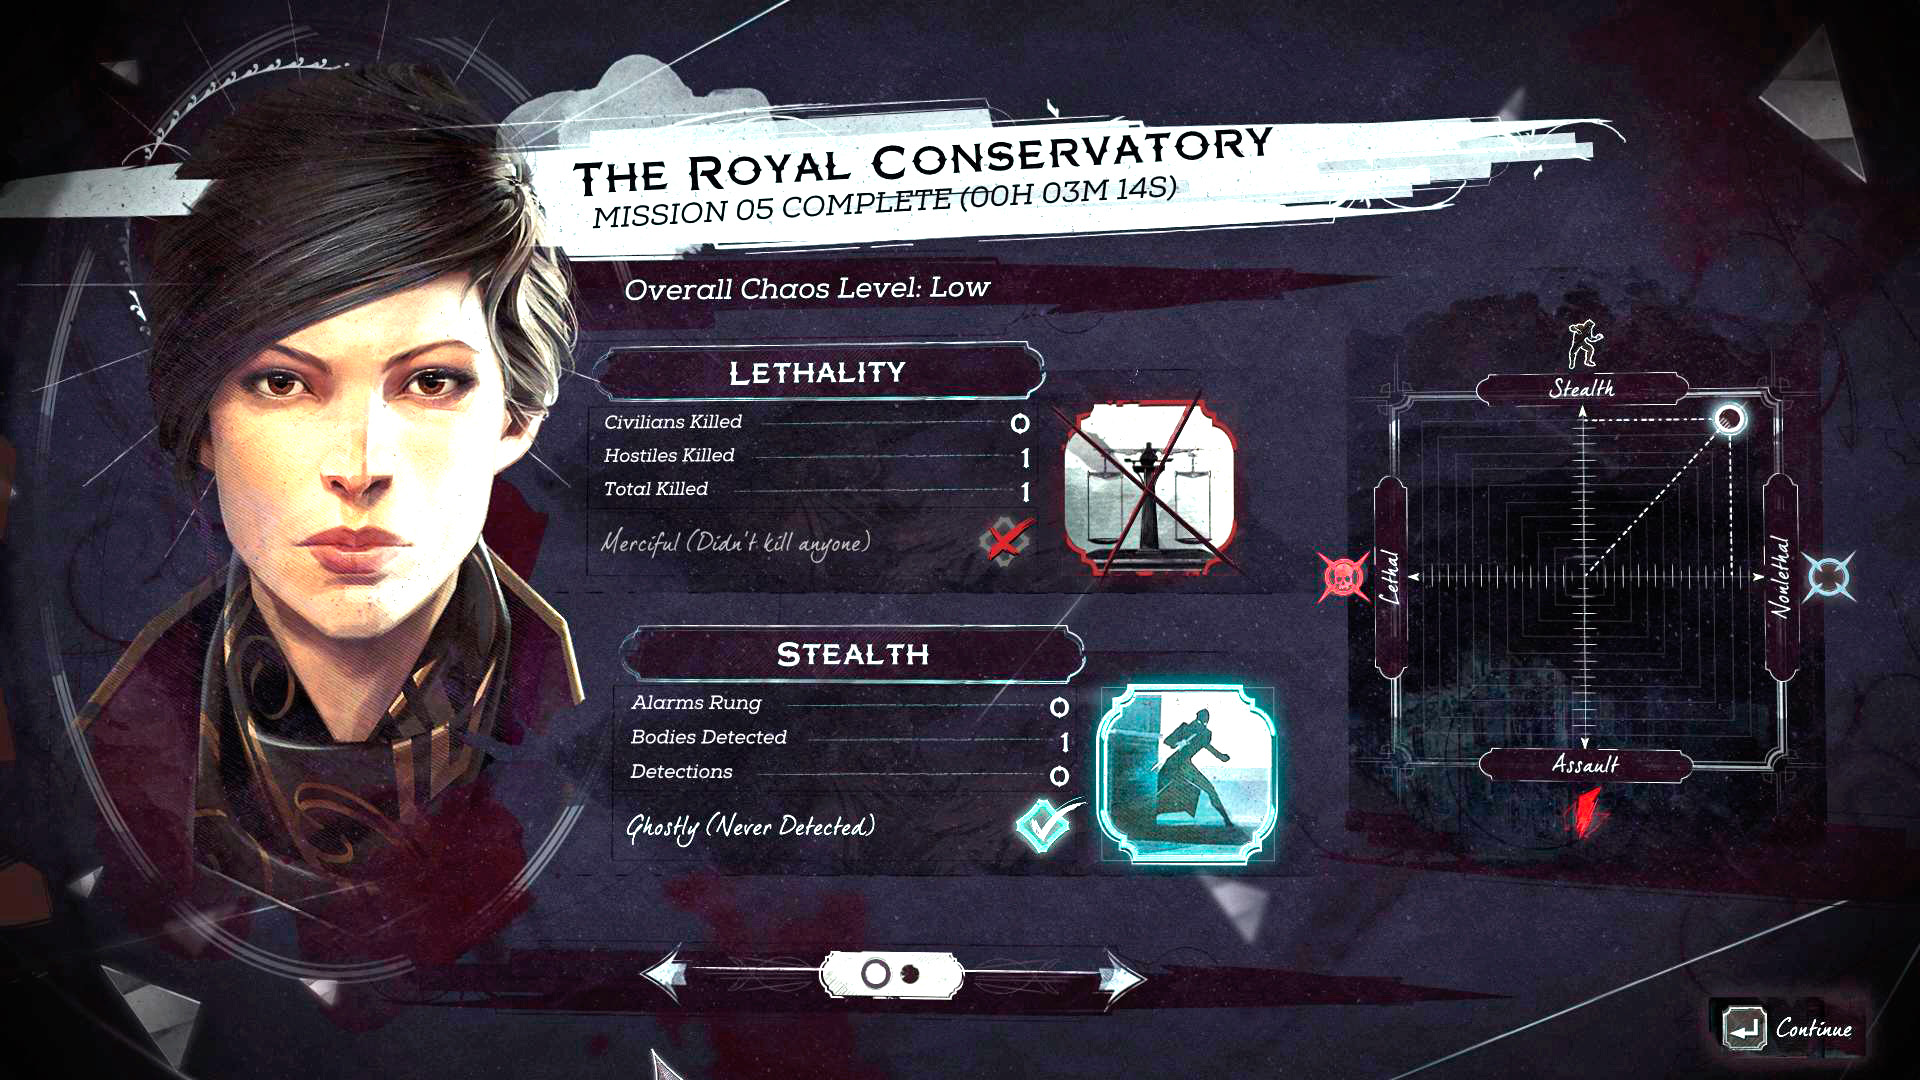
Once you finish your work and leave an area, the game provides an after-mission report listing the number of collectible items of every type available in that mission. You can always save your game, end a mission, and reload if you find out an item got lost in the shuffle. However, we include a quicklist of all the collectibles and their locations at the end of this guide. That should help even more!
The Chaos System and Special Playstyles
The Chaos system is a reflection of your character’s morality and choices. If you kill more people, leave bodies around, and are discovered often, you will accrue a high amount of Chaos. This increases the number of enemies in a map and changes the tone of the conversations you have and overhear. People are more frightened and aggressive if you cut a swath of bloody vengeance across the Empire.
Spare your enemies, find non-lethal solutions, and use stealth frequently to stay on the low-Chaos side of the game. Your save file lets you know where you stand, so it’s always clear if you’re sticking to the less vicious side of the game.
This too is shown in the after-mission report. A small graphic details your quality of stealth and your use of violence. Truly excellent play in these areas is rewarded with special terms: Ghost and Merciful. These are tied up in Trophies, and they’re also a badge of honor because they can be hard to maintain.
Becoming a Ghost
Ghost play is reserved for people who have not been discovered at all. It means that you hid your bodies perfectly, avoided detection, and still completed your goals. You can still kill people and keep your Ghost rating, so this is not always tied in with Merciful status.
In fact, it’s much easier to do a Ghost run if you focus on limited killing. Shadow Kill is a vital tool for this, allowing you to assassinate targets and have their bodies disappear.
If you’re doing a full Ghost run through the campaign, remember to keep a save file for every single mission. Don’t overwrite these files. This way, you can back up and try a mission again if you reach the end and realize you broke your Ghost rating at some point. It’s usually clear when this happens (you get attacked, the Guards bark out that they’ve seen someone, etc.). But you don’t want to risk someone in another room discovering your activities and ruining your perfect work.
A True Leader Can Be Merciful
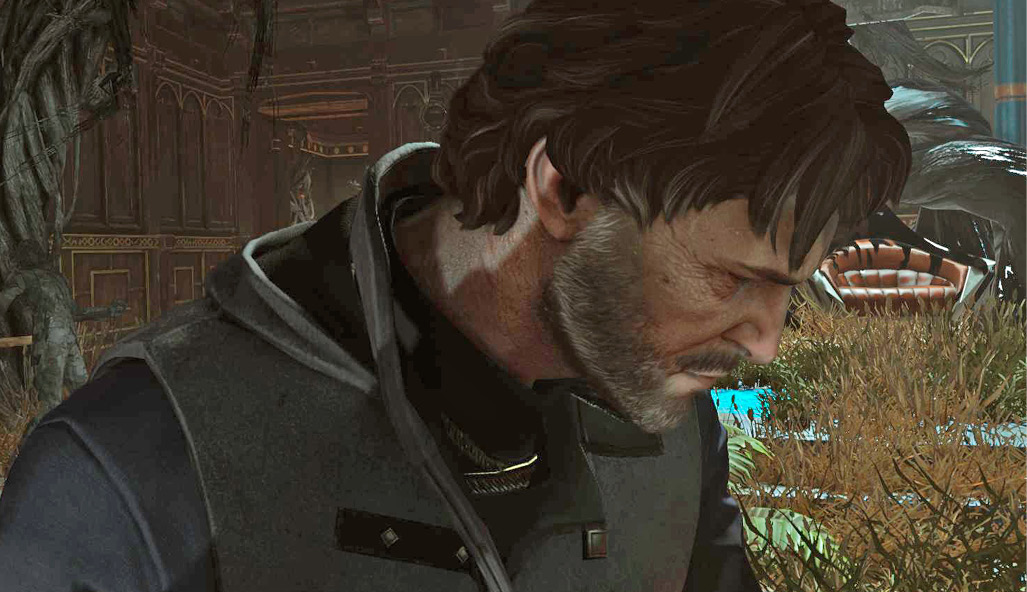
Merciful play is easier than Ghost, but it still demands attention to detail. You cannot kill any person during your play. Bloodflies, Fish, Rats, Clockwork Soldiers, and Bloodbriars are still free game, because none of them are people. Save Bullets and Bolts for these enemies, and use abilities, non-lethal takedowns, and Sleep Darts to get through the rest of your work.
When faced with an important target, always look for a special solution. Each major NPC has a kill scenario as well as a way to defeat them without violence. Spend the extra time to go through these cool alternatives.
You don’t have to be a pure stealth player to pull off Merciful. If you upgrade your Sleep Darts, you can use them in combat. With skilled parrying, you can also parry and then choke out targets without harming them. These techniques make it much easier to get a Merciful rating without having to avoid every single encounter in the game (unless you want to get Ghost and Merciful at the same time).
We still suggest that you keep a save file at the beginning of every single mission until you’ve beaten the game. Better safe than sorry! You lose Merciful easily if anything goes wrong. If you knock someone out and they die for any reason, you’re responsible. This can happen offscreen if you leave someone where they can fall, be killed by an accident, or be eaten by animals. Look for flat rooftops whenever possible; they’re the safest places to leave unconscious victims.
Playing Without Abilities
.jpg)
Some players like to go through the entire game without buying any abilities. Tell the Outsider to shove it! You can save the Empire on your own.
Unless you’re really crazy, don’t combine this tactic with Merciful or Ghost. This is already a challenging playstyle. Stock up on equipment at every black market, and then rely on your weapons and tools to defeat every challenge. This is most easily done when you practice your swordplay heavily and mix in Pistol and Crossbow shots. A combined approach of assassinations further improves the situation. Without abilities, you probably can’t assassinate everyone before getting spotted, but you can thin the ranks and then fight off the remainder of the troops in each area.
Upgrading Equipment
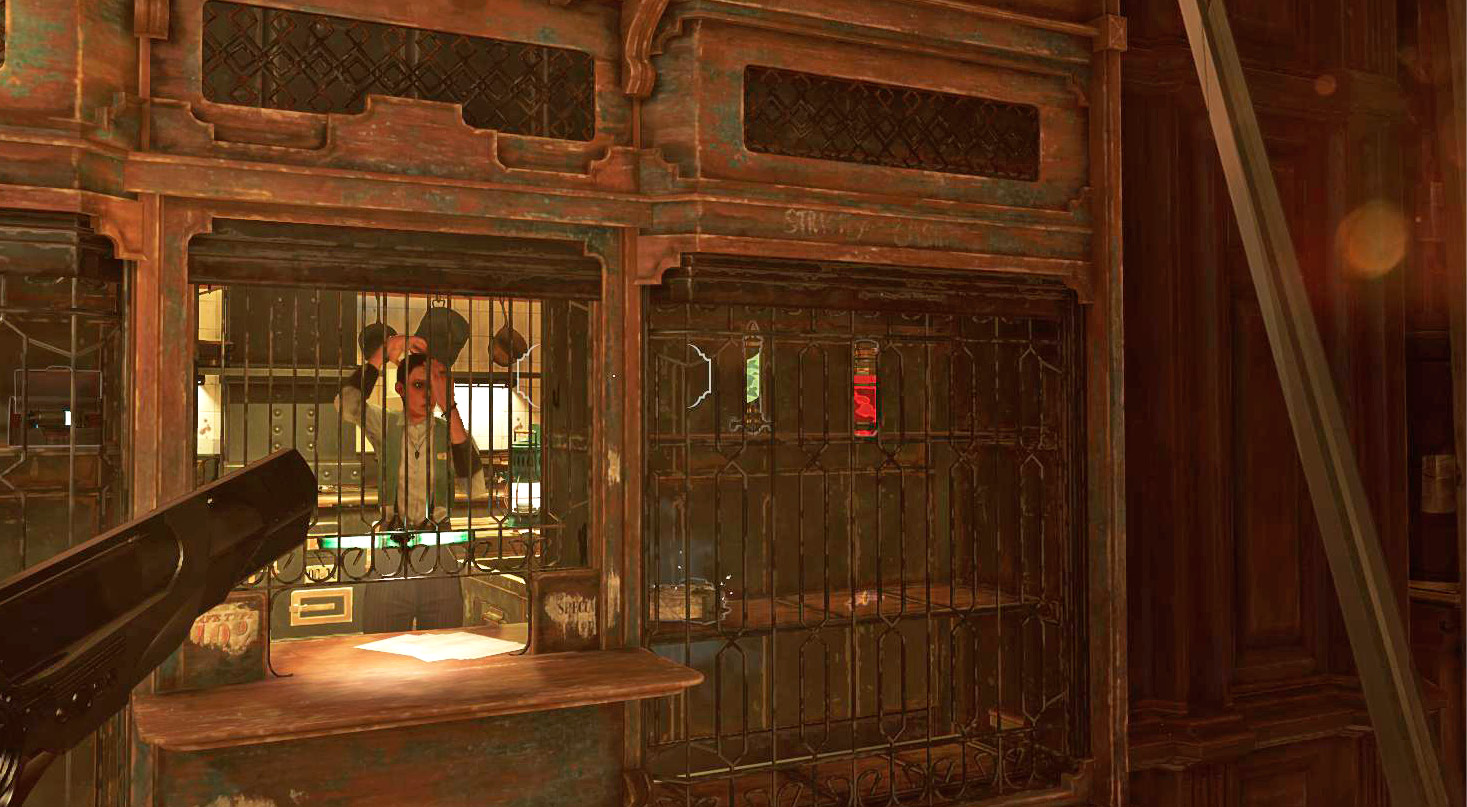
A considerable amount of your money gets invested into your equipment. When you reach each black market, look at the upgrades you have available. Some of these are there by default, and others are unlocked as you get more and more Blueprints.
We heavily suggest that you focus on getting more Bonecharm slots for every character you play. That’s a powerful upgrade once you get far enough into the game to have a selection of Bonecharms. With a full set, you start to feel extremely powerful. Bonecharm Crafting further enhances that because you get to target the bonuses you’re receiving, making your specific build that much nastier.
It’s easy to tap out of money when you upgrade all your favorite things. Search mission areas carefully to get as much money as possible, and look at the Walkthrough suggestions to get more. For example, all black markets can be robbed. If you upgrade first, you can then rob the stores to get valuable items free of charge and then steal some additional goodies as well. This won’t count against your Chaos unless you kill the storekeepers in the process.
Prioritize your best weapons and most valuable equipment instead of upgrading everything at once. Make sure the first upgrades go to any weapons you keep equipped in the lower-left corner of your screen. They’re obviously the tools you’re using the most!
If you find the Master Blueprints for your weapons and armor, you’re allowed to craft unique upgrades for them. These are really cool additions to the later game and should be sought out exhaustively. The Equipment chapter lists all upgrades in the game, and what they do for your character.
Understanding Security Systems
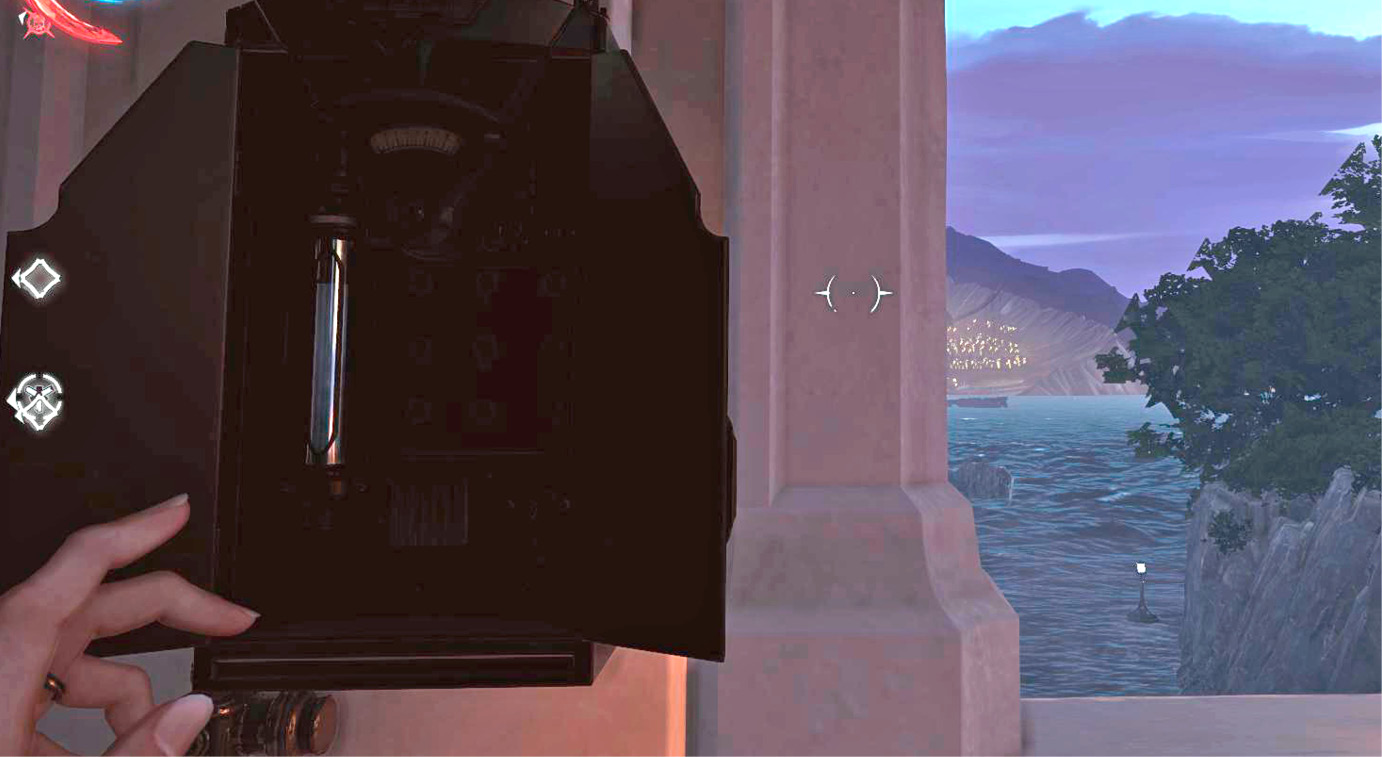
There are quite a few types of environmental hazards in the game. These can be avoided if you’re staying out of trouble, but they can also be exploited if you’re not afraid of some Chaos.
Electrical Cabinets
These large, gray machines don’t look like much until you break them open. Once hit, they fall apart and start spraying electrical discharges all over the place. These do lethal damage at close range (to you or to any enemies there). Hit the cabinets at range when your targets are close to them.
Hot Steam
.jpg)
There are pipes all over Dunwall and Karnaca; it’s the age of steam for them, after all. You sometimes notice soldering marks on these networks. Those are weak points that had to be repaired, and it’s your clue that a potential trap is present. Shooting or striking such spots releases a gout of steam that blinds everyone who walks into it.
Use this as a way to escape from targets, leave them exposed to assassinations, etc. The steam doesn’t do any direct damage, so have a plan in place to maximize the time it gives you to reposition and mess with your victims.
Whale Oil Tanks
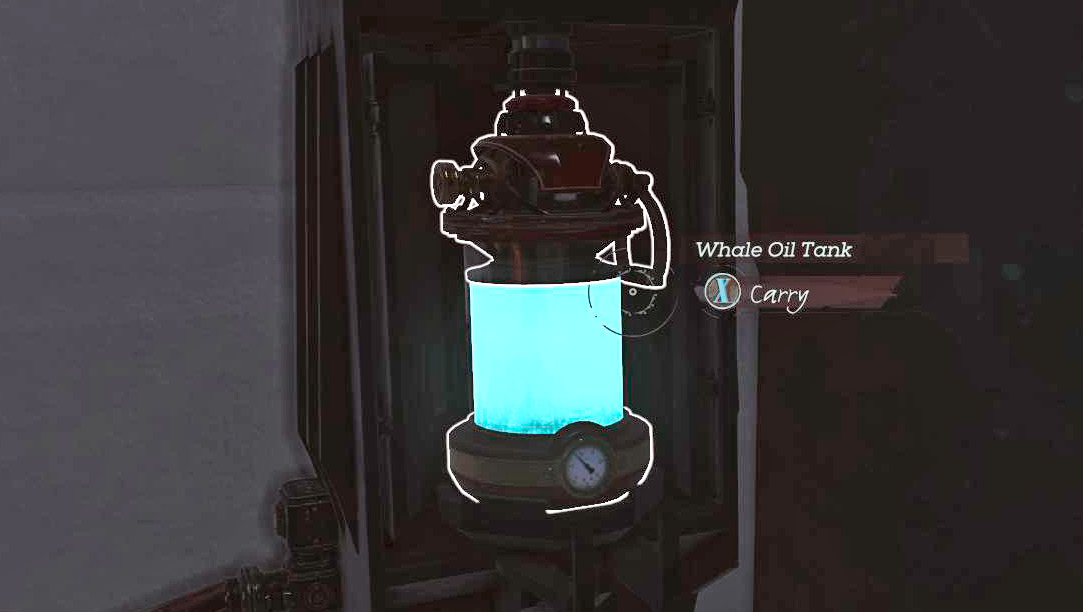
You find these large canisters all over the world. They power Walls of Light, Security Lights, Clockwork Soldiers, and other devices. If you remove a Whale Oil Tank, it turns off whatever the tank was attached to. Do this to remove security systems from areas you’re about to infiltrate.
That’s not the only aspect of Whale Oil Tanks you need to know about. They’re also explosive! If you steal a tank and throw it into your enemies, you can cause massive damage. Find a group of targets and bomb them with Whale Oil Tanks to clear the area.
Breakable Joints
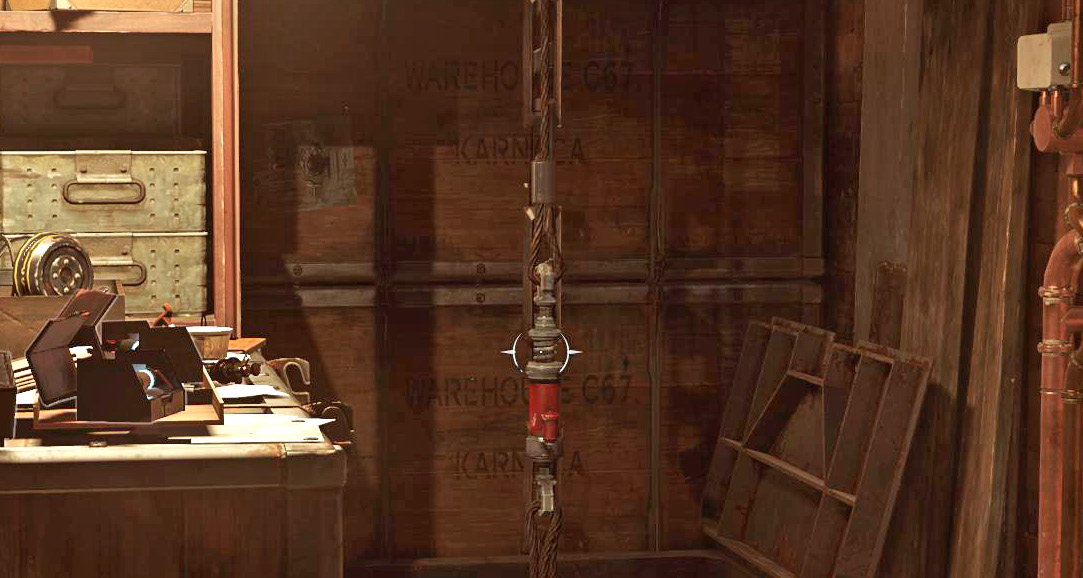
Red canisters act as joints for belts, chains, and other items in the game. You see them from time to time, and it’s easy to walk past them. Instead, figure out what these canisters are for. Sometimes destroying them causes wood piles to drop on people, or causes a new area to open up.
Alarms
If activated, Alarms summon Guards from all over an area. These devices can be rewired ahead of time if you get to their security panels. Doing this turns the Alarm into a trap that kills the first person who tries to operate it. Afterward, the Alarm breaks, so it’s a win-win for you.
Don’t let anyone get over to unaltered Alarms unless you want a very large fight on your hands.
Tripwires
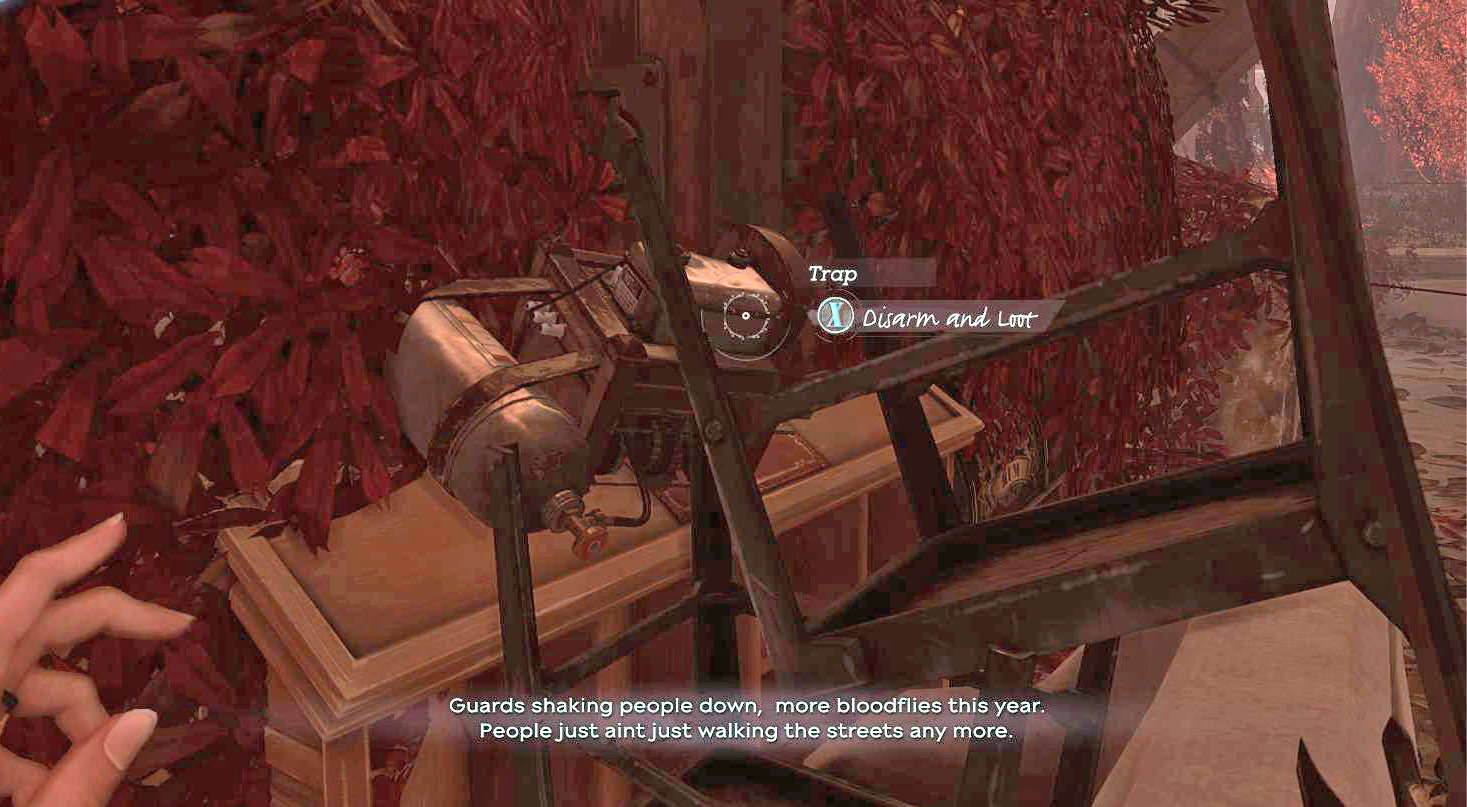
Tripwires and small Bolt-throwers are set up in multiple spots. These are homemade traps used by paranoid civilians and criminals, so you see them most often when you’re going into privately owned residences or districts. Dark Vision with Premonition makes these super easy to spot and disable. Remember to collect the free Bolts from the throwers as payment for your time.
Walls of Light
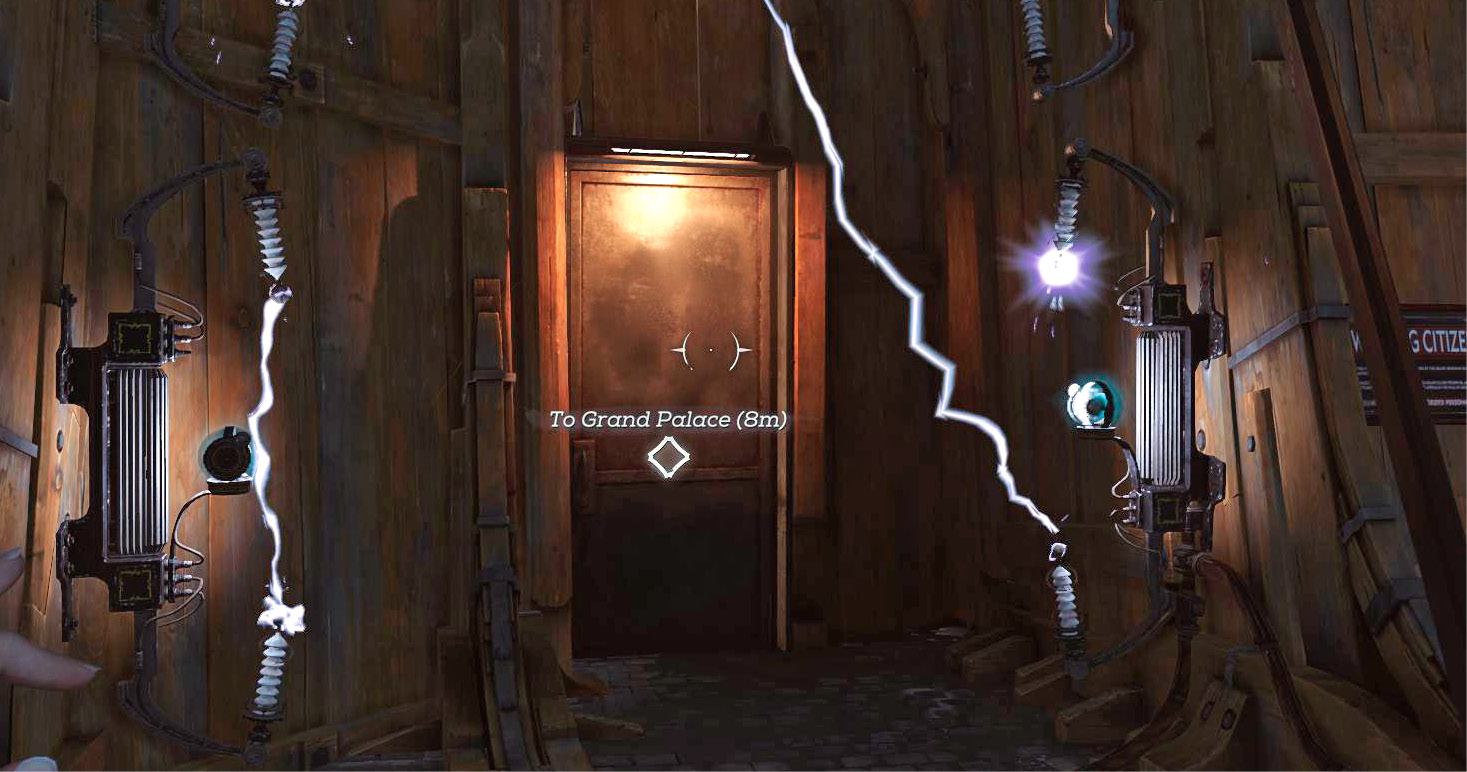
Walls of Light block essential chokepoints. They vaporize anyone who tries to go through them without being synched with the system. Use a Rewire Tool on the security panel for these traps to synch yourself. That lets you through them safely and quietly.
Alternatively, you can turn off the power. Find a Whale Oil Tank connected with wires to the Wall of Light, and remove the tank. That turns everything off, though Guards may become suspicious and investigate the problem.
If a Windmill is powering the Wall of Light, you can turn off or damage the Windmill to stop the security system. You can also use Windblast on the Windmill to supercharge the Wall of Light. Doing so causes the device to explode the next time it goes off, for major damage to an area. The Guards are still attuned and won’t trigger it, but a thrown body or stone will do the trick.
Watchtowers
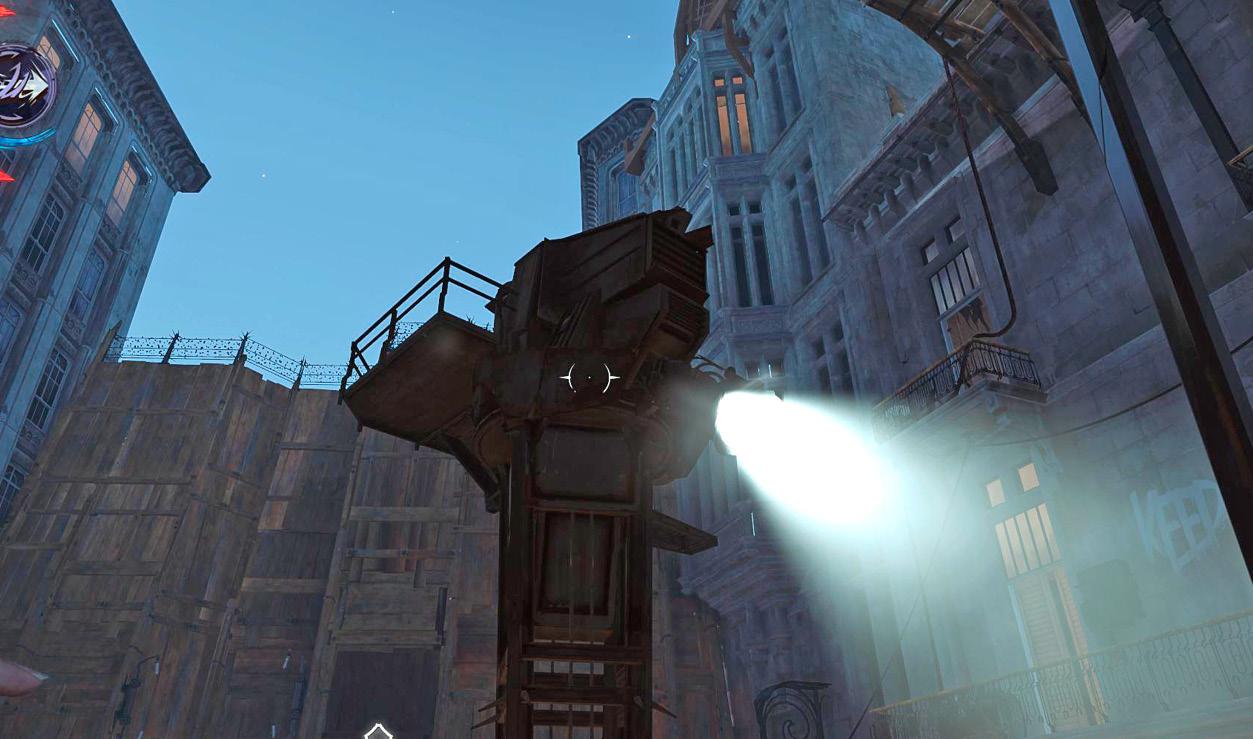
Watchtowers keep light on important areas. Some of them have weapon systems as well. Take away their power source if you can, or rewire them if you want to turn the system against the Guards.
A more advanced type of machine for this function is the Arc Pylon. Jindosh invented these to blast energy at any hostile targets that are within range of the devices. They’re smaller and have less range than Watchtowers, but they do damage faster, can’t really be dodges, and are very dangerous. Use Blink or Far Reach to stay out of their range, and disable their Whale Oil Tanks as soon as possible to bring them down.
The In-Game Menus
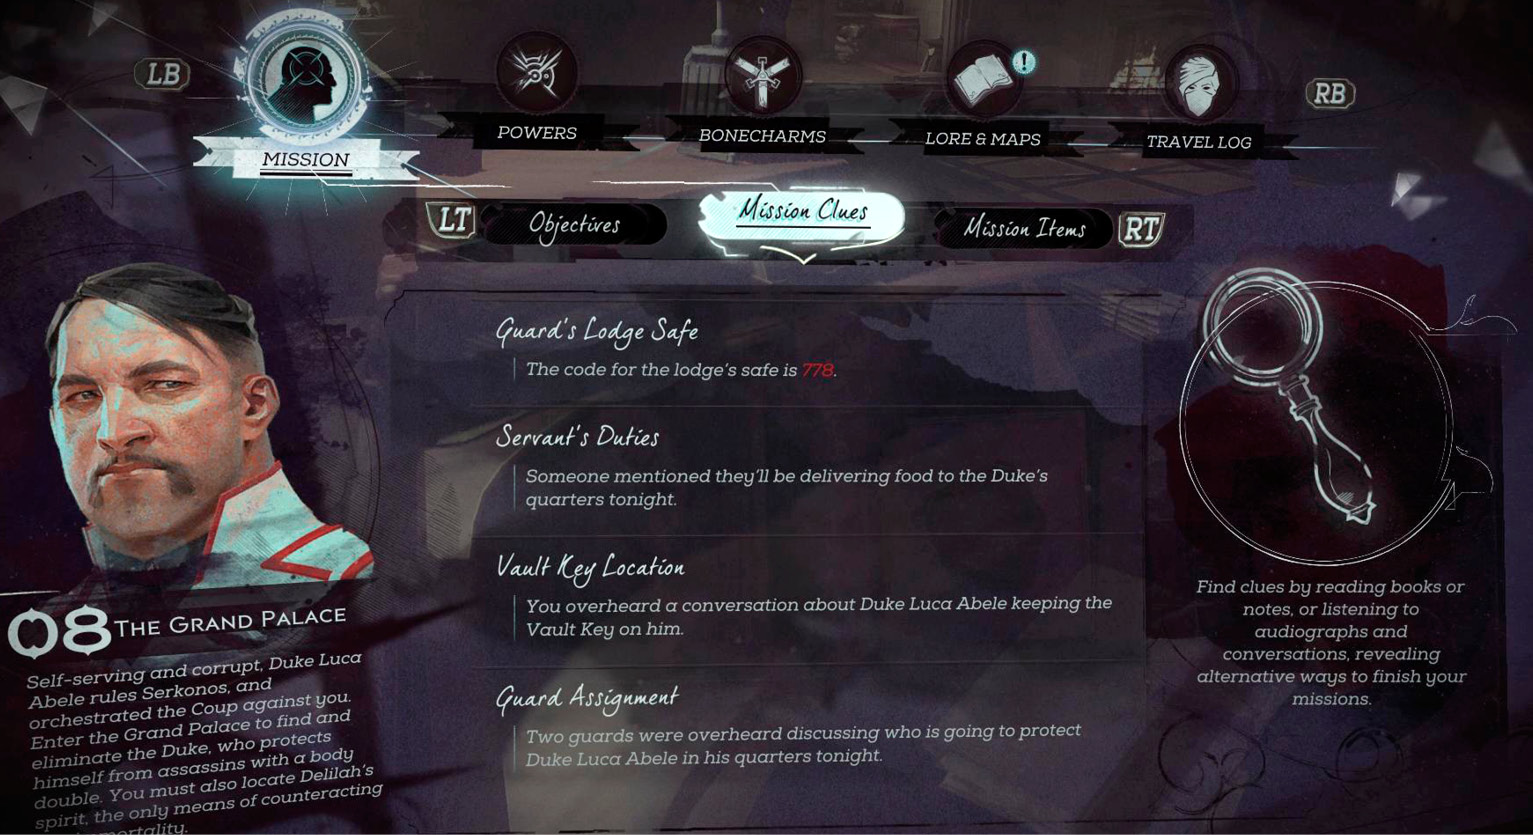
When you go into the menu in-game, you see a number of useful pages. Your Mission page lets you switch which objectives currently have waypoints. Turn off mission objectives you don’t want to accomplish (such as assassinations when you’re playing a Merciful character).
That same page has a Mission Clues tab. It’s quite nice for recording things your character has read or overheard that directly pertain to your current mission area. Always check this out to get an idea what your options are.
The Powers page lets you invest Runes into your special abilities. Every time you get a few Runes together, head over here and see what you want to purchase.
Go to the Bonecharms page to equip and craft Bonecharms, or sacrifice Bonecharms to learn their abilities and craft even better versions.
Lore and Maps lets you go back over all the evidence you’ve uncovered during your missions.