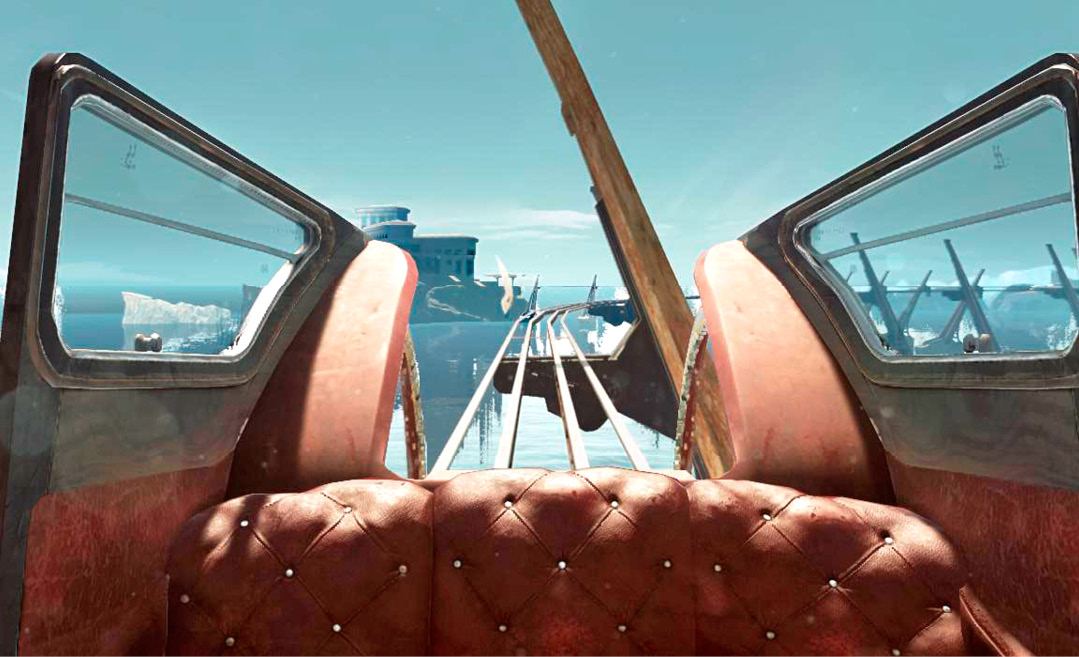
Dishonored 2 Guide Stealth Walkthrough
Edge of the World
Find Addermire Station, and take a carriage to Addermire Institute. It is the best lead you have for tracking down the “Crown Killer.”
Collectibles
| Runes | 7 |
| Shrines | 1 |
| Bonecharms | 6 |
| Coins | 3334 |
| Blueprints | 1 |
| Paintings | 3 |
Special Actions
| A Fresh Grave | Snatch a body for Mindy Blanchard |
| Black Market Heist | Rob the black market |
| Hypatia’s Apartment | Explore Dr. Hypatia’s apartment |
| Try to Unlock Me | Win the safe contest in the Winslow building |
| The Nest Keeper | Put down the Nestkeeper in the Bloodfly-infested building |
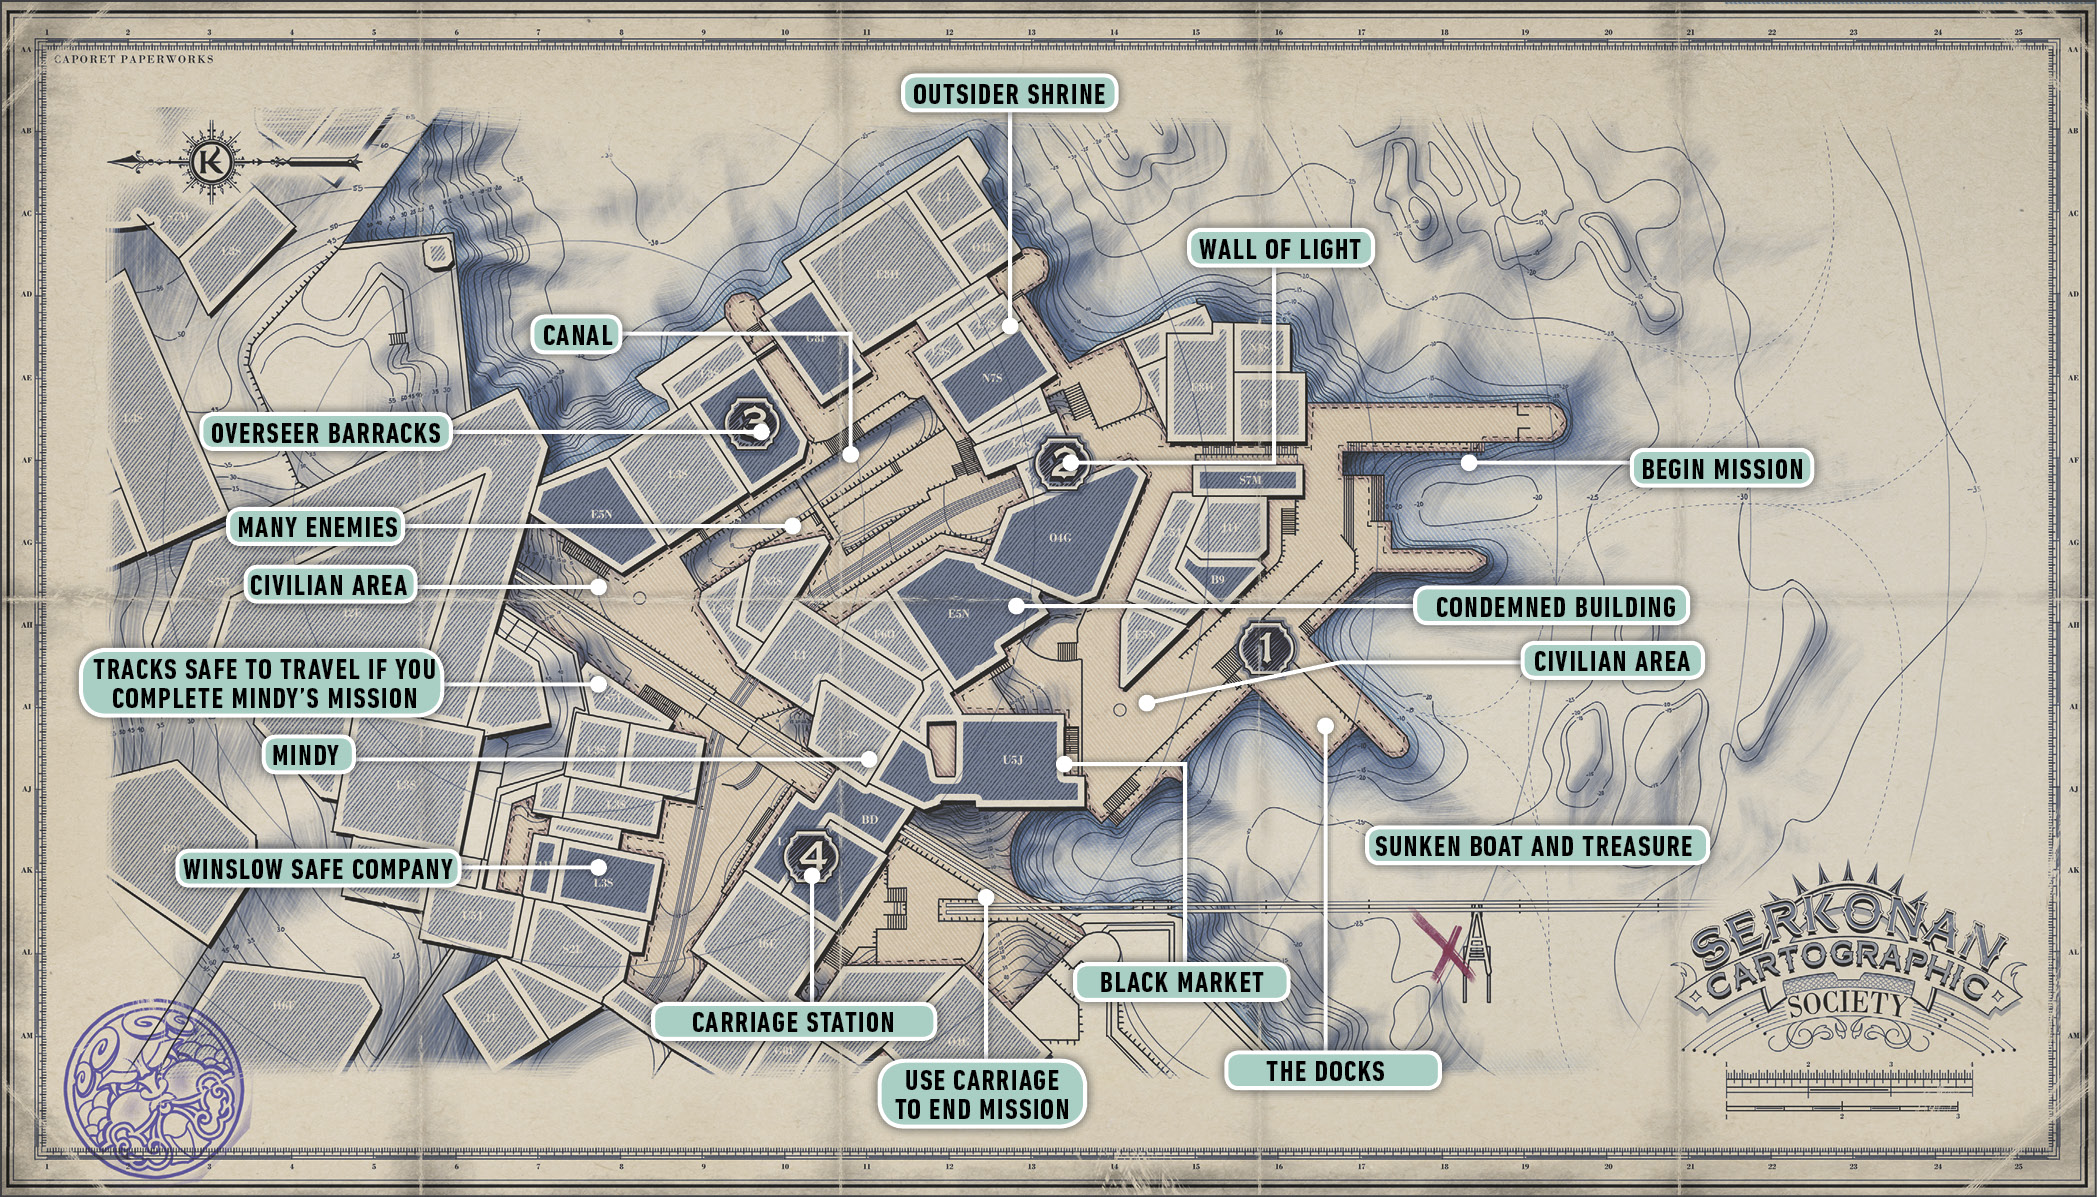
Karnaca Docks
Locate the Black Market Shop
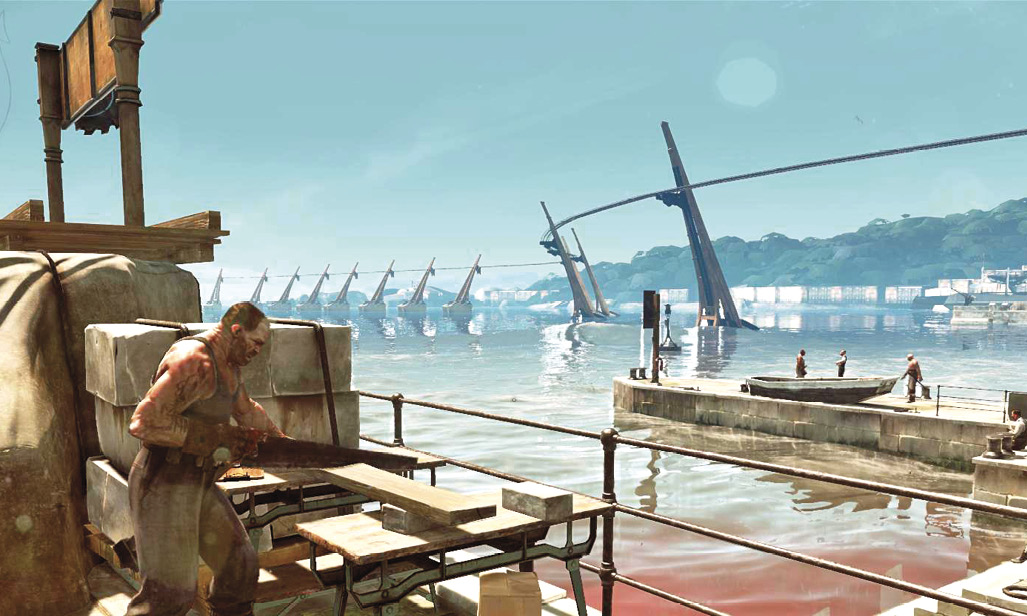
Captain Foster takes you to the coast. She can’t get you all the way to your destination because of a Watchtower that guards against strange vessels, so that has to be disabled at some point. You make landfall in neutral territory. You’re not attacked or harassed unless you cause trouble.
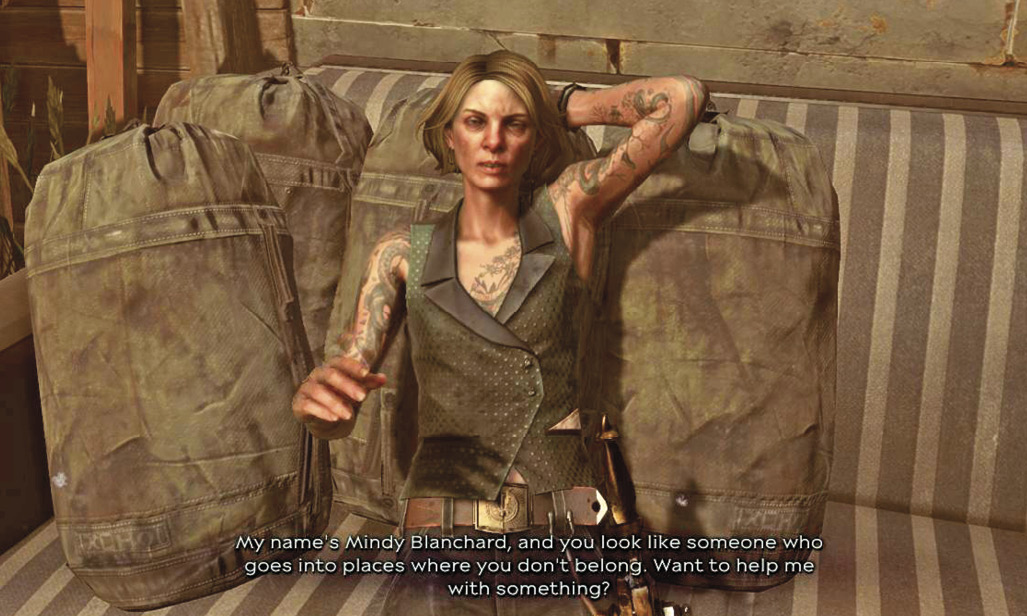
Go all the way to the left while staying by the coast, and then climb up through the buildings above the wharf. Two levels up, you find a small yard you reach by climbing through a window. This is directly behind the black market shop, so if you find the yard, you know you’re close. Talk to Mindy, and she tells you about a corpse she needs retrieved.
Agree to this and then turn around to unlock a side gate. This allows you to return here more easily, without going through the main thoroughfare.
Speaking of the black market, now is a good time to visit. The building that houses it, above the wharf, is marked with the two-hand symbol. See if you can afford anything good! If possible, pick up some Sleep Darts.
Black Market Goods
| Item | Cost |
|---|---|
| Crossbow Bolt | 20 |
| Pistol Bullet | 30 |
| Sleep Dart | 30 |
| Grenade | 70 |
| Stun Mine | 70 |
| Spring Razor | 50 |
| Addermire Solution | 150 |
| Health Elixir | 75 |
| Location of Sunken Supplies | 250 |
| Rune | 400 |
Do Some Collecting
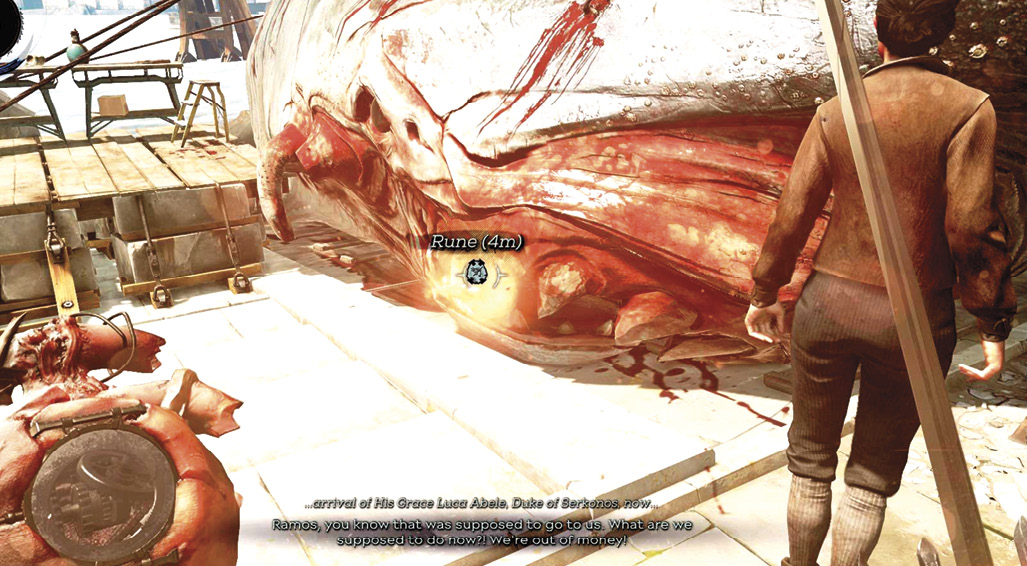
After exploring for a few minutes, equip your Heart and search for collectible items. The black market shop contains a Rune. If you don’t steal it, purchase it for 400 coins—well worth the expense for the majority of players. A whale carcass along the wharf holds a free Rune. It’s not far from where you begin this level.
The black market map, purchased for 250 coins, leads you to a downed boat in the harbor. Walk to the end of the farthest point on the docks, then swim out to retrieve several items there. It’s at roughly two o’clock from the front of that pier. You gain a couple of Sleep Darts, Spring Razors, Bolts, and other goodies. This is mostly advantageous for more combative players.
If you’re wondering how to get into the locked door on the floor above the black market, try this: Go outside and around to the right side of the building. Far Reach up to an open window above you. There isn’t too much inside. Far Reach again out another window to get back into the black market building one floor higher. Explore that locked room to get a pile of extra equipment. Unlock the door on your way out for easy access in the future.
If you’re wondering how to get into the locked door on the floor above the black market, try this: Go outside and around to the right side of the building. Far Reach up to an open window above you. There isn’t too much inside. Far Reach again out another window to get back into the black market building one floor higher. Explore that locked room to get a pile of extra equipment. Unlock the door on your way out for easy access in the future.
Get Help from Mindy
Let’s resume our mission. The path above the wharf continues to the right from the black market building. Proceed toward a Wall of Light—a defensive structure meant to kill anyone who tries to cross without proper access.
There are many ways to avoid this dangerous trap. Emily should use the apartments above to skip the area entirely.
Look for the condemned building you looted earlier for the Black Market Key. Go in again!
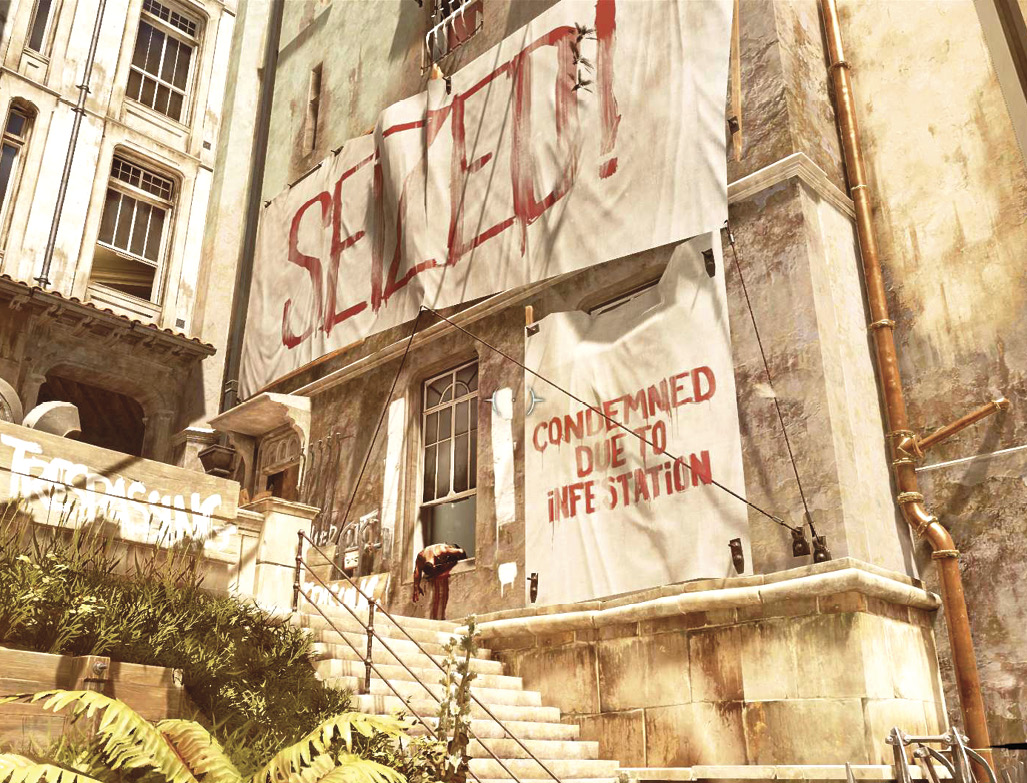
Crouch and go through the infested house. When you get close to a nest, race forward, smash it, and retreat. This avoids most of the swarms, so you’re unlikely to take much damage. There is food in here (ick), and a Health Elixir too, so even if you get hurt, it isn’t a lasting problem.
There are more active nests on the second floor. Search for a crate of flammable liquor, and toss it into nests to destroy them from a safe range. Whenever you find flammable items in Bloodfly areas, remember this technique, because it’s fun, fast, and easy.
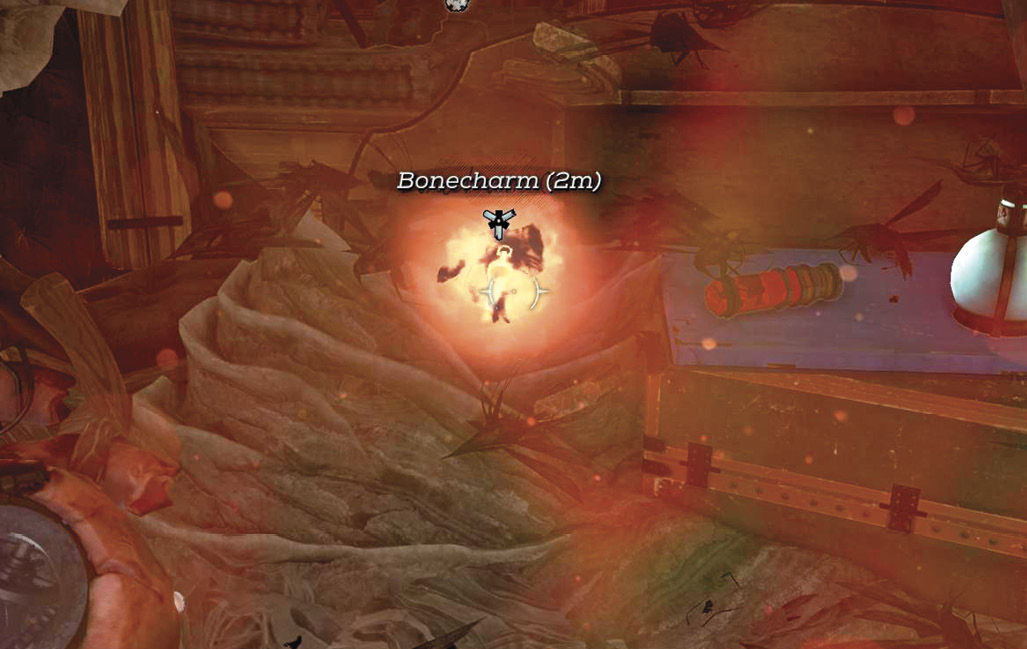
Grab the Bonecharm on the second floor. It’s behind one of the nests, and you find it almost instantly with the Heart’s help.
Climb to the third floor, explore it, and then use a second staircase on the other side of the building to get back down a level. Break open a door and step onto the balcony. You’re safe from the Bloodflies, and have gotten all the way around into Canal Square.
And boy, is this place well-guarded. There are people at the bottom of the street, at the top, and more than a few in between. On the far side of the area are Overseers as well (what a nice group). They may not like the Grand Guards much, but that makes no difference to you, because they don’t like you either.
How do you tackle this situation? The answer is simple. Don’t. That street is misery, so go above it. Walk left along the balcony and use Far Reach to get over to a balcony across the street. It leads into a doctor’s apartment. From the other side of it, Far Reach onto one of the balconies of the Overseers’ building. There’s much to do inside, so this is where you need to be.
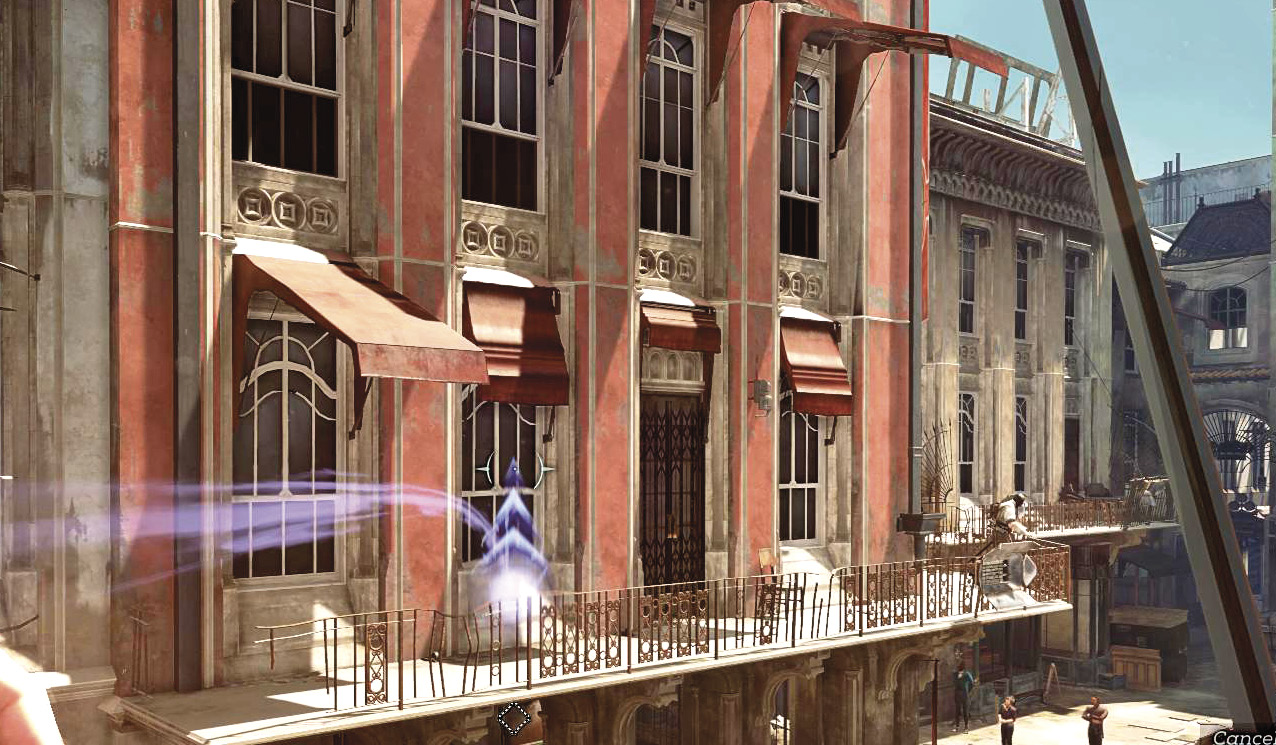
Choke out an Overseer on this second level, and then Far Reach to the third-floor balconies to get inside. Look for the window into an office where an Overseer is writing. Knock him out, but be both quiet and still. There are two more Overseers in the room to your right, and any sign of trouble draws them both. Collect a Blueprint (Fire Hardening Treatment) from the Overseer’s desk.
Far Reach across the hall to avoid detection, and grab a Painting off the wall. The other part of this area contains a safe. Obtain the safe combination by reading the Note and the Book close by. Search this room and the desk near the Overseer. The Mission Clues that reveal the combo appear once you read enough of the materials. Unlock the safe to gain Raw Whalebone and another Rune.
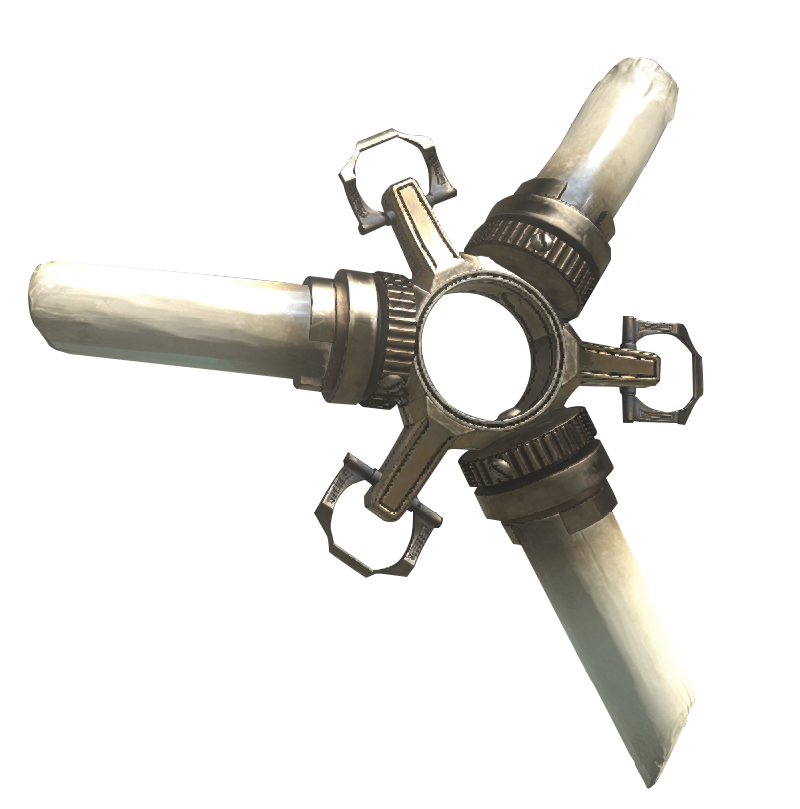
Look through a door to find the stairs. Climb up one flight. A Corrupt Bonecharm is on the next floor, but it’s inside a locked room. One Overseer is in a side room, and another patrols throughout this floor. Hide and wait for the patroller, knock him out, and then do the same to the man in the small room. The latter has the Interrogation Room Key.
Unlock the door close by and go inside. Collect the Corrupt Bonecharm you’ve been detecting, and loot a few other minor items as well. The body Mindy wants you to retrieve is here. Once you’re done with the Overseers, and carry the body outside. Climb out the window and use Far Reach to get to the right. Wait for the patroller below to wander away, and then Far Reach down and away from the building. Enter the next part of town and immediately turn right. Mindy is in a basement here (not back at the black market).
Follow your waypoint marker to get down to her, and deliver the body. She gives you a modest reward and directs one of her people to kill the power to the carriage station ahead. With that down, it’s easy to infiltrate.
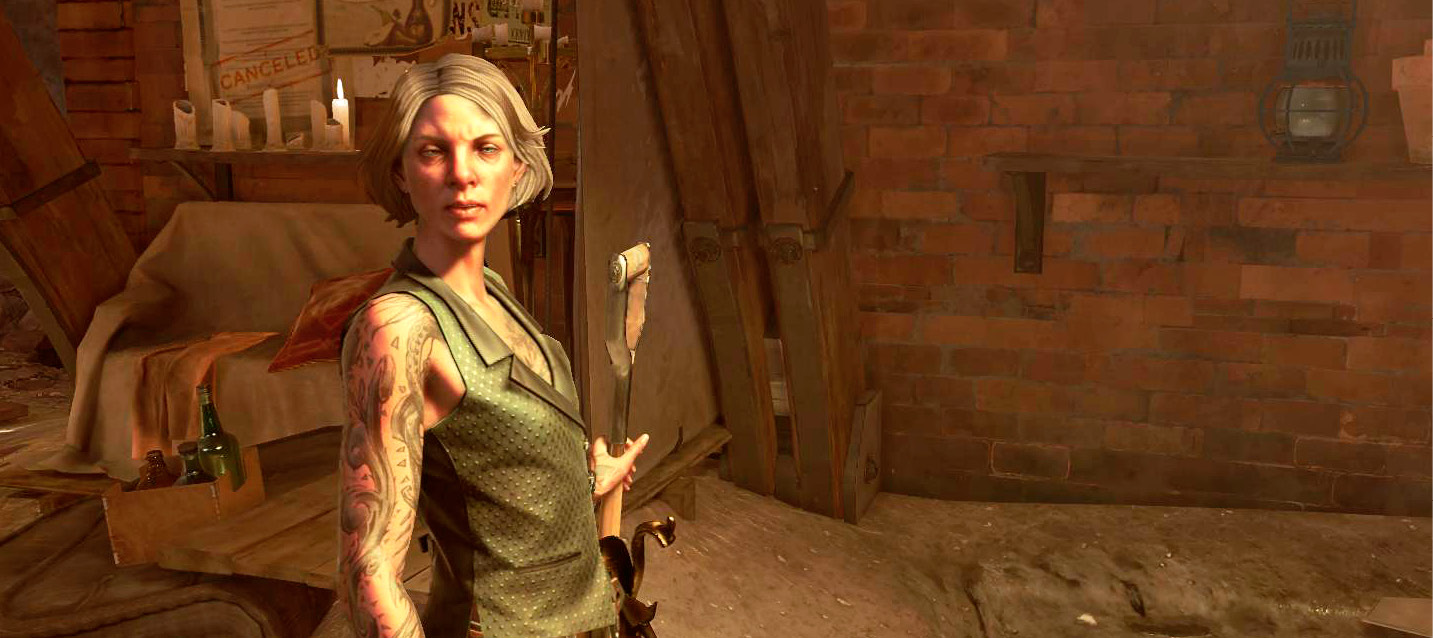
At ground level, outside the Overseers’ building, is a table with some Raw Whalebone, a Rune, and a Bonecharm. These are tough to get as a stealth player, but it can be done. Head onto the balconies over the Overseers’ building and drop down at the far end of the alley near the Overseer who’s giving his eternal sermon. There are two civilians over there, but they don’t alert anyone. If you upgrade your Far Reach to pull objects, steal the items from the table. Otherwise, Far Reach onto the table and take everything. It’s scary as heck, but still doable. Far Reach to safety as soon as you’re done.
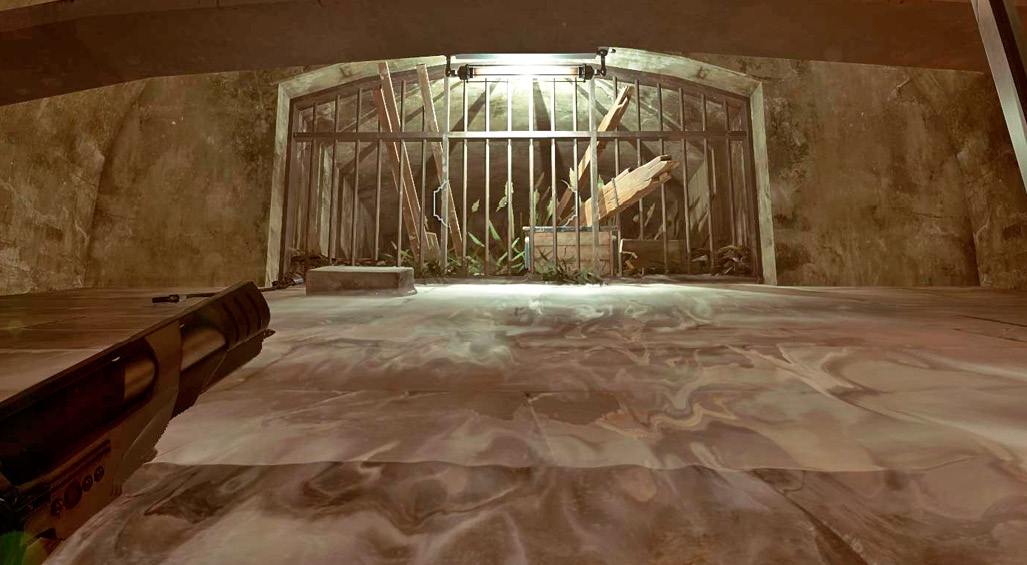
Down in the canal, another Rune sits inside a drainage area, and you can’t directly reach it. Drop down into the canal from the less-patrolled upper end of the street. To get the Rune, use your Crossbow and shoot the wooden board partially blocking the flow of water. This brings the Rune to you without causing much noise.
From the Overseers’ interrogation room, exit onto the awning and Far Reach onto the roof. Use your Heart to detect a Bonecharm not too far away. Far Reach over the rooftops to get to it, but don’t relax. There are two Overseers in one section, and you have to quietly avoid them. Jump up high enough to spot the two, and wait for the patrolling one to look over the roof’s edge (toward the street). Far Reach between the two Guards to get off the roof in seconds. Don’t stop to choke them. The Bonecharm itself is on a roof a bit farther along, unguarded except by a tiny group of Bloodflies.
There is a building near the Wall of Light’s Windmill. Take the main street from the black market to approach. Use Far Reach to get onto the balconies as soon as you hit the secure zone, and Far Reach behind the lone Guard up top to choke him out.
Hide the body farther down the street, or it will be discovered soon enough.
Enter the building on the left, not that far away. There are two Overseers inside. Climb to the second floor after a civilian finishes talking and leaves the area. Lean around the corner to watch for when the first Overseer turns his back. Choke him out, and then Far Reach behind the other to clear the place out. This building contains an Outsider Shrine and a Bonecharm on the second floor. There are also multiple valuable items, including a Painting right next to the shrine, and a Mana Elixir as well. Slot your Bonecharms so you get their bonuses!
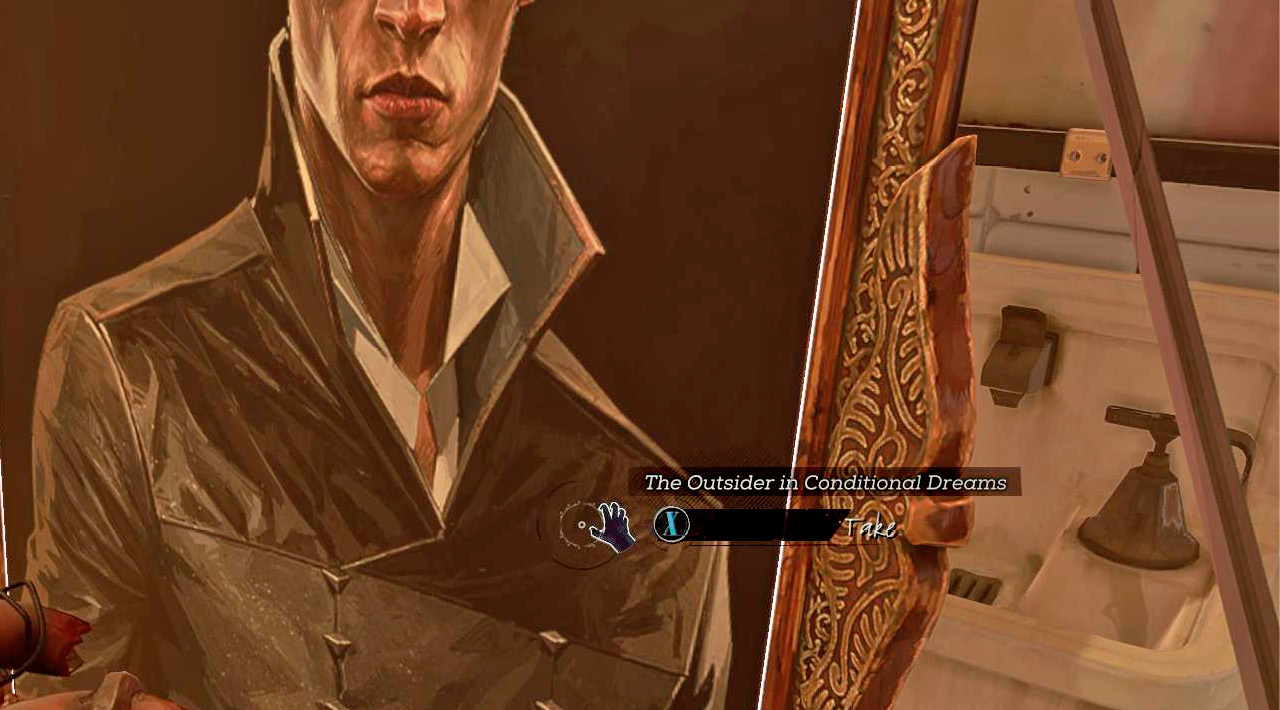
Go to Addermire Station
After finishing your collection work, return to the balcony of the Overseers’ building. Far Reach over the patroller below, if you haven’t knocked him out, and get into the civilian area ahead once again. If you Far Reach to the upper walkways, you soon arrive at a railway that feeds directly into the station. Don’t cross it yet, but note where it is.
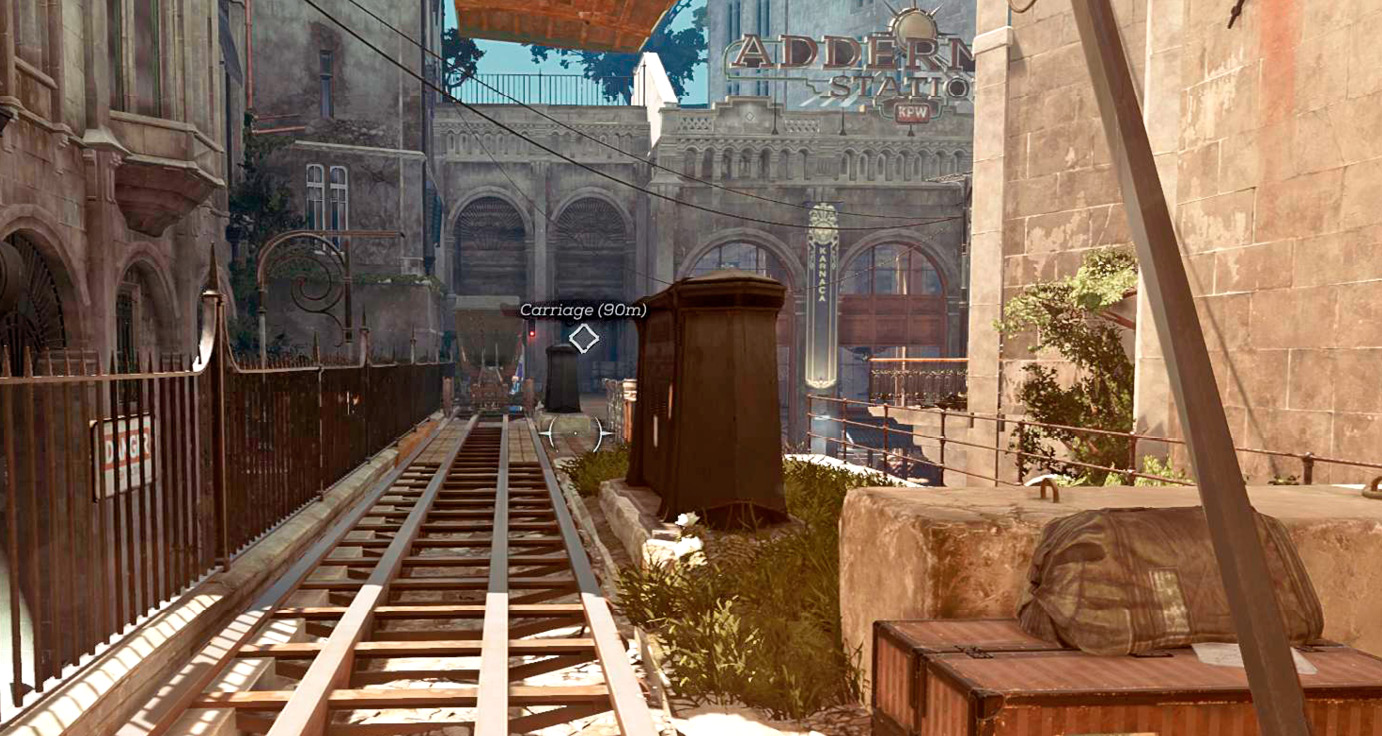
Far Reach to the right, jumping between balconies until you reach the entrance to the Winslow Safe Company.
Jump in at the front door and stay inside so the Guards don’t see or bother you. The guy working inside is a good fellow and isn’t a problem.
Search for the Key to Dr. Hypatia’s apartment at the back of the building. Grab it and find the stairs. Climb up a few floors and unlock the apartment. Snatch a Painting inside, on the main hallway. Search for money throughout the apartment, and listen to an Audiograph in the back room.
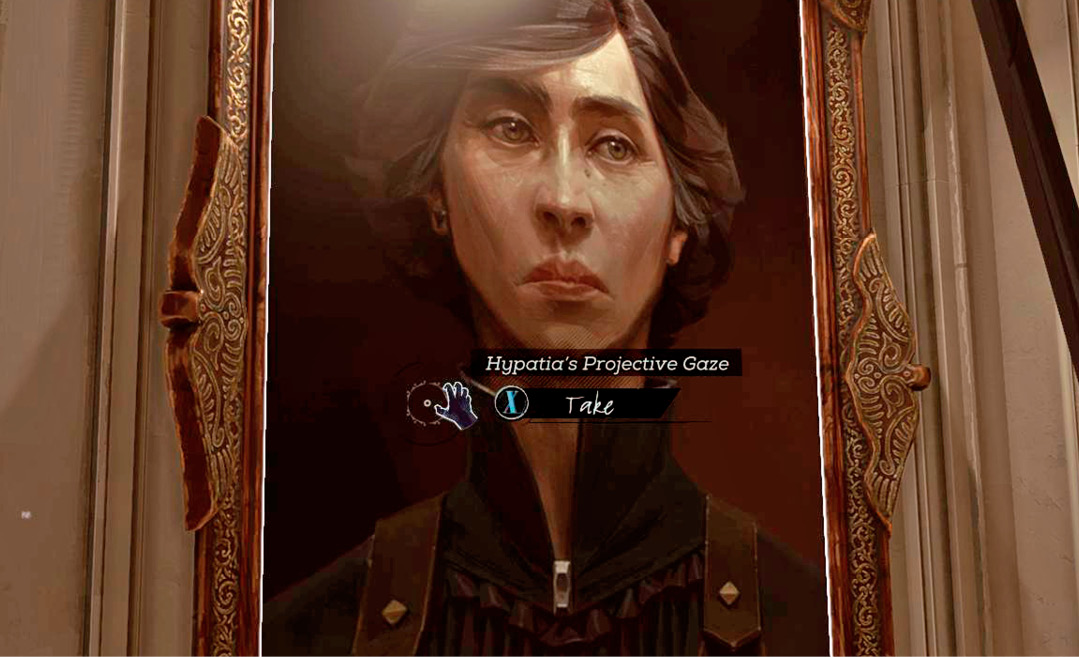
When you’re finished, return to the Safe Company’s main floor and open the big safe in back. The cash register by the front door contains the combination. Inside the safe is a Bonecharm, a Pistol, and more Bullets. Oh, and 300 coins too! Worth taking, eh?
You’ve now gotten everything that isn’t nailed down in this region. Far Reach back up to the railway, and cross it to reach the carriage. It’s marked as your objective, so it’s easy to find. Head past the objective, staying in the rail area underneath the platform. Keep quiet, because two final Guards are on the platform. Far Reach up there and sneak into the carriage so they don’t spot you.