
Dishonored 2 Guide Stealth Walkthrough
Death to the Empress
You must confront Empress Delilah Copperspoon before she changes all the world with her will. Enter Dunwall Tower and find a way to reunite Delilah Copperspoon’s spirit with her body to make her mortal again. Only then can you eliminate her and take back the throne.
Collectibles
| Runes | 5 |
| Shrines | 1 |
| Bonecharms | 9 |
| Coins | 2562 |
| Blueprints | 2 |
| Paintings | 1 |
Special Actions
| Captain’s Quarters | Search Meagan Foster’s cabin aboard the Dreadful Wale |
| World As It Should Be | Trap Delilah in her painting |
| Avenging Jessamine | Take revenge on Billie Lurk for her part in Jessamine’s assassination |
| Heart of the Tower | Reach the Royal Protector’s chambers |
| Saving Your Father | Rescue Corvo Attano |
| Saving Your Daughter | Rescue Emily Kaldwin |
| Black Market Heist | Sneak in one more robbery before the end |
| Your Daughter Is Safe | Take the throne as Corvo Attano, leaving Emily as a statue |
| Your Father Is Safe | Take back the throne as Emily, leaving Corvo as a statue |
| In the Coven’s Wake | Use the street speakers to address the public |
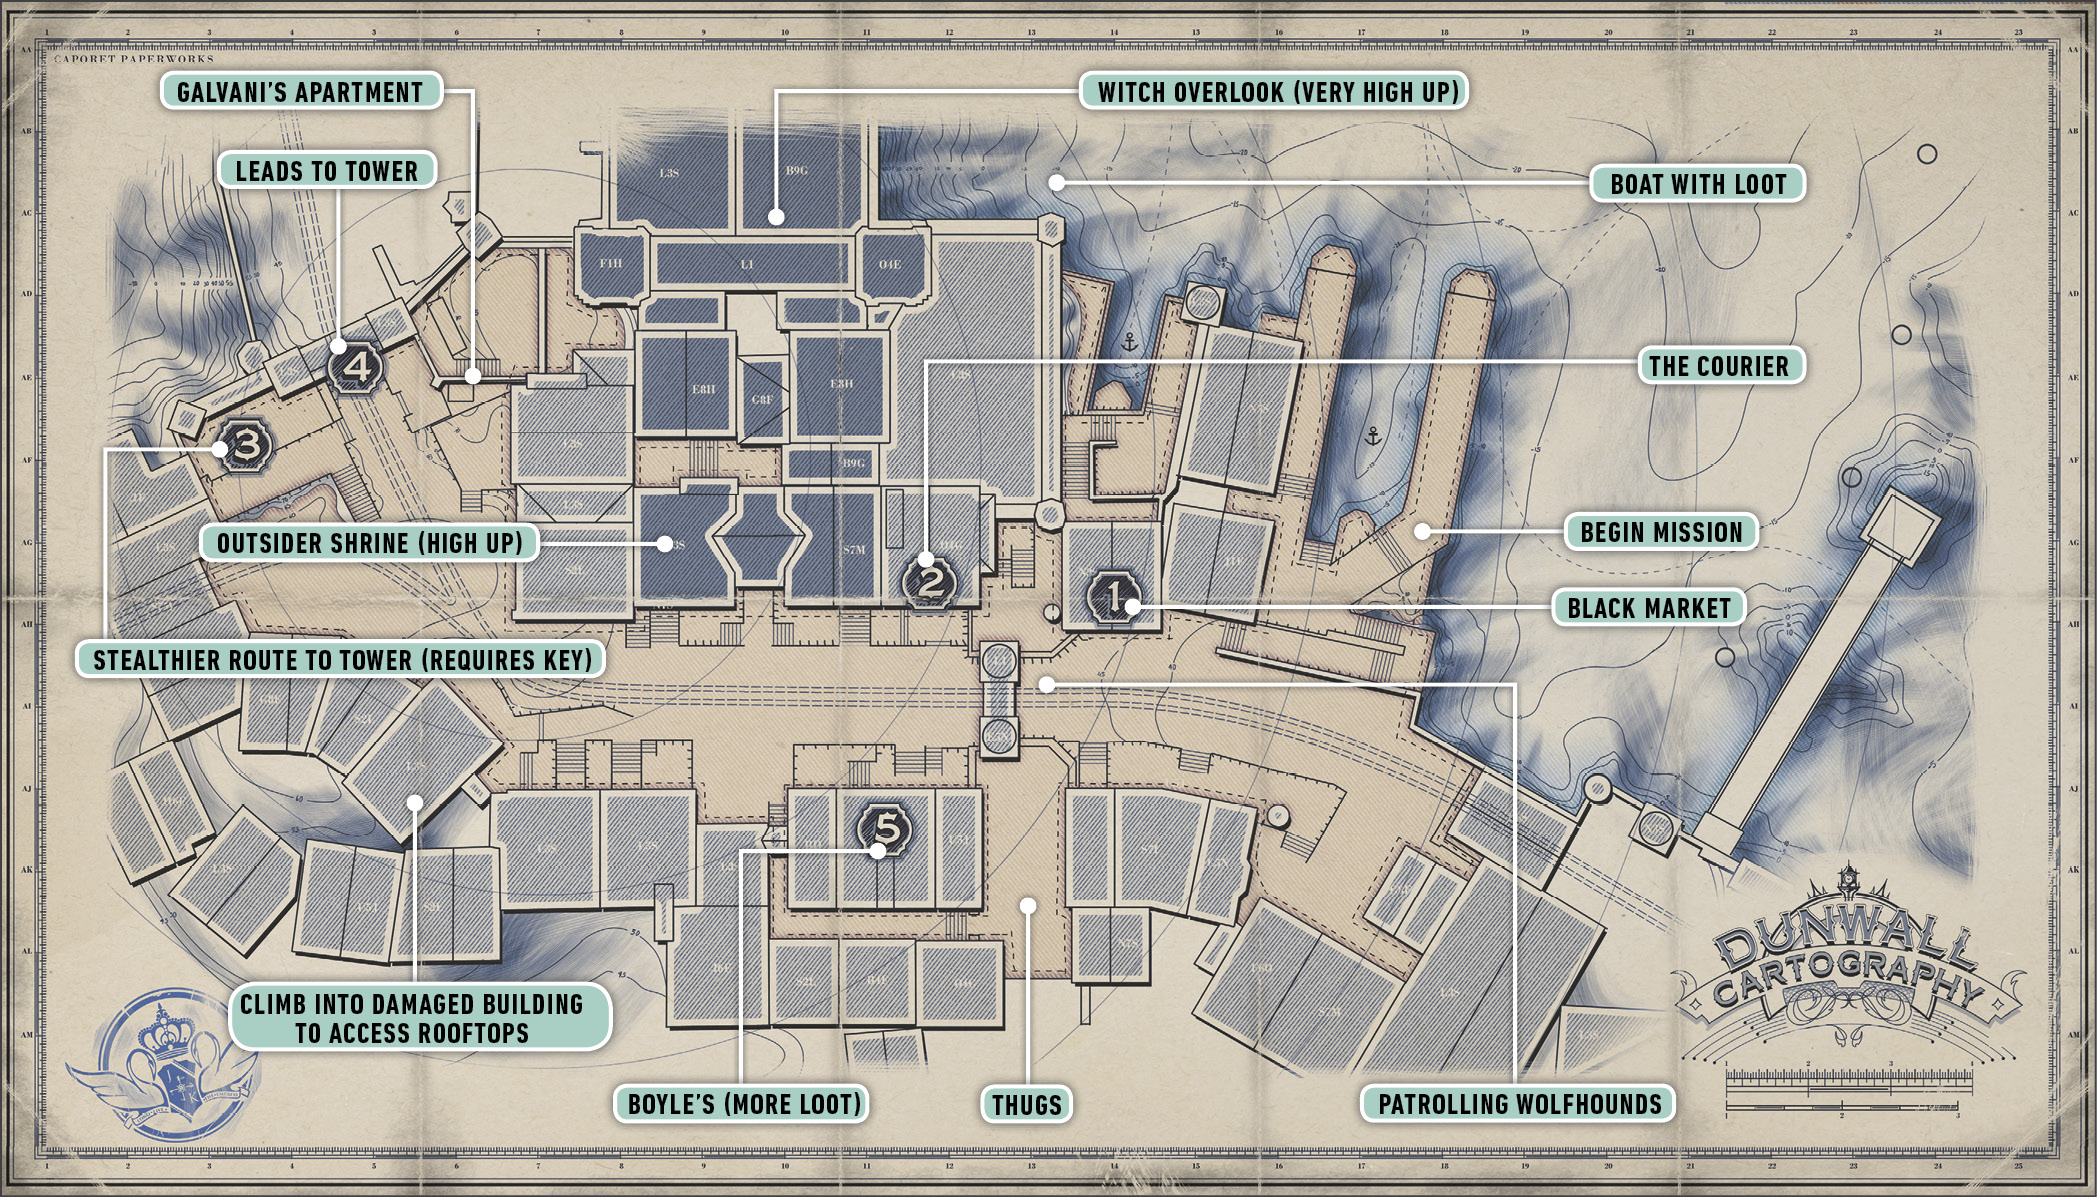
Dunwall Streets
Looting the City
You land in Dunwall again, but the streets are in even worse shape than when you left. Wolfhounds wander aimlessly, threatening anyone who gets too close. Keep your Crossbow out and ready, and kill any that wander near you.
Black Market Goods
| Item | Cost |
|---|---|
| Crossbow Bolt | 20 |
| Pistol Bullet | 30 |
| Sleep Dart | 30 |
| Grenade | 70 |
| Stun Mine | 70 |
| Spring Razor | 50 |
| Addermire Solution | 150 |
| Health Elixir | 75 |
| Rewire Tool | 200 |
| Rune | 400 |
| Key to City Watch Armory | 250 |
A Rune shows up when you scan with your Heart. It’s close, near the docks. Follow the waypoint toward it, and you bump into the black market. See what they have for sale besides that Rune.
Listen carefully while you shop. If you haven’t taken out both patrolling Wolfhounds, one of them might lumber in and chomp on you even while you’re buying things.
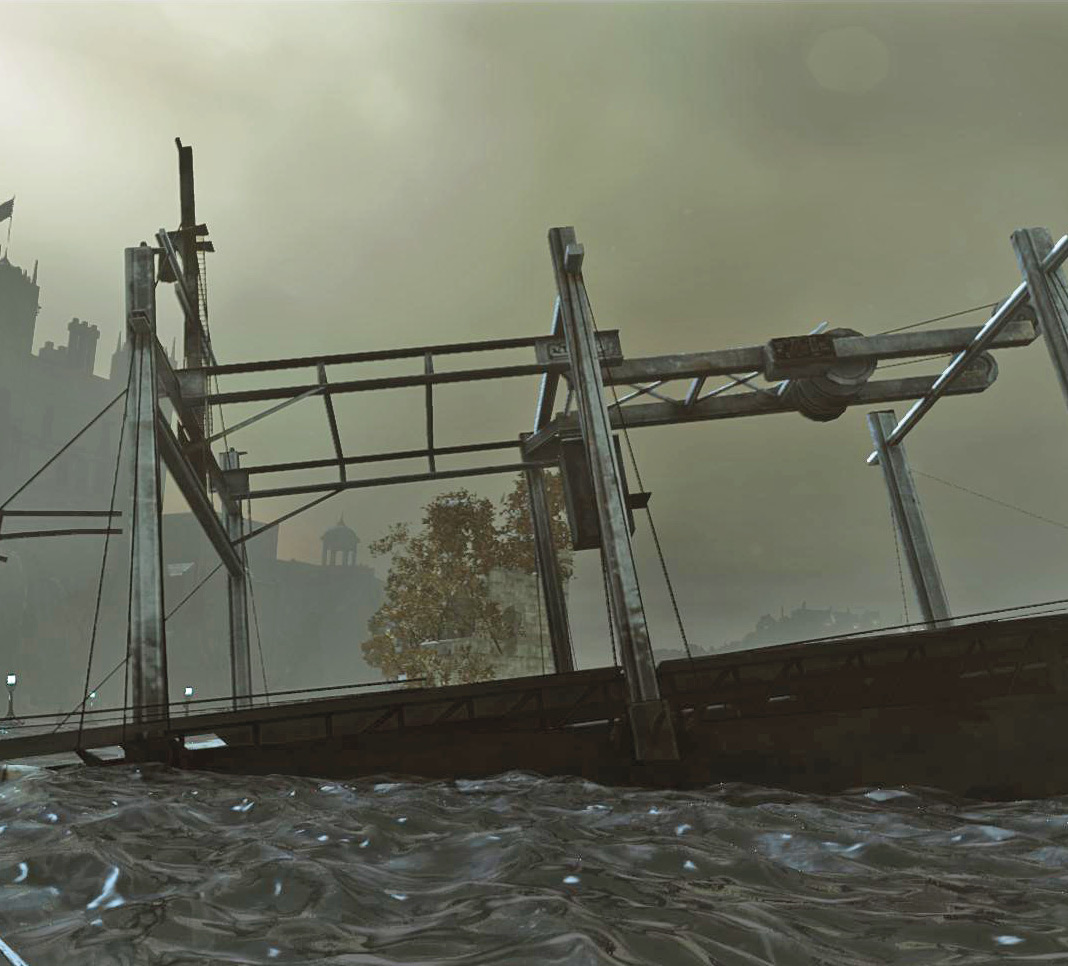
Complete your purchases, and take a detour to search the boat that’s gone ashore in the harbor if you want more cash. Go out behind the docks to find it. Clear out the boat and return to the main street. Pass between the broken gates on the road, and kill another Wolfhound in the next strip.
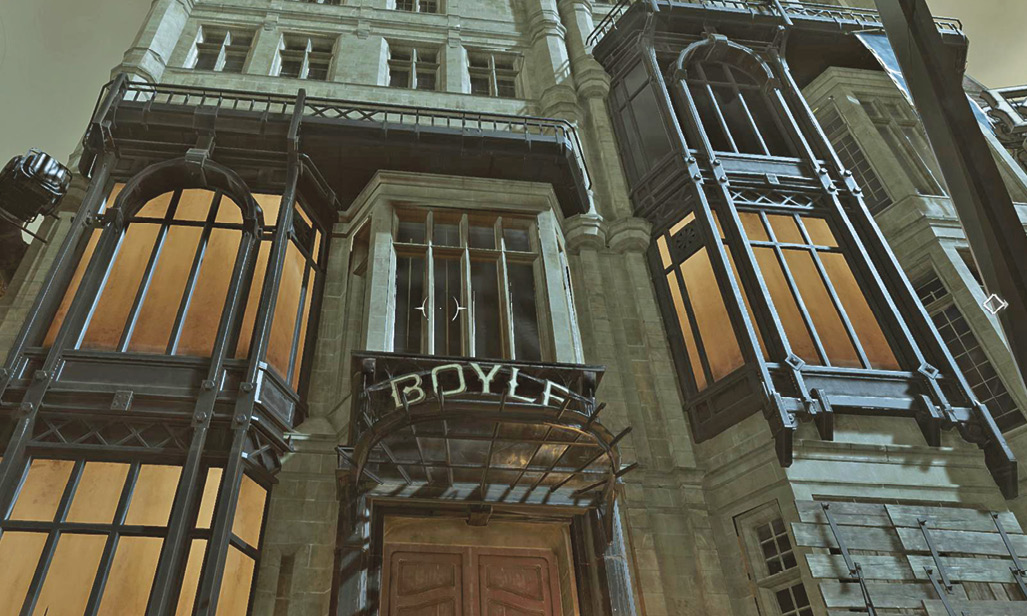
Look for Boyles, on the left as you advance. The front door is heavily barricaded, so go around back. Stay crouched, because two punks in the back alley hear you if you’re running around.
Enter Boyles and knock out the handful of people from the Hatter gang who are robbing the place. There is more than enough money to go around once they’re all unconscious. Using stealth, approach and eliminate everyone without making noise.
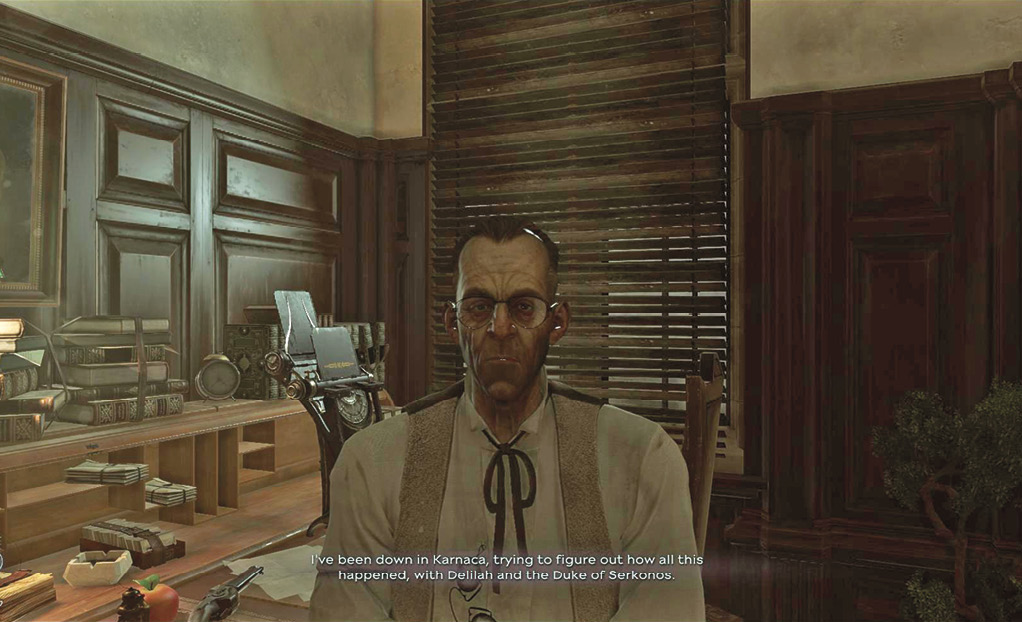
Leave Boyles and head over to the Dunwall Courier. Its main door is sealed too, but a small alley on the left lets you get closer to the building. Climb over some debris, and use the Courier’s side entrance. Talk to the editor up top to see what he’s doing in the name of truth, and maybe loot the building a little too, because it has hundreds of coins’ worth of goodies.
Leave the Courier; go to the first floor but take the building’s safe door into a ruined alley. To your right is a metal shelf. Clear away a couple of bottles, and grab the Common Key, which is required for you to pull off the black market robbery.
Follow the street toward the tower. The City Watch Armory Key found in the black market unlocks the small Guard building near the end of the path. It has Raw Whalebone, weapon supplies, and a door that leads to Coldridge Canal. Don’t use the door yet.
To unlock the door to Galvani’s apartment, search the area for a maid corpse and take her key. This place is across the street from the City Watch Armory. A Blueprint is inside, on the worktable. You find an Elixir and some modest treasure along with it.
A smaller building beside the main road looks totally devoured. There’s nothing in it, but the ceiling is damaged. Far Reach to get up a level, and stay quiet as you ascend all the way to the fourth floor of the destroyed place.
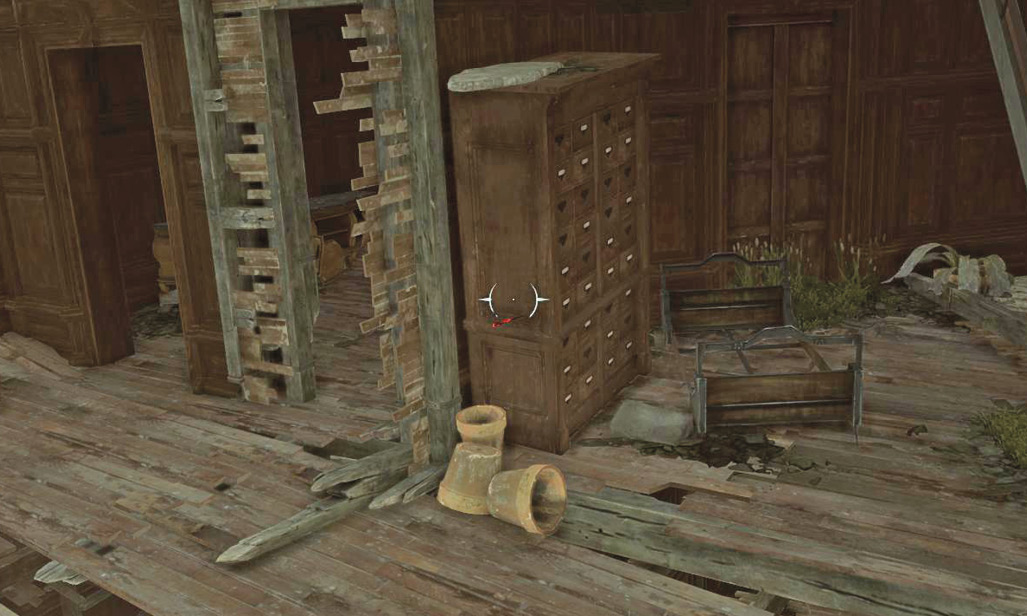
A Witch lives at the top, but she looks out over the street most of the time. Keep quiet and hit her with a Sleep Dart to disable her. Use the beams that lead out from the building to cross the street onto a balcony. Men are inside, stealing what they can.
Disable the one on the left, and Far Reach behind the one in the right room to knock him out too. If he’s already approaching, ambush him when he comes around the corner.
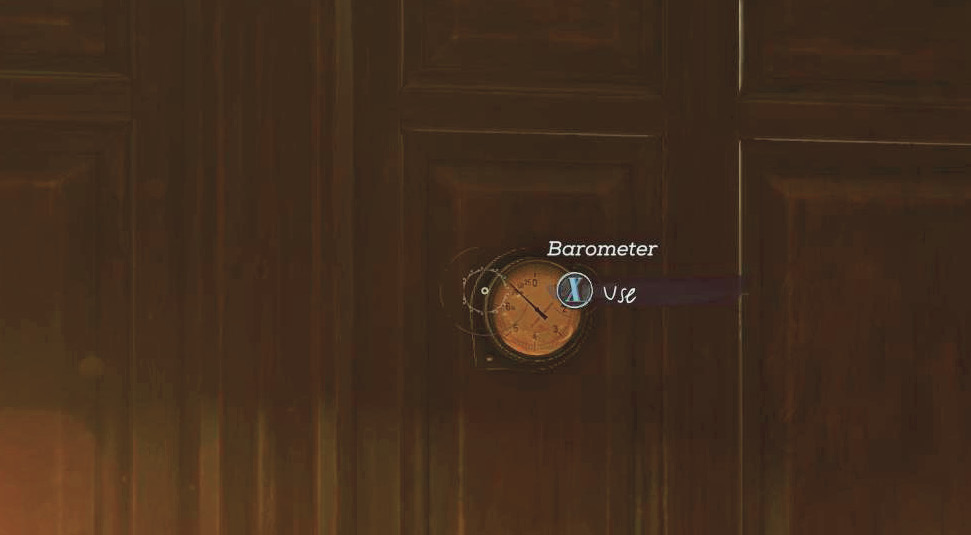
Look for a Barometer in the second room. It opens a secret door. The next room contains an Outsider Shrine and plenty of items to steal.
Return to the balcony and skirt the left side of the building. Walk over pipes to reach the back of the structure. Use your Heart to target a Black Bonecharm much higher up, and begin crossing the rooftops to get closer to it.
A Witch watches you from above. Hit her with a Sleep Dart once you get close enough to do so; she’s on a stone ledge at the top of the ascent. If you can’t get a good angle to shoot her, climb up the buildings on the right to reach her level and then hit her from the flanks.
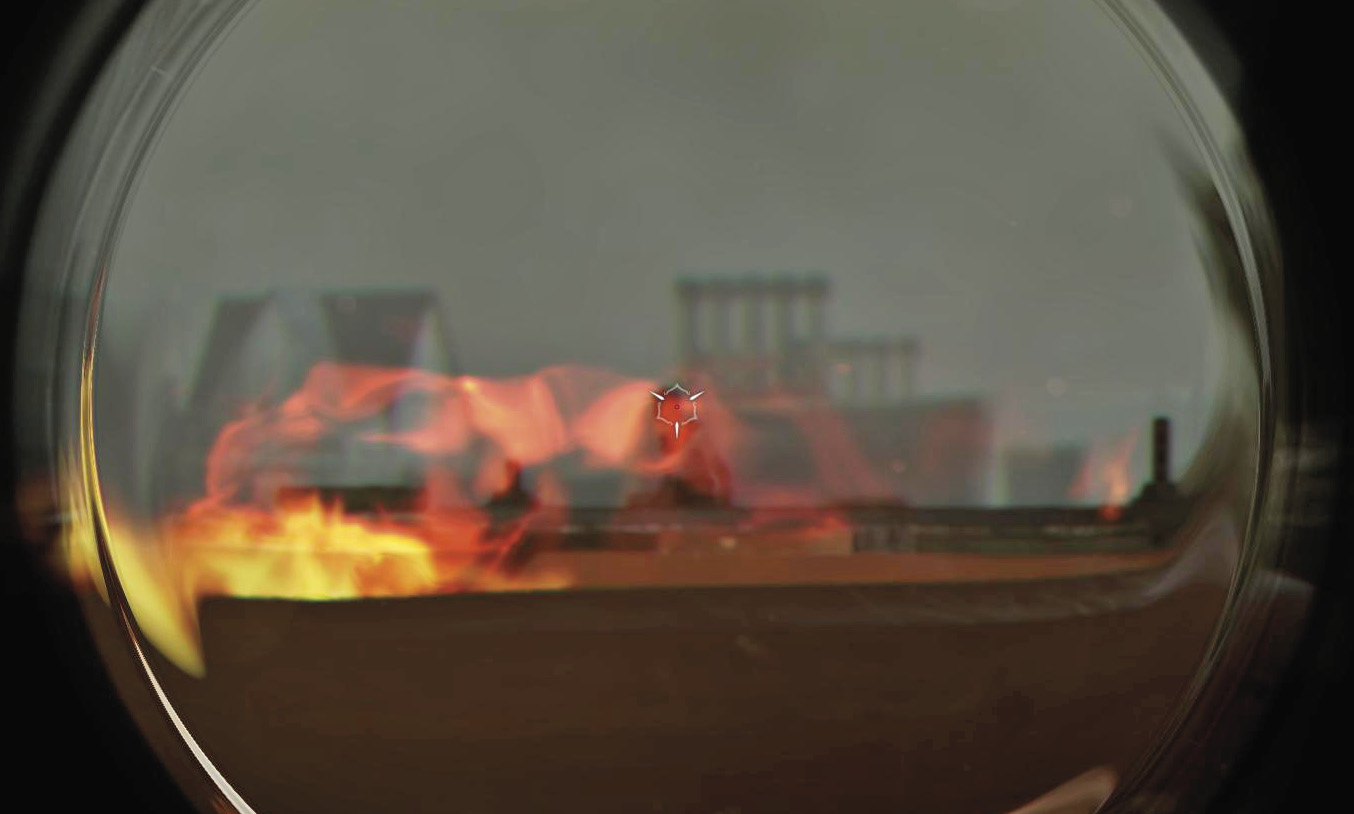
Search inside the lofty place to obtain a Black Bonecharm.
Find a Way into Dunwall Tower
After getting the Black Bonecharm, return to street level and use the door into Coldridge Canal from the Armory. That key is purchased from the black market.
Coldridge Canal
You’re directly outside Dunwall Tower, but at a weird angle. You’re in the canal that backs up against the tower. This poorly guarded approach gives you a major advantage against your enemies.
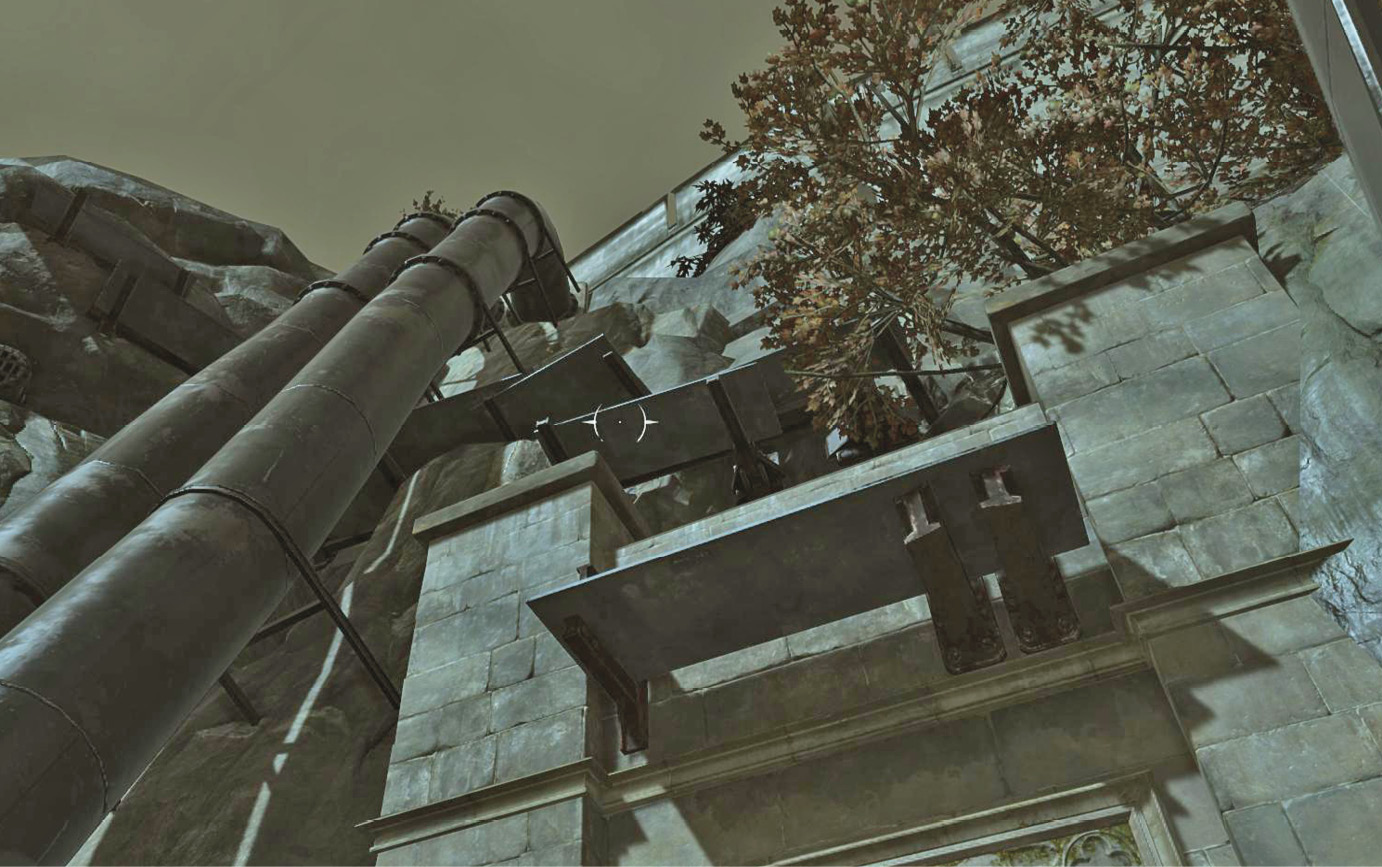
Swim forward onto the small landing along the right wall, then use a mix of jumping and Far Reach to start a major ascent. You can comfortably reach the top of the walls with just a moment of climbing.
Get onto the walls and crouch to look around. To your left are two Witches and a couple of Gravehound skulls lying on the ground. Avoid that area.
Instead, hop off the wall and look for a small opening on the right (above ground level). Jump onto some pipes to get in. Several Witches are in the greenhouse. A Bonecharm is on the left side of the room. The Witches are distracted enough that a bold player can stealth over and steal the Bonecharm without mishap.
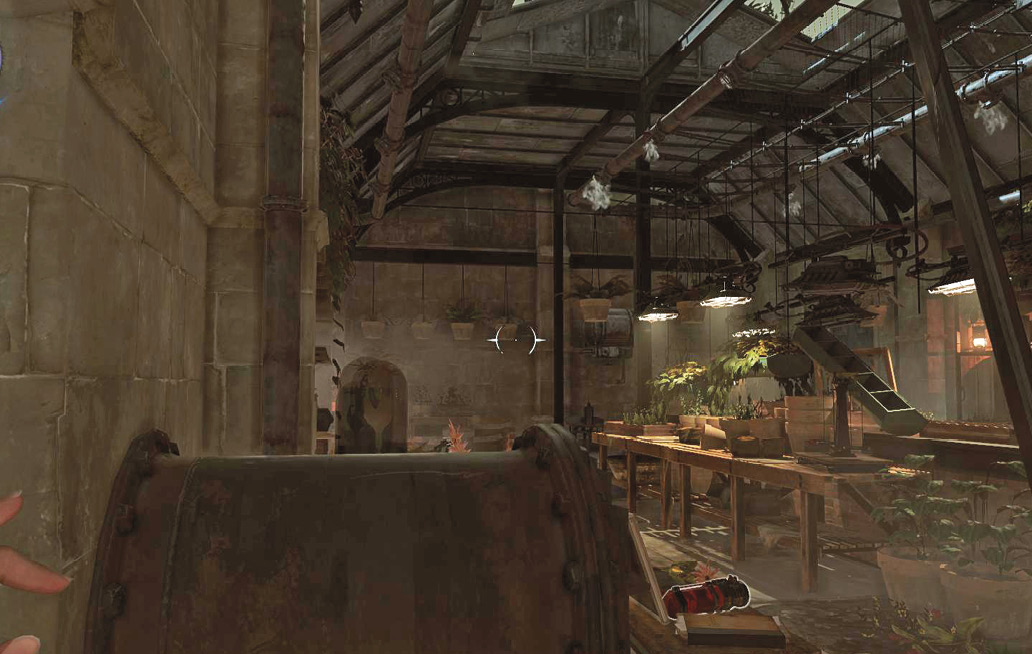
Take the far door out of the greenhouse and stealth between the two large groups of enemies to the left and right. This takes you directly toward the parapets. Jump over the wall and onto the hill below. Use your Heart to locate a Bonecharm. That’s the direction you want.
A Witch and Gravehound patrol along the left, so skirt them by heading toward an infamous gazebo on the right. This is the long way around to your target, but it’s safer.
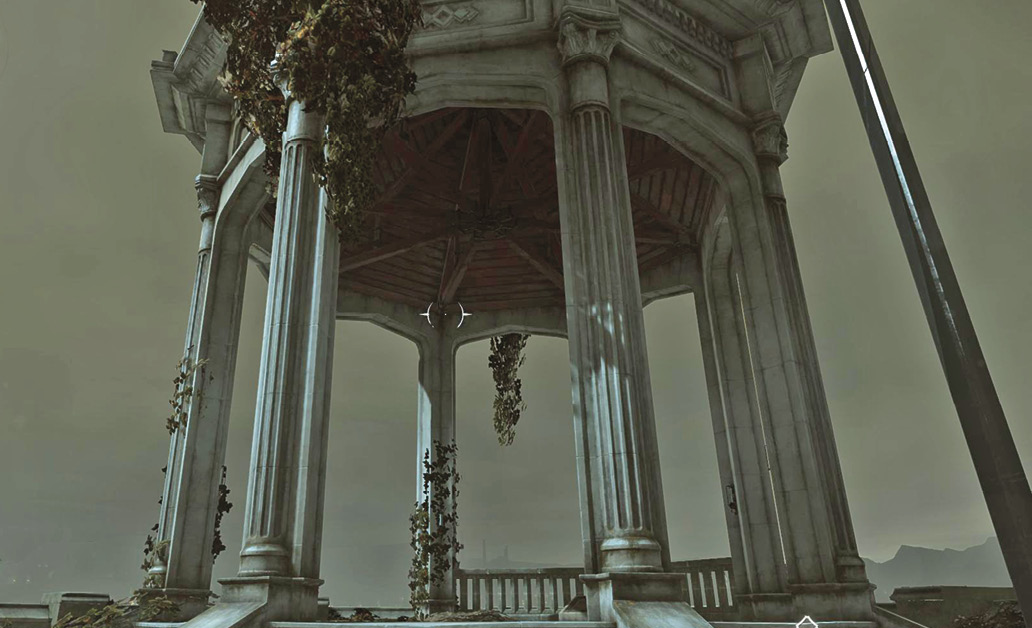
Look out over the far wall of the gazebo. A Painting is on a lower terrace, but you have to deal with three Gravehounds to get it. Use your Crossbow Bolts and shoot each skull from above. The Gravehounds don’t even get to spawn, and they don’t start any alerts. There aren’t any Witches to spot your actions, so you’re in good shape.
Approach the large building where the other Bonecharm is located. You might remember this structure from the last game. This is the channel lock that lets boats approach Dunwall Tower without getting destroyed.
Stay low to avoid the gaze of a Witch near the corner of the building, but don’t disable her. She can’t spot you unless you’re careless. Get onto the walkway on the right side of the building to advance.
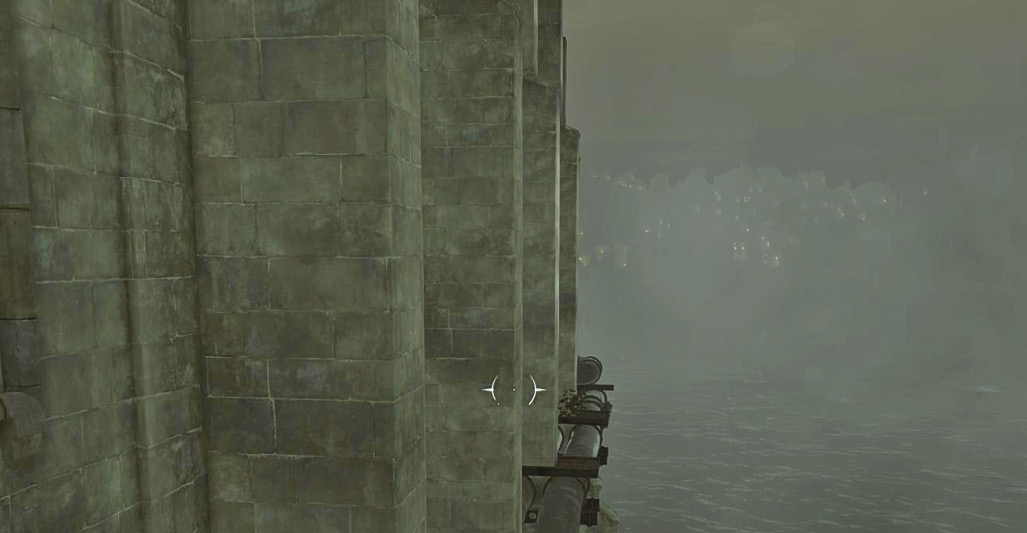
Move around to the back of the building and use Dark Vision to spot the Witch watching your side of the structure. Jump up when she turns around, and choke her out. The Witch on the other side of the platform is even more vulnerable and can be disabled without care. Grab the Bonecharm from an open box.
Return to the gazebo and stay left as you creep along the walls and approach the pump room. A Rune is hidden inside, but there are several Witches along the way. The first is on some stairs near the pump room and looks isolated. Be wary. Another Witch just inside the room might see if you attack the lone enemy. Lie in wait and use Dark Vision to time your attack.
Go after the two remaining Witches inside the pump room once you down the outer foe. These Witches are spread out a little, which makes your life a bit easier. Get onto the walkway on the right side of the room and look for a tiny recess along the wall. Hop down into it to get under the walkway, and collect the Rune you seek.
Exit the pump room by jumping through a small window in the upper part of the room. Far Reach onto the walkway above the tower entrance, and only jump down when you’re directly above the doorway that leads inside.
Enter the tower when you’re ready.
Dunwall Tower Interior
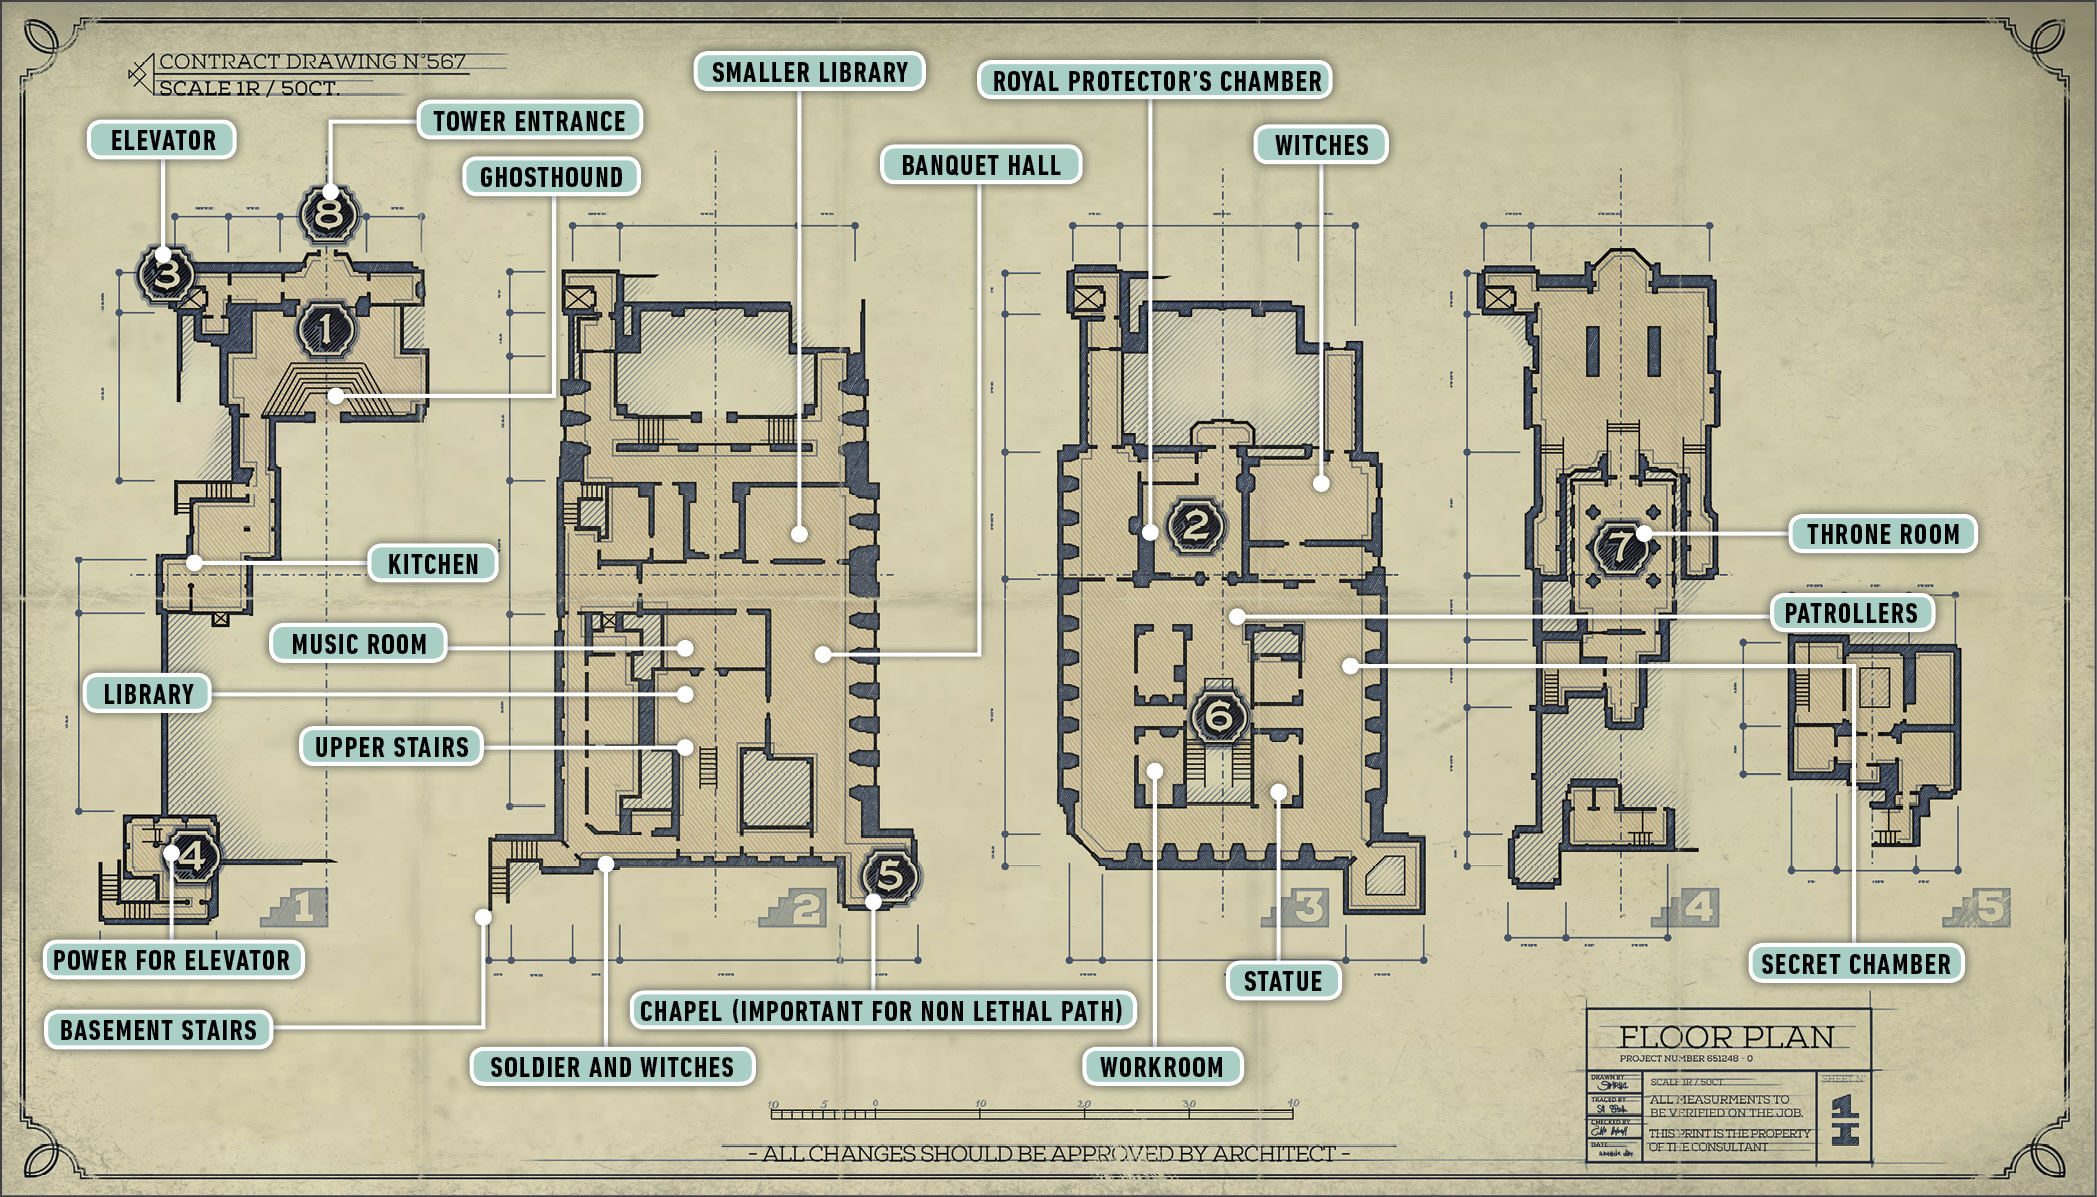
Search the Overseer Chapel
The first few rooms of the tower are somewhat quiet. Two Witches are to the left, in a room that doesn’t have anything you need. Far Reach forward, over some debris, to avoid their line of sight and to reach the main foyer. Use your Crossbow at range to kill a Gravehound skull near the dead Overseer ahead. With that down, loot both a Bonecharm and a Corrupt Bonecharm from the corpse.
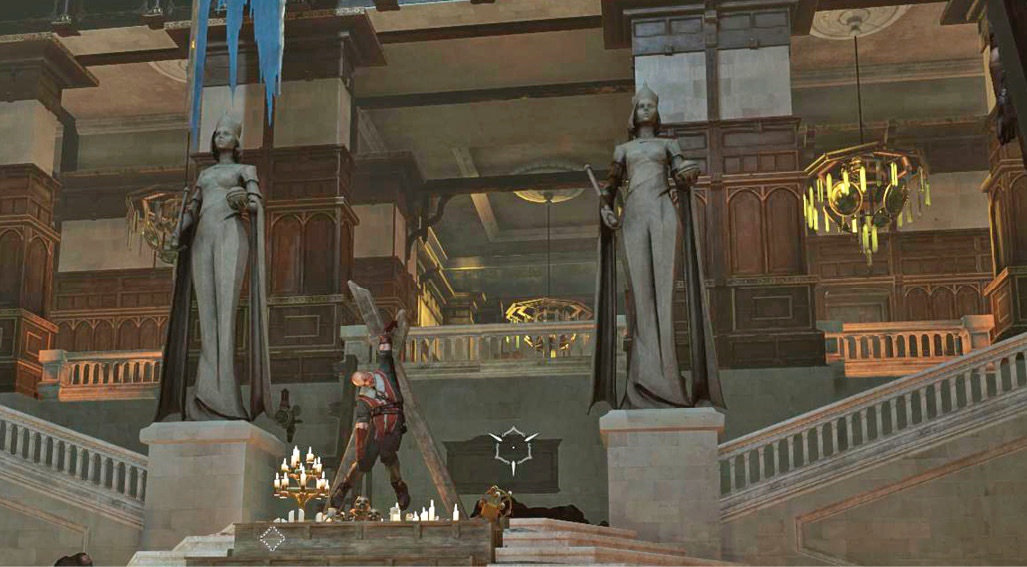
Climb the stairs at the back of the room and look for the only way forward that isn’t locked. A statue of Delilah is in the middle of the corridor, and you can talk to her if you like without being formally spotted. We suggest that you don’t interact with it at all.
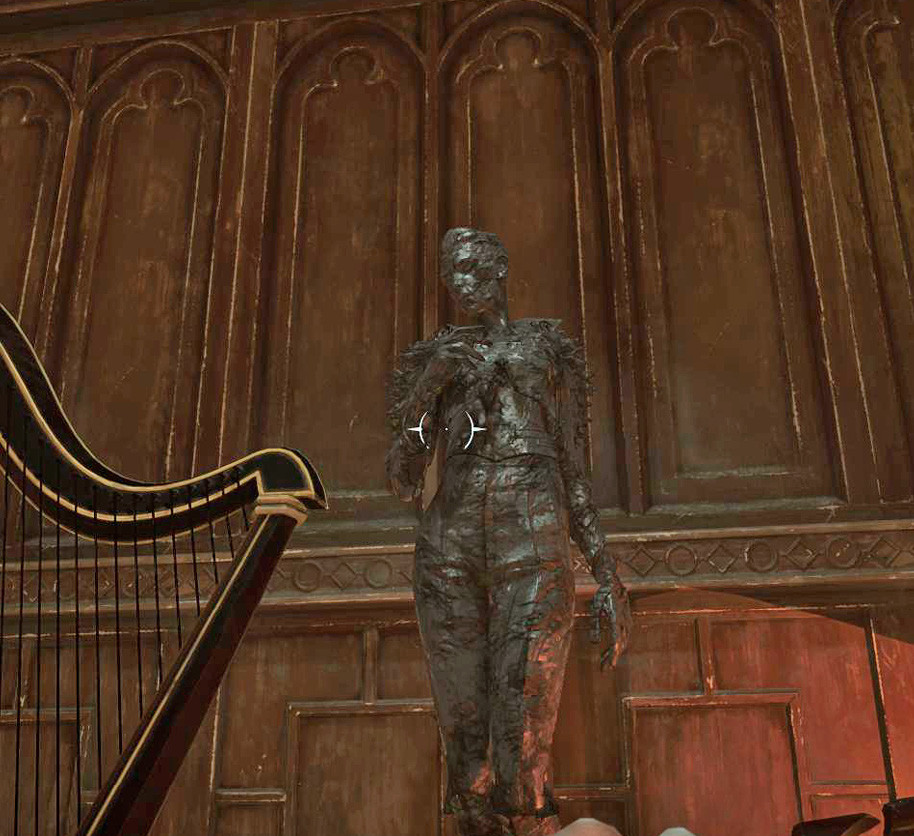
Sneak into the next hallway. The number of defenders starts to increase, so be on guard. Open the door almost directly ahead to find a music room. Another statue is there, if you’re feeling chatty. Again, say nothing if you want your confrontation with Delilah to be a bit easier when you two meet.
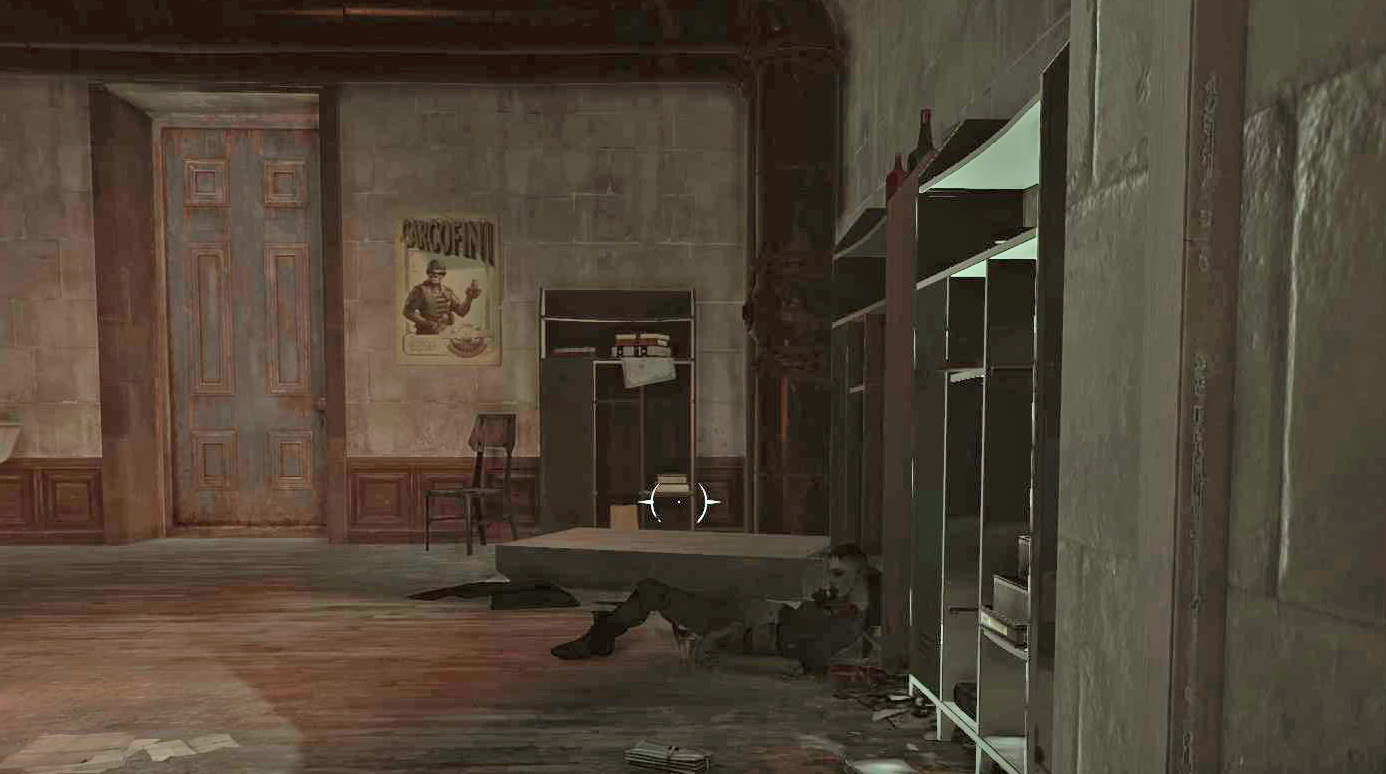
Back out and take the left side of the hallway. Another door is close by, along the other wall. Open it to explore a small library. You get a piece of Raw Whalebone for your efforts.
A banquet area lies ahead. Everyone there looks dead, but don’t approach. First off, a Clockwork Soldier watches the room. Second, Witches are sitting among the dead, eerily chilling out. This is not a safe room.
Instead, back off for now and go down the right side of the hallway. It ends in a door to the kitchen. Listen carefully for two Witches inside to finish their conversation. After they split up, only one remains in the room. Sleep Dart her, then go around the right corner quietly to knock out her partner.
Crawl through a window on the left side of the kitchen and head toward the corner of the building. Two Witches watch the outer hall, so it’s easier to stay inside the kitchen and pantry rooms while you advance.
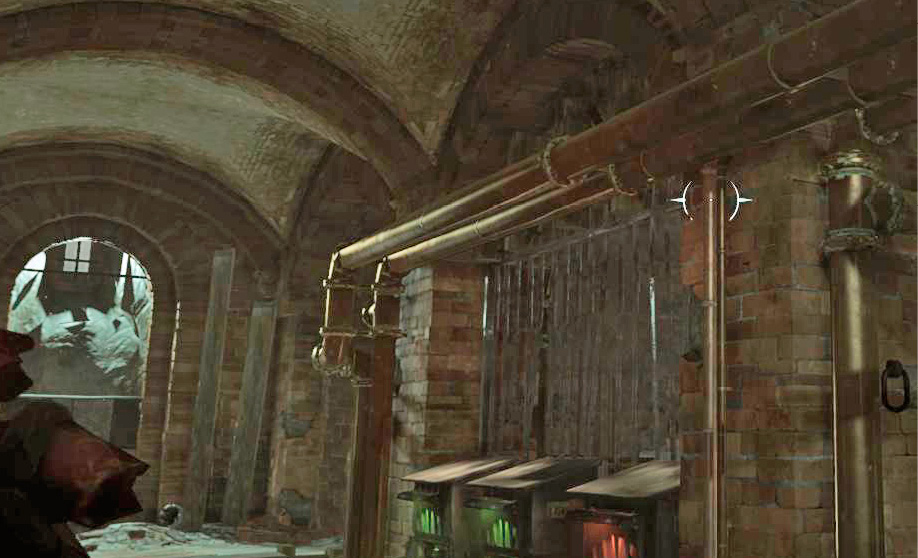
Use Shadow Walk to slip by the Witches and Clockwork Soldier by the corner, and use the stairs there to head down into a security room. Steal a Rune from the pipes overhead, near a series of Whale Oil receptacles.
While you’re down there, take an empty Whale Oil Tank from one corner and place it on a filling machine by the receptacles.
Use the lever on the right to fill the tank, and then load it into the only empty receptacle. This turns the power back on.
Two Witches come down to investigate, but they split up a little to do it. Use Shadow Walk again to bypass them (or to knock them out if you prefer). Get back upstairs and head toward the chapel in the other back corner of the building.
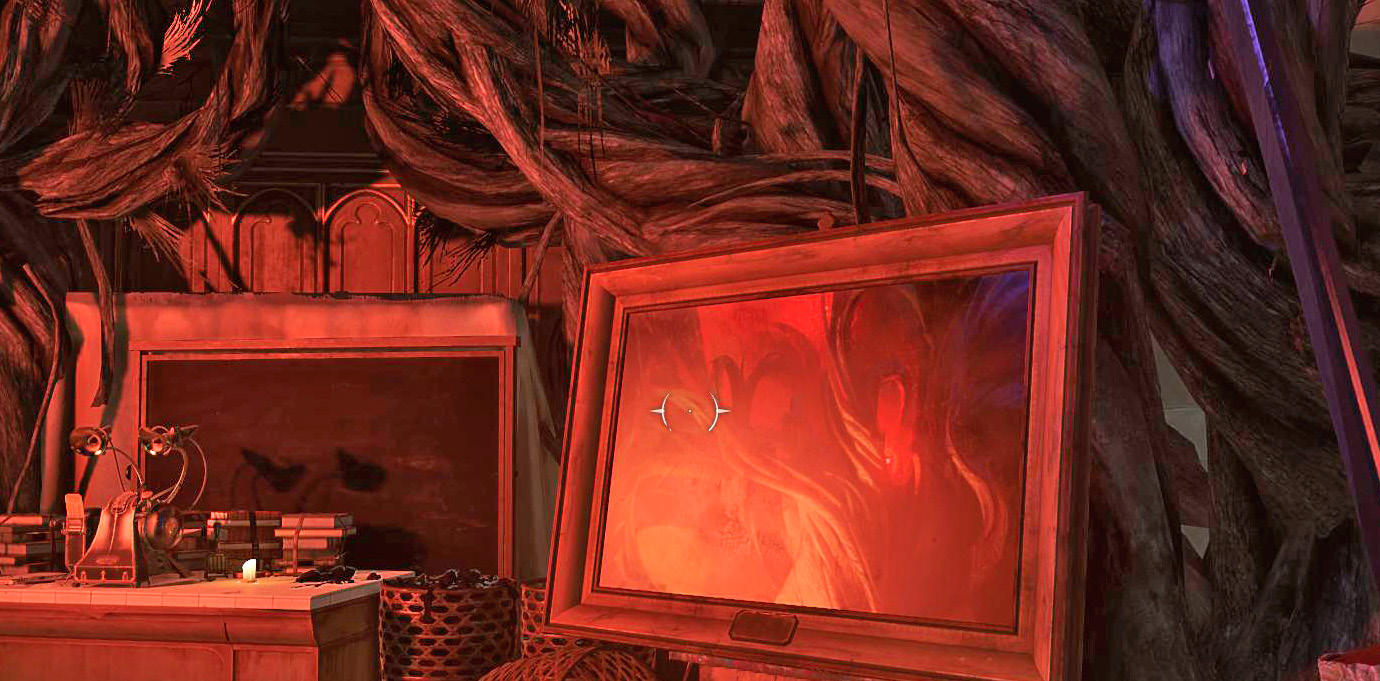
Listen to the Audiograph inside the chapel, read a Note next to it, and take two pieces of Dried Algae from the area. Pigments can be found in big bags on the left of the workshop. A Skull on the right is also required. When you have these items, interact with the workshop to place them there. Wait for a magical combining process to complete. When it does, pick up the Corrupt Rune that appears.
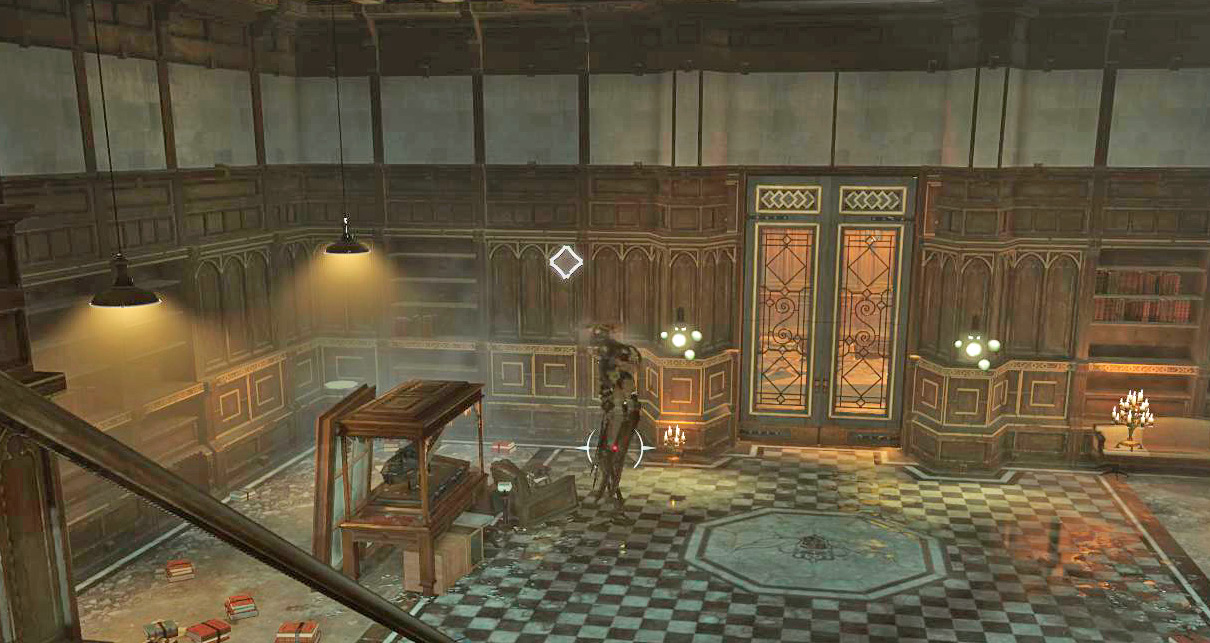
Get Two More Collectibles
Leave the chapel and enter the greater library, which is one room away along the hall. Sneak through to avoid the Clockwork Soldier on the first floor.
The top floor of the tower is extremely well-guarded. There are Witches in many rooms, and patrolling Gravehounds make it harder to hide and set up your attacks. Dangerous stuff. Turn left at the top of the stairs, and then pass through a tiny hallway. Use Dark Vision to avoid patrols, and enter the first room you can by turning left again. Knock out a Witch inside and gain a Bonecharm. On the other side of the stairs is a hidden room with the other Bonecharm. Enter by Far Reaching through an opening almost at ceiling level, from the tiny connecting corridor between the two hallways. The room also contains a survivor who has been hiding this entire time, so give him a few words of comfort before you leave.
Seek Delilah in the Throne Room
After collecting everything you want, head for the throne room. Turn right from the main doors and go through a tiny room to reach the elevator, which appears as your waypoint. It’s right next to the entrance you used to get into the tower.
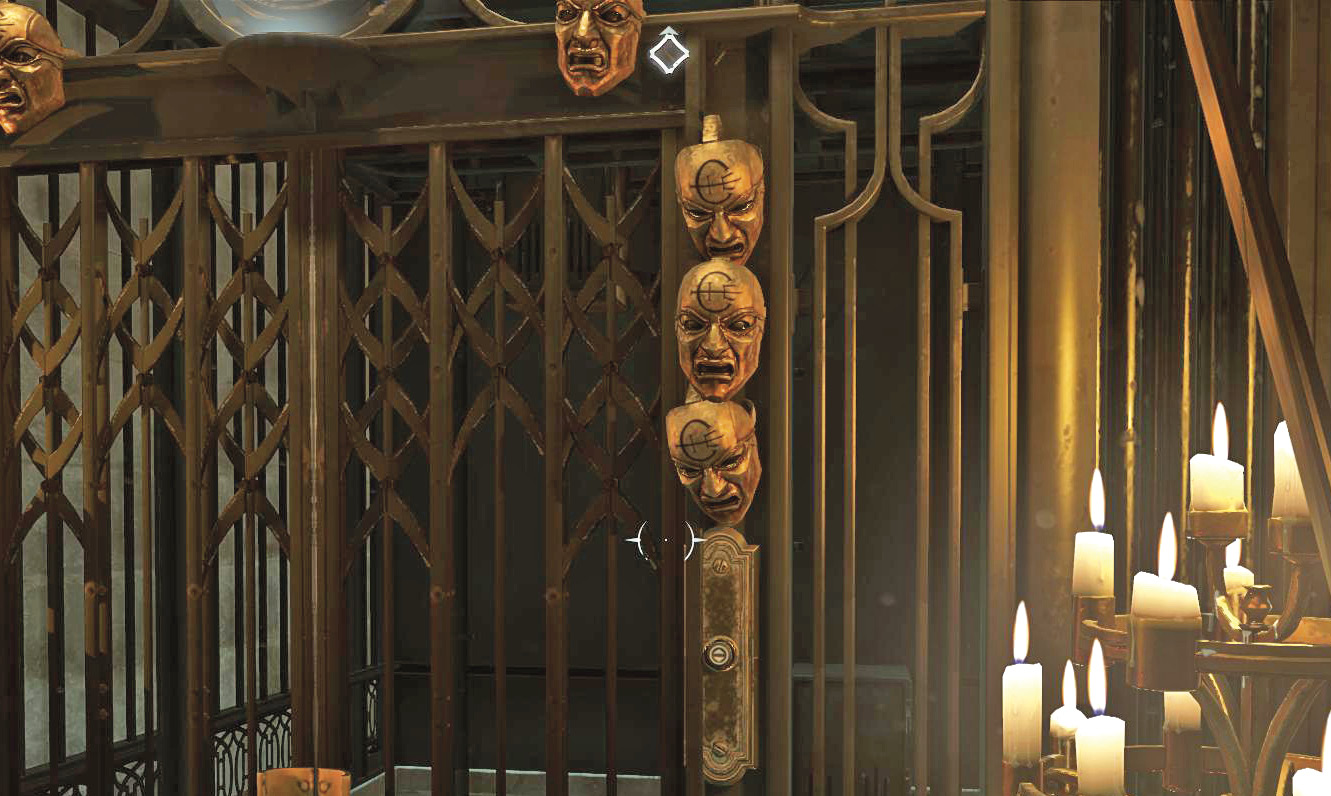
Ambush the Gravehound that rides down when you call the elevator, and then ride up to the throne room at the top of the tower. A door exits onto the rooftop, where you finish this once and for all.
Dunwall Tower Rooftop
Follow your waypoint into the throne room. Break the wooden boards at the entrance; Delilah is too busy painting and doesn’t hear you. However, if you talked to any of Delilah’s statues she’ll know that you are coming and will meet you directly. She is on her throne when you enter, and is protected by Gravehounds. For this reason, we suggested earlier that you avoid her statues.
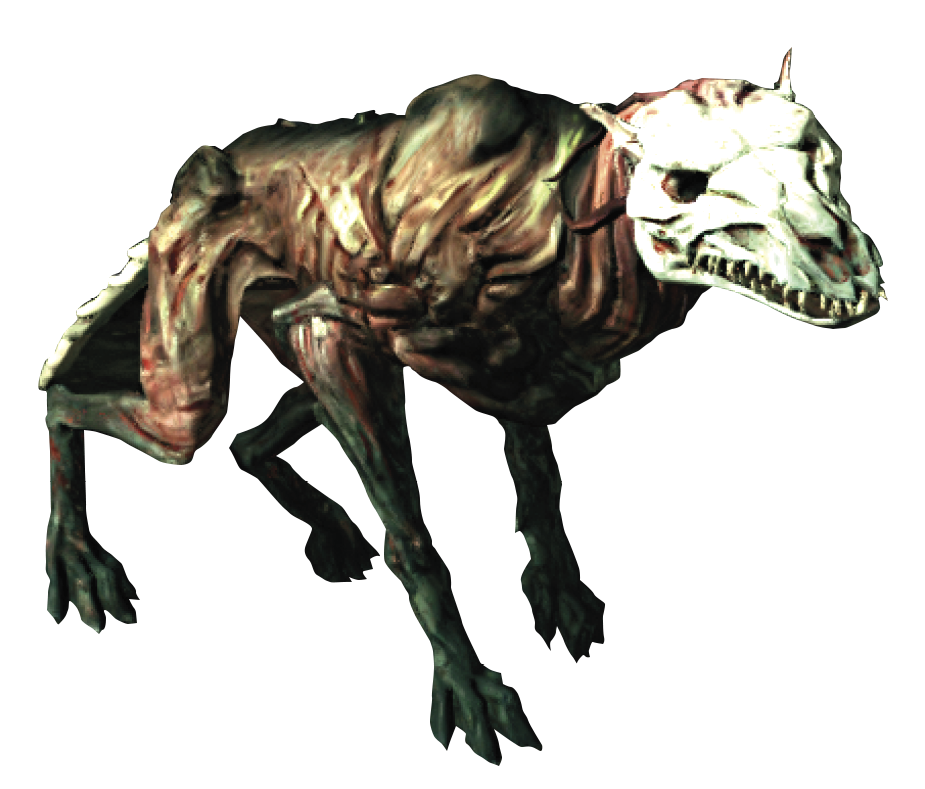
If you didn’t, use Crossbow attacks to stop the Gravehounds, and then use your Heart on Delilah as soon as you can.
Otherwise, sneak up on her and use the Heart against her while she’s busy. A cutscene plays, and she enters her painting. Do not follow yet. Approach the throne and use the Corrupt Rune you made to alter it. Enter the painting only after this is done.
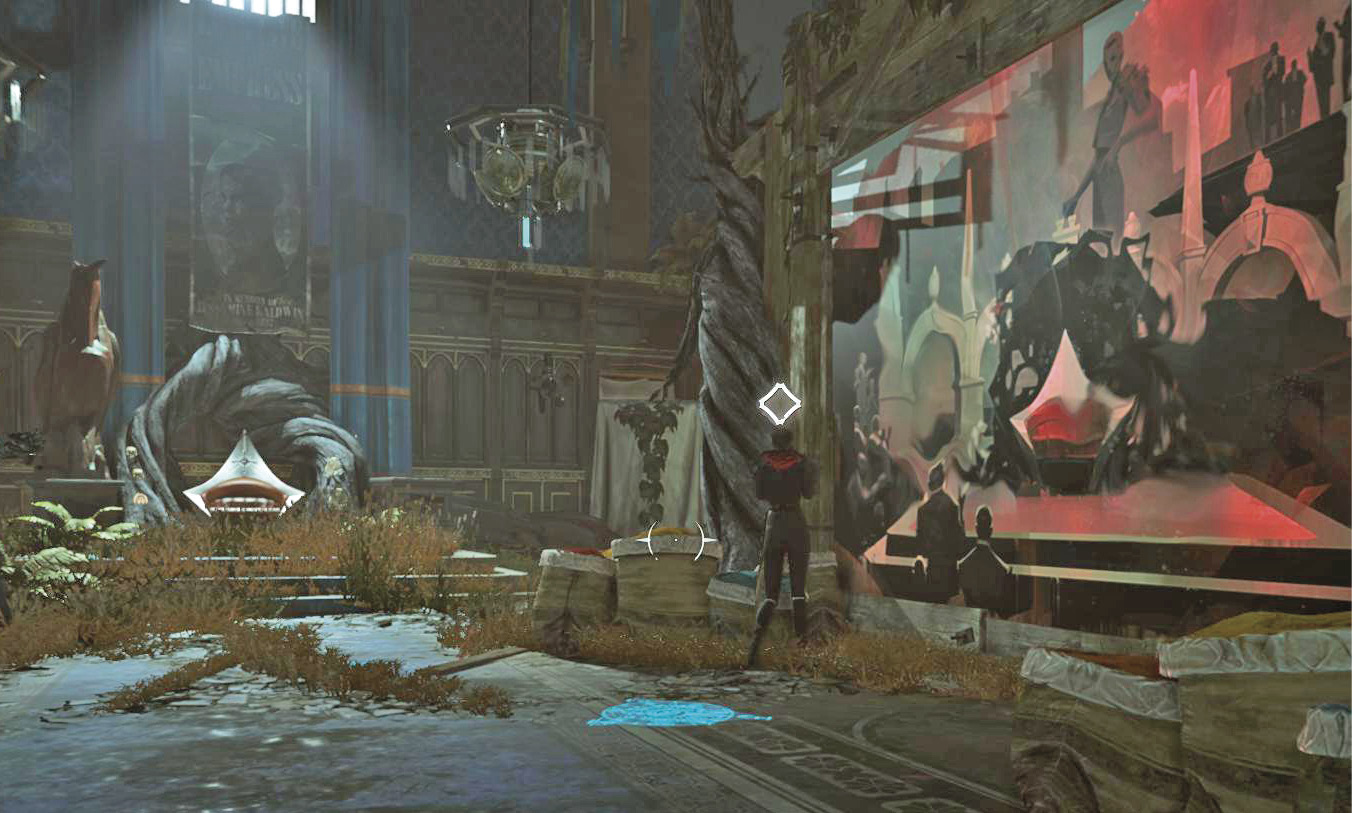
Many replicas are spread around the alternate version of the throne room. Sneak around the area and look for clusters of statues. Each group has a replica hidden inside. As long as you keep choking these replicas from behind, you avoid detection and eventually find the real Empress.
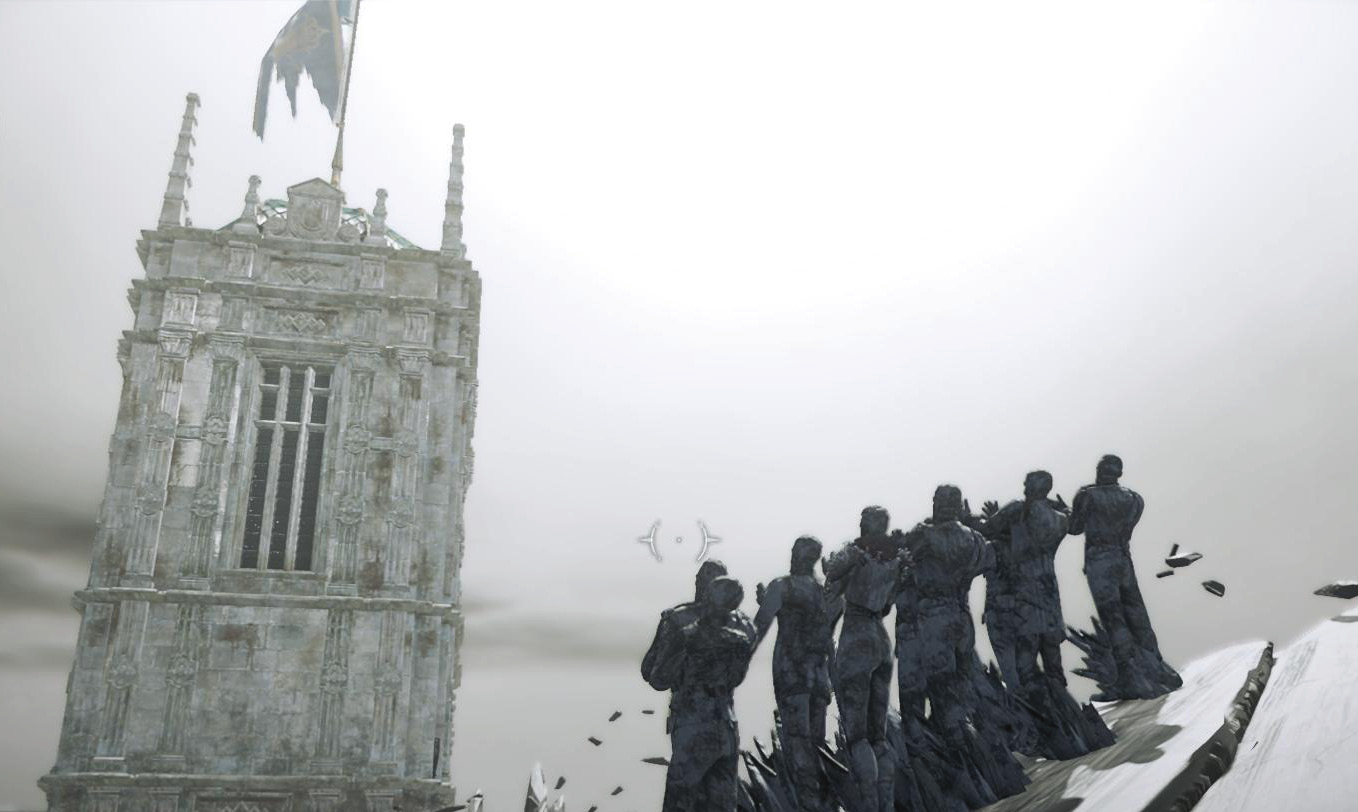
Your status updates as soon as you find the real Delilah and take her down. Lethal players will happily cut her throat and end everything, but you’ve followed your own methods this entire time. After she’s unconscious, carry her out of the painting and put her on Emily’s throne. Then interact with Corvo’s statue. This takes you through the end of the campaign.