
Deus Ex: Mankind Divided Guide Weapons and Consumables
Primary Weapons
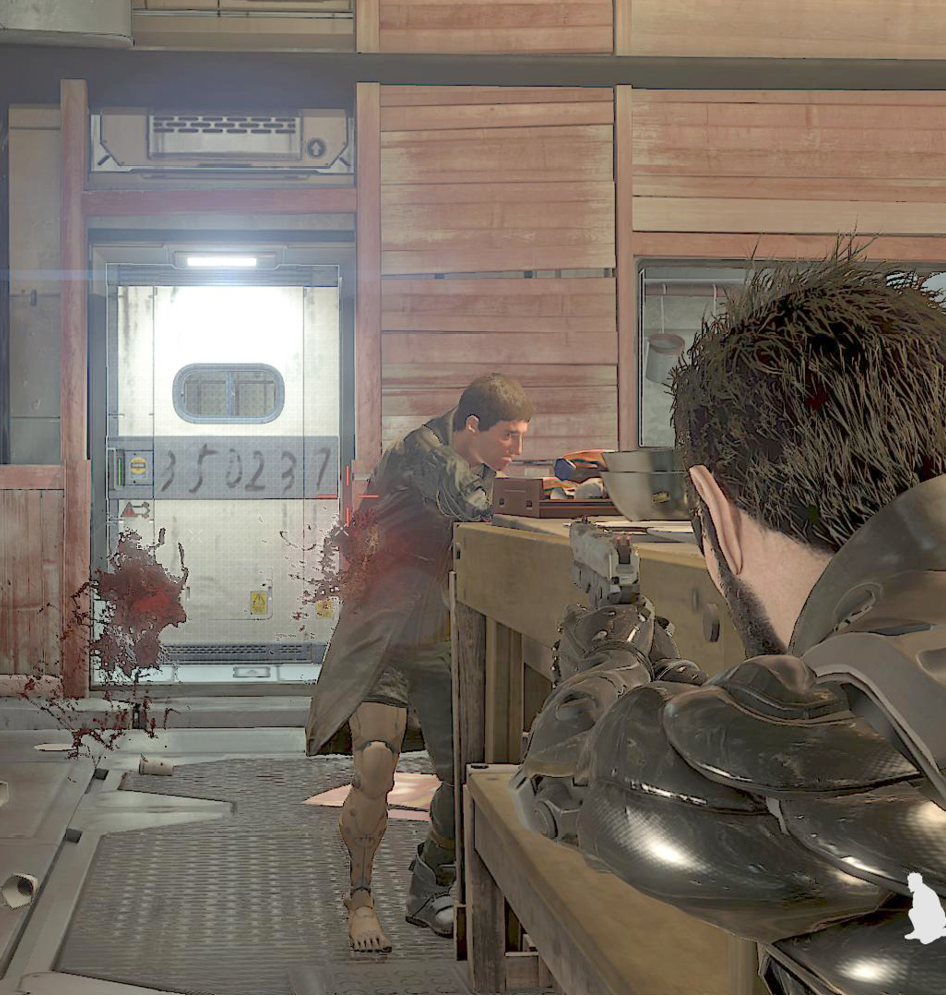
Pistol
Stats
| Category | Value |
|---|---|
|
Damage Output |
15 (30 Max) |
|
Ammo Capacity |
15 (38 Max) |
|
Rate of Fire |
25 (53 Max) |
|
Accuracy |
30 |
|
Recoil |
20 |
|
Reload Speed |
80 |
|
Mods |
Silencer, Laser, Full Auto |
The Pistol is a semi-automatic 10mm sidearm. It’s fairly accurate at close- or medium-range, and does enough damage to be effective against non-armored targets. Aim for headshots and bring your victims down quickly. Though weak on damage when silenced, this is a good weapon for assassinating unaware targets due to its low ammo costs and ease of use.
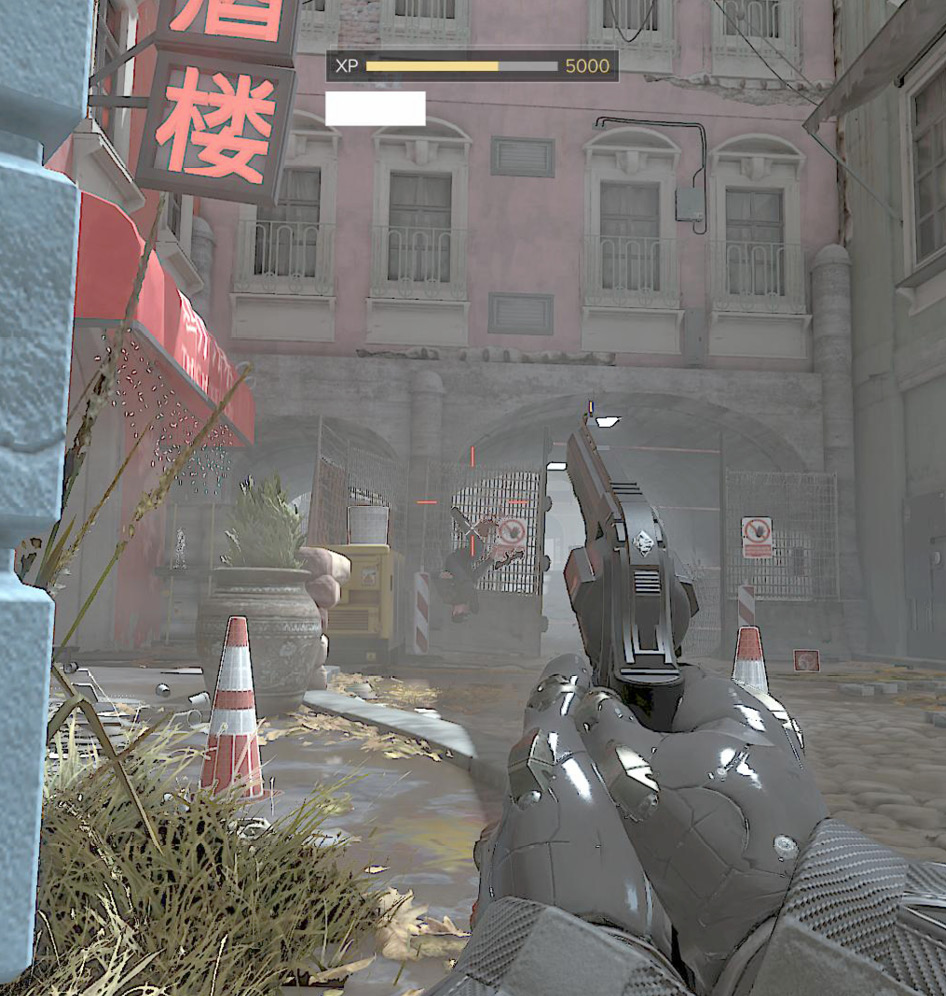
Revolver
Stats
| Category | Value |
|---|---|
|
Damage Output |
50 (65 Max) |
|
Ammo Capacity |
6 (12 Max) |
|
Rate of Fire |
25 (43 Max) |
|
Accuracy |
75 |
|
Recoil |
50 |
|
Reload Speed |
40 |
|
Mods |
Laser, Hair Trigger (+30 Rate of Fire) |
The Revolver is much harder hitting than the Pistol. It does substantial damage and has very high accuracy as long as you fire slowly and carefully or use it at close- or medium-range. This is a good weapon to turn to when you need to take out armored enemies and other heavy targets. This thing hits like a Shotgun, but fires faster once you get the Hair Trigger upgrade installed on it.
You don’t find ammo for the Revolver very often. This means that you have to resupply when you’re in town, so it’s an expensive weapon to maintain.
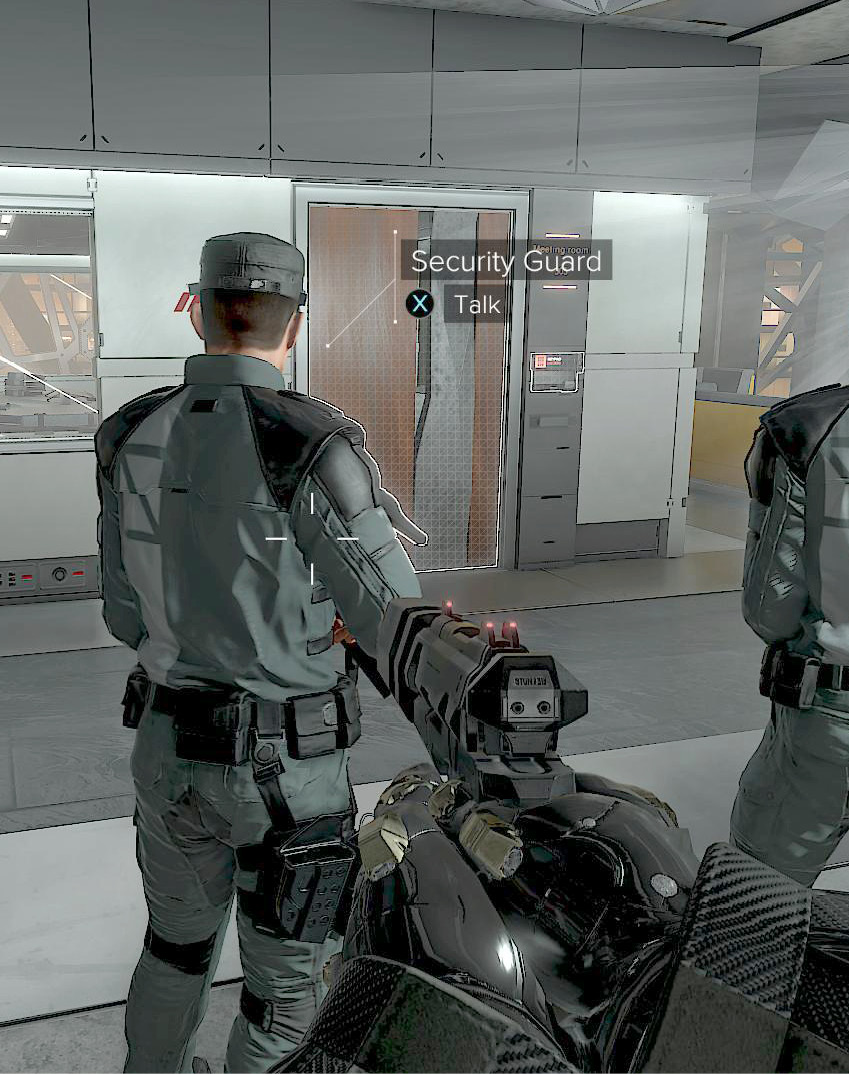
Stun Gun
Stats
| Category | Value |
|---|---|
|
Damage Output |
15 (15 Max) |
|
Ammo Capacity |
5 (14 Max) |
|
Rate of Fire |
11 (11 Max) |
|
Accuracy |
30 |
|
Recoil |
20 |
|
Reload Speed |
80 |
|
Mods |
Laser |
The Stun Gun serves a role as a non-lethal ranged weapon. It can’t fire very far, but it quickly disables most targets when you hit your victims. Carry this if you’re interested in non-lethal runs and want to have something ready while your energy is regenerating. That way, you can Takedown one target and still fight back if someone else appears before you’re ready for another Takedown.
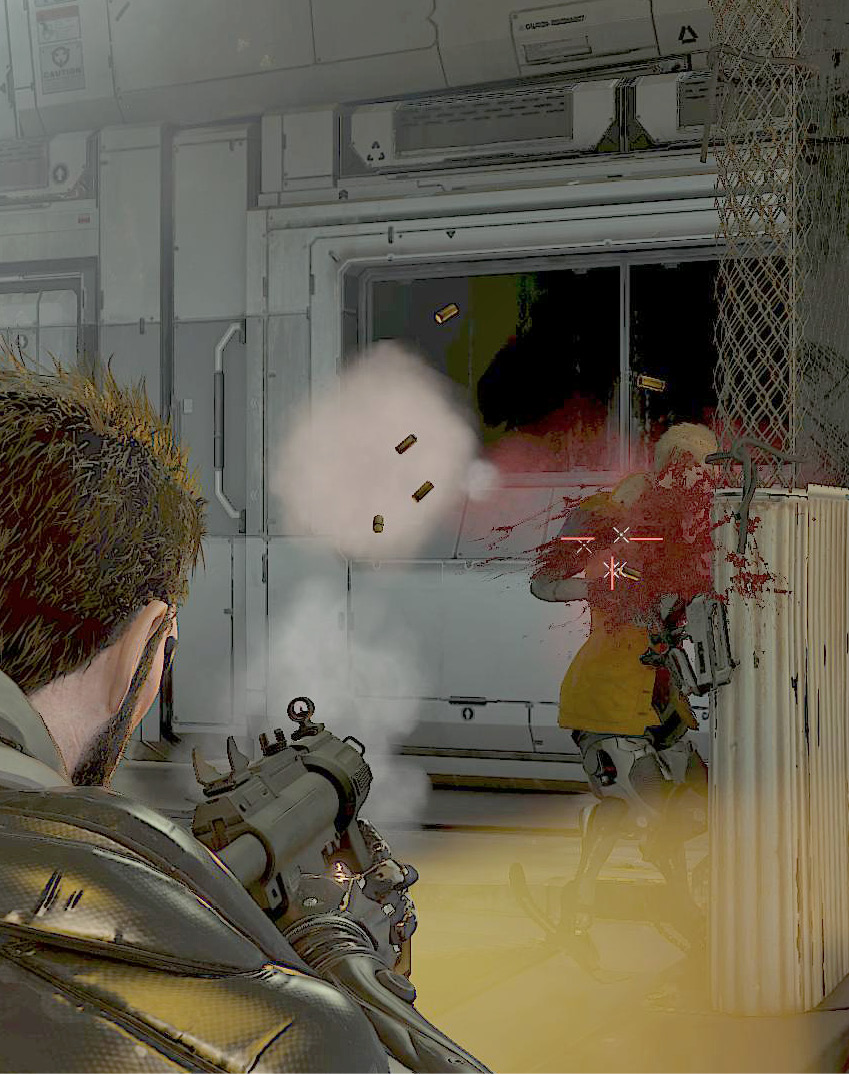
Machine Pistol
Stats
| Category | Value |
|---|---|
|
Damage Output |
20 (35 Max) |
|
Ammo Capacity |
30 (60 Max) |
|
Rate of Fire |
80 (89 Max) |
|
Accuracy |
40 |
|
Recoil |
40 |
|
Reload Speed |
65 |
|
Mods |
Silencer, Holosight, Laser, Full Auto |
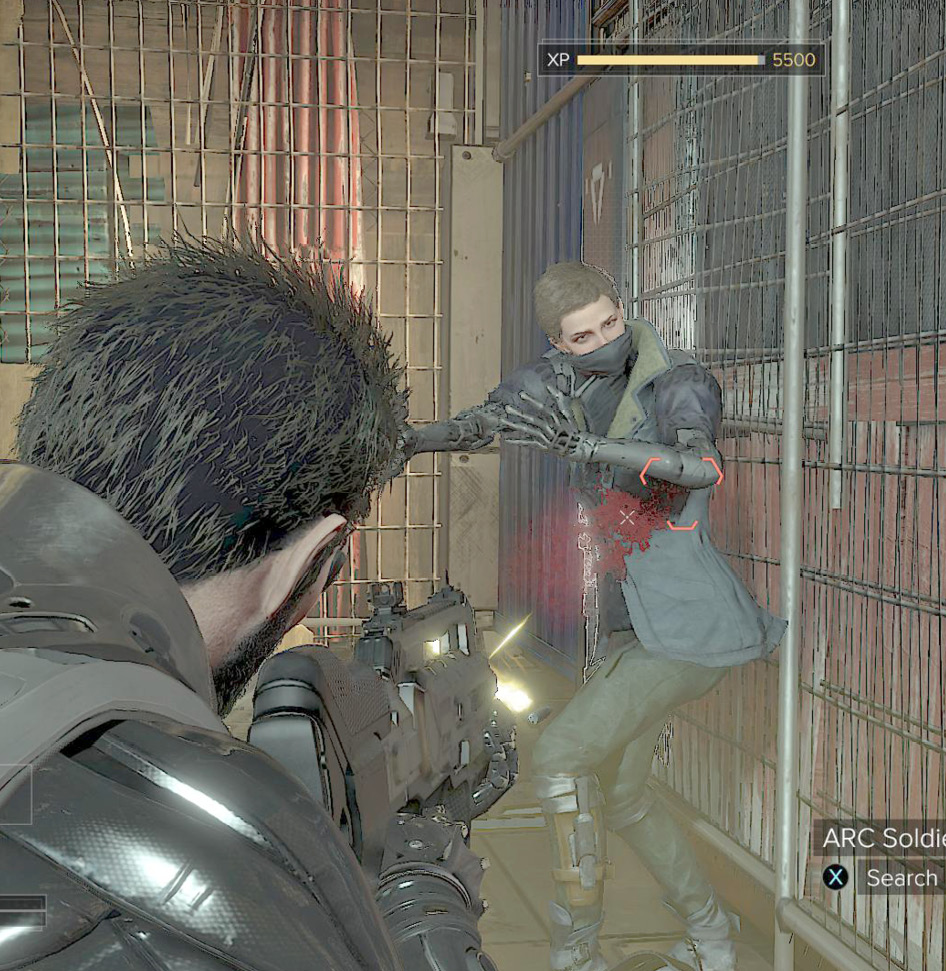
The Machine Pistol is one of the weaker weapons in the game. It’s used by many of the lesser guards and thugs, so ammo is plentifully available for it. However, the low damage and accuracy of the weapon prevent it from being useful except when you need to spray down an area. Precision is out the window, so burn through your ammo without concern, blow down a few unarmored enemies, and then drop or sell the Machine Pistol when you run out of ammo.
Combat Rifle
Stats
| Category | Value |
|---|---|
|
Damage Output |
35 (50 Max) |
|
Ammo Capacity |
30 (48 Max) |
|
Rate of Fire |
60 (72 Max) |
|
Accuracy |
55 |
|
Recoil |
40 |
|
Reload Speed |
50 |
|
Mods |
Silencer, Holosight, Scope, Laser, Semi Auto |
Combat Rifles are common weapons in the game. They’re a staple of security forces, police, and criminals. Sporting decent damage and good stats, they’re a go-to under a wide range of circumstances. Use these most often at medium range to dominate most other weapons. Battle/Sniper Rifles are superior at long range. Shotguns and Pistols have advantages up close. Nothing beats Combat Rifles for the middle. Stay behind cover, pop out for bursts against incoming enemies, and search bodies for ammo. Unless you’re trying for zero fatalities, it’s always wise to have a Combat Rifle in your inventory.
We suggest that you purchase the Semi Auto upgrade for these weapons. You save so much ammo from this, and your accuracy is outstanding if you only fire single shots. Get this, upgrade your damage, and watch the Combat Rifle become almost as effective as a Battle Rifle.
Battle Rifle
Stats
| Category | Value |
|---|---|
|
Damage Output |
60 (75 Max) |
|
Ammo Capacity |
10 (10 Max) |
|
Rate of Fire |
10 (25 Max) |
|
Accuracy |
80 |
|
Recoil |
60 |
|
Reload Speed |
70 |
|
Mods |
Holosight, Scope, Laser |
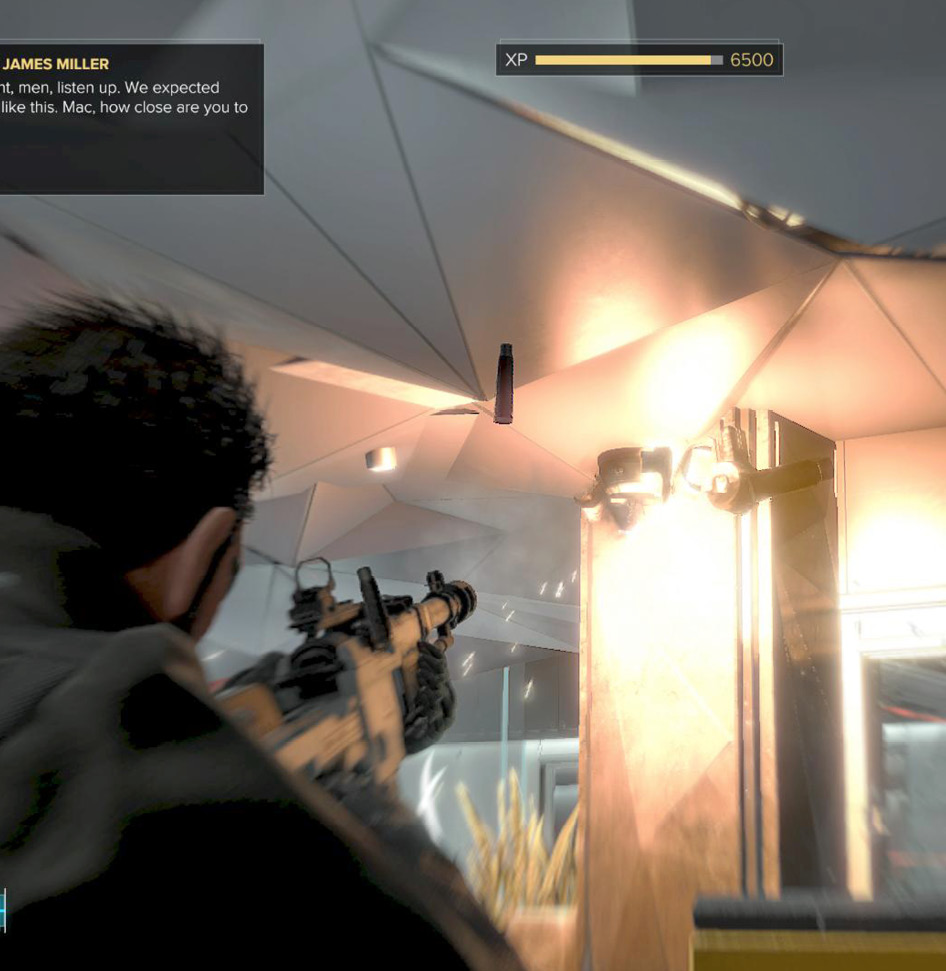
Battle Rifles are high-end weapons that are good at medium- and long-range combat. They do impressive damage and can kill almost any enemy quickly. You get the most out of Battle Rifles when you slap a Holosight and Laser on them. Upgrade your damage and rate of fire, and then you’re in heaven—or your enemies are. Scopes are better for combat at max range, but the Holosight gives you flexibility even when enemies start to close the gap toward your position.
Ammo for Battle Rifles is uncommon, but it’s not as bad as Sniper Rifles. Just remember to stock up a little when you’re in Prague so that you have a good supply ready to go when you’re deep in a mission.
Sniper Rifle
Stats
| Category | Value |
|---|---|
|
Damage Output |
70 (85 Max) |
|
Ammo Capacity |
5 (11 Max) |
|
Rate of Fire |
12 (21 Max) |
|
Accuracy |
85 |
|
Recoil |
65 |
|
Reload Speed |
40 |
|
Mods |
Laser |
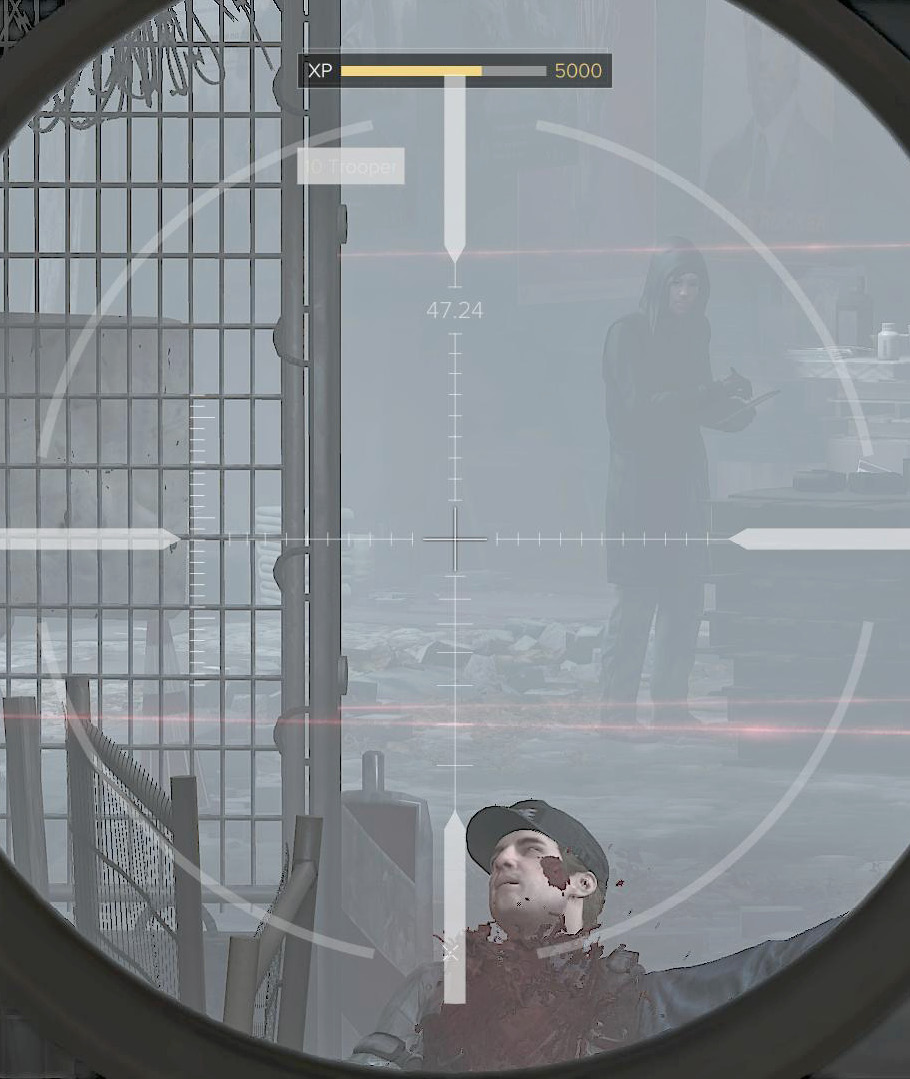
The Sniper Rifle is your usual weapon for long-range assassination attacks. While the Battle Rifle can be used in this role, that weapon is also good at taking out targets in a protracted skirmish. The Sniper Rifle starts fights, but shouldn’t be used if any targets survive and start to dodge, close on your position, and so forth.
One tactic is to fire on distant enemies, get a few kills, and then back up to a safe spot without being in your enemies’ line of sight. Switch to a Shotgun, and then ambush oncoming foes as they come around the corner.
Lancer Rifle
Stats
| Category | Value |
|---|---|
|
Damage Output |
85 (100 Max) |
|
Ammo Capacity |
3 (3 Max) |
|
Rate of Fire |
5 (5 Max) |
|
Accuracy |
100 |
|
Recoil |
60 |
|
Reload Speed |
60 |
|
Mods |
Silencer |
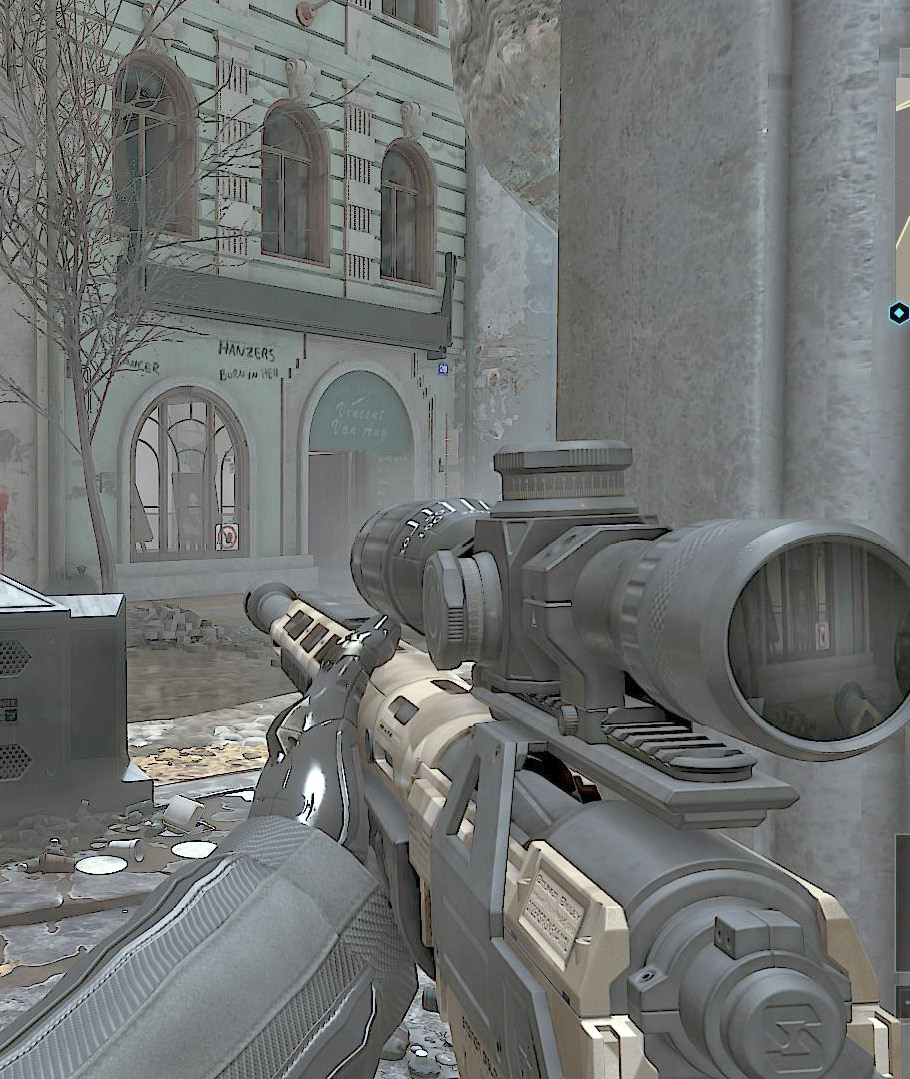
You won’t find Lancer Rifles very often; they’re ultra high-end Sniper Rifles. With maximum lethality, they are the ultimate choice for popping heads. Zoom in at long range against unwary targets, and kill them with a single shot. Only extremely well armored enemies have any chance to return fire.
Make sure to switch to a close quarters weapon after you finish sniping. The Lancer Rifle has no place in short-range or even medium-range combat. To give yourself more time to snipe safely, consider a Silencer for the Lancer. Though this reduces its damage to 60, you still get one-shot kills much of the time, and your enemies won’t realize that anything is attacking them until someone stumbles into all of the bodies.
Tactical Shotgun
Stats
| Category | Value |
|---|---|
|
Damage Output |
70 (85 Max) |
|
Ammo Capacity |
6 (12 Max) |
|
Rate of Fire |
33 (51 Max) |
|
Accuracy |
30 |
|
Recoil |
40 |
|
Reload Speed |
70 |
|
Mods |
Silencer, Laser, Burst Fire |
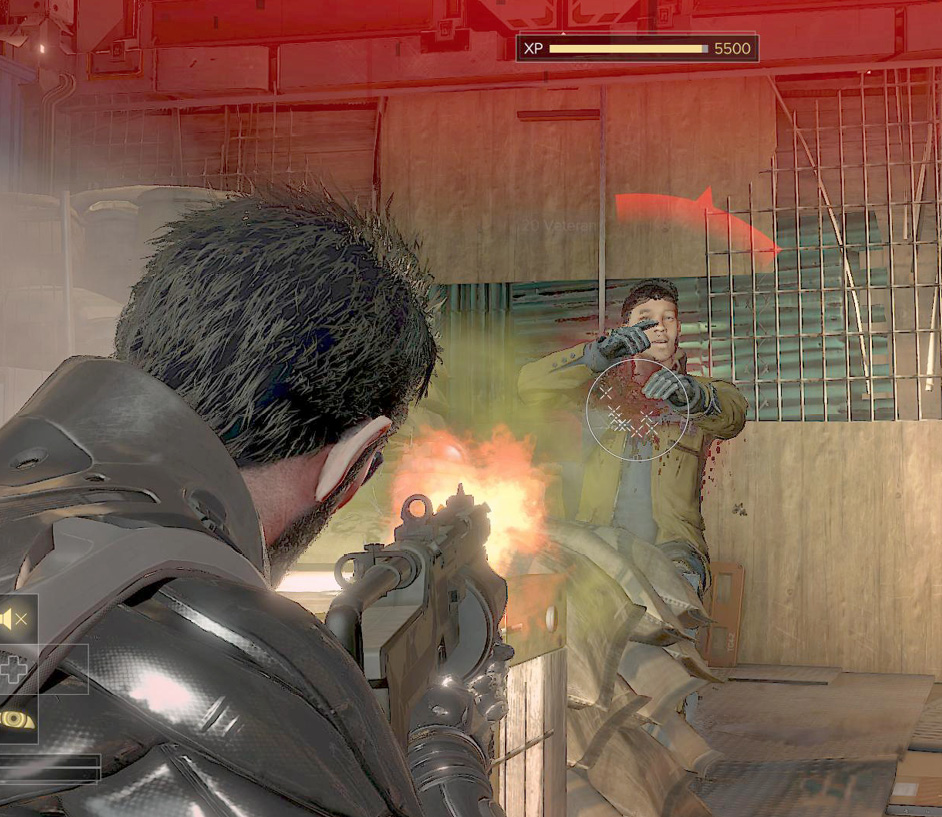
The Tactical Shotgun lacks range and threat against distant targets, but it’s a nightmare up close. You have to watch out for anyone carrying one of these. People who run right up to Jensen during a fight are usually wielding a Shotgun, and they’ll kill you in a shot or two if you’re not prepared. Use Takedowns to stop them if you can’t shoot the enemies during their charge.
In your hands, Tactical Shotguns are just as deadly. Headshots are wonderful, but they’re not a requirement. Many of your adversaries die outright if they take a blast to the upper body. The stopping power of these weapons is high enough that they even damage, stagger, and eventually kill foes in Exo Suits (normally the type of targets that you don’t want to mess with).
Always upgrade your damage output as soon as possible. Once that’s done, your Tactical Shotgun hits like a freaking Sniper Rifle, except it’s easier to aim. Stay around a corner, shoot from cover, and laugh at anyone who thinks they’ll survive against you.
Devastator Shotgun
Stats
| Category | Value |
|---|---|
|
Damage Output |
70 (85 Max) |
|
Ammo Capacity |
32 (32 Max) |
|
Rate of Fire |
50 (50 Max) |
|
Accuracy |
40 |
|
Recoil |
50 |
|
Reload Speed |
30 |
|
Mods |
None |
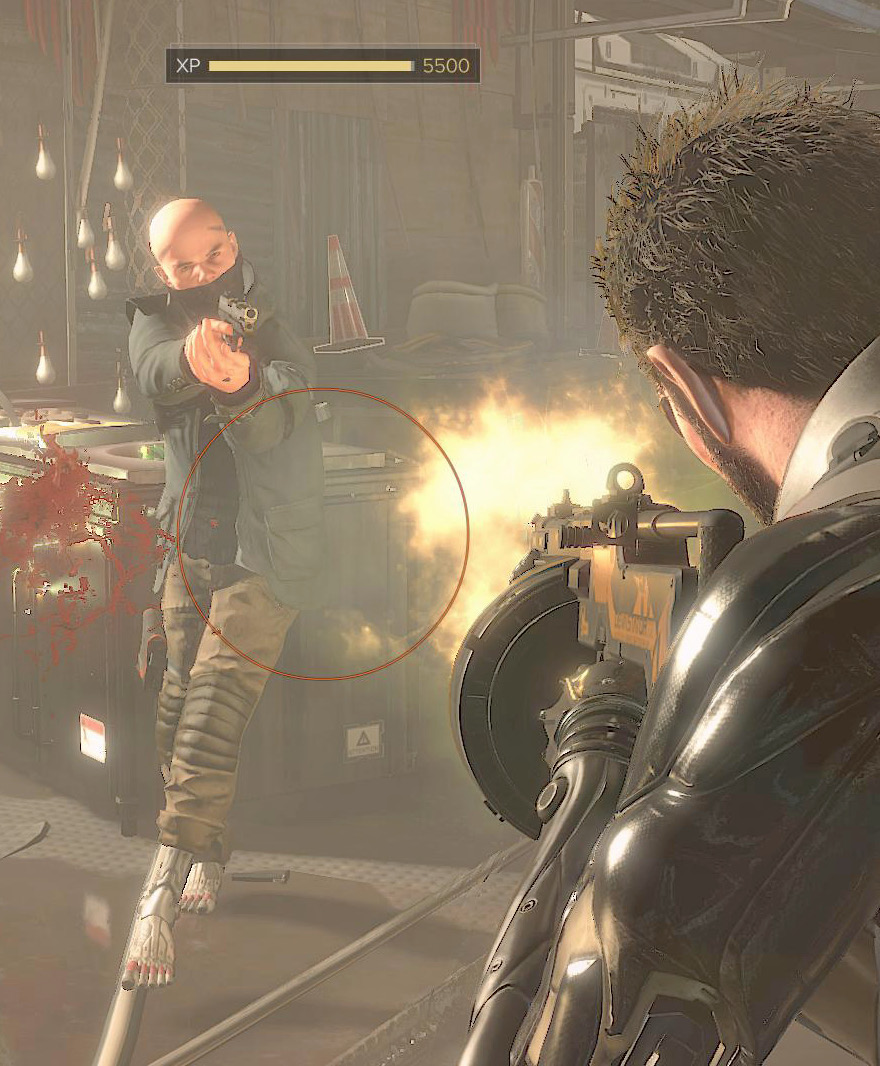
There aren’t many Devastators in this game, but if you search carefully you’ll find them here and there. These weapons operate like Tactical Shotguns, but their ludicrous ammo supply and fast reload speed mean that you can overpower everything just by throwing your ammo at them. Save these for big fights against the scariest enemies (Exo Suits, large groups, etc.).
Tranquilizer Rifle
Stats
| Category | Value |
|---|---|
|
Damage Output |
50 (50 Max) |
|
Ammo Capacity |
6 (12 Max) |
|
Rate of Fire |
20 (20 Max) |
|
Accuracy |
81 |
|
Recoil |
30 |
|
Reload Speed |
45 |
|
Mods |
Laser |
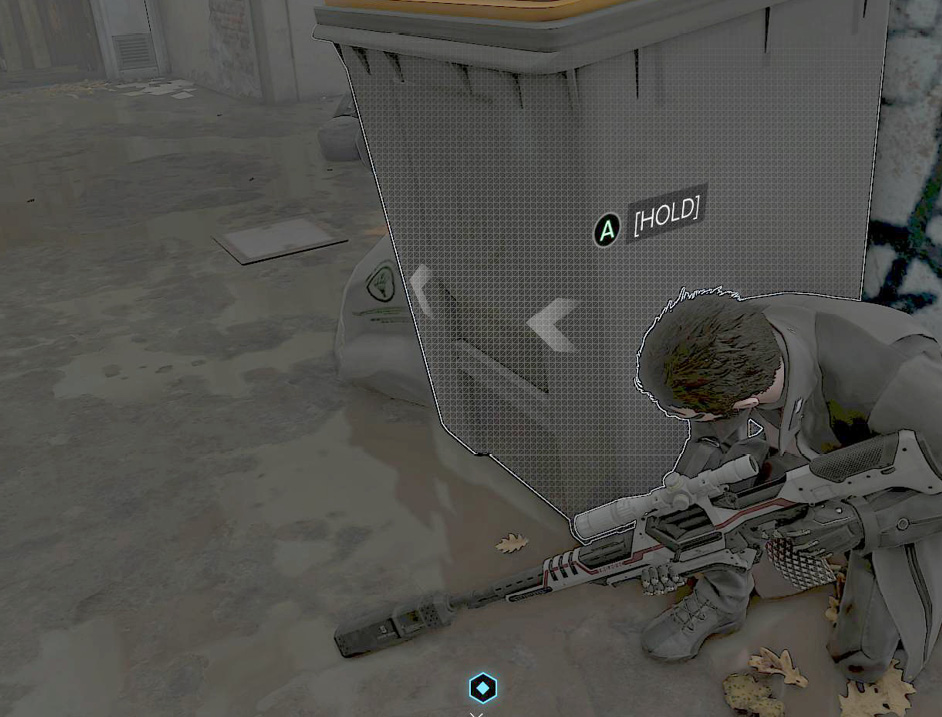
The Tranquilizer Rifle is probably the number one weapon for every stealth player out there. The Tesla augmentation is also great and Stun Guns fill a niche, but the Tranq Rifle can do things that are very hard to achieve by any other means.
With this rifle, you get long range, high accuracy, and a non-lethal attack. Plus, you can start the game with one of them, making it a staple of non-lethal playthroughs. Ammo is somewhat scarce, but you can buy more in Prague to ensure that you don’t run out.
Despite being non-lethal, you still want headshots every time. It takes way longer to drop someone from a body attack. They can still spot you during that time, risking your Ghost/Smooth Operator status. That’s why it’s important to use cover, get those headshots, and hide while your victims drop.
Extra attacks with the rifle speed boost the tranquilizing process, but this is often a waste of ammunition. Instead, use your time to set up your attack on any other guards who have a chance of seeing their buddy drop.
Grenade Launcher
Stats
| Category | Value |
|---|---|
|
Damage Output |
80 (80 Max) |
|
Ammo Capacity |
6 (6 Max) |
|
Rate of Fire |
40 (40 Max) |
|
Accuracy |
60 |
|
Recoil |
35 |
|
Reload Speed |
20 |
|
Mods |
None |
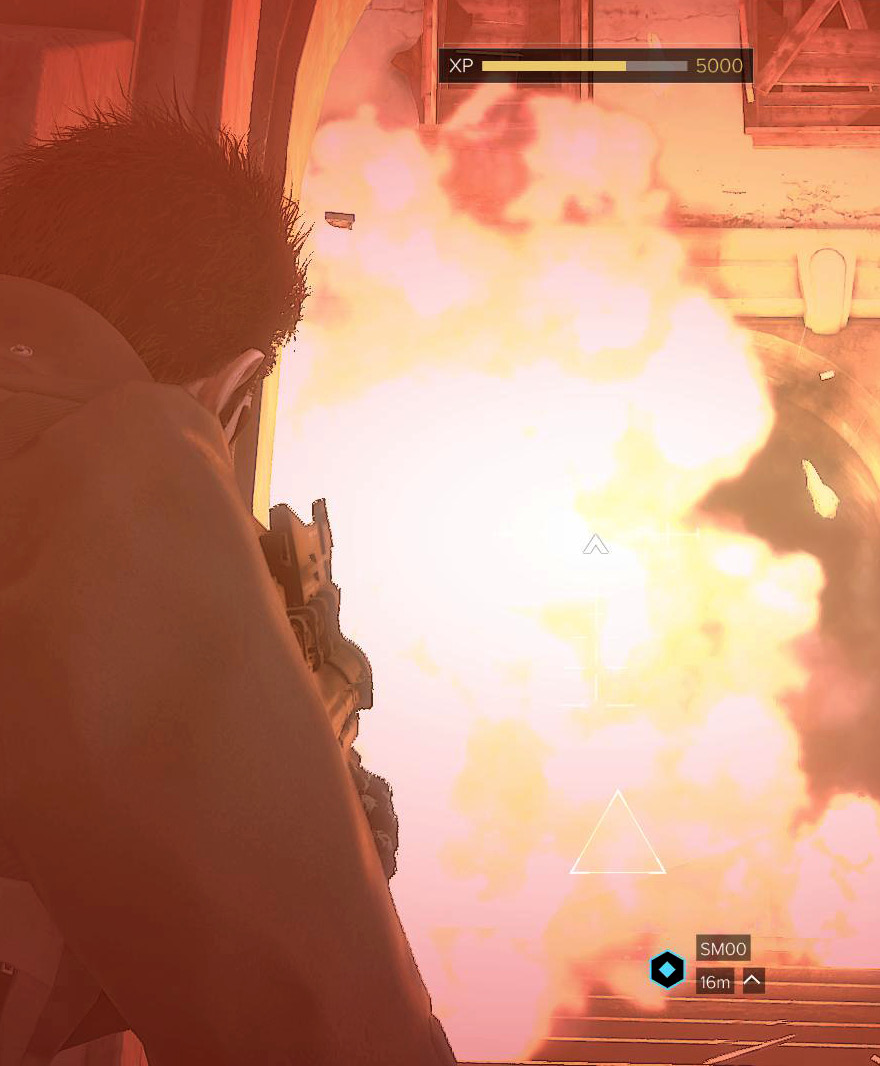
Grenade Launchers appear in the late game. They can fire all types of standard grenades (except for Smoke). Thus, you can disable or kill most targets with considerable speed when you use these heavy weapons. There’s nothing quiet about your options here, but at least you effectively get a pile of free grenades when you find one.