
Deus Ex: Mankind Divided Guide Story Missions GARM Facility
GARM
Get Inside
Objectives
|
Find the entrance to the facility |
Overview
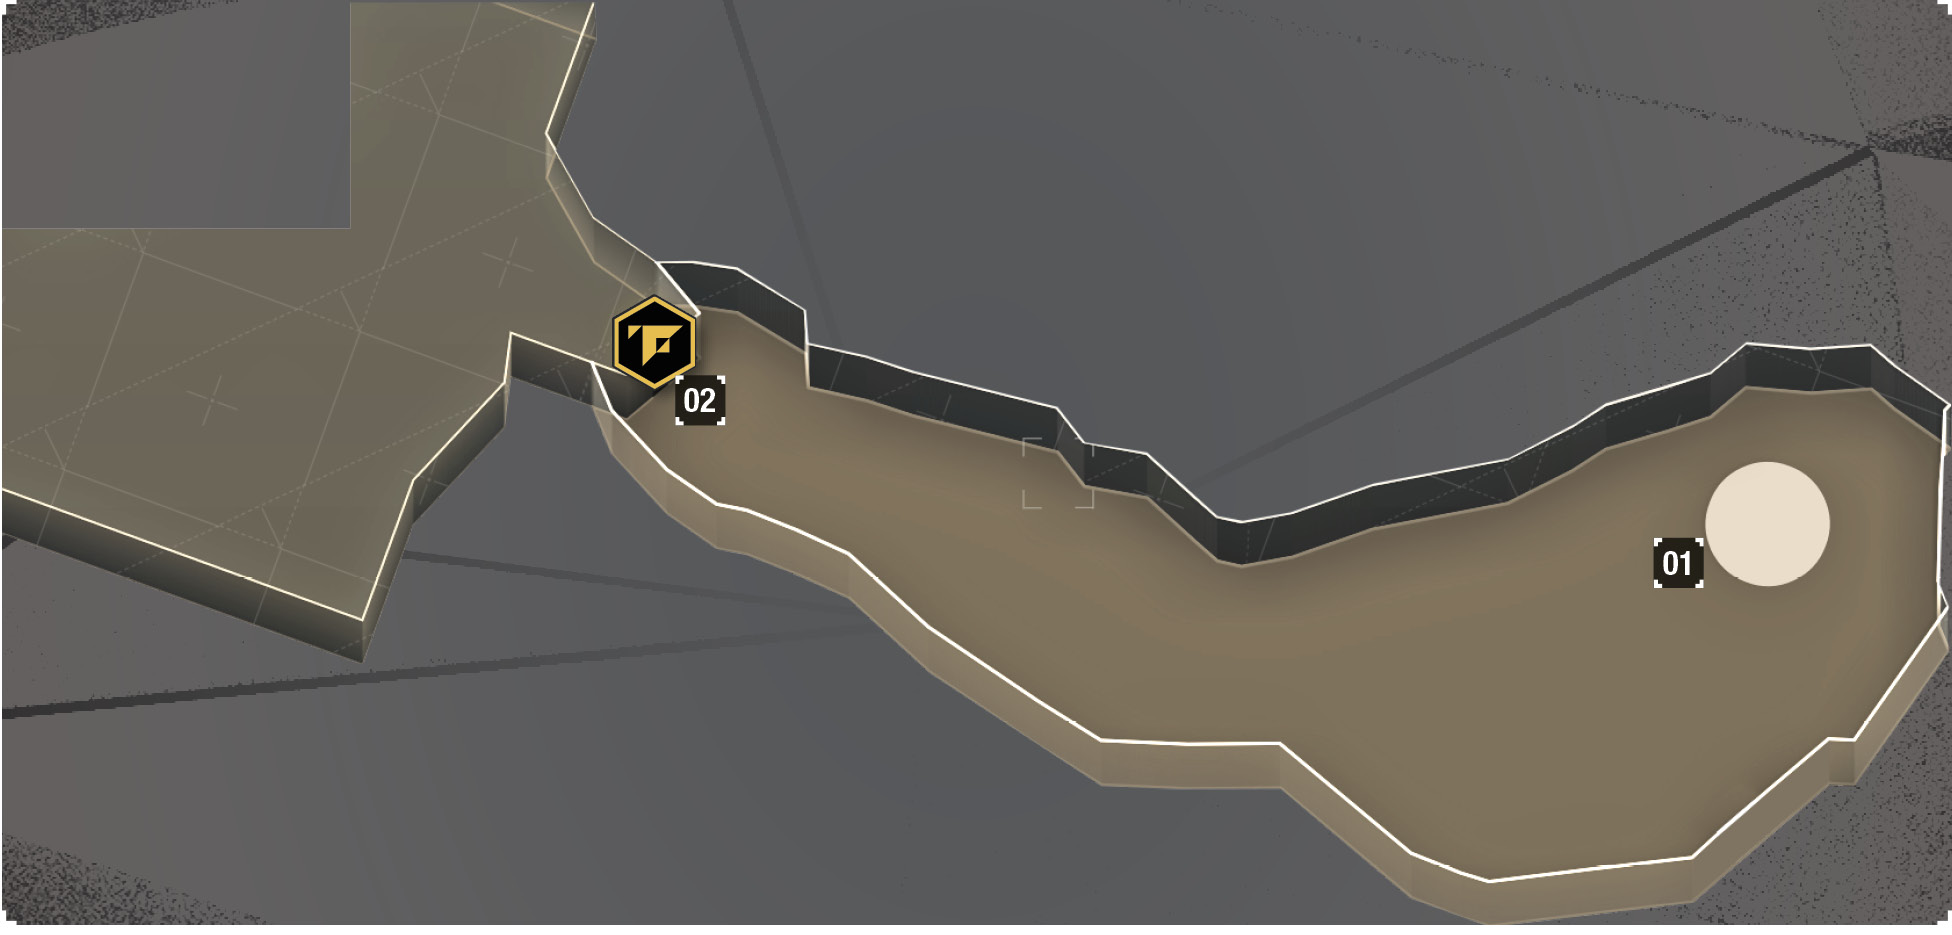
Map Legend
|
01: Entry |
|
02: Facility entrance |
Approach the door on the western side of the map. There isn’t anything to do yet, except try to get inside. Hack the door, and then watch the cutscene that triggers.
Escape
Objectives
|
Leave GARM |
Overview
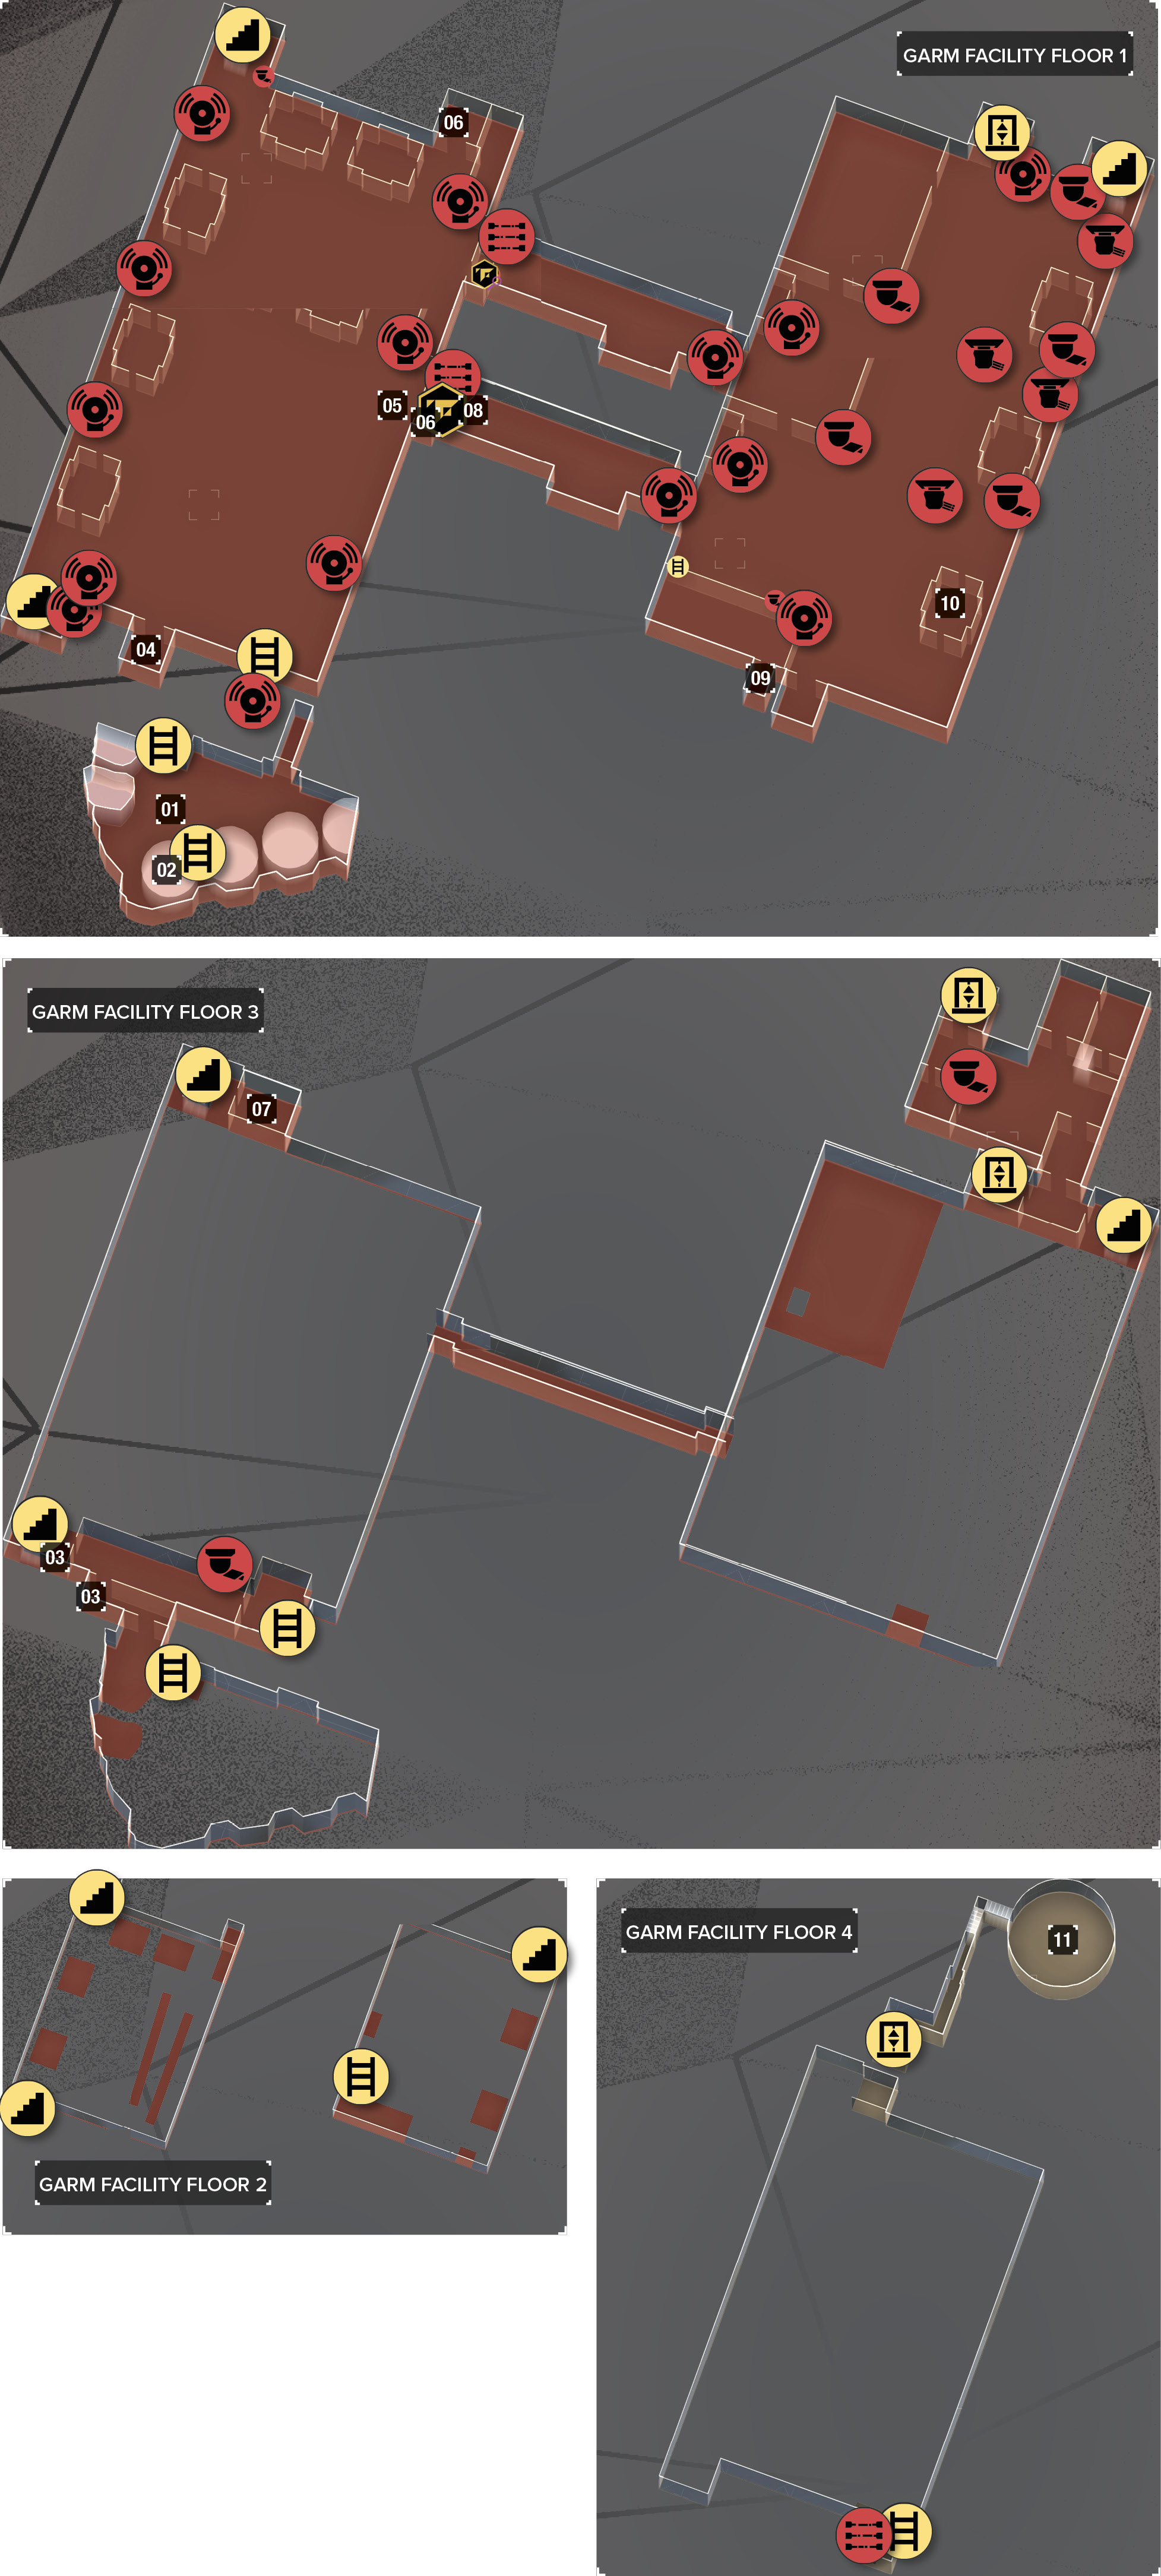
Map Legend
|
01: Jensen wakes up here |
|
02: Ladder up to Level 3 |
|
03: Vent system |
|
04: Crawl space entrance |
|
05: Route to second hangar |
|
06: Upper vent to security room |
|
07: Security room |
|
08: Crawl space |
|
09: Weapon storage |
|
10: Security room |
|
11: End mission here |
Jensen wakes up in the snow. He’s been taken inside the facility and no longer wants to stick around. As he starts moving, you get a choice: call either Miller or Vega for help. It’s up to you again, and there are consequences. If you call Miller, it’s going to be impossible to avoid an alert during your exit. If you call Vega, you must maintain stealth to avoid an alert, but it’s doable.
You don’t have many objectives in this mission; escaping alive is a fairly direct course.
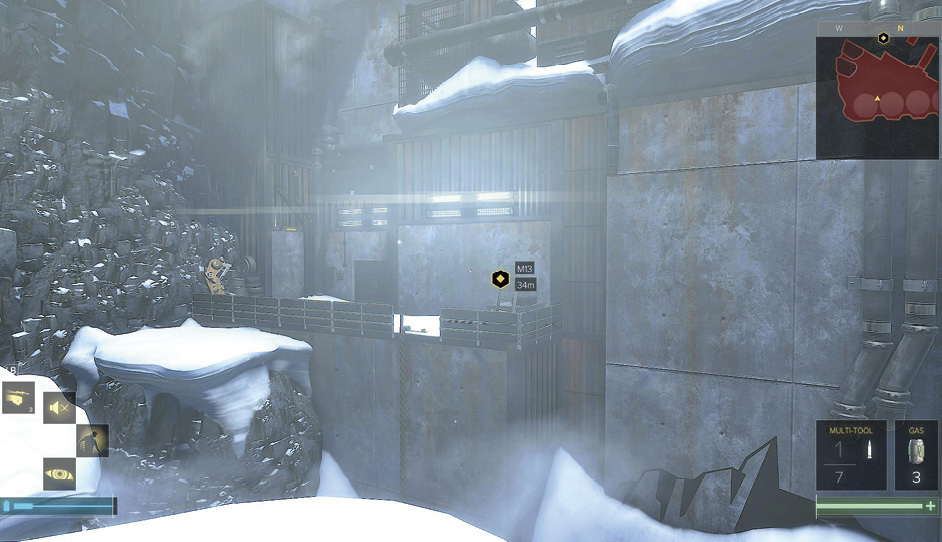
Combat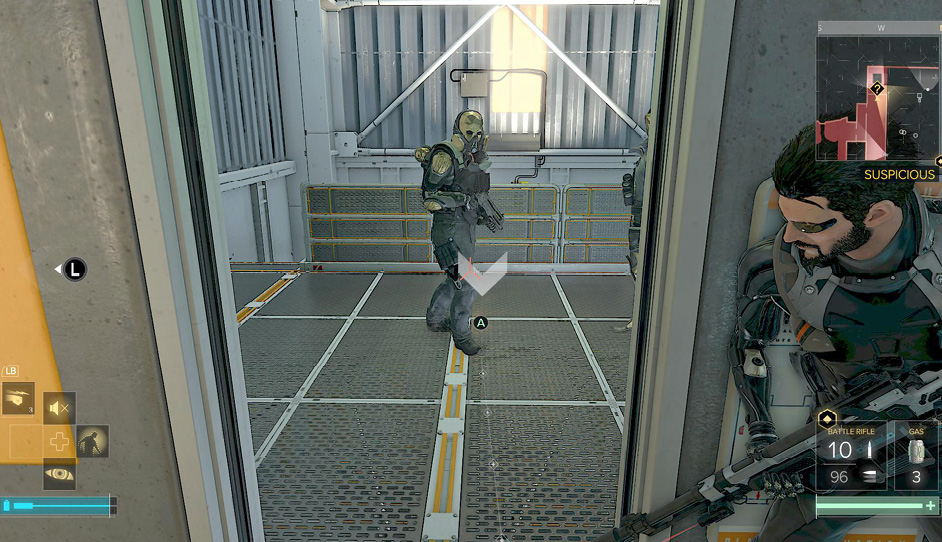 Climb the southern ladder onto the icy ledges above. With good jumping, you can get over to the Level 3 entrance. Go inside. Search the first room, and then use a vent on the left to go west. Before leaving it, wait for two Shadow Operatives below to finish talking. They separate, and you can disable the lone guard with ease. Enemies here are heavily armored. Headshots take off their protective helmets, but a second headshot is required to secure the kill. This gets you extra XP (Piece by Piece) for ruining their armor. You also get extra XP because these are considered Elite foes, though not all of the people are counted as Elites. Ambush the men up top, and then use your elevated position to burn down the rest of the people on this side of the hangar. The ones at range won’t hold up well if you use a Battle Rifle or Sniper Rifle. Save energy for anyone who closes the gap and jumps up to you; hit them with a Takedown. Cover isn’t perfect on the walkways, so you should retreat if the incoming fire gets to be too much for your augs to handle. Go back into the hallway and rest to regain your health. Once the hangar is relatively clear, advance to the door in the northeast side. You can stop and search Marchenko’s room in the northwest for extra equipment. 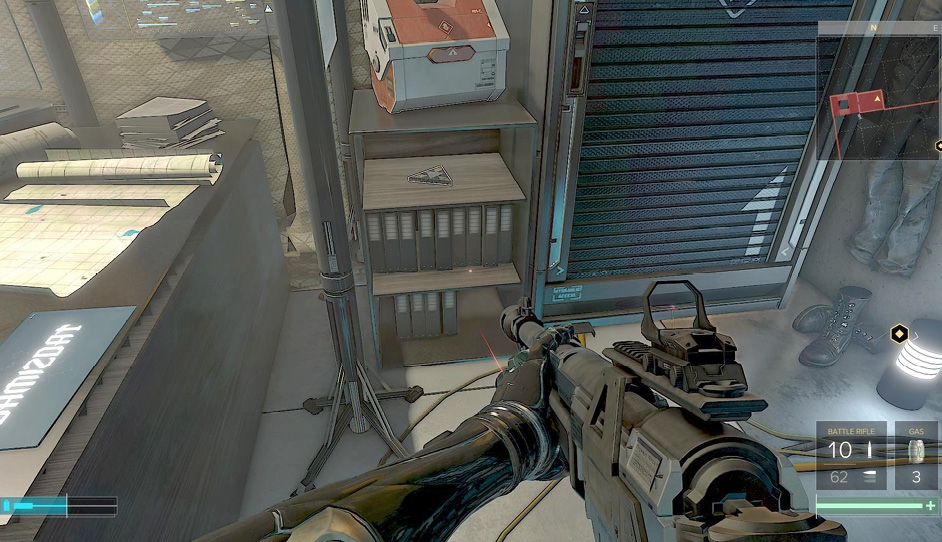 Go through the door in the northeast, and start fighting through the troops in the connecting tunnel. (There aren’t too many of them.) The real trouble starts when you reach the second hangar. The guards there have amazing augs. Some of them have Titan, others have Invisibility, but all of them are nasty. Don’t wade through the masses like you normally might. Instead, stay by the hard cover of the entrance and snipe carefully. Kill the ones without Titan (those guys soak too many bullets to be worth it when there are other adversaries to kill). Thin the ranks until there’s almost no one left, and then stay on the western wall as you advance. Get to the northern side of the room, and continue east until you reach the stairs. Only three more guards are above you, protecting the way to the helipad. You can wait and assassinate them, or switch to your Shotgun and go to close-quarters combat for a faster victory. Use the elevator that leads to the roof, and get out of GARM! |
StealthSmash a breaker on the right side of the yard. It’s near a spinning fan that blocks your entrance into the first floor. When the power is cut, go under the fan and use a vent to get into the building. You arrive in the crane operation room. Use a Biocell to operate the mechanism, and then scold the guy who calls in. It’s a pretty funny conversation.  A different path is better, though. Go into the hallway to the left of the crane room. You find a short drop on a floor vent. Watch out when you fall, as adversaries can see you in the hangar. Drop along the wall, and use any stealth abilities that you can to be silent and/or invisible. Use a grate on the floor to escape unseen and come out on the eastern side of the hangar. It’s poorly guarded, so you can advance easily. Avoiding detection is fine, but it’s also safe to knock out these guys as you go. You can even take out some of the overwatch snipers on the second floor by making minor noise to draw them down. They’ll jump to the first floor (where you are hiding) and are easy to eliminate. Go into the small room in the north. A vent on its ceiling takes you into a security room. The loot is good there, and a laptop lets you disable the cameras and alarm panels in the facility. That’s always an advantage that you want! Retrace your steps, get back to the hangar floor, and use the doors to the east to head toward the second hangar. 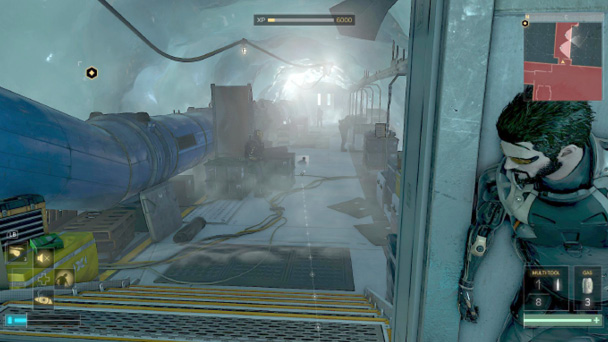 The connecting corridor is loaded with people, along with some traps. However, there is a very easy path. Use the entrance into a crawl space in the first tiny room. Go down there, and stay low for the entire passage through the connector. You have to weave in and out of a few vents to avoid some laser mines, but it’s super easy because no one can see you. You finally come up near the second hangar’s entrance. Look inside, and make a little noise to lure the only nearby guard over toward you. Ambush him, and leave his unconscious body in the hallway. The southern part of the hangar has way too many enemies. You can climb a ladder, sneak through a guarded room along the wall, and crawl through a vent into the weapon storage room, but that’s all there is to do there if you’re avoiding alarms. It’s tense! There is a security room in the southeast. Skirt around the guys who are patrolling and exercising, and creep in through the northern door to the room. Hack the computer and turn everything off. Move along the eastern side of the room, and get to those stairs ahead. There aren’t too many people left in your way, but be cautious and lure anyone over for safe Takedowns if you think that you can’t get by them quietly. Climb the stairs to the second floor. There are three guards up top, but they’re all in the center of the area when you first arrive. Knock them out after they split up, and then search for anything you want from the area. Press the call button on the elevator when the camera isn’t looking, and then rush into it from the other side when the camera is in the other direction. This gets you to the helipad, where you’re picked up and extracted from the facility. |