Deus Ex: Mankind Divided Guide DLC System Rift DLC
Infiltrate and Find the Upper Elevators
Objectives
|
Infiltrate the Palisade Blade |
|
Optional: Get the desk clerk to help you into the Blade |
|
Optional: Plant the figurine for ShadowChild |
Overview
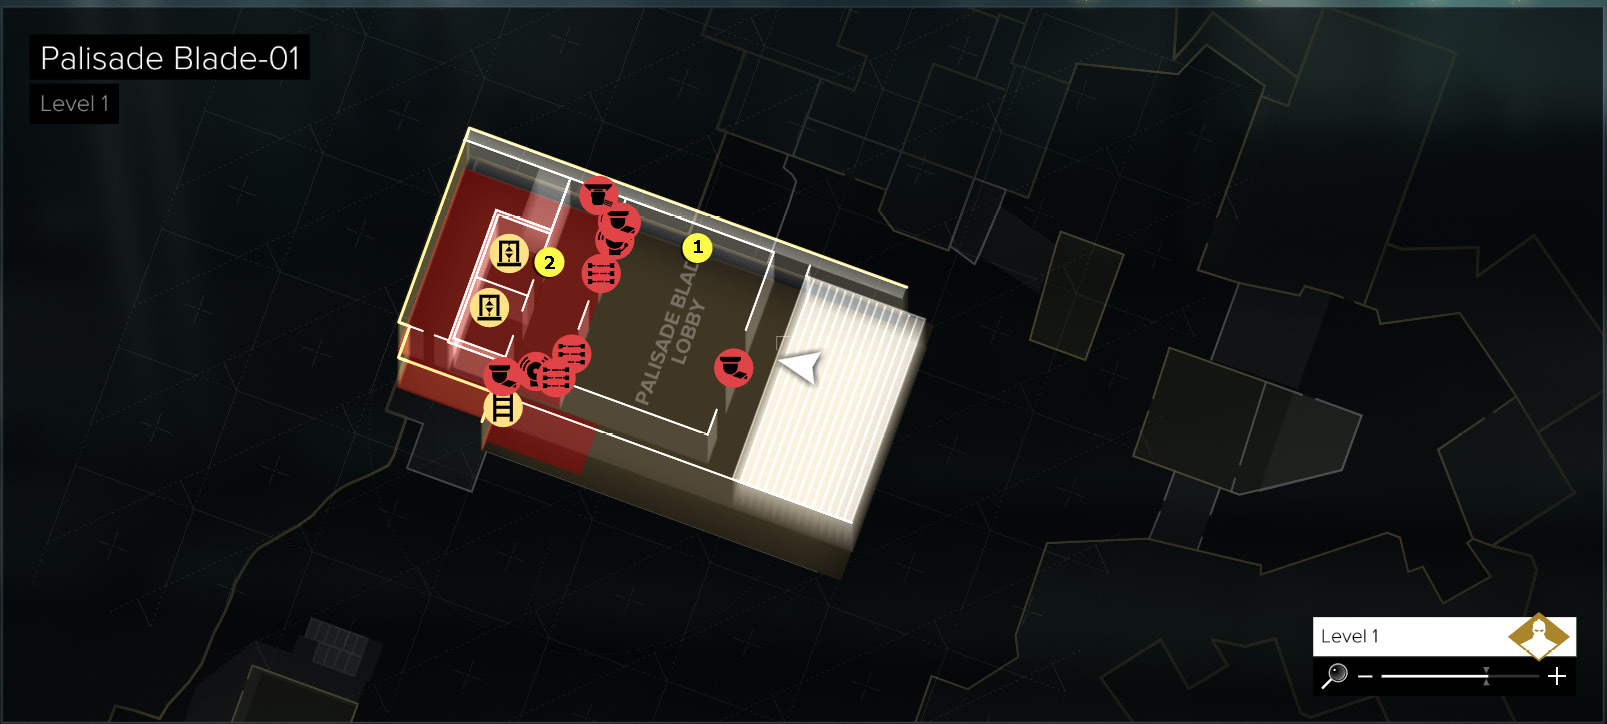
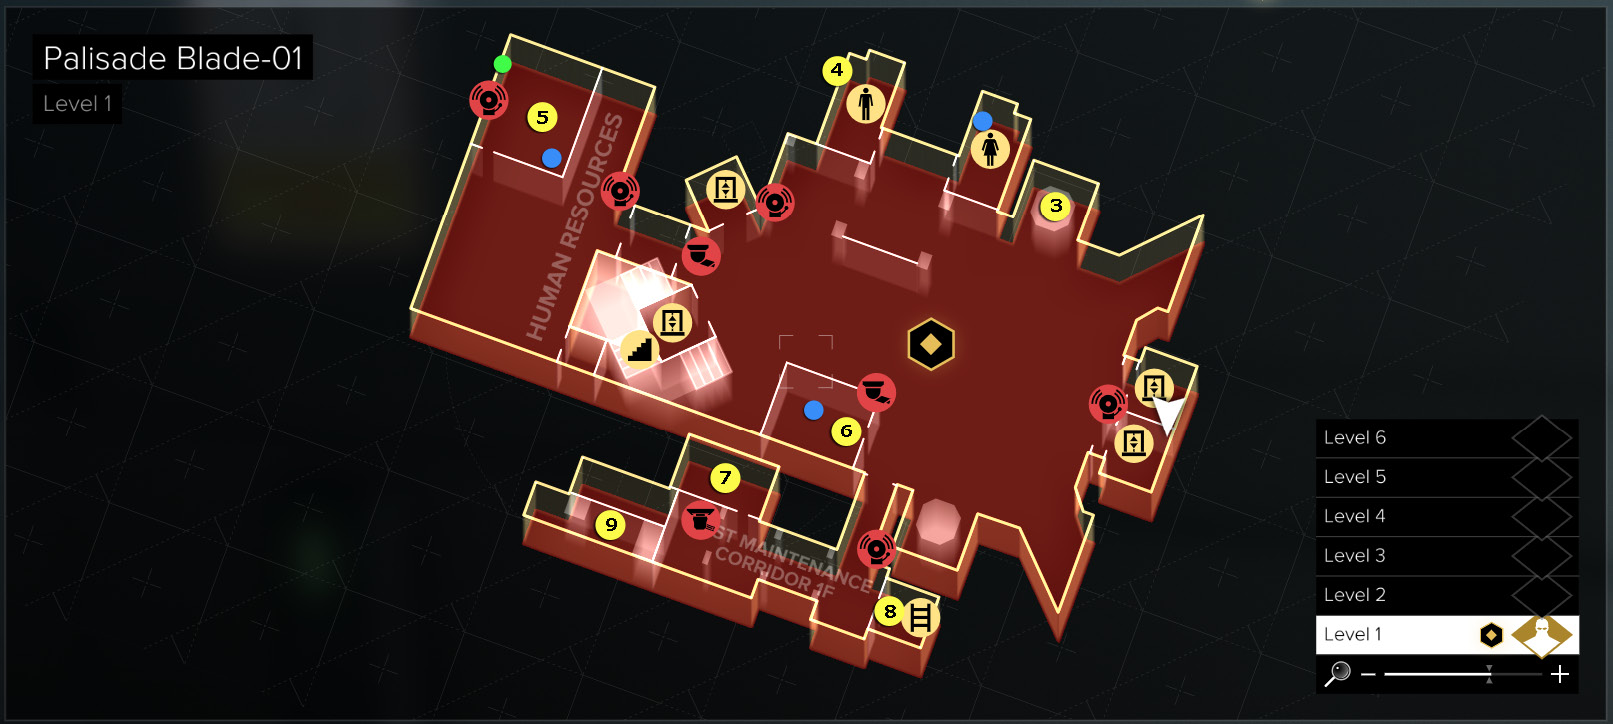
Map Legend
|
01: Lobby Desk Clerk |
|
02: Lobby elevator button |
|
03: Vent to Women’s Restroom |
|
04: Vent to Isabella’s office |
|
05: Isabella Trembliska’s office |
|
06: Meeting Room |
|
07: Locker Room |
|
08: East Corridor Airshaft |
|
09: Lift shaft |
|
[BLUE DOT] = E-Book |
|
[GREEN DOT] = Praxis Kit |
Infiltrate the Palisade Blade
Optional: Get the Desk Clerk to Help You into the Blade
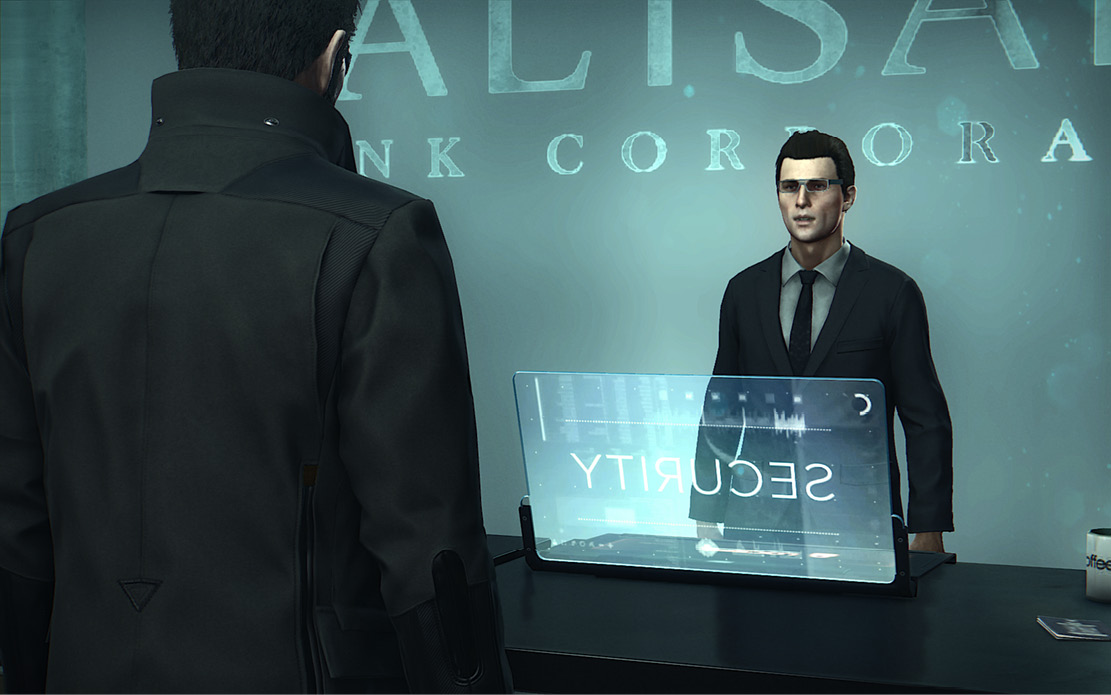
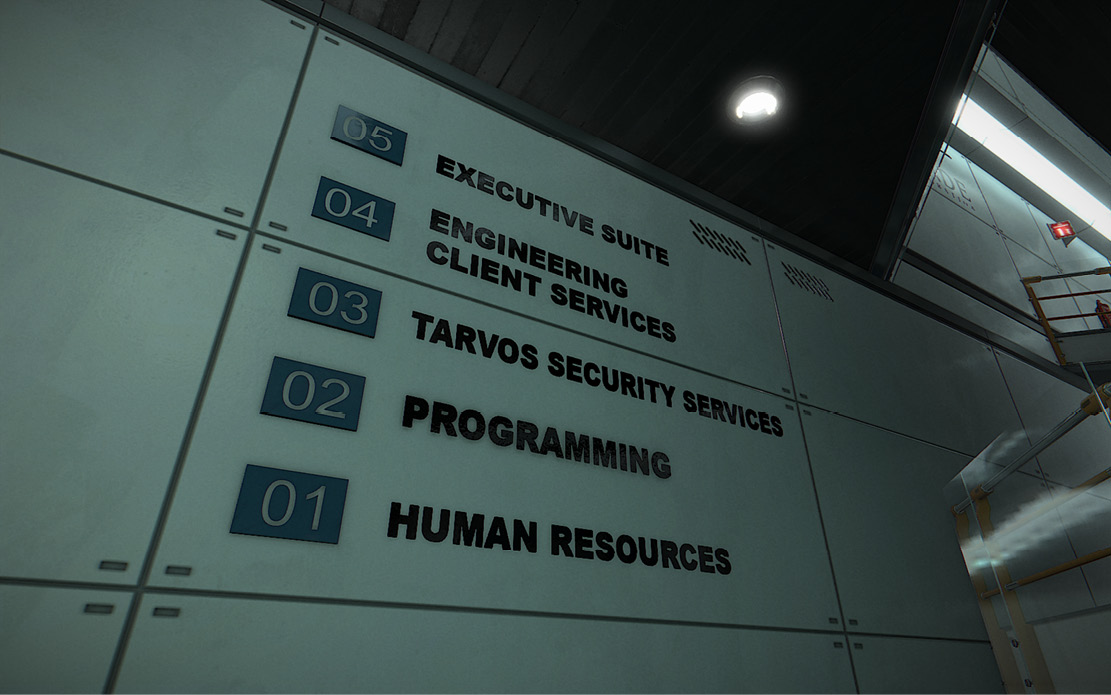
Activate this optional objective and follow the Objective Locator up the steps and into the Palisade Blade-01 building lobby. Approach the Blade employee at the front desk and talk to him. Select “Baba-Yaga 50” from the dialog wheel. (This only appears if you asked “Help how?” during Jensen’s dialog with ShadowChild on her balcony.) The desk clerk deactivates the laser security gate.
When the laser gate is down, approach one of the elevator buttons and use it to call an elevator. Step inside and use the Pass-Port reader to unlock the elevator panel. Then use the panel to select “Atrium 1F.” The elevator rises to level 1F and the opposite door slides open.
Optional: Plant the Figurine for ShadowChild
Enter East Maintenance Corridor 1F
Planting the figurine may be an “optional” objective, but getting to Leona Rosolova’s office actually gets you very close to your next main objective, so let’s do it. First, activate this optional objective in your Objectives Menu. Then, before you exit the elevator, check out our directions for acquiring an extra Praxis Kit stashed in a level 1 office.
From the elevator, crouch and sneak around the left side of the atrium. Monitor where the guards are and stay out of their sight! Sneak into the unlocked Meeting Room, turn right, and toggle the EG Switch near the door to darken the glass walls for privacy. Don’t miss the E-Book on the desk.
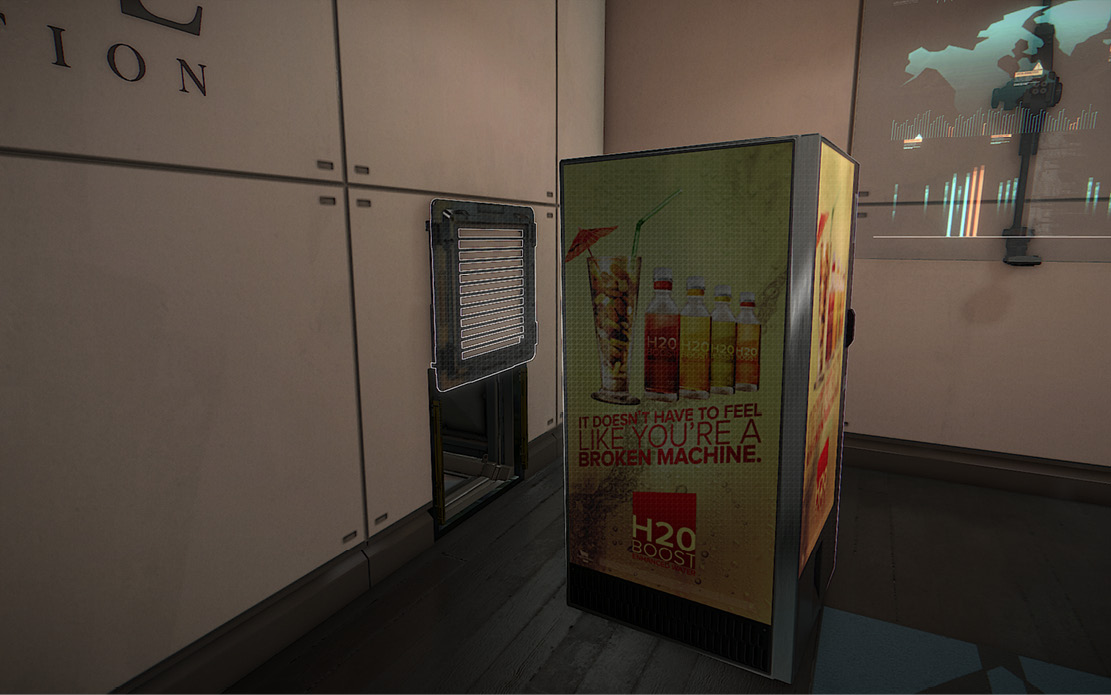
Now, if you have the Optimized Musculature augmentation, move the Vending Machine in the corner to reveal an air vent. (Note: If you don’t have the Optimized Musculature augmentation, you can exit the Meeting Room and get to the Locker Room via the door marked “East Corridor: Maintenance and Utilities.” You’ll have to hack the Keypad to unlock the door.) Open the vent cover and follow the duct to another vent cover. Open it and move the Heavy Plastic Crate blocking other side, then enter the Locker Room.
Loot the Locker Room
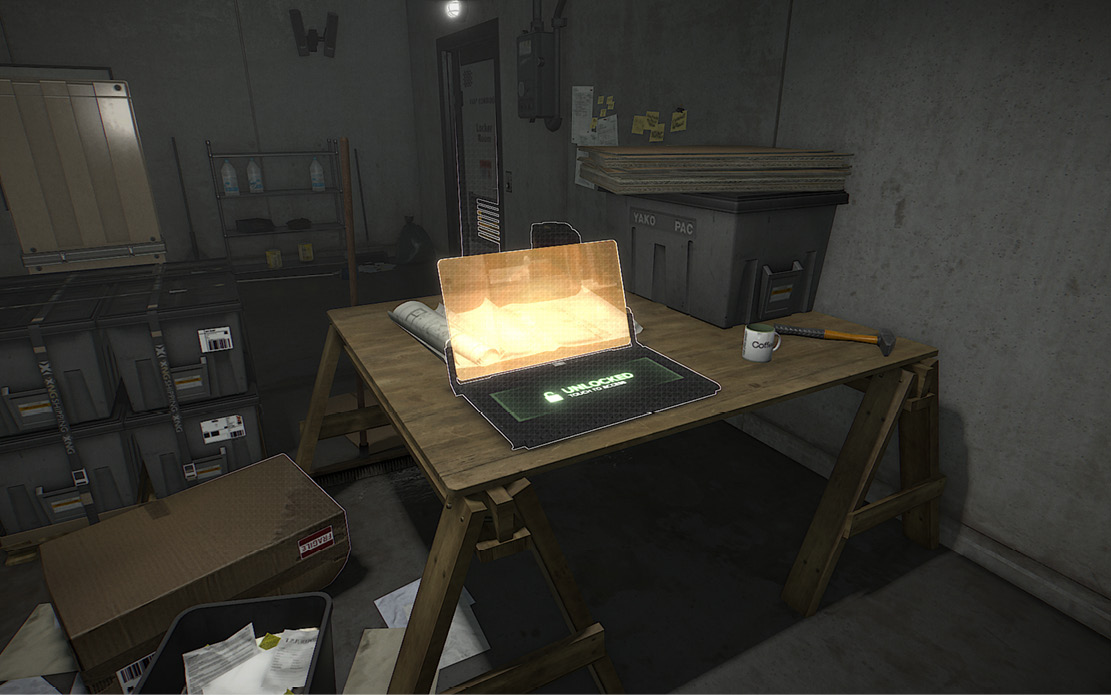
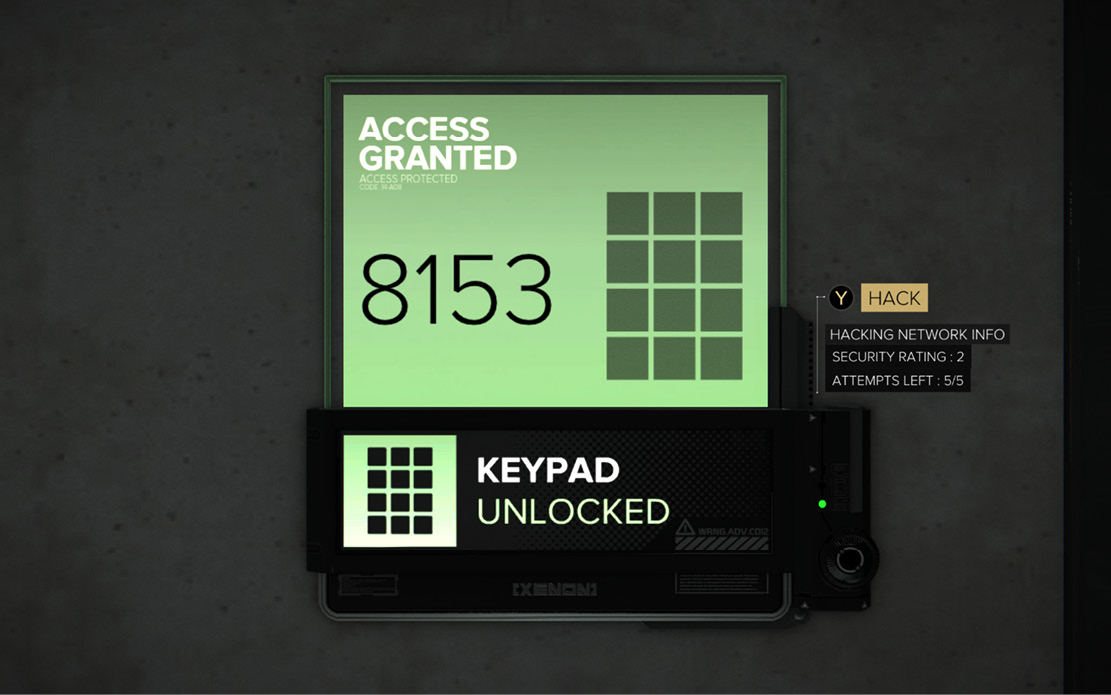
Inside the Locker Room, loot the lockers and shelves for some good stuff including a Multi-Tool, a Biocell and a HypoStim Injector. When you’re ready, hack into the laptop. (It’s an easy Security Rating of 1.) You learn that the code for all Airshaft doors is 8153. You also learn that Isabella Trembliska, Head of Human Resources, has stored a Praxis Kit in her office safe. (If you haven’t already acquired this kit, return to the elevator and refer to our earlier directions.)
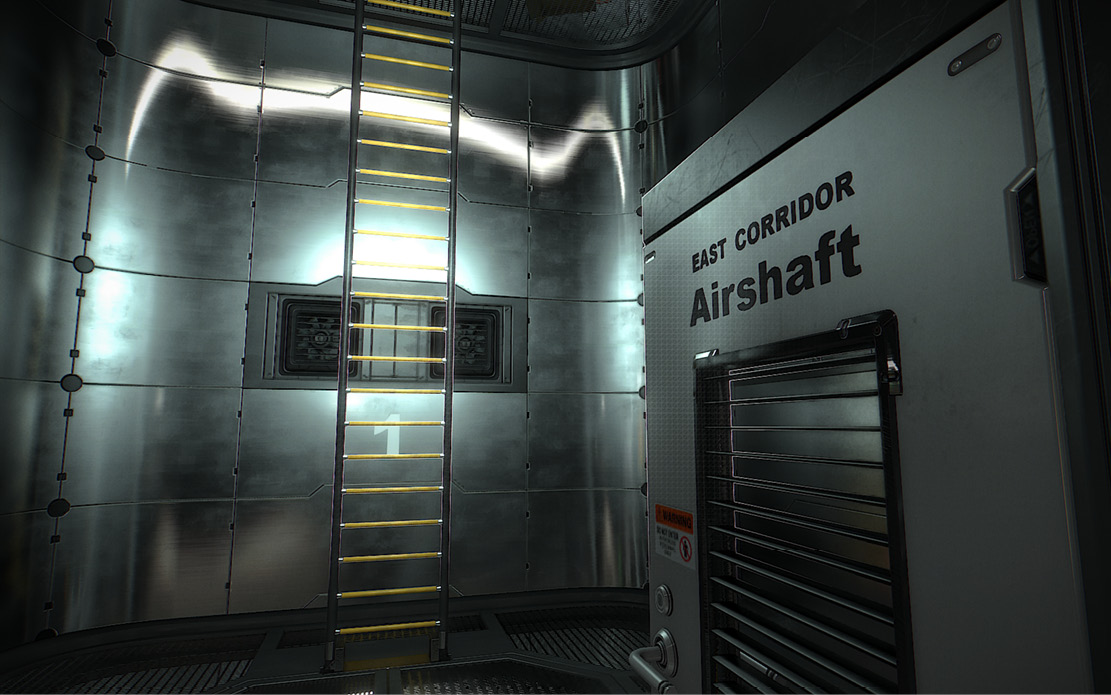
Exit the Locker Room and go to the East Corridor Airshaft door. (Look for a big batch of Crafting Parts just to the door’s right.) Enter the code 8153 into the Keypad to unlock the door and enter the shaft. Climb the ladder up to level 2F; open the nearby case to find another Biocell.
Overview
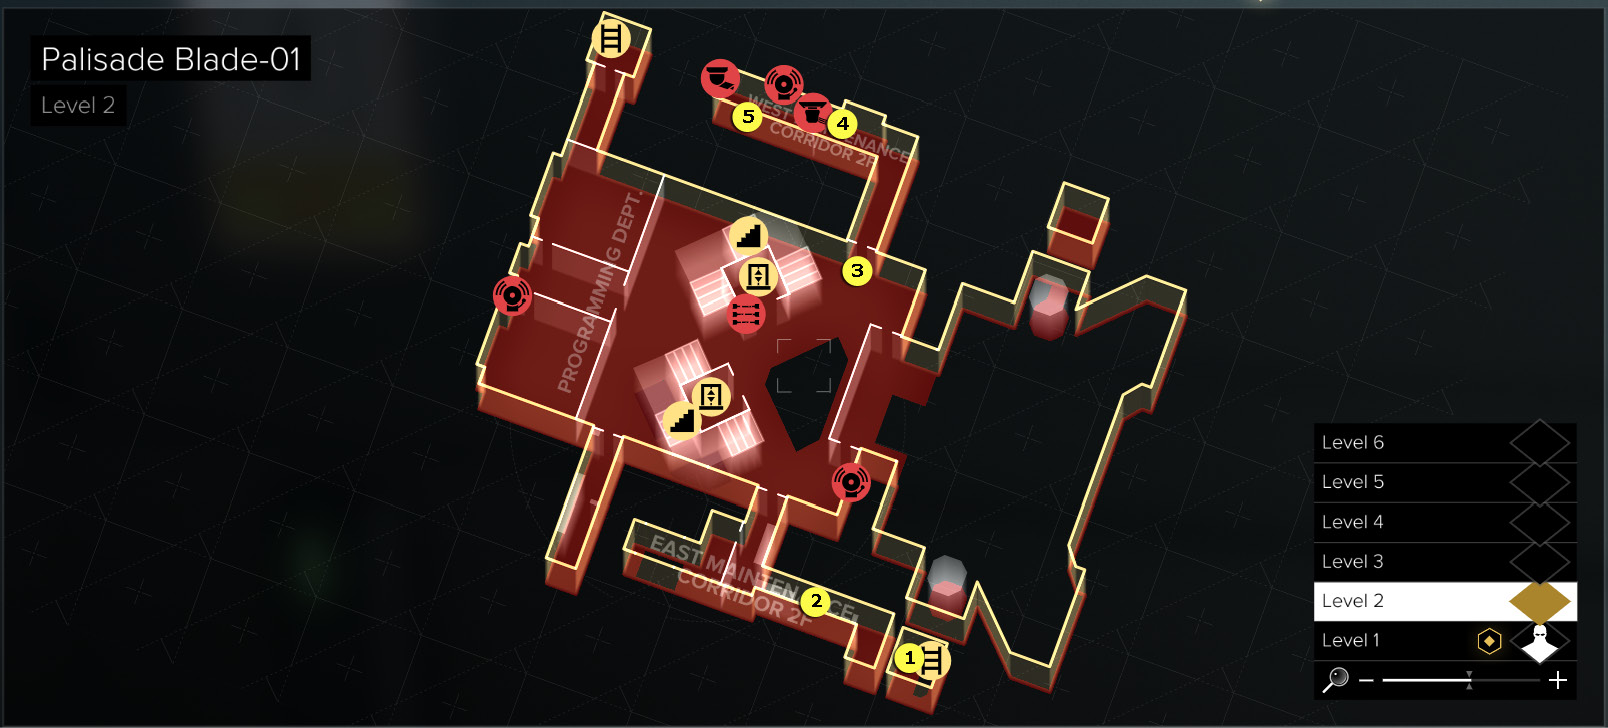
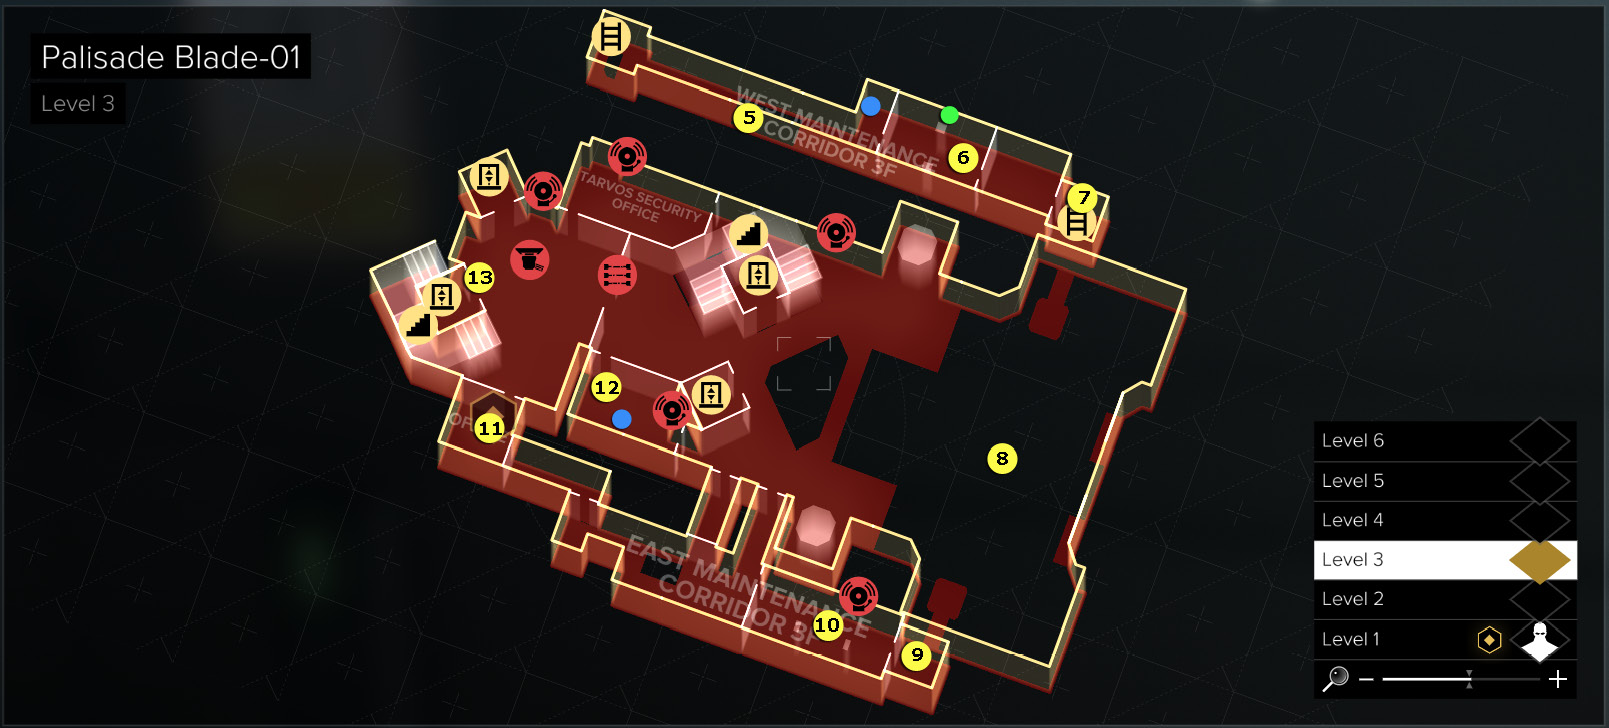
Map Legend
|
01: East Corridor Airshaft |
|
02: Electrified corridor |
|
03: Door to West Maintenance Corridor |
|
04: Slaw (if still alive) |
|
05: Ladder to 3F |
|
06: Fumigated corridor |
|
07: West Corridor Airshaft |
|
08: Catwalk across atrium |
|
09: East Corridor Airshaft |
|
10: Guard and worker |
|
11: Leona Rosolova’s office |
|
12. Break Room |
|
13. Elevator call button |
|
[BLUE DOT] = E-Book |
|
[GREEN DOT] = Praxis Kit |
Navigate East Maintenance Corridor 2F
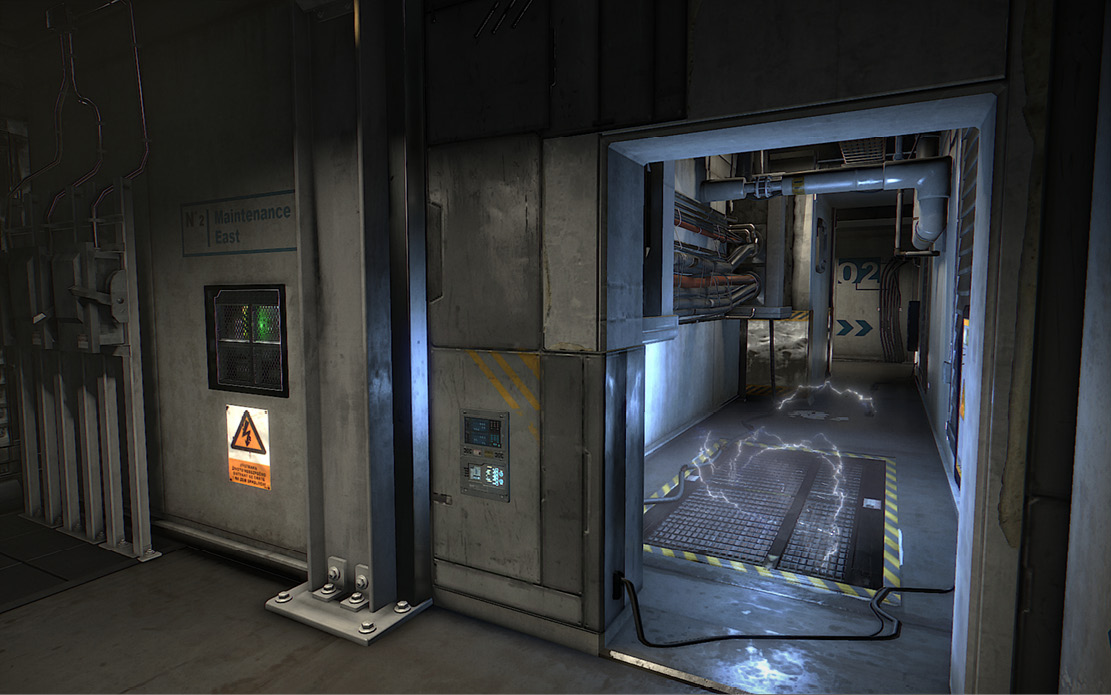
Break open the destructible vent under the “2” on the shaft and follow the duct to see an electrified hallway. Smash the wall vent and use the breaker to shut off the electricity. Follow the corridor around the corner to the “Maintenance and Utilities” door at the end. It leads to the atrium.
Find Slaw in West Maintenance Corridor 2F
Take cover beside this door and look into the atrium. One guard is posted by the staircase and another paces in and out of the atrium doors. Use Glass-Shield Cloaking to sneak past both to the open door labeled “West Corridor Maintenance and Utilities” on the far wall. (If you can’t cloak, you may need to silently KO one or both guards with a Stun Gun or takedown.)
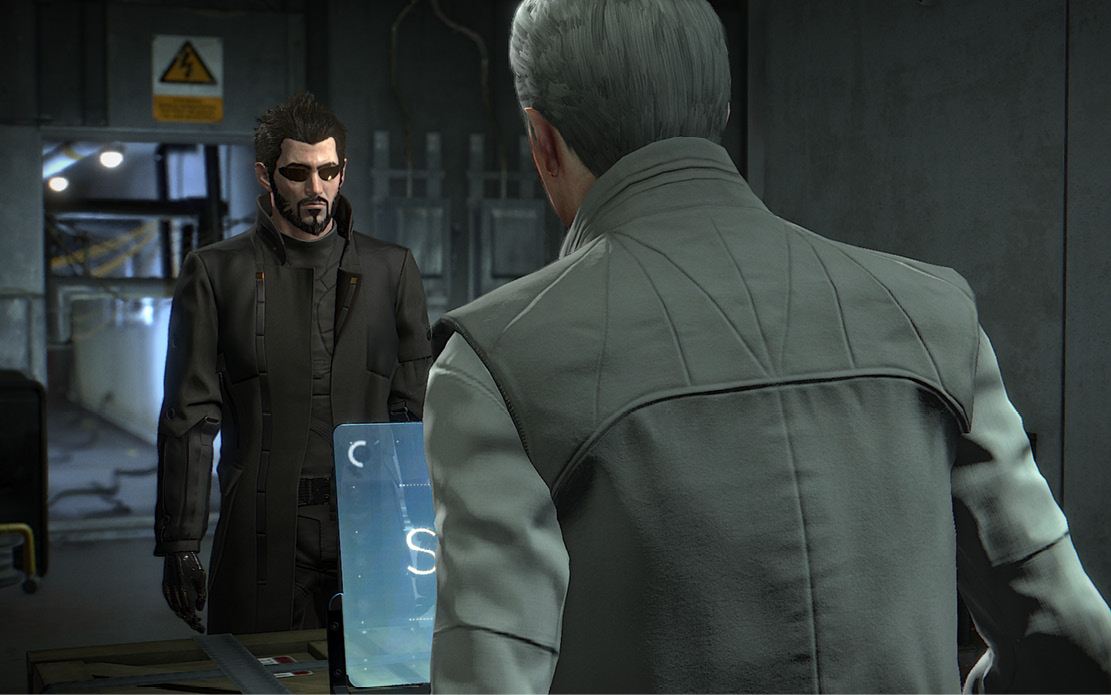
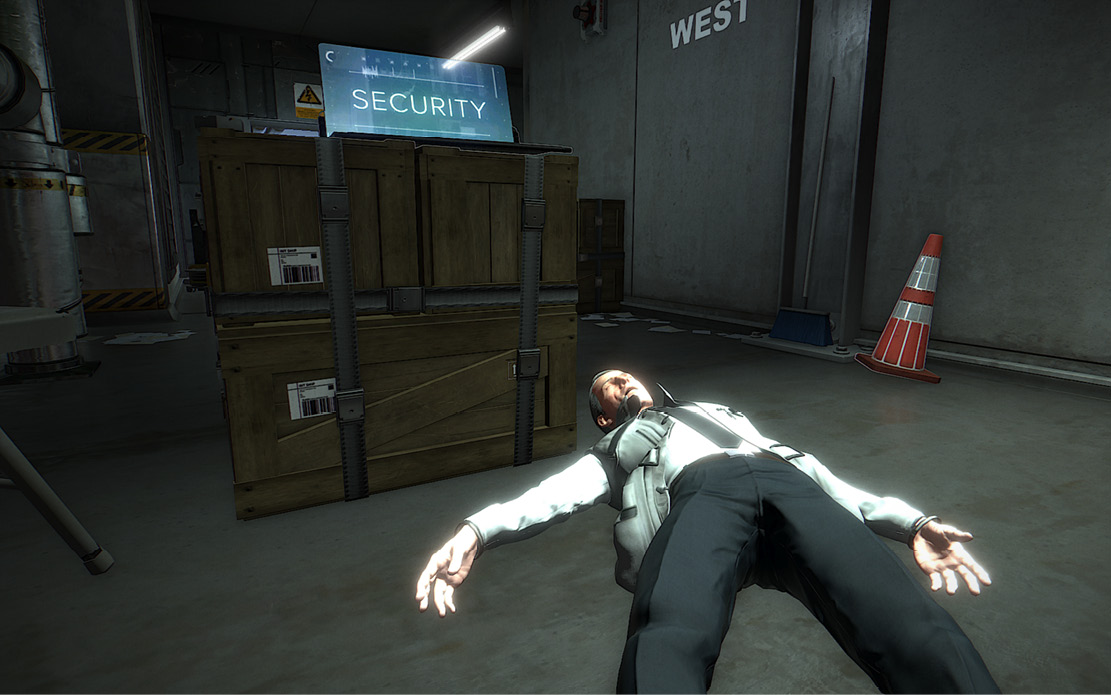
Walk around the corner to trigger a cutscene: Jensen meets Pavel “Slaw” Hubnik again. If you didn’t harm Slaw in Zátopek earlier (see the Note on this page), he opens the security doors behind him for Jensen. After he does this, honor Slaw’s request and knock him out. (If you don’t KO Slaw, he’ll alert the guards.) Before you proceed, approach the nearby electrified passage and check out our “Praxis Kit: West Corridor Airshaft” directions. Then return and go through the newly opened security doors.
Get Past the Fumigated Corridor on 3F West
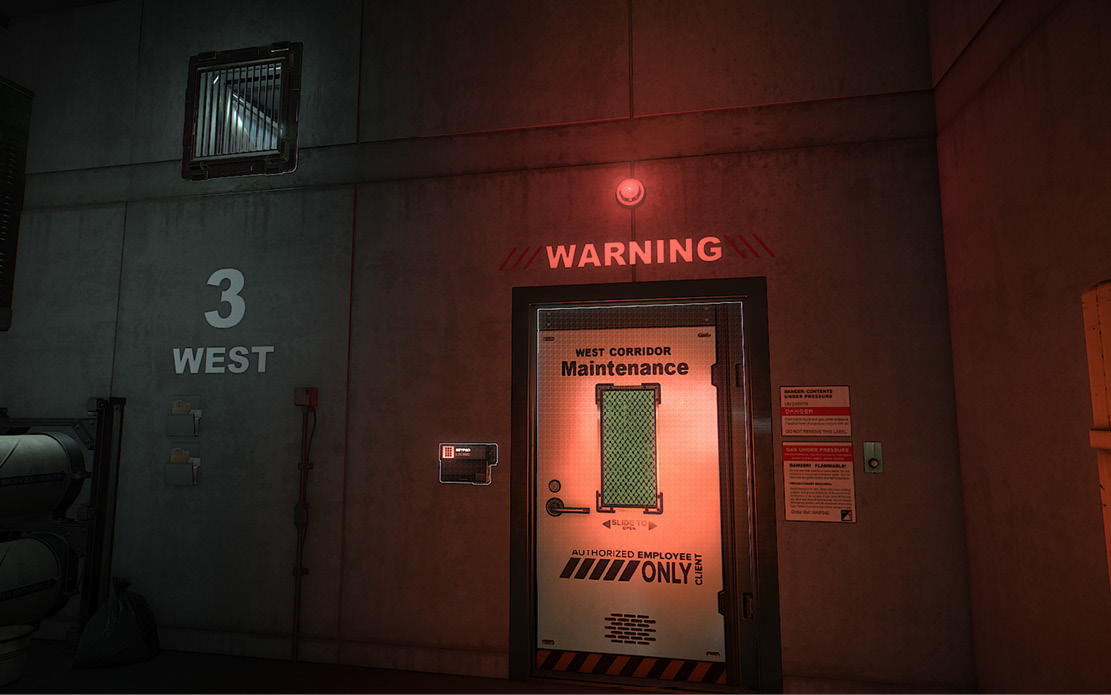
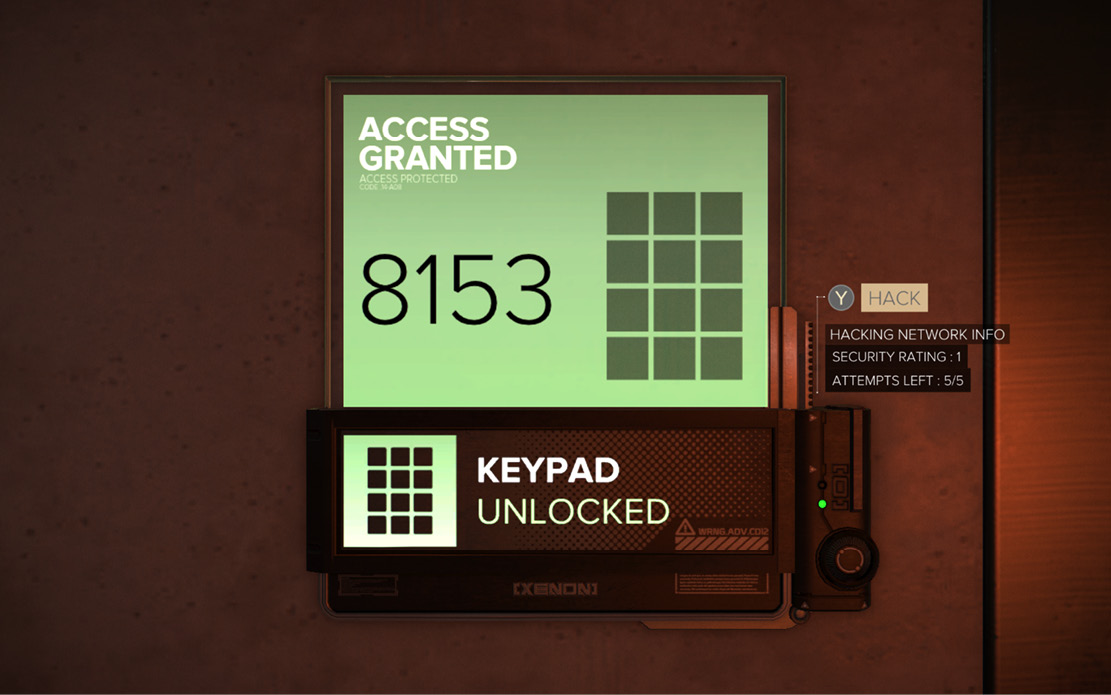
Climb the ladder up to level 3F and move down the corridor to the glowing red door. The corridor beyond the door is being fumigated with toxic antifungal gas. (You can read about mold fumigation in the nearby E-Book.) If you have the Implanted Rebreather augmentation, use the Airshaft doors code 8153 on the Keypad to unlock the door, then pass through the gassed corridor. If you don’t have the rebreather, you can open the vent cover on the wall above-left of the door and use the duct to bypass the gas. But note that you can find a valuable Praxis Kit in the fumigated corridor!
Get to 3F East Via Catwalk
Unlock the next door by entering 8153 into its Keypad, then proceed into the West Corridor Airshaft. Climb the ladder, go through the vent opening, and jump across the gap to the catwalk. Follow the catwalk across the atrium to another gap and jump, then crawl through the next vent to enter the East Corridor Airshaft.
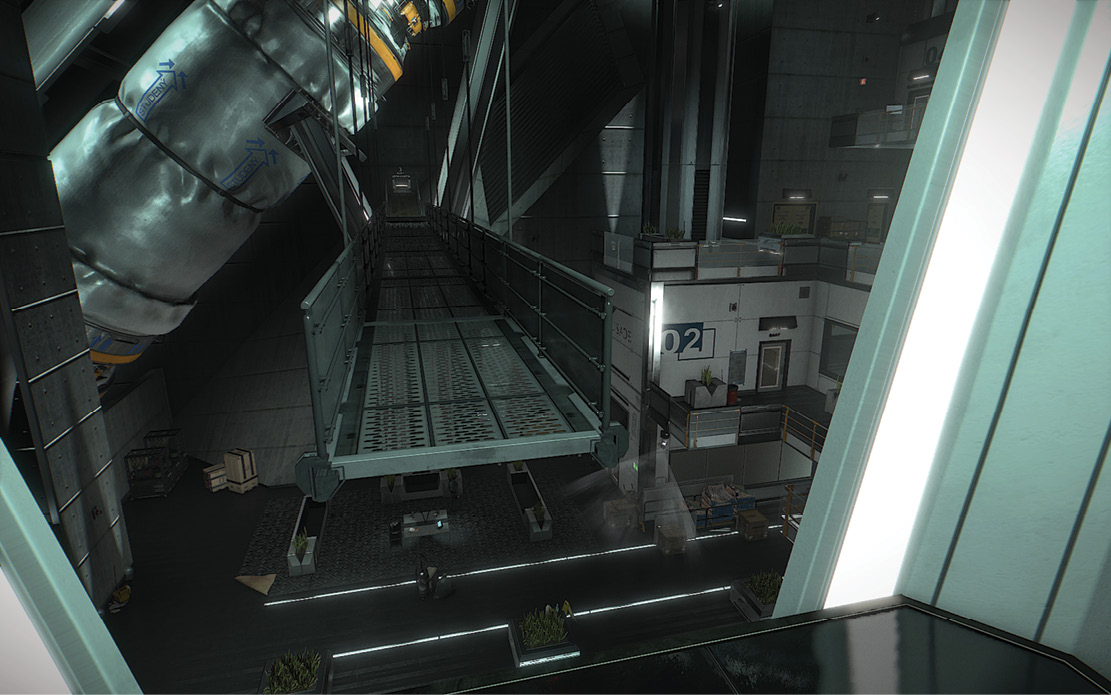
Get Past the Occupied Corridor
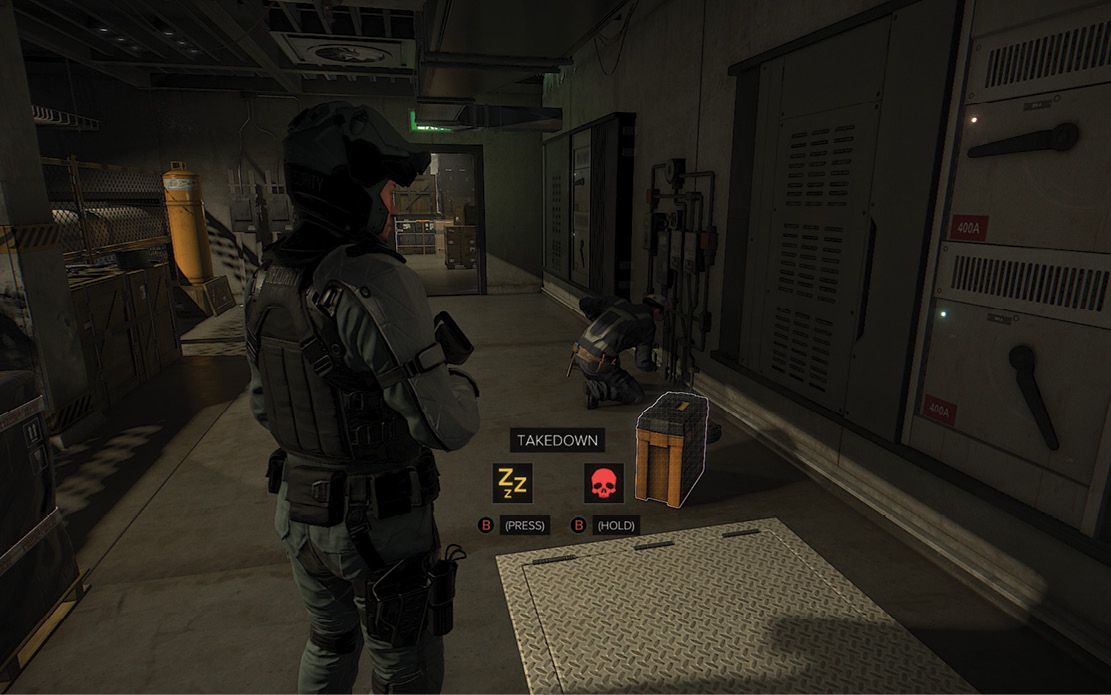
Drop from the vent to the floor and peek through the exit door to spot trouble ahead. Open the door and silently take down the shotgun-toting Tarvos guard with his back to you, then do the same to the Blade employee working on the utility meters. Don’t miss the Biocell inside a case on the nearby crate, plus a Multi-Tool sitting on another crate nearby. (You can also sneak past the guard and employee by veering behind the pipes running down the left side of the corridor.)
Find Leona Rosolova’s Office
Beyond the room with the guard and employee, approach the stack of crates. Turn left and move the Heavy Plastic Crate (circled in our shot) to reveal an opening through the stack. Crawl through the opening to move carefully past the open lift shaft. Before you proceed through the next door, break the padlock on the chain-link enclosure to the left then enter to find a hidden Praxis Kit.
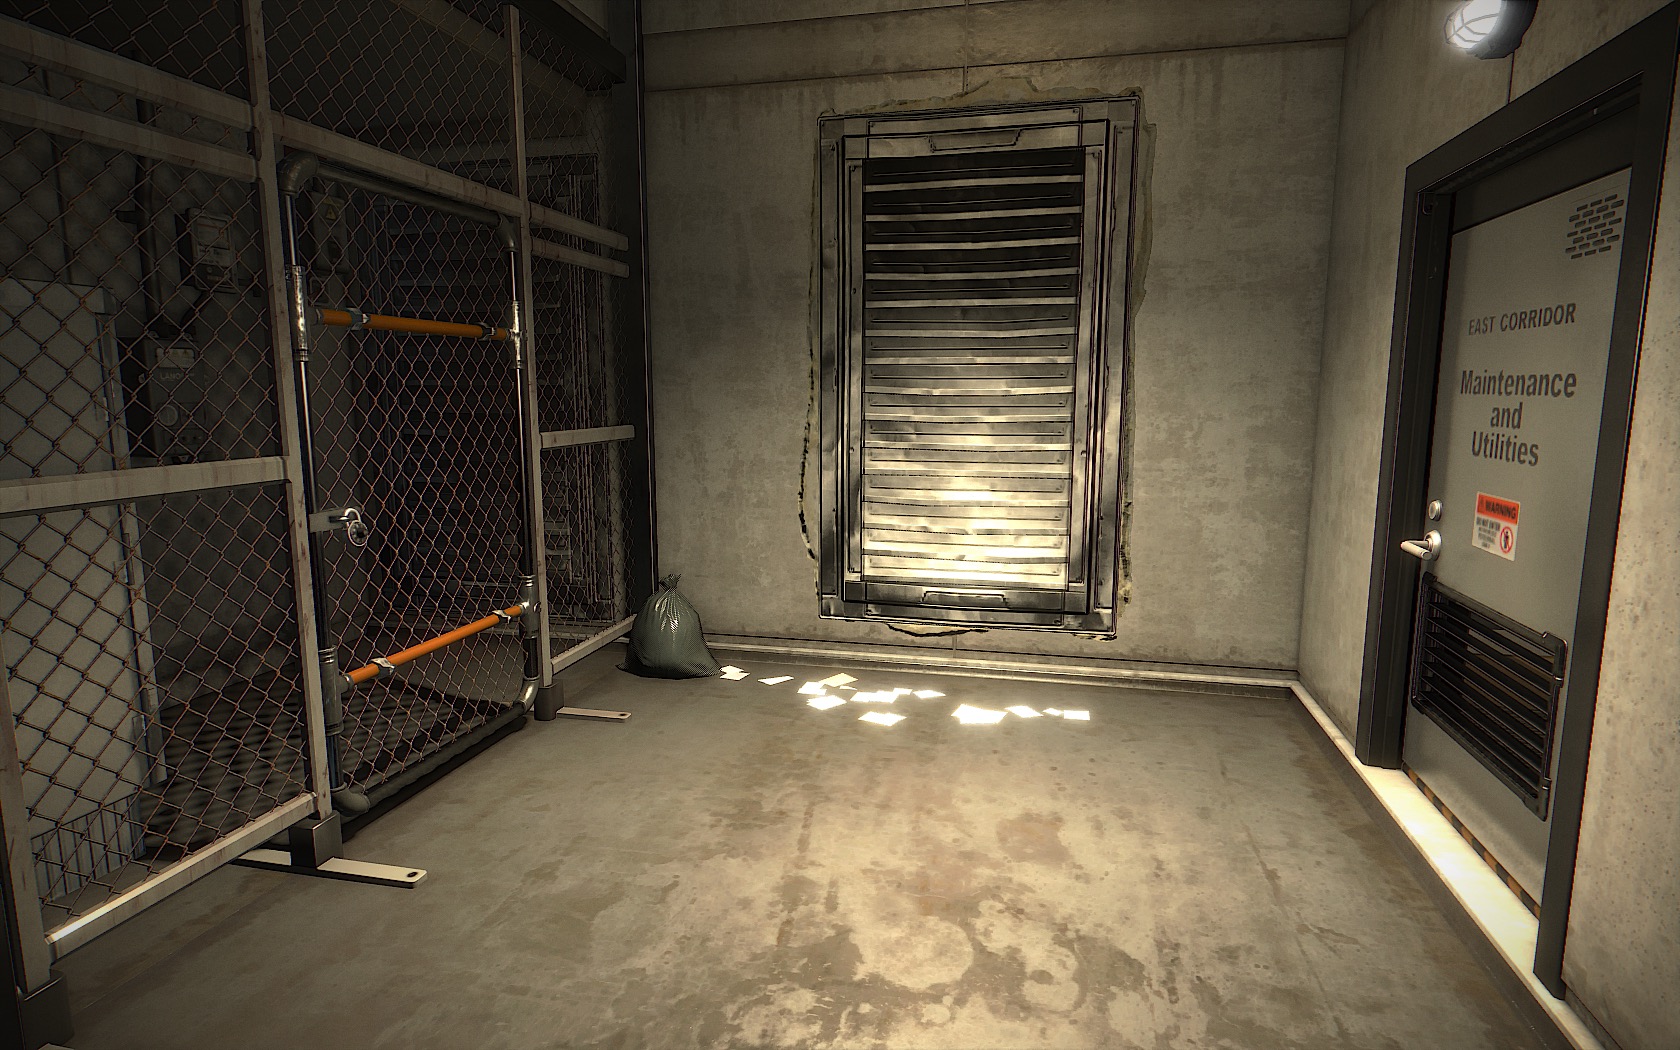
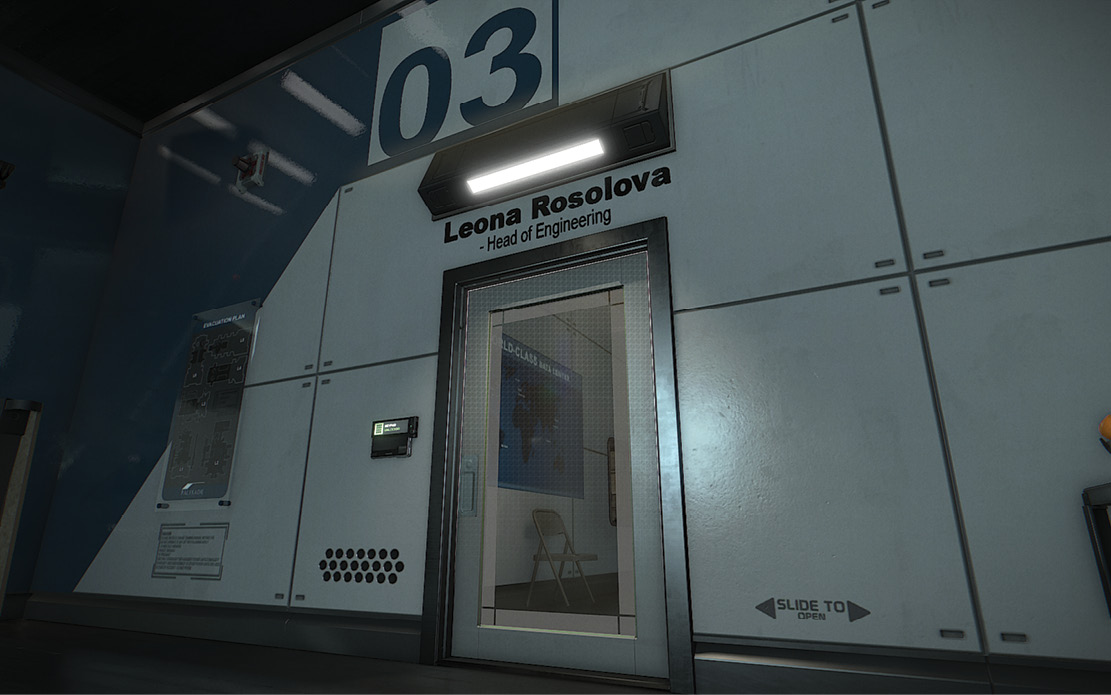
Follow the corridor to the heavy grate, and punch it open. (You do have the Punch Through Wall augmentation, don’t you?) Hop through the hole into Leona Rosolova’s office. Loot the office drawers then approach the desk and place ShadowChild’s figurine on the marked location. Do this before you try hacking Leona’s computer, because when Jensen placed the figurine, he automatically contacts ShadowChild who provides Leona’s laptop password: TRUSTNO1.
SECONDARY: Saridakis Death (1 of 4)
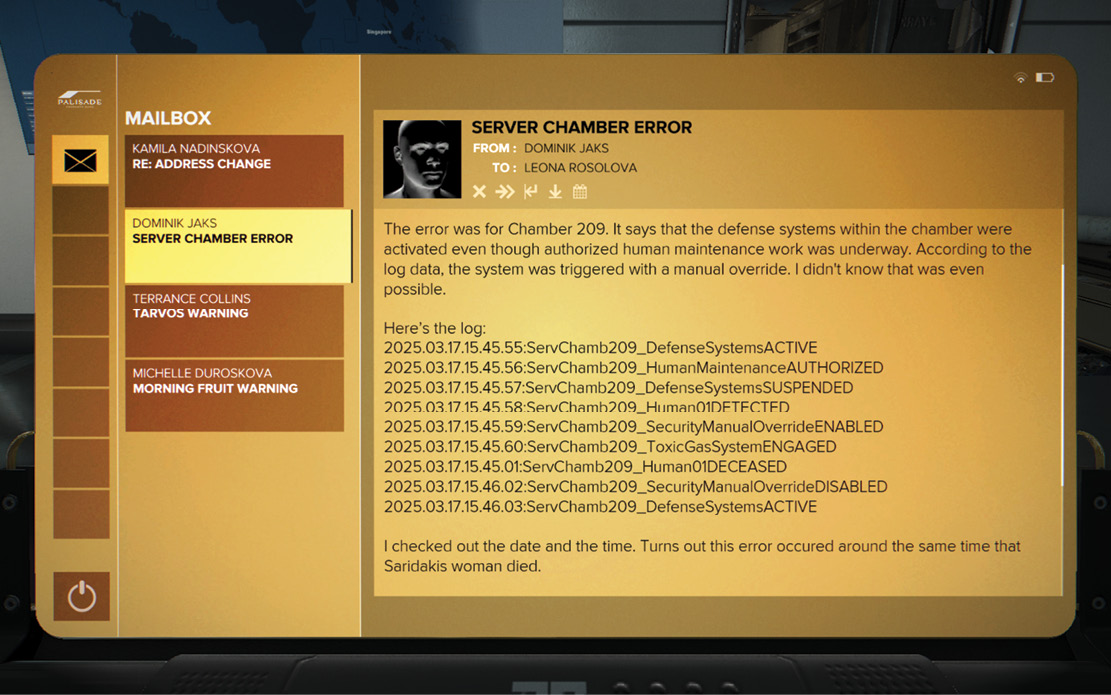
Enter the password in Leona’s computer and read through her mailbox messages. In one message, a programmer reports a deadly server “error” in Chamber 209: somebody activated the automated defense systems that killed Simona Saridakis by using a manual override during routine maintenance work. This adds a new Optional Objective to your list: “Inspect Server Chamber 209.”