
Deus Ex: Mankind Divided Guide Augmentations
Regular Augmentations
 Social Enhancer
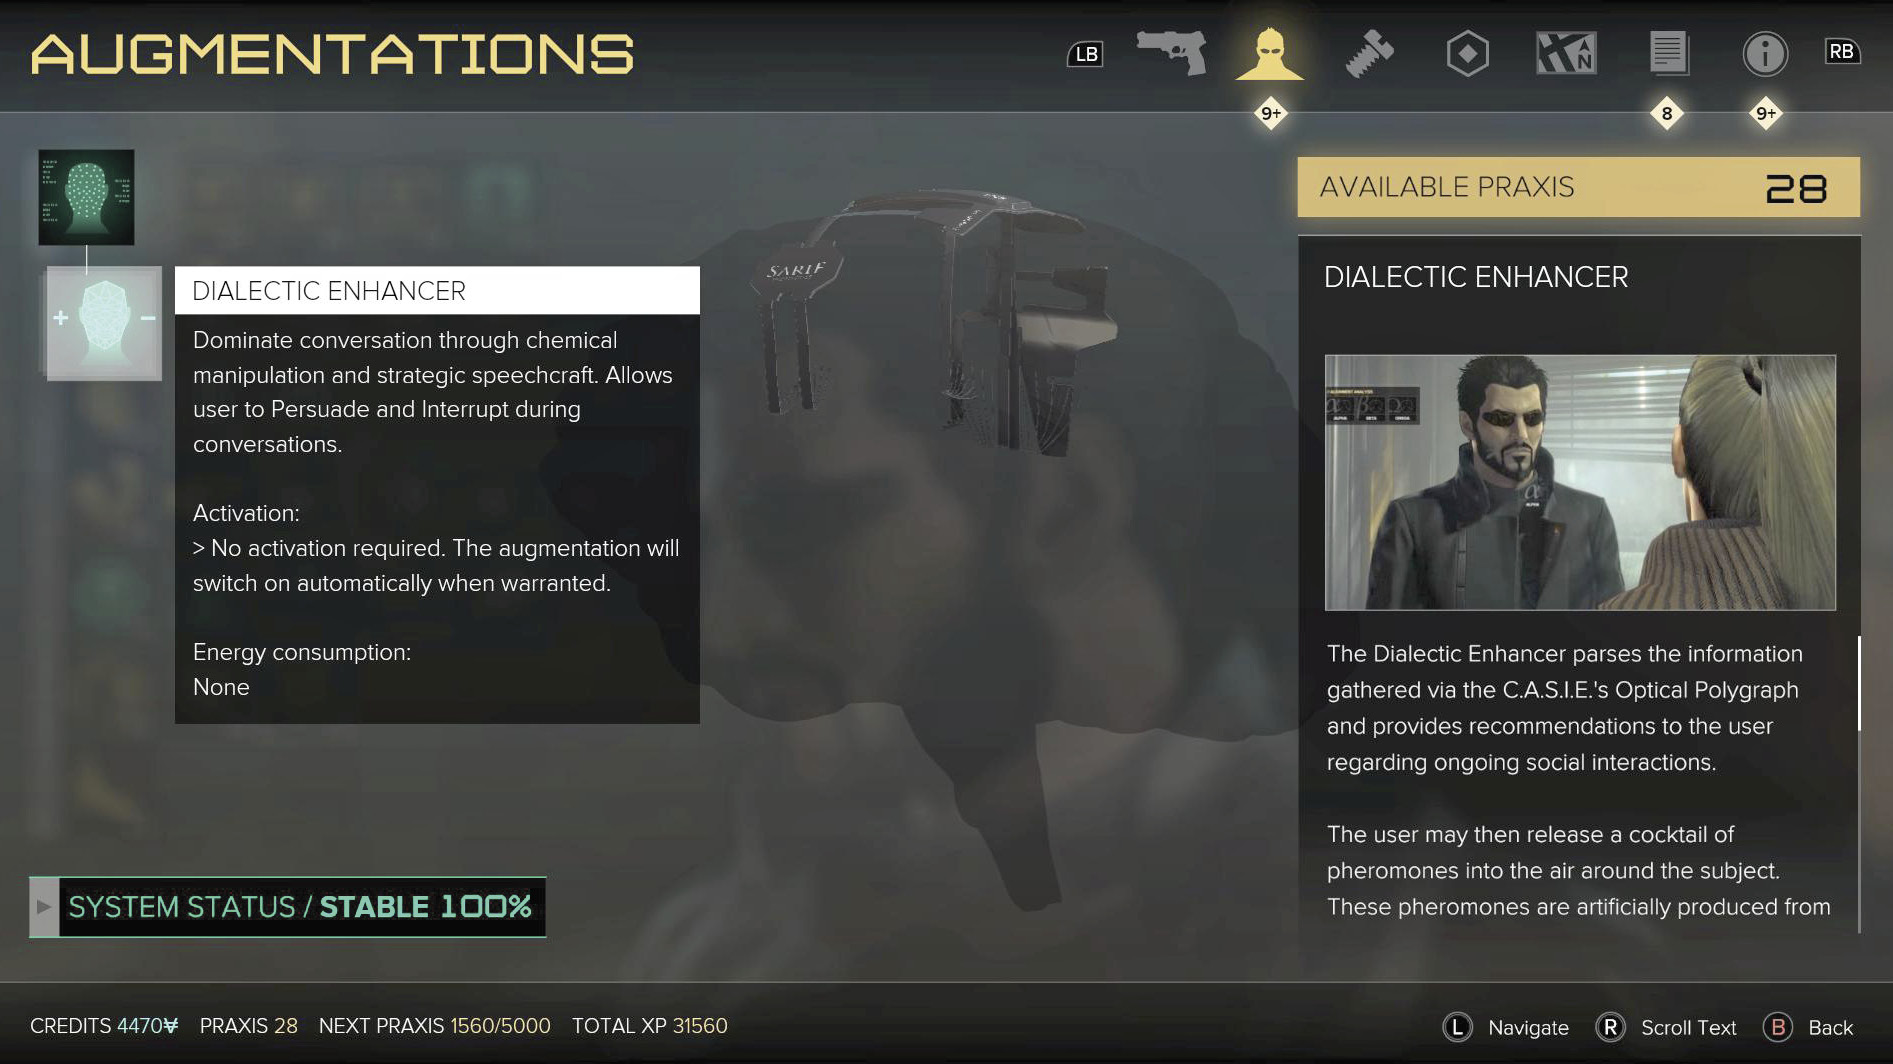
This line of augmentation is expensive for what it provides. It gives you a HUD for conversations that monitors the target individual, their heart rate, and personality. This makes debates much easier. However, paying a couple points of Praxis for a line that doesn’t help often is rough in the early or mid-game. Later in the game, however, some conversations paths are only available if you have the Social Enhancer augmentation. Consider investing in this if you want every possible conversation path open to you.
 Dialectic Enhancer
|
Effects: Assist with conversations to aid in extracting information |
|
Energy Consumption: None |
|
Notes: None |
 Hacking Capture
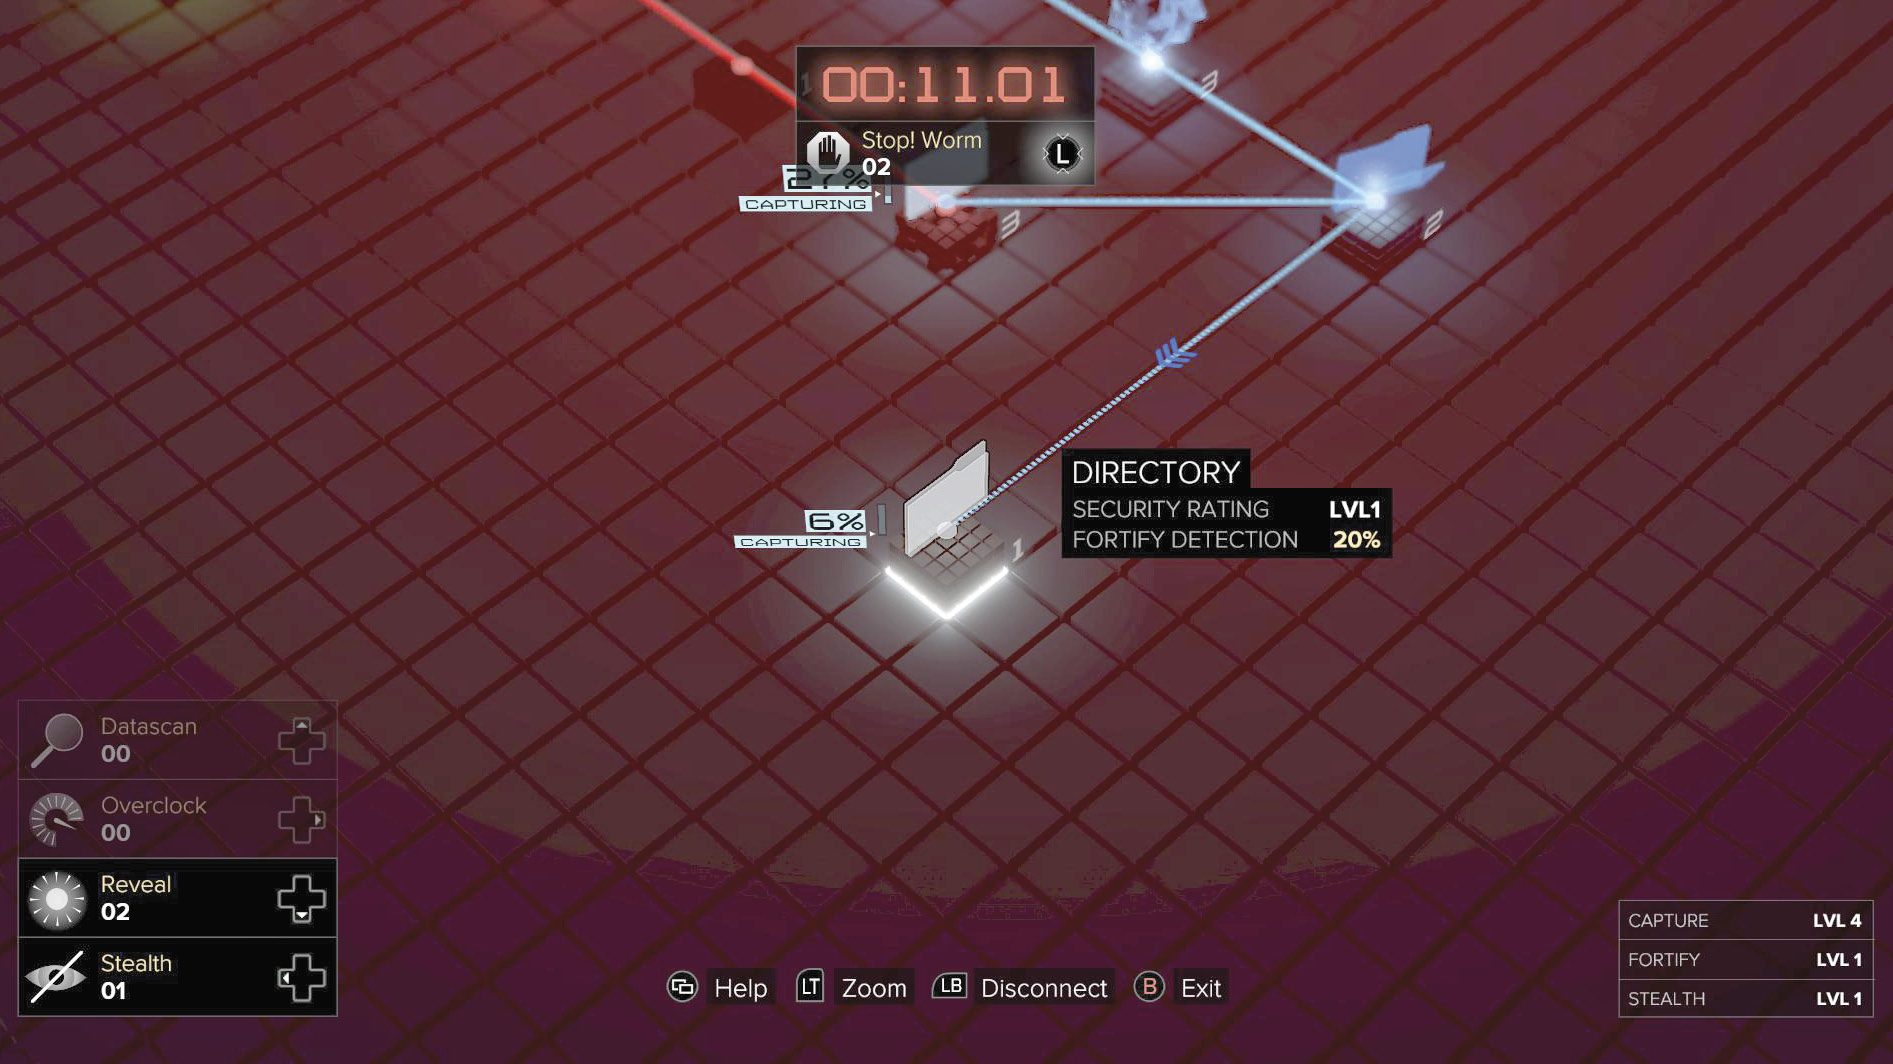
You start with this essential augmentation, and it allows you to break into electronic systems. Hacking is a huge part of the game, but it isn’t required beyond Level 1. Lethal players who don’t care about causing chaos are free to ignore hacking entirely, but stealth players and completionists should pursue this heavily. Hacking gets you XP, additional story information, and makes multiple encounters easier to avoid or defeat!
 Hacking Capture Level 2
|
Effects: Breaches level 2 electronic systems |
|
Energy Consumption: None |
|
Notes: None |
 Hacking Capture Level 3
|
Effects: Breaches level 3 electronic systems |
|
Energy Consumption: None |
|
Notes: This is a good place to stop for players who don’t rely on pure stealth. |
 Hacking Capture Level 4
|
Effects: Breaches level 4 electronic systems |
|
Energy Consumption: None |
|
Notes: None |
 Hacking Capture Level 5
|
Effects: Breaches level 5 electronic systems |
|
Energy Consumption: None |
|
Notes: Go all the way up if you’re pursuing Ghost and Smooth Operator bonuses. |
 Camera Domination
|
Effects: Lets you disable or commandeer cameras |
|
Energy Consumption: None |
|
Notes: Essential for stealthy play. When you get into a security computer, you gain the ability to turn off all associated cameras attached to that device. |
 Turret Domination
|
Effects: Lets you disable or commandeer turrets |
|
Energy Consumption: None |
|
Notes: This extends your domination to turrets. These can often be avoided if you know the layout of a level well. In addition, you won’t want to commandeer a turret because their kills will still count as your kills, thus negating a non-lethal run. |
 Robot Domination
|
Effects: Lets you disable or commandeer Robots |
|
Energy Consumption: None |
|
Notes: Robots are less common and suffer from the same lethality issue as turrets. This is non-essential for stealth and non-lethal players, and is only moderately useful for others because they’re able to combat Robots through many other means. |
 Hacking Fortify
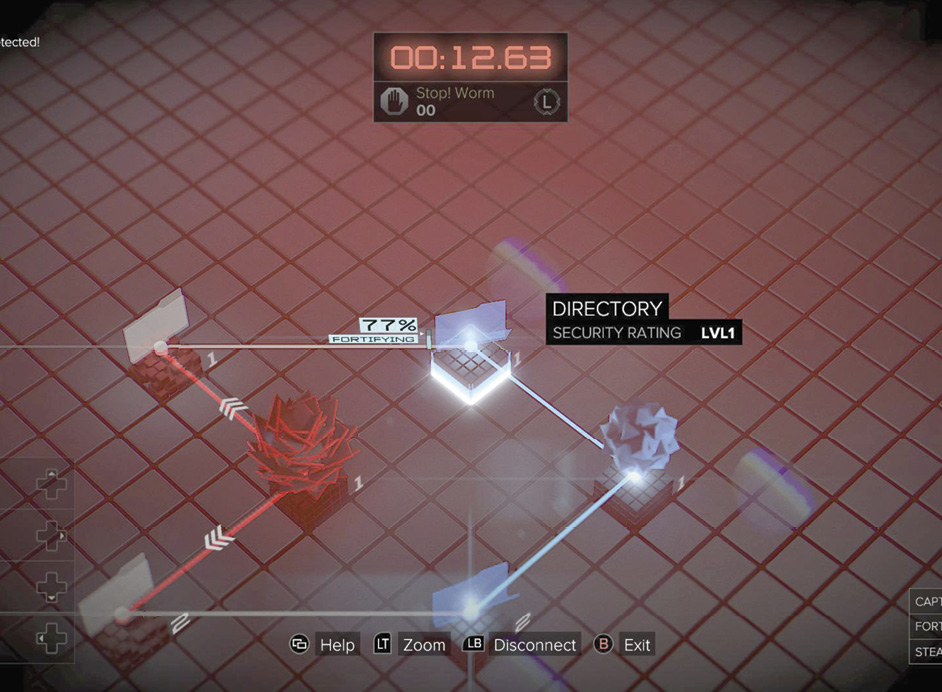
These augmentations let Jensen extend his time inside a terminal after being detected. Fortified nodes take much longer to trace, ensuring that the computer doesn’t have enough time to log him out and trigger an alarm. Though useful for hackers, this line isn’t nearly as powerful or important as both Hacking Capture and Hacking Stealth. Take this group last.
Because you can be detected when you Fortify a node, it’s best to wait and Fortify everything right after the AI starts its trace. That way, you can get as far as possible through pure stealth, and still benefit from slowing the computer if things start to go wrong.
 Hacking Fortify 1.1
|
Effects: Slows traces against the fortified node |
|
Energy Consumption: None |
|
Notes: None |
 Hacking Fortify 1.2
|
Effects: Further slows traces against the fortified node |
|
Energy Consumption: None |
|
Notes: None |
 Hacking Fortify 1.3
|
Effects: Severely slows traces against the fortified node |
|
Energy Consumption: None |
|
Notes: None |
 Hacking Stealth
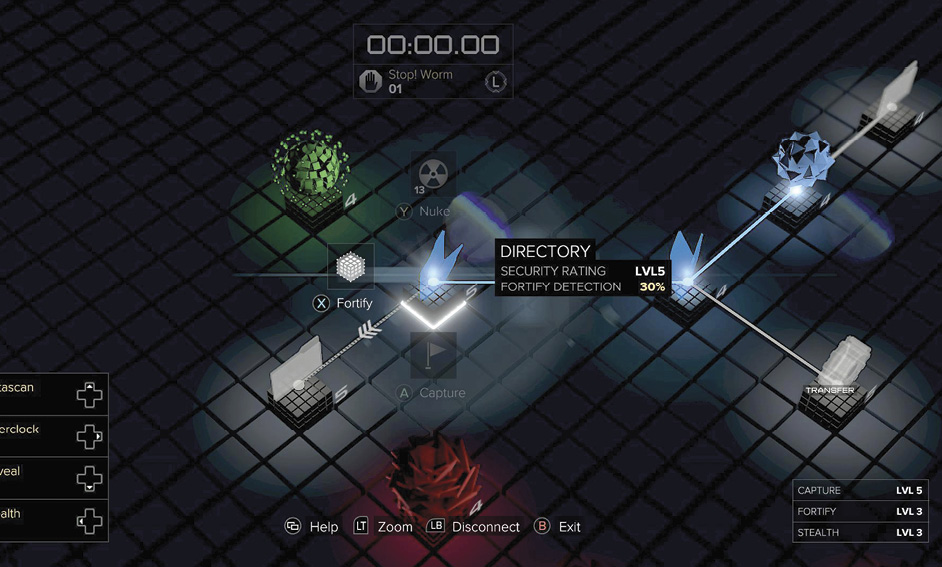
Hacking Stealth is a huge benefit when infiltrating more complex systems. The higher level each node is, the higher a chance that you are going to be discovered when taking control of it. Stealth brings that chance down considerably, so you can defeat better and better security systems without failing and causing an alarm.
There is still an element of luck to hacking. Even with high Stealth, you can fail on your first node and end up getting logged out soon after (with an alarm being raised). That’s why even the best hackers should carry extra software, to ensure that they have some padding when things go wonky.
 Code-Level Rootkit Ver. 1.0
|
Effects: Reduces chance of detection during node capture by 15% |
|
Energy Consumption: None |
|
Notes: None |
 Regenerative Rootkit Ver. 2.0
|
Effects: Reduces chance of detection during node capture by 30% |
|
Energy Consumption: None |
|
Notes: None |
 Polymorphic Rootkit Ver. 3.0
|
Effects: Reduces chance of detection during node capture by 45% |
|
Energy Consumption: None |
|
Notes: Minor hackers or those who reload when they fail at hacking can stop before hitting this tier of Hacking Stealth. Players that don’t reload and really care about exploration should take this all the way up. We suggest getting this by mid-game, at latest, if you’re going to get it at all! |
 Infolink
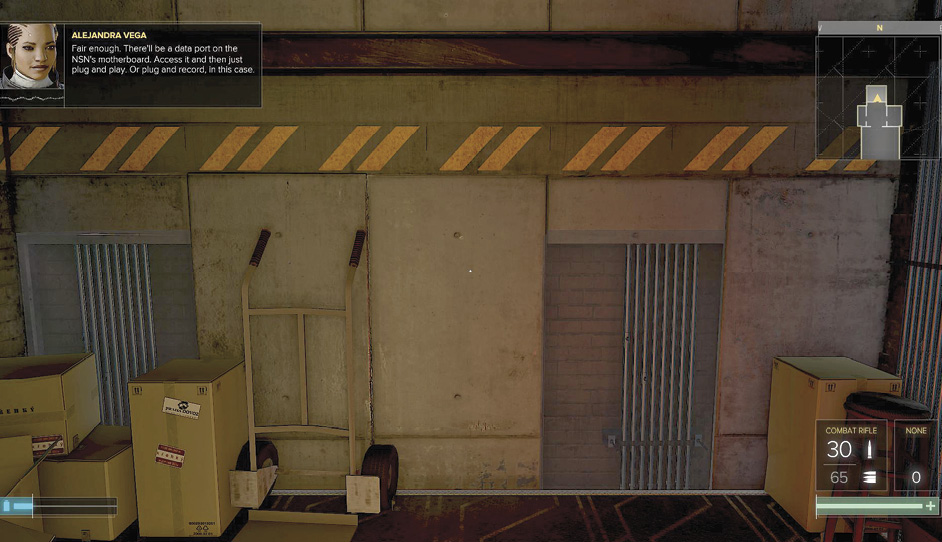
You don’t need to invest in this line of augmentations; they’re built-in and always stay active. Jensen uses these to communicate with the other members of TF29 (and different contacts that he makes throughout the game).
 Stealth Avatar
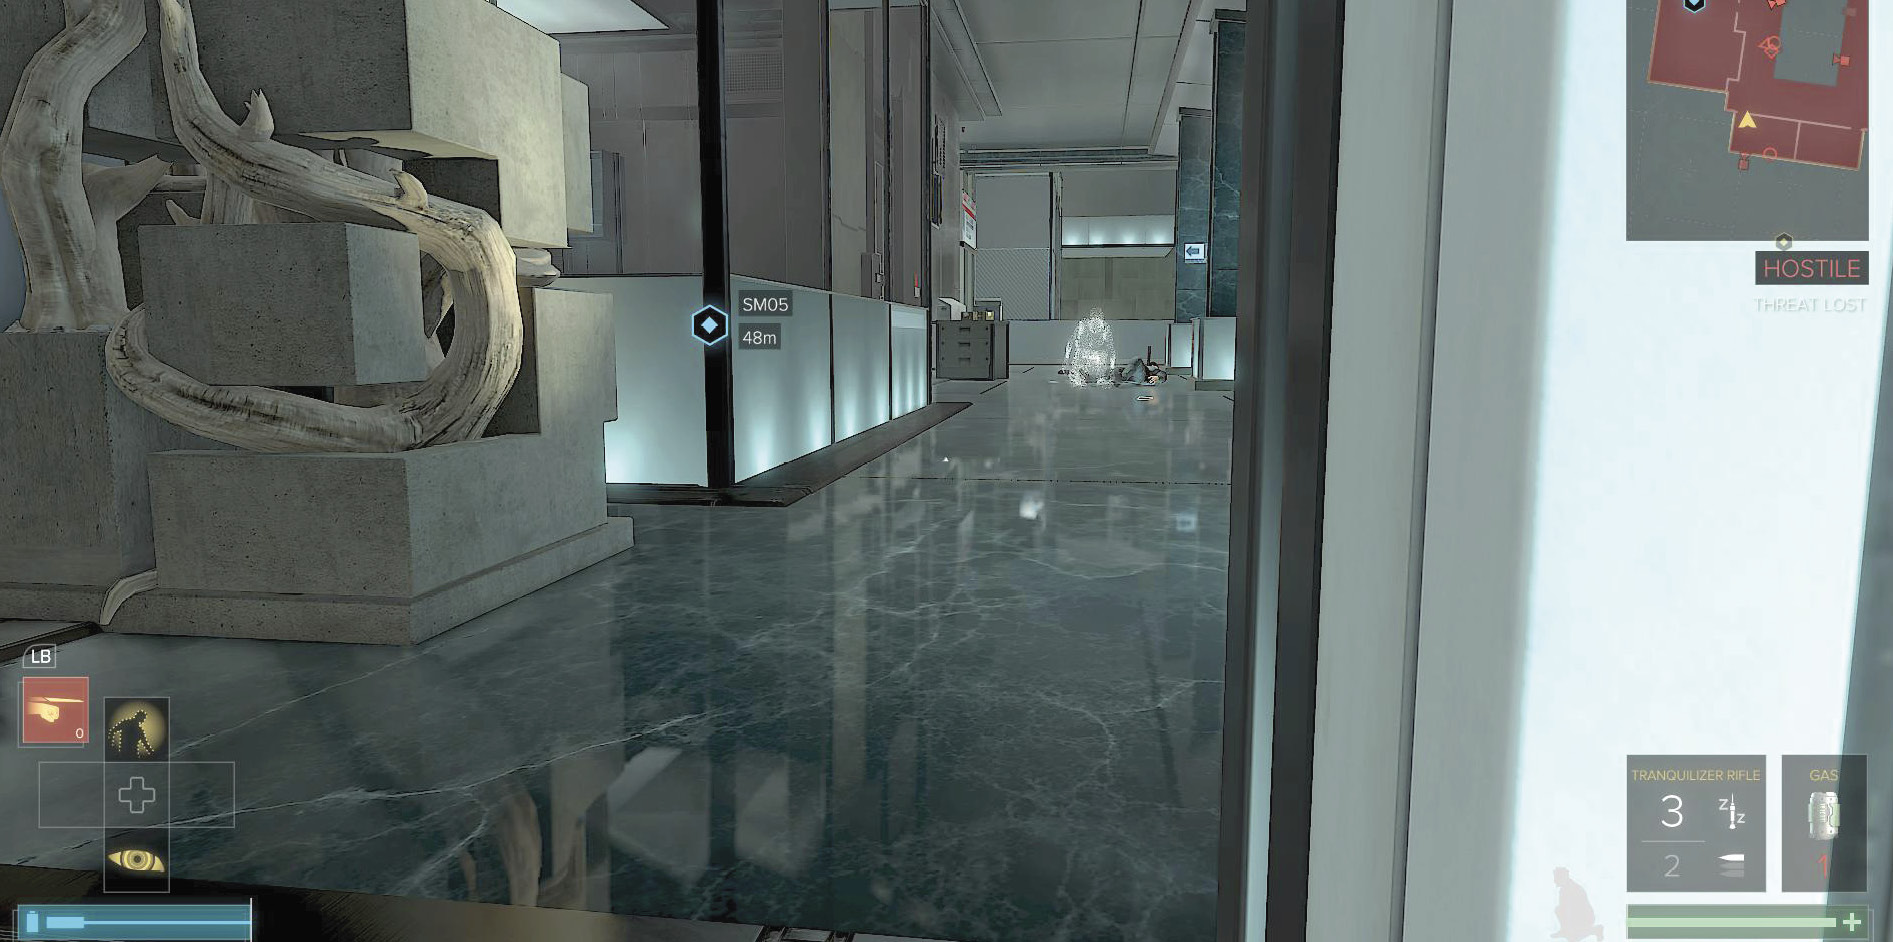
This is another built-in augmentation. It’s a tool that lets you directly see the last place where enemies spotted you, as a way to help get away from pursuers.
 Retinal Imager
|
Effects: Displays your last known position |
|
Energy Consumption: None |
|
Notes: None |
 LiDar Mark-Tracker

Once purchased, this augmentation lets you track targets that have already been spotted. You aim directly at the person to engage the mark-tracker. This puts an icon over their heads, and the system is then able to keep them visible at range. This works even if they go behind walls.
The mark-tracker isn’t necessary for most stealth missions. If you watch your radar well, it’s easy to see where targets are patrolling. This is a modest quality of life improvement for stealthers, but nothing more. Aggressive players shouldn’t consider it, because it won’t be of substantial use to them.
 Base-Grade Mark Antenna
|
Effects: Tracks up to 10 targets |
|
Energy Consumption: None |
|
Notes: None |
 Mid-Grade Mark Antenna
|
Effects: Tracks up to 25 targets |
|
Energy Consumption: None |
|
Notes: None |
 Hi-Grade Mark Antenna
|
Effects: Tracks up to 40 targets |
|
Energy Consumption: None |
|
Notes: None |
 Smart Vision
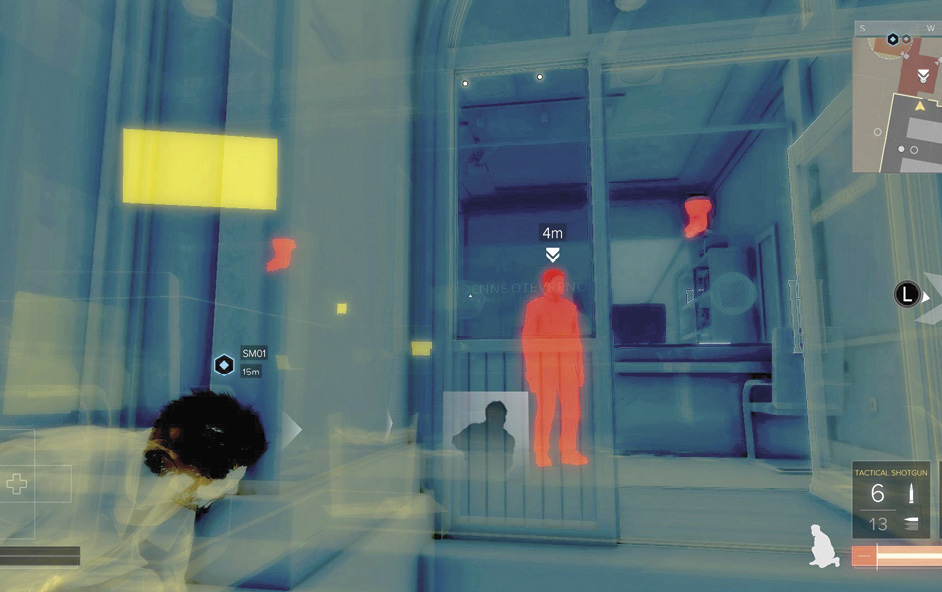
Using Smart Vision, a player can see through walls and figure out where enemies are walking, what they’re doing, and prepare counters to their activities. This is useful for stealth players and combative players. The more experience you have, the less this is a required investment, but it’s never a bad choice.
The farther you go into this line of augmentations, the better it gets. The high energy cost early on makes Smart Vision way too painful to rely on. Once it’s down to low energy use, it becomes very accessible.
 Wall-Penetrating Imager
|
Effects: Locates targets through walls and other solid objects |
|
Energy Consumption: High |
|
Notes: Use this in quick bursts to spot enemies. |
 Rough Transmitter Tuning
|
Effects: Unchanged |
|
Energy Consumption: Medium |
|
Notes: None |
 Fine Transmitter Tuning
|
Effects: Unchanged |
|
Energy Consumption: Low |
|
Notes: If you’re getting Smart Vision at all, go for this level of it! The reduced power consumption is a must-have aspect of the augmentation line. |
 Magpie
|
Effects: Highlights useful items when Smart Vision is on |
|
Energy Consumption: Low |
|
Notes: Some people will argue against taking this, but newer players tend to miss a huge number of good items because they don’t know where to search. Magpie lets you find tons of extra scrap, ammunition, and other goodies. For your first playthrough of the game, this is a very good investment. During replays, you can probably ditch Magpie and rely on your instincts for places to search. |
 Retinal Prosthesis
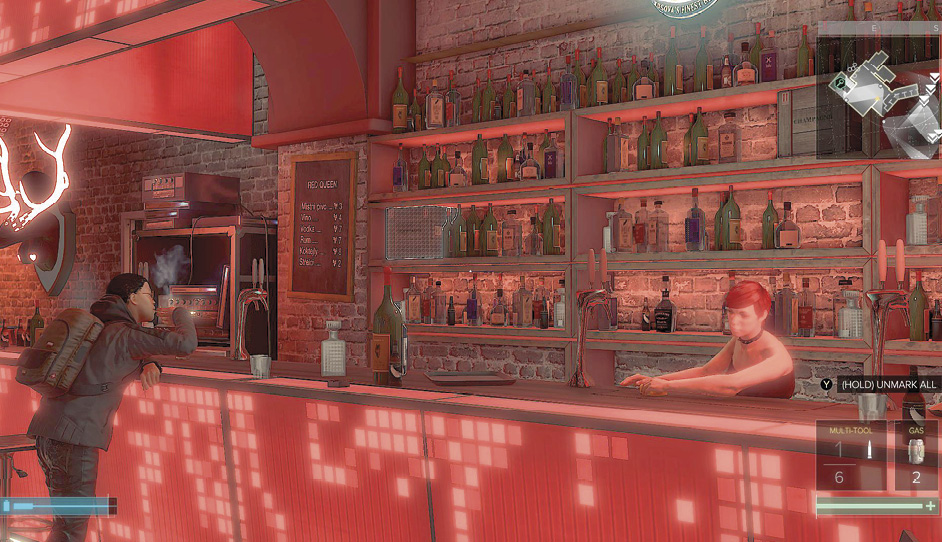
This augmentation is responsible for your HUD. It’s built-in, but has a secondary aug that can be purchased to improve the system. This isn’t particularly important, but combative players might appreciate the flash resistance you gain. Stealthers shouldn’t even worry about it.
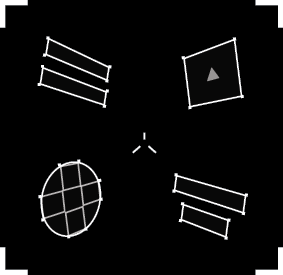 Retinal HUD
|
Effects: Displays the HUD and VR |
|
Energy Consumption: None |
|
Notes: None |
 Flash Suppressant
|
Effects: Prevents the effects of harsh light changes from grenades, explosions, etc. |
|
Energy Consumption: None |
|
Notes: Though a minor benefit in larger battles, this is rarely of major benefit. |
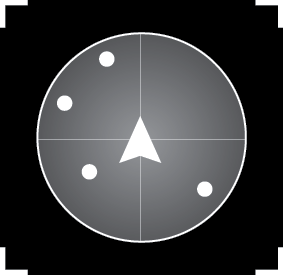 Wayfinder Radar System
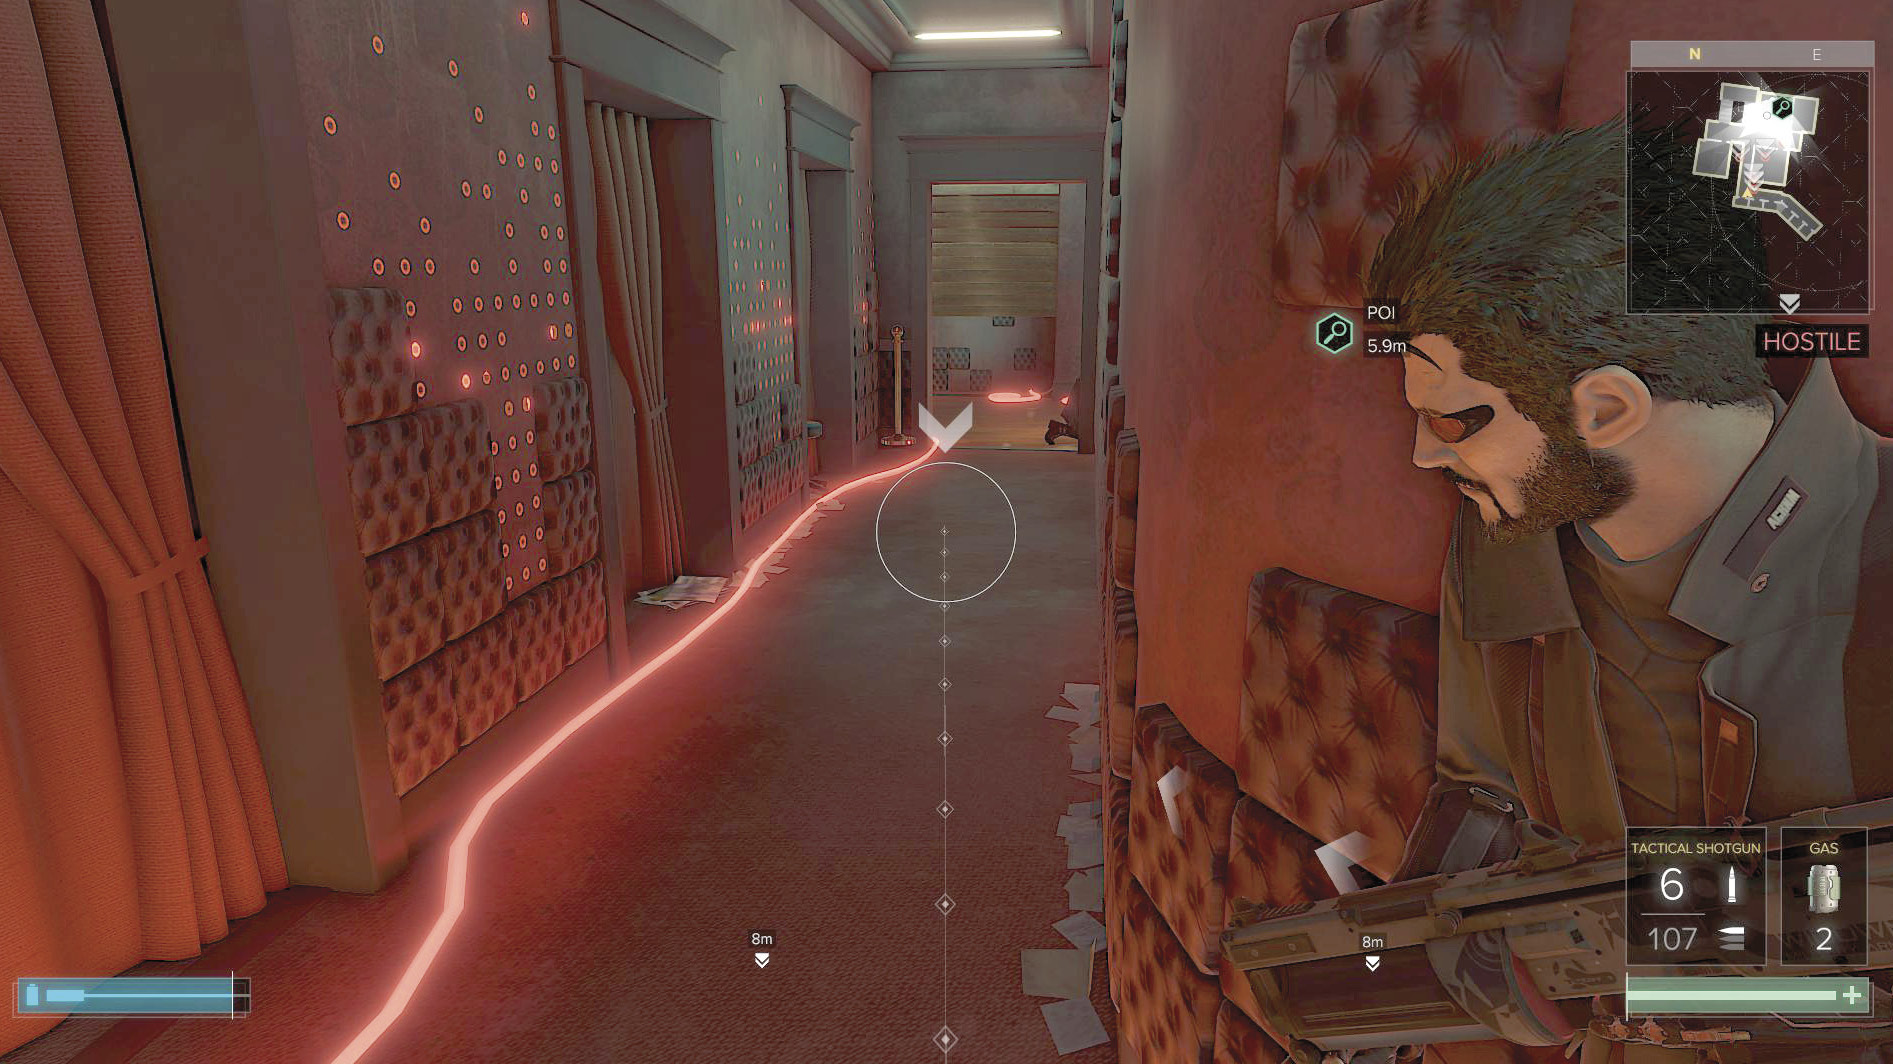
The base level of your radar is built-in, and it’s already extremely powerful. You can see cameras, turrets, drones, robots, and people at a fairly close range around Jensen. You can even tell if they’ve been alerted or not—major benefits. You should pay attention to your radar at all times, as any type of player.
Further investment in the radar system is not mandatory, but it still helps so much. Combative players gain an edge because they can tell where enemies are looking and set up better attacks. Stealthers have an easier time sneaking around active guards and seeing how they look around as they follow their patrol routes.
Though you probably won’t invest in these augmentations in the early game, they are wonderful purchases mid-game.
 Radar Alarm Timer
|
Effects: Displays the amount of time until an alert ends |
|
Energy Consumption: None |
|
Notes: When you see “Search Completion” below your radar, that’s the time until an alert finishes. |
 Topographics
|
Effects: Improves the radar’s display of walls and barriers |
|
Energy Consumption: None |
|
Notes: None |
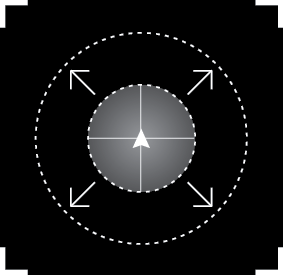 Range Boost
|
Effects: Extends the radar’s range so that your HUD shows way more area around Jensen |
|
Energy Consumption: None |
|
Notes: A minor benefit in combat, but fairly significant benefit in stealth because you can “see” people before they’re able to have an easy line of sight on you. This avoids accidental spottings. |
 Vision Feedback
|
Effects: Displays everything’s field of view on the radar |
|
Energy Consumption: None |
|
Notes: A massive improvement when avoiding turrets, cameras, patrollers, etc. |
 Noise Feedback
|
Effects: Sound waves generate visually on your radar, making it more obvious how loud you are |
|
Energy Consumption: None |
|
Notes: This is not a powerful augmentation. Very early on you learn what alerts people and what doesn’t. Skip this one under most normal circumstances. |
 Sentinel RX Health System
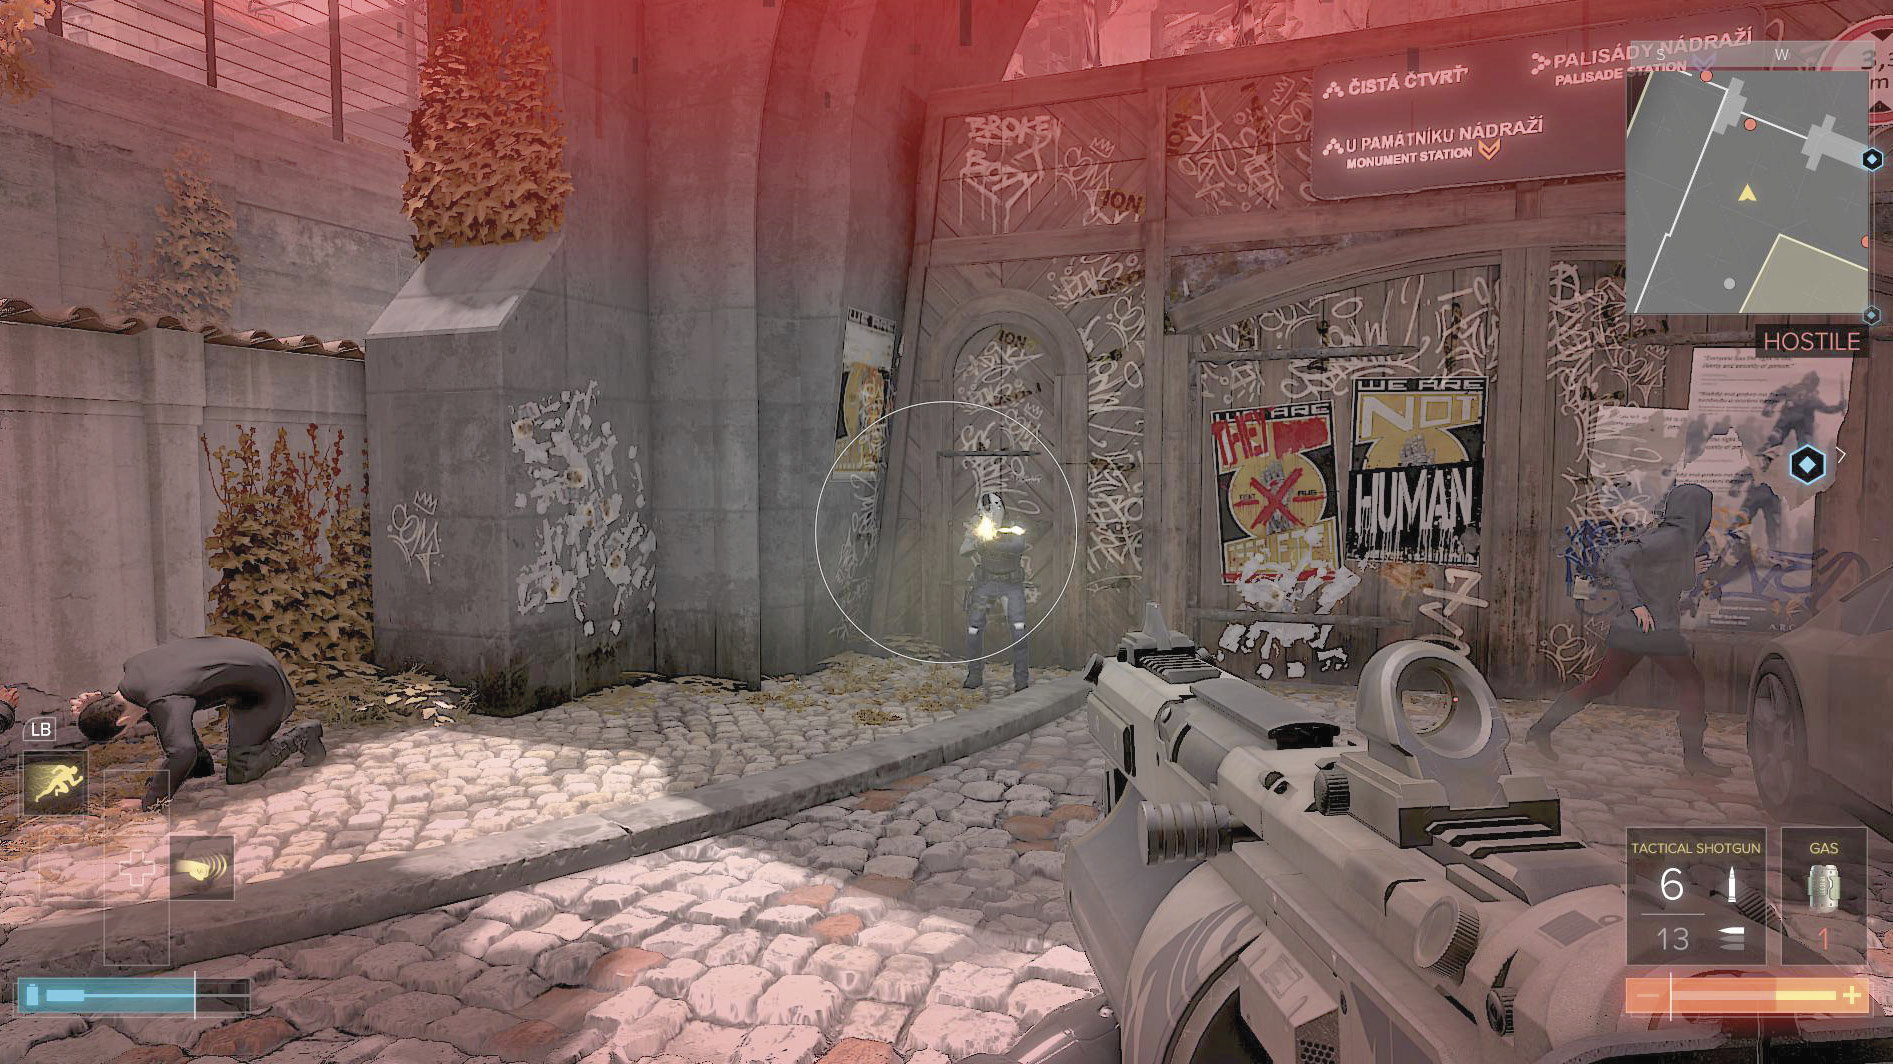
This line is a gem for combative players. With it, you get more health, better health regeneration, and less time between when you take an injury and when you start regaining health. It’s expensive to get all of these, but in time you should get all of them if you like engaging in combat. We suggest getting the Rhino Dermal Armor first if that’s your style of play because it’s cheaper and has a huge benefit for survivability. Then, come over here and make yourself into a living tank.
If you’re picking and choosing carefully, go after maximum health improvements early, and let the regeneration rate and delay wait until later. If you’re hurt but survive, you can always leave battle, hide, and get everything back even with the default augs. Thus, max health trumps both of the other lines. They’re just good to get later.
 Civilian Settings Defib
|
Effects: Regenerates health |
|
Energy Consumption: None |
|
Notes: None |
 Medical Settings Defib
|
Effects: Improves rate of regen |
|
Energy Consumption: None |
|
Notes: None |
 Military Settings Defib
|
Effects: Greatly improves rate of health regeneration |
|
Energy Consumption: None |
|
Notes: None |
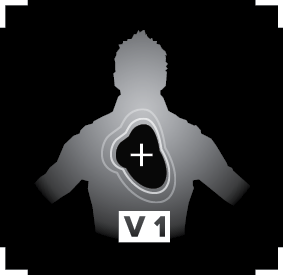 Angiogenesis Protein Therapy
|
Effects: Sets your health to 100 points |
|
Energy Consumption: None |
|
Notes: None |
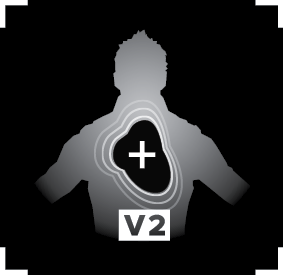 Synthetic Growth Factors
|
Effects: Sets health to 125 |
|
Energy Consumption: None |
|
Notes: None |
 Uninhibited Angiogenesis
|
Effects: Sets health to 150 |
|
Energy Consumption: None |
|
Notes: This is a must-have for all combative players. |
 Factory Regen Delay
|
Effects: Cause a long delay before health regeneration begins |
|
Energy Consumption: None |
|
Notes: None |
 Sentinel Regen Delay
|
Effects: Improves the response time before health regeneration begins |
|
Energy Consumption: None |
|
Notes: None |
 Elite Regen Delay
|
Effects: Dramatically shortens the time before health regeneration begins |
|
Energy Consumption: None |
|
Notes: None |
 Sarif Series 8 Energy Converter
No matter how you play your character, you’re likely to use energy on a regular basis. Jensen’s special weapons, Takedowns, and abilities all require energy to function. This line of augmentations gives you more energy to work with and lets it regenerate faster.
Almost everyone should get these. If you aren’t dying much and can get where you need to go, buy these early as massive quality of life improvements. If you’re dying, get some health and defense first. If you’re unable to get where you need to go, improve your hacking, jumping, lifting, etc.
 Cautious Recharge Rate
|
Effects: The baseline speed for energy restoration |
|
Energy Consumption: None |
|
Notes: None |
 Efficient Recharge Rate
|
Effects: Speeds up energy restoration |
|
Energy Consumption: None |
|
Notes: None |
 Peak Recharge Rate
|
Effects: Maximum energy restoration speed |
|
Energy Consumption: None |
|
Notes: This is probably the best augmentation in the line. Maximum energy is good to have, but players who use it frequently are still going to run out all the time. Having fast regeneration often means the difference between easy Takedown and “Oops, I just got spotted.” The same thing is true when you use Invisibility and many other energy-hungry systems. |
 Standard Capacity Biocells
|
Effects: Your default maximum energy levels |
|
Energy Consumption: None |
|
Notes: None |
 Enhanced Capacity Biocells
|
Effects: Substantially improves your maximum energy levels |
|
Energy Consumption: None |
|
Notes: None |
 Ultra-Capacity Biocells
|
Effects: Gives you maximum energy levels |
|
Energy Consumption: None |
|
Notes: None |
 Safe Recharge Delay
|
Effects: This is the default delay before energy recharging begins |
|
Energy Consumption: None |
|
Notes: None |
 Moderate Recharge Delay
|
Effects: Reduces the energy recharge delay |
|
Energy Consumption: None |
|
Notes: None |
 Quick Recharge Delay
|
Effects: The minimum delay time for energy recharge |
|
Energy Consumption: None |
|
Notes: This has less of an impact compared to buying Peak Recharge Rate. You save a couple of seconds on your recharge time, but Peak Recharge Rate saves way more unless you’re just getting back a tiny amount. We suggest that you buy both, and early! But get Peak Recharge Rate first, and then come here later for the best possible amount of renewable energy. |
 Implanted Rebreather
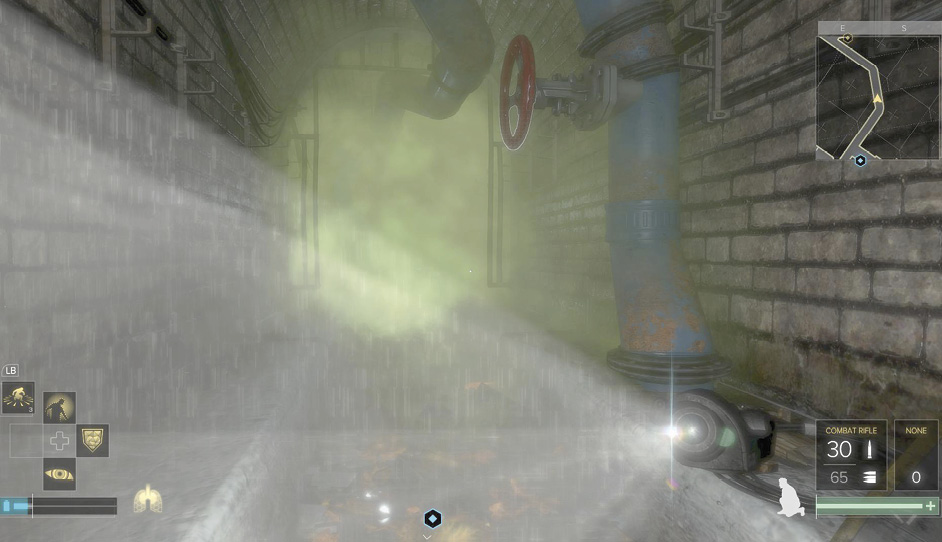
Gas grenades and toxic areas cause Jensen to take damage over time. This augmentation prevents that for a minor cost in energy. Useful at times, this is still not a major part of the game and can get ignored to save on Praxis. You can even use this as an aug to turn off if you’re Overclocking an experimental augmentation.
 Chemical Resistance
|
Effects: Prevents damage over time from toxins |
|
Energy Consumption: Low |
|
Notes: Automatically kicks in and protects you as long as you have energy to power the rebreather |
 Cybernetic Arm Prosthesis
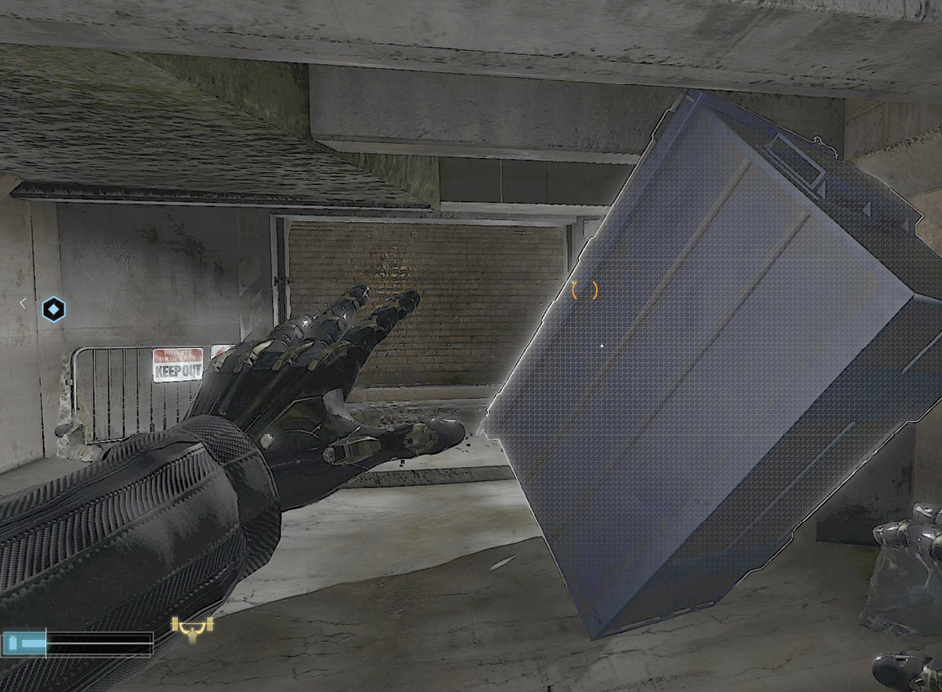
You get several nice options from this line. Some are even built-in, so you don’t have to invest here until there are things that you really need.
These augmentations give you the ability to punch through walls, engage in instant Takedowns, throw heavy objects, and carry a huge amount of weight. The optional augs are all useful. Optimized Musculature is at the top of the list for stealth players, because they sometimes need to move heavy items when accessing hidden areas. Combative people should look more into the inventory improvements, because these players frequently need more weaponry and ammo.
 Punch Through Wall
|
Effects: You can break through damaged walls |
|
Energy Consumption: Medium |
|
Notes: Look for cracked areas along a wall so that you can spot vulnerable sites. Doing this makes a fair bit of noise, so don’t do it when guards are close by. |
 Instant Takedown
|
Effects: Knocks out almost any target (can be used to kill instead) |
|
Energy Consumption: Medium |
|
Notes: This aug’s importance cannot be overstated. For combative players it allows you to instantly drop anyone who gets too close to you. For stealthers, this is the number one way to take enemies out without killing them or making any substantial noise. |
 Optimized Musculature
|
Effects: You gain the ability to lift and throw heavy objects |
|
Energy Consumption: None |
|
Notes: Not really useful in a fight, but very nice for finding different ways to infiltrate buildings. |
 Carry Capacity: 70 KG
|
Effects: Your base carrying capacity |
|
Energy Consumption: None |
|
Notes: None |
 Carry Capacity: 90 KG
|
Effects: Expands your inventory |
|
Energy Consumption: None |
|
Notes: None |
 Carry Capacity: 110 KG
|
Effects: Maximum inventory size |
|
Energy Consumption: None |
|
Notes: A decent mid- to late-game purchase, especially for combative players. |
 Cybernetic Weapon Handling
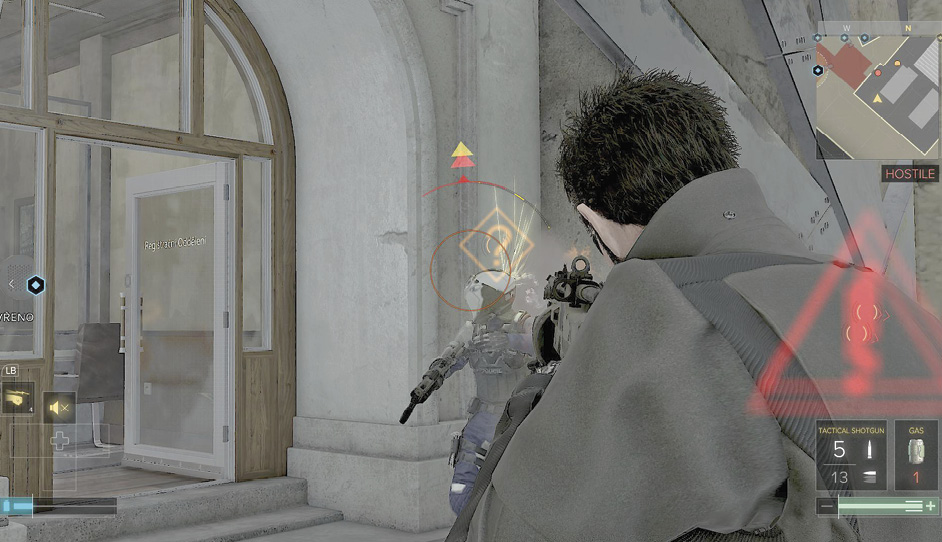
If you’re a stealth player, then walk right by. This augmentation line is built for major combat. Aiming, recoil, and reloading are all improved with these augs. The more fighting you do, the more important this becomes. For heavy fighters, we suggest getting survivability first, these augs second, and then start to invest in fun/experimental options.
 Standard Aim Stability
|
Effects: Baseline accuracy |
|
Energy Consumption: None |
|
Notes: None |
 Marksman Aim Stability
|
Effects: Improves your aim |
|
Energy Consumption: None |
|
Notes: None |
 Sharpshooter Aim Stability
|
Effects: Maximum aim |
|
Energy Consumption: None |
|
Notes: Helps considerably with run-and-gun styles of play. Useful for a wide range of weaponry. |
 Factory Recoil Compensation
|
Effects: Base recoil value |
|
Energy Consumption: None |
|
Notes: None |
 Drill Recoil Compensation
|
Effects: Lowers recoil |
|
Energy Consumption: None |
|
Notes: None |
 Field Recoil Compensation
|
Effects: Minimized recoil |
|
Energy Consumption: None |
|
Notes: This purchase is very good when using fully automatic weapons. Sharpshooter Aim Stability is better to get first. This can usually wait, because ammo is somewhat scarce and you don’t usually need to spray down entire rooms. |
 Base Reload Speed Dexterity
|
Effects: Controls reload speed |
|
Energy Consumption: None |
|
Notes: None |
 Medium Reload Speed Dexterity
|
Effects: Lowers reload speed |
|
Energy Consumption: None |
|
Notes: None |
 High Reload Speed Dexterity
|
Effects: Minimum reload speed |
|
Energy Consumption: None |
|
Notes: Non-essential for the majority of players. You can reload from cover anyway, and it’s rare that this is going to make a difference in your combat outcomes. |
 Icarus Landing
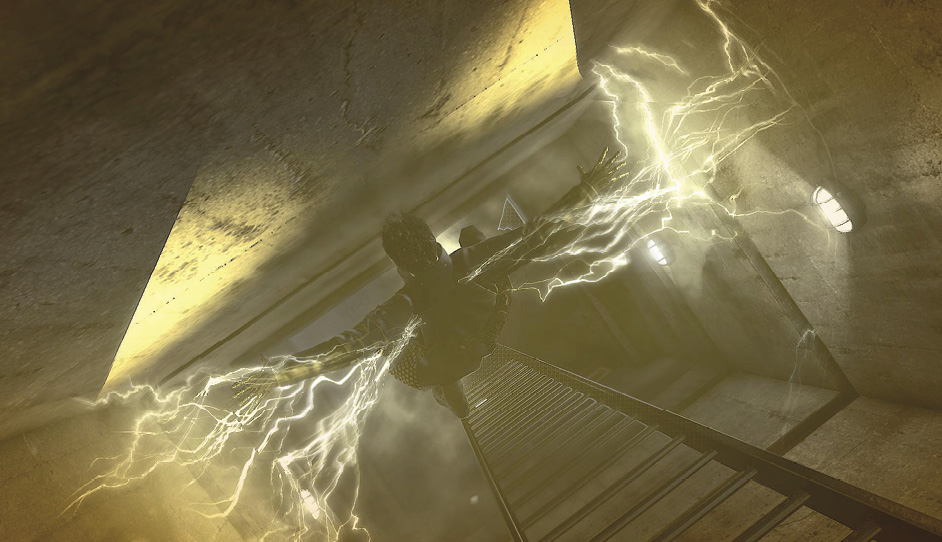
A huge quality of life improvement for Jensen. Though you can always find a safe way down in each area, this aug prevents accidental deaths, lets you get down into lower areas quickly, and even has minor combative elements. Once you can spare a couple of Praxis, this becomes a nice/fun choice.
 Descent Velocity Modulator
|
Effects: Avoids fall damage and can knock out anyone beneath Jensen as he lands |
|
Energy Consumption: None |
|
Notes: None |
 Quicksilver Reflex Booster
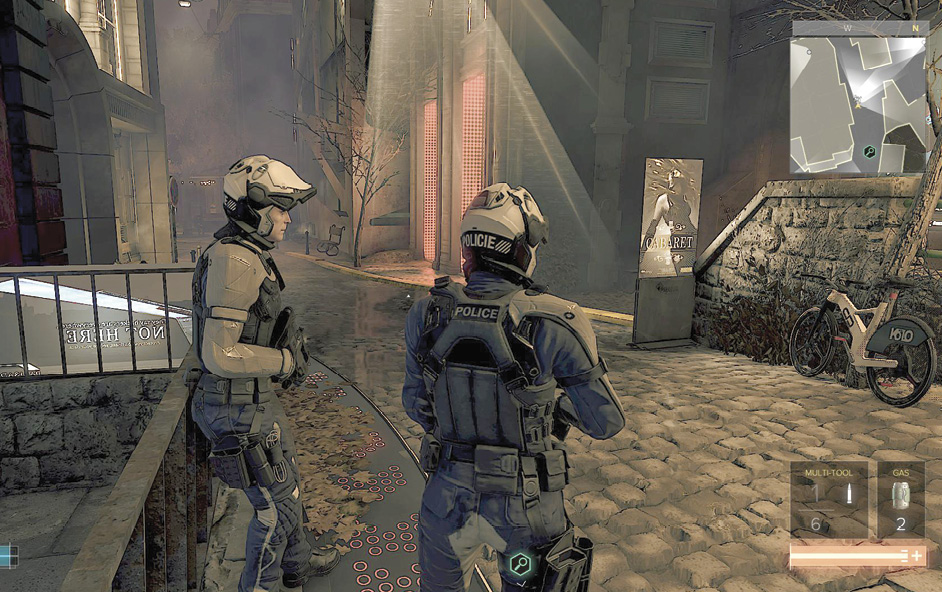
Multi-Takedowns are good for XP. They also look flashy and are fun to pull off. However, you won’t get too many opportunities for these attacks, and stealth players might get nervous about setting them up. It’s easier to wait for guards to go their own way and then ambush. However, interrupting people’s conversations with instant knockouts never gets old.
If you’re willing to get Glass-Shield Cloaking and Quicksilver Reflex Booster, you can get the XP, the fun, and still score your Ghost runs.
 Multiple Takedown
|
Effects: Engages Takedowns on two adjacent targets |
|
Energy Consumption: Medium |
|
Notes: None |
 Typhoon
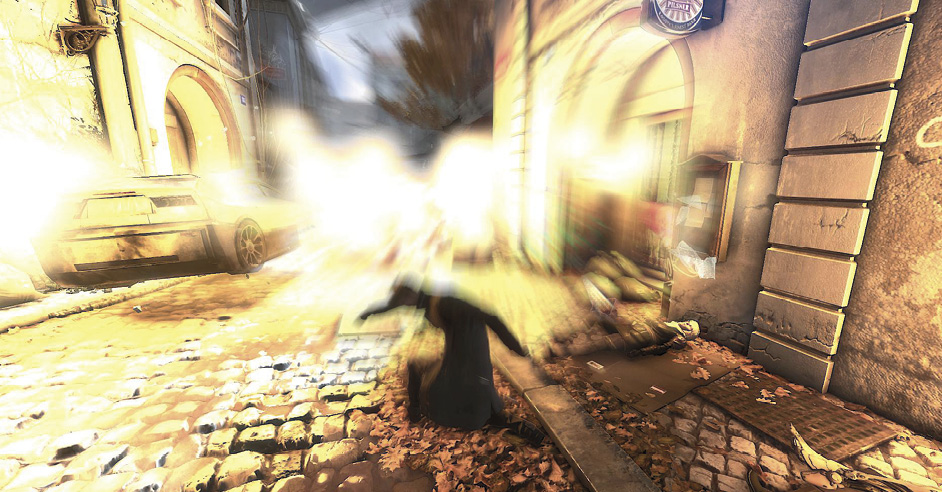
Creates a circle of destruction around Jensen. Depending on the system that you choose, this can be lethal or non-lethal. Still, we suggest that you take the lethal version of Typhoon if you invest in this augmentation at all. Typhoon is not a good stealth weapon anyway. It’s more of a dash in and take out your enemy’s augmentation. People are going to see you, so stealthers will prefer a more subtle approach.
 Lethal Configuration
|
Effects: Deals lethal damage over a wide area |
|
Energy Consumption: None |
|
Notes: Requires ammo to use |
 Stun Configuration
|
Effects: Has a similar area of effect but causes non-lethal damage |
|
Energy Consumption: None |
|
Notes: Requires ammo to use |
 Munition Loadout Selection
|
Effects: Lets you select the Typhoon system you prefer |
|
Energy Consumption: None |
|
Notes: None |
 Glass-Shield Cloaking
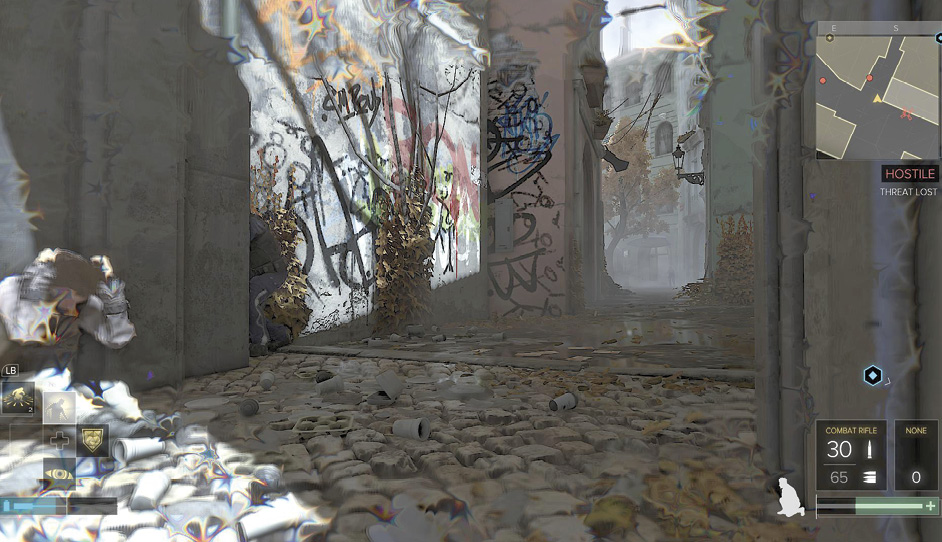
This is the apex of stealth augs. You gain the ability to turn invisible once you have this installed. It’s energy hungry, and you still make sound unless you also engage Leg Silencers. Despite these problems, it’s still incredible for getting you past a number of tricky spots. Areas that might take 10 minutes of careful stealth work and Takedowns can be wandered past without setting off any alarms. For combat, it’s tepid. Too costly. For stealth, though, this is heaven.
 Discreet Power Processing
|
Effects: Turns your character Invisible |
|
Energy Consumption: High |
|
Notes: None |
 Improved Cloaking Energy Use
|
Effects: Lowers the energy cost of Invisibility |
|
Energy Consumption: Medium |
|
Notes: None |
 Optimized Cloaking Energy Use
|
Effects: Minimal energy use when using Invisibility |
|
Energy Consumption: Low |
|
Notes: If you invest in this line at all, you’re obviously going to get this improvement. Invisibility is too expensive to use frequently until you get it! |
 Cloaked Takedown Support
|
Effects: You stay invisible during Takedowns |
|
Energy Consumption: Low |
|
Notes: This sounds amazing for your stealth missions, but it’s not as important as it looks. You don’t use Invisibility to set up Takedowns. You use that ability to sneak through areas that are too well patrolled for easy Takedown work. Otherwise, you’d just use Takedowns in the first place. Even if you stay Invisible, people in those chokepoints are going to notice their buddies getting attacked. It’s easier to sneak somewhere safe and then lure people over for Takedowns if that’s what you’re going for. |
 Rhino Dermal Armor
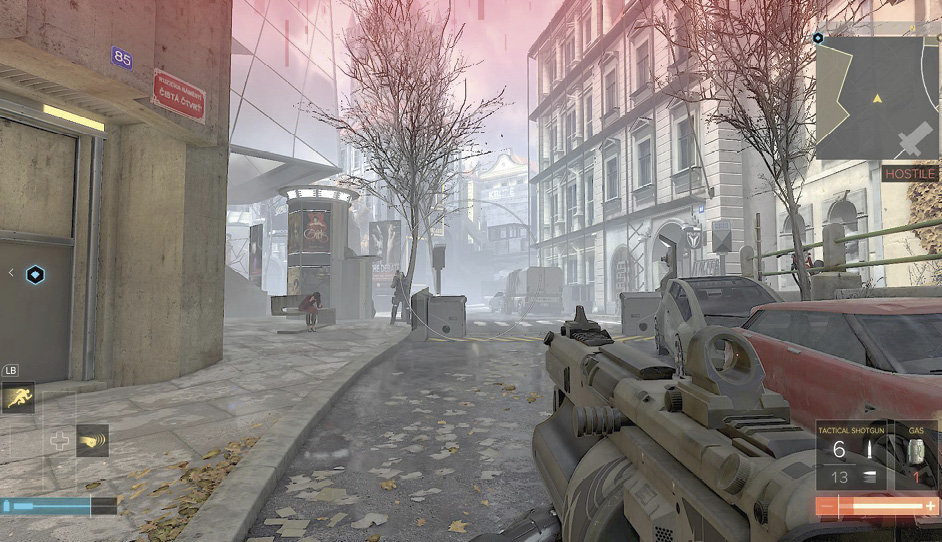
Heavy combative players need to get this as soon as possible. Enemies do way too much damage throughout the game to fight openly unless you take this. It doesn’t cost any energy, and you don’t need to engage anything. This just makes you tougher to kill, hands down. It’s more powerful than health improvements, but it synergizes with them. Take this, then get more maximum health and watch as enemies lose the ability to kill you without tons of firepower and time.
 Base Reduction Settings
|
Effects: Reduces physical damage |
|
Energy Consumption: None |
|
Notes: None |
 Improved Reduction Settings
|
Effects: Further improves damage resistance |
|
Energy Consumption: None |
|
Notes: None |
 Mastered Reduction Settings
|
Effects: Maximum physical resistance to damage |
|
Energy Consumption: None |
|
Notes: Only stealthers can afford to ignore this augmentation. |
 Electromagnetic Pulse Shielding
|
Effects: Prevents the negative effects of electricity and EMP weaponry |
|
Energy Consumption: Low |
|
Notes: EMP grenades becomes more commonplace in the late game. Combative players may want to pick this up then. It will be inexpensive because you already have the rest of the augmentation line. It’s not a must-have, but it allows you to stay behind cover even when people try to grenade you out of it. |
 Cybernetic Leg Prosthesis
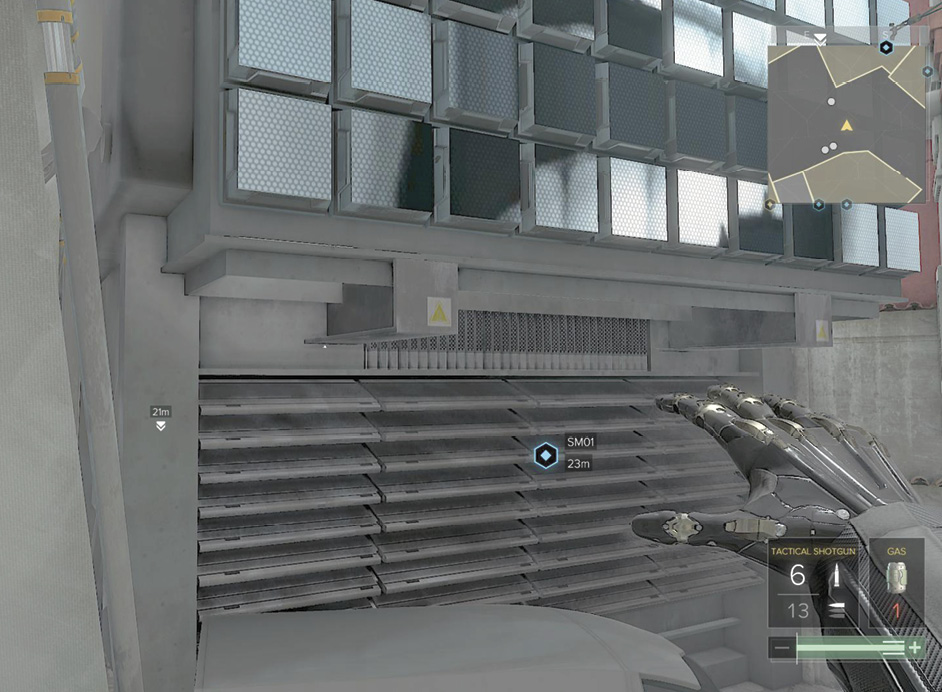
You can jump really high after you unlock this. It’s not super important for combative killers, but it’s a must-have for stealth players and explorers. There are many side routes that require you to jump high, so this is just the cost of doing business for many people.
You also get access to Leg Silencers later in the line. These allow for faster stealth work. They’re not essential because you can always crouch to minimize your sound footprint. But, Leg Silencers and Invisibility can be combined. This is a stealth dream because you’re able to sprint through areas without being noticed.
 Klipspringer Jump Mod
|
Effects: Jump very high |
|
Energy Consumption: None |
|
Notes: Hold the Jump button to go as high as possible. |
 Leg Silencers
|
Effects: Stops the noise from all of your movements |
|
Energy Consumption: Medium |
|
Notes: None |