Deus Ex: Mankind Divided Guide DLC A Criminal Past DLC
Find Agent Guerrero
Objectives
|
Optional: Give the altered Biocell to Red Shoes OR consume the altered Biocell |
|
Find Guerrero (Oscar Mejia) in Cellblock B |
|
Enter Solitary Confinement |
Overview
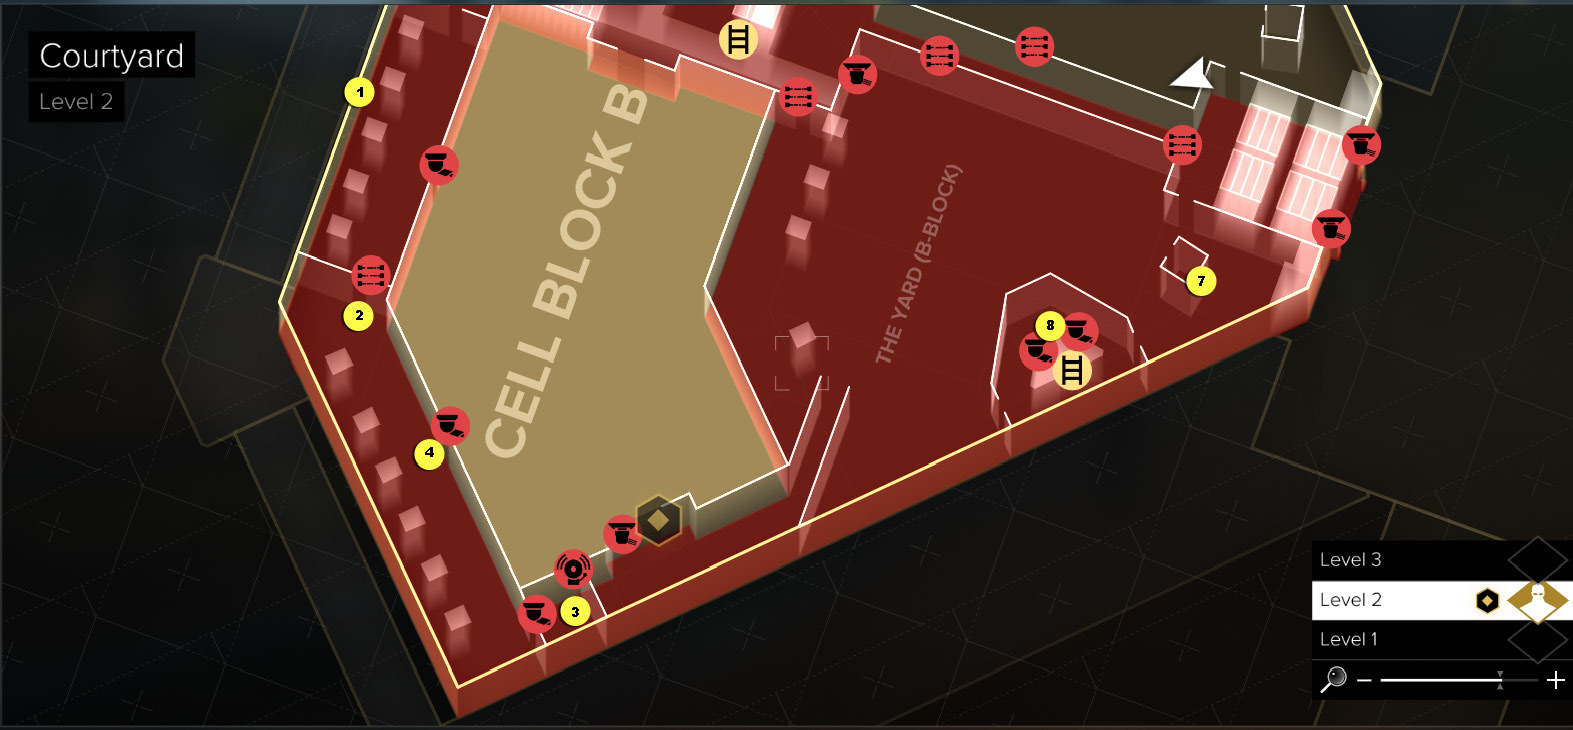
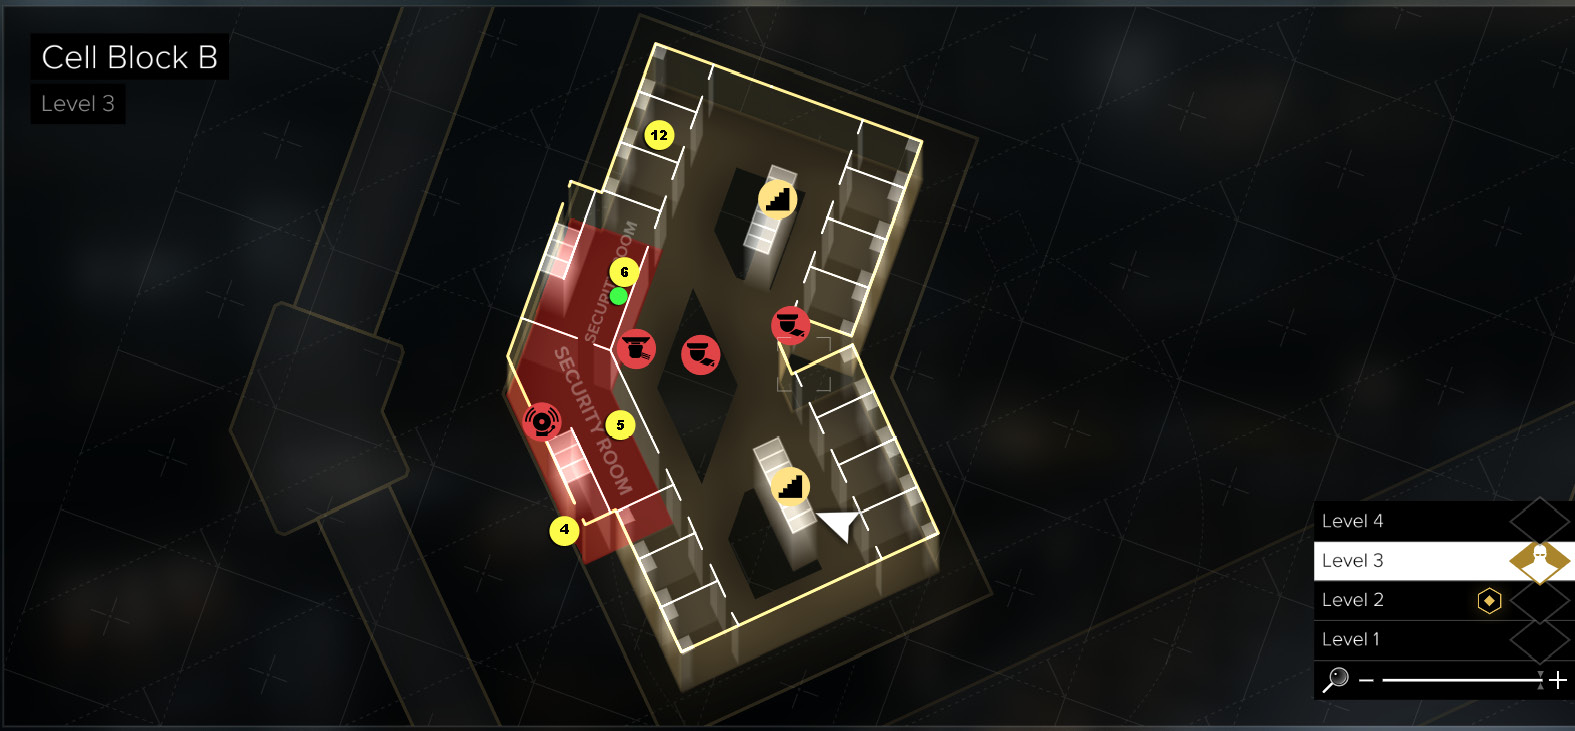
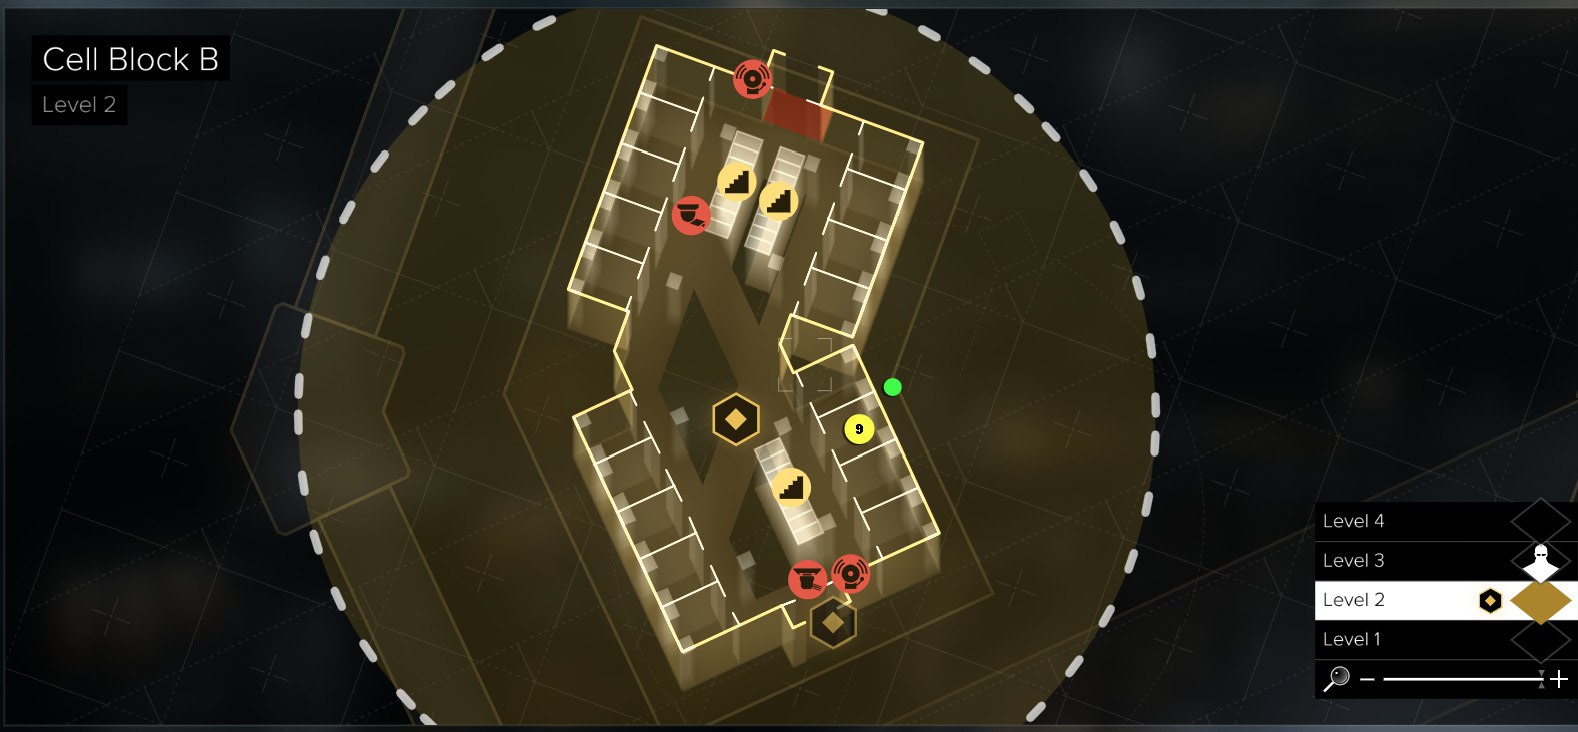
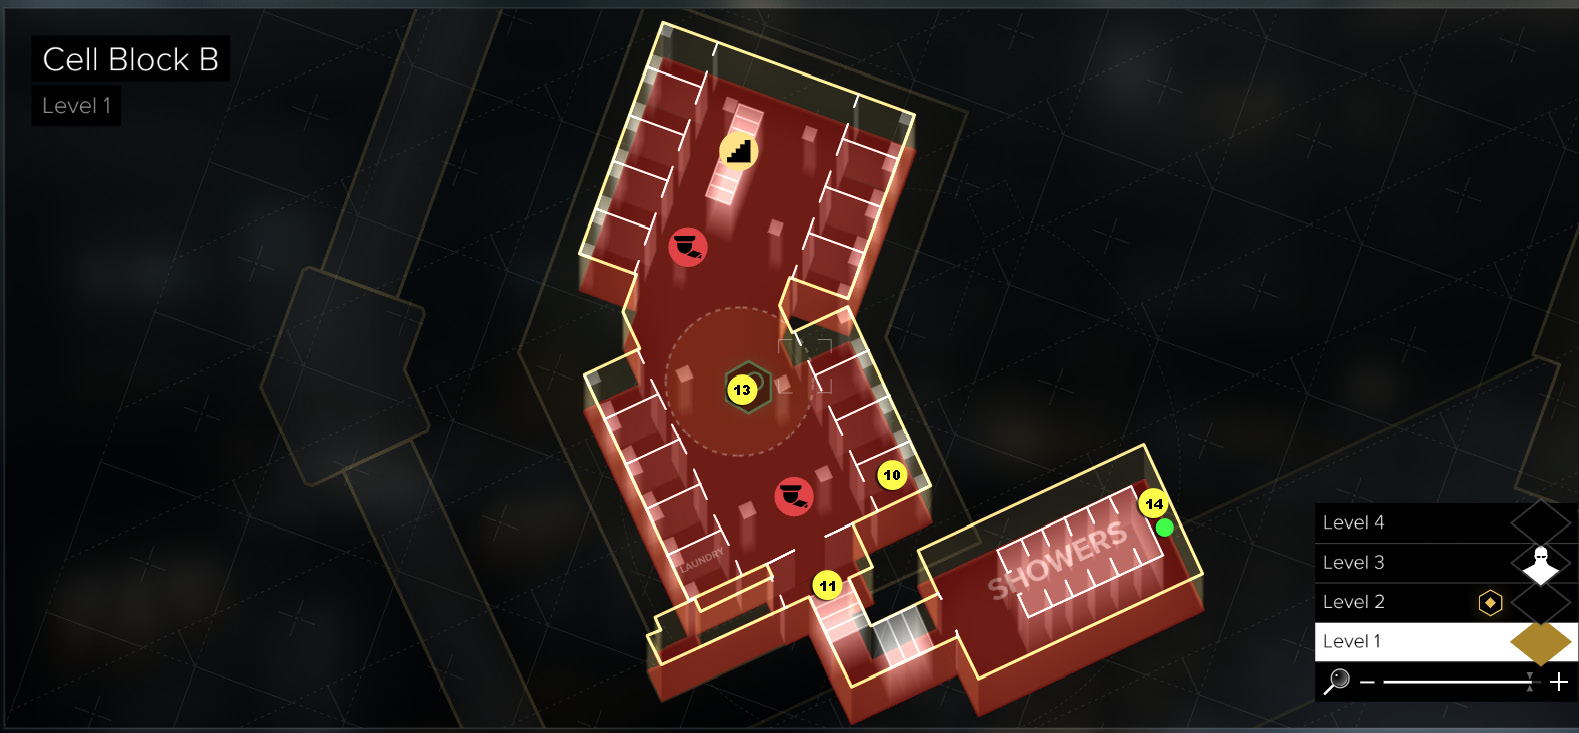
Map Legend
|
1: Block corridor |
|
2: Security gate |
|
3: Block Corridor Security terminal (sniper on roof) |
|
4: Security Office (back entry) |
|
5: Block B Security terminal |
|
6: Praxis Kit (after prison revolt) |
|
7: Cool-off cage (Red Shoes) |
|
8: Guard Tower 02 |
|
9: Cell B-204 (secret panel) |
|
10: Supply Room |
|
11: Shower Room |
|
12: Cell B-317 (open after prison revolt) |
|
13. Sentry bot (find Hacking Device) |
|
14: Fallen prisoner (after prison revolt) |
|
[BLUE CIRCLE] = EBook |
|
[GREEN CIRCLE] = Praxis Kit |
Get to Cell Block B: Disable the Block Corridor Cameras
While keeping an eye out for the security camera and a lone patrolling guard, stay in cover as you sneak from strut to strut down the corridor (1) past the first B-Block Security Office entrance. When you reach the last strut next to the laser gate (2), wait until the patrolling guard approaches. When she reaches the gate, the lasers automatically disable. Wait until the guard turns away and stands with her back to the gate, then sneak through the disabled gate behind her for a takedown.
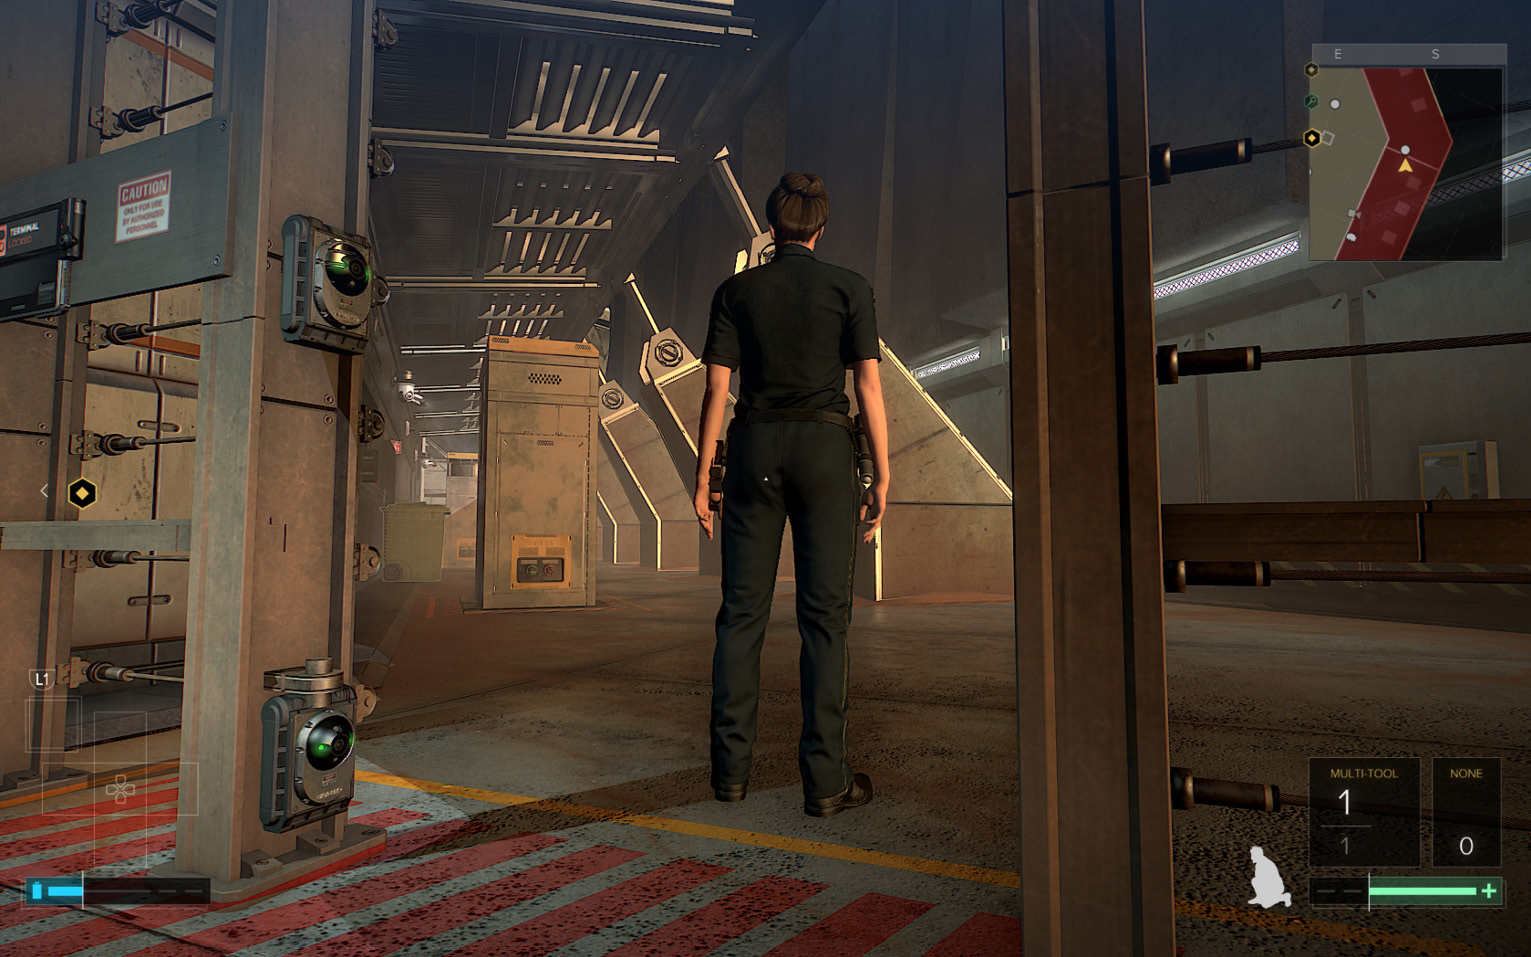
Now you can use the next row of struts as cover; go past the security camera above the second B-Block Security Office door. Keep going until you reach the strut directly across from the small guard room (3) at the far end of the alley. Careful! Note that there’s a sniper on the roof (circled in our shot) directly above the door and he’s facing your direction.
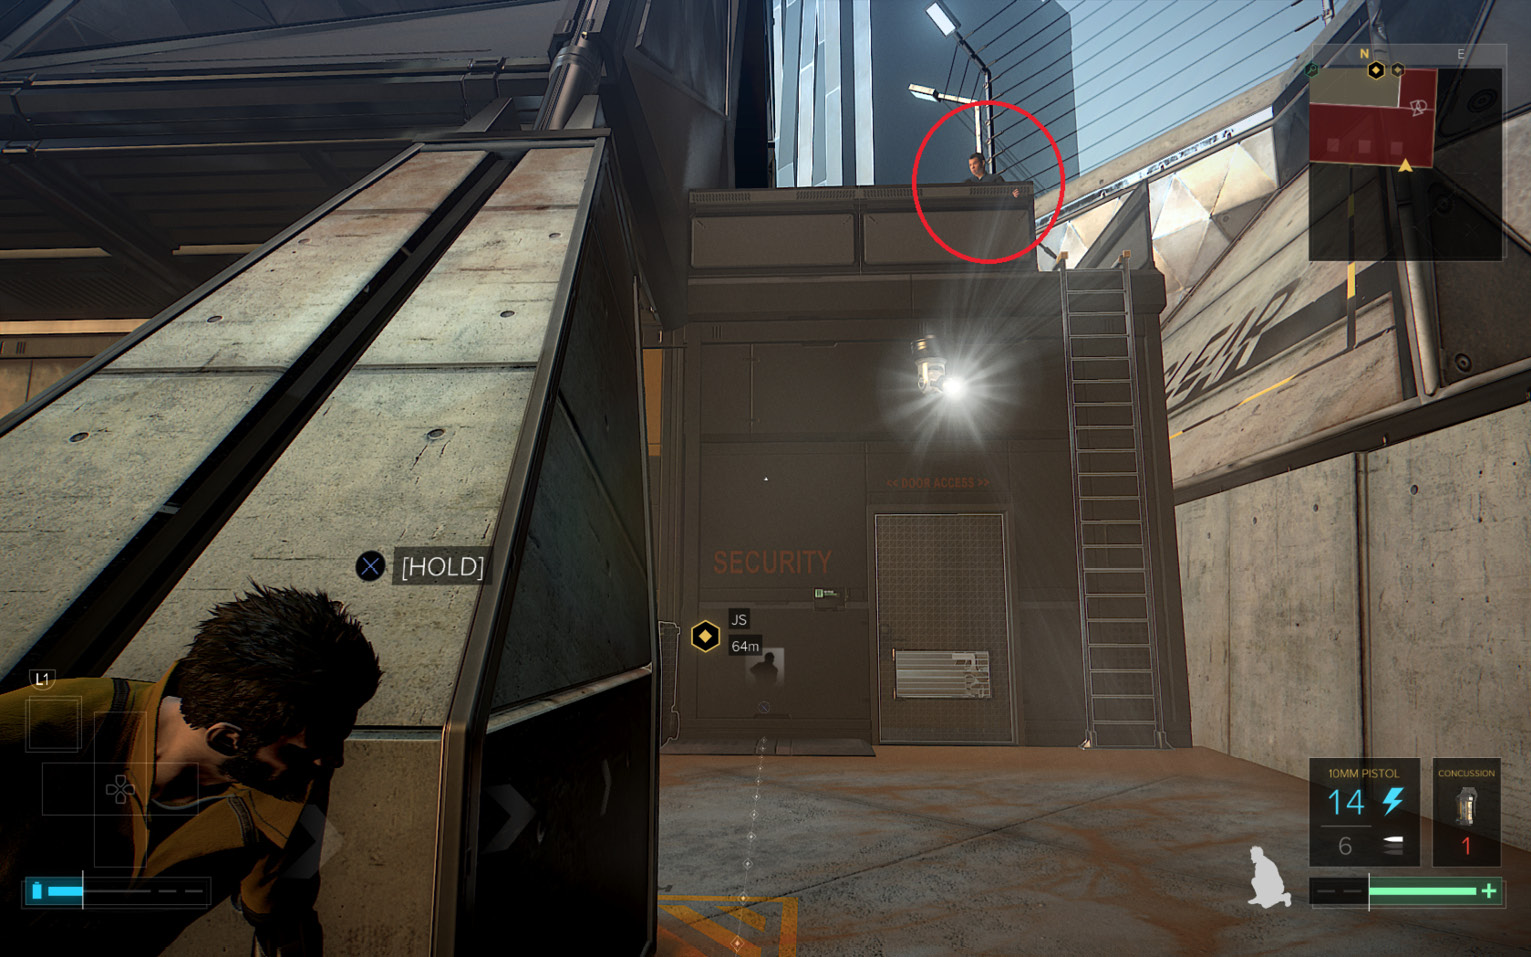
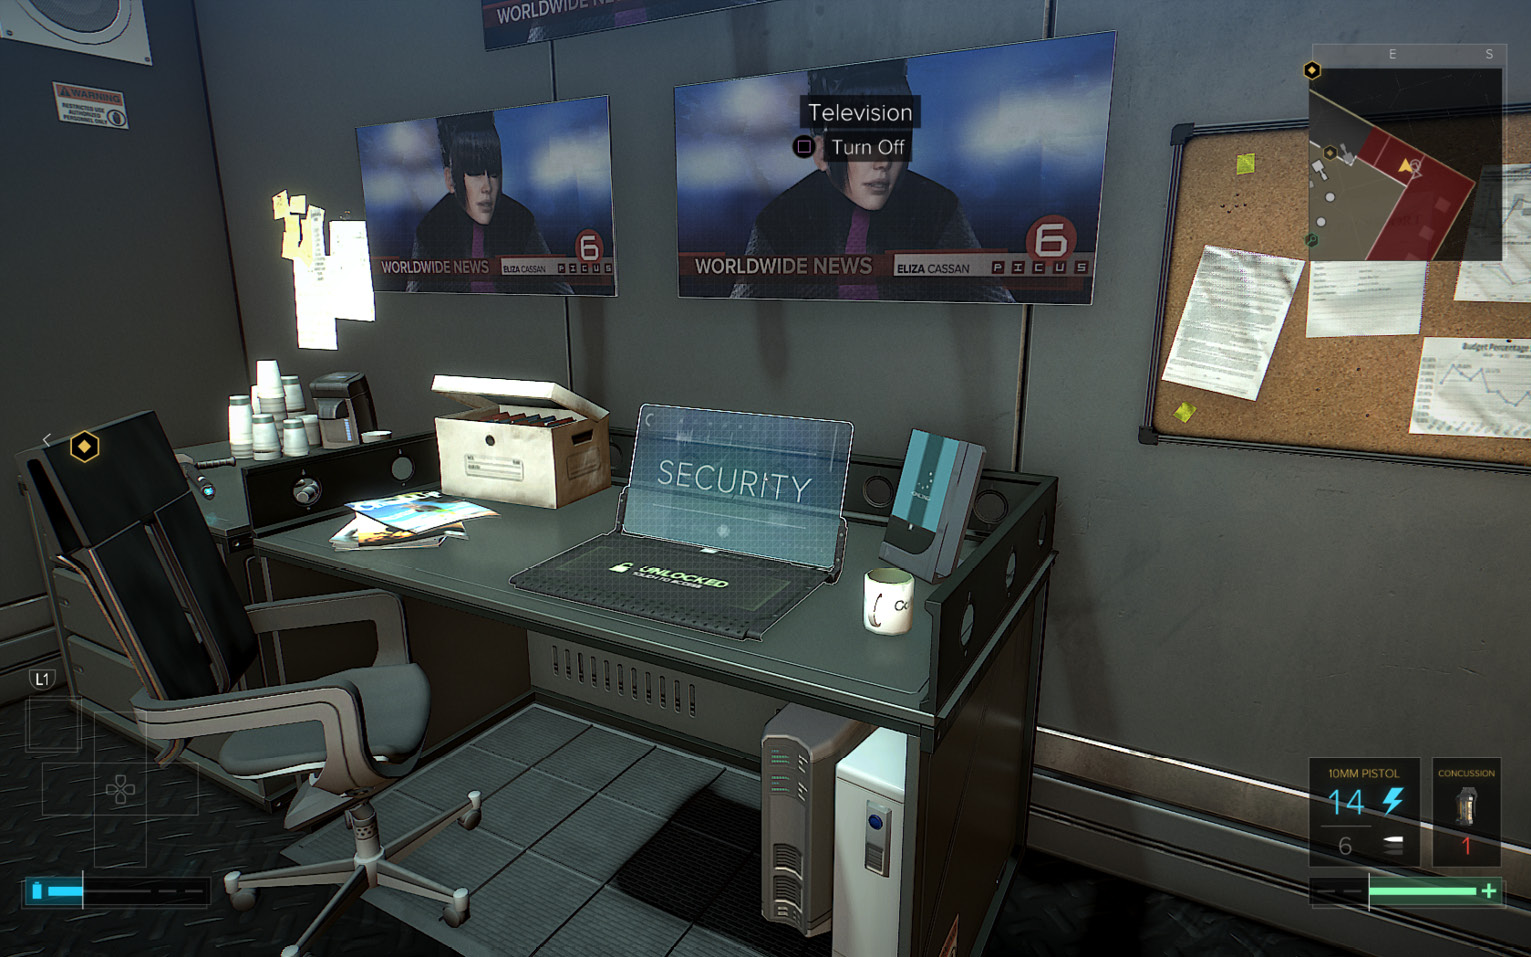
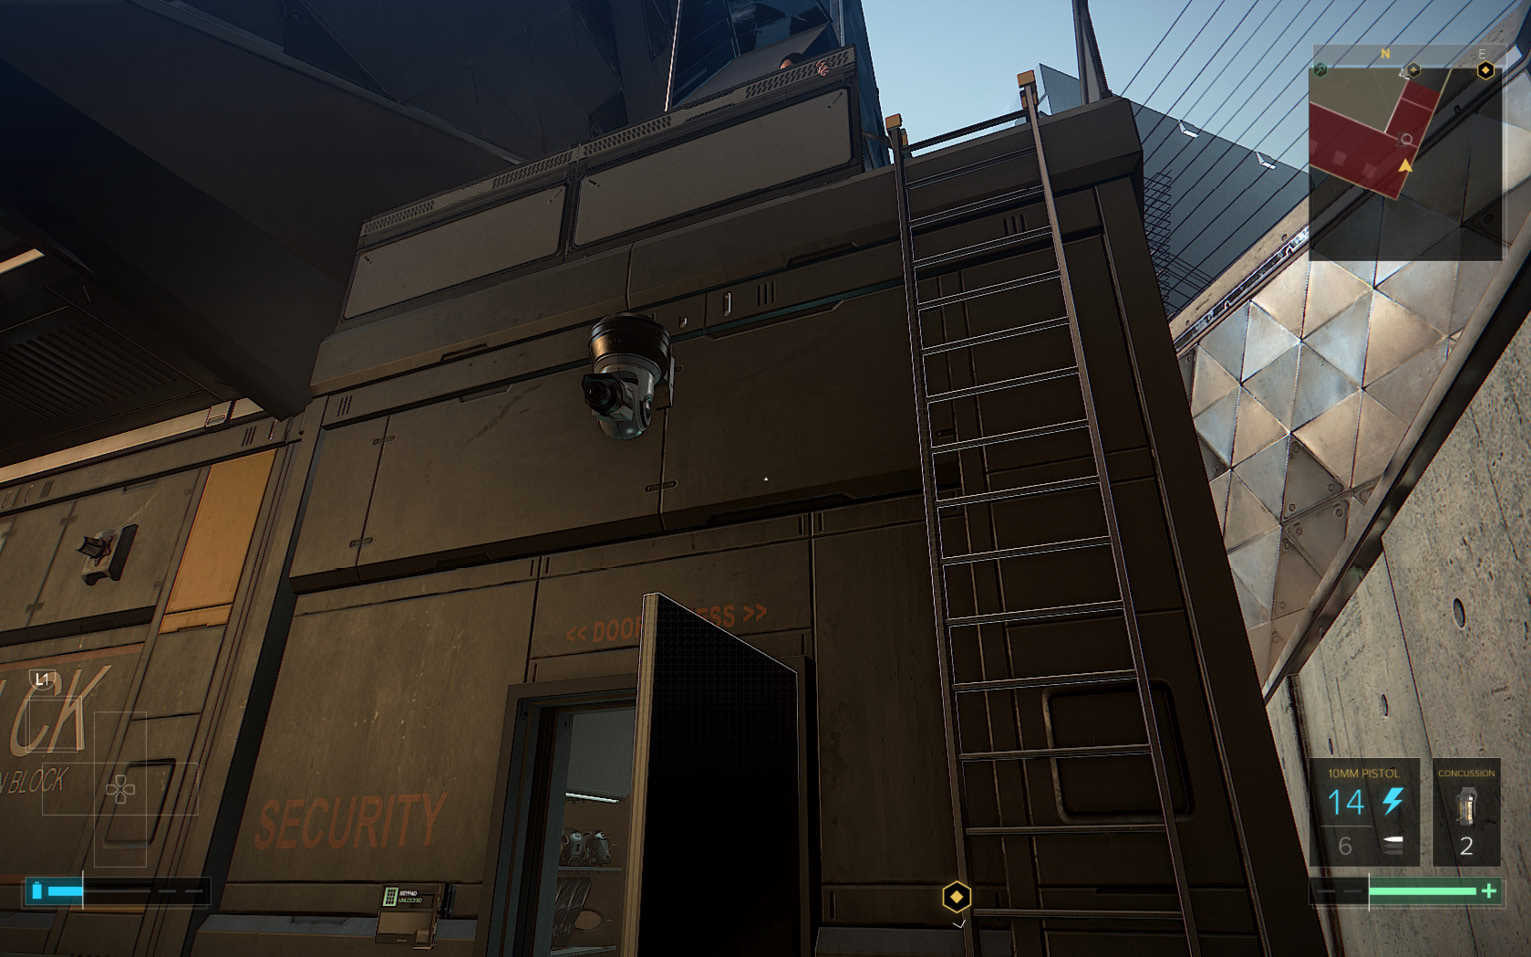
From the left side of the strut, wait until the camera turns to the right and then run to the door underneath it. The door is unlocked, so enter the small room. Warning: Stay away from the window on the opposite wall, as an intruder cam out in the yard corridor will spot you. Crouch and approach the desk to access the unlocked Security laptop. Use it to turn off the Block Corridor Security cameras and alarms. Loot the room, including the grenades in the Weapon Cabinet.
Optional: Take Out the Roof Sniper
Step outside the guard room and grab the ladder on the wall. On the roof above, a sniper faces your direction, so climb the ladder and immediately tap the Takedowns button when you reach the top. After the guard goes down, find another eBook on his crate.
Infiltrate the B-Block Security Office
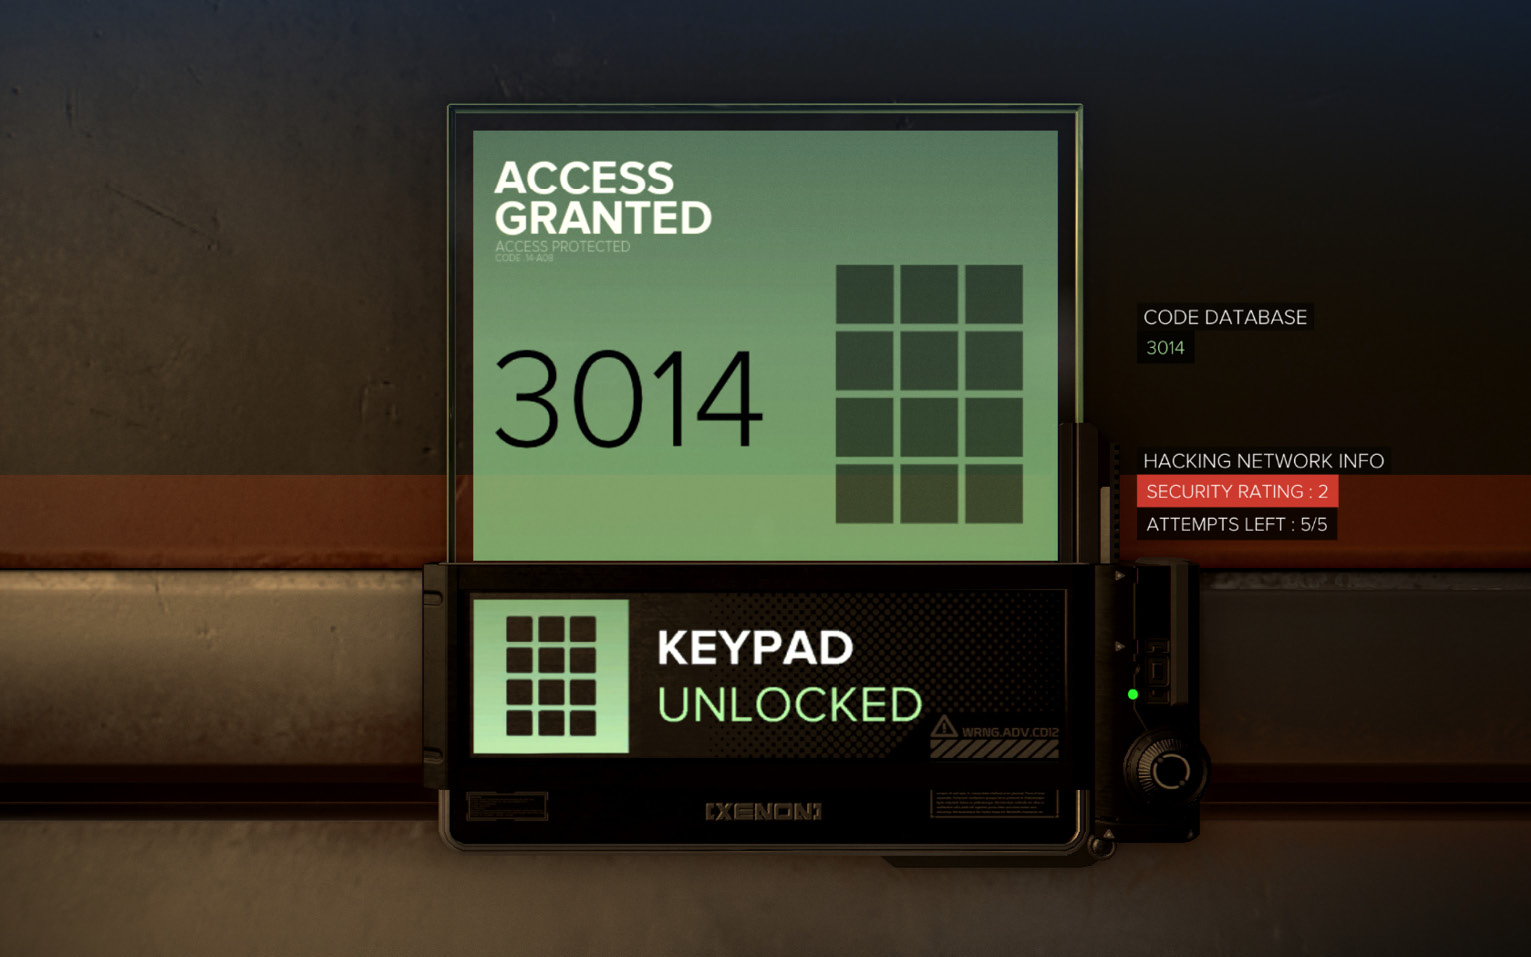
Climb back down the ladder and go to the keypad next to the Security Office back door (4). (Its camera is now disabled.) Enter the unlocking code 3014, then open the door and take cover at the top of the stairs.
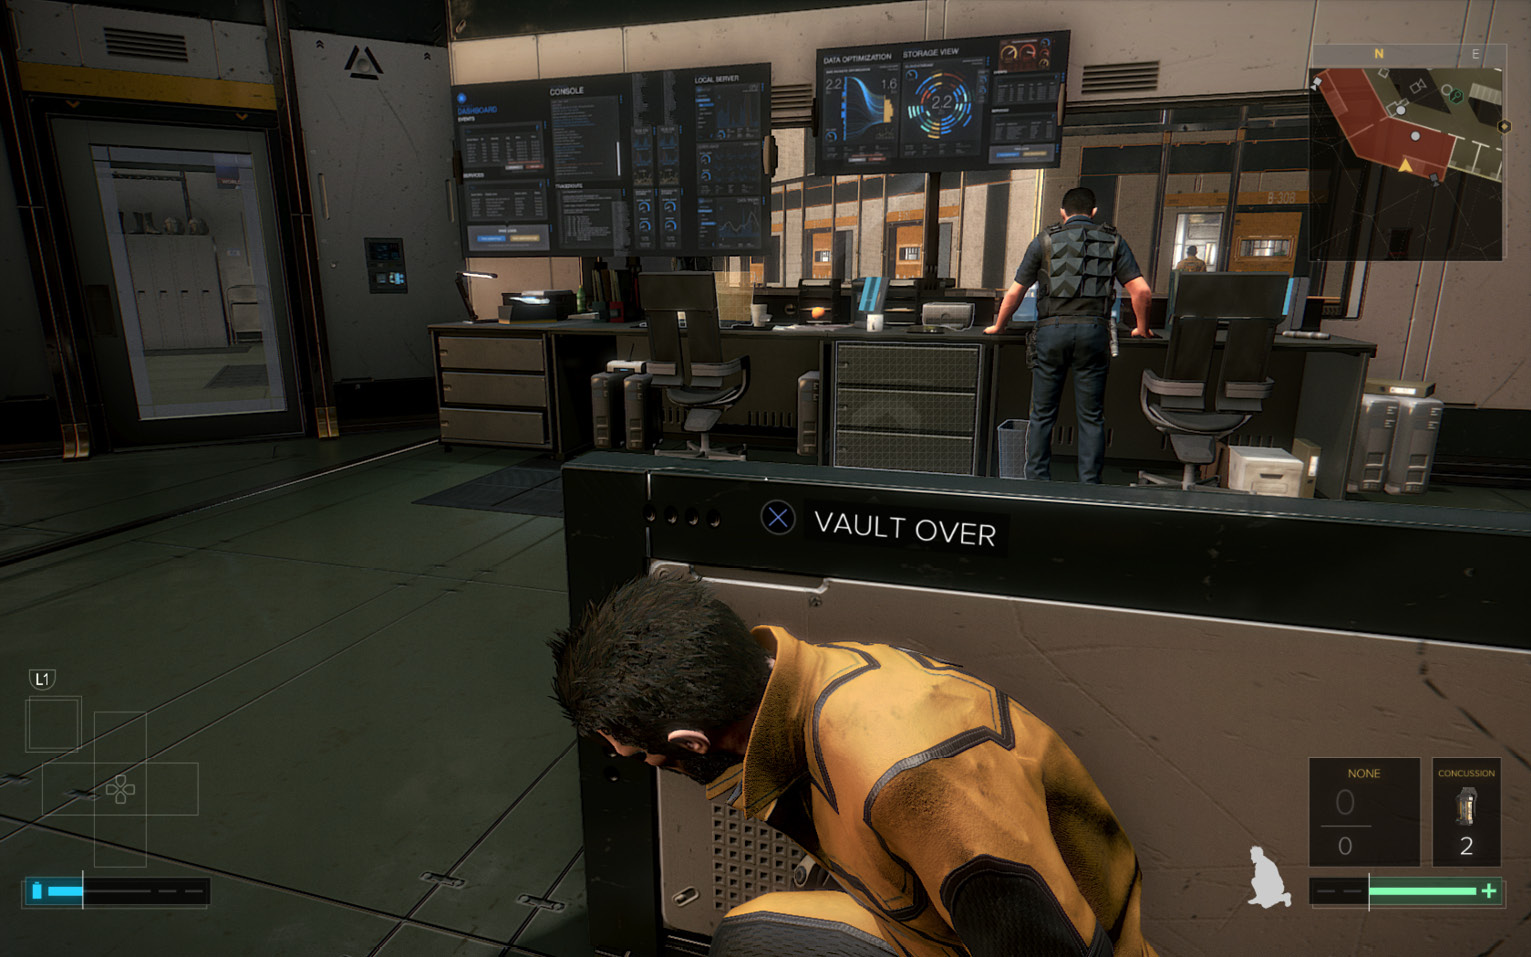
Wait until the pacing armed guard enters the room and leans over the Security terminal (5), then sneak up behind him for a takedown. Quickly toggle the EG Switch on the wall to the right of the desk to darken the glass.
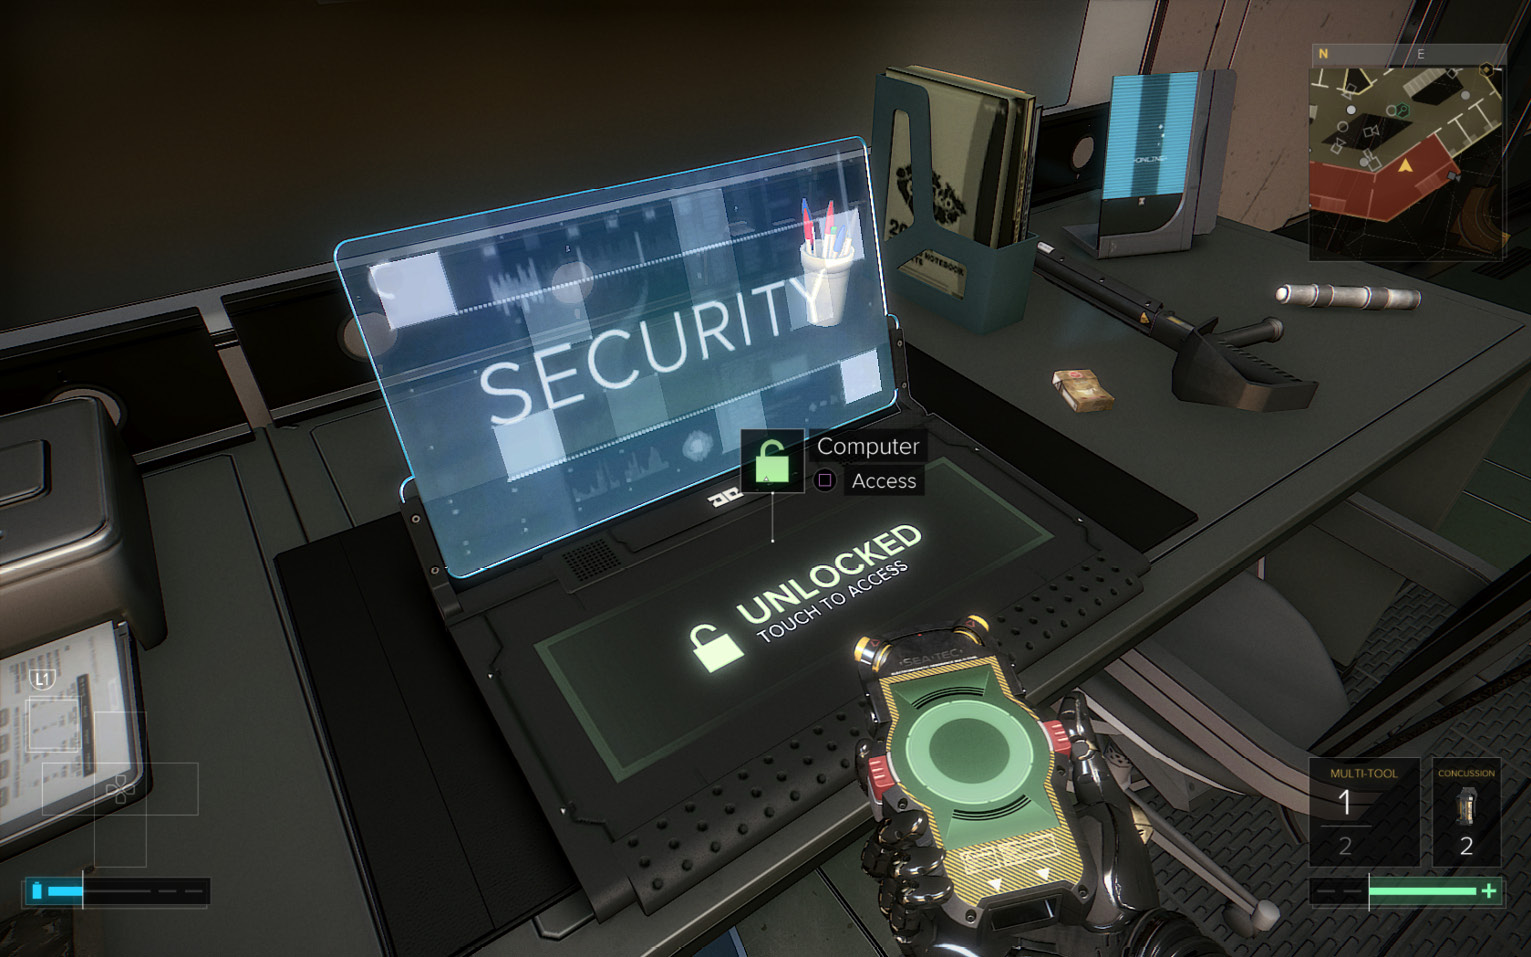
If you have a Multi-Tool, use it to hack the Block B Security terminal and access the security grid. (If you don’t have one yet, you can Craft one.) Select CAMERAS and disable Intruder Tracking on all five cameras in the block (especially Camera 3, which overlooks the Supply Room on Level 1); if you have Turret Domination, select TURRETS to disable both of them; select DOORS and make sure the Shower Room door is open; select ALARM and disable the Block B alarm panels.
If you don’t have a Multi-Tool, there is a password you can acquire as well, but you don’t have it yet. We’ll grab it soon enough, though. Before you leave the Security Office, sneak into the next room (6) and toggle the EG Switch by the door for privacy. Next, pick up the Pocket Secretary sitting on the desk and read the “Shower Cleaning Schedule” note from Stenger. It reminds guards that Oscar Mejia is scheduled to clean the showers in Cell Block B. Now you know where to find your contact.
Optional: Give the Altered Biocell to Red Shoes OR Consume the Altered Biocell
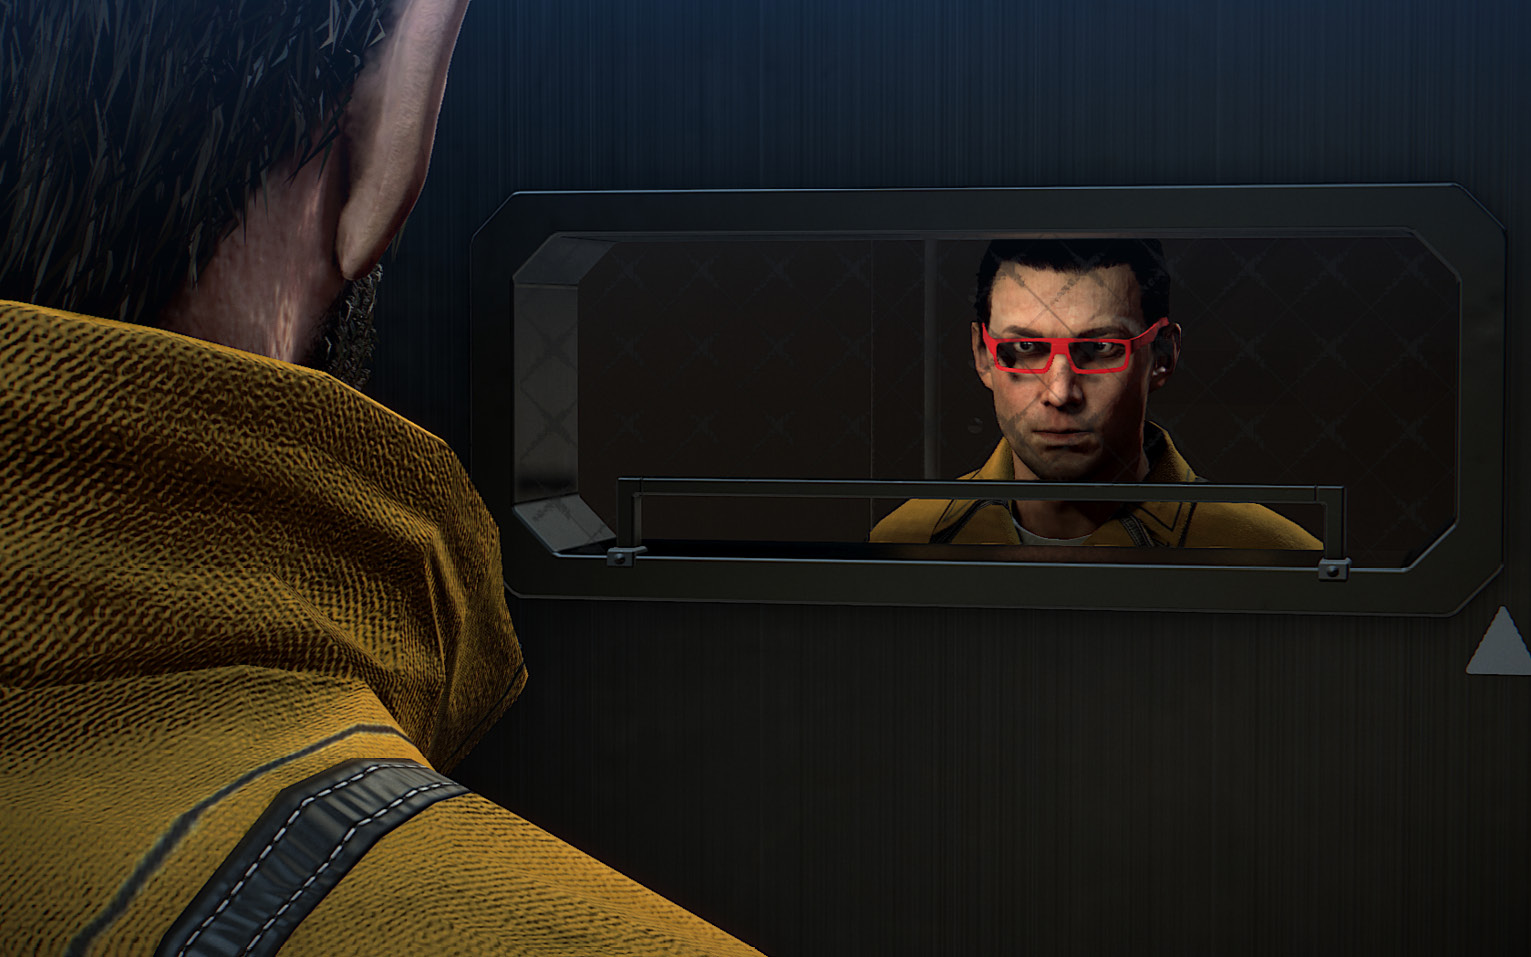
Let’s find Red Shoes and complete the delivery for Flossy. Exit the Security Office, go downstairs to Level 2, and take the Yard exit. Go around to the back side of the cool-off cage (7), approach the slot, then talk to Red Shoes. He says that Oscar Mejia is in the Shower Room. Next, choose whether or not to give Red Shoes the altered Biocell. In this walkthrough, we’ll hand it over to him. (See our sidebar on the choice for an explanation of the ramifications either way.)
Optional: Infiltrate the Guard Tower 02
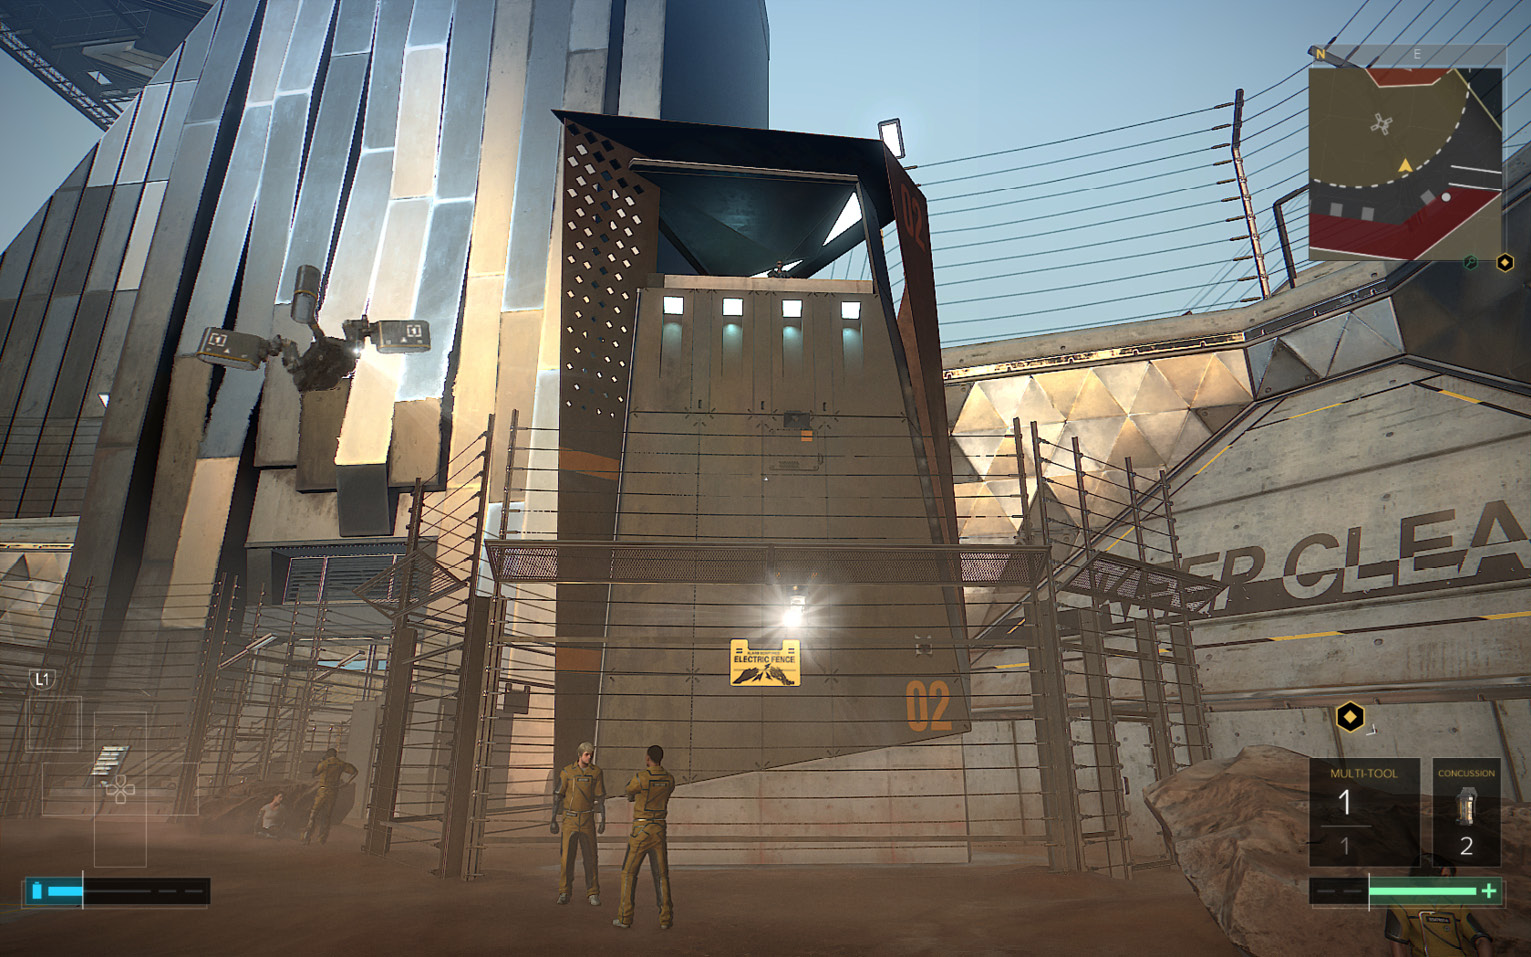
After you’re done with Red Shoes, you can take over the nearby guard tower (8). Step over to the keypad on the security fence and use the card to unlock the gate. Wait until the security camera swivels away, open the door and head to the ladder. Climb to the tower top and take down the sniper from behind. Next, use the Block Corridor Security terminal to disable every security device. Look for an eBook on the nearby table, too.
Get into the Supply Room
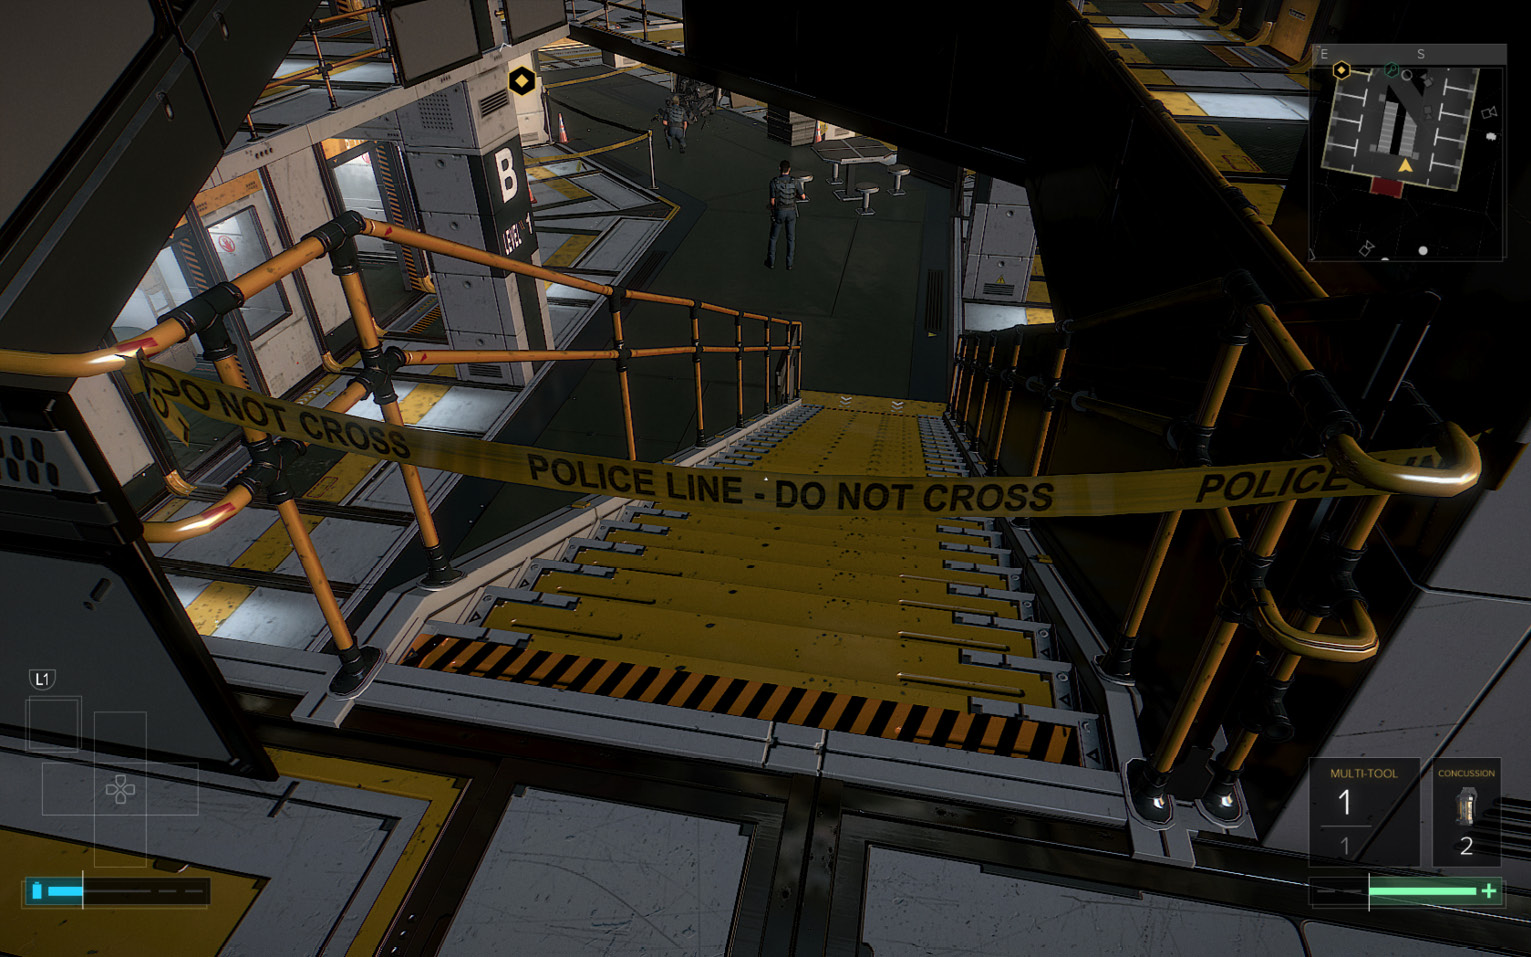
Go back inside the B-Block building. You’ve learned that Oscar Mejia (Agent Guerrero) is likely taking his cleaning shift in the Block B Shower Room on Level 1. However, access to the showers is cut off because the prison’s investigation of Ian Wilburg’s death has made Level 1 a restricted area. There is a roundabout route, though.
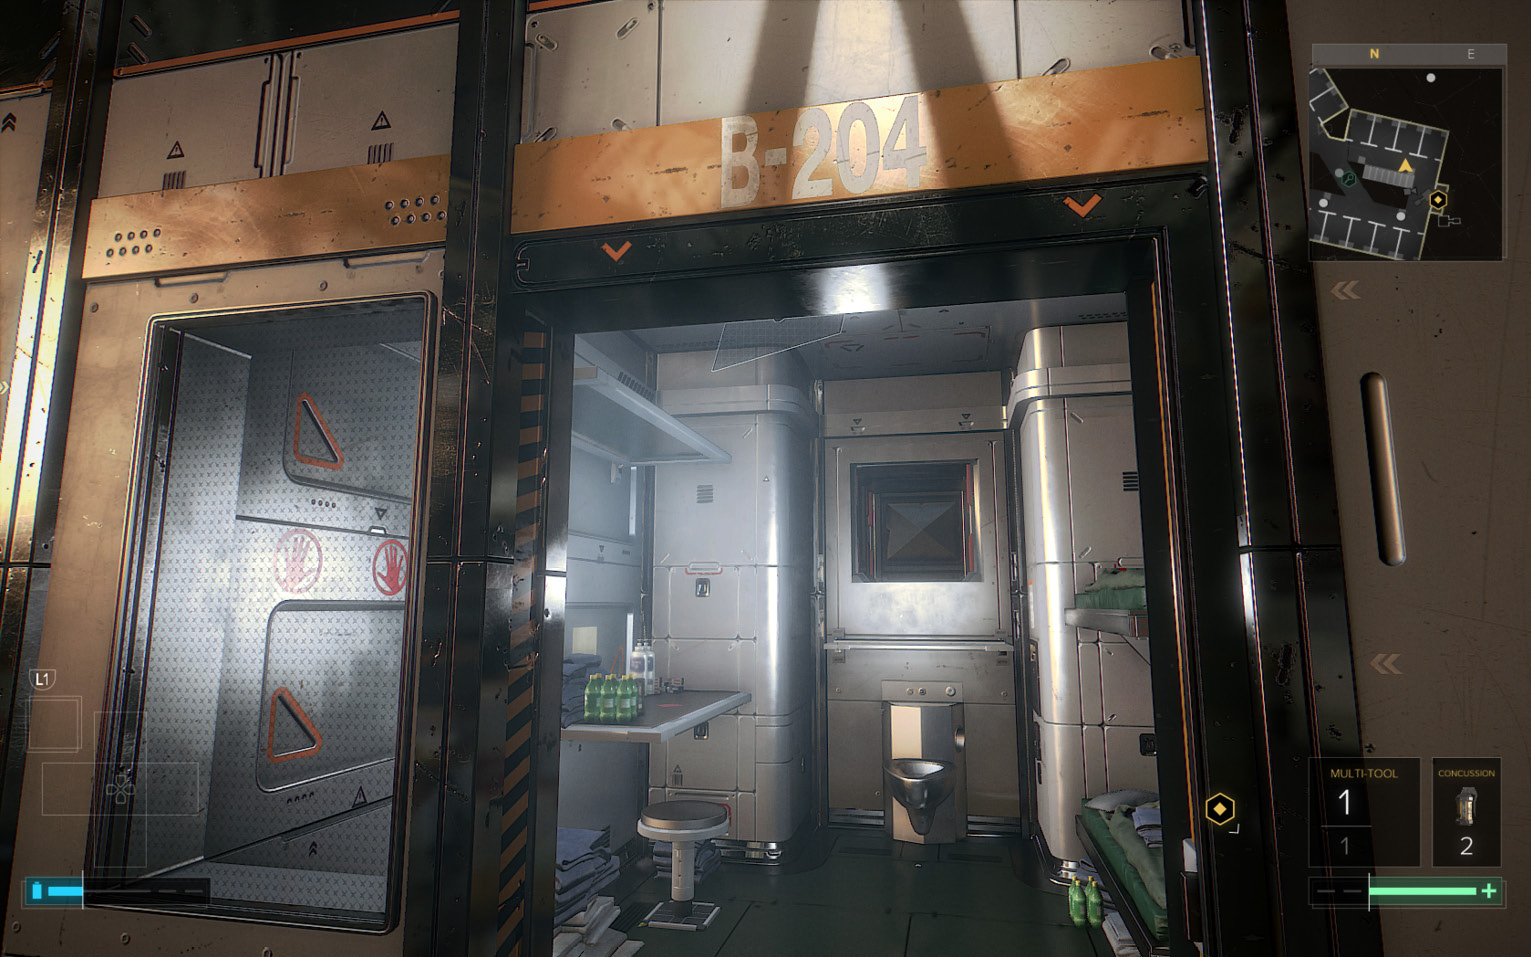
Go to cell B-204 (9). A “Note from Boris” on the desk suggests that the cell’s occupant has a secret way into the Storage Room, which is on Level 1 next door to the showers. Remove the secret panel behind the toilet and enter the vent. Take the first left turn, punch open the destructible vent, and grab the valuable Praxis Kit. Follow the duct passage; it ultimately leads through another destructible vent into the Supply Room (10) on Level 1.
Enter the Shower Room
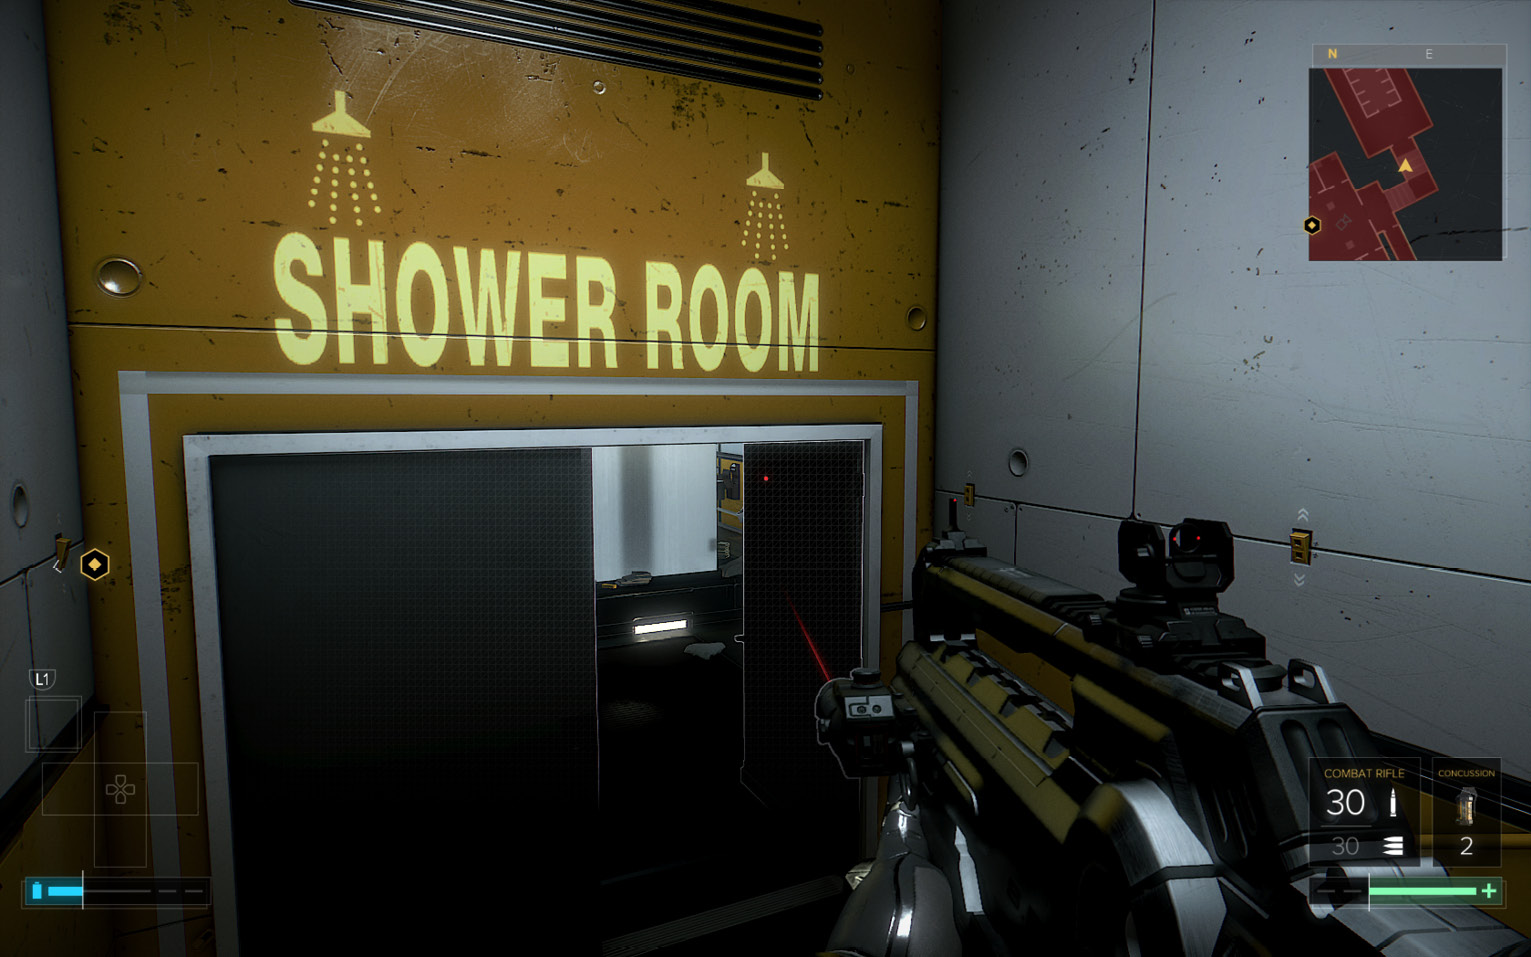
If you disabled the cameras/turrets and opened the Shower Room entry doors while you were in the B-Block Security Office, this next step is simple: just open the Supply Room door (the turret outside is now disabled), rush through the open Shower Room doorway, and head downstairs (11). If the turret is still active, you can disable it with a gunshot of EMP Ammo before making your move.
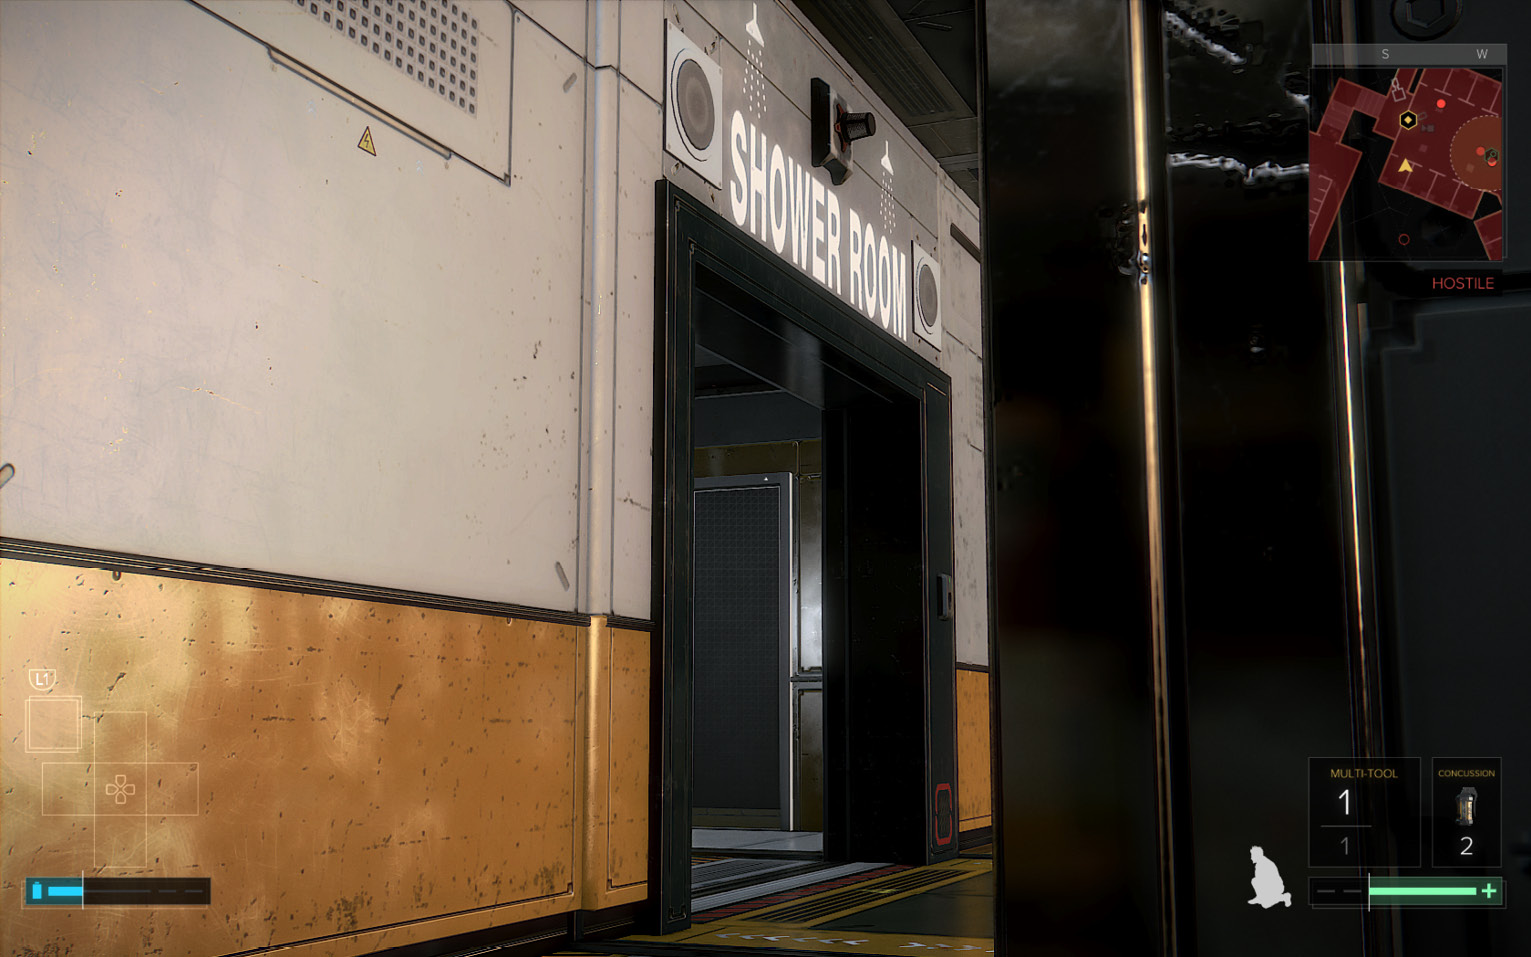
Guards may spot you, but ignore them and just hurry downstairs. Open the doors at the bottom to trigger a cutscene: Jensen finds Agent Guerrero, who is less than thrilled with the reason for the visit. Pick up info on the Junkyard gang, Guerrero’s infiltration target, a dangerous group of black marketers. Guerrero claims he’s onto something big.
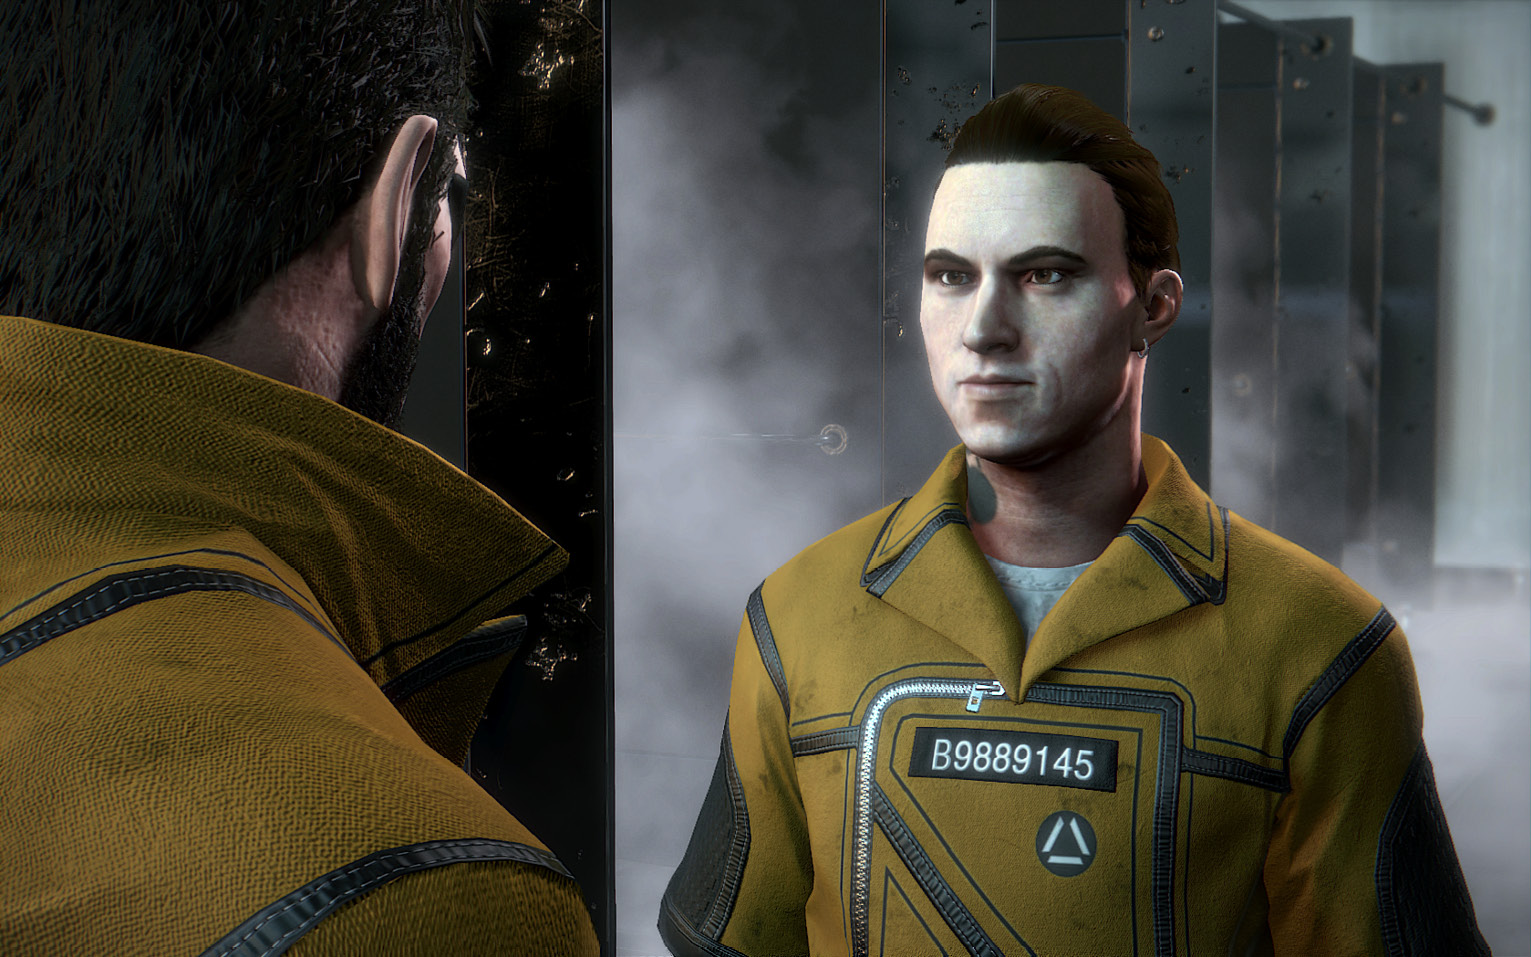
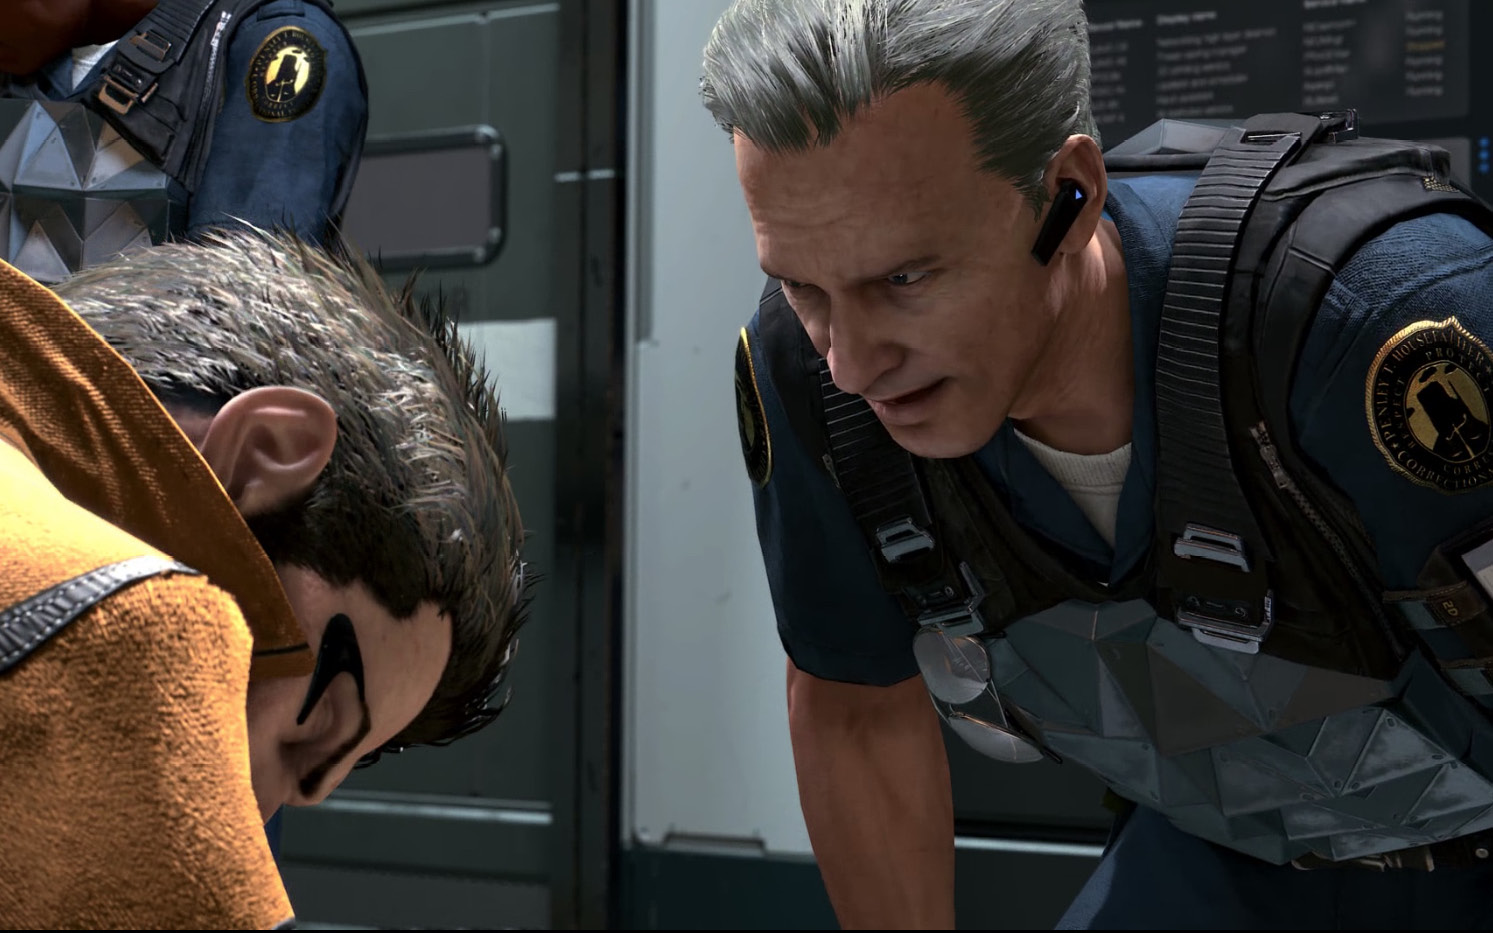
Suddenly, the meeting is cut short. Stenger and his goons interrupt and Agent Jensen ends up in the Block B Security Office on Level 3, where he is the beneficiary of what is clearly a case of mistaken identity. In the process, Guerrero is arrested. Soon the connections become clearer. But now Stenger has a riot on his hands. The augs, led by Flossy, have taken control of the Administration Building.
Enter Solitary Confinement
After the long series of cutscenes, you end up in the B-Block Security Office (5). Your next overall goal is to reach Agent Guerrero, who (since his arrest) is being held for execution in the tower’s Solitary Confinement area. Before you exit the Security Office, check out the other room (6). A lovely Praxis Kit sits on the desk.
Find the B-Block Security Hub Password (If Necessary)
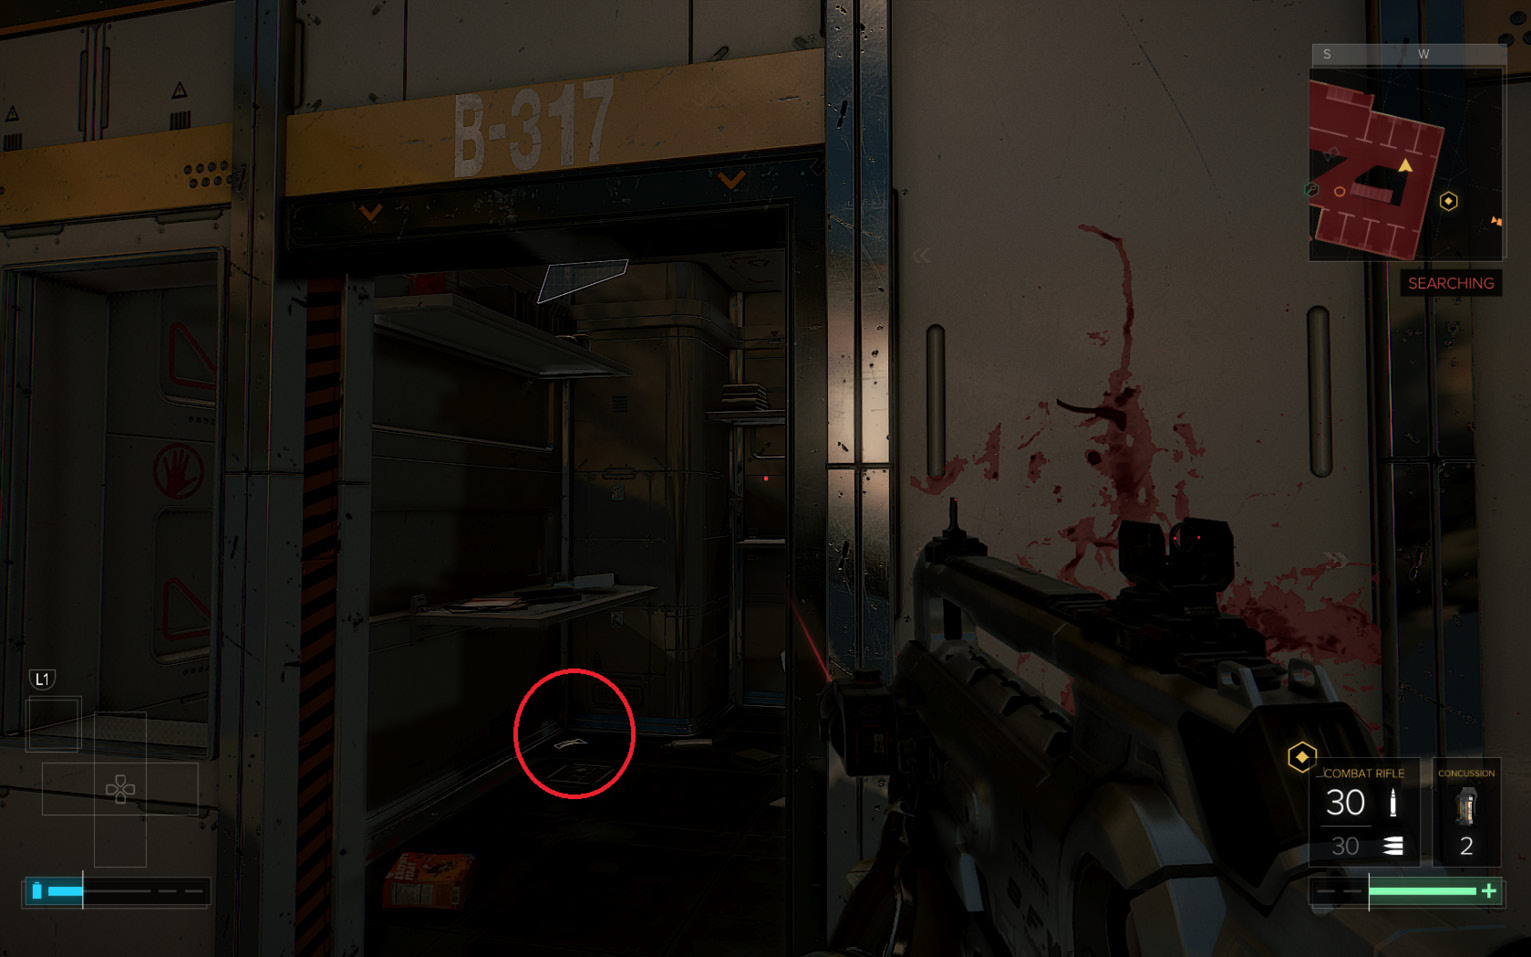
In this walkthrough, we directed you earlier to use a Multi-Tool to hack the Block B Protocol terminal. But if for some reason you didn’t do so, you can find the system’s password now. Exit the Security Office and head down the corridor to cell B-317 (12). Find the Pocket Secretary (circled in our shot) under the desk and open the entry to see the password you seek is SUNGLASSES.
Now you can return to the Security Office and enter the password into the Block B Protocol security terminal (5) and turn off all the security devices in B-Block. This makes your progress through the Cell Block complex much easier.
Point of Interest: The Death of Wilburg
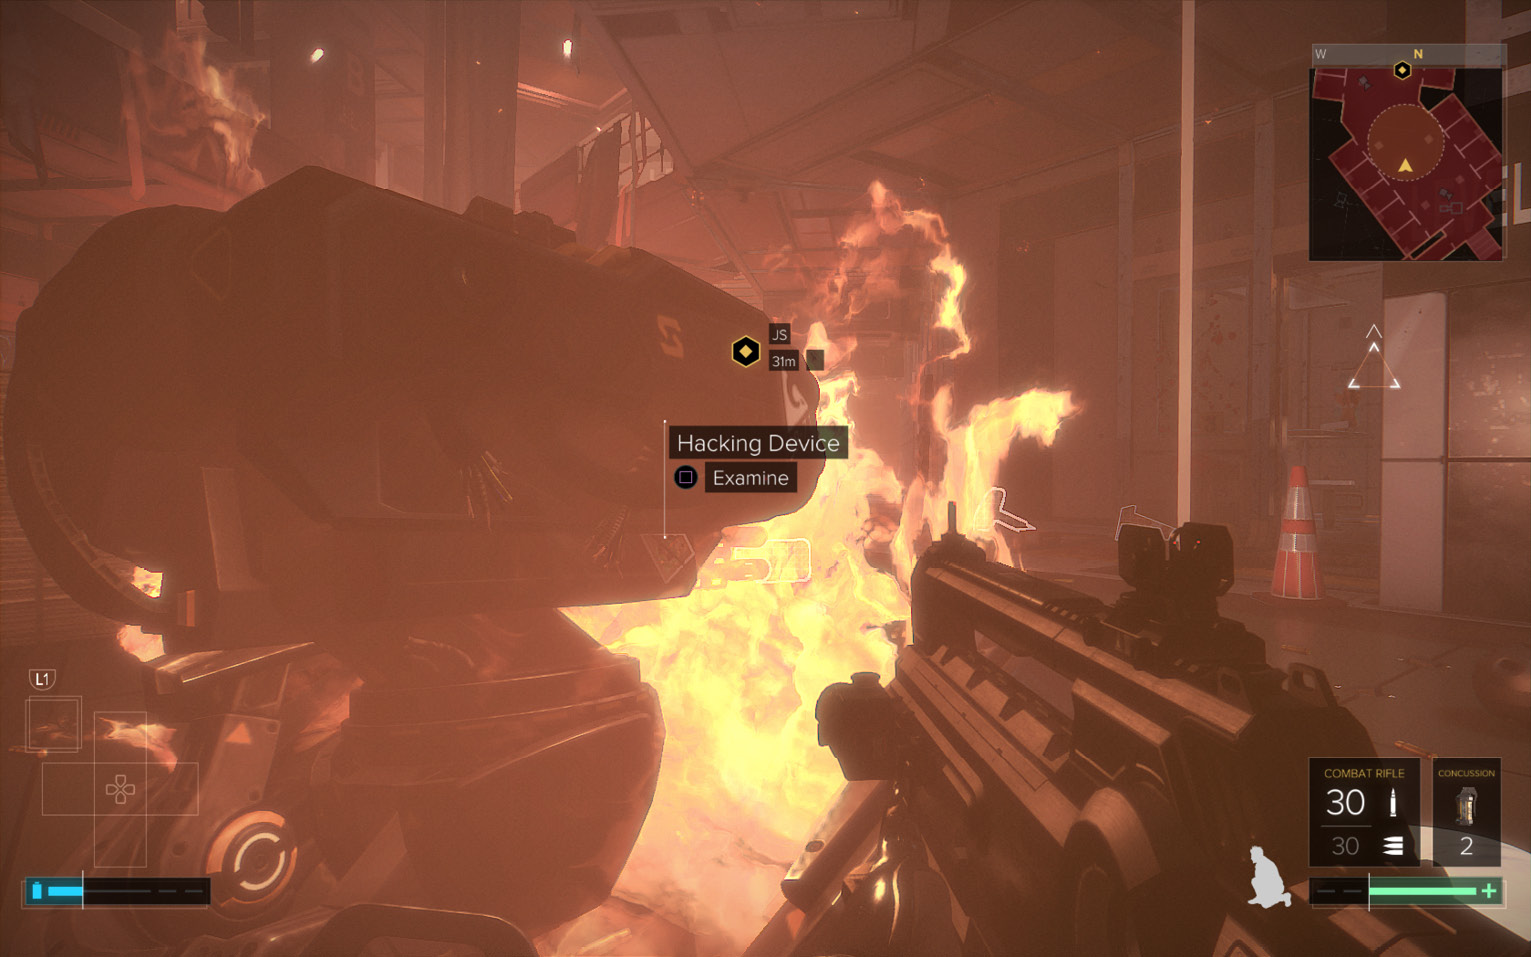
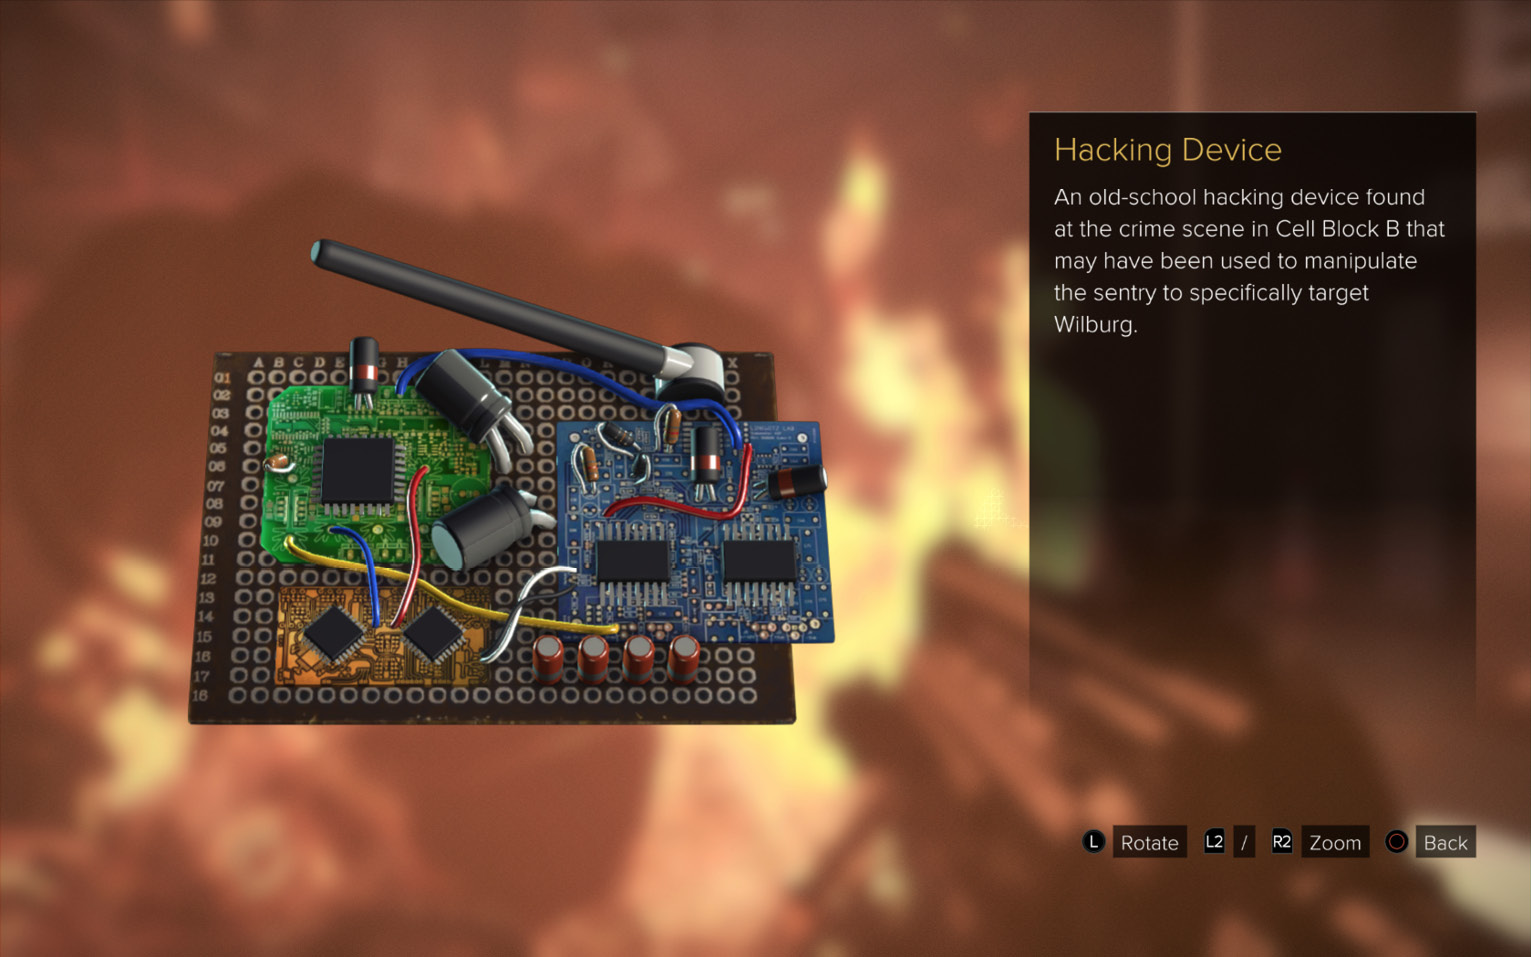
Before you leave the building for good, clear up one other “point of interest” mystery. Head downstairs (watch out for guards!) to Level 1 and approach the flaming sentry bot (13) in the marked investigation area across from Wilburg’s old cell, A-108. Examine the robot to find the Hacking Device and remove it. This completes your POI investigation on the death of Wilburg.
Explore Level 1 (Praxis Kit)
While you’re on Level 1, explore a bit to loot bodies and find items. Enter cell B-116 to find a “Shower Duty Reminder” note to Oscar Mejia on the desk (this was Mejia’s cell). Go back into the B-Block Shower Room to find a Praxis Kit on a fallen prisoner (14). Don’t miss the Biocell on the nearby bench as well.