
Deus Ex: Mankind Divided Guide Story Missions London
Securing the Convention Centre
Meet Liam Slater
Objectives
|
Go to the CSO |
|
Go to Slater’s office |
|
Activate the security override switch |
Overview
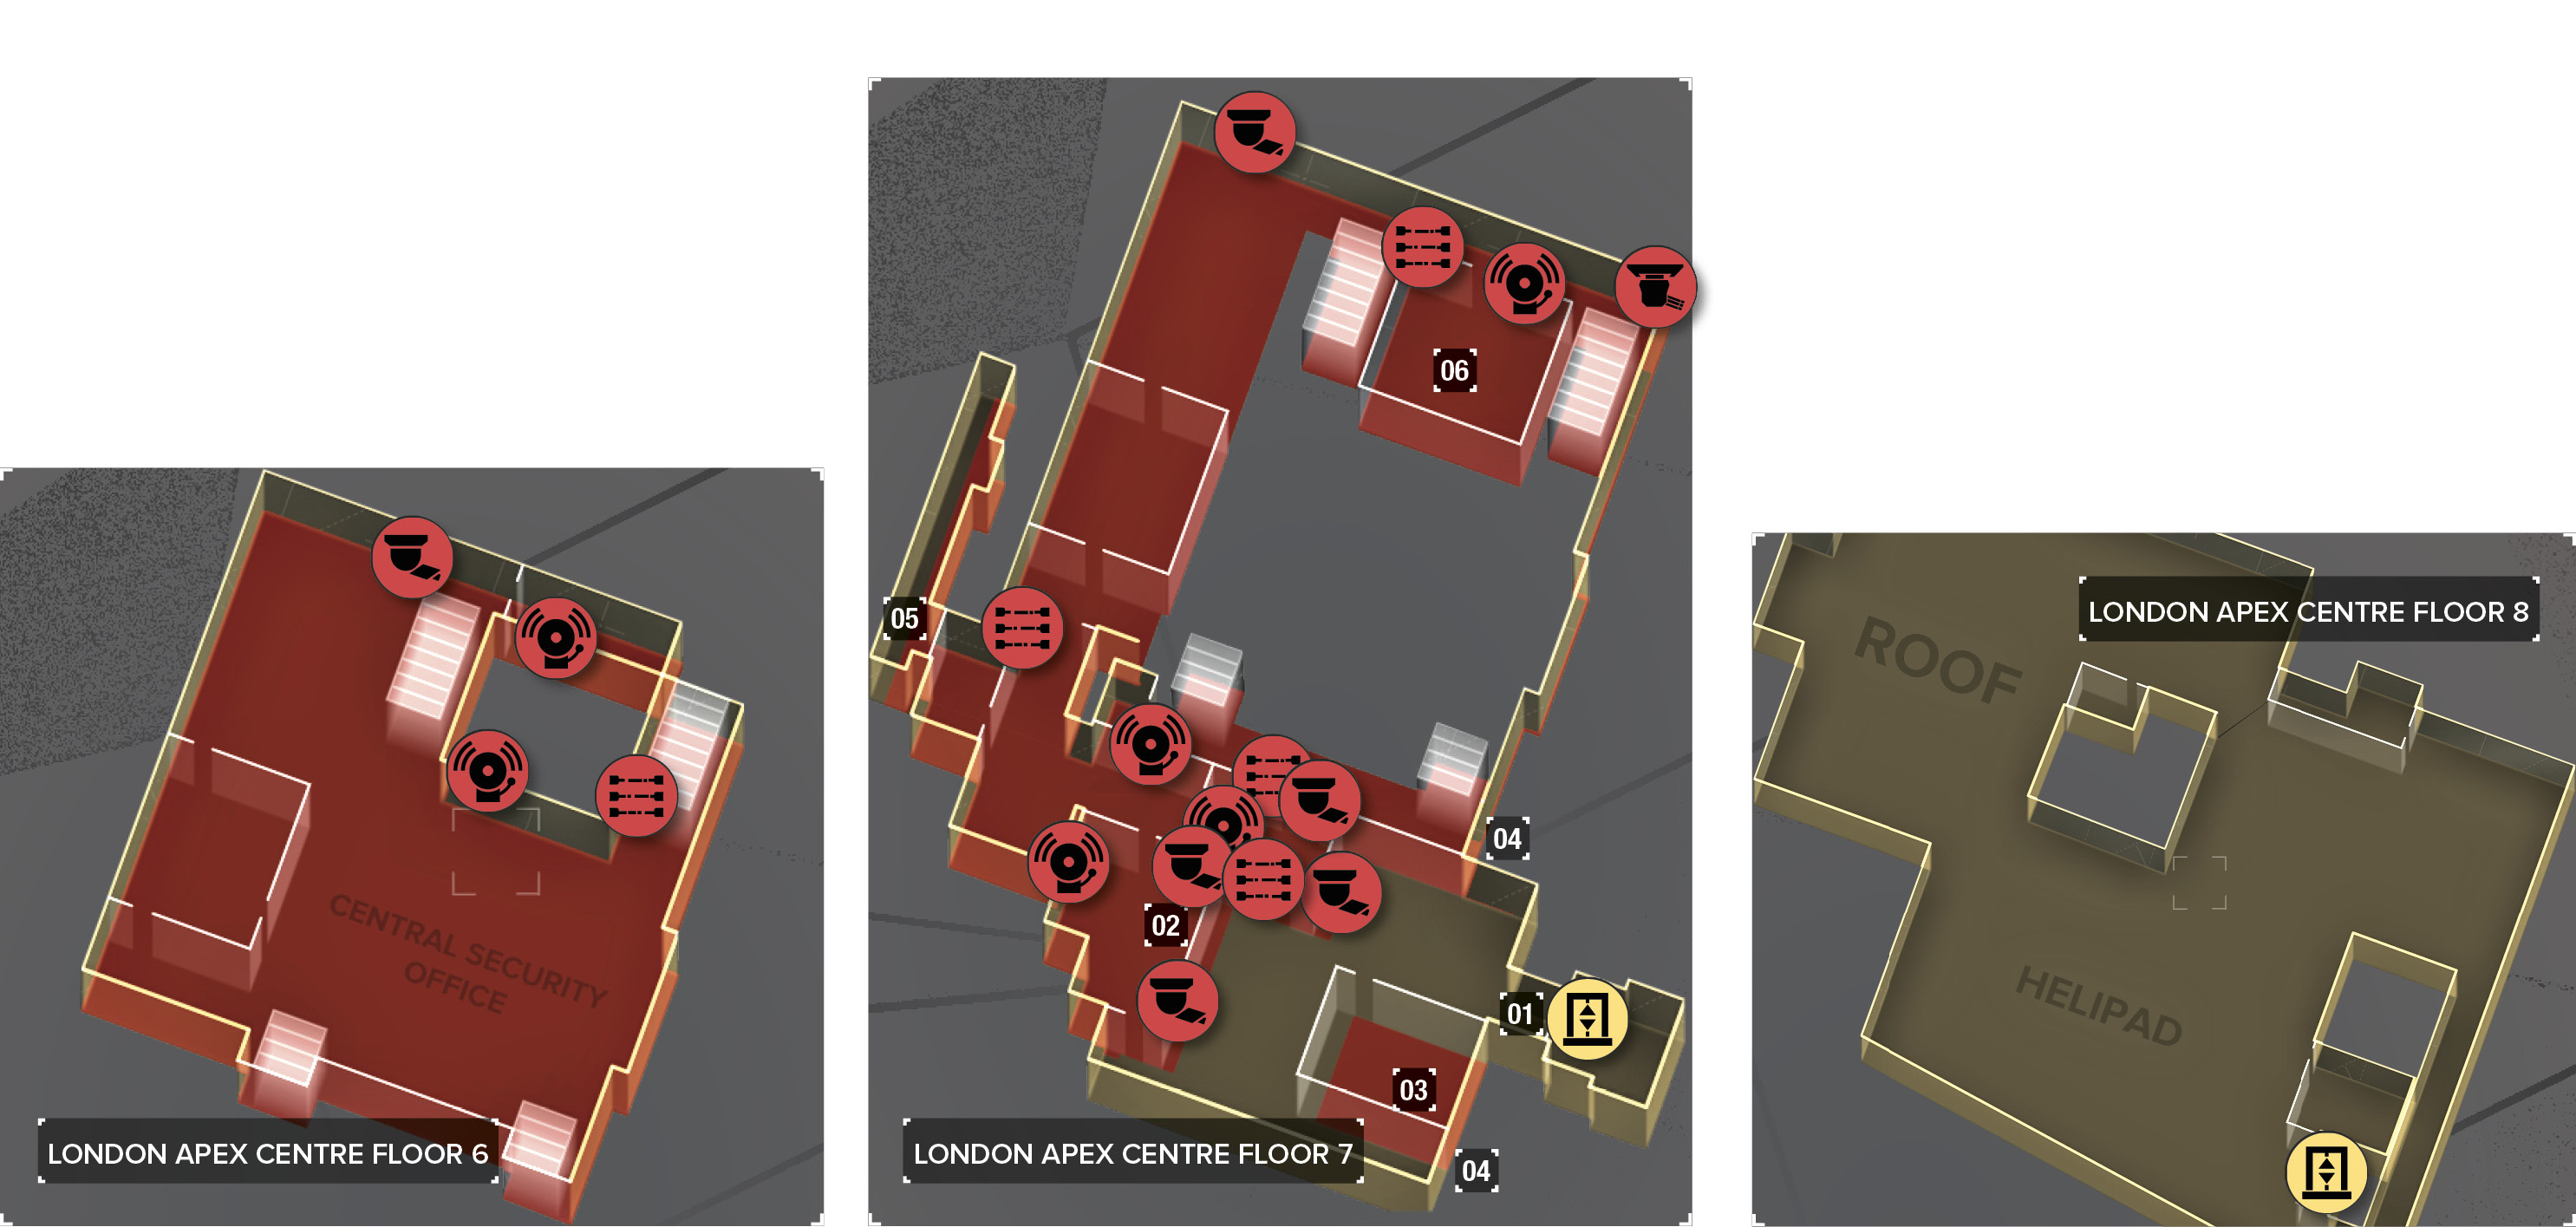
Map Legend
|
01: Starting point from roof elevator |
|
02: Talk to security guard |
|
03: Security room |
|
04: Vent entrances |
|
05: Hidden area |
|
06: CSO (with security override switch) |
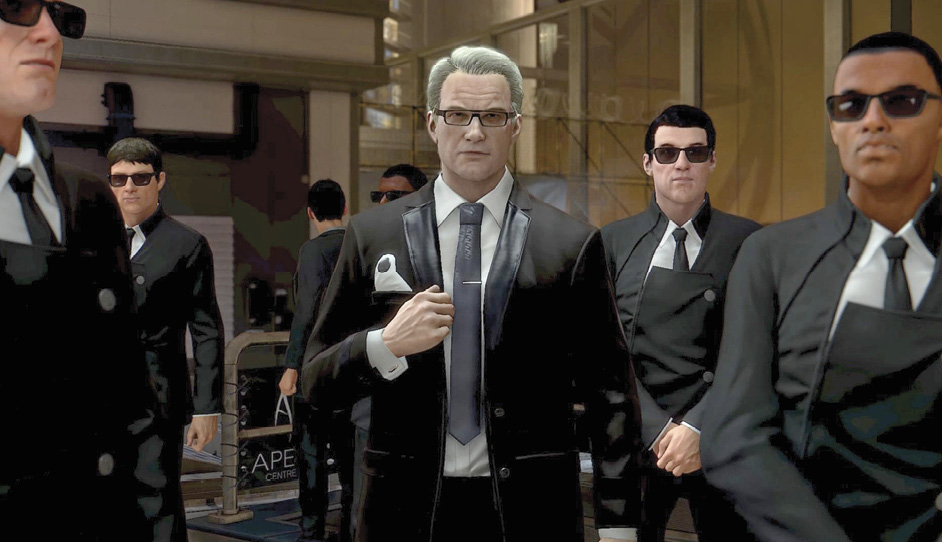
Chikane gets you to London with all due haste, and you land to meet with Miller and Brown. When this is finished, you’re left to your own devices again. You’re asked to meet with Liam Slater in the Central Security Offices of the complex.
Take the elevator from the roof to the CSO. It’s the only option that’s unlocked at this time. Jensen talks to Janus during the elevator ride.
On the next floor, you’re supposed to look around, get to Liam Slater’s office, and then use the security override switch. That gets you to the next stage of the mission.
Combat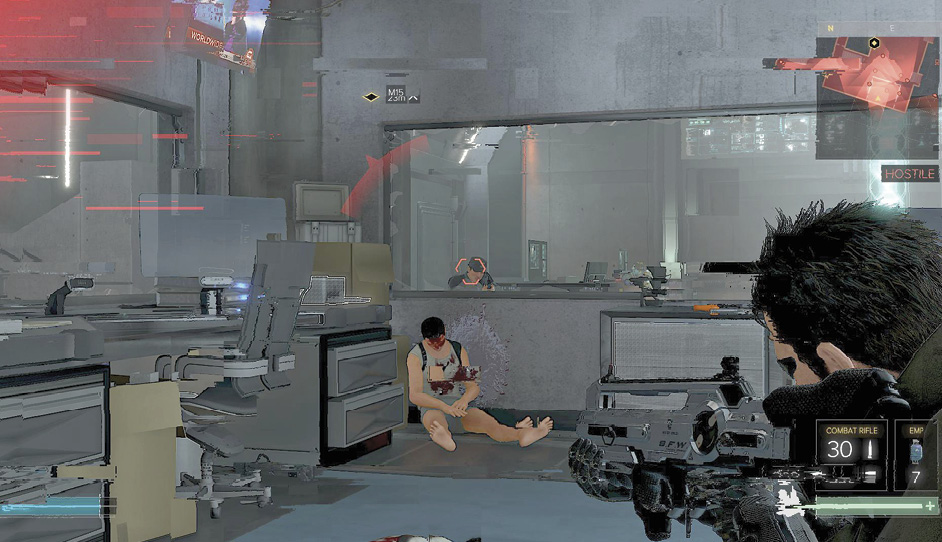 Everything goes really crazy if you start trouble here in the CSO, but it’s nothing that you can’t stop. Here is how to handle it. Equip an EMP Grenade ahead of time, and then gun down both of the guards in the first hall. Shoot farther off at the man inside the office, and kill him before a robot sentry arrives. Use the EMP Grenade on that target because it’s a nasty enemy under any other circumstances. This gets you to the northern part of the CSO, but your enemies lock down the floor. Use the hidden area in the west to avoid the security doors, and then fight off the horde of targets. To make sure that you aren’t flanked, come through the hidden area and break out the vent so that you can see the enemies in the room ahead. Fire from the vent until you’ve killed multiple targets. If you go all the way into the room, people tend to rush in and attack you from multiple sides. They have Invisibility augs, which make it a bit harder to down the incoming troops before they’re in position to hurt you. When it’s over, jump up to the ductwork in the north, get into the CSO’s main office, and disable the computer to get the code (5395). Alternately, just hack the security override switch directly. If you’ve left anyone alive and caused this much chaos, Macready tells you to wipe out anyone who’s still twitching so that they don’t alert their allies. Go on a murder patrol to make sure that you’ve finished the job. When you’re done, use the elevator from the beginning of the area to leave. |
StealthWalk down the main hallway, and talk to the security guard at the CSO. No matter how you proceed in the conversation, you won’t get anywhere with this guy. He’s acting strange, so just let it go without threatening him. Back off and look around on your own. 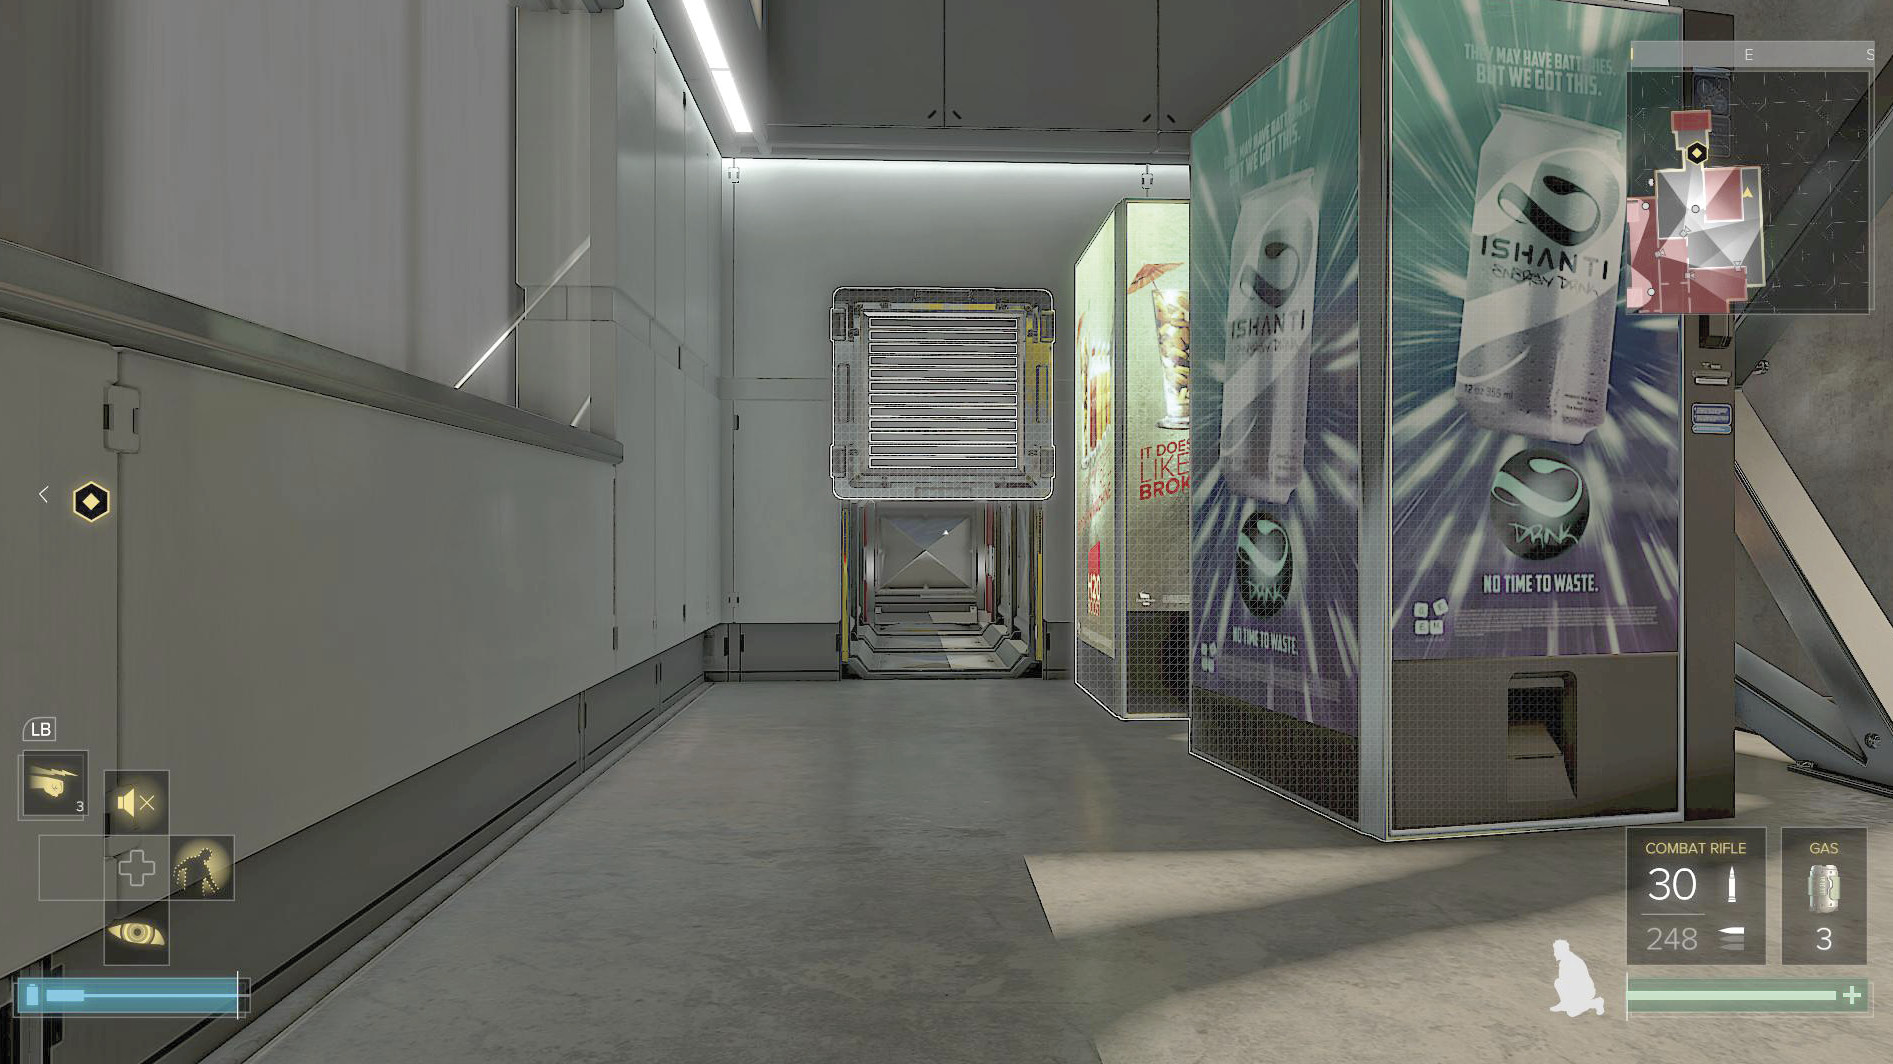 There are two soda machines down a side corridor. Move one of them to reveal a grate. Crouch and get inside, and then sneak into the room next to this point. Use a security terminal inside to disable all of the major security in the area. Use the other path through the vent to go farther north. High jump from a middle room to another stretch of shafts, and come out in the next hallway, where two guards are looking away from you. Knock out the first, drag him away from some stairs, and then do the same to the guard across the way. Quickly bring them into the room on your left so that patrollers won’t find their bodies. Crouch and go east through the room where you stashed the bodies, and break through a heavy vent into a hidden area. This takes you to another vent; it leads down into the lower portion of the CSO, on the sixth floor. While Miller calls, get out of the vent. Sneak up behind the only guard in the office when you arrive, and knock him out. There are bodies there already, but there’s nothing you can do about it. 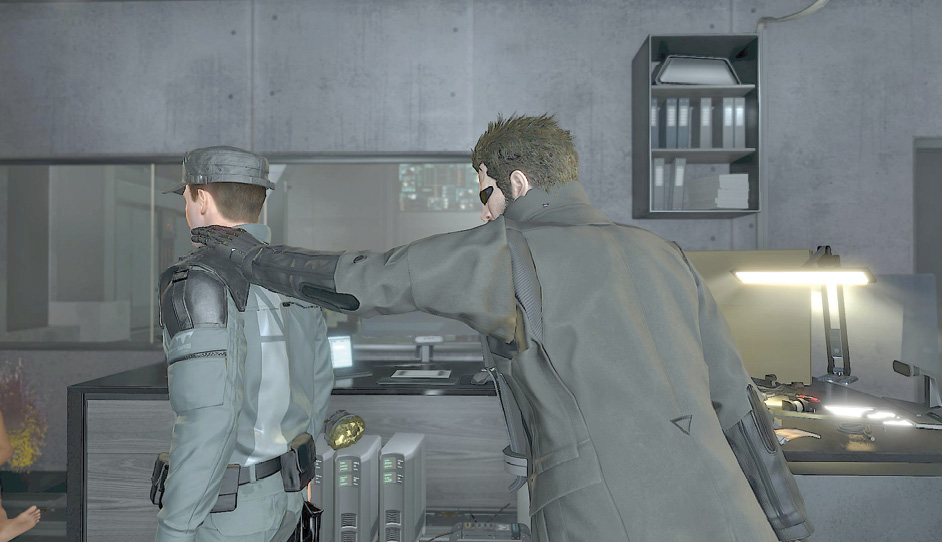 It’s very safe to lure more guards into the room. Knock them out and keep them inside so that no one sees them. However, you can also just creep out and go to the CSO using careful timing. Go under the stairs in the north, and look for a storage room. Move the crates in that room to uncover a vent. It gets you practically in front of the CSO’s main office doors. Hurry inside when the camera to your left isn’t looking, or use Invisibility to avoid detection. When you’re in the office, hack the computer to get the override code (5395), and use that on the switch by the main consoles. Override the security controls, and then watch a short scene involving Brown’s speech. Loot the room before you leave; there is a Devastator Shotgun in a weapon’s locker. Sneak back to the main elevator. It’s not locked, so you can descend to the lower levels. |
Get into the Catering Area
Objectives
|
Ride the elevator down to the catering level |
|
Find the keycard on a guard |
|
Neutralize all 11 guards |
|
Move through the catering area |
Overview
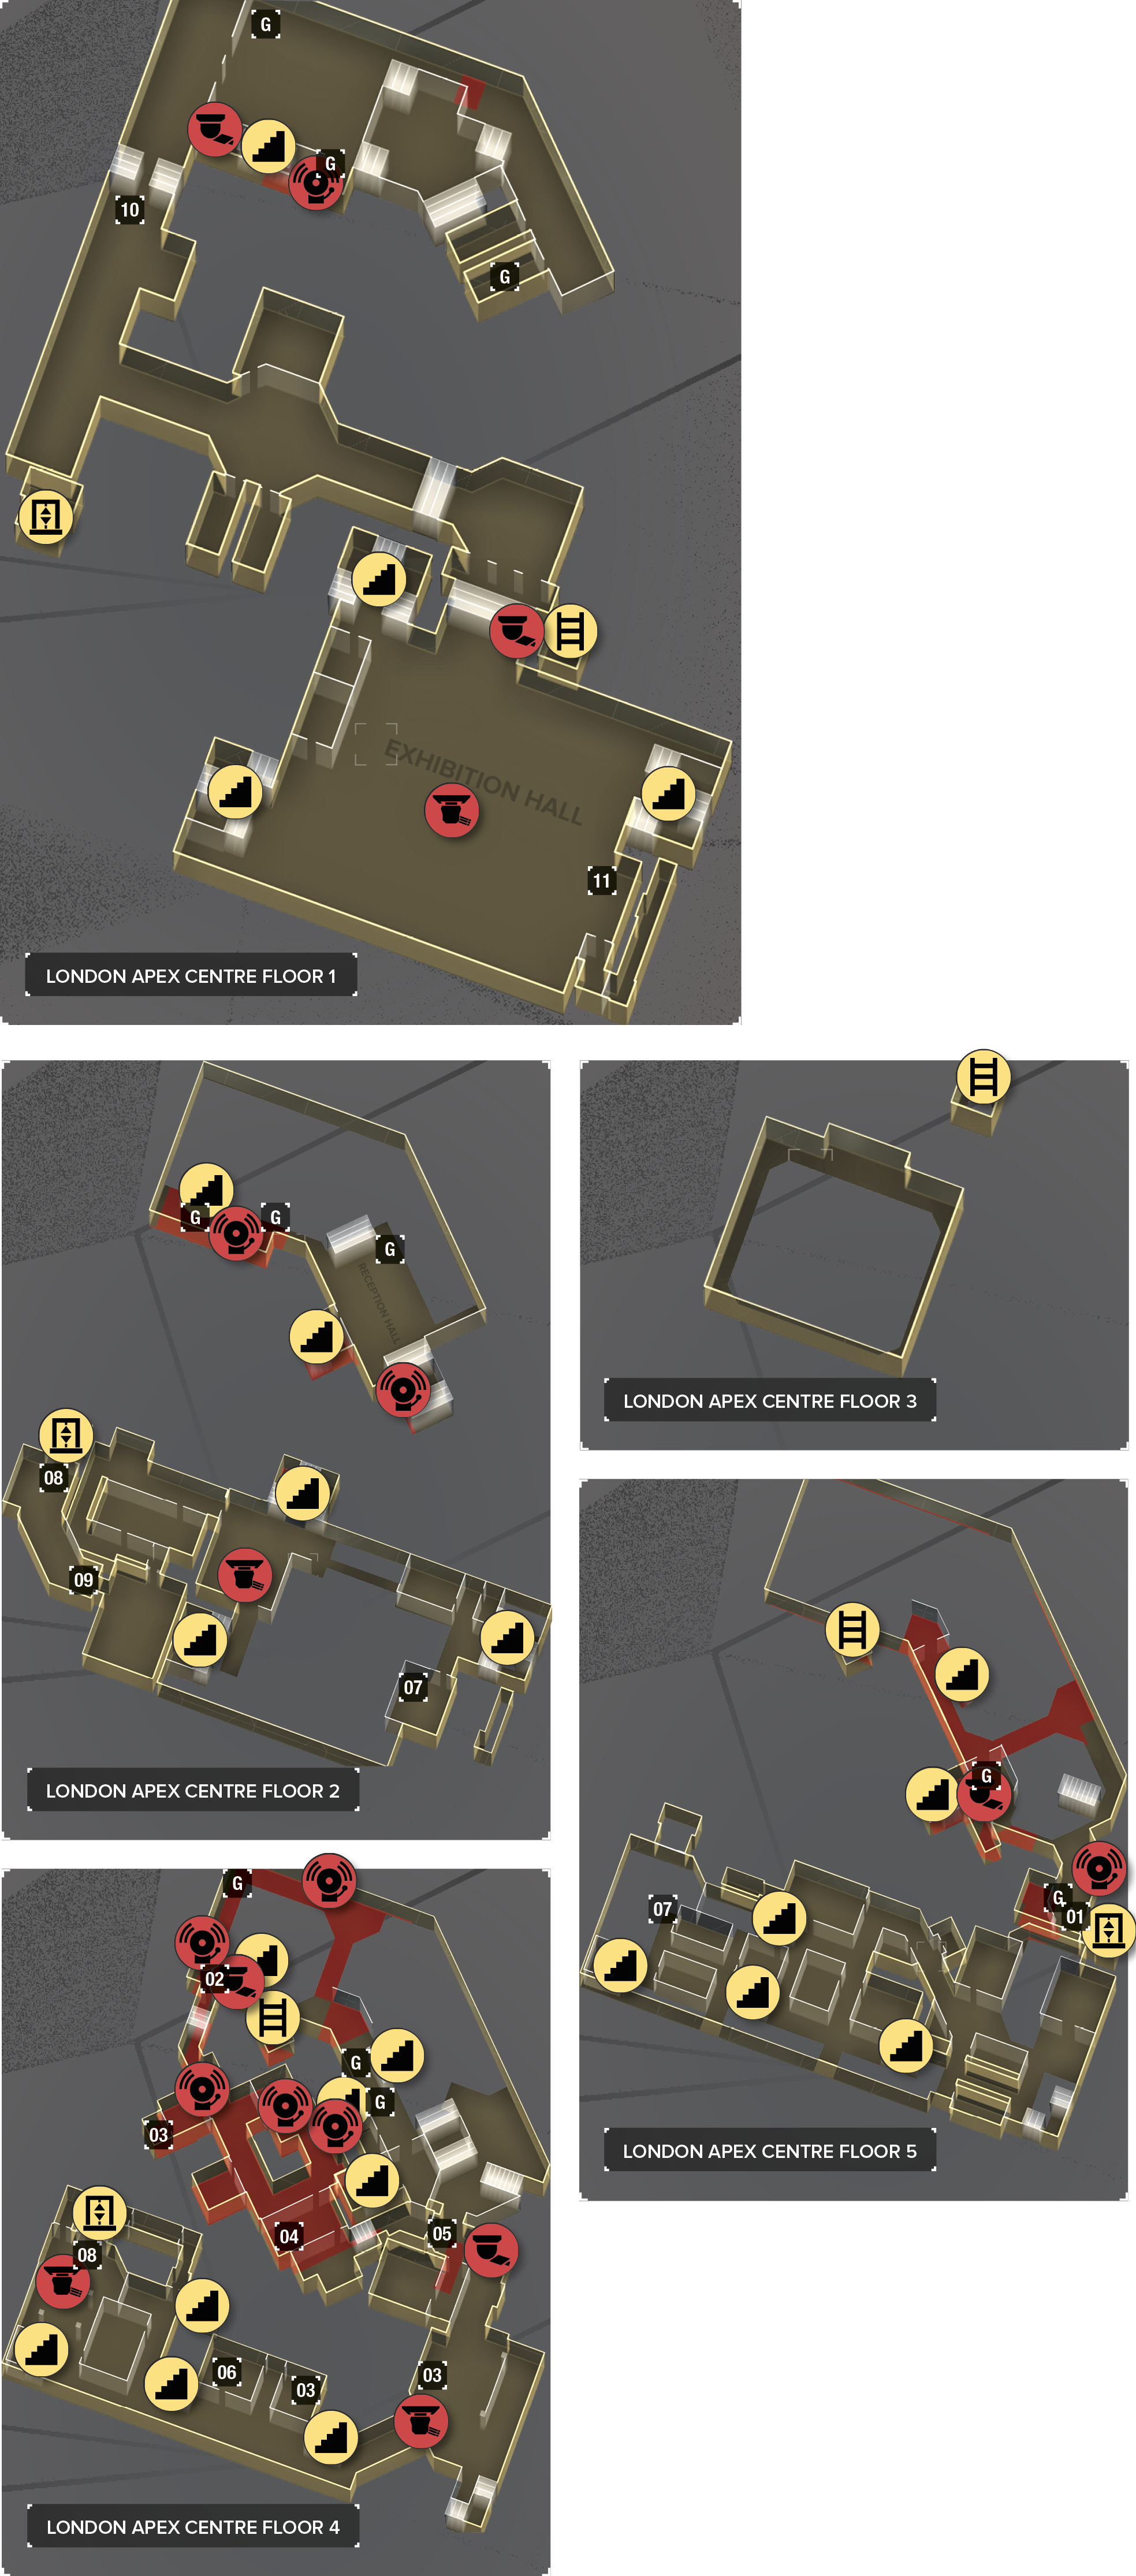
Map Legend
|
01: Entryway |
|
02: Keycard for catering area |
|
03: Vents |
|
04: Kitchen |
|
05: Unlocked during finale |
|
06: Crawl space |
|
07: Security system |
|
08: Delegate elevator |
|
09: Door to VIP room (Code 2202) |
|
10: Route to Exhibition Hall |
|
11: Weapon cache |
|
G: Guard positions |
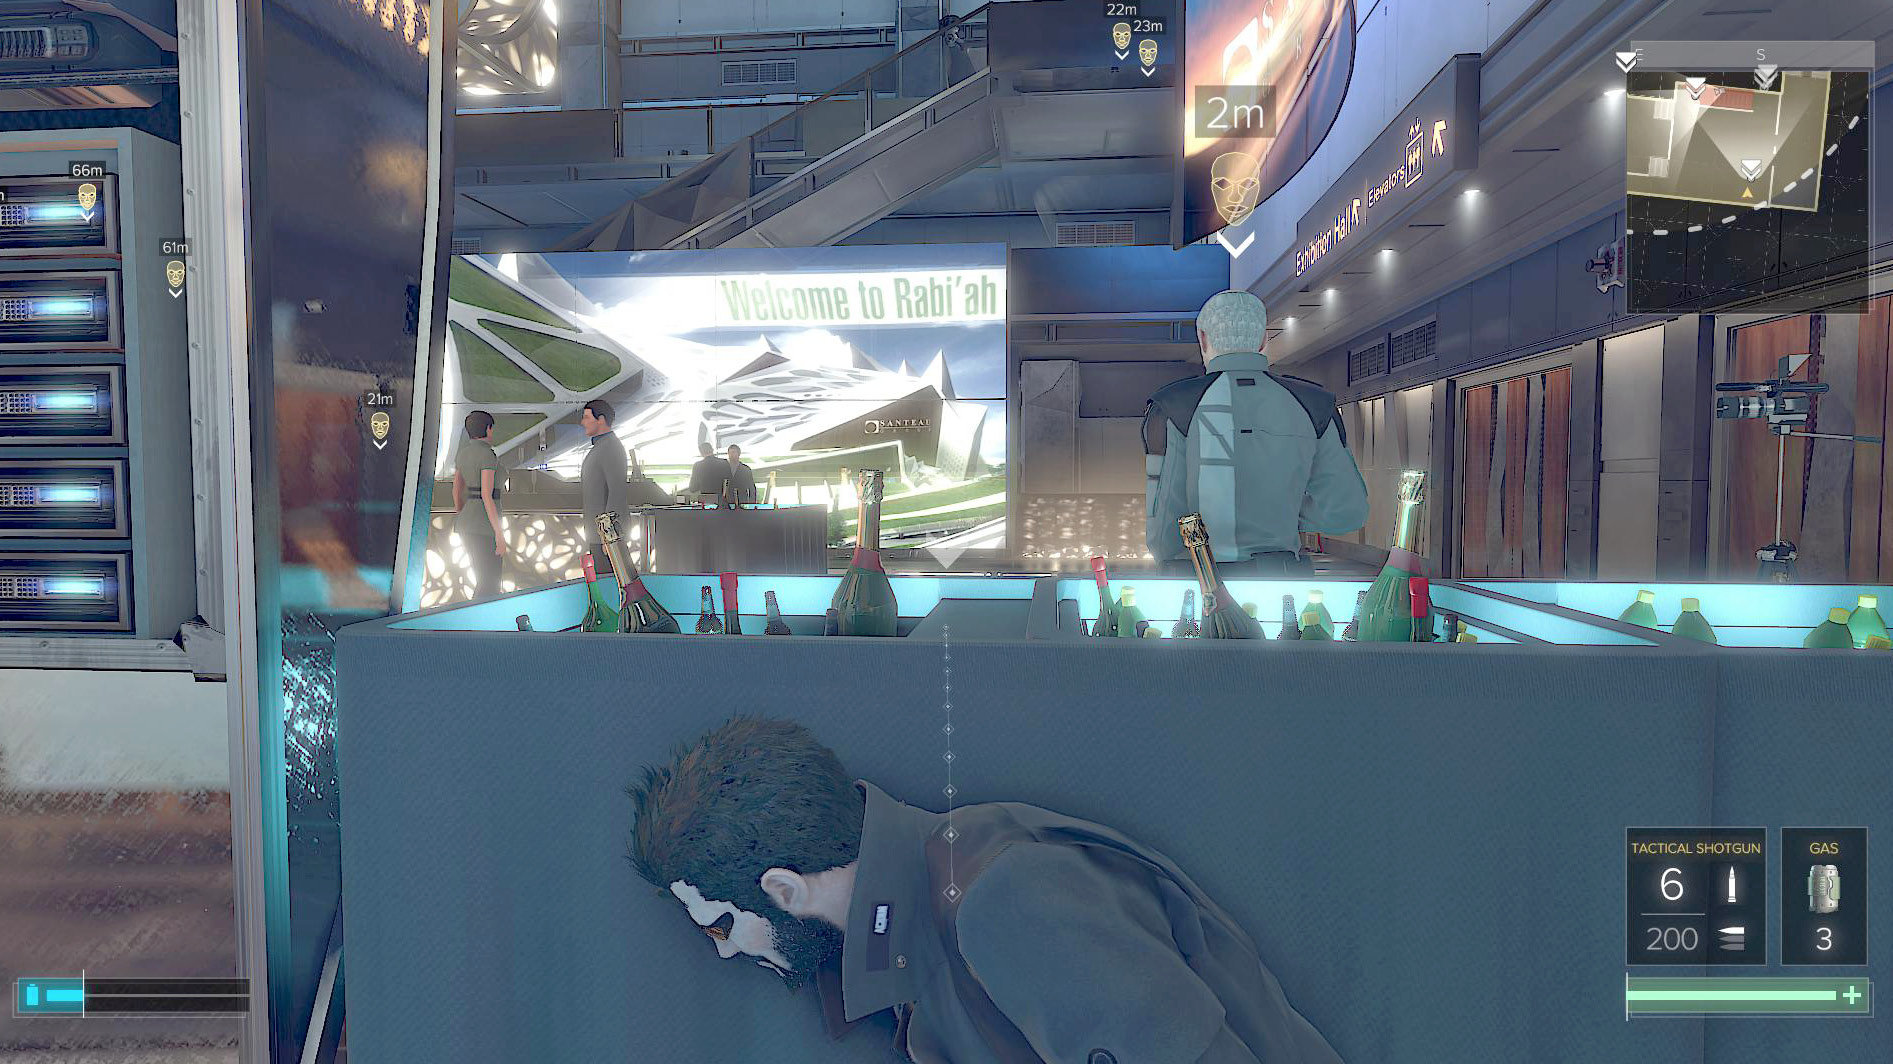
The party is taking place on levels 1-5 of the complex. There aren’t nearly as many armed guards there, but you don’t know which ones are compromised. It’s important to take all of them out, though doing it quietly is a far better policy.
The 11 guards that you have to kill or knock out are distributed throughout the area. Most of them aren’t close to each other, but you get in trouble if cameras or civilians spot your actions. That makes this tricky in a few spots.
Most of the guards on the lower levels are the easier ones. They have their backs to non-restricted areas that nobody goes into. Thus, you can go around the guards without anyone caring. Take cover behind them, and use Takedowns to instantly pull the hapless targets out of everyone’s line of sight. Easy enough.
Level 1
Three guards. Two of them are in non-restricted areas and pose no threat. Get behind them, stay in cover, and take them down. Zero chance of failure as long as you make sure that no one is looking directly at them when it happens.
The man guarding the restricted zone is the only toughie. Get up to Level 2, as you’ll learn about in a moment. That lets you climb down the stairs behind him for a silent attack.
Level 2
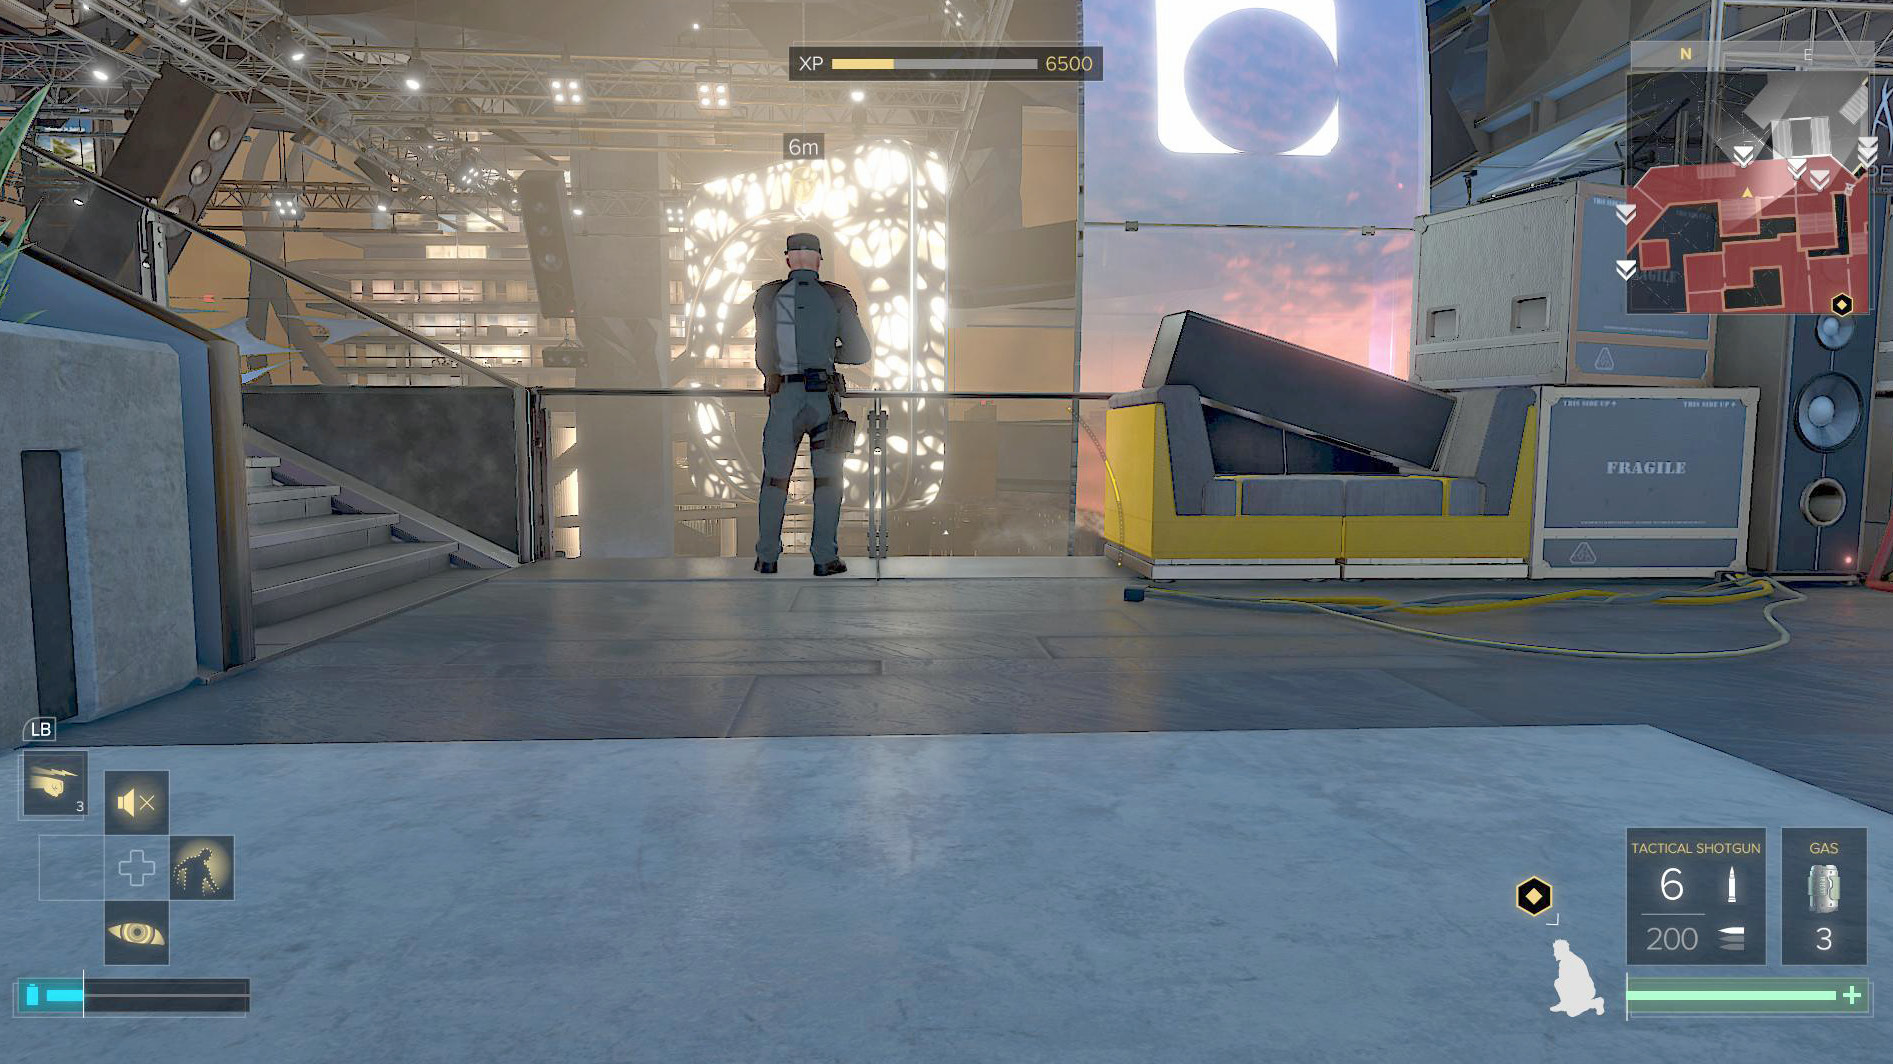
Three guards. Get to the northern part of Level 1, high jump from the railing up to Level 2, and get behind these guards. This makes the two in the restricted zone easy to take out. They’re close together but patrol apart for a fair amount of time. The guy to the east is out in the open. Walk behind him, take cover, and use a Takedown to silence him. He won’t be visible to the civilians, so leave his body there.
Level 3
Nothing.
Level 4
Three guards. Climb up to this restricted area from the lower levels. With brief observation, you can see that the guards patrol simple areas. Ambush them when they’re alone, stash their bodies out of sight, and repeat the process until everyone is down.
Level 5
Two guards. The southern one is close to the elevator. Go around the corner, crawl into a vent, and then go into a room behind the guard. Take cover, open the door, and use a Takedown to drag him into the room. Close the door when you leave.
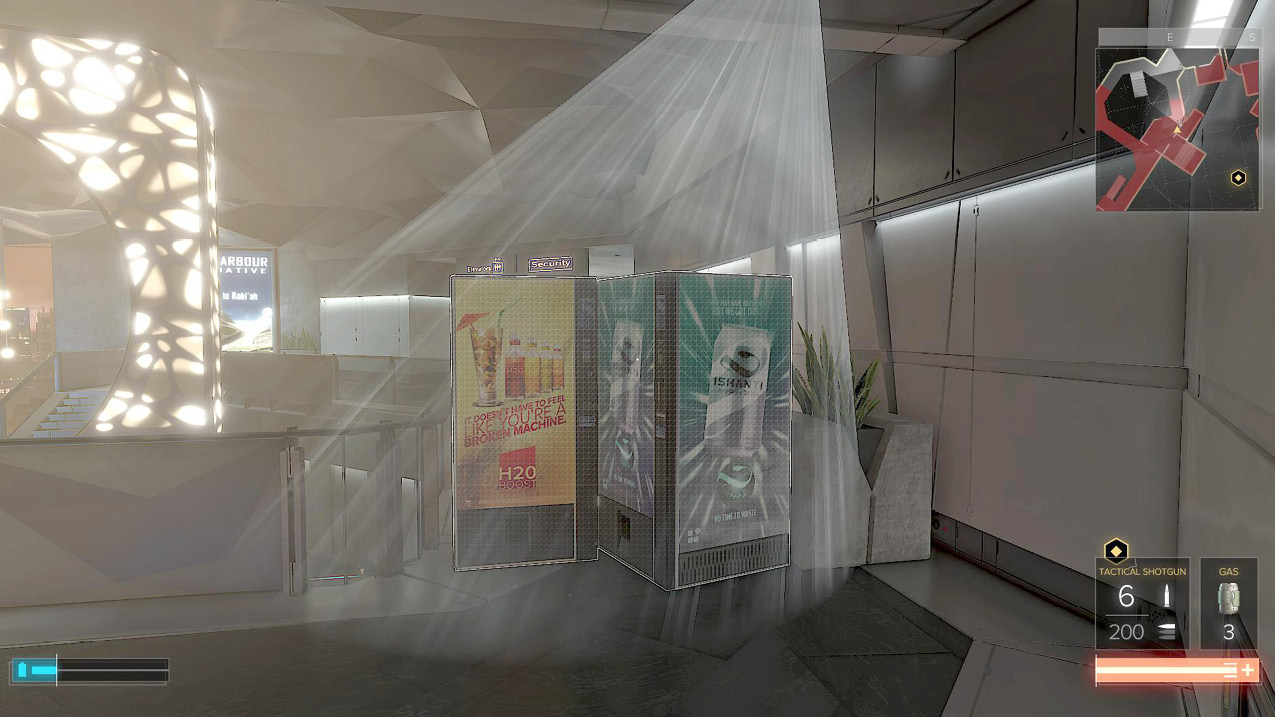
The northern guard is really tricky. He’s in a restricted zone with camera coverage of his position. The funniest way to beat him is to climb up the stairs behind his area. Sneak along the wall to avoid the camera, and get directly behind him. When the camera is turned away, use a Takedown. Then, move the soda machines into position to block the camera’s line of sight on him. You can also drag him away, but the soda solution is pretty darn amusing.
You might get the access key that you need really quickly, but you should knock out all of these guys regardless.
Once everyone is down, move into the catering area. The entrance is in the northwestern part of the map. Go up to Level 4, in the restricted area, and unlock the door with the keycard that you looted from the guards.
Go into the first room on the right. In a rear area, there is a vent that gets you farther south. Drop into the next room, and pull a guard into it with a Takedown. The other hallway guard patrols down there, so wait for him and get another simple knockout with a few moments of patience.
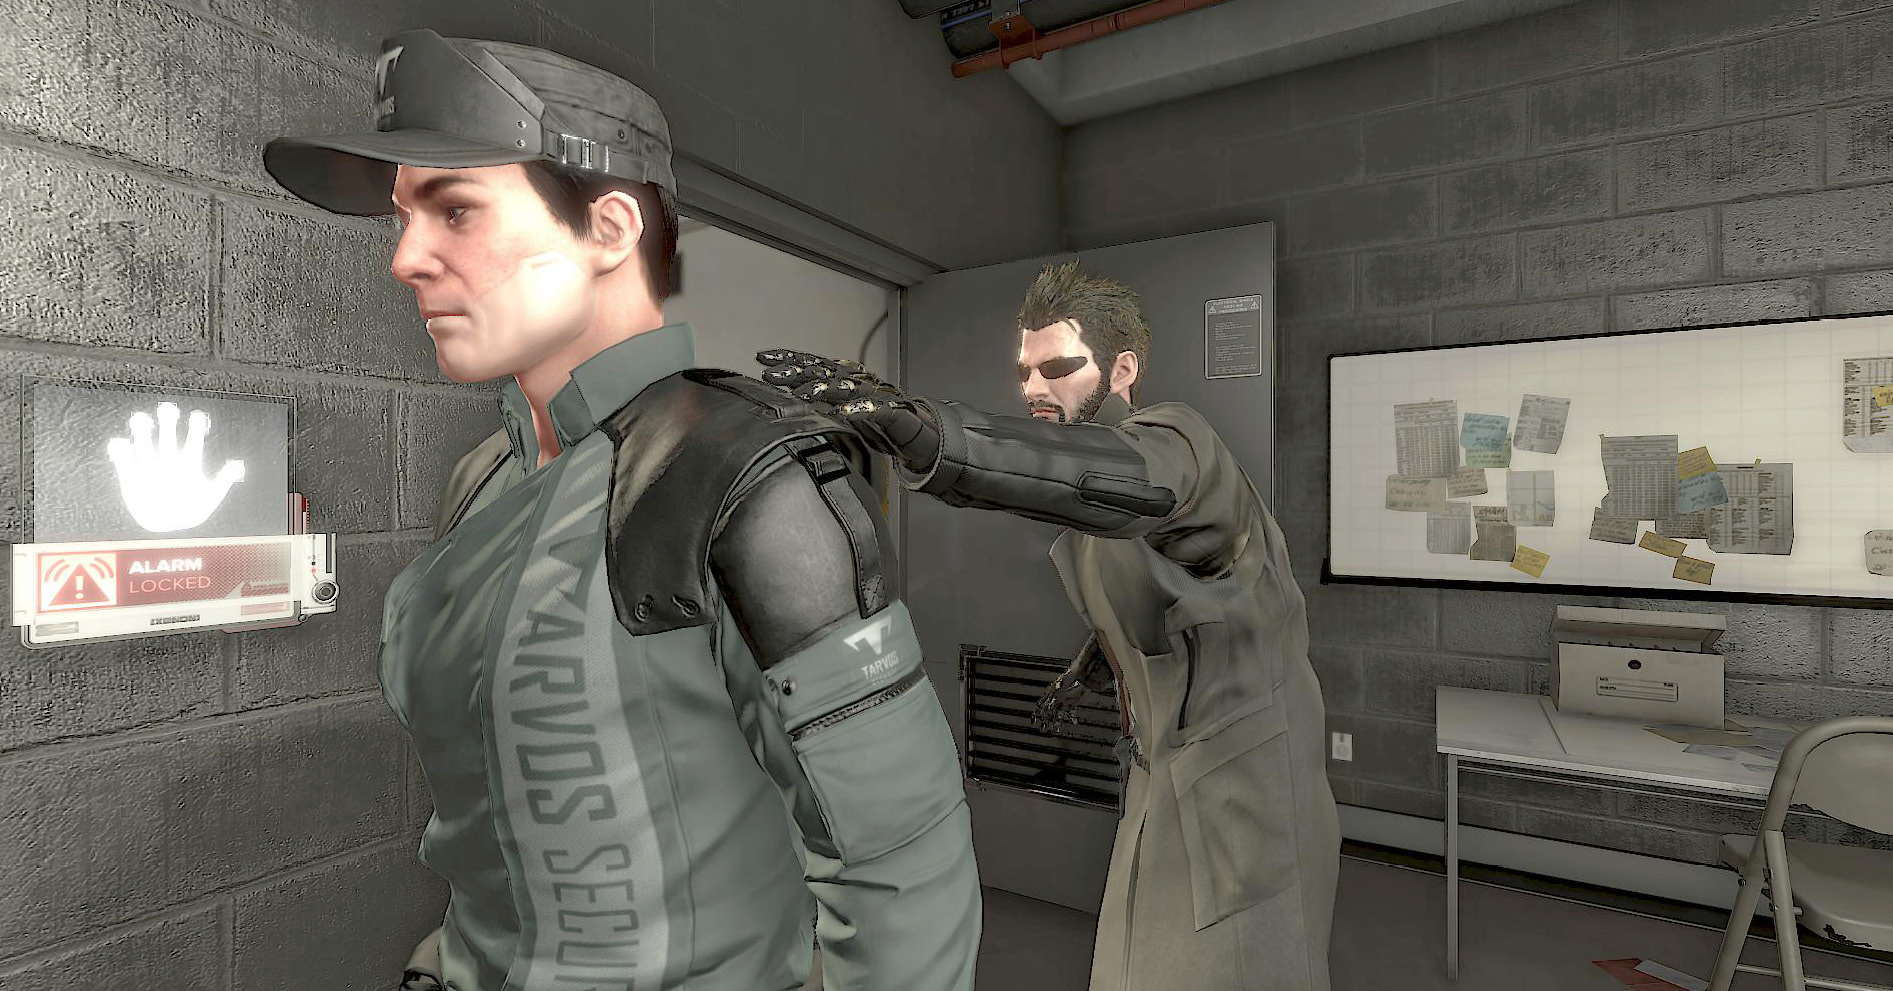
Walk around the bend in the corridor, and approach the last guy in this stretch, who’s in a control room. Wait for him to get up and turn his back, and then slap him down.
Go into the kitchen and meet Miller. Talk with him, and then make a choice at the end of the conversation. You have a split path here: try to save the delegates in the area, or go after Marchenko. Both can be completed, and both have a chance of failing. The end of the game changes depending on your success with each mission.
Right now, decide which one you want to try first.
You should also talk to Miller again before leaving the kitchen. You have the ability to help him. Doing this demands that you act quickly when it’s time to save the delegates, but that’s fine if you’re willing to practice. Succeeding means that you get the best possible ending, so why not go for it!