
Deus Ex: Mankind Divided Guide Story Missions Prague, Second Visit
The Heist
Get to the Bank
Objectives
|
Go to the Palisade Bank |
|
Retrieve a package from the parking garage |
Overview
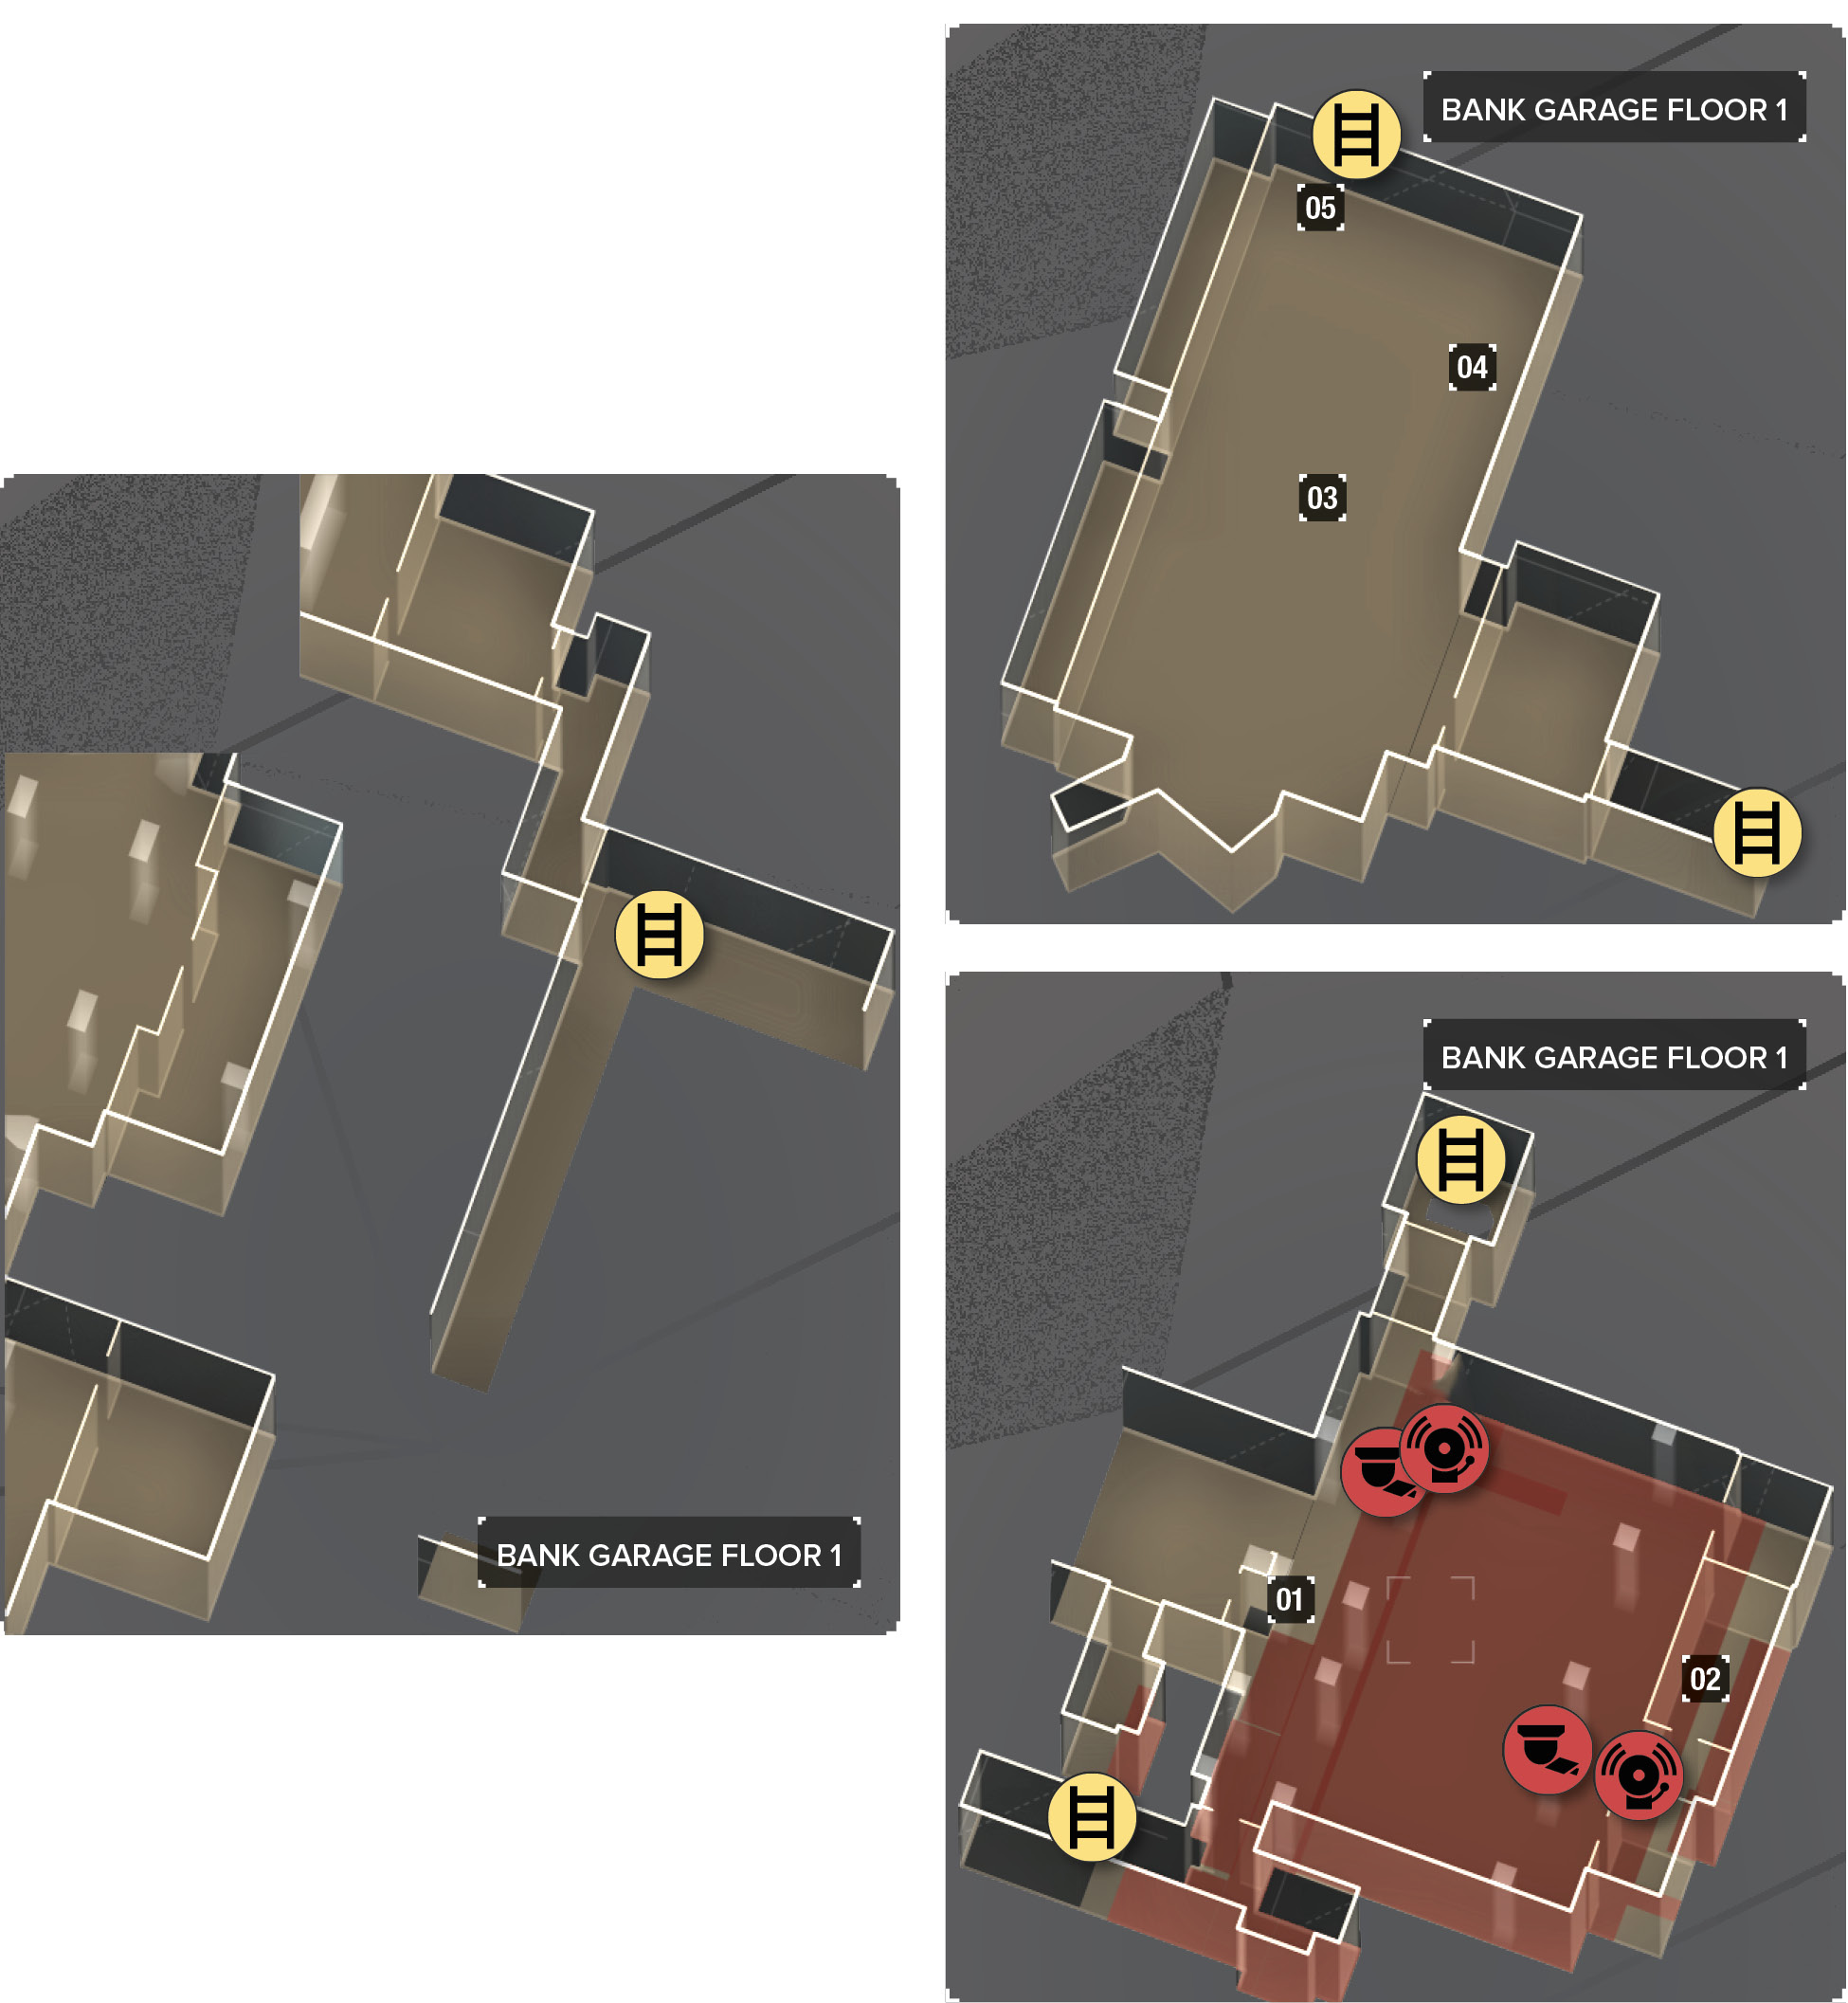
Map Legend
|
01: Entryway |
|
02: Security room |
|
03: Gas hazard |
|
04: Gas shutoff valve |
|
05: Discreet bank entrance |
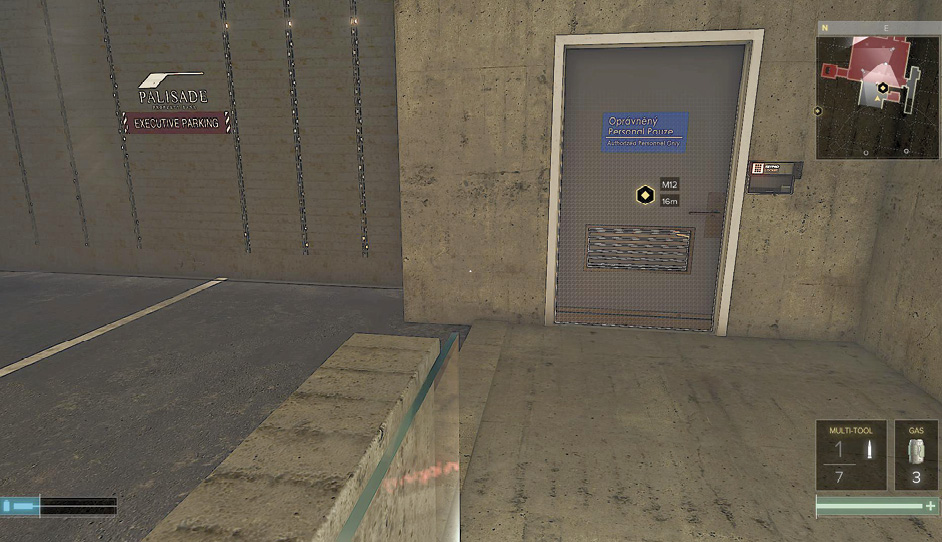
If you’re doing this mission, go to the Palisade Bank on the western side of Prague. When you arrive, Vega tells you that a package is inside the parking garage. Go to the main door and hack your way inside. Move quickly into the garage once the patroller is looking the other way, and watch out for the cameras. The vehicles to the right offer good cover as long as you’re quick to get to them. If you have any trouble with this, break through the outside wall of the garage instead of taking the door. This helps you avoid the cameras even more.
Use noise to lure the patroller outside of camera range, and then knock him out. Move between the cars and approach the security room, where two more guards are located. If you go through the door, you can ambush both of them from behind without setting off an alarm.
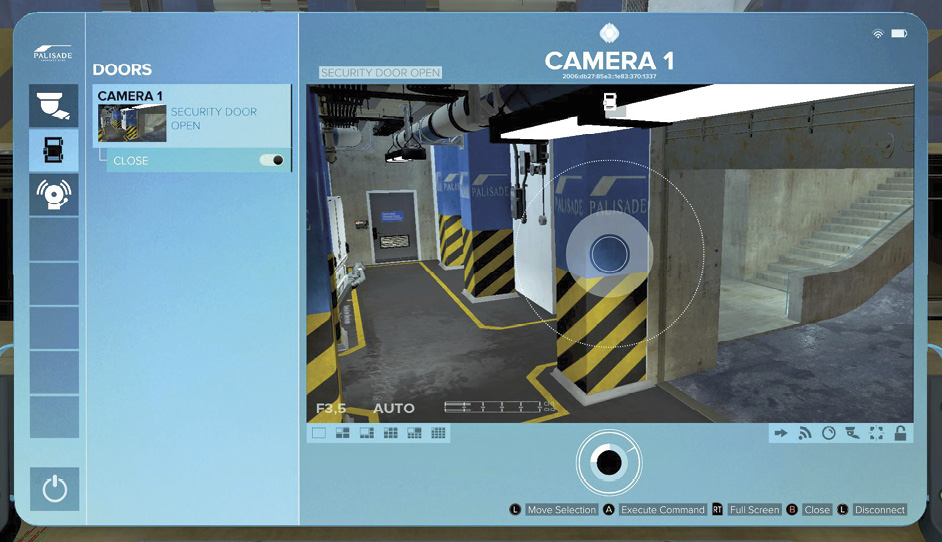
Use the security computer to turn off the cameras and the alarms, and to open a security door. You now have the run of the place. Search a blue car in the northeastern corner to get the package that Janus left.
You can now leave the garage and enter the bank.
Access a Restricted Terminal
Objectives
|
Access a terminal in the CEO’s room |
Overview
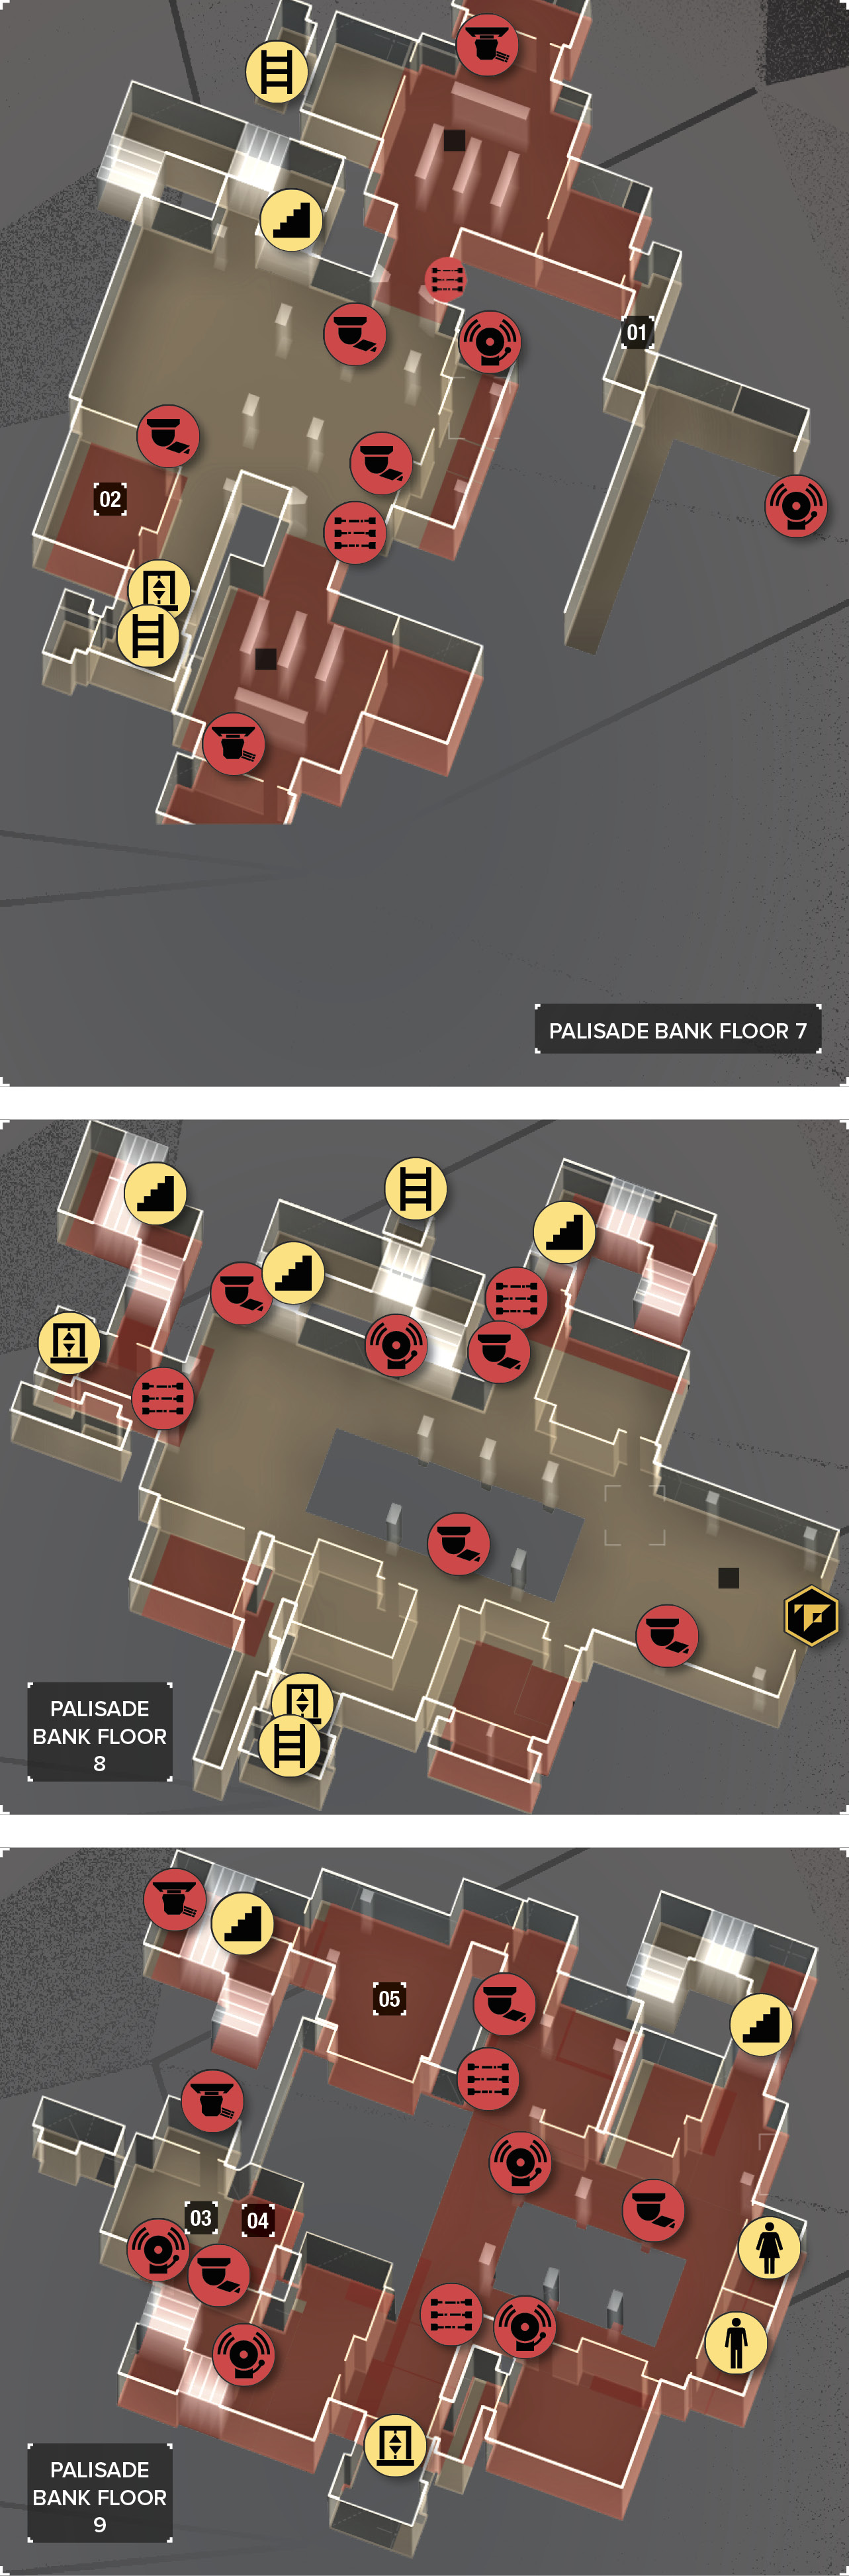
Map Legend
|
01: Entrance from garage |
|
02: Private office |
|
03: CEO’s office |
|
04: Biometric reader |
|
05: Security system |
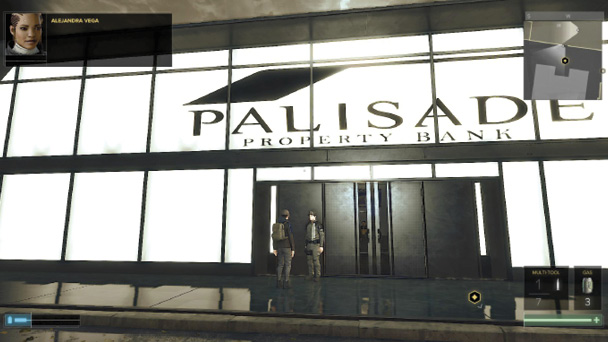
You can walk right in the front door of the bank. The central area isn’t restricted, so stay confident and go to the elevator on the southern side of the level, which lets you switch between this level and the lower one. You need a special keycard to get to the top. You might already have that if you’ve done the Side Mission for Samizdat. Here is the text from that section; it lets you get the keycard and gain access to the CEO’s office.
Walk inside and use the elevator inside a hallway to the left to get downstairs. Hack into an office below to get an elevator keycard. With that, you’re allowed to go to the third floor, where the CEO’s office is located. Do so!
When you’re up there, hack into the office on the left. There is one guard inside, protecting the private stairway into the CEO’s office. You can either knock him out or sneak past. Invisibility is a huge boost here.
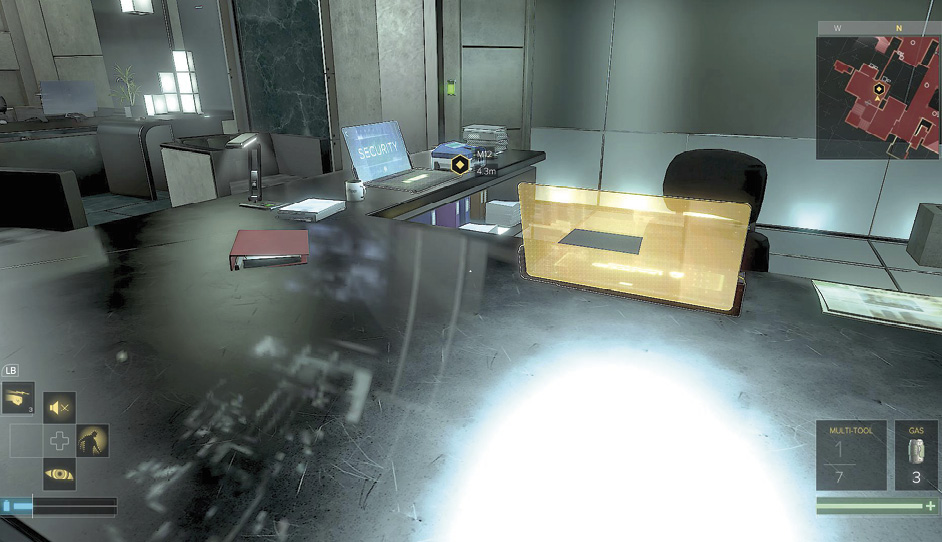
Break into the office above, and go to the security laptop. Hacking that lets you turn off the cameras, laser grid, and alarm systems in the bank. Everything becomes much easier afterward.
Then, use the puzzle on the northern side of the room. It’s a rotating table with three stacks of blocks. You need to configure it into a pattern of two blocks on the left, one in the center, and three on the right.
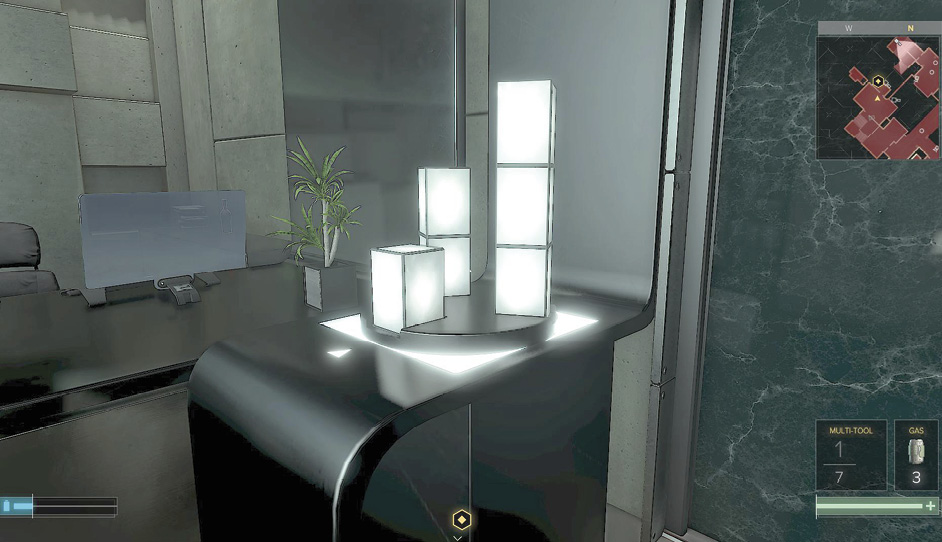
This isn’t too hard of a puzzle. The left block goes down each time you interact with the table. The middle one goes in a pattern from 1 -> 2 -> 3 -> 1. The right block always tries to go up.
Your goal is to get the table into a set of 3 left, 3 center, 2 right, and then to interact a single time with the table. This shifts everything to show as 2, 1, 3.
Short version: Interact once, turn. Interact once, turn twice. Interact once. This opens the door.
If you dislike puzzles, try the ventwork behind the TV in the office. That can take you into the secret room, too. Either way, break into the safe inside the hidden area and get a Praxis Kit, Triangle Code, and a Dossier.
Use a blue biometric reader that is on the CEO’s desk. Now you can get into the vaults.
Use the Corporate Vault Elevator
Objectives
|
Find the corporate vault elevator |
|
Use the new keycard to enter the vaults |
|
Enter the Versalife vault |
Overview
Map Legend
|
01: Entry from corporate elevator |
|
02: Vent access |
|
03: Vault |
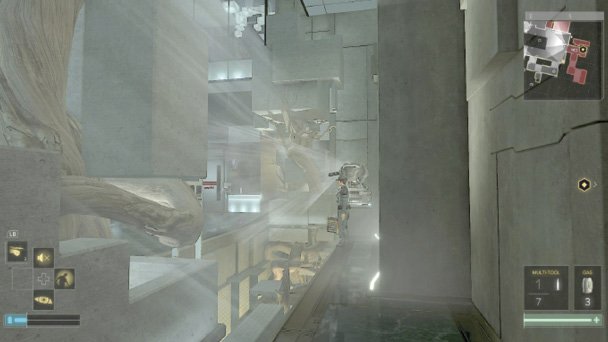
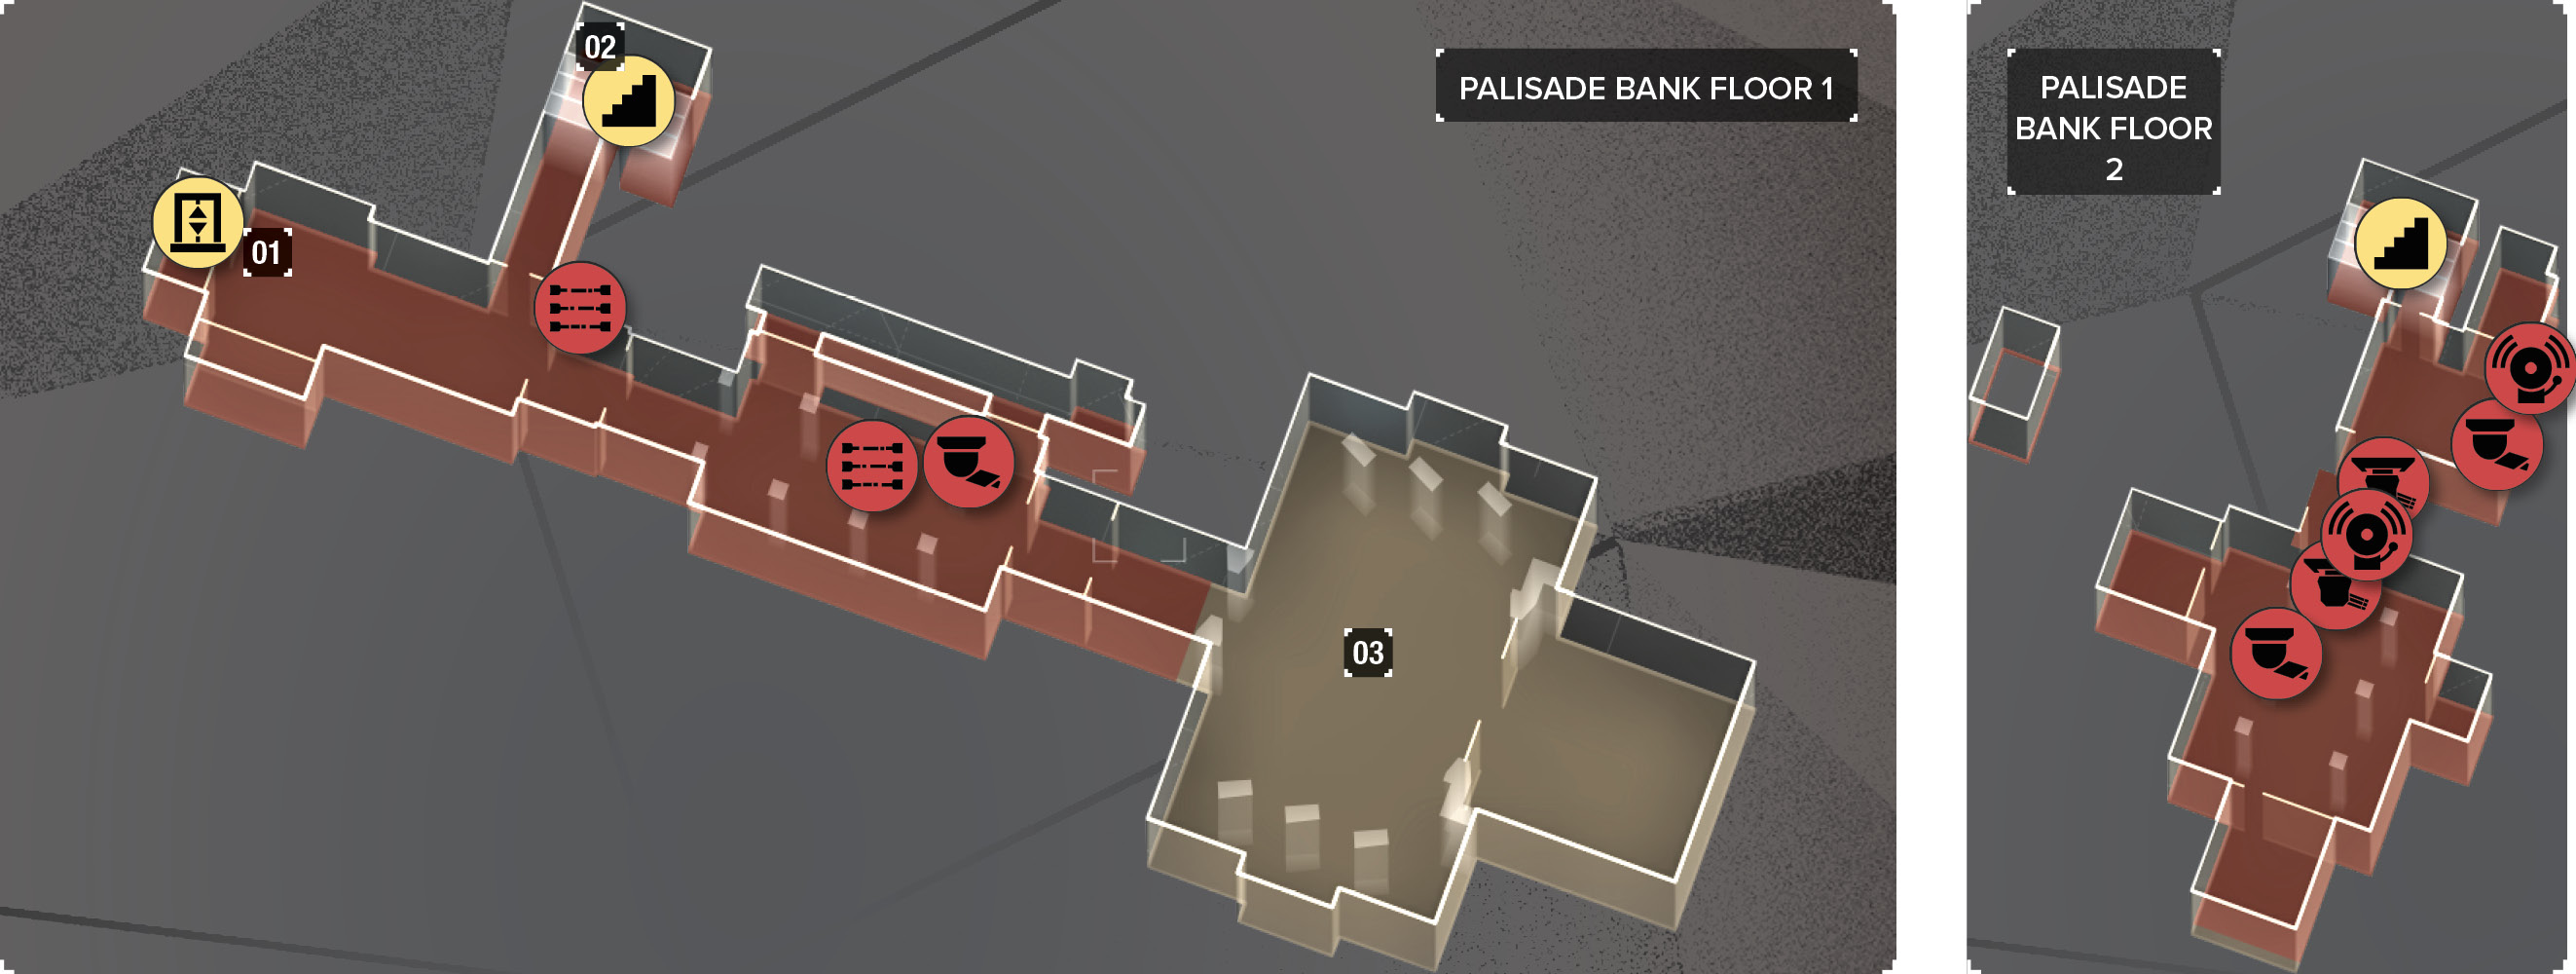
The elevator into the corporate vaults is on the central level, at the western side of the area. It’s protected by cameras, turrets, a robot, and a plain old guard, as well. You can’t bust in there without turning the whole place into a warzone.
Instead, stay on the CEO’s floor up top. Now that the electronic systems are mostly disabled, you can move around without as much fear. Sneak to the northern side of the level, and head for the monitoring room. Disable the guards as you go if you’re uncomfortable with pure stealth.
The stairs that are on the other side of the monitoring room let you get down and behind the turret/cameras/guard/etc. You get to tiptoe into the corporate elevator without anyone knowing what’s going on. Use the keycard on the control system, and then ride the elevator to the bottom.
Don’t try to bypass the security in the hallway with any fancy maneuvers. Instead, look for a vent along the northern wall of the area. Keep your head up, because it’s higher on the wall. Once you get into that, life is easy. You can hack through the only system that blocks your way north. Otherwise, the vents go all the way to the end, and you don’t need to dodge anything else. Drop down, enter the vault, and get what you need.
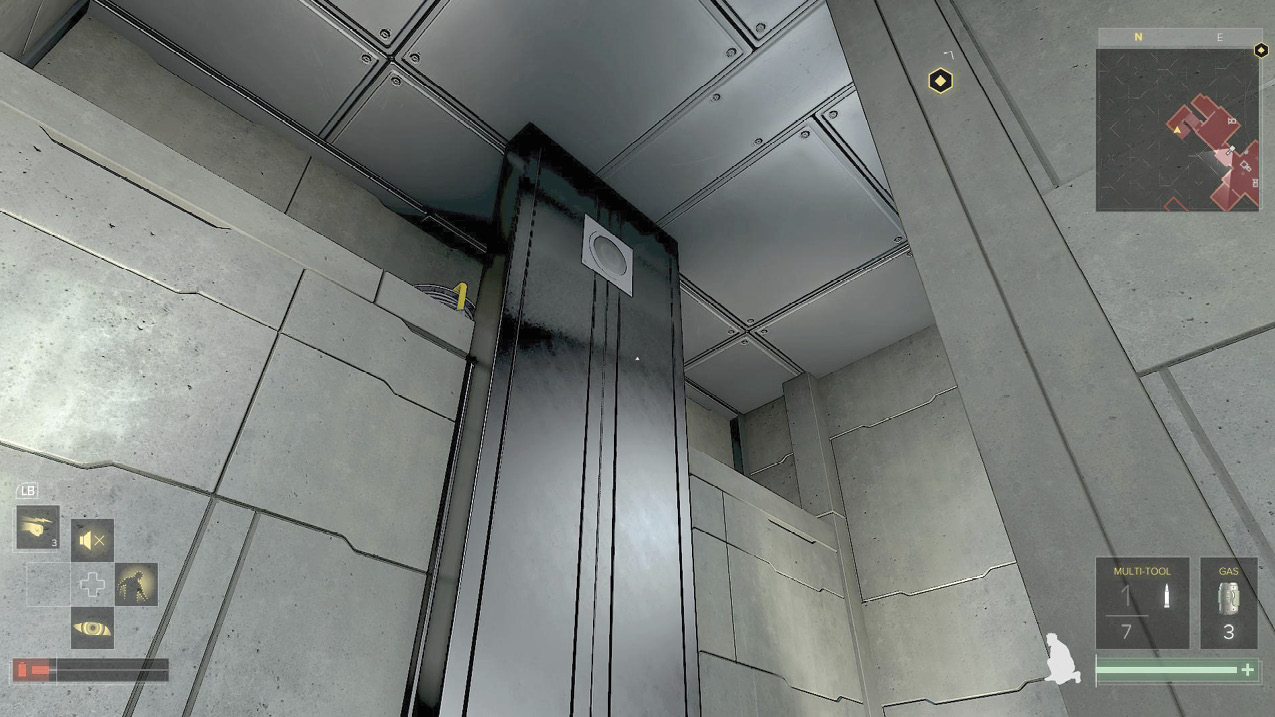
After viewing a cutscene, search the vault for useful items. There are so many good things here. Hack the laptop and the safe terminal, get the Orchid Neutralizing Compound, and steal plenty of wealth from the items in the drawers. When you’re done, leave the vault and meet Miller by the helipad.
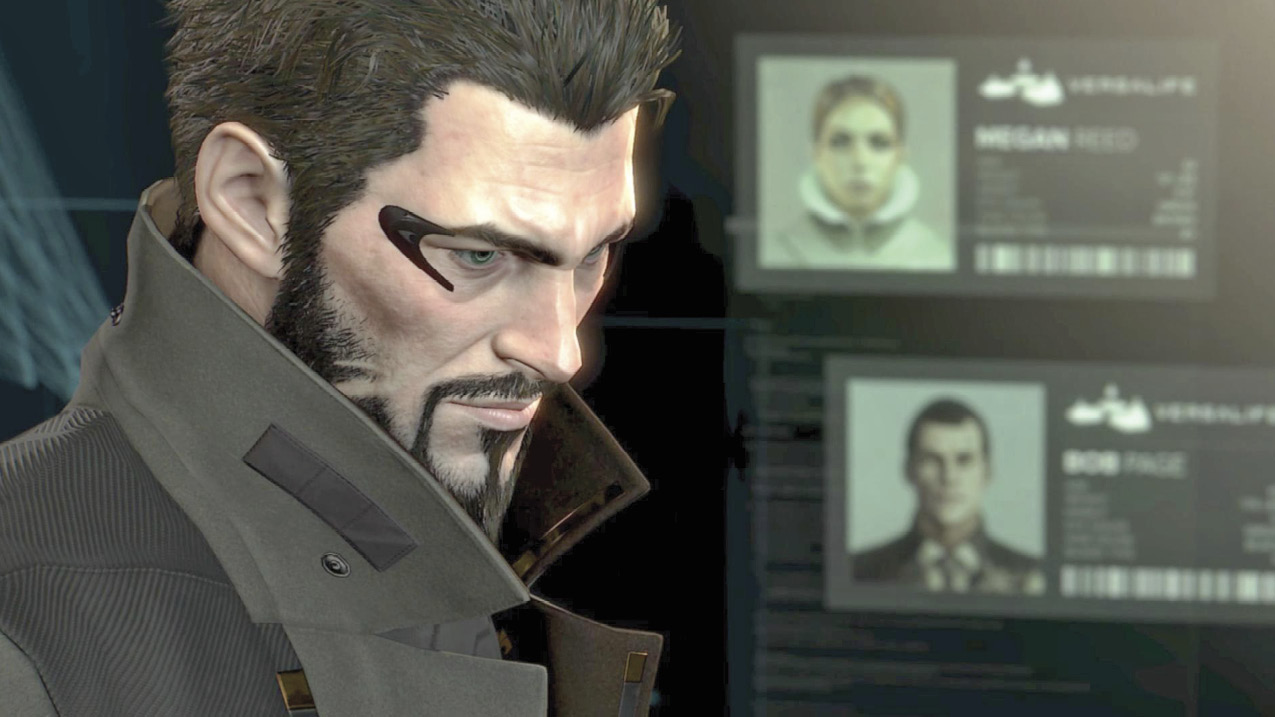
He’s about to blow his stack, so you need to impress him with what you’ve been working on. Use Disclose, Disclose to keep him on a fairly even keel. Or, if you gave him Rucker’s evidence, then rely on that to push through this scene. You get a fourth option that immediately gets Miller’s support.
With all this done, you can finish this mission and start the GARM Facility portion of the game. However, there are a few side elements that you can explore, as well.
See Koller and Talk to Dr. Auzenne Before Talking to Chikane
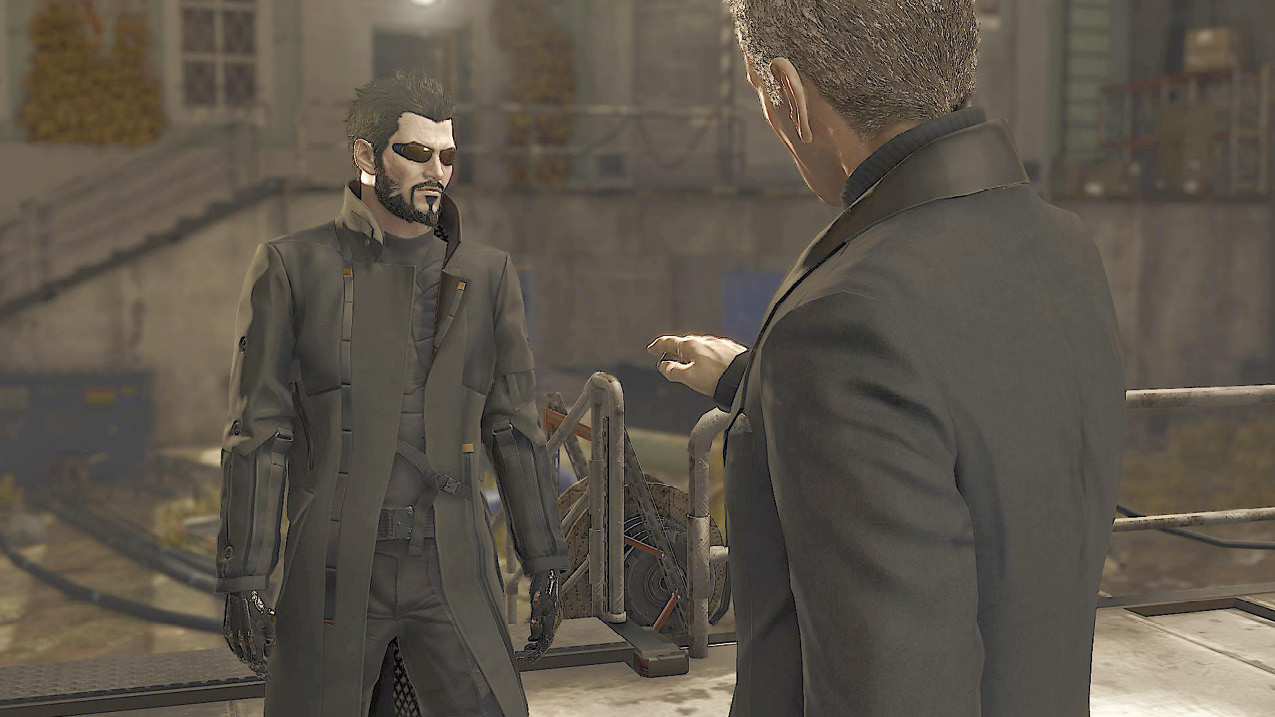
If you have your calibrator, you can go to Koller again and get his help with fixing your aug problems. See the Side Mission “The Fix” to complete that task.
If you told Dr. Auzenne to look into Marchenko, then she’ll contact you before the end of your time in Prague. Go back to your apartment, look at your email, and check out a cereal box to find something hidden.
When you’re done with these minor elements, talk to Chikane and lift off for GARM.