Deus Ex: Mankind Divided Guide DLC System Rift DLC
Infiltrate the Server Chambers
Objectives
|
Optional: Inspect server chamber 209 |
|
Unlock server chamber 204 |
|
Insert the Pass-Port into Santeau’s server terminal |
|
Enter the CTO’s private workstation |
Overview
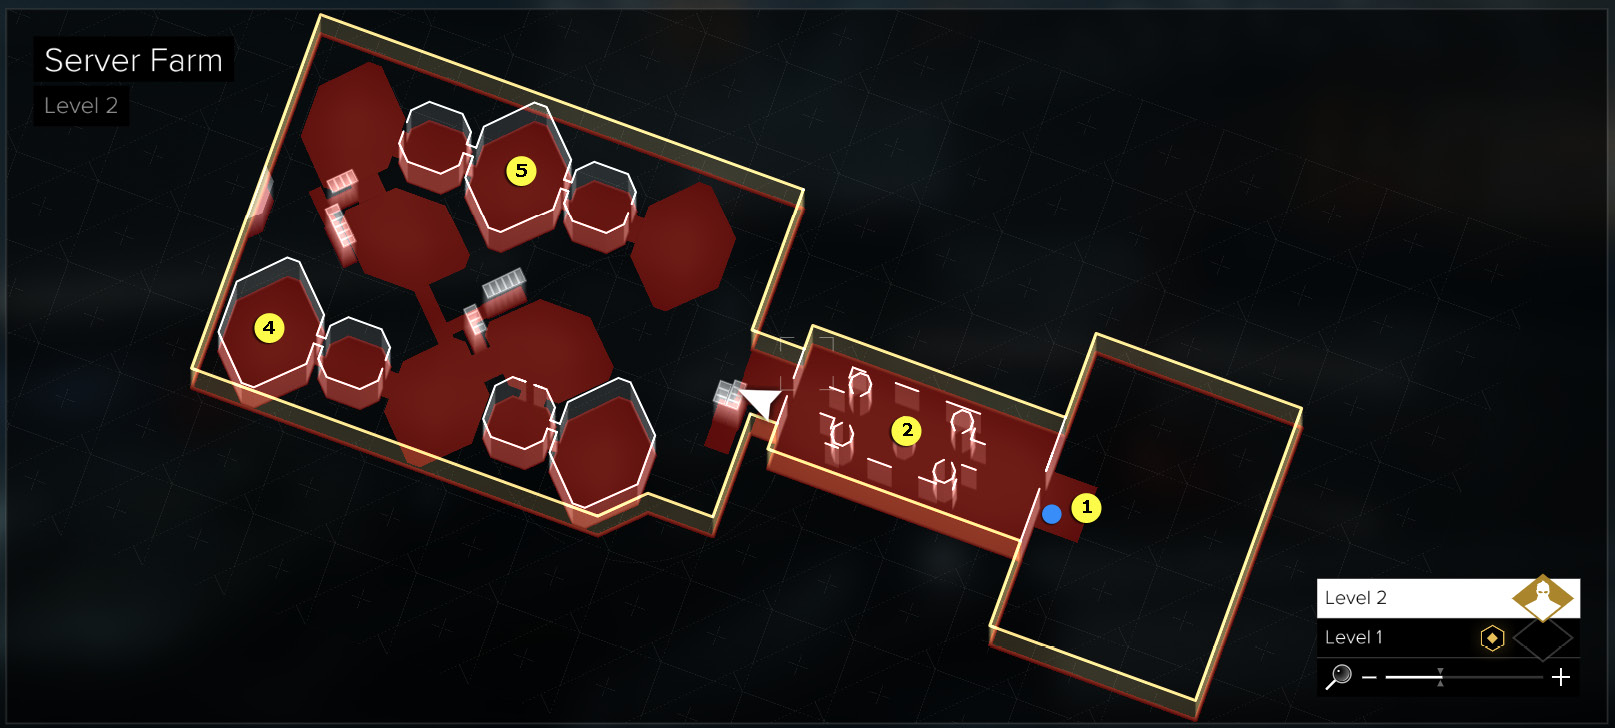
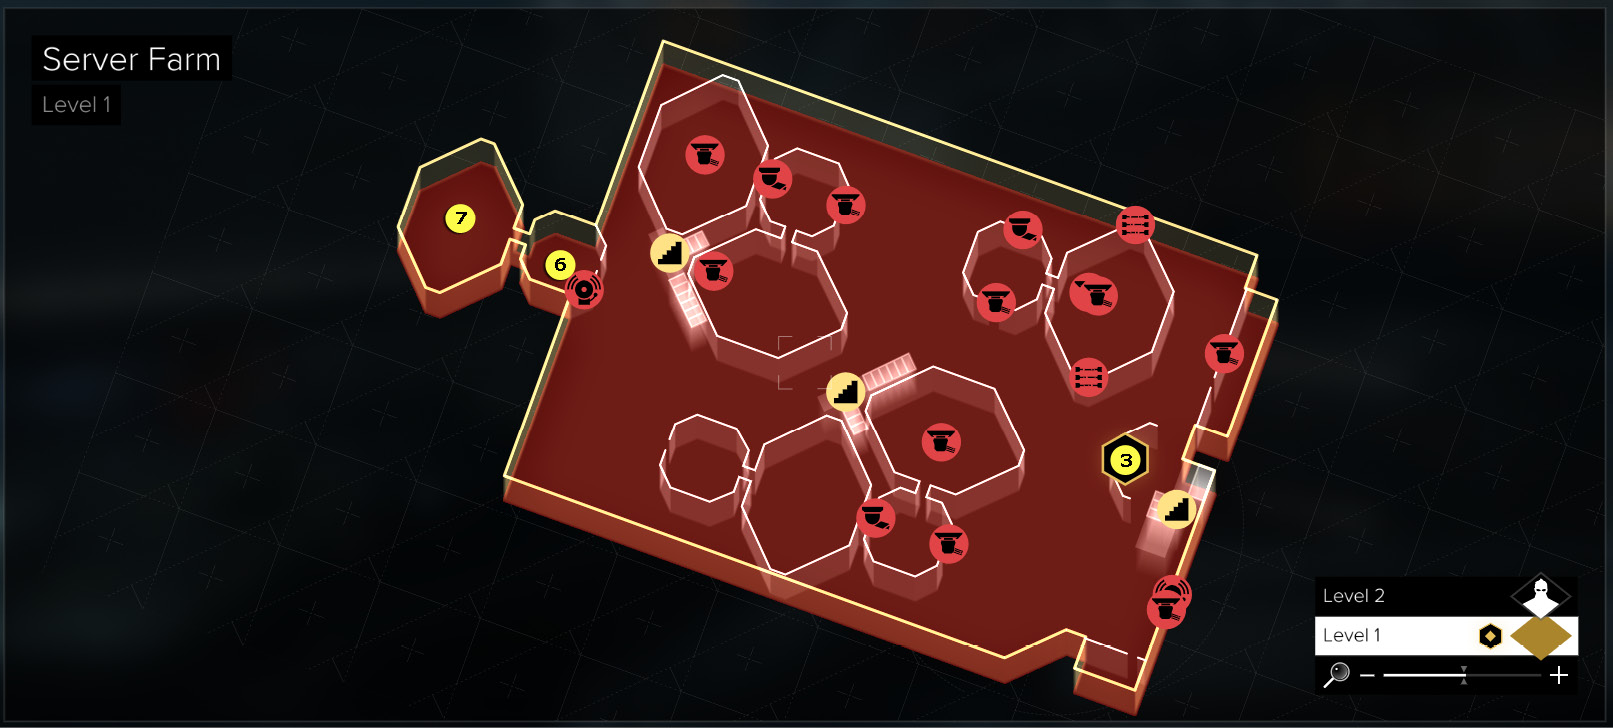
Map Legend
|
01: Funicular arrival |
|
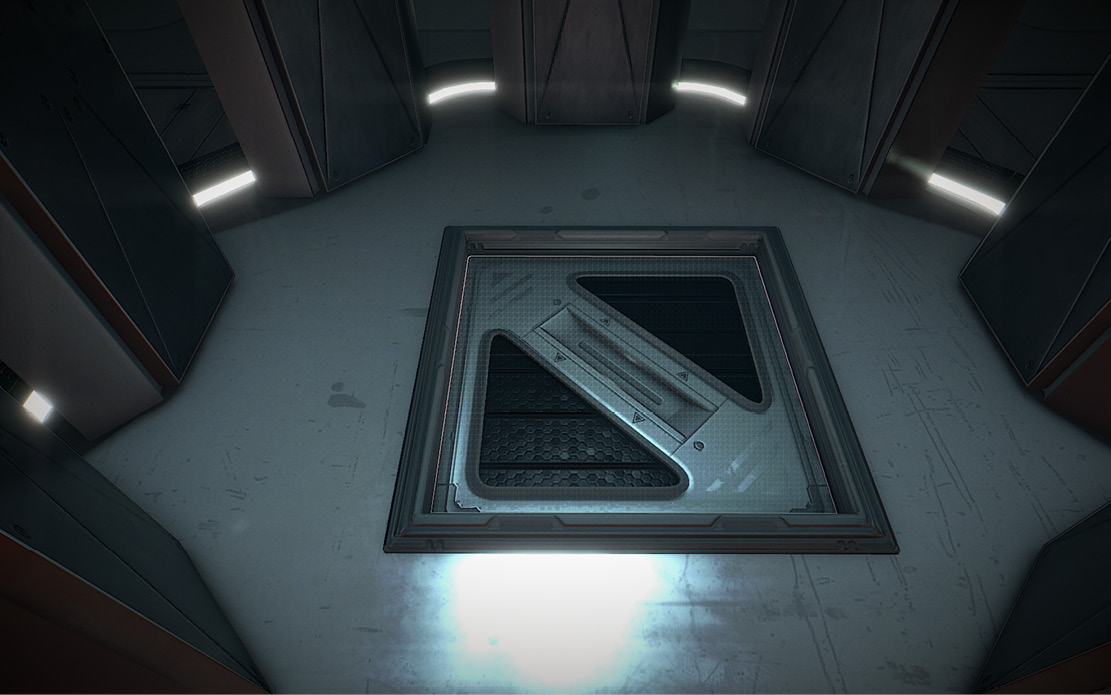
02: Maintenance hatch (locked until after NSN sequence) |
|
03: Security console (Server room plan) |
|
04: Server chamber 209 |
|
05: Server chamber 204 |
|
06: Oshiro’s private workstation |
|
07: NSN Chair |
|
[BLUE DOT] = E-Book |
Get Across the Entry Room
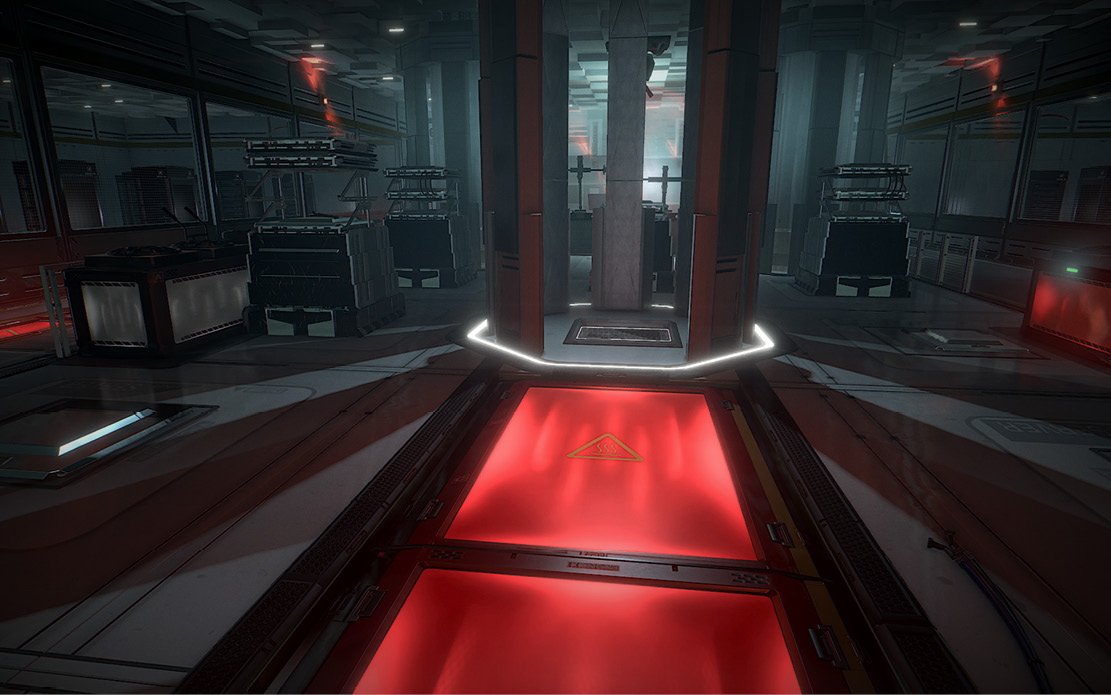
Immediately dash to the right to the red crate, which is a heat source that conceals your heat signature from the HeatEye Sensors in the three ceiling Turrets and the single pacing Sentry Bot. Use the red floor panels to stay hidden while moving across the entry lobby to the far door. (Ignore the locked Hatch in the center of the room; you can’t use it yet.)
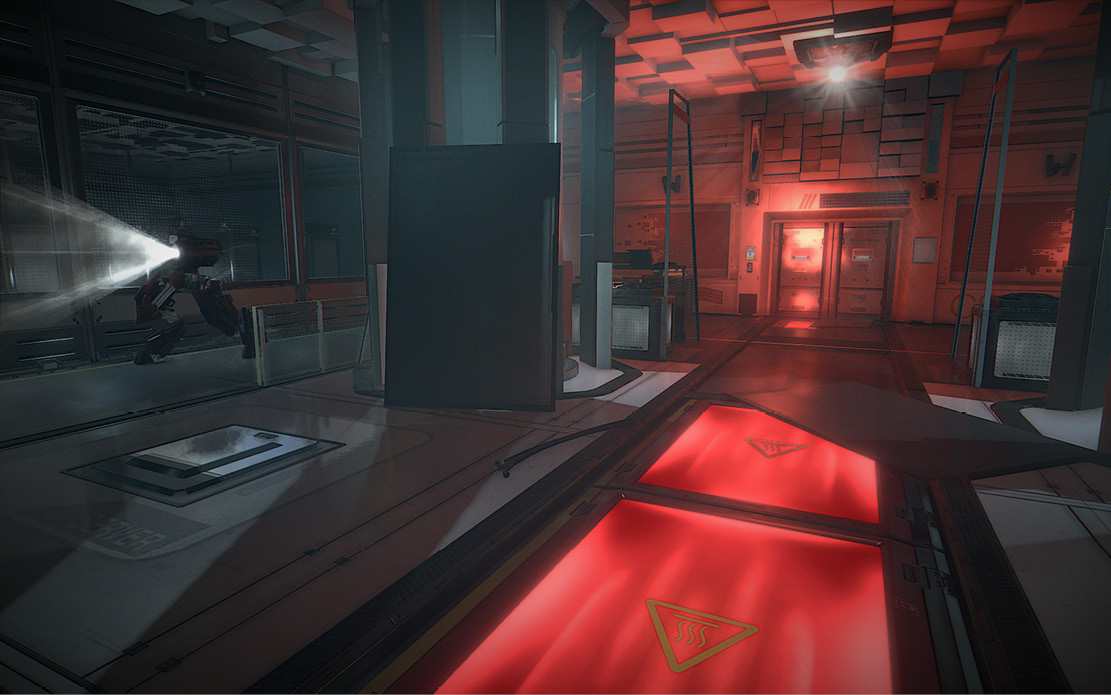
If you get spotted, step onto a red heat source and stand still until the alarm and search ends. Important: If you decide to fight, you can use one weapon with EMP ammo to disable the automated units and then quickly swap to another weapon with armor piercing ammo to destroy them. When you finally reach the far side, use the Pass-Port Reader to unlock the doors and hustle into the next room.
Unlock Server Chamber 204
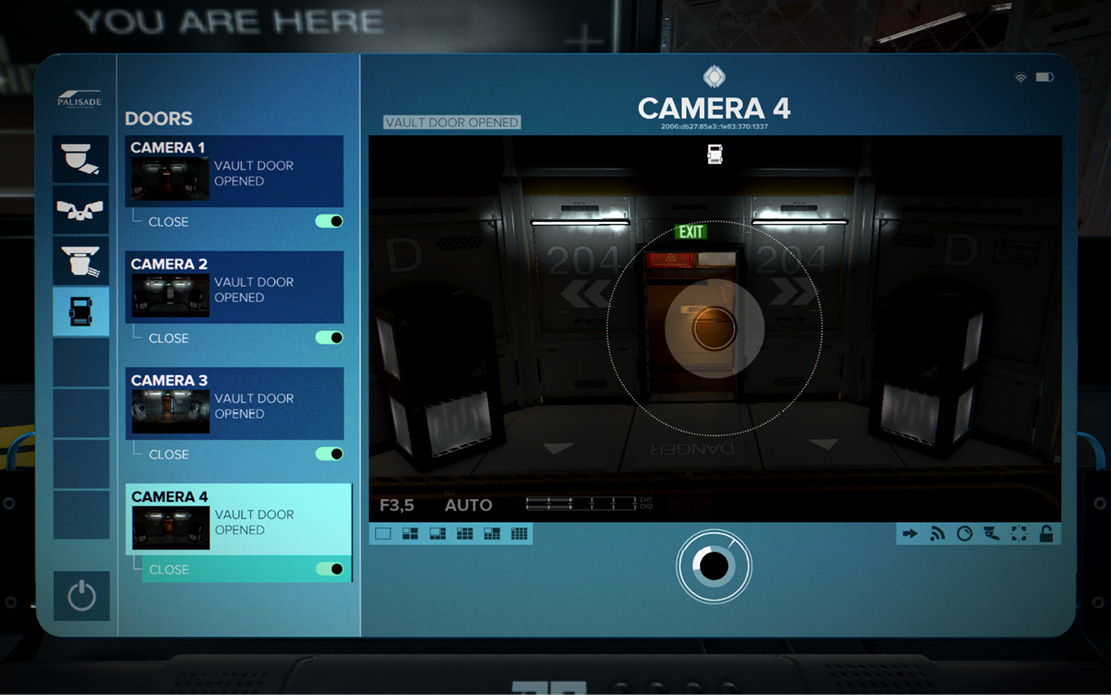
Go downstairs to the control console where you can see a schematic of the floor plan showing all the server chambers, including 204, your primary destination, and 209, your secondary destination. Hack the two blue Security terminals to turn off Intruder Tracking on all cameras and all turrets (if you have the Turret Domination aug). If you have Robot Domination, you can turn off Intruder Tracking on the flying Drones, too. Finally, and most importantly, open all the doors to all server chambers. In particular, you need chambers 204 and 209 unlocked.
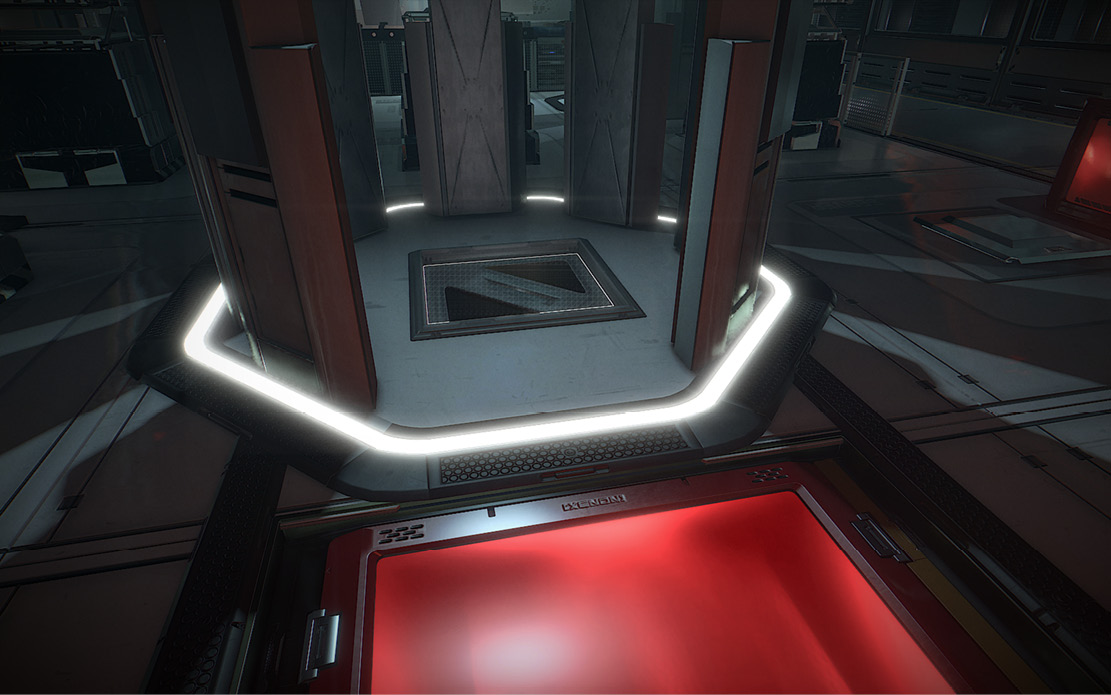
Explore the area around the control console, including the two chain-link enclosures, to find a number of pickup items as well as EMP Generators and Explosive Barrels that you can place in the walkways and then shoot to detonate when automated bots pass by.
SECONDARY: Investigate the Sardakis Death (3/4)
Optional: Inspect Server Chamber 209
The two server chambers you want to visit are raised on upper levels. Check out the Server Room Plan above the console to spot chamber 209 at the upper left. Head down the central walkway until you reach the stairs on the left and climb them. At the top, turn right and enter the room marked “B.” Approach the door to 209 and open it.
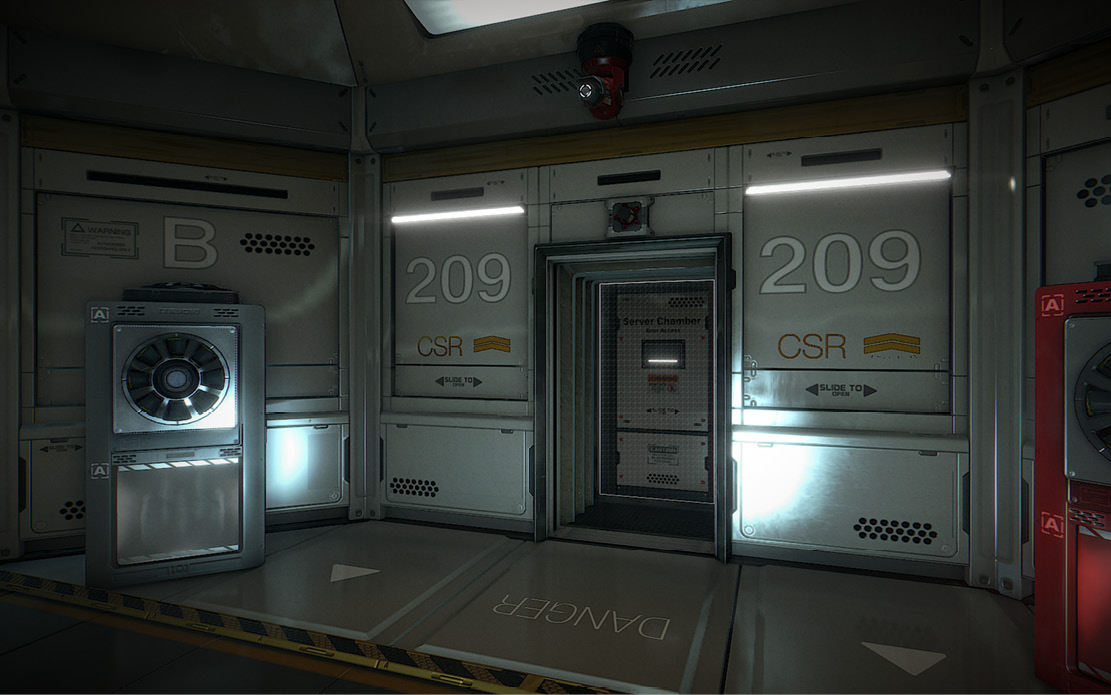
Uh oh… The chamber is full of toxic yellow gas. You see a number of towers that you can raise and lower with Remote Hacking, but just ignore that. If you have the Implanted Rebreather, simply enter the chamber and walk around the left side of the towers to find a Pocket Secretary on the floor, tucked against the back wall. Pick it up!
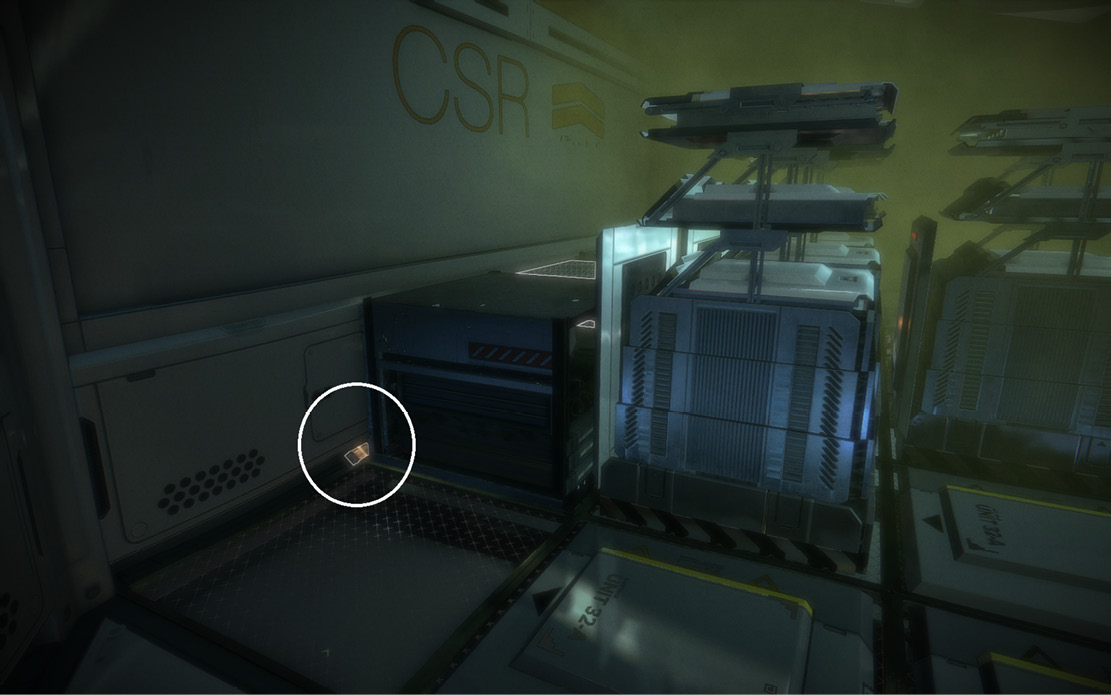
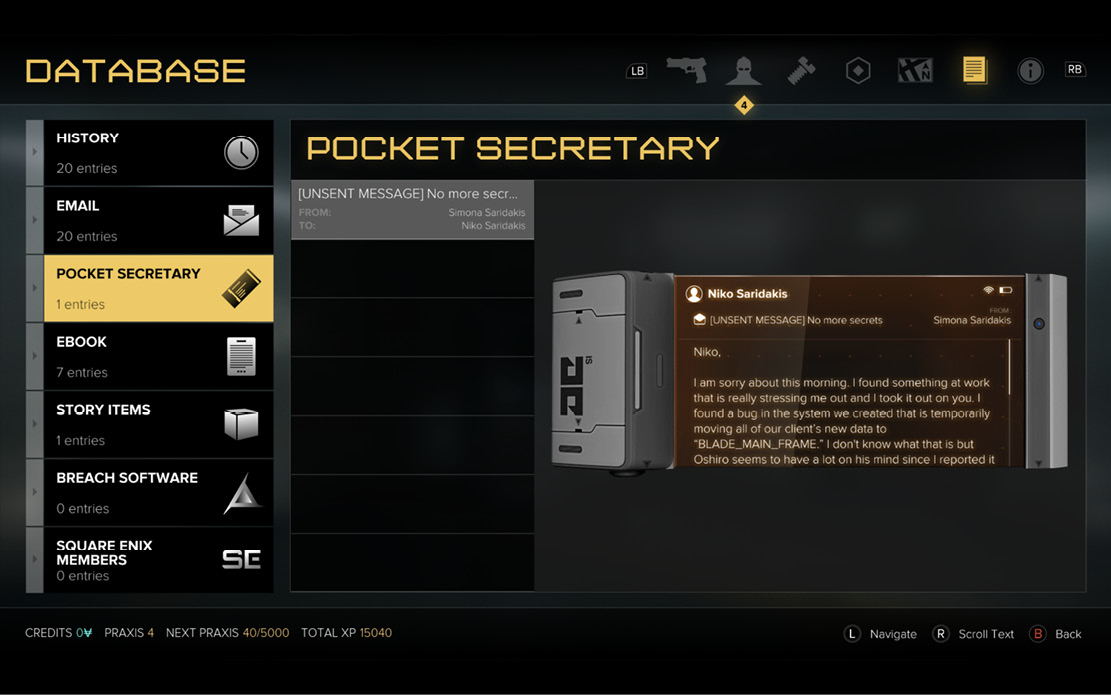
Exit the room, open the in-game menu, and examine the Pocket Secretary in your Database menu. It contains an unsent email message from Simona Saridakis to her husband Niko. This is the third clue in your secondary quest to investigate Simona’s death.
Insert the Pass-Port into Santeau's Server Terminal
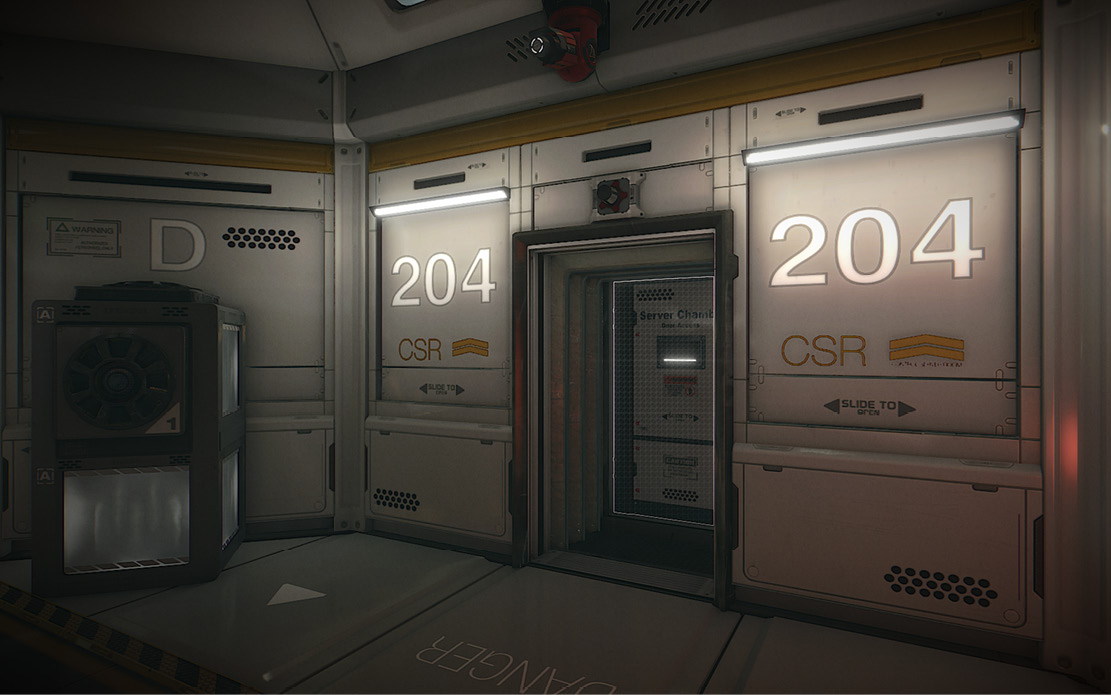
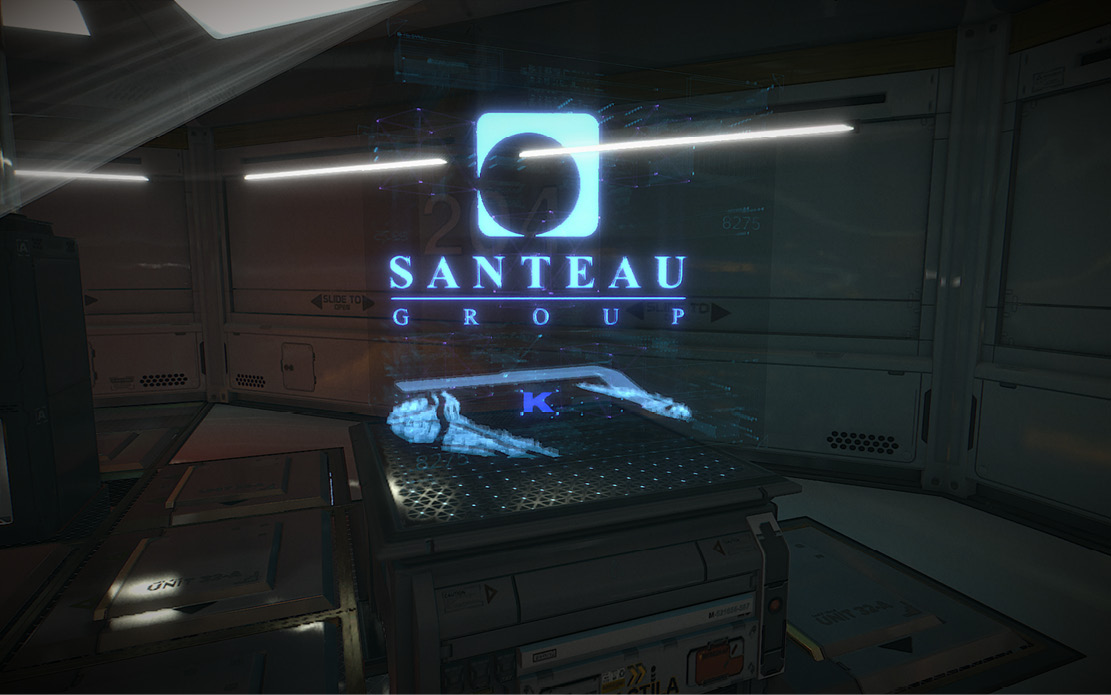
Now exit the “B” room and veer left across the walkway (don’t go downstairs). Proceed to the right around the “D” chamber and enter it to see chamber 204 ahead. Open the door, head to the right around the laser grid, and turn on the Santeau Group holograph. (Note the letter “K” under the logo.) Go straight across the room to the Server Chamber Terminal and insert the Pass-Port. This triggers a cutscene: Pritchard learns that the Santeau Group data has been moved to Masaaki’s personal mainframe computer.
Enter the CTO's Private Workstation
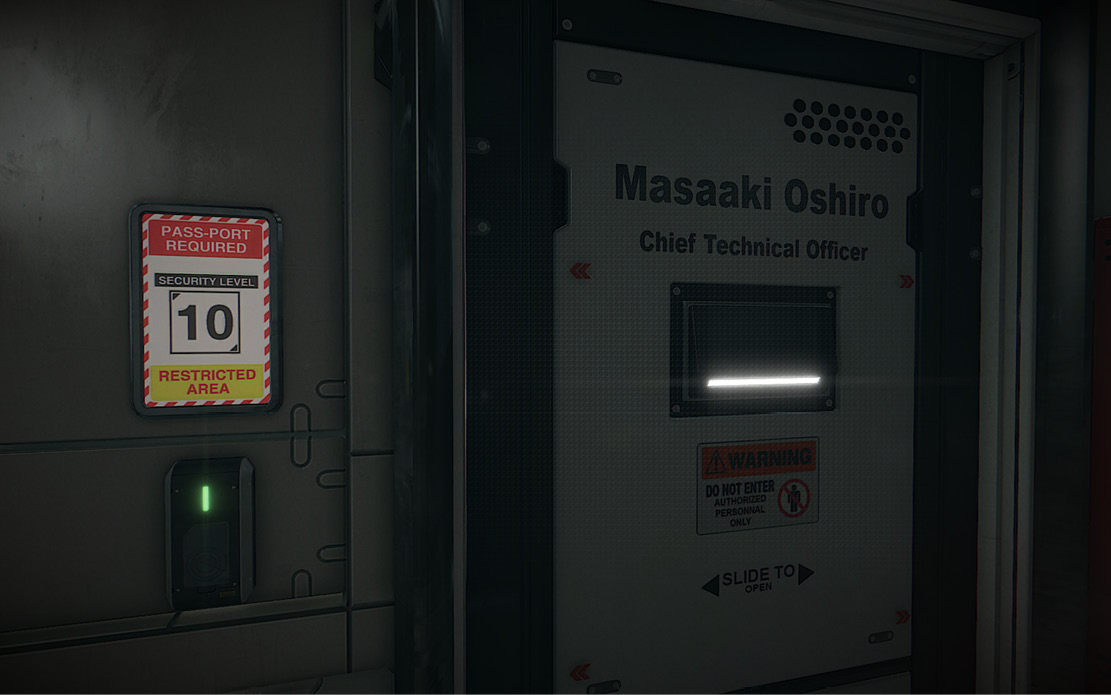
After the cinematic, turn around and grab the Level-10 clearance Pass-Port. Exit the chamber and head down the nearby stairs. Turn right and follow the Objective Locator to the door labeled “Masaaki Oshiro, Chief Technical Officer.” Use your Level-10 Pass-Port on the Pass-Port Reader, open the door, and enter the workstation.
Gain Access to the Mainframe Server Chamber
SECONDARY: Investigate the Sardakis Death (4/4)
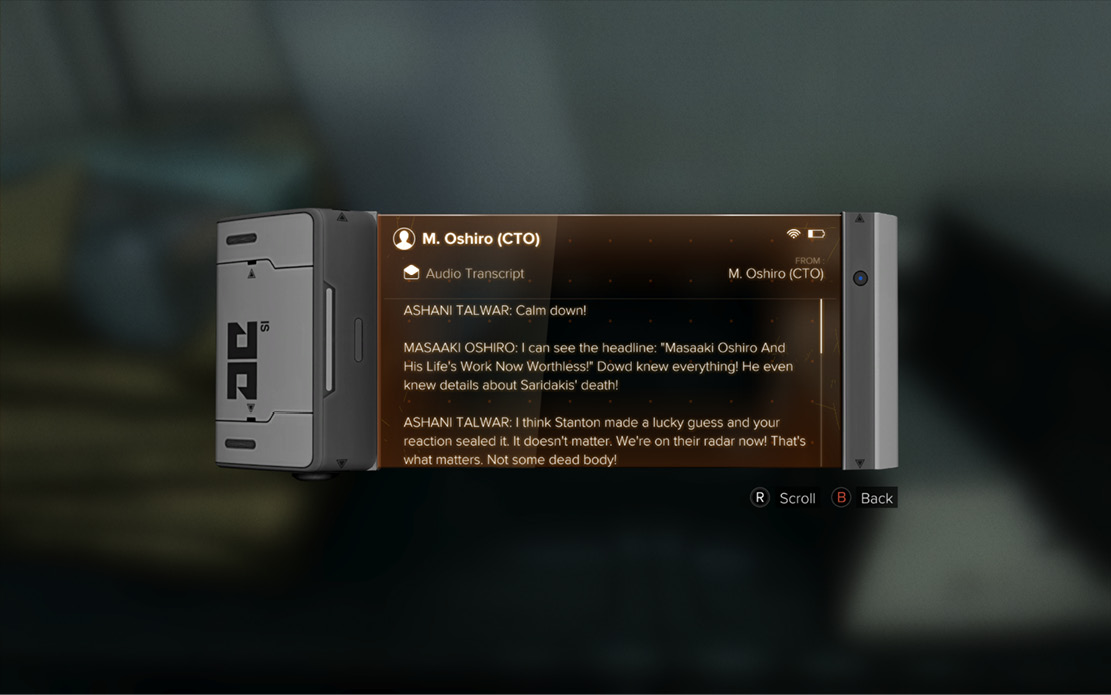
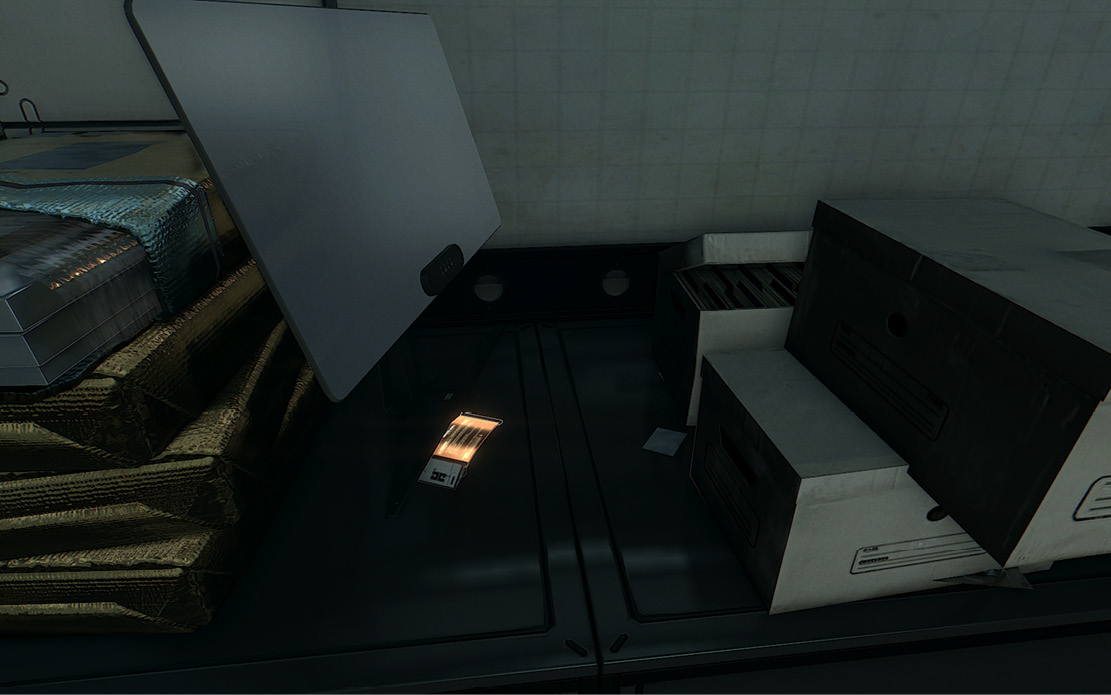
Move the two stacked Archive Boxes on the cabinet to the right to find another Pocket Secretary. Grab it and listen to the short but incriminating recorded conversation between Masaaki Oshiro and his wife. This gives you two things:
First, you get the fourth piece of evidence in your investigation of Simona Sardakis’ death, completing that secondary objective. Second, you get a nice sample of Oshiro’s voice.
Use the Voice Sample to Enter the Mainframe
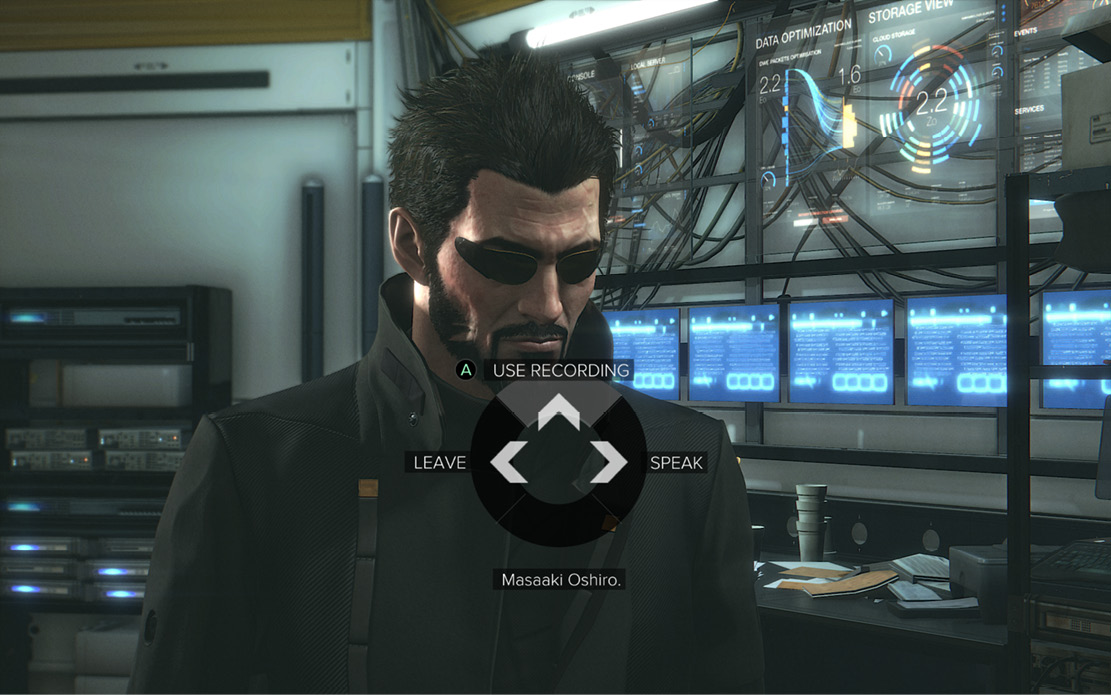
Now use the Voice Recognition Panel on the wall to trigger a quick scene. Select “Use Recording” from the onscreen choices to open the sliding door to the mainframe room.
Insert the Pass-Port into the Mainframe Terminal
Enter the room and approach the Server Chamber Terminal. Insert the Pass-Port to trigger a cutscene: Pritchard starts downloading the Santeau Group files and gets detected. His avatar gets trapped in the Neural Sub-Net and the Blade security system fries Jensen’s Pass-Port!
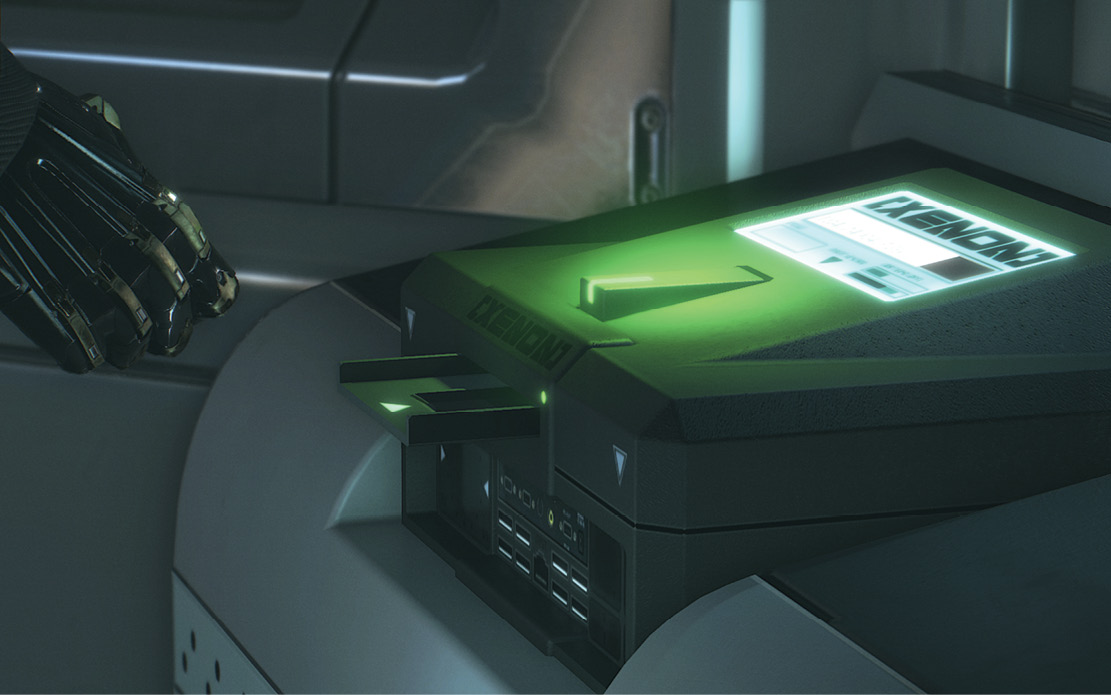
Use the NSN Chair
After Jensen contacts ShadowChild, sit in the Neural SubNet chair. This triggers a stunning cinematic: Jensen’s avatar appears in the NSN representation of one of the mainframe’s partition. ShadowChild has detected another avatar in this partition, which must be Pritchard.
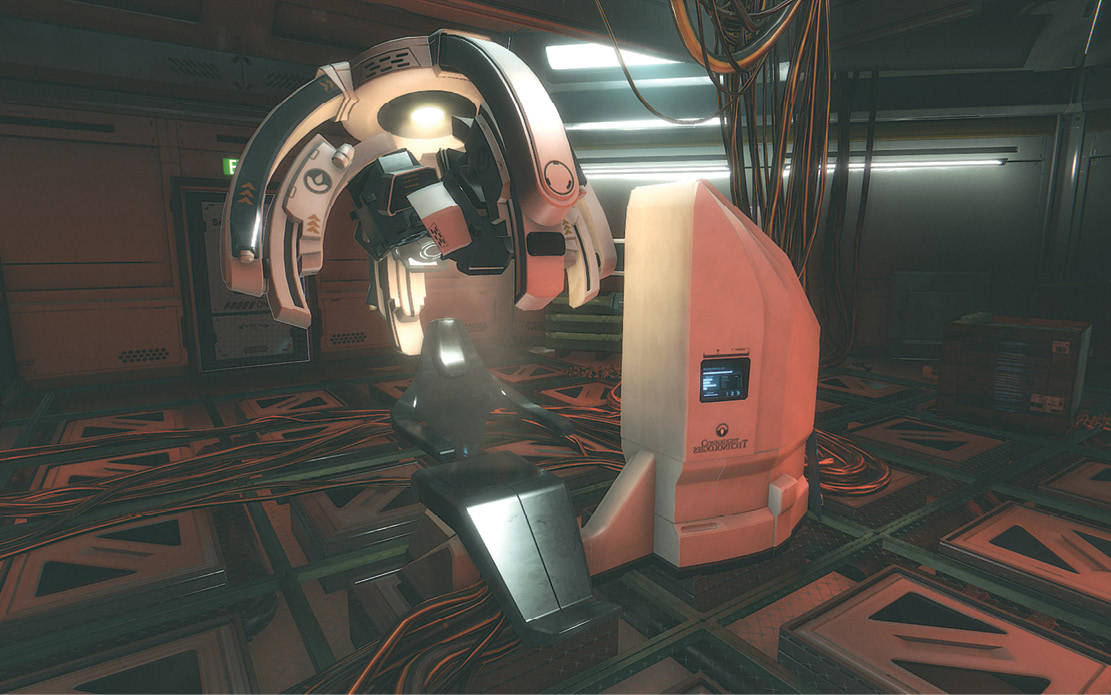
Find Pritchard's NSN Avatar
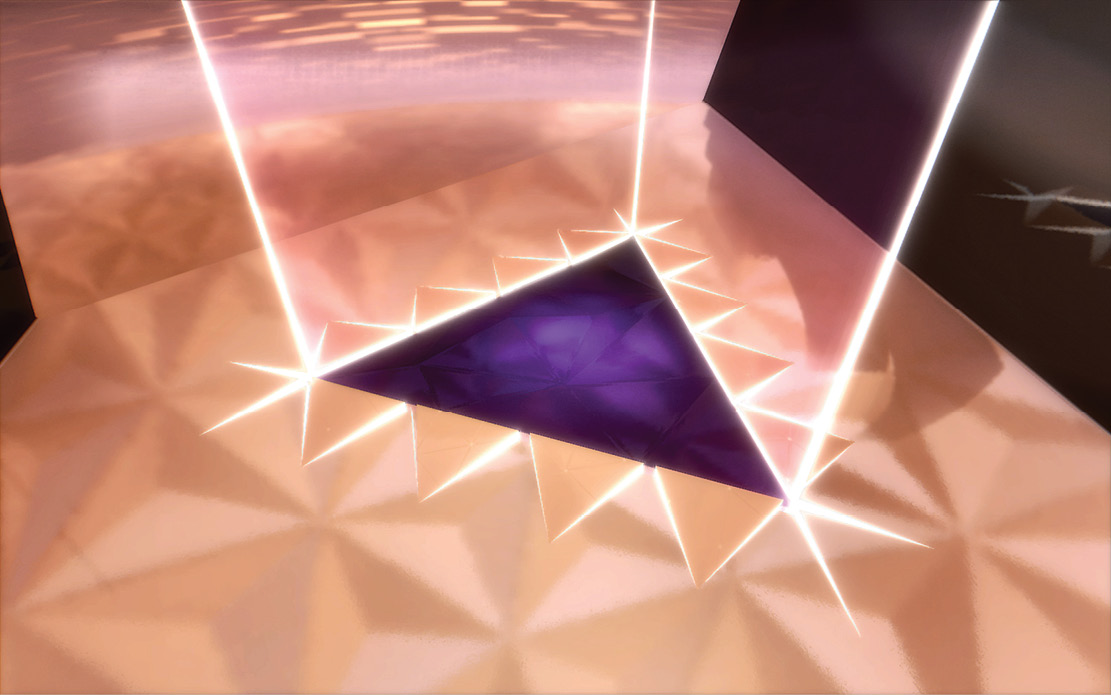
Approach the structure and step onto the purple triangle that appears on its base. This transports you to a corridor; follow it to the door and open it.
Extract the Security Program from the Data Towers
First Room
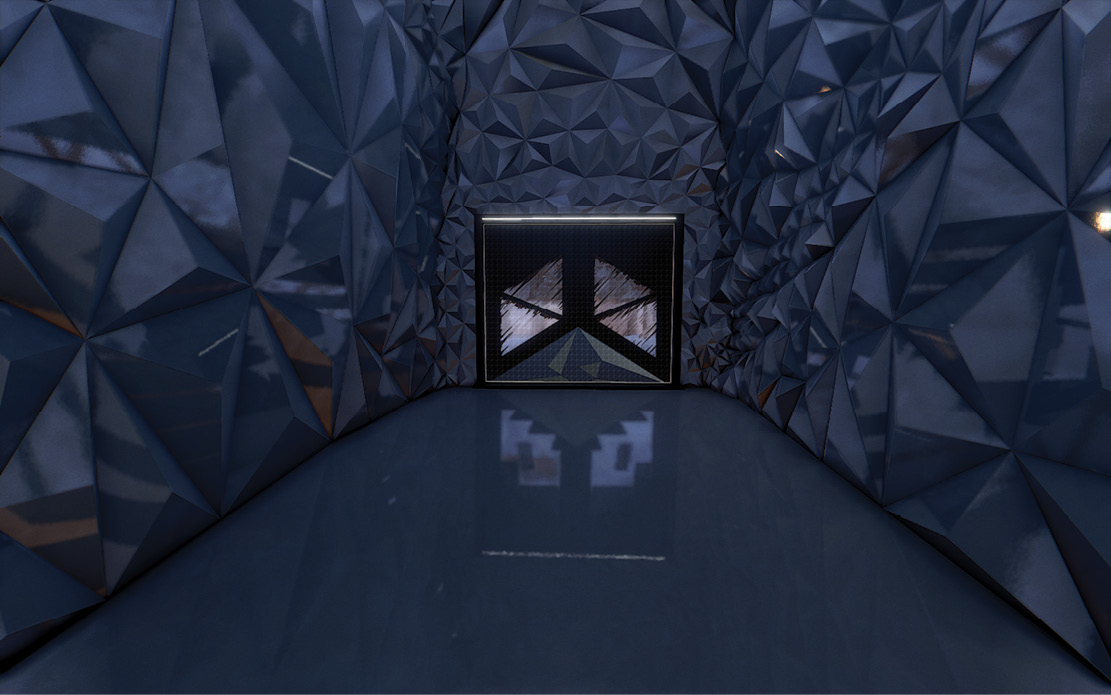
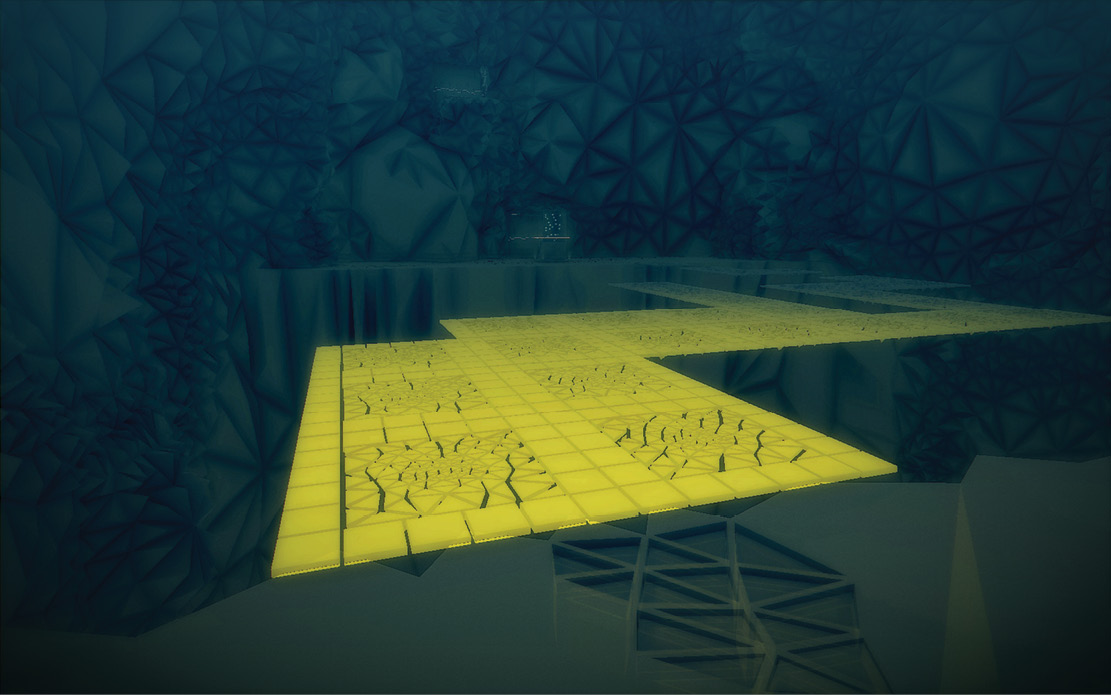
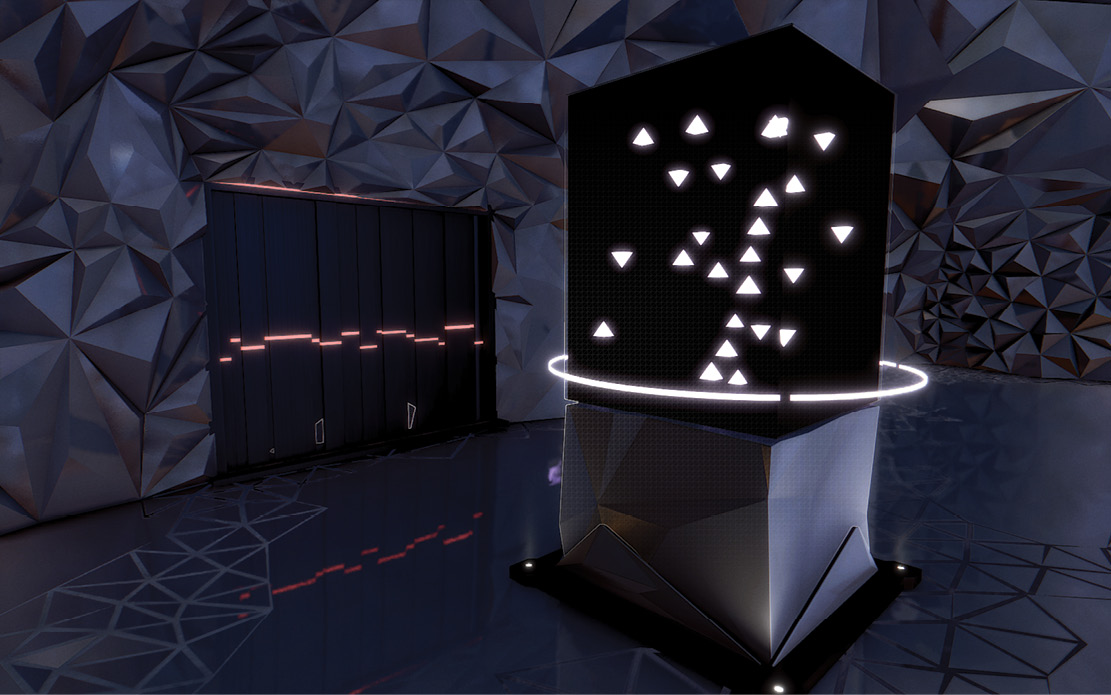
Activate your Smart Vision to reveal a yellow walkway across the chasm. Walk across it, jumping over the gaps to reach the far side. Deactivate Smart Vision and approach the Data Tower monolith, then download the data. Open the new door and follow the long, weird corridor through another door into the next room.
Second Room
Approach the podium and press the button. A ramp stretches across the abyss but doesn’t extend far enough to let you jump to the other side. Go to the far edge and access the Wireless Control Box floating above the far podium. When the hacking sequence begins, time your button press to when the moving line passes through the static on the meter. When timed correctly, the Control Box activates and starts circling around the room: it carries a black Storage Cube inside it.
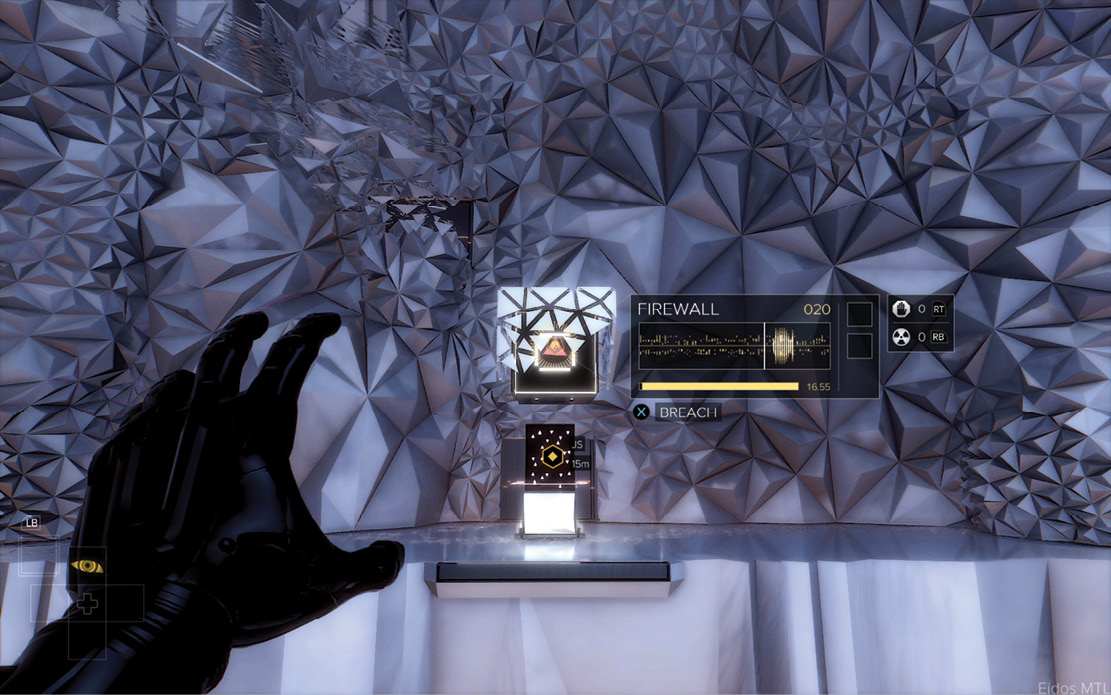
Note the floating, box-like receptacles off to the side. Just as the circling Control Box approaches one of them, center your view on the Control Box and press the prompted button to activate the hacking interface again.
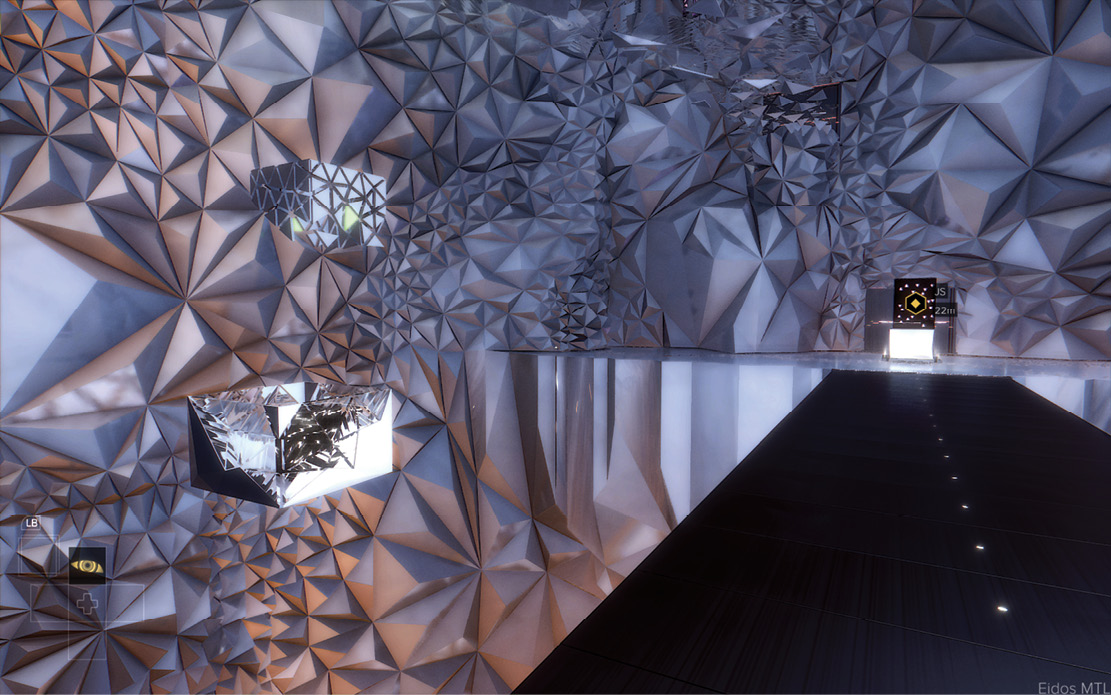
When properly timed, the Storage Cube drops. If you time the drop so the cube lands in one of the two box-like receptacles, the ramp extends fully to the far cliff. Cross it and use the next Data Tower to download more data. Open the next door that appears and follow another weird corridor to the next room.
Third Room
Approach the podium and activate your Smart Vision augmentation to reveal the hidden yellow button and then press it. A ramp stretches across the abyss but not far enough, again. Turn off Smart Vision, walk to the end of the ramp, and center your view on another Wireless Control Box. Access the box to make it move from side to side, then time another access to drop the cube into the box-like receptacle below. A ramp extends from the cave below.
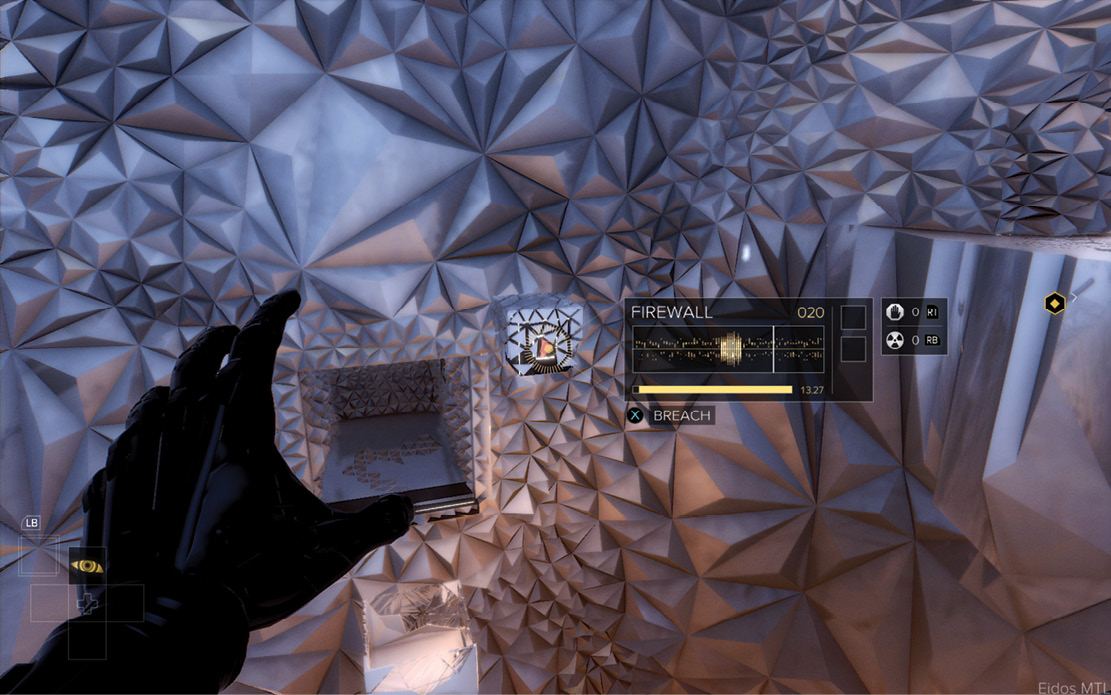
Jump down onto that ramp, enter the cave, and open the vent cover. Hop to crawl inside and follow the duct to the end. Open the next vent cover and drop onto the platform. Switch on Smart Vision to see floating platforms in yellow; hop across them to the opposite side of the chasm.
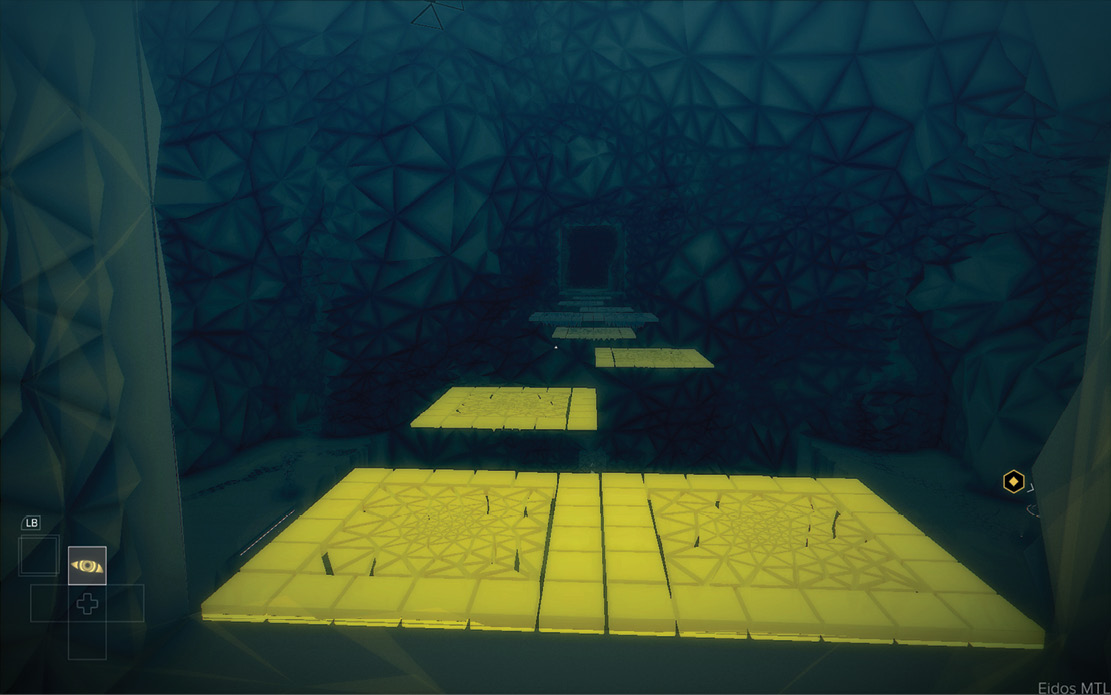
Switch off Smart Vision and press the button on the podium there to fully extend the first ramp all the way across the abyss. Now activate Smart Vision again to see the floating platforms and hop across them until you’re directly over the newly extended ramp. Drop down onto it and proceed to the Data Tower to download the data. This triggers a quick cutscene: Jensen’s avatar meets Pritchard’s avatar at last.
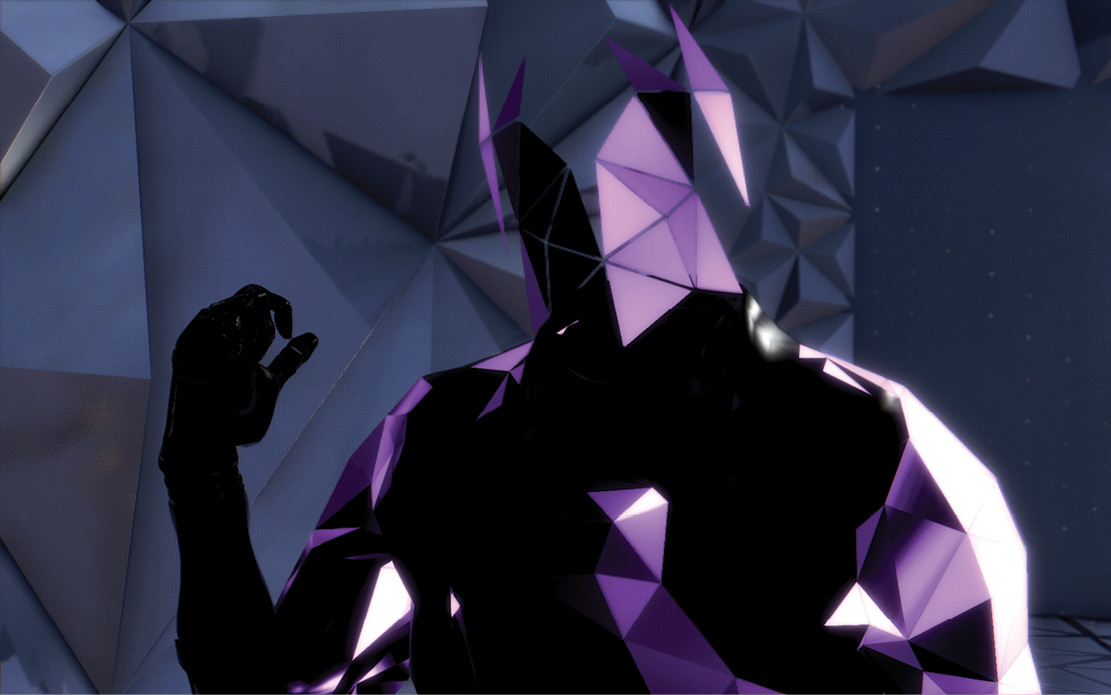
Exit the NSN
Follow Pritchard’s avatar through the door and step into the triangular purple rift. You end up in what appears to be the NSN Chair room; however, this is actually the NSN’s representation of that room. You’re still in the Neural SubNet! Note that you cannot access your augmentations other than the Smart Vision adaptation that ShadowChild created for your use in the NSN.
Exit the door into what is a real-looking representation of Oshiro’s office. Here you can approach the workstation and enter a password to open a very interesting encrypted email. (See the sidebar explaining the “Encrypted Email Puzzle.”)
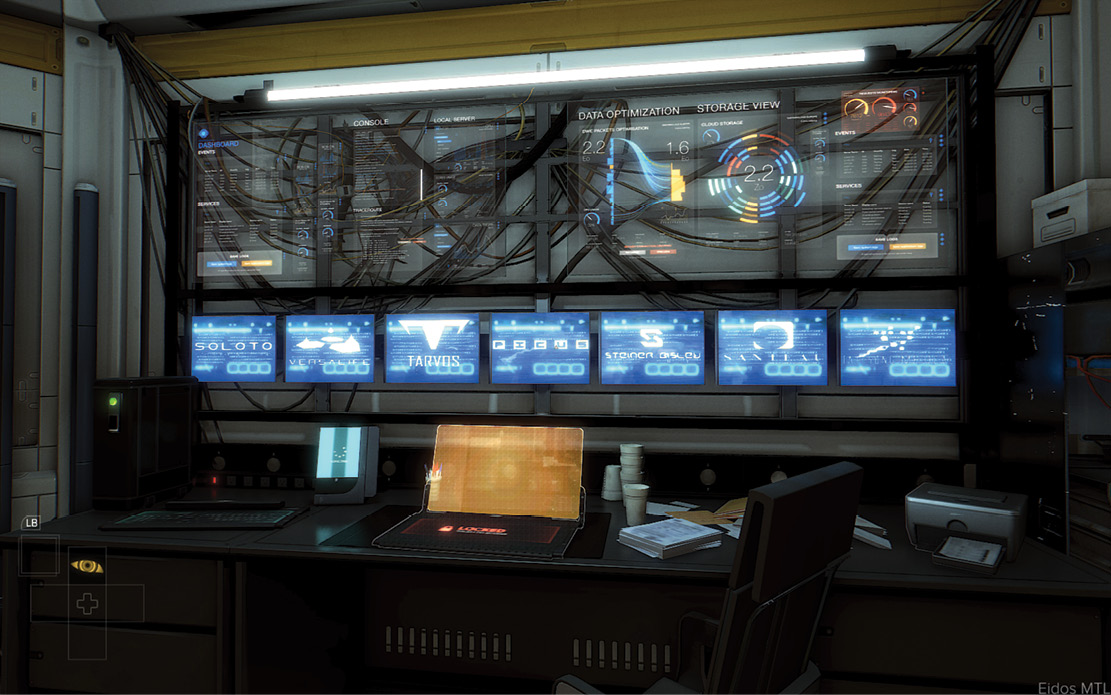
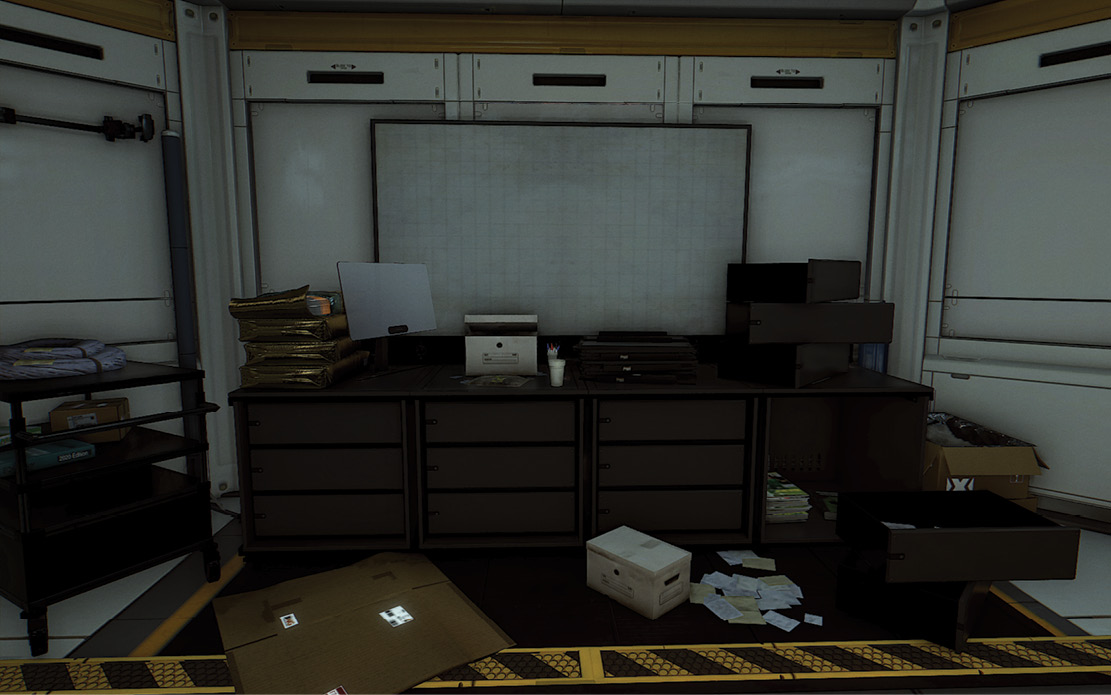
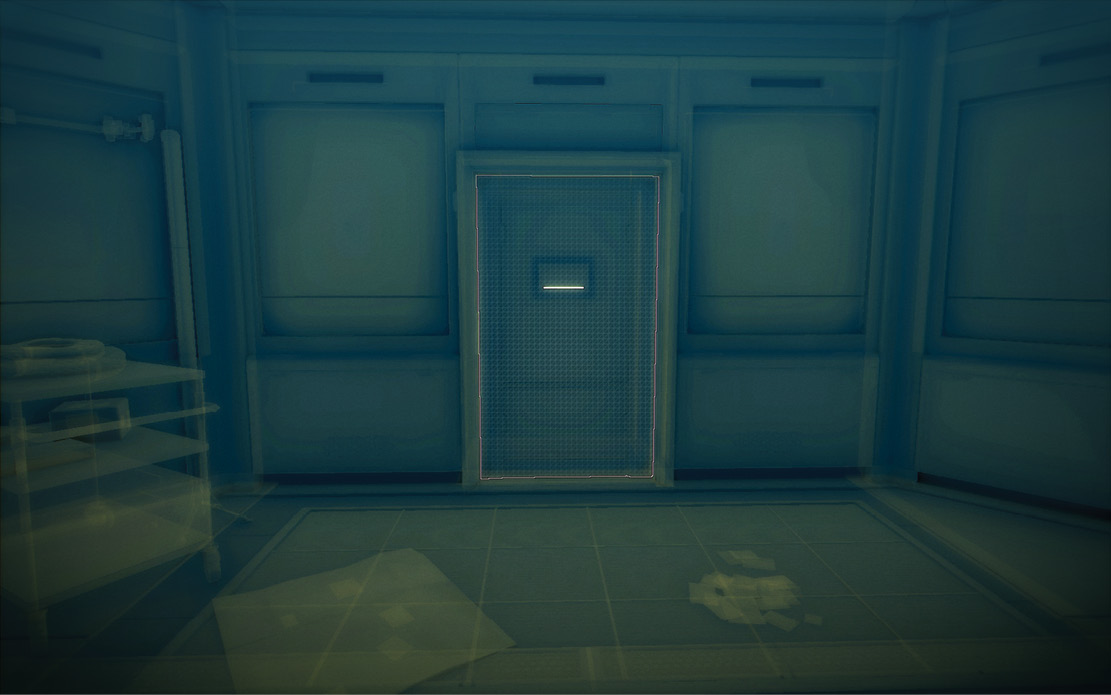
After you solve the email puzzle, turn to face the opposite wall where you see the drawer cabinet and whiteboard. Switch on Smart Vision to see the yellow outline of a door and, while still in Smart Vision, go open it. Walk down the long ramp and use another representation of the NSN chair to finally escape the Neural SubNet.
Oshiro’s Encrypted Email Puzzle
When you follow Pritchard’s avatar into the purple rift, you seem to emerge from the Neural SubNet into the NSN Chair room. But, in fact, you’ve actually entered an NSN representation of that room--it’s virtual, not real. When you go through the next door into Oshiro’s mainframe workstation room, that one is virtual as well.
A very incriminating encrypted email is logged in the virtual workstation’s computer, one that reveals an unexpected detail about Oshiro, who is the Palisade Bank Corporation’s Chief Technical Officer (CTO). Important: this email exists only in the NSN representation of the computer, not in the actual computer that you’ll see shortly.
Access to the virtual computer is protected by a seven-letter password. The puzzle is to figure out that password based on information you uncovered during your earlier exploration of the server chamber rooms with corporate holographs. We’ll give you this password eventually, but first we’ll show you how to find it yourself.
THE PUZZLE
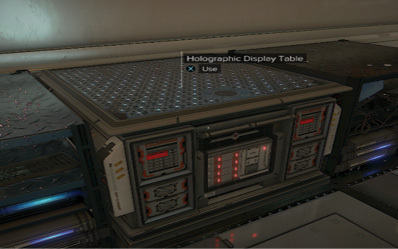
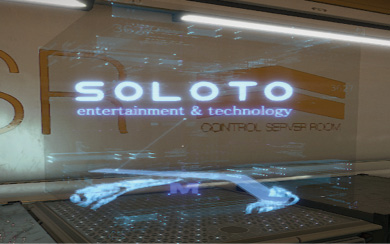
Each of the Palisade Blade’s seven active server chambers has a Holographic Display Table that you must turn on. Each hologram displayed is the logo for the corporation whose data is stored in that chamber. In addition, each logo features a letter at the bottom of the hologram.
In the NSN representation of Oshiro’s private workstation, you see a series of seven monitors over the console. Each screen has one of the corporate logos on it. The logos appear left to right according to the numerical order of their chamber numbers. This also indicates the order in which the corresponding letters fall in the password.
WARNING! Don’t read any further if you want to figure it out yourself.
Chamber 100 has the Soloto logo with the letter M.
Chamber 103 has the Picus Group logo with the letter A.
Chamber 106 has the Tarvos Security logo with the letter S.
Chamber 108 has the Steiner Bisley logo with the letter A.
Chamber 201 has the VersaLife logo with the letter A.
Chamber 204 has the Santeau Group logo with the letter K.
Chamber 209 has the Tai Yong Medical logo with the letter I.
You must enter the seven-letter password formed by these letters to unlock the computer and reveal the encrypted email.
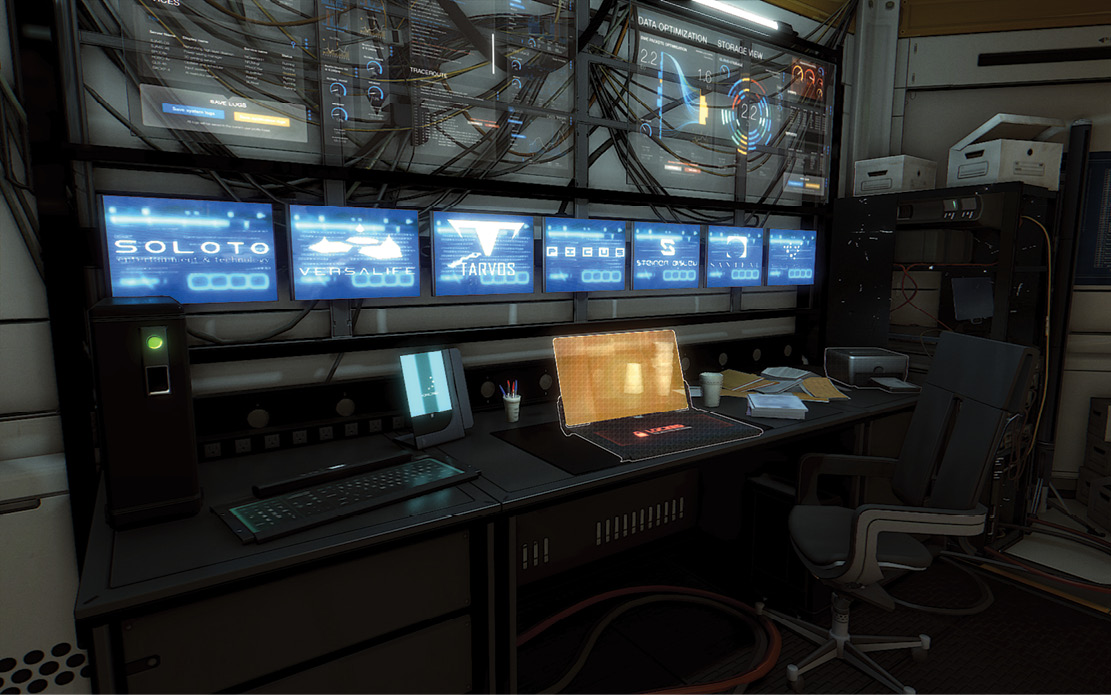
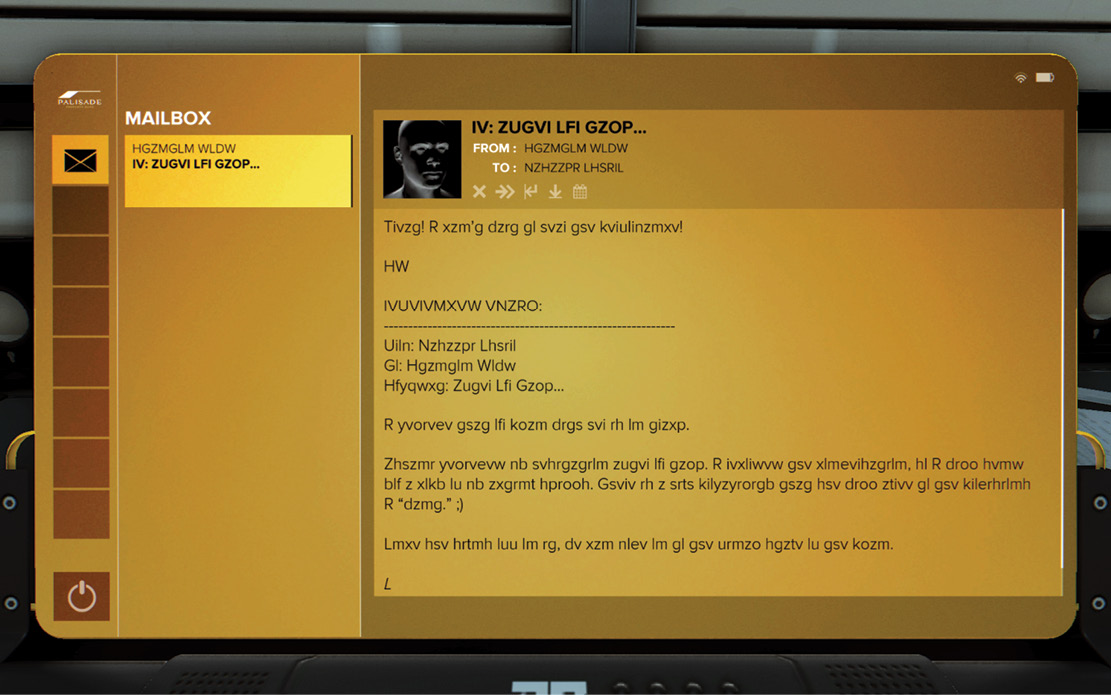
When you enter the password, MASAAKI, into the virtual computer, the encrypted email appears. The encryption is pretty basic, written with a reverse alphabet: A=Z, B=Y, C=X, and so on.
Once you decrypt the email, you see that Masaaki Oshiro is conspiring with Stanton Dowd to deceive his wife, Ashani Talwar. Here’s the full translation:
RE: AFTER OUR TALK...
FROM: STANTON DOWD
TO: MASAAKI OSHIRO
Great! I can’t wait to hear the performance!
SD
REFERENCED EMAIL:
------------------------------
From: Masaaki Oshiko
To: Stanton Dowd
Subject: After Our Talk...
I believe that our plan with her is on track.
Ashani believed my hesitation after our talk. I recorded the conversation, so I will send you a copy of my acting skills. There is high probability that she will agree to the provisions I “want.” ;)
Once she signs off on it, we can move on to the final stage of the plan.
O
Masaaki
Escape the Blade
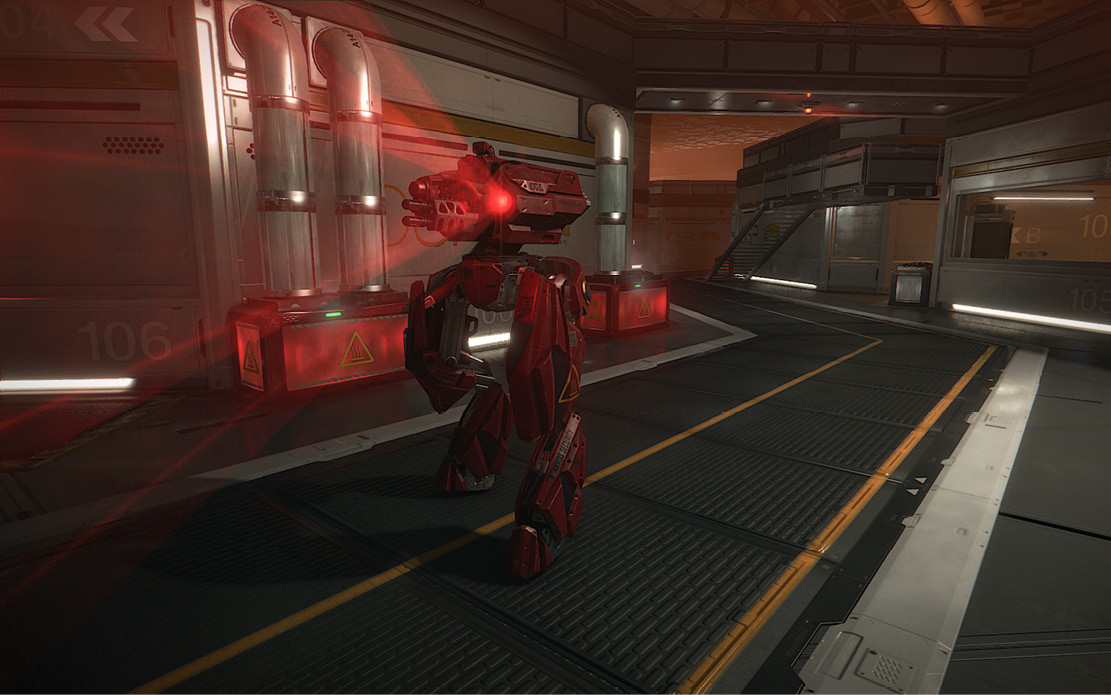
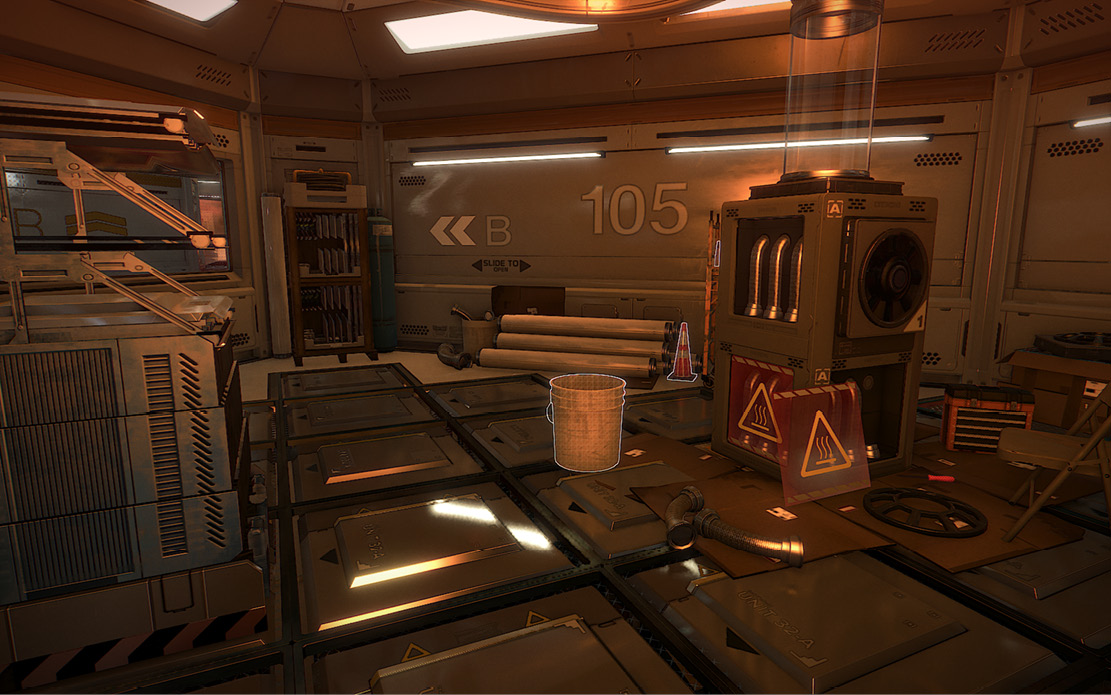
After the quick conversation with ShadowChild and Pritchard, open the exit door. The automated defenses have been reactivated, so you must sneak or fight your way back past the server chambers and up the exit staircase to the Server Chamber Access room. Stay close to heat sources and use EMP and/or armor piercing ammo if necessary. A good route is to veer right, hustle through the open “B” door, and then move through the clutter of the unused server chamber 105. This gets you close to the staircase that leads back up to the access room.
After opening the access room door, move directly ahead to the maintenance hatch on the floor in the center of the room. Open it to trigger the final sequence back at Jensen’s apartment.