
Deus Ex: Mankind Divided Guide Gameplay
Reading Your HUD
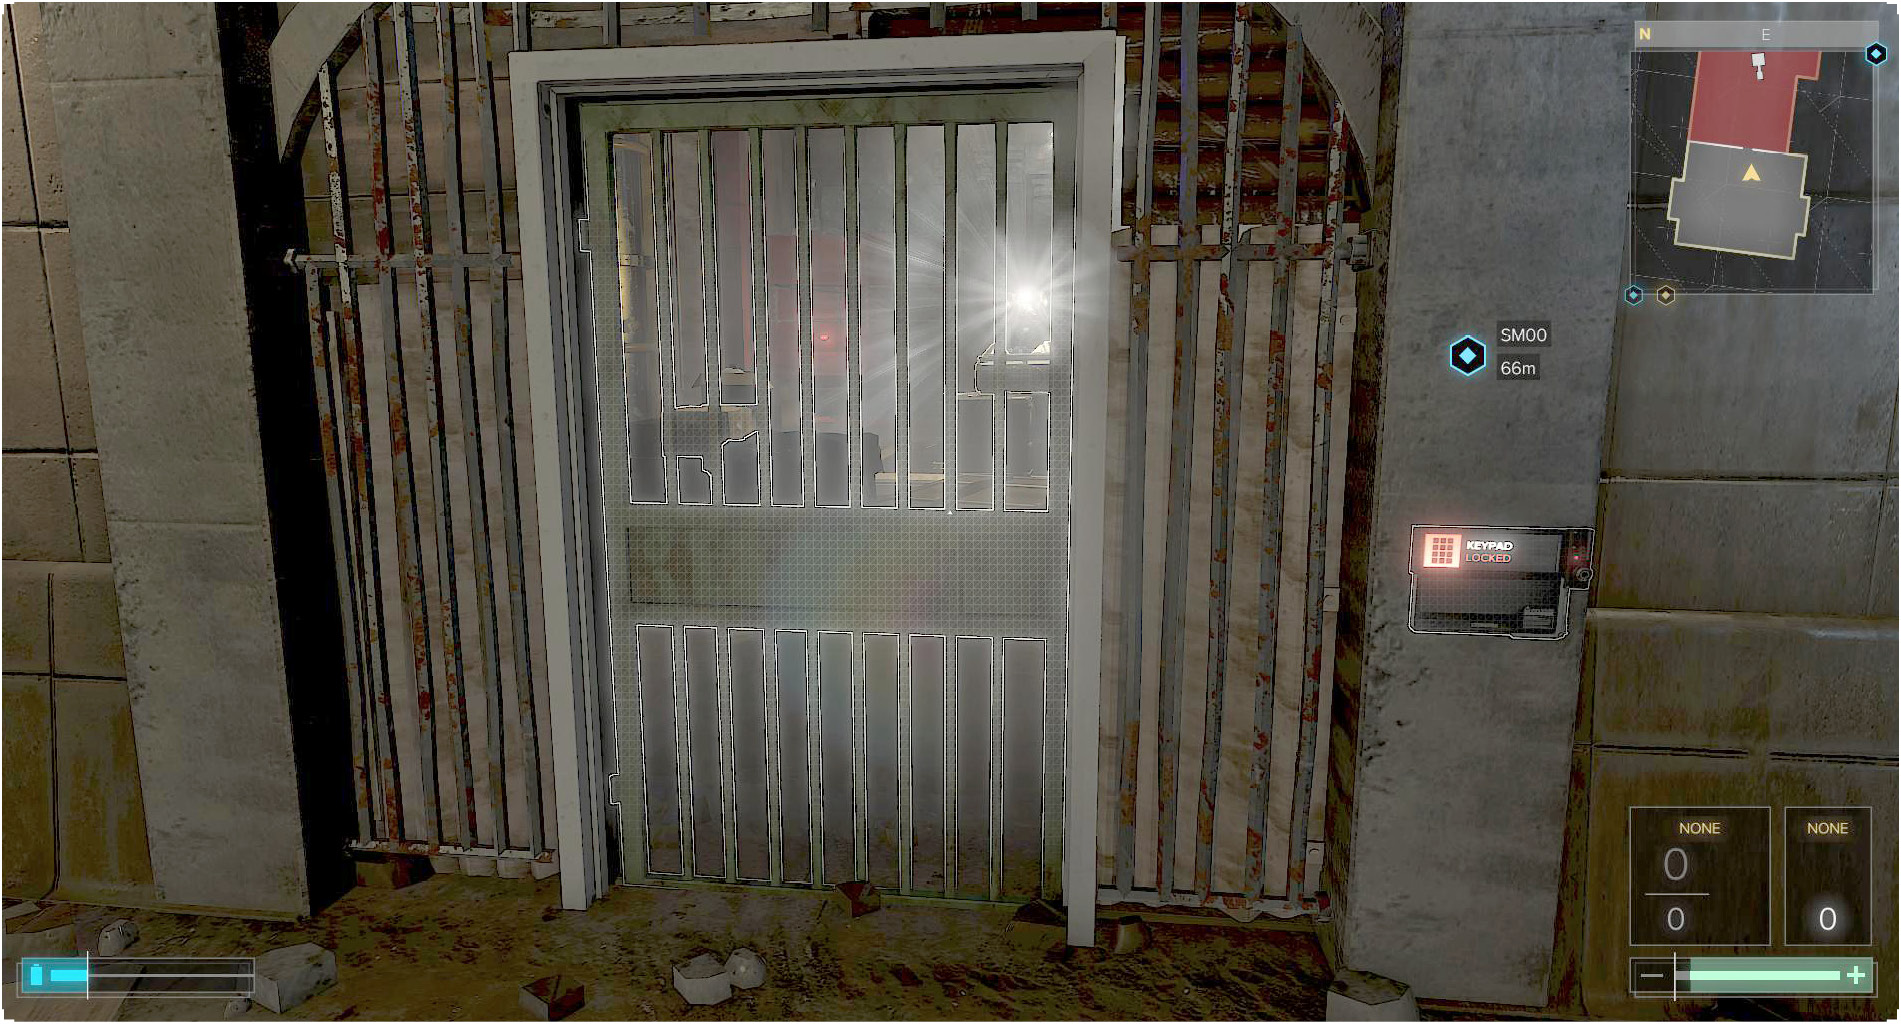
Take a look at your screen once you’re in the game. There’s a wealth of information in front of you. Augmentations that are currently equipped on your character appear in the lower-left. The D-Pad on your controller activates a different augmentation for each direction. You can also equip an augmentation to the left shoulder button. This means that you have quick access for up to five augmentations, and these can be reconfigured at any time if you have more than five augmentations to swap around. Or, enter the Augmentation Wheel to reassign everything.
Below there is a blue bar. This tells you how much energy Jensen has. It’s used to power all of your most potent augmentations. The white line reveals your current maximum energy. The amount in energy shows how much of your maximum is actually available. Over time, the blue bar will fill until it reaches the white line. To improve your current maximum use Biocells until the white bar goes as far as it can. Extend this even further by purchasing energy augmentations so that your maximum hardcaps at an even higher level.
On the right you see information about the two items that are currently equipped on your character (your primary weapon and secondary weapon). This would normally be a firearm and a grenade/mine. Change these with your Item Wheel or go into the Inventory Screen to shift things around. Both options pause your game.
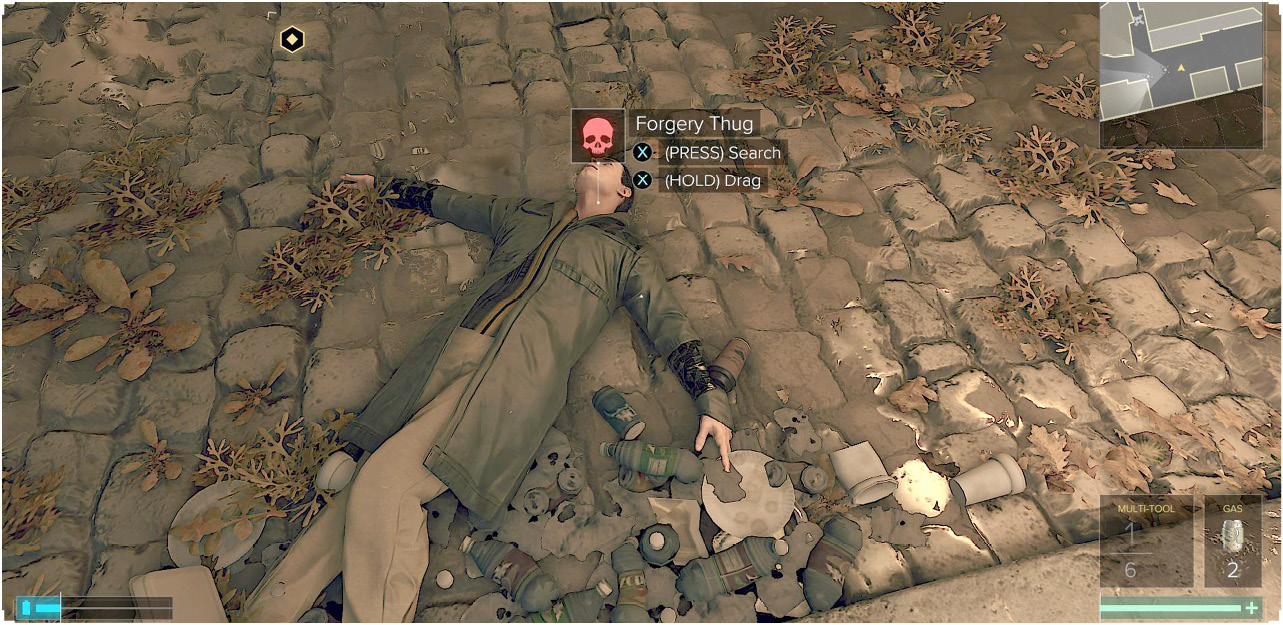
The green bar beneath your weaponry indicates health. If it bottoms out, Jensen dies and you have to reload your game. The maximum value of your health doesn’t diminish like energy can (as we’ll explain soon). You always have the ability to regenerate back to full health, given enough time. If you use Alcohol or Painkillers, Jensen heals. If the health gained from these items takes him above his maximum, a set of extra lines appears around his health bar. These are temporary health points that diminish over time if you used alcohol, but they stay until you take damage if you gained them with meds.
Experience points are shown at the top of the screen. They’re awarded for defeating enemies, completing objectives, hacking, exploring, etc. Almost all activities in the game have a chance to get you XP. When this bar fills up, Jensen gains a free point of Praxis and the bar resets. Praxis gets you augmentations, so it’s always powerful and important.
Your map is in the upper-right portion of the screen. It shows the area around Jensen. Grey targets are unaware of you. Yellow ones are suspicious and will trigger an alert if they see you somewhere you shouldn’t be. Red targets are hostile and will actively attempt to kill you if you’re sighted!
People show up as dots. Cameras look like actual cameras. Drones are like an X. Turrets look like an emplacement with a long barrel. All of these things have their own line of sight, and that is also shown on your radar if you have the right augmentations!
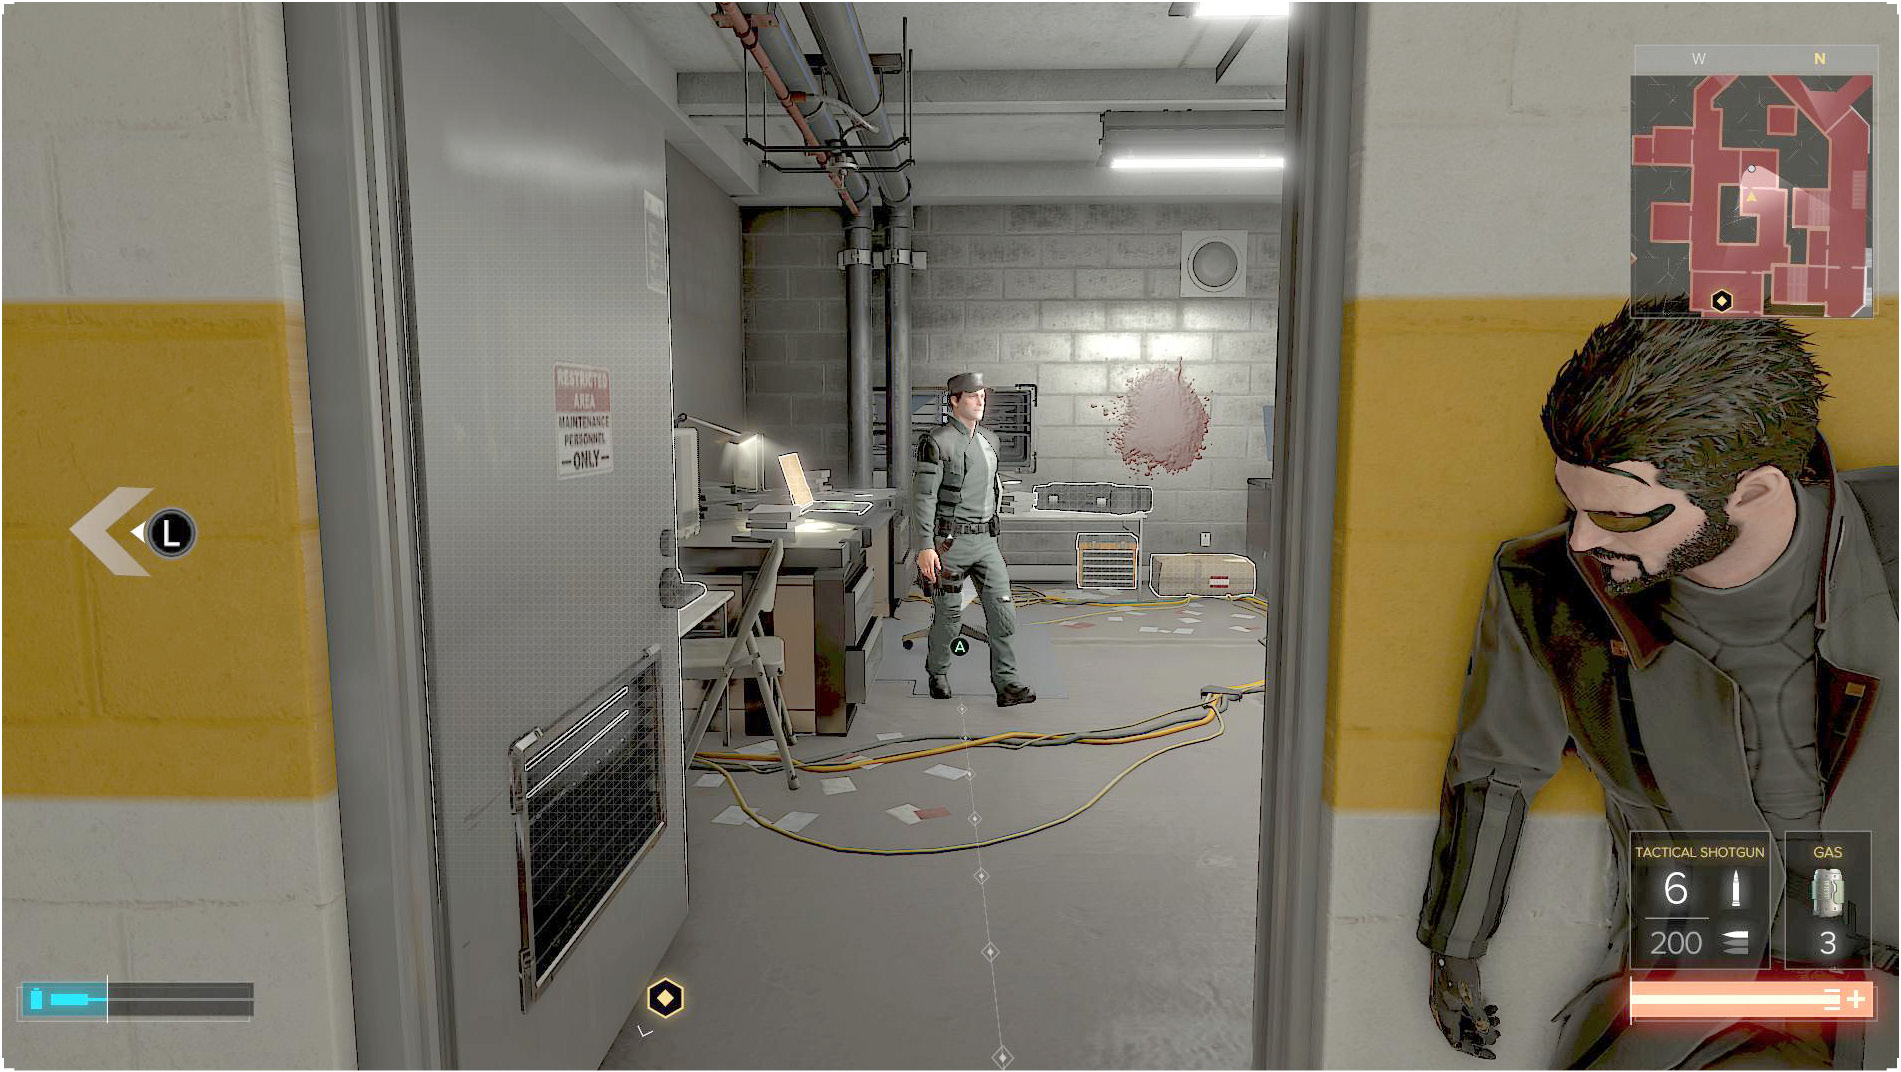
Red zones on the map are restricted. You trigger an alert if you’re spotted anywhere inside a red zone. Other areas are safe. You can move, jump, run, and talk to people in these areas. However, you still trigger an alert if you attack people.
Your current objective appears on the screen to let you know which direction to follow. Yellow objectives are for main missions, to let the story progress. Blue objectives are side missions, which aren’t essential but are very rewarding. White targets are points of interest. They lead to other missions or just get you some XP.
Conversations appears in the top-left. You see a picture of the person you’re talking to, and the text is displayed on your HUD.