Deus Ex: Mankind Divided Guide DLC A Criminal Past DLC
Escape on the Prison Transport Ship
Objectives
|
Disable both anti-aircraft turrets |
|
Meet Guerrero on the landing pad |
|
Deal with Guerrero (if you trigger a fight) |
|
Optional: Speak to The Fixer |
|
Escape on the transport |
Overview
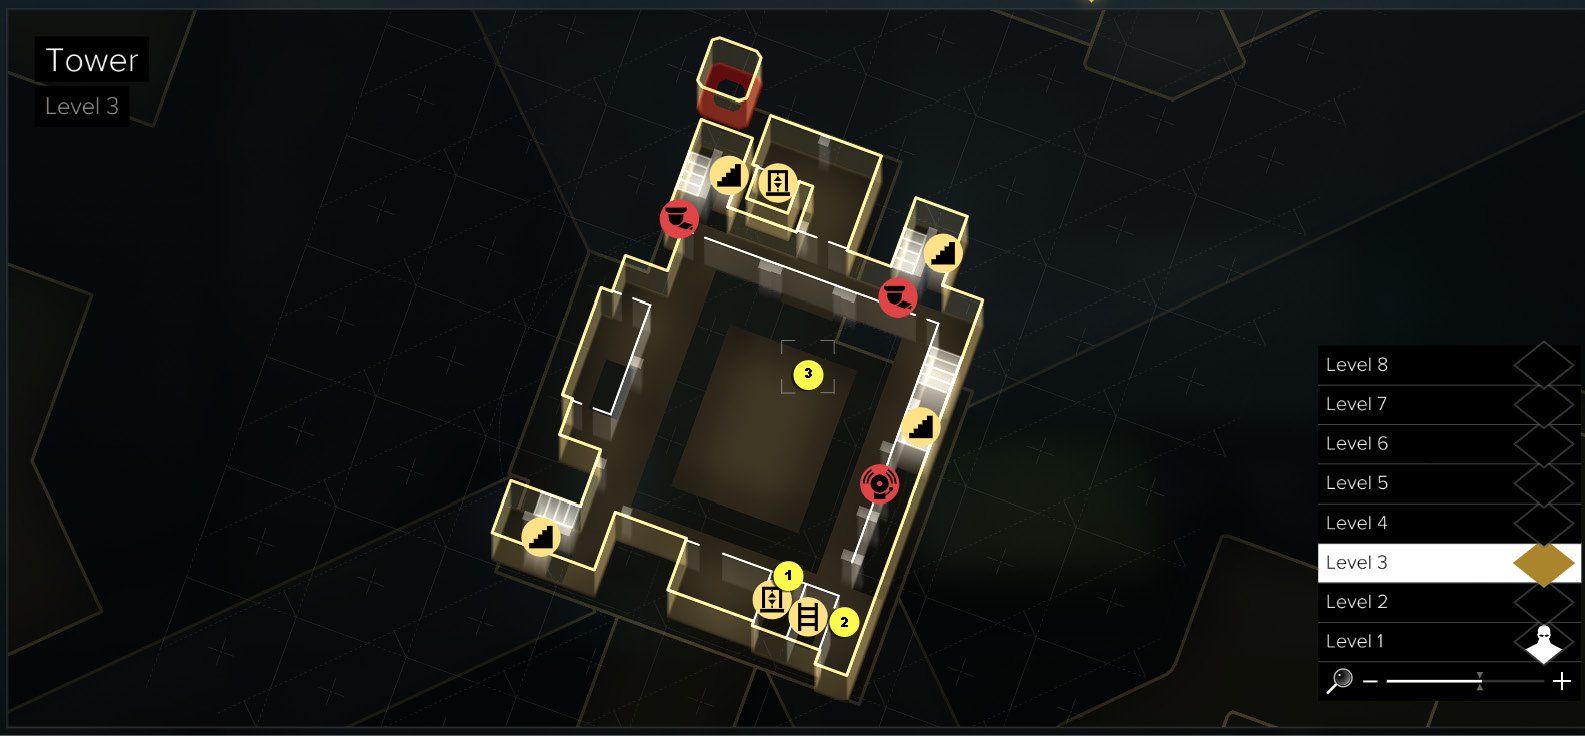
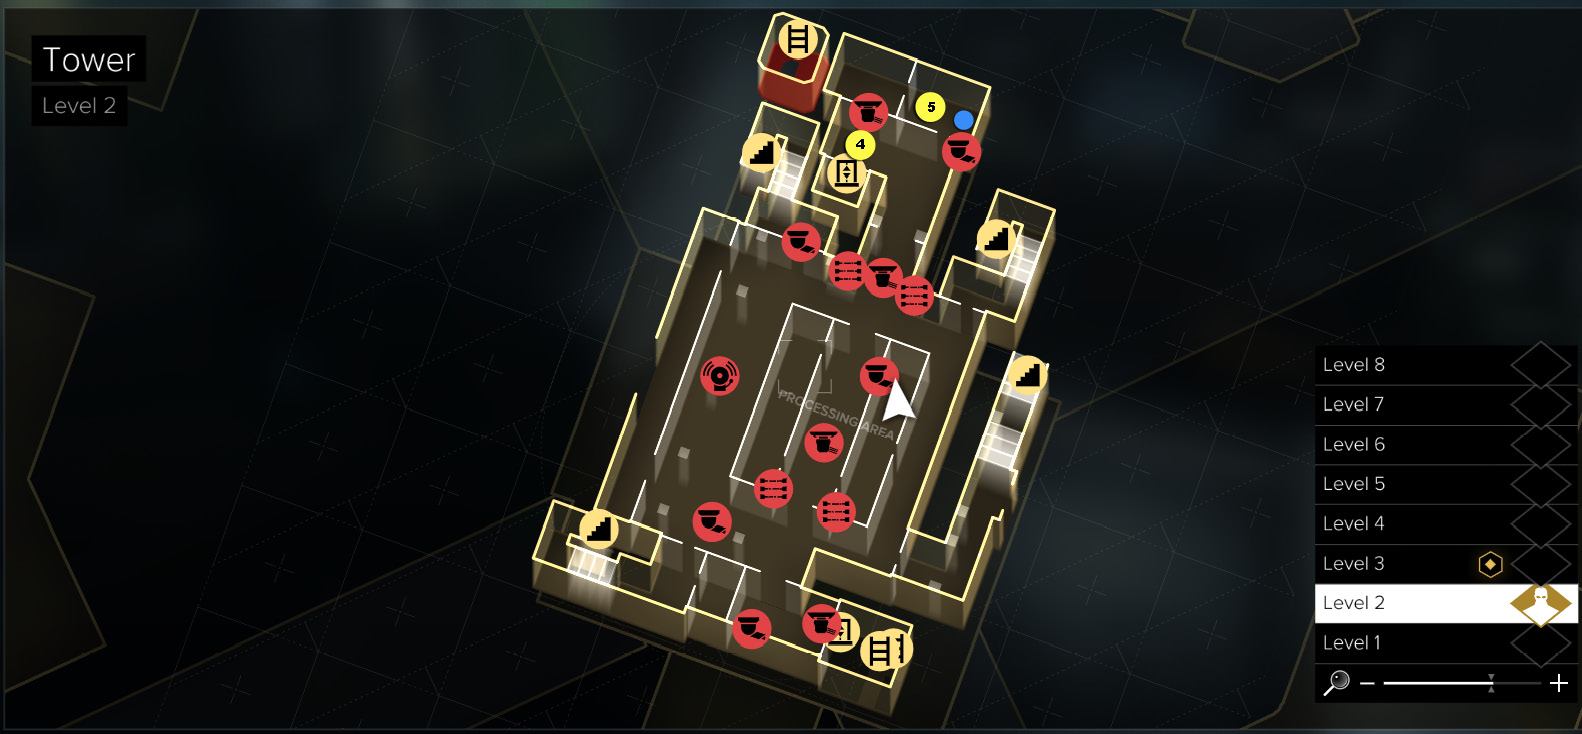
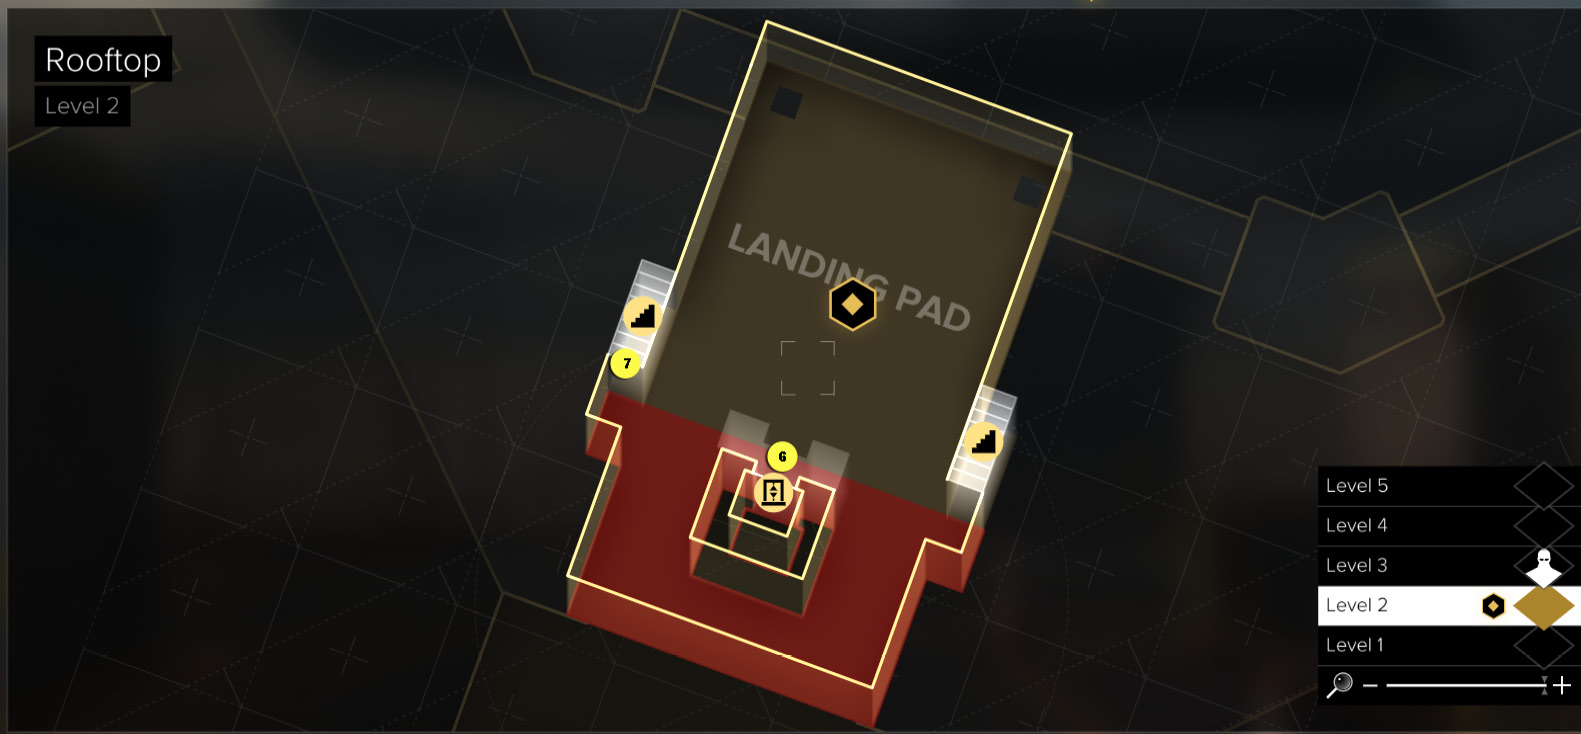
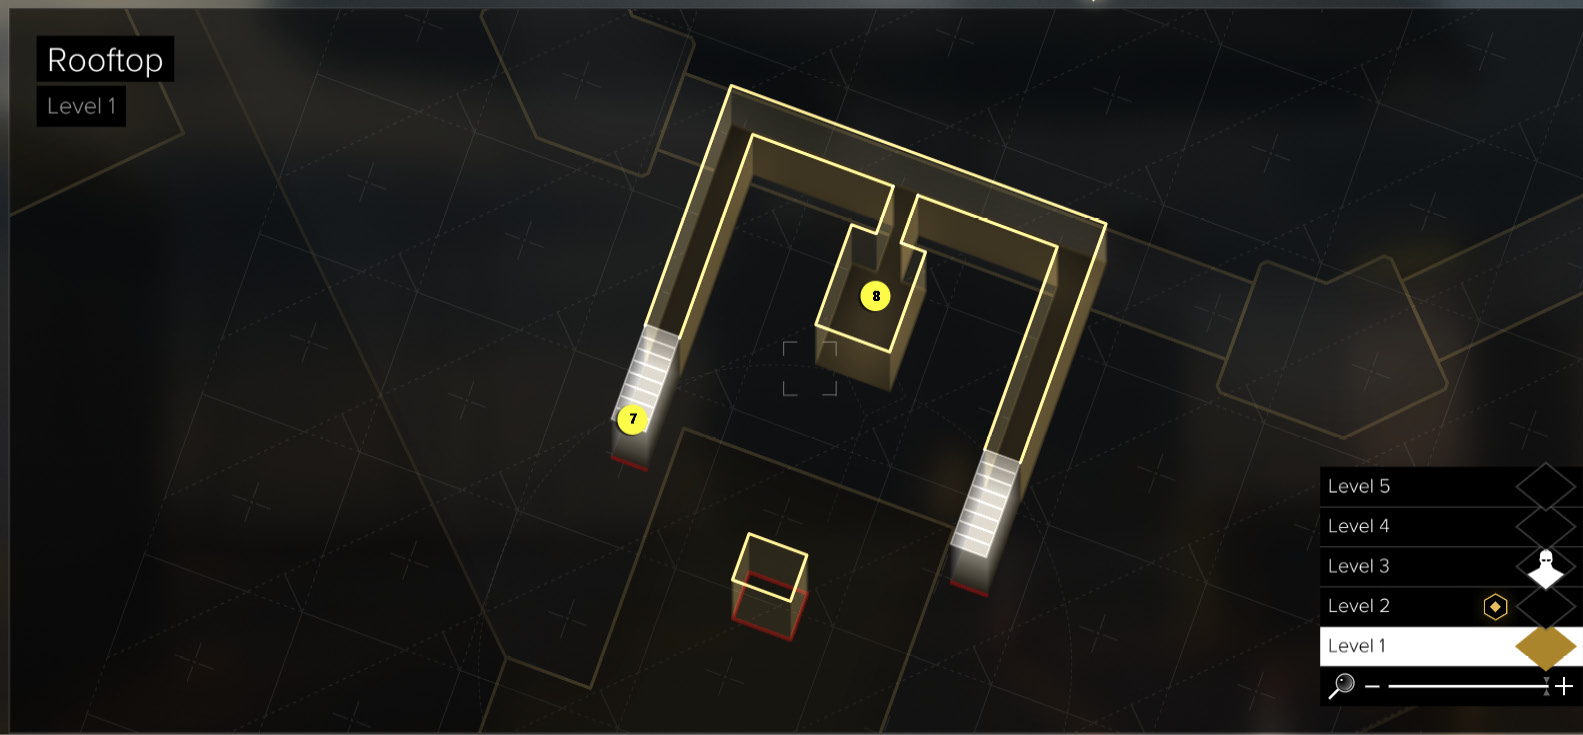
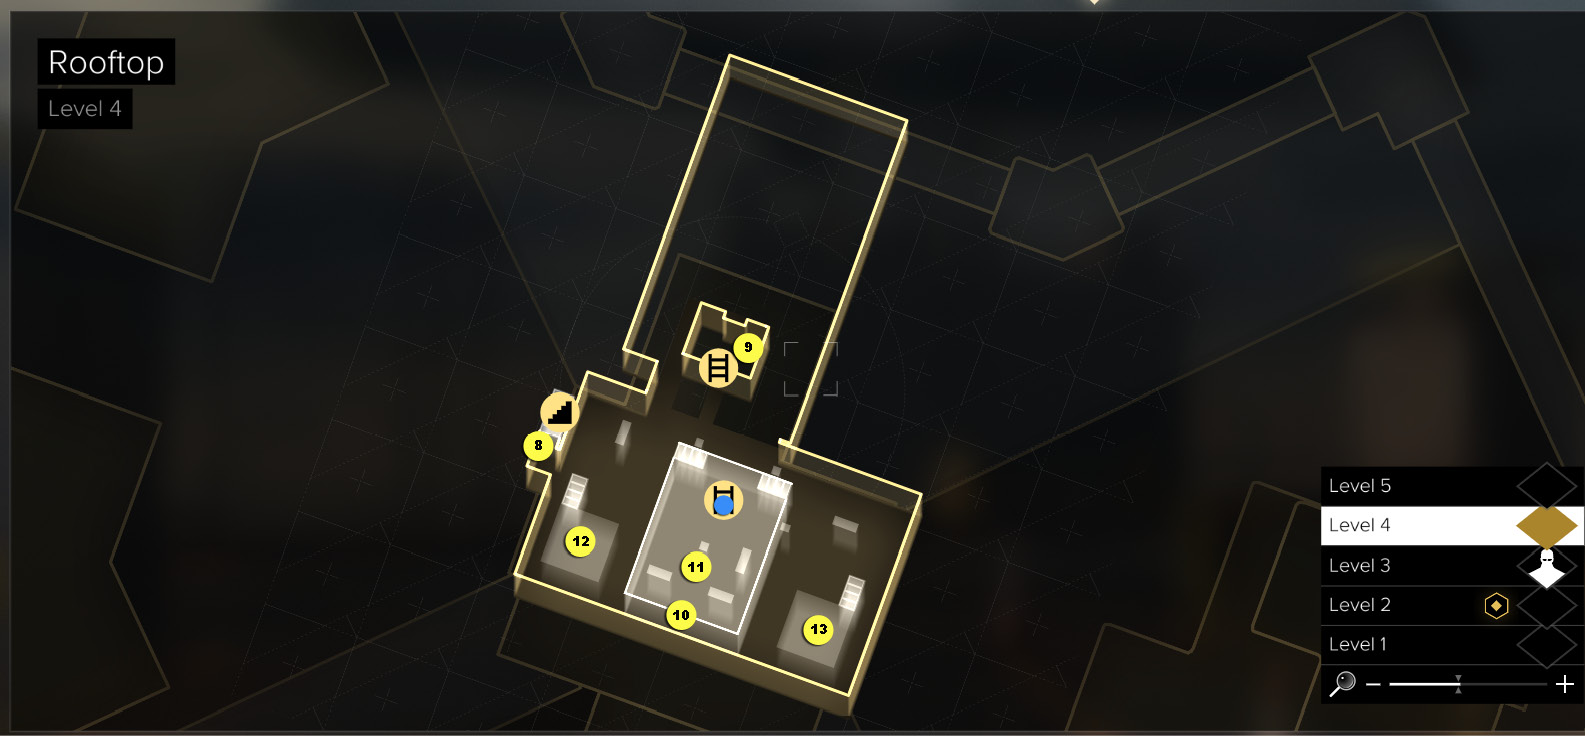
Map Legend
|
1: Exit elevator |
|
2: Door to maintenance room |
|
3: Processing enclosure roof (passcode) |
|
4: West Wing elevator foyer |
|
5: Security terminal |
|
6: Exit elevator (turrets above) |
|
7: Stairs to security hub |
|
8: Security terminal (under Landing Pad) |
|
9. Rooftop security terminal |
|
10. Laser grid controls |
|
11. Turret (terminal at base) |
|
12-13. Anti-aircraft gun platforms |
|
[BLUE CIRCLE] = EBook |
|
[GREEN CIRCLE] = Praxis Kit |
Disable Both Anti-Aircraft Turrets
You cannot escape The Pent House unless the prison’s AA turrets are offline; they’re on the rooftop of the Tower building.
Find the Security Passwords
Ride the elevator down to the Lobby, then return to the Tower via the Level 1 utility corridor that leads to the Infirmary/Morgue area. From there, ride the East Wing Elevator (1) up to the Observation floor (Level 3) and step out onto the patrol area balcony. Turn right and walk to the maintenance alcove around the corner.
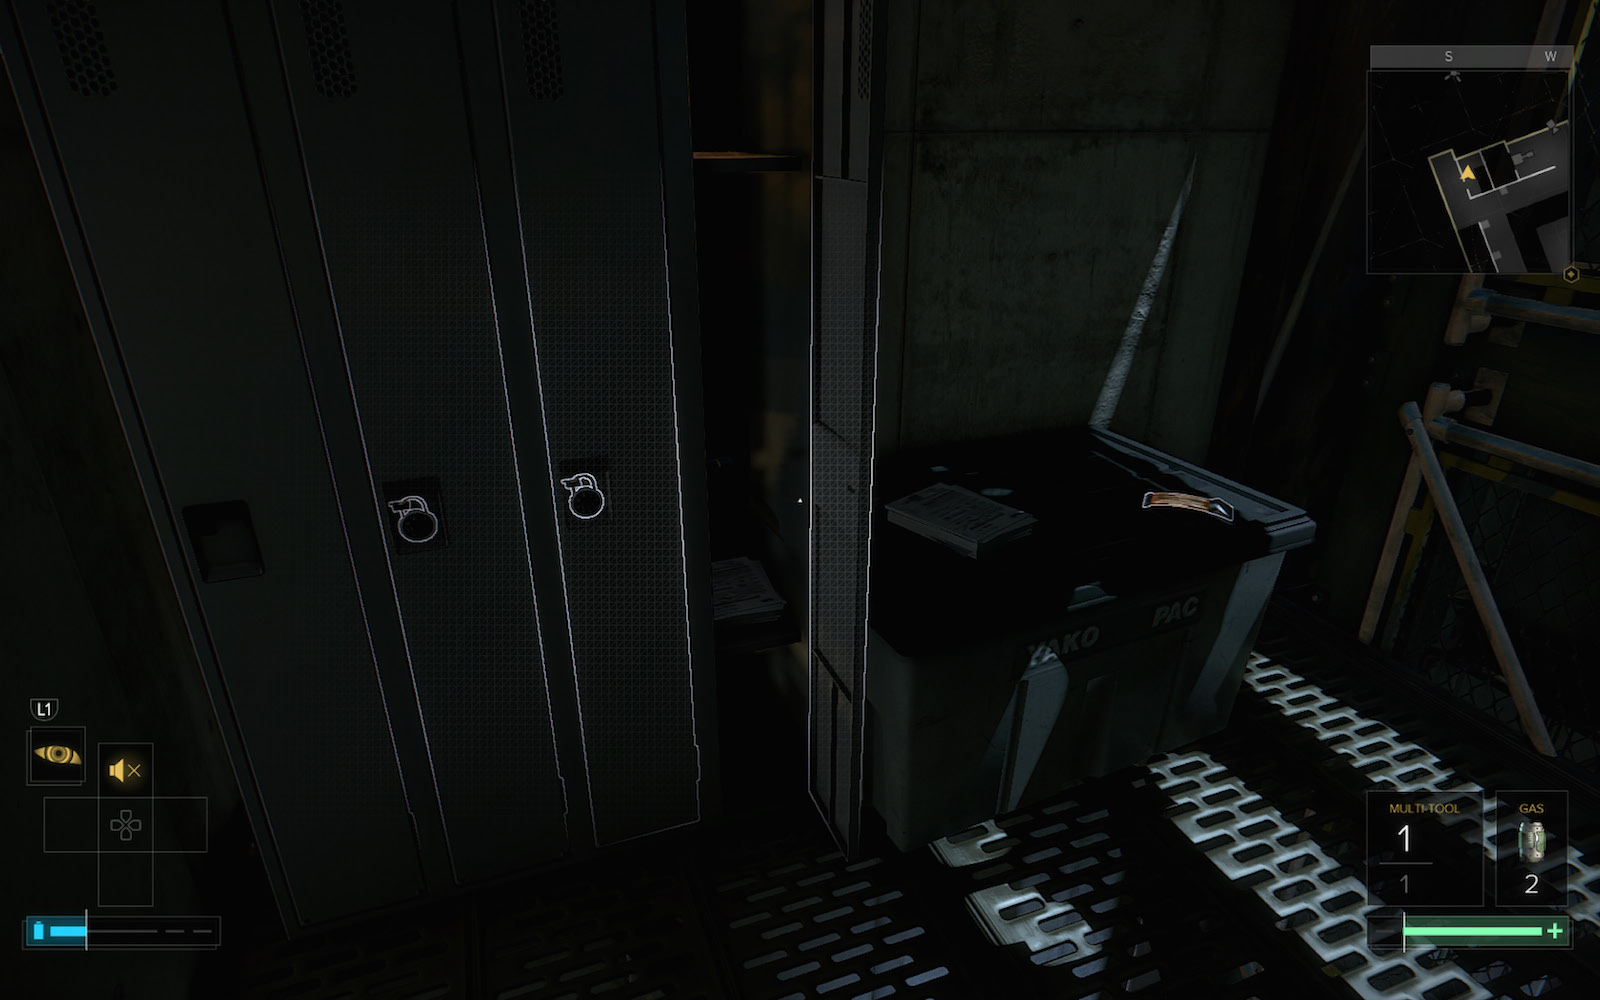
Hack the keypad on the unmarked door (2) and enter the small maintenance room to find a Pocket Secretary on a plastic crate. Open the device to get a code that controls the automated defense bots on the rooftops: B0TT0PP5. Exit the room and return to the patrol balcony.
If you spent Praxis to get the Cybernetic Leg Prosthesis with the Klipspringer Jump Mod, then leap onto the roof of the Processing enclosure. Find another Pocket Secretary (3) laying on the rooftop. The entry provides a login password for the helipad turrets: P3WP3WS.
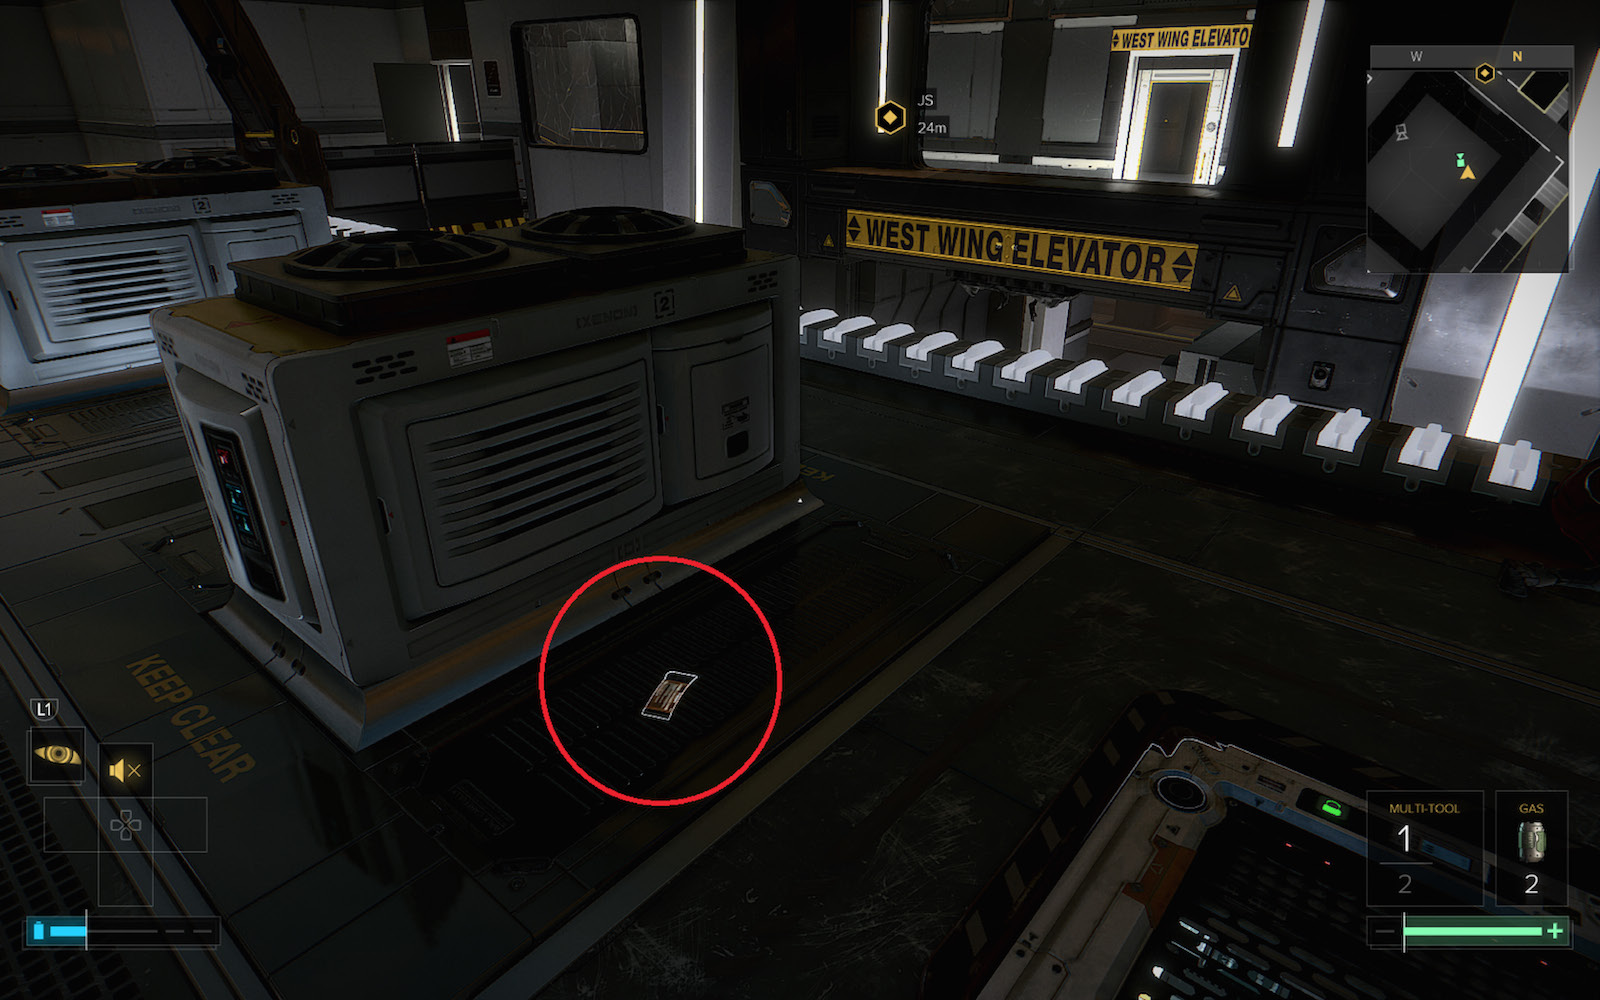
Disarm the West Wing Elevator Turret
From the Processing roof, hop down and approach the West Wing Elevator foyer (4). The elevator foyer turret is active and nasty, so sneak past it into the nearby security room (5) and hack the Processing Corridor Security terminal to turn it off. Here you can read the eBook on the desk.
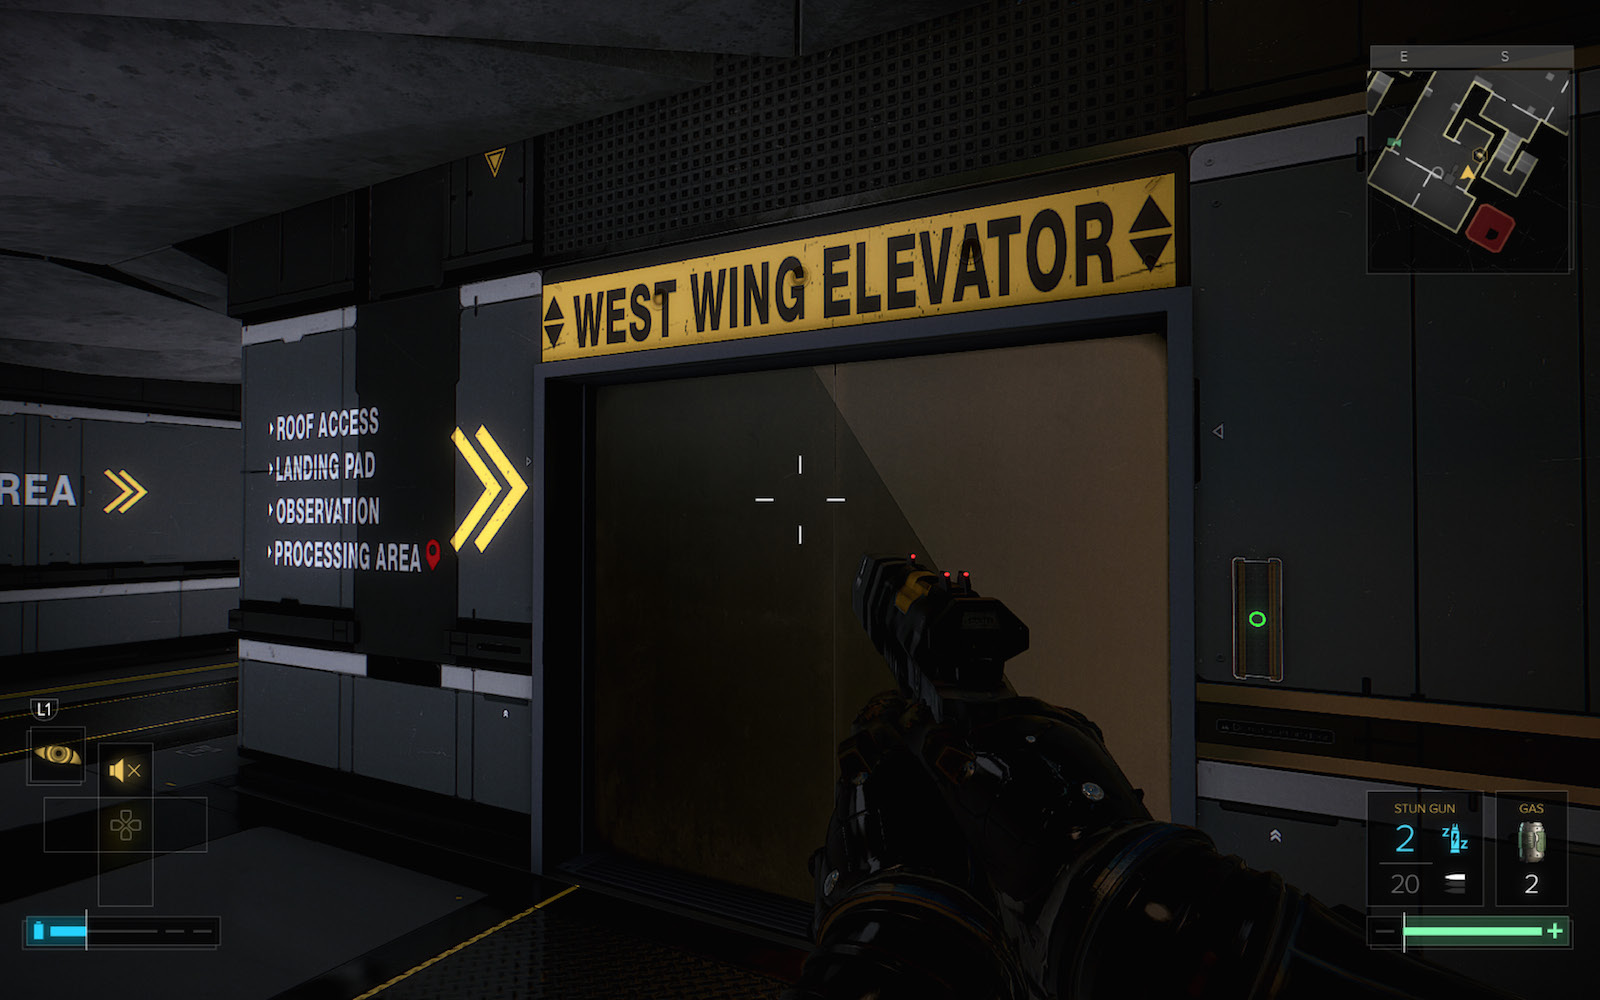
Get Past D-Town onto the Elevator
Draw a weapon (we recommend a stun gun) and use the call button to summon the West Wing elevator. This triggers a cutscene: D-Town is on the elevator and refuses to let Jensen use it. When the scene ends, zap D-Town with your Stun Gun. Search his unconscious body to find a Praxis.
Neutralize the Landing Pad Security
Board the West Wing Elevator and select”Landing Pad.” When you arrive (see the map for Rooftop Level 2), step out carefully (6); two turrets hang above you. Turn left and find the stairs (7) that lead down to a Rooftop Level 1 platform underneath the Landing Pad. Find the Landing Pad Turrets security terminal (8) and enter the code”P3WP3WS.” Disable all turrets.
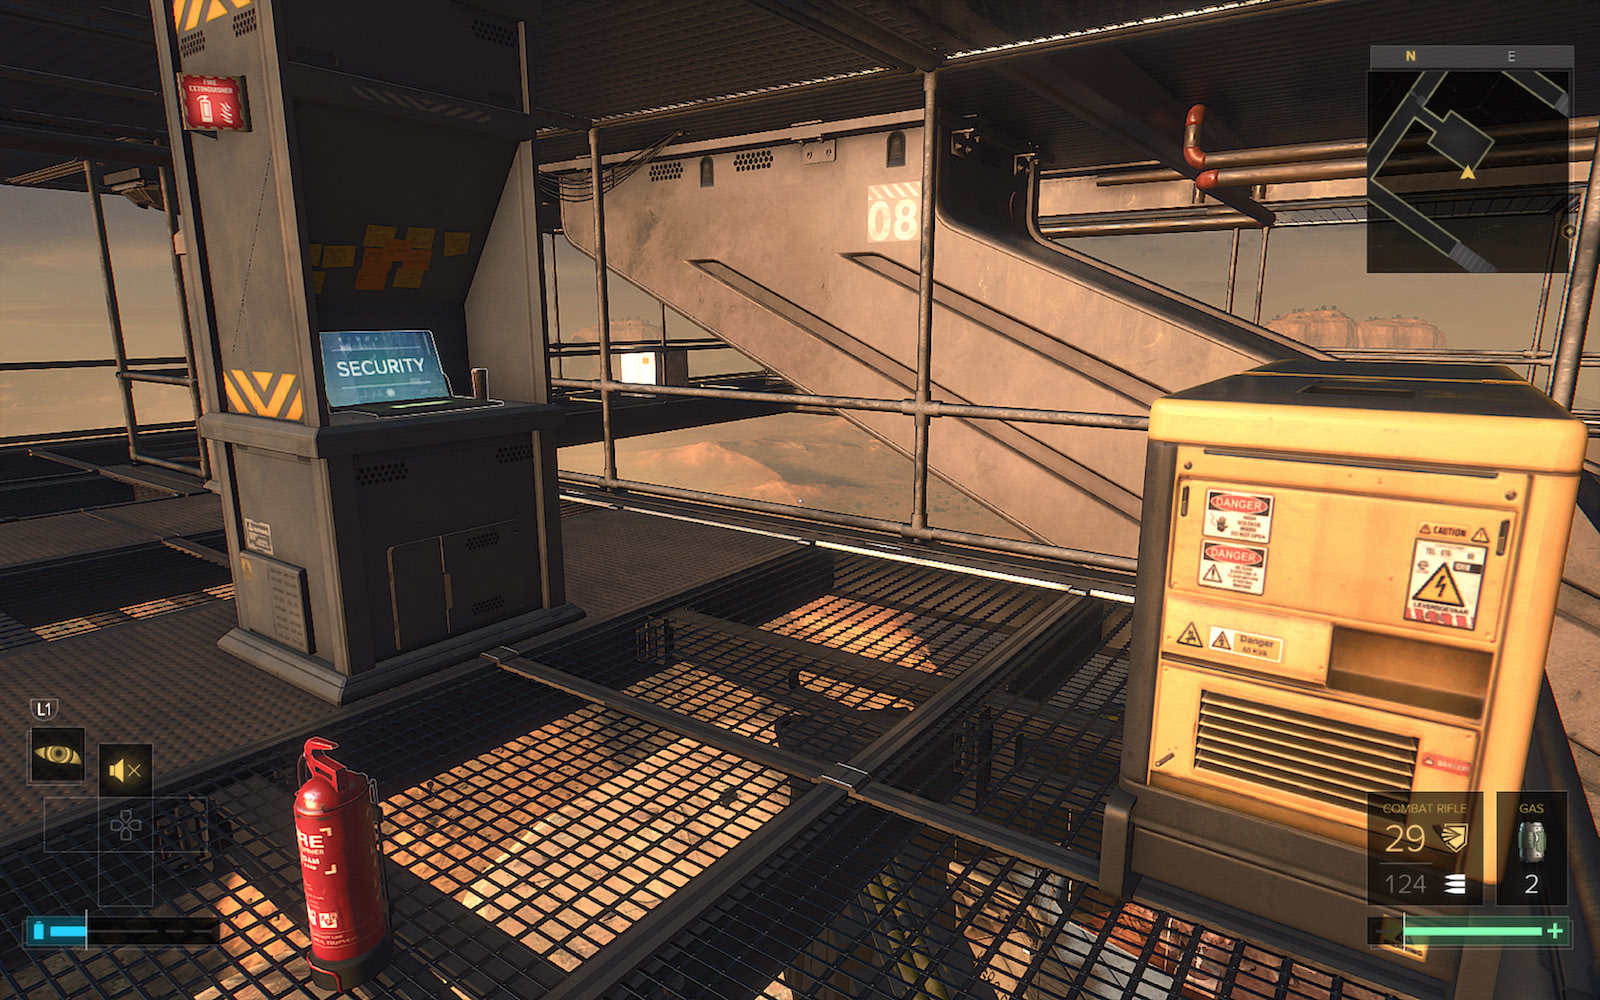
Neutralize the Roof Security
Return to the elevator and select”Roof Access” as your next destination. When you arrive, follow the catwalk to the left and climb the stairs (8) to the roof. Two surveillance cameras and a turret scan the area. (Note that the turret is surrounded by a laser-detection grid.) Wait until none are facing you, then sprint to the ladder that runs up to the security hub (9) underneath the”Welcome to Penley T. Housefather” sign. Use the Roof Security terminal and enter the code”B0TT0PP5.”
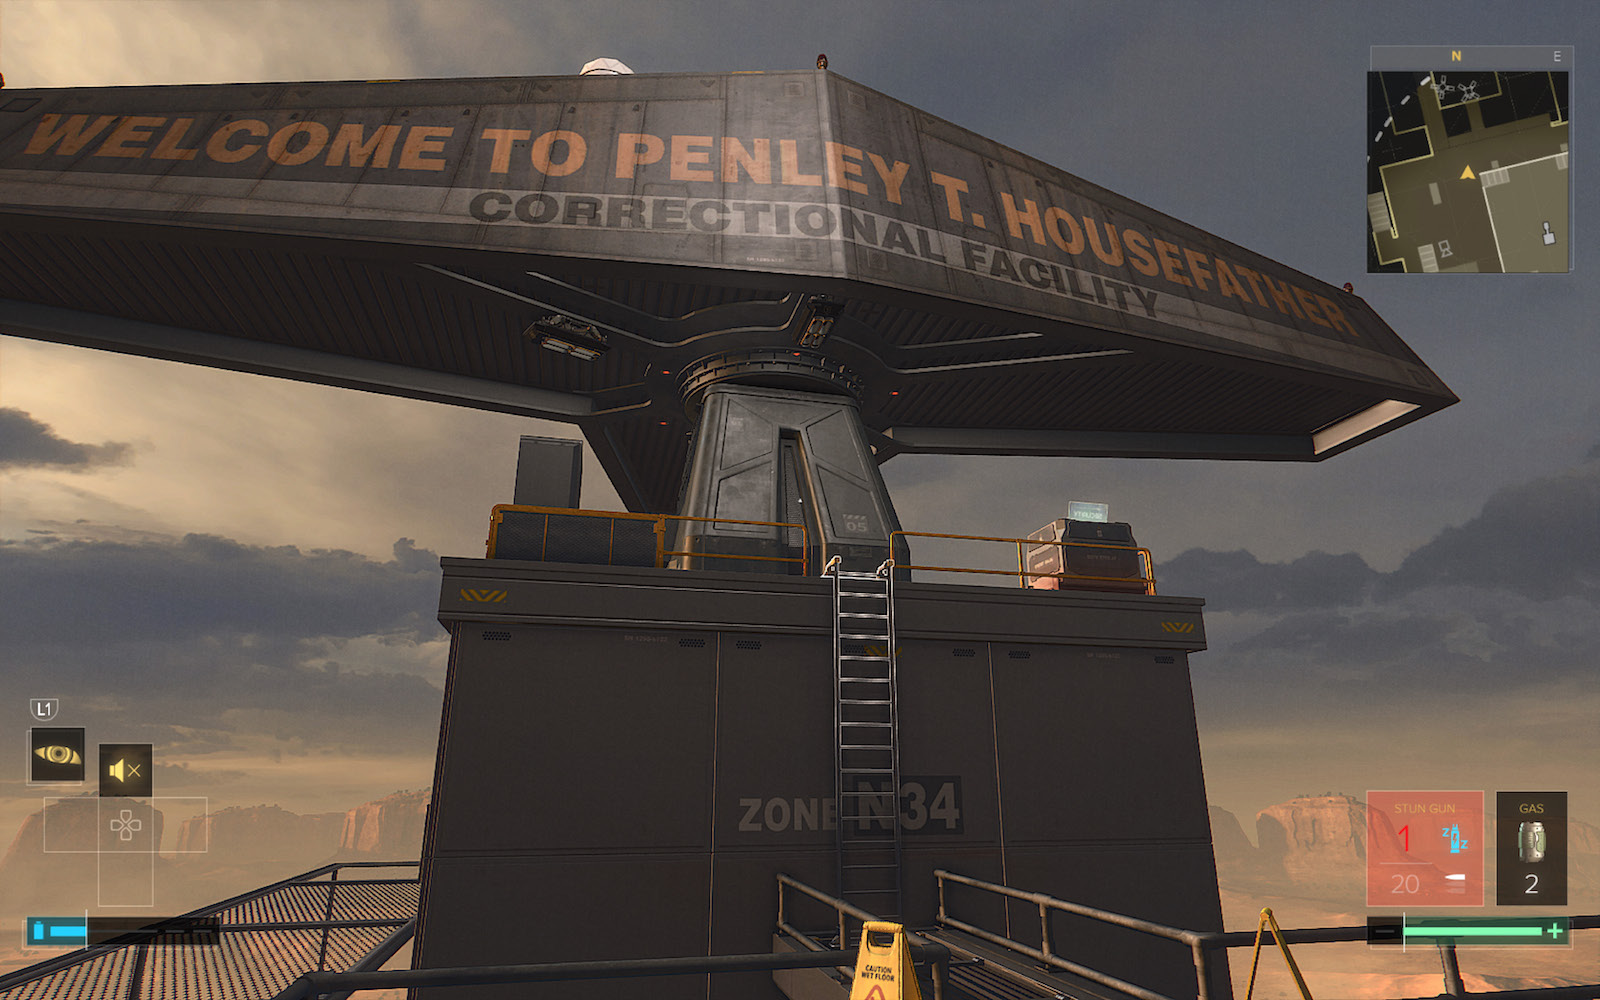
Disable both surveillance cameras, one by each of the big gun platforms. The deadly turret in the center of the roof remains active, but you can select DRONES and turn on Friendly Fire then let them battle the turret until either the turret or all of the drones are destroyed.
Disable the Turret (If Necessary)
If the drones win, just disable them via the terminal. But if the turret wins, you have to reach another security laptop to disable it. Here’s how: Keeping out of the turret’s range of detection, go to the right around the AA gun platform to the terminal podium (10) on the far side of the roof. This controls the laser grid. Wait behind cover until just after the turret’s view rotates past the podium, then approach and use a Multi-Tool to hack the terminal and quickly turn off the laser grid. Return to cover before the turret’s view swings back around and starts shooting.
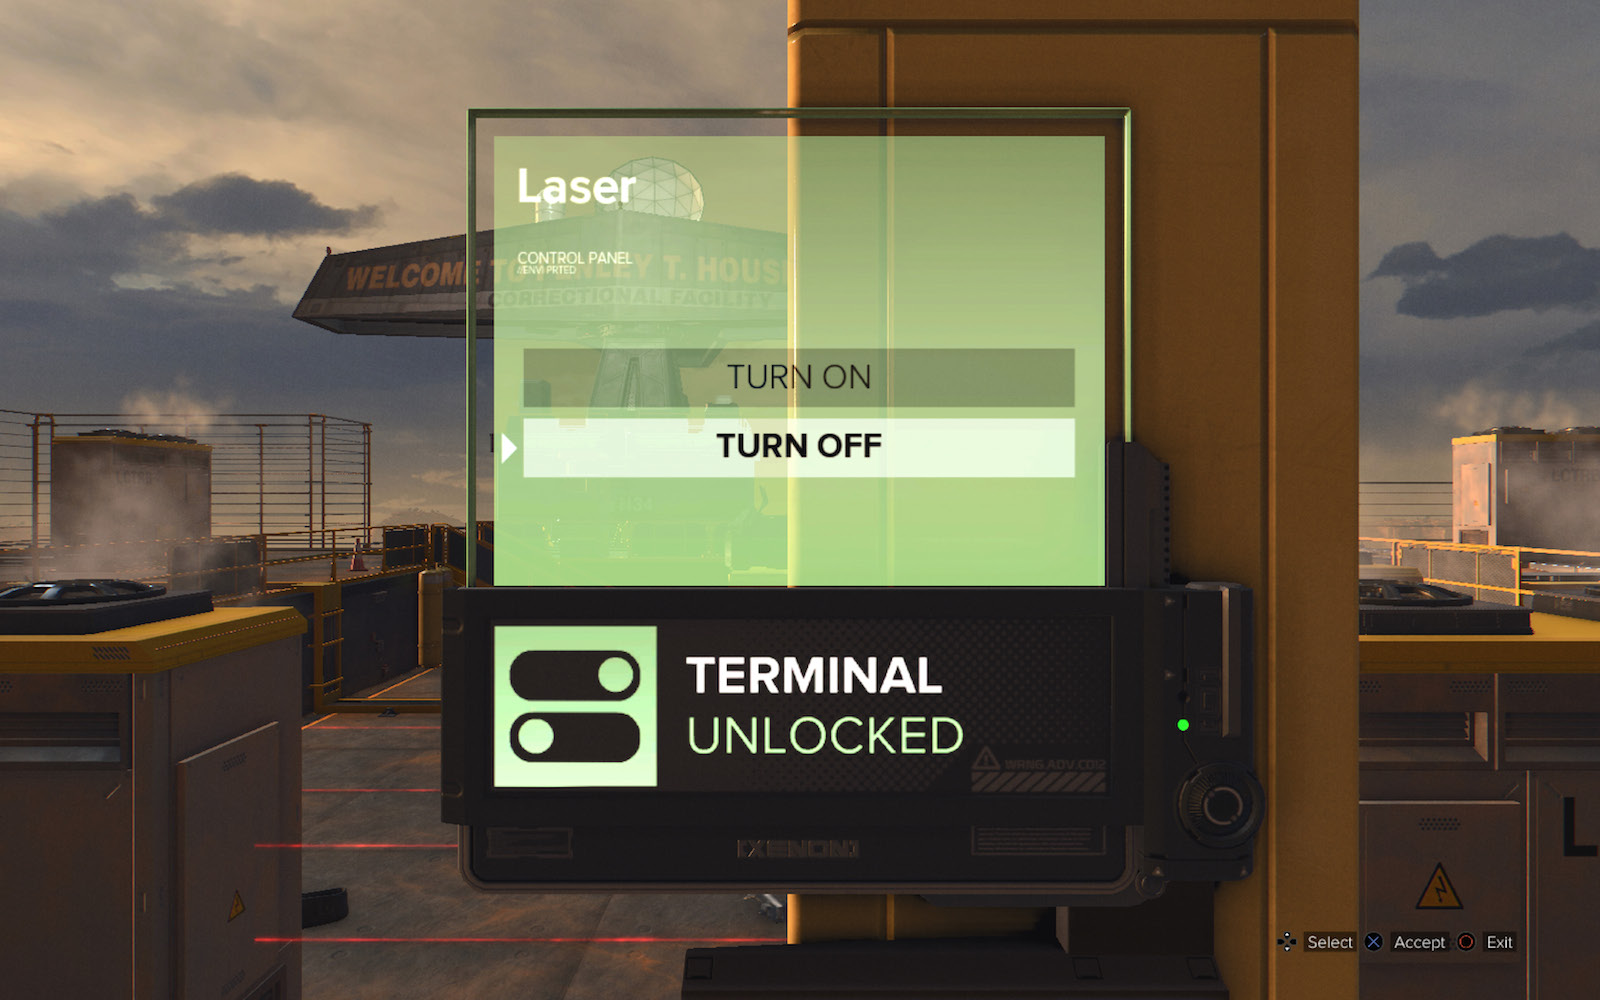
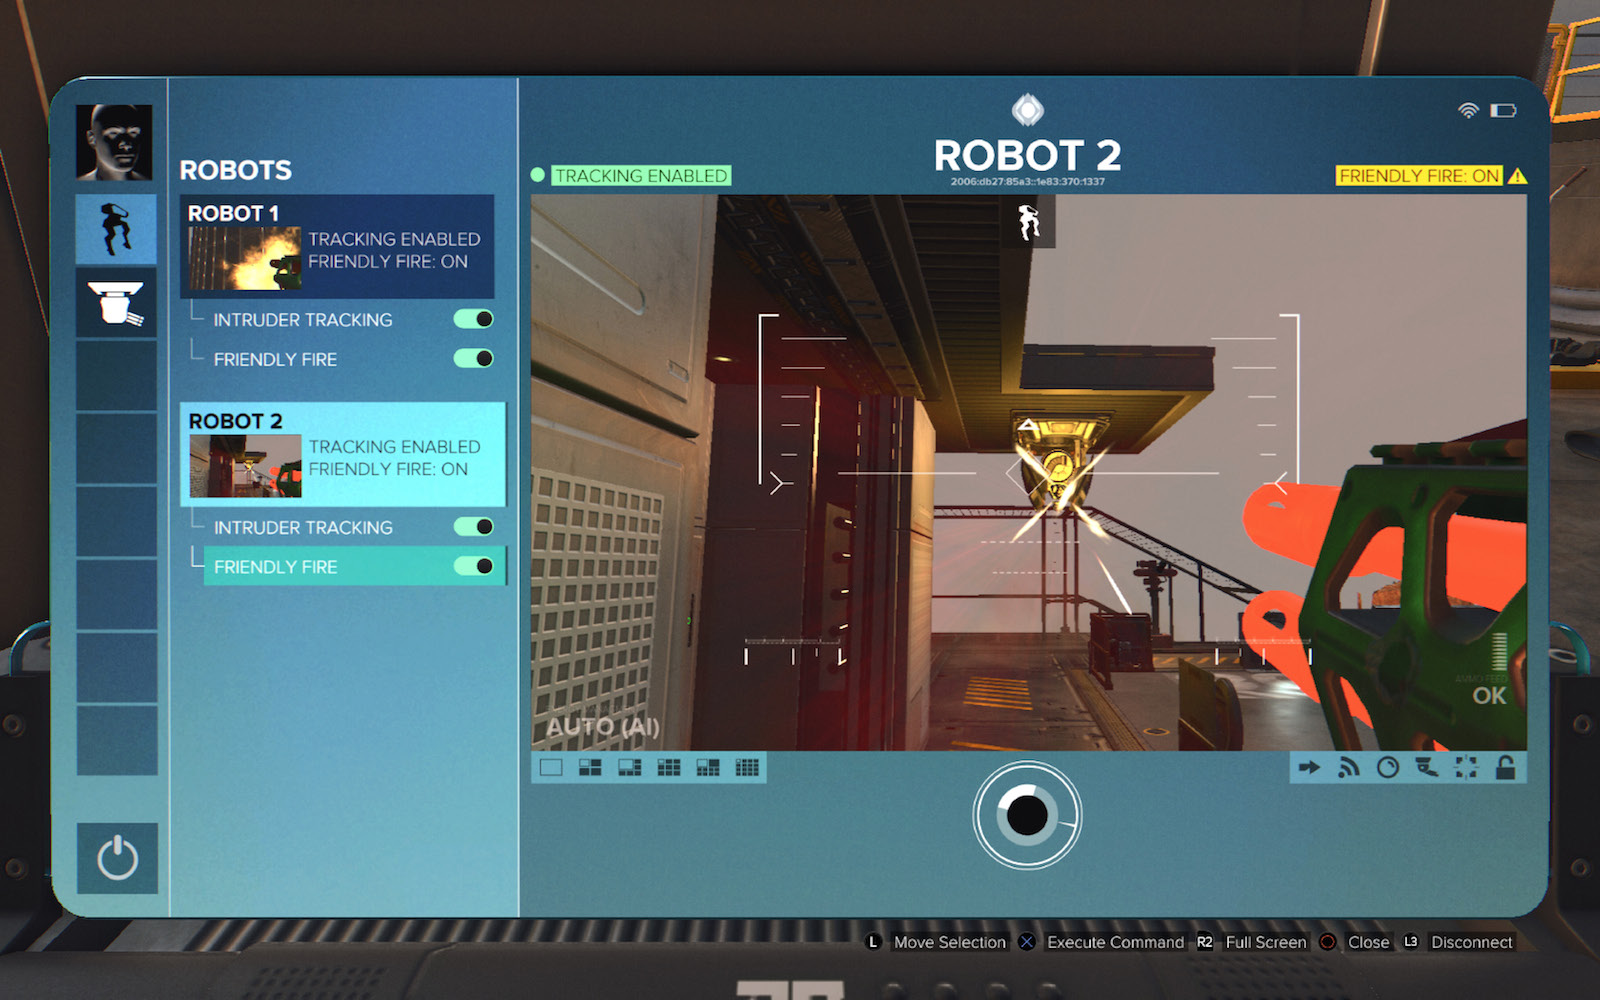
When the turret is turned away from you, jump down and approach the turret’s base (11) to find another Roof Security terminal. Enter the same passcode”B0TT0PP5” and select TURRETS to disable it. (Alternately, you can just blast the turret with armor-piercing ammo.) Select ROBOTS and set both available robots to Friendly Fire; watch their camera feeds as they target security forces on the Landing Pad level just below you, including the turrets overlooking the transport if you didn’t disable them earlier. When the fighting ends, shut down any surviving robots.
Shut Down the AA Gun Platforms
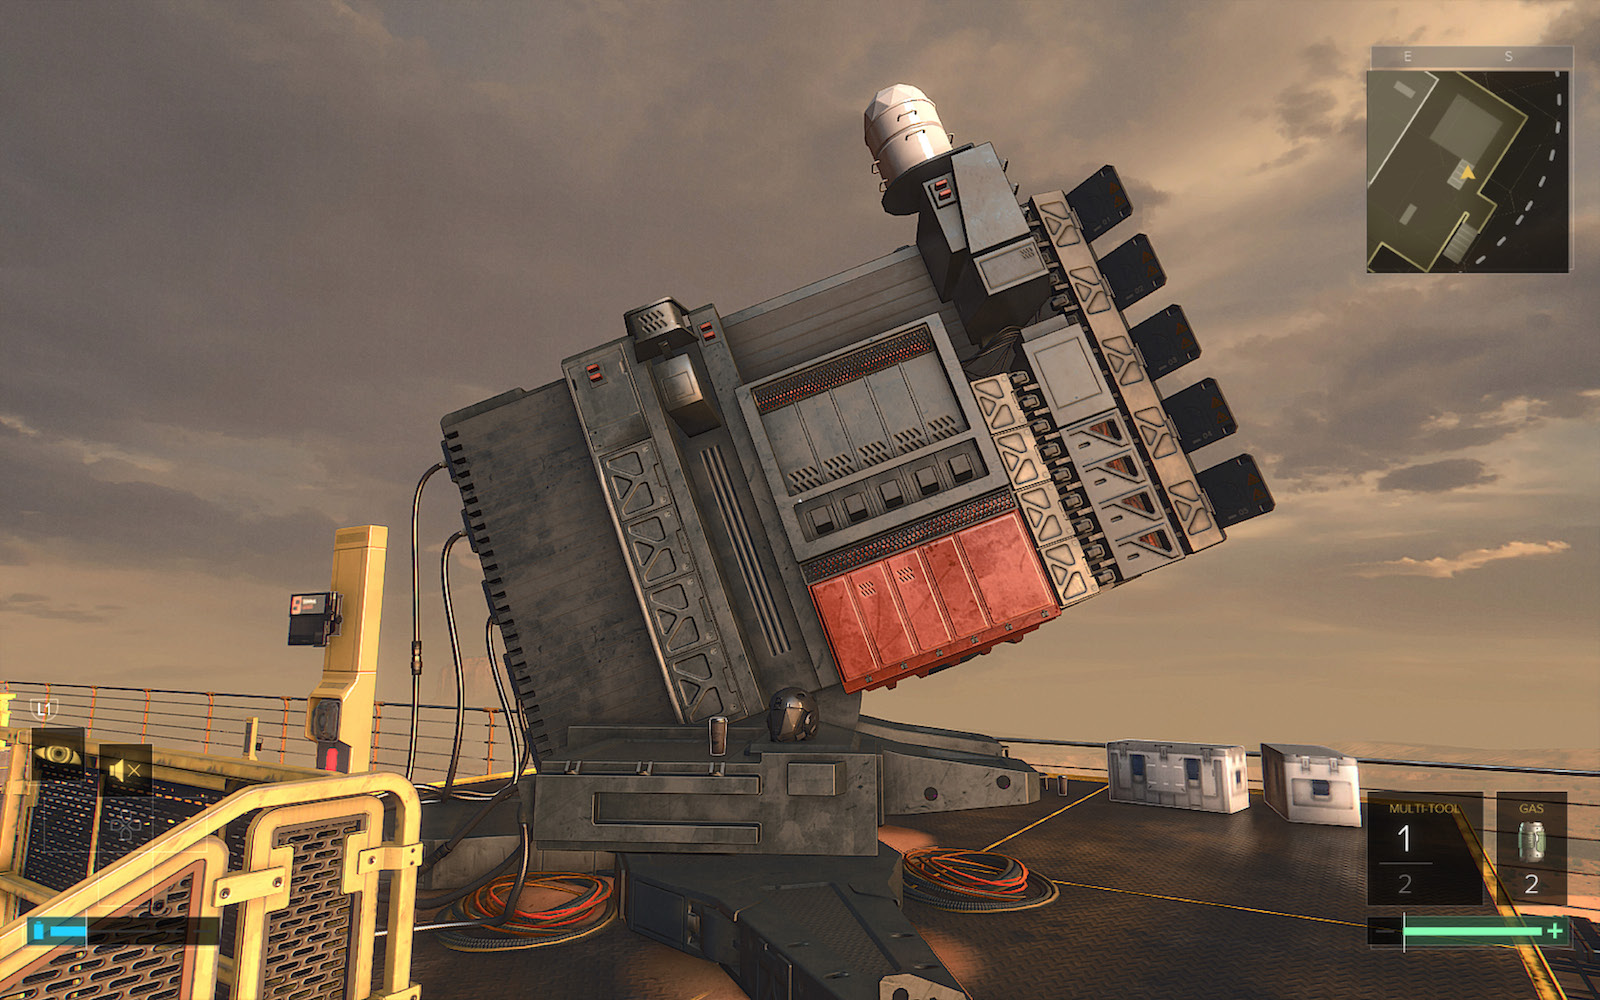
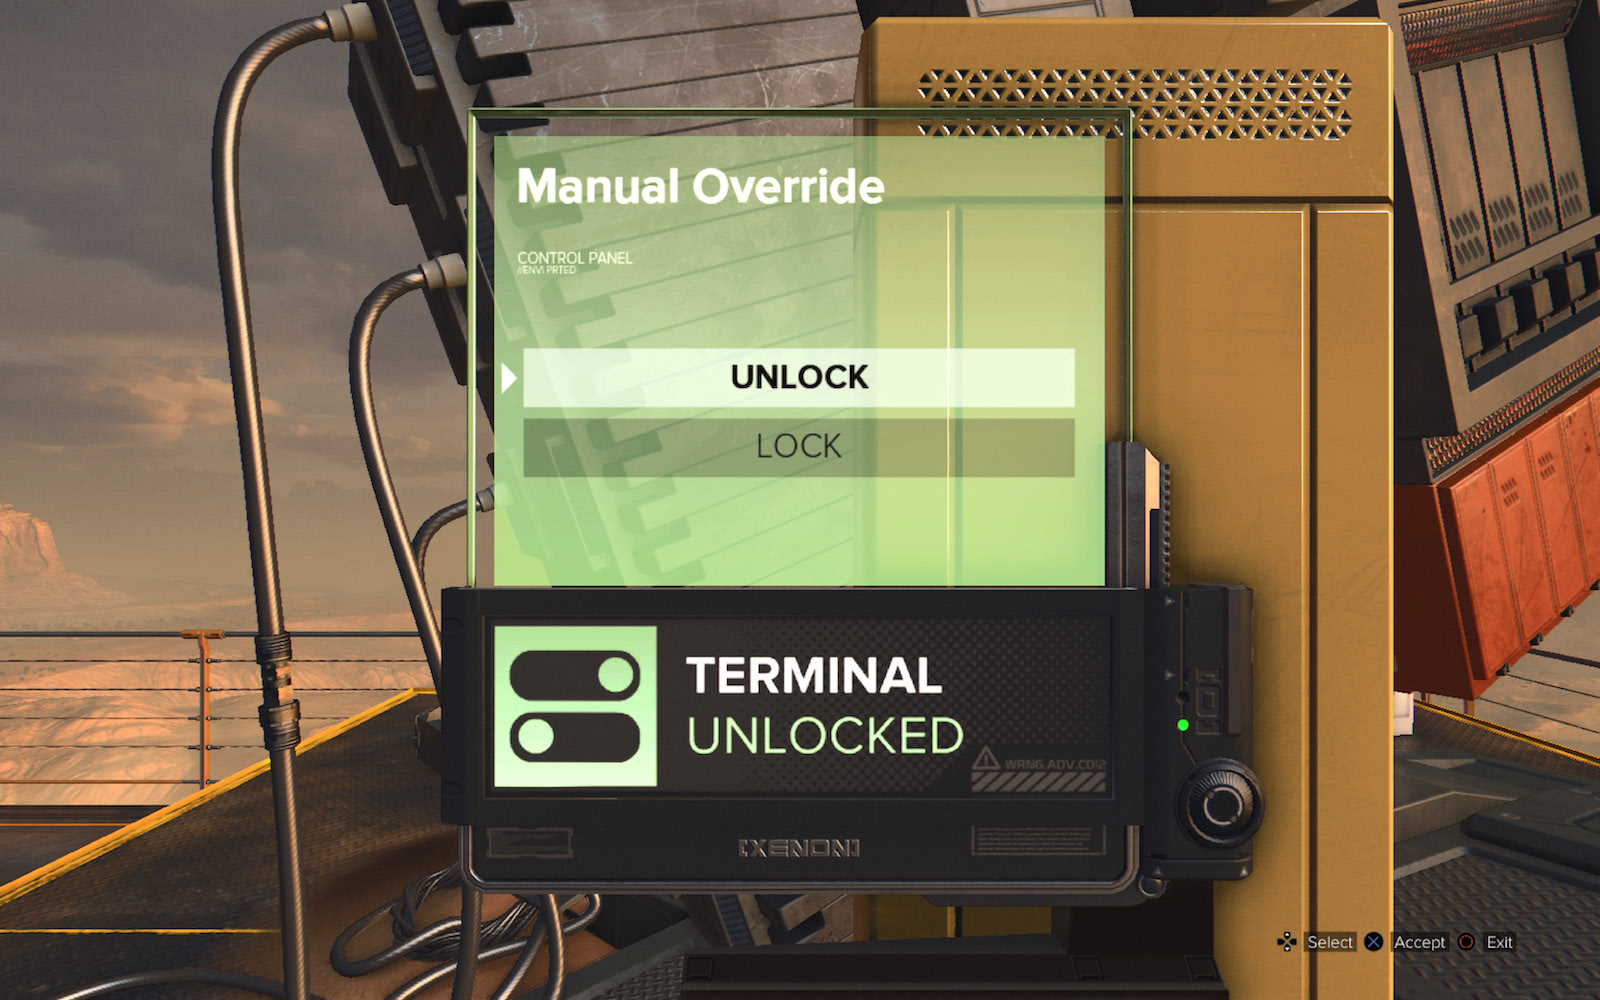
Now go up onto one of the two anti-aircraft gun platforms (12, 13) and use a Multi-Tool or manually hack the terminal. Next, use the terminal control panel to unlock the Manual Override. Finally, press the Manual Override button below the terminal to shut down the big gun. Repeat this same process on the second gun platform.
Find the Last eBook
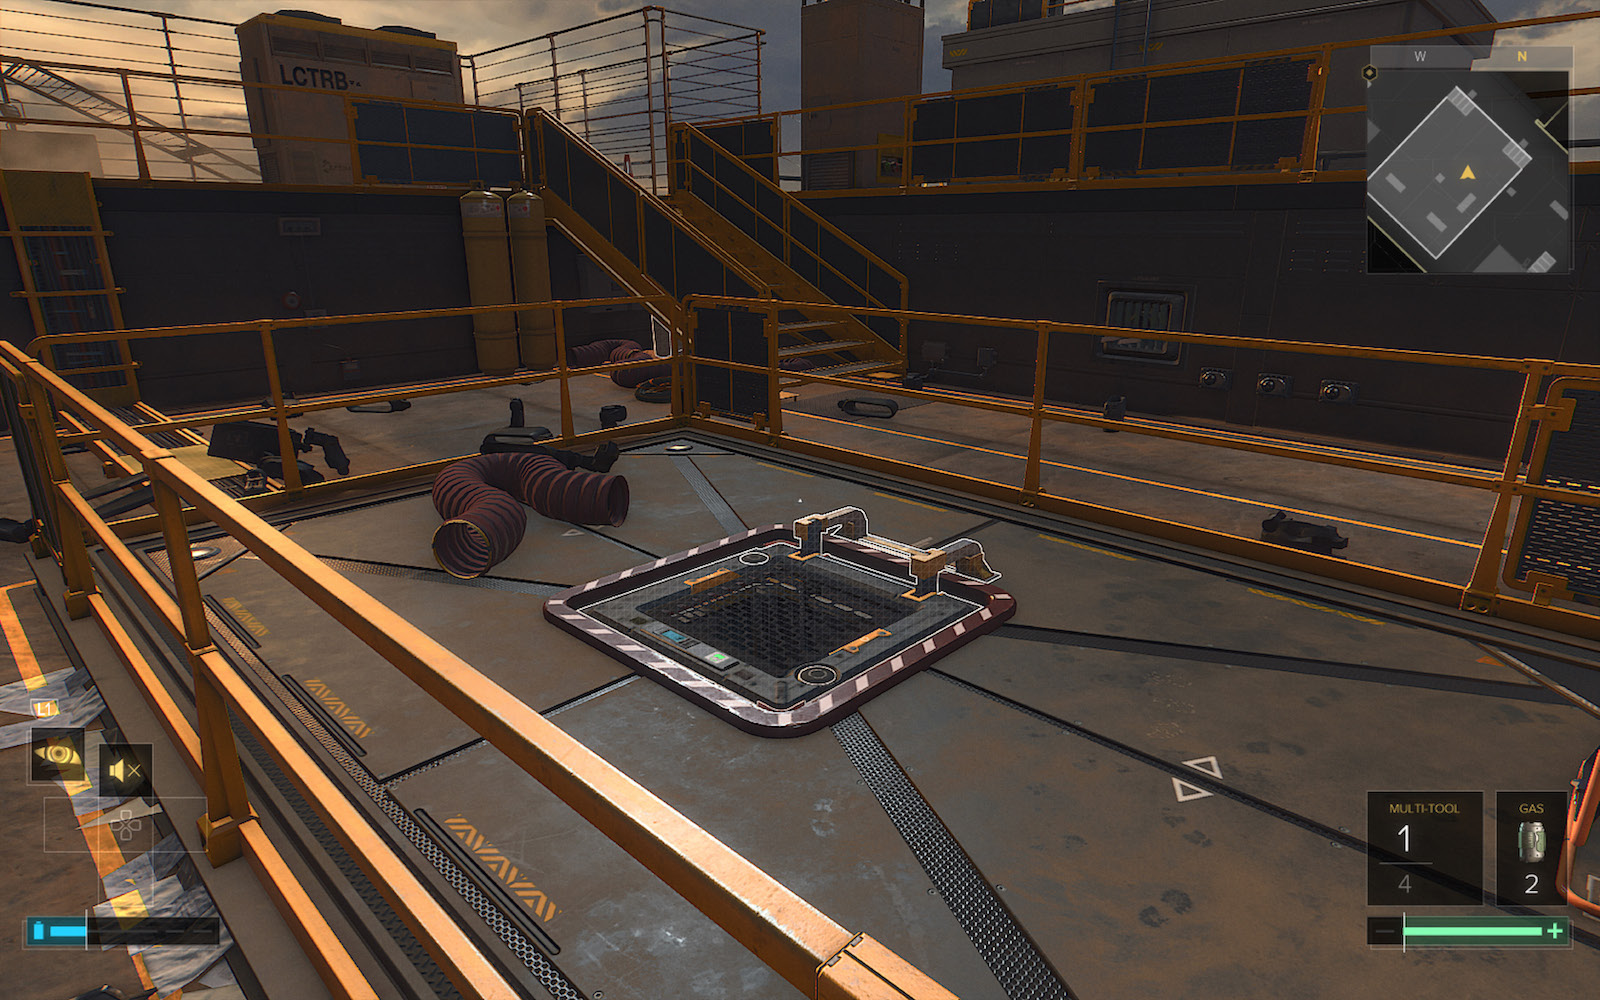
When both AA guns are disabled, open the Cable Duct Door (shown in our screenshot) on the floor at the center of the rooftop area. Climb down the ladder and open the door underneath the sign that reads”Authorized Employee Only.” Enter the room to find the eBook, then climb back up to the roof. Go back down the stairs (8) and return to the elevator.
Meet Guerrero on the Landing Pad
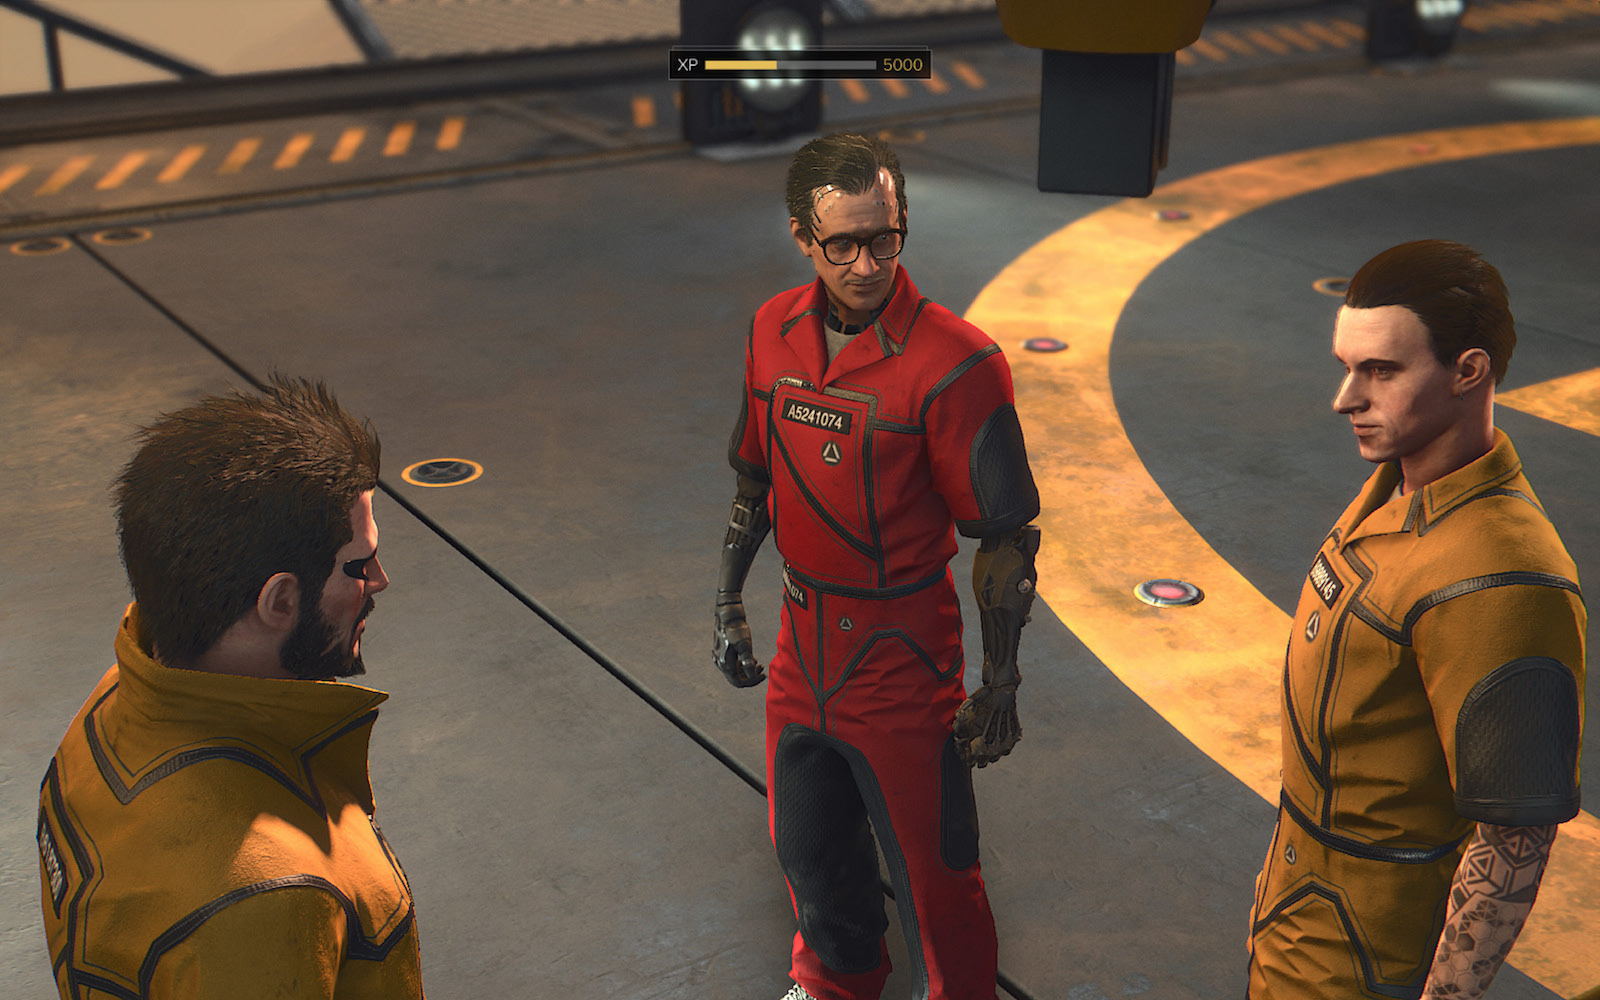
Ride the elevator back down to the Landing Pad level. This automatically triggers the mission-ending scene, a tense confrontation with Agent Hector Guerrero and The Fixer (Peter Wörthmüller). This meeting can go a number of ways, but if you followed this walkthrough and found all three pertinent evidence items, you can wrap up the mission in a very satisfactory way.
The necessary evidence items are:
- The Pocket Secretary with the Fixer’s med/psych case file from the prison psychologist's office.
- The Pocket Secretary with Mejia’s”weekly list” of Junkyard orders to Stenger.
- The Pocket Secretary with the audio recording of the conversation between Guerrero/Mejia and inmate Ian Wilburg.
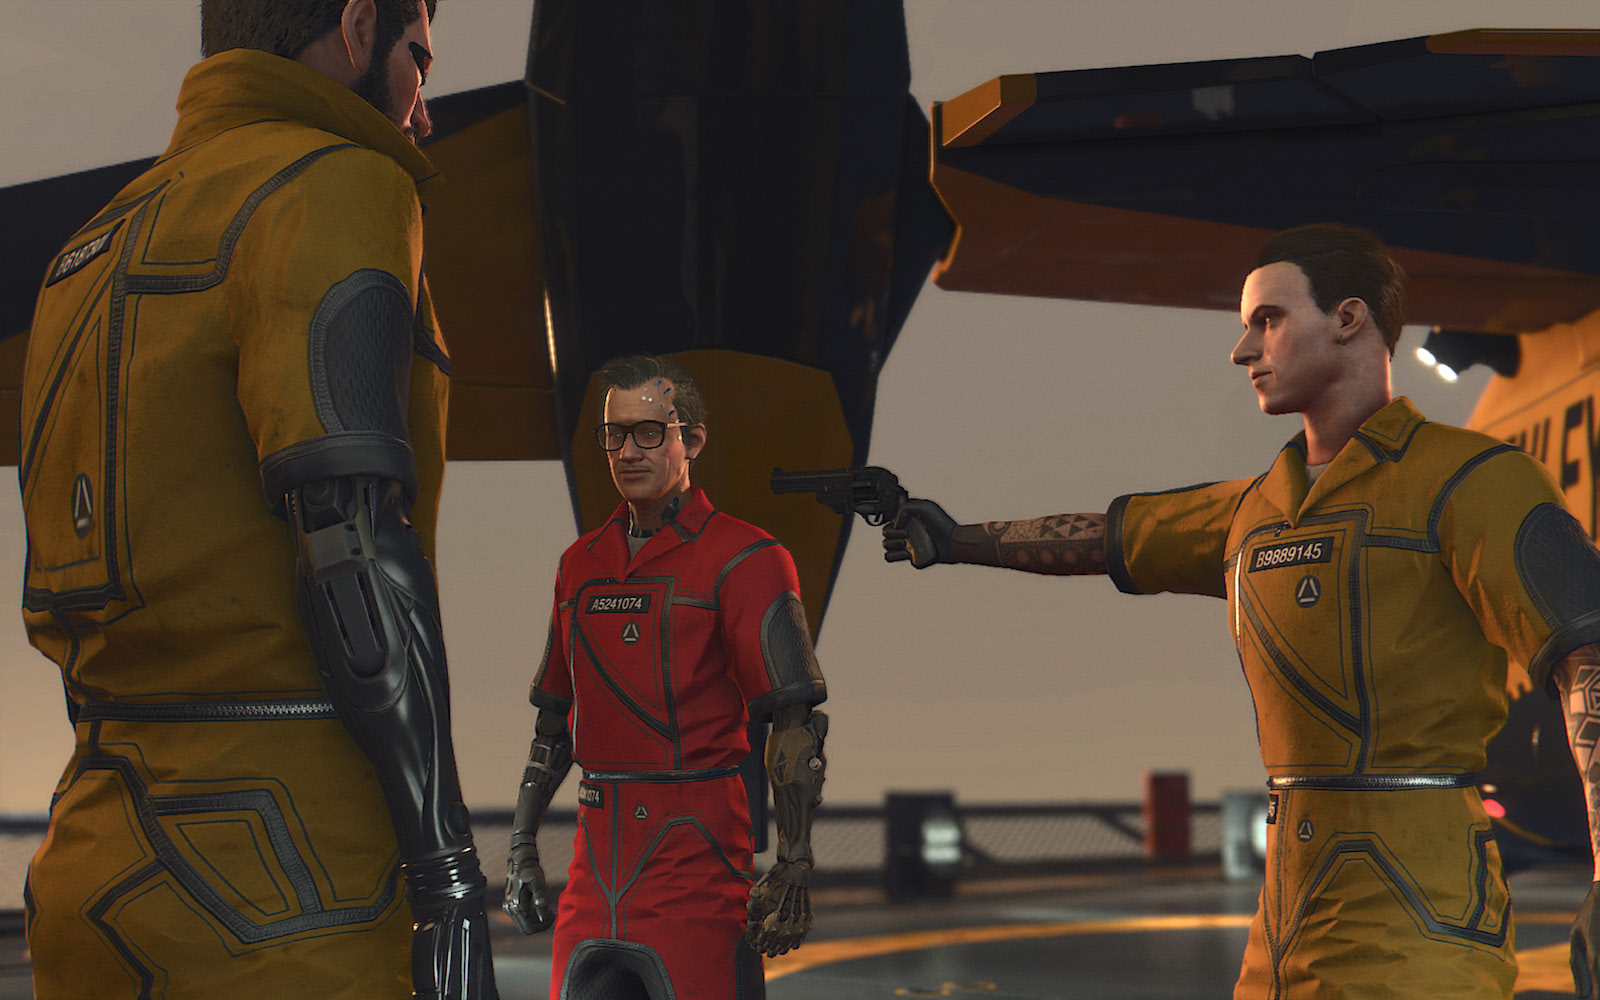
First Branch: CHALLENGE
When you reach the first branch in the conversation, select CHALLENGE. This pushes the dialogue to the second branch.
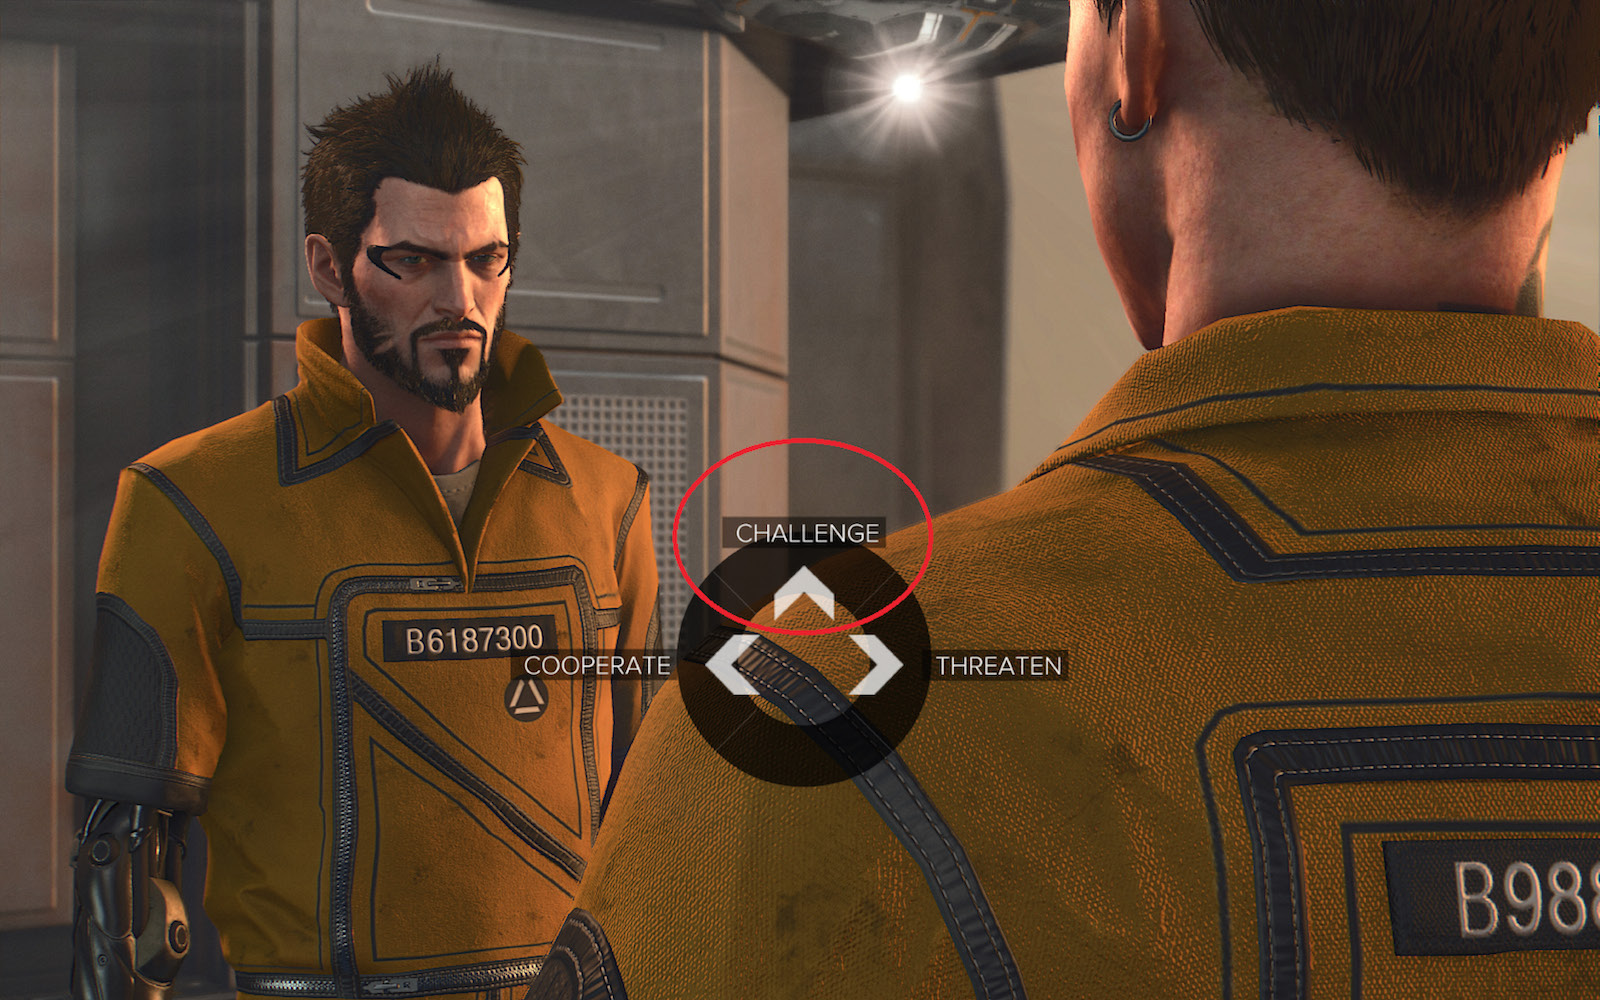
- If you select COOPERATE instead and then select GO TO TRANSPORT, Guerrero kills The Fixer and Jensen leaves with Guerrero.
- If you select THREATEN instead, Guerrero attacks Jensen and you must defend yourself.
Second Branch: ANY CHOICE
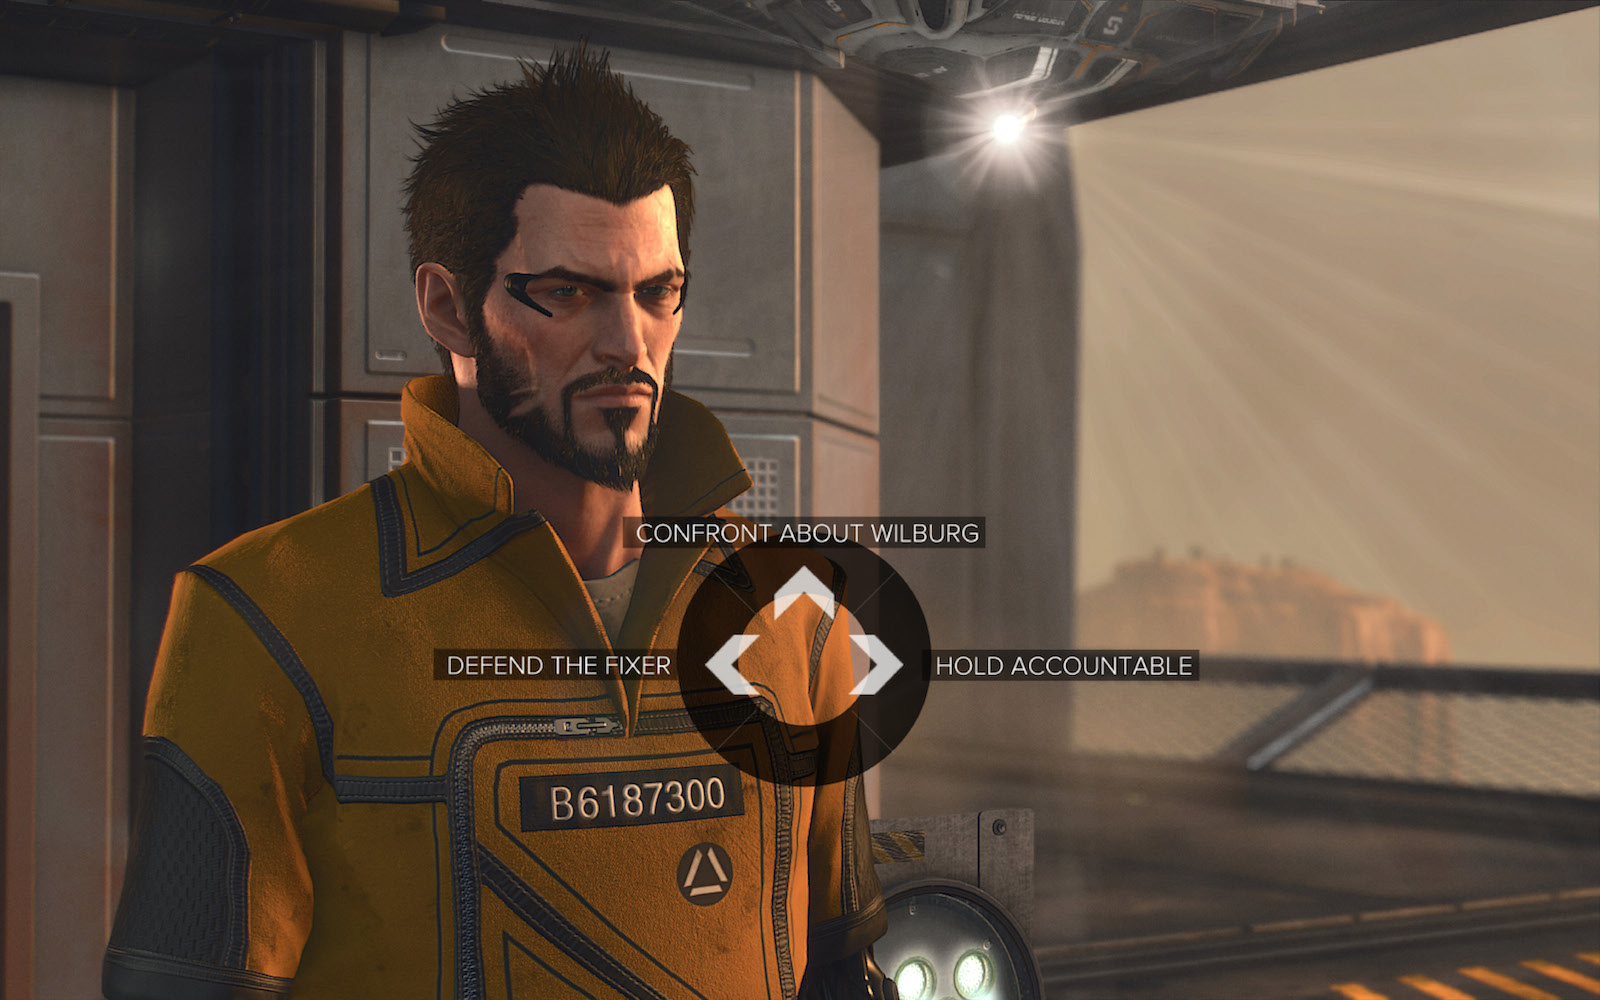
You can select any of the three dialogue options at this branch: DEFEND THE FIXER, CONFRONT ABOUT WILBURG, or HOLD ACCOUNTABLE. Note that if you’ve found the evidence items mentioned previously, the dialogue plays out differently than if you did not find the evidence. But any choice here pushes the conversation to the third branch.
Third Branch (No Evidence Found)
If you’ve found none of the three evidence items, your only choice is to either SIDE WITH MEJIA (The Fixer dies) or SIDE WITH FIXER (Agent Guerrero attacks Jensen).
Third Branch (All Evidence Found)
Select BLACKMAIL. Jensen backs Guerrero into a corner with this threat that, unless Guerrero does what he wants, Jensen reveal all his dirty laundry. If Guerrero plays nice, Jensen will play along as long as he gets what he wants. This essentially forces Guerrero to cooperate
Third Branch (Some Evidence Found)
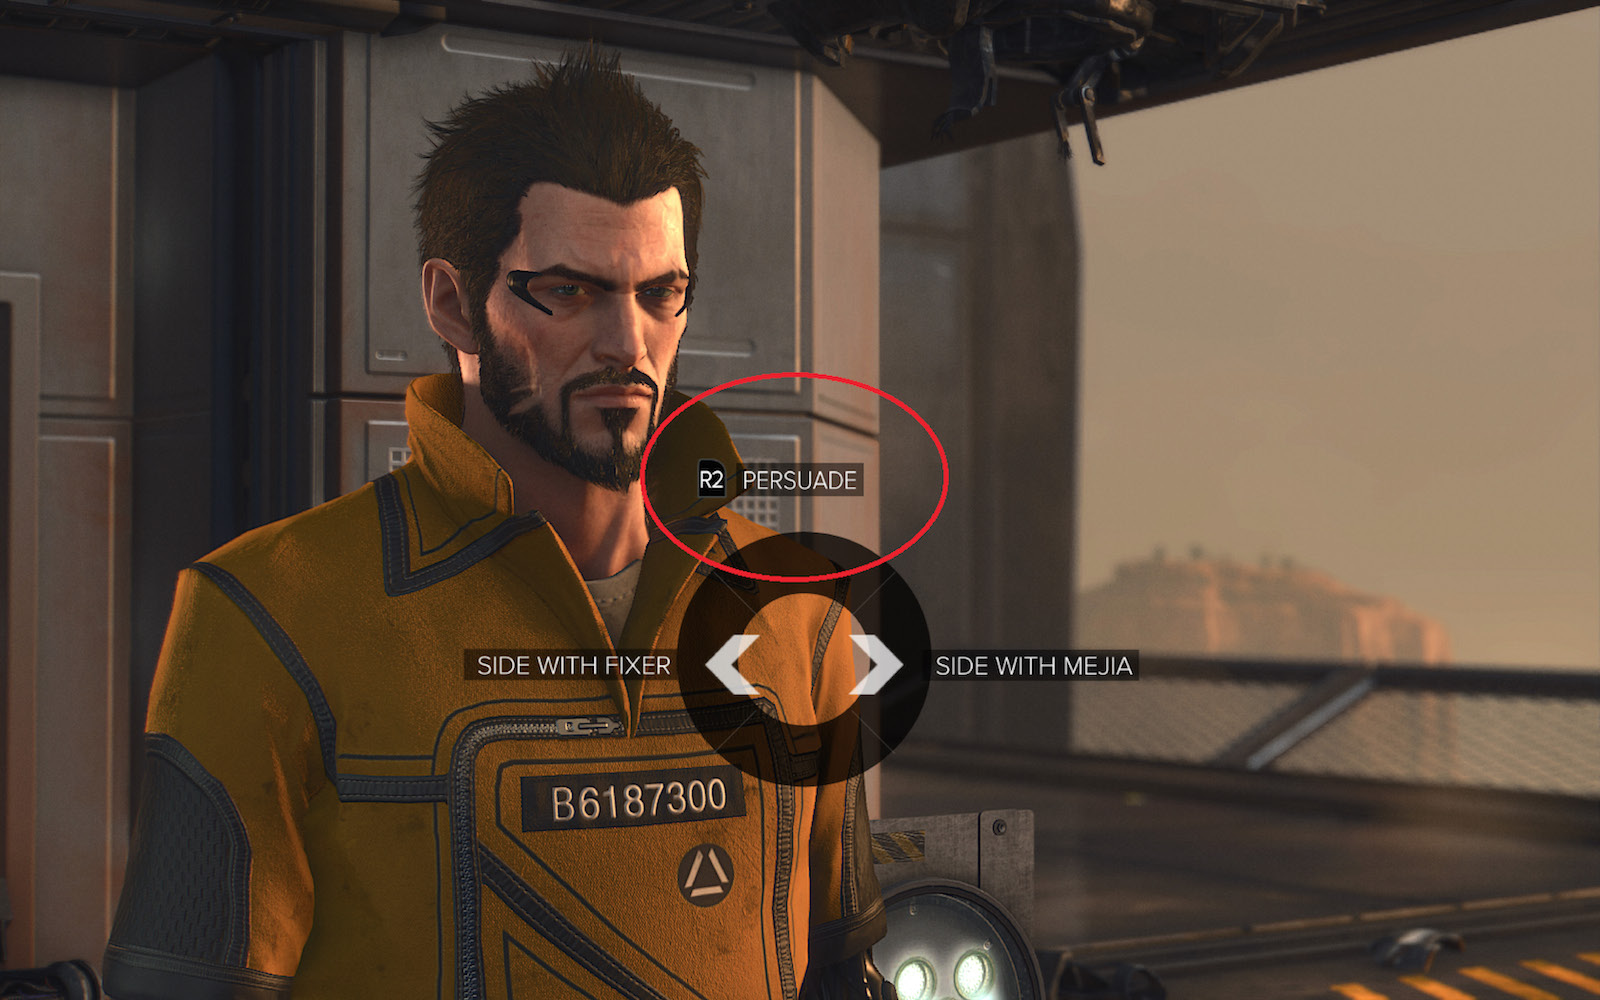
Select PERSUADE. If you’ve only collected one or two of the evidence items, you must work through two more rounds of persuasion.
Round 1
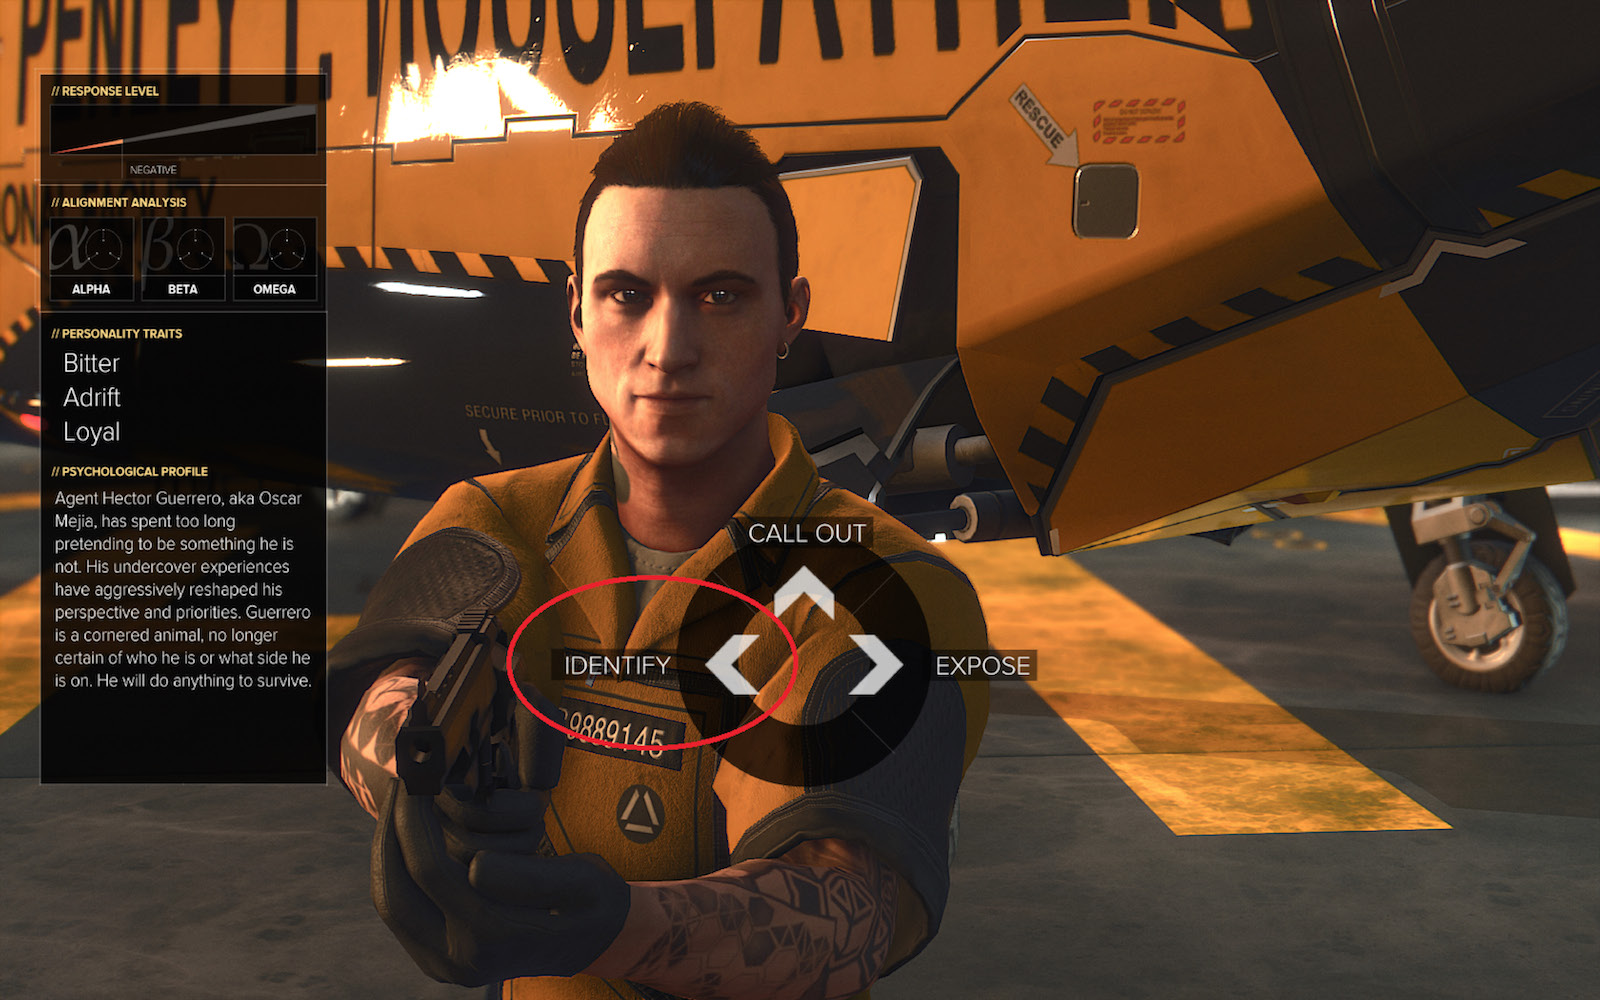
At this branch, select IDENTIFY or CALL OUT. Guerrero reacts positively or neutrally respectively, and you move on to the next round.
- If you select EXPOSE instead, Guerrero attacks you.
Round 2
At this branch, the easiest choice is to select IDENTIFY. Agent Guerrero reacts positively and finally stands down. This reaction also triggers a new optional objective:”Speak to The Fixer.”
- If you select EXPOSE, Guerrero attacks Jensen.
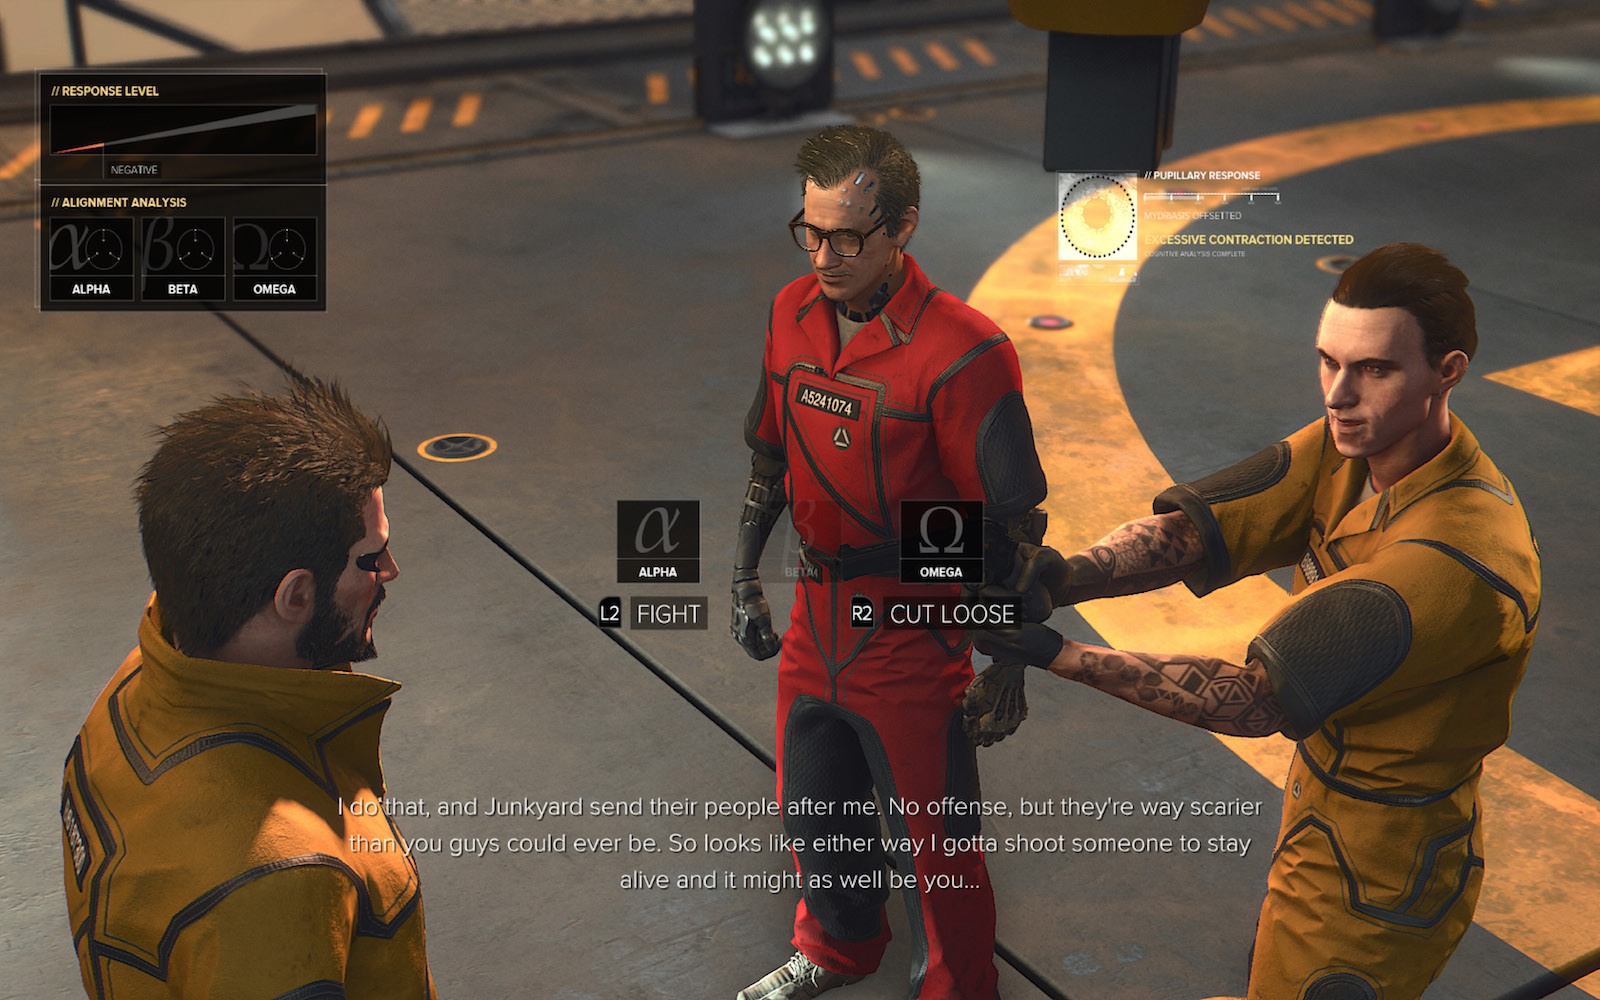
- If you select CALL OUT, Guerrero threatens Jensen and you get another choice, but you have to choose quickly! Choose CUTS LOOSE to avoid a fight; Guerrero stands down and you can”Speak to the Fixer.” But if you choose FIGHT, Guerrero attacks.
Deal with Guerrero
If any of your choices triggers a fight with Agent Guerrero, you have no choice but to gun him down or be killed yourself. He activates his Glass-Shield Cloaking augmentation, so he’s hard to spot. If you have the Smart Vision augmentation, however, you can use it to see Guerrero.
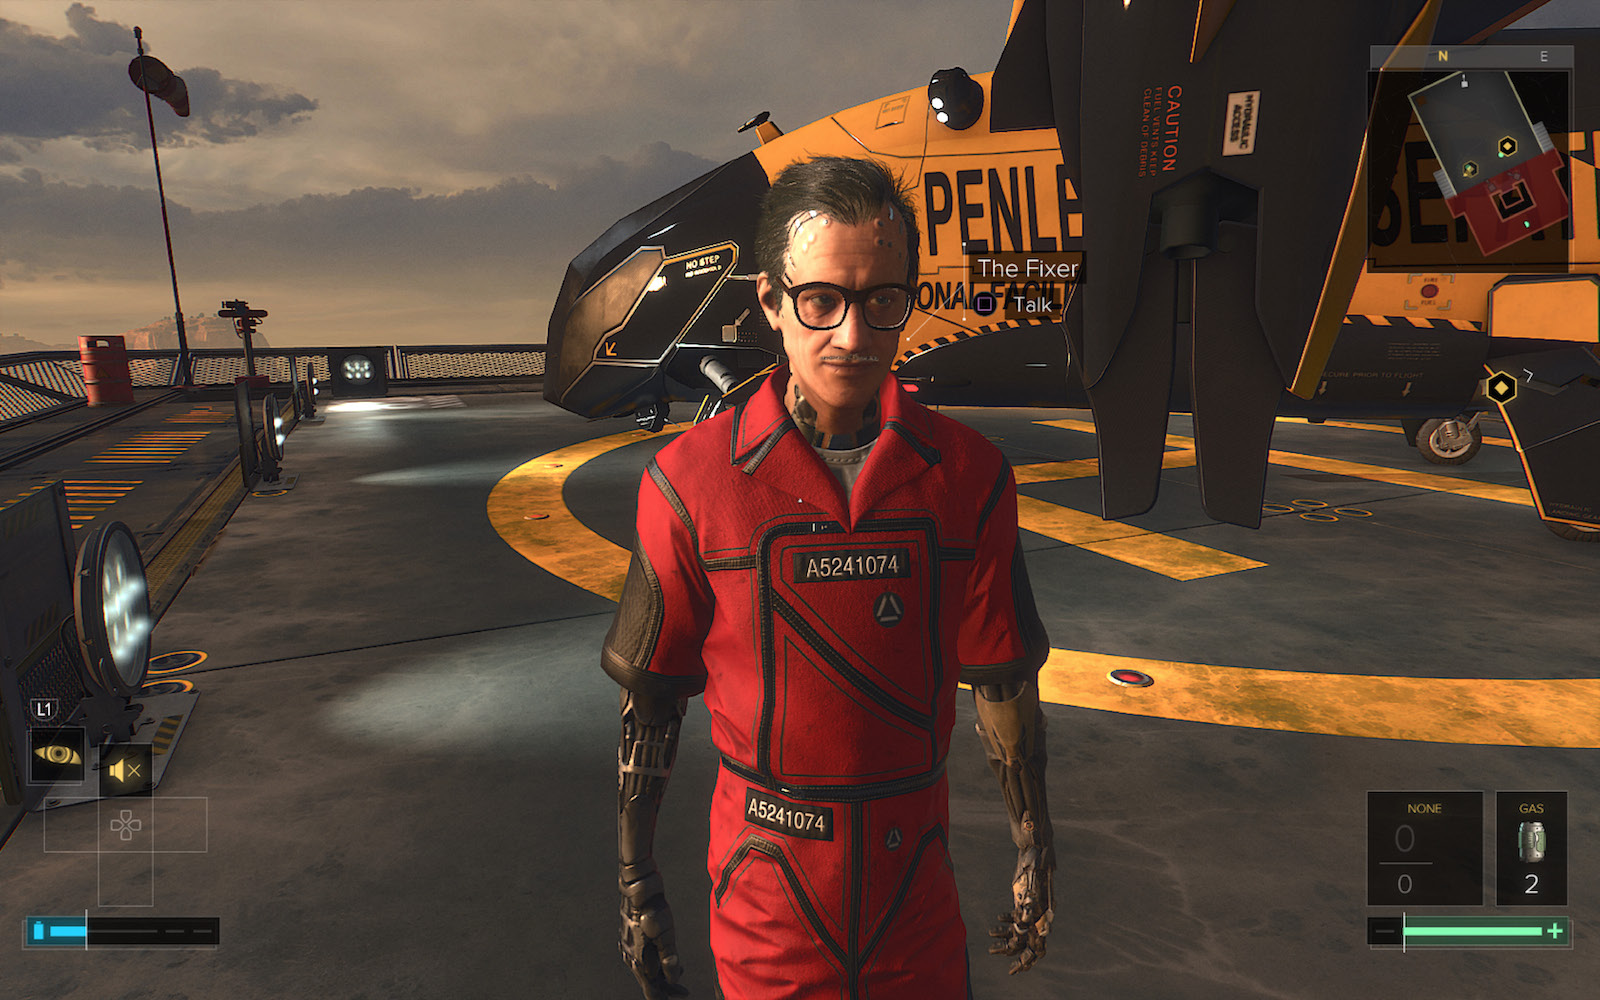
Optional: Speak to The Fixer
If you get this option, go talk to The Fixer. At the dialogue branch, first select DIG DEEPER to get more information and then make any choice that suits you.
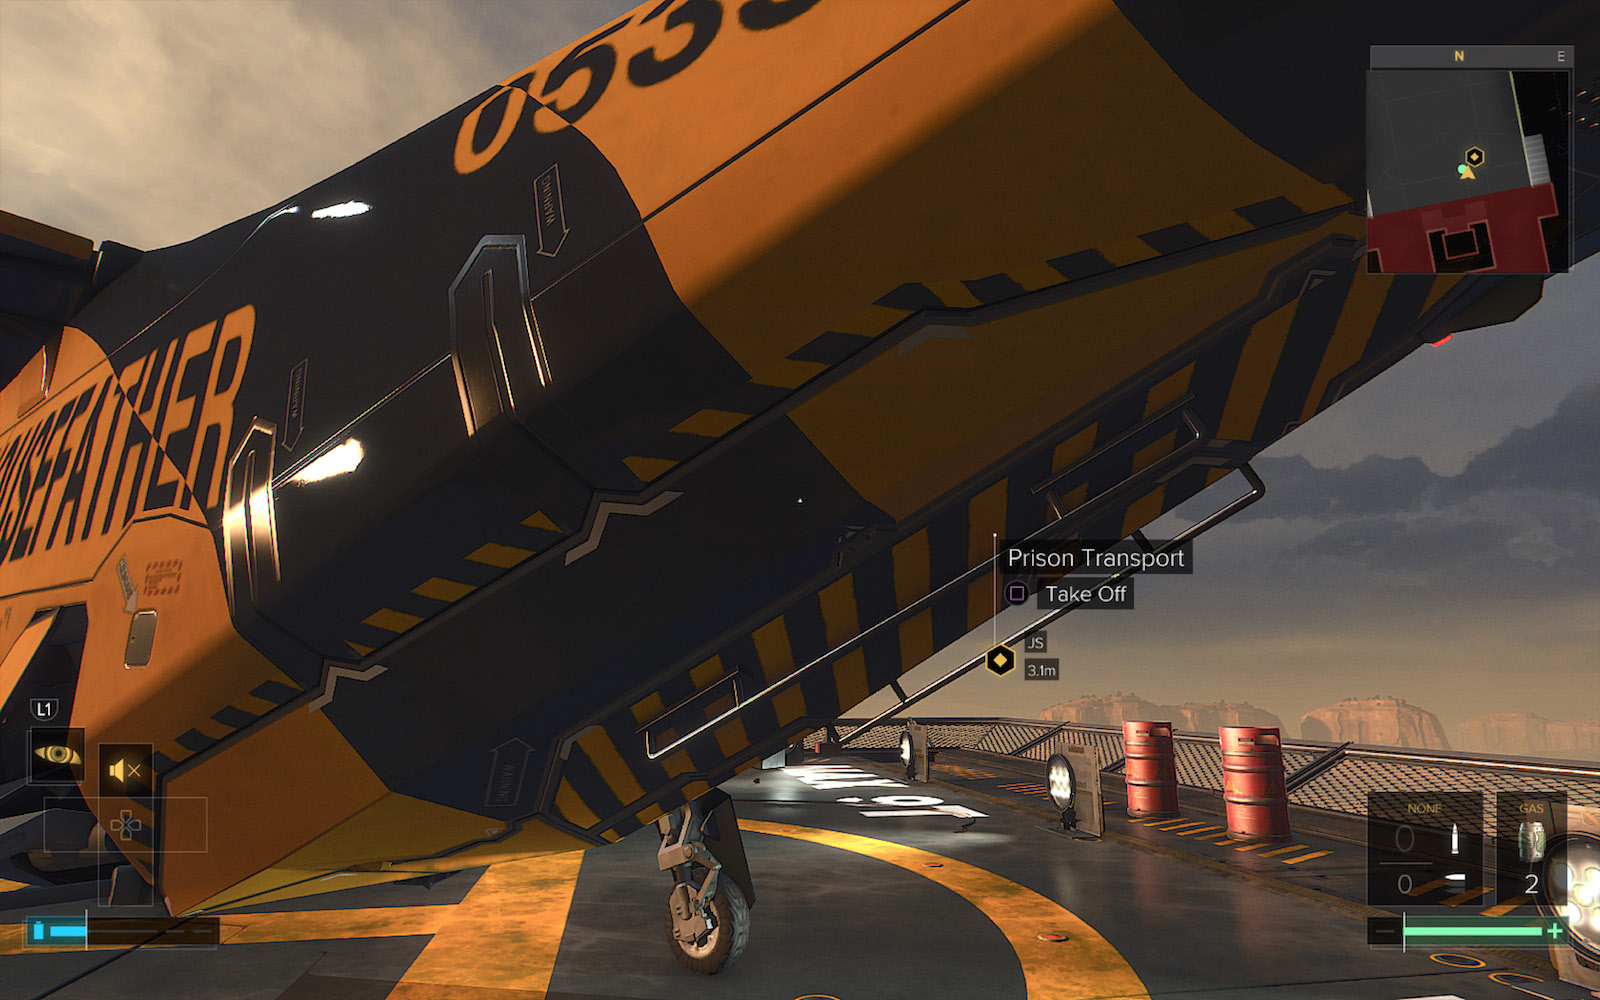
Escape on the Transport
Approach the underbelly of the Prison Transport and select”Take Off” to trigger the final scene with Dr. Auzenne. You can tell the truth or lie about what happened on the Landing Pad; there are no consequences other than triggering different replies from the doctor.