
Deus Ex: Mankind Divided Guide Controls
Controls
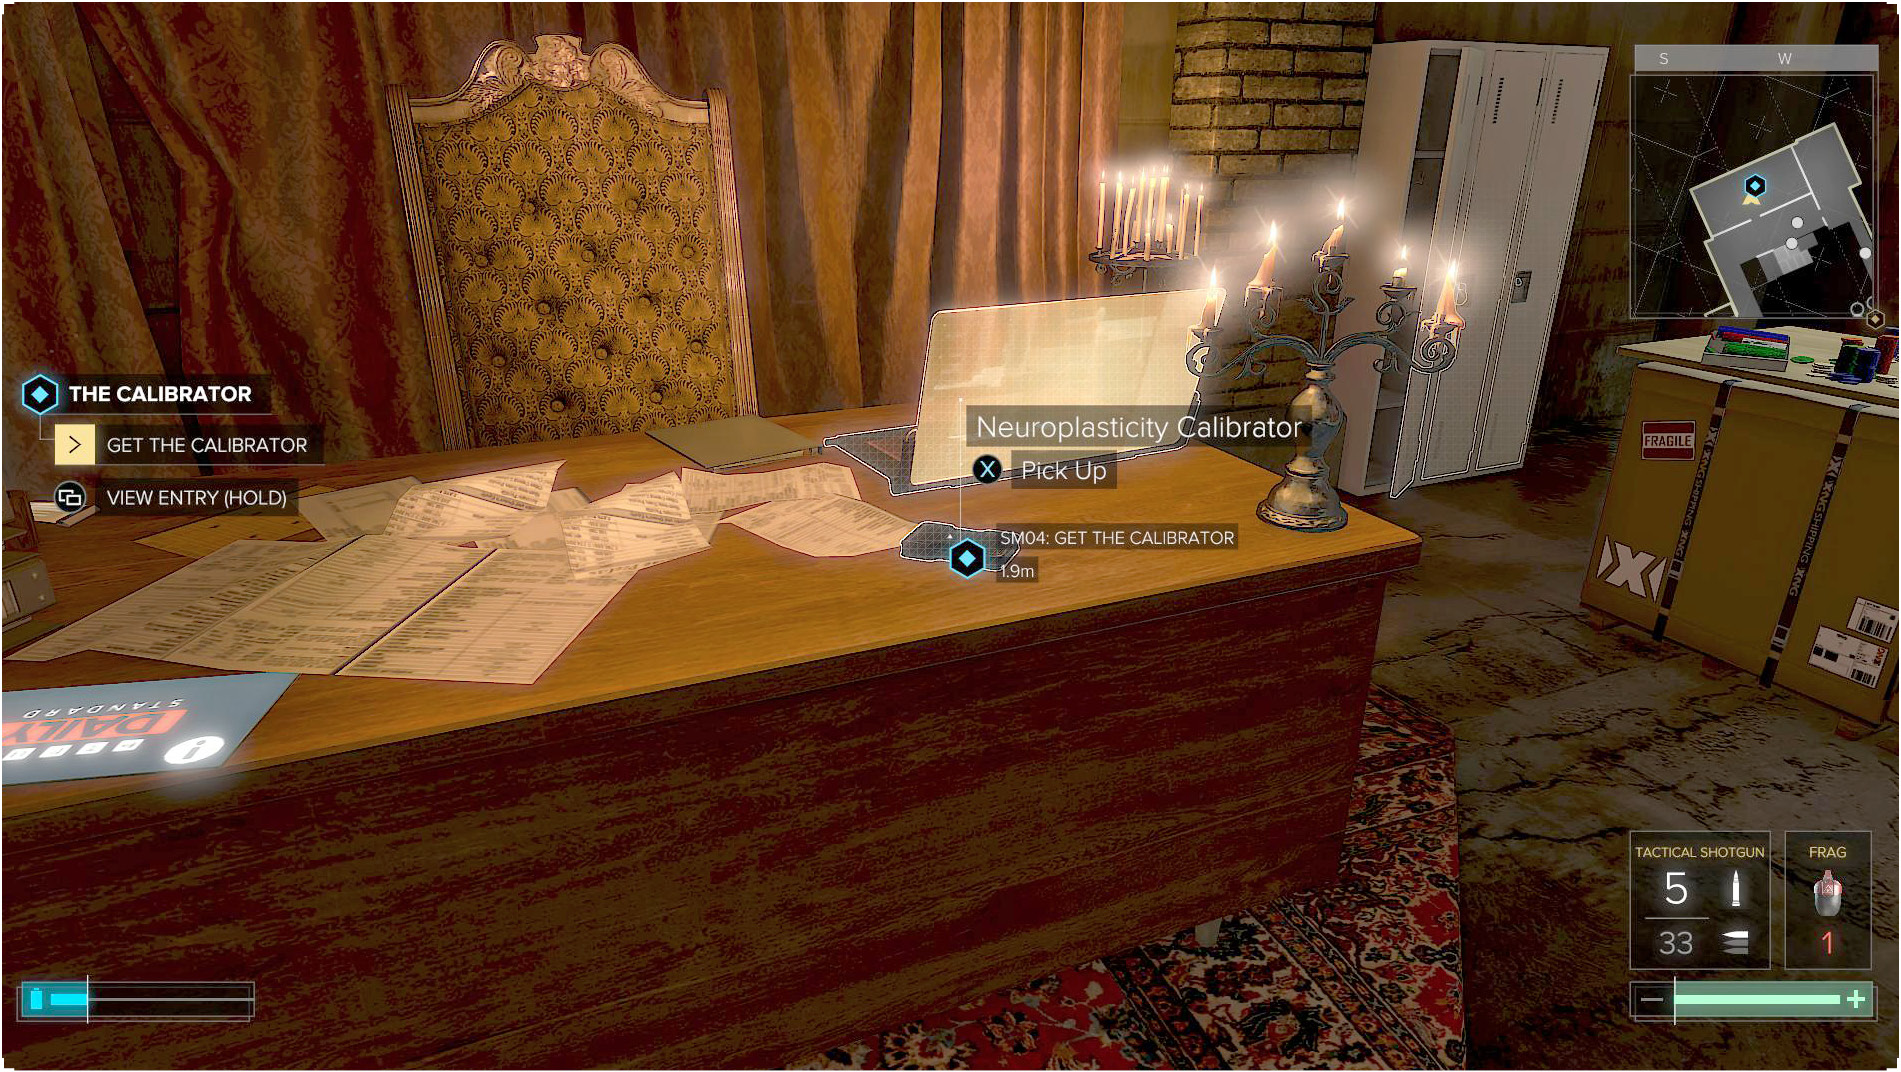
The game’s controls are pretty intuitive, so it won’t take too long to get used to the system. We’ll go over the gritty details of the gameplay elements in the next chapter. Here, we just talk about the basic controls and what each one does.
Pause Menu
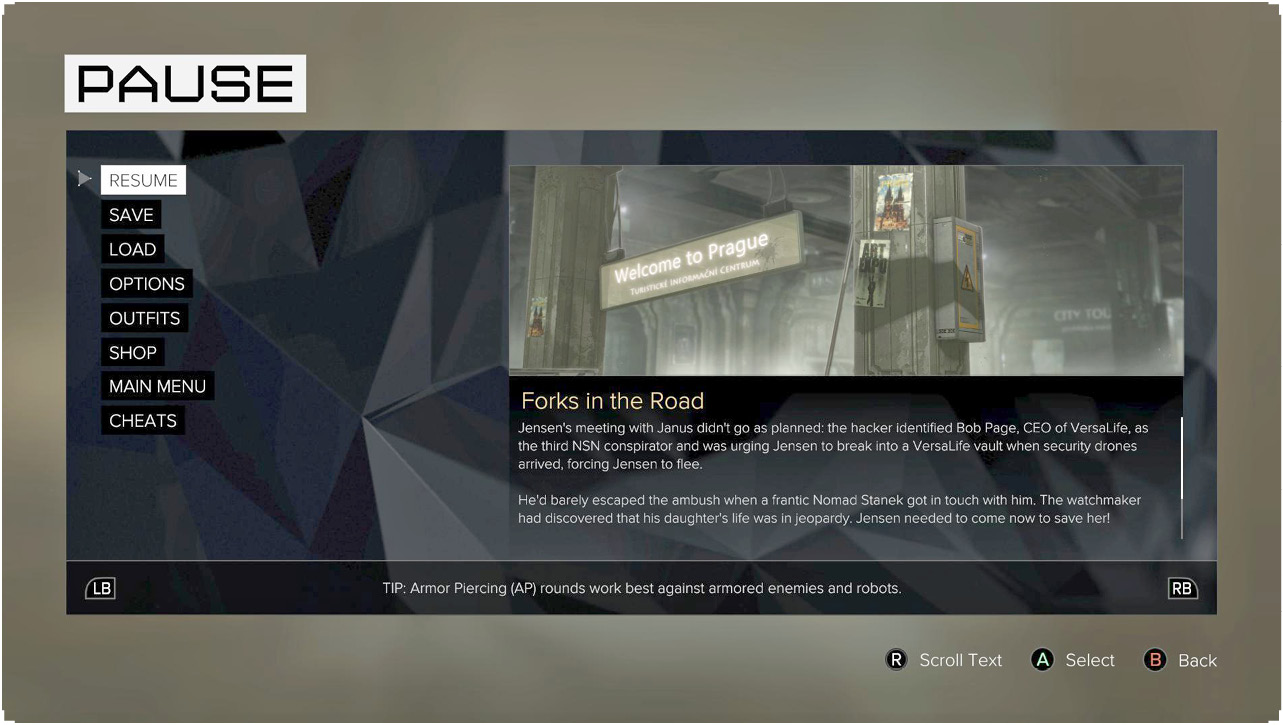
Press Start/Options to pause the game in any of the major modes. This stops the action and lets you rest your eyes, go AFK, etc. This is also where you save your game, reload, and switch outfits for Jensen.
Here, you can also cycle through a variety of tips at the bottom of the screen.
In-Game Menus
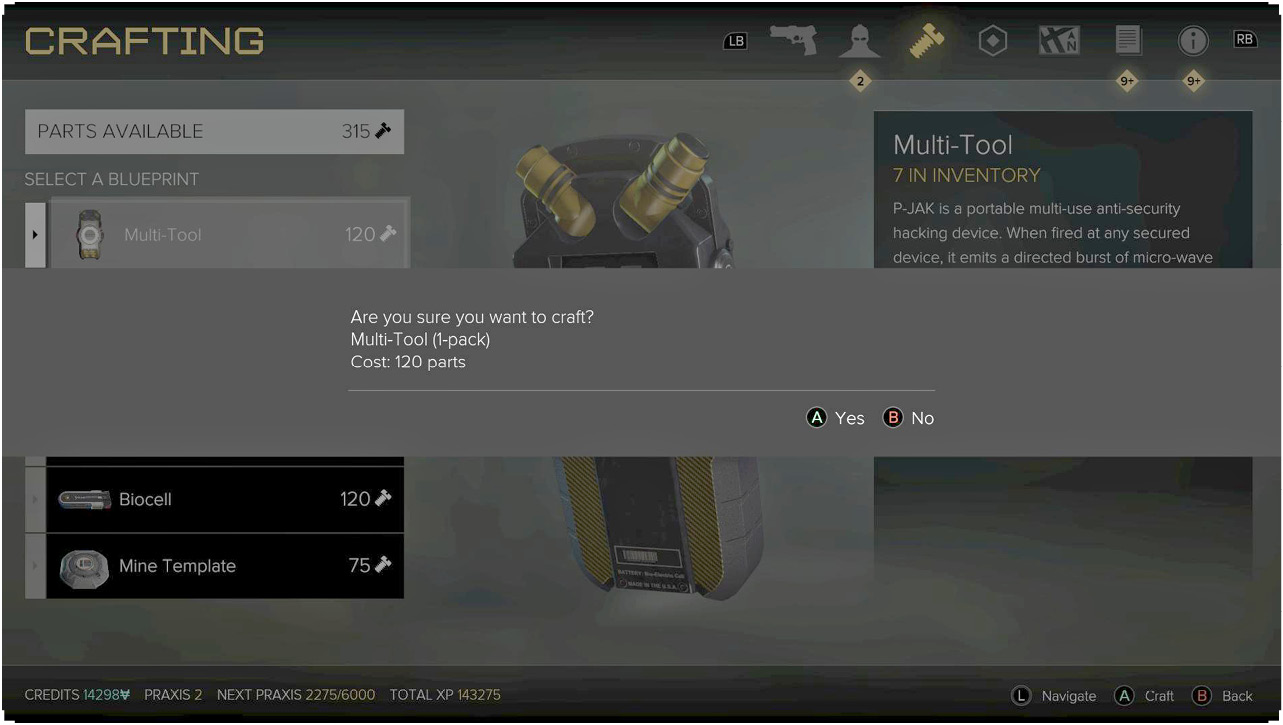
When you’re in the game’s main modes, press Back/Select to pause the game and enter the menus. The shoulder buttons cycle between these. From left to right, you go through Inventory, Augmentations, Crafting, Objectives, The Map, Database, and Guide.
Inventory
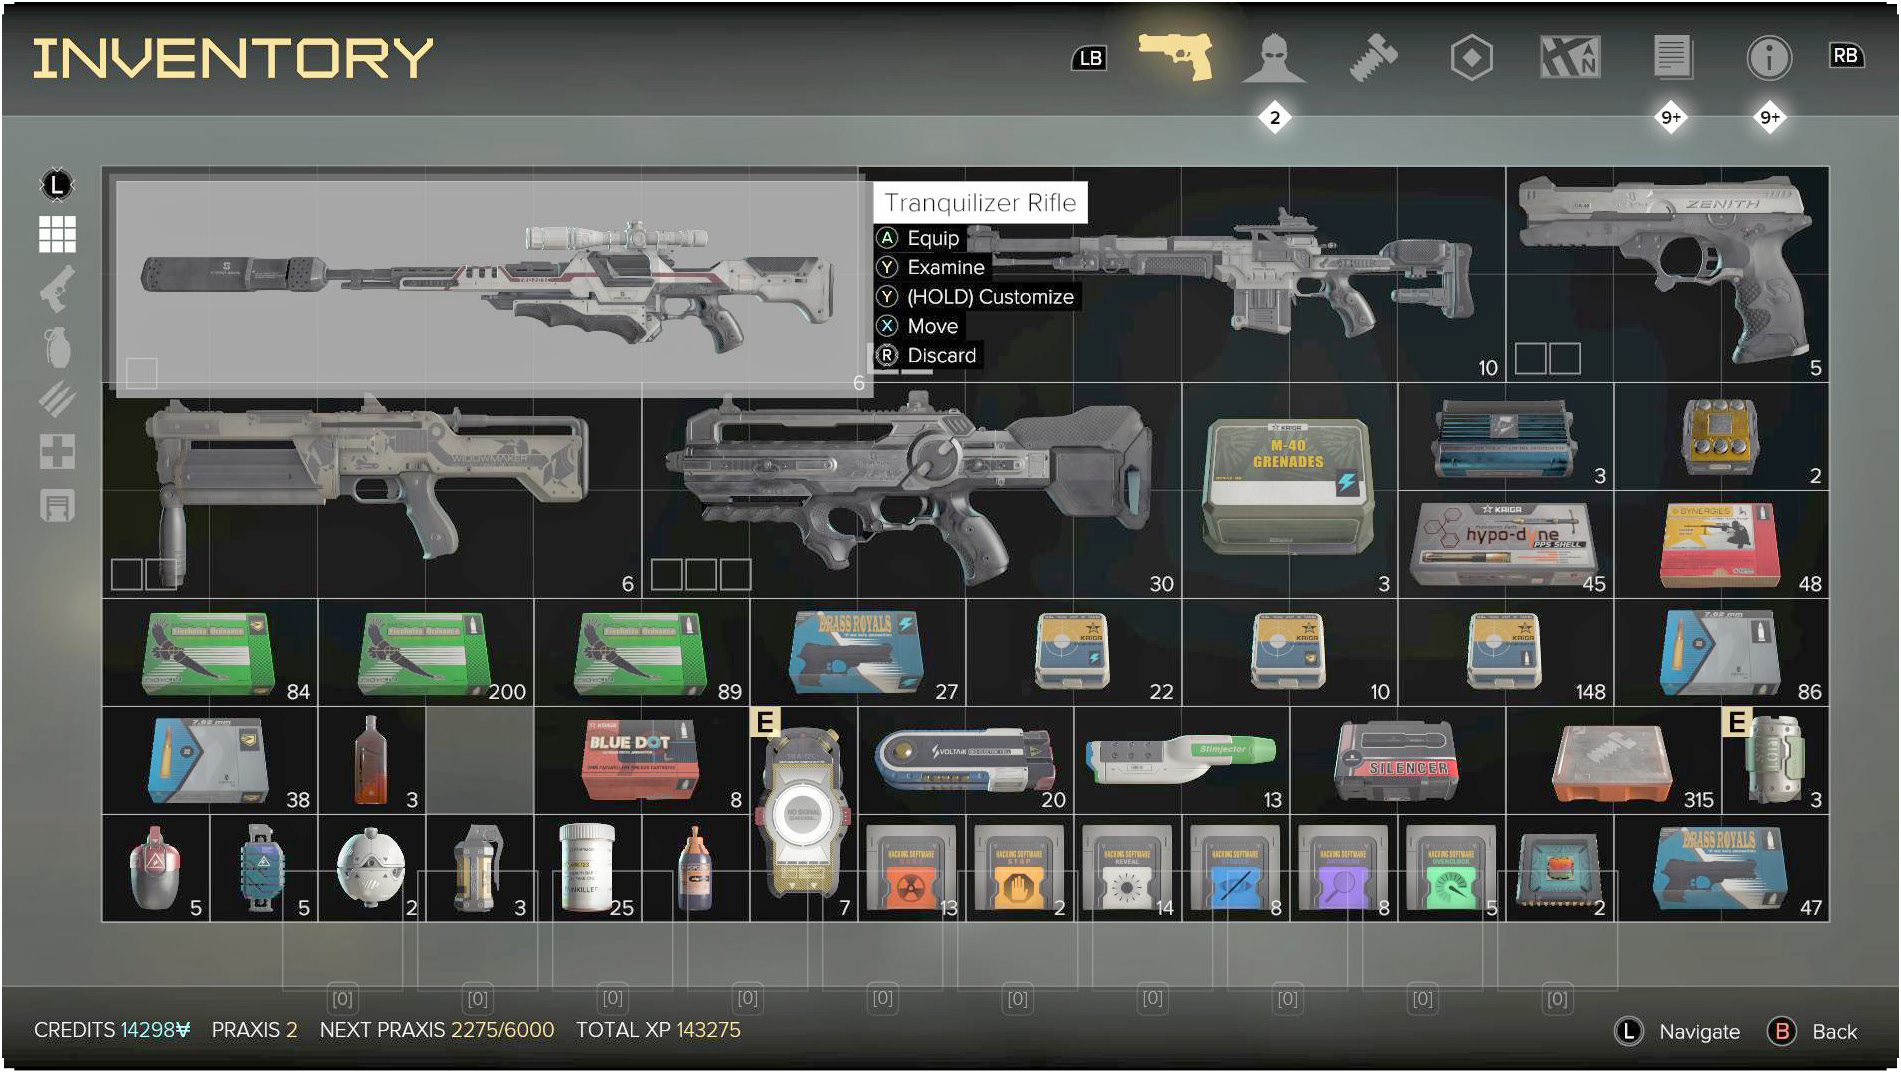
Come here to switch equipment, examine items, use medical equipment, upgrade weapons, etc. Highlight items in your Inventory to see the options that are available for that piece of gear. If you have enough Crafting Parts, examine a weapon and then upgrade the piece to have superior stats.
If you run out of room, select an item and drop it (by clicking the Right Control Stick).
Augmentations
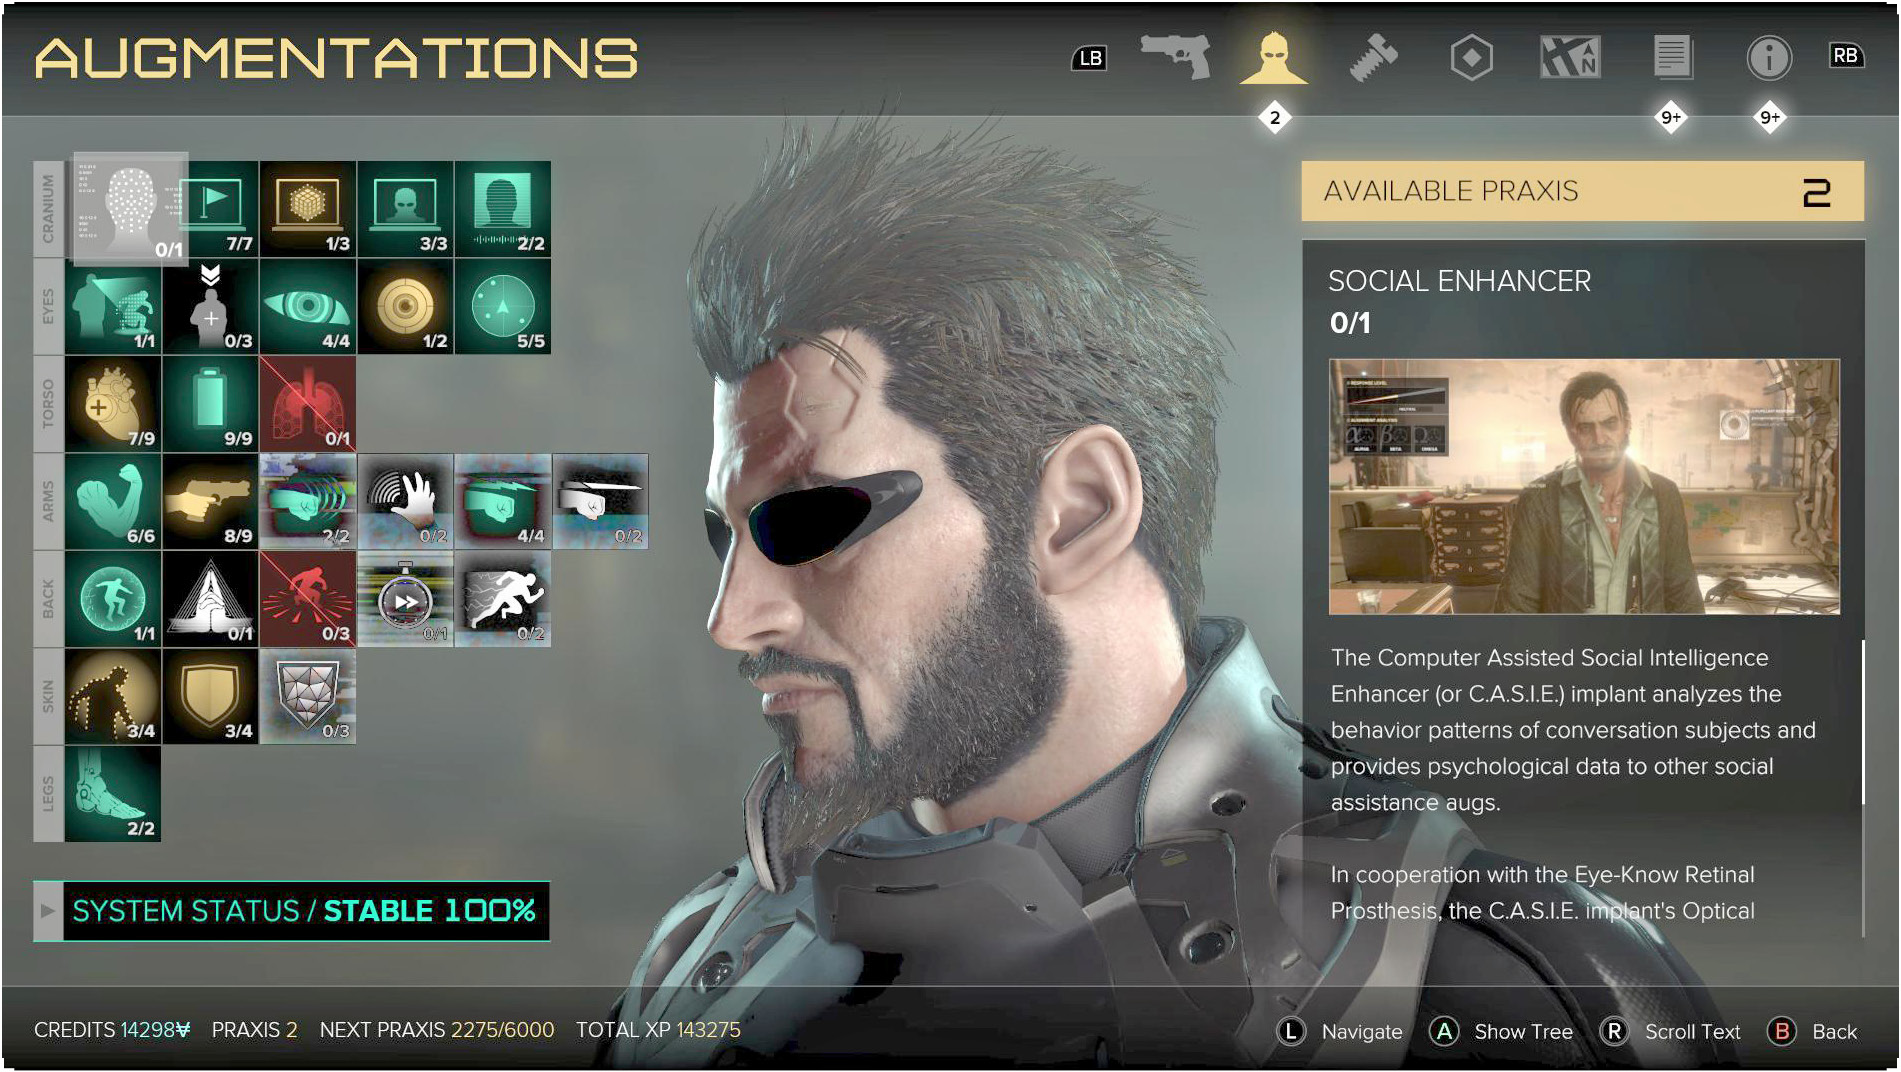
You accrue Praxis as you gain levels. This lets you unlock more and more augmentations (the special abilities and passive bonuses of the game). They’re all great and help Jensen get better at various elements of gameplay. Check out our Augmentations chapter to learn about all of them.
From this screen, you get to see how much Praxis you have to spend, and can then examine various augmentations to decide if they’re worth the investment. All purchases are final, so don’t grab anything until you’re sure of what you want. Or, save your game and then load it back up if you try a new augmentation and aren’t happy with the results.
Crafting
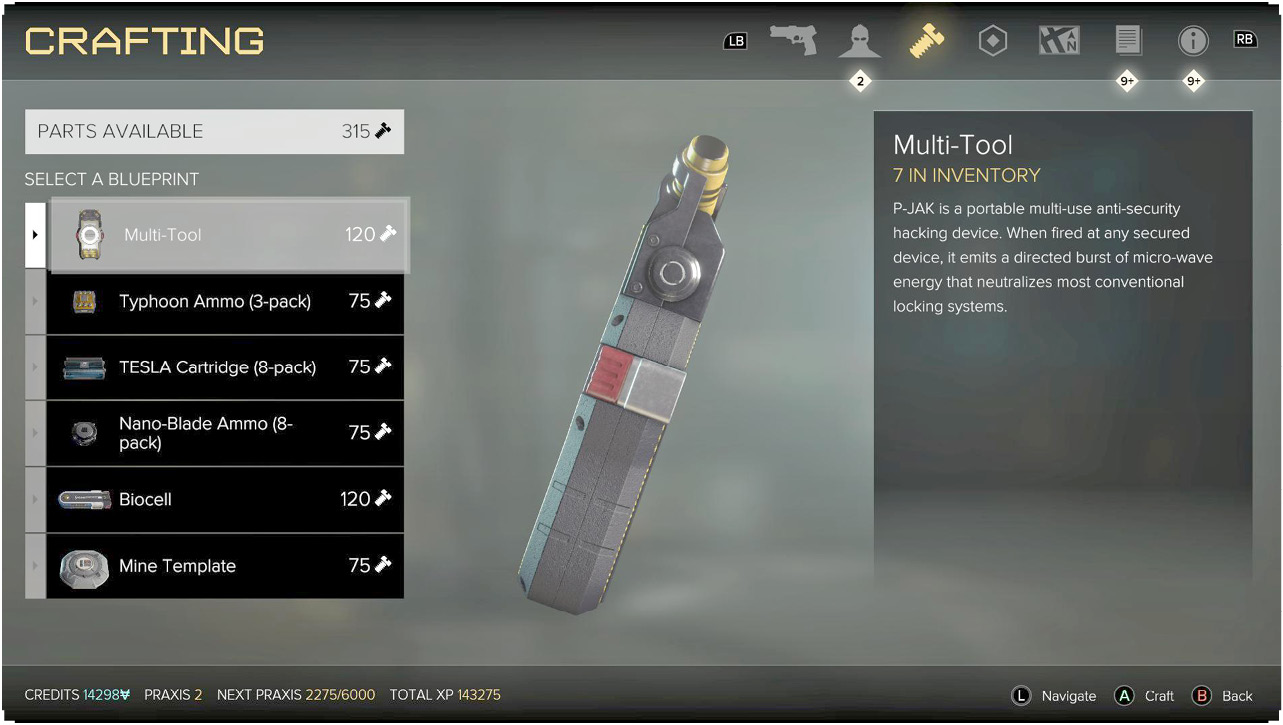
Crafting parts are found all over the world. They’re either used to upgrade your weapons or to craft equipment from this screen. We usually suggest that you save the parts for weapon upgrades, but if you’re desperate this is the place to go for Multi-Tools, Typhoon Ammo, Tesla Ammo, Nano Blades, Biocells, and Mines.
Crafting parts can be purchased or discovered. The stores in Prague frequently have access to these items, allowing you to stock up and upgrade quite readily when you have some spare cash.
Objectives
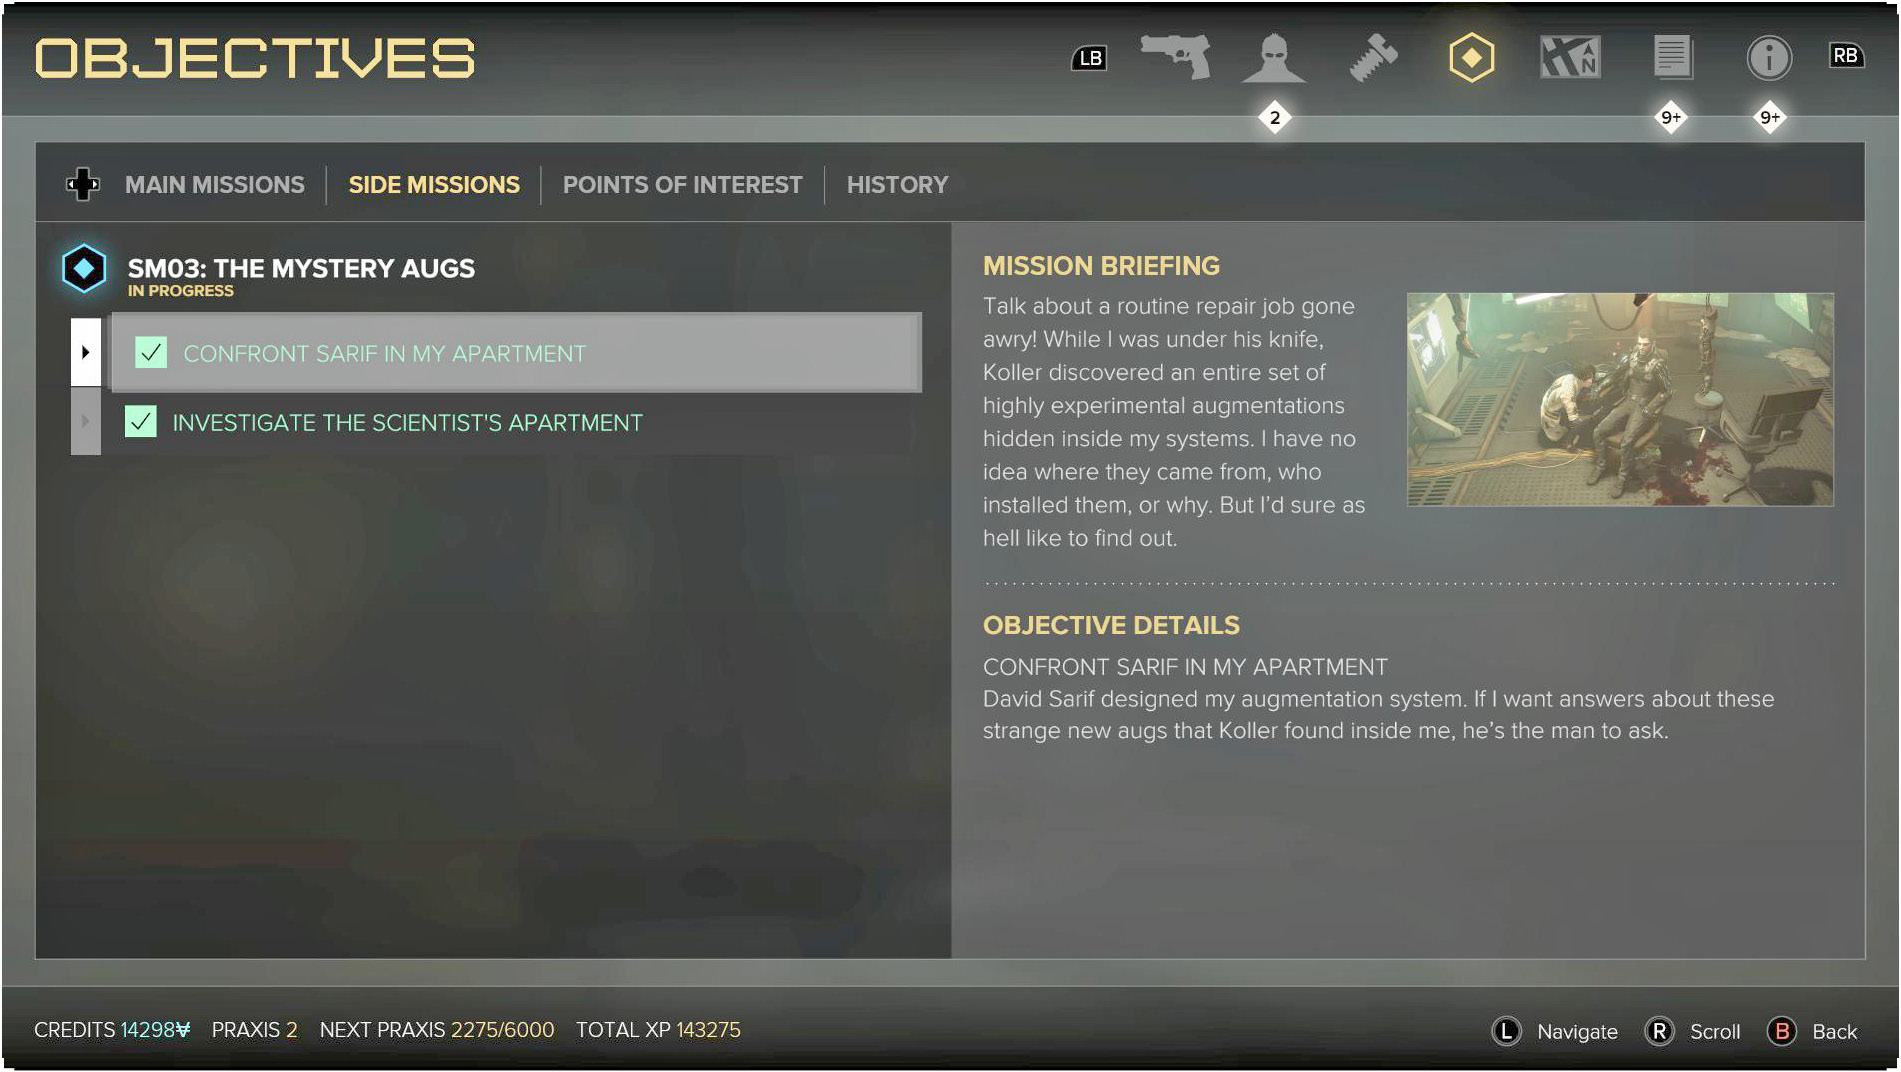
Track your progress through main missions, side missions, and points of interest. Your HUD can follow only one of these at a time, so come to this sub-menu whenever you want to switch to something else.
Main missions take you through the story in a fairly linear progression (sometimes you have two at once that you can do in any order).
Side missions are always optional, but they also develop the world and its characters. They’re also very good for your XP, leading to more Praxis!
Points of interest (POIs) either lead to side missions or are a way to lure you toward hidden areas of the world. They earn you XP, as well, and it doesn’t take much time to explore them.
In general, you should pursue side missions and POIs as soon as they come up. That way, you won’t miss your chance to finish them. Main missions never expire, but these other story elements do if you wait until you’re too far into the game.
Map
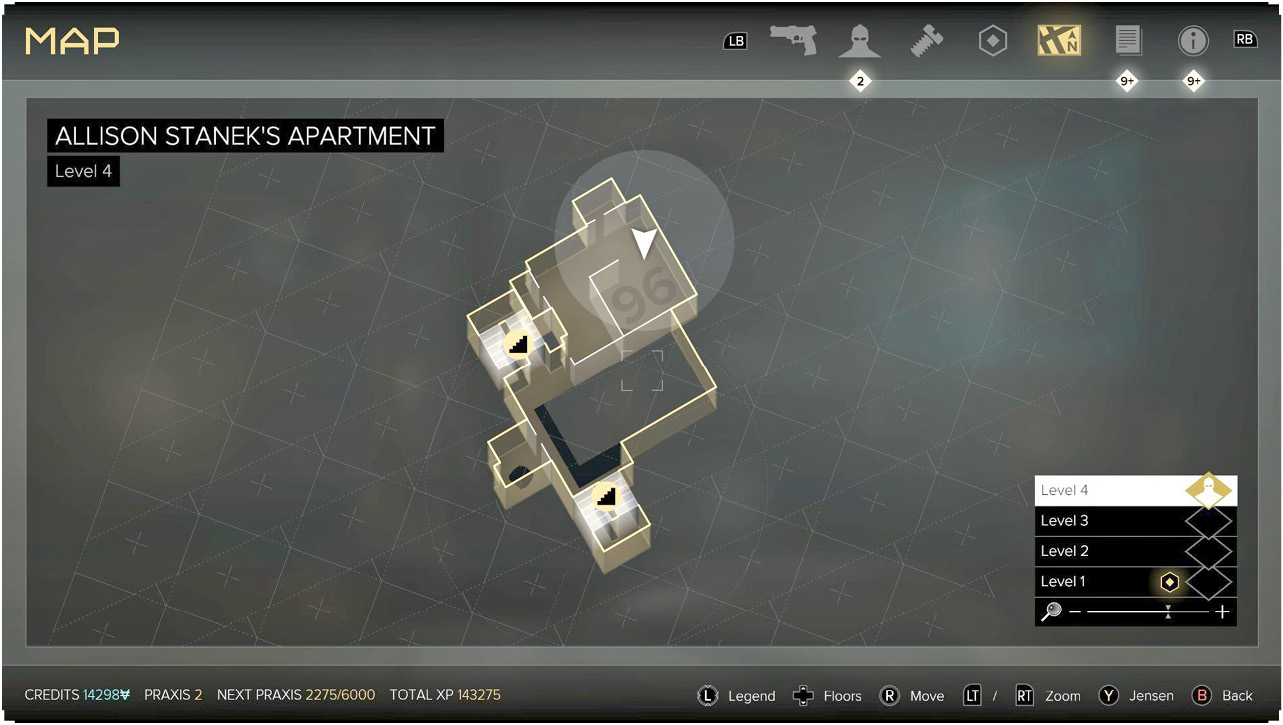
Your HUD shows a minimap that is very useful, but sometimes you want to see the levels above and below your character. The map here lets you scroll around and see everything in your current region. It’s immensely useful if you get lost, are curious what’s coming up, or just want to get your bearings while the game is paused.
Database and Guide
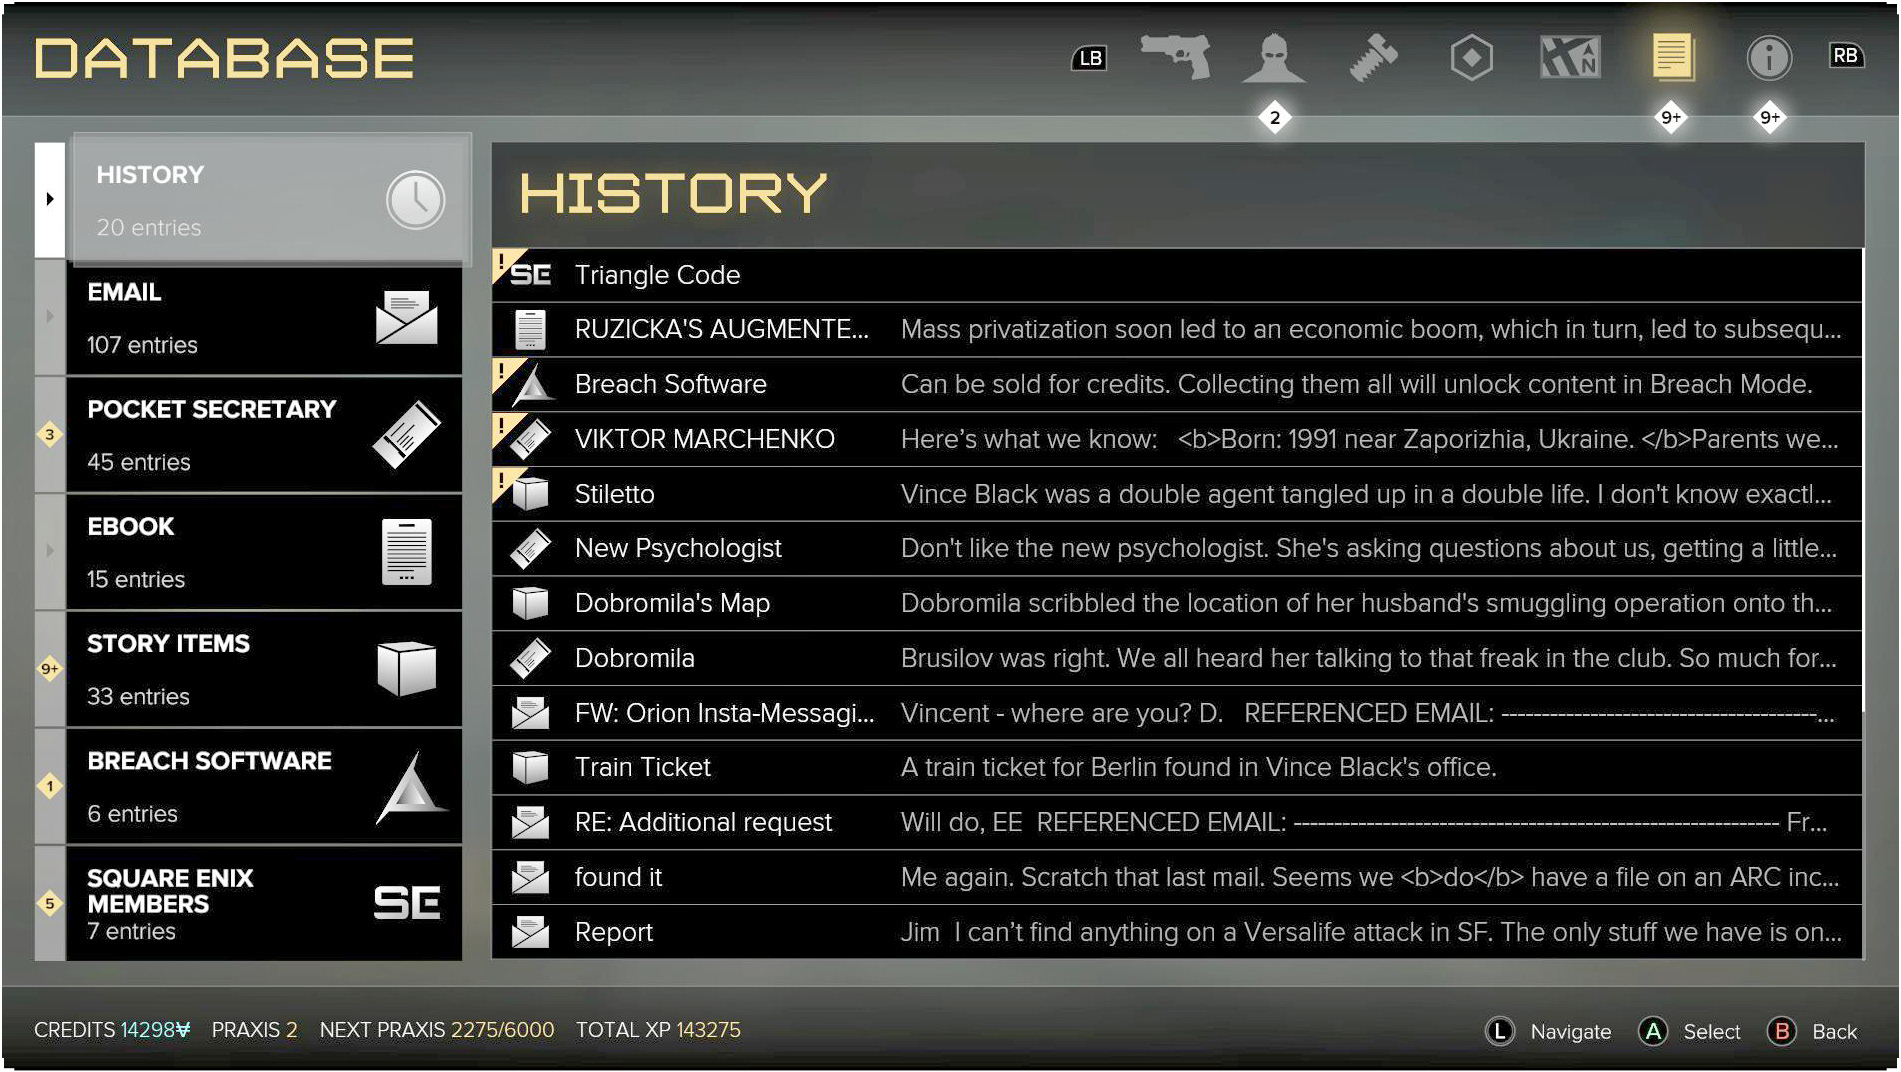
These screens let you go back through almost everything you’ve found in the game: tutorials, email, ebooks, story items, etc. If you forget how anything works, jump right back here and take a look at it.
Movement
Use the Left Stick to control character movement. It’s a very standard control and should be immediately intuitive for most players. Move left or right to strafe, press down to back up, or up to move forward. Super simple.
Sprinting
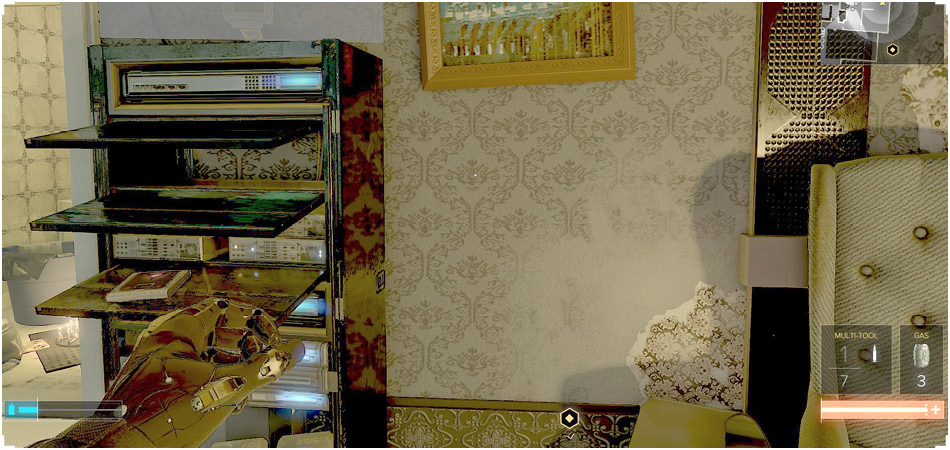
Sprinting gets your character to rush. You make way more noise and are unable to fire a weapon until you stop sprinting, though, which takes a moment. Turning too aggressively or bumping into objects causes Jensen to stop sprinting, but you can also pull back on the movement stick or attempt to fire. These also stop your sprint.
Augmentation Wheel
Open this menu to control which augmentations are ready to be used by your character. You have five slots to assign, so only five active augmentations can be equipped at the same time. However, you can swap these out at your leisure, so there isn’t a penalty or limitation on how many augmentations you should purchase.
Camera Control
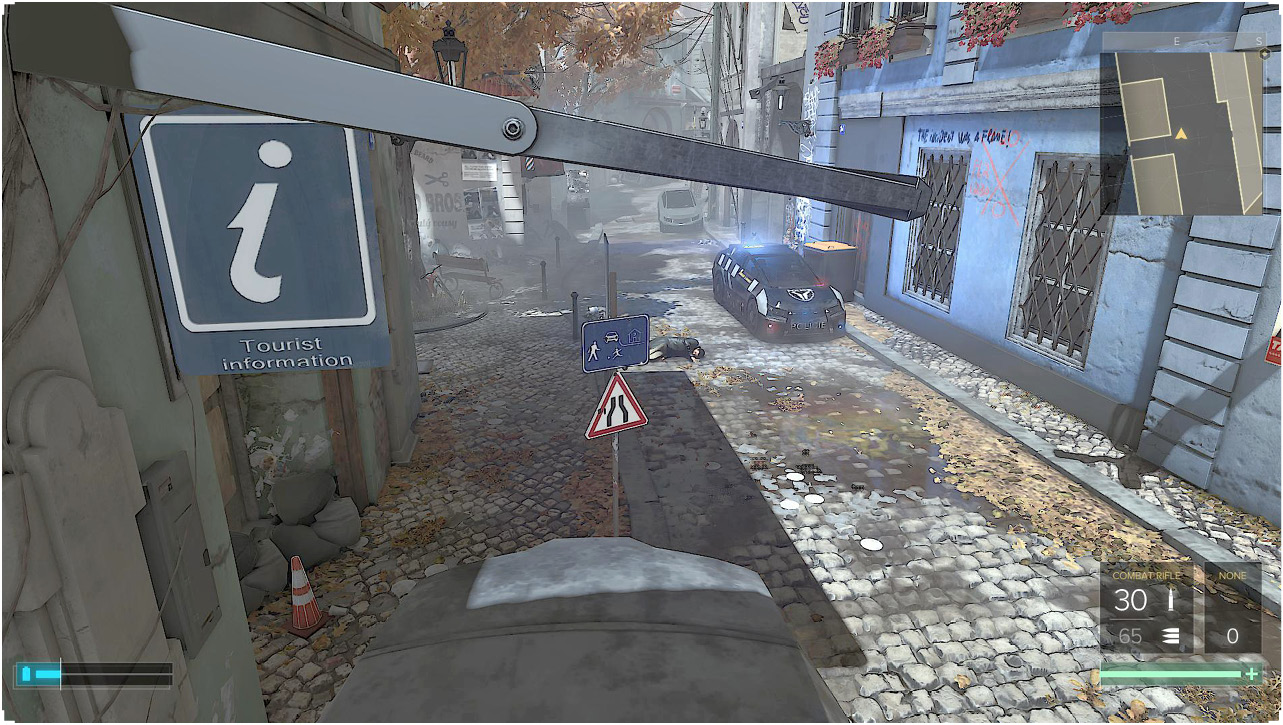
Use the Right Stick to look around. This is especially useful when you’re taking cover and want to change the field of view to see more of the room around Jensen.
It’s also the primary way to aim your weapons. Change the position of your reticle (in the center of the screen). Position it so that you’re aiming at your enemy’s head and then fire your weapons. Headshots are usually the best way to finish off enemies that you’re trying to kill.
Crouching
Crouch to stop your character from making noise during movement. Enemies won’t hear you even if you’re moving right next to them. They can still see you, so stay behind your targets as you sneak up for a Takedown!
Inventory Wheel
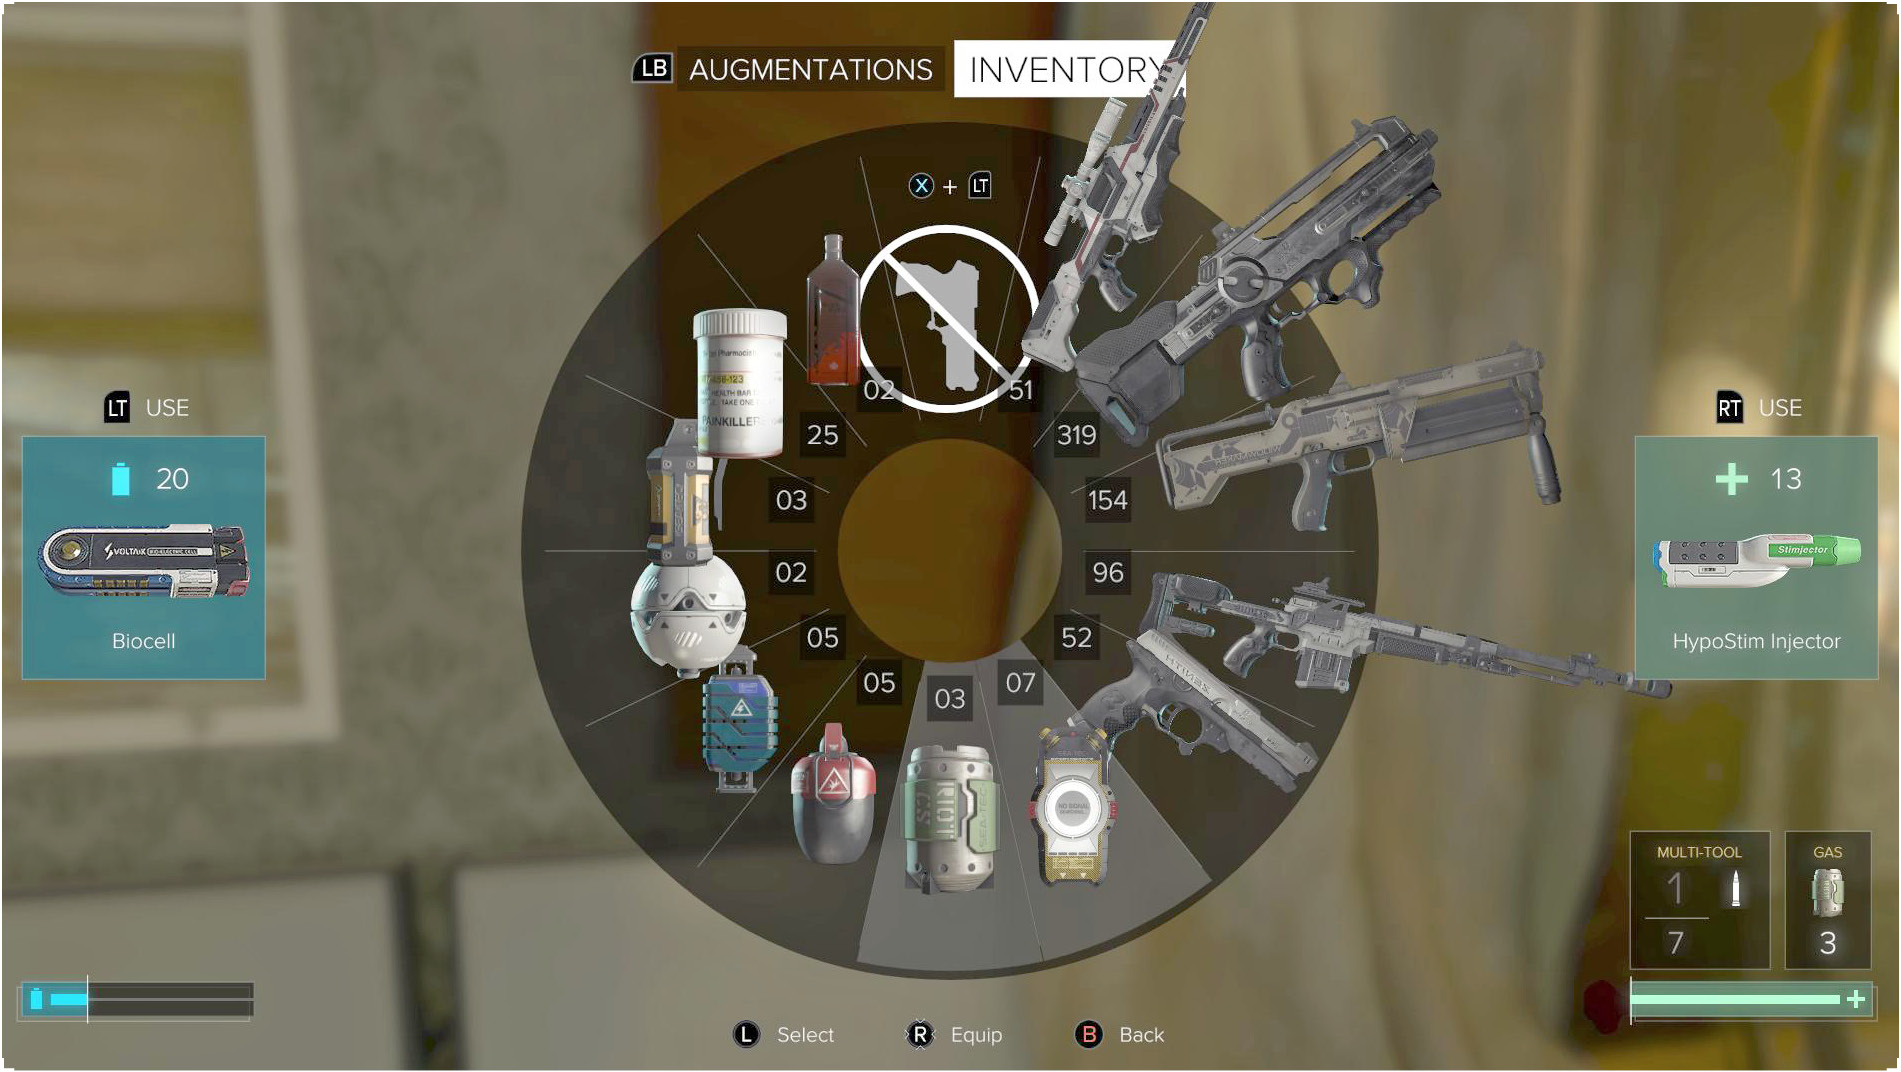
Open the Inventory Wheel to use Biocells (for energy), Hypostims (for health), or a full range of tools. This is also a fast way to shift your primary and secondary weapons.
Jumping
Jump to ascend vertically through shafts, reach the edge of ledges above you, or get partway up ladders before climbing the slow way. This is not useful during battle.
Landing creates enough noise to draw guards’ attention if they’re nearby. This can be used to lure enemies away from their guard posts.
Take Cover
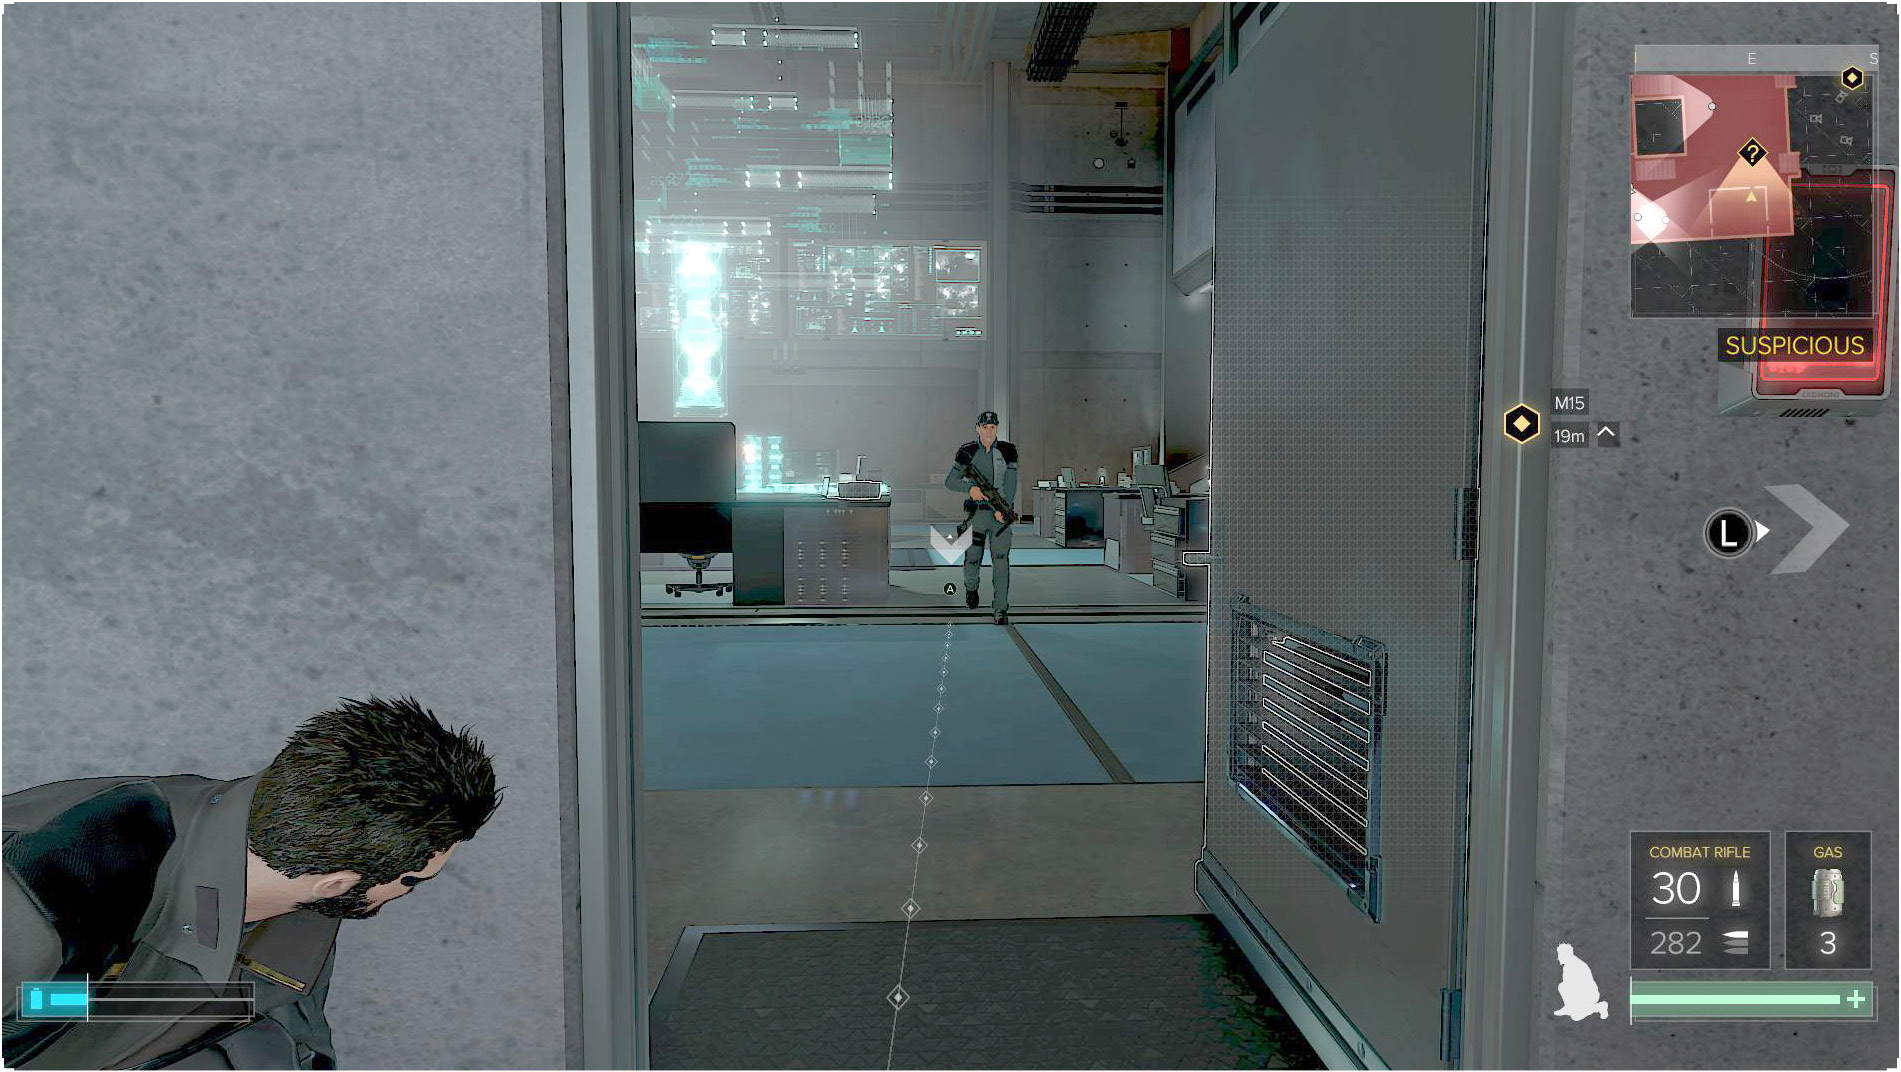
Jensen lasts for a good while out in the open if he has enough health and armor augmentations. But, why risk your life when you don’t have to. Take cover to break enemy line of sight, to minimize their damage against you, and to set up ambushes. Enemies see you sooner if you’re outside of cover. In addition, Takedowns unleashed from a covered position pull the target toward you. That makes it easier to take out enemies without being seen because their bodies end up behind the cover (and Jensen stays out of sight, as well).
Because of this, the cover system is a huge aspect of both direct combat and stealthy gameplay.
Interact
You open doors, use computers, grab items from the ground, search bodies, and generally do everything with your environment by Interacting. Approach the target and tap this button when you see the icon appear. That means that you’re close enough to Interact with whatever it is. Interact with fallen enemies to search them, or hold down the button to grab and drag them. This lets you hide people so that they’re not discovered by their buddies.
Jensen is also strong enough to move many objects in the environment. Interact with these items to pick them up. You’re then able to drop them quietly elsewhere, or throw them (which creates substantial noise).
Reload
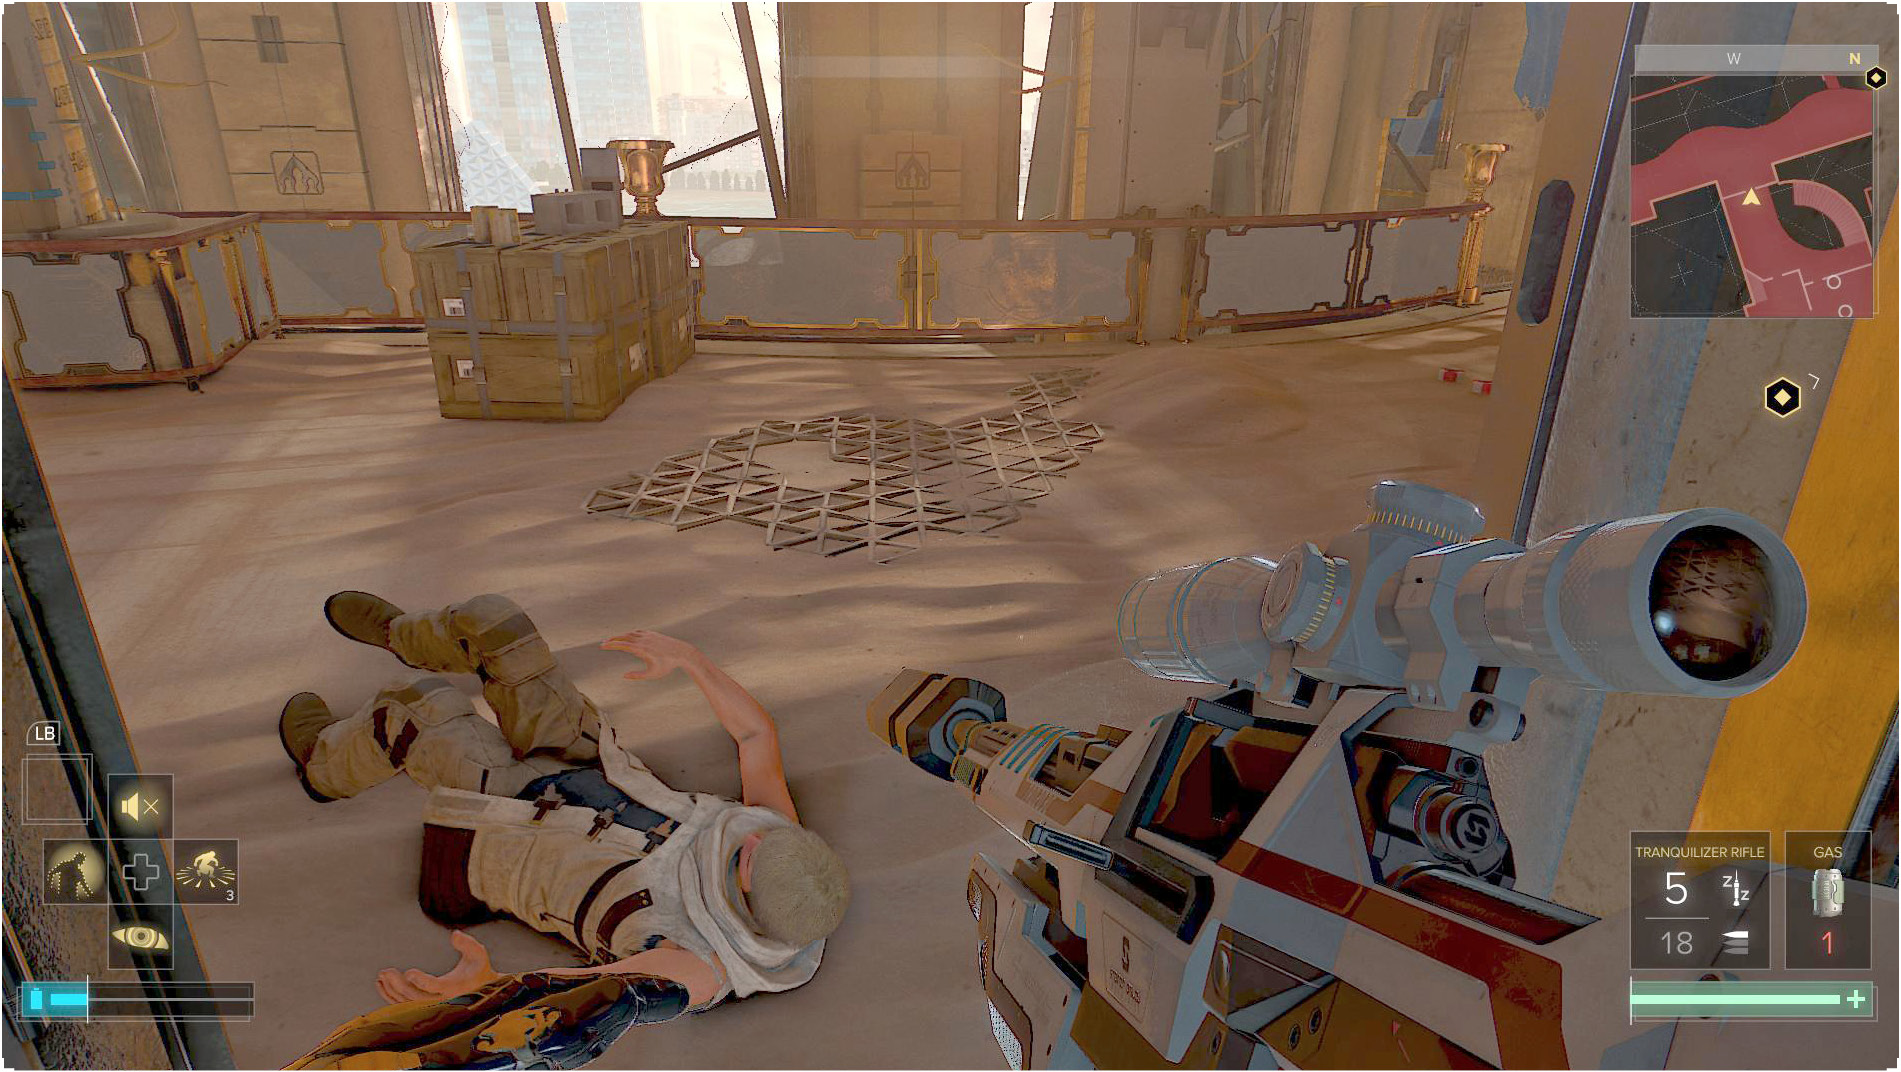
Jensen reloads automatically if he empties his magazine and tries to fire again. However, you shouldn’t wait to reload until the last minute. Any time that you’re safe (or safeish) is a good time to reload. This doesn’t waste any ammo, and it’s always a good idea to be prepared.
Reload when you’re behind heavy cover or aren’t being attacked at all. Don’t reload when you’re taking fire. Either take cover, shoot back with what you have, or flee entirely until you can get to safety and better prepare yourself.
Use Augmentations
Once selected with your Augmentation Wheel, your augmentations can be activated with the exact controls to which you assign them. Toggled augmentations are turned both on and off with the same action. Others trigger as soon as they’re selected and fire off however they’re supposed to. These abilities have wide-ranging effects, and are discussed in their own chapter.
Takedowns
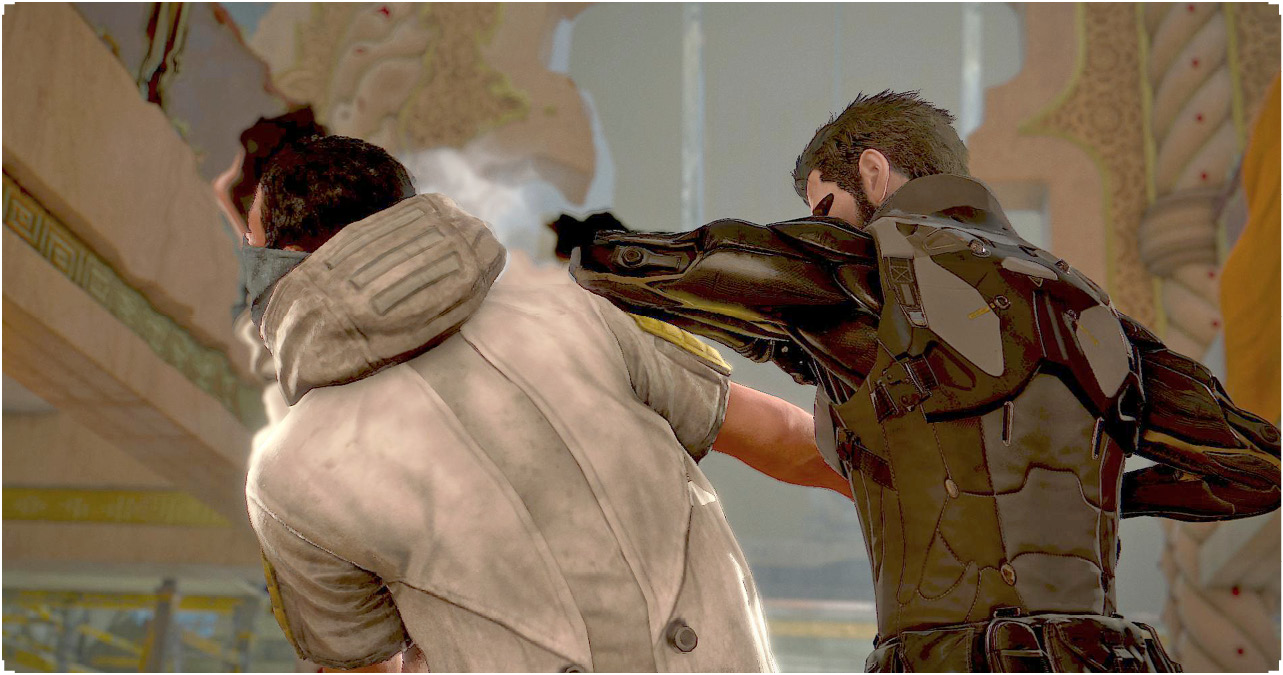
Takedowns are the most powerful close-range attack option that you have. Tap the button to knock a nearby enemy out instantly, or hold down the button if you want to deliver a lethal blow. Only a boss or someone in a powered suit can stop your Takedown from working, so this option is very strong. You need a decent amount of energy to start a Takedown, so use a Biocell if you want to deliver one instantly but don’t have enough energy to use one at that time.
Iron Sight
Jensen gets a huge boost to his accuracy when he aims down the length of his weapon. The Aim Assist kicks in when he does this. Compound that aim bonus to the point where headshots and almost-instant kills become fairly easy to pull off. Use Iron Sights, Fire Weapon. The more proficient you become at this fast-aiming combo, the better you’ll be at picking off enemies in the game. Natural aiming skill is actually less important than fast button pressing and practice in getting your reticle into roughly the right spot before you hit the Iron Sight button. Again, speed is even better than precision in this game.
Fire Weapon
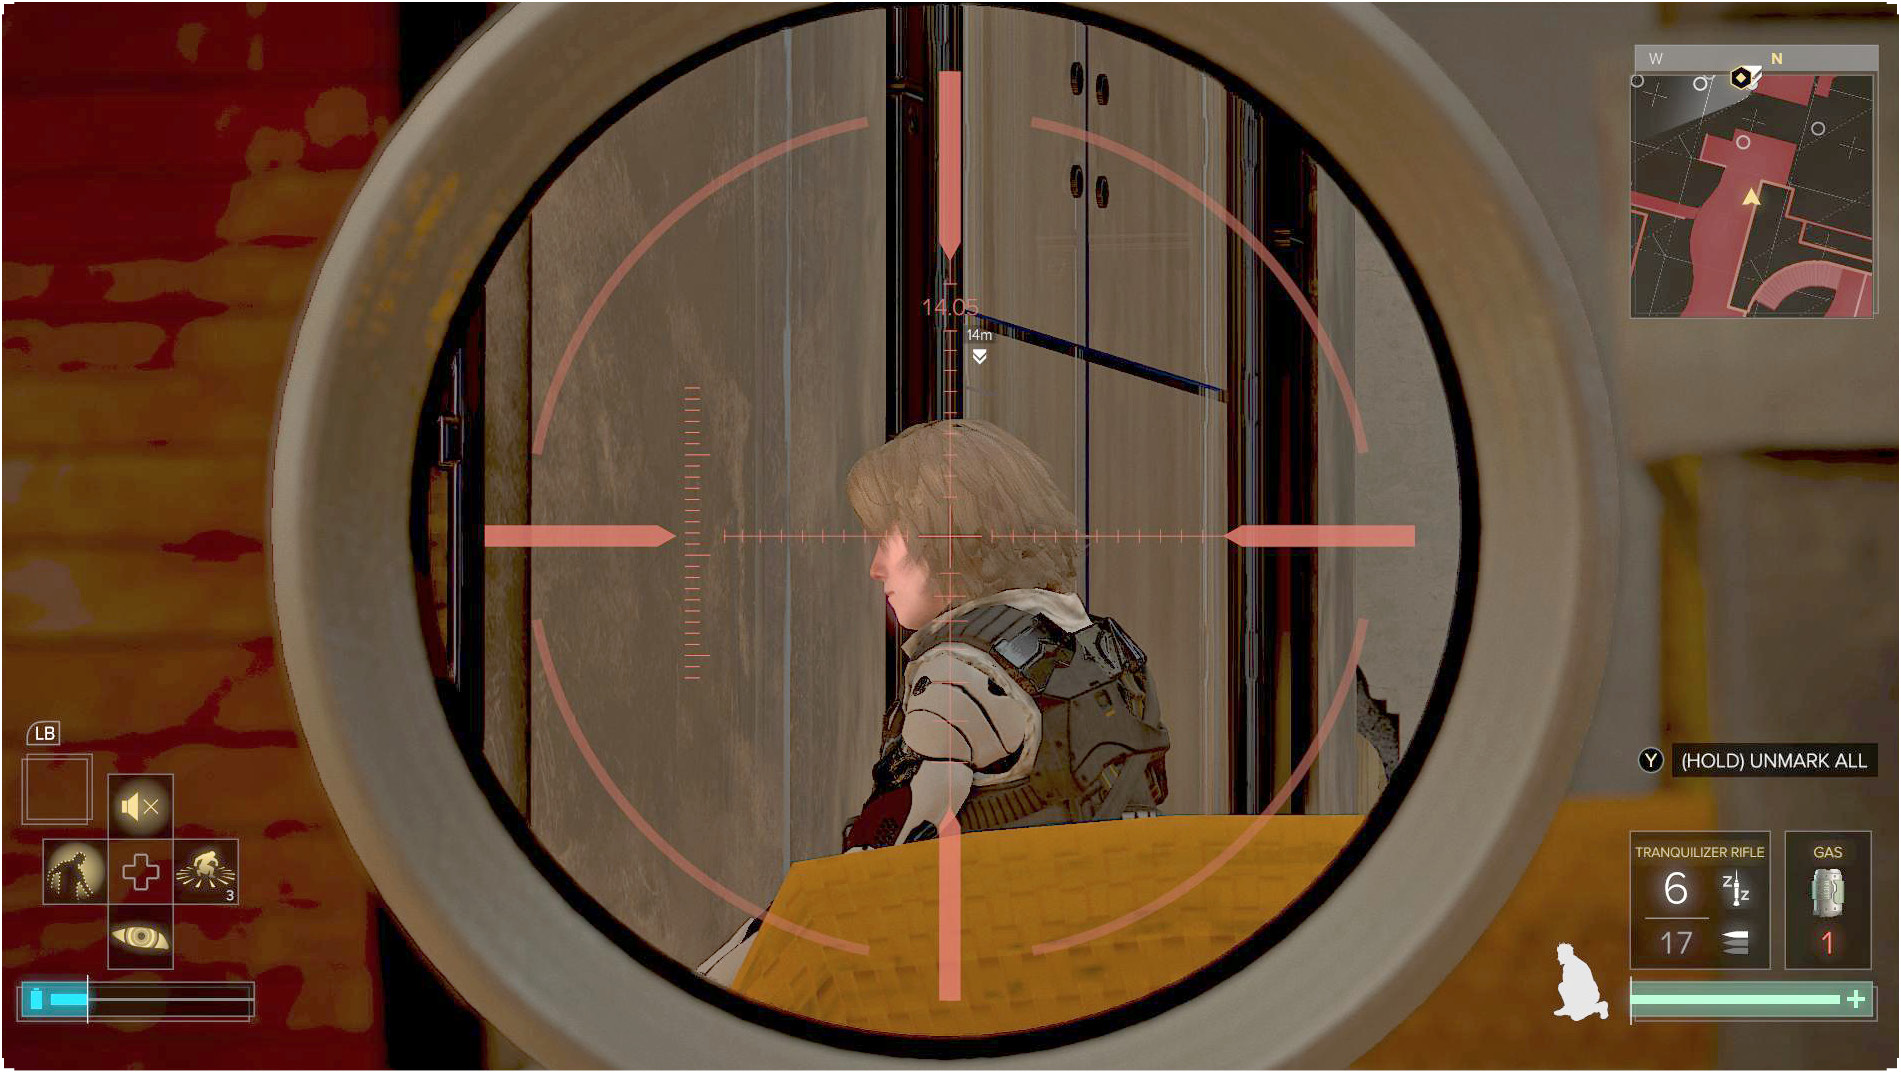
This command triggers your primary weapon to fire. If it’s an automatic weapon, you can hold down the button to unleash a torrent of bullets. This significantly lowers your accuracy, and your reticle expands outward to reflect that.
Fire single shots or short bursts to minimize ammo loss and to ensure fast, accurate kills.
Throw Secondary Weapon
Your secondary weapon is thrown with this command. Because you lob these weapons, they can be thrown over obstacles. Try to get your grenades into the middle of enemy groups to deal damage to as many people as you can.