
Deus Ex: Mankind Divided Guide Into the Breach
Enemies and Obstacles
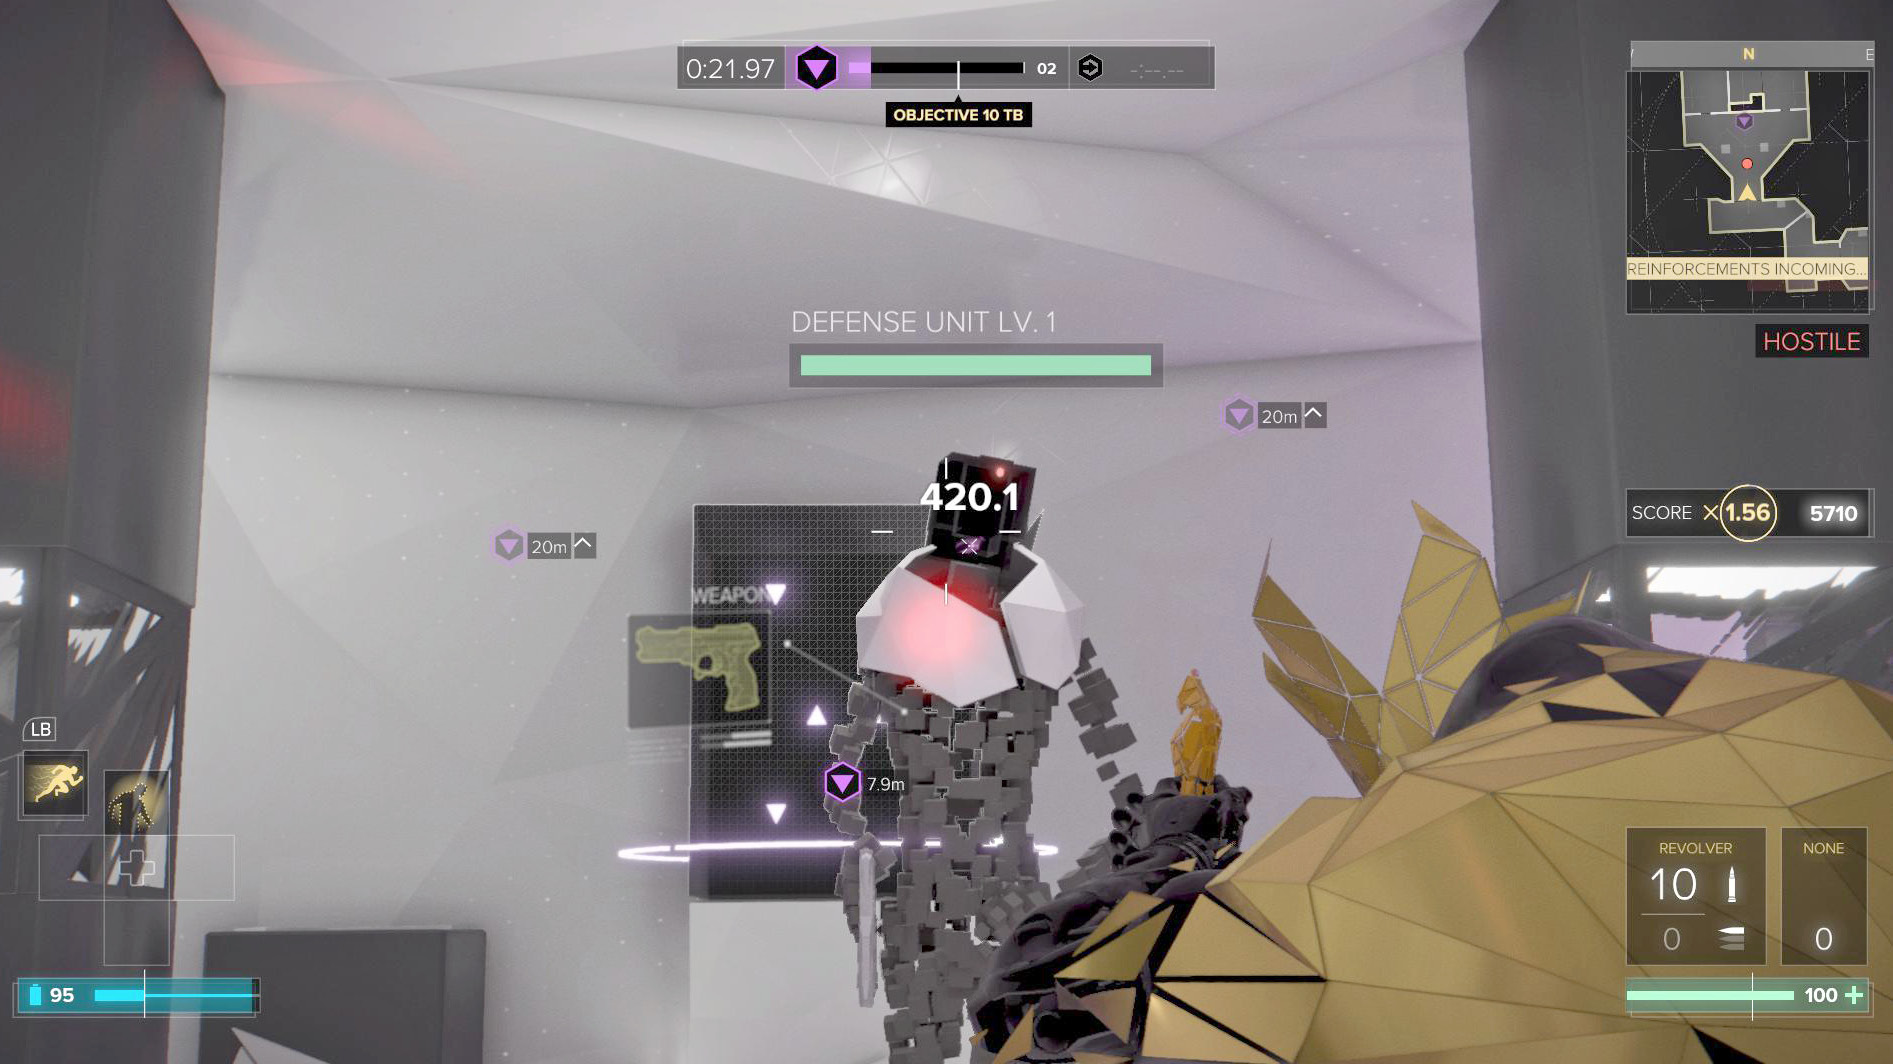
Most servers have defenses. The enemies that you encounter during Breach have decent weaponry but can’t call in too much backup. Thus, your fights are usually against individuals or small groups. Drones, robots, and turrets augment these forces so that they’re not always easy to overwhelm.
Make your life easier by carrying extra ammo of special types so that you can hit nastier targets in their weaknesses instead of having to just throw more rounds at them.
Defeated enemies sometimes return to the area if you take too long. These reinforcements are always slightly stronger than the first version you took out, so don’t underestimate them.
Point your reticle at any enemy to see more information about the target; this displays the defender’s name, level, health, and weapon. Use this to figure out the ideal range of that adversary, and make sure to fight them either closer or farther away so that they aren’t gaining an advantage over you.
Sentinels
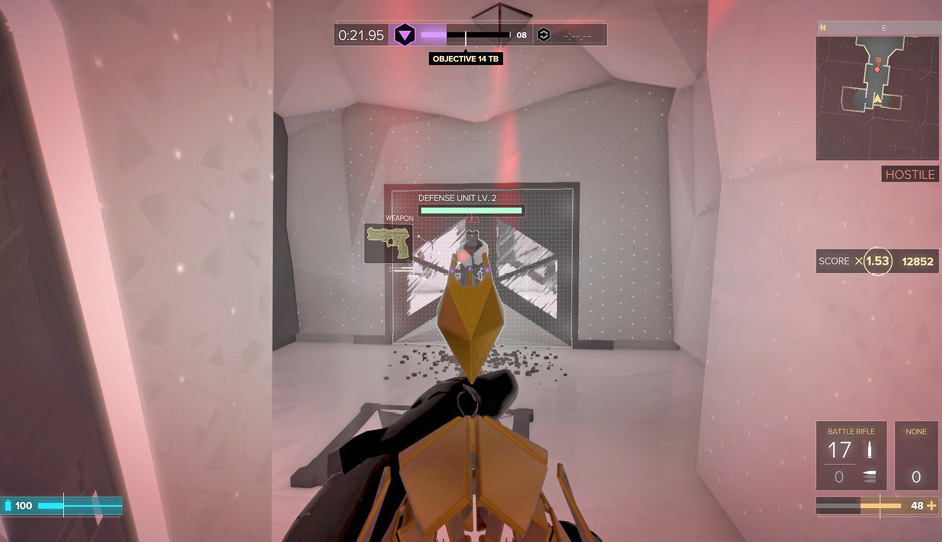
Sentinels are humanoid patrollers who have ranged weapons. They may or may not have armor. Stun ammo is very strong against sentinels of all types. Takedowns give you instant kills against these units, but headshots are also very effective.
Use longer-range weapons against sentinels who are carrying Shotguns. Sneak up and use faster weapons at close range against enemy snipers. Sentinels who only have Pistols seem much weaker, but they’re usually carrying grenades, so they’re good to fight at longer range.
Heavy Units
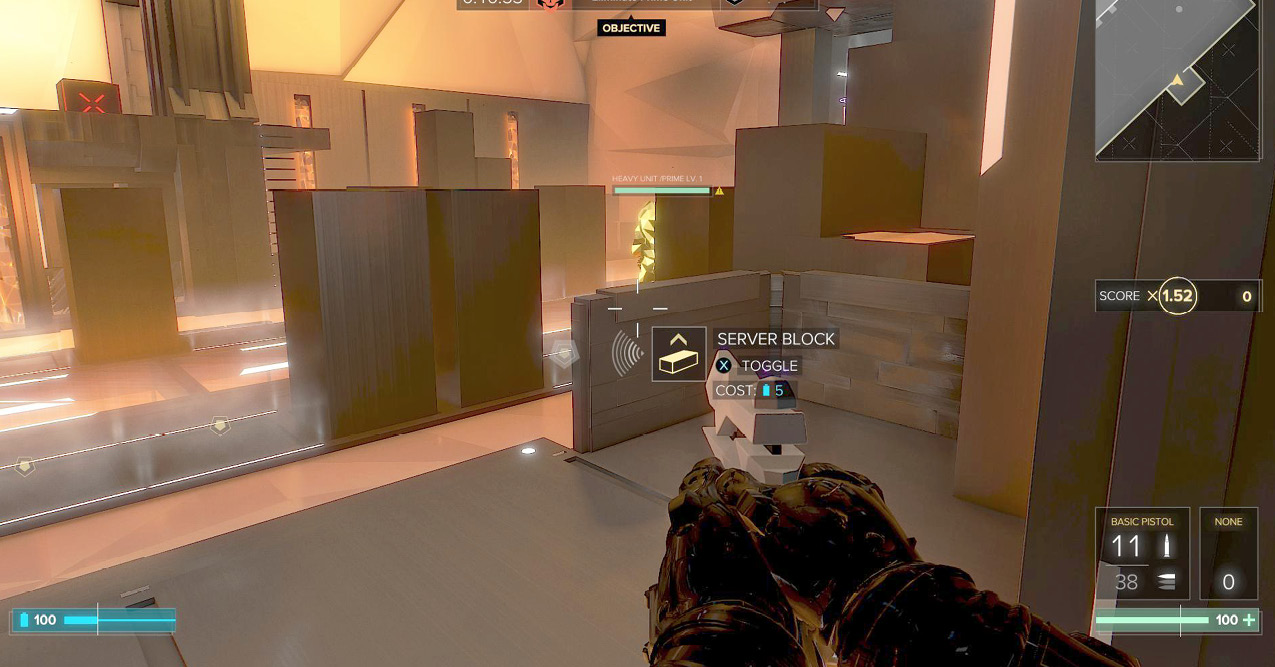
Large sentinels, called heavies, are used as bosses or tougher targets on longer missions. Use Stun ammo or AP ammo to gain an advantage against them. Weapons with incredible burst damage are reliable when fighting heavies. The Devastator, Tactical Shotgun, and all automatic weapons are quite good. Due to their time between shots, sniping weapons are poor choices. You can’t just snipe and kill a heavy because of their extreme health; it’s better to overwhelm them.
If you stun a heavy and then use a Takedown, you can defeat them instantly.
Drones and Sentries
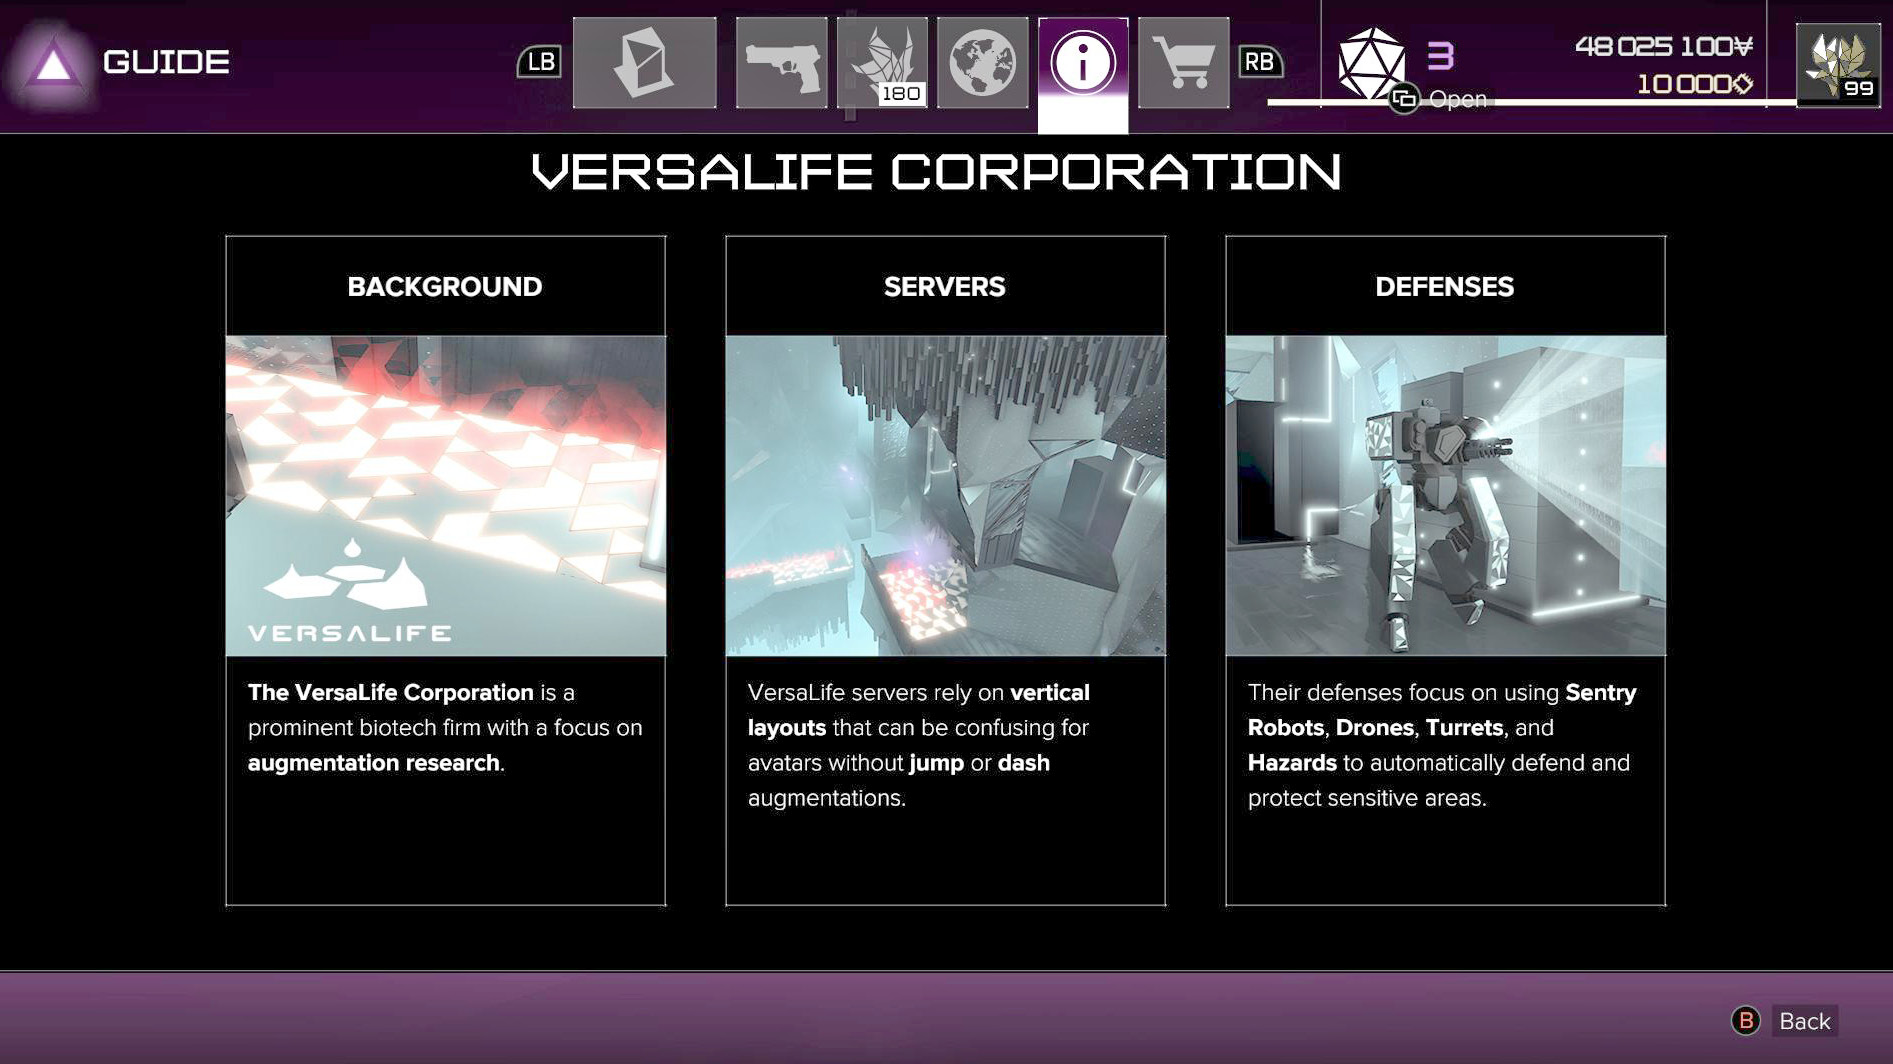
Both drones and sentries are weak to EMP ammo. Use that to disable them while you damage the targets, or use Remote Hacking against them. Weaker, fast weapons help when killing drones. Switch to heavier weapons against sentries; they’re easier to hit but have quite a bit of health.
Turrets
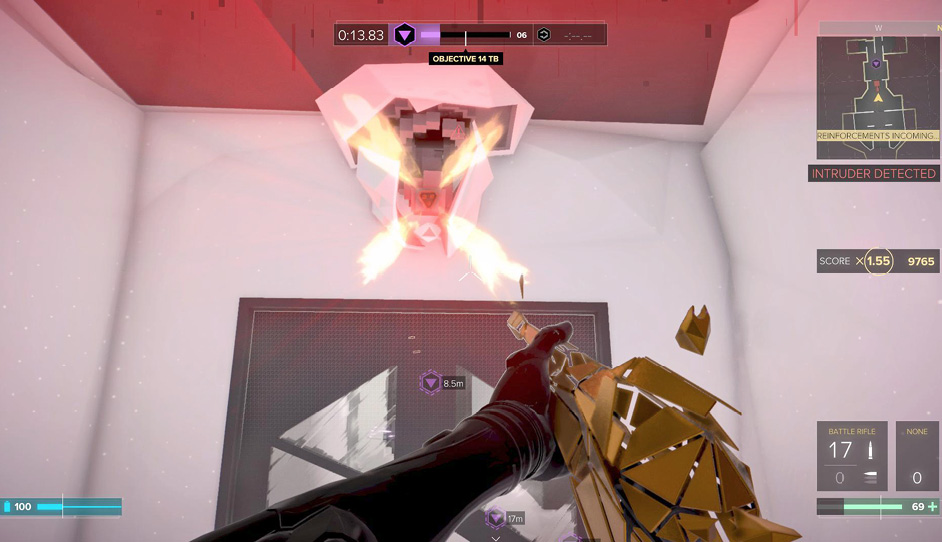
Destroy turrets at long range with sniping weapons and other accurate choices. If you are close to a turret, hide and prepare a burst weapon like a Shotgun, and use that if you have to. EMP bullets disable turrets for a short period of time (and that the effect stacks for each bullet).
Remote Hacking works well against turrets that haven’t been alerted to your presence.
Laser Fences
There are several types of laser fences in Breach, and their color lets you know what they do before you risk tripping over them.
Red lasers are what you’re already used to. They set off an instant alarm if you go through them.
Orange lasers deal damage while you’re in contact with them. Rushing through these fences minimizes the damage that you take, though it’s still not ideal.
Blue lasers drain your energy. If you’re already really low, this isn’t too big of a deal, but it’s particularly bad early in a mission when you’re at high capacity and stand to lose the most.
You can disable all laser fences with Remote Hacking. As long as you can spare a little time, do this instead of forcing your way ahead.
Hazards
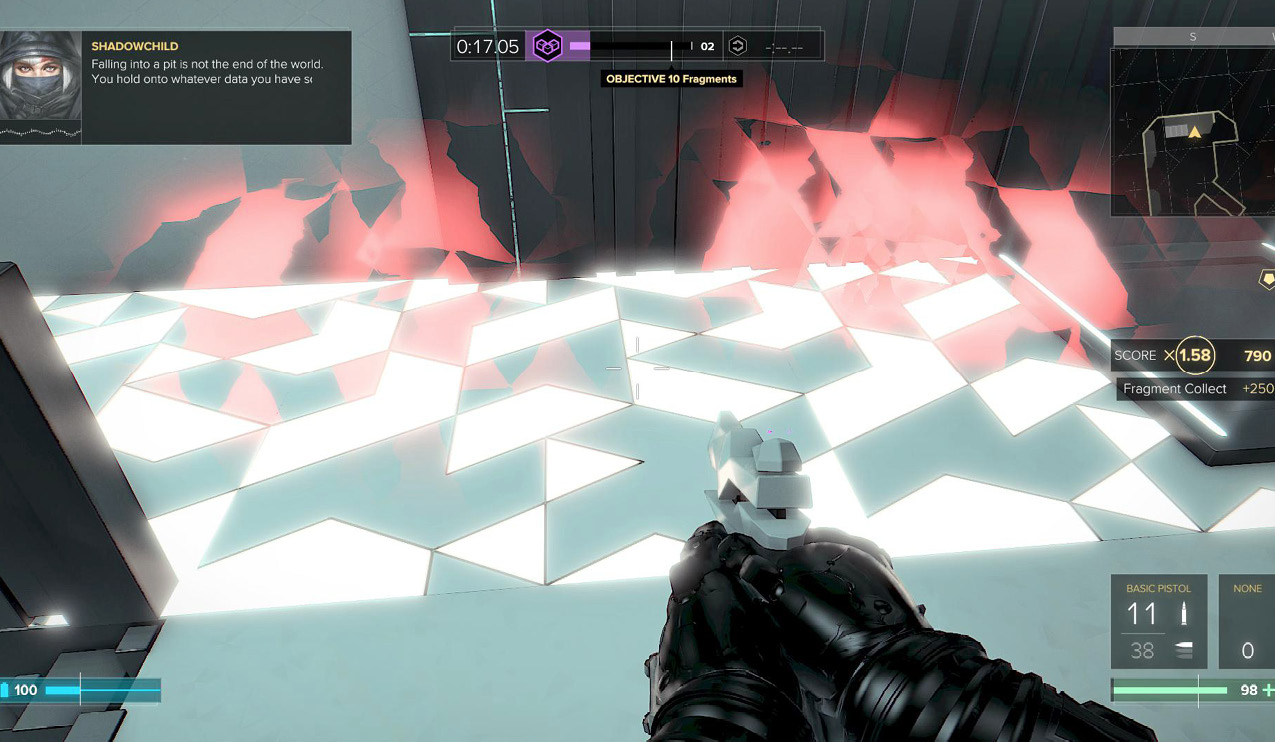
There are a couple types of hazards in Breach. Red hazard fields deal damage to your health as long as you stand on them. Jump over these, use blocks to keep off the ground, or sprint across the fields.
Blue hazard fields have an EMP effect. They drain your energy and prevent augmentations from activating. Sometimes, the Data Towers are inside these fields. Find a block, drop it into the field, and then stand on top of the block. From there, you can use the Data Tower without being influenced by the hazard.