
Deus Ex: Mankind Divided Guide Story Missions Golem City
The Rucker Extraction
Go to Sokol’s Apartment
Objectives
|
Go to Sokol’s apartment |
|
Learn about Tibor’s location |
Overview
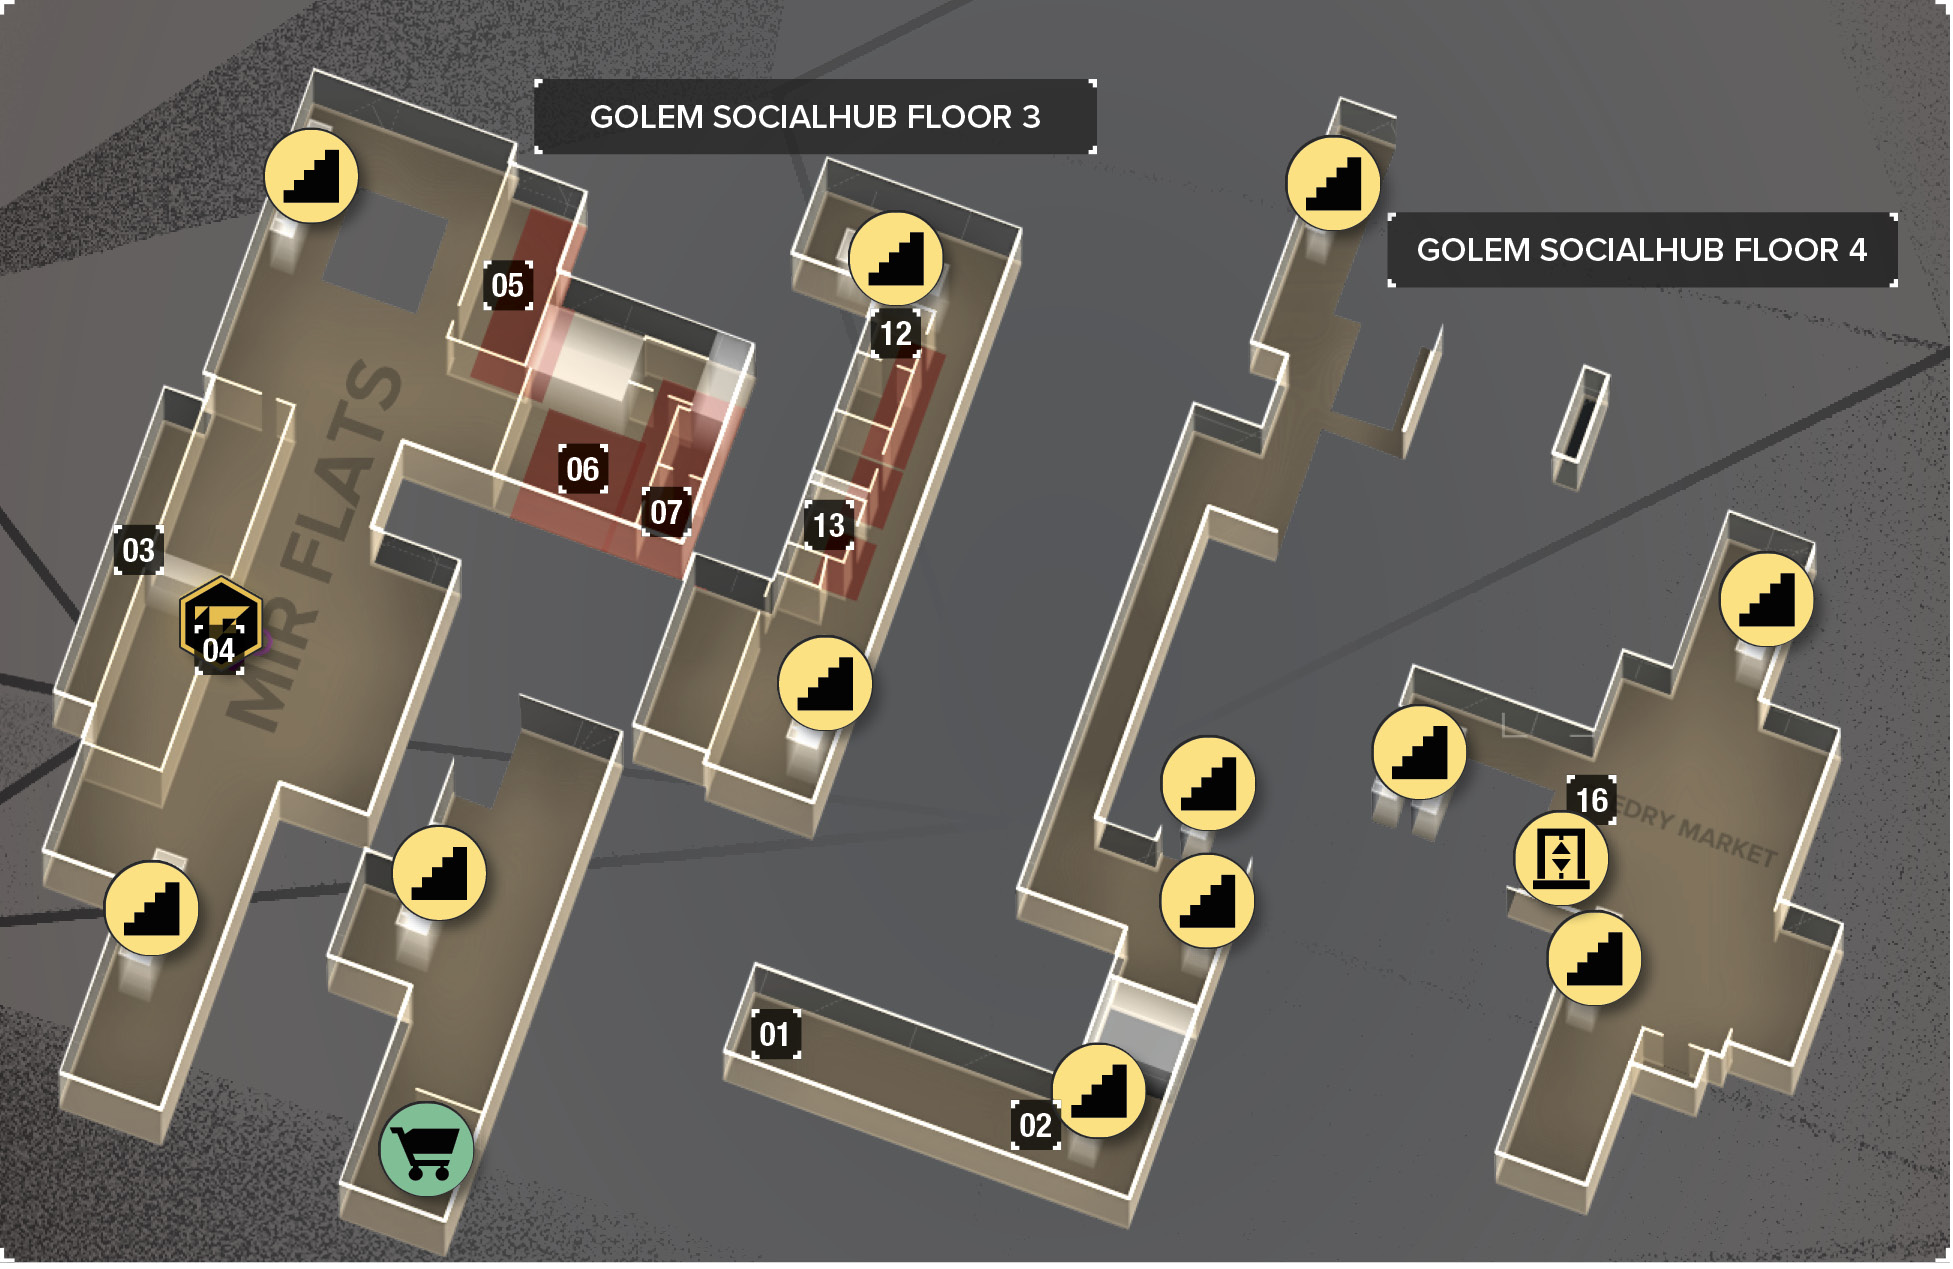
Map Legend
|
01: Mission starting point |
|
02: Dr. Onziema |
|
03: Gas area (spare parts and a silencer) |
|
04: Sokol’s apartment |
|
05: Restricted apartment |
|
06: Police barracks (Code 2223) |
|
07: Medical lockup (Code 6123) |
|
08: Bribable guard |
|
09: Vents into detention area |
|
10: Tibor’s location |
|
11: Weapon lockup |
|
12: Locked area (2046) |
|
13: Supply crate |
|
14: Dusan’s cell |
|
15: Security computer |
|
16: Lubos |
|
17: Louis Gallois |
|
18: Elevator from Lubos’ area (requires keycard) |
|
19: Ladder from Gallois’ area |
|
20: Throat entrance |
You start in a tiny alley of Golem City. There are people everywhere, but most of them are in no shape to stand in your way. These are not fortunate people by any stretch of the imagination.
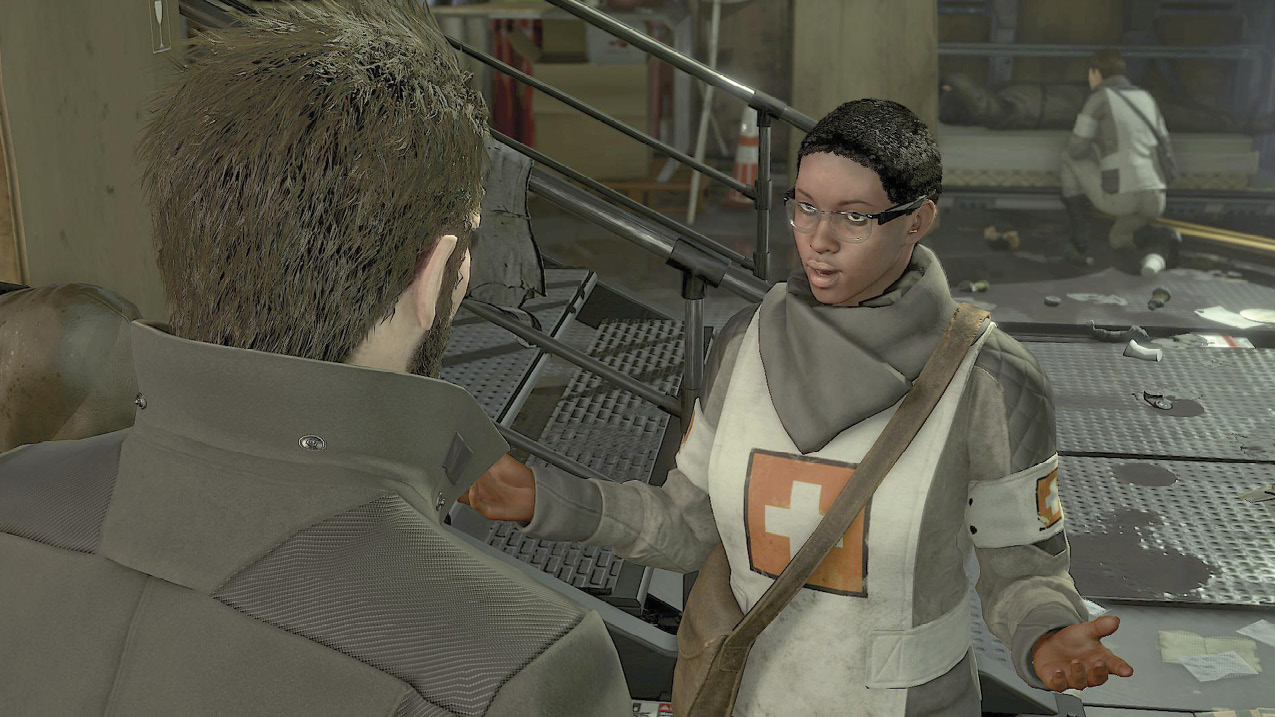
A woman at the other end of the alley is helping people out. Her name is Dr. Martine Onziema. If you can give her some Neuropoynze, she’ll give you information about a storage area that’s up for grabs. She also talks about the state of the city, the cops, and ARC. Listen well.
From the treatment area, stairs lead up and to the left. Above, a cop stops you, but you don’t get too much trouble at this time. There are multiple small buildings above and around you. Search them for spare parts, or move on toward your marked objective.
The apartment is on the third level of the area. It isn’t guarded, so the only way to get into trouble is to start some with the police (a very bad idea in Golem City).
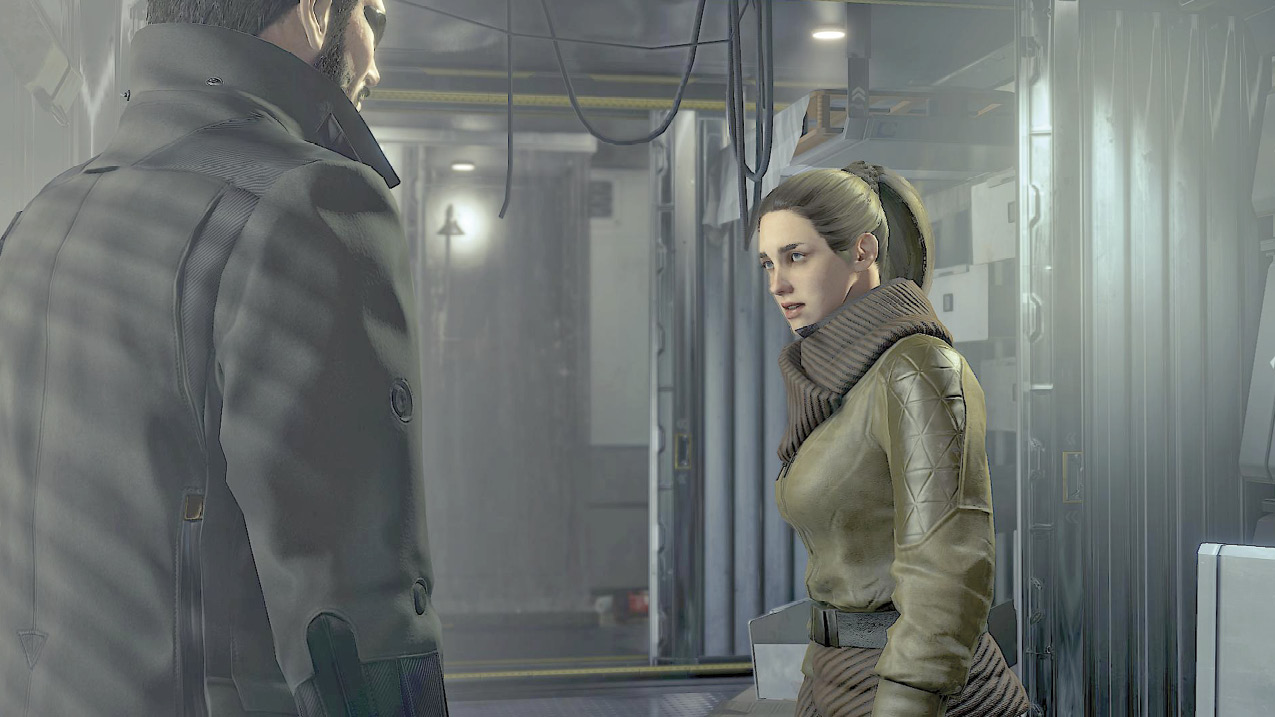
Tibor isn’t in the apartment when you arrive, but Adele, his sister-in-law, is there. Talk to her to find out where Tibor and his brother have gone.
Find Tibor in the Narrows
Objectives
|
Go to the detention area |
|
Talk to Tibor |
Overview
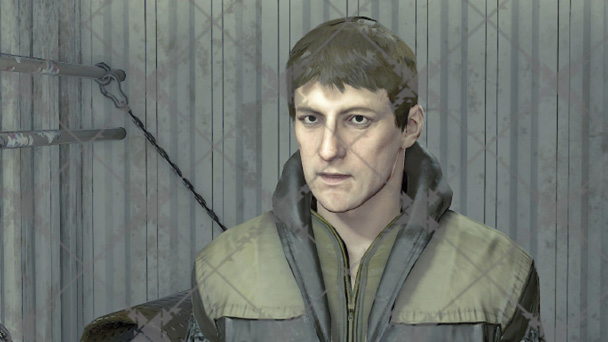
If Tibor has been grabbed by the police, then he must be in a restricted area somewhere nearby. On the third level, the only restricted buildings have medical supplies and such; there aren’t any prisoners there.
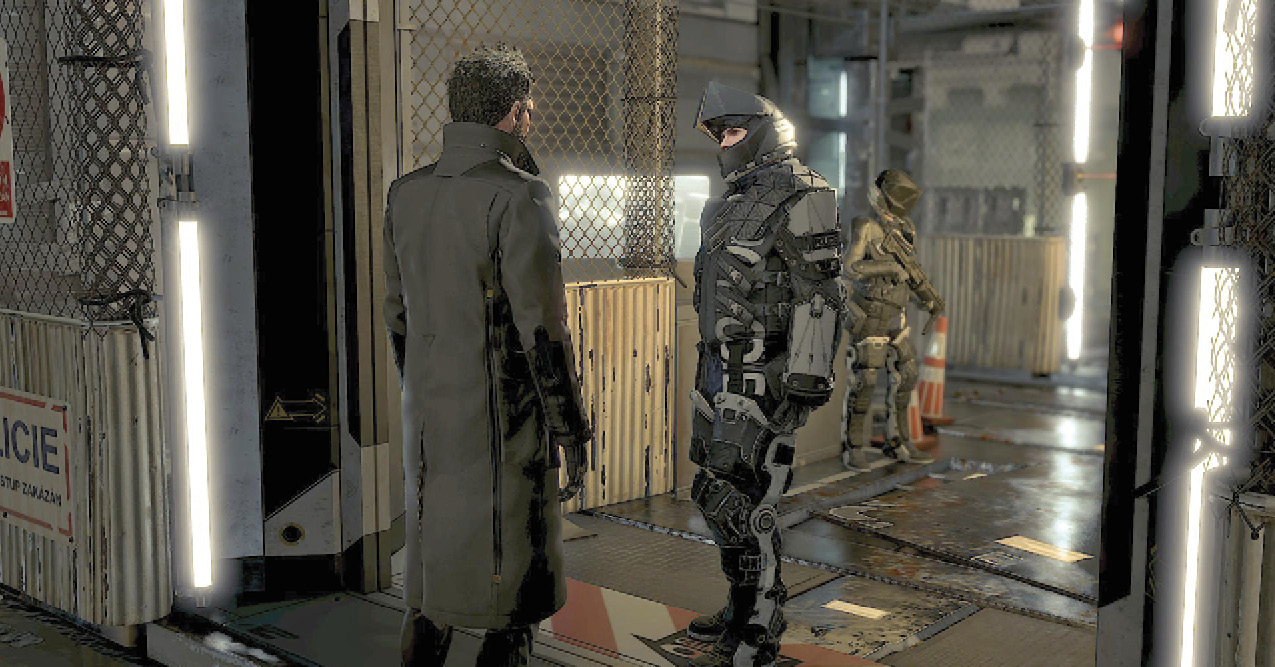
You need to take the stairs leading down in the northwestern part of that floor. The “narrows” (as they’re called here) are below. A guard stops you on the second floor and says that you can’t pass. This gives you choices. You can stealth into the area, start fighting, or simply bribe the man. For 1,000 credits, you can stroll right in.
To save on those vital credits, use a vent on the western wall to bypass the officer and his laser fence. You can pop out behind a second cop when she isn’t looking. Disable her quietly, and repeat this when sneaking up behind the corrupt officer. When they’re both down, you can loot the lockers nearby, and then go into the detention facility to speak with Tibor.
Afterward, you can proceed with multiple optional goals before going forward with the main mission. Decide whether you want to free Dusan, convince Gallois to let you into ARC, or do a favor for Otar. It is possible to do all of these, if you want the most experience.
Free Dusan (Optional)
Objectives
|
Disable the four police officers on Level 1 |
|
Talk to Dusan |
|
Talk to Lubos |
Overview
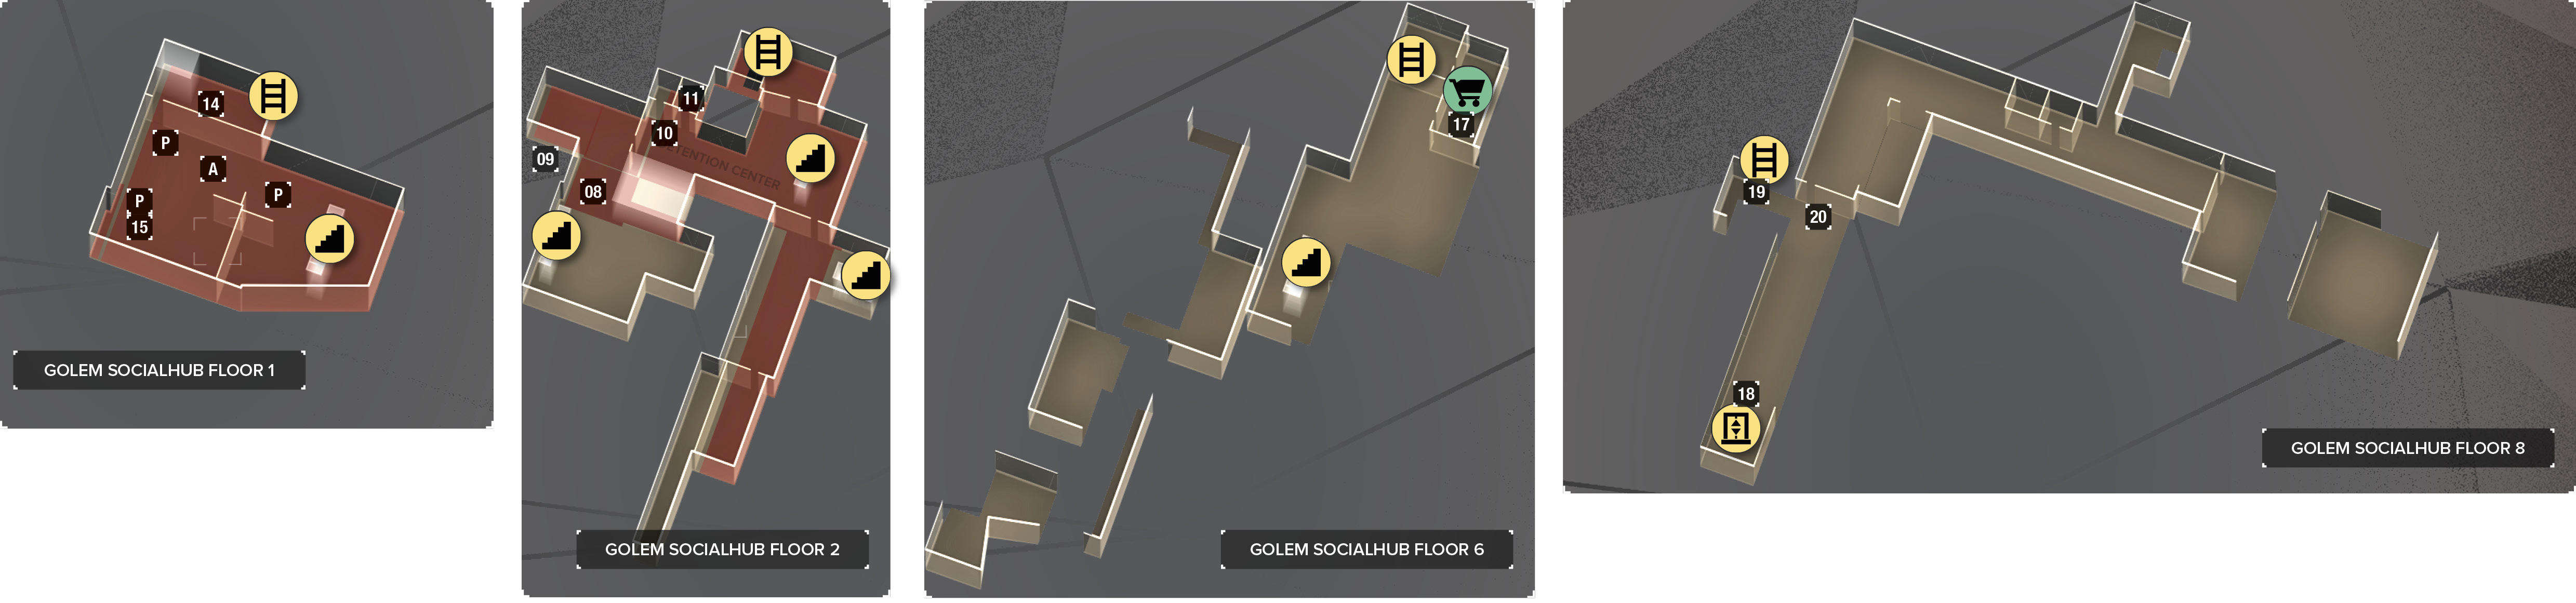
Map Legend
|
14: Dusan’s cell |
|
15: Security computer |
|
P: Regular police |
|
A: Armored cop (patroller) |
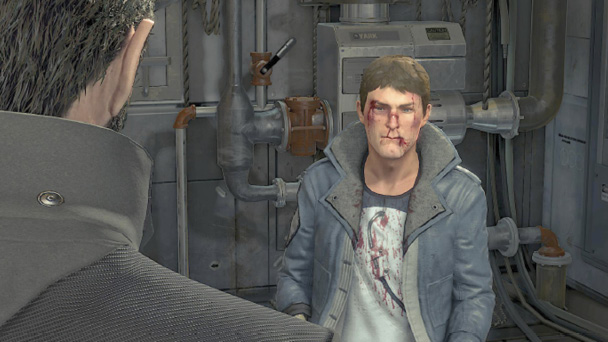
Tibor doesn’t ask you to get him out of there, but he still begs you to help his brother Dusan. Dusan is in the lowest level of the area, personally guarded by four cops. One of them is in power armor (he’s an Exo Trooper). You need to take all four of the cops down to save Dusan, which is very hard to do without killing anyone (though it’s still possible). Incapacitate or kill all four guards, and then speak with Dusan to finish this side goal.
Dusan gives you a special quote to get into ARC’s area: “When you rob a man of everything, he is no longer in your power.” And with that, you’re done. You need to give this state to Lubos; he’s an ARC loyalist who stays on Level 4 and guards the elevator. If you tell him Dusan’s pass phrase, he’ll let you use the elevator.
CombatThough fighting someone in power armor is never easy, this is most certainly a more direct path. Use the stairway inside the detention center to get down to the first floor. Crouch along the stairs to get cover, and look at the room to your left as you descend. The power armor guy is patrolling back and forth, and there are three regular officers at various points in the room. 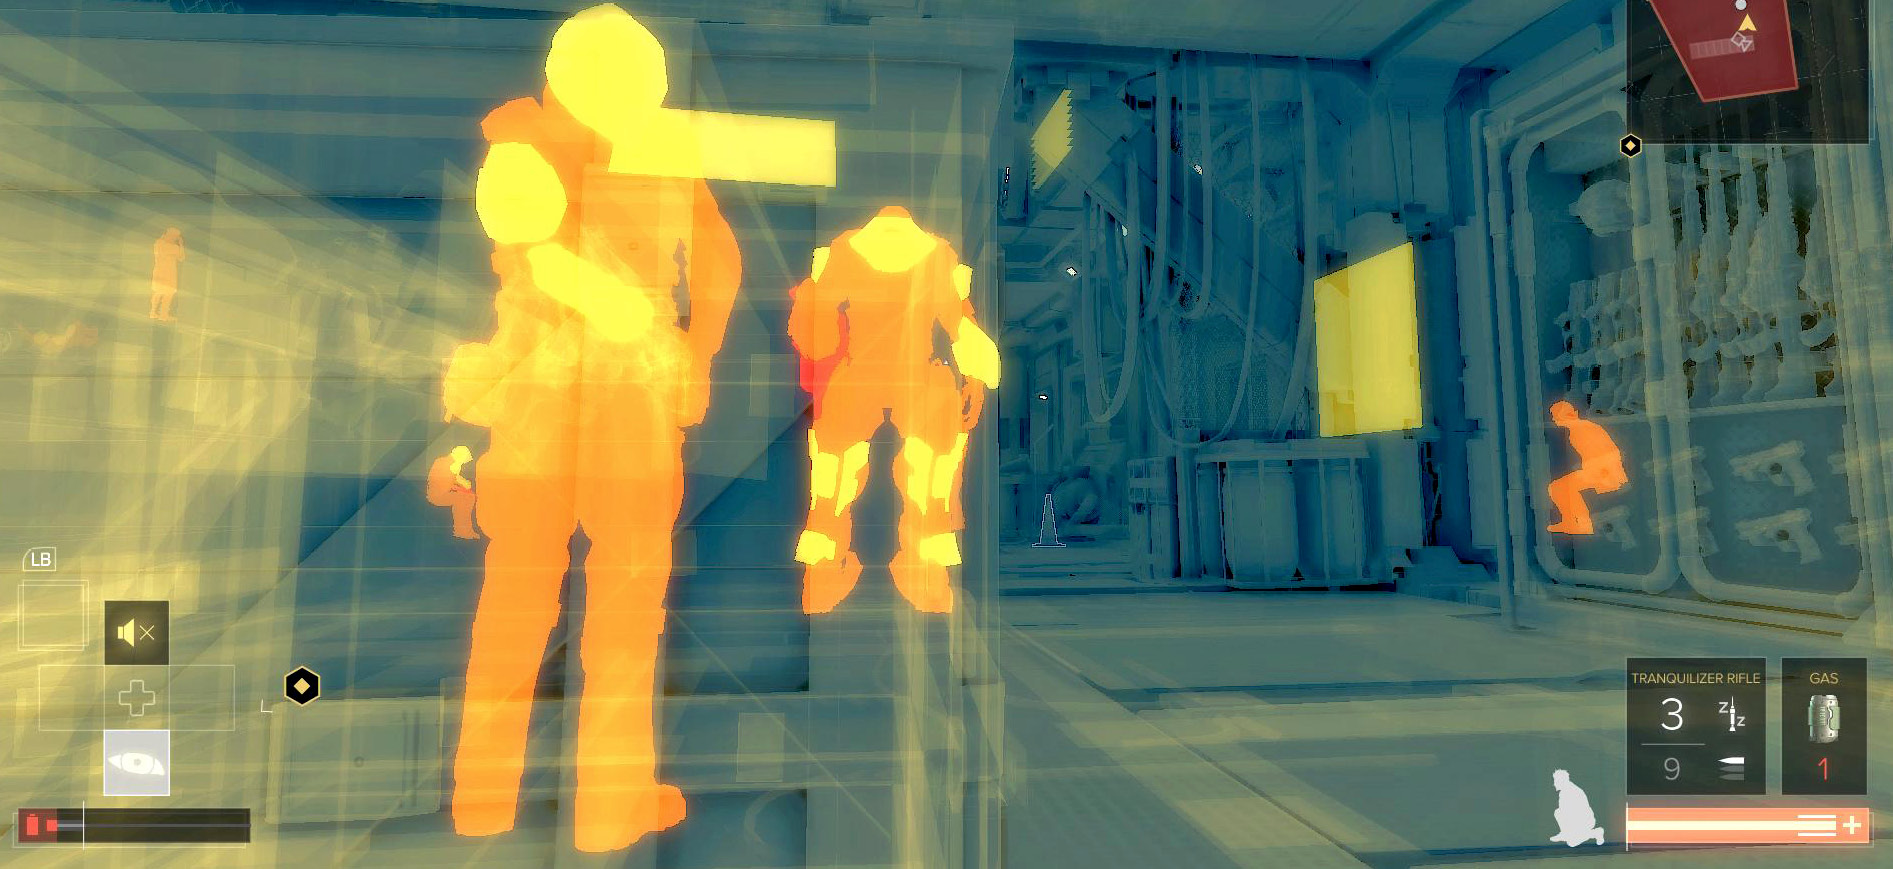 When the armored man is walking away from you, use a Takedown on the closest officer. If you sneak to the left, you can then attack the two other cops before they even know that anything is wrong. This lets you isolate the toughest target and fight him last. Use your heaviest weaponry to kill the Exo Trooper. Blasts of shotgun fire keep him wounded and off balance, making the attack fairly easy and reliable. Just make sure not to fight in Dusan’s room. He can get killed by random fire from you or the cops, making this whole route pointless. |
StealthThe approach to this run is the same as the combat walkthrough. Use the stairs from Level 2 to descend. Jumping directly down into Dusan’s room is possible, but it’s ill-advised because it’s too easy for the cops to see you in there. 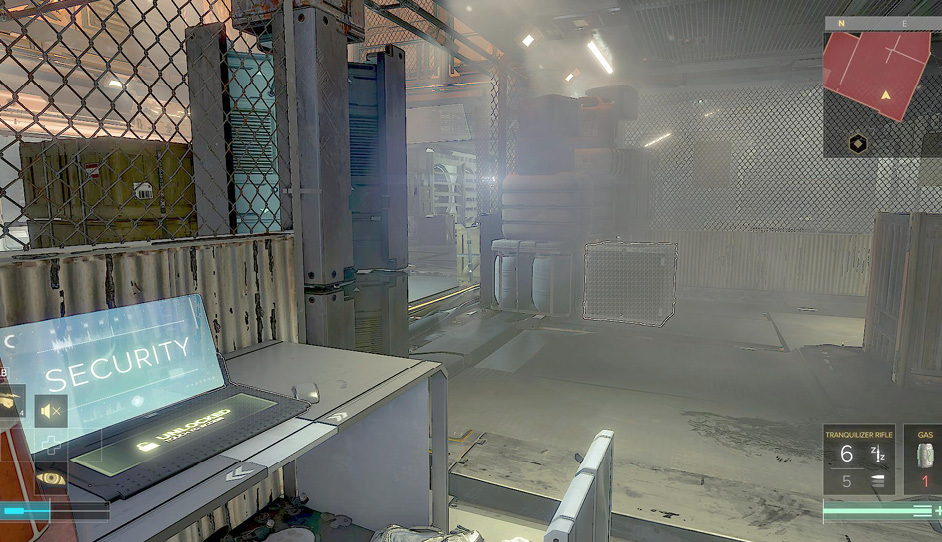 Instead, sneak down the stairs and quietly perform a Takedown on the first cop nearby. Drag her unconscious body onto the stairs, where she won’t be seen. Use the area on the left to sneak forward, and quietly move some boxes so that you can approach the sitting security officers without alerting them. Stay behind the cop at the computer and wait. Let the patroller go all the way to the left, turn around, and start moving away from the other two cops. This is the tricky part. Tranq the cop across the way, immediately do a Takedown on the cop at the computer, and then go across the room. Drag the tranquilized cop into the room behind them. The patroller won’t see this or notice the cop at the computer. You’re clear. Here’s the rough bit: you can’t knock out an Exo Trooper without some help. Use the Tesla ability to stun them, and then hit the cop with a Takedown so that you get a non-lethal victory. Done quickly, the cop won’t even see you coming. Talk to Dusan, free him, and head out. |
Talk to Louis Gallois (Optional)
Objectives
|
Find Louis Gallois |
|
Tell him Tibor sent you to gain access to ARC territory |
|
If Otar has contacted you, either kill Gallois or warn him (optional) |
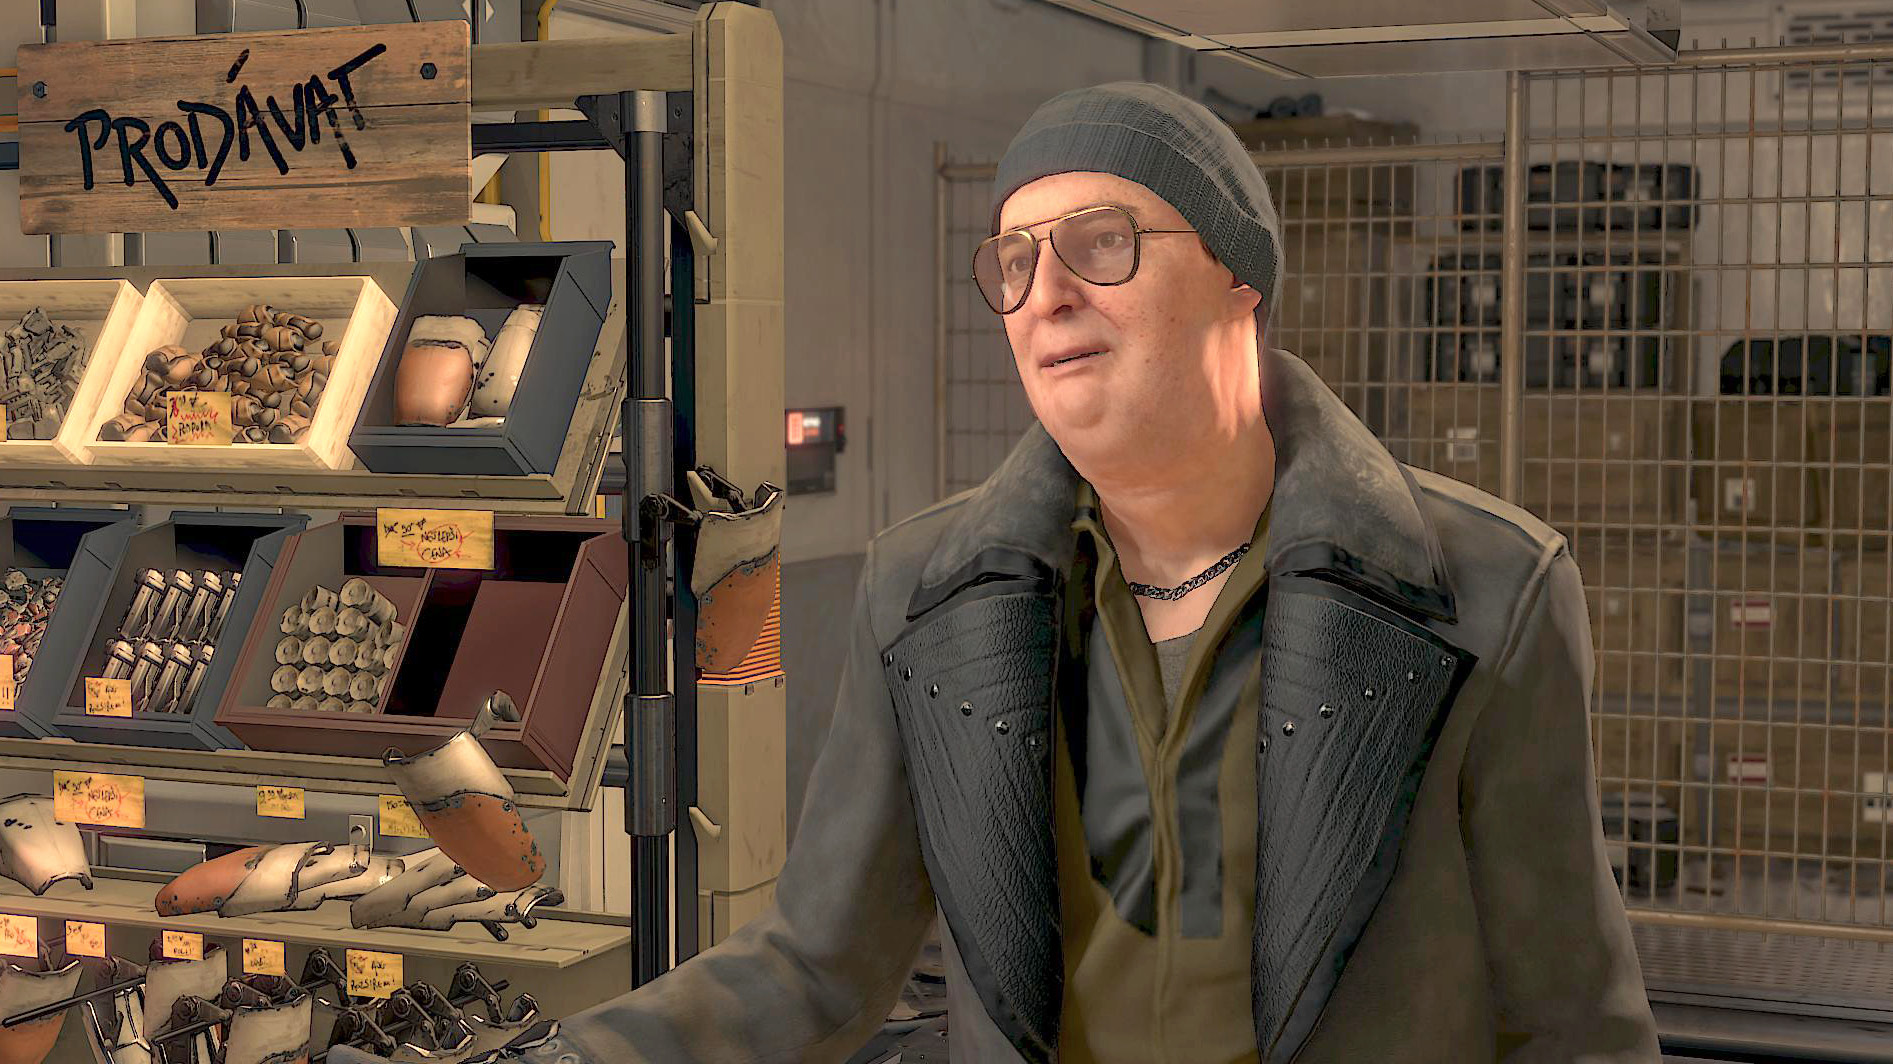
Go up to Level 6, and search the northern end of the map for a store. This is owned by Louis Gallois. He acts as a normal merchant and can sell you a couple of nice items and ammo. In addition, he’ll give you access to ARC territory if you let him know that you’re working with Tibor.
If you struck a deal with Otar back in Prague, he’ll call you in this area and ask you to kill Gallois. That’s an option, if you like, or you can warn Gallois and have him leave the region entirely. The latter is just a matter of talking to him, so that’s very easy.
To kill him without starting more than you can handle, buy a Silencer from the merchant if you don’t already have one. Put that on your best rifle, and remember to close the front door of the shop. Next, go to the back of the store. Assassinate the guard there; Gallois and his other guard remain unaware. You can then take out both men without alerting anyone else, even the cop who’s usually stationed just a bit outside.
Simple stuff.
Either way, you can use this area to gain access to ARC territory. A door in the back opens into a tiny yard. Climb the ladder in the yard to get where you’re going.
Get Tibor’s Keycard (Optional)
Objectives
|
Find Tibor’s keycard |
|
Use the keycard to get into ARC territory |
Overview
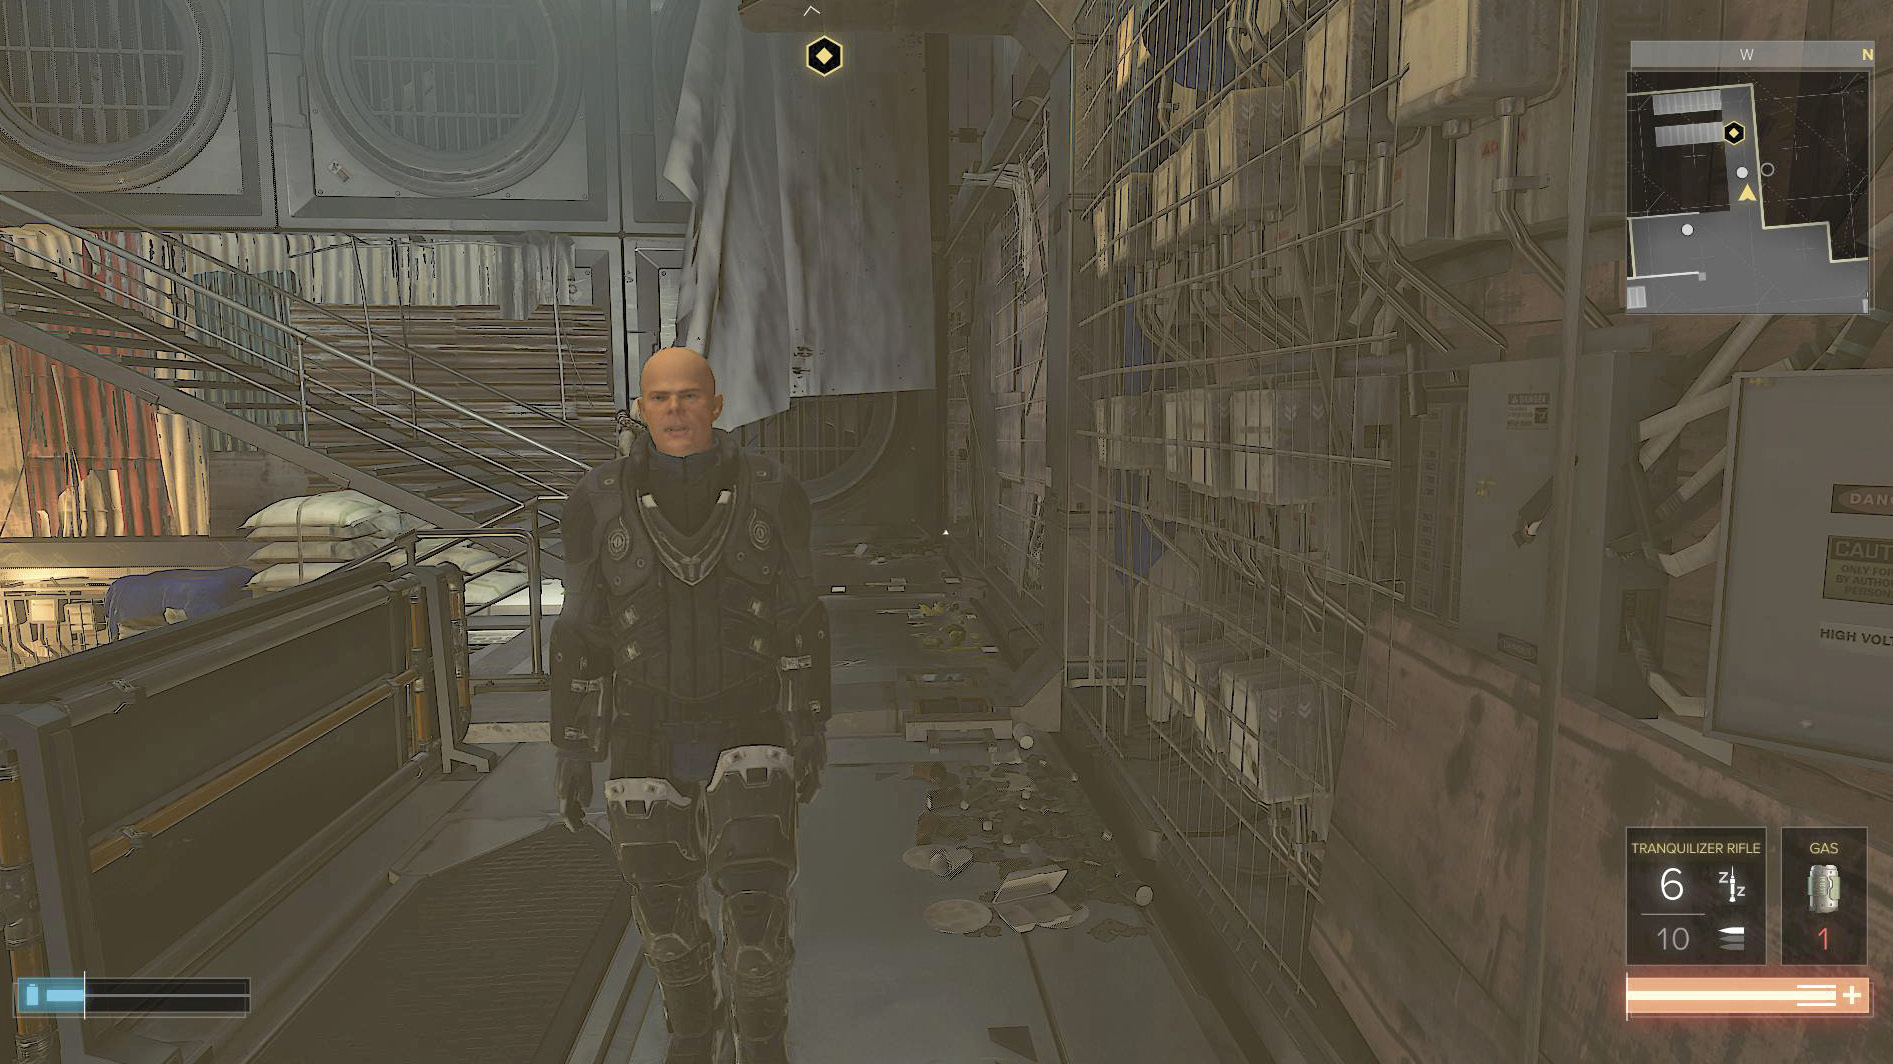
Tibor doesn’t have the card he needs to get you into ARC territory anymore. Supposedly, a cop has taken it. You don’t know which cop did it, or exactly where the officer is. However, you have a minor lead. The officer in question is supposed to work the market. Go to Level 4, and start searching for cops in the Stedry Market area. There is someone in an Exo suit, but it’s not him. There are two other patrollers; the guy without a face helmet is your target and has the keycard.
Follow the cop around until he goes all the way south into a quiet, isolated building. Tail him, knock him out, and get the card.
Enter The Throat (ARC Territory)
Objectives
|
Enter The Throat |
|
Find your way to the elevator |
|
Enter RVAC Row |
Overview
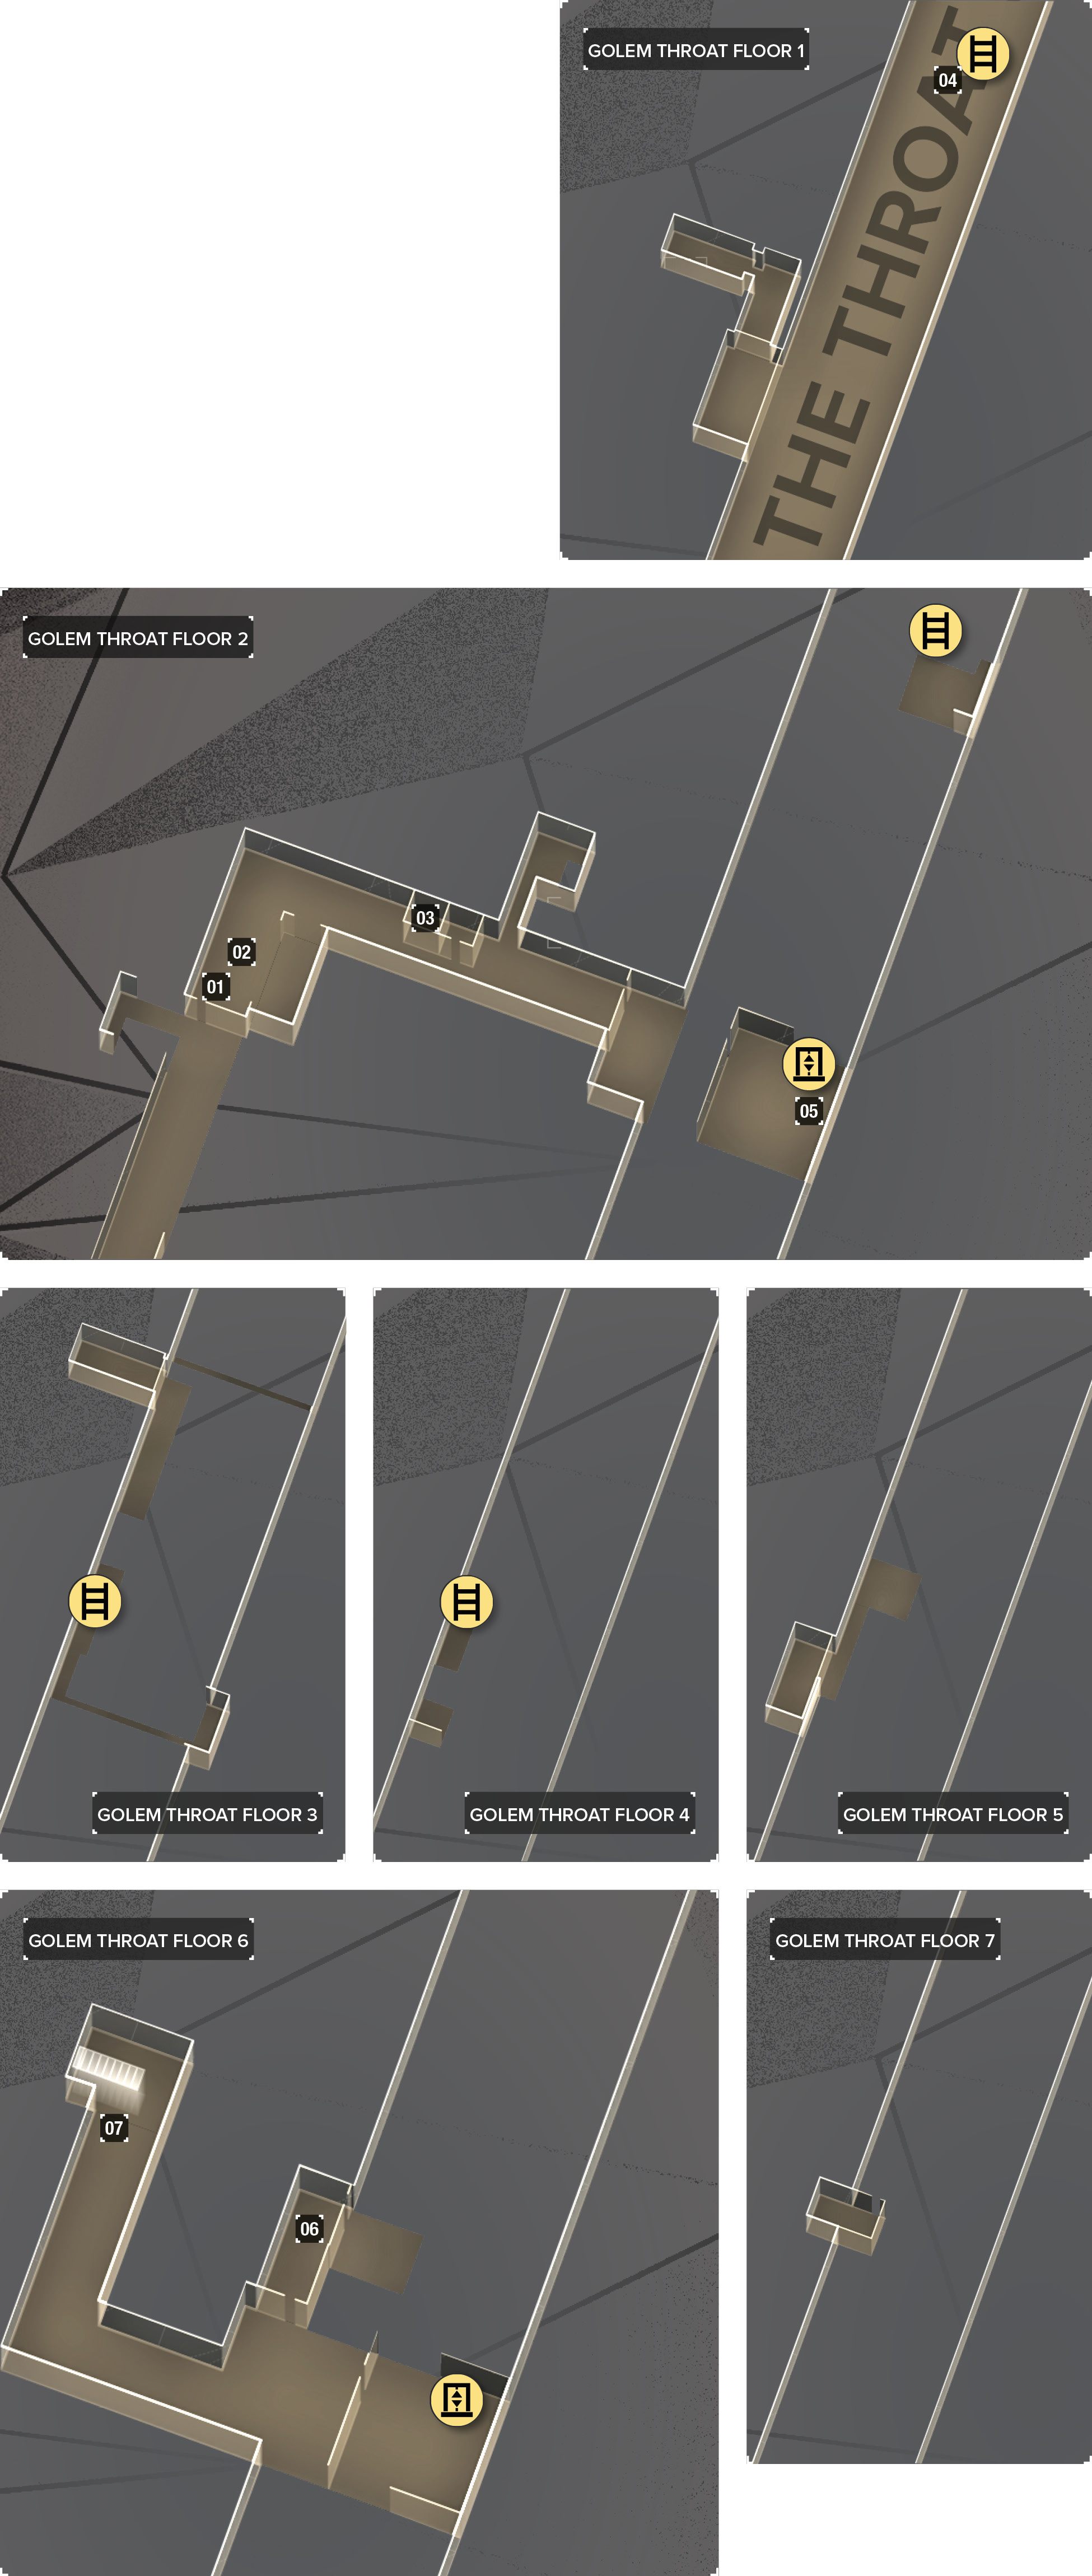
Map Legend
|
01: Entrance from market area |
|
02: Meet Marchenko here |
|
03: Weapon cache |
|
04: Weapon cache |
|
05: Elevator up |
|
06: Locker with a Holo Sight |
|
07: Entering RVAC Row (Restricted ARC Territory) |
Use the elevator that Lubos is guarding, or climb the ladder behind Gallois’ store. Both of these take you into The Throat. You’re greeted by some serious-looking people and given fair warning. Talk to a huge Aug named Marchenko until you finish the conversation. He’s not going to give up anything very important here, so don’t stress over your options too much; just hear him out.
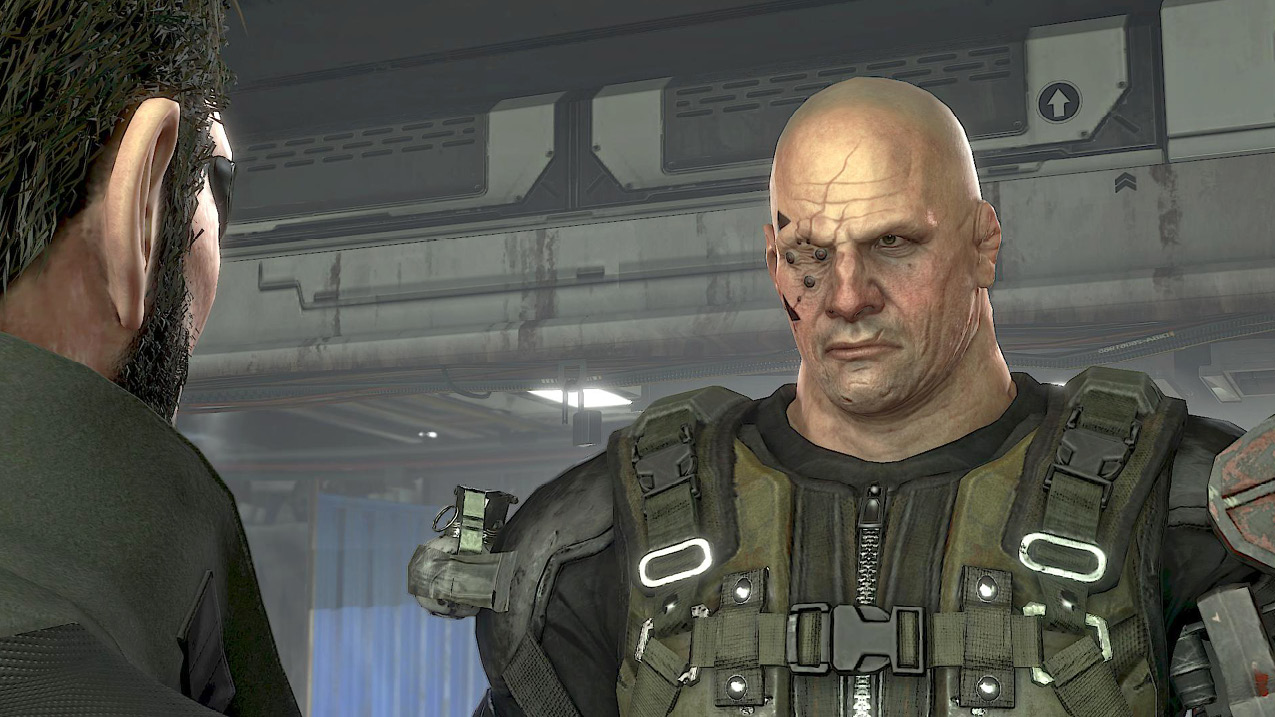
Then, start to explore this new area. A laser field keeps you from going too far in. However, there is a side route to the north that gets you out into the open portion of The Throat. Loot a large container down there, and then hop up the inside of that crate to get yourself higher in the room. Using a support beam, run along the eastern wall to reach the elevator that is marked as your objective without setting off any alarms.
Take the elevator up, using the card reader that’s there. This takes you to floor six. Break the lock on a gate nearby, and proceed into the heart of this ARC compound. You get a call from Chikane that isn’t particularly reassuring.
Stay on the path, and go forward through the hallway. You enter restricted territory and barge in on a conversation between Tibor and a few armed members of ARC.
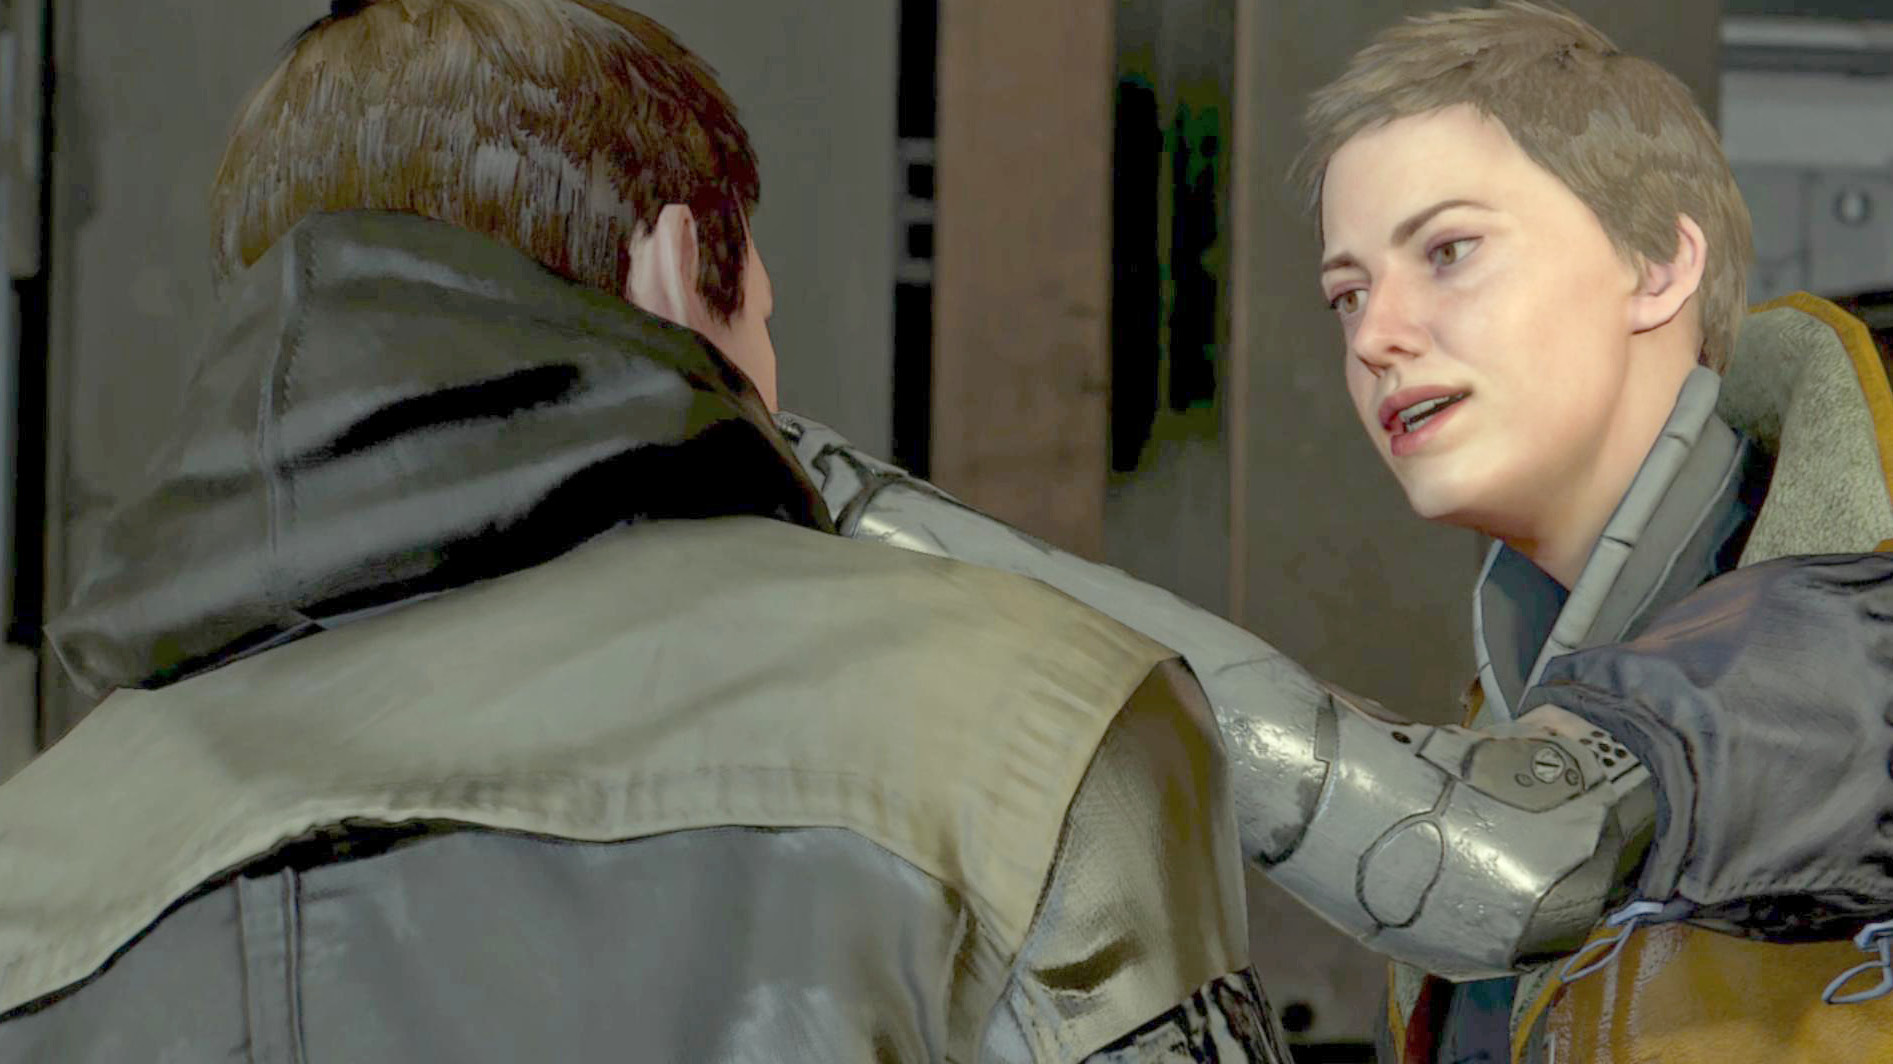
If you make too much noise or cause trouble before getting up here, you won’t see this cutscene.
Now that you’re here, it’s time to see what’s going on in the heart of ARC.
Infiltrate ARC’s Living Quarters in RVAC Row
Objectives
|
Move through RVAC Row |
Overview
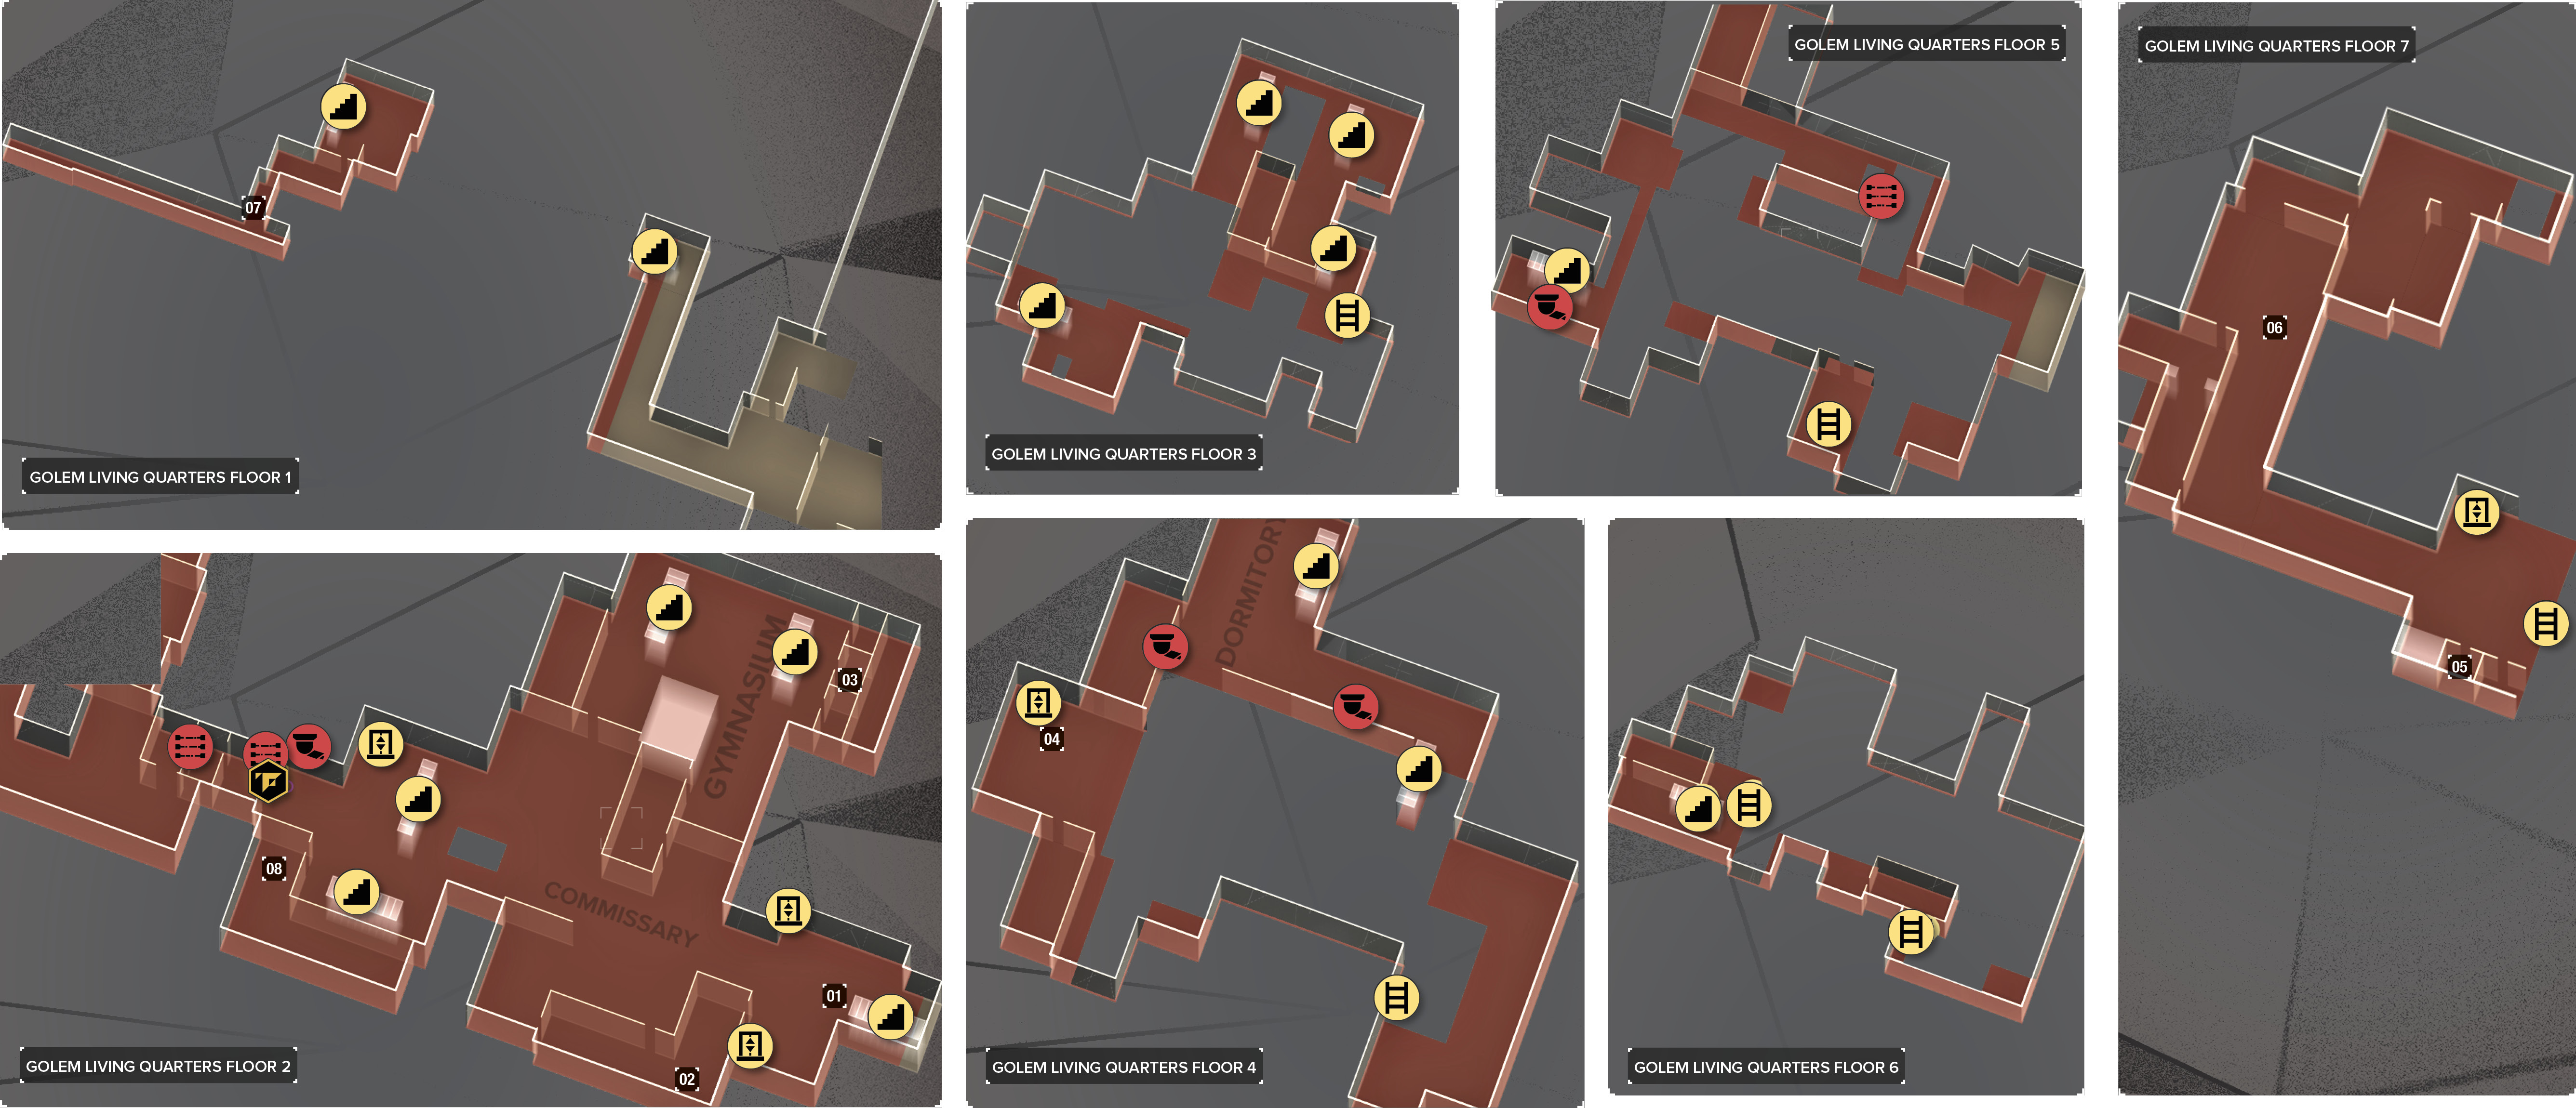
Map Legend
|
01: Entrance from The Throat |
|
02: Tibor’s position |
|
03: Multiple weapon caches |
|
04: Elevator connects G, 2, and 7 |
|
05: Weapon lockers |
|
06: Beginning of Ridit Station |
|
07: Hidden entrance to Ridit Station |
|
08: Security station |
ARC’s living quarters cover multiple levels, and several augmented recruits guard them. You need to get through this area and into Ridit Station, but you can accomplish this in even more ways than usual. Stealth lets you use the vents or the elevator on the seventh floor to get to the next area. Brute force gives you almost a direct path forward, but there are many people to wade through, so you need to have good combat augmentations to survive.
CombatThis is best done with a Combat Rifle or Battle Rifle. You have a wide area to cover, and the enemies can come from your level or the areas above you. Thus, range is essential to staying safe. If you go forward too quickly, everyone flanks you and can likely bring you down, despite your best defensive efforts. 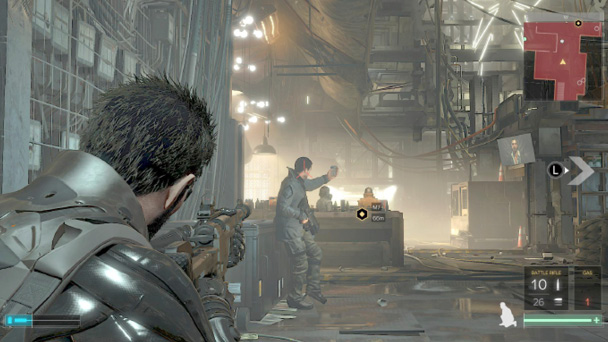 Stay near the entrance, take cover, and begin the battle with a snipe or two. The alarm is raised, and enemies come in from the west and the north (the northern ones being on the upper levels). Come out from cover only for single shots, hit your targets, and hide again. Only switch cover if you’re about to be overwhelmed. If that happens, run into one of the buildings so that you have fewer areas to watch. The foes won’t come all the way to you most of the time, but you can regenerate health or energy, and then come out when you’re at your best. When the way forward looks entirely clear, proceed. Stop to loot bodies, which there are plenty of. You get multiple Pocket Secretaries, and you should consider looting the weapon caches that are prevalent in the area (especially the ones in the gym). The western checkpoint leads into the next area, Ridit Station. You can charge past the camera and laser fences if you don’t care about the alarms, which have likely been raised by now anyway. Or, you can use the security laptop one room south of the checkpoint to turn everything off. |
StealthCrouch and move quietly through the initial area of the living quarters. No one is on alert yet, so it’s not too hard to stay out of sight. You’re on Level 2 of the facility. To your left is a building in which Tibor Sokol is busy working on something. If you want to have a conversation with him, go into that building and stay silent as you approach. Otherwise, he’ll become aggressive. 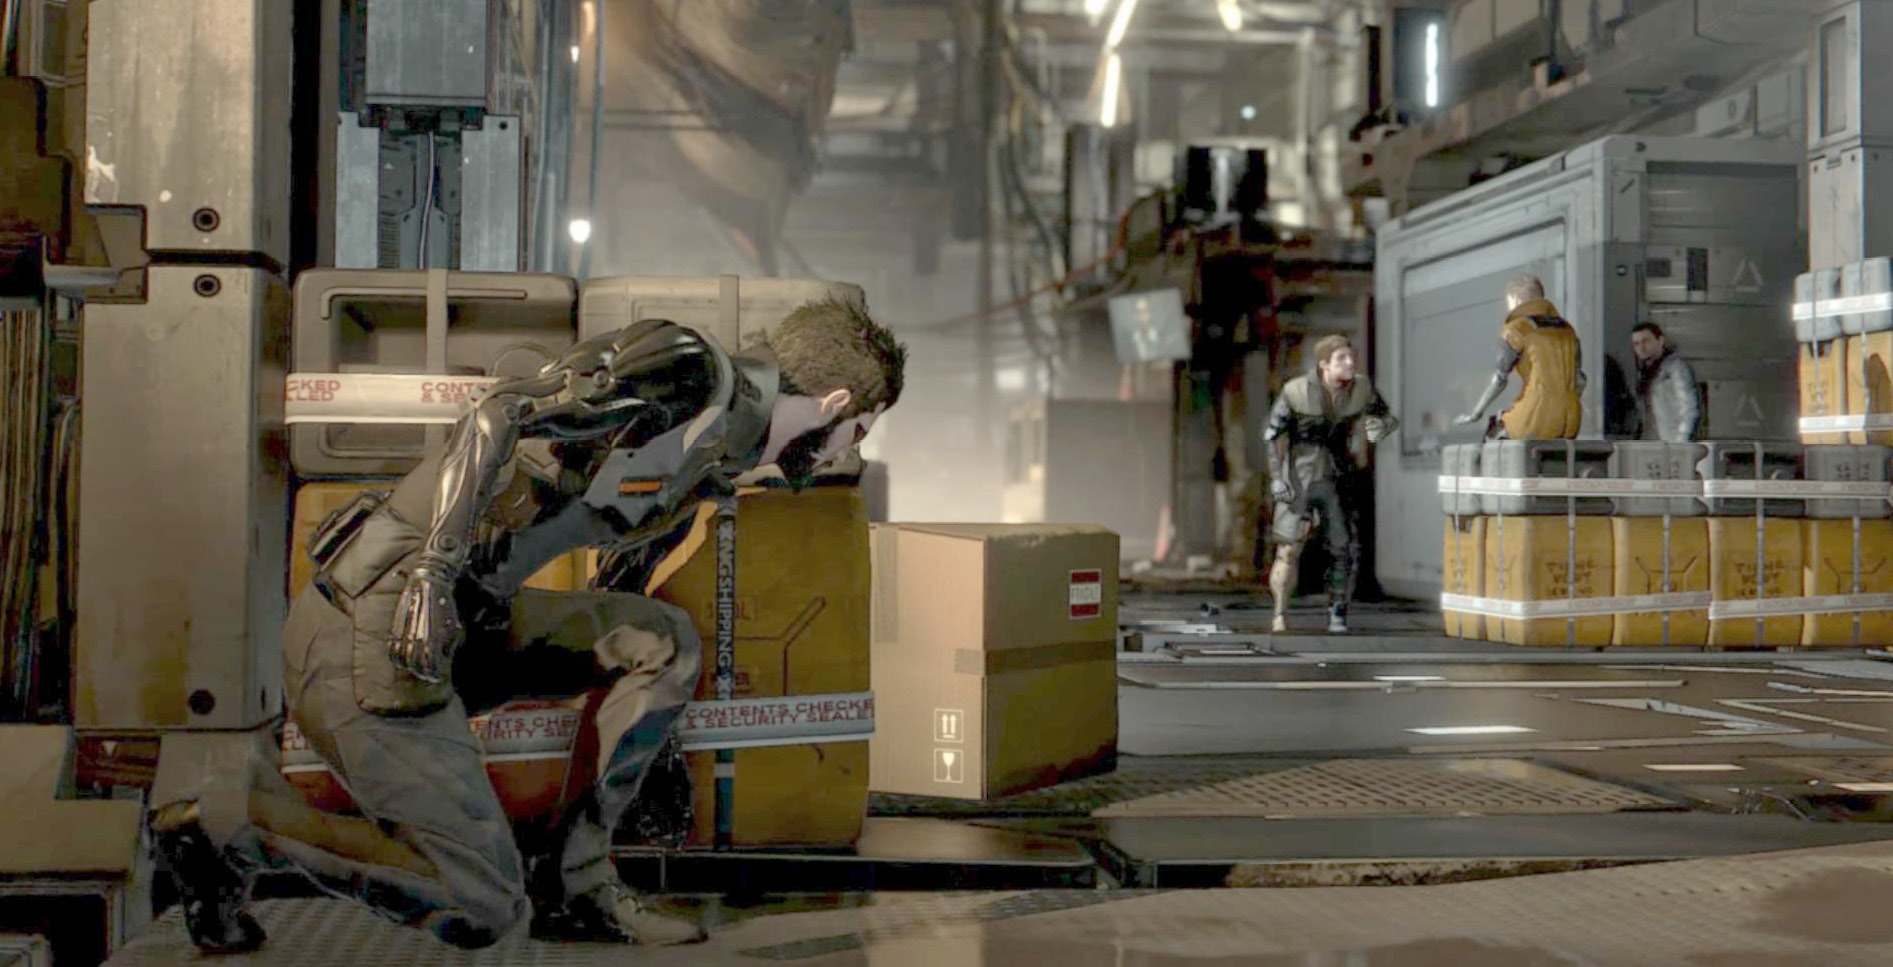 If you taunt or threaten Tibor, you won’t get much out of him, and a fight breaks out. Instead, you can interrogate him and stick to your beliefs. Tell him “Yes” when he asks you a question. This calms him down and allows you to move through the building without being spotted or forced into a fight. When you’re done, or if you don’t care about talking to Tibor, return to the entrance of the area. Look to the right for a ladder that leads up to the third floor. Climb that, and then hide. Wait for a patroller to come by. Either knock her out or slip into the vent on that walkway when she isn’t looking. After you’ve gone through the vent, use a Takedown on a single guard on the way across the level. He’s the only person on that entire side of the floor. The other one spends time watching TV and looking over the edge of his area. He’s very easy to sneak up on, so knock him out next as you make your way west. Go through the door near that guard whenever the patroller in the following hall is going the other way. Enter another room on the right, and avoid the camera inside. As long as you hug the wall, it won’t be a problem. Then, stay at the next doorway and wait for two talking men to finish with their conversation. They’ll split up, allowing you to use a Takedown on the one who stays close by. He’s guarding the elevator that you need to ride up to the seventh floor. 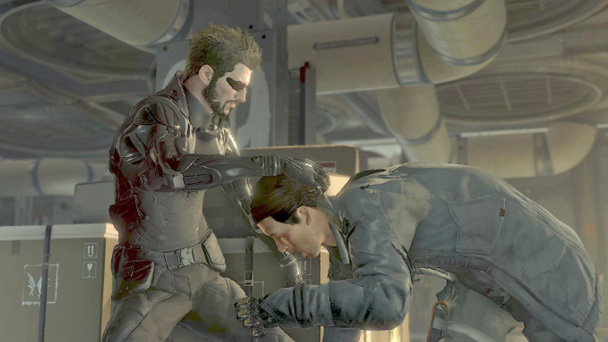 Take that elevator. Chikane calls in again before you have to go very far on the top level. Talk to him, and then take a moment to compose yourself before continuing. You’re almost to your goal. |
Access the Elevator in Ridit Station
Objectives
|
Find the elevator that leads into Rucker’s quarters |
Overview
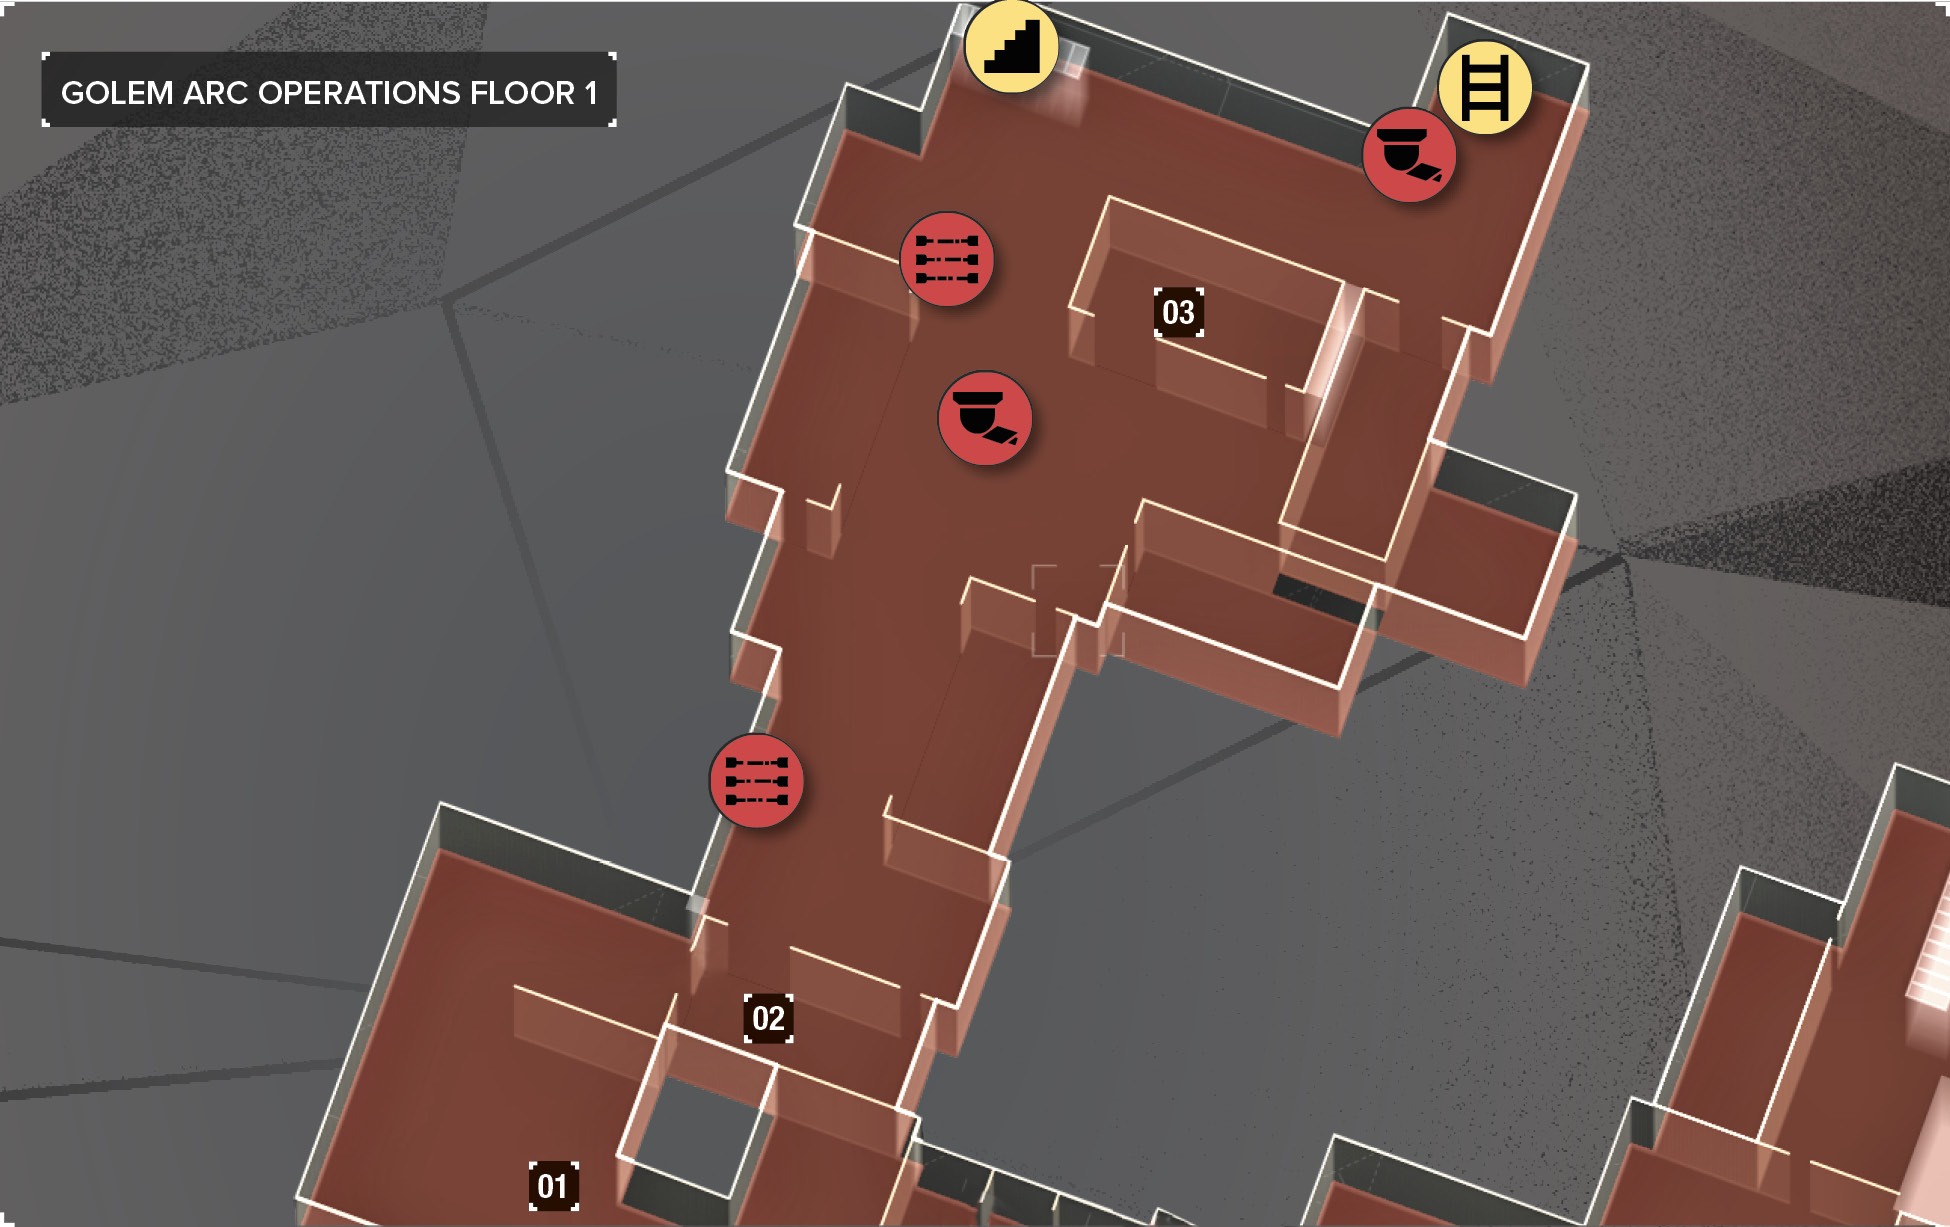
Map Legend
|
01: Entrances from RVAC Row |
|
02: Heavy guard presence |
|
03: Security station |
|
04: Elevator to Rucker’s area |
|
05: Computer room |
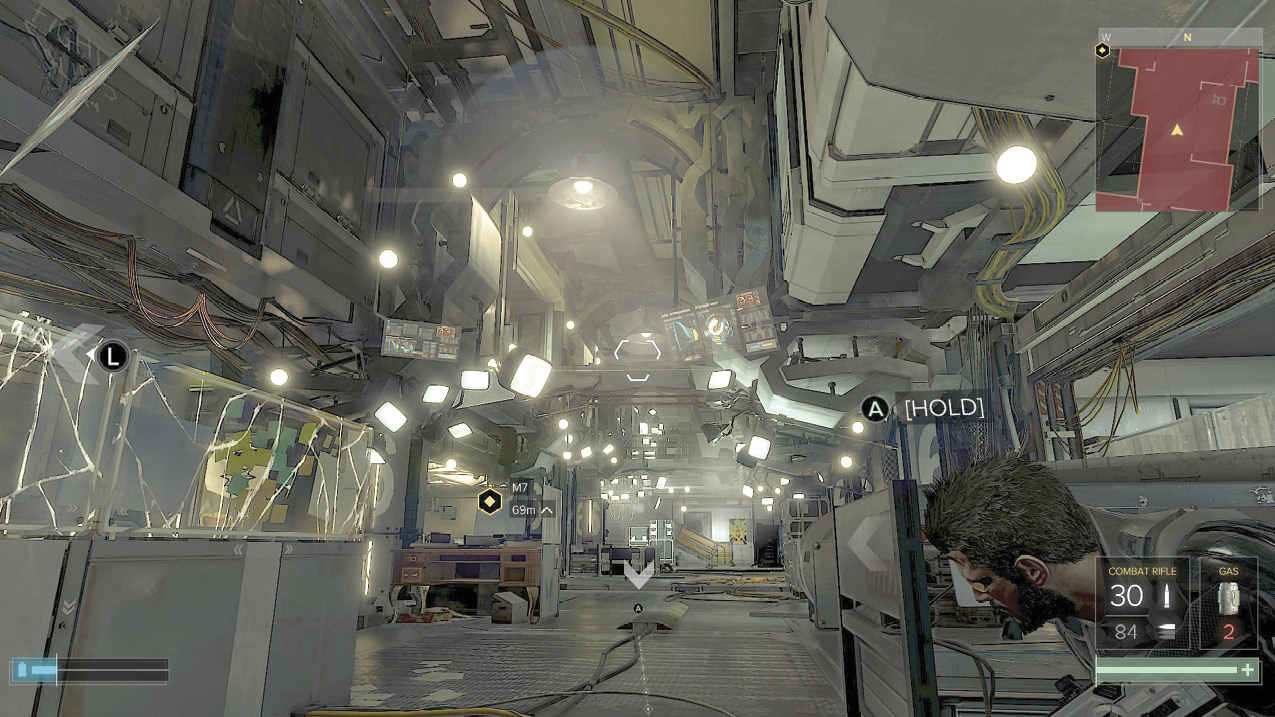
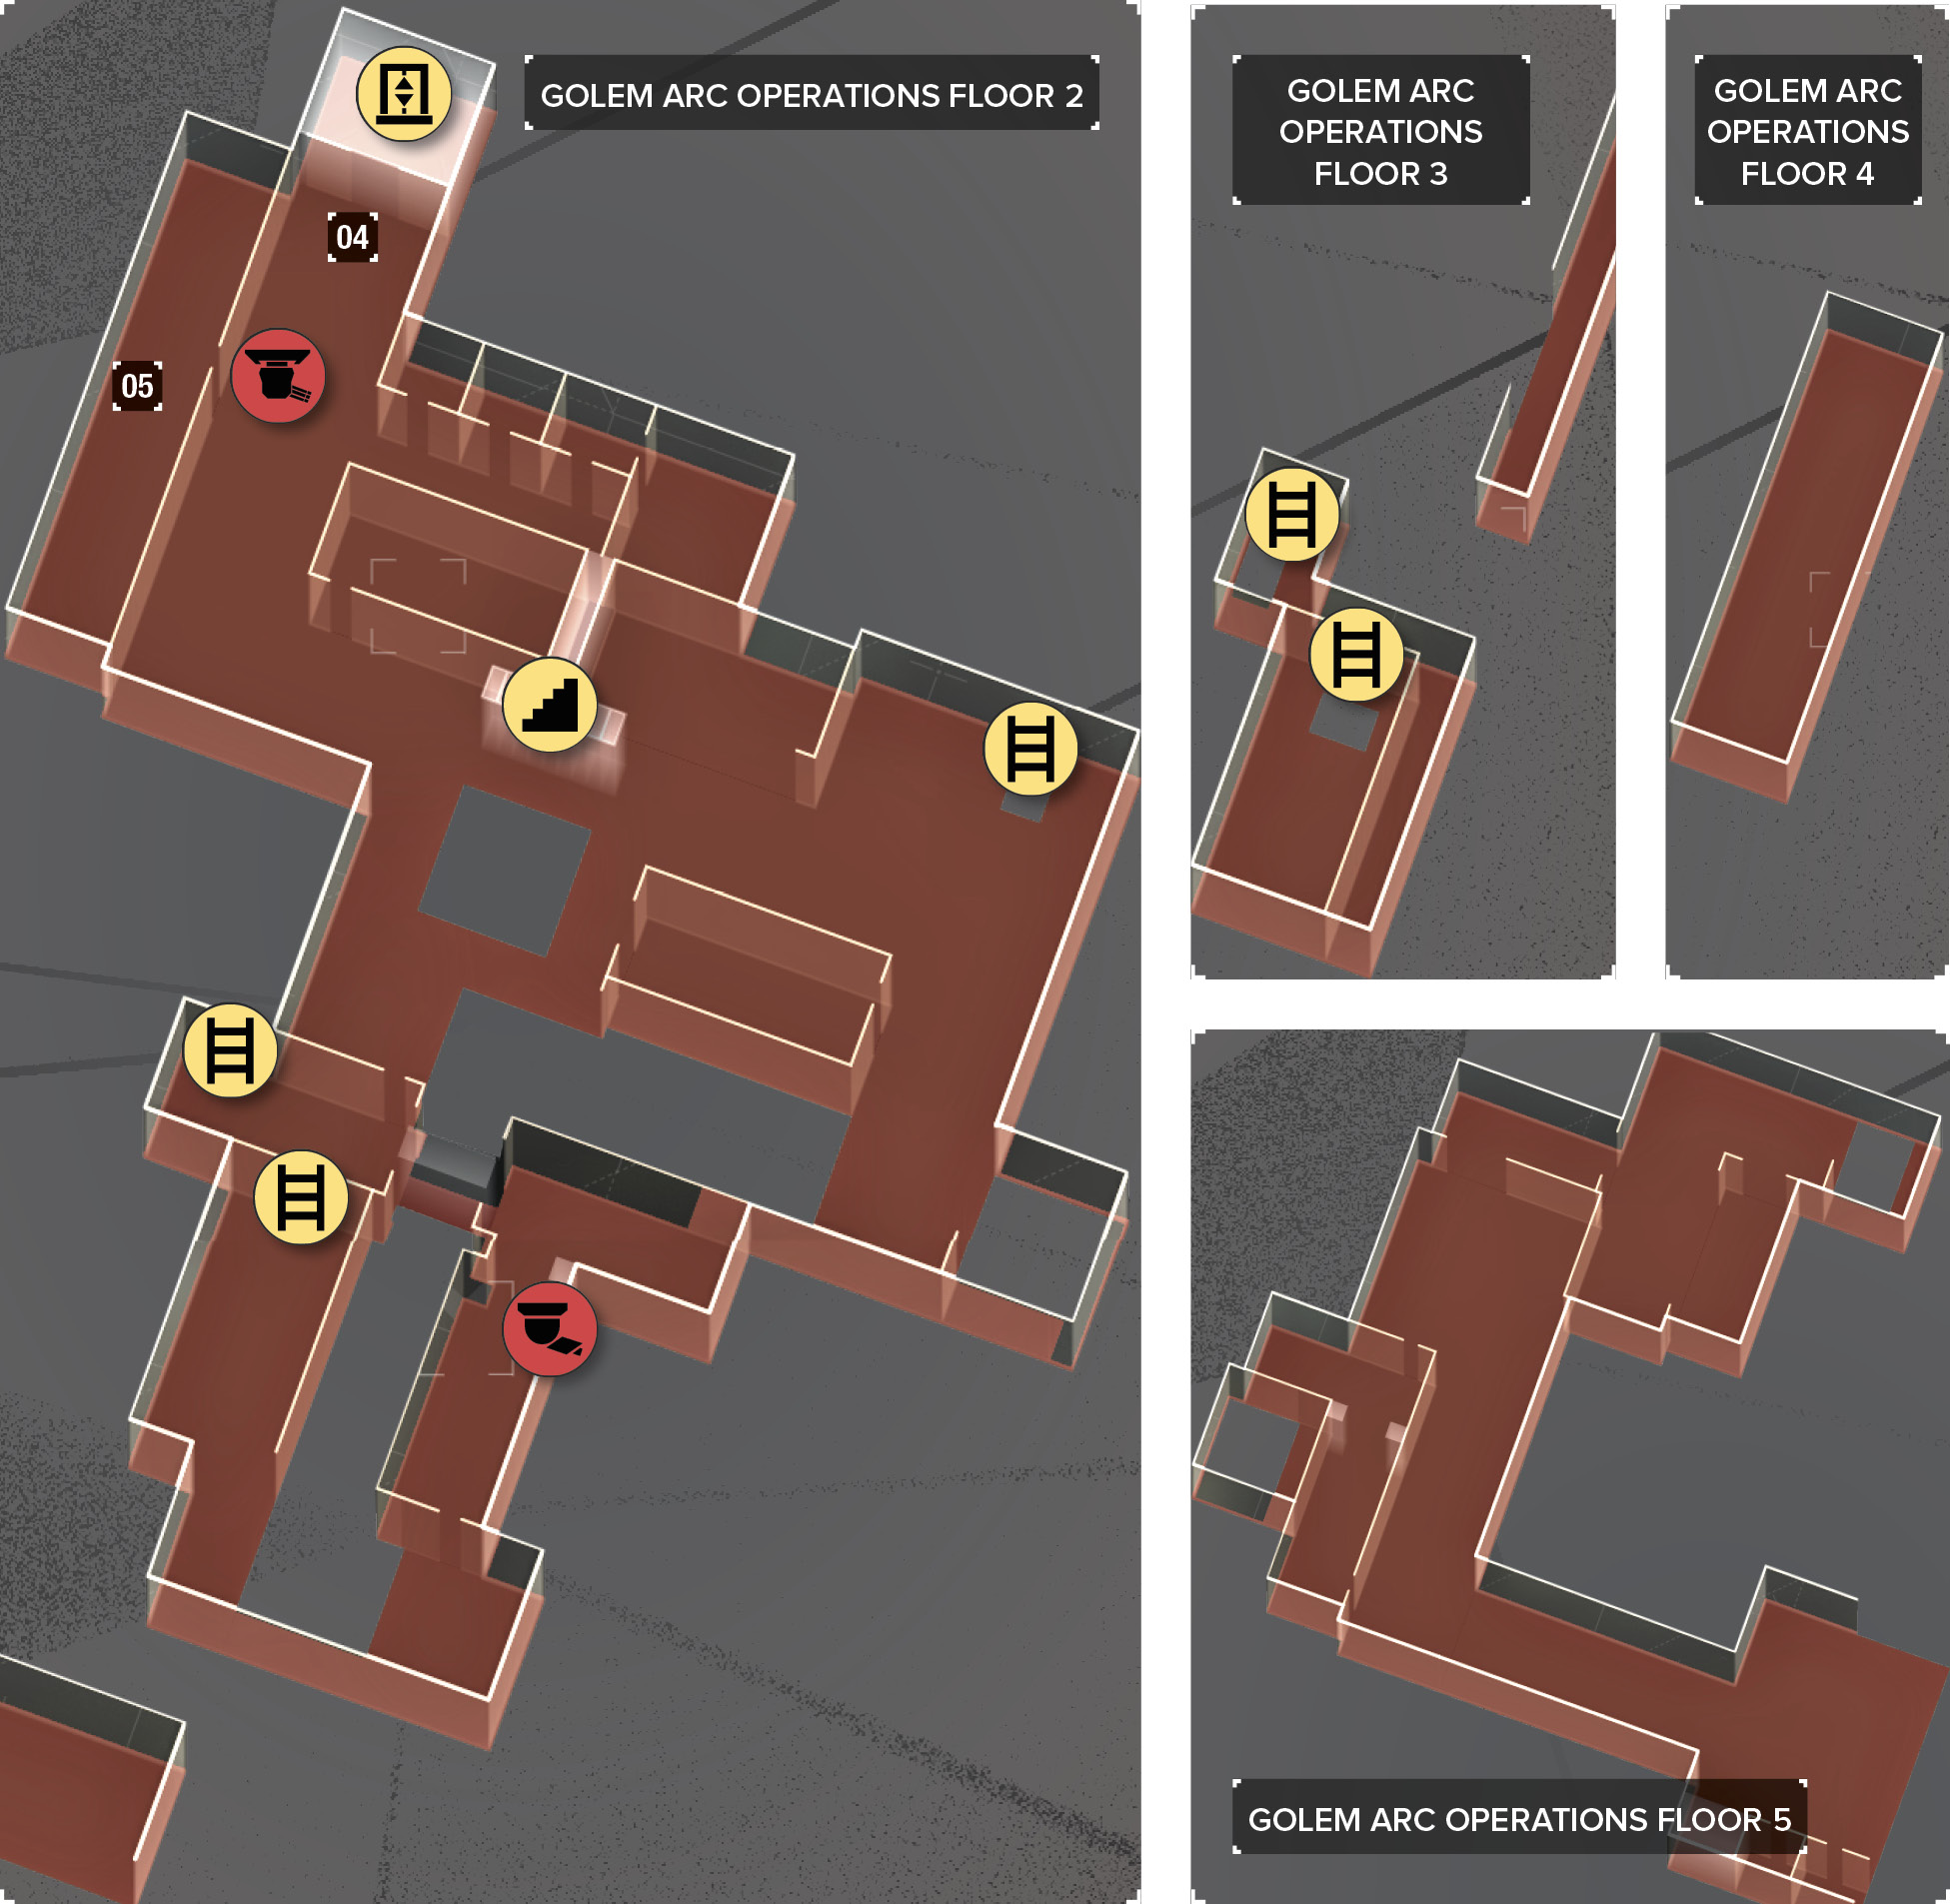
Ridit Station is a somewhat compact area. Although it has five floors, they’re small and don’t have too many surprises. You might be entering this spot from a few different avenues, but all of them have the same final goal: you need to get to a special elevator that will take you to Rucker.
CombatYou’ve come into Ridit Station on Level 1. There are enemies just ahead, past another laser fence. You haven’t been subtle in the area so far, and there’s no need to start now. Tear around the corner, take cover, and start shooting. The foes also have decent cover in the first room, so a grenade helps give them trouble while you set up. 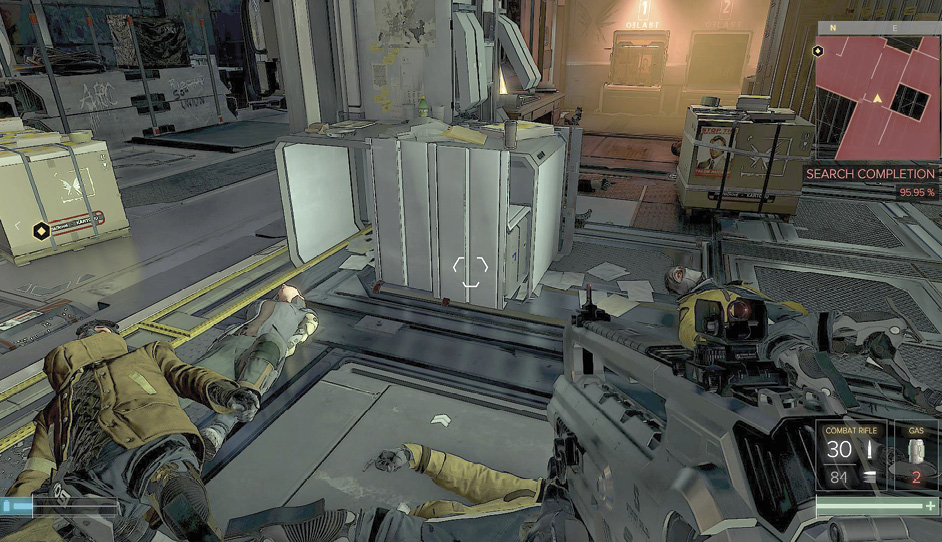 Go around the bend, and prepare yourself for a longer fight. A small room coming up has multiple guards, and it seems like half of the base comes to support them as you attack. Don’t rush, and be free with your area-of-effect attacks. Grenades and Typhoon blasts can clear out a huge number of people. Once you win that fight, the rest of the floor is practically finished. Use the security station in the north to turn off the cameras and turret if you can (or to turn the turret on their own people, though it’s not in a location to accomplish very much). Most of the enemies are already gone if you’ve come in through the front door. Use the stairs in the north to get to the second floor, and then search that area for ammunition and loot. The elevator won’t be guarded as long as the turret is shut down. Take the elevator to the final part of the mission. 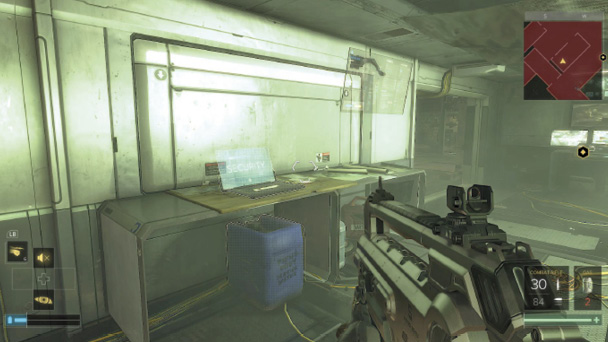 |
Stealth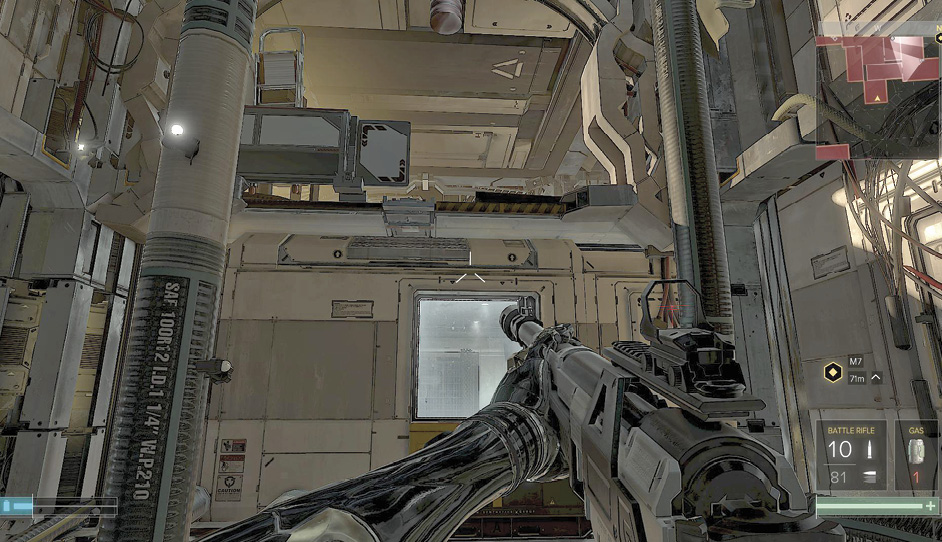 This walkthrough took you to the fifth-floor entrance into Ridit Station. Search for any extra loot before you leave the top of the area, and then use the construction area in the north to drop down to the second floor. Avoid falling too far, too fast, unless you have the Icarus system installed to save you. Use a high jump or carefully descend so that you get onto the second floor of the building instead of the first. You can go all the way to the bottom here, but it makes your run through the complex longer and means that you have to avoid more guards. (This is fine if you want more loot and experience.) Get onto the second floor ledge, and crouch as you move toward the room to your west. Hug the wall, and hack into a computer to open the door beside you. Go into the room and cross to the western side of it. Leave when the patrollers aren’t looking, and hurry north. You can get into some storage rooms in back, and no one watches those. If anyone gets suspicious, hide there, and then execute a quiet Takedown. 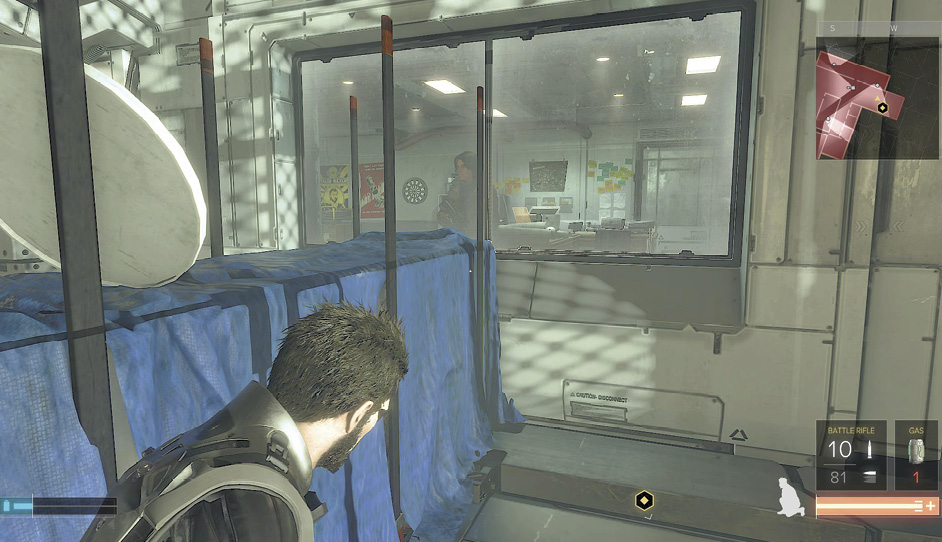 Crawl over a box and into the smaller storage rooms, and then go out into the hallway beside the turret. It’s easy to avoid if you’re patient, so wait until it faces south. Move toward the elevator, but watch out for a guard inside the computer room. He’ll look out into the hall some of the time. Wait for him to patrol away, and then use the elevator to escape undetected. |
Confront Talos Rucker, Then Leave the Compound
Objectives
|
Talk to Talos Rucker |
|
Leave Golem City |
Overview
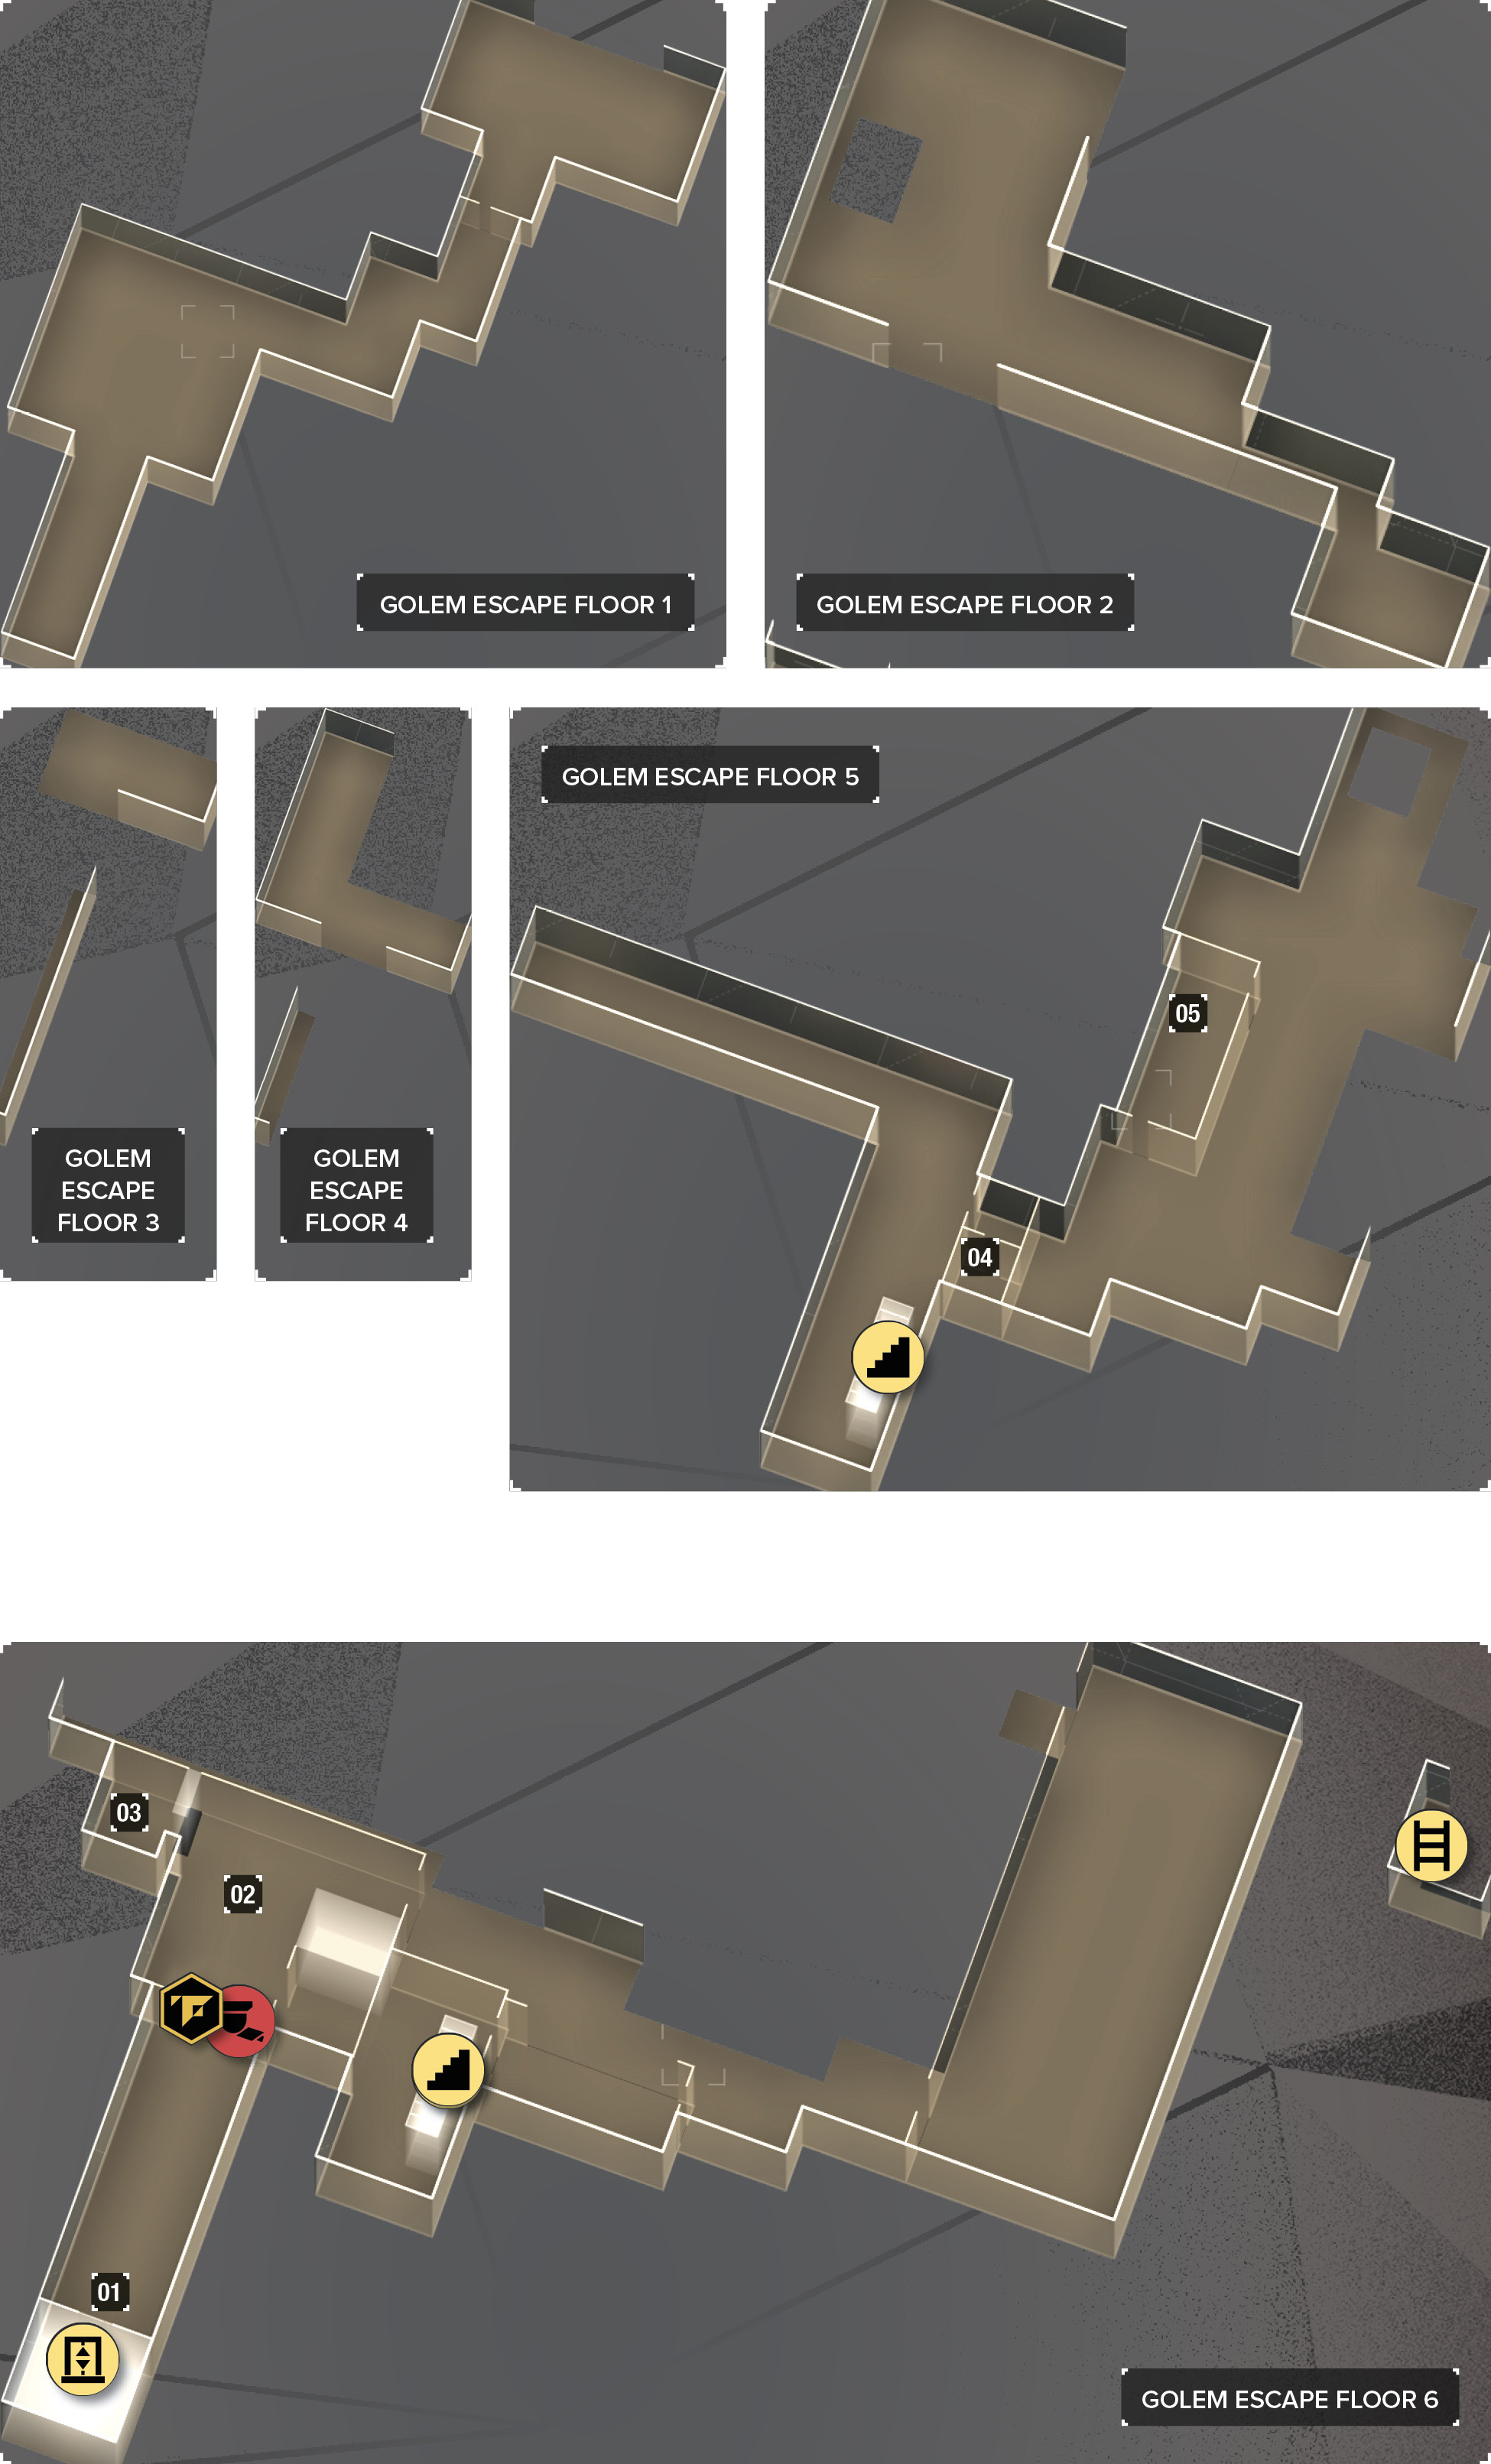
Map Legend
|
01: Starting point |
|
02: Talos’ room |
|
03: Evidence area |
|
04: Equipment rooms |
|
05: Security computer |
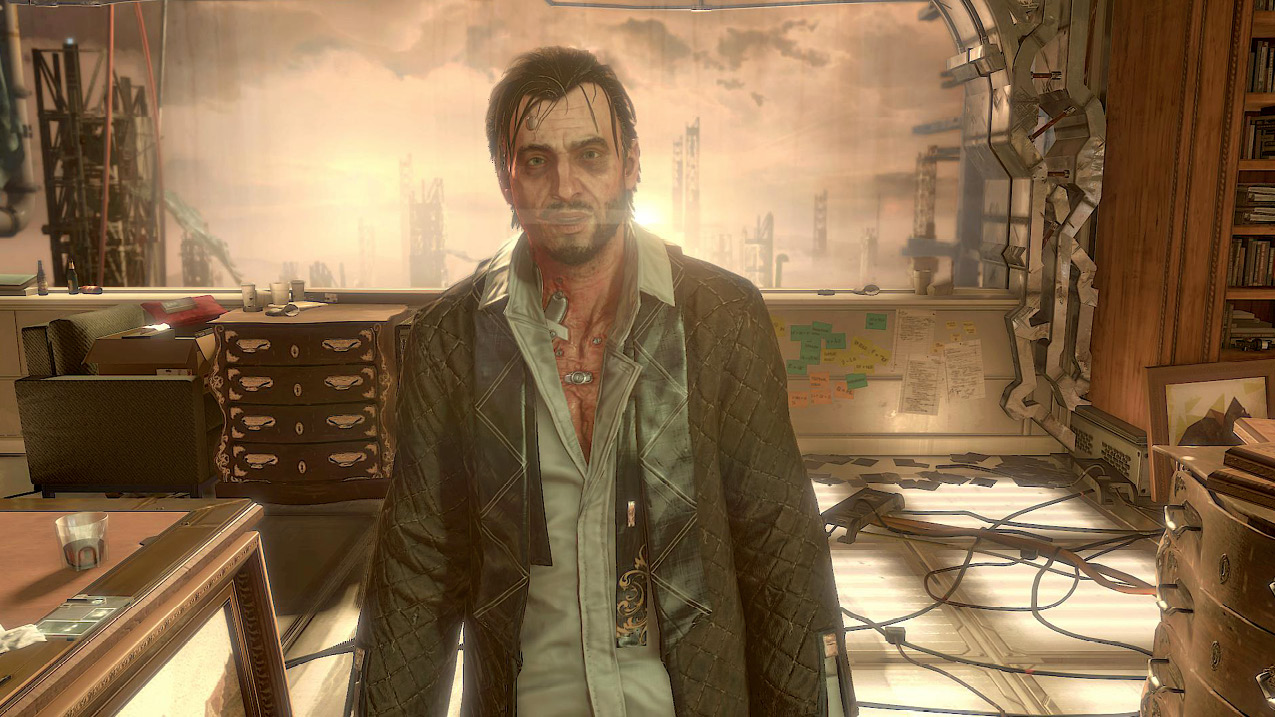
Walk into Rucker’s room, and have a civil conversation with him. If you want to get a Silver Tongue bonus, use the following conversation tactics with him:
- Turn Tables
- Justify
- Turn Tables
- Turn Tables
When you two finish, go into the side room that is locked with Rucker’s card. You get this for winning the debate, so it’s doubly important to use the correct conversation tactics. The room is littered with loot. If you can’t hack the safe, use a Multi-Tool; the rewards are sweet, and a Praxis Kit is among them! You also get the evidence that Talos referred to in your debate.
Once everything is looted, it’s your job to extricate Jensen from the city. You need to get down to the lower level of this area.
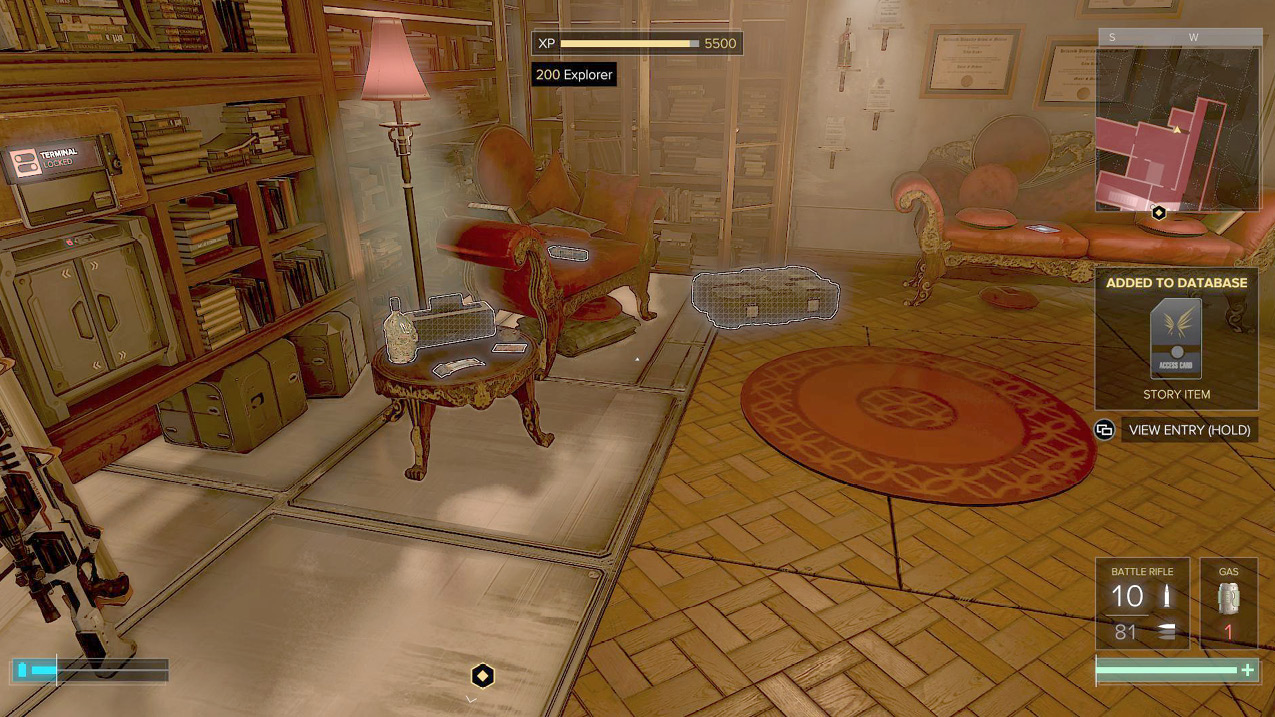
CombatYour last big set of fights is coming up. As you leave Rucker’s office, you get thrown into a rolling battle against multiple groups. The people on Level 6 (where you are) are the first victims, but three drones arrive shortly, and then more people climb up from the lower levels. Expect these reinforcements and plan accordingly. If you go out into the eastern hallway, you get flanked by an enemy to the south and the drones to the north. The majority of foes stay east. It’s much safer to retreat into Rucker’s office after you start the fight, and pick off those adversaries who are too bold. This ensures that all of your targets are to the east, so you can shoot without worrying about your sides. 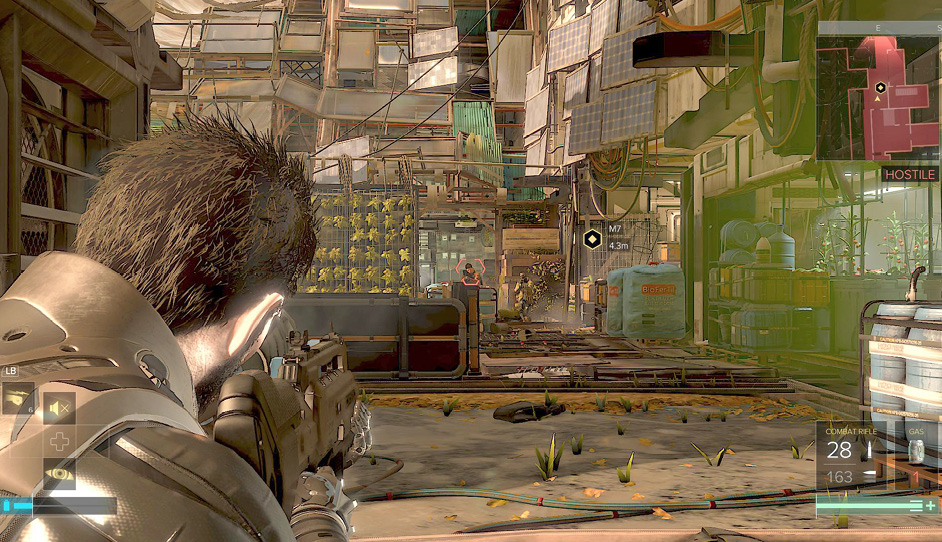 Have EMP weaponry ready to handle the drone threat, as they’re the most annoying enemies of the group. EMP shots, EMP grenades, or even regular Shotgun blasts can be quite effective against them. Only the two guards from the bottom of the area refuse to come up for the big fight. Descend carefully when you’re done since you know that they’ll be waiting. Otherwise, it’s a straight shot out of there. 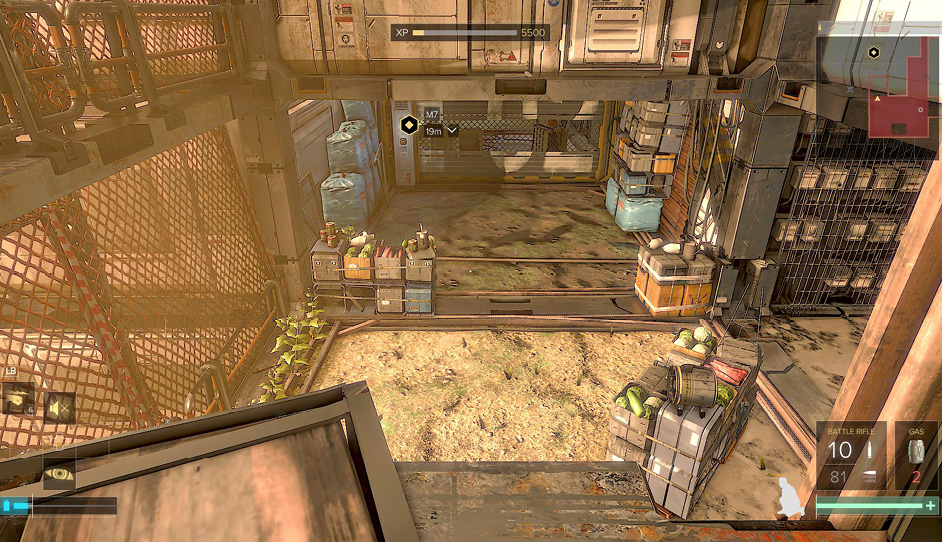 |
StealthOpen the window in the evidence room and jump out onto a walkway. Use a ladder to descend to Level 5, and then sneak east. A patroller spots you if you’re too obvious, so stay low and knock him out if you’re concerned about the guy. 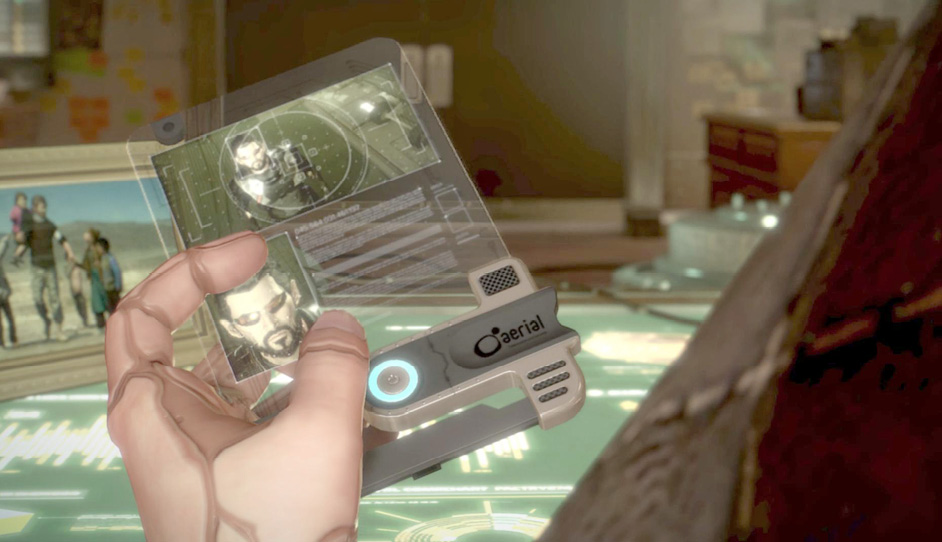 Hack into a couple of rooms with equipment. Get what you can, and then use a vent to get outside, to the east. Stick close to the wall, and get over to a building north of your position. Hack your way inside and look for a security laptop. Stay low in there; guards can see into the room. 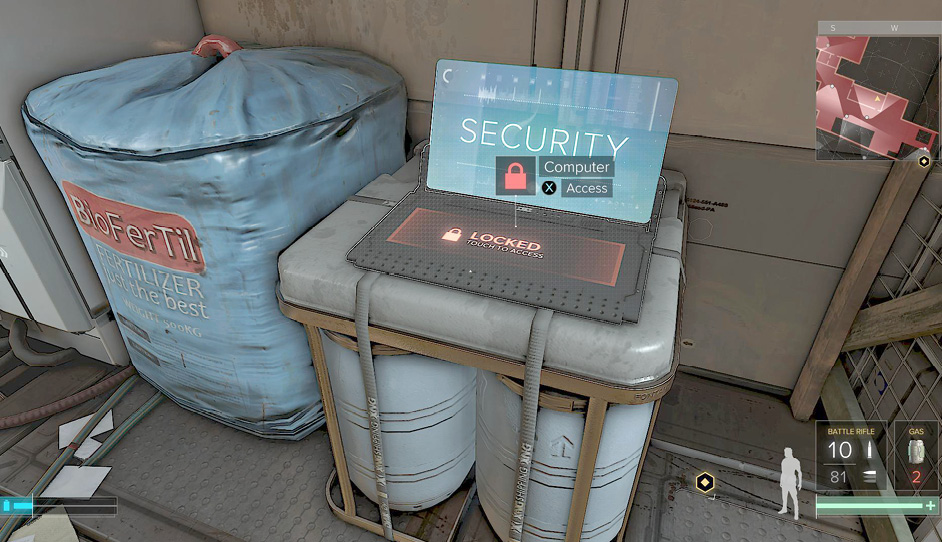 The computer lets you turn off a camera ahead and a few drones, as well. Hop out of the northern window and sneak to the edge of the level. Knock out a lone guard who is looking out over the drop, and then descend on your own. A couple more guards are farther down, but they’re trusting their drones to watch their backs. Wait for the two to move apart, and then sneak on by or use quiet Takedowns to knock them out. You soon get to the bottom of the area. Open a large gate, and run to the exit. You’ve finished the mission. |