Deus Ex: Mankind Divided Guide DLC A Criminal Past DLC
Release Guerrero from Solitary
Objectives
|
Find Guerrero in Solitary Confinement |
|
Restore power to the Emergency Override System |
|
Use the security computer to unlock cell S-04 |
|
Release Guerrero from Solitary Confinement |
Overview
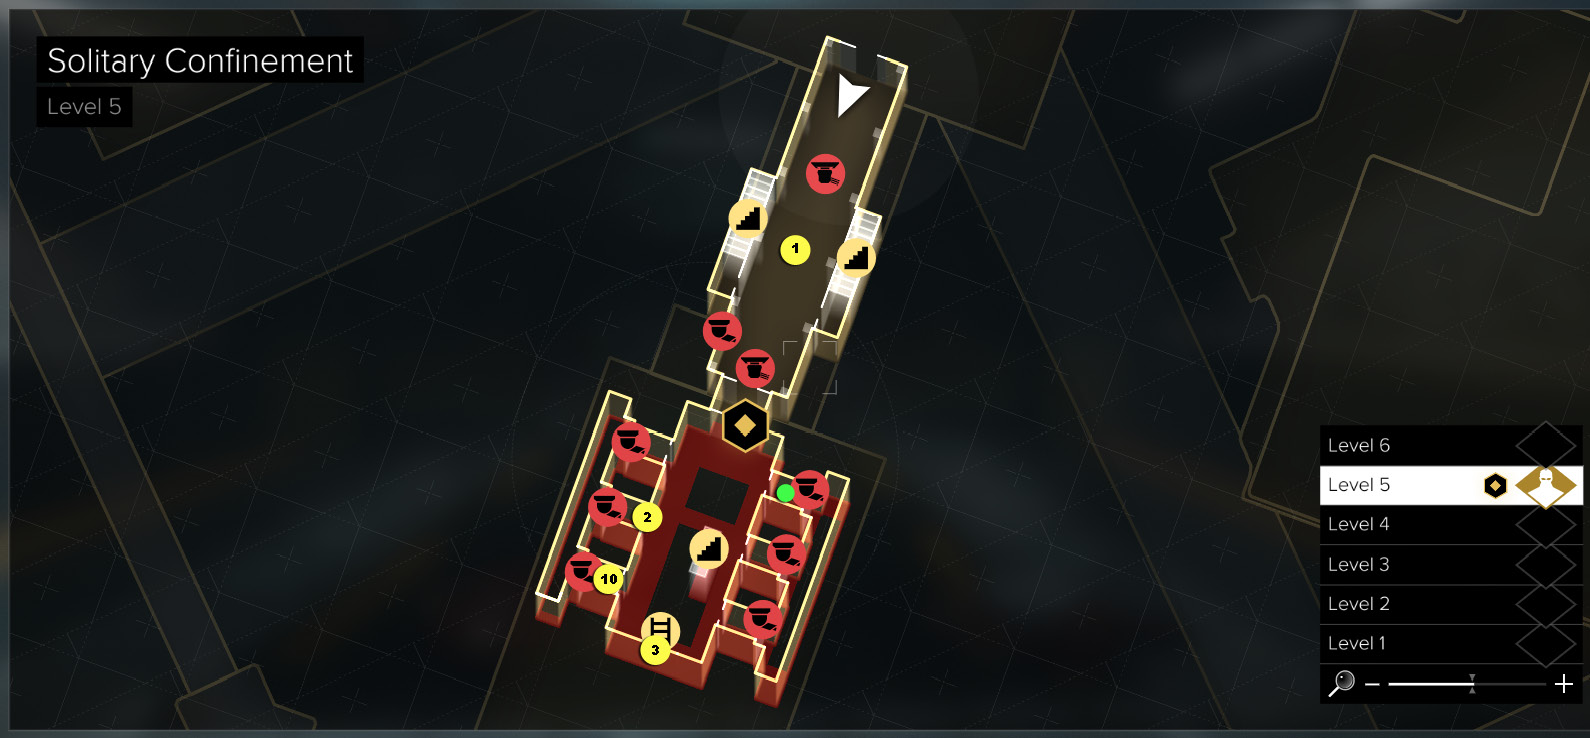
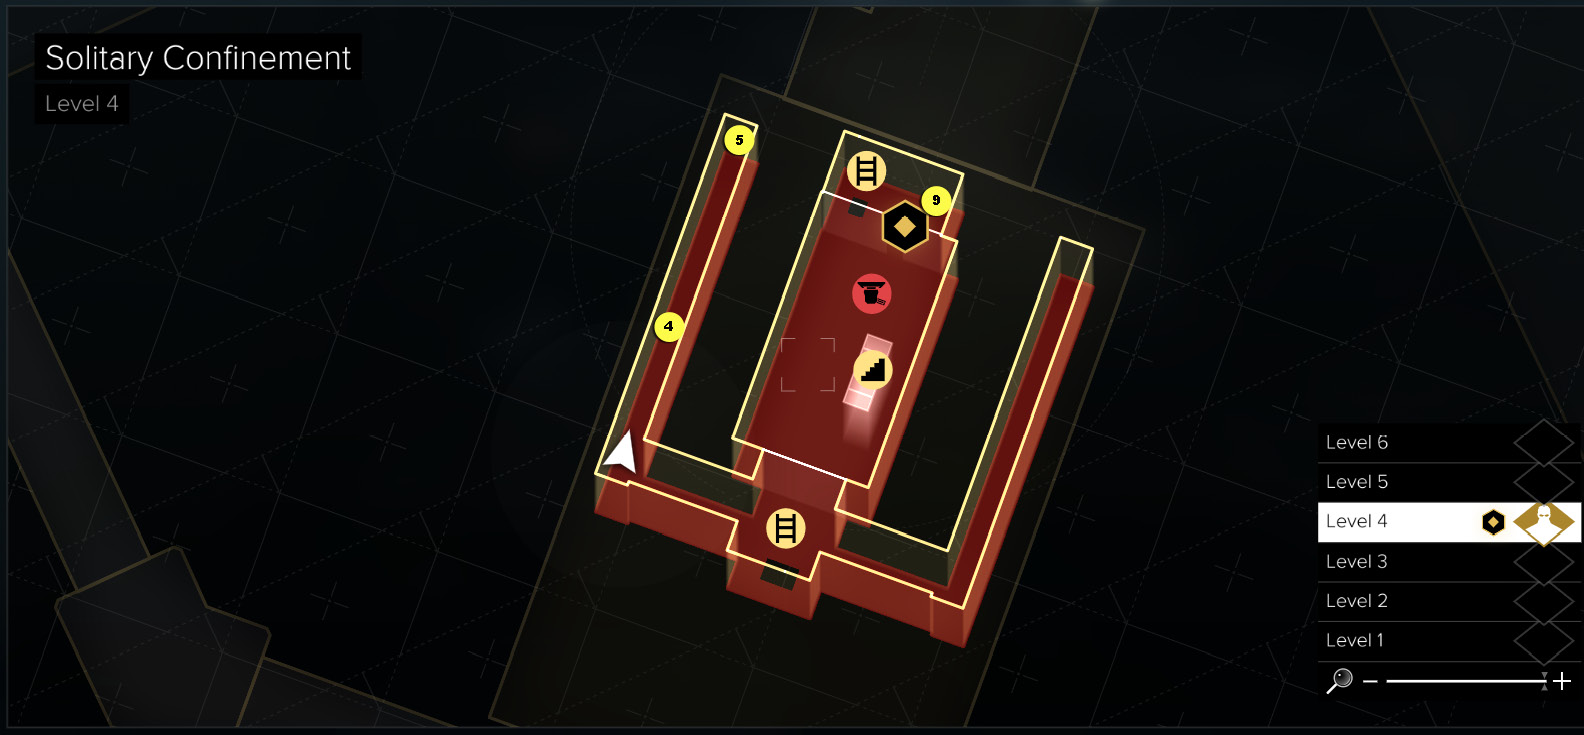
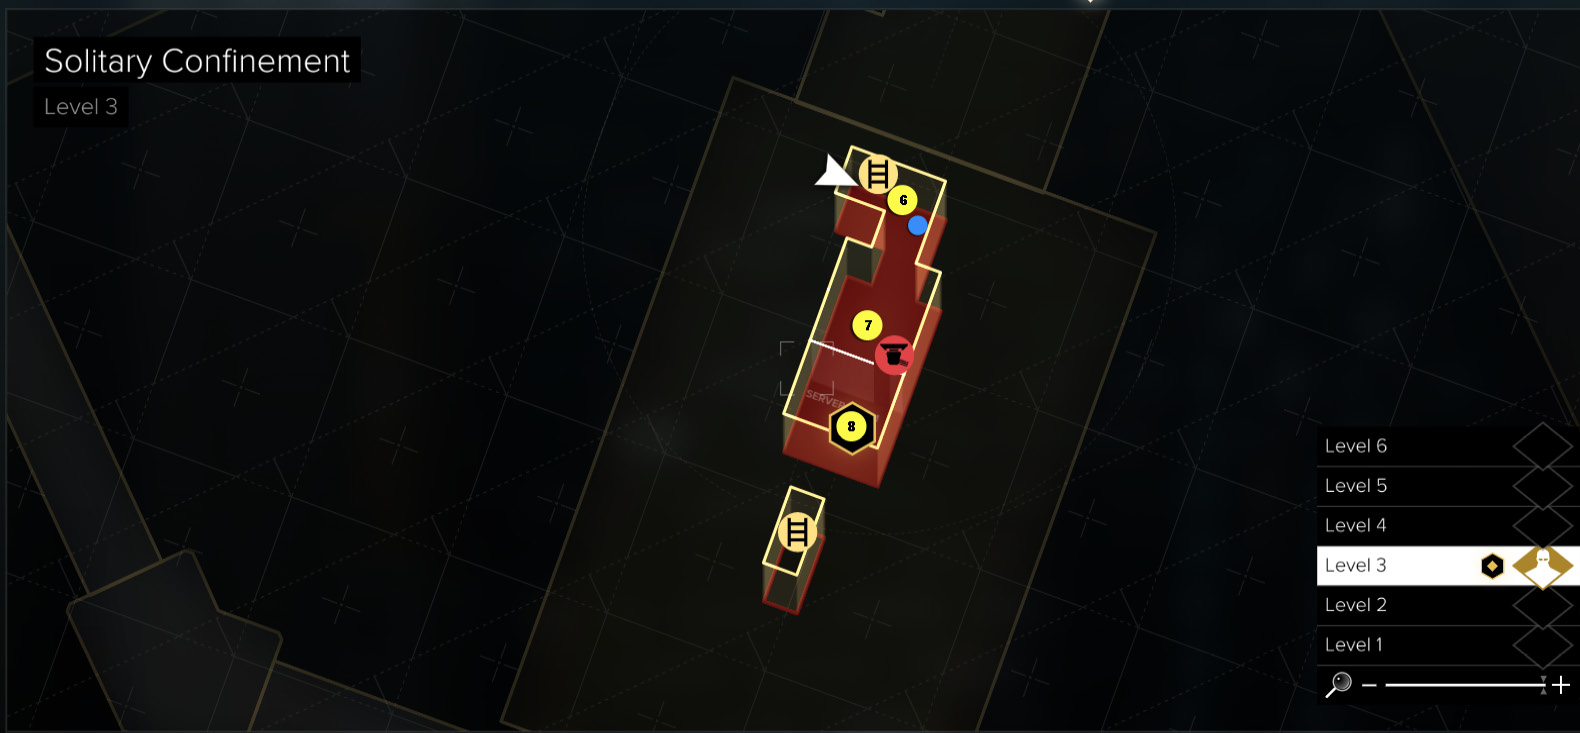
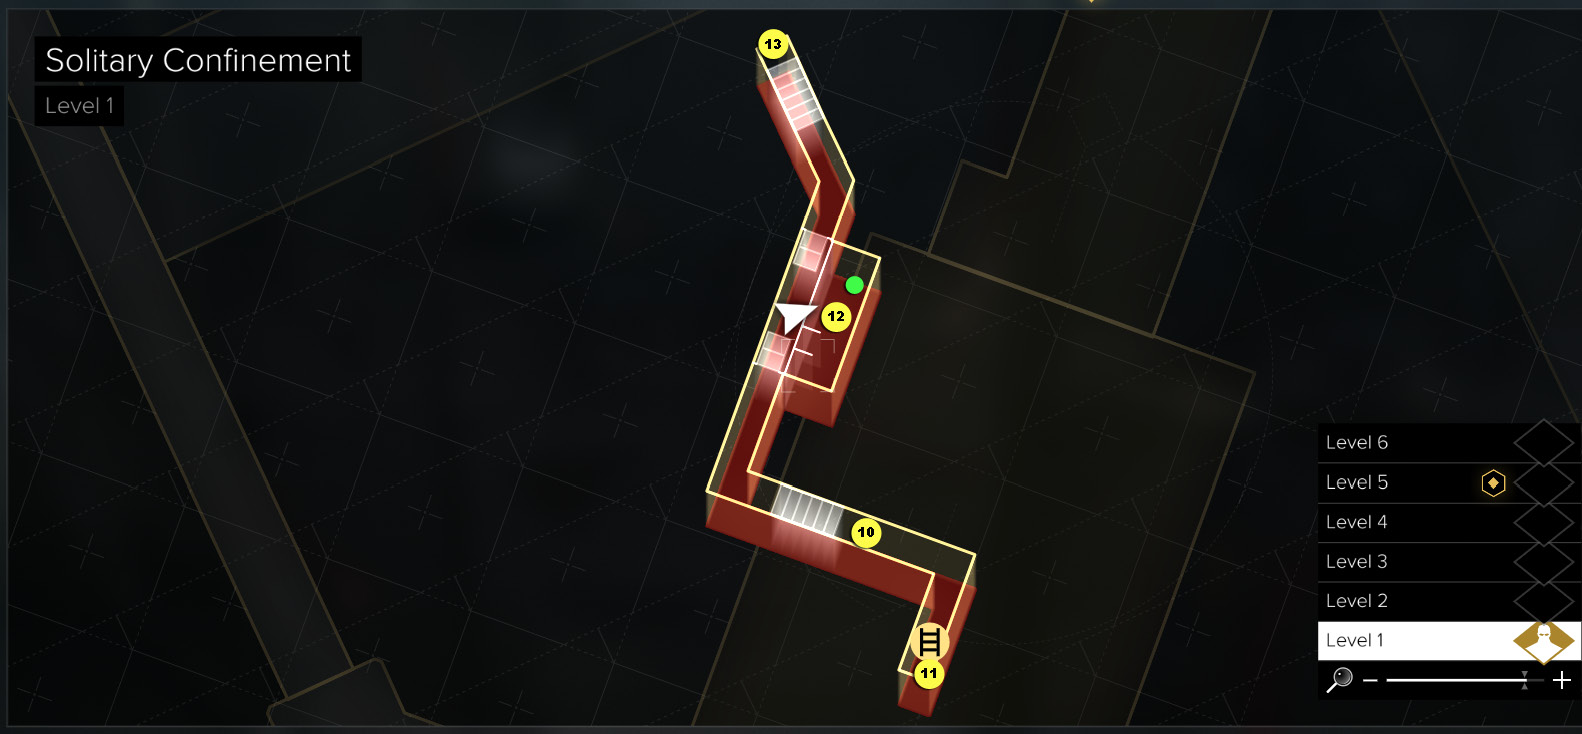
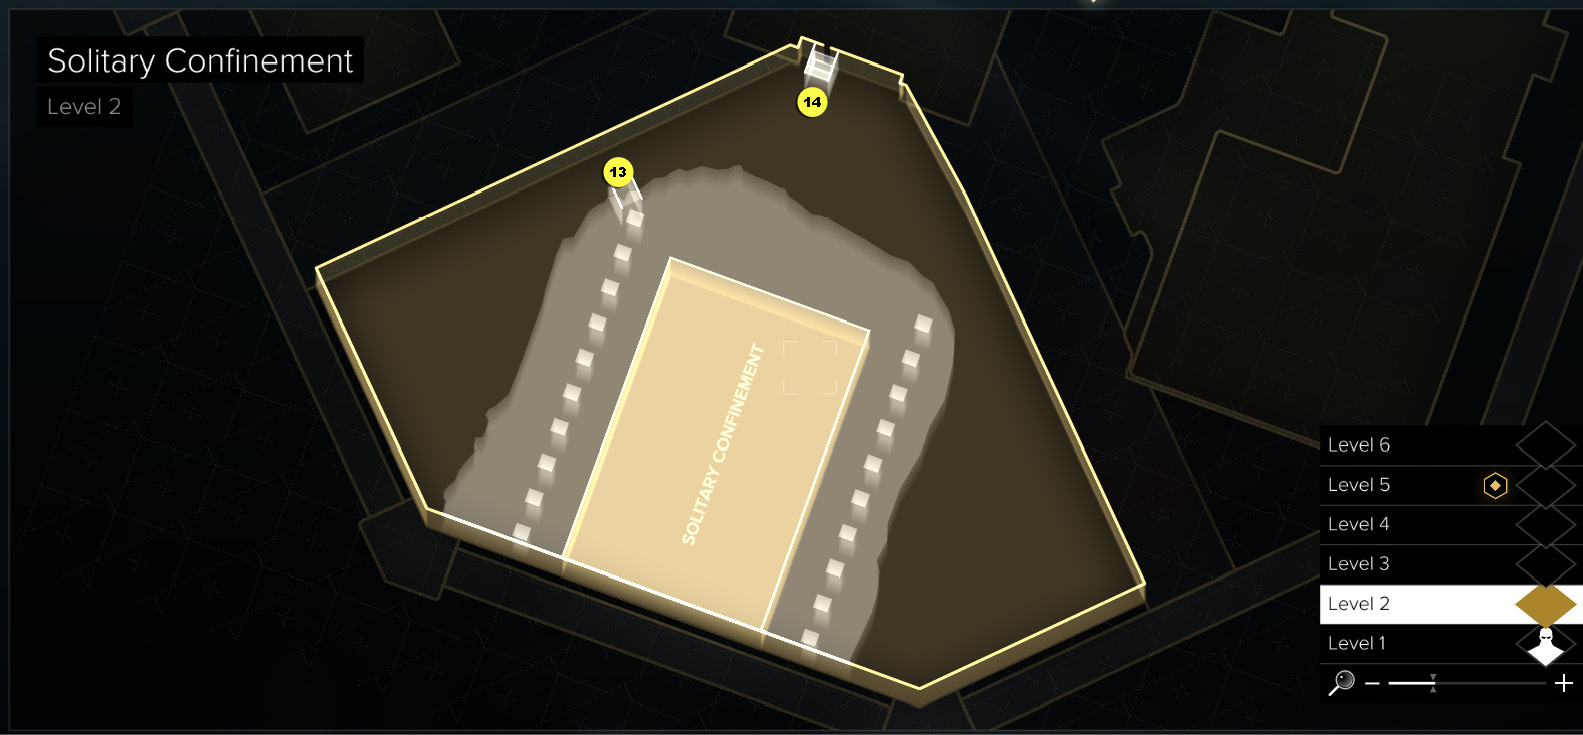
Map Legend
|
1: Connecting corridor |
|
2: Cell S-04 (Guerrero) |
|
3: Ladder to catwalks |
|
4: Subfloor passage |
|
5: Destructible vent |
|
6: Utility room |
|
7: Server entry turret |
|
8: Manual Override System console |
|
9: Security terminal (opens cell doors) |
|
10: Cell S-06 (floor duct) |
|
11: Ladder |
|
12: Augmented Heart |
|
13: Exit to exterior grounds |
|
14: Entry to Administration building |
|
[BLUE CIRCLE] = EBook |
|
[GREEN CIRCLE] = Praxis Kit |
Restore Power to the Emergency Override System
Get to the Server Room
Here’s an easy back route to the Emergency Override server that avoids a lot of trouble. Climb the ladder (3) at the far end of the Solitary area up to the catwalk. Head right and open the first Cable Duct Door; drop into the duct, crouch, and follow the passage to another Cable Duct Door.
Open the second duct door and drop down to the grated floor on Level 4. Turn around and make the short hop down to the subfloor, then crouch and follow the long passage (4) between the pipes underneath the grated floor to the Destructible Vent (5) at the end.
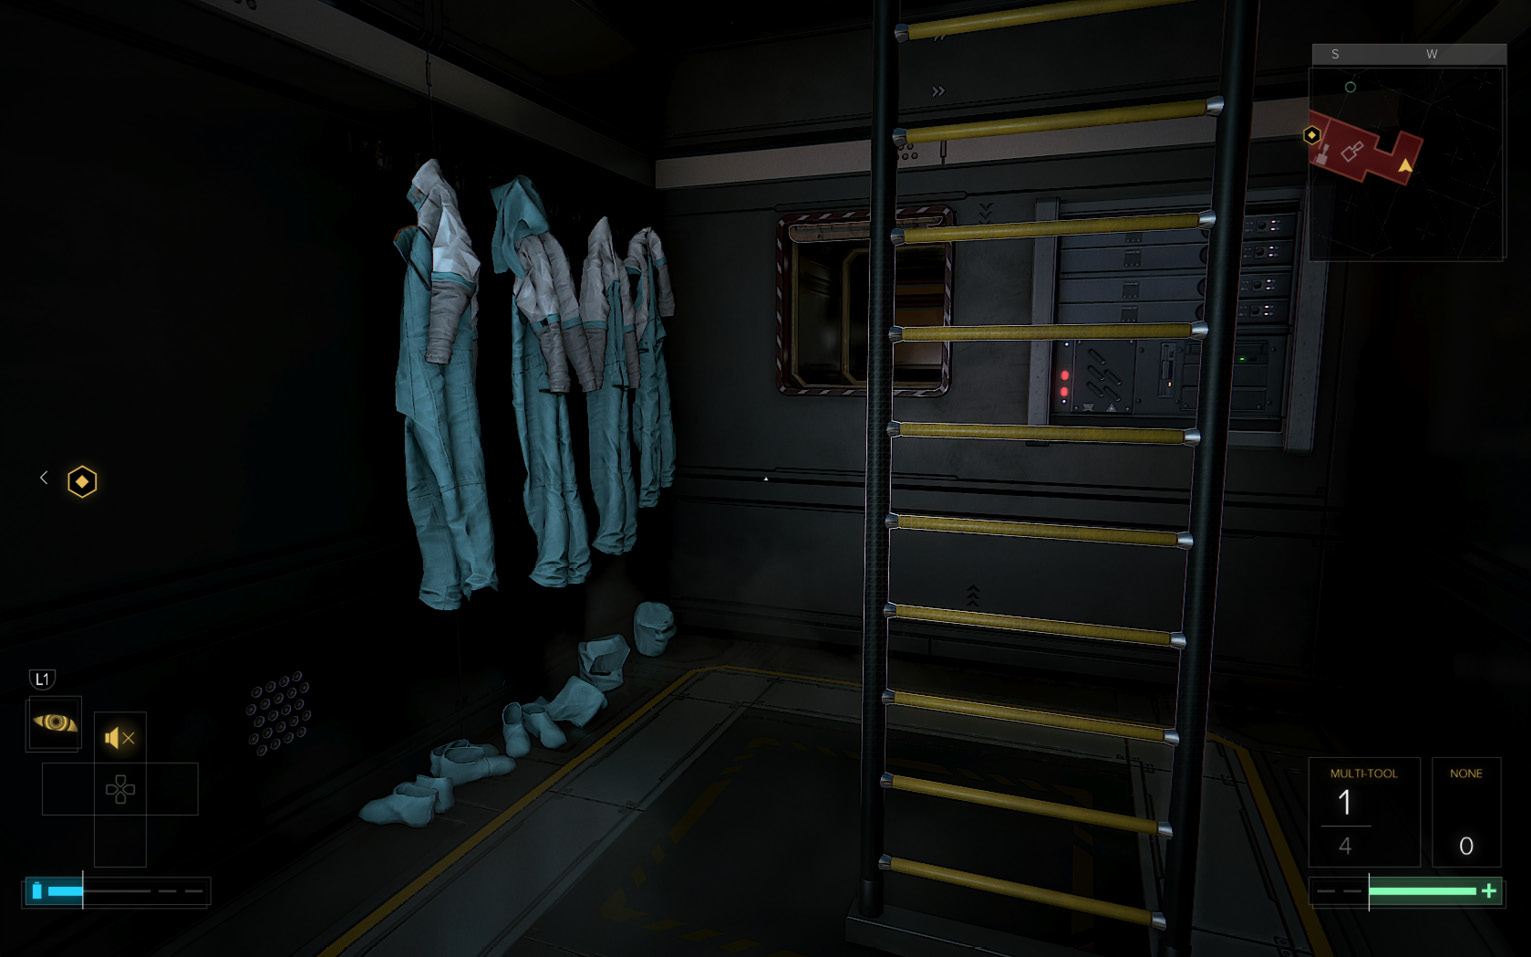
Smash the vent and proceed along the duct until you reach another Cable Duct Door on Level 3. Open it and enter a small utility room (6) with a ladder and blue hazmat suits. Look for an eBook on the desk.
Disable the Turret
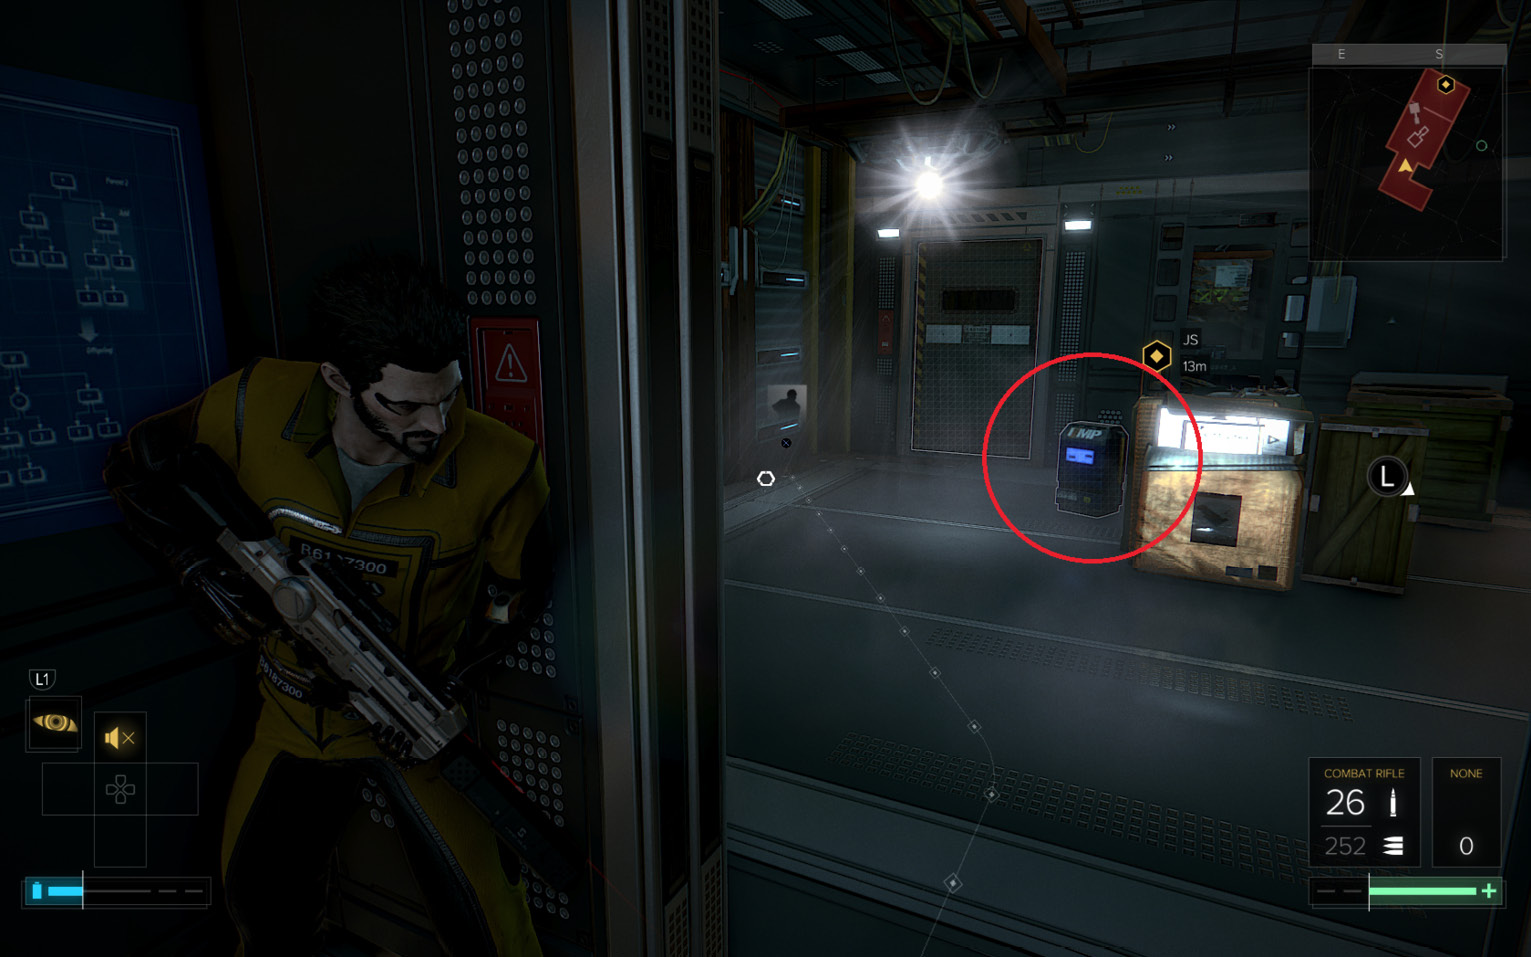
Draw a weapon and take cover beside the door. Carefully open the door–there’s a turret (7) just around the corner in the next room. Underneath it sits an EMP Generator (circled in our shot). When the turret swivels its view away, lean into the doorway and shoot the generator; the EMP blast disables the turret. Move across the room to the opposite door, open it, and duck inside the Server Room.
Solve the”Emergency Override” Puzzle
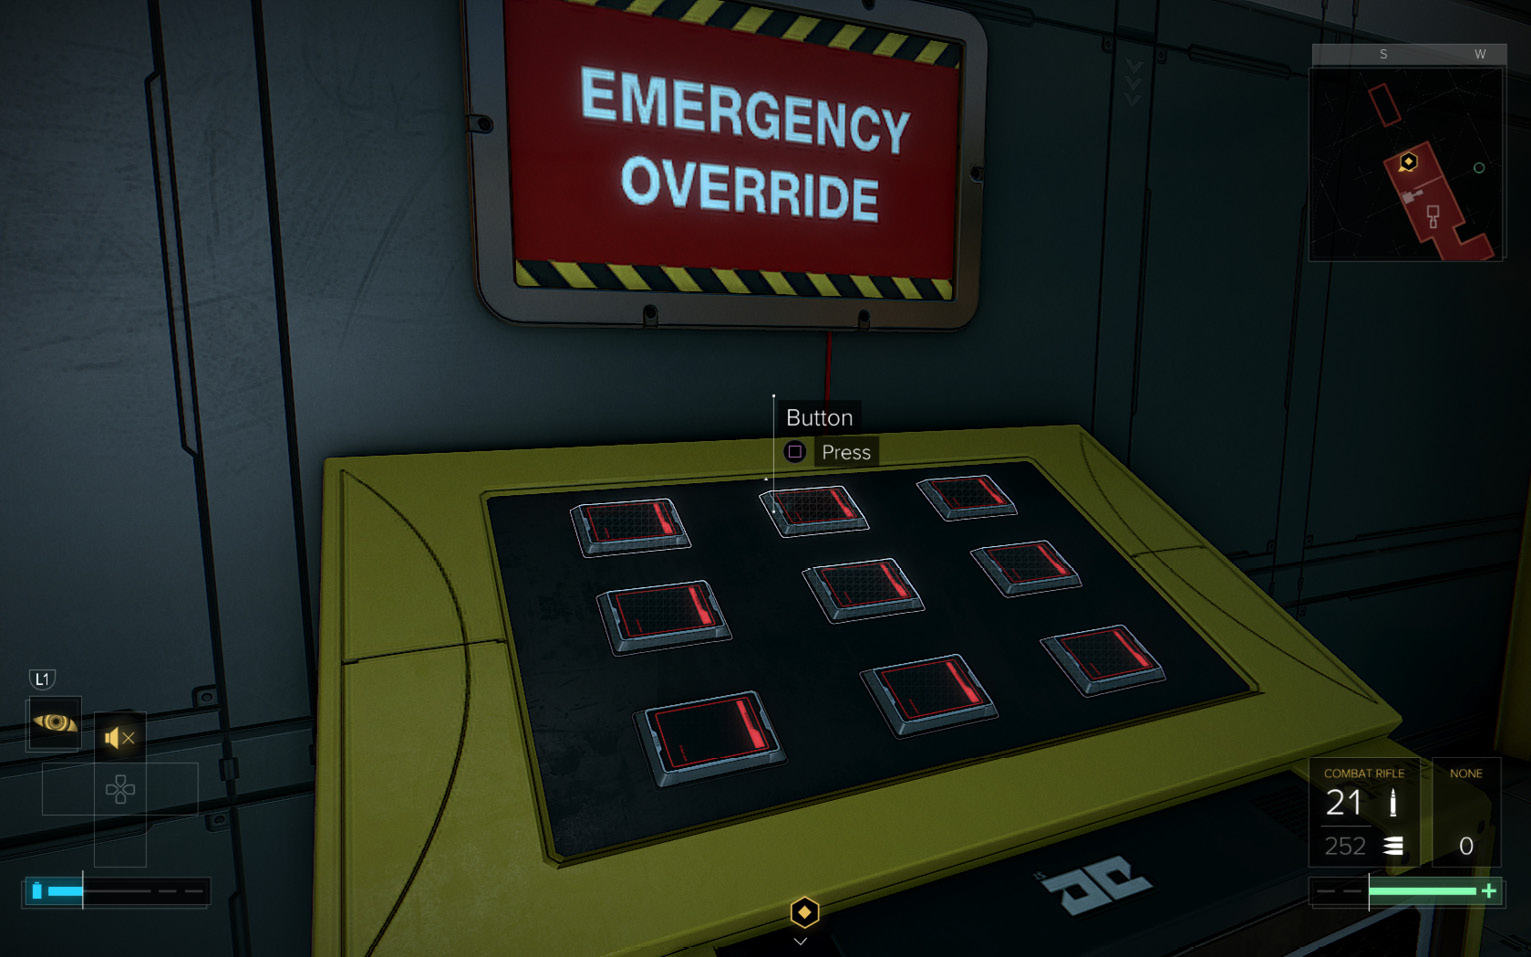
You can examine the wall poster if you want, adding it to your Database, but the puzzle solution is a lot easier than it first appears. Approach the Emergency Override panel (8) and press the Emergency Override System button at the panel’s bottom to”set” the puzzle. All nine buttons should glow with a red strip, as shown in the following screenshot:
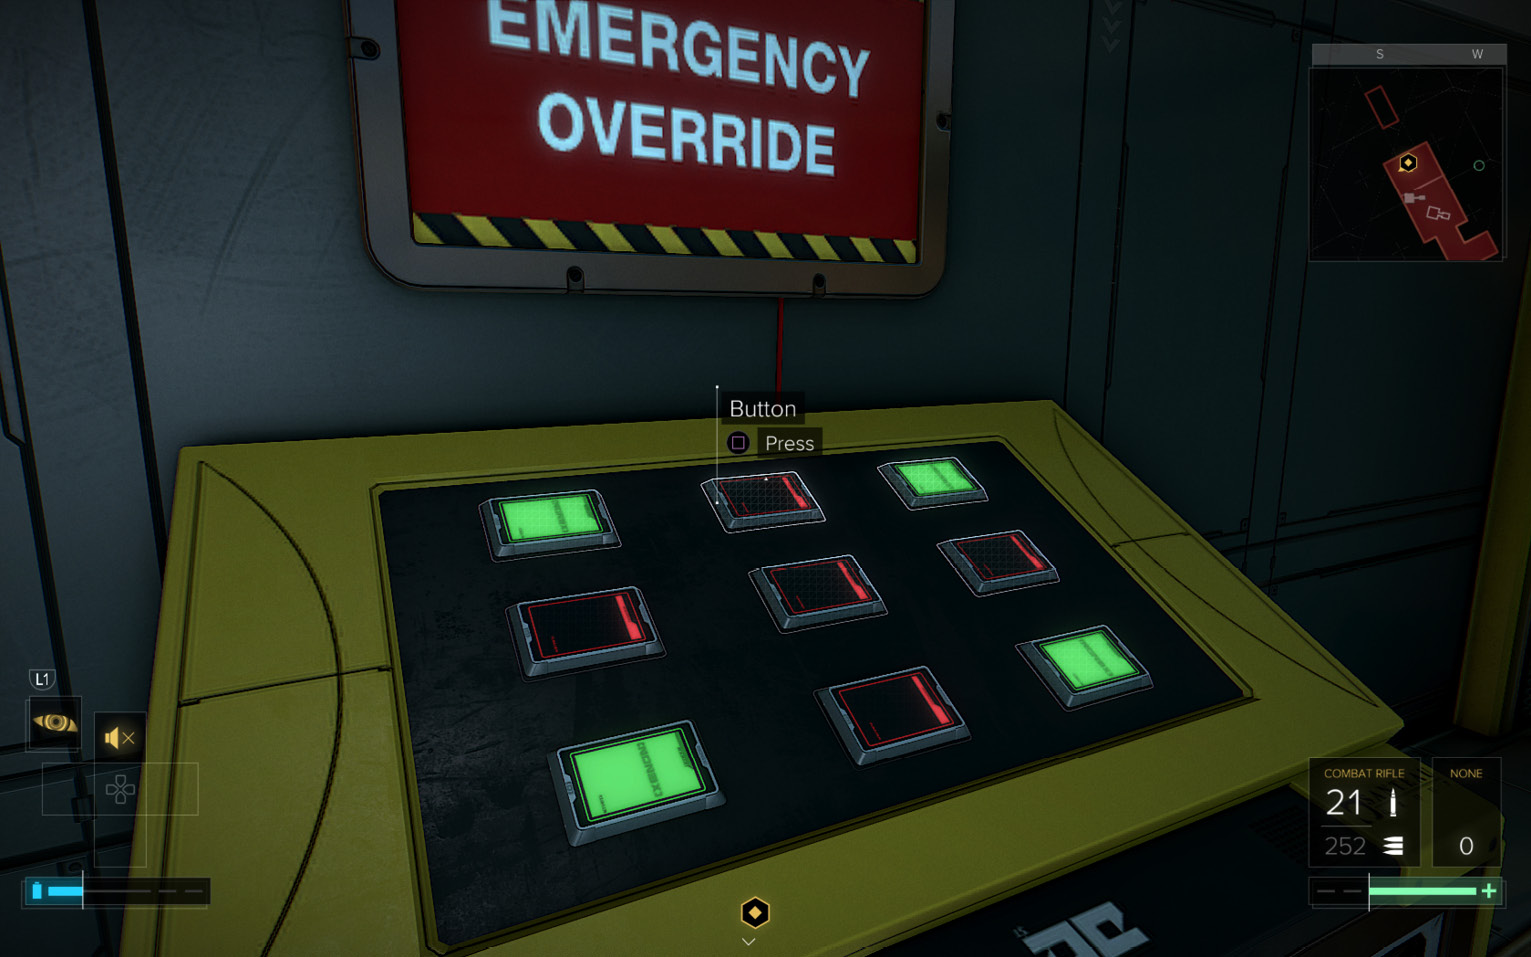
Now simply press all four corner buttons in any order. When you’re finished, the panel should look like the following screenshot. (If it doesn’t, press the reset button to start over.)
Finally, press the center button. This turns all nine buttons green, meaning all output coils are simultaneously reconnected to the main central power node, and now power is restored to the Solitary security system.
Use the Security Computer to Unlock Cell S-04
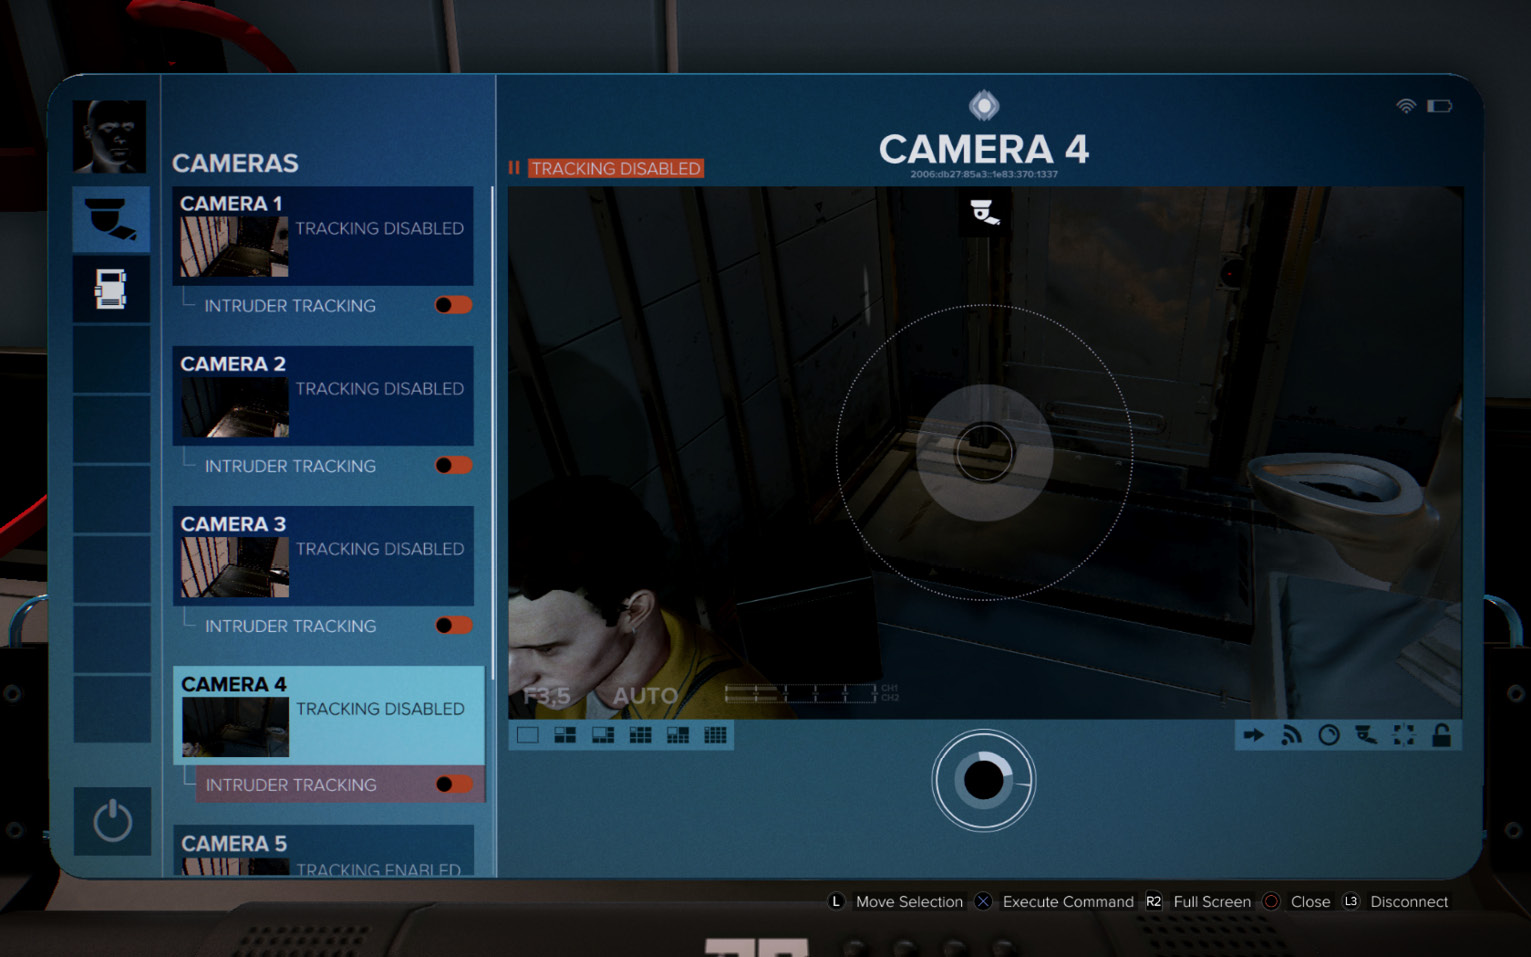
Return to the utility room and climb the ladder to the Solitary security office on Level 4. Access the Solitary Doors security terminal (9) (underneath the red Emergency Override sign) and disable all six cell cameras. (You can see Guerrero inside cell S-04 when you highlight Camera 4.) Next, unlock all six cell doors. Exit the security room and climb up the stairs to the cells on Level 5.
Release Guerrero from Solitary Confinement
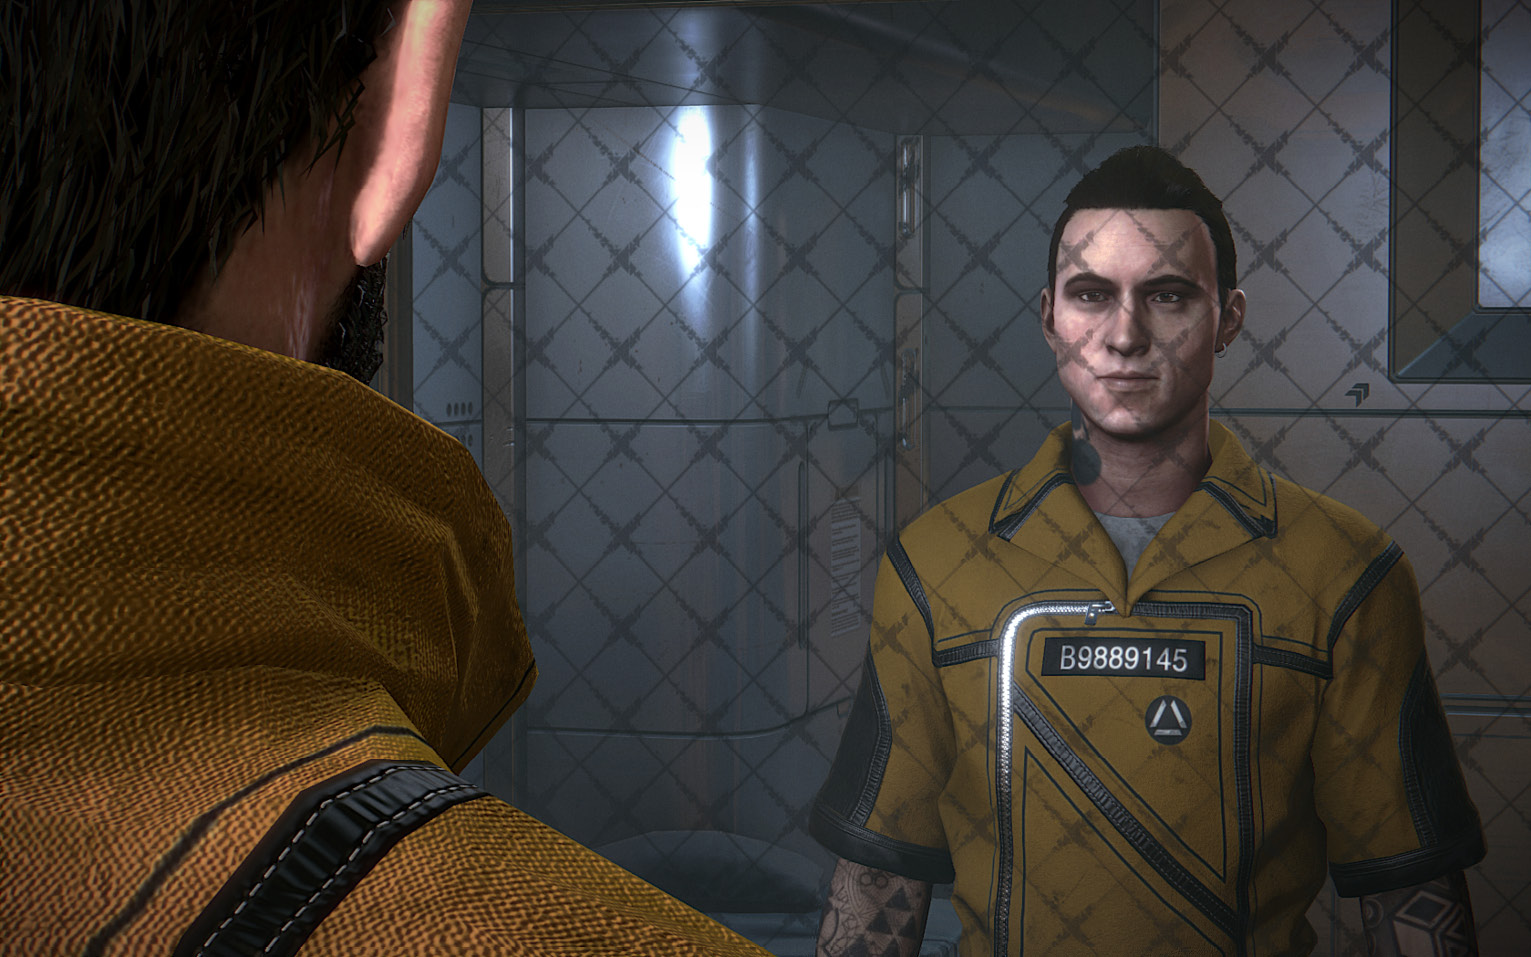
Before you free Guerrero, check out Cell S-01 to find a Praxis Kit. Open cell S-04 (2) to trigger a scene with Guerrero: he reveals what kind of dirty business Junkyard is dealing, and it’s not pretty. Guerrero also implicates The Fixer in the scheme. Ask all questions to learn about the maintenance tunnels underneath the prison that serve as the pipeline for Junkyard’s merchandise.
Point of Interest: Vanishing Act
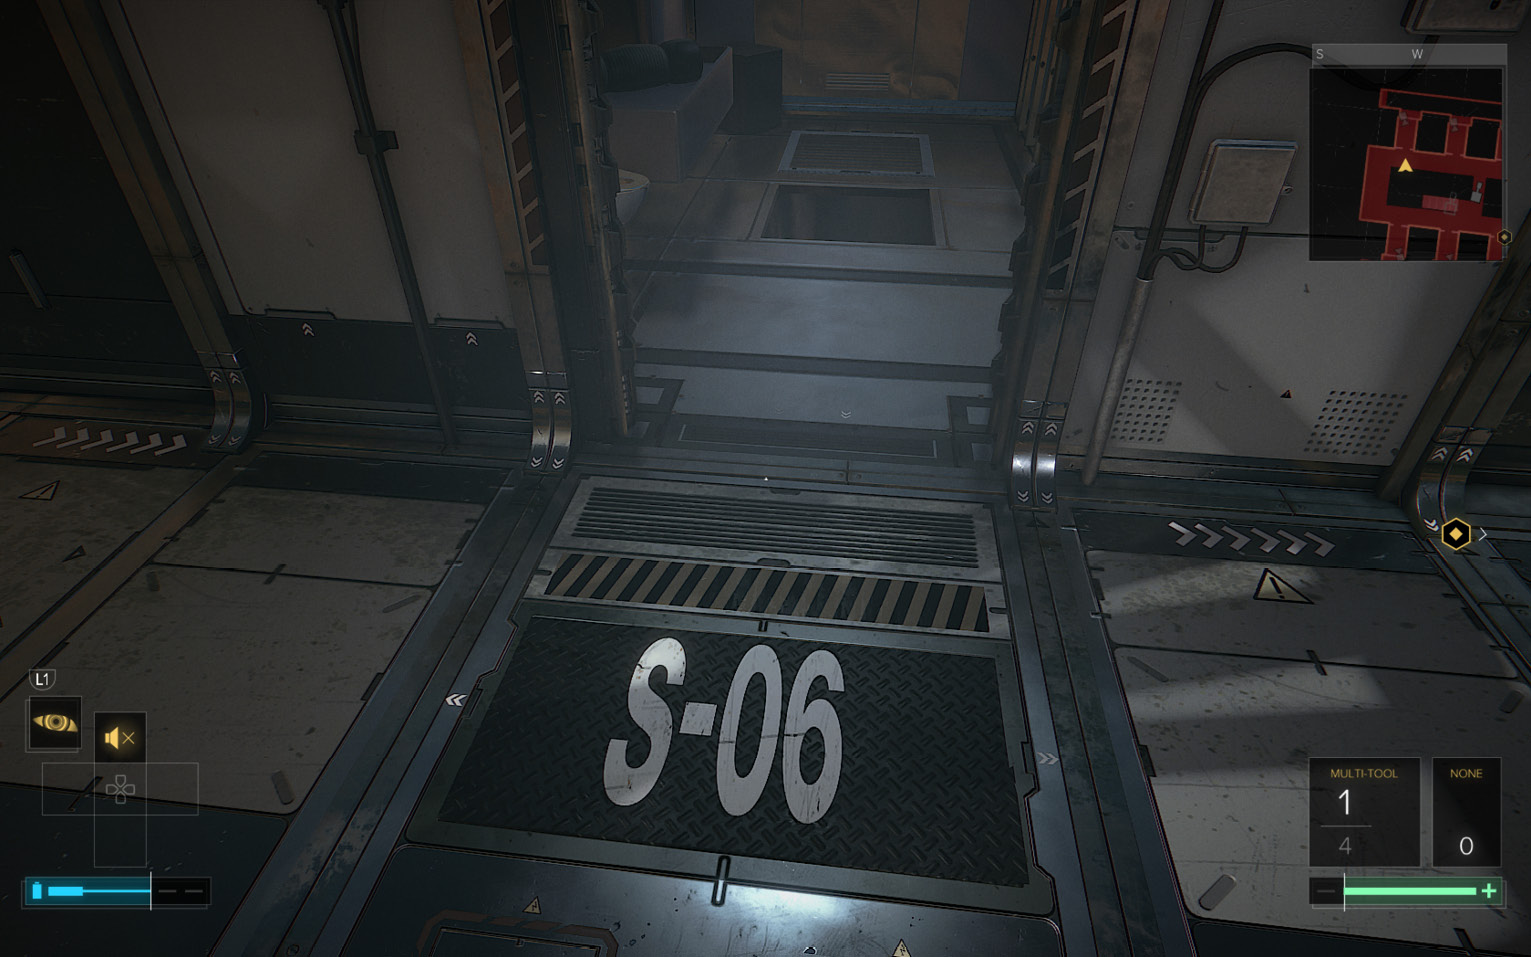
Before proceeding to your next objectives, take a peek inside cell S-06 in Solitary Confinement. This is the death cell. If you’ve used Praxis to acquire the Icarus Landing augmentation, open the cell’s floor vent (10) and drop down the long shaft to the underground maintenance tunnel on Level 1. (Otherwise, you have to use the ladder (11) in the ducts.)
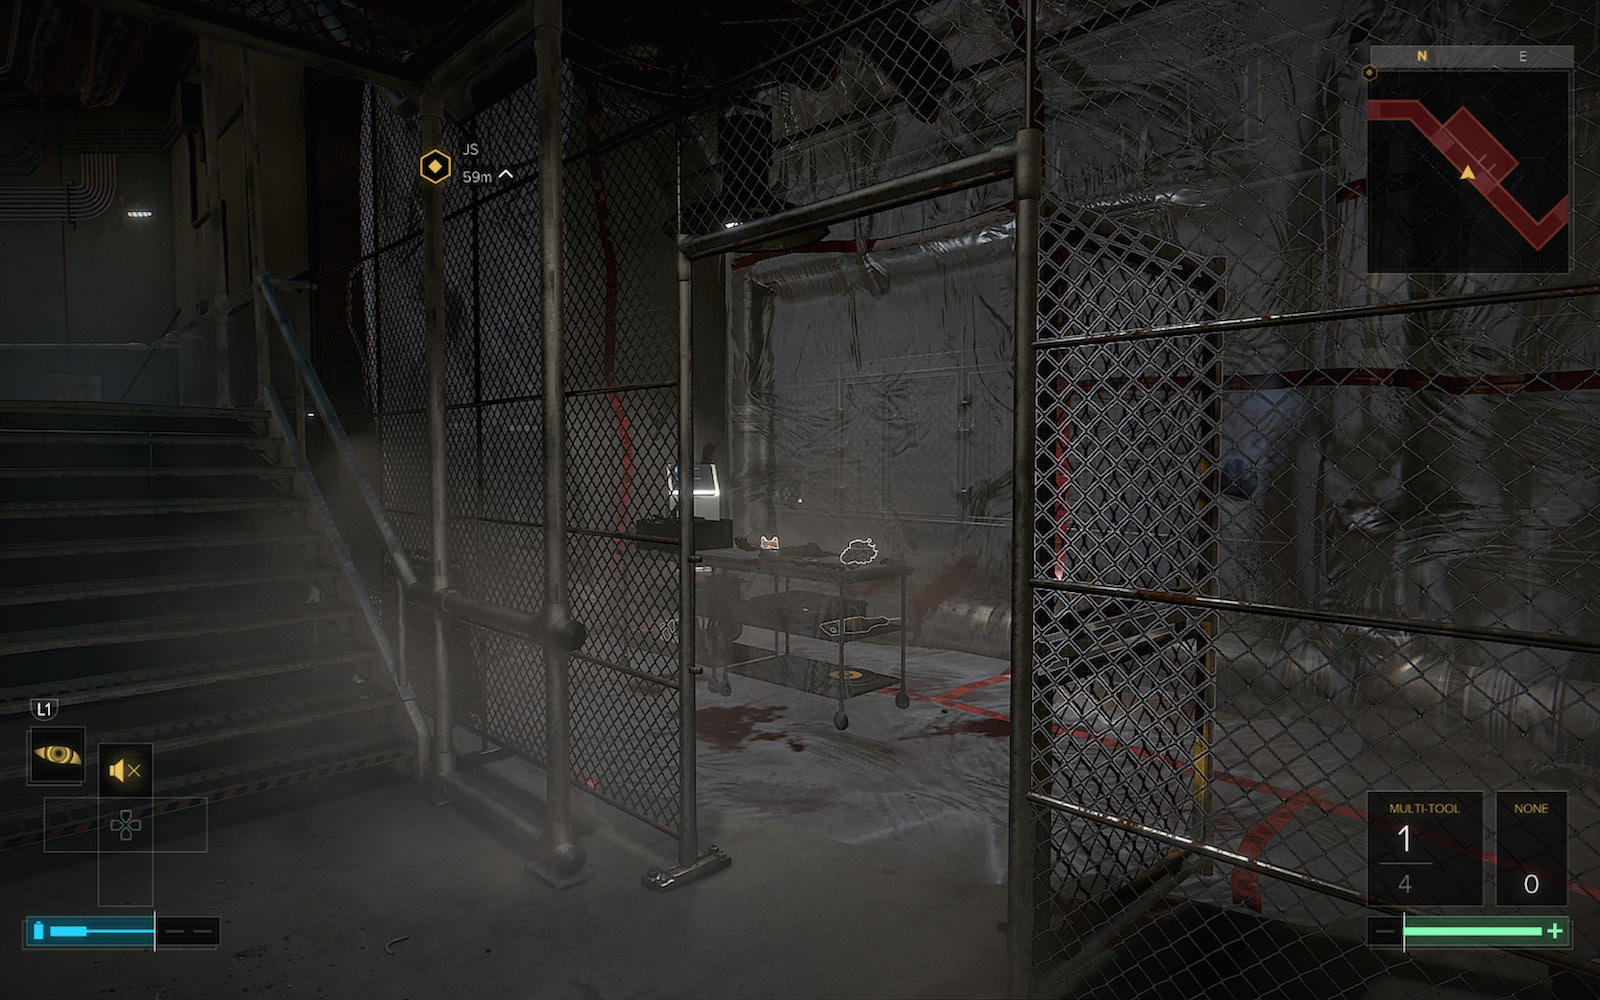
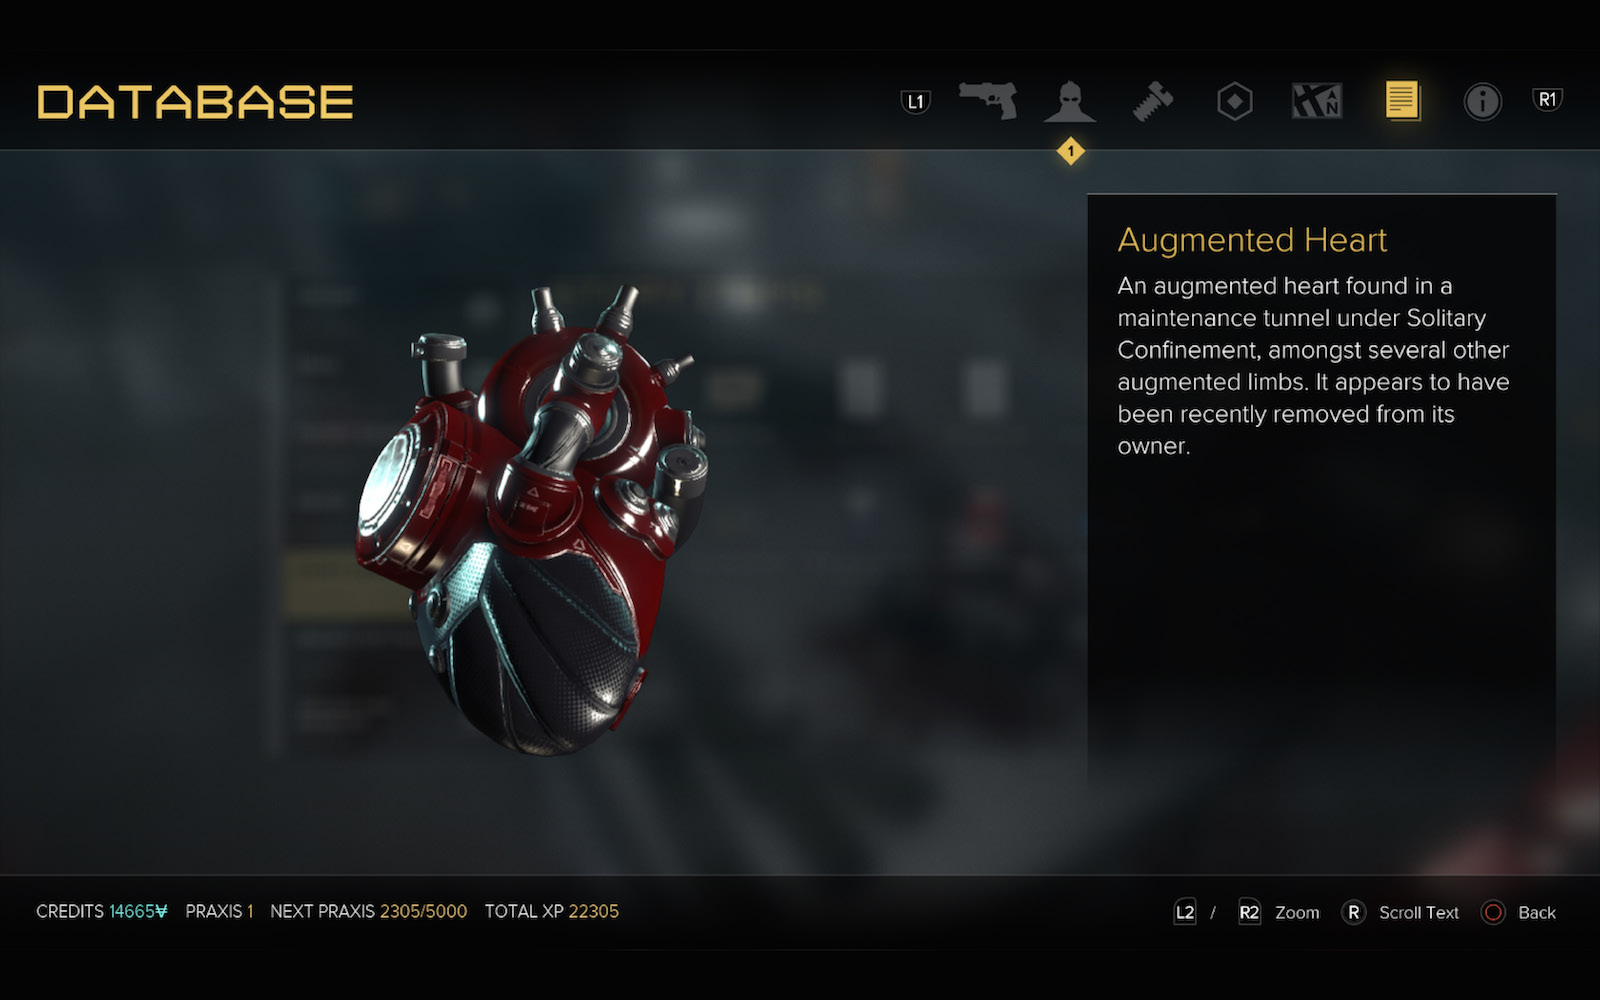
Follow the passage down the stairs to the chain-link enclosure (12), smash the gate’s lock, and explore the grisly area inside. Examine the Augmented Heart on the gurney; this is added to the Story Items in your Database. Also, search the plush”Teddy” sitting on the duct for another Praxis prize.
Get to the Administration Building
As Agent Guerrero explained, you can’t escape until you override the prison’s aircraft tracking system in the Warden’s Office inside the Administration building. Here’s a quick route from the Solitary maintenance tunnel to Administration:
Exit the chain-link enclosure where you found the Augmented Heart, turn right, and follow the passage to the door (13) that leads outside. Move along the opposite wall heading to the right until you reach another door (14) that leads back into Level 1 of the Tower. Follow the passage to the recessed door and press the button on the wall to open it. Go through to find yourself in the small storage room next to the Morgue!
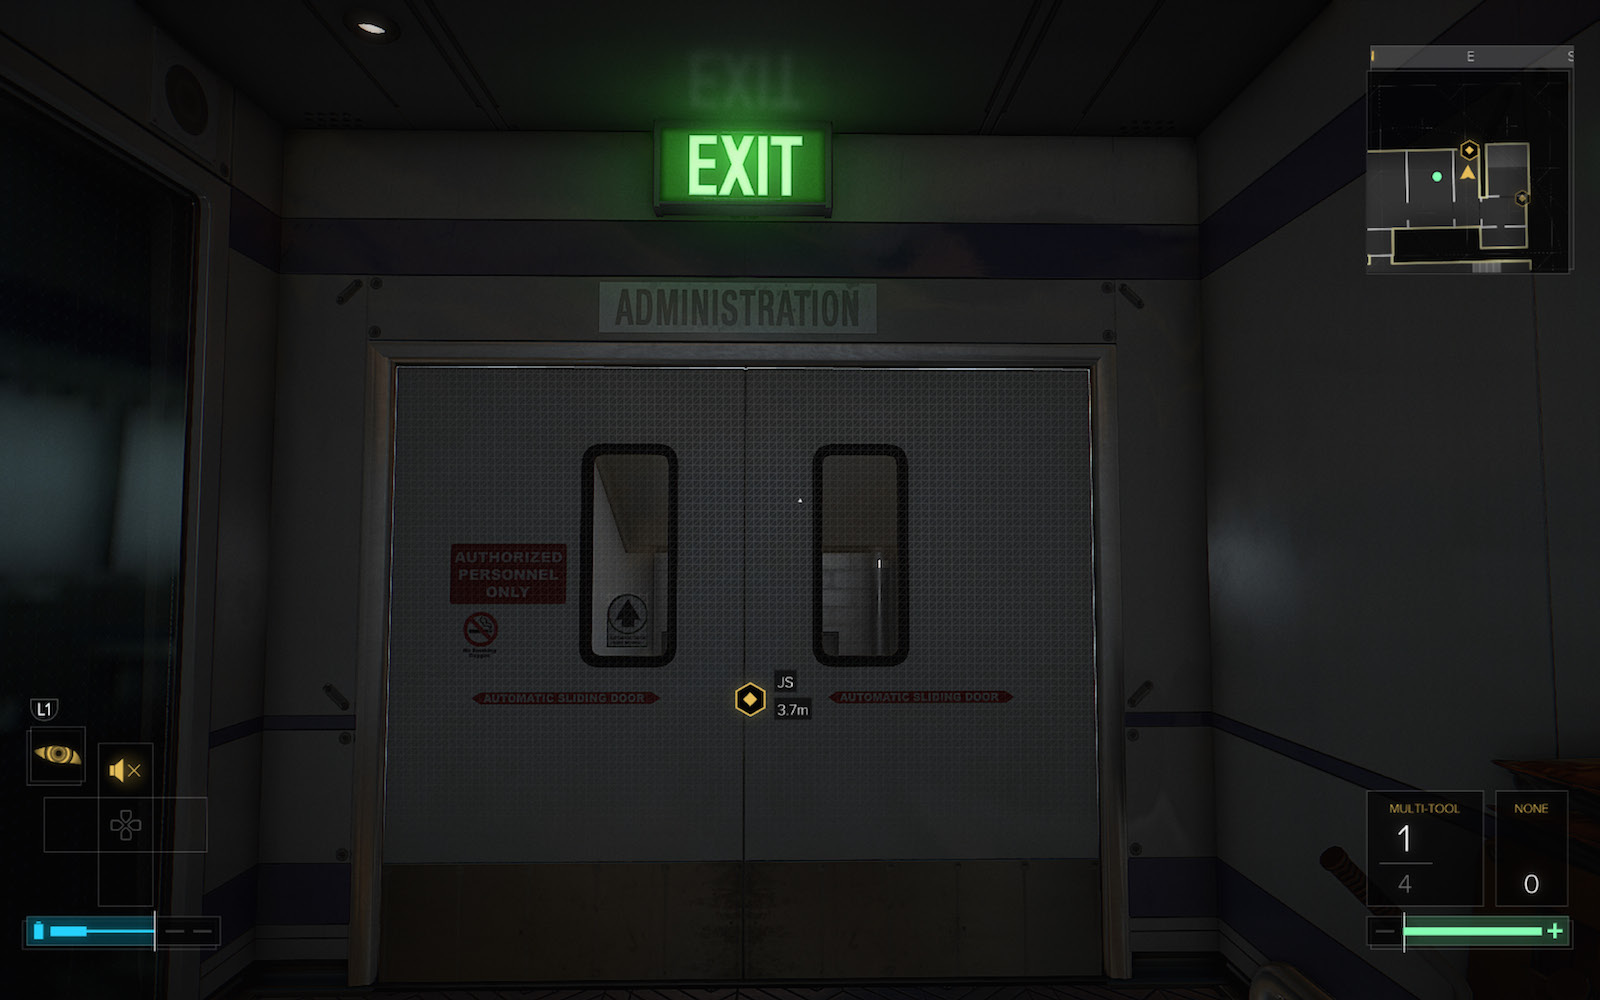
Move through the Morgue and Infirmary. (Use The Fixer’s Teddy to sell off stuff and buy new stuff if you want.) After you exit the Infirmary doors, turn left and proceed through the doors under the Administration sign.