Deus Ex: Mankind Divided Guide DLC A Criminal Past DLC
Get to Solitary Confinement
Objectives
|
Optional: Visit the Fixer in the Infirmary |
|
Enter Solitary Confinement |
Overview
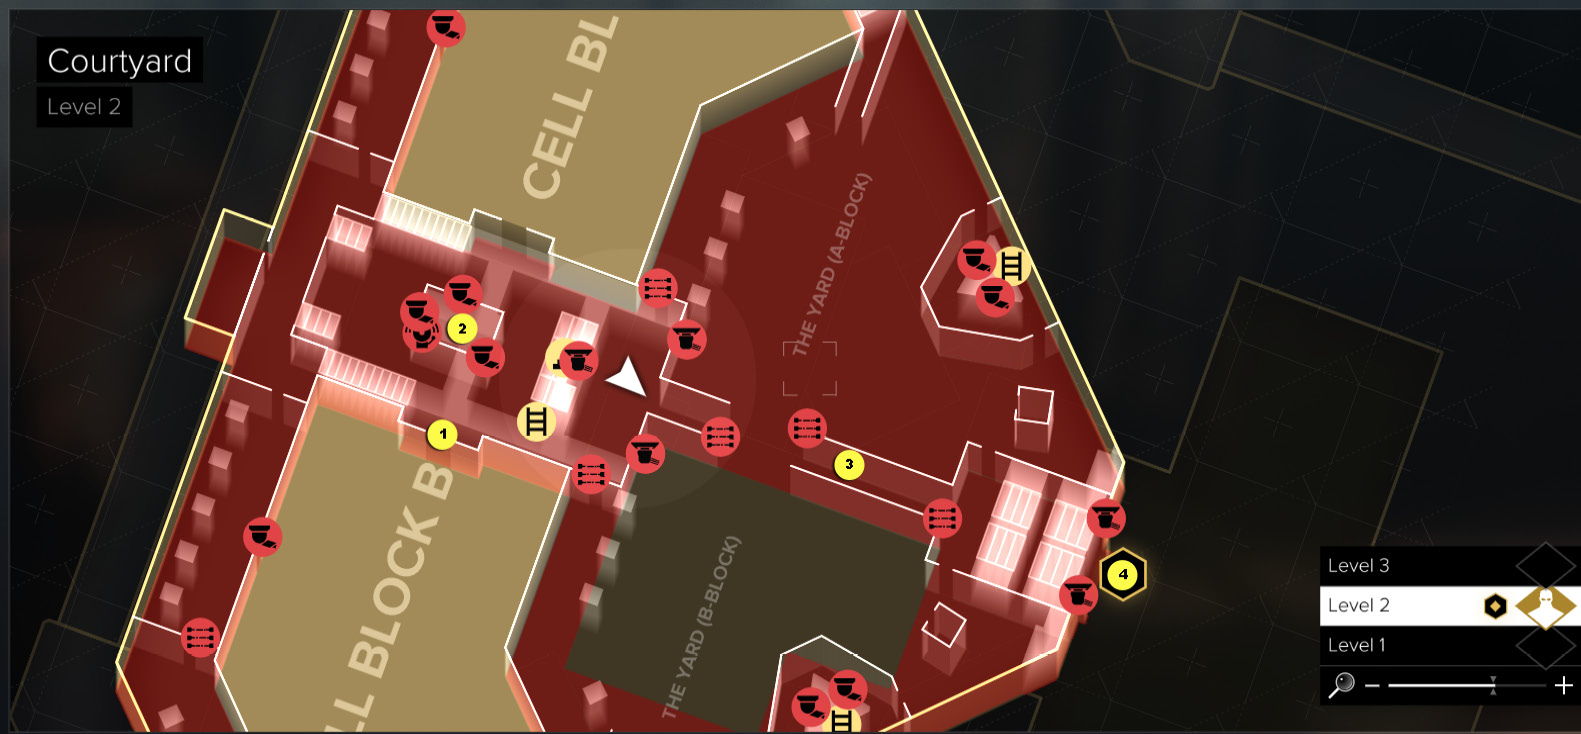
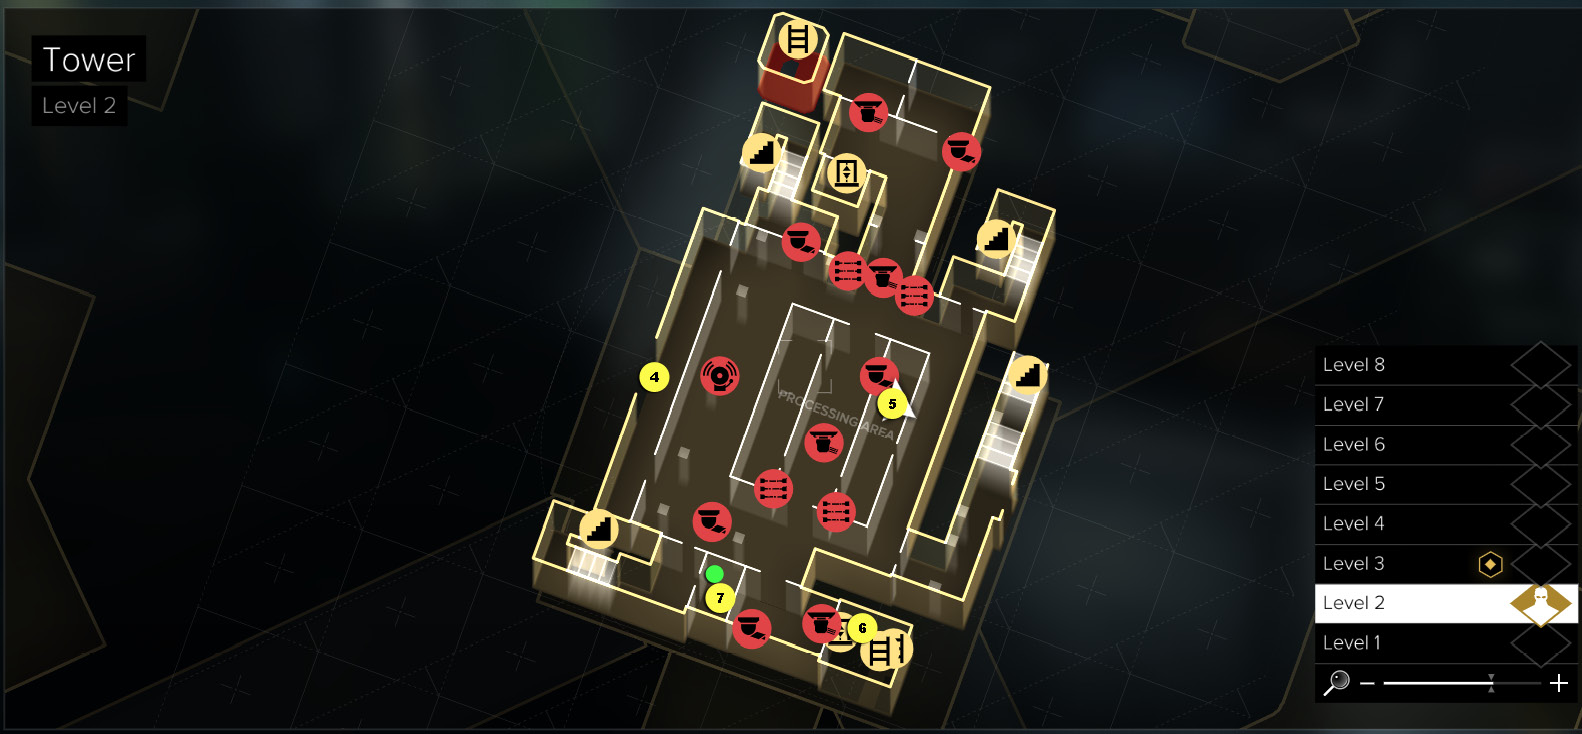
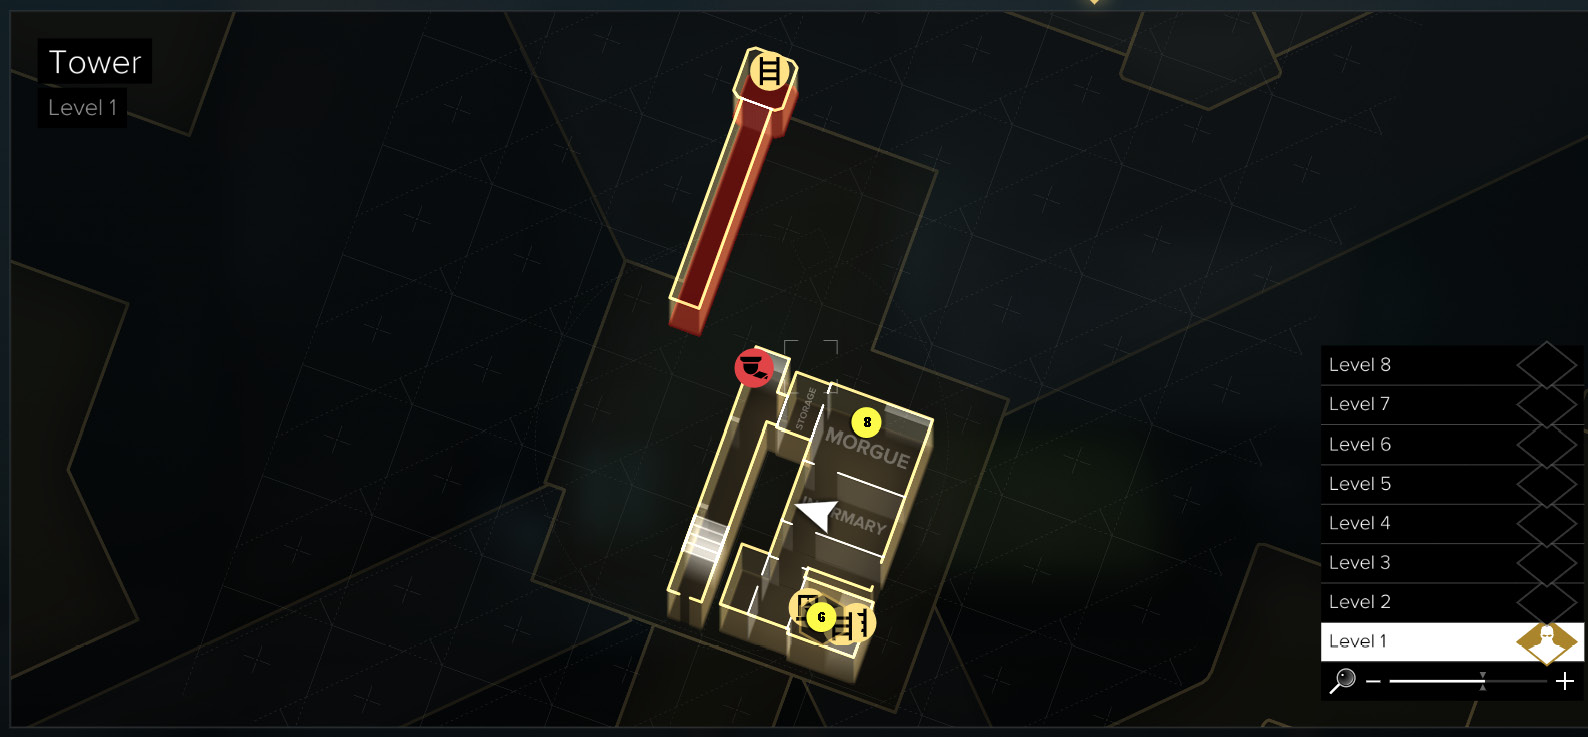
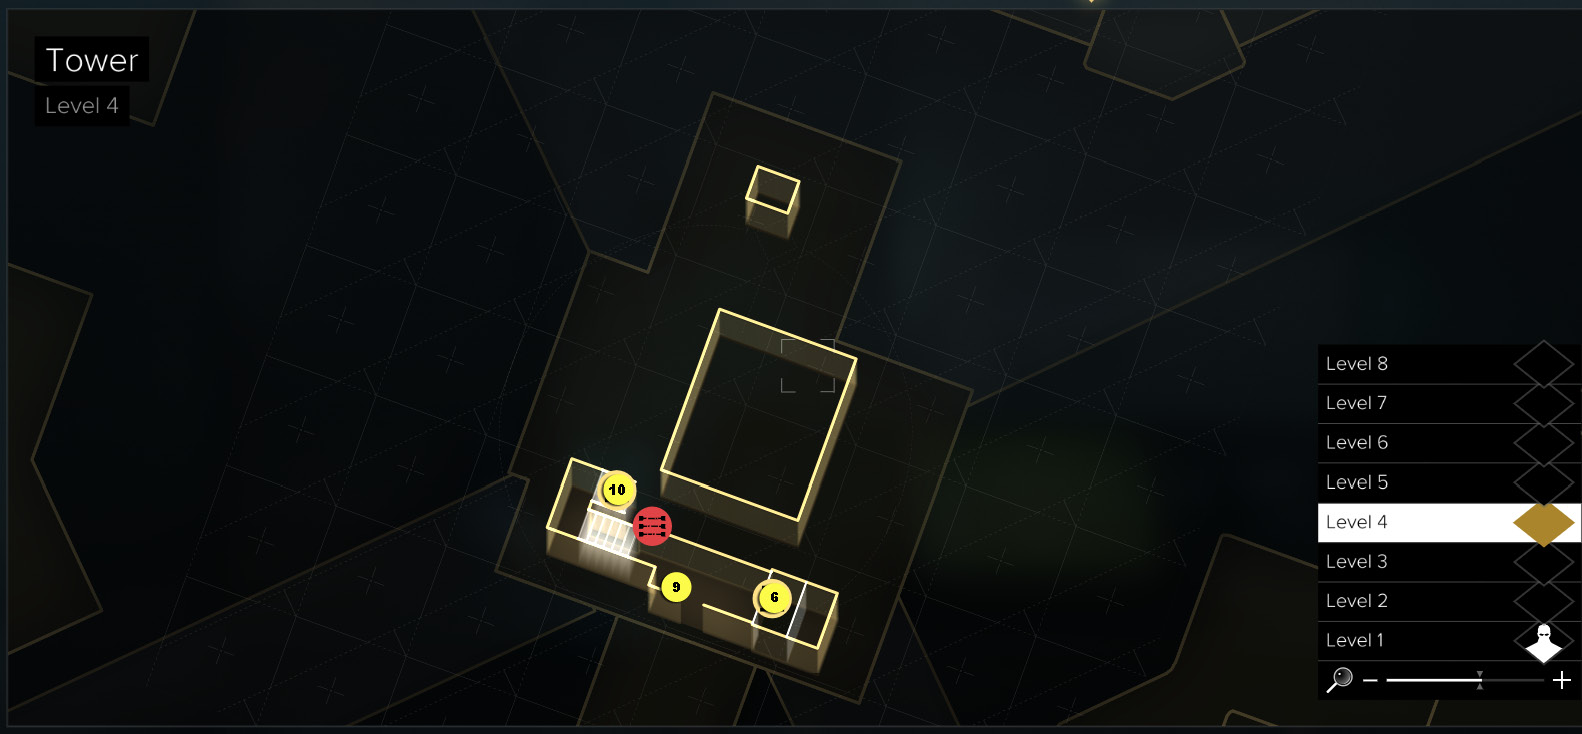
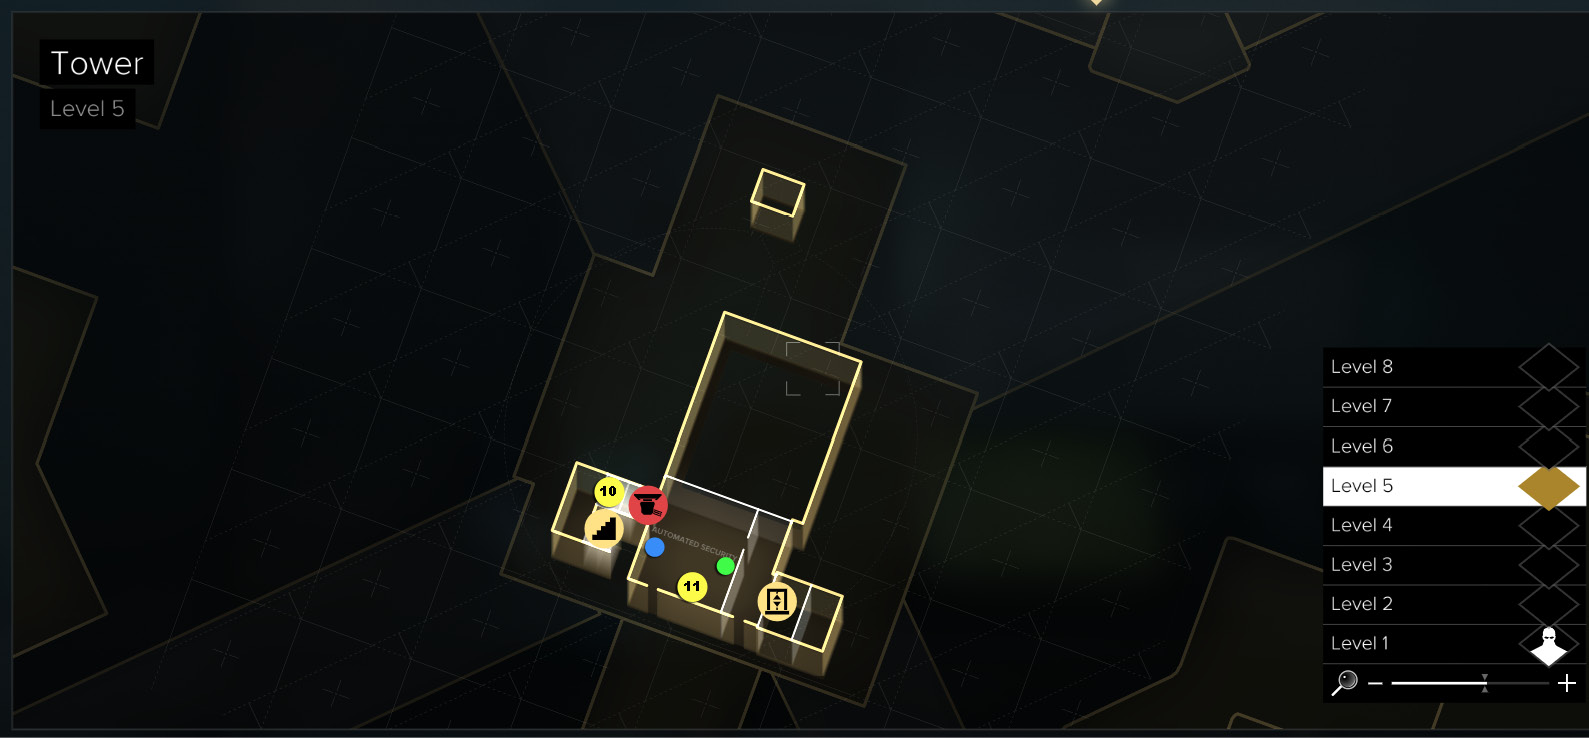
Map Legend
|
1: Security Zone entry |
|
2: Block Corridor Security Office |
|
3: Walkway to tower |
|
4: Tower lobby |
|
5: Processing Security Office |
|
6: East Wing Elevator |
|
7: Security room |
|
8: Morgue |
|
9: Pocket Secretary (password) |
|
10: Stairs to Automated Security |
|
11: Automated Security terminal |
|
[BLUE CIRCLE] = eBook |
|
[GREEN CIRCLE] = Praxis Kit |
Get into the East Wing
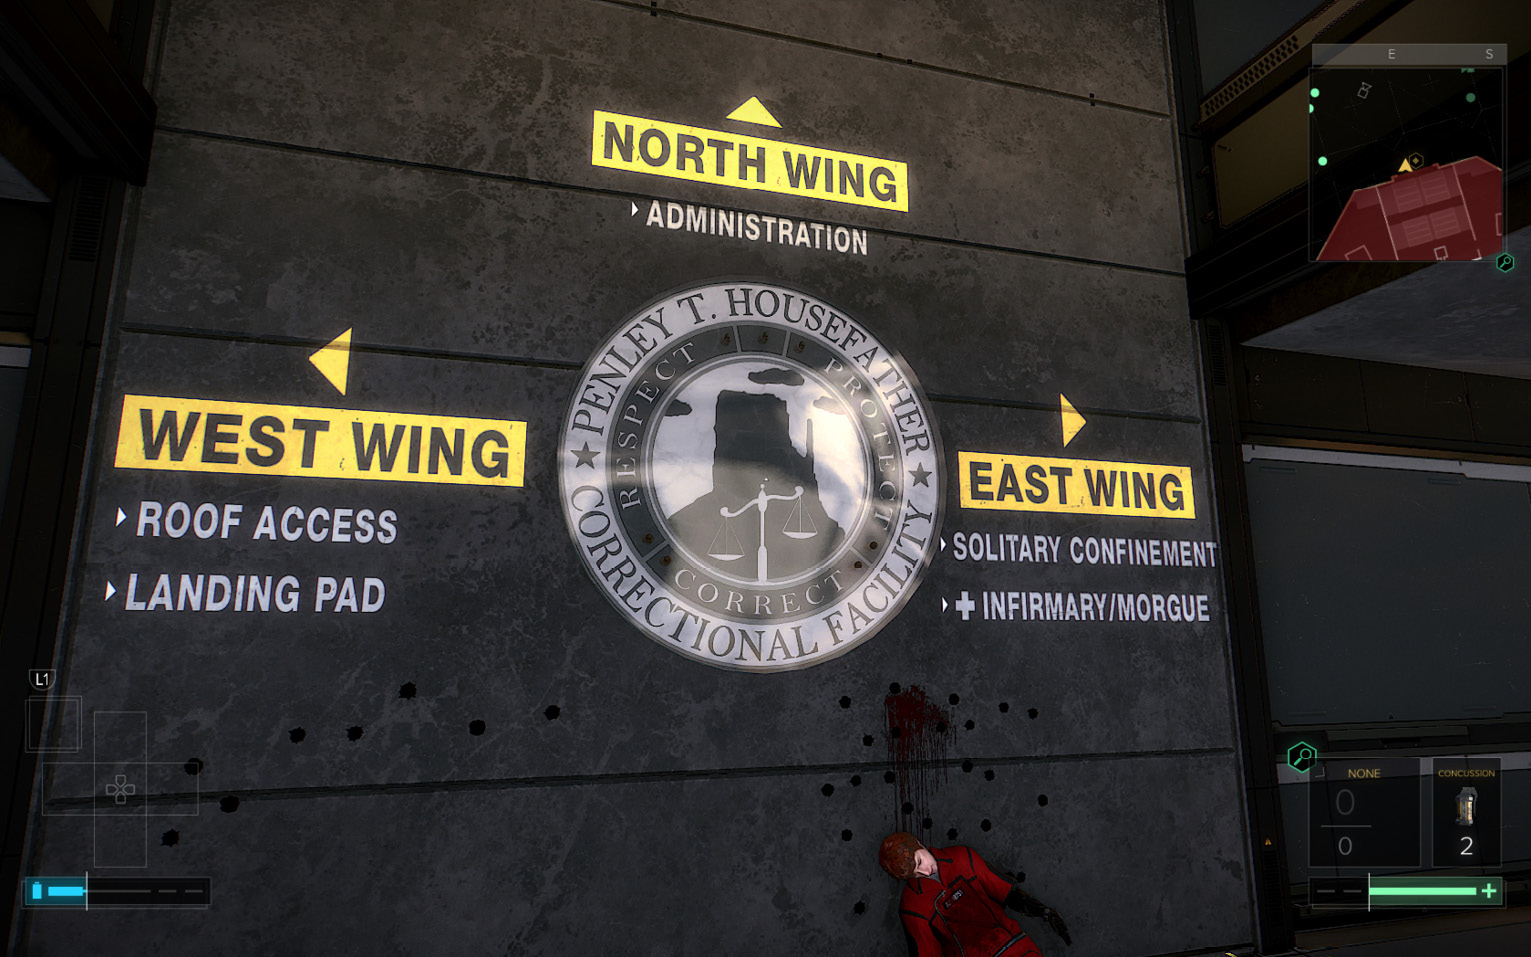
Your next goals are to reach the Infirmary/Morgue and Solitary Confinement, two areas located in the East Wing of the Tower across from the Cell Block building. If you gave the Altered Biocell to Red Shoes earlier, large sections of the prison are under inmate control. This makes transit through the next few areas easier, but we’ll stop in security hubs on the way to shut down the automated surveillance and defense systems.
Head upstairs to Level 2 of Cell Block B and approach the Security Zone door (1) at the top of the stairs. Your keycard unlocks the doors that lead into the central courtyard area. A surveillance camera faces you from the Block Corridor Security office (2) in the center of the courtyard. Shoot it out. (Don’t worry if you set off the alarms; fellow inmates will swarm in and help you shoot out the cameras.) Next, veer left to the office door.
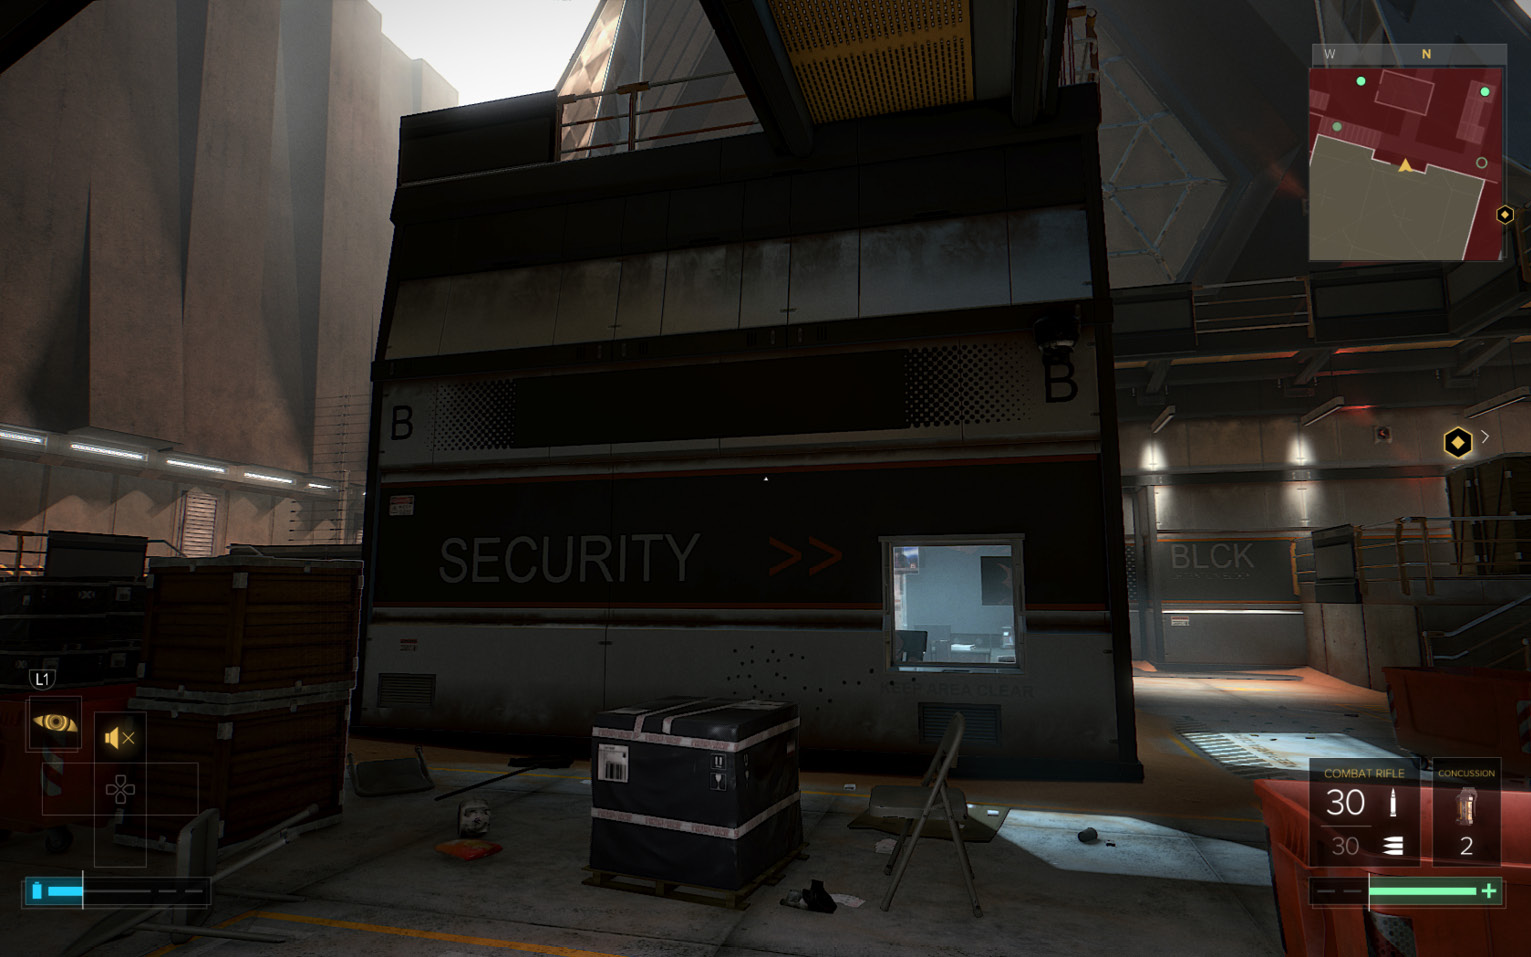
Hack the Block Corridor Security terminal with a Multi-Tool (or do it manually with hacking software) and then turn off every security apparatus. (Many are already disabled by the inmates’ gunfire.) You can pick up a Pocket Secretary on the desk; this item lists the full registry for Cell Block B inmates. Don’t forget to loot the office and exit.
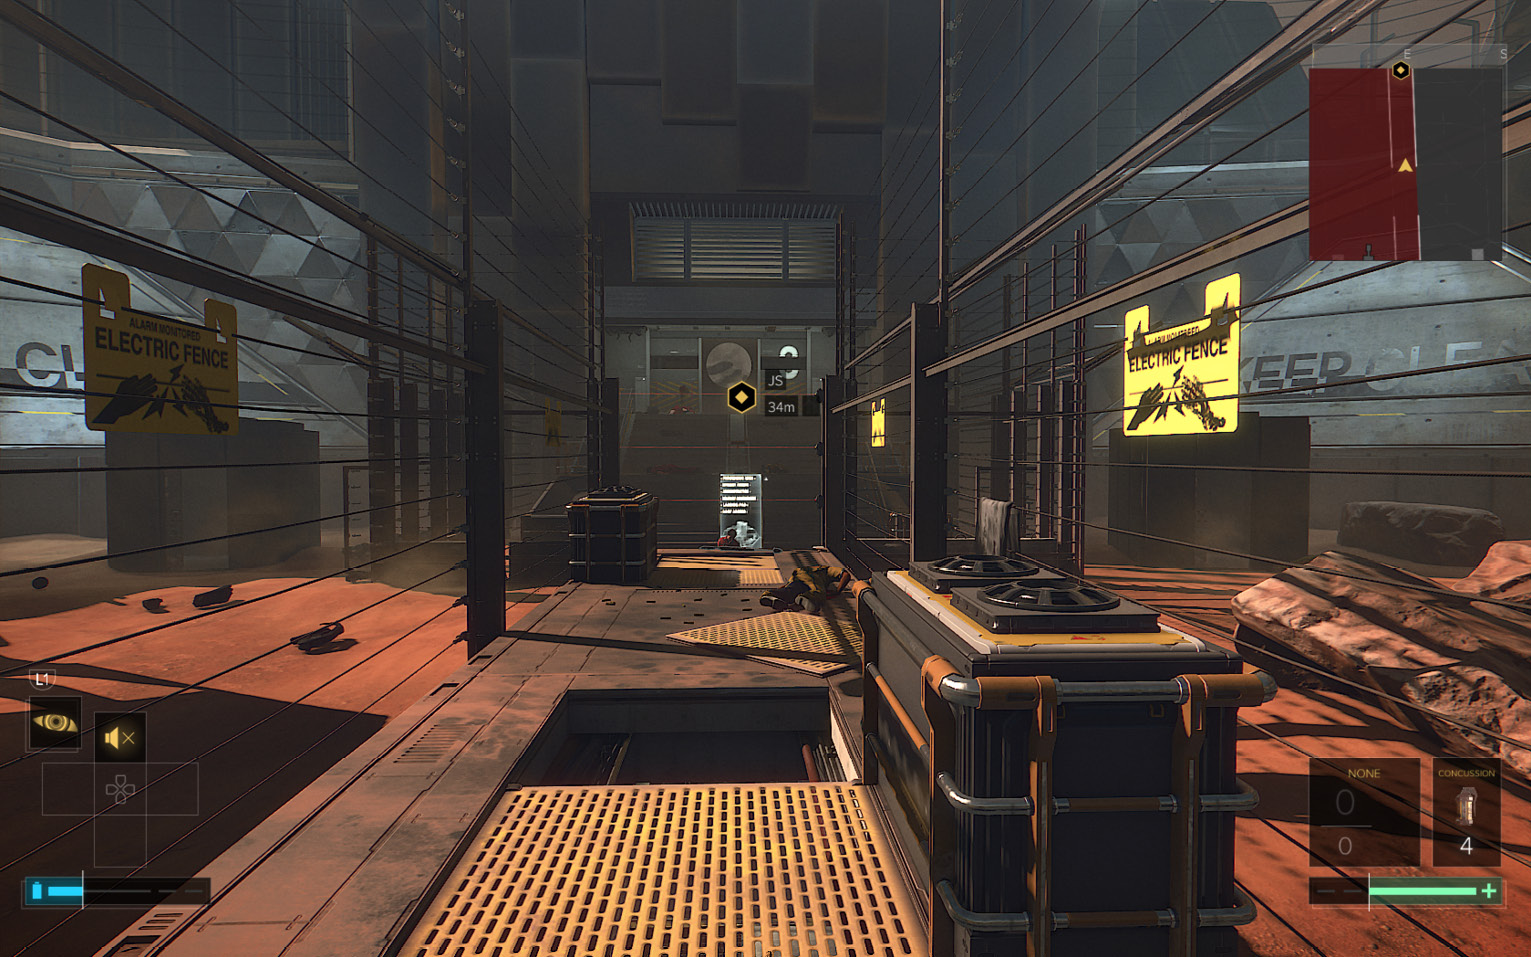
Go upstairs and use the walkway (3) to cross to the Tower; if you disabled yard security earlier (as in this walkthrough), you can walk through the laser grids but watch out for the open floor hatch along the way. (Here you can also take time for the grim task of looting all the corpses in the A and B yards, if you want.) At the far end, climb the stairs to the entry foyer (4) of the Tower.
Find Some Evidence in Processing
Enter the Processing Area enclosure; the inmates have it well under control. Inside the security office (5), find the Pocket Secretary in a drawer (possibly behind an inmate leaning on it) and read the entry entitled”Schedule Change.” Mejia (Guerrero) changed his work schedule to clean on the B-Block communal floor during the hours that Ian Wilburg was killed.
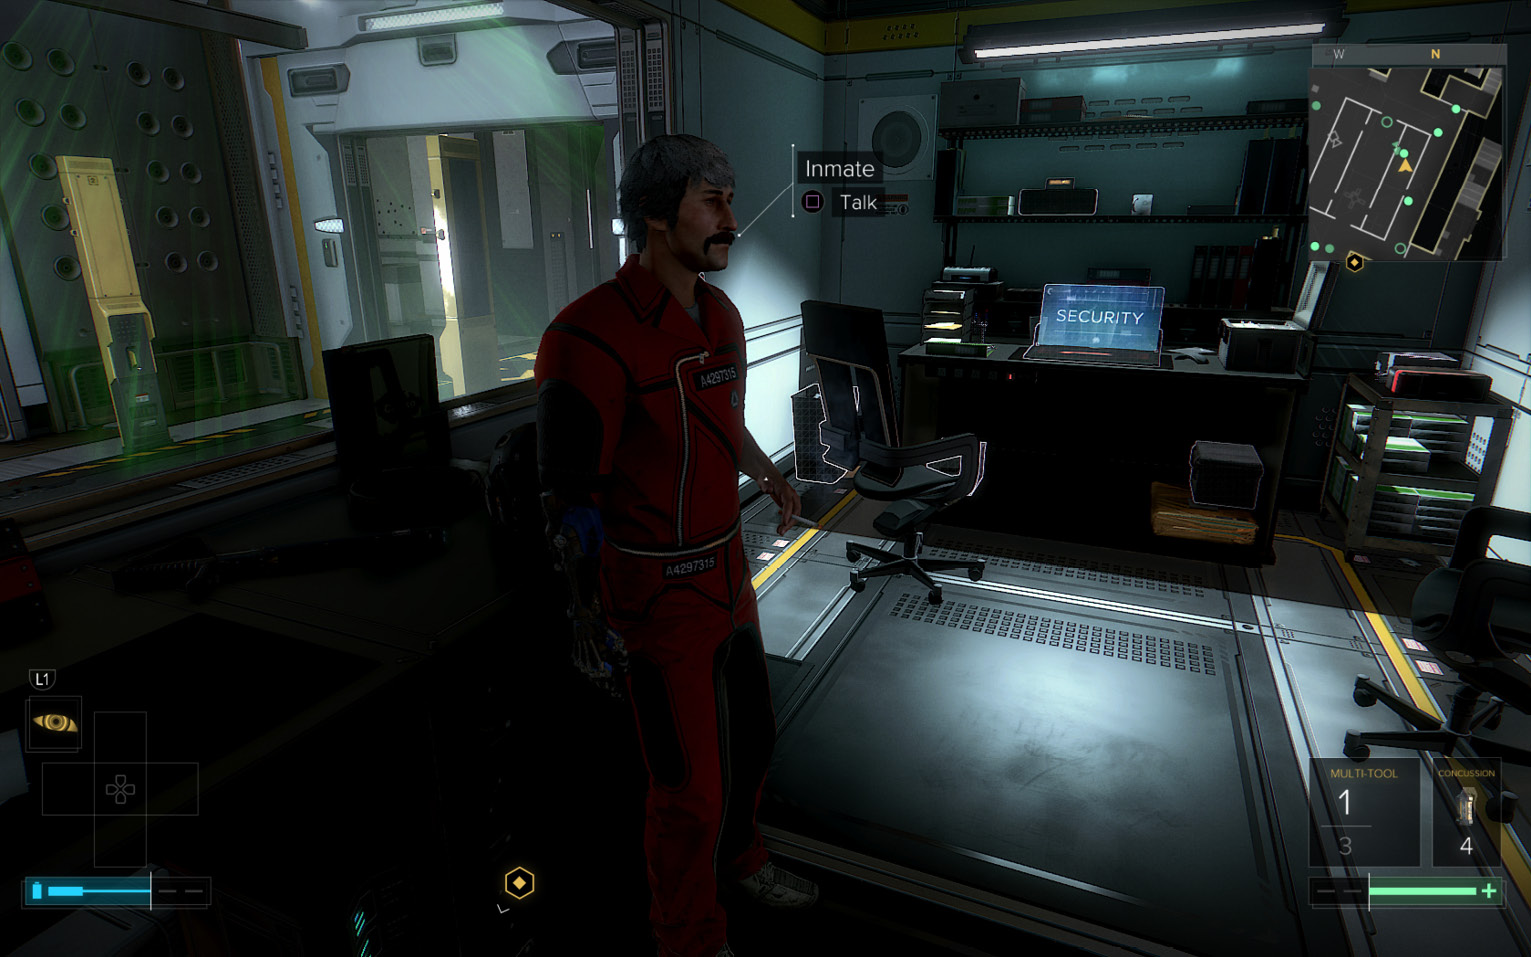
This revelation triggers a short exchange between Dr. Auzenne and Jensen, who admits that the change looked suspicious. Hack the nearby Processing Security terminal and shut down all of the security cameras and robotic systems.
Find the East Wing Elevator
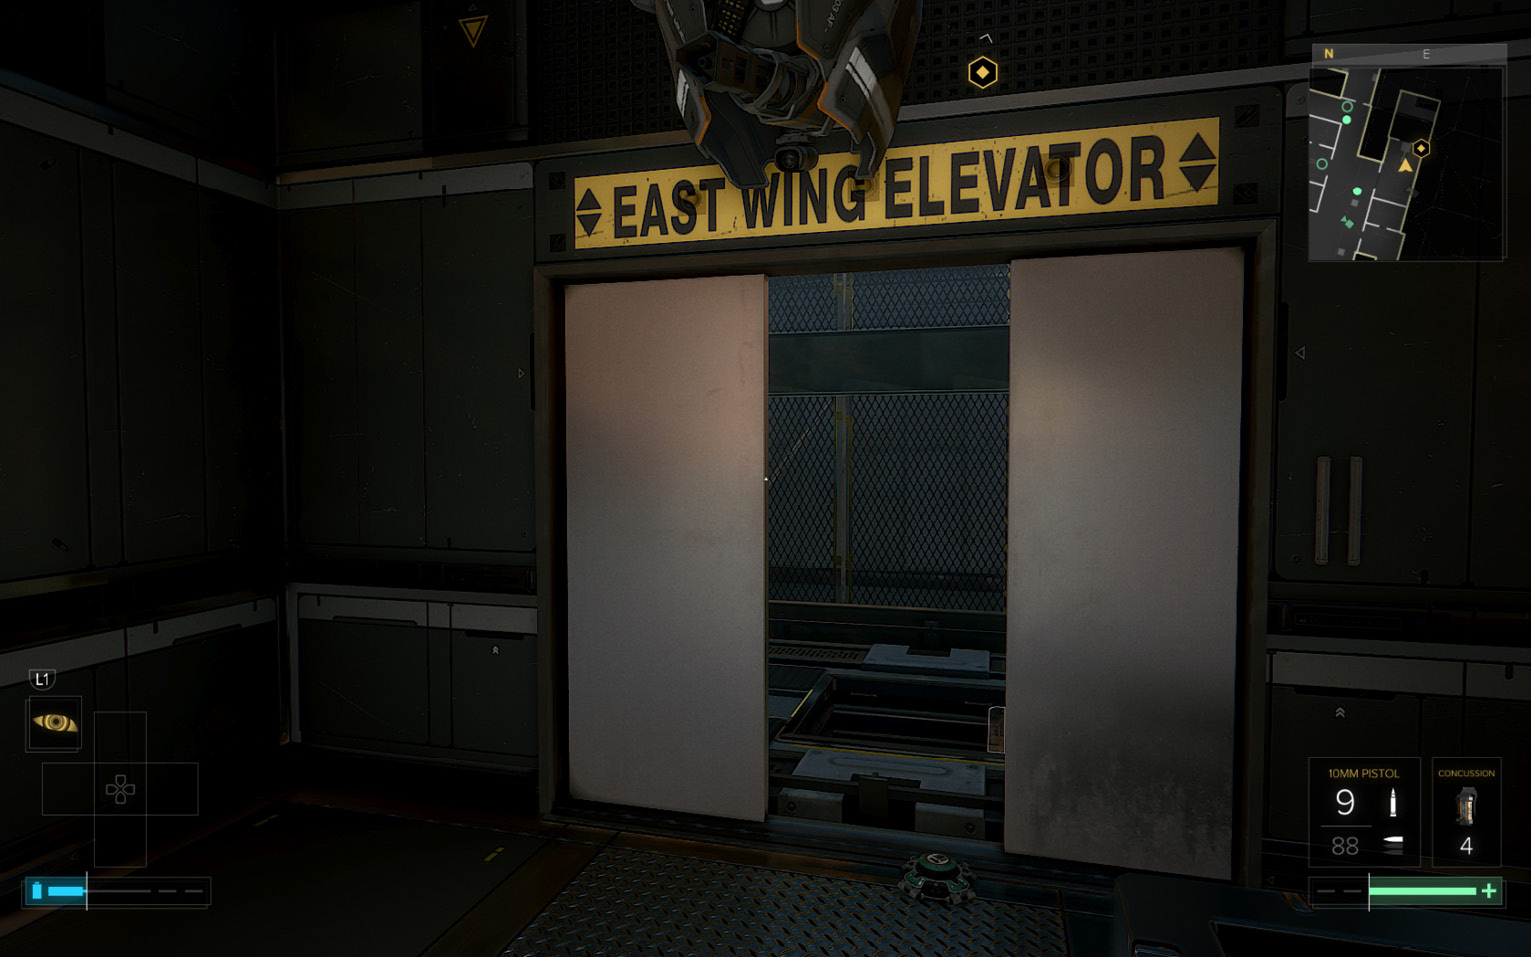
Again, the East Wing holds the areas you want to visit first. However, if you try to use the East Wing Elevator on Level 2 (6), you’ll discover that its foyer is not only guarded by a nasty turret and booby-trapped with a pair of toxic gas mines, but the shaft door is jammed and the elevator can’t be called.
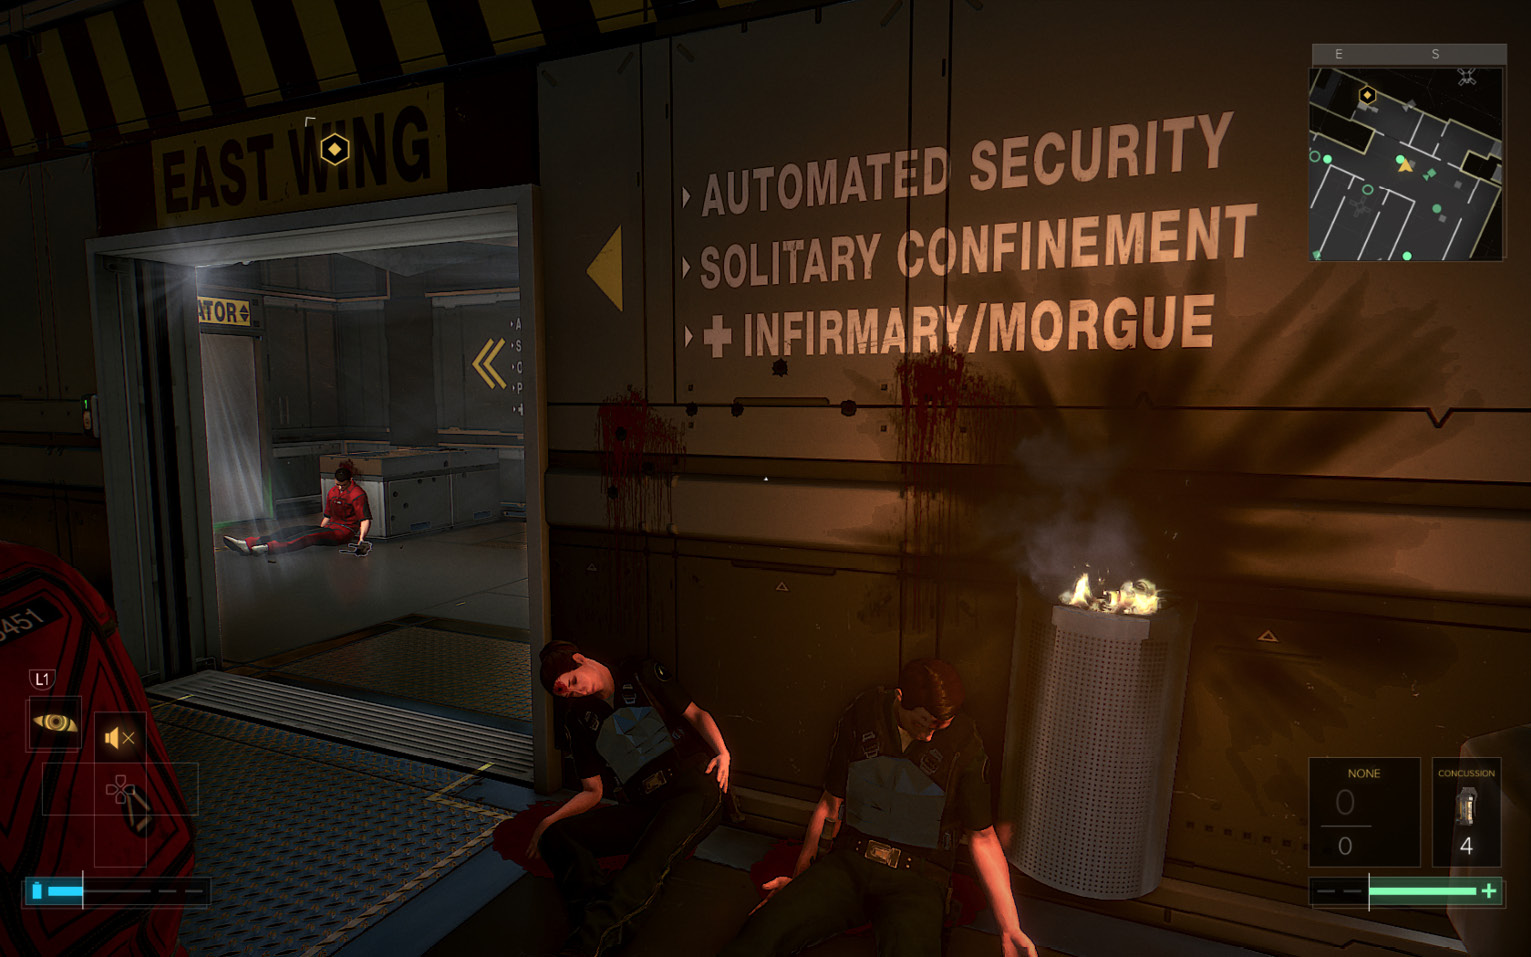
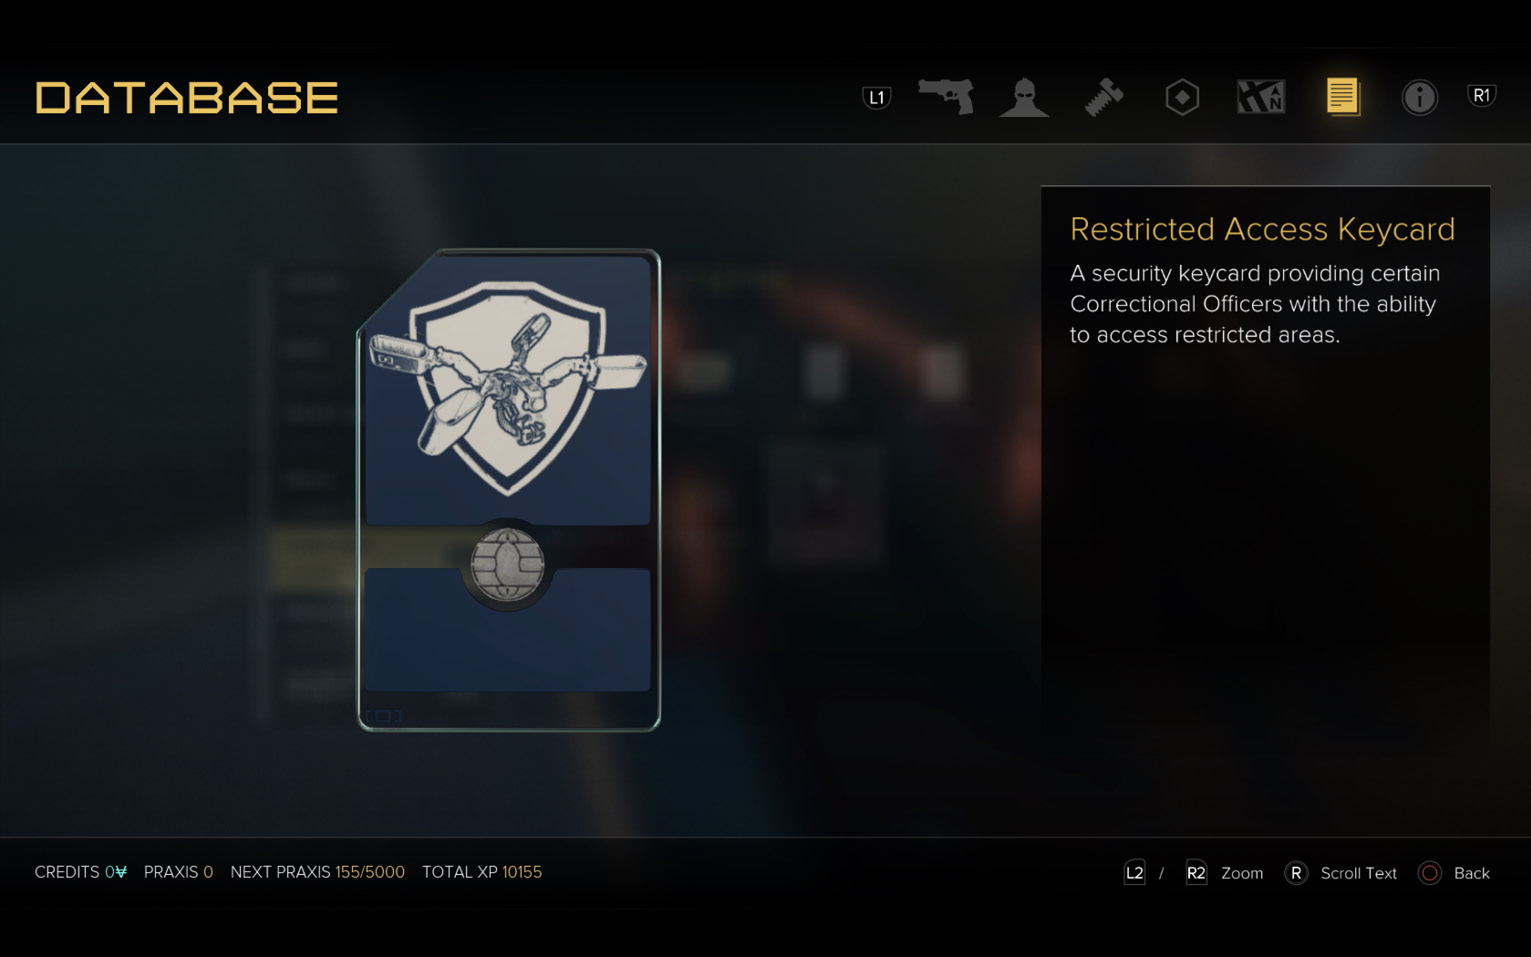
First, use the side door to reach the Solitary Corridor Security room (7) that overlooks the elevator foyer. Hack the keypad to unlock the room’s door; hustle inside and duck to the left side of the window so the turret doesn’t spot you, then toggle the EG Switch to cut off the turret’s view. Now hack the terminal to turn off the turret. You also find a Praxis Kit stashed in one of the room’s lockers. (Also note that one of the fallen guards near the doorway carries a valuable Restricted Access Keycard.)
To avoid damage from the mines, enter the elevator foyer and back out quickly when the first gas mine detonates. Wait until the gas dissipates, then return to the doorway and shoot the second mine, which is on the floor near the elevator doors. After that gas dissipates, enter the shaft, open the floor hatch, and drop down into the elevator car below.
Optional: Visit the Fixer in the Infirmary
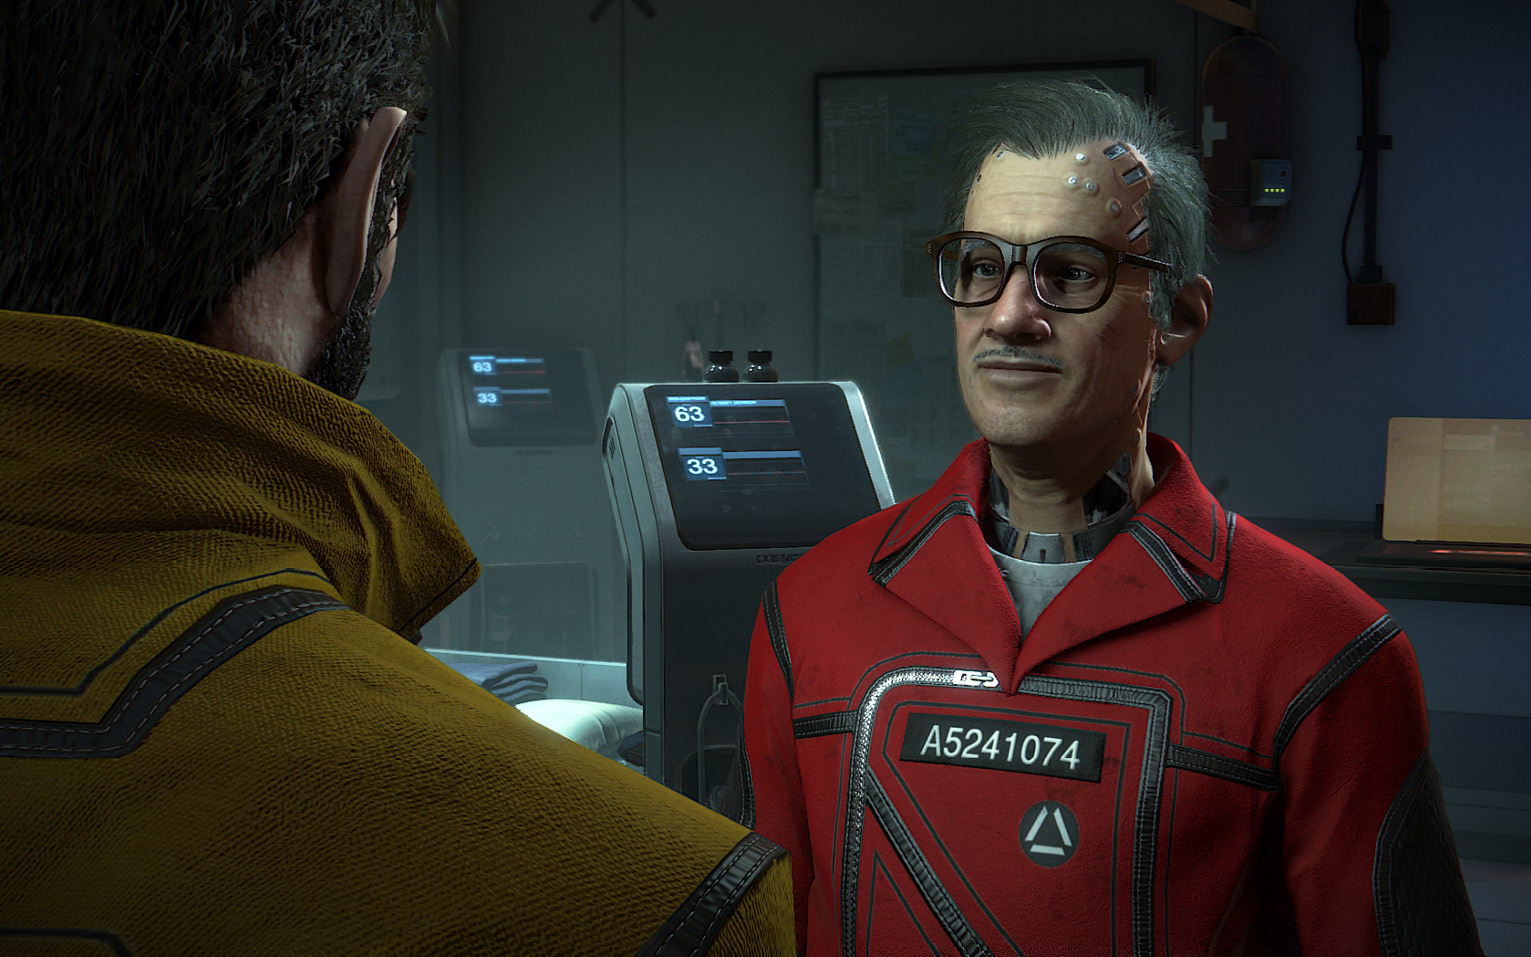
Your General Access Keycard activates the elevator panel, which shows that your current floor is the correct one; select”Infirmary & Morgue” on the panel to open the doors. Go through both sets of Infirmary/Morgue doors to trigger a scene: Jensen meets The Fixer again. Ask him all questions. When he offers another pill, you can refuse it if you want–it won’t change your state at all if (as in this walkthrough) you already took The Fixer’s first pill.
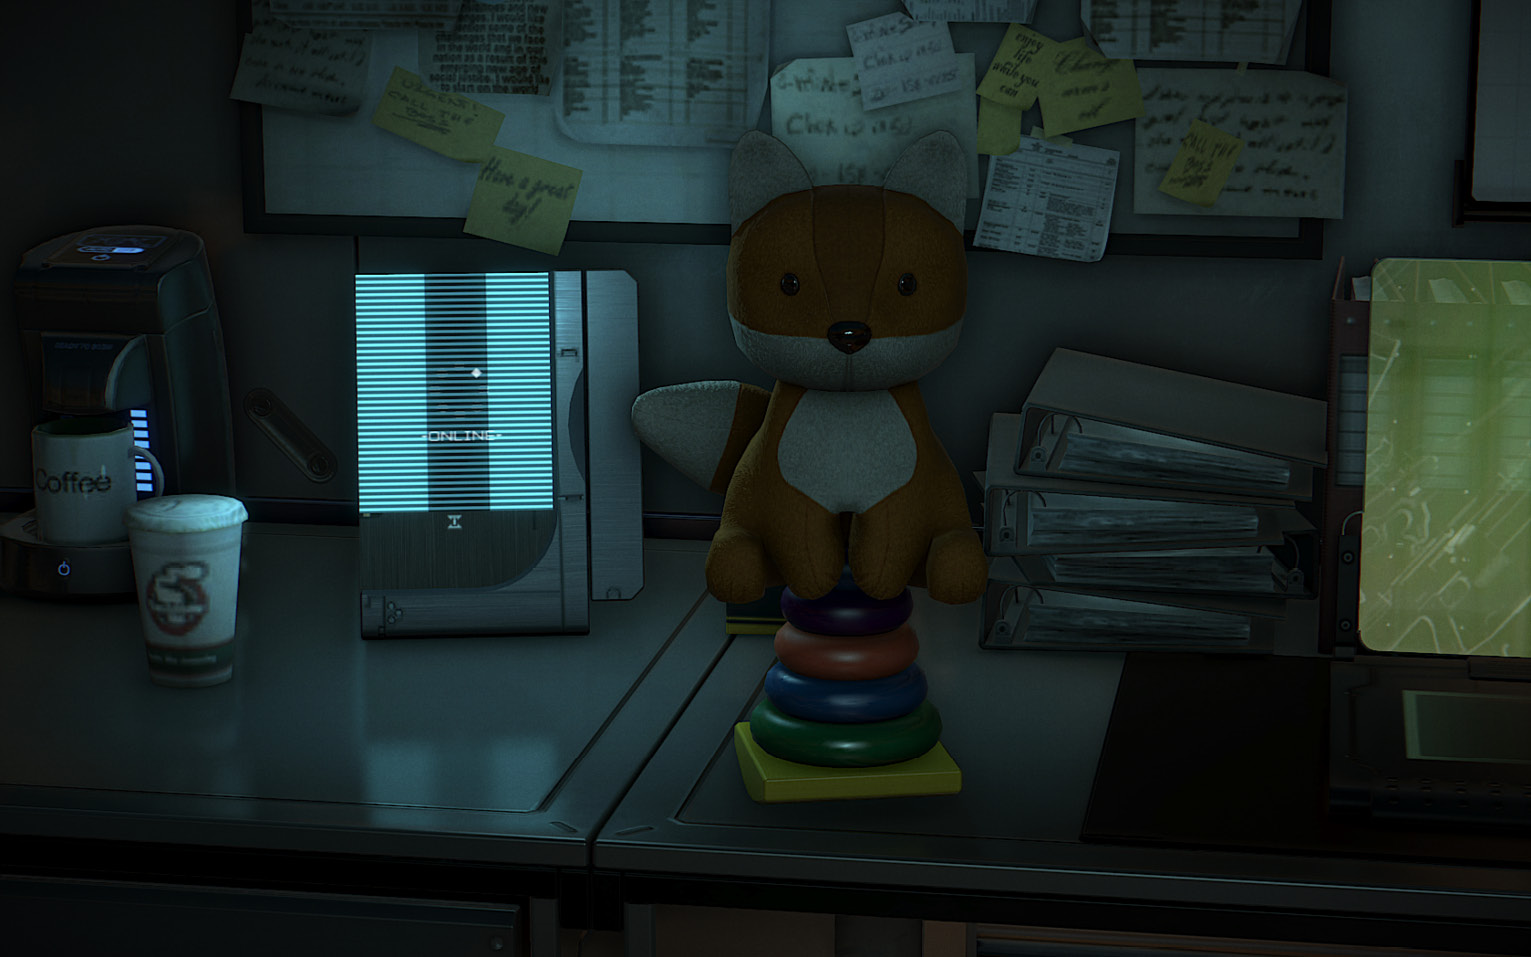
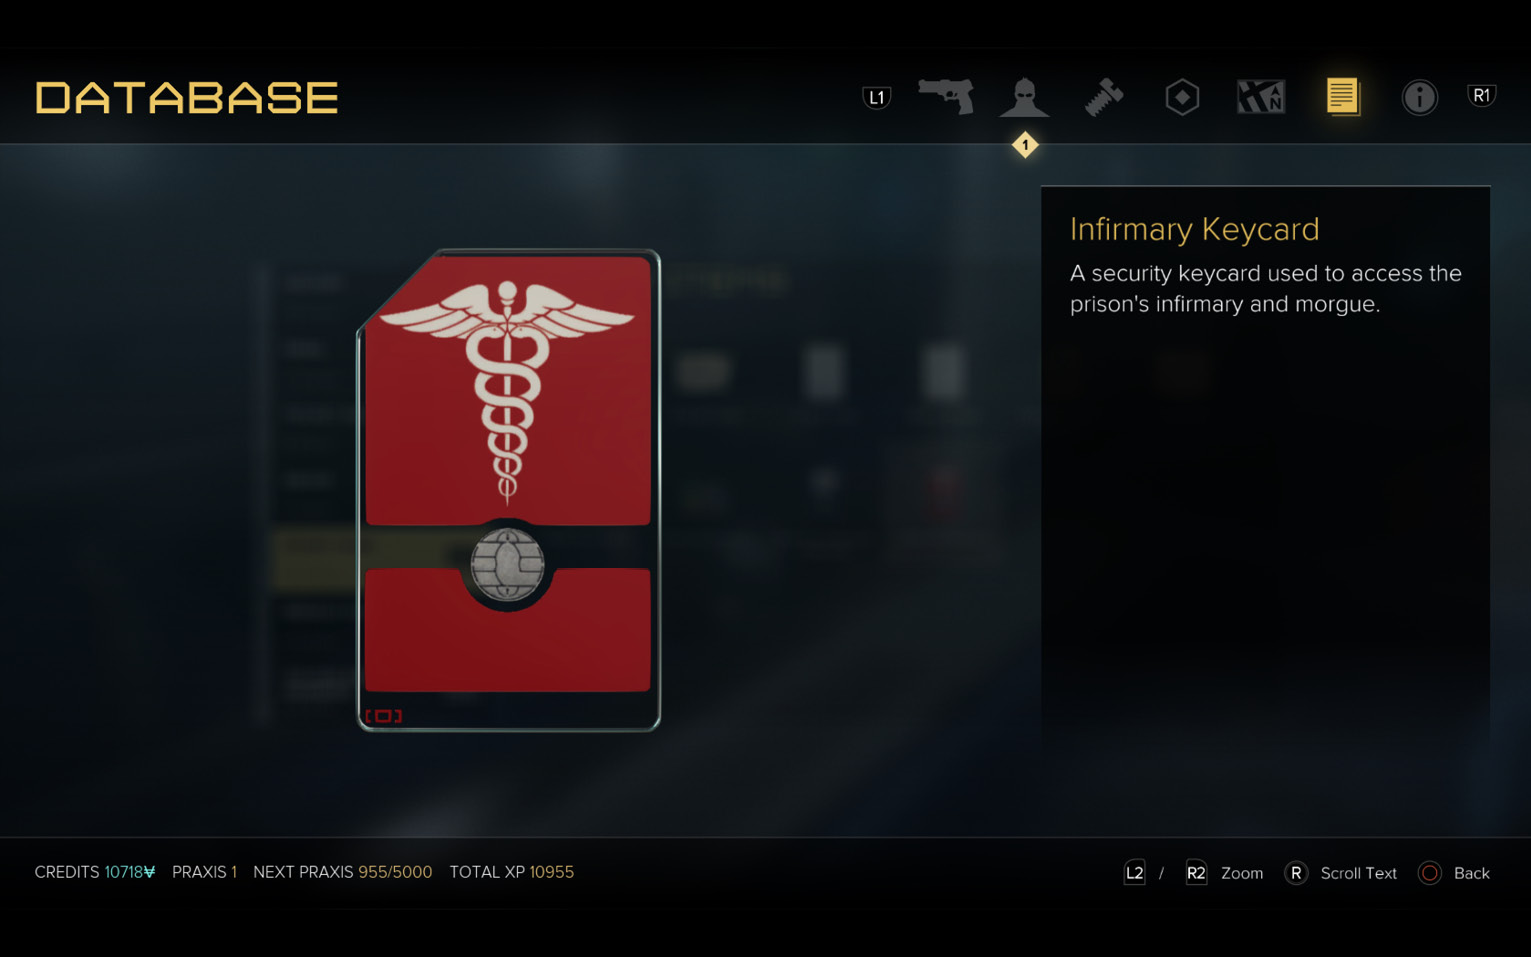
After the conversation, you can”talk” to Teddy sitting on the desk to buy or sell items. We suggest you sell off all your Neuropozyne for a big influx of cash, then buy Biocells. (You can even purchase a Praxis Kit, but it costs 20,000.) Pick up the Infirmary Keycard from the small rolling table near the Infirmary’s window.
Explore the Morgue
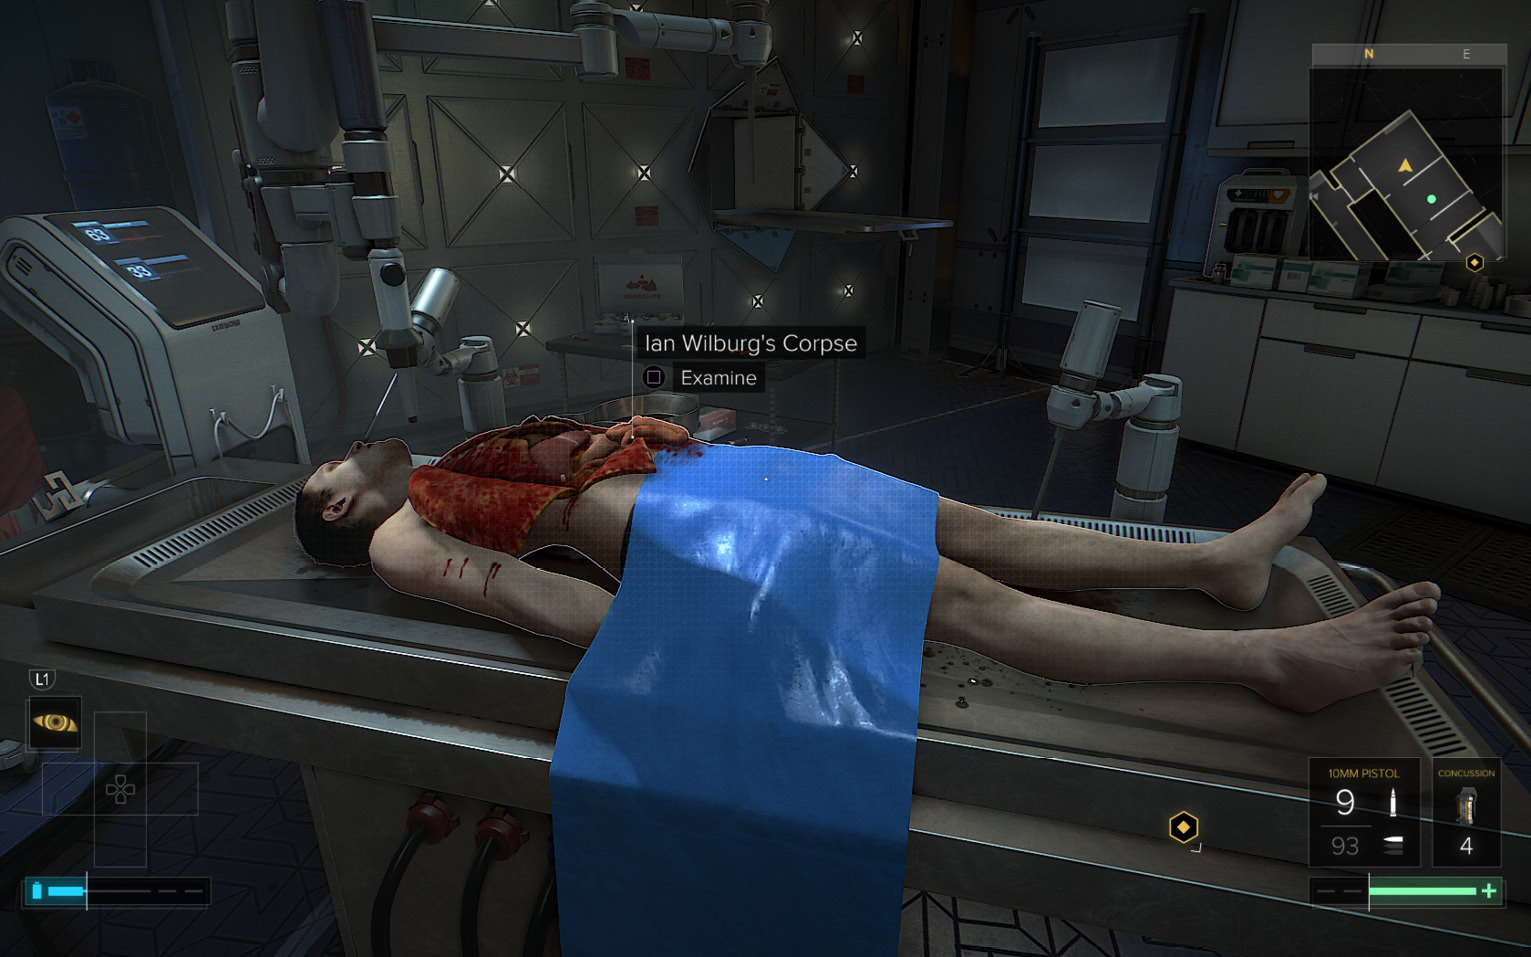
Now you can use the Infirmary Keycard on the Keycard Reader to unlock the next door and enter the Morgue (8). Examine Ian Wilburg’s corpse on the autopsy table to discover that the heart is missing. Before you leave, check out the Storage Room in the corner to find Biocells and a big batch of Painkillers.
Shut Down Automated Security
Return to the East Wing Elevator (6). Open the doors and select”Solitary Confinement” to ride up to Level 4. When the door slides open, you witness an ill-fated prisoner assault into a heavily guarded open plaza. The inmates get slaughtered by guards and automated security units.
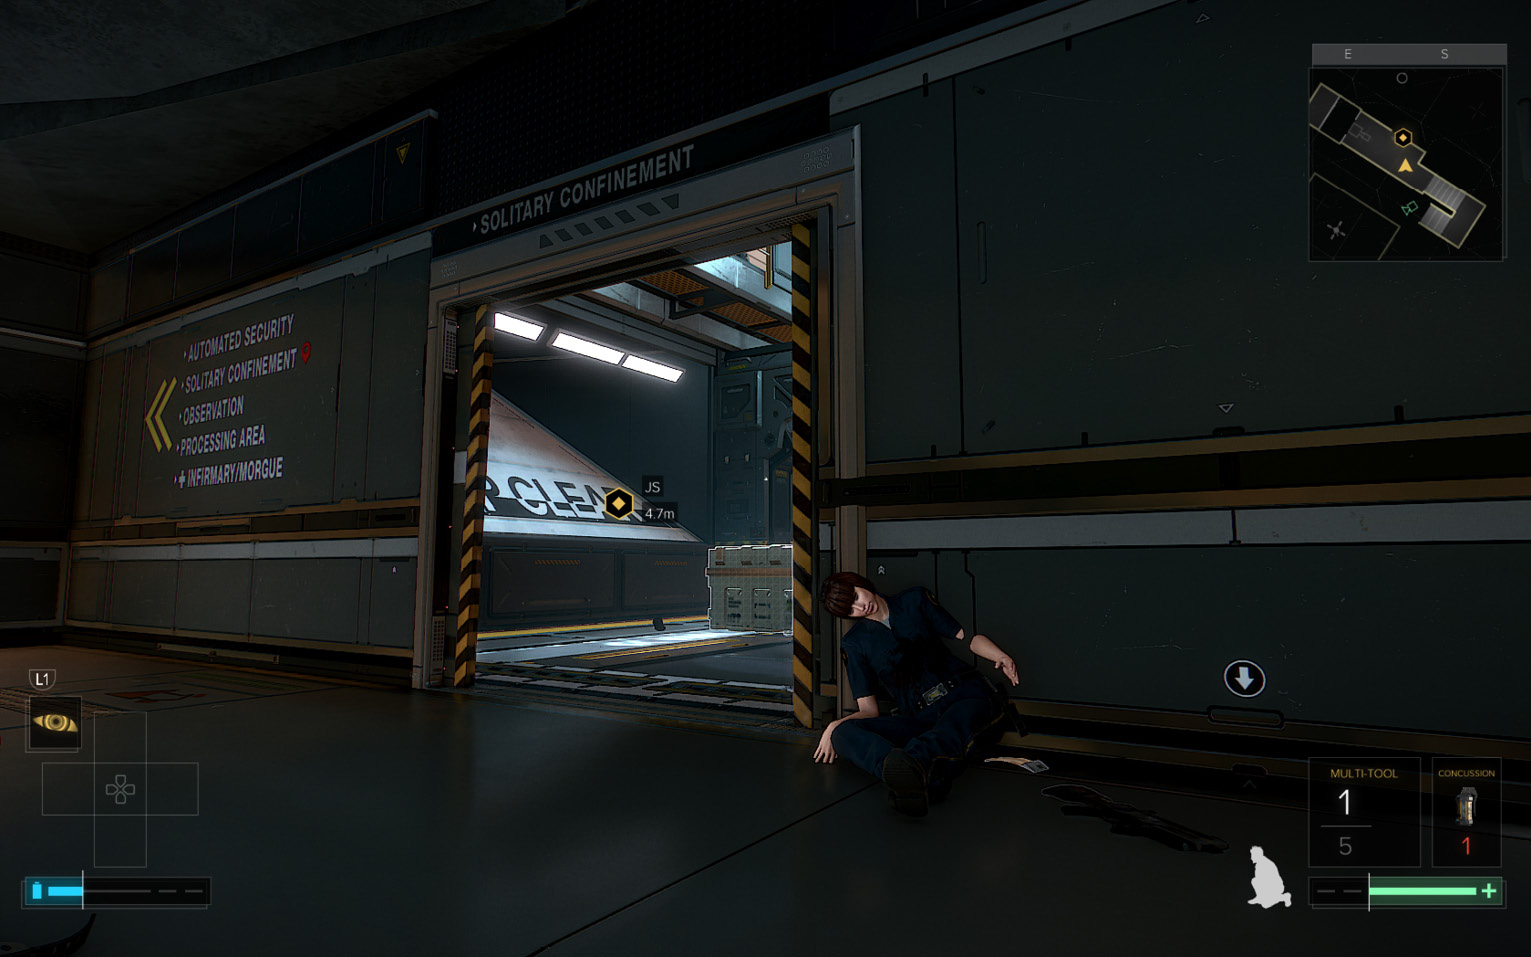
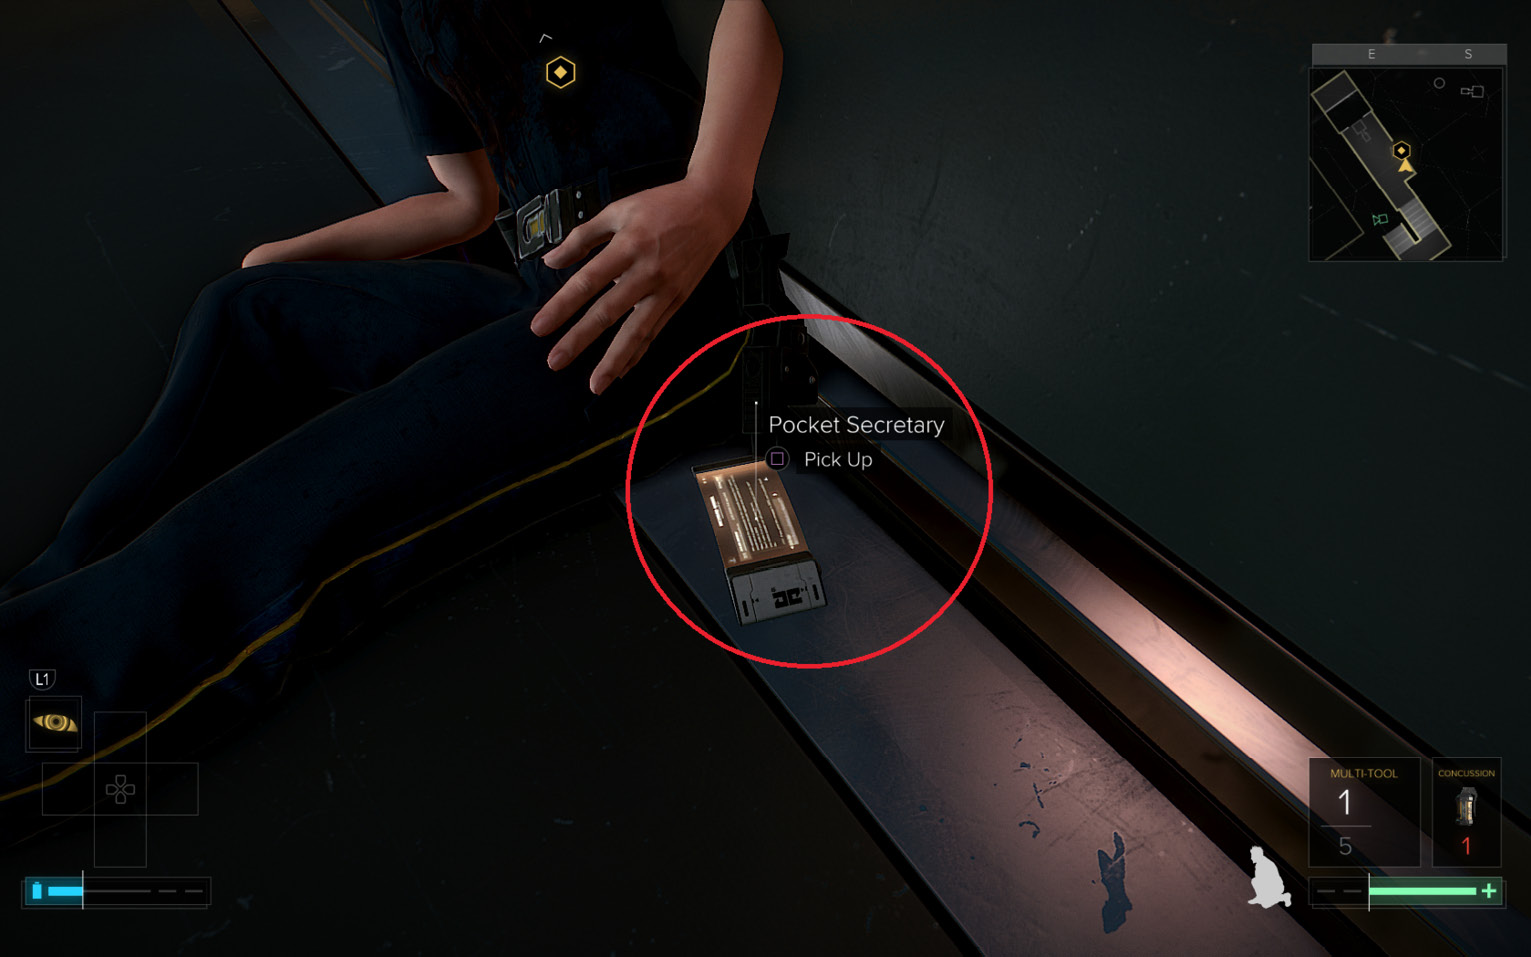
Find the female guard slumped next to the doorway (9) and pick up the Pocket Secretary on the floor next to her hip. Read its”Tower Drones” entry to learn the Automated Security password: N4RDIN3M0R4N0.
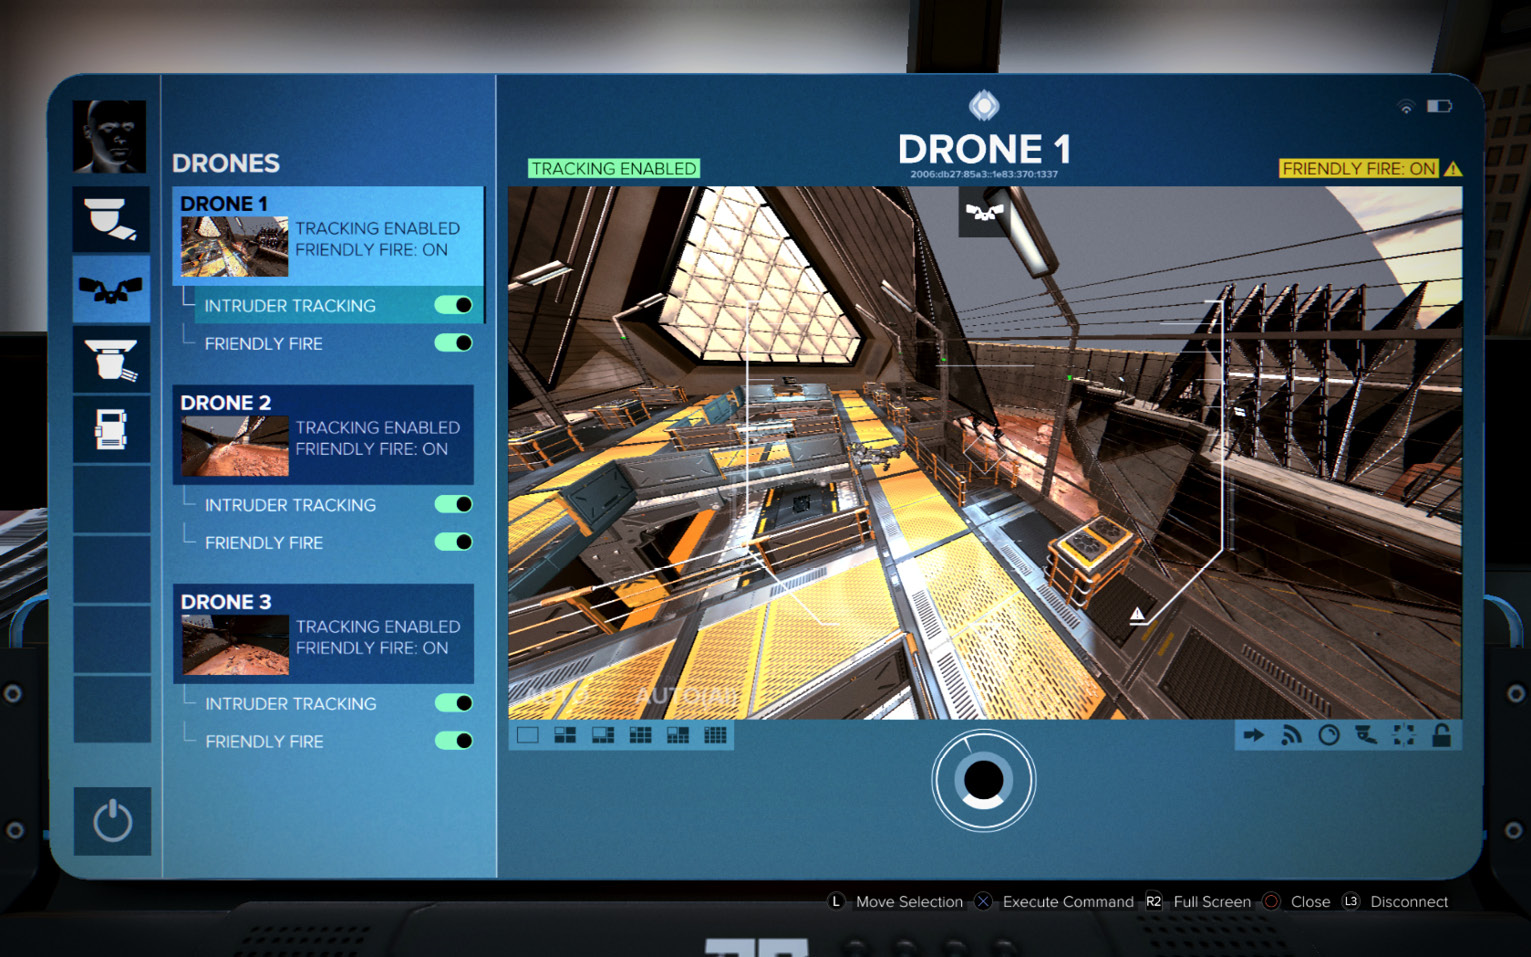
Follow the Automated Security sign leading upstairs (10); proceed up the staircase into a large security office. Guards are posted in the area outside the office, beyond the far doors, but the office itself is deserted. Sneak inside and close the doors, then toggle the EG Switch in the corner for privacy. Next, enter the newly acquired N4RDIN3M0R4N0 password into the Central Drone Controller terminal on the table and make sure the drones are disabled.
Turn the Solitary Defenses Against the Guards
More importantly, hack into the Solitary Turret Control terminal (11) on the desk (the password doesn’t work here). Here you can leave Intruder Tracking active but turn on Friendly Fire[el] and then watch as the Drones open fire on the human troops in the area just outside! Do the same with the Turrets. It’s darkly amusing to watch the robotic killers turn on their human teammates. Wait until the sentry drones clear out all of the guards and then disable all of the drones, cameras and turrets. Lastly, make sure the entry door to Solitary is open.
Find More Evidence on Mejia
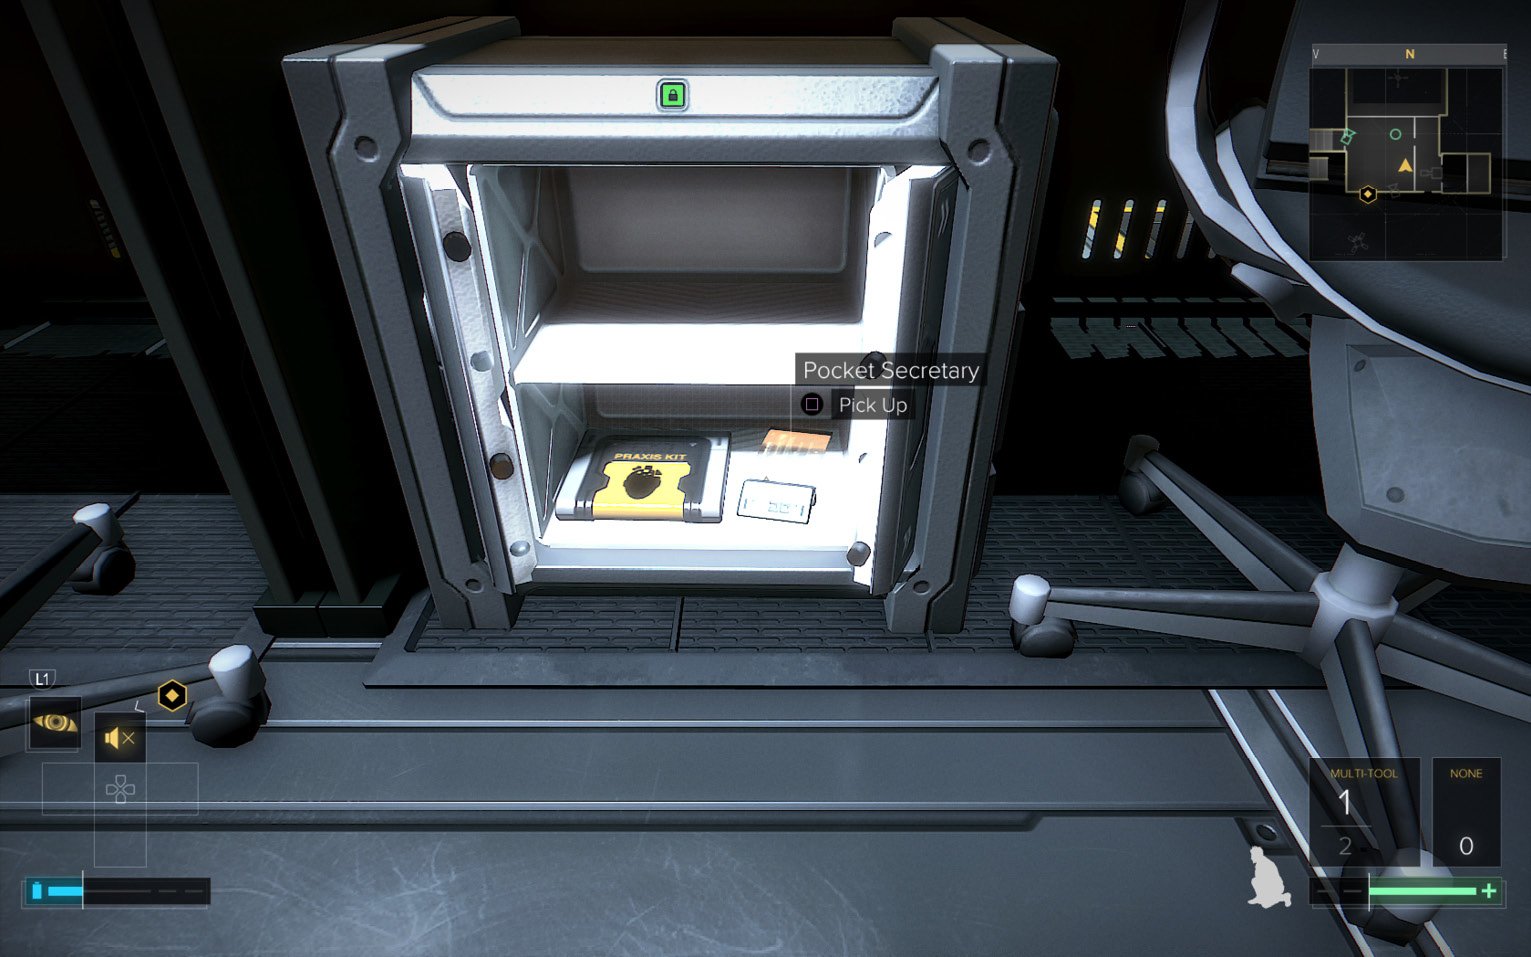
Before you leave, find the eBook on one desk and the Praxis Kit inside the floor safe underneath another desk. You’ll also find a Pocket Secretary in the safe. Read the”Recovered Turret Command Logs” entry to learn that the Automated Security console was hacked to target Ian Wilburg[el] and Oscar Mejia is the likely suspect.
Go back downstairs to Level 4 and head across the connecting corridor (12) (now cleared of guards thanks to your”friendly fire” trick) to the Solitary Confinement area.
Find Guerrero in Solitary Confinement
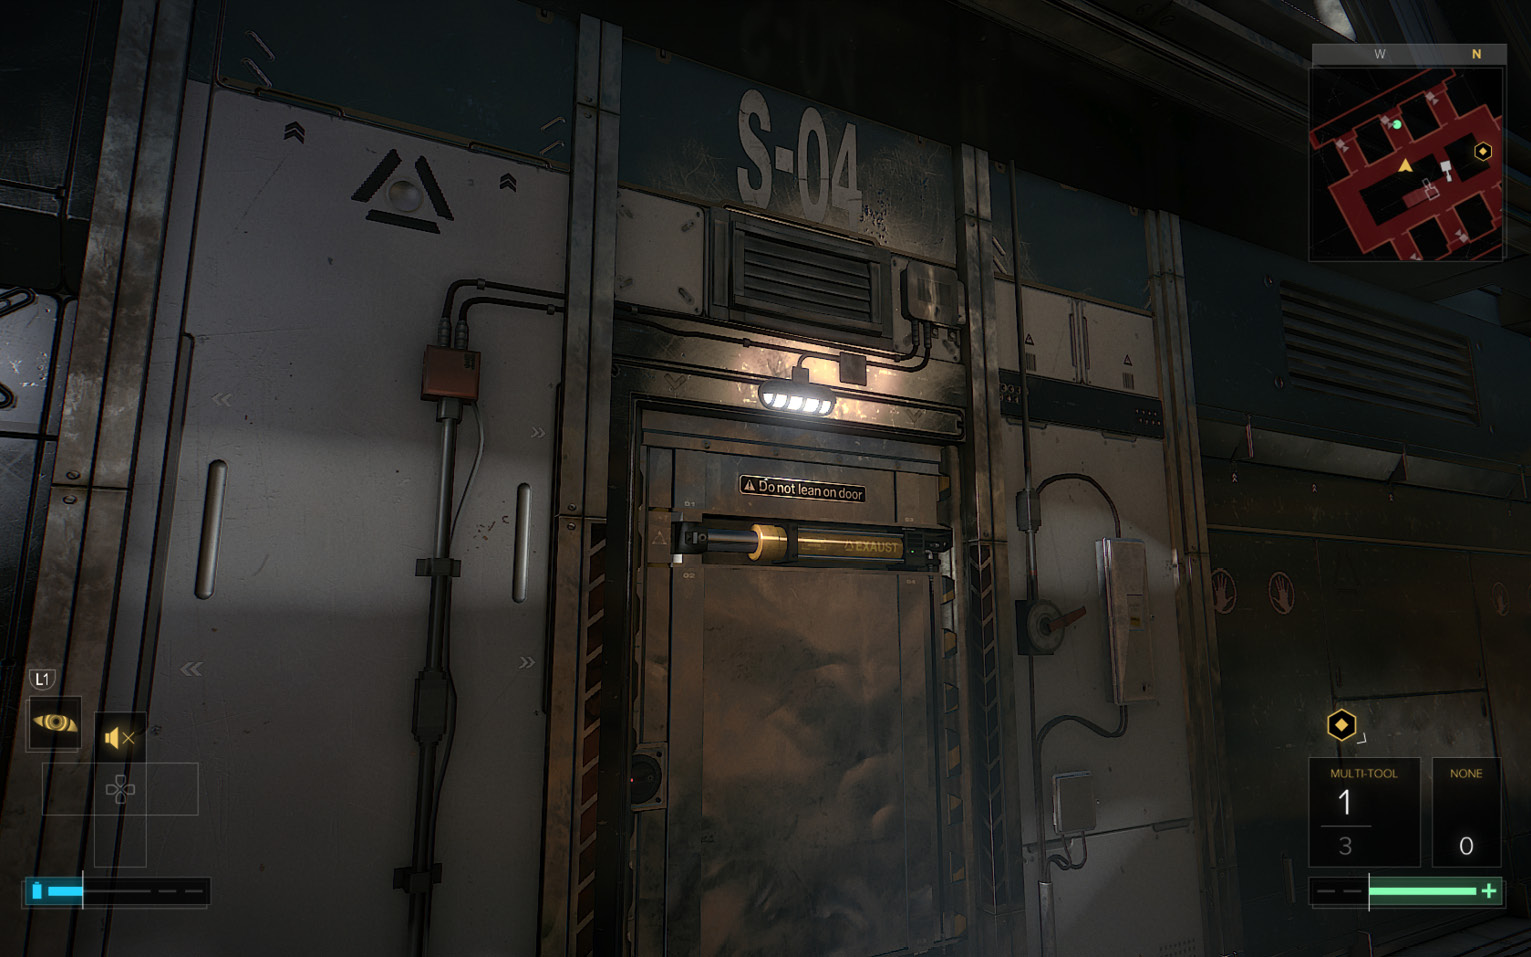
All six of the Solitary cells are locked and the locking mechanisms are disabled so you can’t open them yet. Approach cell S-04 (13) to”find” Guerrero–you can hear him calling out from inside the cell. Listen to Jensen explain to Dr. Auzenne that he needed to reset the system in the server below Solitary, then use the console in the Security office to unlock the doors.