Deus Ex: Mankind Divided Guide DLC A Criminal Past DLC
Get to the Warden’s Office
Objectives
|
Shut down the transport tracking system |
|
Optional: Investigate the Infirmary |
Overview
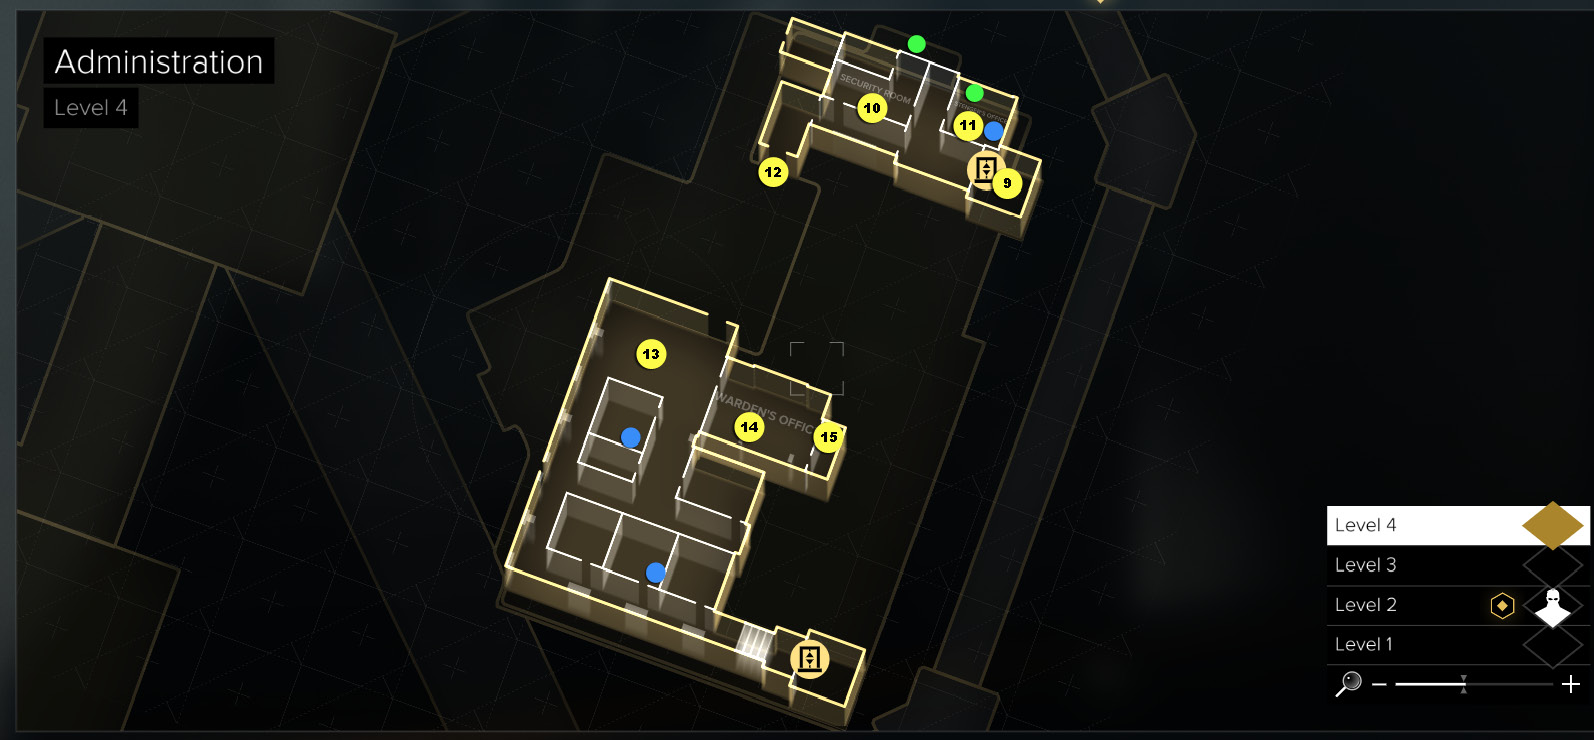
Map Legend
|
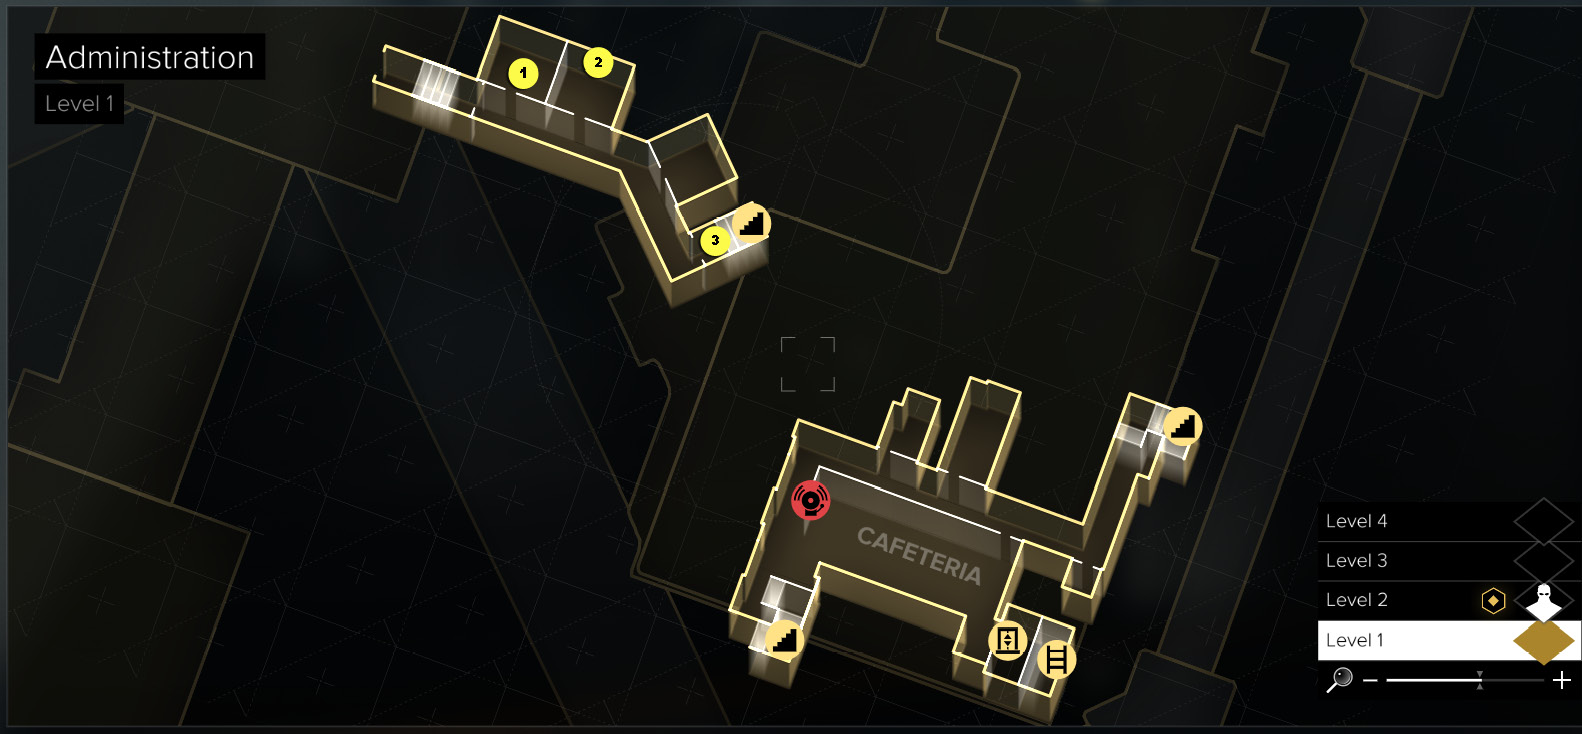
1: Generator room |
|
2: Breaker switch |
|
3: Stairs to Level 2 |
|
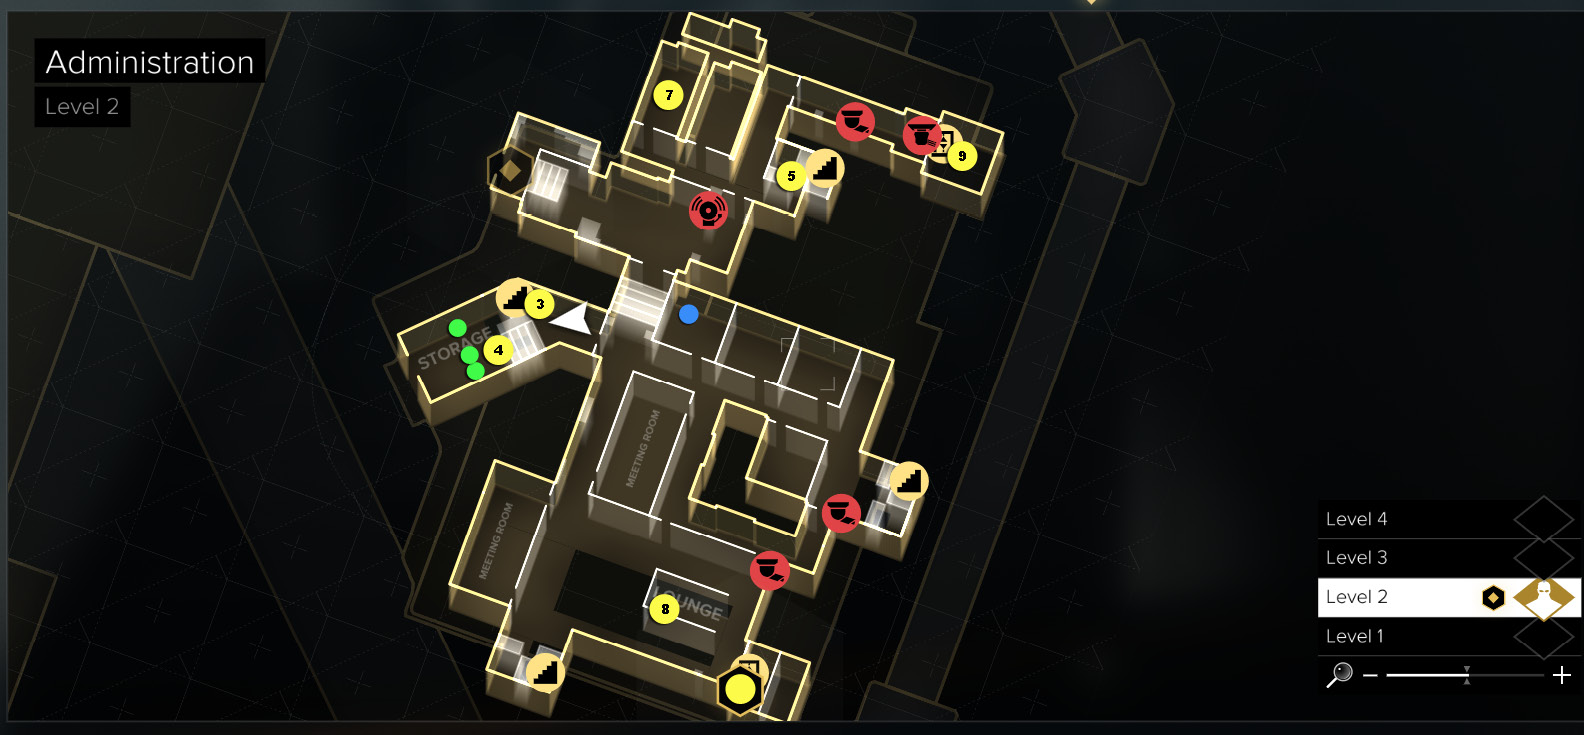
4: Storage (3 Praxis Kits) |
|
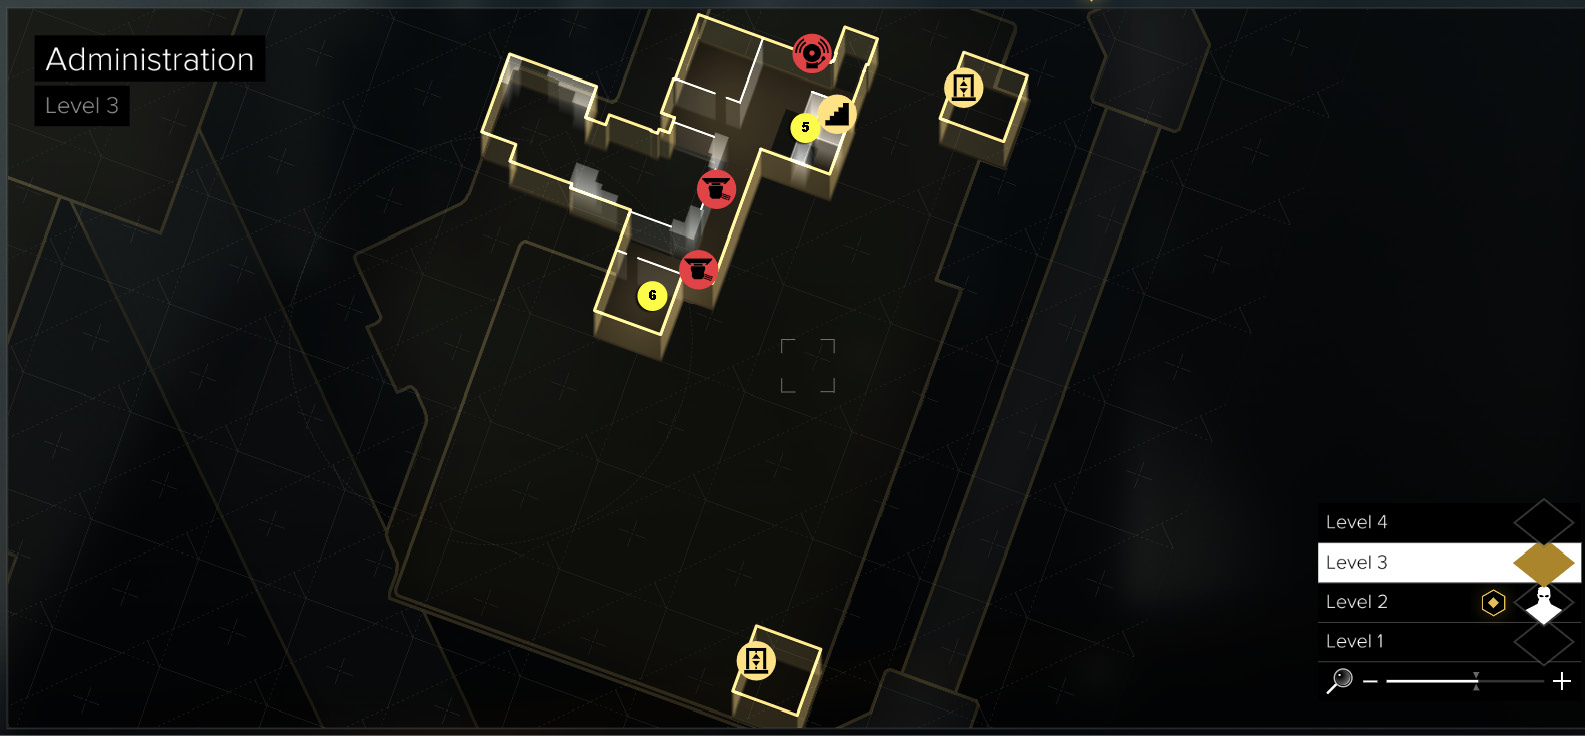
5: Stairs to Level 3 |
|
6: Room 202 (security terminal) |
|
7: Men’s Room (passcode) |
|
8: Lounge (passcode) |
|
9: Elevator |
|
10: Security terminal |
|
11: Stenger’s office |
|
12: Exit to roof walkway |
|
13: Management |
|
14: Warden’s office |
|
15. Transport tracking system |
|
[BLUE CIRCLE] = EBook |
|
[GREEN CIRCLE] = Praxis Kit |
Shut Down the Transport Tracking System
Get Past the Electrified Hall
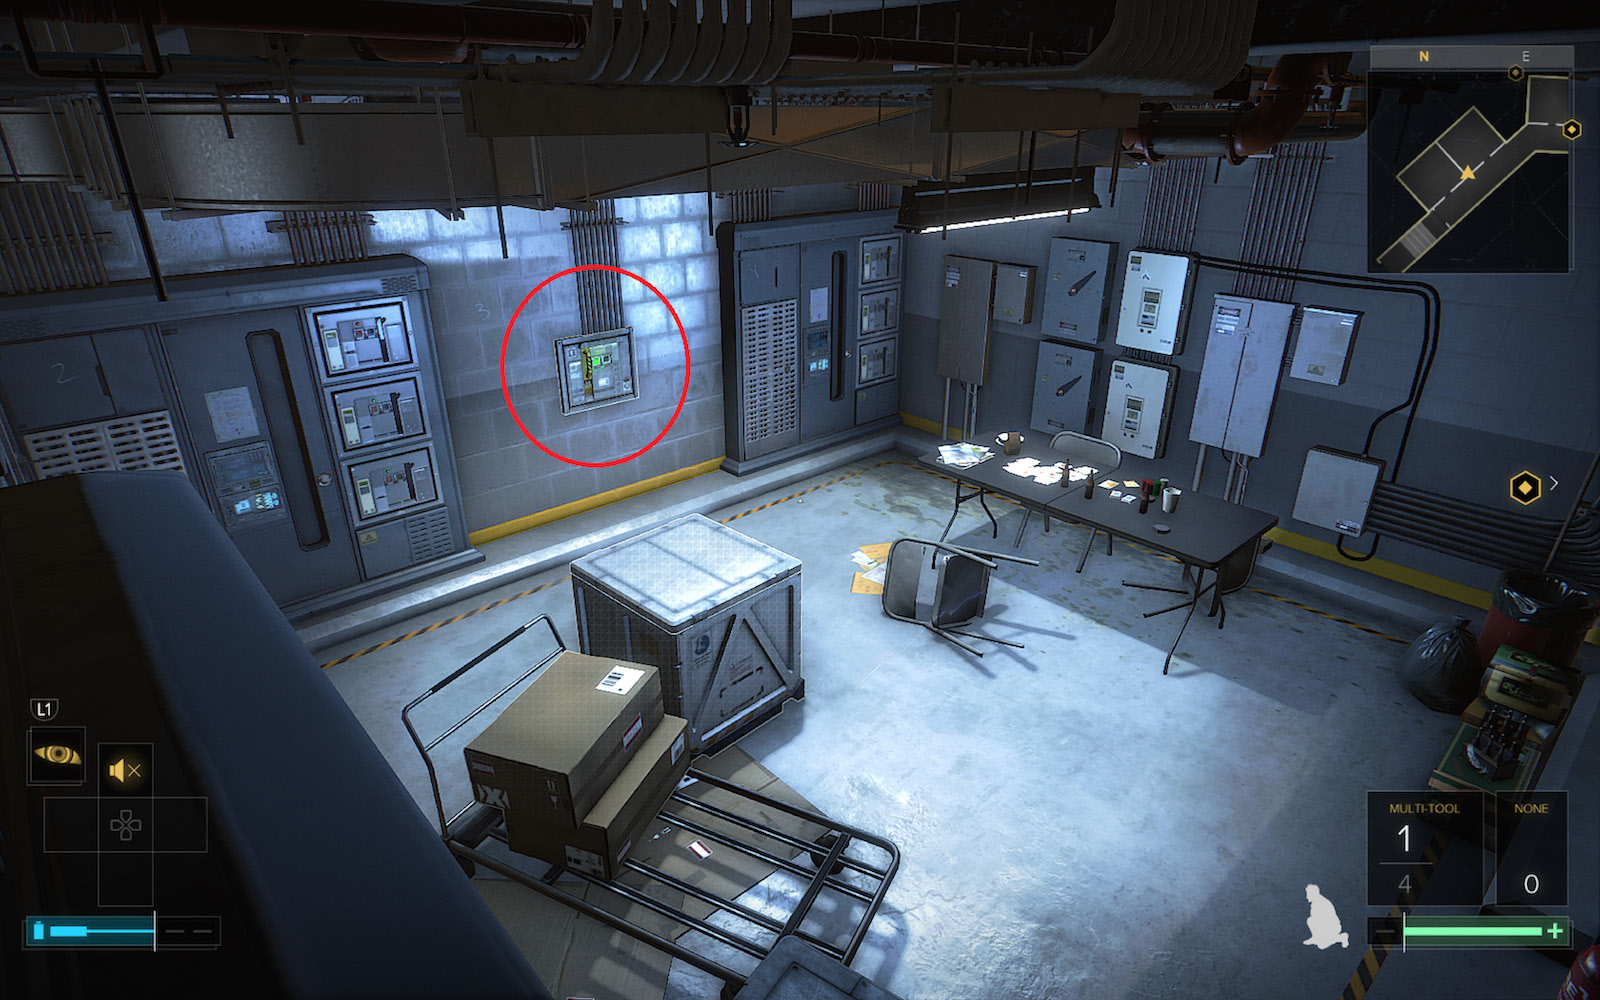
The corridor leading into Level 1 of the Administration building is blocked by electrical discharges. Turn left into the Diesel Generator room (1). Turn right, jump atop the lockers, then crawl through the wall opening into the next room. Electricity surges through this room, but you can rush directly to the Breaker switch (2) on the far wall (circled in our shot) and shut off the power. Now you can follow the corridor and climb the staircase (3) to Level 2 of Administration.
Loot the Storage Shelves!
Turn right at the top of the stairs and enter the Storage area (4). It’s loaded with items stashed inside plastic containers, including three Praxis Kits, so take your time and scour all the shelves. Exit the room, take cover at the next door, and listen to the guards on the other side.
Optional: Infiltrate the Level 3 Security Office
Although Flossy and crew control the Warden’s Office on Level 4, the rest of the Administration building is now crawling with heavily armed riot police. You can try a frontal assault and shoot your way upstairs, but it’s difficult. A better approach is to use stealth, silent takedowns, and stun weaponry to quietly work across the levels, finding security terminals and disabling automated defenses.
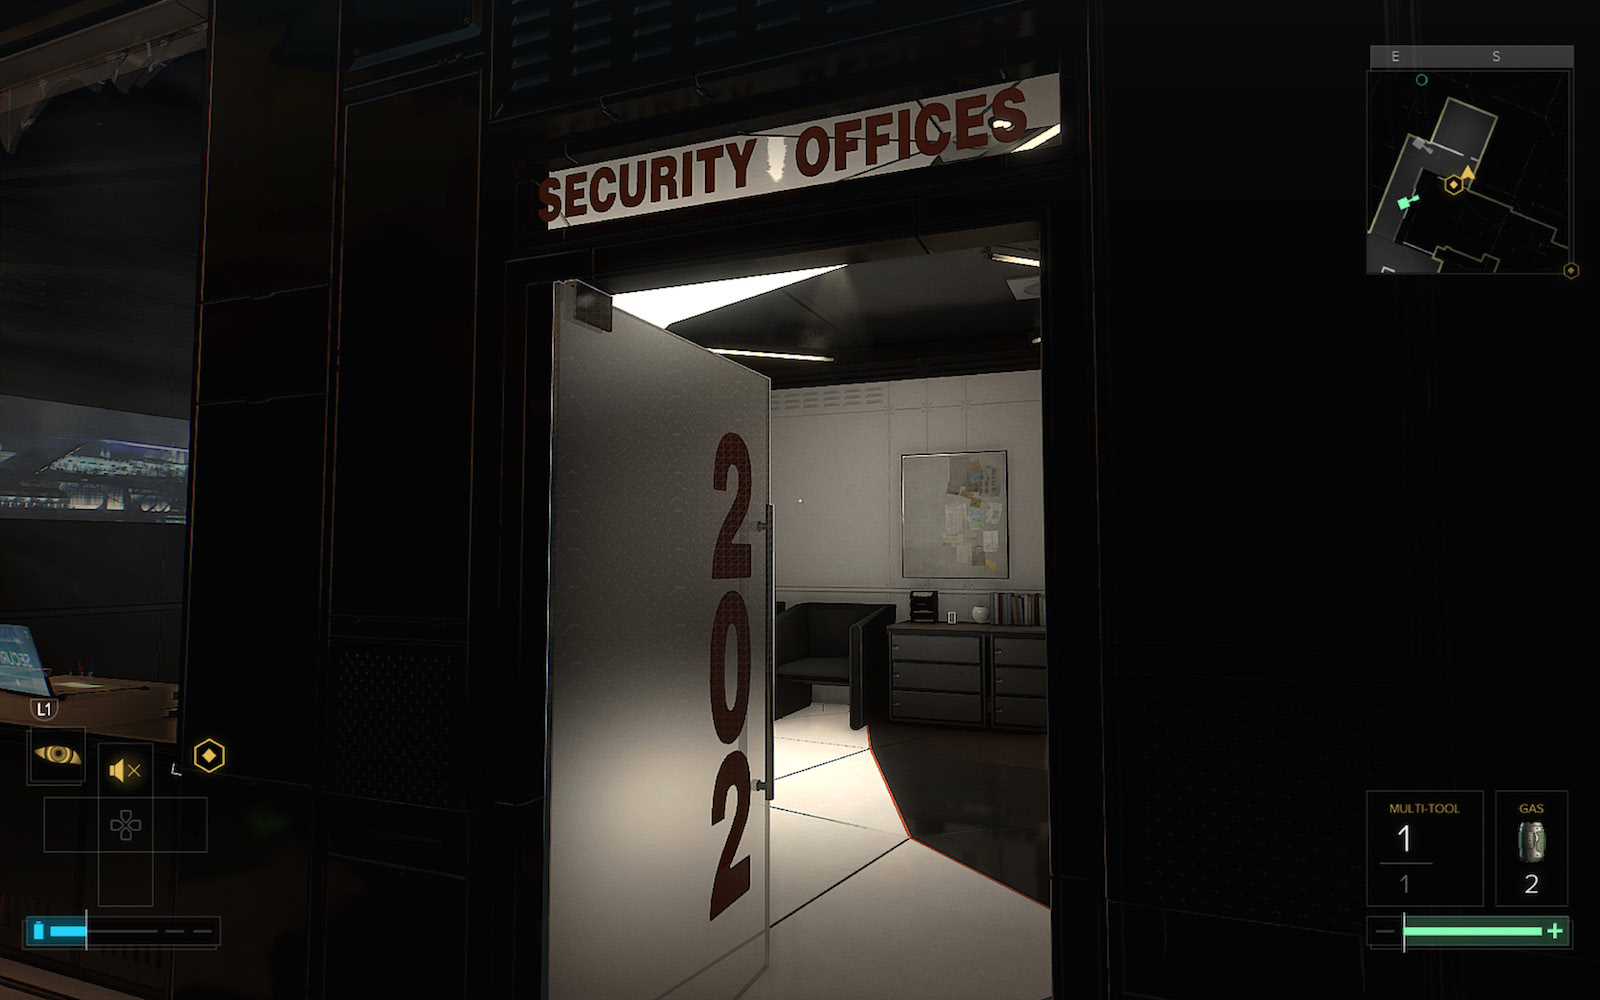
Note that Levels 2 and 3 also feature a lot of offices and meeting rooms that you can search for items, including some up the staircase on Level 3. Tip: Sneak up those stairs (5) and get to Room 202 (6) on Level 3. Enter and hack the Office Camera Control security laptop. Put all four turrets on Friendly Fire so they will shoot at the guards! Let the guns work for a minute or two. When the howling ends, disable all the turrets so you can move around more safely.
Optional: Explore the Levels
You can find an eBook in Room 103 and a Pocket Secretary on the floor of Room 106 near the tilted bookcase. Read the entry entitled "Worthmuller" for a disturbing psychological profile of the Fixer. This triggers a dialogue exchange in the present between Jensen and Dr. Auzenne. (Acquiring this evidence can affect the game's ending.) on a sink in the Men’s Restroom
You can find another Pocket Secretary on a sink in the Level 2 Men’s Restroom (7) with the passcode 2297. This opens the door into the Storage Room from the outside[el] but of course you don’t need to do that in this walkthrough, since you’ve already looted the Storage Room. There’s a Restricted Access Keycard on the floor in one of the stalls in the Women’s Restroom.
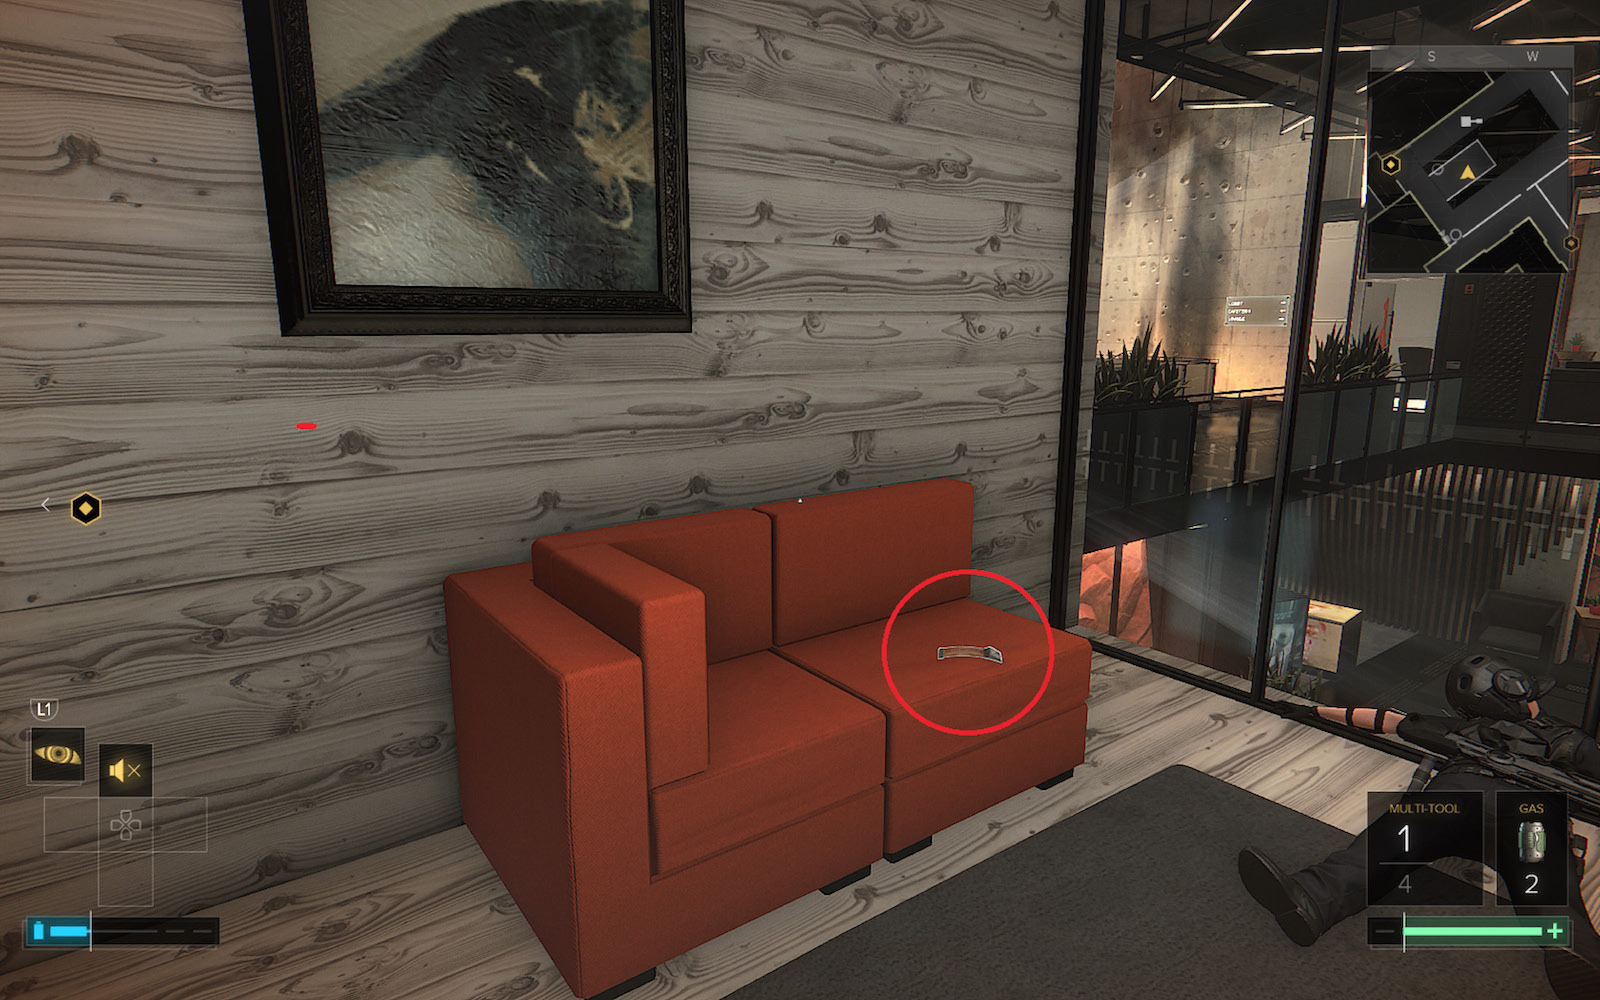
In the Lounge (8), find the Pocket Secretary on the sofa (circled in our shot) and read the entry”Codes for the Elevator Area” to learn that S3CUR3SYST3M is the code for Administration’s main security hub. You can also hack into the nearby Security laptop on another sofa and either disable the mobile turret just around the corner or, for fun, switch it to Friendly Fire mode and let it mow down guards.
Explore the Main Security Hub
Now use the northeast elevator (9). (Make sure you disabled the turret in its approach corridor back in Room 202). Enter and select”Security Offices” to ride up to Level 4. Riot squad units are here; eliminate them one by one. Find the Praxis Kit outside on the balcony, then enter the security office (10) and use the Admin Corridor Security terminal (the one on the right) to enter the code S3CUR3SYST3M. Hack the nearby Roof Access security terminal to disable the cameras and open the roof access door.
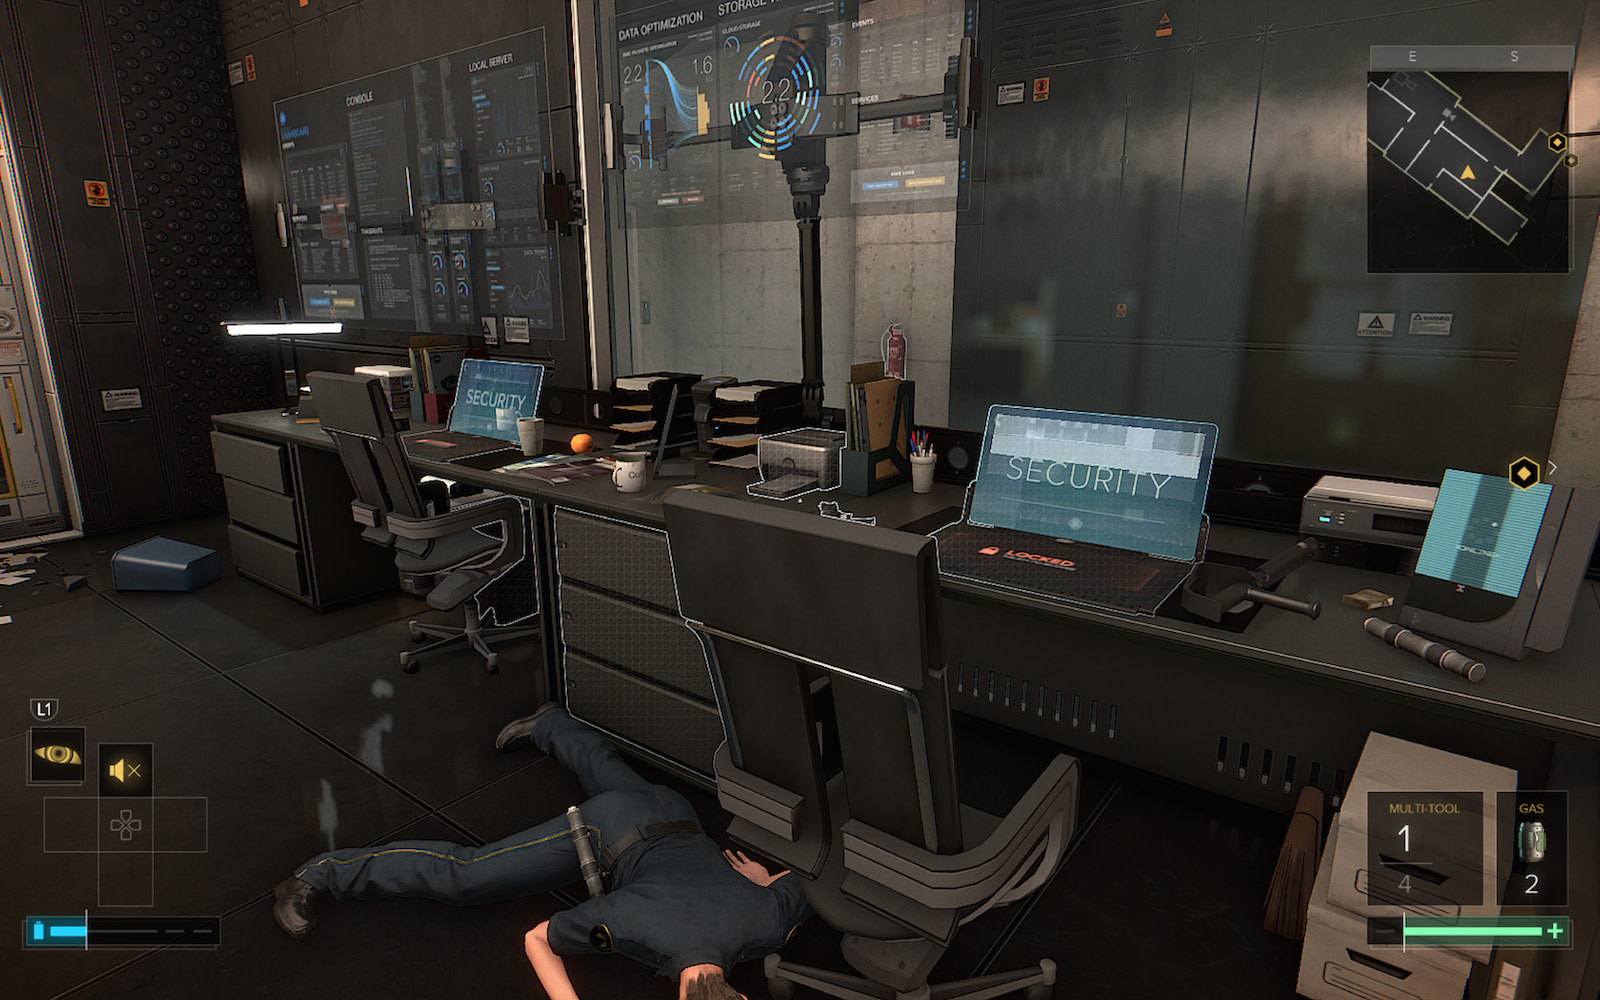
Explore Stenger’s Office
Now hack into Stenger’s Office (11) and enter it. Find the eBook on the bookshelf and check out some interesting emails on his computer. After doing so, crouch and find the button underneath his desk.
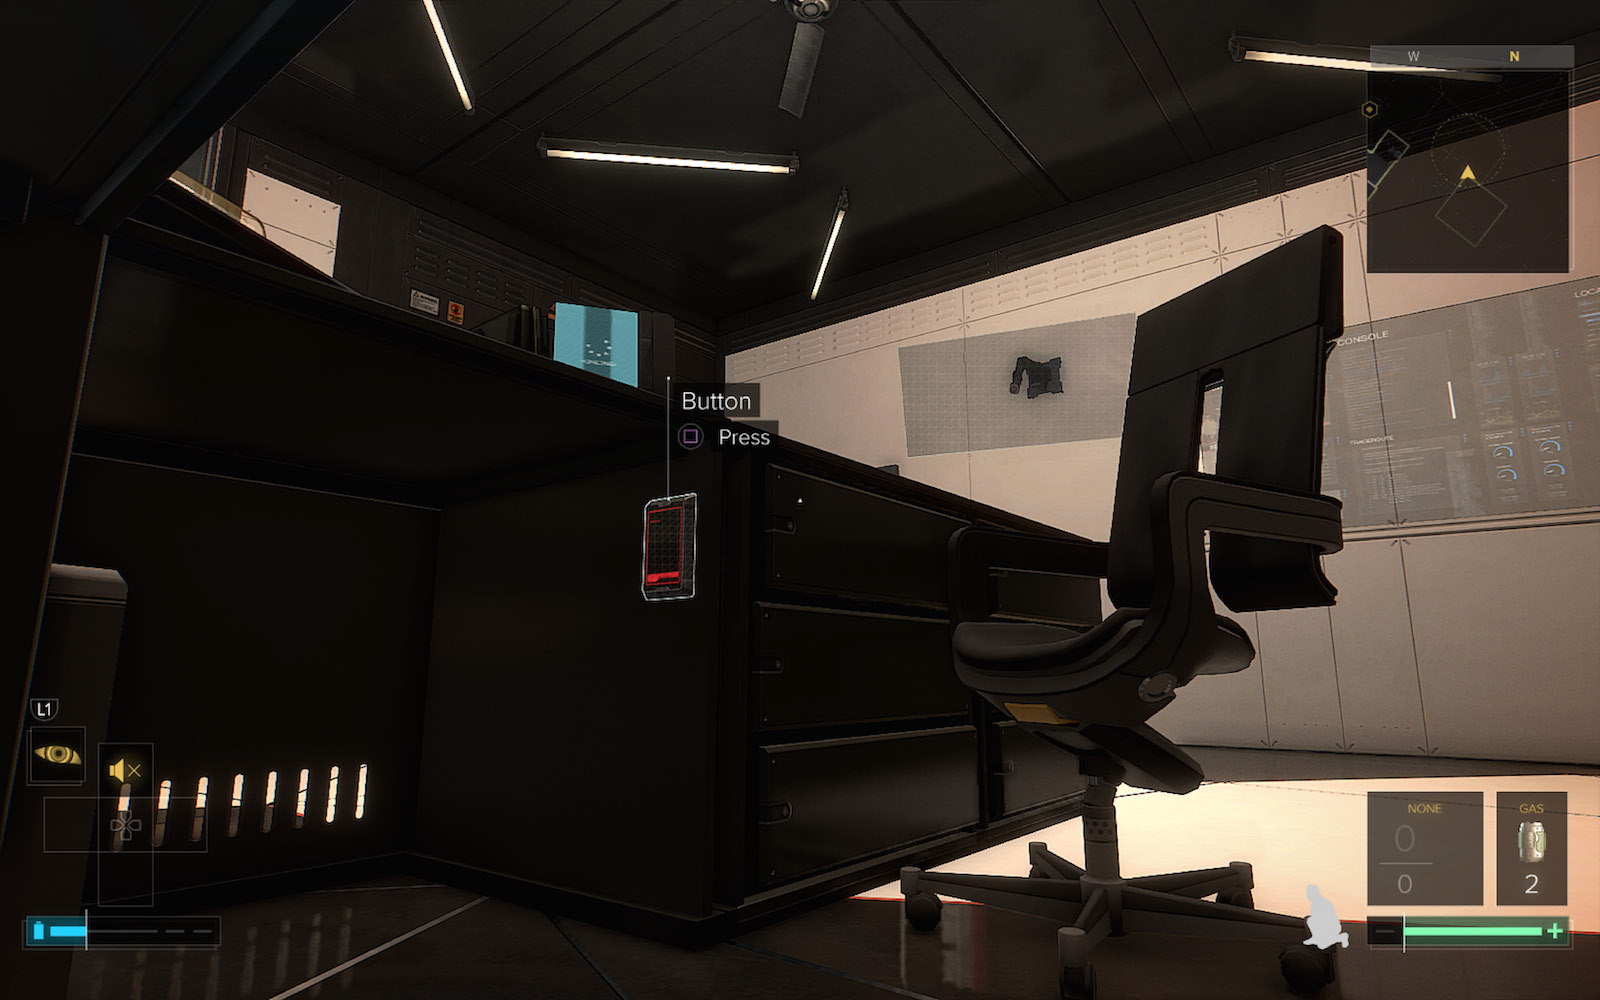
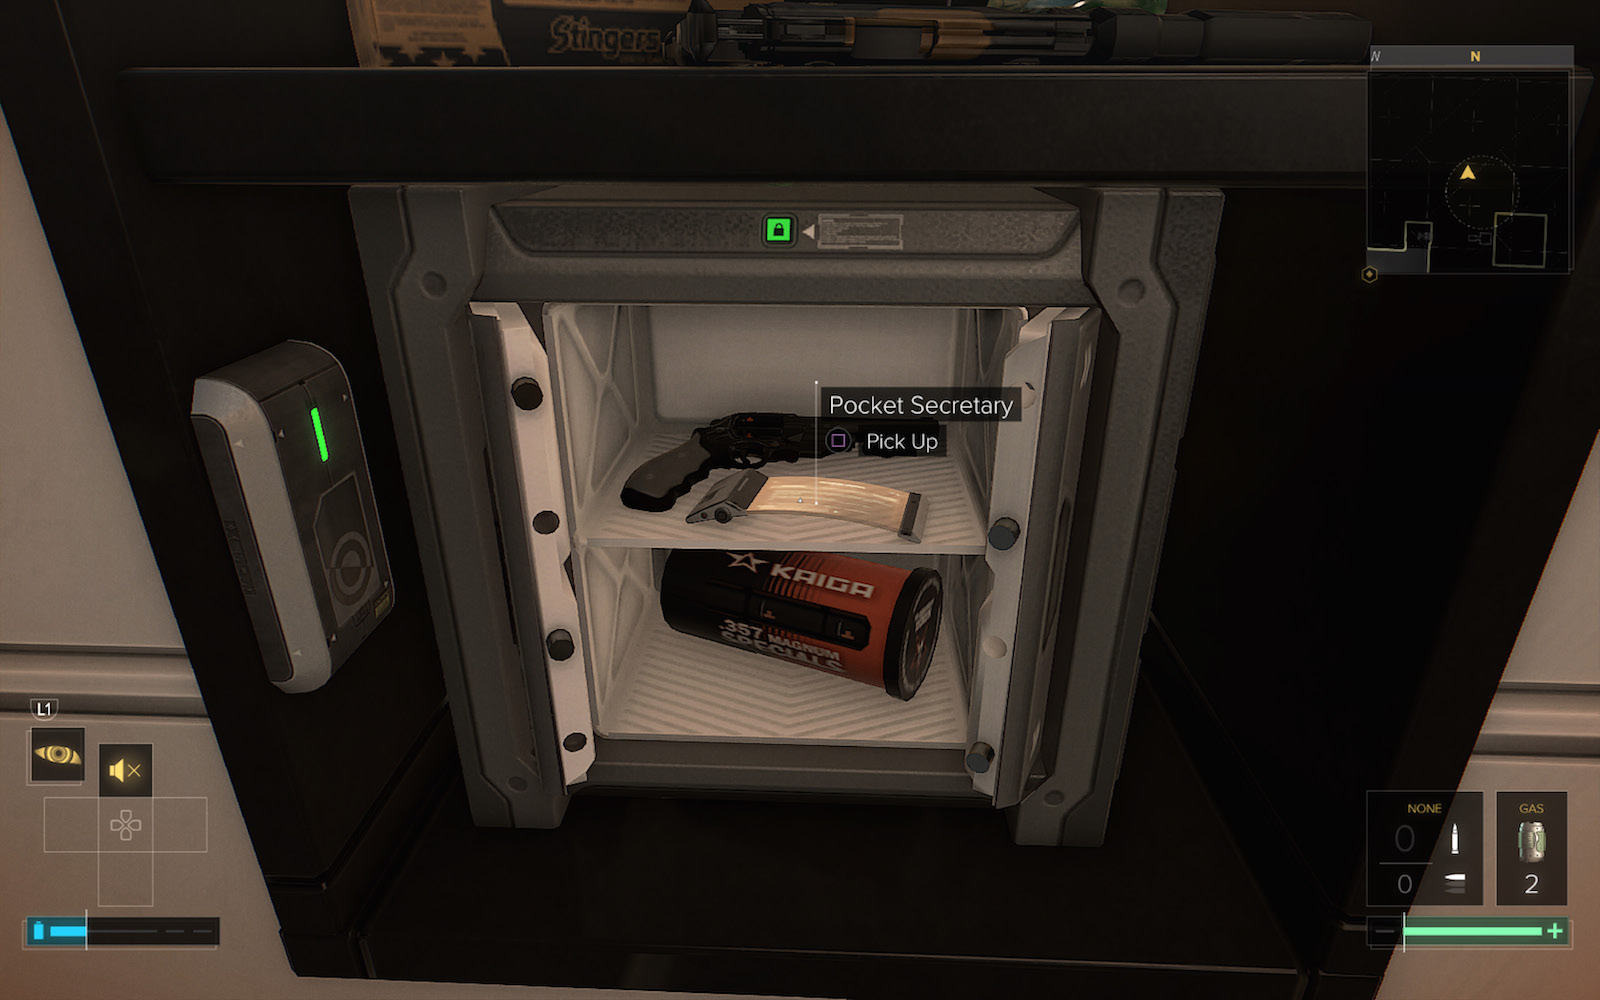
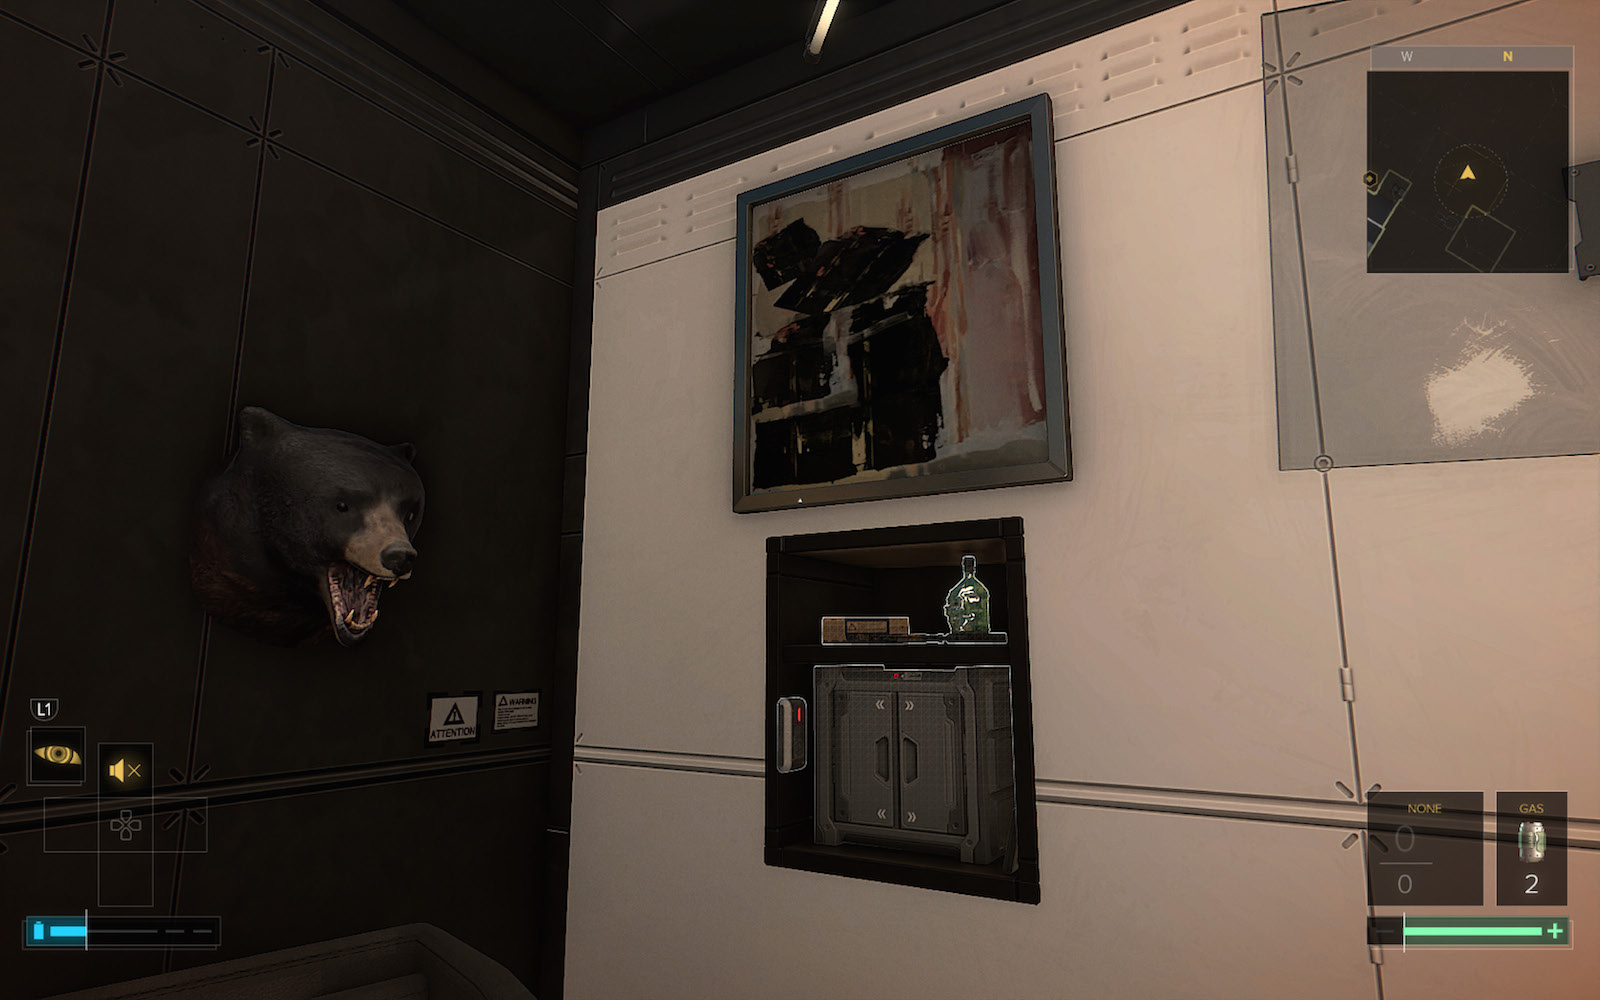
Press the button to raise the painting across the room, revealing a secret compartment. There’s a safe inside, but it’s locked. (You can grab a Praxis Kit, though.) If you highlight the keycard reader next to the safe, you see that it requires”Stenger’s Keycard.”
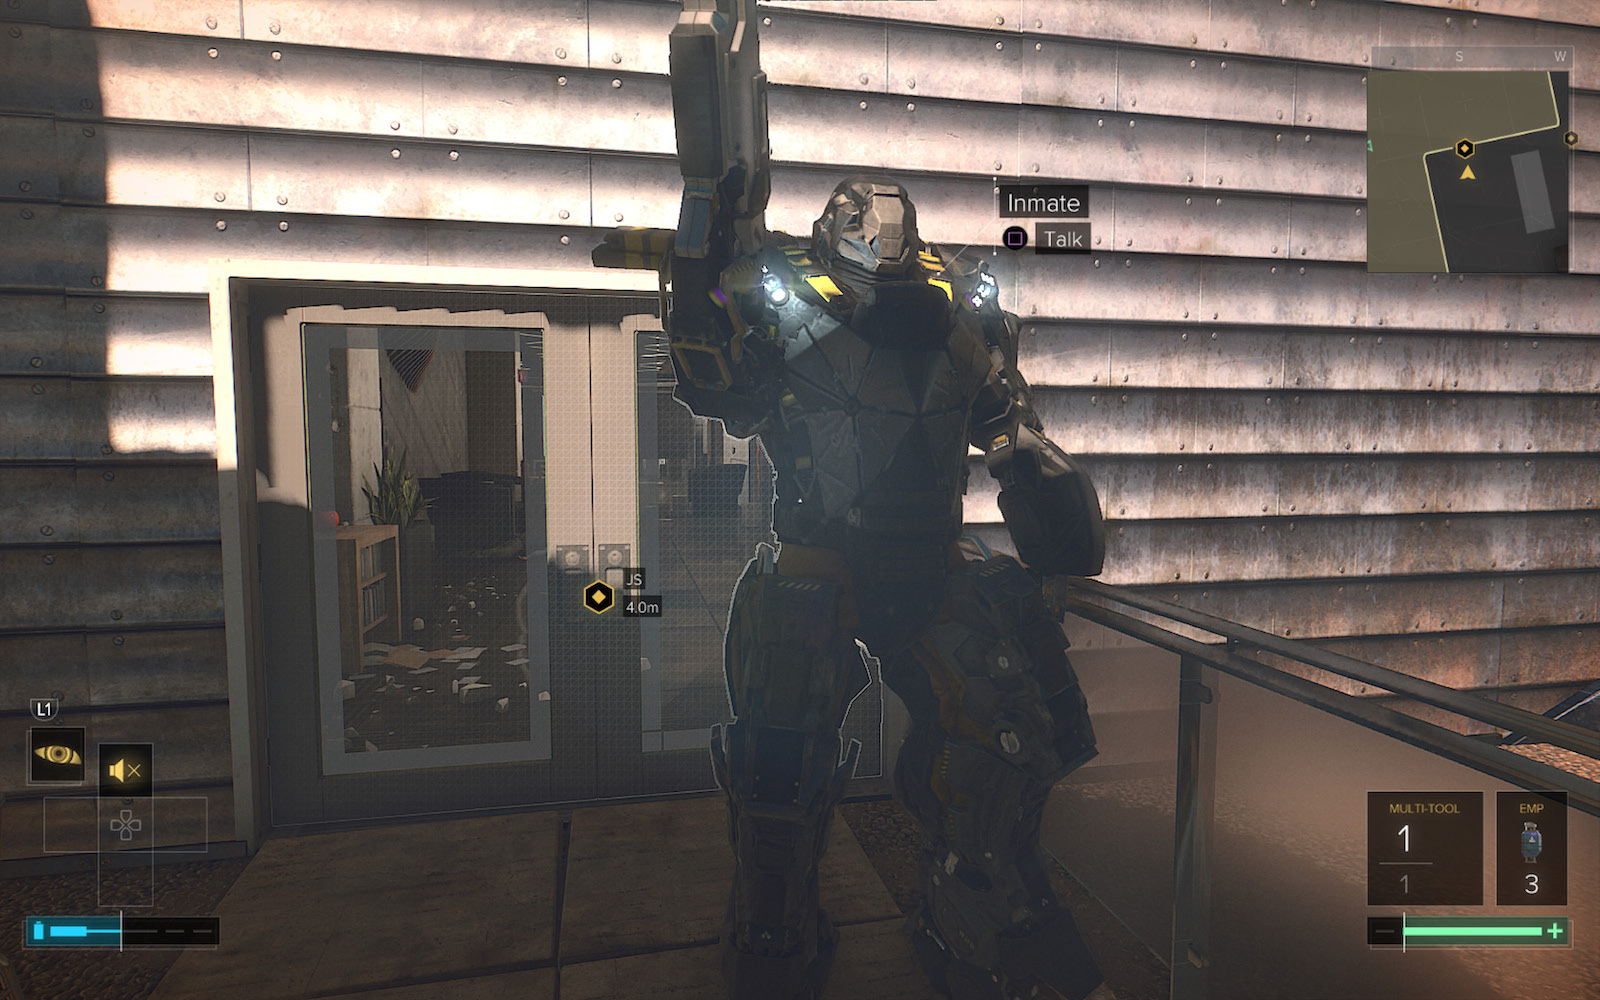
Exit via the doors (12) leading onto the roof and follow the walkway to the Management wing (13) of Level 4. Don’t be afraid of the robotic exo-suit down the corridor; it has an inmate inside, not a guard!
Explore the Management Area
The inmates have full control of the Management wing, so just walk inside. Explore the area to find eBooks in Offices 302 and 305.
Talk to Flossy in the Warden’s Office
Enter the Warden’s Office (14) to trigger a cutscene: Flossy greets Jensen. Note that Flossy’s reaction to Jensen depends on whether or not you delivered the Altered Biocell to Red Shoes as he requested:
- If you did make the delivery, Flossy reacts positively to Jensen; however, if you select the”Angry” dialogue selection, you run the risk of triggering combat with Flossy.
- If you did not make the delivery to Red Shoes, Flossy will react negatively to Jensen’s arrival. However, you can interrupt and reason with Flossy to avoid combat.

Shut Down the Transport Tracking System
Pick up the Pocket Secretary on the small table in the Warden’s Office and read the”Override Code Update” entry: the override code for the transport system is 2027. Access the unlocked”Patsy Perkins” security terminal on the desk. Open the vault door viewed by Camera 2; the door slides open behind you.
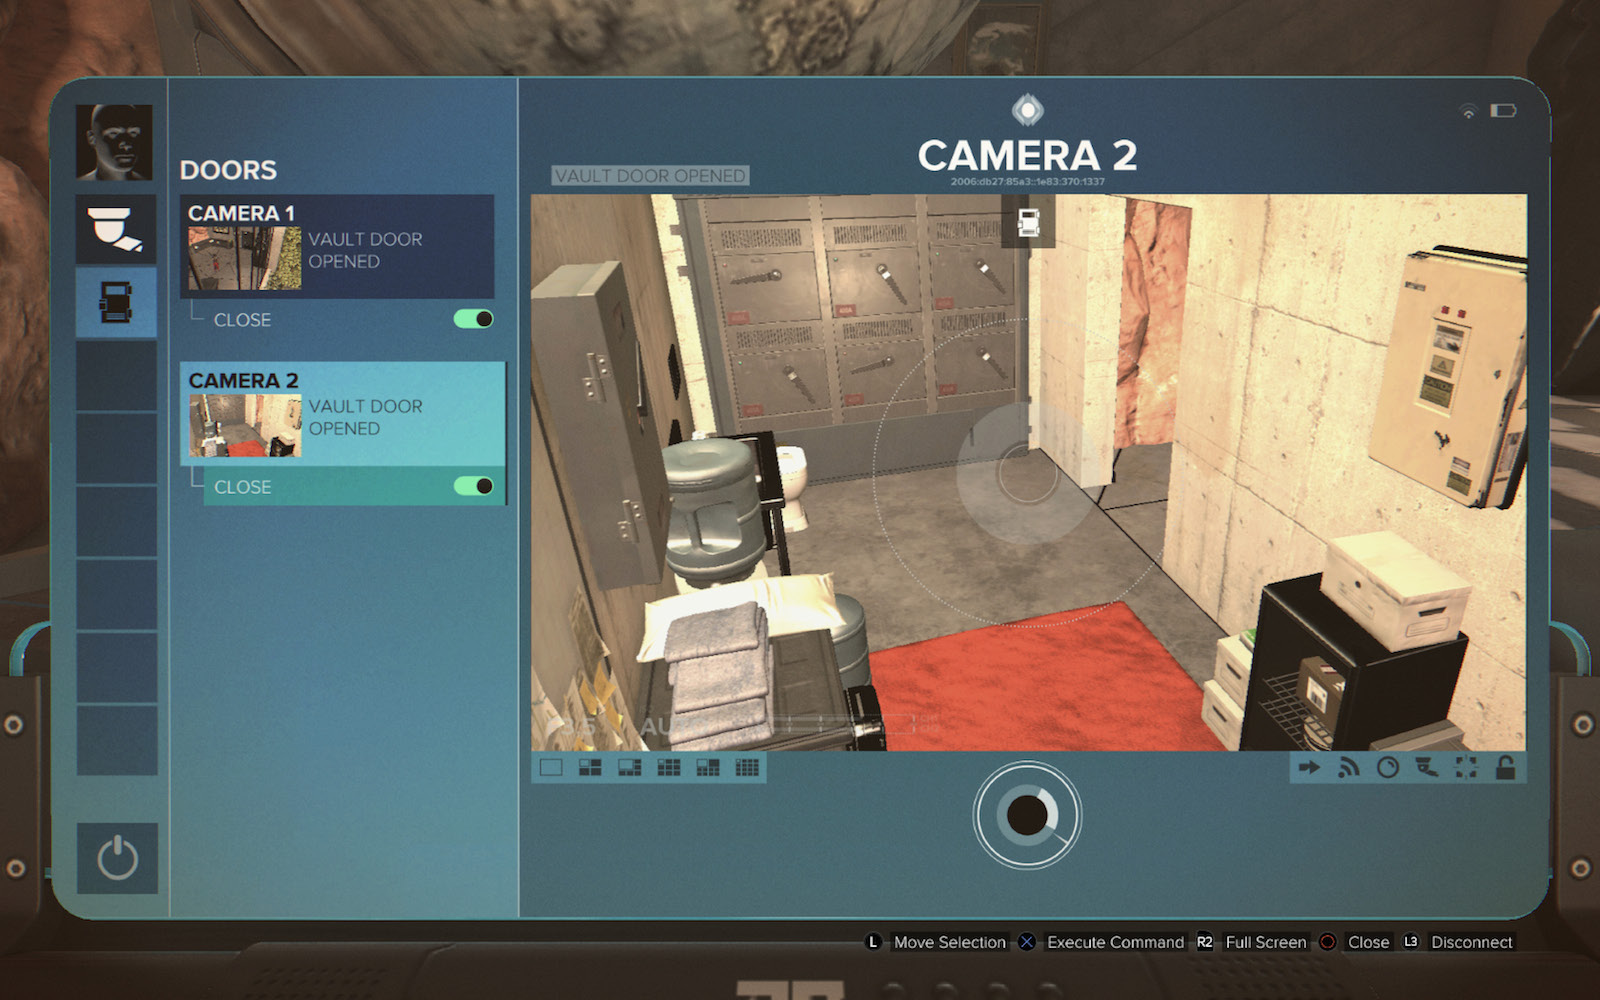
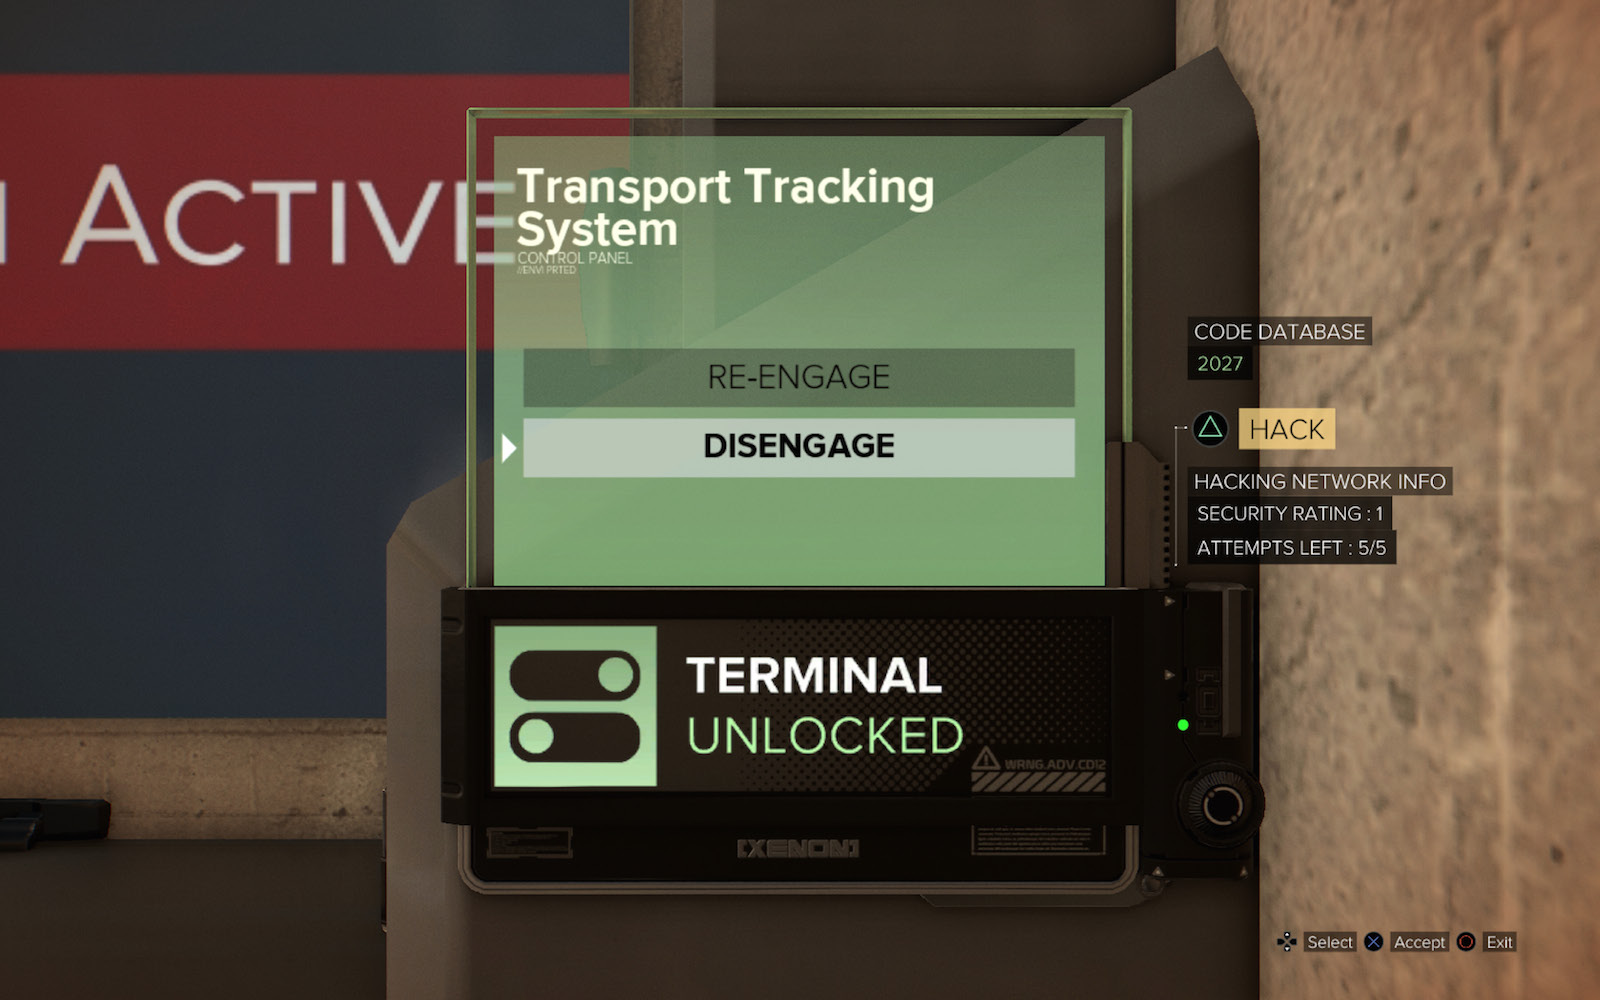
Enter the room (15) and enter the code”2027” in the Terminal panel to unlock the system. Select”Disengage” to shut off the transport tracking system, then watch the scene on the monitor as Stenger meets with The Fixer. This opens up a new optional objective.
Optional: Investigate the Infirmary
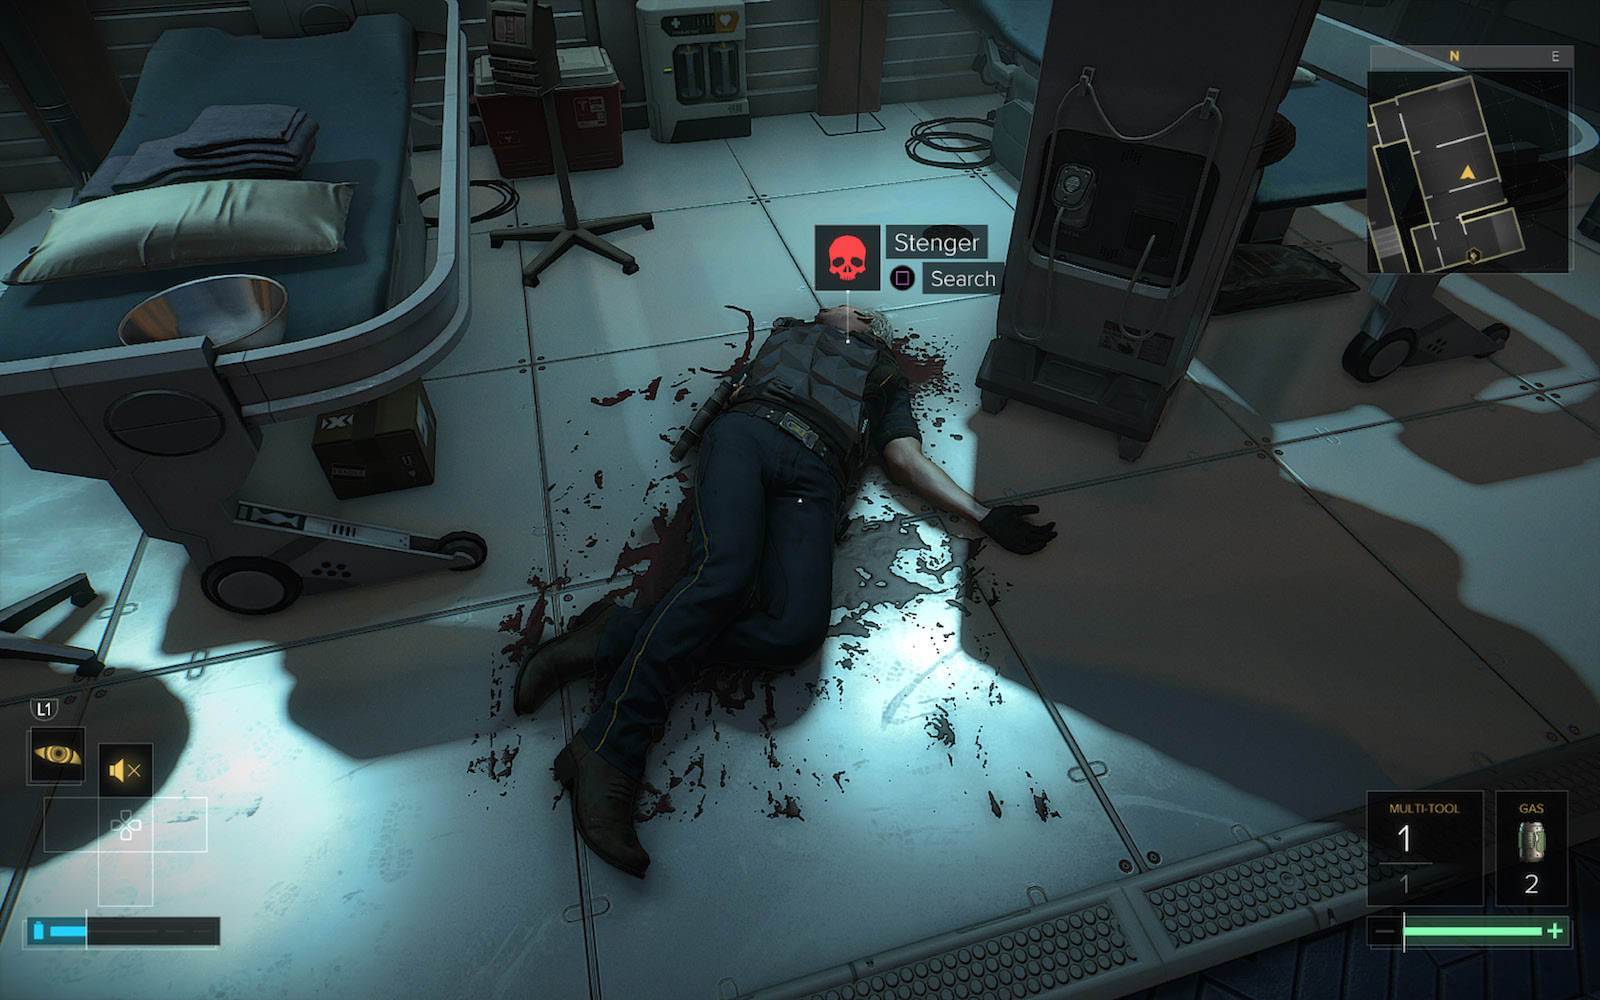
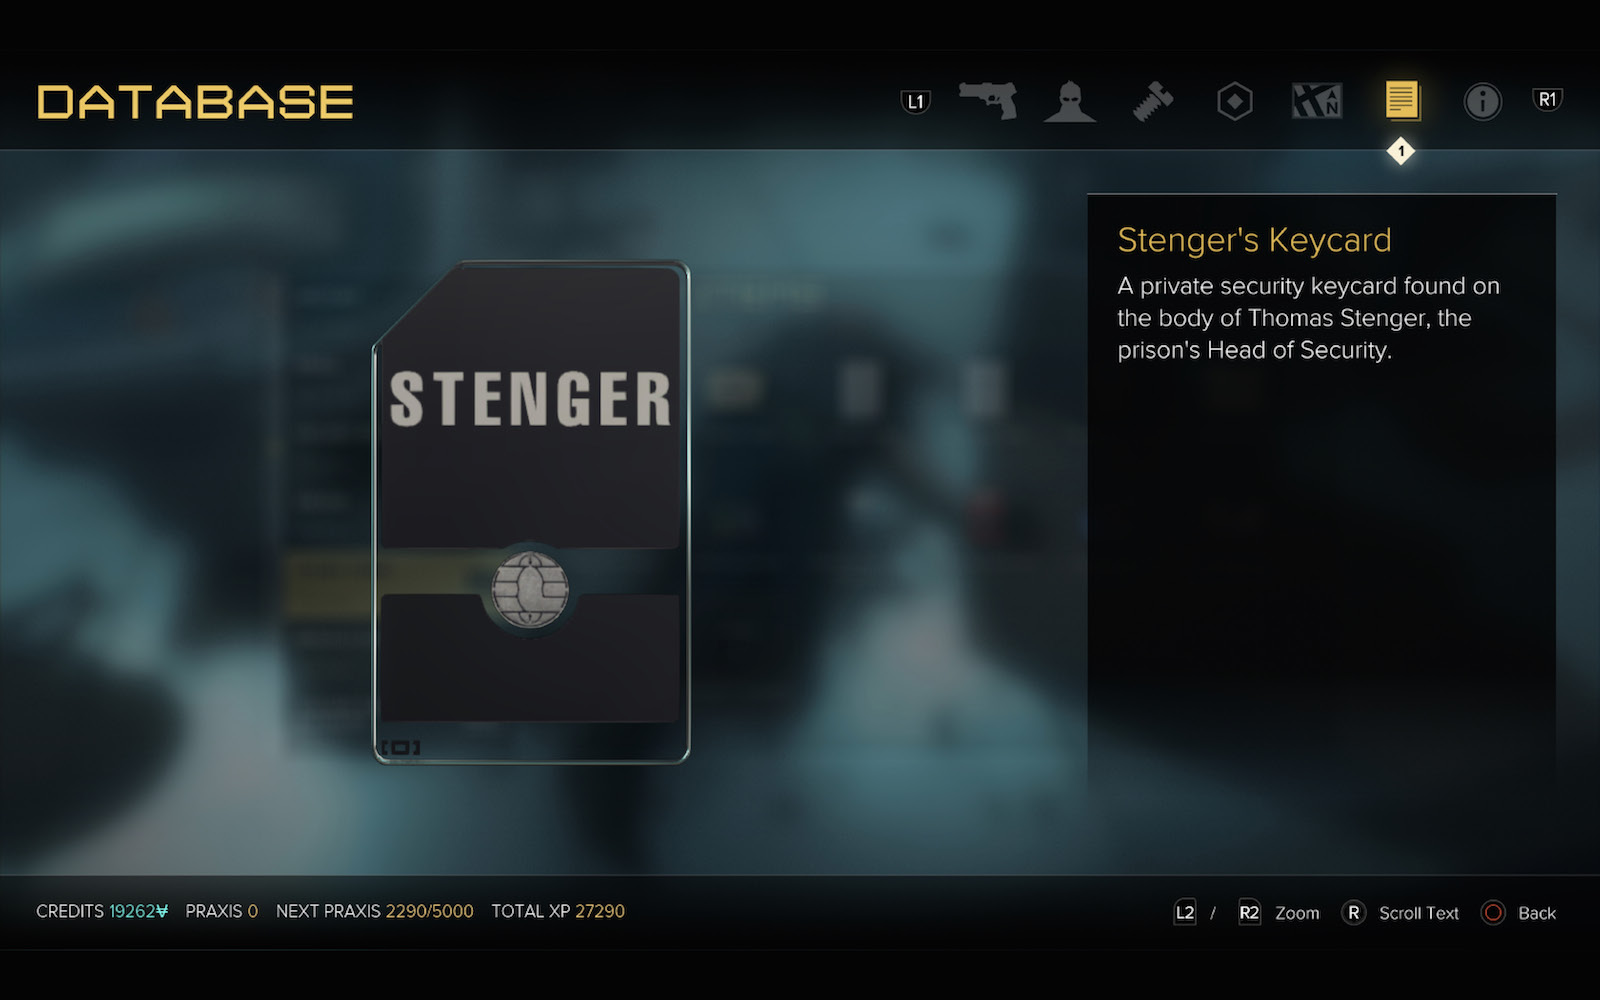
Return to the Infirmary by going to the staircase on Level 2 (3) and descending to the connecting utility corridor on Level 1. Follow the passage back to the Infirmary. There, you find Stenger. Search him to acquire Stenger’s Keycard and a Pocket Secretary with an entry entitled:”This week’s list.” Read it to pick up some key evidence about the true nature of the relationship between Stenger and Mejia.
POINT OF INTEREST: The Head of the Snake
Return to Administration and take the northeast elevator (9) up to the Level 4 Security Offices again. Go back to Stenger’s Office and use the button underneath his desk to open the secret compartment again. This time you have Stenger’s Keycard to unlock the safe. Inside, you find a Pocket Secretary with an audio transcript of a conversation between Wilburg and Mejia/Guerrero.