Deus Ex: Mankind Divided Guide DLC A Criminal Past DLC
Get to Cellblock B
Objectives
|
Go out to the yard |
|
Secondary: Speak to The Fixer in the yard |
|
Optional: Search The Fixer’s cell |
|
Optional: Retrieve the package |
|
Optional: Bring the Altered Biocell to Flossy OR Consume the Altered Biocell |
|
Optional: Give the Altered Biocell to Red Shoes |
|
Get to Cellblock B |
Overview
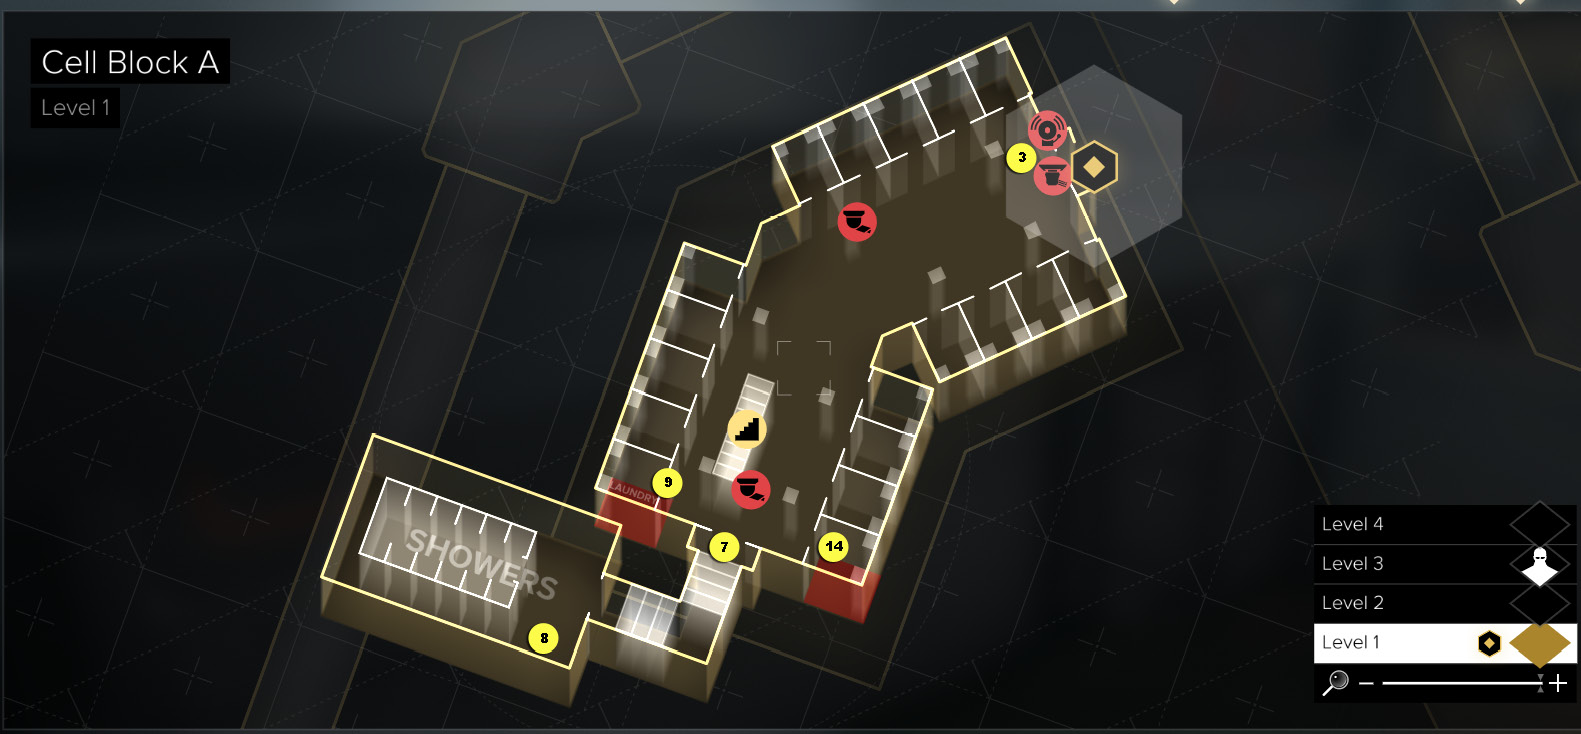
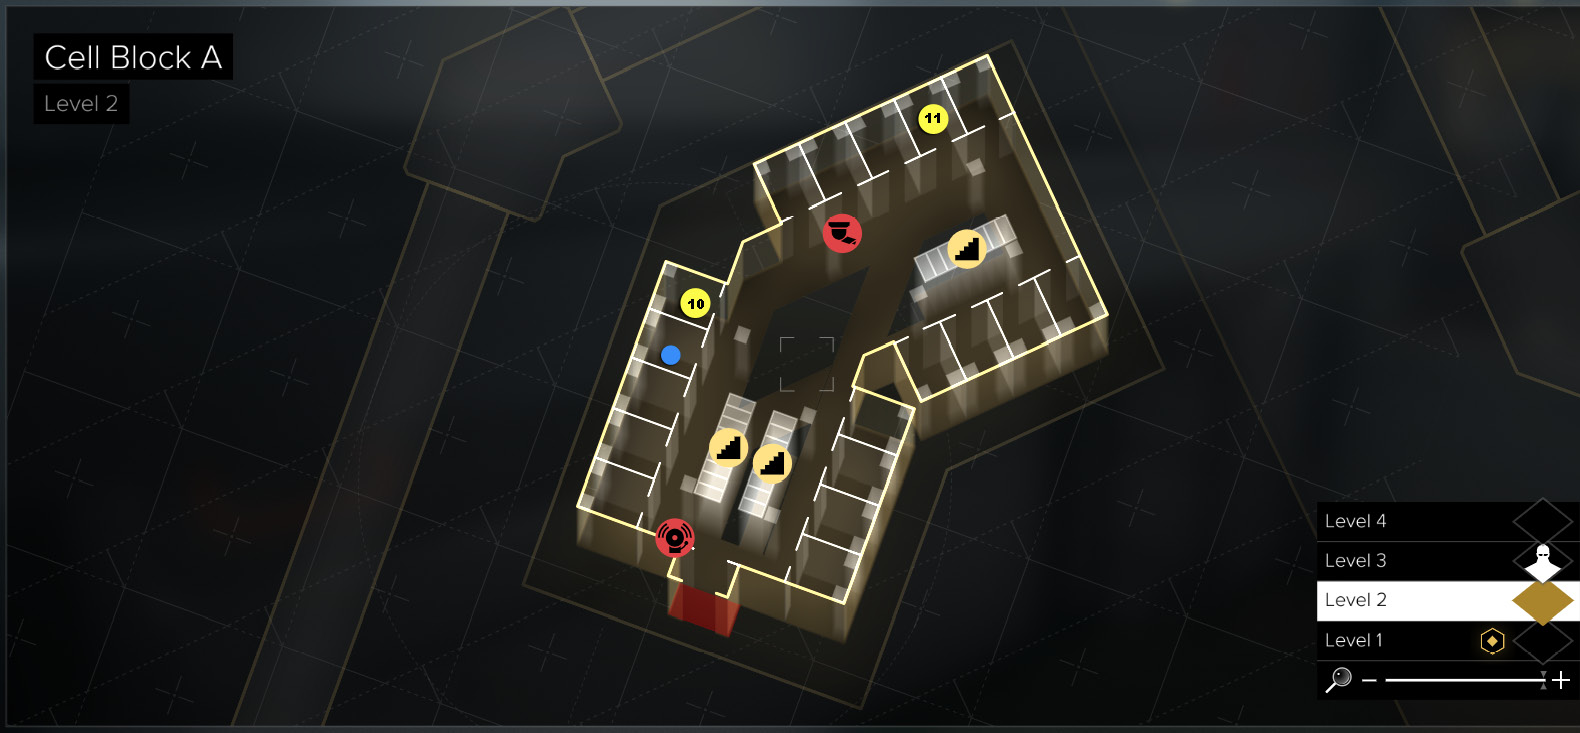
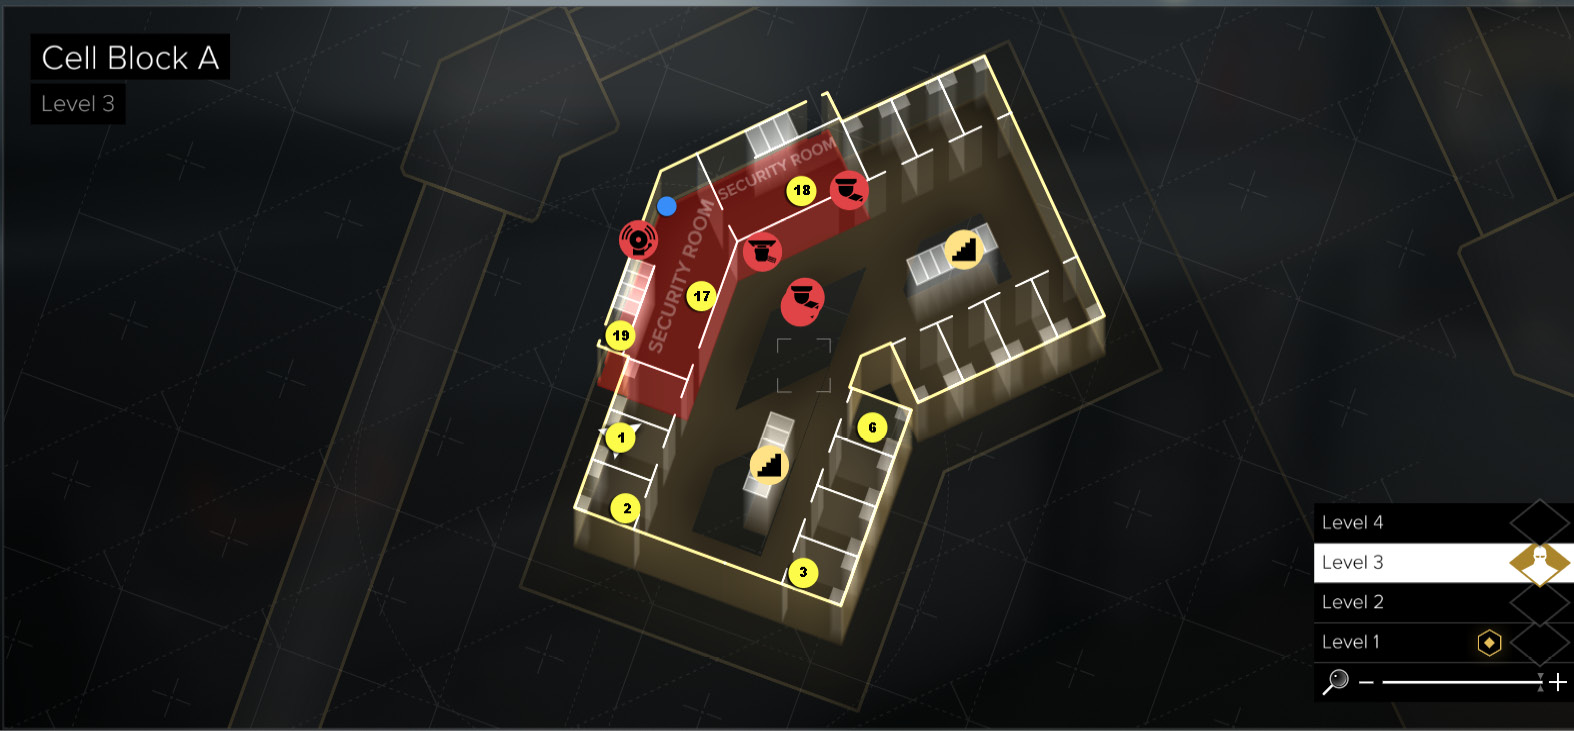
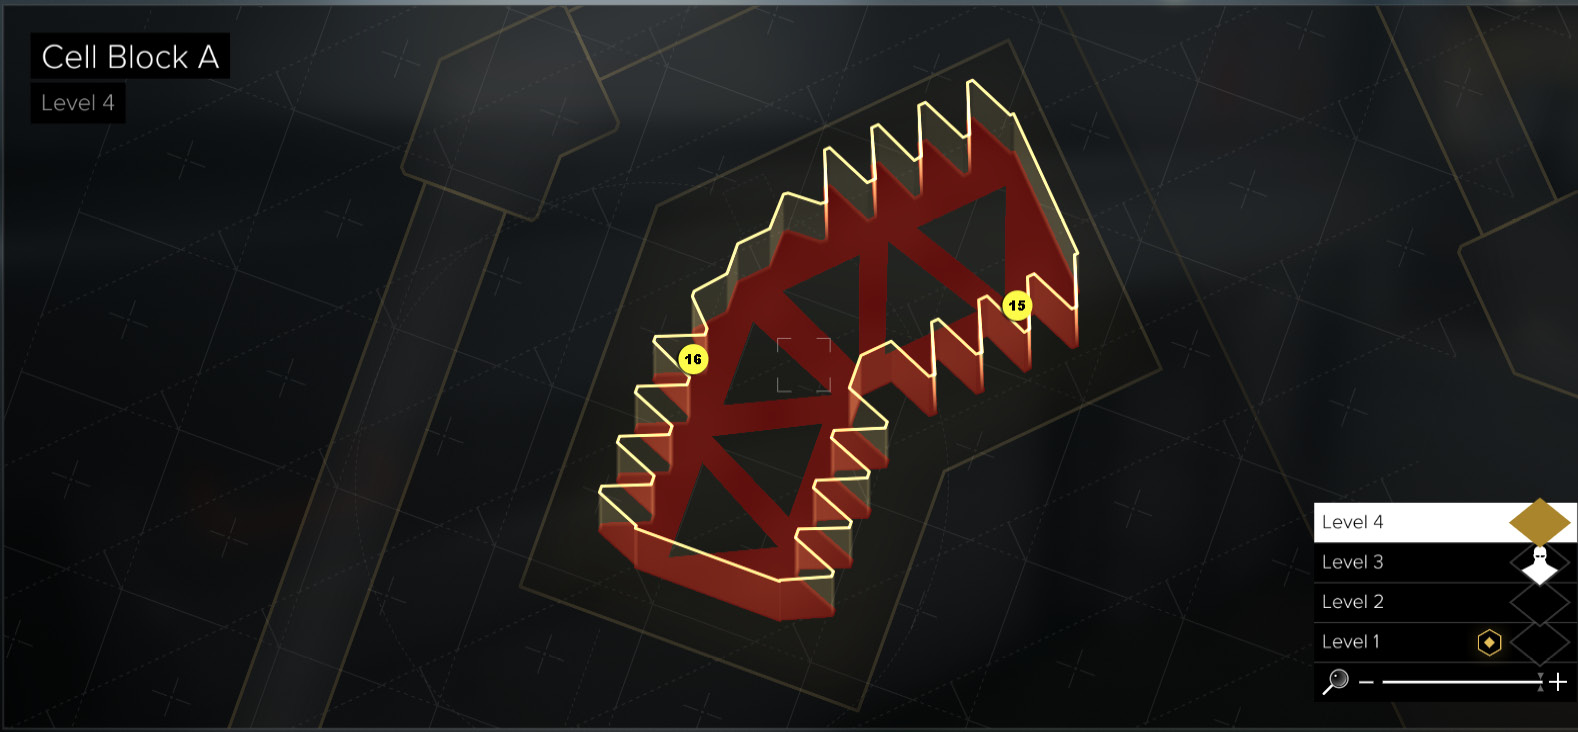
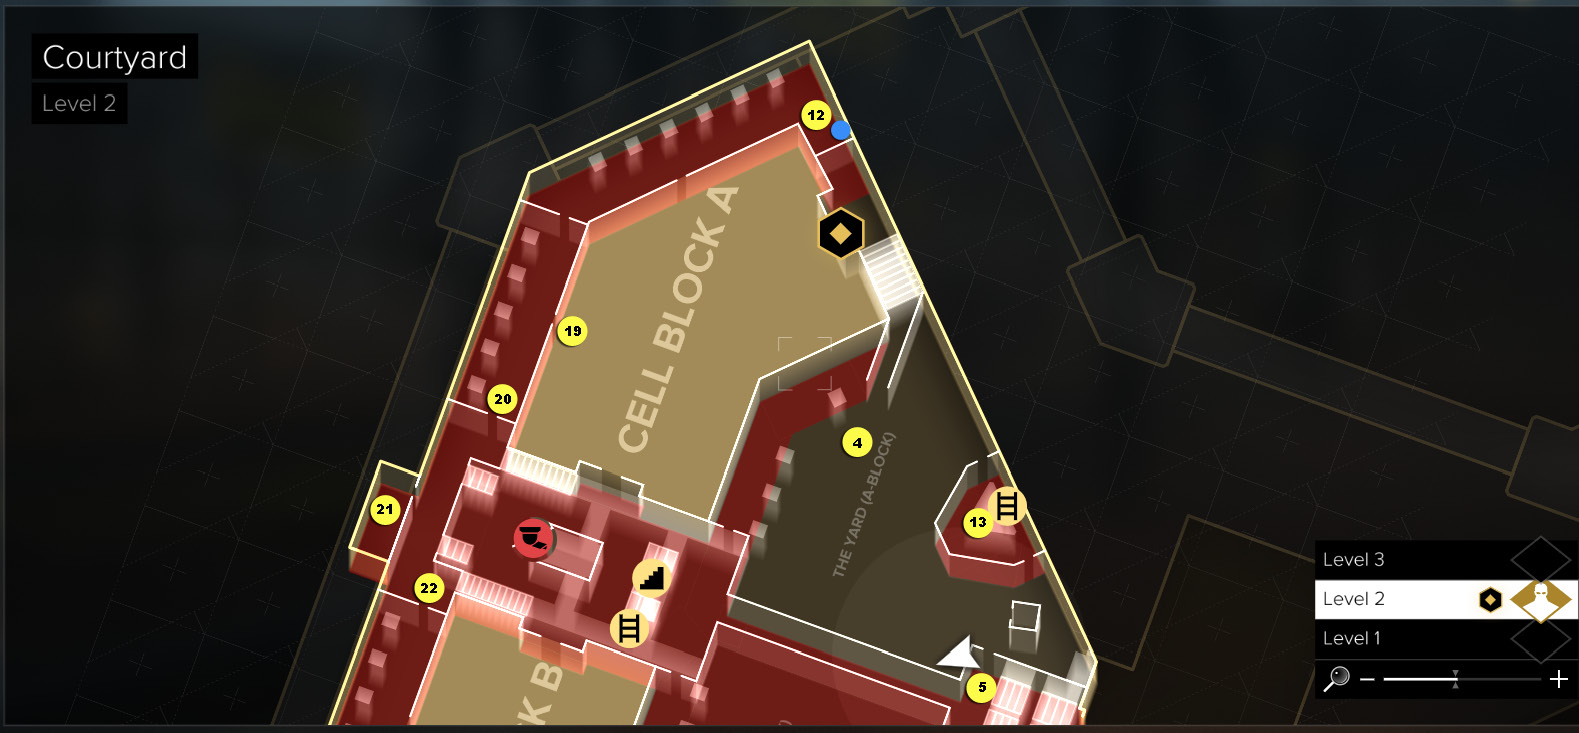
Map Legend
|
1: Start |
|
2: Cell A-315 (find whiskey) |
|
3: Inmate (trade for Multi-Tool) |
|
4: Yard meeting |
|
5: The Fixer |
|
6: A-309 (The Fixer’s cell) |
|
7: Shower Room entry |
|
8: Teddy in hamper |
|
9: Laundry Room |
|
10: A-212 (Flossy’s cell) |
|
11: A-204 (vent passage) |
|
12: Guard Station |
|
13: Guard Tower 01 |
|
14: Supply Room (vent passage) |
|
15-16: Cable duct doors |
|
17: A-Block Security Terminal |
|
18: Guard at computer |
|
19: Back-access to maintenance alley |
|
20: Security Gate (card access) |
|
21. Maintenance Room |
|
22. Security Gate (card access) |
|
[BLUE CIRCLE] = EBook |
|
[GREEN CIRCLE] = Praxis Kit |
Go Out to the Yard
Jensen’s report begins in the prison’s processing area, where a scan reveals his extensive “hot rod” augmentations. (Jensen’s undercover name is Derrick Walthers.) Guard Captain Thomas P. Stenger’s processing team implants a T.Y.M. Suppression biochip that strips away all of Jensen’s augmented abilities. (Prison inmates refer to it as “the Choke.”) You gain control of Jensen as he wakes up a short time later in Cell A-318 (1) on Level 3 of Cell Block A.


Find Useful Trade Items
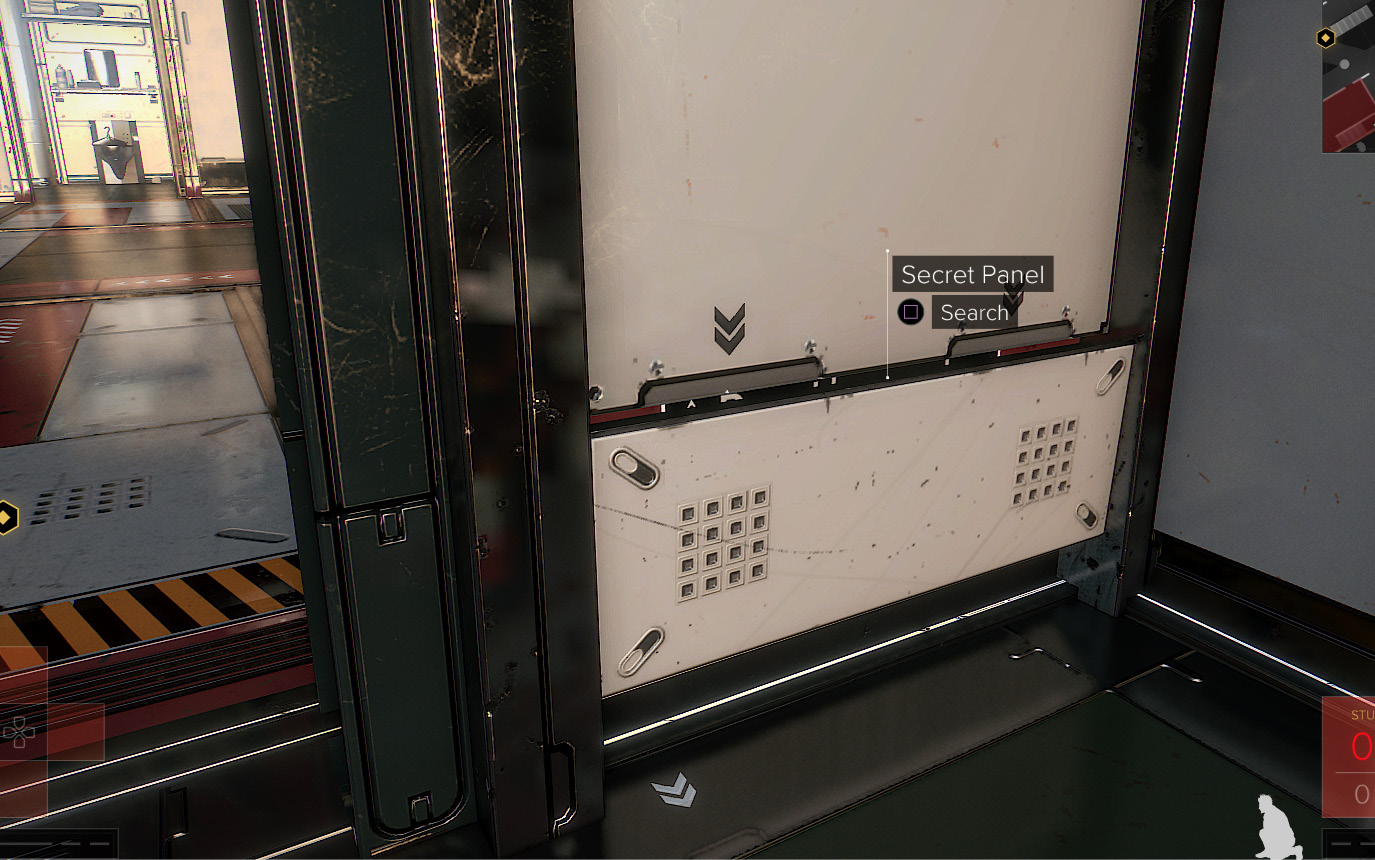
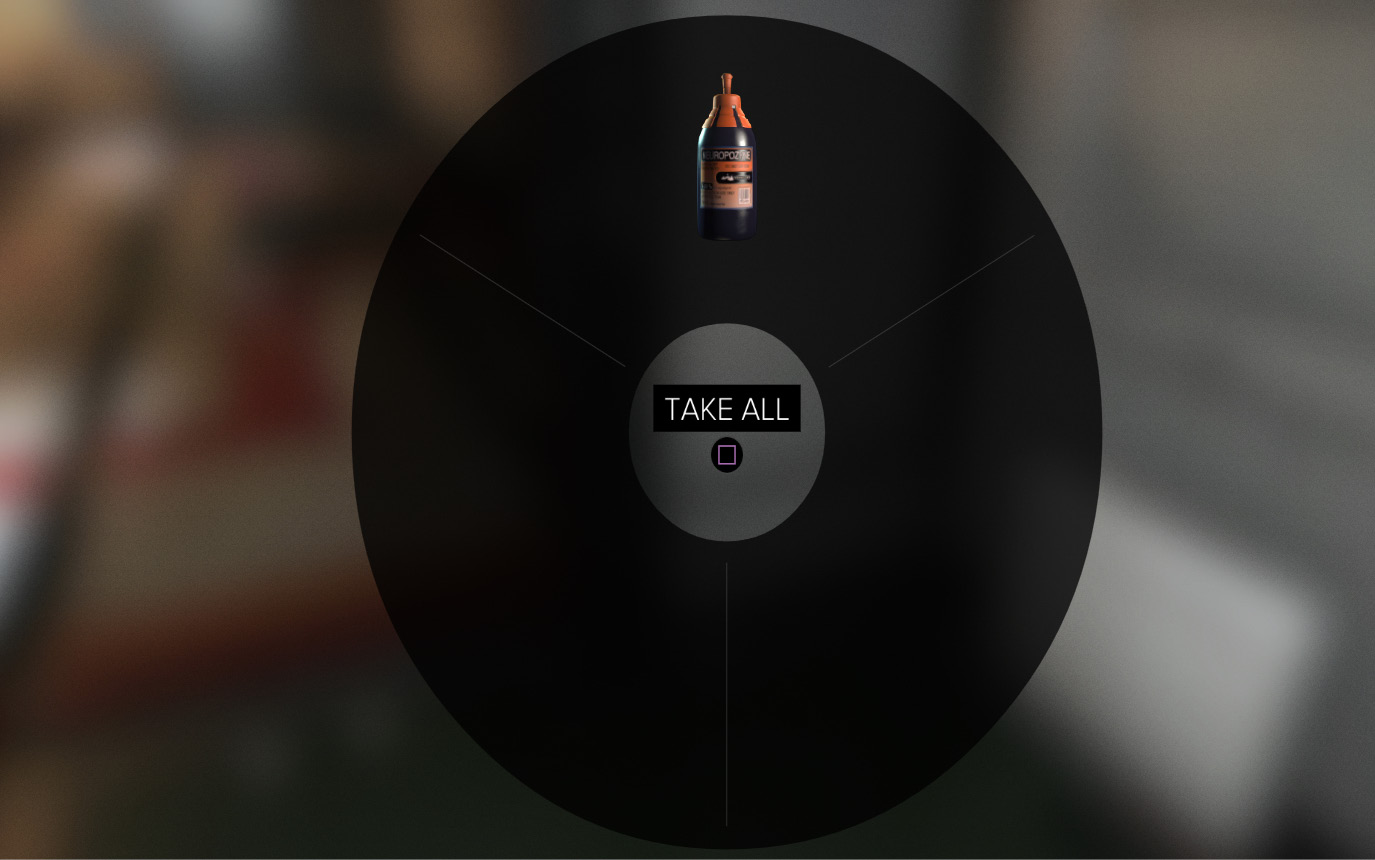
Your overall objective is to find Agent Hector Guerrero, who is using the name “Oscar Mejia” and is located somewhere in the prison’s B-Block. In your cell, you can open a secret panel near the floor just to the right of the door, but it’s empty. Exit the cell into the corridor and enter the next-door cell, A-320. Open its secret panel (2) to find a bottle of Neuropozyne. Next, go to cell A-315 (3) on the opposite wall and grab the bottle of Kylmyster Canadian Whiskey in its secret panel. Later, you can use these to barter for more useful items.
Trade Whiskey for a Multi-Tool
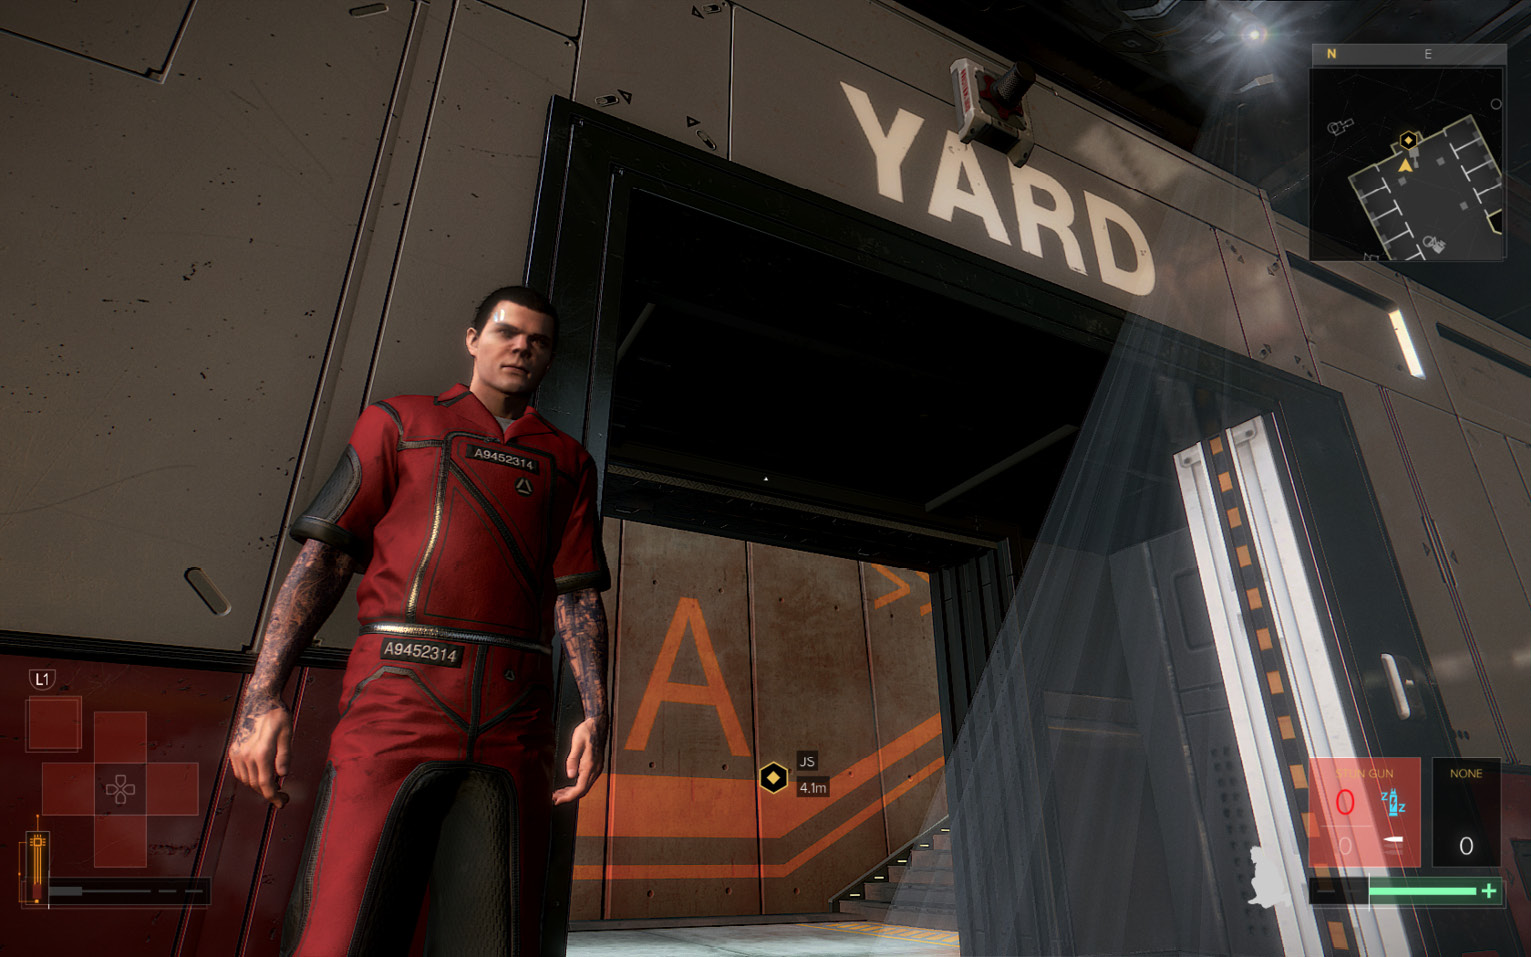
After you finish exploring the Level 3 cells, head down two sets of stairs to Level 1. Talk to the inmate standing by the Yard doorway (3) and trade him the Canadian whiskey (found in A-315) for a Multi-Tool. Then go through the doorway and climb the stairs into the courtyard to complete your first objective and trigger a cinematic.
Talking to Flossy (Courtyard)
In the yard, Jensen engages in a conversation with Theodore Zenga (4), a massive prisoner nicknamed “D-Town” who Jensen once arrested in Detroit. This leads to intervention by another inmate named Flossy. During the first dialogue branch, select “Ask about Guerrero.” After Flossy fills you in on Oscar Mejia, he mentions a fellow inmate called The Fixer, a former physician. Flossy advises Jensen to see the Fixer to help with the pain of the choke. Flossy also gives Jensen his own A-Block cell number, 212.

Optional: Speak to the Fixer in the Yard
Cross the yard and talk to The Fixer (5), the man wearing glasses behind the fence. The Fixer says his name is actually Wort, short for Peter Wörthmüller. When the discussion takes an odd turn, select “Dig Deeper” and then “Accept” the delivery job. Wort gives you a name, Teddy, located in cell A-309. When Wort offers you a pill, we suggest you select “Consume pill.”

Choose Traditional or Experimental Abilities
The Fixer’s pill is an inmate-brewed drug that counteracts both “The Choke” and the Signal Scrambler effects of the T.Y.M. Suppression Chip. This gives you access to Jensen’s Augmentation Tree without suffering pain. However, note that using an aug power can still trigger a temporary bout of blurred vision.
Taking the pill gives you another choice to make. Since the events of “A Criminal Past” actually take place before those of Deus Ex: Mankind Divided, Jensen wouldn’t have access to any of the experimental new abilities that become available during the main game. So if you want to respect story continuity (as is done in this walkthrough), choose Traditional. You gain access to a number of the low-level, passive augmentations; however, you’ll need Praxis Kits to activate higher-level abilities.
Talk to the Distressed Inmate
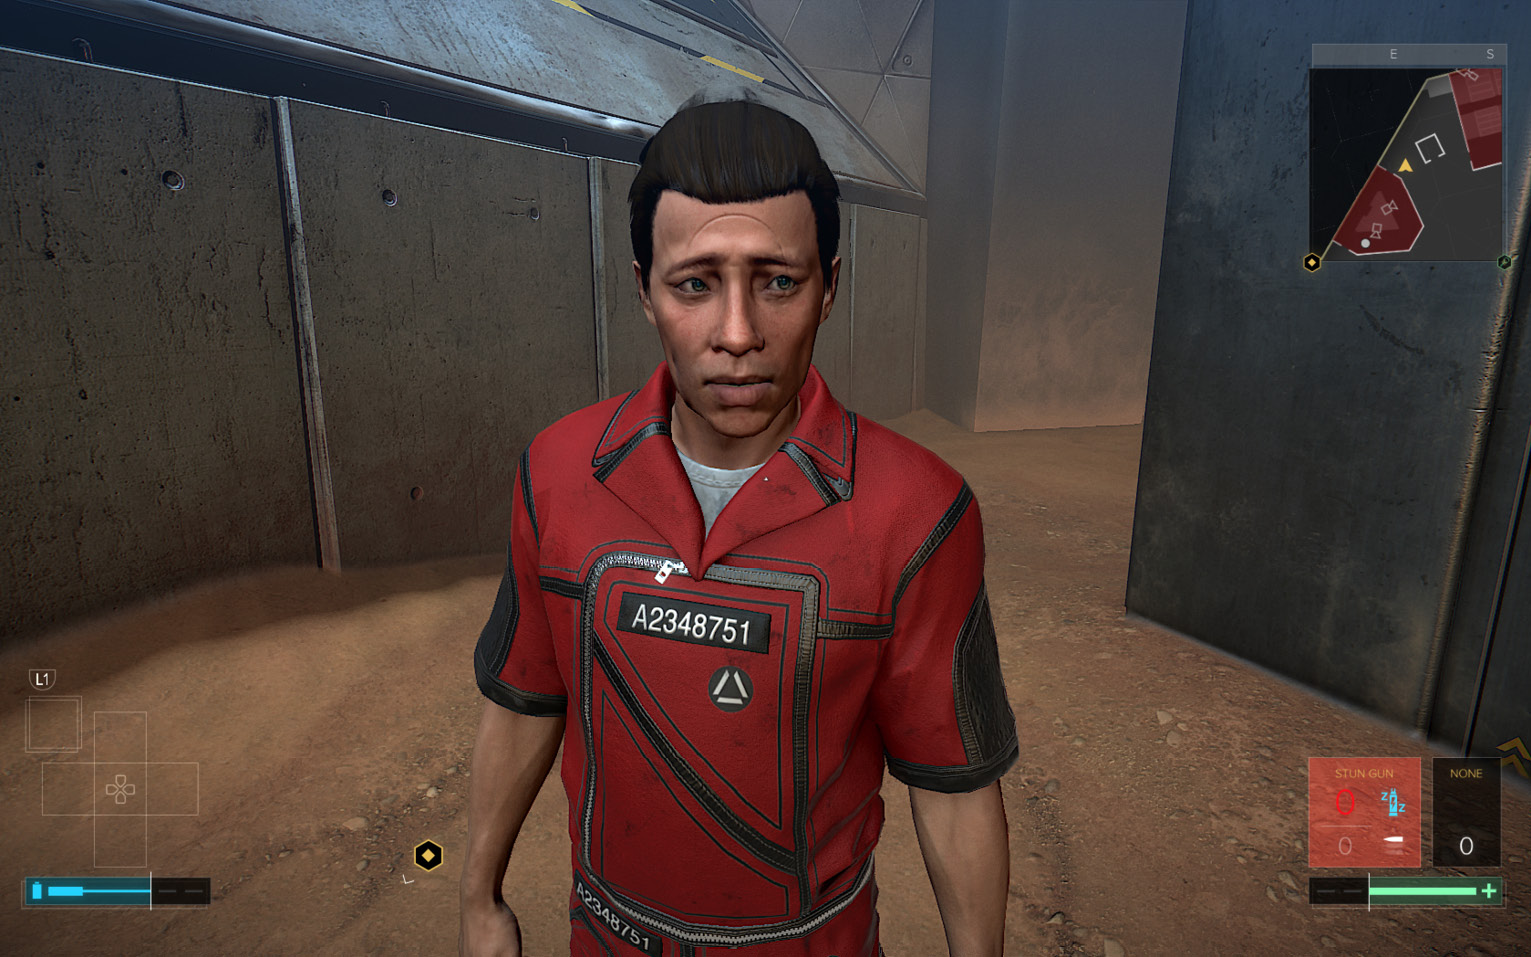
Talk to the distressed inmate near the yard’s cool-off isolation cage. Ask about Wilburg to add another Point of Interest, “The Death of Wilburg,” under your Objectives. It appears that Wilburg’s murder may be pivotal to understanding the tension in the prison.
Optional: Search The Fixer's Cell
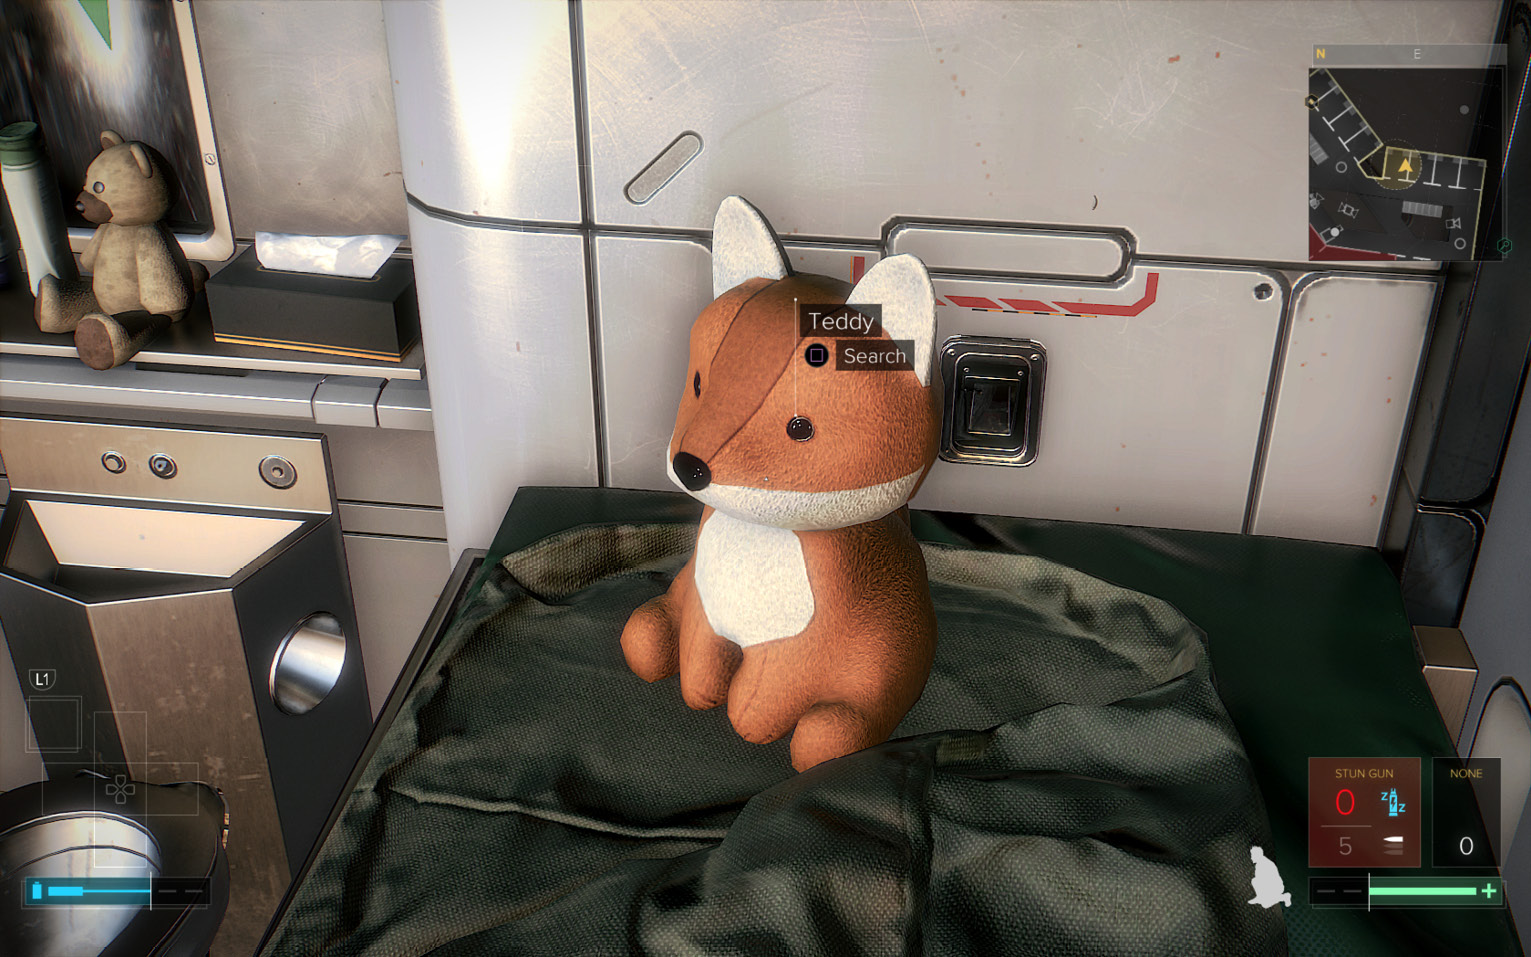
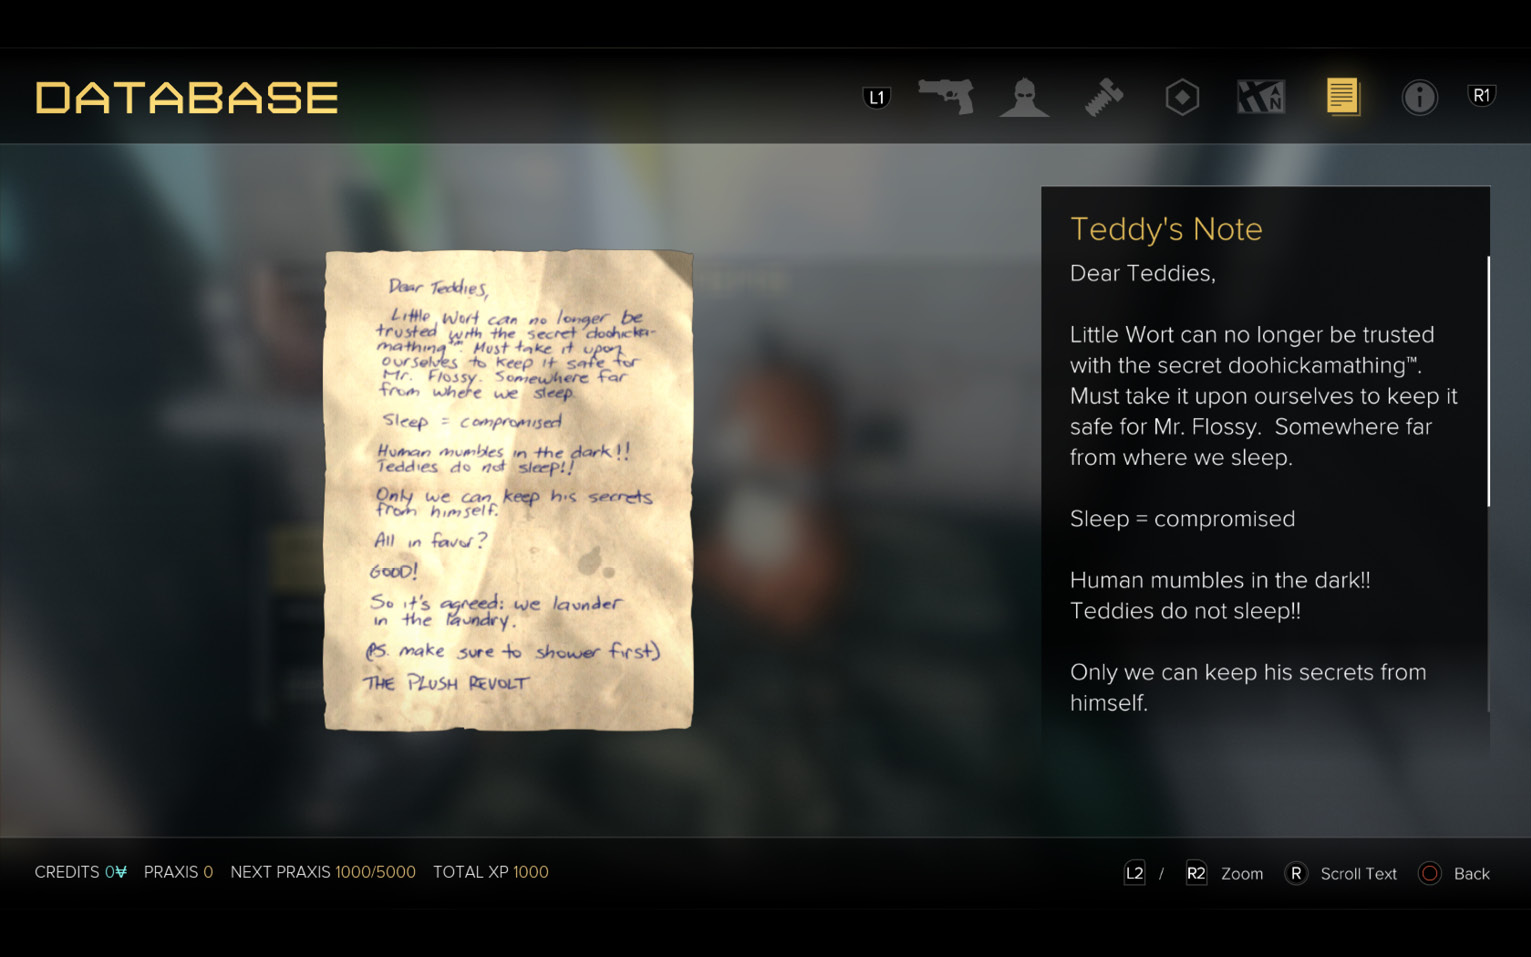
Return to Cell Block A, go upstairs to Level 2, and talk to Flossy in cell A-212 (10). Tell him you took The Fixer’s medication, then ask him all questions to learn more about Wilburg and other topics. Next, head upstairs to Level 3 and enter cell A-309 (6). Search the fox plush toy named Teddy (located on the upper bunk) to find Teddy’s Note. The note is cryptic but refers to the laundry, then adds a postscript: “Make sure to shower first.”
Optional: Retrieve the Package
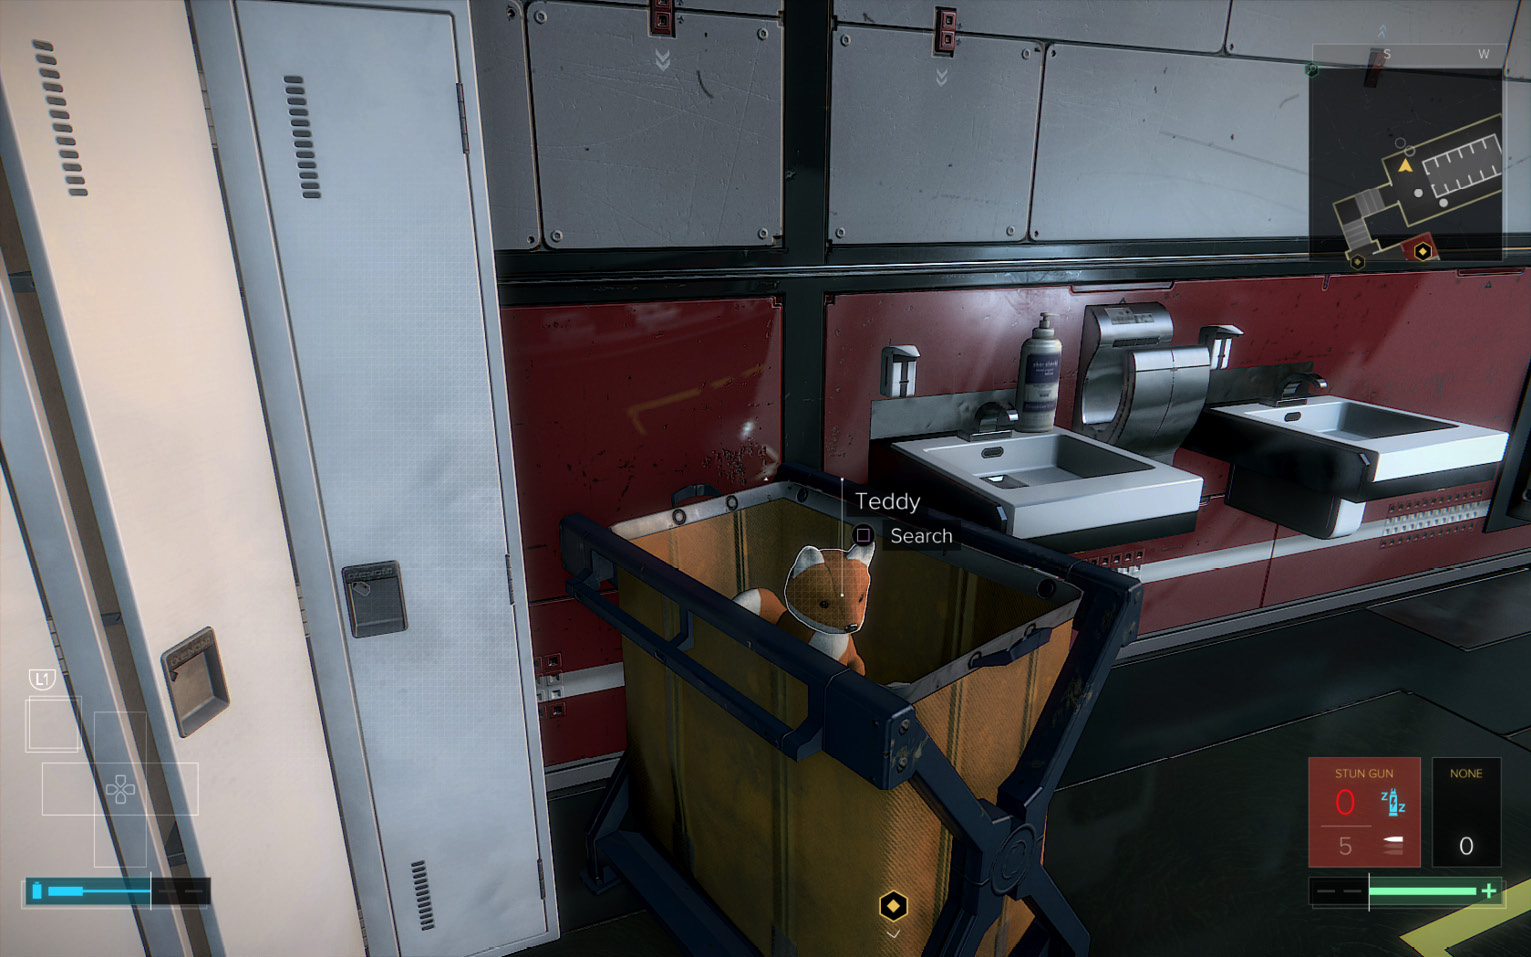
Return to Level 1 and enter the now-open Shower Room via the doorway (7). Inside, the inmate who thinks Jensen is a Detroit cop, D-Town, is there but ignore him and find another fox plush toy in the towel hamper (8) to the left. Search it and take a slip of paper with the number “6014” written on it. (This four-digit code is a Story Item and gets added to your Database History.)
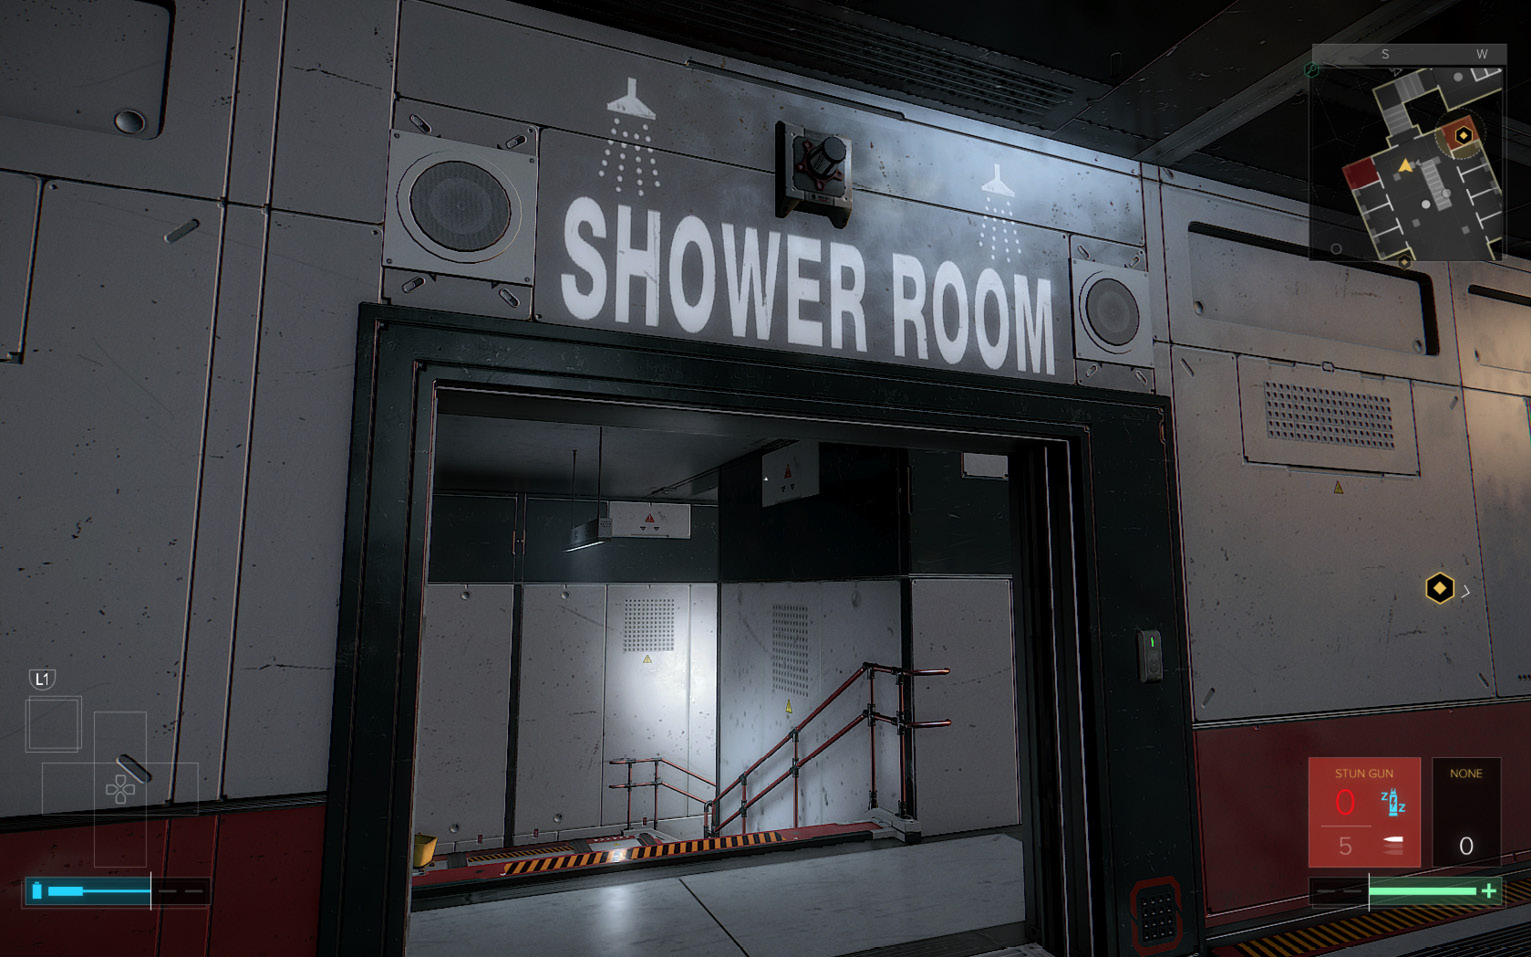
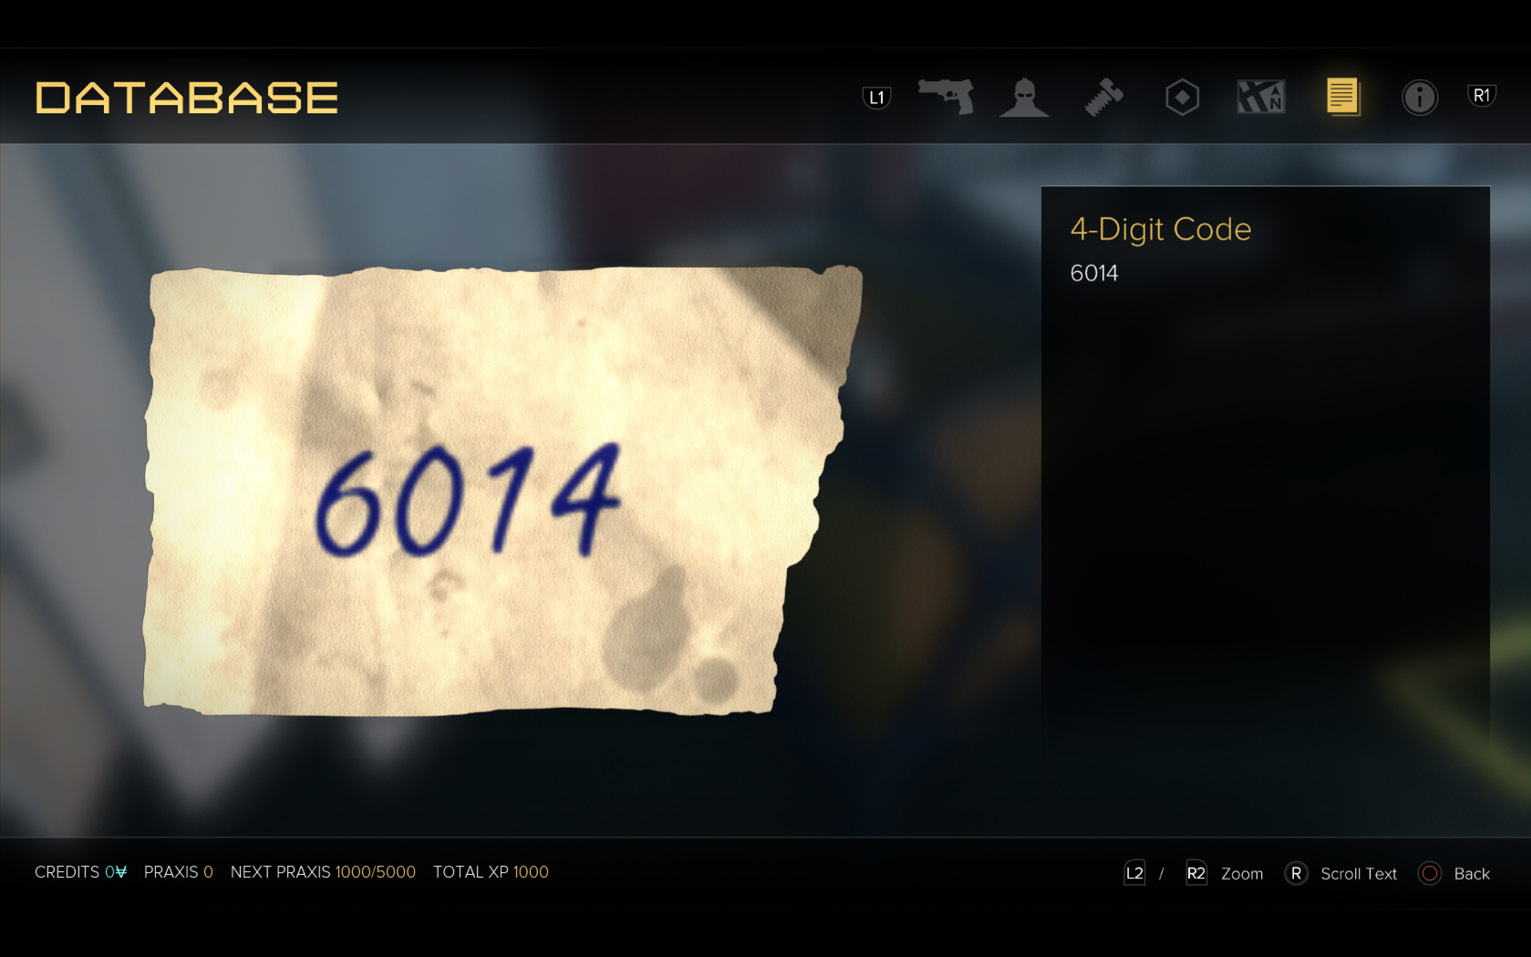
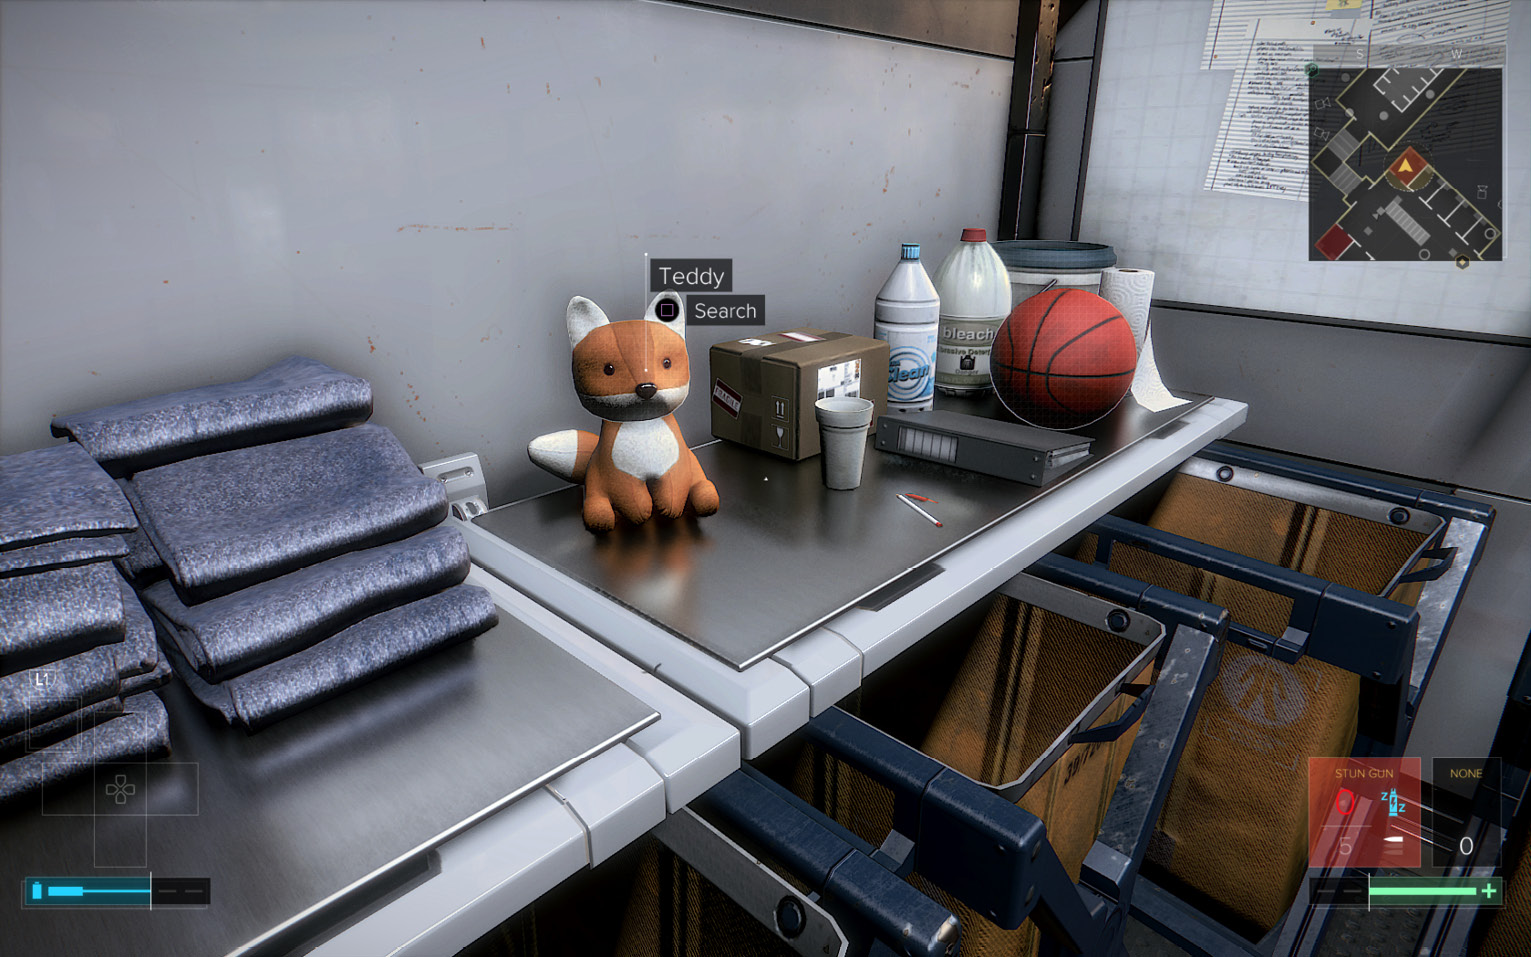
Exit the Shower Room and turn left to approach the locked Laundry Room door (9). Enter the code 6014 in the door’s keypad to unlock the door. The laundry is a restricted area, so wait until the guards aren’t looking and the security camera is turned away before you open the door and enter; close the door behind you for privacy. Find and search yet another plush fox named Teddy to acquire an Altered Biocell, modified to include Praxis software.
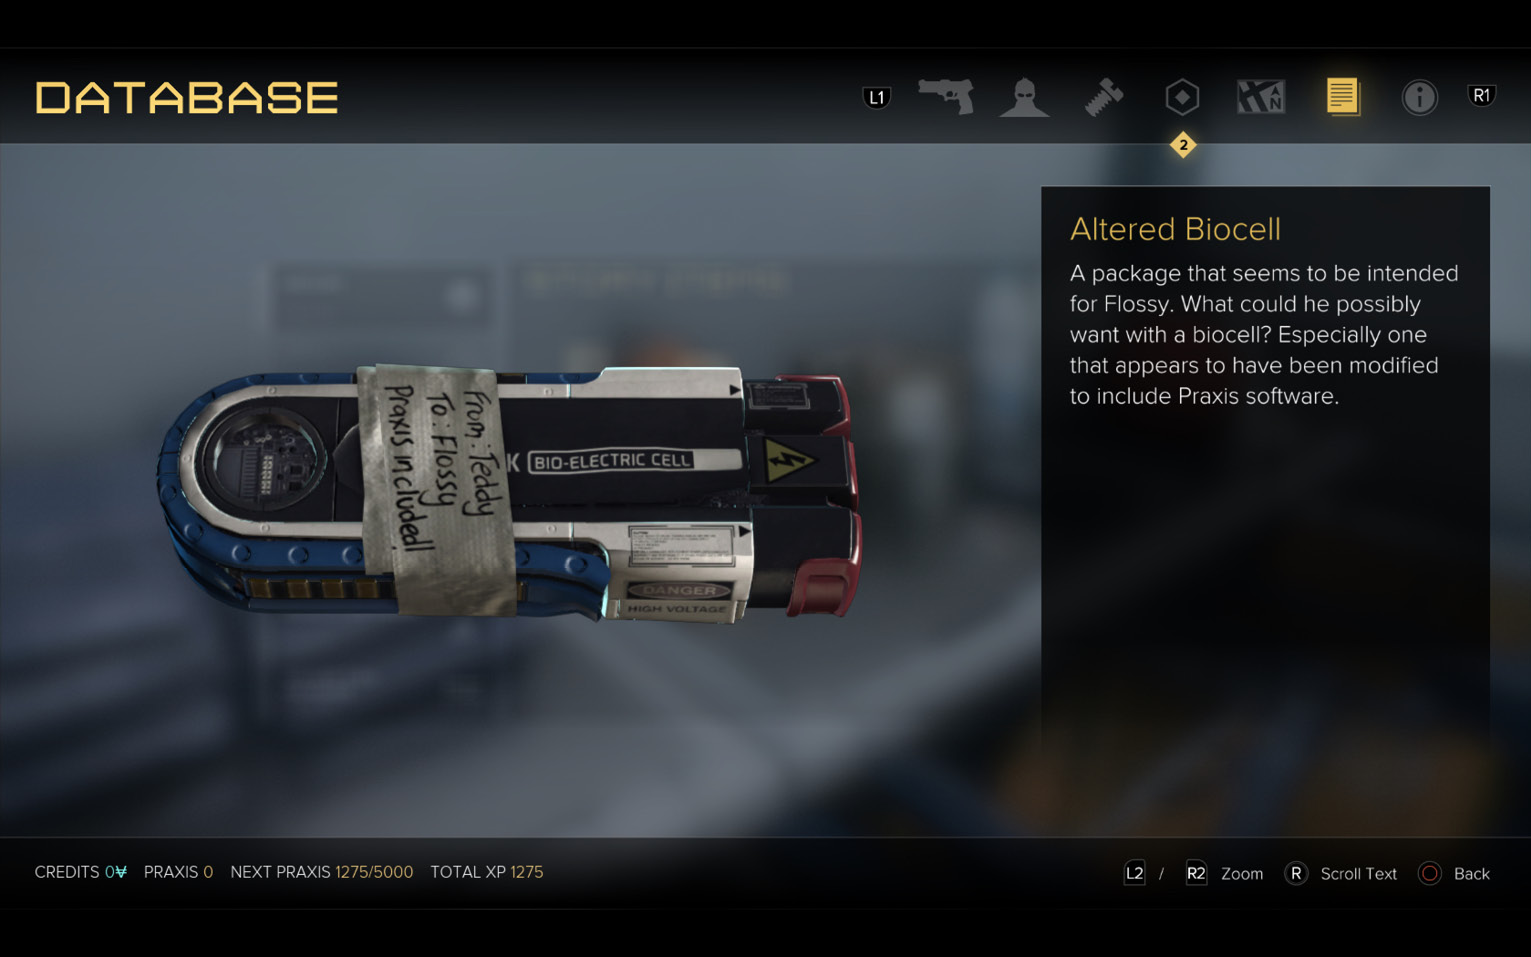
Optional: EITHER Consume the Altered Biocell OR Take It to Flossy
We suggest you adhere to Jensen’s moral code and deliver the item to its intended recipient. (This will make your progress easier in the later stages of the mission.) Climb back up to Level 2. If you want, search for items hidden behind the secret panels in the empty cells and chat with inmates in occupied cells. You hear more about Wilburg, get a tip that “the vents are a way out,” and find a couple of disturbing notes in A-208 that get added to your Database.
During your search, you can approach the inmate in cell A-214 and trade your Neuropozyne for another Multi-Tool. (If you don’t have any Neuropozyne yet, you can find a bottle hidden in A-208.) Also in A-214, you can find your first eBook on the desk.
Talk to Flossy
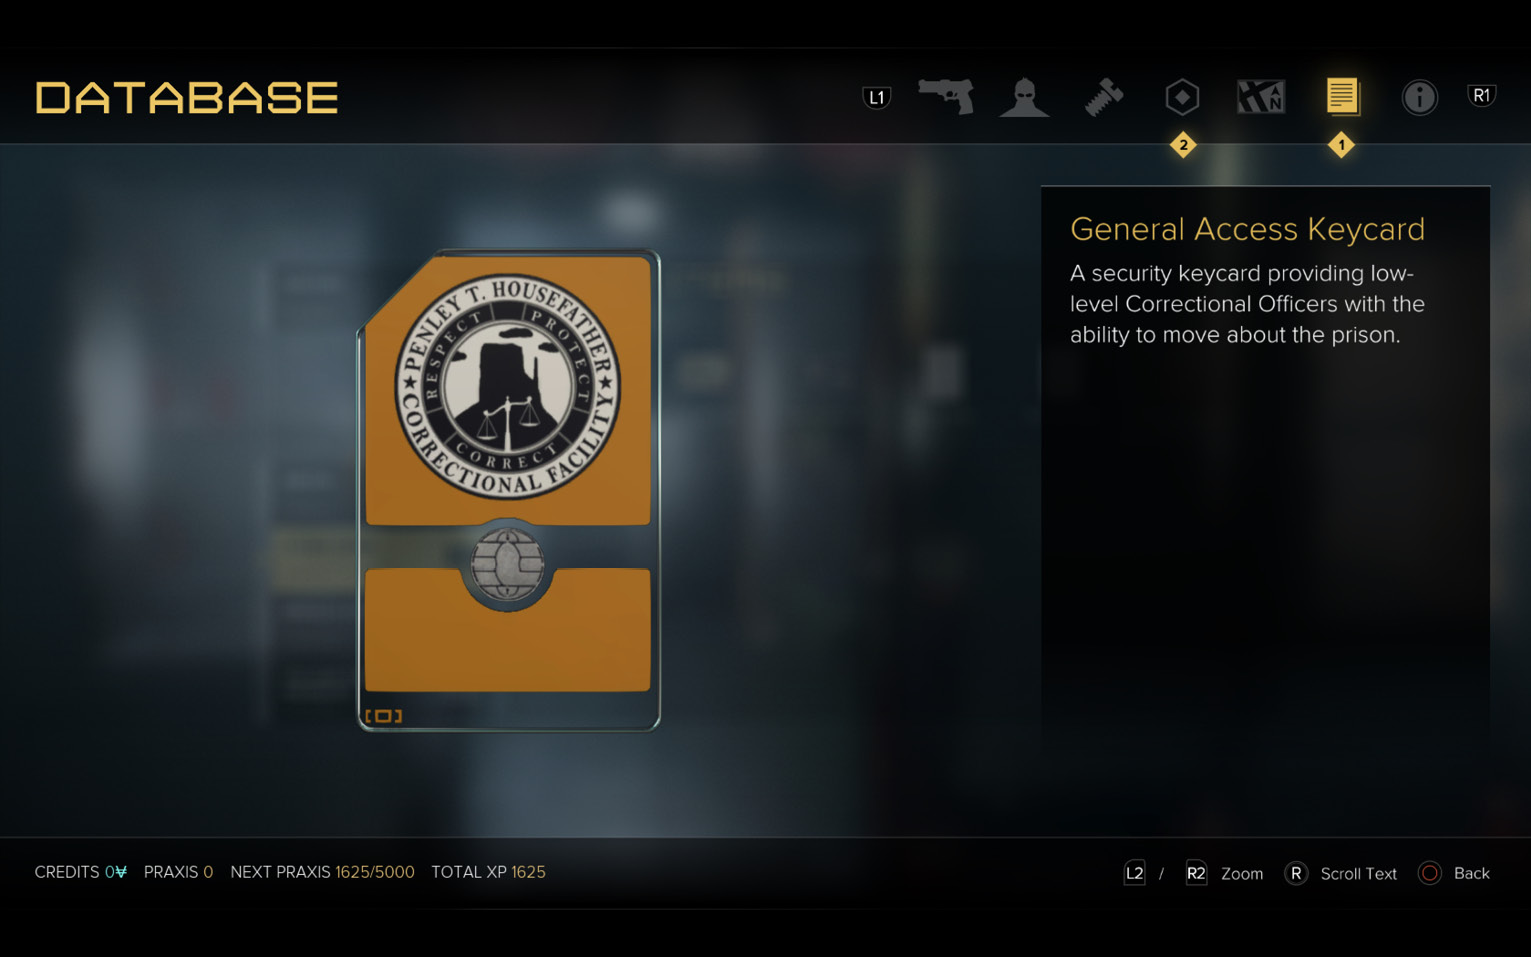
Return to A-212 (10) and talk to Flossy again. Select “Mention the Biocell” to trigger an exchange: Flossy offers Jensen a General Access Keycard and requests that you deliver the Altered Biocell to a fellow named Red Shoes, who’s being held in the “cool-off cage” in the B-Block yard.
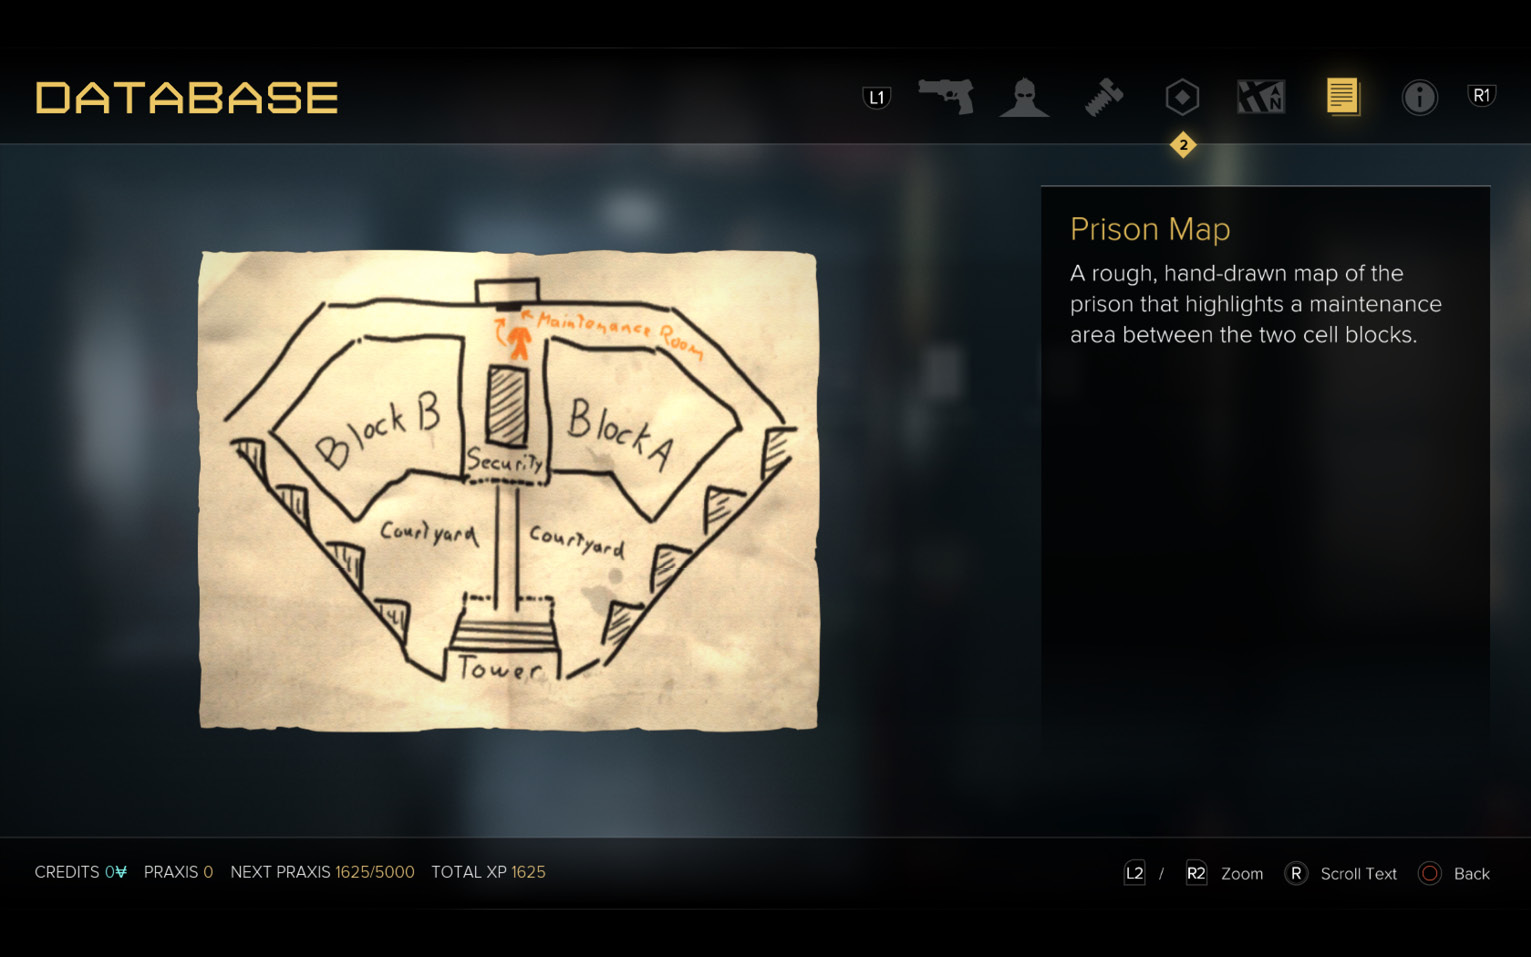
In addition, Flossy gives Jensen a hand-drawn map that indicates a mysterious maintenance room between Cellblocks A and B; the sketch also includes what looks like a jumpsuit drawn with an arrow pointing inside the room. (See our Tip.) Both the General Access Keycard and Prison Map are added to your Story Items inventory.
Optional: Take the Secret Passage to the Guard Station
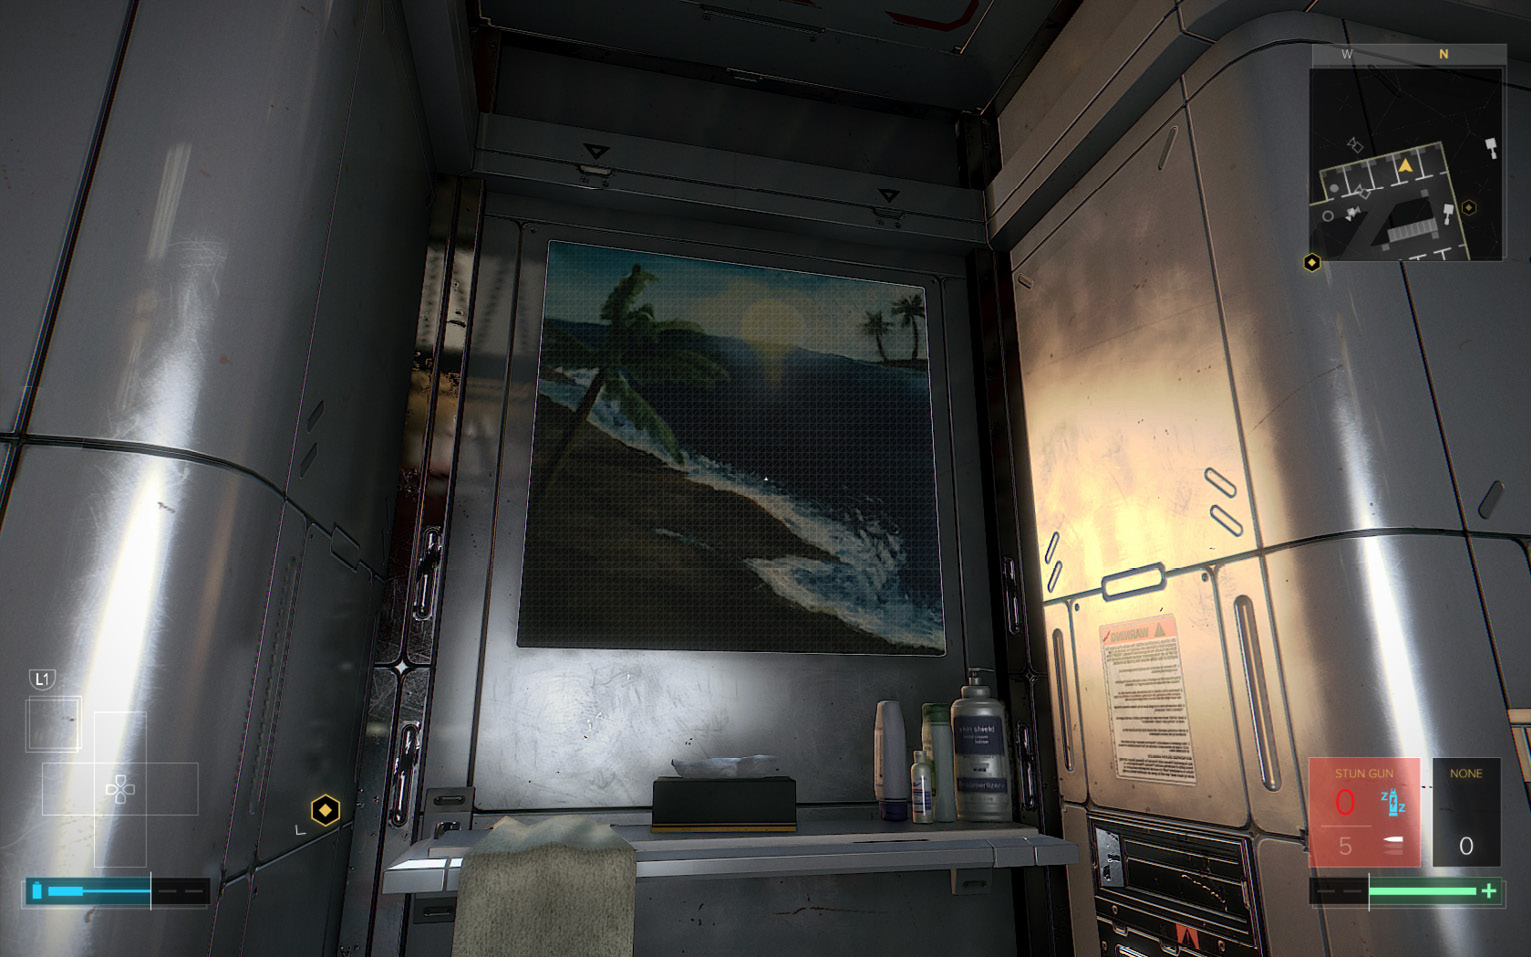
Enter cell A-204 and approach the beach painting behind the toilet (11) to see its a secret panel. Remove the panel and enter the air duct behind it.
Follow the duct to the drop-off; jump across the drop-off to the Cable Duct Door that opens onto a guard station (12). Open the door but don’t step out yet. The reason: a guard is patrolling the block corridor (a back-alley behind both prison blocks) and his route leads him back regularly to this station.
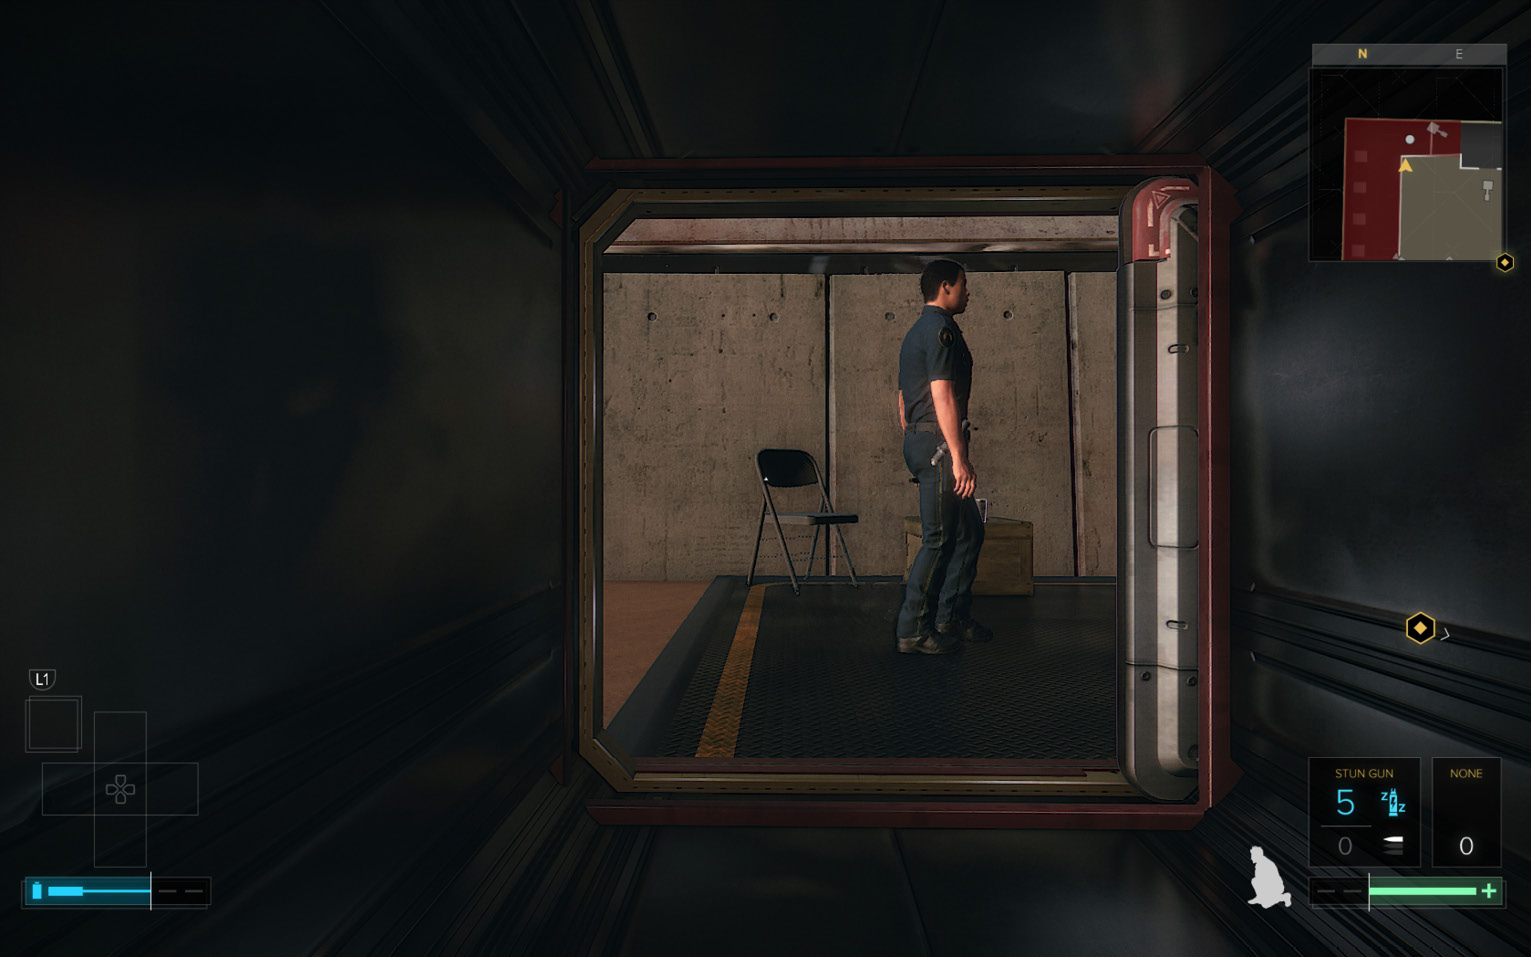
Wait until the guard passes and sneak out behind him for a takedown. Search the unconscious guard to find a Pocket Secretary with an entry revealing that 3014 is the code to unlock all security room doors. Next, grab the bottle of Painkillers and examine the eBook on the nearby crate.
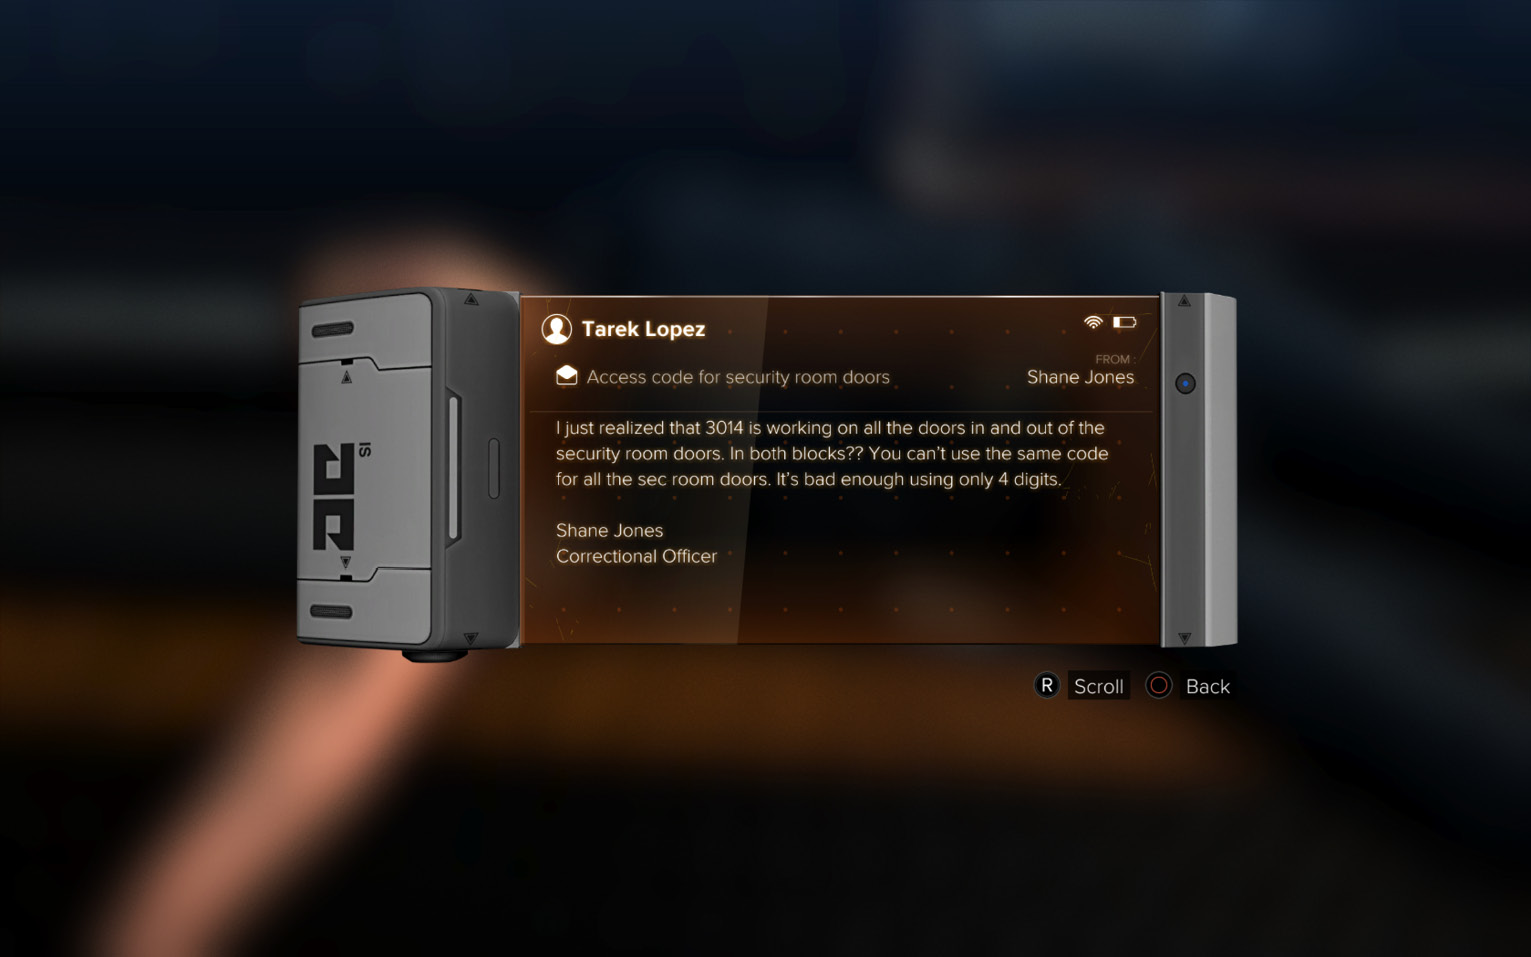
You can use this code to get into the Security Office back doors just around the corner in the block corridor. It’s a fine way to go, but we have another preferred route. For now, use the duct to return to cell A-204 and then exit the cell into the Level 2 hall.
Optional: Climb the Guard Tower and Disable the Security Devices
This task is optional, but it can make things easier in the mission’s later stages. After you acquire a General Access Keycard, you can unlock the security gates leading into Guard Tower 01 (13) overlooking the A-Block yard. Wait until the lone guard patrolling the tower’s base goes to the opposite side, then open the gate and climb the ladder up the back of the tower. At the top, sneak up behind the tower guard and perform a silent takedown.
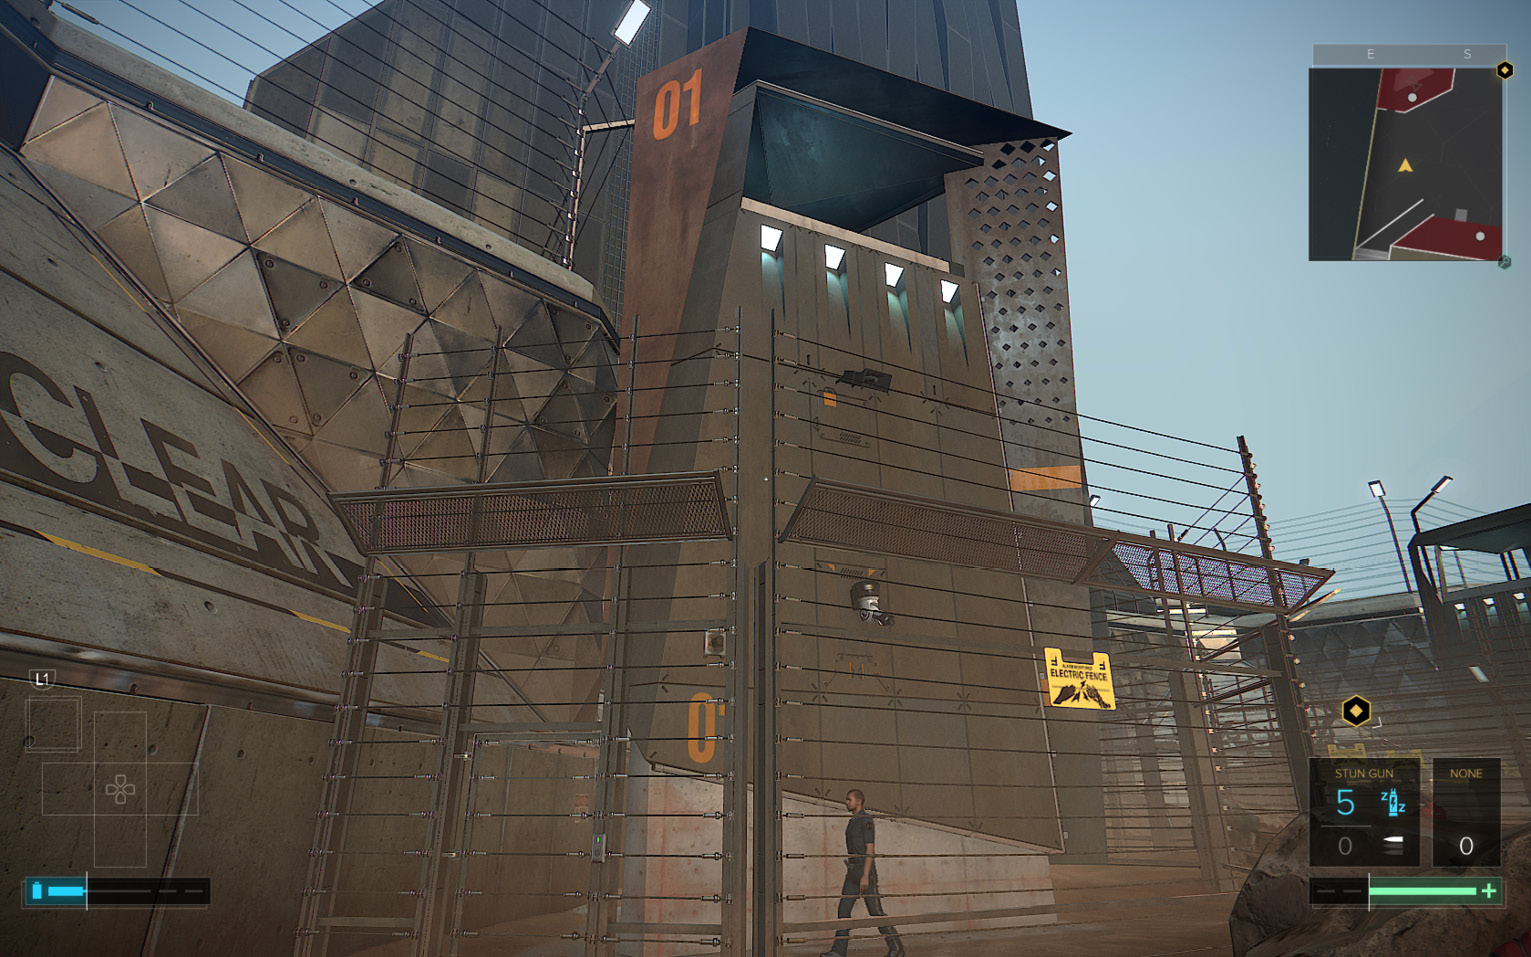
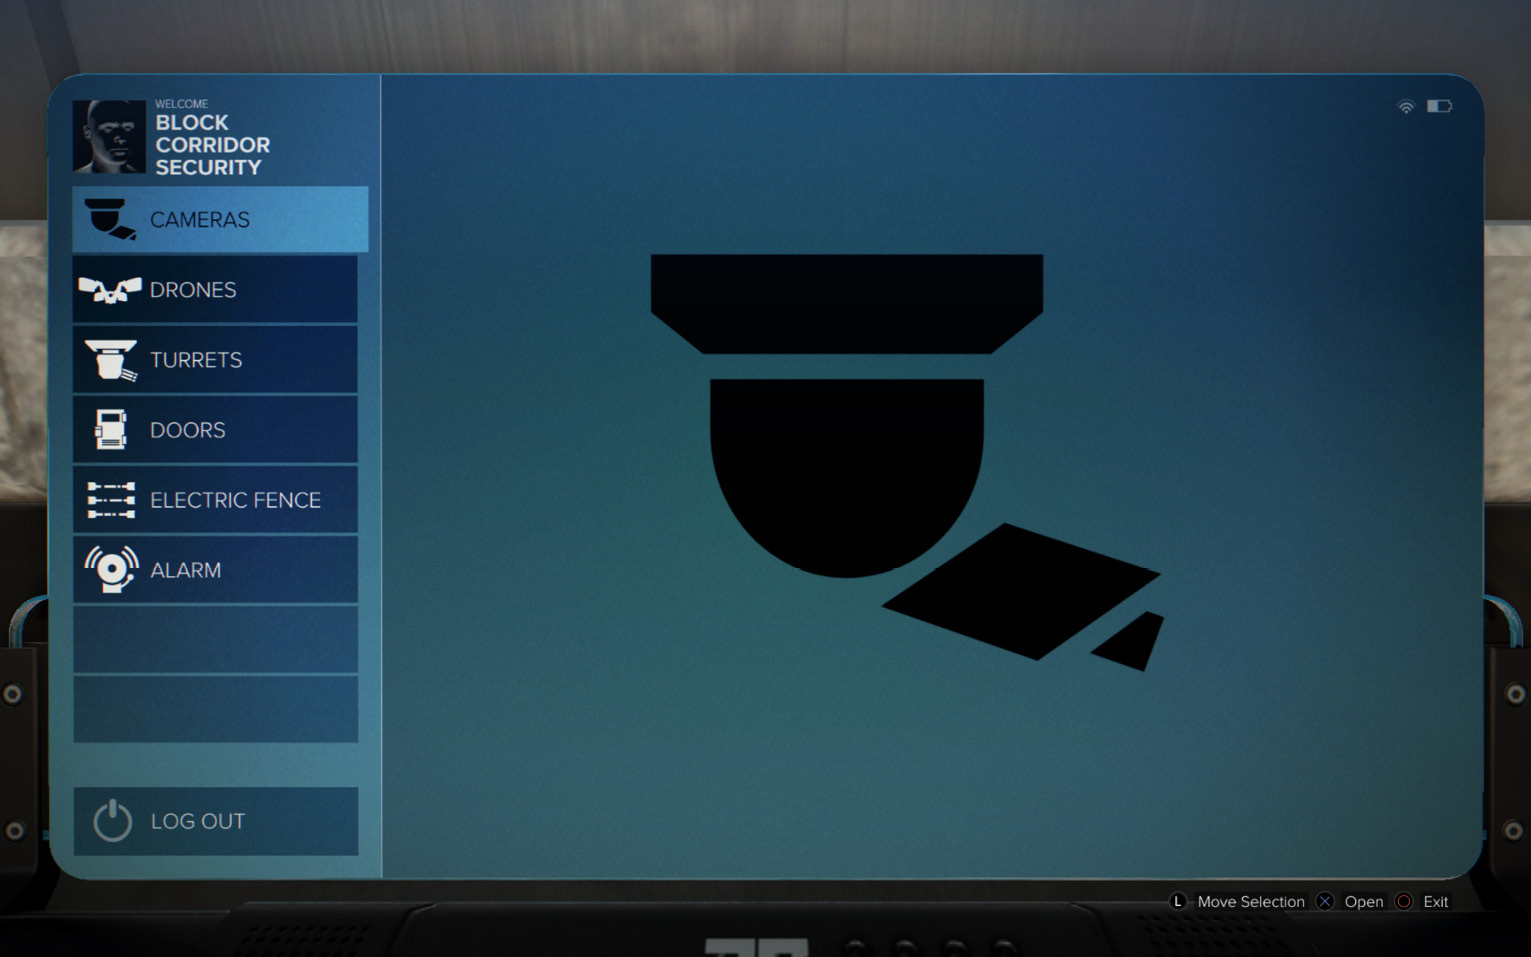
Loot the perch (including a HypoStim Injector) and access the unlocked Security terminal on the table. Select CAMERAS and disable Intruder Tracking on the two cameras in the yard; select DOORS and make sure the cage door is unlocked; select ELECTRIC FENCE and deactivate the fence; then select ALARM and disable the alarm panels. (Note that once you’ve acquired enough Praxis to activate your Turret and Drone Domination augmentations, you can return and disable all of the yard’s mechanized security units, too.)
Get to Cellblock B: Enter the Supply Room Vent on Level 1
The following route into Cellblock B may seem a bit roundabout, but the stealth factor is worth it. On Level 1 of Cell Block B, approach the Supply Room (14) at the end of the floor near the Shower Room. Access the keypad next to the door and enter the code you found earlier inside the Teddy in the Shower Room towel hamper, 6014, to unlock the door.
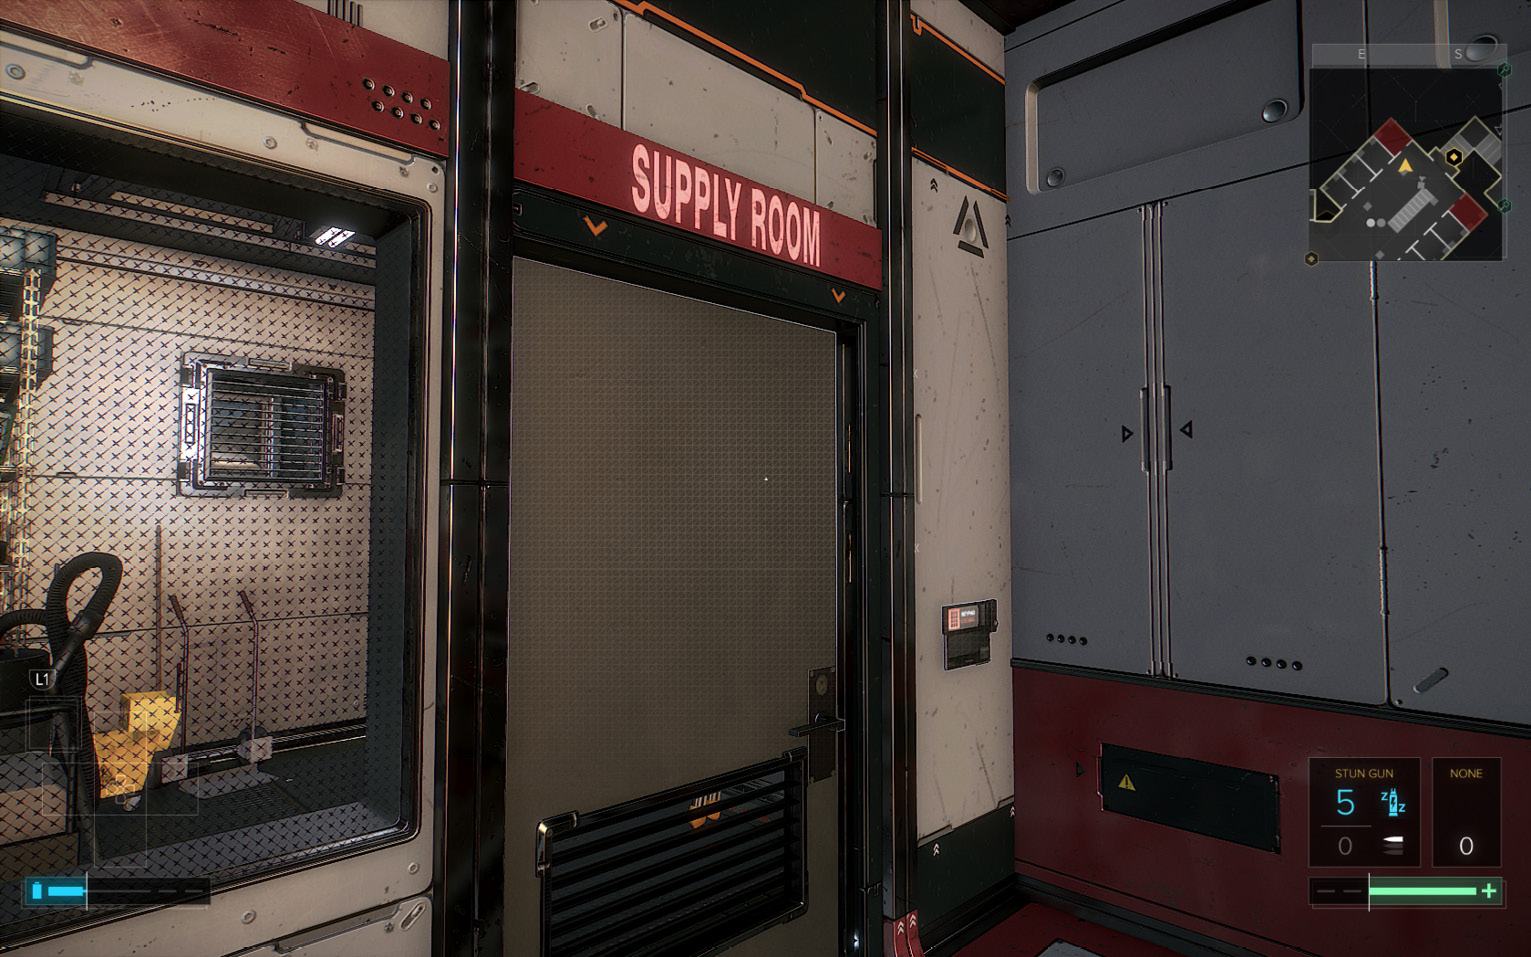
Make sure no camera or guards are facing you, then open the Supply Room door, duck inside to the left, and close the door for privacy. Snag the HypoStim Injector from the rightmost locker and the Crafting Parts from the utility shelf, then open the Vent Cover on the far wall and climb into the vent.
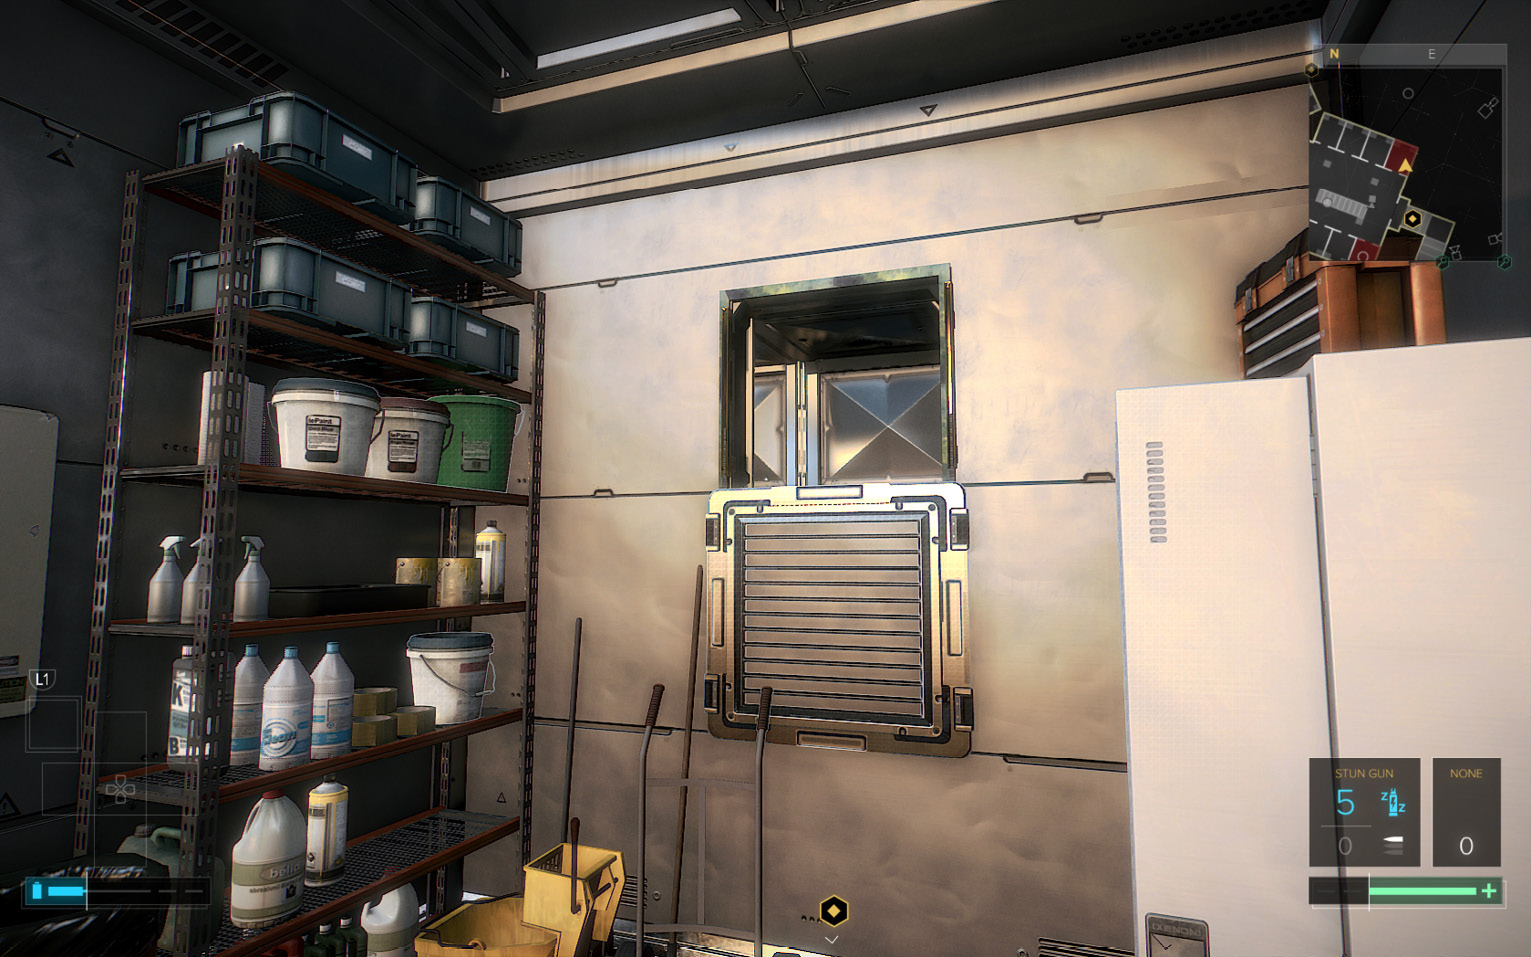
Climb the Ducts to Level 4
Follow the duct passages and keep looking up to find higher openings. The ducts lead all the way up to a Cable Duct Door (15) that opens onto the Level 4 catwalks. On Level 4, stay crouched and proceed across the catwalks to find another Cable Duct Door (16) on the far side. Open it and drop into the vent.
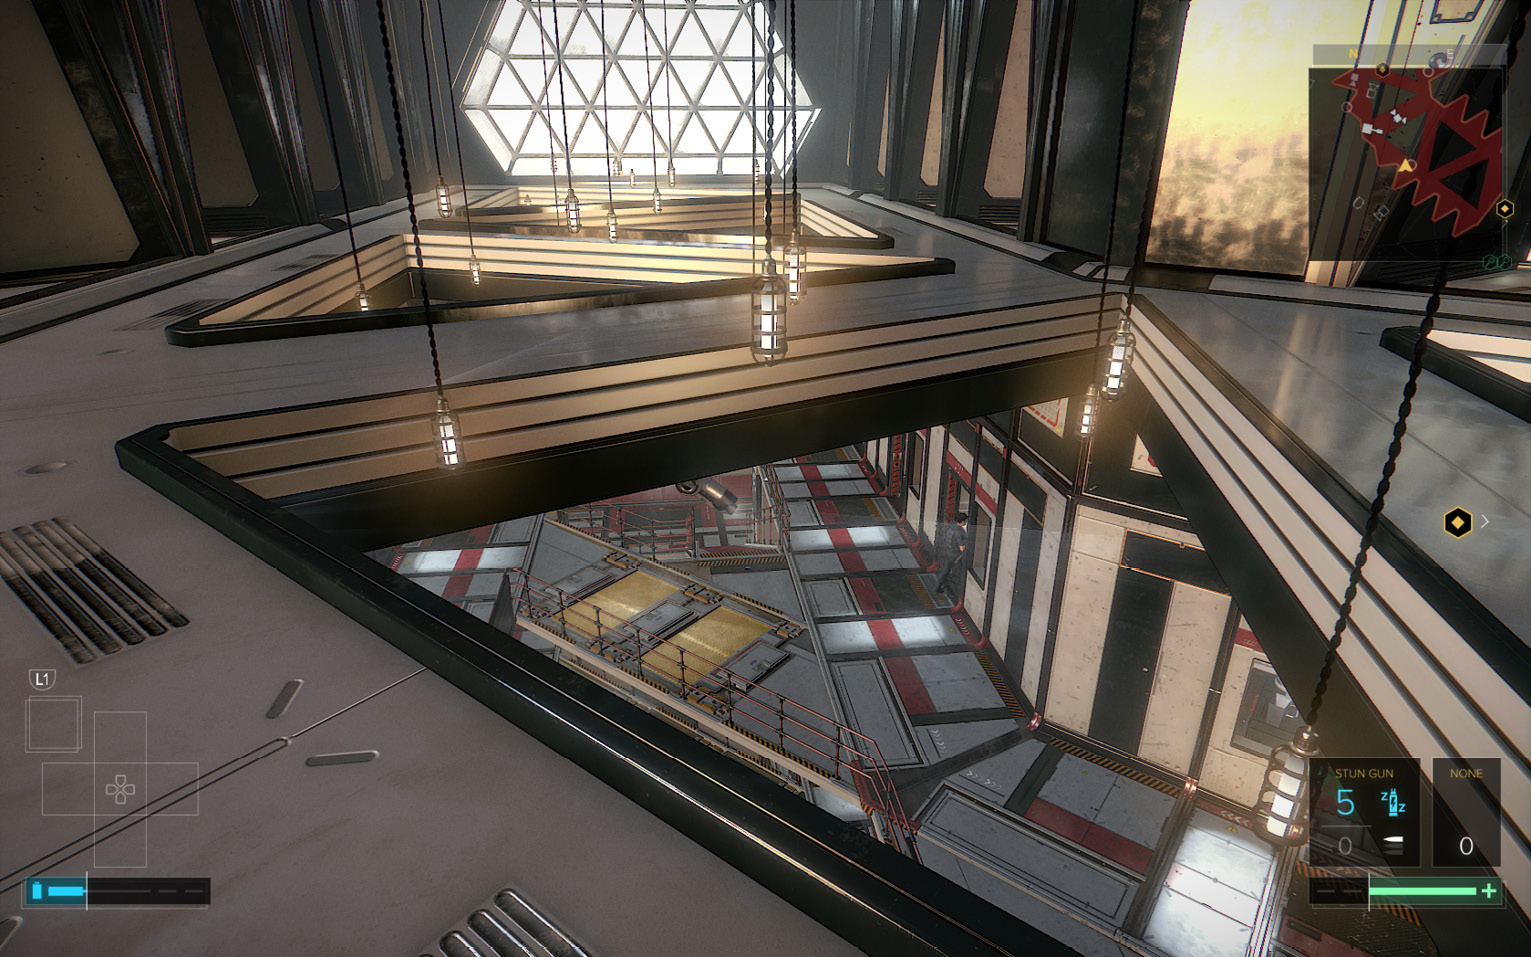
Infiltrate the A-Block Security Office on Level 3
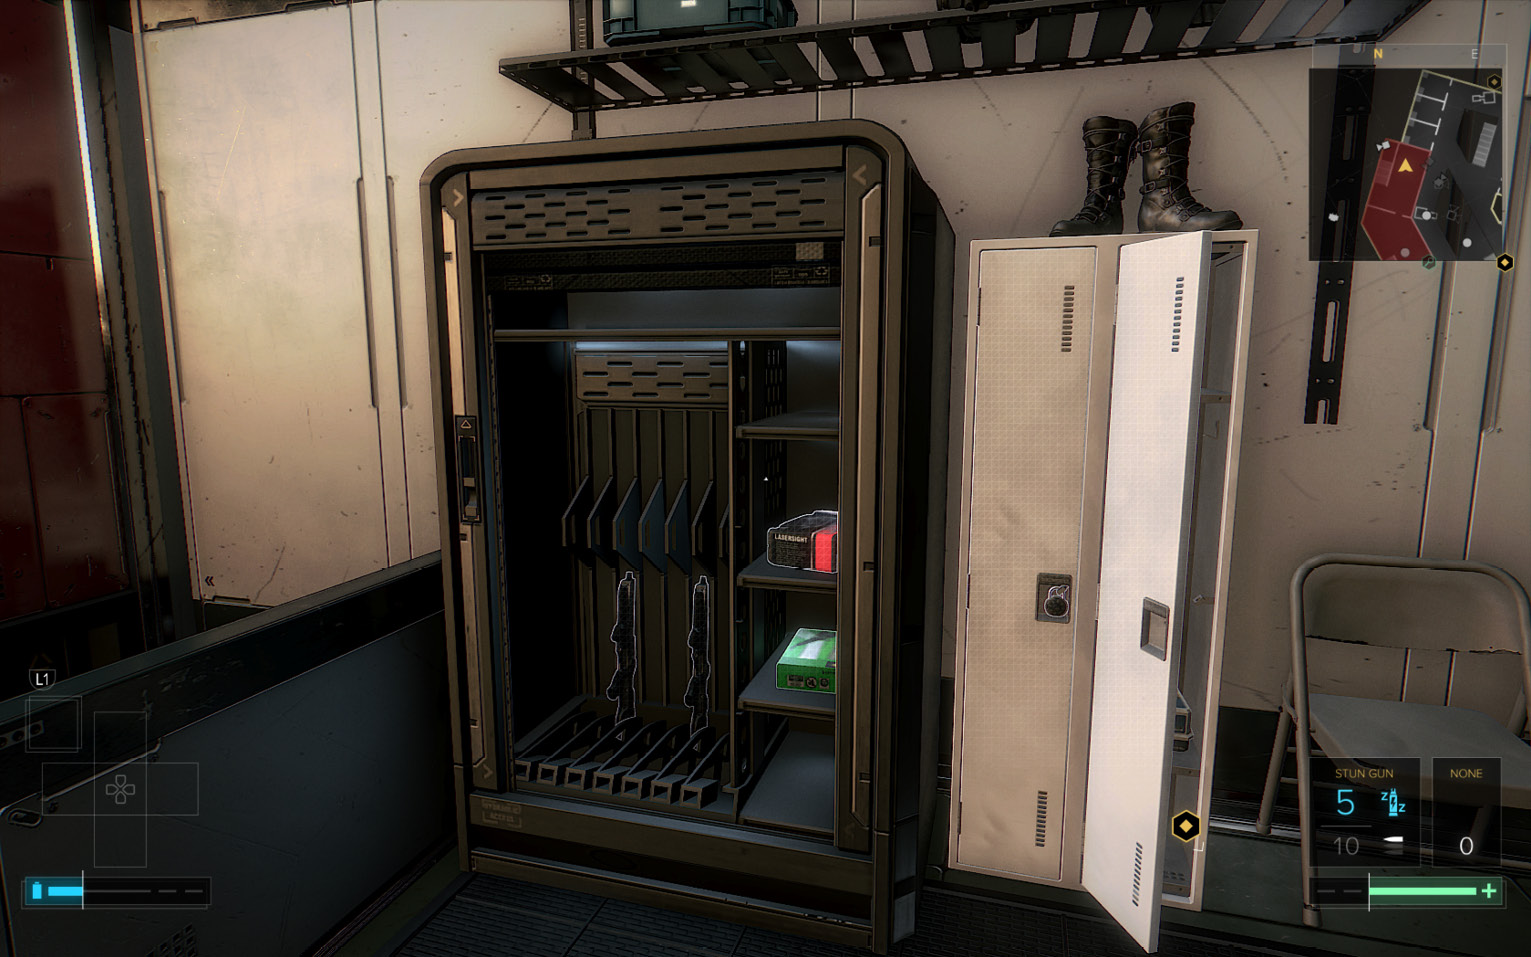
Follow the duct down to another Cable Duct Door located over the A-Block Security Office where the main security terminal is located (17). A lone guard sits at his computer in the next room (18). Drop down from the ceiling duct, creep to the right of the main desk, and toggle the EG Switch on the wall; this darkens the glass so you can’t be seen from outside. Loot the row of lockers in the corner to find a Pocket Secretary. Examine it in your Database to see an entry entitled “Backup schedule” that includes the security hub password: CL4NKN3T1ON.
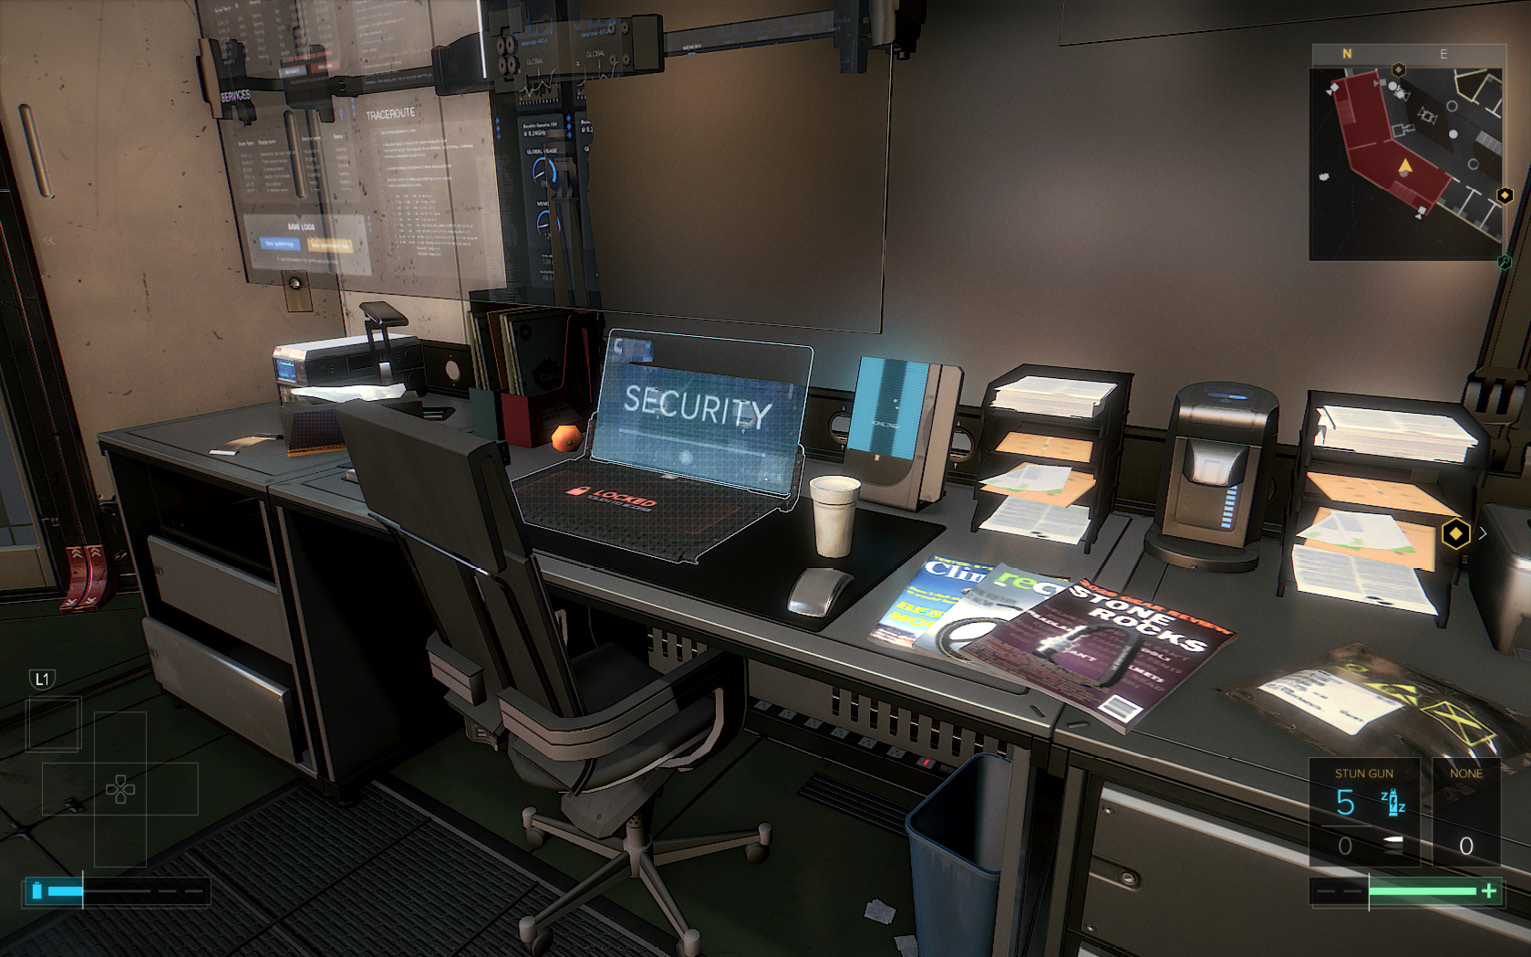
Enter CL4NKN3T1ON into the Block A Security terminal on the desk. Select CAMERAS and disable Intruder Tracking on all six cameras in the block; select DOORS and make sure the Shower Room door is open; select ALARM and disable the Block A alarm panels. Once complete, exit the interface.
Next, pick up the Pocket Secretary on the main desk; it contains an entry entitled “Heads up” which includes the passcode to the Maintenance Room between the cell blocks: 3499. (This is the room marked on your hand-drawn map from Flossy.) Now loot the rest of the room. Don’t miss the HypoStim Injector in the medical box on the work cabinet and an eBook on the bench.
Access the Block Corridor
If you triggered no alarms, the guard is likely still sitting at his computer (18) in the Security Office’s other room, so take cover at the connecting door, open it, and then sneak behind his chair. Perform a nonlethal takedown and toggle the EG Switch just to the left of his desk to darken the windows for privacy. Loot the rest of the room, including the nearby Weapon Cabinet. Return to the first room and go down the back stairs. Take cover at the door (19) leading out into the block corridor (the prison’s back-access alley).
POINT OF INTEREST: Maintenance Mystery
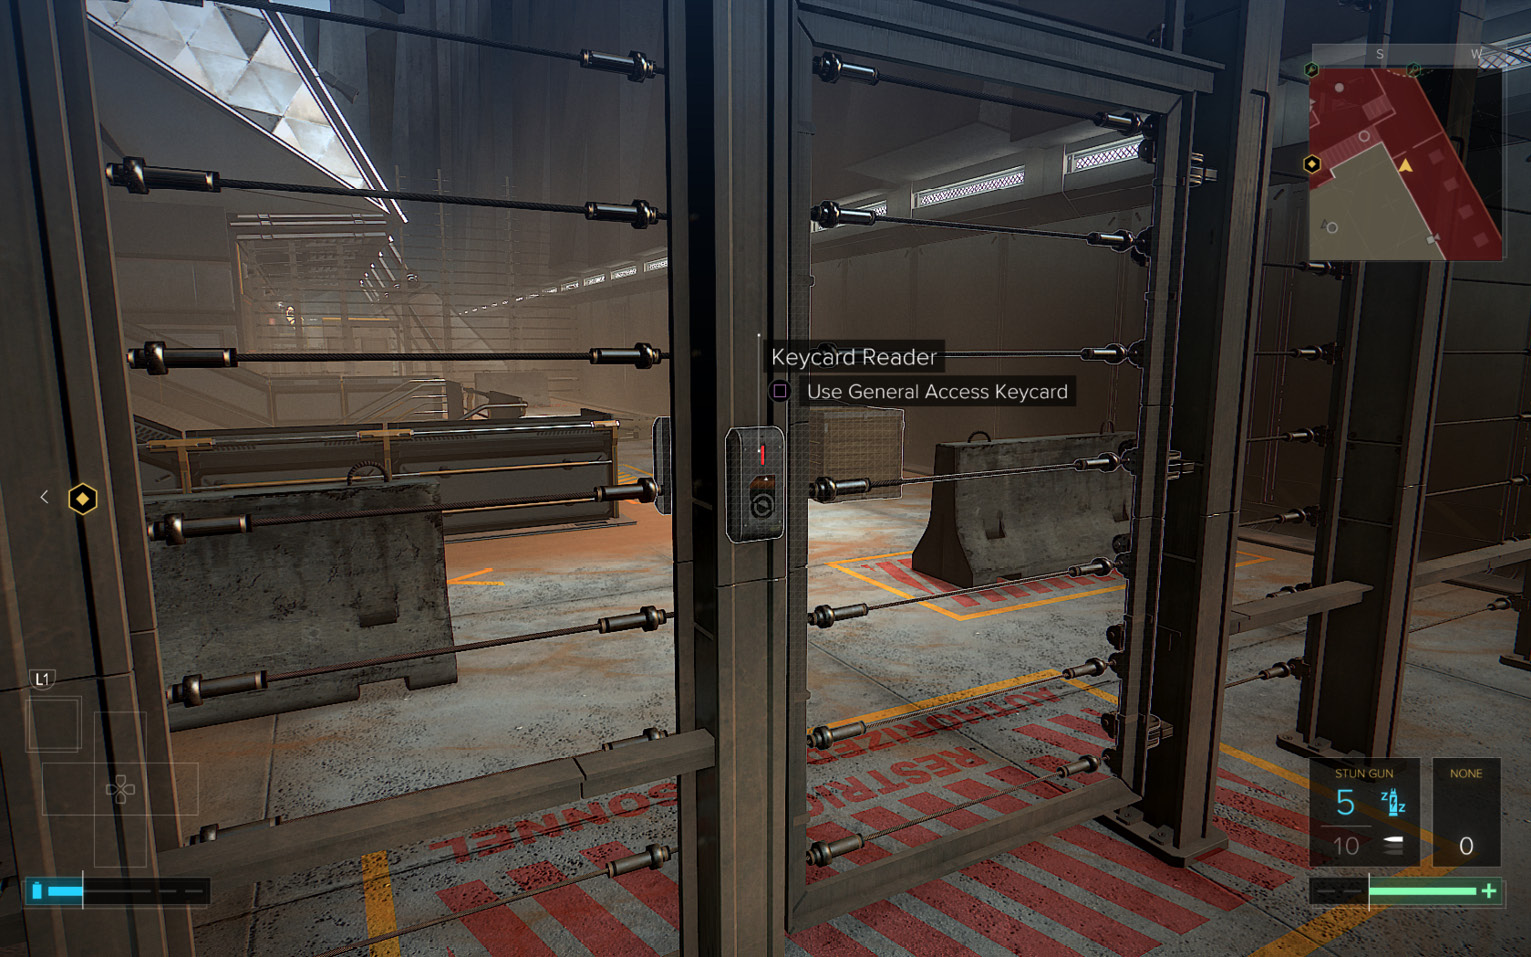
Wait until the light of the security camera outside (directly above the doorway) scans all the way to the right. Sprint down the corridor to the left and duck around behind the big fan housing. Your General Access Keycard unlocks the nearby gate (20); open it, crouch, and sneak behind the two moveable crates to the right. You can see the Maintenance Room (21) just ahead; it’s the room marked on the hand-drawn map you got from Flossy.
Stack Crates to Avoid Detection
Here’s a trick. If you approach the Maintenance Room door out in the open, the surveillance camera on the far wall (shown on our map) will spot you. Therefore, crouch and pick up the metal crate and slide sideways toward the Maintenance Room. (Stay crouched while moving!) Be on the lookout for the onscreen Detection Meter. If the meter appears and starts filling up, immediately drop the crate and stay crouched behind it to cut off the camera’s detection.
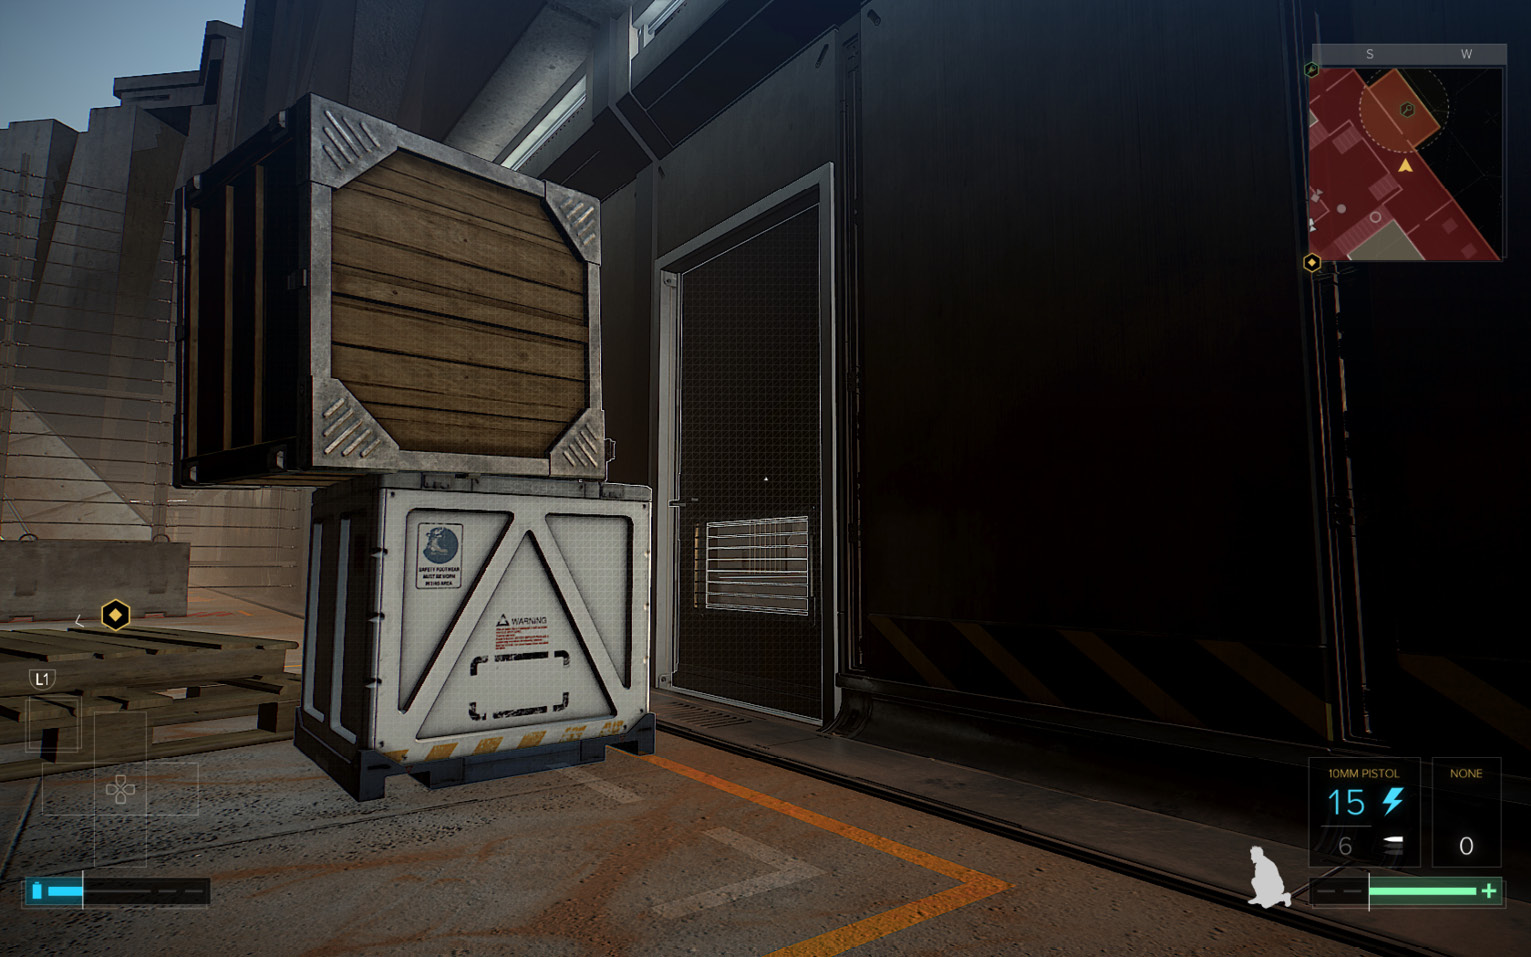
Keep sliding sideways with the crate in small increments until you’re underneath the Maintenance Room’s keypad and drop the crate. Stay crouched (hiding behind the crate) and use a Multi-Tool on the keypad to unlock the door. But if you don’t have a Multi-Tool (or just want to save it for later), you can repeat the crouch-and-carry tactic with the Medium Wood Crate. When you reach the Metal Crate, stand up and drop the Wooden Crate on top of it. Now you can remain standing without being detected. Turn around and enter the code 3499 on the keypad to unlock the door.
Switch Jumpsuits
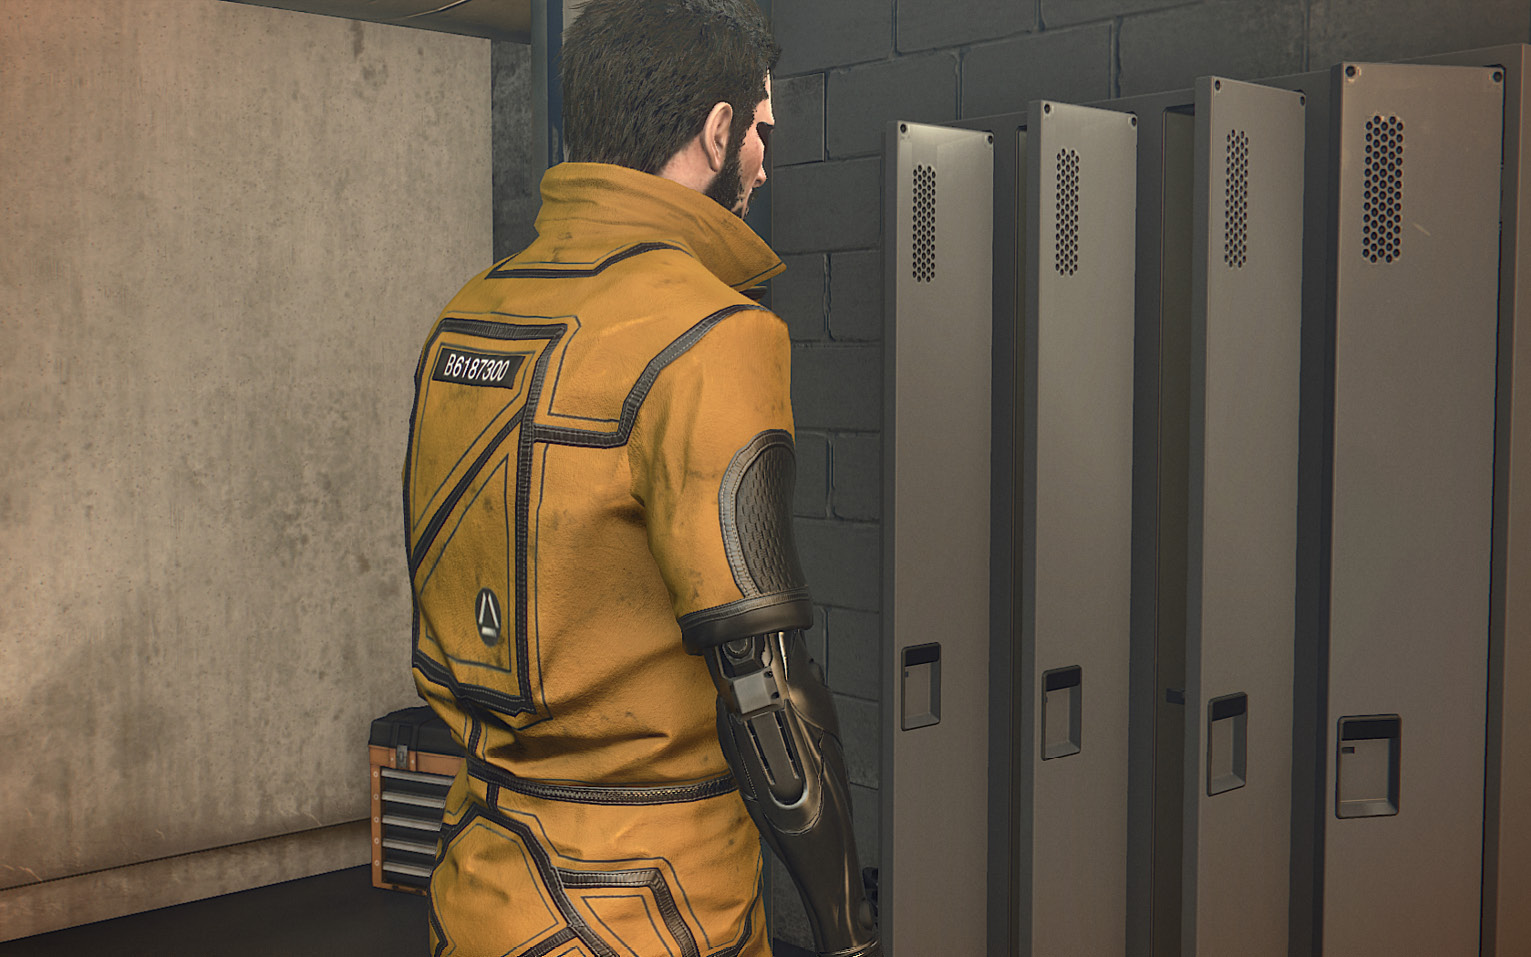
Open the Maintenance Room door, then close it behind you for privacy. There is plenty to loot in this room, including a HypoStim Injector hidden in the fox plush toy. Next, change into the yellow B-Block jumpsuit hanging in a locker. This completes the “Maintenance Mystery” Point of Interest objective.
Optional: Find William Parry
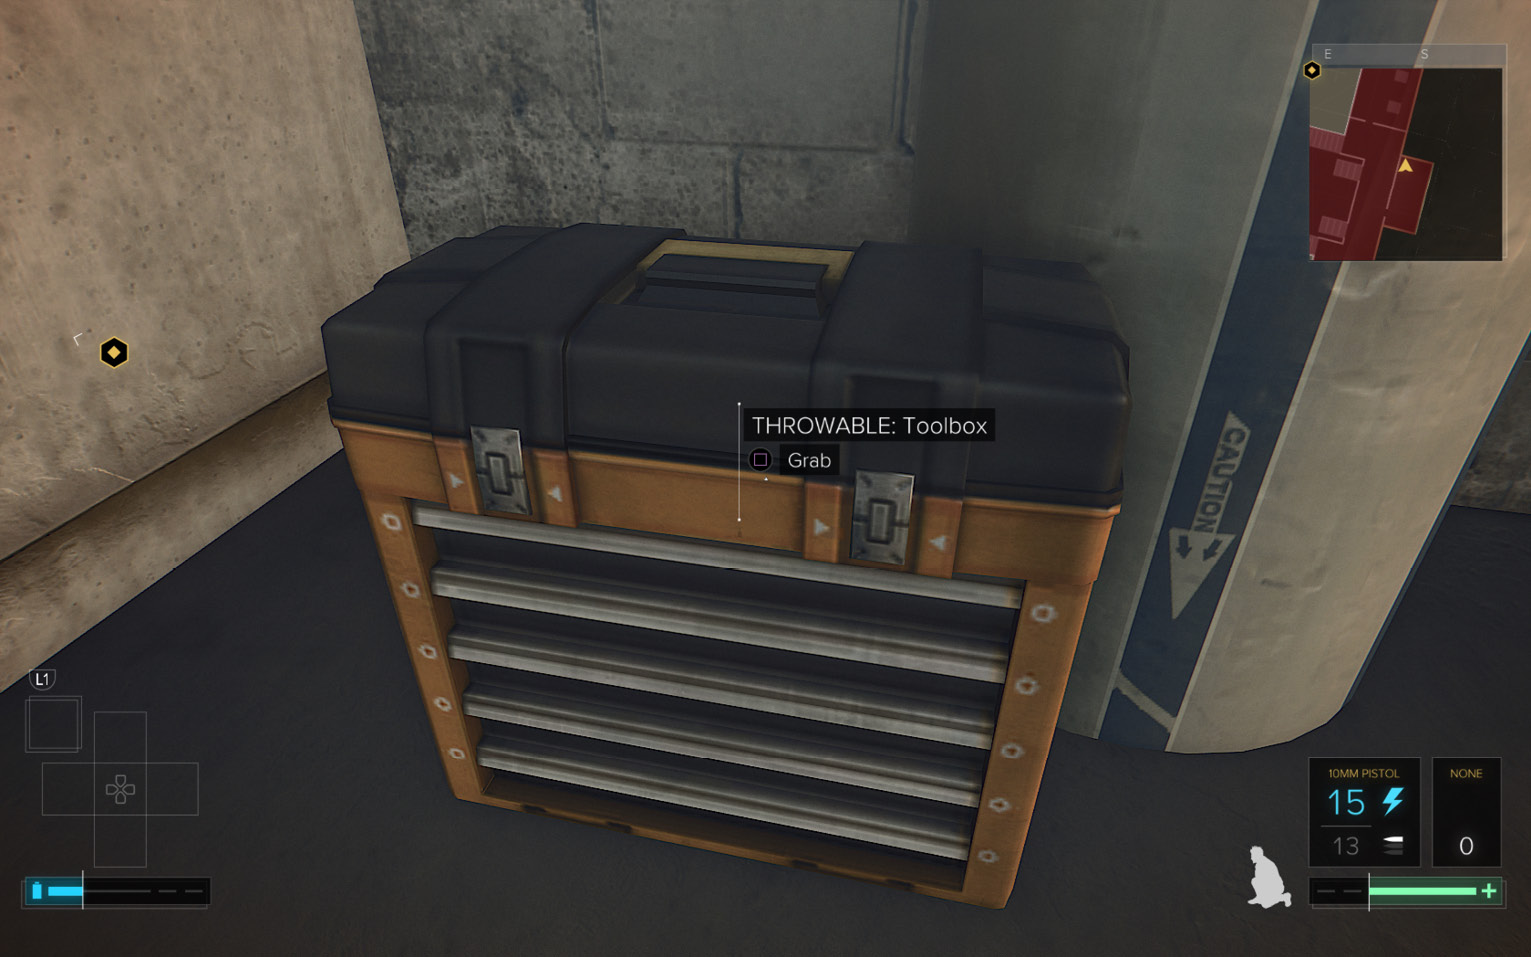
Move the stack of cardboard boxes in the Maintenance Room to reveal a vent and open the vent cover. Before you enter the duct, find the Throwable Toolbox in the corner of the room. Pick it up and toss it into the vent opening. Now enter the vent and drop down. Pick up the Toolbox, enter the ventilation airshaft, and toss the toolbox into the big fan to shatter the fan blades. (Alternately, you can shoot the fan with EMP Ammo to disable it for a few seconds.)
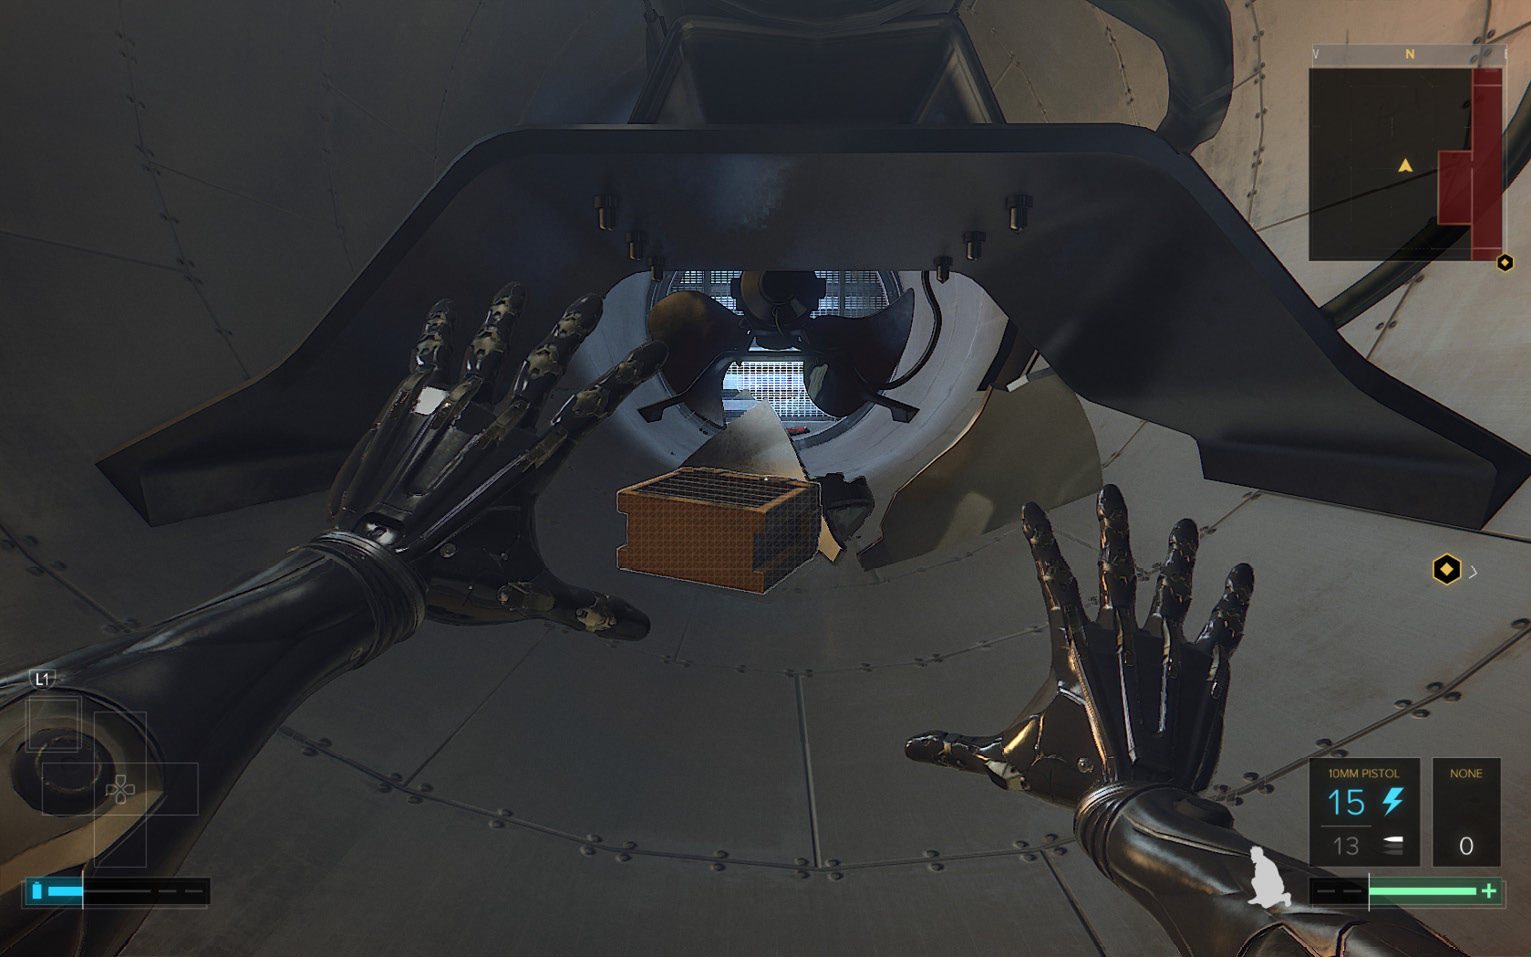
Move to the next fan, which is not turning but surrounded by an electrical charge. The following steps must be performed very quickly: While crouched, hustle underneath the fan to the airshaft grate (the electricity will hurt Jensen); open the grate; go through the opening and veer to the left past the inmate’s body to the green breaker switch (circled in our shot); and then use the breaker to cut the electricity.
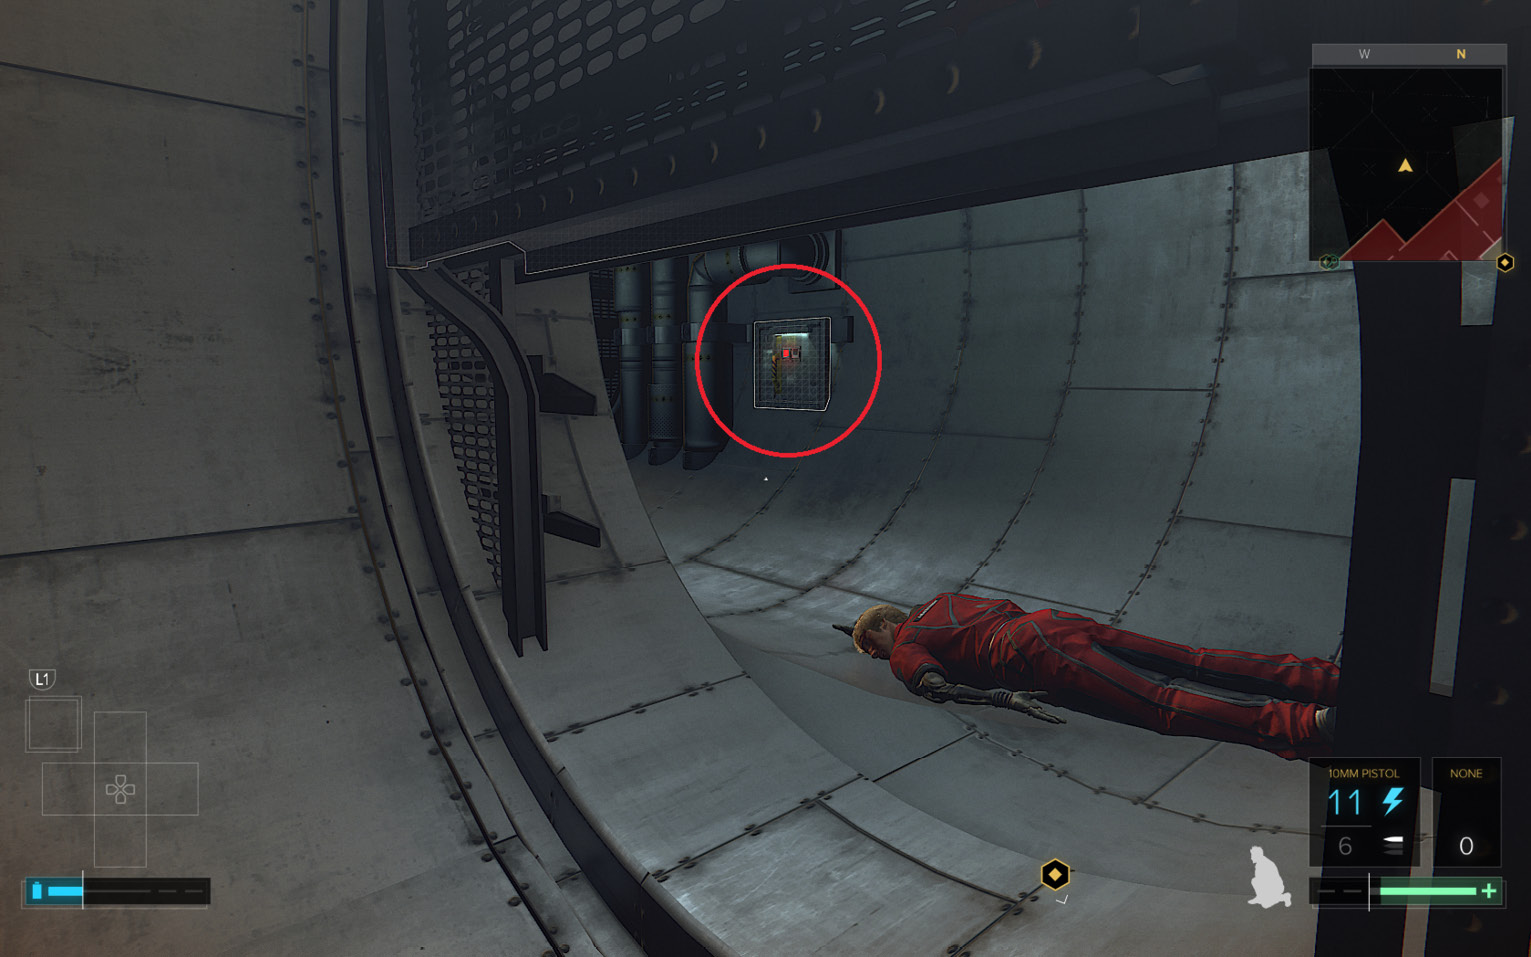
After you recover from the shock, search the inmate’s body to find a Pocket Secretary. Open it in your Database to see the emails between the Parry brothers–this must be the corpse of William Parry! Retrace your route back to the Maintenance Room.
Get to Cellblock B
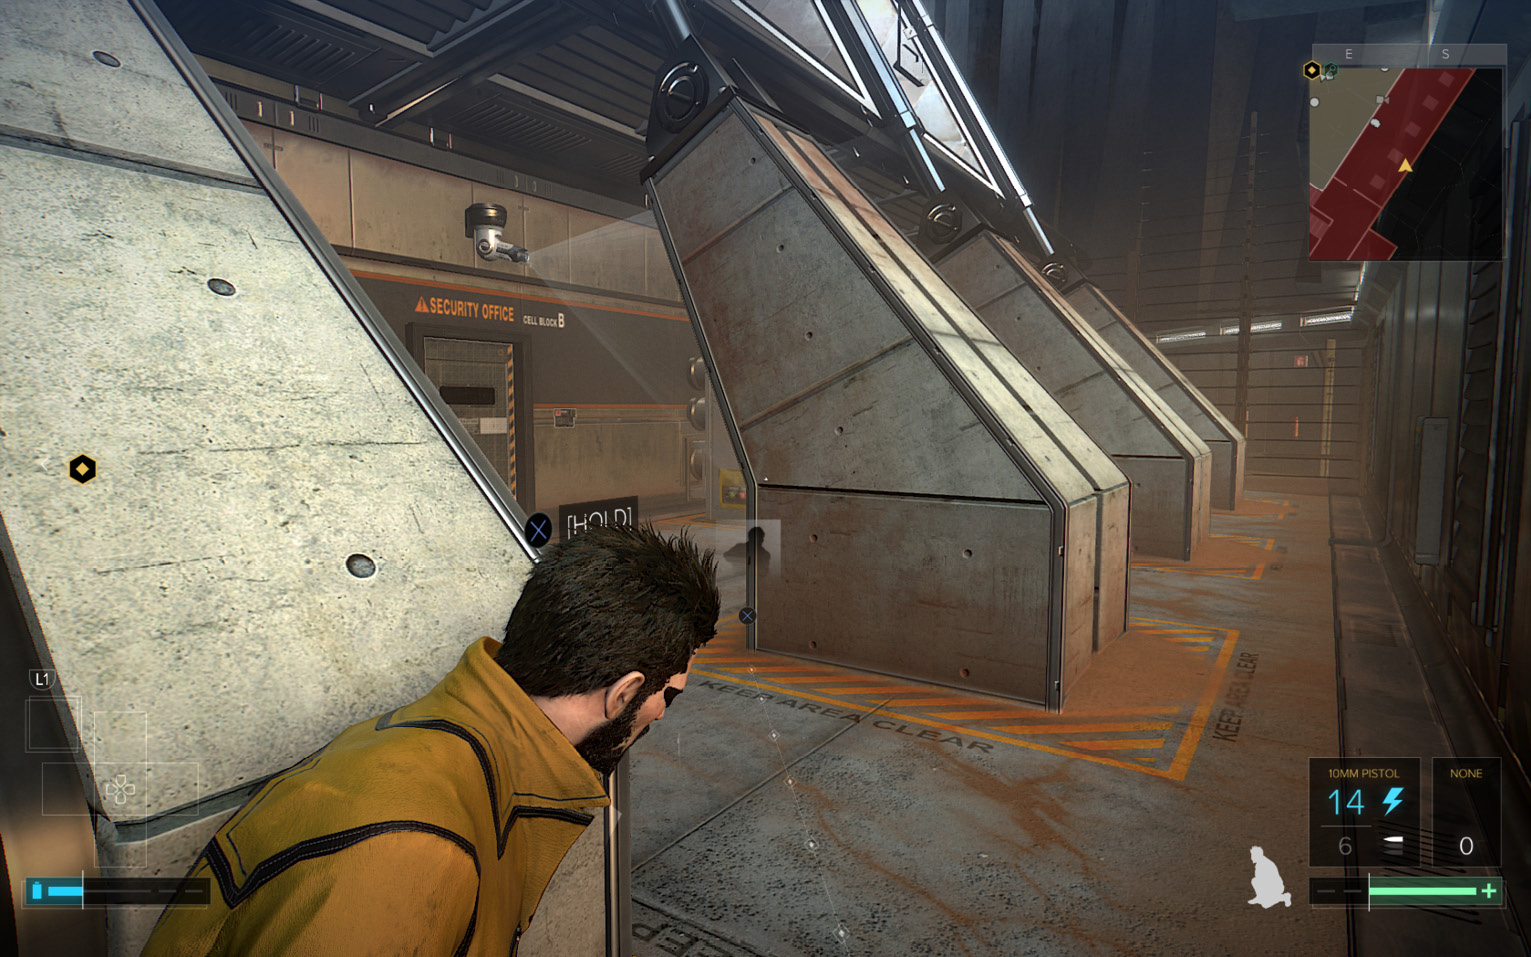
Now you can move freely within Cellblock B… but you still have to get there first. Crouch and open the Maintenance Room door and go to the right for cover. Unlock the gate keypad (22) with your access card, open the gate, and take cover behind the nearest metal building strut. You’re on the B-Block side of the block corridor now.