
The Witcher 2: Assassins of Kings Guide (Steam) Walkthrough Dark Mode
Chapter by Chapter
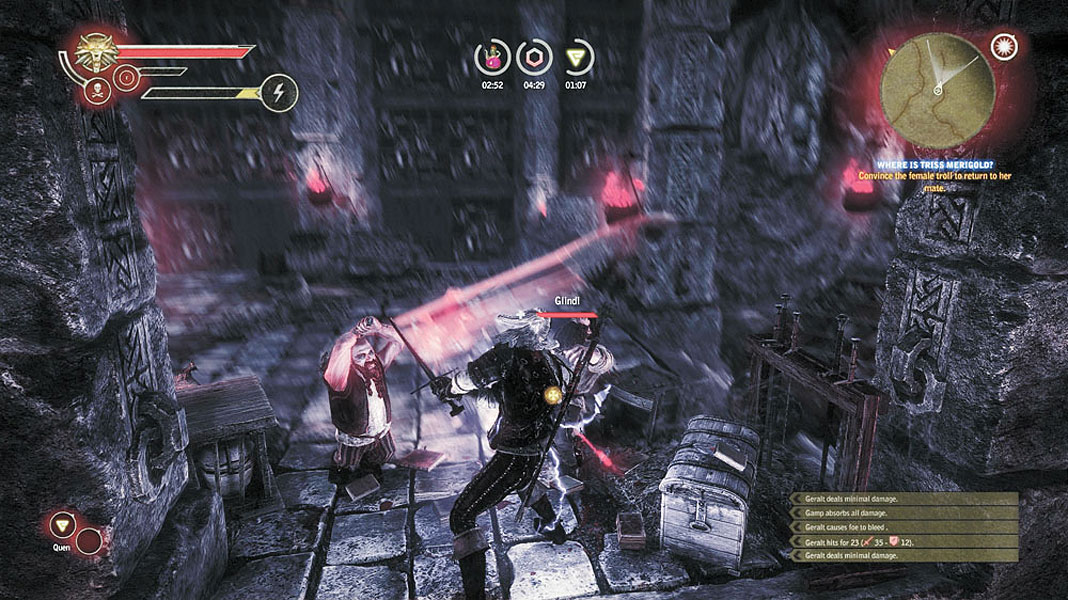
The game’s sequence of events in Dark mode is identical to what occurs in a game on standard difficulty. Enemies are in the same locations, unique foes behave the same way, and your quests and decisions are the same. You can consult the regular walkthrough for advice about specific quests or the consequences of certain decisions. That said, there are some specific points in the game that you want to approach differently in Dark mode. That’s what this section addresses.
Always make sure you finish a chapter’s dark set for a given Chapter before initiating major story-mandated battles. The added bonuses to your stats make the fights substantially easier. Remember that this is a mode where you need all of the help you can get.
Chapter 1 - The Kayran

Before you battle the kayran, make sure you resolve the main quest The Kayran: A Matter of Price such that you receive the Haggling character attribute. Haggling reduces all shop prices by 20 percent, which amounts to an enormous discount when you’re dealing with items like the dark sets that cost thousands of orens to obtain. You get Haggling by successfully using Axii during dialogue with the merchant to make him double his fee, then collecting the funds from him after you kill the kayran. You can get a more detailed write-up of this process by turning to. Note that all prices for items listed in the Dark mode guide are default prices, before the Haggling reduction is applied.
When battling the kayran, it's important to keep moving. Always keep your camera turned so that you can see the beast’s tentacles and predict where and when they will strike. Keep Quen up to absorb the punishment that follows a mistake, because even with your dark set the kayran can and will one-shot you if given the chance. Otherwise, you can follow the basic method for defeating the it outlined in the walkthrough.
LETHO

The fight against Letho can be tricky on any difficulty, but it only gets worse in Dark mode. Even with your dark set, battering down his Quen is a fruitless endeavor. He hits like a truck on standard difficulties, but now he hits like an 18-wheeler hurled at you by a troll. Letho’s weaknesses are the same. He’s still slightly slower than Geralt, and he’s still vulnerable to Yrden and traps. It’s not worth taking down Quen to use Yrden, though, so focus on traps. Keep moving so you can dodge his attacks, especially his devastating Aard.
The best way to damage Letho is to get behind him and land a light attack combo. If you get an opening, don’t let up until he throws up Quen. Once he has, then dodge-roll away from him and wait for it to wear off. Getting staggered by trying to hit Letho tends to leave you open to a life-ending attack combo. If you find yourself in a corner, or unable to dodge an attack, using Aard can give you a moment to strike or escape. This is one of the few situations where it’s worth using something besides Quen.
Chapter 2 - Serrit and Auckes (Roches)

These assassins are quick, deadly, and swiftly parry your attacks if you face them head-on. After getting Quen up and dodging their first wave of attacks, use Axii on one of them. Wait for your new friend to grab the other assassin’s attention. At that point, try to get in behind your target and strike him as many times as possible before Axii’s effects wear off. Roll away from the foes and repeat the process, using Axii on one of them. Be careful while dodge-rolling during this fight, as it’s easy to get stuck in a corner when you’re around the tents. Try to keep the assassins out in the open where you have plenty of room to move.

If you have the Chapter 2 set before you battle the draug, this fight becomes hilariously easy. Put up your Quen and wait for him to charge. Roll out of the way, then roll back in and slash at his back with your strong attack. Using this method, it’s possible to take out the draug with around four blows. That said, don’t get lazy in this fight. The draug can still summon trebuchet fire and hails of flaming arrows, which can be extremely deadly on this difficulty. Practice zone control and try not to be either too close or too far from the draug at any time.
Chapter 3 - Saesenthessis

When fighting the dragon Saesenthessis in Síle’s lab at the top of the tower, the single most important thing is to keep up Quen. Quen negates fire damage, which keeps the dragon’s fiery breath from incinerating you (or damaging you at all). In fact, one of the best times to attack the dragon is while it’s breathing fire. Just walk through the flames, land around three hits, then dodge-roll away before the dragon finishes its fire-breathing animation and swipes at you.
Once you climb to the top of the tower, you battle the dragon on the ground. In this round of the fight, be sure to stay directly in front of her. If you close on her from either side, she can get in a pair of quick blows where the second one always kills you even if you survive the first. Bait her into attacking you, roll in for a couple quick hits, then roll back out.
Letho

Fighting Letho during the Chapter 3 Epilogue is basically the same as fighting him during Chapter 1. His Quen can absorb even more damage now, he moves a bit faster, and his strikes deal considerably more damage. Your basic strategy should be the same. Dodge his attacks and move in behind him to strike. When he puts his Quen up, simply keep moving and dodge his attacks until it wears off. Again, using Aard can give you a momentary advantage to strike if you’re cornered, but that shouldn’t happen much when you fight him in a wide open area like the Temerian camp.