Objective: Wipe out the Ghost Clan at their Hideout.
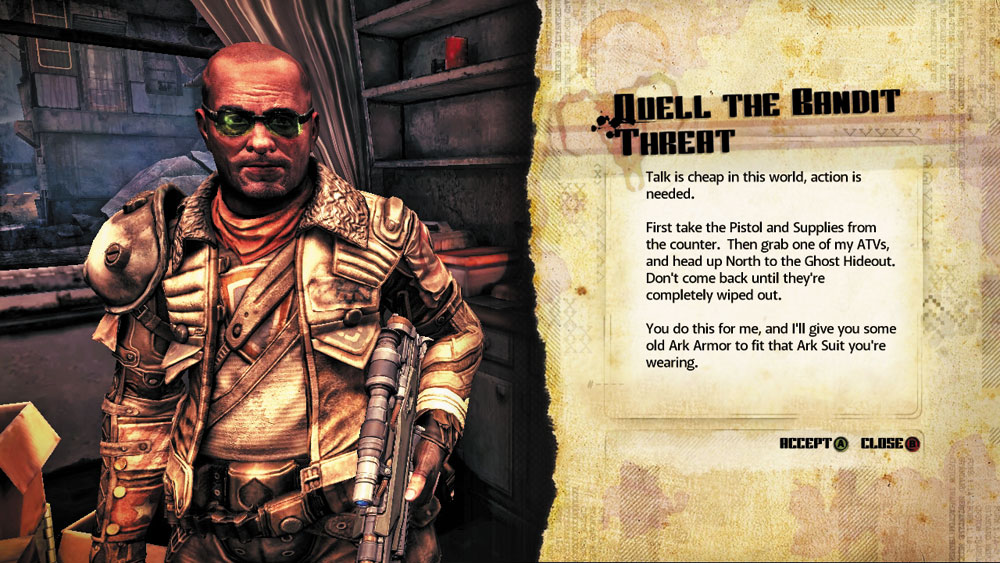
Talk is cheap in this world; action is needed.
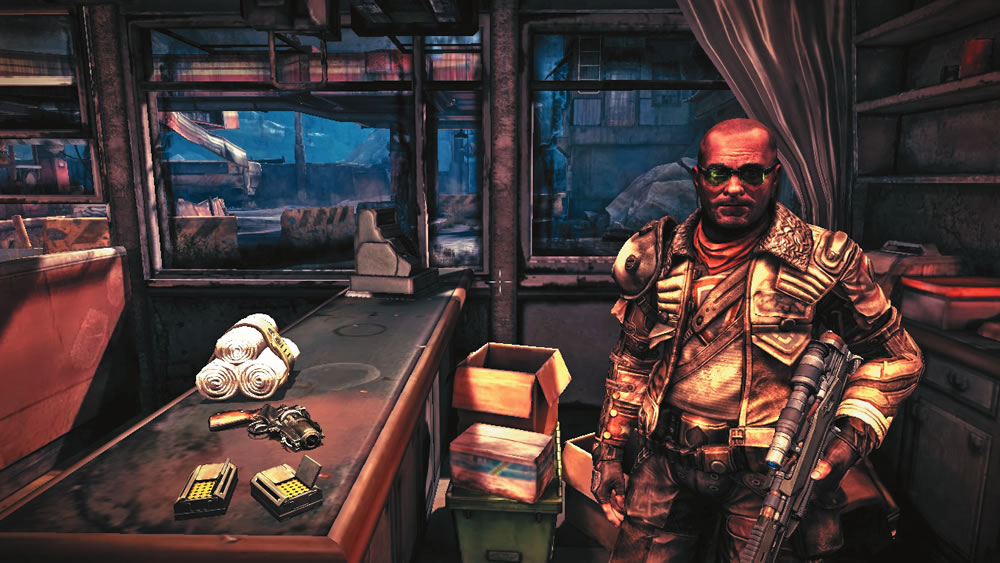
First take the Pistol and Supplies from the counter. Then grab one of my ATVs, and head up north to the Ghost Hideout. Don’t come back until the bandits are completely wiped out.
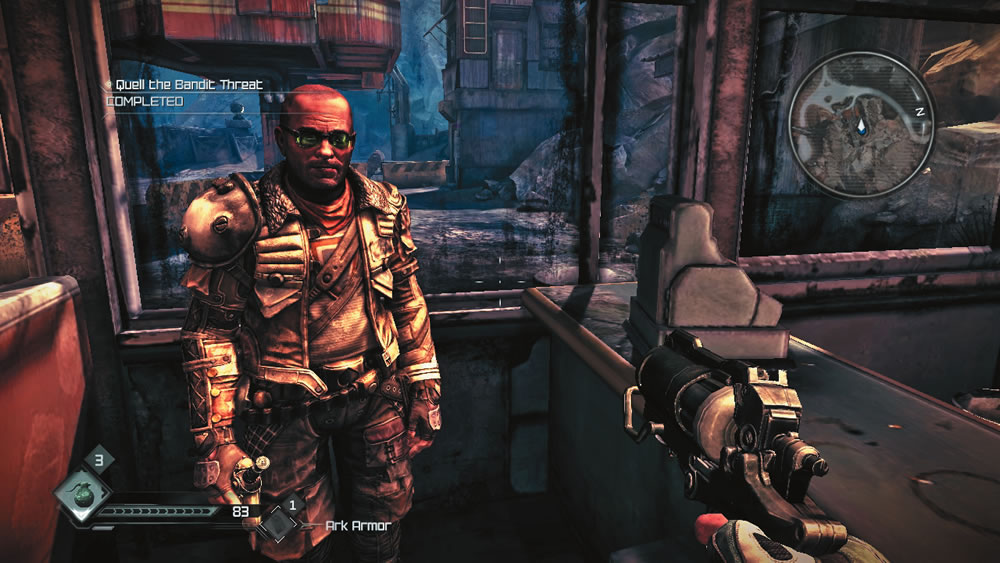
You do this for me, and I’ll give you some old Ark Armor for the Ark Suit you’re wearing.
Provided Equipment
Dollars
50
Settler Pistol
1
Pistol Rounds
24
Bandages
1
Reward
ICON
ITEM
QUANTITY
Ark Armor
1
Dollars
100
Now that you’re safe, Dan has a favor to ask. Helping you has put Dan and his family at risk. He fears the bandits will come looking for him and retaliate. A preemptive strike is necessary and Dan wants you to conduct it. Accept the task and grab the Settler Pistol and supplies on the nearby counter. Dan hands you $50 in advance and promises to give you some extra armor upon completion of the job. You can use Dan’s ATV to reach the Ghost Hideout, but before heading out, take a moment to explore the Hagar settlement. Immediately after talking to Dan, turn to the left side of the room to locate a small box containing the Dan Hagar card. Cards like this are scattered across the Wasteland and can be used to customize your deck for the card minigame later.
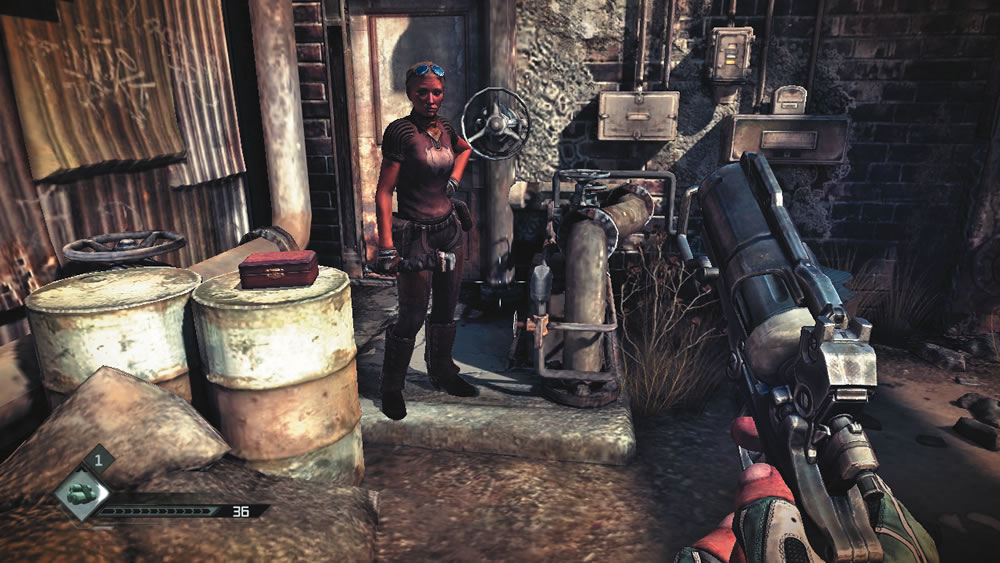
After talking to Dan, step outside the garage and locate Becky—she’s busy turning a wrench on a leaky pipe. Interact with Becky to trigger a brief conversation. You don’t have to talk to every character you encounter, but sometimes they offer some useful information that may come in handy later. Some characters may even offer side jobs you can complete for a little extra spending cash. So make an effort to talk to everyone you come in contact with. Next to Becky is another box containing the HE Grenade card—add it to your collection. While you’re at it, the Loosum Hagar card is nearby, on a rock outside the garage. Now go find Loosum Hagar.
Wingstick Mastery
Loosum Hagar
Objective: Prove your skill with a Wingstick.
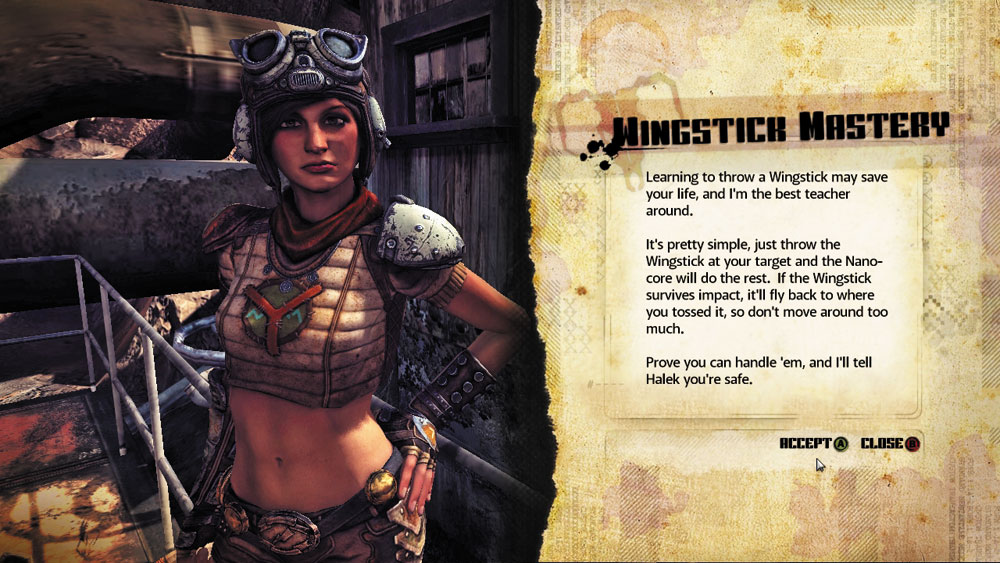
Learning to throw a Wingstick may save your life, and I’m the best teacher around.
It’s pretty simple, just throw the Wingstick at your target and the Nano-core will do the rest. If the Wingstick survives impact, it’ll fly back to where you tossed it, so don’t move around too much.
Prove you can handle ‘em, and I’ll tell Halek you’re safe.
Provided Equipment: None
Reward
Wingstick
5
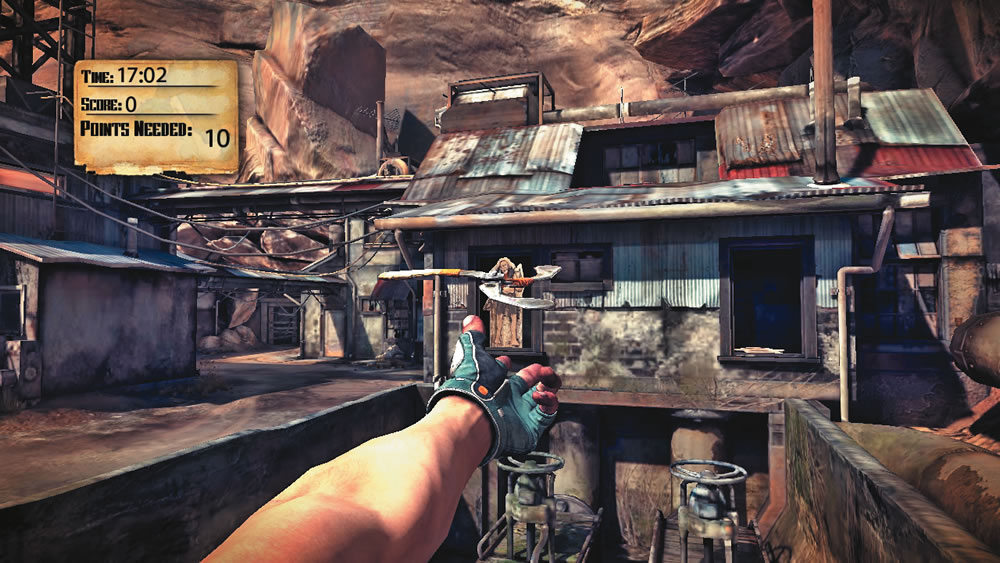
Be sure to talk to Loosum Hagar before heading for the Ghost Hideout—she has something to show you. Loosum is a Wingstick specialist and she’s willing to teach you the basics of handling this unique weapon. Accept her offer and get ready to mow down a few targets with Wingsticks. The Wingstick is a quick use item, just like the bandages or grenades. When it’s time to throw the Wingstick, press the quick use key/button. The Wingstick is a bladed, boomerang-like weapon that returns to the spot from which it’s thrown, assuming it survives contact with any objects it hits. For this exercise, aim for the center of each target that pops up on the range. On the lower targets, if your aim is off center, the Wingstick may hit the sides of the doorway, causing the weapon to shatter. Always make sure the Wingstick has plenty of clearance along its flight path so it will return to you. In the Wasteland, scoring kills with Wingsticks isn’t difficult, but lining up your throws so the Wingstick returns to you is always a rewarding challenge.
To pass Loosum’s test you must score at least 10 points. The targets on the lower level are worth 2 points while the targets on the upper level are worth 3 points. You only have 20 seconds to score the required points, but as long as your aim is true, this shouldn’t be a problem. If you do fail the test, you can retry until you score the required 10 points. Upon completion of this exercise, Loosum gives you five Wingsticks of your own. Now that you’ve proven your proficiency with this weapon, the settlement’s merchant, Halek, will sell Wingsticks to you.
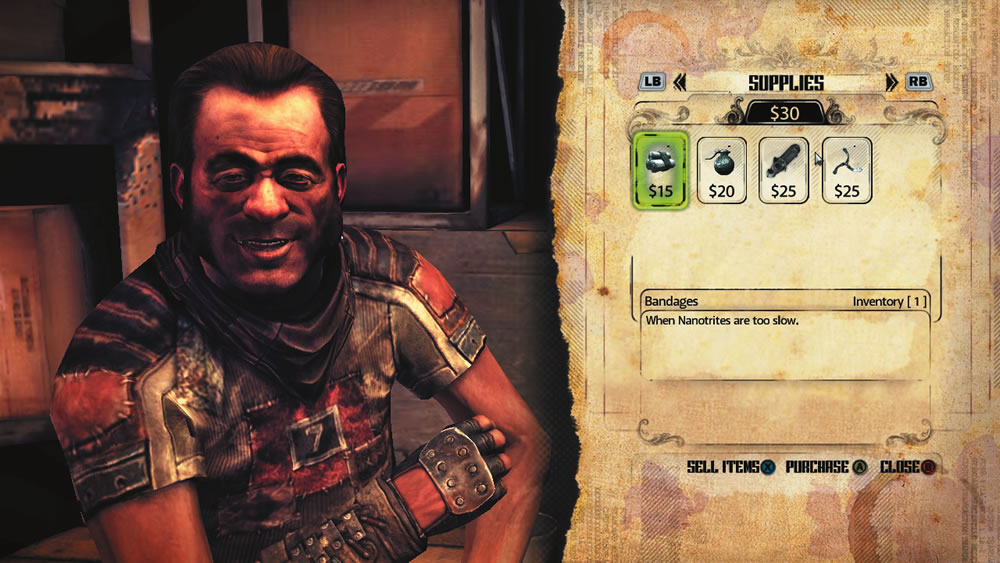
After completing Loosum’s test, pay a visit to Halek Hagar. Halek has a small shop not far from the settlement’s entrance where you can spend some of that $50 Dan gave you. At the moment, Halek’s selection is rather limited, offering only a handful of supplies and one ammo type. But that’s good enough for now. Select the ammo tab and purchase at least four sets of Pistol Rounds. This gives you a total of 84 Pistol Rounds, more than sufficient for clearing out the Ghost Hideout. Failing to purchase Pistol Rounds now can leave you scrambling for ammo later, or worse, using your fists to fight off bandits. In the supplies tab you can buy more Wingsticks, but they’re not cheap. The five Wingsticks you received from Loosum should suffice for now.
New Objective: Head north to the Ghost Hideout
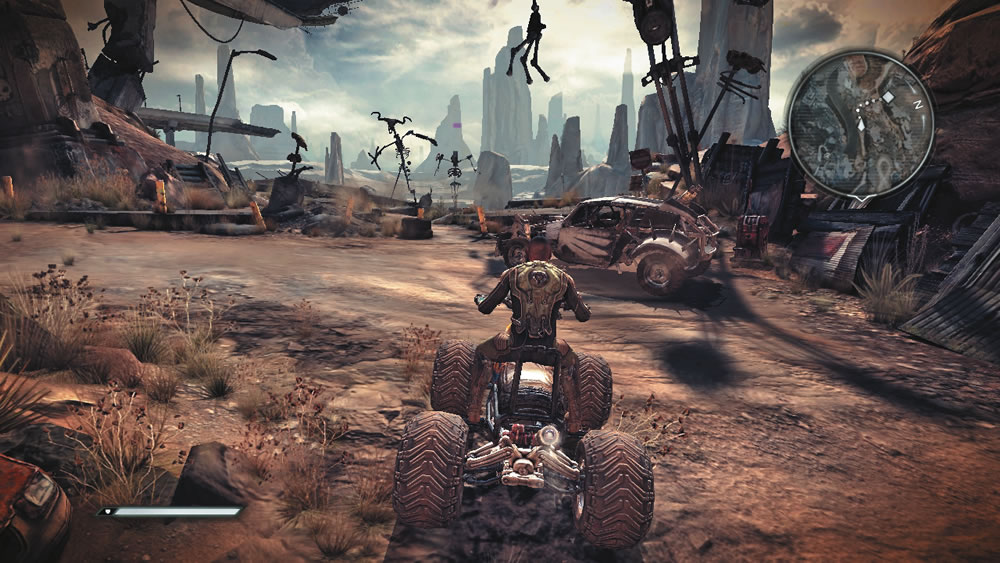
Now that you’re stocked on Wingsticks and ammo, return to Dan’s garage and commandeer his ATV—you can’t take his buggy, so don’t even bother trying. As soon as you interact with the ATV, a set of controls appear on the screen, showing exactly how to accelerate and brake/reverse. All vehicles are also equipped with a booster, triggering a temporary increase in acceleration and top speed. Carefully pilot the ATV out the settlement’s entrance and turn right. The Ghost Hideout is located beyond the area where Dan found you. Follow the marked trail shown on the minimap in the top right corner of the screen. Shortly after passing through a narrow passage you come to a dead end where a bandit buggy is parked. Hop off the ATV and proceed across a narrow footbridge suspended high above a canyon. On the opposite side of the bridge is a rusty metal door. Interact with the door to enter the Ghost Hideout.
Ghost Hideout
New Objective: Eliminate every bandit you find
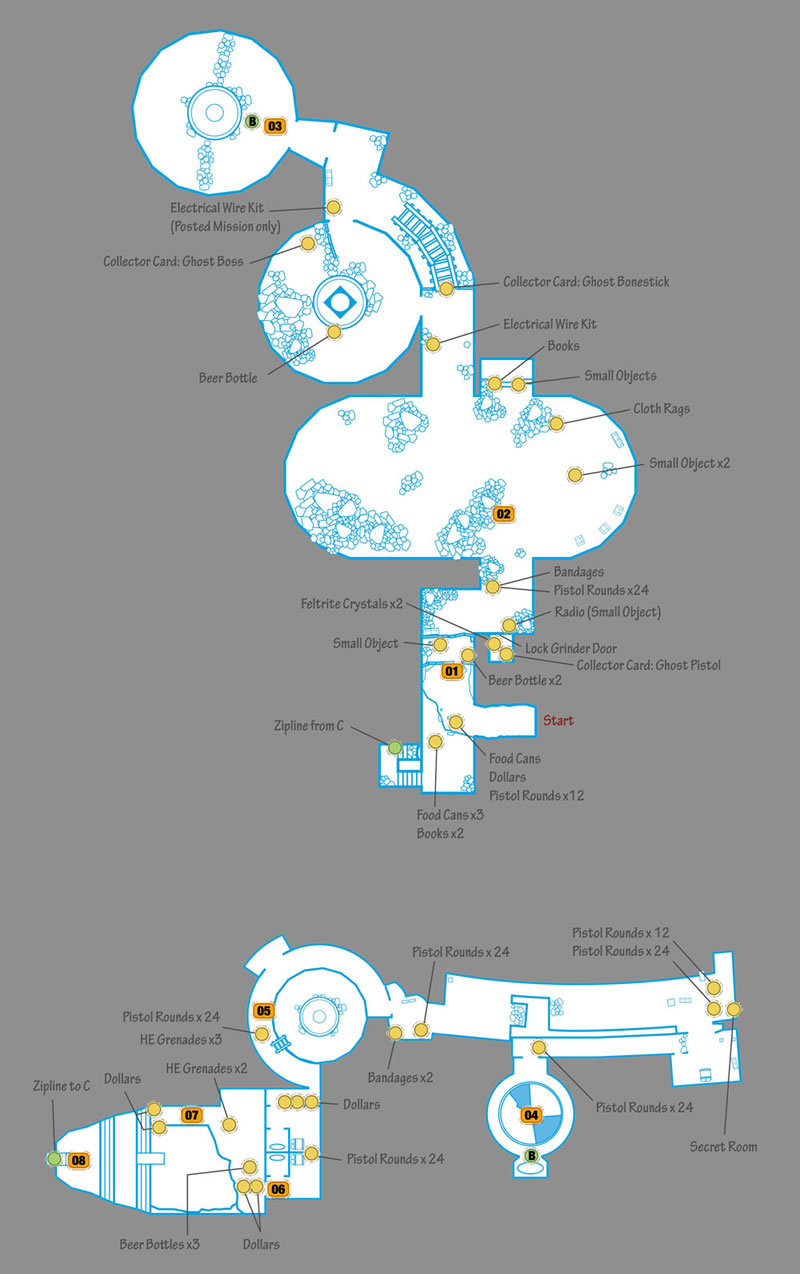
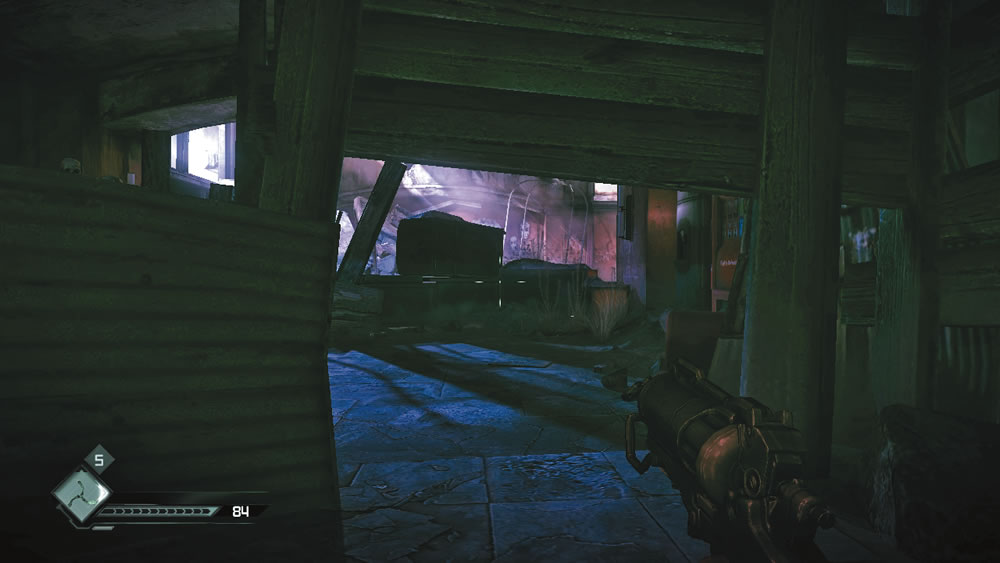
Soon after entering the Ghost Hideout, take a right. The path to the left leads to a staircase blocked by debris. Here you must crouch to pass beneath a flimsy barrier near some vending machines. On the ground is a Huffers Aerosol can. Junk like this can be added to your inventory and is consolidated under Small Objects. When you get back to Halek, or any other merchant, you can sell these objects for cash—they have no other use. Keep your eyes peeled for useless objects like this. Individually, they aren’t worth much, but in large quantities they can seriously boost your income. Now, jump over the next barricade to continue deeper into the hideout. Grab the radio in the adjoining hall, adding it to your Small Objects collection.
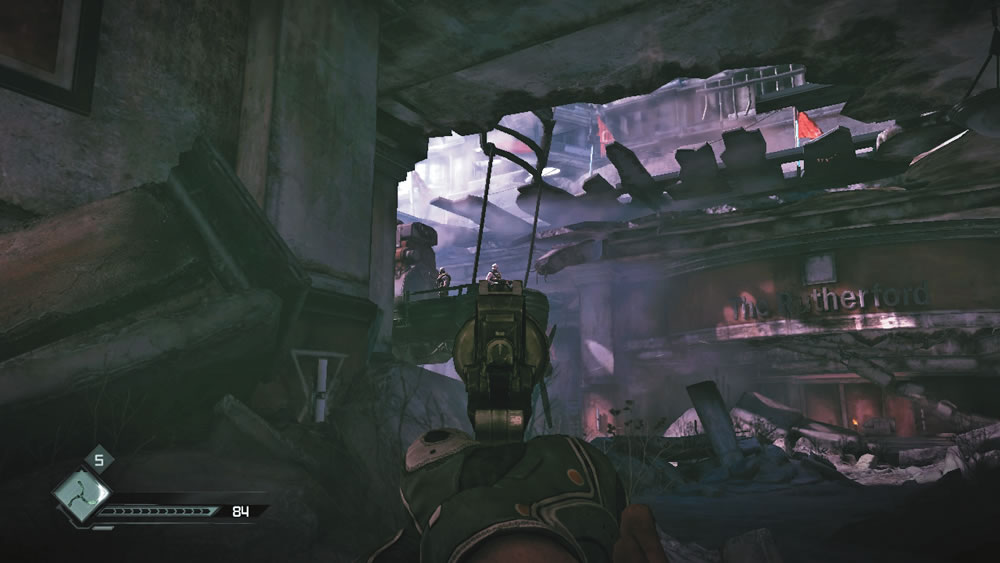
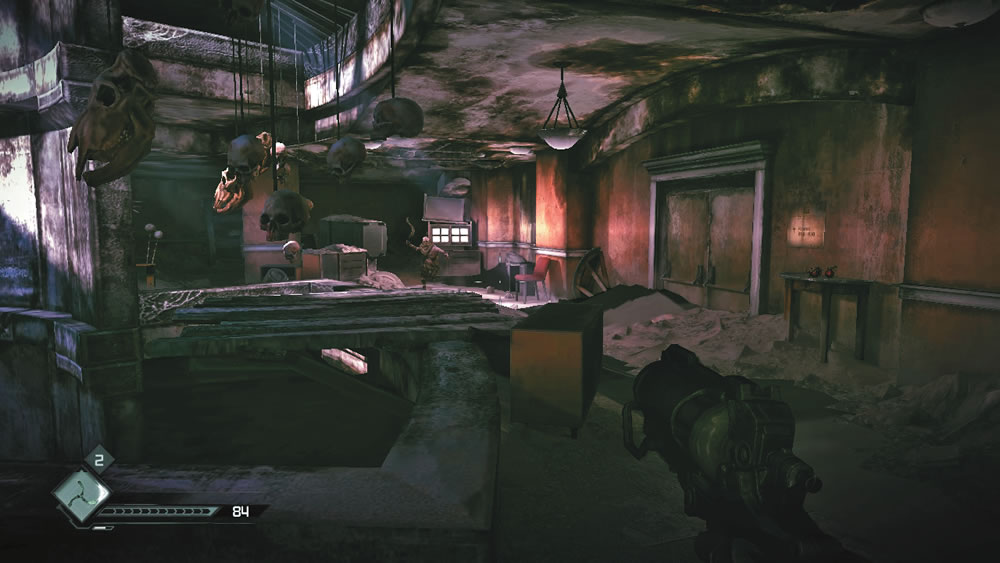
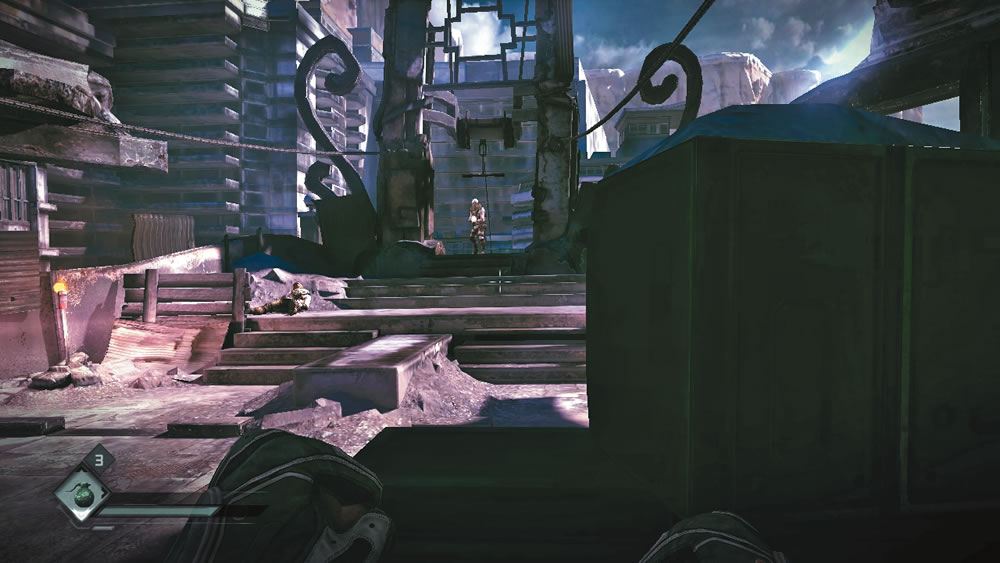
At some point in the past, the Ghost Hideout was a hotel called The Rutherford. Cautiously step into the lobby to spot a pair of bandits standing in the basket of a docked airship. One of the bandits jumps out; deal with him. Take aim with the Settler Pistol and open fire. This pistol is most accurate when aimed through the iron sight. Place the sight over the head of your target and squeeze the trigger. Headshots inflict the most damage, but may not be fatal. Be sure to follow up with more shots until the bandit is down for good. If you don’t take this guy out fast, he’ll charge at you and attack at melee range. Hold your ground and keep firing. If necessary, backpedal into the previous corridor to avoid getting hit by his melee strikes. When the bandit is dead, search his body for loot like ammo or money. Make a habit of searching each body before moving on. In the lobby you can also find more Small Objects as well as a book. Continue through the next hall, dropping another bandit along the way.
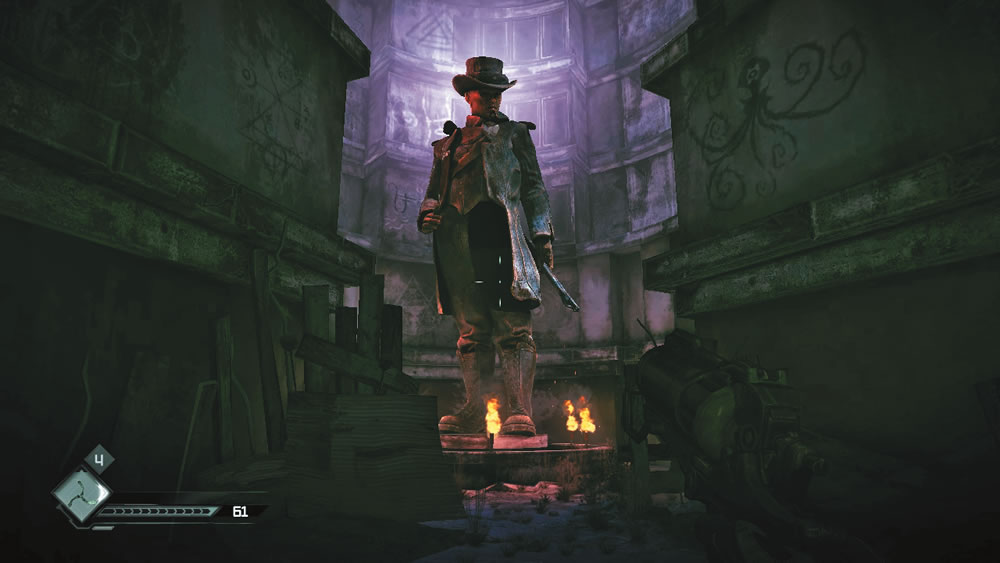
Grab the beer bottle in the atrium and then enter the next corridor. You’re spotted by another bandit. Quickly drop him with a few well-placed shots. If necessary, backpedal into the atrium to avoid close contact. Turn left into the next hall to confront another bandit charging directly at you. This is a good opportunity to use a Wingstick. With careful aim, you can lop off the bandit’s head, but be ready to open fire with the Settler Pistol if the Wingstick misses. Just ahead is a large statue. Step forward until a cutscene is triggered. The bandits have set up a snare, catching you off-guard. You awake in a dark room only to find a bandit hovering over your body. As you regain consciousness, the bandit thrusts a knife into your chest, causing you to black out.
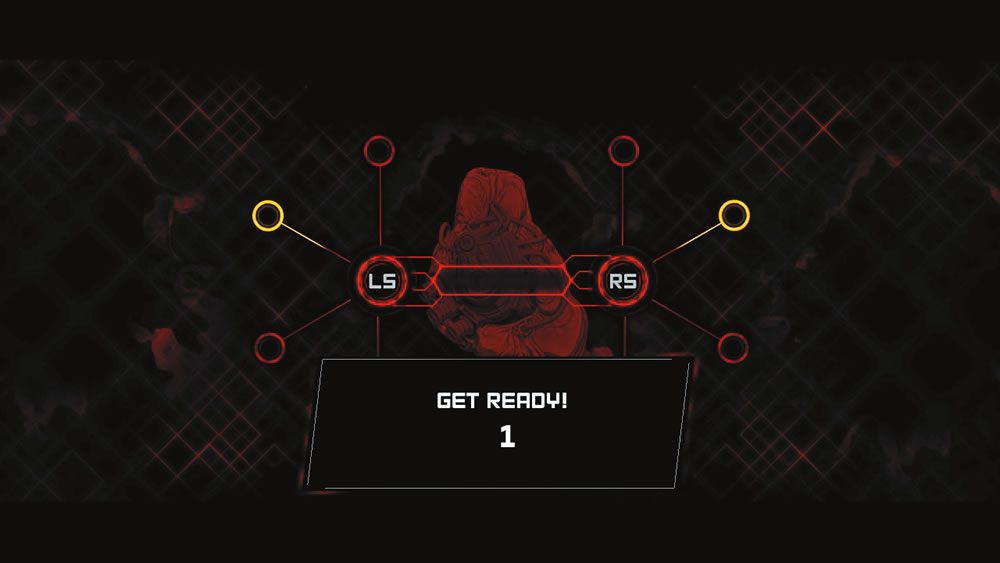
Fortunately, you have a chance to survive thanks to the defibrillator feature. The Nanotrites in your body can revive you. Just follow the on-screen instructions to learn how to use this feature. The controls vary depending on which platform you’re playing. But in all instances, this feature requires careful timing and quick reflexes. First, you must match a series of control inputs to charge the defibrillator. Next, you must trigger the defibrillator. Your precision determines how much health you gain back. A successful revive not only saves your life, but can also electrocute any hostiles nearby.
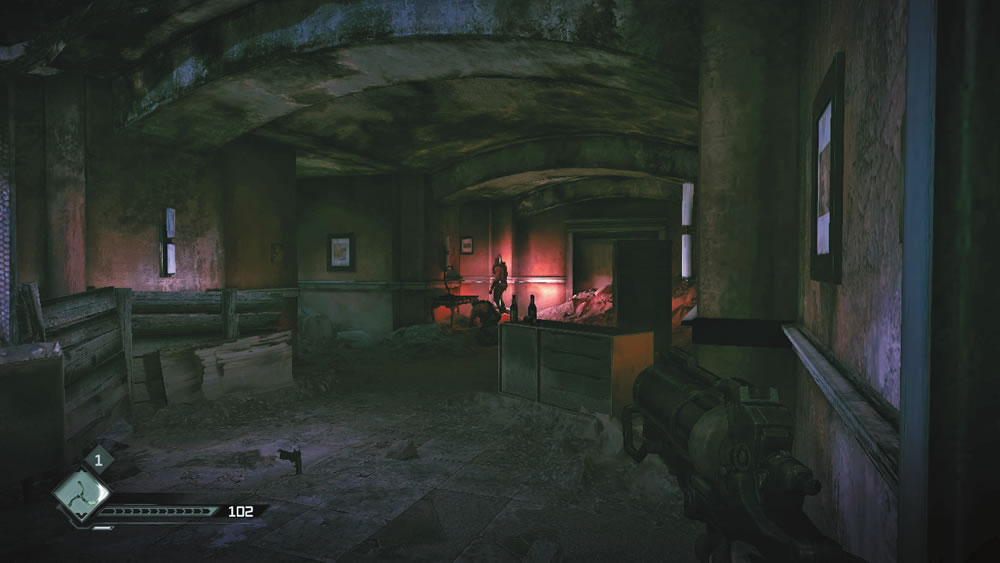
After reviving yourself, open the nearby door and step out into the adjoining hallway. Just outside the door is a box of Pistol Rounds. A lone bandit patrols the next hotel room on the right. Drop him with a shot to the back of the head or decapitate him with a Wingstick. No matter how stealthy you are, the bandits in the next hallway will go on alert. Stay in the hotel room and peek out of the doorway, engaging them one at a time with your pistol. These bandits are armed with pistols and utilize cover. This makes it tough to kill them with a Wingstick. Fortunately you have plenty of Pistol Rounds to finish them off. However, watch out for other bandits moving in for melee attacks. Once all the bandits are dead, search the bodies for possible cash, items, or ammo. A couple of boxes of Pistol Rounds can also be found on the round table on this outdoor balcony—but watch out for more bandits, too.
Eliminate the bandits in the next room using your Settler Pistol and Wingsticks, then proceed into the next hall. You encounter a few more bandits along the way, including one running past a table holding three HE Grenades. Shoot the rushing bandit first, then grab the HE Grenades. The HE Grenades are quick use items, like the Wingsticks. Try one out in the next room. As bandits fire at you from behind cover, toss a grenade in their direction. Be careful when using grenades. By holding down the quick use button you can cook the grenade, causing the fuse to count down while it’s in your hand. If you hold down the quick use button too long, the grenade will explode in your hand, inflicting serious damage, potentially killing you. As you hold down the quick use button, a small meter appears in the center of the screen, filling from left to right. Wait until the meter is about half full, then toss the grenade in the direction of your target. Cooking a grenade is a good way to ensure the explosion kills your target, giving them little time to run away.
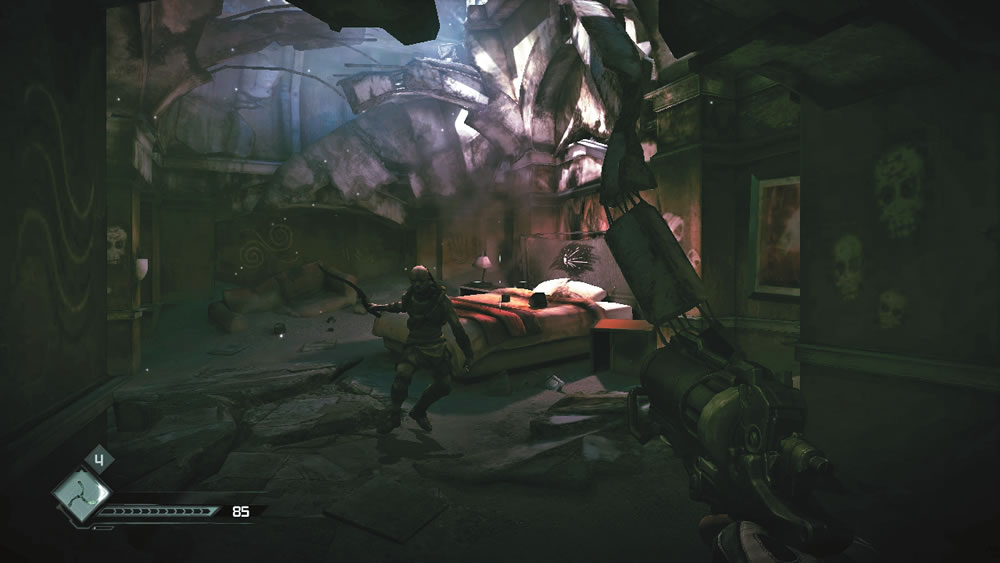
As you pass through the next hotel room, be sure to grab the Pistol Rounds on the corner of the bed. If you’re quiet you can sneak up behind the bandit in the next hall. Try to take them out silently with Wingsticks, otherwise you’ll have to rely on some quick shooting to maintain the element of surprise. A firefight up here will trigger bandits on the floor below to return fire, so be prepared for an intense battle as you make your way downstairs.
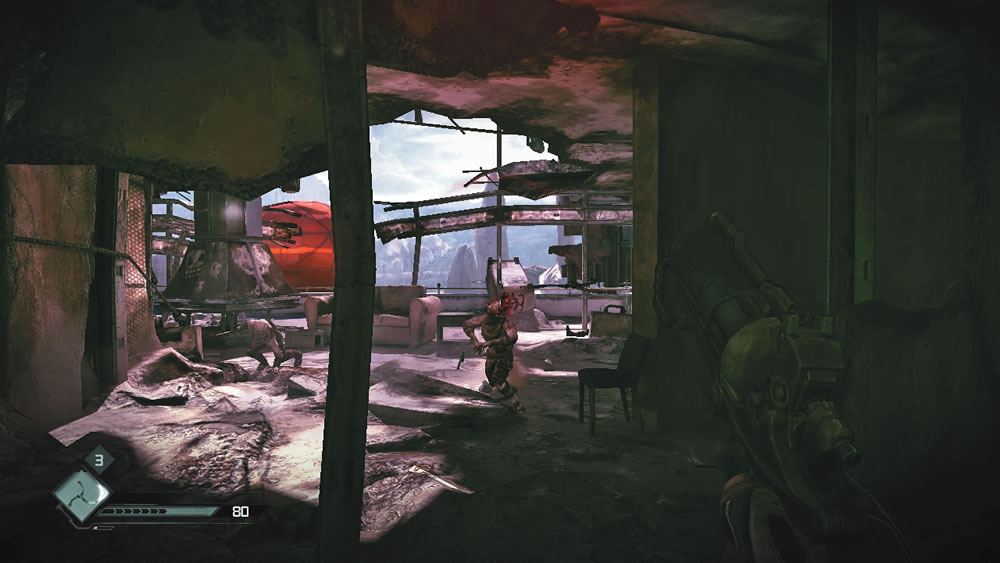
You can take out a large number of the bandits here from the upper level, where you ambushed the bandit in the hall. The elevation makes it much easier to hit hostiles hiding behind cover, especially when lobbing HE Grenades. Two more HE Grenades can be found on the floor below, so don’t worry about exhausting your inventory. Once you’ve cleared out the bulk of the bandits, head downstairs and mop up the survivors. One of the bandits is armed with an assault rifle, posing a serious threat. Peek in and out of cover to score shots on this bandit with your pistol. However, if you’re out of ammo and grenades, you may have to finish this guy off with your fists. Scramble from one piece of cover to the next until you’re relatively close to the assault rifle-toting bandit. Sidestep in and out of cover to make him fire. Then once he reloads, charge directly at him and punch him to death. This is the last of the Ghost Clan. You can now make your escape.
New Objectives:
Ride the zipline back down
Return to Dan Hagar
Locate the zipline directly behind the spot where the bandit with the assault rifle was standing. Interact with the zipline and ride it all the way down to the hotel’s first floor. The zipline sends you through a hole in wall, dropping you in the stairway near the hideout’s entrance. Pass through the entrance and make your way back to the ATV.
Ghost Buster
Congratulations! You’ve earned an achievement/trophy for completing the Ghost Hideout. More achievement/trophies can be earned by completing jobs, engineering items, collecting objects, and winning minigames. For a complete list of achievements and trophies, flip to the Wasteland Compendium at the back of the guide.
Hagar Settlement
Race back to the Hagar Settlement on the ATV and speak with Dan. Dan is relieved to hear the job was a success. As promised, he hands over the Ark Armor as well as $100. But while you were gone, another group of bandits have been busy. Dan will need your help again. . .