
Rage Guide Walkthrough Wasteland
Lost Research Data
Captain Marshall
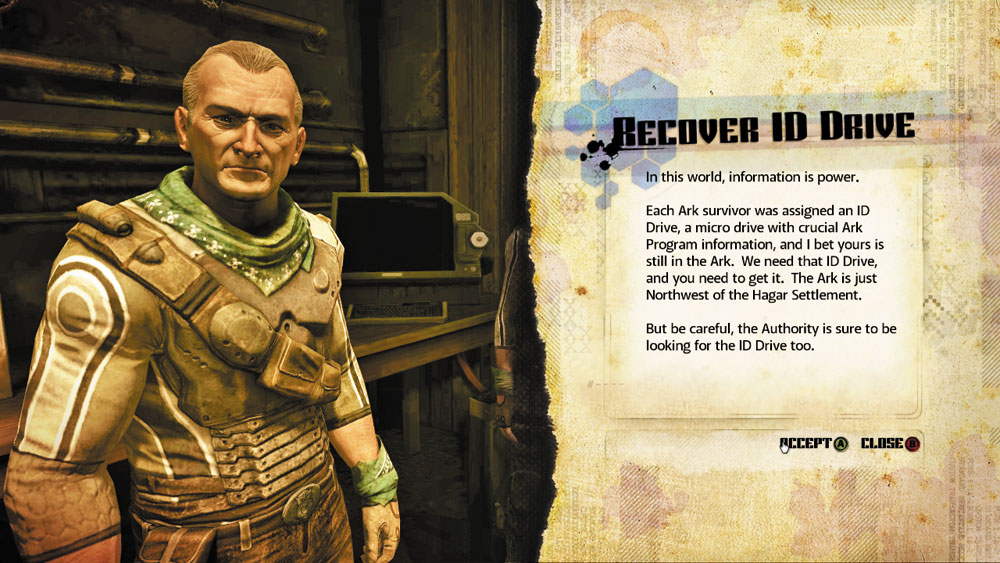
Objective: Recover the Research Data
The Authority may be controlling mutants with reprogrammed Nanotrites.
But, we won’t know how far along they are unless we get their Research Data. The first place to look would be in the old Research Facilities in the Dead City.
Look for a network room that houses the main servers. You can pull up the Research Data there.
Find the data, and we may be able to reverse the process.
| Provided Equipment | ||
| ICON | ITEM | QUANTITY |

|
HE Rockets | 10 |
|
EMP Grenade | 2 |

|
Authority AV2x Rounds | 40 |

|
Feltrite Power Pack | 1 |
Reward: None
New Objective: Return to the Dead City
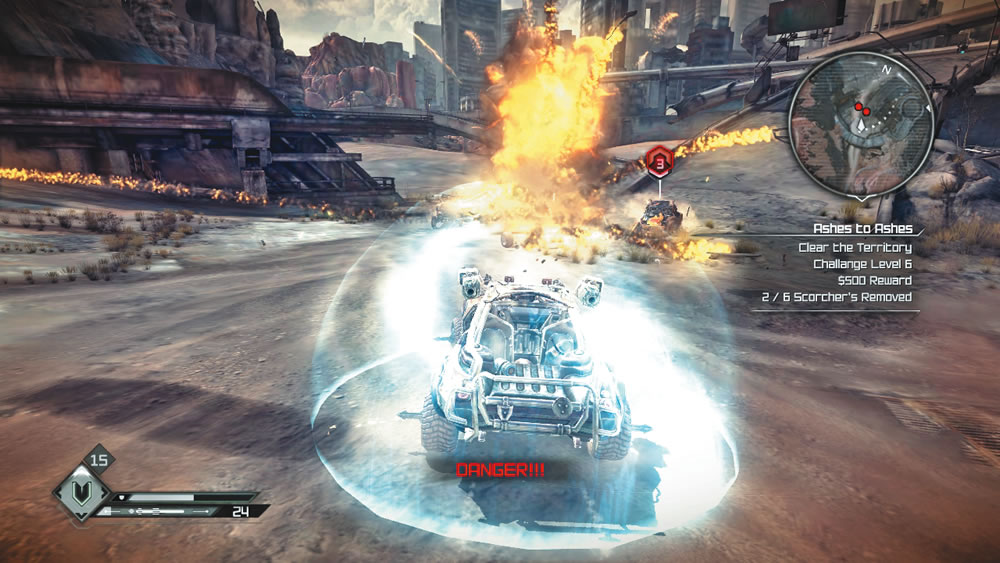
Following the briefing with Captain Marshall, grab the supplies off the nearby crate. The ammo here is a nice gift, but it won’t be enough to survive your trek through the Dead City. Visit Coffer and buy more ammo. Make sure you have at least 200 Authority AV2x Rounds for your Authority Machine Gun and 100 rounds of Buckshot for your Combat Shotgun. In addition to mutants, you’ll also face enforcers in the Dead City. Next, visit Rusty and buy all the ammo and vehicle supplies you need before leaving town. The Dead City entrance is located in Scorcher Territory and most likely is swarming with bandit vehicles. Take a few moments to wipe out all the enemy vehicles before parking your Cuprino beneath the overpass and walking through the drainage pipe to the Dead City’s entrance.
Dead City
New Objective: Locate the Research Facility
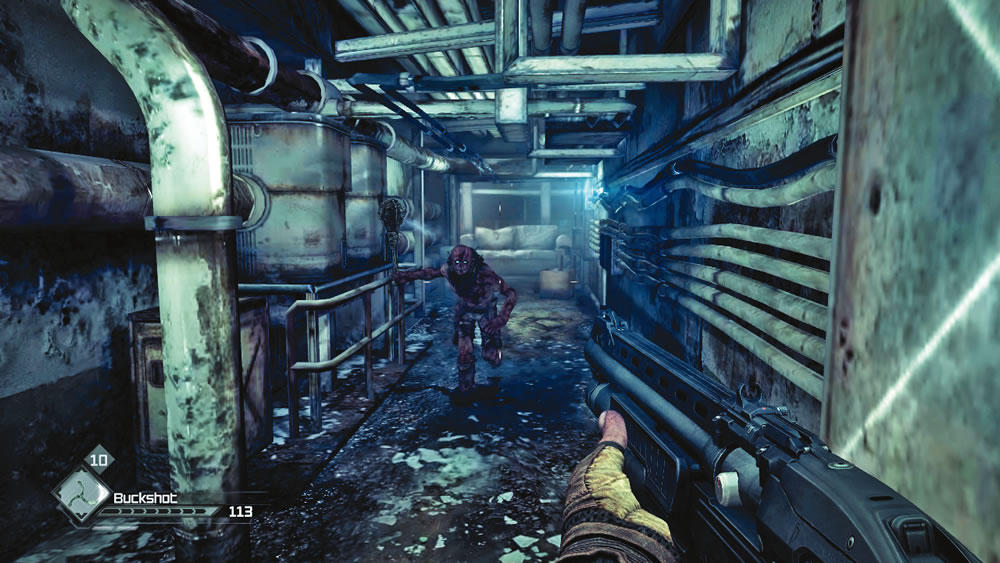
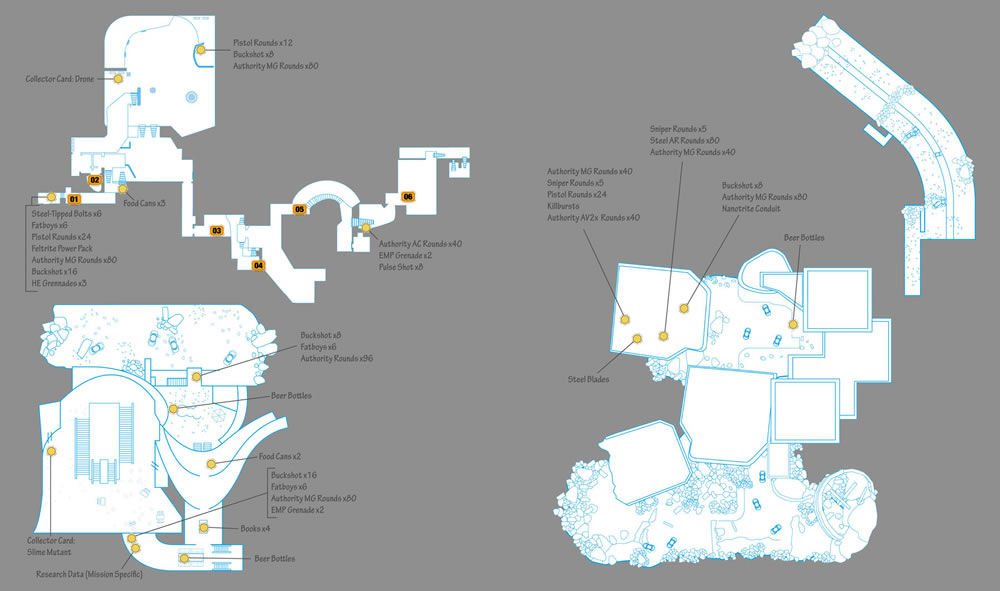
As you step into the tunnel filled with abandoned cars, you can see enforcers chasing mutants above—don’t worry, they can’t see you. This time you must move through the Dead City in reverse order, starting with the hospital. Step into the open doorway leading to the hospital’s stairwell. Just inside the doorway are a couple of shelves filled with ammo and eight EMP Grenades. Grab everything and continue into the adjoining corridor where you confront a lone mutant. Blast him with the Combat Shotgun and scour the corridor for more supplies before heading upstairs to the hospital.
Hospital
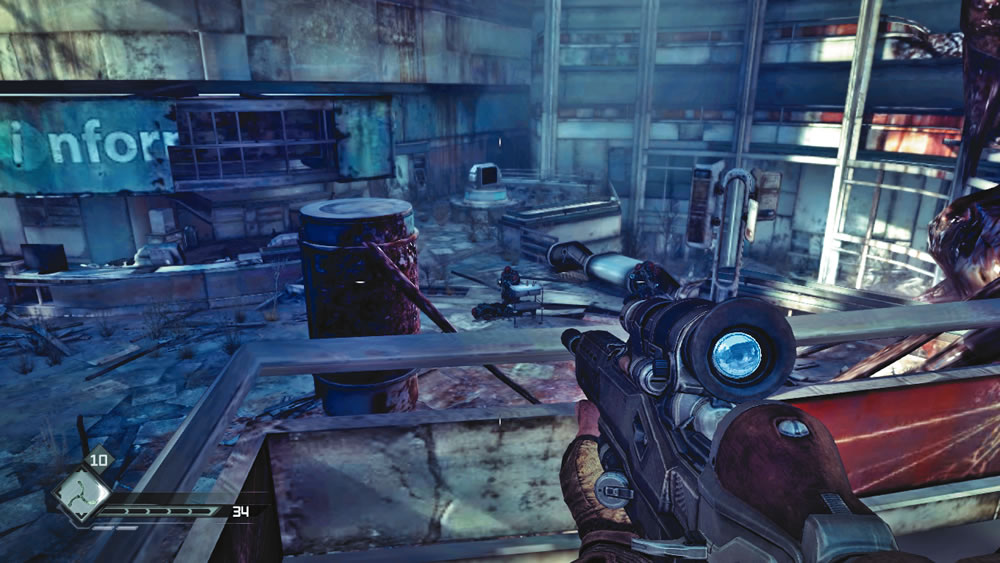
Pass through the room where you retrieved the Defibrillator Upgrade and proceed to the lobby. Along the way an Authority drone spots you and alerts some nearby enforcers positioned in the lobby below. Hold at the top of the escalator and fire down at the enforcers with your Authority Machine Gun or Sniper Rifle. However, watch out for incoming grenades, and be ready to retreat to a safe distance if necessary. Once the enforcers are all dead, descend the escalator and search the lobby for ammo and other supplies. Be sure to grab the Drone collector card from the table beneath the escalator.
When you reach this room, a pair of blinking lights appears on the double doors ahead. Quickly place a Sentry Turret aiming directly at the doors and take cover behind the overturned gurney. The double doors are breached by a charge and two enforcers pour through. The Sentry Turret immediately opens fire, essentially doubling your firepower in this engagement. Use your Authority Machine Gun to help the Sentry Turret kill the enforcers here. Once the fight is over, interact with the Sentry Turret to retrieve all its key parts—you can use these parts to construct a new Sentry Turret.
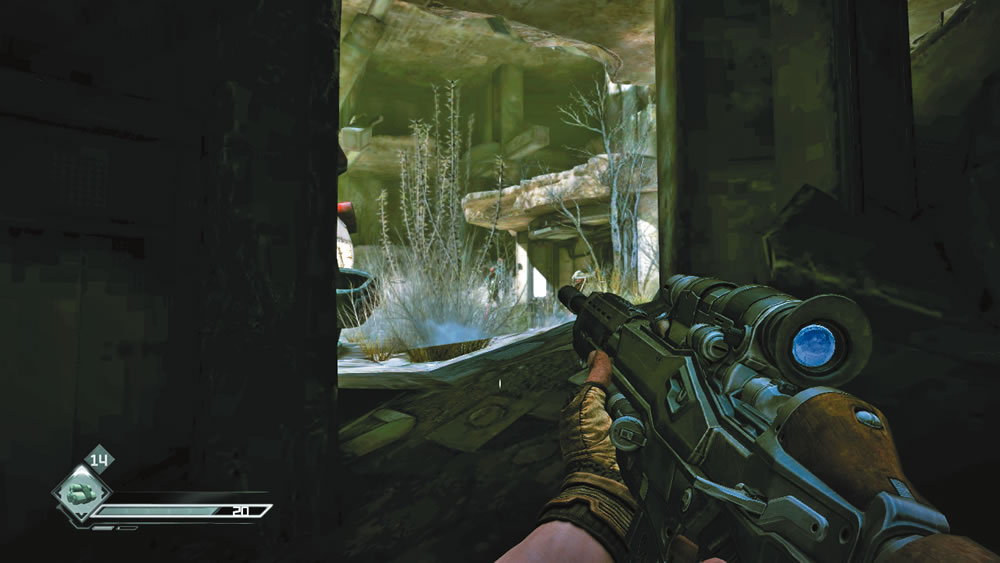
Pause at the top of this stairwell before entering the room where you killed the mega mutant with your Rocket Launcher. There’s an enforcer sniper posted here picking off mutants. Make note of the red laser sights showing where the sniper is aiming. Choose Bandages as your quick use item and equip your own Sniper Rifle. While peering through the scope, step in front of the doorway until you spot the sniper. Quickly shoot him in the head once to knock off his helmet, then fire a second round to penetrate his head. If you’re hit by an incoming sniper round, immediately apply a Bandage to heal yourself. Just one hit from these snipers can nearly kill you. A second enforcer is on the ground floor and may toss grenades in your direction. Be ready to retreat down the stairs if a grenade comes your way. Once the sniper is down, eliminate the grenade-tossing enforcer and proceed to the hospital’s exit.
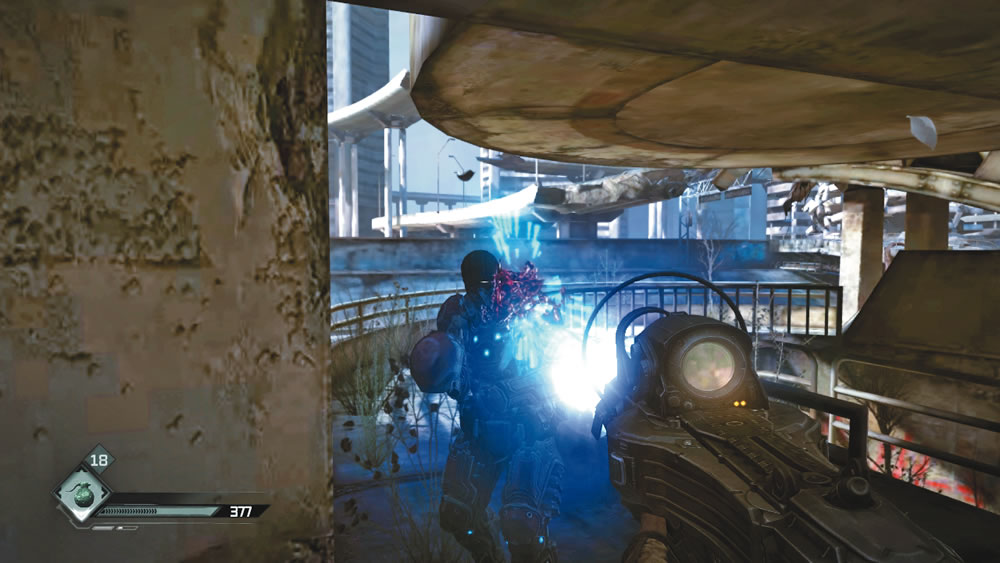
Watch for another sniper perched on an upper level here. He’s busy hunting mutants, so take him out before he spots you. He’s backed up a couple of enforcers on the walkway to the left. Toss an HE Grenade in their direction and then rush them, opening fire with your Authority Machine Gun to finish the job. Follow the stairs down to the next level. If you didn’t open the locked door down here on your first visit, do so now with a Lock Grinder. The closet behind the locked door is filled with supplies including a variety of ammo and three HE Grenades.
Shanty Town
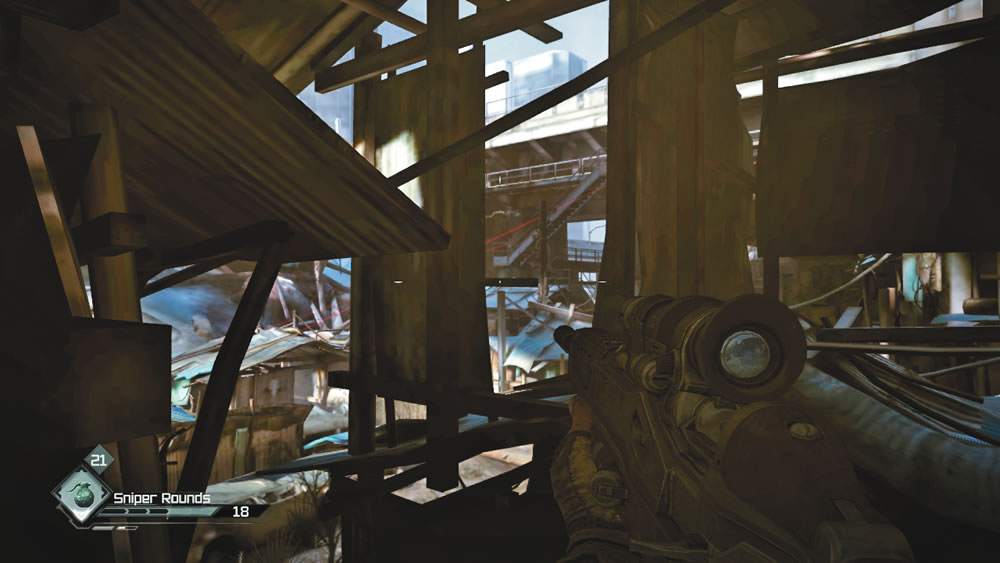
A couple of snipers are posted on the bridge overlooking the shanty town. While they’re busy sniping mutants, equip your Sniper Rifle and do a little sniping of your own. The laser sights make the snipers easy to spot, so just follow the lasers back to the shooters. No matter where you strike the snipers, it still takes two shots to knock them down. Take cover within the metal structures of the shanty town and quickly dispatch the two snipers before they can retaliate. As soon as the two Authority snipers are down, switch to your Combat Shotgun. Although you just saved the mutants, they don’t seem to care and immediately attack. Not many mutants are left, but stay on your toes until you’ve cleared out the shanty town with your Combat Shotgun.
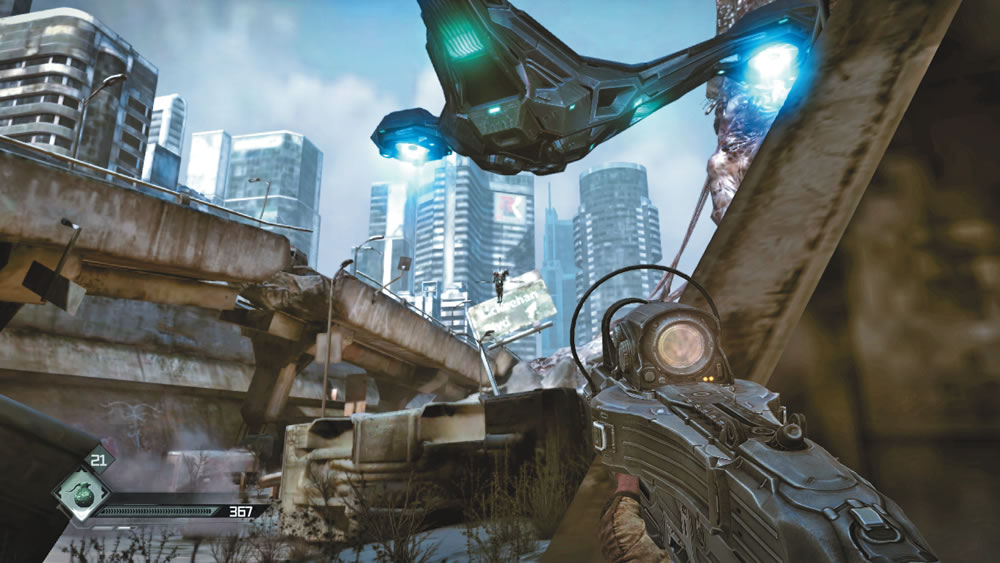
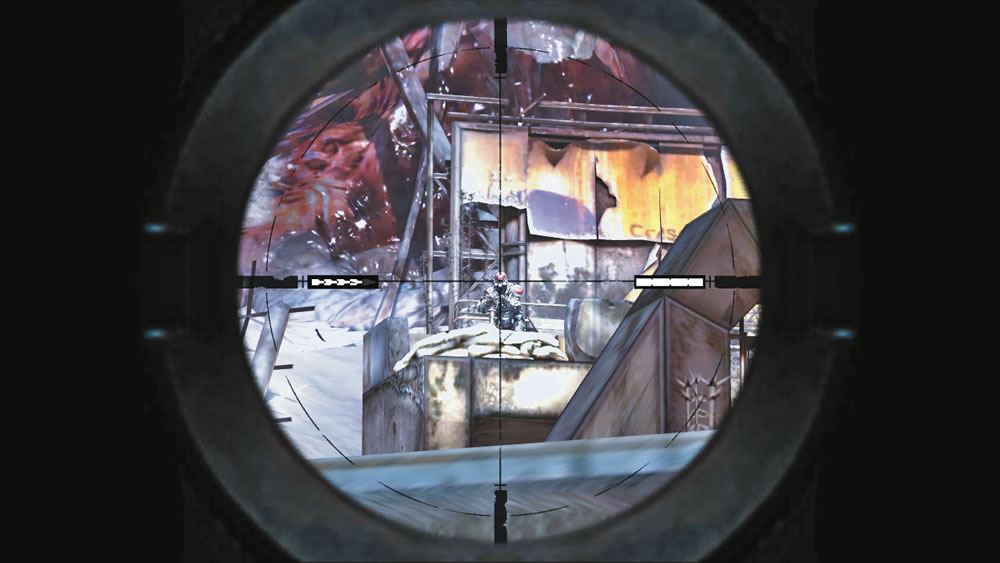
As you descend to the street beyond the shanty town, an Authority dropship hovers above and deploys three enforcers while a fourth operates a turret in the distance. Immediately deploy a Sentry Turret outside the stairwell, then retreat inside as the three enforcers approach. The Sentry Turret won’t last long on its own, so act quickly by firing Electro Bolts at the enforcer equipped with an energy shield. This gives your Sentry Turret a better chance at dishing out some damage. Help your Sentry Turret by aggressively firing your Authority Machine Gun at the three enforcers. If you’re hit, back up into the stairwell and apply a Bandage before reengaging the enemy. Once the three enforcers are down, equip your Sniper Rifle and take out the enforcer manning the turret in the distance. Knock off his helmet with one shot, then knock off his head with a second shot. Climb the steps where the turret is deployed and grab the ammo sitting on the nearby crate. You can now enter the mall.
Shopping Mall
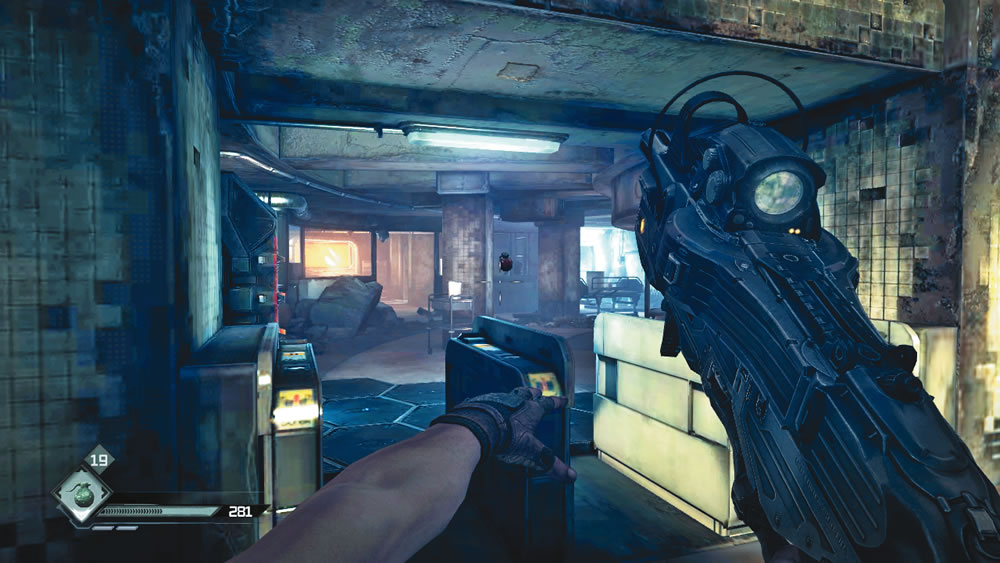
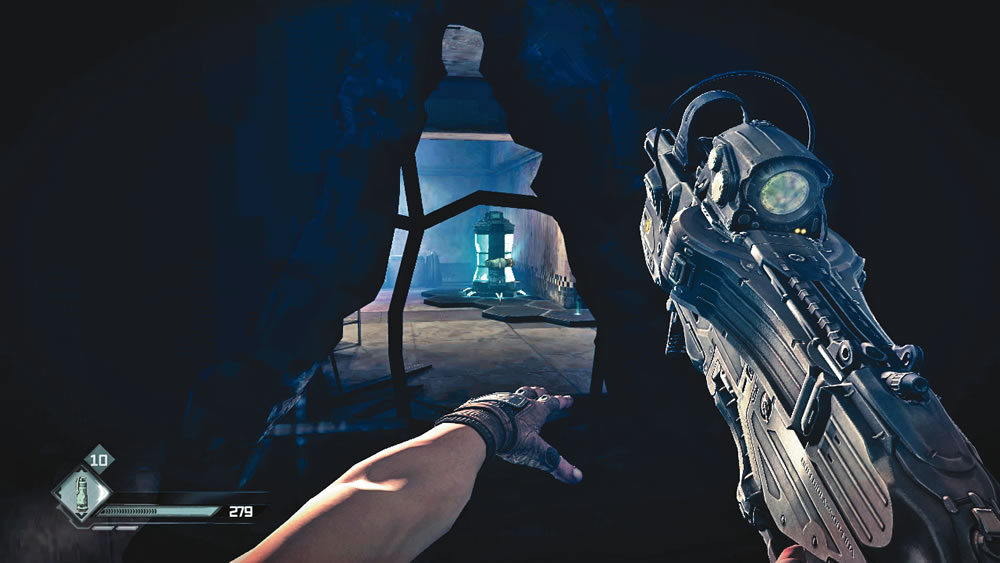
Enter the mall and turn right to locate the entrance to the research facility. The entrance is blocked by a security barrier that you can’t step through—but you can shoot through it. Start off by taking out the two enforcers patrolling inside. Begin your attack by tossing in a couple of HE Grenades, then follow up with automatic fire from your Authority Machine Gun. Once both enforcers are down, look for a hole in the wall to the left of the security barrier—you can see a generator in the adjoining room. Toss an EMP Grenade through the hole in the wall, attaching it to the generator. This knocks out the power to the security barrier, allowing you to enter the research facility.
New Objective: Find the Research Data
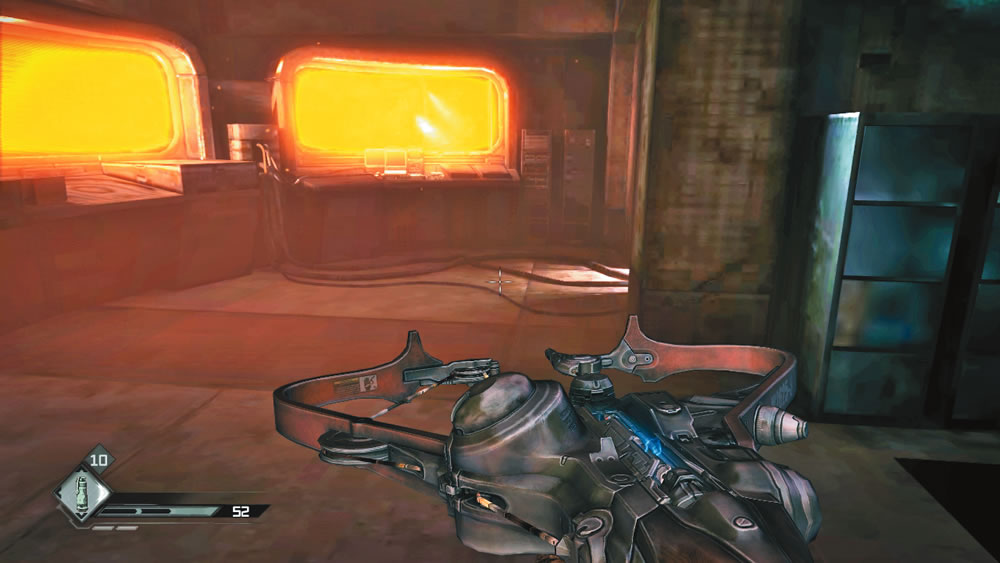
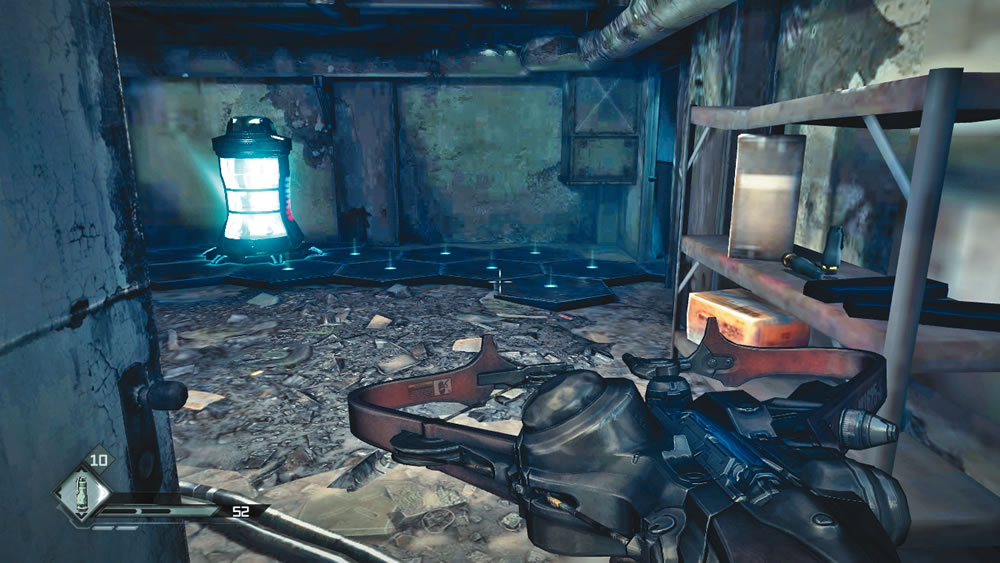
Enter the facility and turn left. The Research Data is located on the console in front of a large orange monitor. As soon as you grab the data, the door to your right becomes unlocked. Push it open to access a small storeroom containing a mix of items, including some more EMP Grenades. There’s also a generator in this room powering the security barrier blocking the research facility’s exit. Toss an EMP Grenade at the generator, then exit through the newly deactivated security barrier.
New Objective: Deliver the Research Data
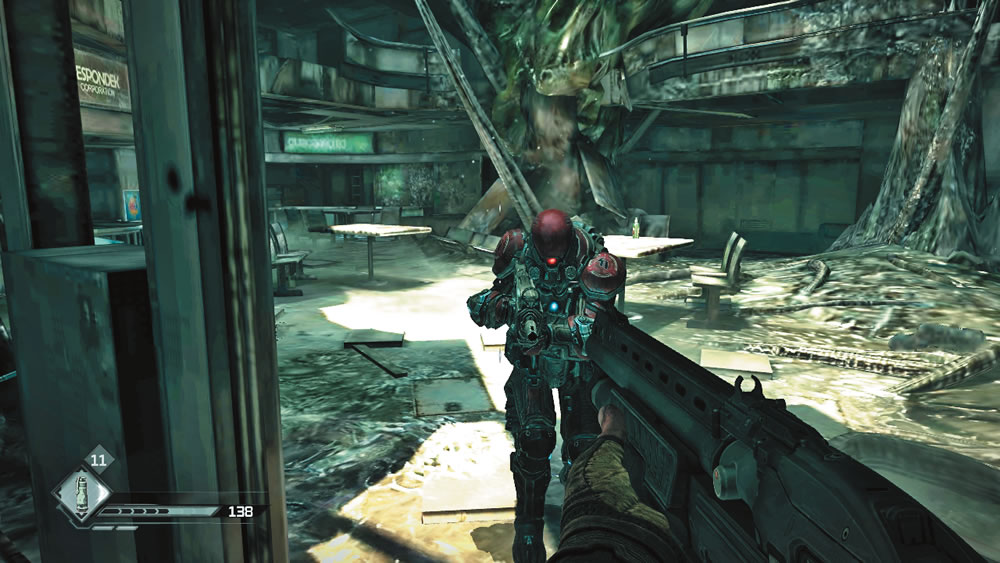
Upon exiting the research facility, three enforcers drop through the ceiling of the mall on their jetpacks. Toss an HE Grenade toward the top of the escalator. If this doesn’t kill the enforcers outright, it will at least cause them to retreat, allowing you to make it to the top of the escalator. While ascending the escalator, equip your Combat Shotgun and prepare to blast any enforcers you encounter at close range. They may have retreated behind cover deeper in the mall. Hold near the top of the escalator and engage them with more HE Grenades and your Authority Machine Gun. You’re now on the upper floor of the mall where you held off several mutants and slime mutants earlier while waiting for the scraping gate to open in front of the escalator. If you didn’t raid the locked closet nearby earlier, do so now with the aid of a Lock Grinder. Inside you can find a wide assortment of ammo. When you’re finished scrounging the area for loot, exit through the metal doors to return to the city streets.
City Streets
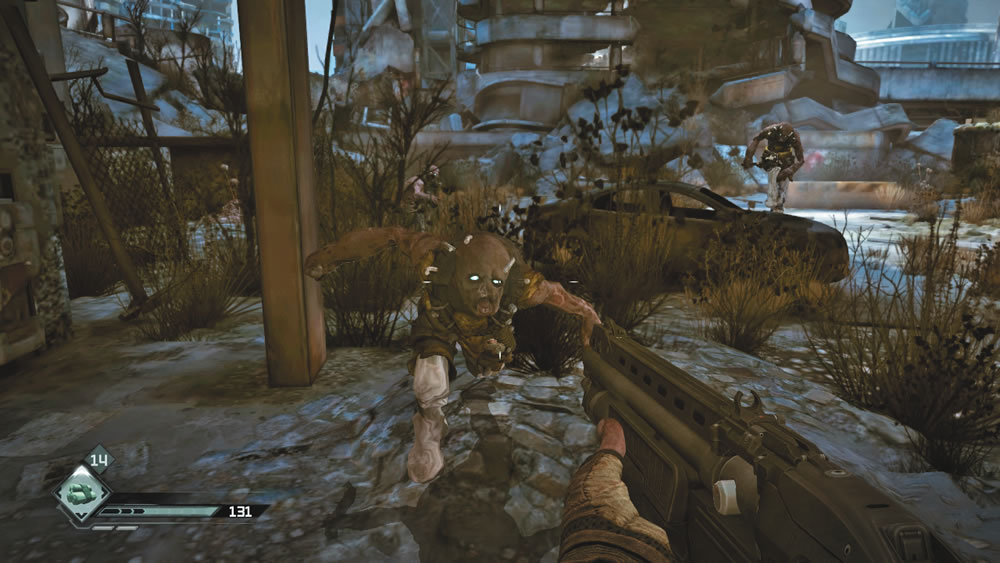
Exit the mall and climb the nearby staircase to reach the street where you fought the tentacle mutant earlier. There are no mutants here so continue advancing through the nearby damaged buildings to resume your trek through the city. As you advance deeper into the city, you encounter a mix of Authority enforcers and mutants. Combat them with any ammo you have left. Sentry Turrets and Wingsticks are particularly effective against the mutants. Also, don’t overlook the effectiveness of Buckshot when dealing with charging mutants. As for the enforcers, fight them off using your Authority Machine Gun loaded with Authority AV2x Rounds.
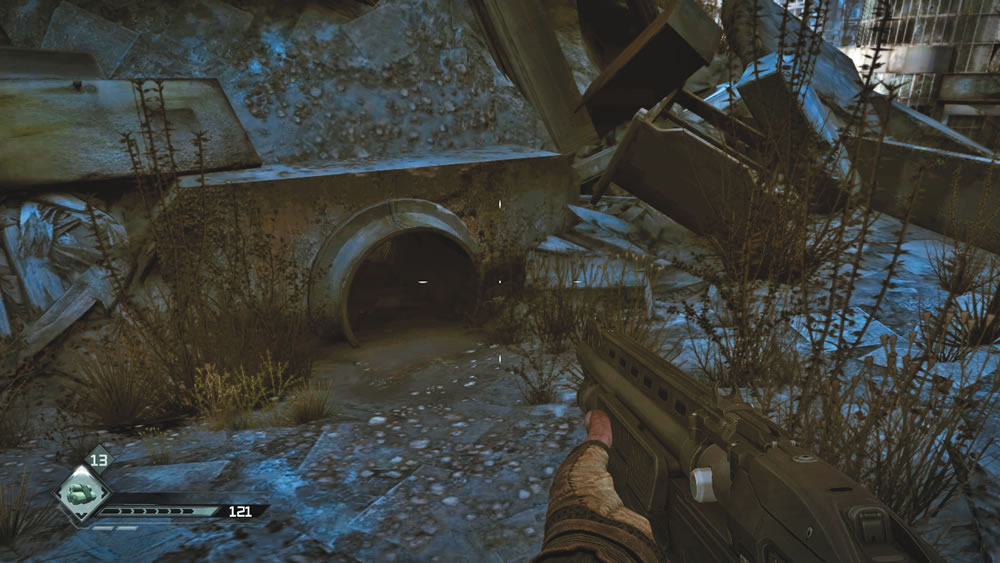
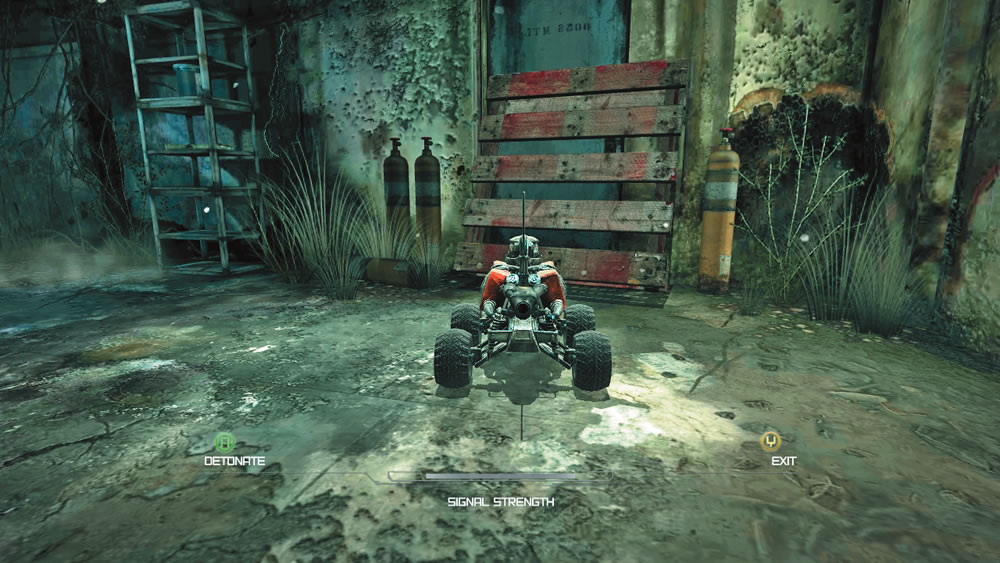
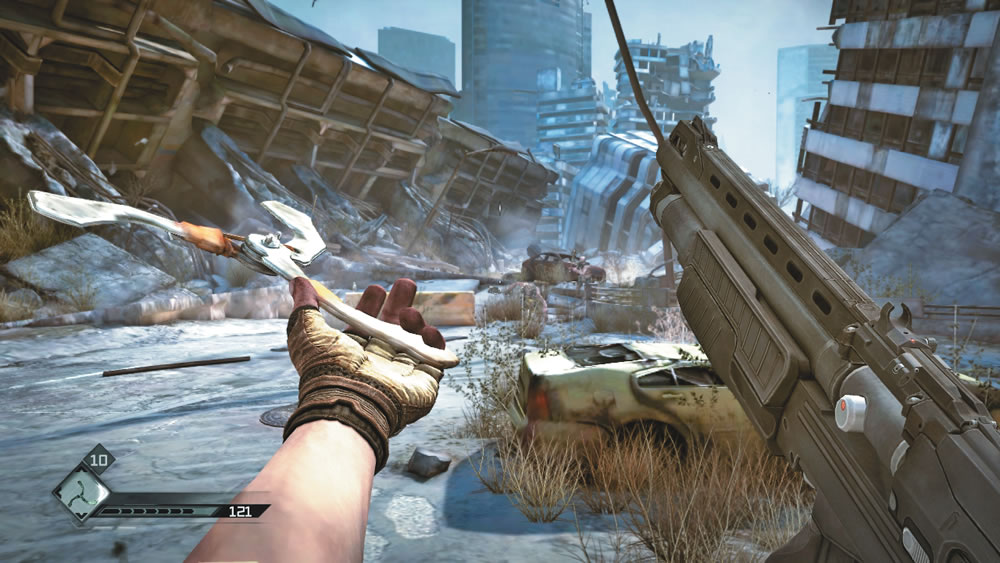
After passing through the damaged buildings, you come to the clearing where you fought the launcher mutant. Keep your Combat Shotgun in hand, but choose Wingsticks as your quick use item. There are several mutants patrolling this area. Take as many out as you can with Wingsticks before they take notice of your presence. But stow the Wingsticks once they begin charging you. Wait until they’re a few paces away, then blast them with Buckshot. Alternatively, deploy a Sentry Turret and let it do all the dirty work for you.
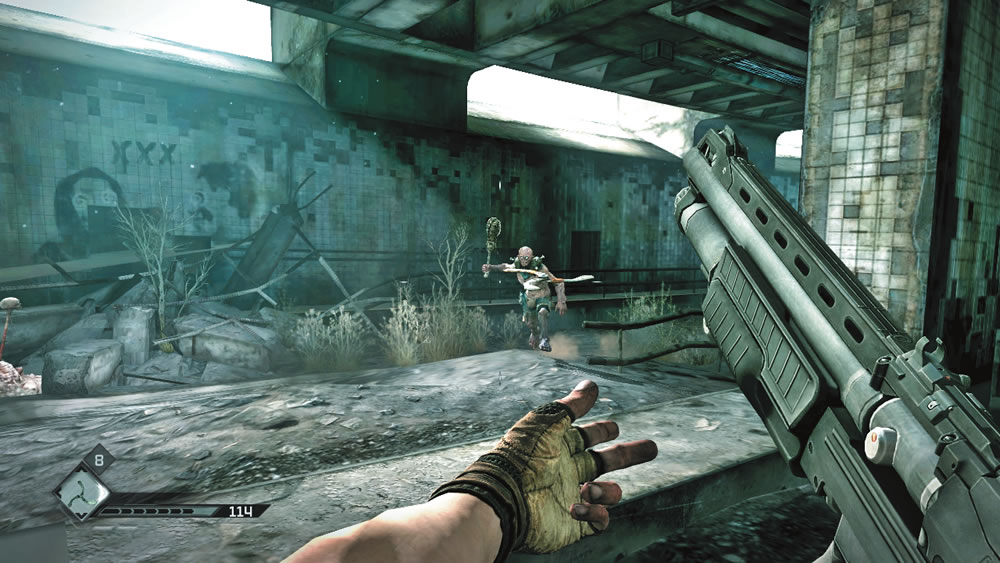
You’ve finally made it back to the tunnel where you entered the hospital. Continue fighting off mutants and enforcer. However, watch out for a heavy enforcer, decked out in heavy armor and armed with a devastating Authority Pulse Cannon. Don’t give this guy a chance to attack. Continue hammering him with HE Rockets fired from your Rocket Launcher. If you’re out of HE Rockets, stun him with HE Grenades then follow-up with your Authority Machine Gun. Once the area is clear, make your way to the exit to return to the Wasteland.
ytiC daeD
Retrieving the Research Data and escaping the Dead City for the second time earns you the ytiC daeD achievement/trophy.
Wellspring
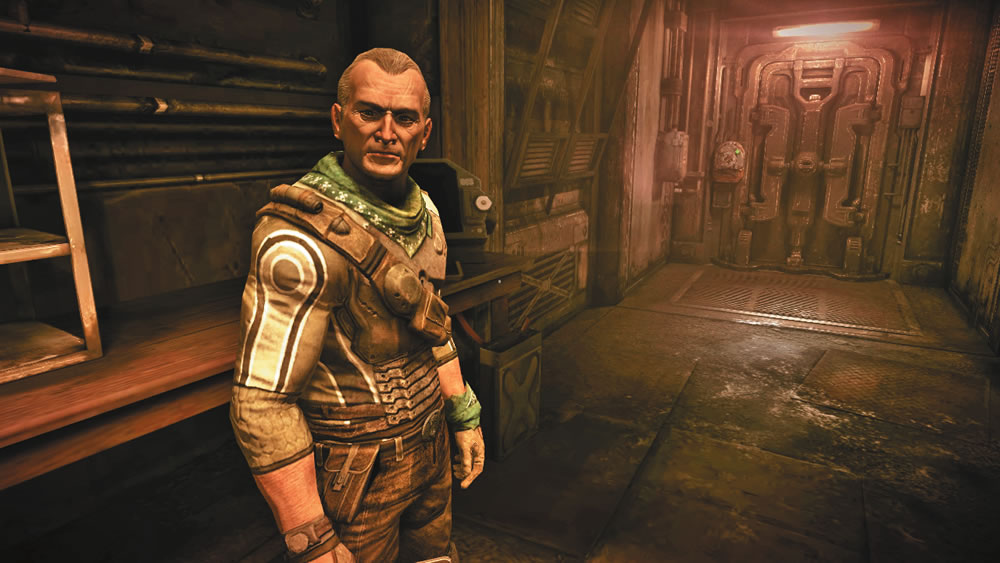
It’s time to get that Research Data back to Captain Marshall. Find your Cuprino and race back to Wellspring. The Authority com beacon and drone are still present outside Mick’s garage. Head directly for the Second Chance Bar and receive any payment you have coming your way from Sally before heading downstairs to meet with the Captain. Elizabeth is gone, but Captain Marshall is there to greet you. The data prove that the Authority has been experimenting on mutants. You can’t hang around Wellspring much longer. Marshall suggests wrapping up any business now—he wants to take you to the Resistance base.