We need a sharpshooter to provide sniper cover while our worker repairs the equipment. If we don’t stop them, the mutants will cut off water to Wellspring. If you accept, the job begins immediately.
We’ll pay you if you can keep the worker alive.
Provided Equipment
ICON
ITEM
QUANTITY
Sniper Rifle Auto-Loader
1
Reward
Icon
Item
Quantity
Dollars
200
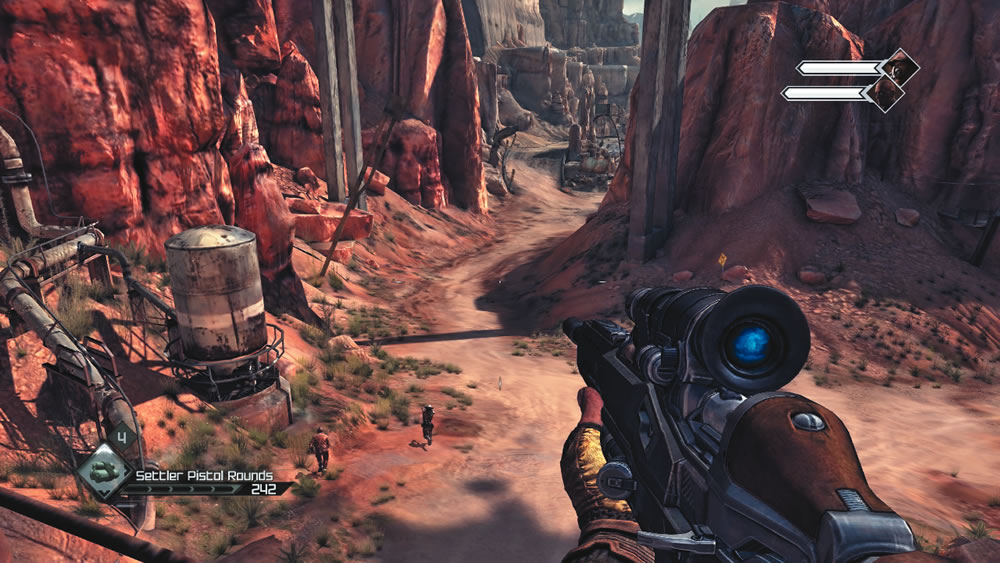
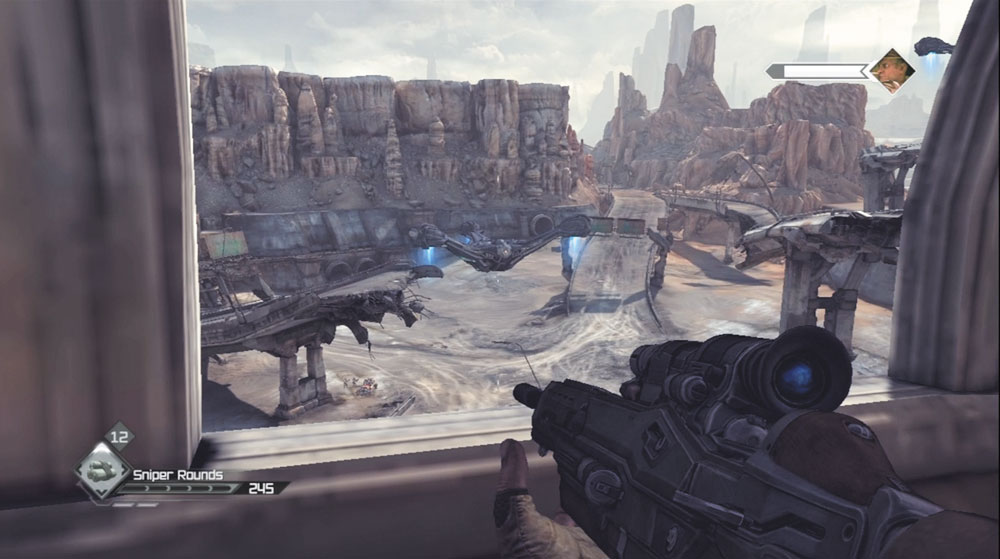
Upon accepting this mission, you’re given the Sniper Rifle Auto-Loader upgrade for your Sniper Rifle. Although this allows you to fire the weapon much faster, it does nothing to dampen the recoil. You still need to let the Sniper Rifle settle following each shot before you can fire another round with any accuracy. For this job, you’re posted above Wellspring’s main gate and must protect the worker fixing three leaks on the pipes outside. The worker is accompanied by a city guard armed with a weak pistol—the health meters for your allies appear in the top right corner of the screen.
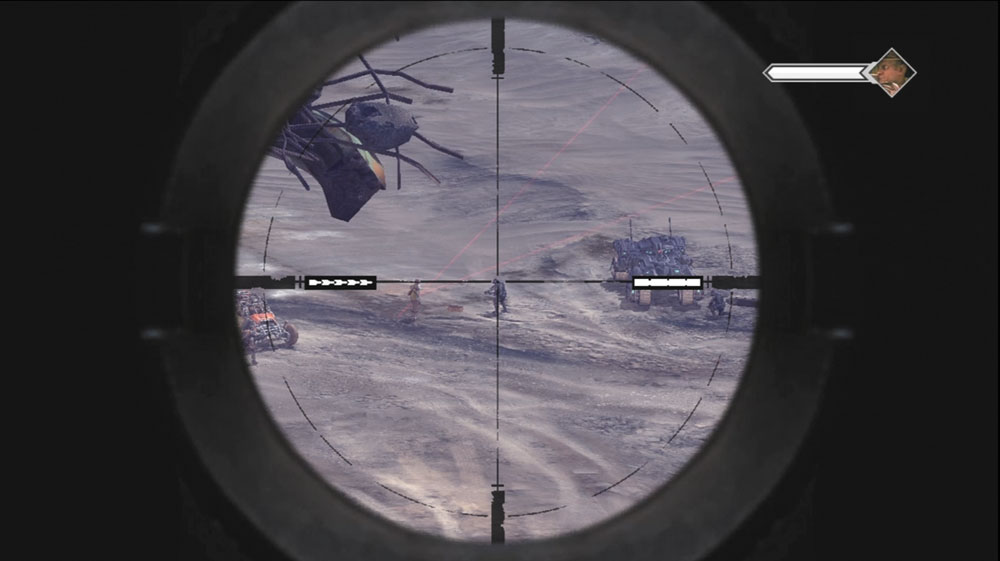
Start by shooting the two mutants crouched over a body outside the gate. This allows the worker to move out and begin the repair process. While the worker fixes the leaks in the pipes, the mutants attack in waves, approaching from the two roads leading to Wellspring. Constantly pan left and right to scan the roads for new targets. None of the mutants remain still, so you need to lead them a bit as they run toward the worker and city guard below. If you make all your shots count, you can kill the mutants before they can reach the city guard. However, if the city guard comes under attack, immediately pick off the mutants swarming around him. If the city guard dies, you need to prevent the mutants from reaching the worker. While the city guard can absorb a substantial amount of damage, the worker is killed instantly by any mutant melee attack. Fend off the mutant attackers until all three leaks are fixed to receive payment of $200.
Caravan Cover
Objective: Protect the caravan
Supplies are ready for delivery to Gun Barrel across the Wasteland.
The most dangerous part of the trip to Gun Barrel is the area right outside of Wellspring. We need sniper cover to ensure the caravan makes it out of the area. If you accept, the job begins immediately.
Payment will be made once the caravan has left the area.
Provided Equipment
ICON
ITEM
QUANTITY
Sniper Rifle Auto-Loader
1
Reward
Icon
Item
Quantity
Dollars
200
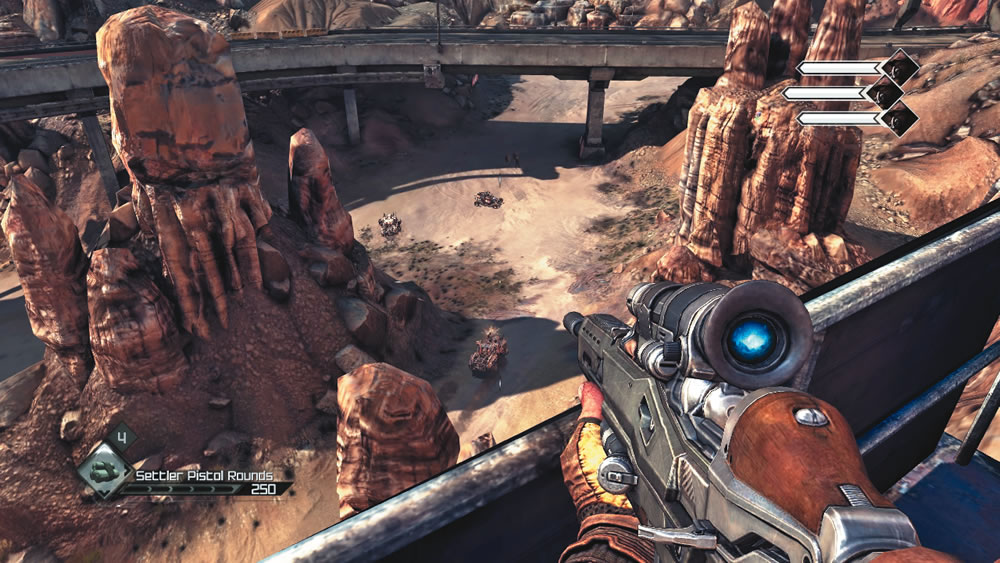
This one is similar to the Mutant Menace job, but this time you get to snipe bandits attempting to ambush a caravan. The caravan consists of a buggy accompanied by three city guards walking on foot. The health meters of the city guards appear in the top right corner of the screen. For the duration of the job you’re positioned on a high perch overlooking the canyon below.
Not long into the job, a couple of Wasted Clan buggies approach the caravan and bandits pile out. Your Sniper Rifle can’t do much damage to the buggies, so focus your fire on the bandits. The bandits take cover behind their buggies, but don’t even seem to notice you. Line up your shots, scoring headshots to quickly neutralize the threats. The city guards take cover behind the caravan and open fire too. While the city guards can hold their own in a firefight, watch out for bandits rushing them with melee weapons. Drop the bandits fast to prevent the city guards from getting clubbed to death. Following the first attack, the caravan advances to the left side of the canyon where a second wave of Wasted Clan buggies approach. This time watch out for bandits positioned on the freeway overpass above the caravan. In the final phase of the attack, the caravan is rushed by RC Bomb Cars. You can destroy these cars with one hit, but carefully monitor their movement patterns as they zigzag toward the caravan. Once all the bandits and RC Bomb Cars are destroyed, the caravan escapes the canyon and you receive $200.
A member of our community was abducted by the Ghost Clan. We are looking for anyone brave enough to explore the Ghost Hideout for signs of her whereabouts. It will be dangerous, but you will be rewarded for your efforts.
Find evidence of the missing citizen to earn the reward.
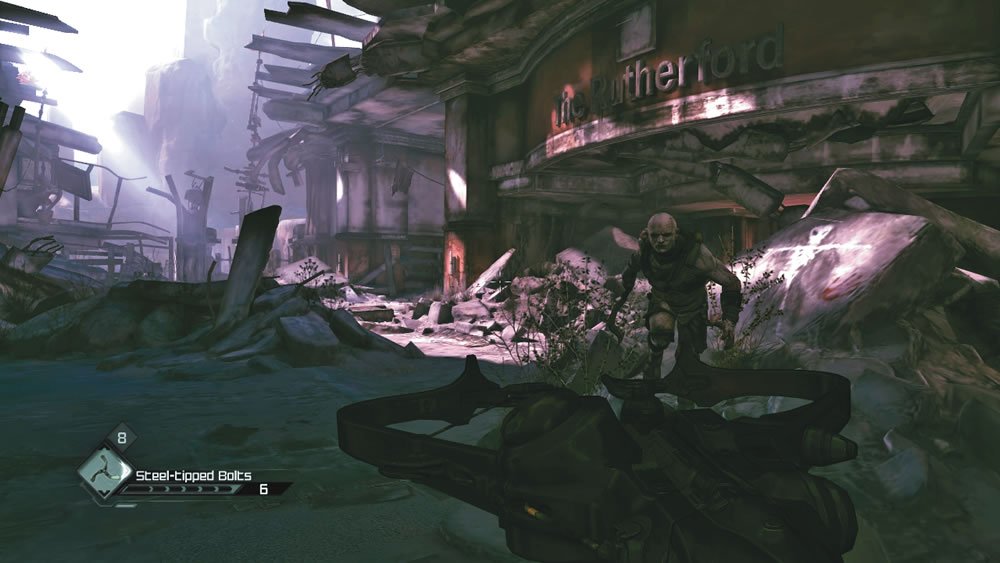
This time you can enter the Ghost Hideout with heavier firepower than just the Settler Pistol. Before leaving Wellspring, stock up on Buckshot for your Combat Shotgun as well as Steel AR Rounds for your Assault Rifle. The Striker Crossbow’s Steel-Tipped Bolts are also effective if you hope to take a stealthier approach.
Also, make sure you have enough parts to construct at least one Lock Grinder. On the way to the Ghost Hideout, consider stopping at the Hagar Settlement to buy some more Wingsticks from Halek.
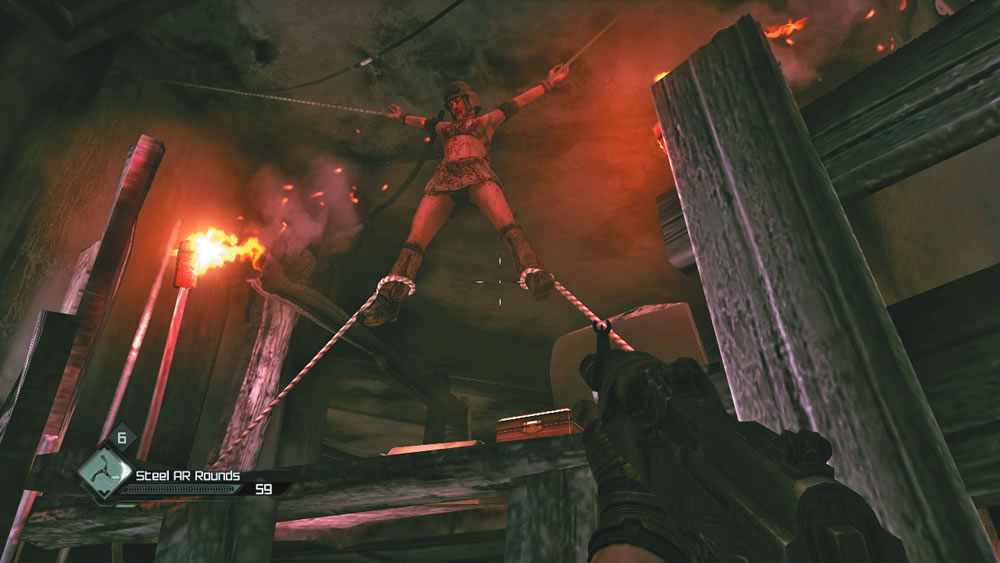
The layout of the Ghost Hideout is exactly the same as when you first visited. Not far from the lobby is a locked door you were unable to open before—use a Lock Grinder to breach the door. Inside the small closet are two Feltrite Crystals and the Ghost Pistol collector card. Cautiously creep through the corridors and use your Combat Shotgun and Wingsticks to take out every Ghost Clan bandit you encounter. You can find the kidnapped citizen in the corridor beyond the lobby’s atrium, but it’s too late. The woman is dead and suspended in the hallway by ropes attached to her arms and legs. Just beneath her body is the Ghost Bonestick collector card. After finding the woman, continue killing Ghost Clan bandits while fighting your way to the room with the large statue, where you were ambushed earlier. Once you reach this area, the job is complete and you’re awarded $400. Stay on your toes as you make a move for the exit as there may still be a few bandits attempting to prevent your escape.
Stolen Merchandise
Objective: Head to the Wasted Garage and find the stolen booze.
The Wasted Clan stole my booze and I want revenge!
A while ago, some Wasted bandits hijacked a case of my best booze. I don’t care about the booze. You can keep it if you find it, but I want you to kick their asses real good. Head west to the Wasted Garage and teach those bandits to never steal from me again.
Find that booze and pay those bastards back, and you’ll be handsomely rewarded.
This next job takes you back to the Wasted Garage. Before leaving Wellspring, check over your ammo and supplies.
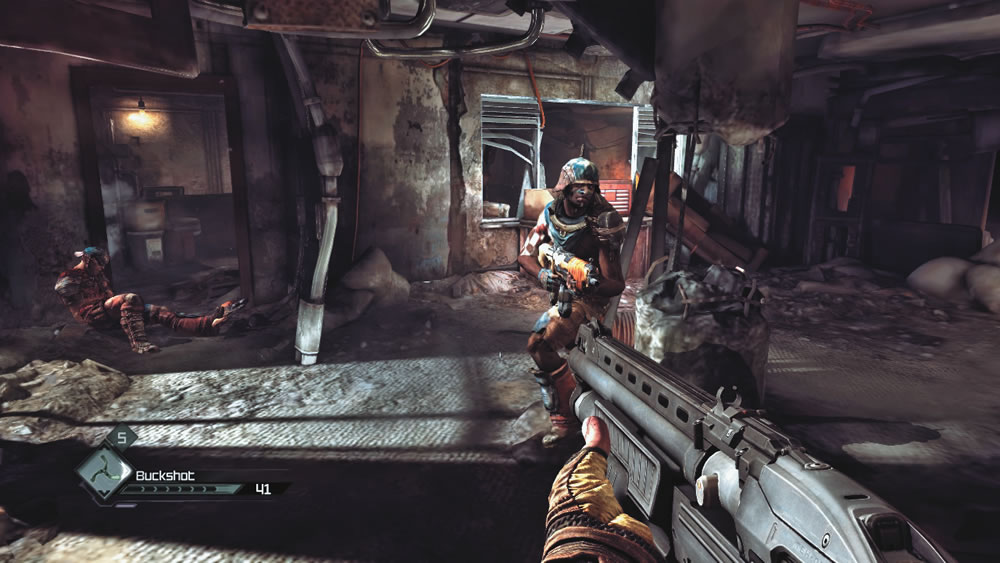
The Authority Machine Gun is very effective against the Wasted Clan bandits, so make sure you have plenty of ammo. As you probably discovered in your last visit, the Combat Shotgun is also useful for taking out the bandits who prefer to attack with melee weapons, so bring along plenty of Buckshot too. If you left any locked doors untouched during your last visit, bring along the requisite parts to build at least one Lock Grinder.
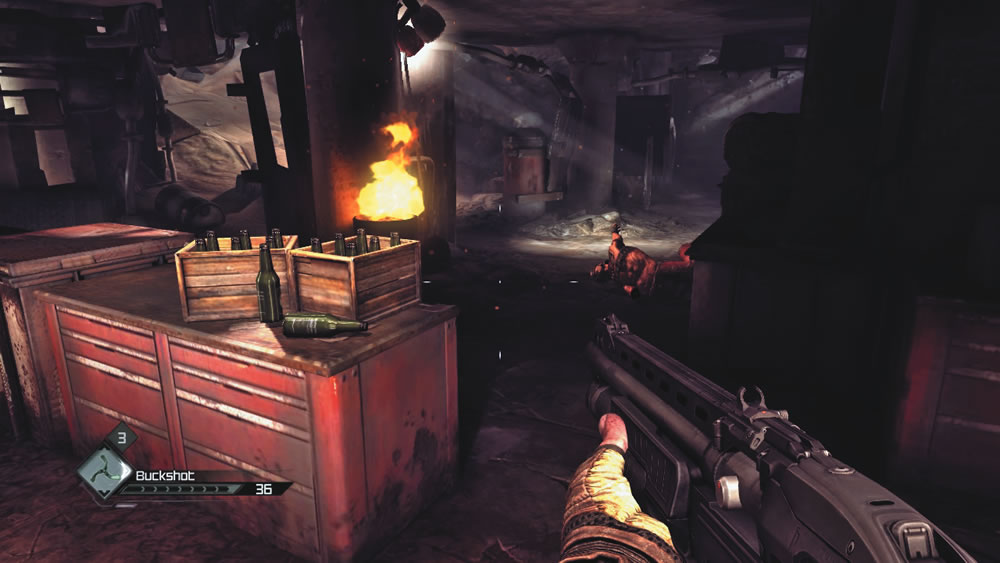
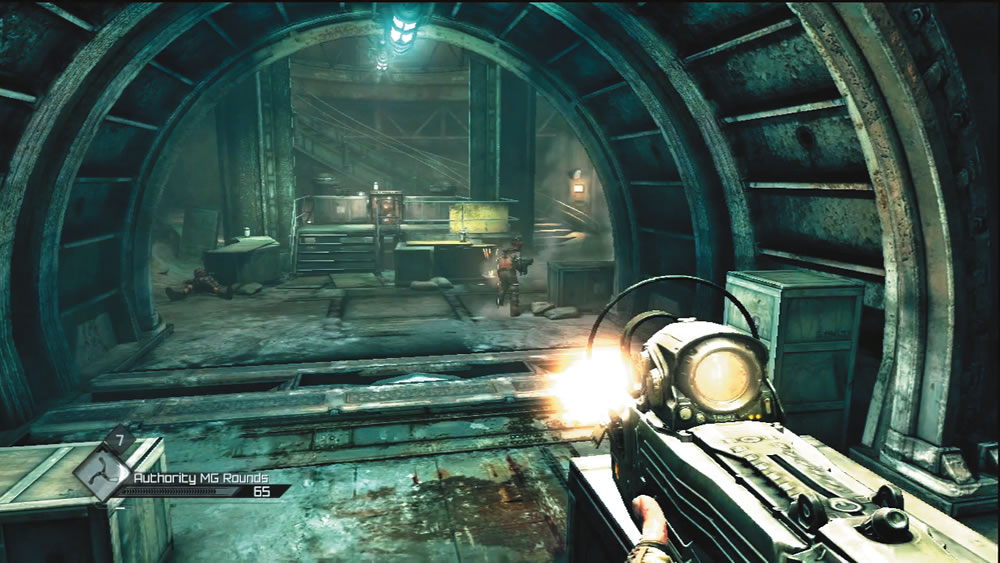
You enter the Wasted Garage at the dam site, not far from the Ark. The door you enter is the same one you exited after the Find the Buggy Parts job. This time you raid the Wasted Garage in reverse, starting out by attacking the bottom floor and working your way upstairs. The bottom floor contains a locked door near the exit. If you didn’t break in this door earlier, bust inside with a Lock Grinder and grab the Feltrite Crystals and other loot inside. The Wasted Turret collector card is also located on a first floor workbench if you missed it earlier. Despite your earlier attack, the Wasted Clan has recovered and reoccupied their hideout, so expect stiff resistance as you move from one floor to the next. Fortunately, your Authority Machine Gun has no problem chewing up the bandits. The stolen crate of booze is located on the third floor, not far from the stairwell. It looks like the Wasted Clan has already emptied the bottles. Fight off the defending bandits and then add the Beer Bottles to your inventory to complete the job. In addition to the $200 reward, you can sell the eight empty Beer Bottles to Coffer or Halek for a little extra money. Once the job is complete, exit the Wasted Garage, looting any objects you may have missed on the way in.
A Proposition
Objective: Drive to the Hagar Settlement
I’ve got a business proposition involving a rare engineering schematic.
I live west of Wellspring in the Hagar Settlement. Come pay me a visit if you’re interested. Oh, and you better not be afraid of kicking some bandit butt, because this job won’t be easy.
Visit Phallinx Hagar if you’re interested in a rare engineering schematic.
Provided Equipment: None
Reward: None
New Objective: Drive over to the Hagar Settlement
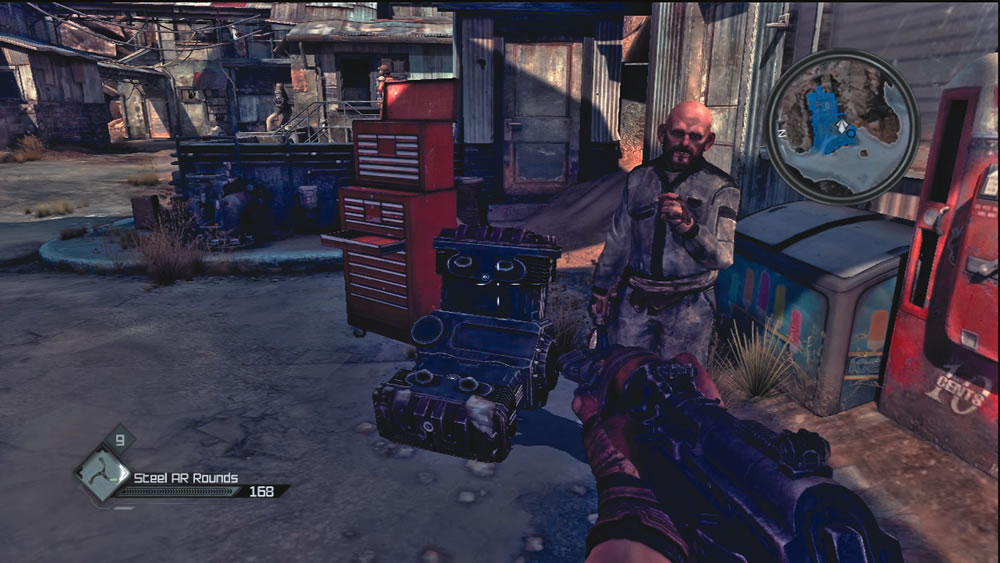
This job is only available after you’ve successfully raided the Shrouded Bunker for Sheriff Black. Although this job offers no reward, it leads into a side quest that allows you to build Advanced RC Bomb Cars. Accept the job posting and drive over to the Hagar Settlement. You can find Phallinx working on an engine outside Durar’s garage. Speak with Phallinx to see what he has to offer. . .
RC Prototype
Phallinx Hagar
Objective: Find the Advanced RC Bomb Car Prototype
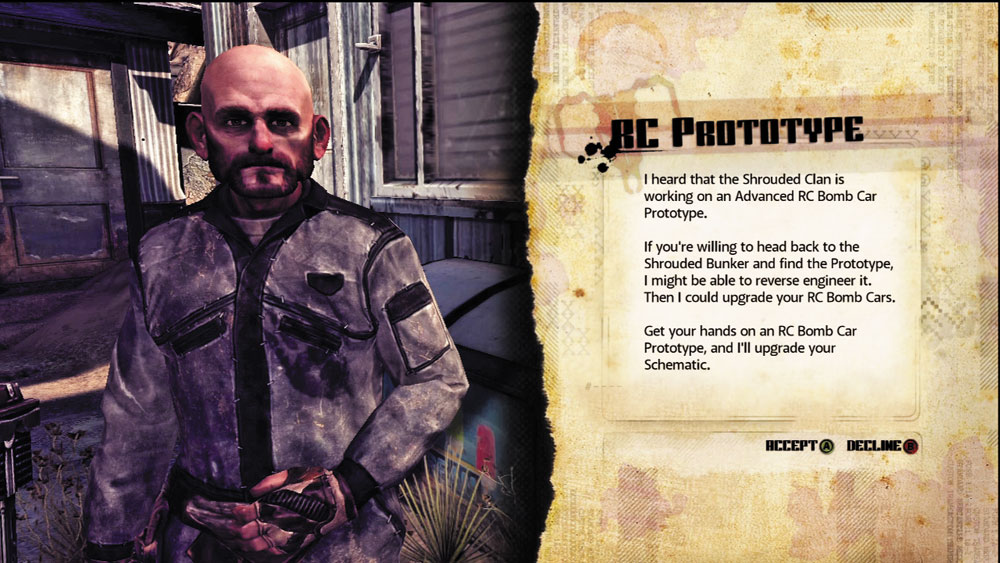
I heard that the Shrouded Clan is working on an Advanced RC Bomb Car Prototype.
If you’re willing to head back to the Shrouded Bunker and find the Prototype, I might be able to reverse engineer it. Then I could upgrade your RC Bomb Cars.
Get your hands on an RC Bomb Car Prototype, and I’ll upgrade your schematic.
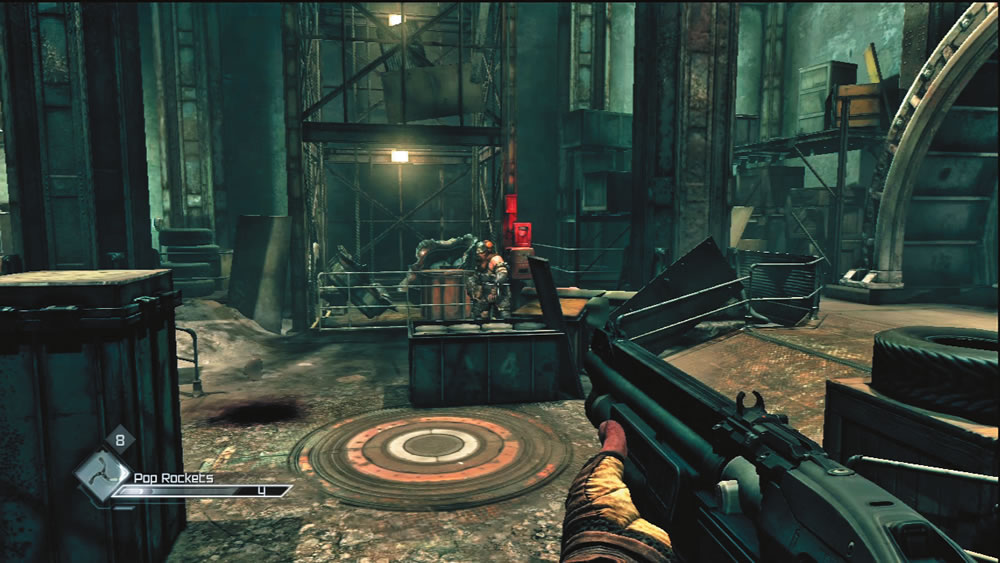
Before leaving the Hagar Settlement, make sure you’re well stocked on HE Grenades and ammo. If Halek isn’t offering what you need, you can always stop by Wellspring and visit Coffer to resupply prior to your return to the Shrouded Bunker. If you haven’t already, consider buying the Pop Rockets Schematic as well as some extra parts to build more. Pop Rockets are very effective against the minigun-toting bandits in the Shrouded Bunker.
The layout of the Shrouded Bunker is the same as when you left it, with gaping holes in the walls where the bomb caches were once located. Fight your way past the bandits on the way to the round lift and ride it down to the bottom floor. The Shrouded Clan members have recovered since your last visit and are eager to exact revenge for the damage you’ve dealt to their hideout and comrades. Your Authority Machine Gun is best suited for taking out most of the bandits, but watch out for incoming grenades. There are several Shrouded bandits decked out in heavy armor and armed with miniguns. When facing these guys, stun them with HE Grenades and then blast them with your Combat Shotgun to strip away their heavy armor. Pop Rockets are also very effective as long as you score a direct hit with each shot. The Advanced RC Bomb Car Prototype is located on a workbench in the last workshop—grab it and climb the nearby staircase to return to the lift. Ride the lift back up to the top floor, clear out any remaining bandits, and exit the Shrouded Bunker. Deliver the Prototype to Phallinx back at the Hagar Settlement to receive your reward. He hands over the Advanced RC Bomb Car Schematic as well as the parts to build one. Advanced RC Bomb Cars function the same as their predecessors but now emit EMP when detonated, ideal for confronting Authority units.
The Exchange
Objective: Protect Sheriff Black
Sheriff Black is making an exchange with the Authority!
We need Sniper Cover to ensure the Sheriff makes it back alive. With the Authority, it’s a sure thing something is going to happen. If you accept, the job begins immediately.
Keep Sheriff Black alive and we’ll reward you.
Provided Equipment
ICON
ITEM
QUANTITY
Sniper Rifle Auto-Loader
1
Reward
Icon
Item
Quantity
Dollars
200
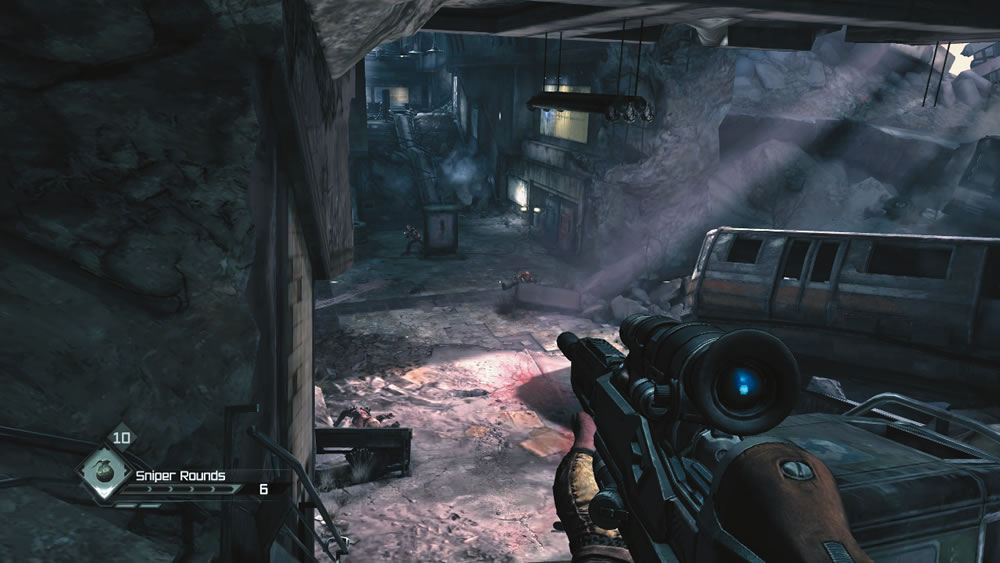
Begin this mission from a high vantage point inside a derelict train car overlooking a canyon. Sheriff Black is on the ground, preparing to make an exchange with the Authority. Keep your scope trained on the Sheriff so you can monitor the exchange. It’s no surprise when the Sheriff drops the case and the Authority’s red laser sights cross your field of view.
Follow the lasers back to their sources and eliminate the Authority troops. Your targets are stationary but they are equipped with powerful sniper rifles, so stay out of their sights and finish off each target before moving on to the next. If you’re under too much fire, take cover for a moment, then pop back up and finish the job.
The Authority snipers take up positions all across the area, but their red laser sights are a dead giveaway. When the Authority drop ship shows up, keep your sights trained just under its hull and wait for the reinforcements to drop down. Remember: it only takes one shot to kill them while they’re wearing jetpacks, so wait for that perfect moment where they hover in place just before landing to take your shot. Clean up a few more snipers after the drop ship moves away and you have this mission in the bag.
JOBS
Bounty Hunter
Eviction Notice
Help Wanted
Bounty Hunter
Objective: Return to the Abandoned Distillery
There’s a thief after my Blueshine recipe!
I need someone to track him down and ensure he doesn’t discover my secret. I was told that he learned of my distillery and struck out immediately. Please, someone stop him before he ruins my profits!
If you stop him, you can take whatever you want from the distillery.
It sounds like Dietrich is having more problems with his Blueshine business. Before heading for the Abandoned Distillery, visit Jani and stock up on ammo and supplies. The distillery is still overrun by mutants, so make sure you have plenty of Wingsticks and Buckshot for your Combat Shotgun. Completing this job is much easier if you have a couple of Advanced Sentry Turrets, too. Make sure you have enough parts for them with you.
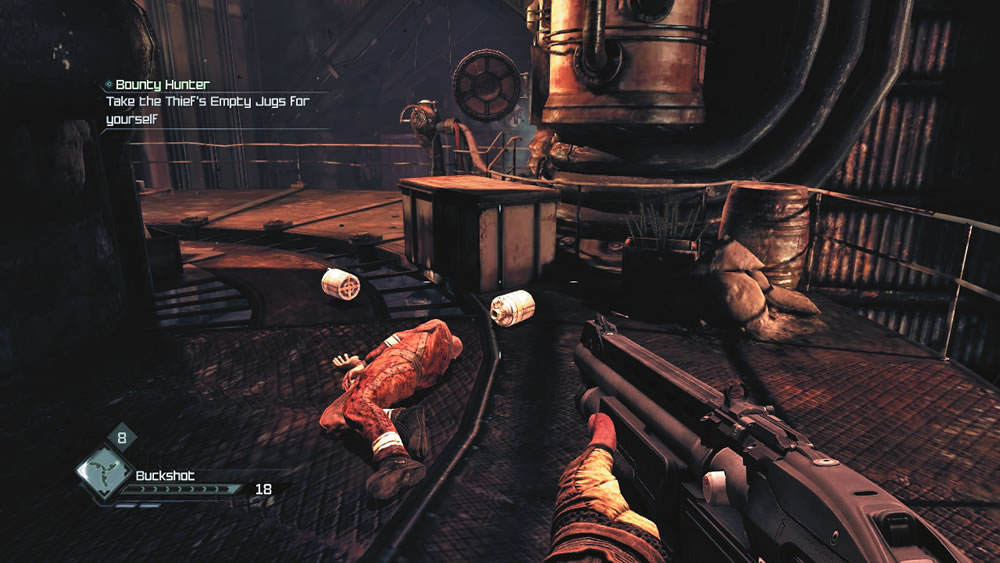
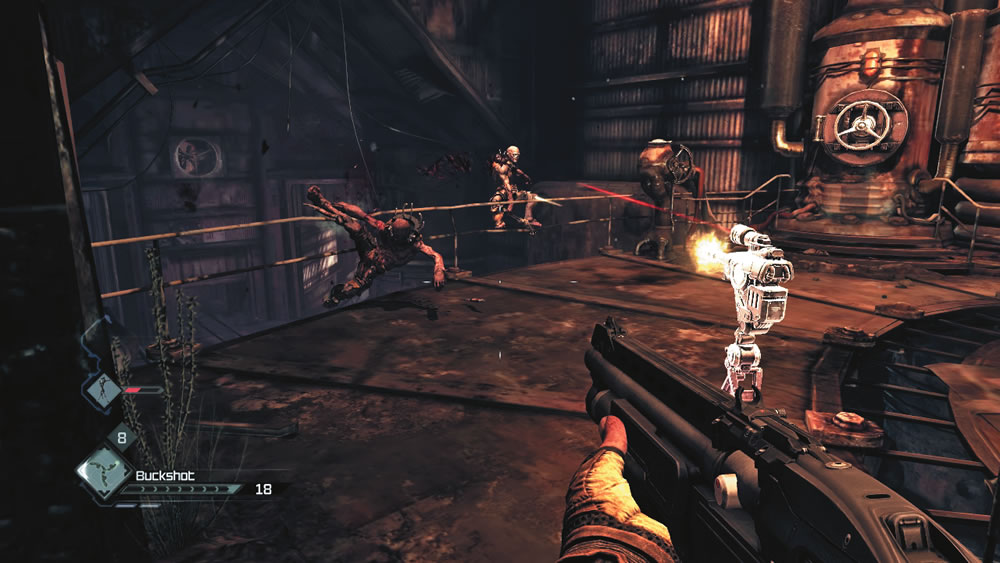
Access the distillery via the same cave path near the bridge by Subway Town and enter through the facility’s back door. This time you can move through the distillery in reverse. You find the thief in the Distillery Room—it looks like a couple of mutants got to him first. Dispatch the mutants silently with Wingsticks or Steel-Tipped Bolts fired from your Striker Crossbow. You can now pick up the two jugs the thief was carrying and distill a couple of batches of Blueshine for yourself. Place a jug in the Distiller, and interact with the valve to start the noisy machinery. On cue, mutants rush into the Distillery Room as the equipment rumbles to life. Construct and deploy an Advanced Sentry Turret near the Distiller and stand guard with your Combat Shotgun while the first batch of Blueshine is distilled. When the equipment stops, grab the Jug of Blueshine and insert the second jug into the Distiller. Start the Distiller and deploy a second Advanced Sentry Turret nearby—the first turret has probably run out of health by now. Hang out while the new Advanced Sentry Turret mows down all incoming mutants, then grab your second Jug of Blueshine when the Distiller stops. Don’t forget to salvage any parts from your two Advanced Sentry Turrets before leaving. There is no cash payment for completing this job, but you do get to keep the two Jugs of Blueshine.
Outnumbered and outgunned, our workers were massacred, but not before sending out a distress call. We can’t let the Shrouded Clan get a foothold so close to Subway Town. Someone’s gotta get down there and boot ‘em out.
Get ‘em out of there and we’ll pay you for your services.
Although you’ve managed to clear out the mutants, the Shrouded Clan has now taken up residence in the Blue Line Station. This time you’ll want to go in with plenty of ammo for your Authority Machine Gun and Sniper Rifle. Also make sure you have plenty of HE Grenades and the parts to make some RC Bomb Cars. The Shrouded Clan bandits tend to huddle behind cover, making explosive weapons very effective during this job.
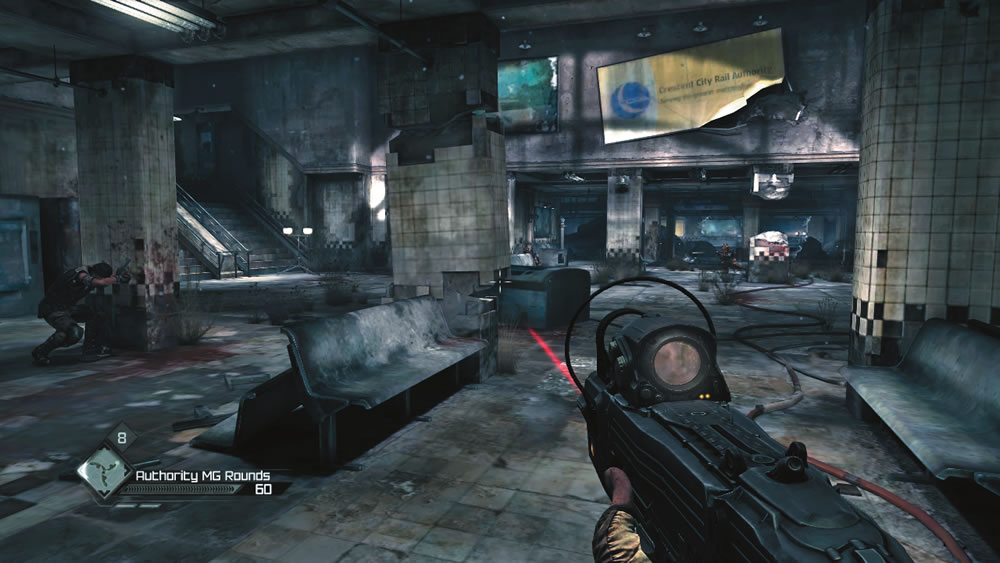
Enter the Blue Line Station via the entrance below Subway Town. You need to clear the Blue Line Station in reverse, starting at the station platform before working your way upstairs, killing every Shrouded Clan bandit along the way. Subway Town security personnel are busy fighting off some bandits when you arrive at the station platform, but the backup doesn’t survive very long. Take cover and pick off the bandits using your Authority Machine Gun. The bandits have placed sentry turrets throughout the facility, so be ready to take cover. Use HE Grenades to knock these turrets over and then loot them for parts. In the large open areas, like the terminal, switch to your Sniper Rifle and score headshots on the bandits as they hide behind cover. Fat Mammas fired from your Settler Pistol also work well in these long-range firefights. If several bandits are crowded together, send and RC Bomb Car after them—it feels good to give them a taste of their own medicine! Despite the promise in the listing, there is no payment for completing this job, so make sure to loot the bodies of the dead bandits and security personnel to help offset the ammo you expended. Continue sweeping the Blue Line Station, working your way back to the entrance in reverse, until all the Shrouded Clan bandits are dead.
Isn’t that great? Well. . .actually there are better places to live than the old Gearhead Vault, right? Perhaps someone could kindly suggest they look for a better spot. You could even shut down their mobile generators to help them pack!
Help the Authority shut down their mobile generators to earn the standard mover’s fee.