
Driver Training
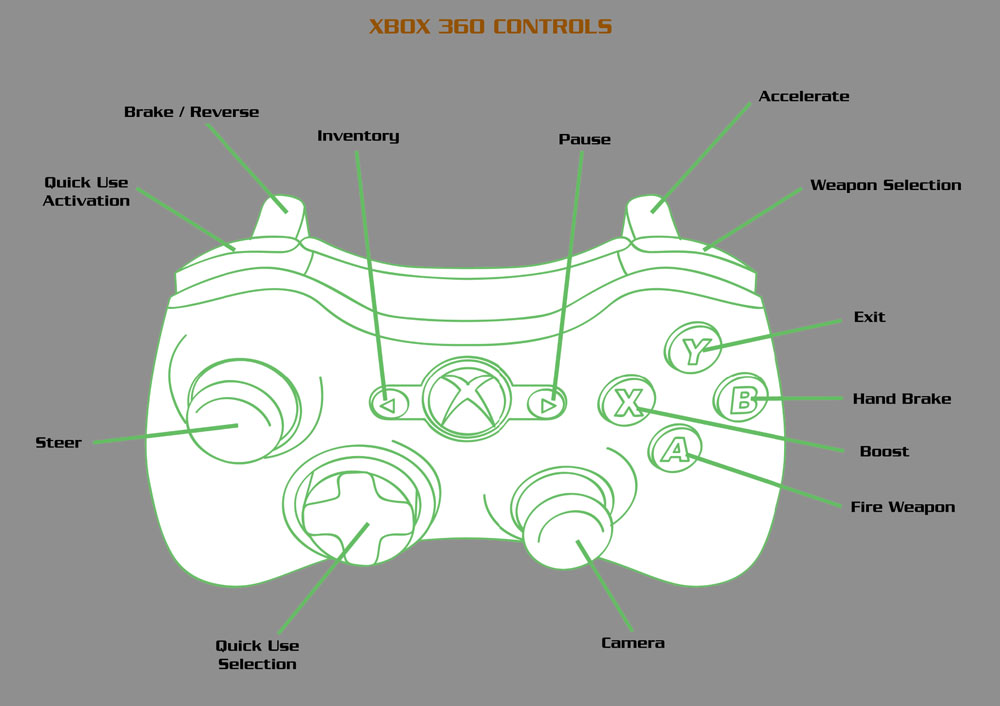
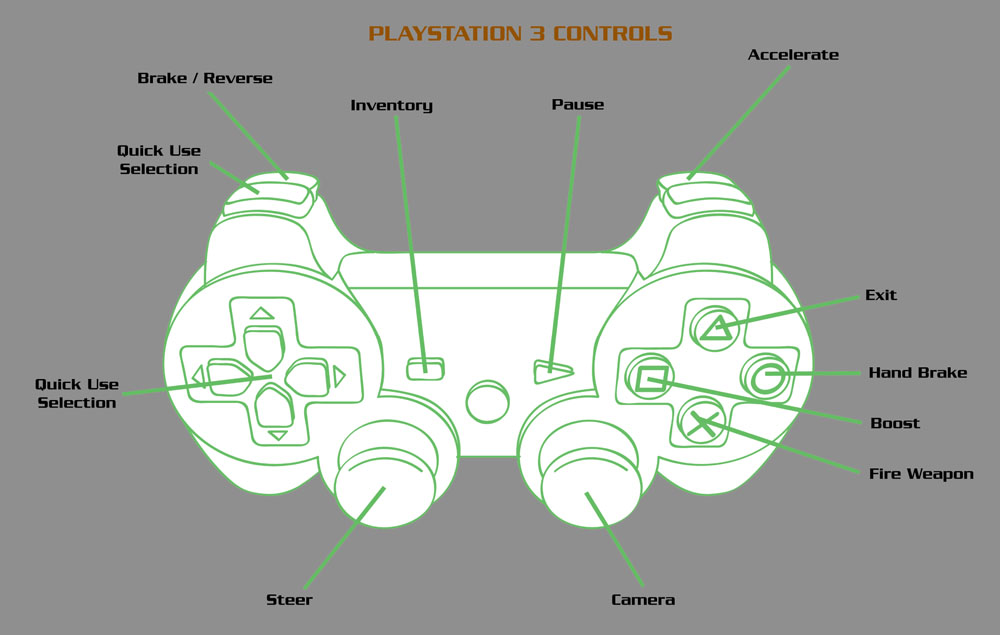
Before heading out for your first spin, take a moment to familiarize yourself with the driving controls. The control layout for driving is noticeably different than those while moving around on foot, but if you’ve played similar driving games, you’ll find the layout is rather intuitive and easy to pick up. Tips for racing, vehicular combat, and quick use item selection are also detailed, helping you gain an edge over the competition.
Controls
Racing
Boost early and boost often to get ahead of the pack.
| Race Pick-Ups | ||
| Image | Name | Description |

|
Boost Recharge | Fully replenishes your boost meter |
|
Minigun Ammo | Contains 200 rounds of Minigun ammo |
|
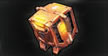
Homing Rockets | Contains four Homing Rockets |
Racing is a big part of RAGE, especially if you want to upgrade your vehicles. You can enter a variety of races in both Wellspring and Subway Town. There are four contestants in each race, but only the top three are awarded with racing certificates: 15 for first place, 10 for second place, and 5 for third place. Racing certificates are required to purchase vehicle upgrades from Rusty and Sparky. Upgrades can turn a mediocre vehicle into an absolute speed demon, so enter a few races to earn enough racing certificates to at least purchase boost and engine upgrades. Racing is all about speed, and these upgrades offer the best performance boost, giving you a significant advantage over the competition.
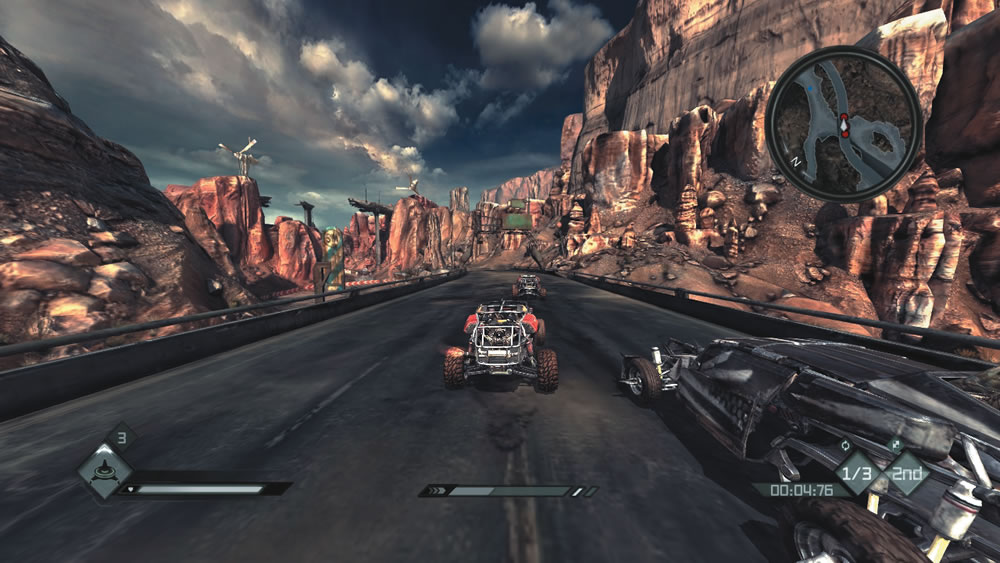
But even if you don’t own all the fanciest upgrades, you can still come out the winner of each race with some skill and a little luck. Boosting is critical during races, providing the necessary acceleration to get ahead of the pack. But your limited boost meter won’t allow you to boost forever, so be on the lookout for Boost Recharge canisters. These blue tanks fully replenish your boost meter. By driving over enough of these canisters in quick succession, you can continue boosting for long durations. If you can hit three or four Boost Recharge canisters in a row early during a race, you’ll have a much easier time taking the lead. In combat-oriented race events, you can also find ammo pick-ups. Driving over these pick-ups simply adds ammo to the corresponding weapon.
Combat
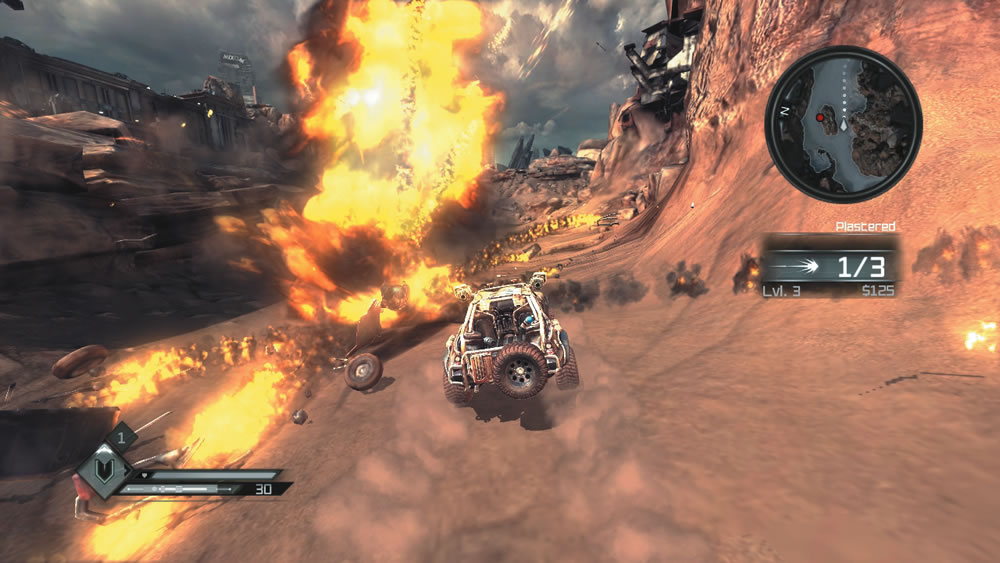
Completing Wasteland challenges is a good way to earn a little extra cash.
Simply traveling through the Wasteland is a dangerous proposition. Bandits patrol the narrow dirt roads, looking to challenge anyone encroaching on their territory. Even if you aren’t interested in racing, you still need to know how to defend yourself against bandit vehicle attacks. The first step is to outfit your vehicle with the best equipment you can afford. Start by increasing your vehicle’s armor to increase the amount of damage your ride can take before it explodes. Also, make sure you have weapons like Miniguns or Rocket Launchers installed—don’t forget the ammo either. Quick use items like Shields and Armor Restore are also important, helping you deflect incoming attacks and repair your vehicle.
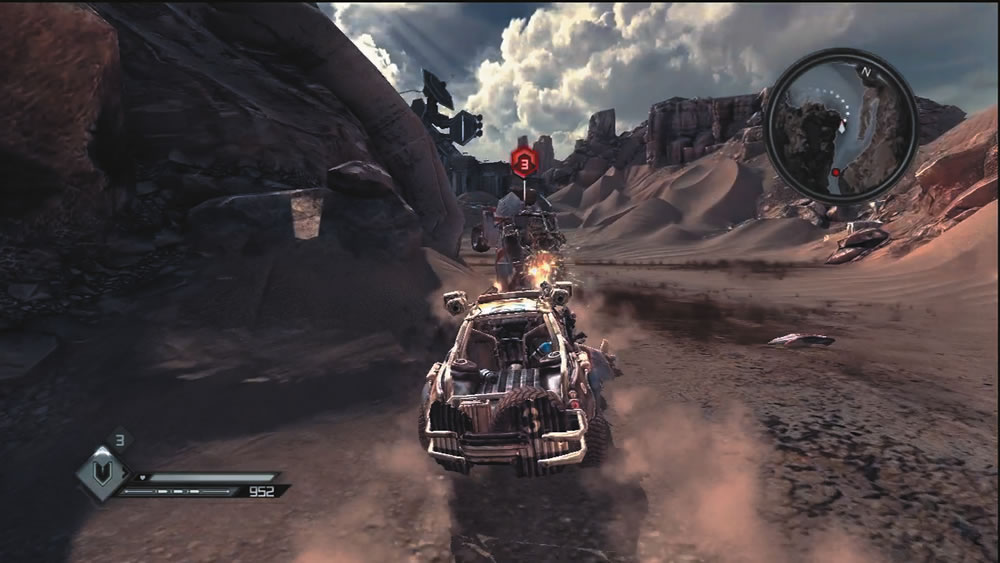
Got a ramming grill? Boost head on into enemy vehicles to inflict massive damage.
When confronting an enemy vehicle, always strive to keep your front end facing the threat at all times. All weapons on your vehicle face forward, so you can only shoot enemy vehicles that are directly in front of you. The weapons have limited tracking ability, capable of panning left and right a few degrees, but you still need to keep enemy vehicles in your sights to target them. When an enemy vehicle is targeted, a red hexagonal icon appears above it. The number in the center of the red icon rates how tough the vehicle is, rated 1 to 4. Vehicles rated with a 1 are relatively weak, armed only with Miniguns. However, enemy vehicles rated with a 4 are heavily armored and likely equipped with Rocket Launchers and Shields. Always assess the strength of the enemy vehicles before engaging. If you’re running low on ammo, or if your vehicle is heavily damaged, sometimes it’s best to simply boost out of the area.
Quick Use Items
Before leaving your garage, assign quick use items for your vehicle.
| Vehicle Supplies | ||||
| Icon | Name | Cost | Quantity | Description |

|
Minigun Ammo | $25 | 200 | Ammunition designed to fit any class of vehicle-mounted Miniguns. |

|
Homing Rockets | $40 | 8 | Ammunition designed to work with all vehicle-mounted Rocket Launchers. |

|
Pulse Ammo | $60 | 6 | Ammo for the Advanced Pulse Weapon on the Monarch vehicles. |

|
Drop Mine | $25 | 5 | Drop an explosive surprise in the track of unwary bandits. |

|
Shield | $30 | 3 | A glowing shield of energy that prevents all damage to your vehicle for a short time. |

|
Aftershocker | $45 | 2 | Releases a burst of energy that sends enemy vehicles flying to fiery destruction. |

|
Armor Restore | $85 | 1 | Fully repairs all vehicle damage. |

|
Escort Bomb | $65 | 4 | Automated bomb car programmed to target the closest enemy. |

|
Hover Turret | $45 | 3 | Weaponized hovercraft that fires on enemy vehicles. |
When visiting a vehicle parts vendor, be sure to stock up on ammo and any other vehicle supplies you wish to use. Ammo is automatically installed, but the other items must be assigned to a quick use slot in a garage. Just like when you’re on foot, you can assign up to four items to a quick use slot for easy deployment while driving. There are six different items you can choose from, but you’ll use some more than others. Drop Mines are simple proximity mines that explode when an enemy vehicle drives nearby, inflicting very little damage. Shields are the most useful of the items, deploying an impenetrable force field around your vehicle for approximately five seconds—never head out into the Wasteland without at least a half dozen Shields. The Aftershocker is the most effective offensive item of the bunch, emitting a radial blast causing all nearby vehicles to flip over and explode. Armor Restore completely fixes your vehicle when activated, making it one of the most worthwhile options. Escort Bombs work similarly to Drop Mines, but instead of remaining stationary, these automated weapons seek out the closest enemy vehicle and detonate, causing minimal damage. Hover Turrets are also rather weak, automatically tracking and shooting the closest enemy vehicle—they don’t do much damage, but at least they indicate the direction of the closest threat.
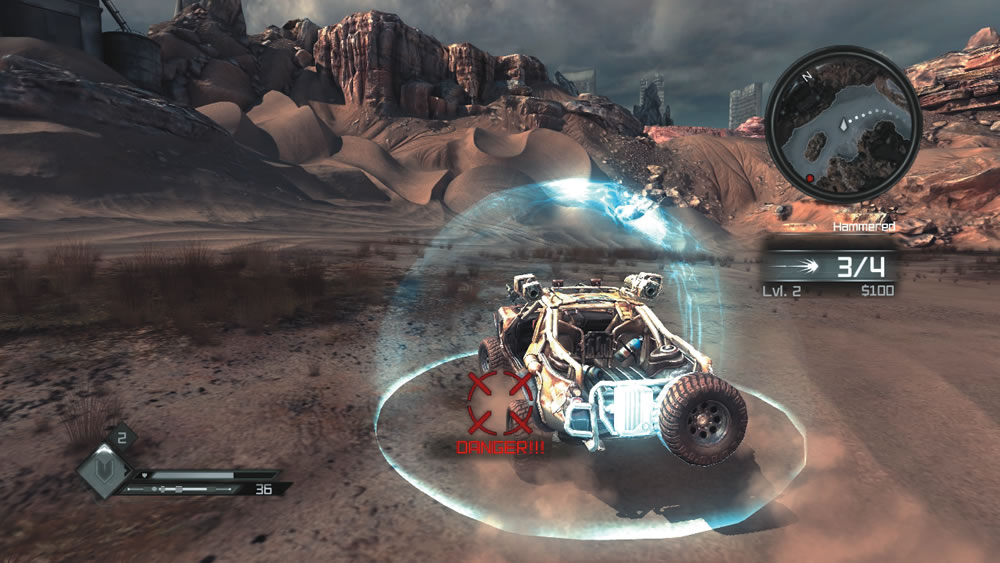
Deploy Shields whenever you’re warned of an enemy lock-on. Shields can repel all attacks, but only remain active for a few seconds.
So which items are best? They’re not the cheapest options, but Shields, Aftershockers, and Armor Restore are the most effective. Shields are essential when confronting enemy vehicles equipped with Rocket Launchers. When your vehicle is locked on, you get a warning indicating a rocket launch is imminent. Take this as your cue to deploy a Shield before a rocket finds you. While active, shields deflect damage from all incoming weapons. Shields are only active for about five seconds, so use them wisely. Aftershockers come in handy for taking out enemy vehicles on your flanks—enemies that your forward-facing weapons can’t hit. When deployed, the Aftershocker emits a large radial blast, flipping all enemy vehicles within its blast radius, causing them to explode. Try to deploy these in tight spaces where you can score at least two kills with each Aftershocker. At a cost of $85 per unit, Armor Restore isn’t cheap. However, it’s much cheaper than the $150 it costs to have your vehicle towed and repaired in a garage. Always keep one Armor Restore ready, but avoid using it until your vehicle’s health is extremely low to get the best bang for your buck.
Tuning
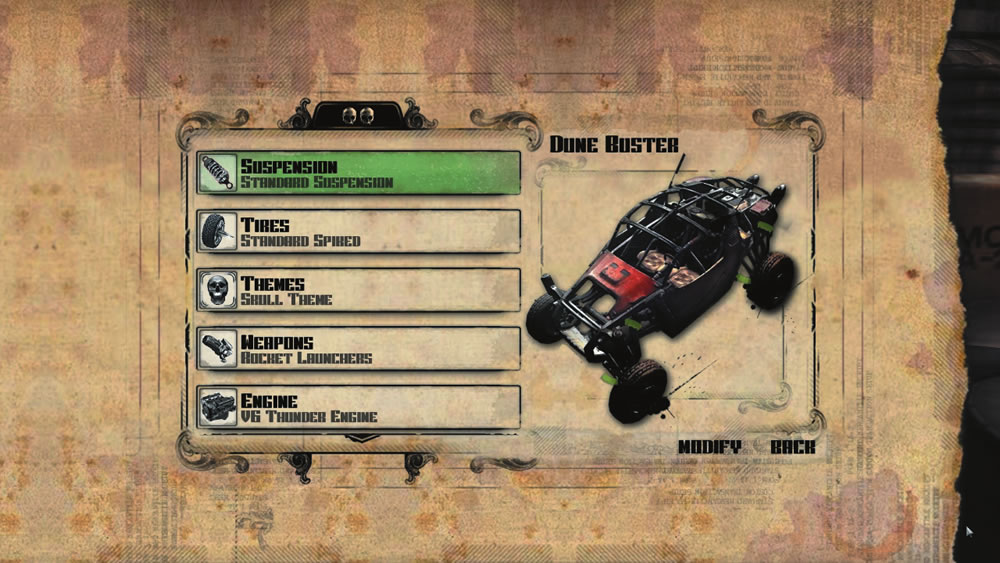
Access the tuning screen to install parts or apply different themes to your vehicles.
You can access the tuning screen from any garage or vehicle parts vendor—just select the Tune option. By default, new parts are automatically installed on your vehicles when they’re acquired, so you don’t need to apply them here. But if you wish to take inventory of the parts you own or swap out new parts with old ones, you can do it all here. Simply select the part or theme you wish to modify, then select the desired part from the drop-down list to install it. There are probably only a couple of instances when you want to access this screen. One is when you want to change the themes of your vehicles, swapping out a new theme for an older one. The other is when you want to swap Miniguns and Rocket Launchers on your Dune Buster. But since all new parts are automatically installed, there’s no other benefits to switching back to old parts.