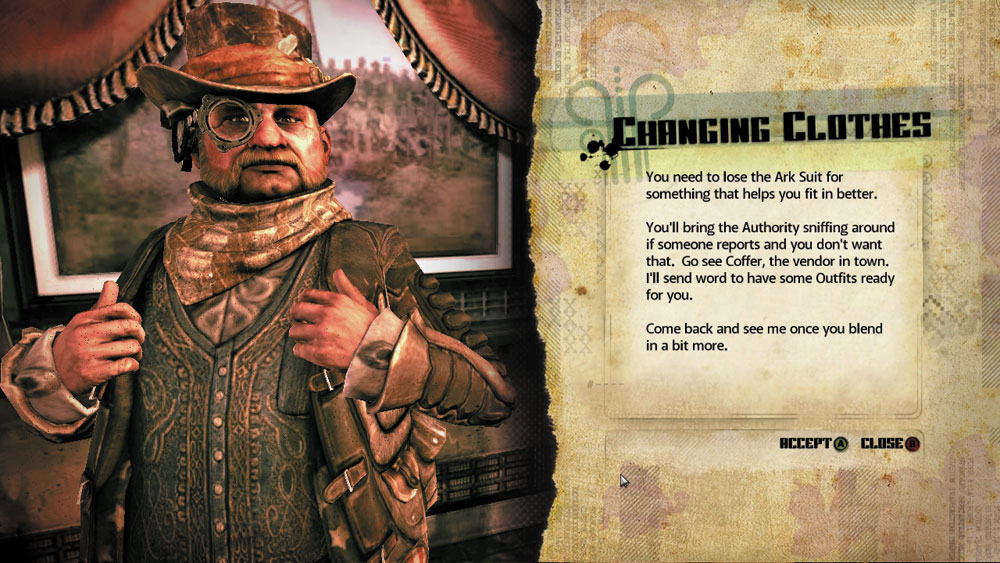
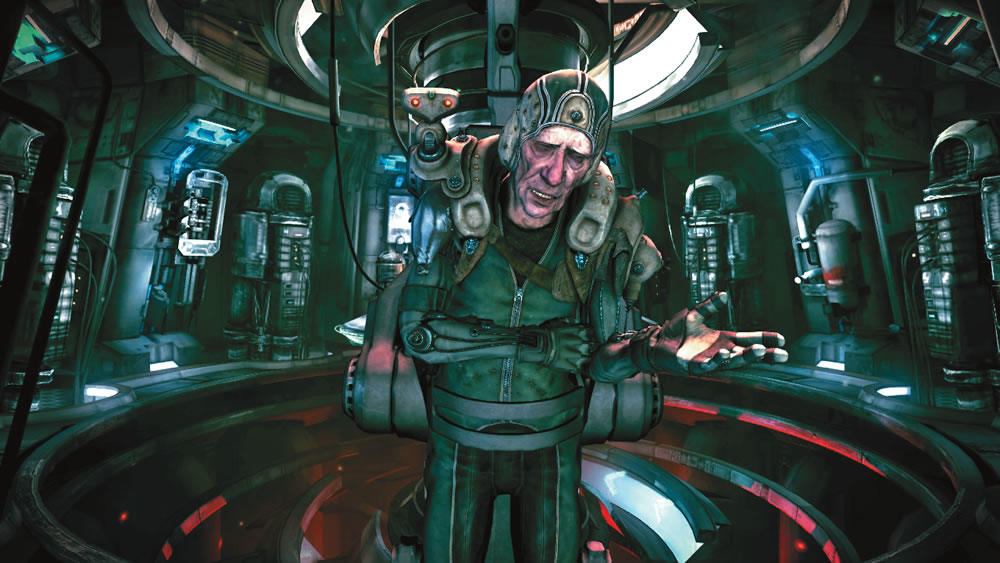
Whatever you’ve got there can’t be safe. That’s for sure.
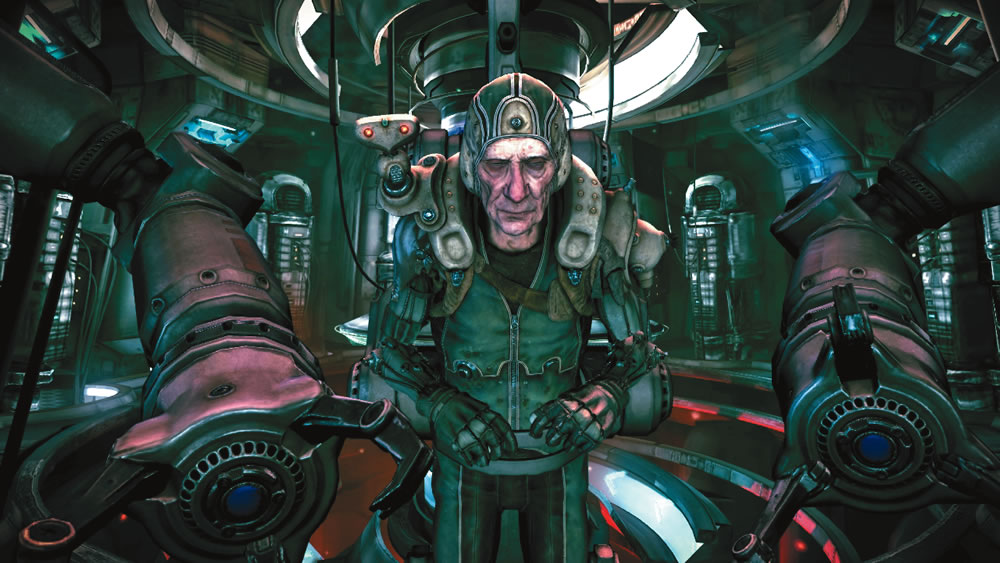
Old man Kvasir is a hermit that lives up north. Take that Feltrite sample to him and see what he says. He’s a pretty smart guy, but he doesn’t take to strangers just popping in on him. So I’ll let Kvasir know you’re coming.
Come back soon as Kvasir’s figured out what those bandits were up to.
Provided Equipment: None
Reward
ICON
ITEM
QUANTITY
Dollars
200
New Objective: Head to Kvasir’s chasm
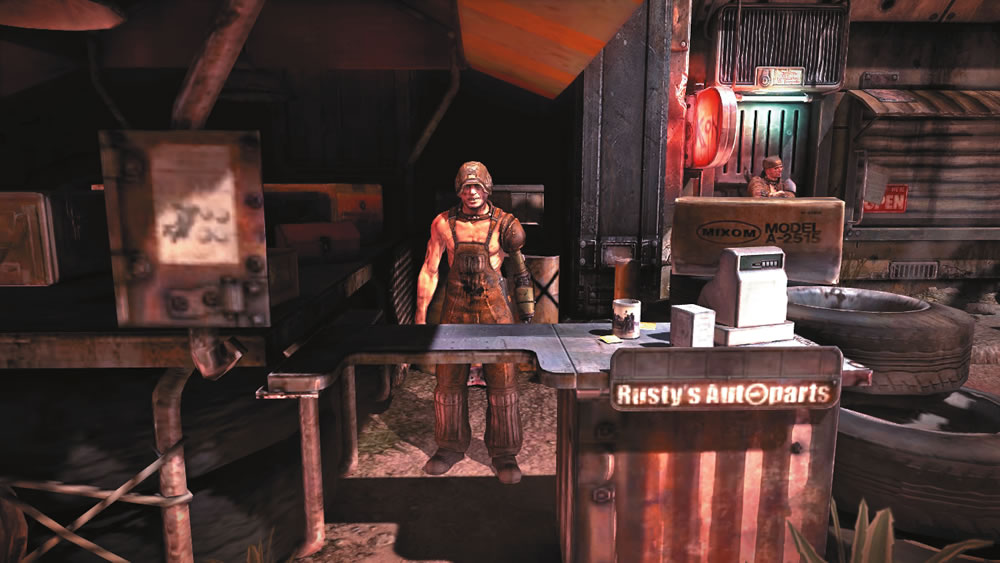
Before leaving Wellspring, check in with Rusty and Coffer to stock up on ammo and supplies. At Rusty’s, make sure you have plenty of Minigun Ammo and Shields. If you have the extra cash, an Armor Restore item can come in handy, capable of fully repairing your vehicle. At $85 a unit, Armor Restore isn’t cheap, but it’s a lot cheaper than having Mick or Durar tow your ride. At Coffer’s, take inventory of your ammo. Make sure you have at least 60 rounds of Buckshot for your Combat Shotgun and 300 rounds of Steel AR Rounds for your Assault Rifle.
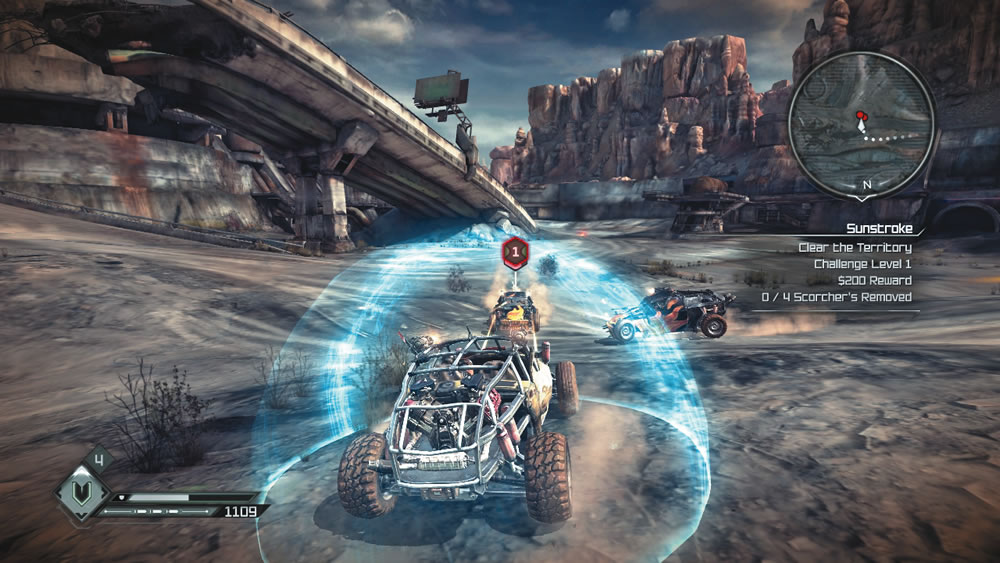
Ready to head out? Then get to Mick’s garage, repair any damage to your Dune Buster, and get back out on the road. To reach Kvasir’s place, you must pass through Scorcher Territory. Here you come under attack by more bandits. Assuming you have the offensive and defensive tools, this is a good opportunity to score some extra cash from Sally. Deploy your Shields early and often to deflect incoming attacks, but maintain an offensive posture too. The faster you destroy the bandit vehicles, the fewer Shields you’ll need to deploy.
New Objectives:
New Objectives:
Use the Com. Box to contact Kvasir
Cross the bridge and enter Kvasir’s lab
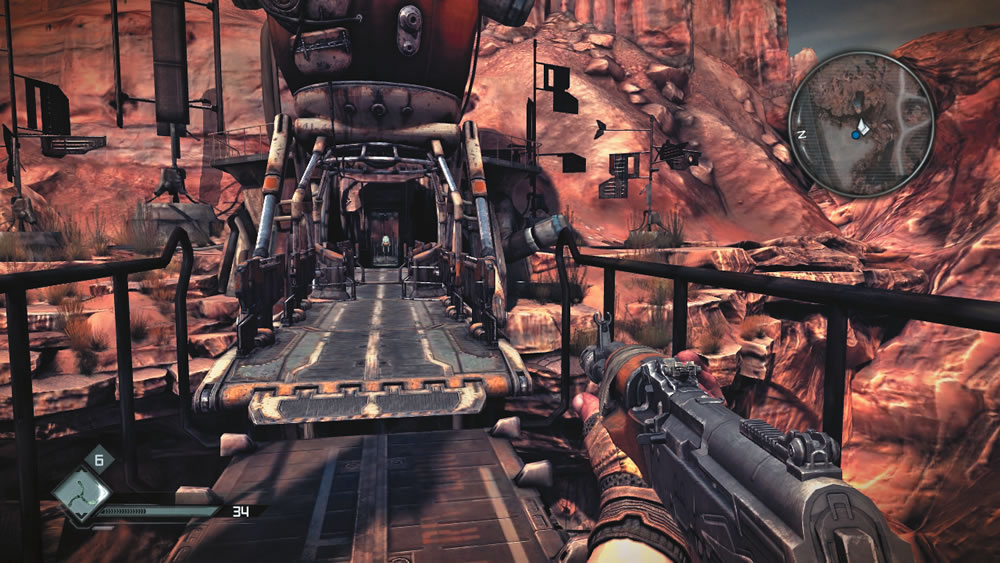
After defeating the bandits, continue to Kvasir’s following the path marked on the minimap. Before parking your vehicle, make sure no more bandits are following you. Once it’s clear, exit the Dune Buster and interact with the intercom near the chasm. Kvasir immediately responds, acknowledging that Mayor Clayton informed him of your errand. Before long, a balloon-like airship rises from the chasm and extends a bridge, allowing you to reach Kvasir’s lab. Cross the bridge and interact with the switch on the other side to activate the lift leading into the lab.
New Objectives:
Give Kvasir the Feltrite sample
Let Kvasir analyze the Feltrite sample
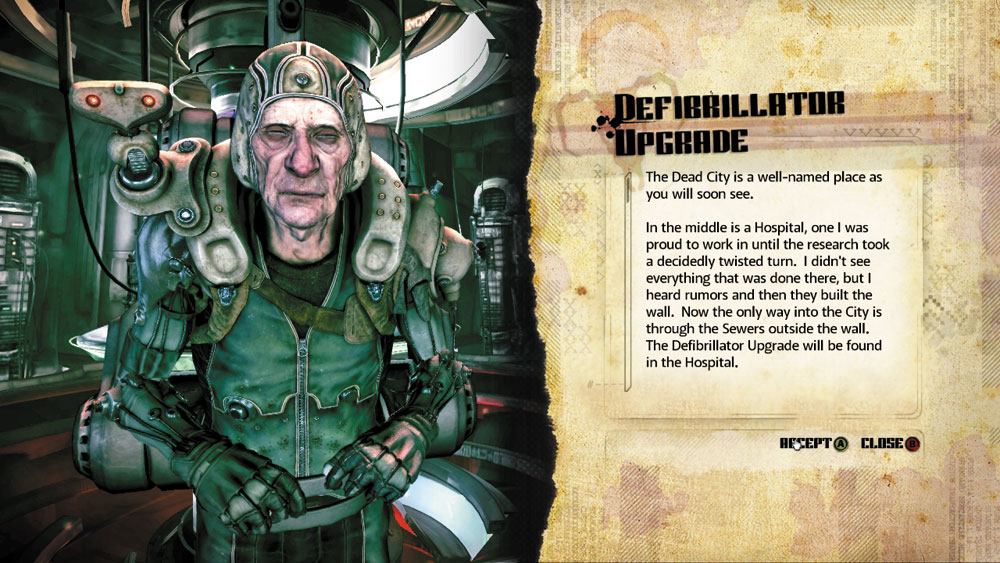
Step inside Kvasir’s lab and place the Feltrite sample on the metal tray. A mechanical arm descends and takes the sample away for analysis. Kvasir needs to run more tests on the sample, a process that will take some time. But then Kvasir takes notice of you. Apparently your armor isn’t much of a disguise to Kvasir. He instantly recognizes you as an Ark survivor, making note of the Nanotrites inside your body. Kvasir reveals that Ark survivors are hunted down by the Authority because they don’t belong in their vision of the new world. But there is a band of Resistance fighters. Kvasir feels you may be of some use to the Resistance, but he realizes you won’t last long in a firefight with your standard internal defibrillator. He can get you an upgrade for your defibrillator if you travel to the Dead City and get him the equipment he needs.
In the middle is a hospital, one I was proud to work in until the research took a decidedly twisted turn. I didn’t see everything that was done there, but I heard rumors, and then they built the wall. Now the only way into the city is through the sewers outside the wall. The Defibrillator Upgrade will be found in the hospital.
You make it back in one piece, and I’ll install that Defibrillator Upgrade.
Provided Equipment: None
Reward
ICON
ITEM
QUANTITY
Double Defib Upgrade
1
New Objective: Locate the Dead City sewer
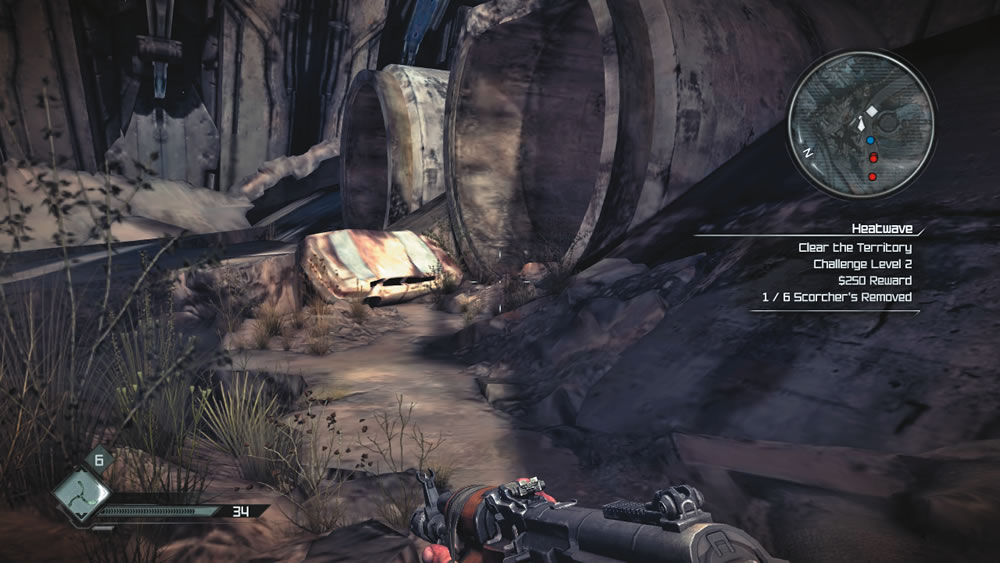
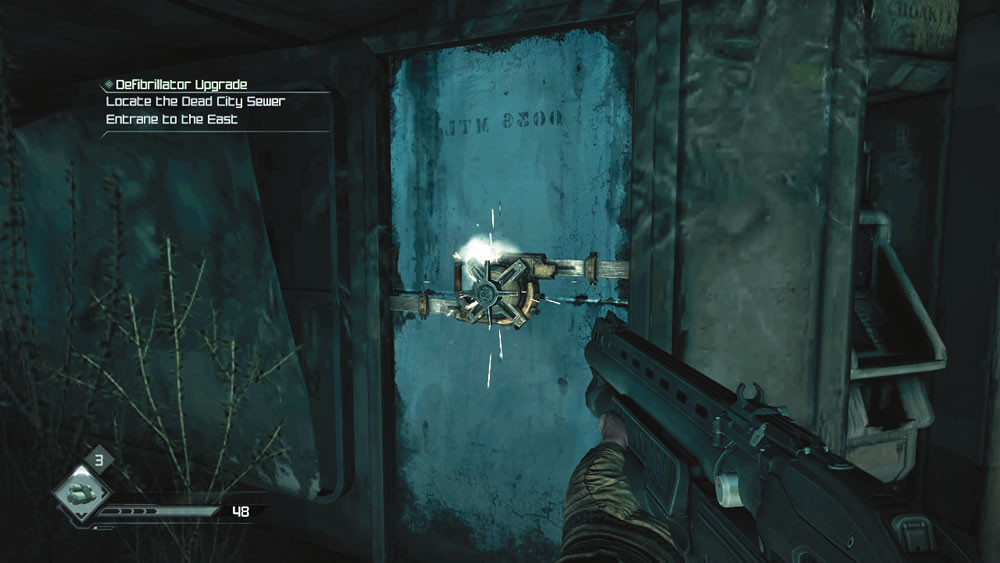
Return to your Dune Buster and follow the path marked on the minimap back into Scorcher Territory. There may be more bandit vehicles here, so consider wiping them out before making a move for the Dead City entrance. Once the area is clear, park your Dune Buster under a low overpass and head out on foot up a nearby trail. The trail leads to a massive drainage pipe. Step inside the pipe and open the gate at the opposite end to access the Dead City’s entrance.
Dead City
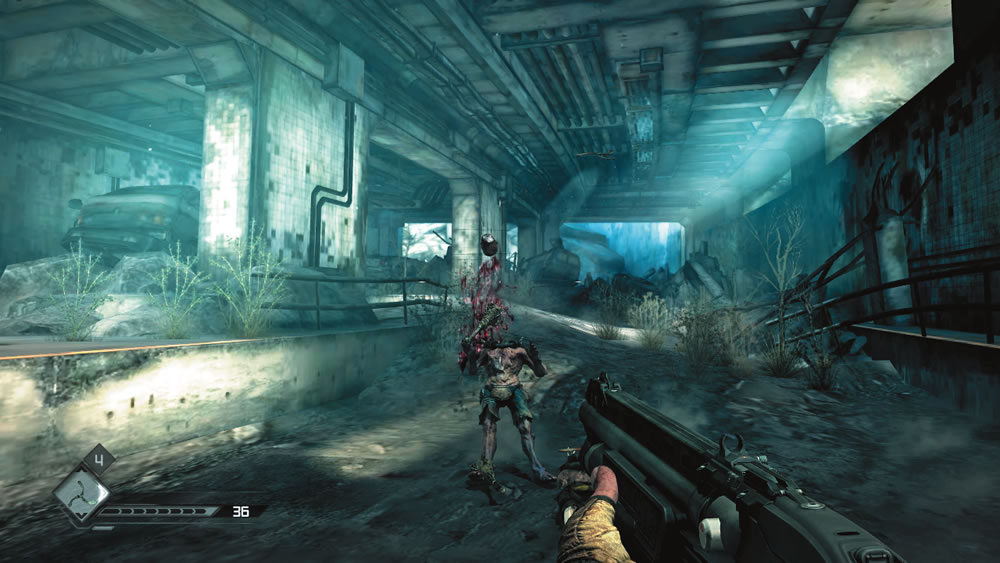
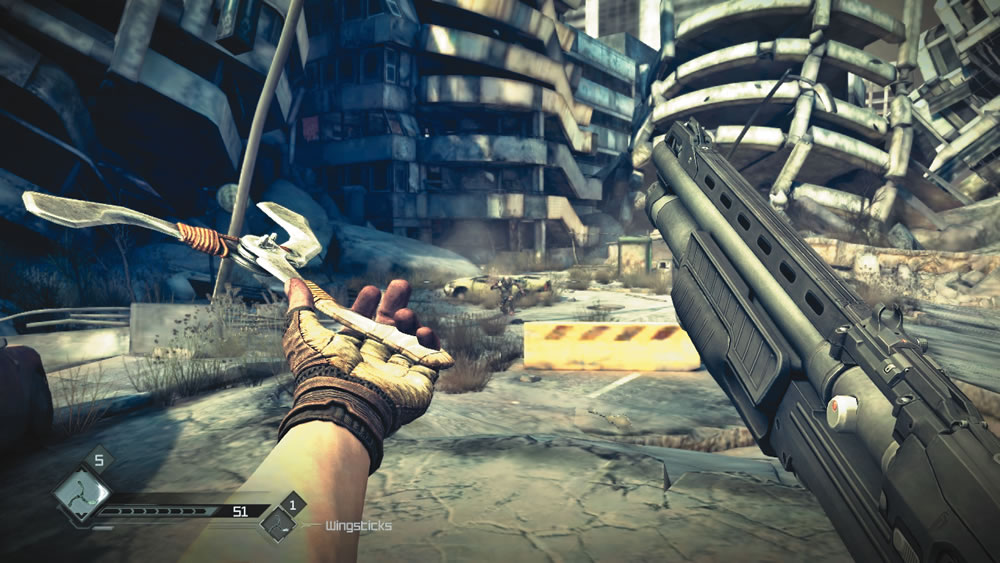
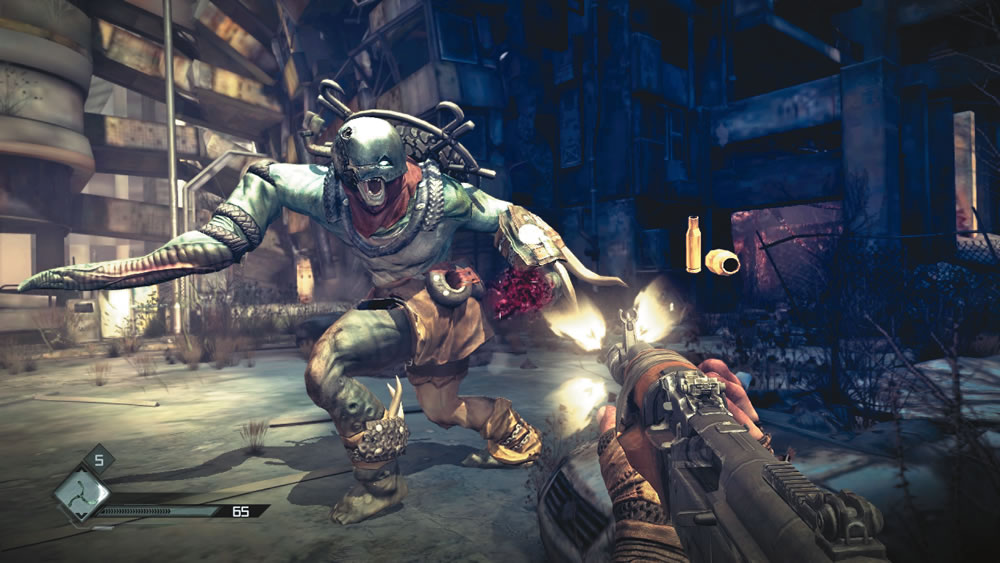
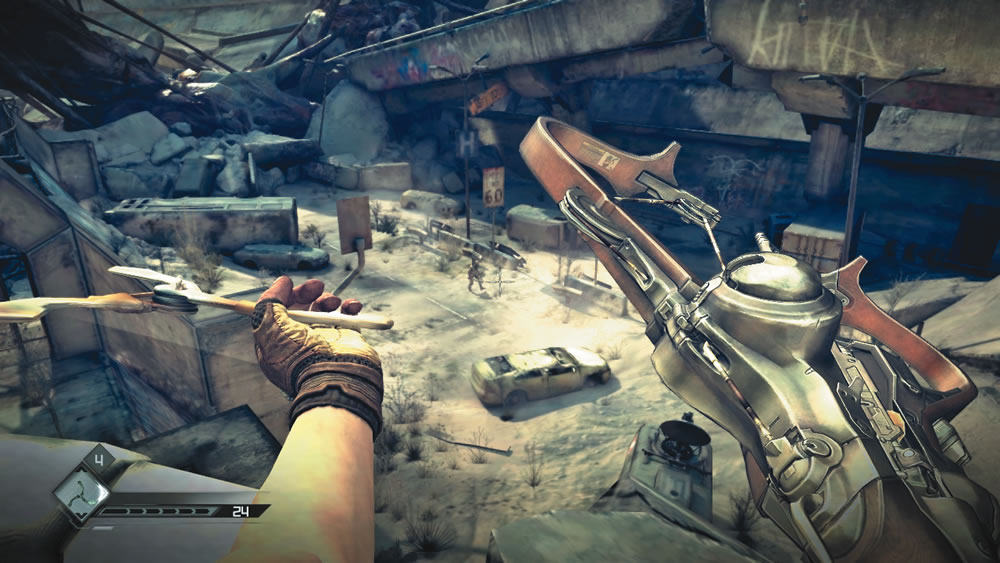
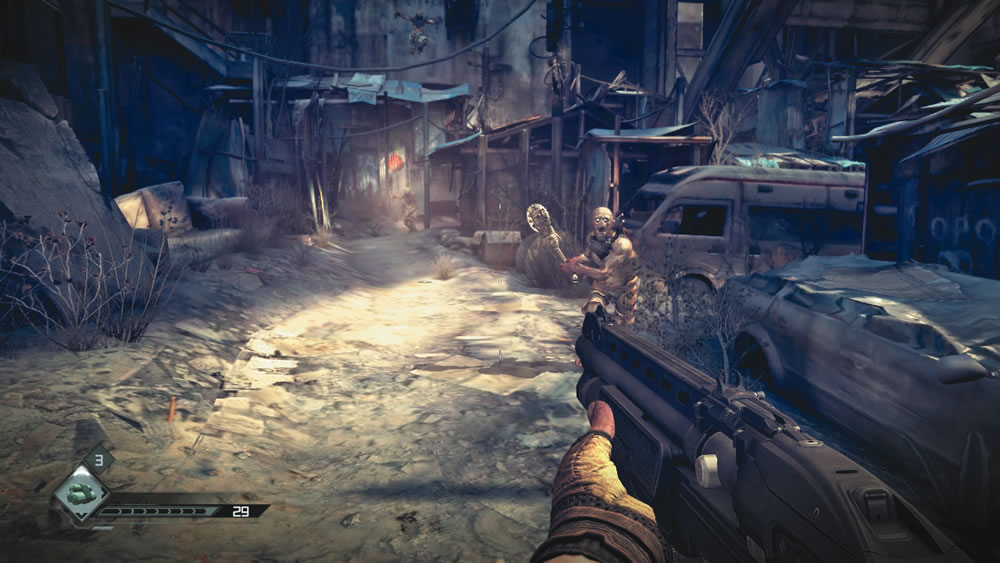
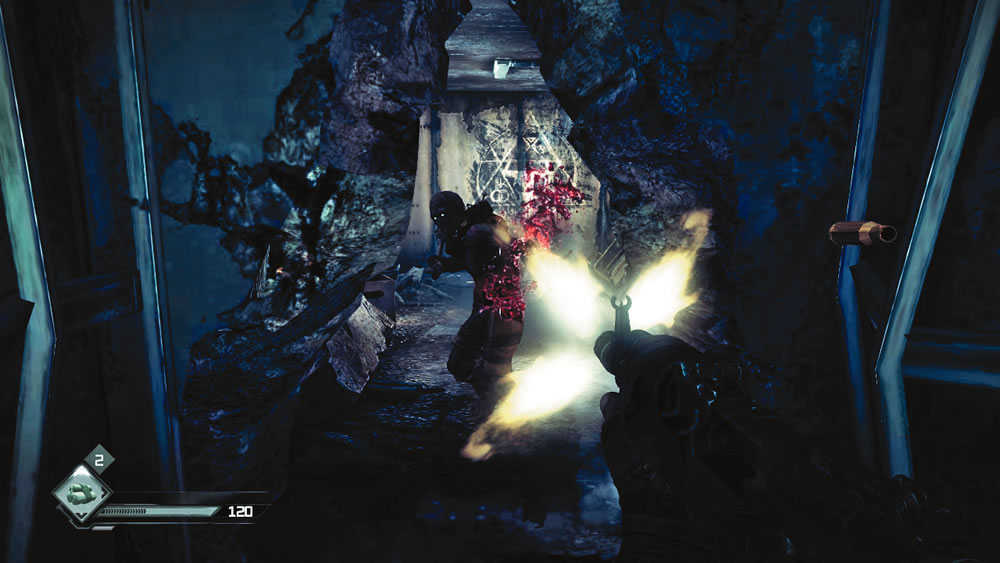
Advance to this old tunnel packed with long-abandoned cars. There seems to be something massive walking above, causing dust to fall from the ceiling with each step. But instead of worrying what’s above you, focus on the mutants occupying the tunnel. Use Wingsticks at long range to decapitate as many mutants as possible. The wide open space of the tunnel makes this a great place to throw Wingsticks, conserving your ammo for later. However, if you miss and the mutants charge directly at you, be ready to put them down with the Combat Shotgun. All it takes is one direct hit from the Combat Shotgun to drop a mutant, making it the weapon of choice for much of this job. Once all the mutants are down, look for a doorway on the left side of the tunnel. Just inside the doorway is another mutant as well as a shelf holding a wide variety of ammo.
Decapathon
This job is the perfect opportunity to unlock the Decapathon achievement/trophy. Using Wingsticks, simply score ten headshot kills. For best results, target enemies at long-to-intermediate range to lop off their heads.
City Streets
Climb the stairs up to the surface and step out onto this dusty old street. Some massive mutant can be seen lumbering in the distance—that must have been what you heard earlier. For now, the giant mutant doesn’t take notice of you. However, the smaller mutants are well aware of your presence. Shortly after a chilling vocal alarm is sounded, multiple mutants come scrambling out of every crevice and rubble pile. Identify targets early and hit them with Wingsticks before they can get too close. Of course, keep your Combat Shotgun ready to deal with threats that manage to evade your Wingstick attacks.
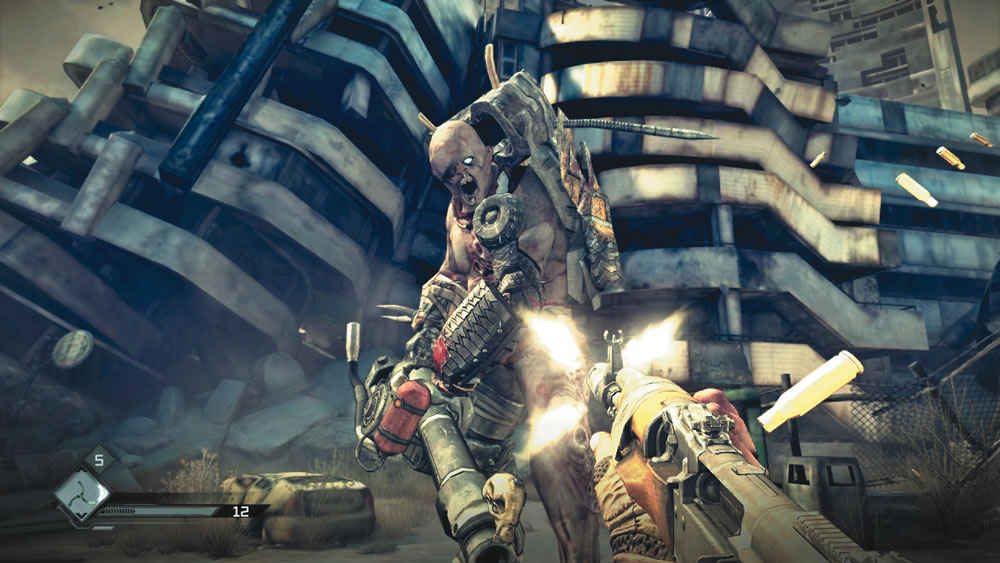
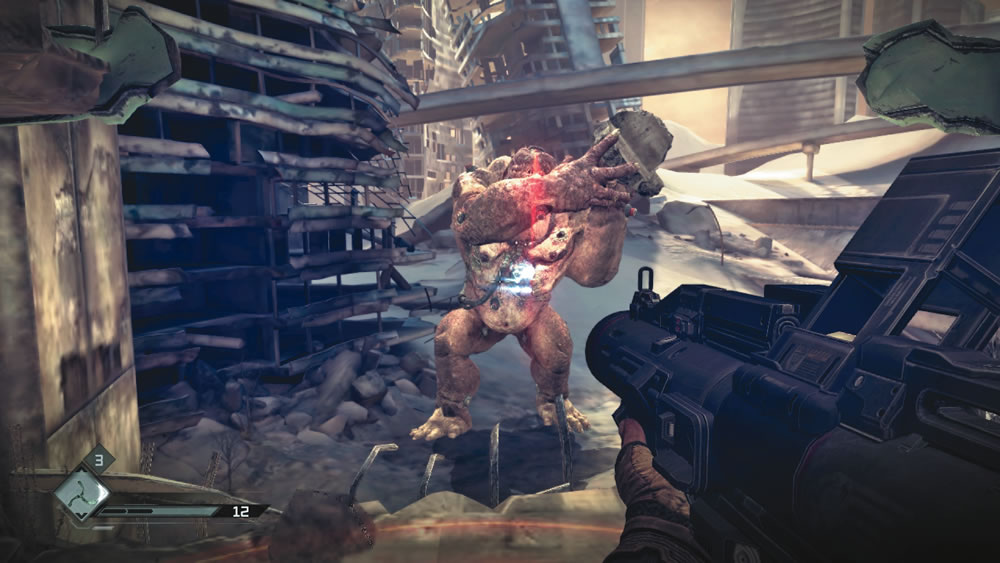
As the mutant attack dies down, a massive explosion rocks the street ahead. Soon, a tall mutant comes trudging into view carrying what appears to be a huge grenade launcher—this is a launcher mutant. Before attacking the launcher mutant, deal with the standard mutants first, finishing them off with Wingsticks and your Combat Shotgun. Now attack the big guy. Equip your Assault Rifle and open fire on the launcher mutant while circle strafing around him. This allows you to avoid his devastating explosive attacks. While attacking, make sure you keep some Bandages ready as your quick use item. If you happen to be injured by an explosion, immediately apply a Bandage to instantly heal. Fortunately your adversary is slow, allowing you to outmaneuver him. Just stay close and keep circling around him while firing the Assault Rifle. If you run out of Steel AR Rounds for your Assault Rifle, switch to the Combat Shotgun. The Combat Shotgun fires at a much slower speed, but dishes out heavy damage as long as you attack at relatively close range. Keep attacking the tall mutant until he falls to the ground. Leave the dead launcher mutant behind and enter the nearby building.
At the moment of arrival, these two small rooms are a dead end. Grab the ammo off the tables and prepare yourself for a mutant ambush. Equip the Combat Shotgun and blast every mutant that comes crawling through the windows and cracks in the floor. Stow your Wingsticks for now—kills at this range will only embed themselves in your targets, causing you to lose your Wingsticks. Pay particular attention to the windows in each room and deal with the mutants throwing daggers. Stay on the move and spin around occasionally to make sure no mutants have snuck up behind you. Once the ambush is over, a door falls down, clearing a path to the next area.
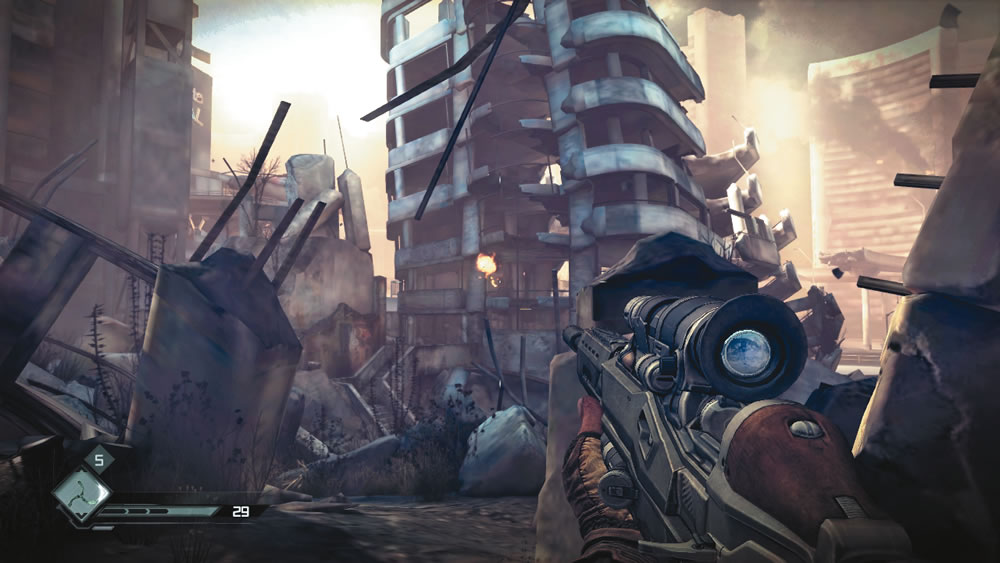
As you emerge from the building, you come under attack by two mutants lobbing exploding fireballs at you with xistera-like launchers. Side step left and right to avoid the incoming fireballs while equipping your Sniper Rifle. Quickly get a fix on both enemies and take them down with headshots. Pause your movements just long enough to center each target in the weapon’s scope, then squeeze the trigger. Eliminating these threats now makes it safer to proceed to the next area. But watch out for mutants charging out of a drain pipe ahead. Blast them with your Combat Shotgun.
Before moving on, locate a small drain pipe at the base of the building not far from where you fought the launcher mutants. Drive the RC Bomb Car through the small opening to enter a supply closet filled with loot. Roll up next to the barricaded door and detonate the car. You can now access the room via a stairway in the building to grab the powerful Large Mutant card along with the rest of the loot. The nearby building contains a Cloth Rag, a Nanotrite Conduit, and a Hardware Packet.
Descend to the street level once again and prepare to engage a few more mutants with your Combat Shotgun. Suddenly a large mutant with a tentacle-like arm bursts through a wall on the right. This enemy is appropriately called a tentacle mutant. Quickly eliminate the smaller mutants first, then deal with the big guy. This large mutant is slightly smaller than the launcher mutant you faced earlier, and faster. Immediately open fire with your Assault Rifle while strafing left and right to avoid his diverse attacks. At times the tentacle mutant charges directly at you, so be sure to run out of the way. This enemy also performs a whip-like attack with its tentacle arm. If the arm hits you, it inflicts heavy damage as well as impairs your vision with a slimy mucous. Run, don’t walk, to avoid getting hit with these attacks, and if you do get hit, immediately apply a Bandage to heal yourself. When you’re not evading, continue firing at the tentacle mutant with your Assault Rifle. If you run out of ammo, finish this guy off with the Combat Shotgun. Once the putrid mutant falls, be ready to fend off attacks from standard mutants. Return to the wall that the tentacle mutant broke through and search the newly available area for loot. Pick up the Kraken card here.
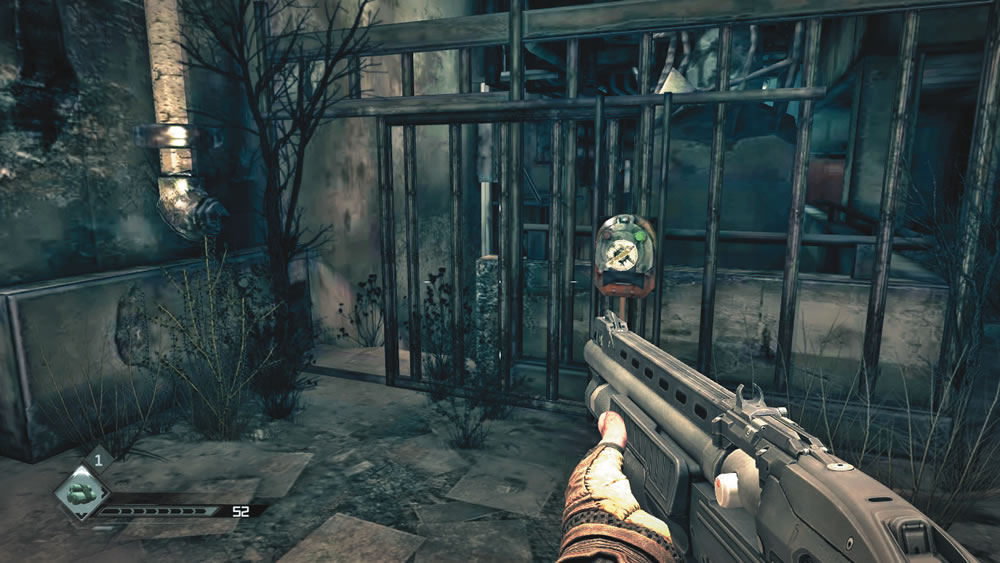
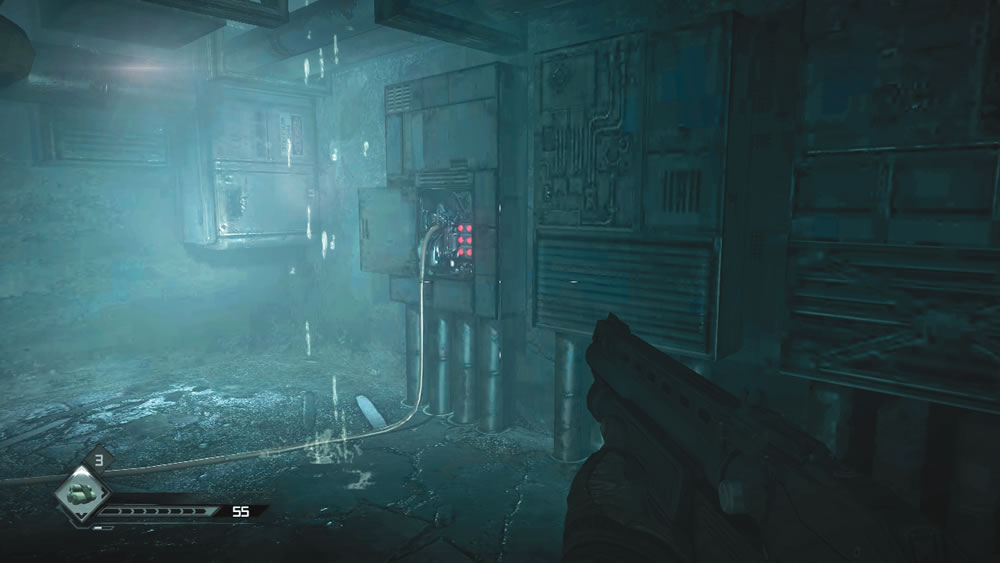
The gate here is locked and the switch that opens it doesn’t have power. Follow the wire running from the switch to a circuit breaker in the nearby storeroom. Before activating the circuit breaker, empty the shelves of the storeroom. Here you can find a wide variety of ammo and other items. When you’ve grabbed everything that isn’t nailed down, activate the circuit breaker on the wall. This triggers an attack by a few mutants, but it’s nothing you and your Combat Shotgun can’t handle. Now that the circuit breaker is active, return to the gate and throw the switch. The gate opens, allowing you to descend the nearby steps.
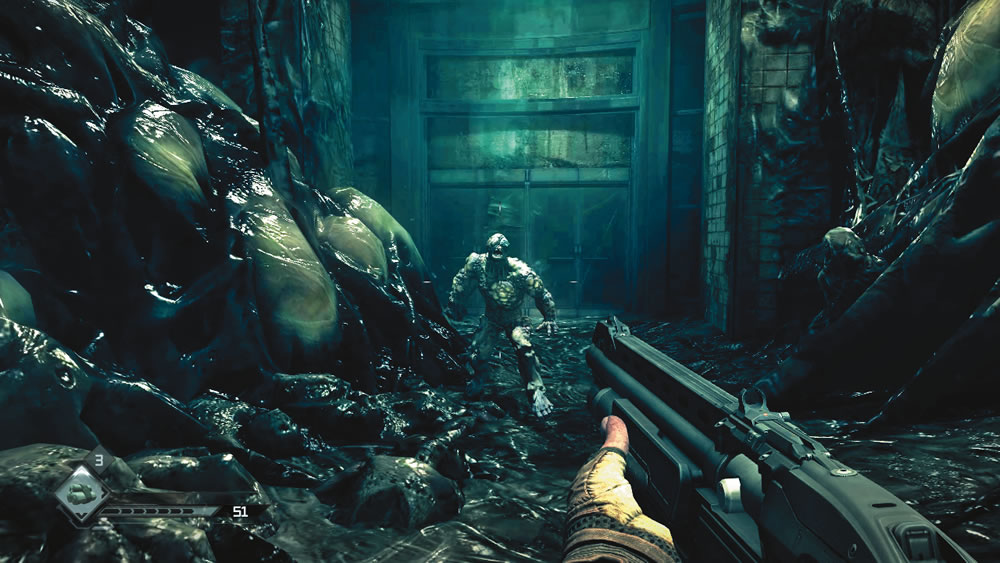
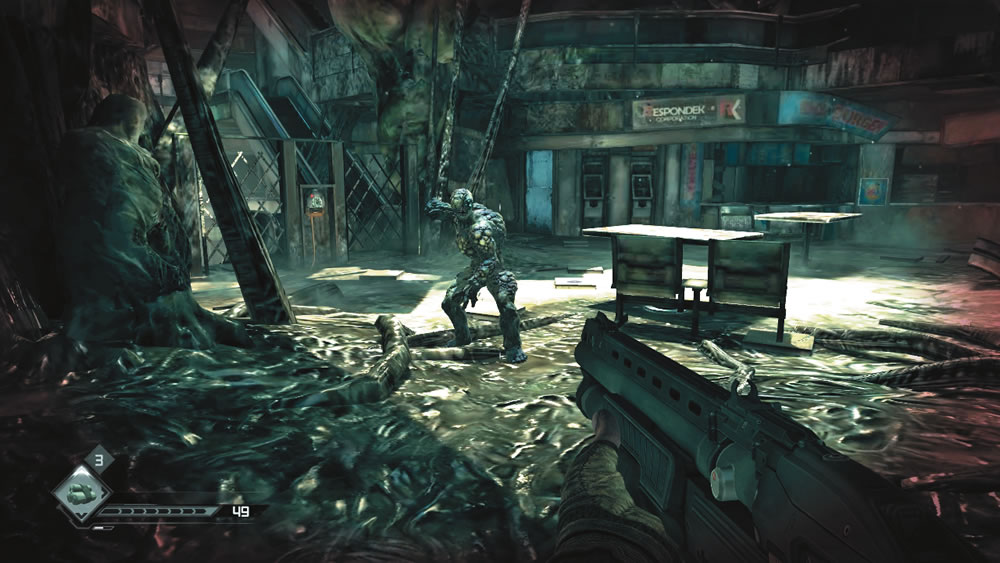
At the bottom of the steps, turn to the right. A mutant covered in rock-like scales is huddled on the ground, flanked by some slimy pods—this is a slime mutant. With the Combat Shotgun in hand, rush up behind the slime mutant and shoot him in the back. This isn’t enough for the kill, so keep hammering him with Buckshot until he’s down for good. If the slime mutant manages to get back to his feet, be ready to dodge its spitting attack, otherwise its slimy secretion will coat your face, making it difficult to see. In any case, avoid close contact with these enemies—their melee attacks are extremely deadly. Once the slime mutant is down, pass through the nearby doors to enter a shopping mall.
Shopping Mall
New Objective: Switch the breaker
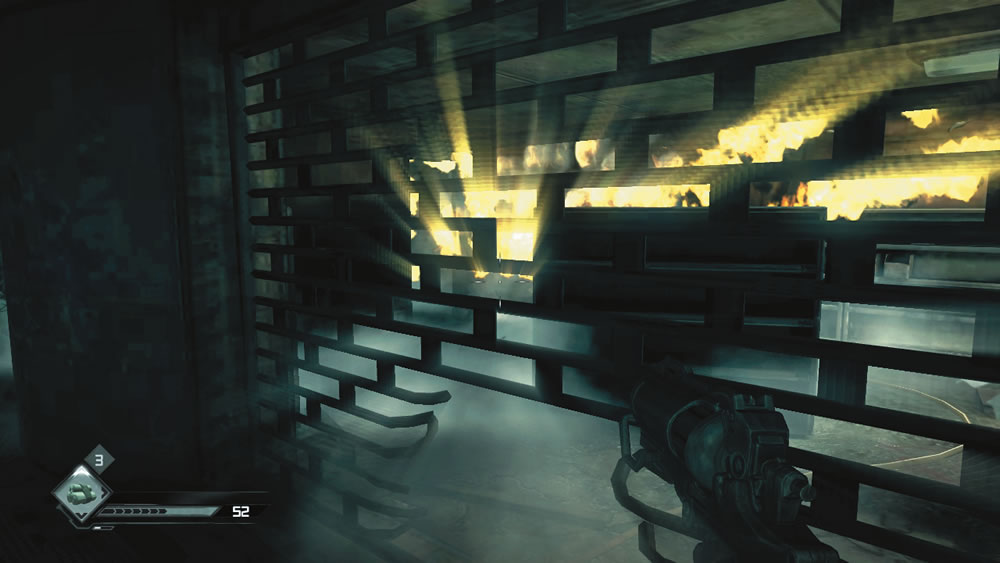
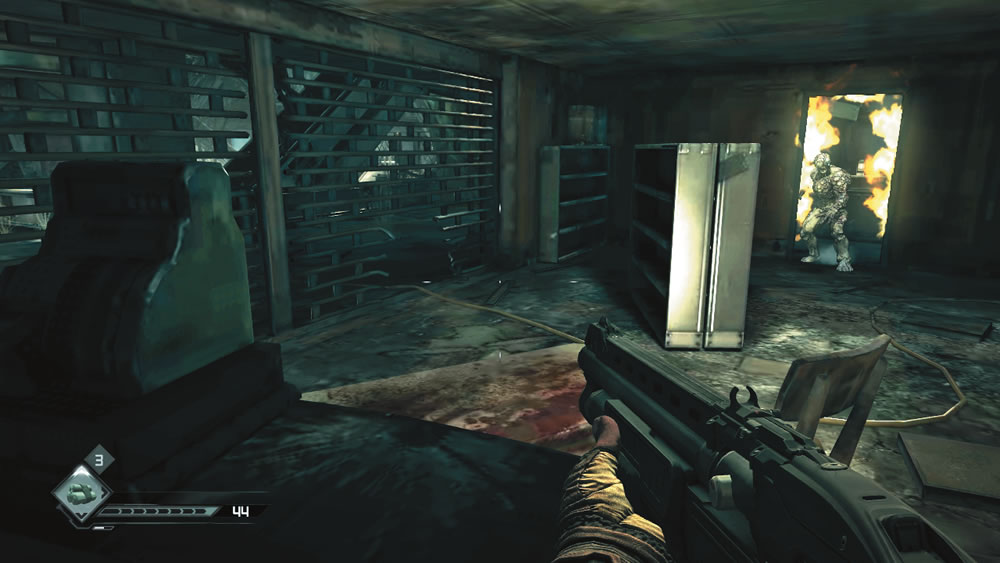
A small gate in front of the mall’s escalator blocks your path here. Like the gate you encountered earlier, it is operated by a switch that currently has no power. Follow the yellow power cable from the switch to a small shop, where the cable passes under a security gate. While peering through the security gate, glance to the left side of the shop to spot a pair of yellow gas tanks propped against the outer wall. Equip your Settler Pistol and fire a few rounds into these tanks until they explode—you now have an entrance into the store. Circle around to the left and enter the store through the flaming doorway. Before following the power cable to the adjoining storeroom, raid the store’s shelves for ammo and other junk.
Now follow the cable to the store’s back room to find the circuit breaker. Flip the switch to restore power to the gate by the escalator. As you exit the store, watch for a slime mutant dropping from the ceiling. Quickly take him down with a few blasts from your Combat Shotgun. As you near the escalator, a second slime mutant appears. Blast him with your Combat Shotgun while avoiding his attacks. Finally, you can restore power to the switch by the escalator. As you turn the switch, the gate in front of the escalator opens very slowly, making a loud grating sound as the metal gate scrapes against the floor. Take this as your cue to find a more defensible location.
Customers vacated this mall long ago, but you can still find plenty of goodies to add to your inventory. Build a Lock Grinder and breach the locked door to the right of the escalator. A variety of ammo waits inside the closet, including some Electro-Bolts for your Striker Crossbow. If you’re running low on ammo, raid this closet before activating the switch next to the escalator.
As the gate in front of the escalator opens, race back to the store and take cover behind the counter. From this position you can easily cover the two entry points: the doorway, and the small hole in the security gate. Before long, mutants and slime mutants come rushing into the store. Stay behind the counter and blast them with your Combat Shotgun. Keep some Bandages handy in case you take heavy damage. The mutants are particularly vulnerable as they crawl through the hole in the gate. Use this opportunity to rush over and shoot them in the back at close range before they can get to their feet. Once the attack dies down, cautiously exit the store, but watch out for a couple more mutants on the mall’s upper level lobbing fireballs in your direction. Quickly take them down with the Assault Rifle or Sniper Rifle. Descend the escalator and turn right to exit the mall.
Shanty Town
Outside the mall there’s a large crate with a variety of ammo spread across the top, including some Steel-Tipped Bolts for your Striker Crossbow. After gathering the ammo, turn your attention to the mutants patrolling the street below. Use your Striker Crossbow and Wingsticks to silently take out as many mutants as possible. When using the Striker Crossbow at this range, wait for your target to stop moving, then drive a Steel-Tipped Bolt through its head for a stealthy instant kill. But no matter how careful you are, your presence won’t go unnoticed for long. As the mutants rush up to your elevated position, switch back to your Combat Shotgun and greet them with a blast of Buckshot. When the area is clear, descend the nearby steps to reach the street. A few more mutants come charging at you here, but they’re no match for your Combat Shotgun and Wingsticks. Continue to the end of the street and look for an open door on the left.
The raspy vocalizations of mutants can be heard nearby as you enter this small shanty town, not far from the hospital. Load your Combat Shotgun to capacity and cautiously step forward. Keep creeping forward until you trigger the mutant attack. At that point, backpedal and open fire at the mutants charging directly at you. Most of the mutants attack from the main road along the left side of the town, so as long as you keep them within sight, they’ll have a hard time flanking you. Once the mutant attack is over, climb the set of steps at the back of the shanty town—there’s another locked door at the top of the steps. Build a Lock Grinder to force your way inside a closet filled with more ammo and supplies.
Hospital
New Objectives:
Find the Defibrillator Upgrade in the hospital
Defeat the mega mutant with your Rocket Launcher
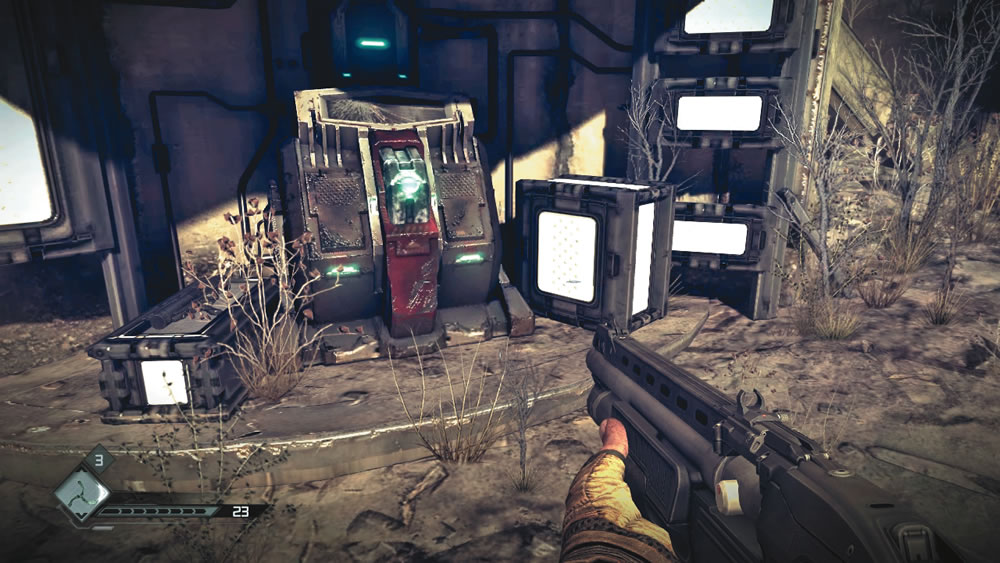
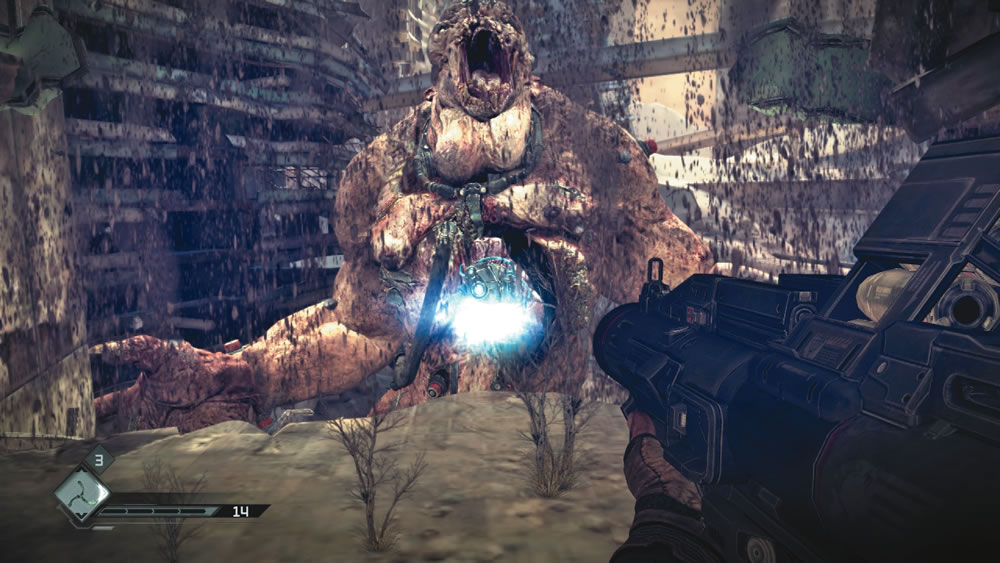
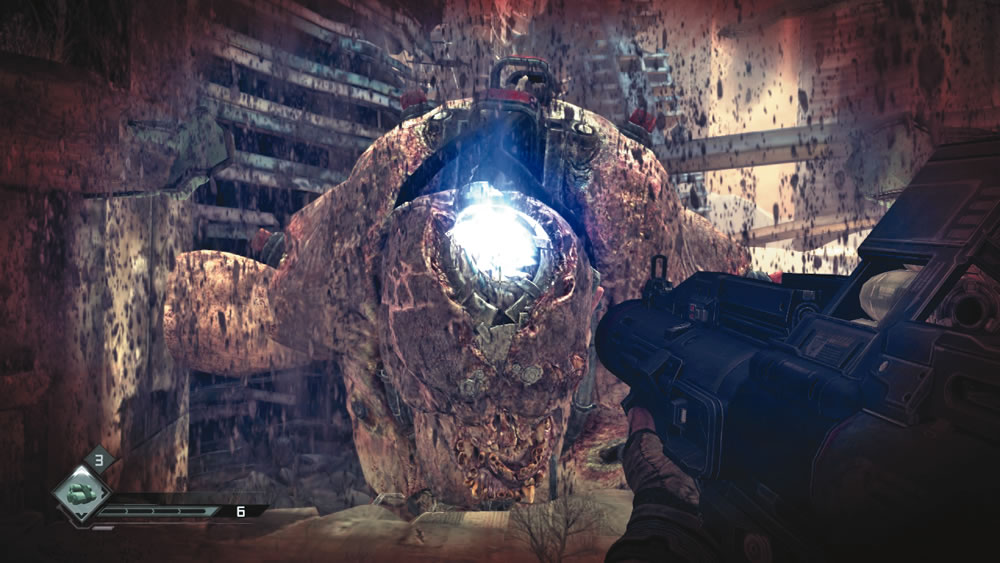
Follow the dim stairways and corridors of the hospital to this large, two-tiered room. On the lower level, grab the Rocket Launcher sitting next to the large dispensary machine. The machine doesn’t dispense medicine—it dispenses HE Rockets for your new weapon! Grab the HE Rockets from the machine and then turn around. That giant mutant you saw earlier has found you. This is the mega mutant! Race up the steps to the second level of the room to get a better view of this monster. He tears away the outer wall and emits a deafening roar. As he leans back, a glowing device is revealed on the mega mutant’s chest—take aim with the Rocket Launcher and hit this weak spot with an HE Rocket. The mega mutant stumbles backward after being hit in the chest. Now you’ve made him very angry!
The mega mutant decides to retaliate by launching a few projectiles of his own. As he grabs chunks of debris from the nearby structure, a red laser is emitted from the top of the mutant’s head. This is a targeting laser showing the impact point of the incoming debris. Get out of the way before you’re smacked with a chunk of concrete. As you dodge the incoming debris, study the device on the mutant’s chest—it flashes just before he throws. You need to hit this weak spot with another HE Rocket just before the mega mutant throws the debris. For best results, line up your shot prior to the mutant’s throw so all you have to do is pull the trigger once the glowing device is exposed. It may take a few attempts before you score a hit. If you run low on ammo, return to the lower level and retrieve more HE Rockets from the dispenser.
After hitting the mega mutant in the chest, the creature approaches and attacks at close range with his fists. Once again, the targeting laser gives away the location of his intended attack. If the laser is pointing in your direction, move fast! Eventually the mega mutant gets frustrated and grabs the building with both hands, shaking the structure violently. As he does this, a large glowing spot appears atop his head. Hit this spot with an HE Rocket to stop his attack. You must repeat this circuit three times to defeat the mega mutant, hitting him in the chest, followed by hitting him in the head. After hitting the mega mutant in the head for the third time, he finally collapses. The tremble caused by the mega mutant’s collapse opens a doorway on the lower level.
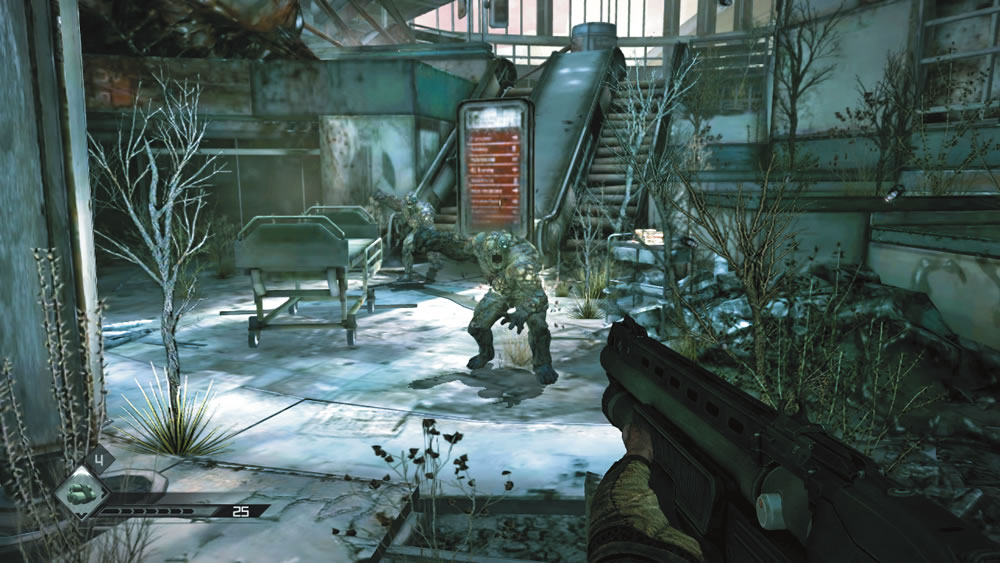
Follow the stairs and corridors to the hospital’s main lobby, grabbing a few pick-ups along the way. There are also a few mutants roaming nearby, so keep your Combat Shotgun at the ready. In the lobby you encounter even more mutants, including a few slime mutants. Quickly dispatch them with the Combat Shotgun or, if you’re low on ammo, the Rocket Launcher can put down the slime mutants with a single shot. Ascend the nearby escalator to confront more mutants, including a couple lobbing fireballs at you. Finish off the slime mutants first, and then deal with the fireball-launching threats on the walkways above.
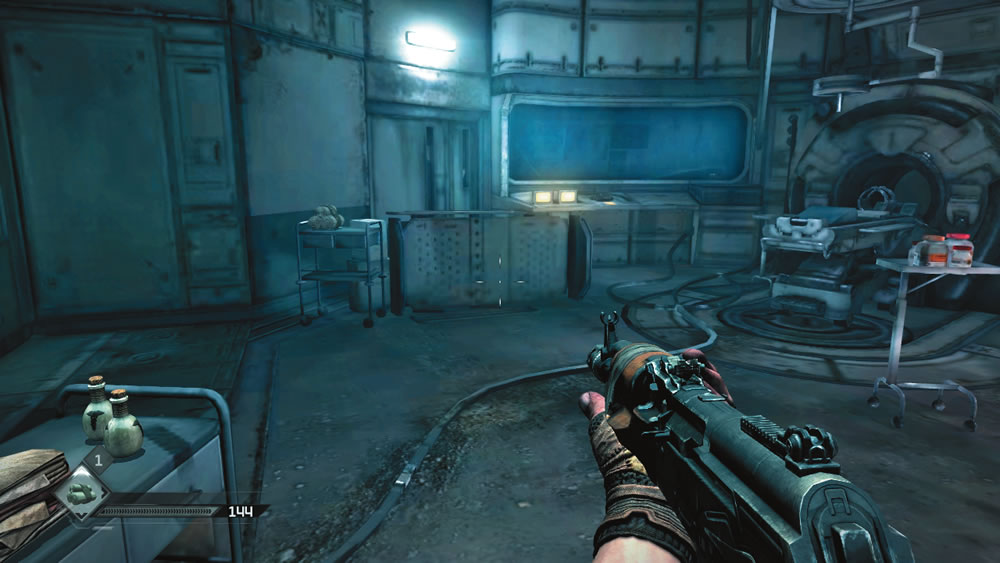
Climb another escalator flanking the atrium and be ready to battle a few more mutants on the next floor. After clearing a path, proceed through a bloody corridor until you come to a relatively clean room with an MRI machine. This room is filled with Bandage-making supplies as well as other useful pick-ups. Most importantly, the Defibrillator Upgrade is located on the counter just below the large blue display screen. Shortly after grabbing the upgrade, a few large tremors shake the building. Hold your ground and wait for a few mutants to come charging through a doorway, next to the room’s entrance. Take them out with your Combat Shotgun or a few well-placed HE Rockets from the Rocket Launcher.
New Objective: Take the Defibrillator Upgrade
You can’t leave the hospital through the way you entered—a door has sealed behind you. Use the passage opened by the mutants to access a convenient stairwell leading back to the area where you first entered the Dead City. Blast mutants and grab some items on the way out, then make your way back through the tunnel. It’s time to get back to Kvasir and see if he can install this Defibrillator Upgrade.
Kvasir’s Lab
Outside the Dead City, find your Dune Buster and race back to Kvasir’s lab. Remember, there may be bandit vehicles in the area when you first get back in your Dune Buster. Be ready to fend off these attackers or simply use boost to outrun them. Kvasir is happy to see you’ve made it back and wastes no time in installing the Defibrillator Upgrade. You now have twice the resurrection power. Kvasir tells you that despite your new upgrade, the Authority will catch up with you. He feels your future lies with the Resistance. While you were gone, Kvasir completed his analysis of the Feltrite sample. He says the bandits are refining the Feltrite into an explosive accelerator. Kvasir has neutralized the sample and wants you to deliver it back to Mayor Clayton.
Did you make it out of the Dead City in one piece? If so, you earn the It’s Alive! achievement/trophy.
Wellspring
New Objective: Take the sample to Mayor Clayton
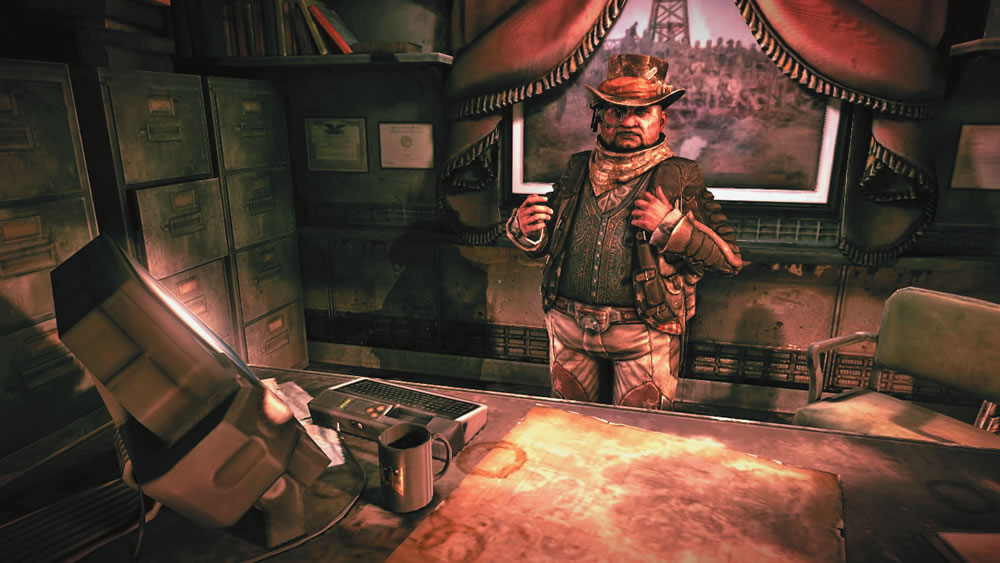
Return to your Dune Buster and make a beeline for Wellspring. If you’re running low on Shields and Minigun Ammo, don’t bother engaging any bandits you may encounter in Scorcher Territory. Instead, boost your way past the bandits and deploy Shields to avoid taking damage from your pursuers. Once within the protective walls of Wellspring, pay Mick to repair any damage to your ride and then go to Mayor Clayton’s office. The Mayor is troubled by Kvasir’s findings regarding the Feltrite sample, but is grateful for your help, handing over $200. If you’re looking for more work, he suggests seeing Sheriff Black. On your way to the Sheriff’s office, stop by the Second Chance Bar to receive payment from Sally for any bandit vehicles you destroyed during your extended outing.
Stanley Express
Stanley
Objective: Deliver packages for Stanley.
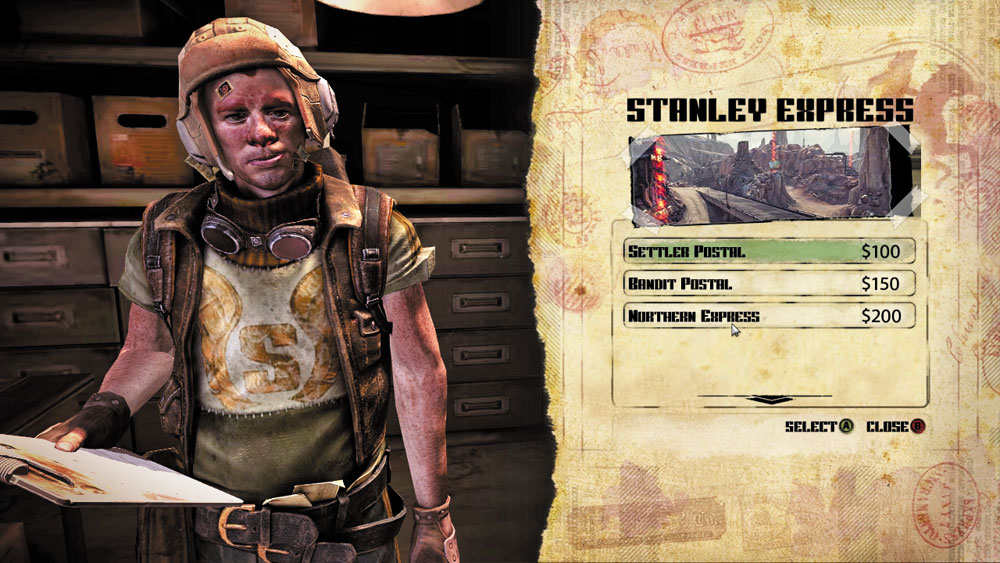
The name’s Stanley and this package service is the Stanley Express. If Stanley can’t get it there, my motto goes, nobody can.
But you see, I need drivers. Lost a few lately. Now don’t worry, the job couldn’t be easier. All you gotta do is select a destination and off you go. Of course there is a little time pressure. People want their things when they want their things, right? But you make the delivery on-time and I’ll pay you well. Miss the time and sorry—you get nothing. It’s called Stanley Express, not Stanley Almost Express.
Provided Equipment: None
Stanley Express Jobs
Name
Packages
Time Limit
Payment
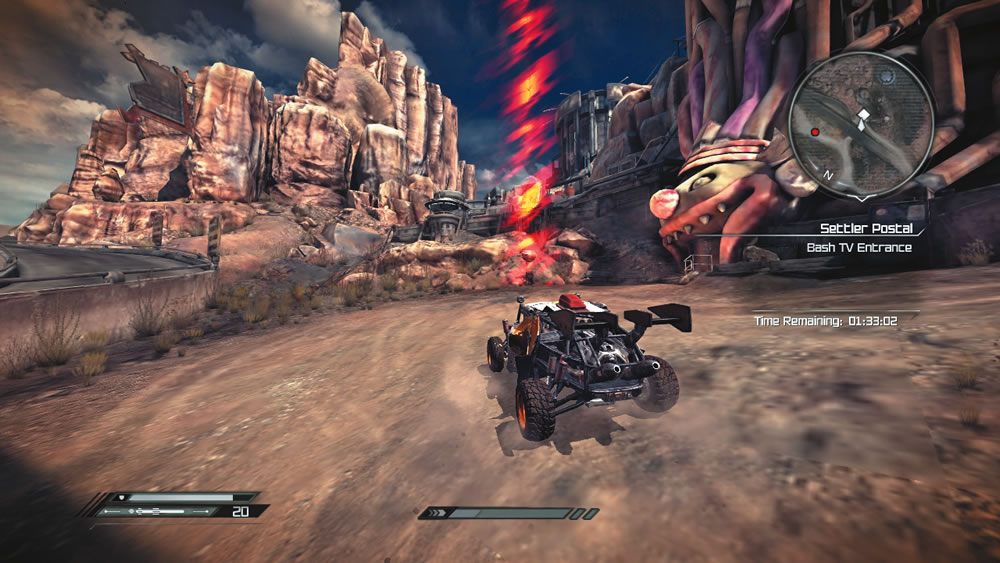
Settler Postal
3
02:00
$100
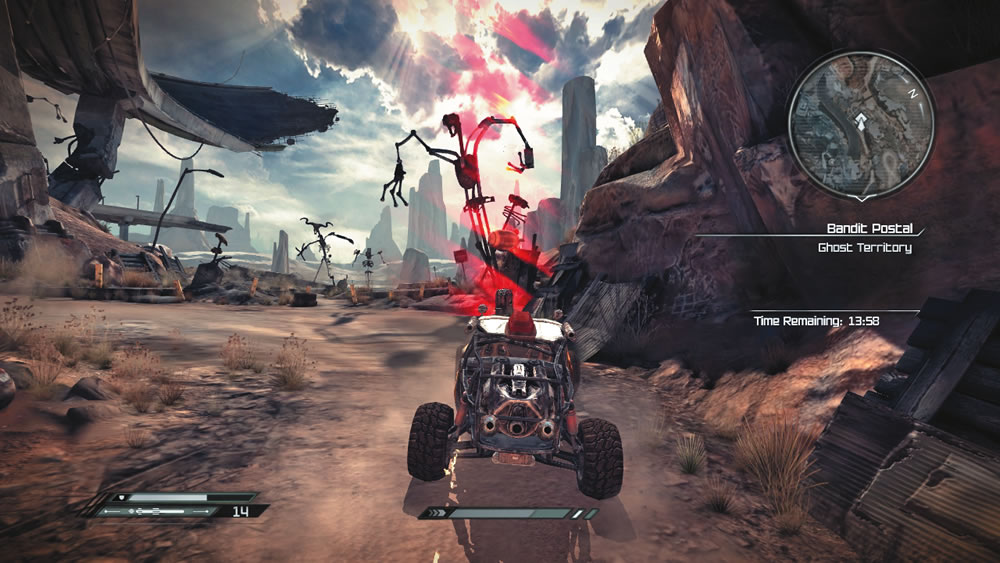
Bandit Postal
4
02:20
$150
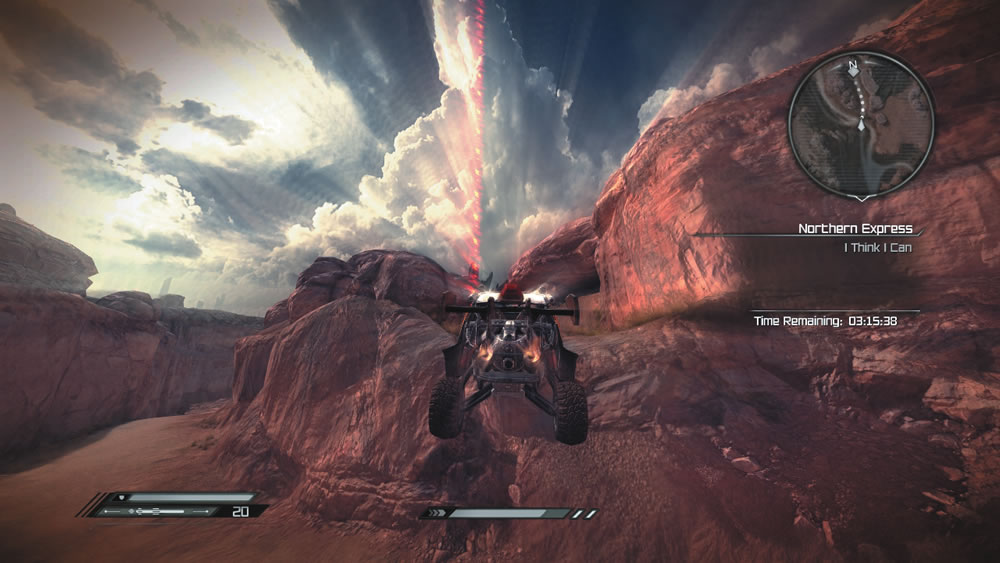
Northern Express
6
03:25
$200
The Stanley Express is a relatively easy way to earn some extra cash. You can find Stanley’s booth in the alley near Sheriff Black’s office. Before seeing what jobs the Sheriff has for you, consider running a few routes for Stanley. The task is relatively simple. Stanley provides you with a buggy and several packages you must deliver within a certain amount of time. You simply have to drop the packages off at the boxes posted outside key locations. However, you must drive fast following the path shown on the minimap. Also, avoid getting into fights with bandit vehicles. Simply outrun the bandits using boost while focusing on your deliveries.
This is by far the easiest route and a good way to get familiar with the job. All three deliveries are within close proximity to each other, giving you plenty of time to complete the course in the two minutes provided. Each delivery box is marked by a glowing red column of light. Make contact with the box to deliver the package, then zoom to the next box—the path to the next box is automatically updated on your minimap. However, keep an eye open for bandit vehicles and do your best to avoid head-on collisions. While the time limit is a factor, so is the health of your buggy. If your buggy doesn’t survive, the job is a failure. As long as you use boost liberally, you’ll have no problem making these three deliveries.
While there’s only four packages to deliver here, the boxes are spread out, requiring an even greater reliance on boost. The Shrouded Bunker and Scorcher Territory boxes are relatively close to Wellspring, but then you must backtrack to deliver the packages to the Southern Valley before making the last-second sprint to Ghost Territory. There is very little margin of error, so keep boosting and avoid any direct contact with bandit vehicles.
The first delivery here is the trickiest. To reach the first box, you must perform the I Think I Can jump. Race up the ramp-like incline on the opposite side of the canyon and apply boost to jump the gap. If you fail to clear the canyon on your first attempt, delivering the remaining packages in the allotted time is doubtful. But if you make this first jump, you have a good chance of completing all the deliveries. However, there is no margin for error. You must continue boosting from one box to the next. There are two Authority Prison boxes at the end of the course. The first is located up a dead-end incline outside the prison facility and the last one is located just outside the prison gate.