
Rage Guide Walkthrough Eastern Wasteland
Assault Capital Prime
Captain Marshall
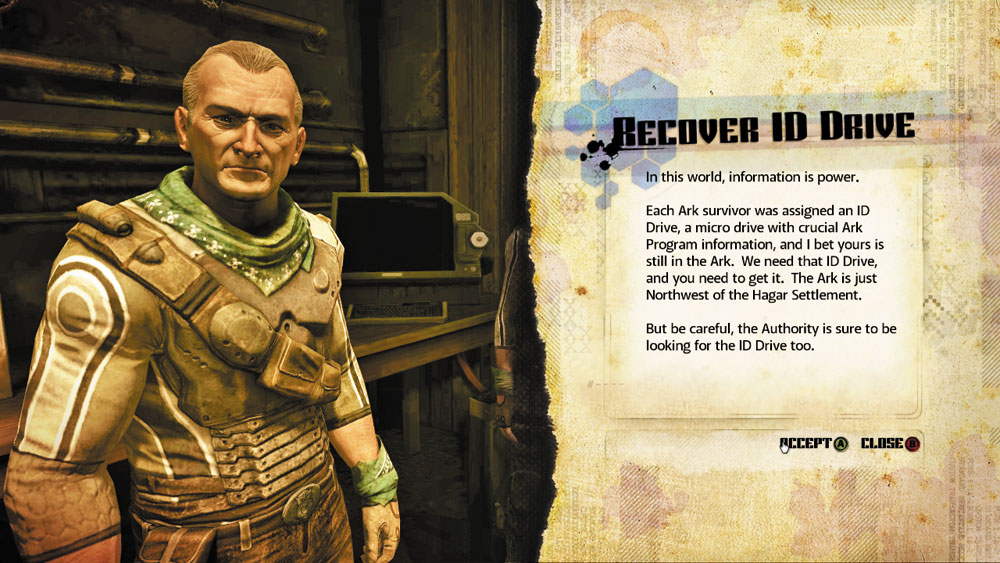
Objective: Begin the revolution!
This is it, what we’ve been planning for so many years. Now, we hit the Authority where it hurts.
Take this Code Cipher. You’ll be able to access a personnel entrance near Capital Prime’s main gate. Be careful, it will be heavily guarded. Once inside, get to the Ark Control Center, and upload that data from your ID Drive. That will trigger the emergence of the remaining Arks.
Mankind’s future depends on you now. God Speed soldier.
| Provided Equipment | ||
| ICON | ITEM | QUANTITY |

|
Code Cipher | 1 |
Reward: None
New Objective: Head to the Gates of Capital Prime
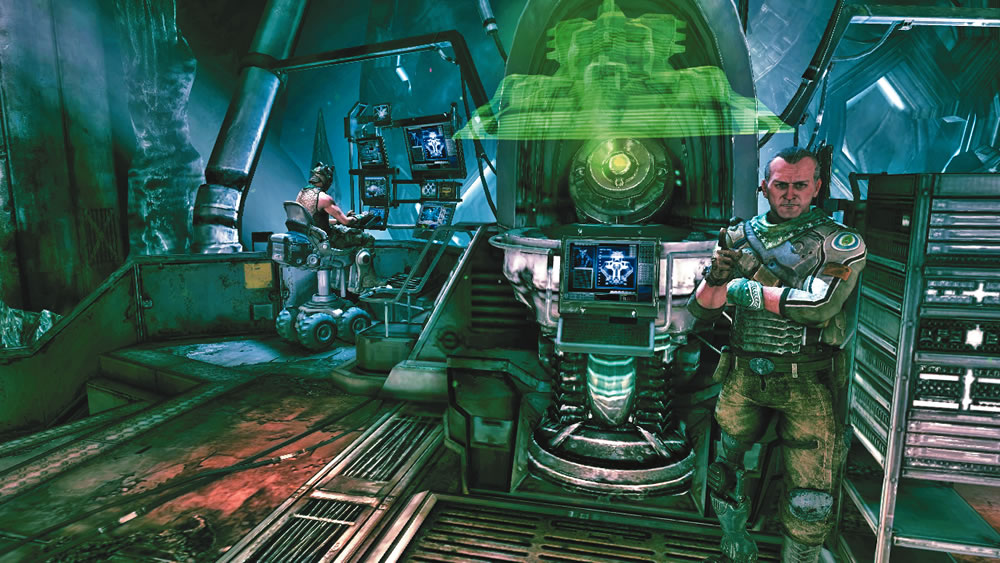
Now’s the time to land a decisive blow against the Authority. Using a Code Cipher and the data on your ID Drive, you can now enter Capital Prime and trigger the emergence of all the other Arks on the planet. The Resistance has plans and people in place to support the newly emerged Ark survivors. The influx of Ark survivors around the world will give the Resistance a sizable army, capable of challenging the Authority directly. Still, Captain Marshall warns that it won’t be an easy revolution. The Authority still has a technological edge, and their progress in weaponizing mutants remains unknown. But this is the best shot the Resistance has at turning the tide, and your success in this mission is pivotal for their cause and the lives of untold numbers of Ark survivors.
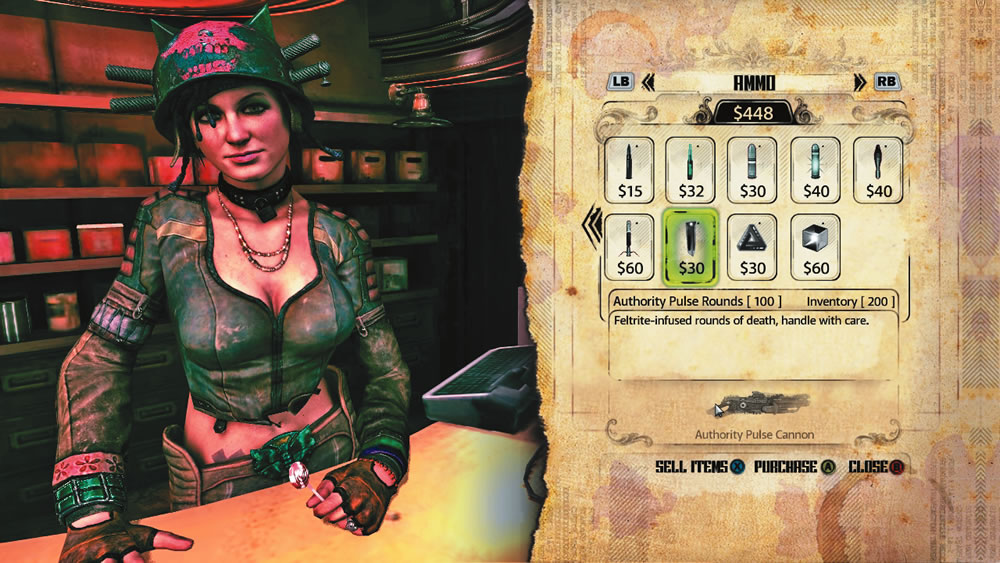
Following Captain Marshall’s pep talk, leave the Resistance Base and head upstairs to the Fez Bar to get your payment from Brick for taking out those Authority Predators. Brick gives you $20 and 2 racing certificates for each Predator that you destroyed. Now there’s an even larger Authority presence in Subway Town, consisting of enforcers and drones. Don’t worry about getting spotted—you can’t be attacked here. After getting some cash and racing certificates from Brick, head upstairs to Jani’s Supplies. Sell any junk you have first, including items you know you will not use. Next, purchase Bandages or the ingredients to make some of your own. The action gets pretty rough in Capital Prime, so you’ll want to be able to heal quickly. When it comes to ammo, stock up on Authority Pulse Rounds for your new Authority Pulse Cannon—500 rounds should suffice. If you have lots of cash, buy a few more BFG Rounds. Make sure you have a few EMP Grenades and HE Grenades, too. Don’t blow all your cash at Jani’s, however. Save at least $500 to spend at Sparky’s Auto Parts. The entrance to Capital Prime is guarded by multiple Authority Predators, so stock up on Shields and at least 12 rounds of Pulse Ammo. While you’re at it, spend any remaining racing certificates you have on upgrades for your Monarch. Check over your supplies one last time, then return to Saul’s garage, hop in your Monarch, and begin the treacherous drive to Capital Prime.
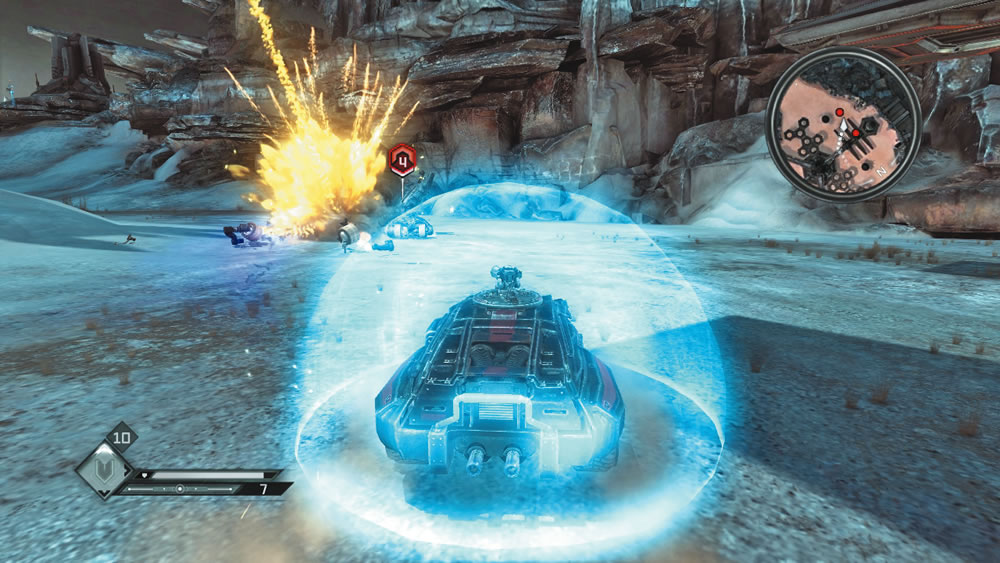
You encounter the first of many Predators before crossing the Authority Bridge. Arm your Advanced Pulse Weapon, lock on to the Predator, and blow it to bits with a single shot. A second Predator attempts to ambush you at the far side of the bridge. Deploy Shields and blast it with your Advanced Pulse Weapon. Beyond the Authority Bridge, utilize boost to reach the Gates of Capital Prime as quickly as possible, zooming past other Predators positioned along the path. If you stop and engage every Predator along the way, you’ll probably run out of Shields and Pulse Ammo, so just blow past the Predators at top speed. Follow the path shown on the minimap to find the ventilation shaft where you can enter Capital Prime, but don’t exit your vehicle just yet. Authority Predators continually deploy outside Capital Prime, so look for the red dots on your minimap and hunt down all nearby threats. When there’s a lull in Predator activity, race to the ventilation shaft, hop out of your Monarch, and interact with the terminal at the end of the shaft to insert the Code Cipher, giving you access to Capital Prime.
Capital Prime
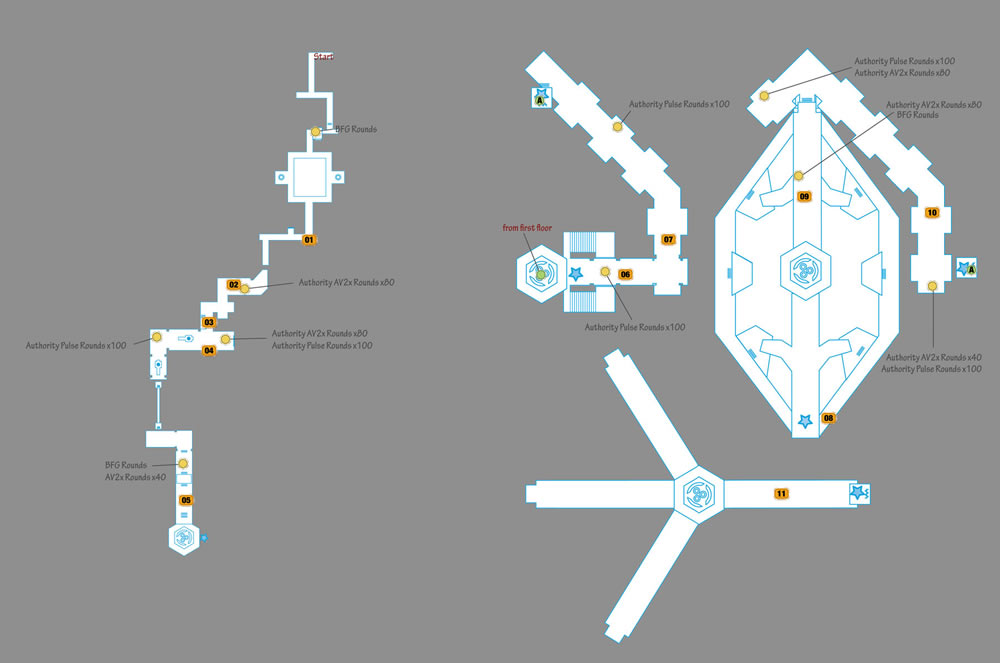
New Objective: Locate the Nexus Core
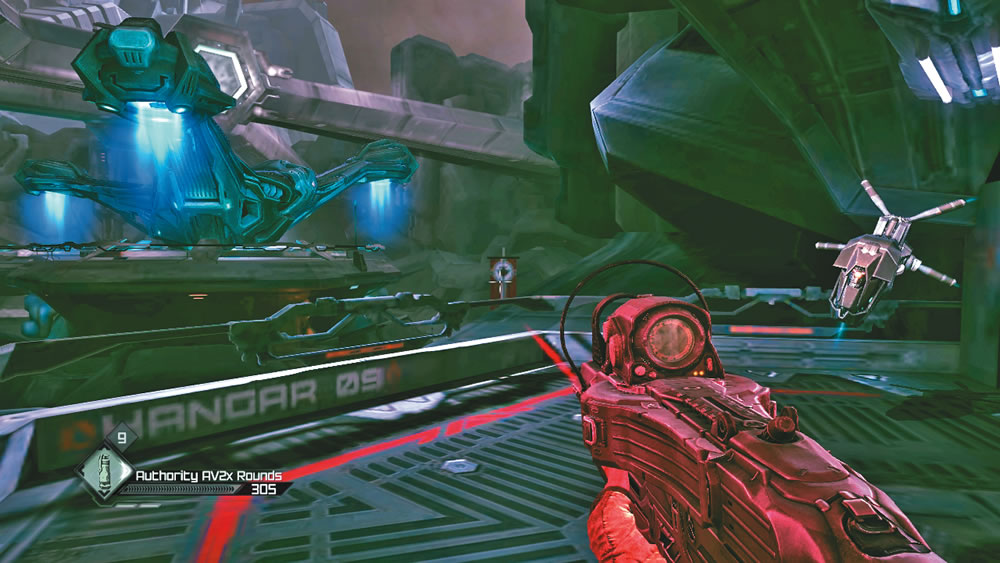
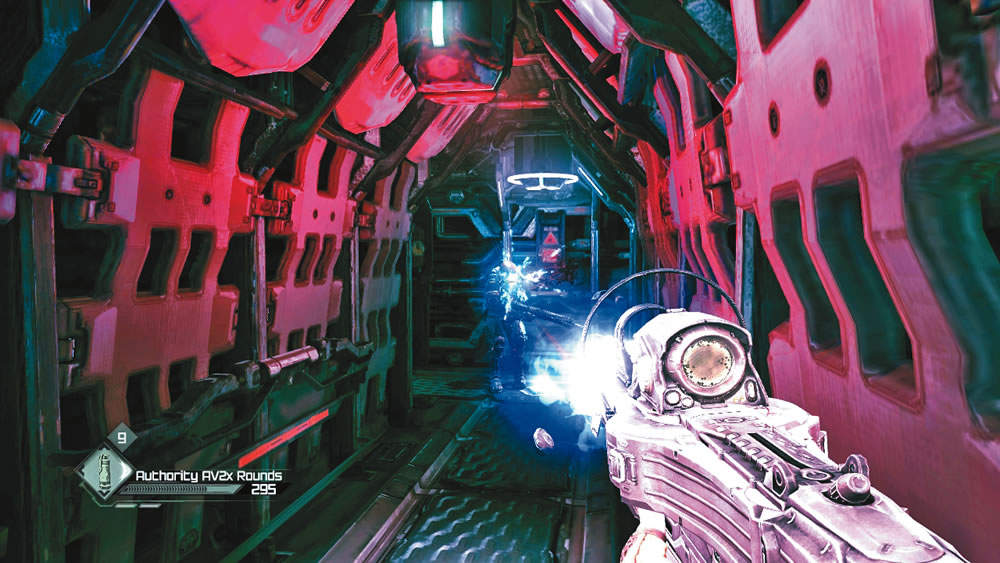
Crouch and crawl through the ventilation shaft until you come to a maintenance tunnel. Stand up and jump over the crate, and look for a stash of BFG Rounds on the left while advancing through the tunnel. The tunnel leads to a platform outside overlooking a dropship landing pad. There’s also an Authority drone hovering nearby that takes notice of you. Even if you shoot the drone before it sounds an alert, your cover is blown. Turn down the next corridor and be ready to gun down an enforcer that arrives to investigate. The Authority Machine Gun loaded with Auth
ority AV2x Rounds is sufficient for taking out this lone enforcer.
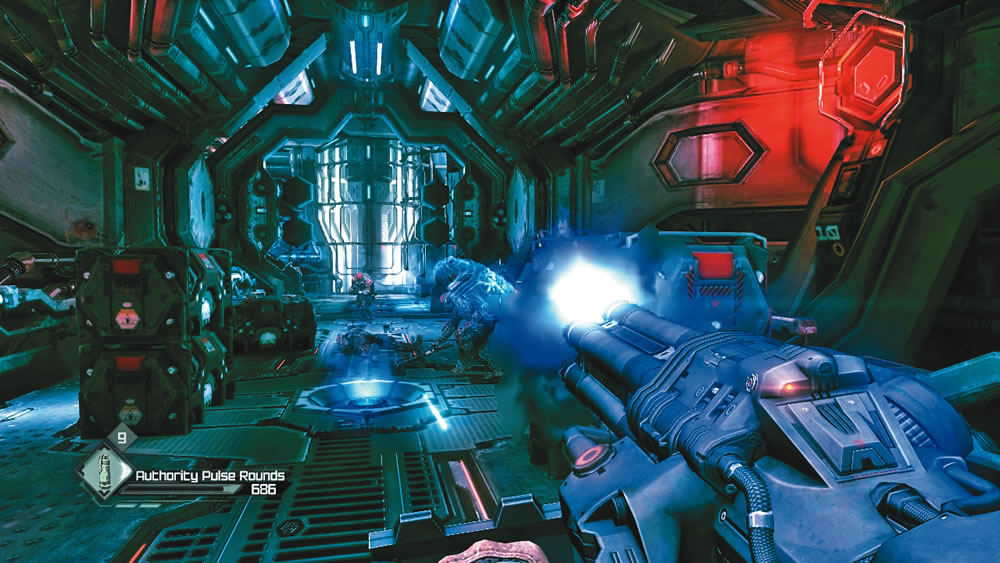
By the time you reach this corridor, an enforcer has taken up a defensive position, hiding behind a crate. Wait until he pops out, then blast him. A security gate closes behind you as you enter the corridor, prompting more enforcers to attack, including one equipped with an energy shield. Switch to your Authority Pulse Cannon and open fire on the reinforcements, focusing your fire on the enforcer with the energy shield first. The Authority Pulse Cannon can deplete the energy shield over time, but it’s much faster to take it out with an EMP Grenade. Once the enforcer with the energy shield is down, the remaining enforcers aren’t difficult to dispatch with this awesome weapon. Don’t forget to search their bodies for ammo and other items.
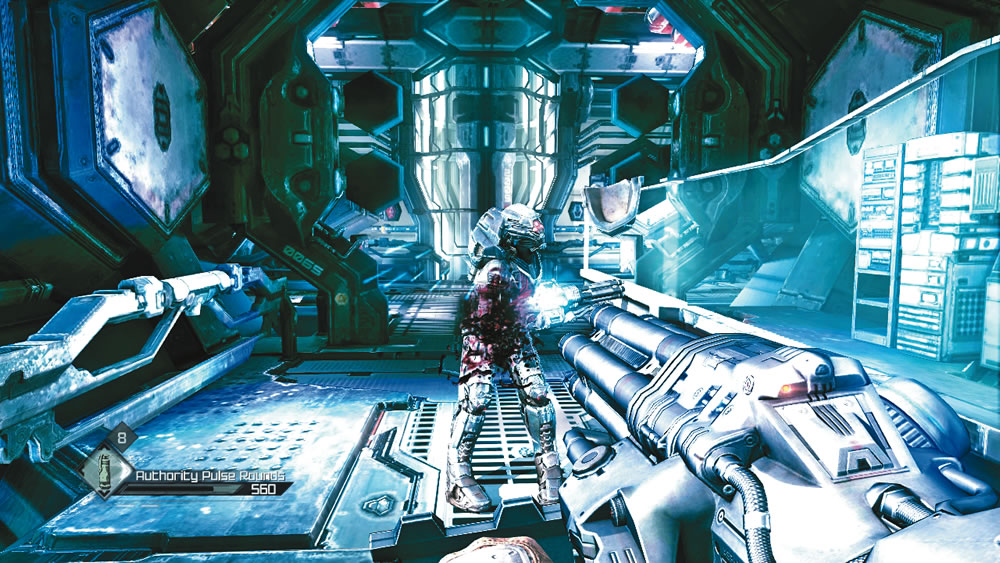
Advance to this control room, making note of the security gate closing behind you. On cue, more enforcers appear at the far end of the room. Quickly load BFG Rounds in your Authority Pulse Cannon and hold down the trigger to charge up the shot. A blue, glowing ball of light appears at the end of the weapon’s barrel, growing in size until it erupts in a blinding flash that vaporizes all the enemies in front of you. There’s nothing left behind of the enforcers but black charred marks on the floor. Don’t pat yourself on the back just yet. Load Authority Pulse Rounds in the weapon and prepare to do battle with a formidable enemy. The next enforcer that marches into the control room is decked out in heavy armor and also equipped with an Authority Pulse Cannon. As soon as you spot him, open fire. Each shot that hits this enforcer knocks him back, preventing him from attacking. Keep up the pressure, stripping away his armor with each hit until he falls to the ground. However, if he manages to open fire, immediately take cover behind the crates near the room’s entrance. From there you can toss an HE Grenade toward him. The detonation of an HE Grenade is enough to stun him, allowing you to rip into him with your own Authority Pulse Cannon.
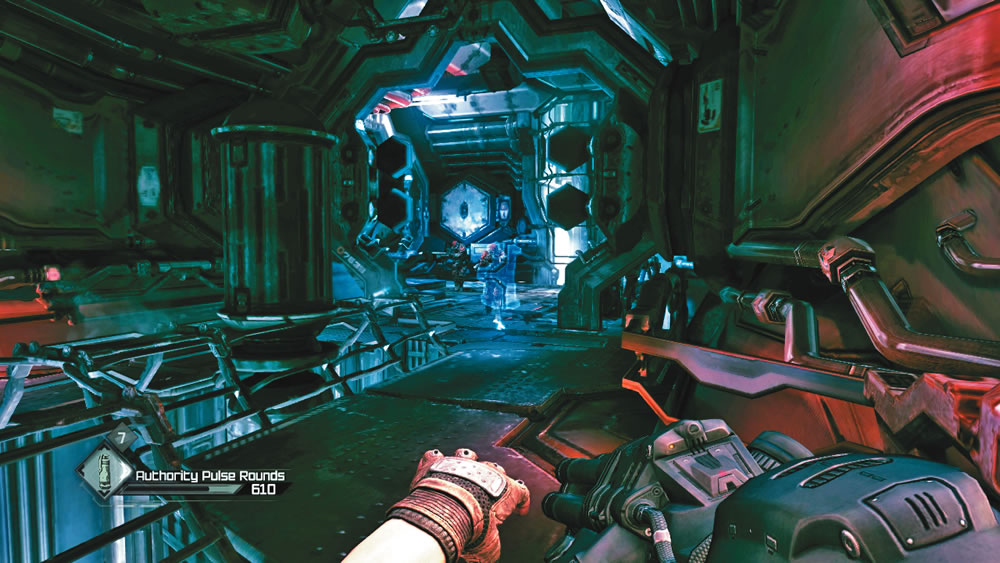
After exiting the control room, turn right to enter this corridor. A squad of three enforcers attempts to halt your advance here. Toss an EMP Grenade at the enforcer carrying the energy shield and then immediately open fire on all three enforcers with the Advanced Pulse Cannon. If you act quickly, you can catch all three in the weapon’s rapid fire before they can spread out. Each hit causes them to stumble backward, preventing them from firing their weapons. Attack these guys aggressively until they’re all down. More Authority Pulse Rounds can be found on a crate at the end of the corridor. Continue down the adjoining hall and ride the lift to reach the Nexus Core.
Nexus Core
New Objective: Initialize the Nexus Core
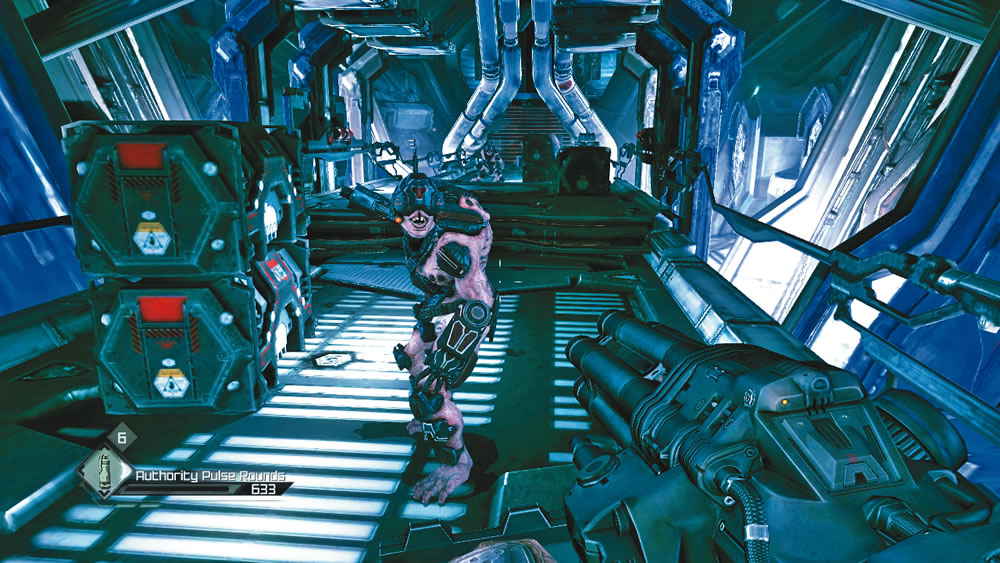
Step off the lift and advance to this bridge-like structure. A security gate closes behind you, preventing escape. Halfway across the bridge, several Authority mutants climb over the railings and attack. These are the experimental mutants Elizabeth warned you about. Each mutant is covered in light armor and their right arms have been replaced by a powerful pulse weapon. Move side to side to avoid getting hit by the incoming blue pulse blasts and take cover behind one of the crates if necessary. These mutants don’t just shoot—they also charge at you and perform melee attacks. Fortunately, it doesn’t take more than five shots from the Authority Pulse Cannon to kill these mutants. Keep moving and turning to avoid getting clubbed in the back by a mutant. Also, keep some Bandages ready to heal yourself. If your Authority Pulse Cannon runs out of ammo, instead of reloading, switch to your Authority Machine Gun to finish off the mutant attackers. Once all the mutants are dead, grab some BFG Rounds from the center of the bridge, then interact with the green terminal screen at the far end to initialize the Nexus Core. Step onto the platform and ride it as it rises higher within the core’s chamber. You must reach the very top of the Nexus Core chamber and interact with the terminals found there to initiate the emergence of the other Arks.
New Objective: Upload Ark coordinates
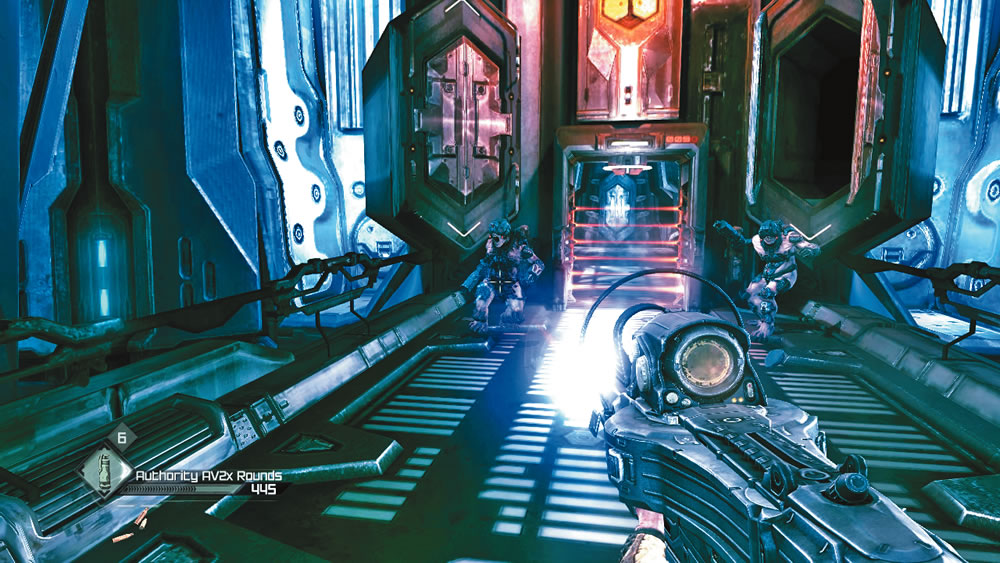
When the platform comes to a stop, turn toward the walkway blocked by a security barrier. As you step onto the walkway, two Authority mutants drop out of the hatches flanking the barrier. Mow both mutants down with your weapon of choice. Next, descend one of the two ramps flanking the walkway. Both ramps lead to the same platform where you must interact with a green terminal screen to deactivate the security barrier. Return to the walkway above and watch for more Authority mutants hopping out of a hatch near the deactivated security barrier, as well as in the adjoining corridor. Dodge their pulse and melee attacks while hitting them with your Authority Machine Gun or Authority Pulse Cannon.
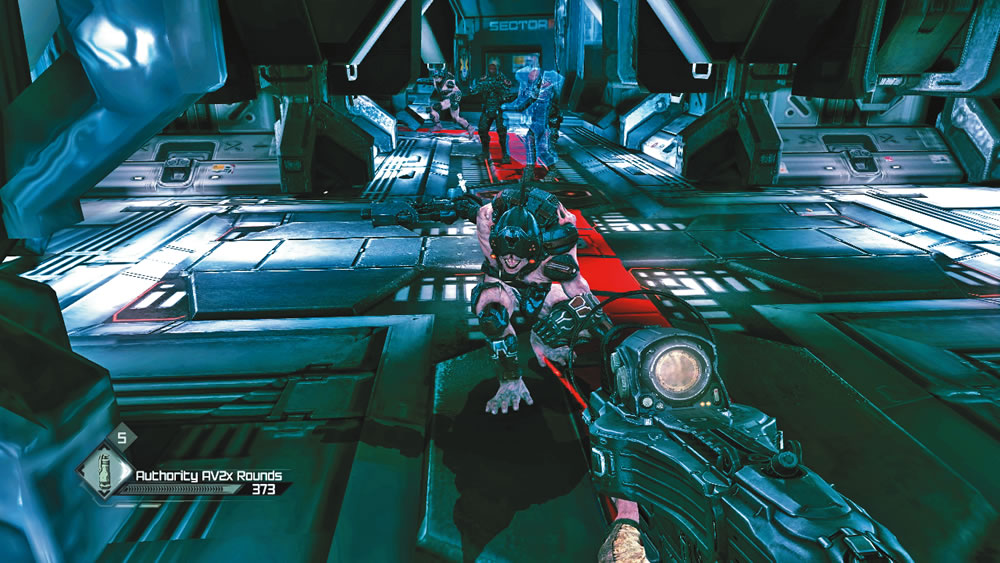
Turn left in the next corridor and watch out for more Authority mutants popping out of the hatches embedded in the walls. Further down the hall you’re attacked by a squad of enforcers. If you haven’t already, equip your Authority Pulse Cannon and immediately open fire while tossing an EMP Grenade at the lead enforcer carrying an energy shield. The Authority mutants fight alongside the enforcers, so don’t let your guard down. Clear out the corridor and then board the lift at the far end. Ride the lift to access a new walkway, higher in the Nexus Core chamber.
Prepare to engage more Authority mutants after you step off the lift—the Authority Pulse Cannon serves you well in this fight. Descend one of the ramps flanking the walkway while blasting the mutants. There is a green terminal screen just below the walkway where you entered. Interact with this screen to raise the platform in the Nexus Core chamber, however be sure to clear out all the Authority mutants first. After interacting with the terminal, return to the walkway above and step onto the central platform.
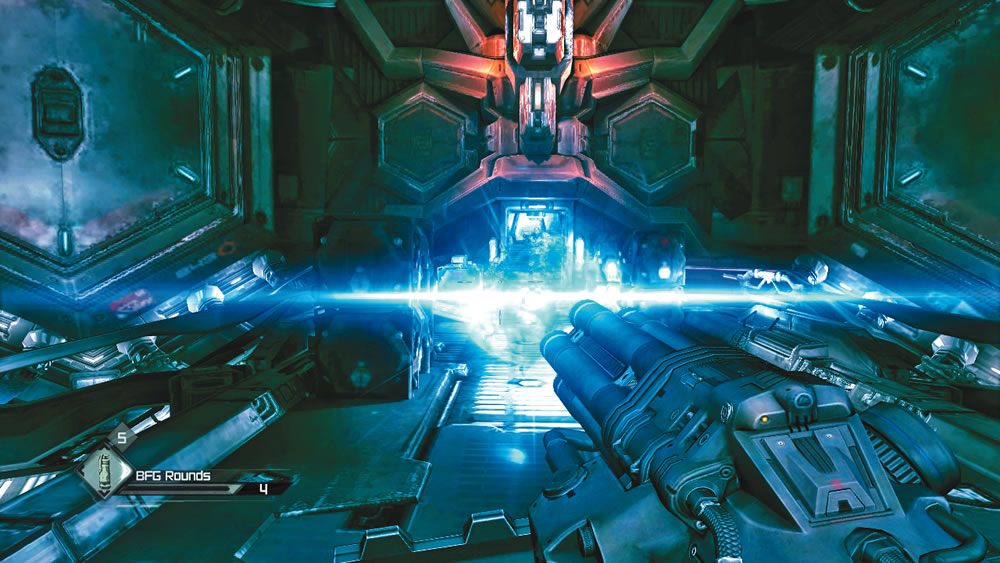
In the corridor beyond the platform, a small squad of enforcers approaches, joined by a heavily armored enforcer equipped with an Authority Pulse Cannon. Take cover behind one of the crates and load BFG Rounds in your weapon. Charge the weapon by holding down the trigger, then launch the BFG Round at the enforcers. The blast is strong enough to take out all the standard enforcers, but it only weakens the enforcer in heavy armor. Finish him off with Authority Pulse Rounds, along with any Authority mutants that show up. Grab the BFG Rounds on the crate near the doorway ahead and continue into the next corridor.
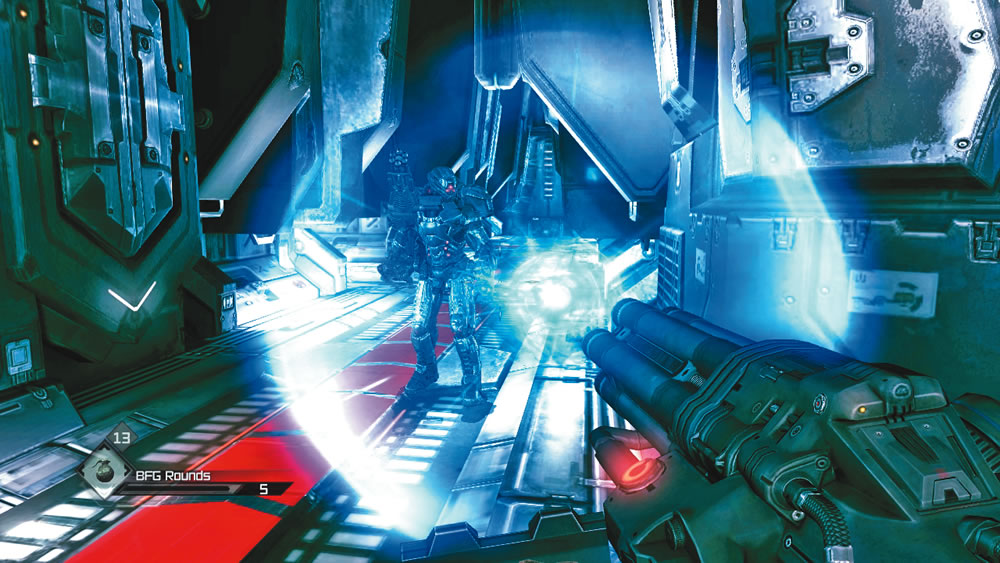
Upon entering this corridor, turn right and watch out for Authority mutants popping out of the hatches in the walls. Side step to avoid incoming pulse rounds and melee attacks while opening fire with your Authority Pulse Cannon. As you round the corner to the right, you come face to face with a few enforcers, including one equipped with an Authority Pulse Cannon. Backpedal if necessary to avoid getting hit by their incoming fire. If necessary, seek cover in one of the alcoves in the hall while exchanging fire. This is another good opportunity to fire a BFG Round. This instantly wipes out the standard enforcers while significantly weakening the guy with the Authority Pulse Cannon. Then finish him off with an HE Grenade. Grab the Authority Pulse Rounds at the end of the hall and then board another lift.
Nexus Core: Terminals
New Objective: Activate Satellite Positioning Terminal
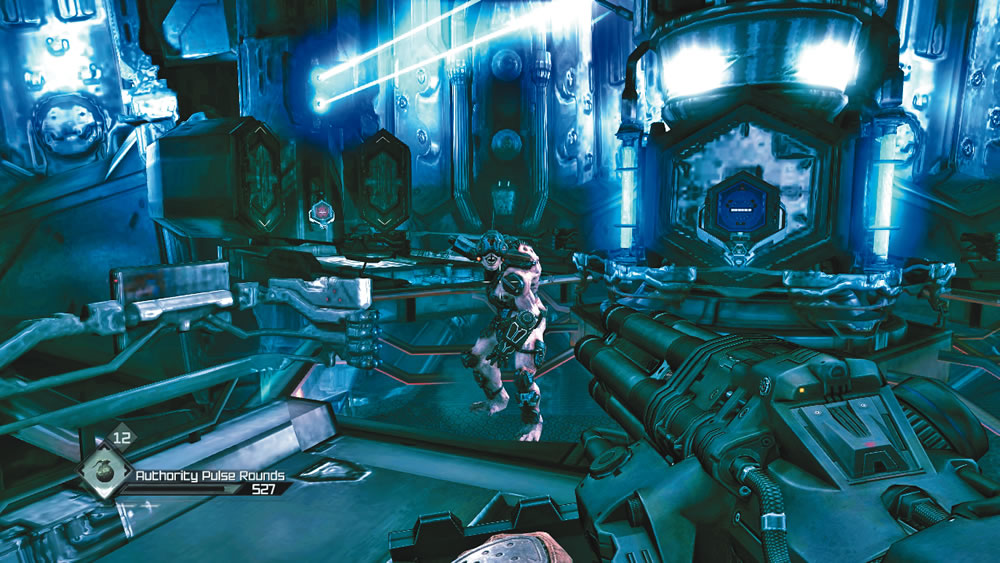
When the lift stops, step onto the walkway and interact with the green terminal screen to raise the central platform higher into the Nexus Core chamber. Once the platform is in place, you can now access the four Nexus Core terminals required to raise the Arks. Step forward and interact with the green terminal screen on the central platform—this is the ID terminal. After decrypting the data on your ID Drive, you’re ready to communicate with the other Arks. Locate the Satellite Positioning Terminal on the left and interact with its green screen. It takes a while to acquire the satellite positions, so step away from the terminal and battle the Authority mutants that are popping out of hatches surrounding the Nexus Core. Strafe around the central platform while opening fire with the Authority Pulse Cannon. There isn’t much room to maneuver on this platform and the adjoining walkways, but it’s important to keep moving, otherwise you’ll be an easy target for the Authority mutants.
New Objectives:
- Activate the Coordinate Decryption Terminal
- Activate the Data Transmission Terminal
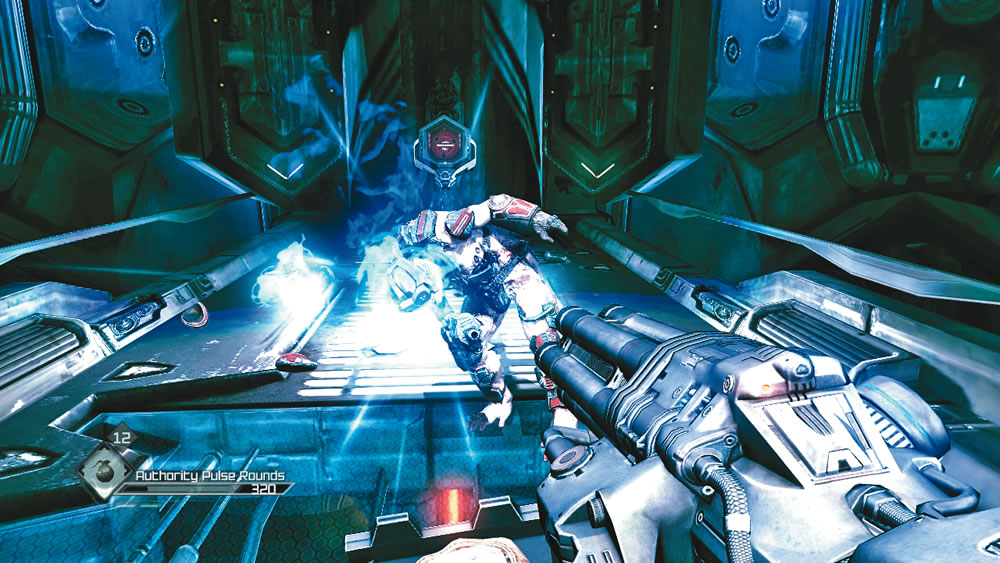
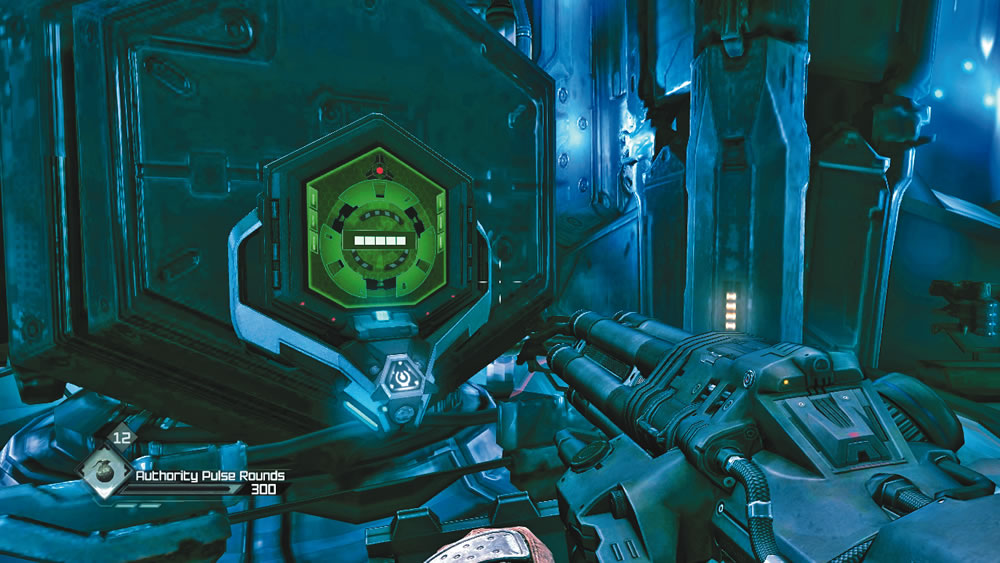
Eliminate the first wave of Authority mutants and listen for the computer to report that the satellite positioning is complete. Now you can interact with the Coordinate Decryption Terminal, located on the right side of the chamber. This triggers another wave of Authority mutants to appear, leaping from hatches surrounding the chamber. Once again, stay on the move and unleash carnage on your foes with the Authority Pulse Cannon. The action is too fast and frantic for firing BFG Rounds, so just keep pumping Authority Pulse Rounds into the swarming mutants. Once the second wave of Authority mutants is neutralized, you can finally interact with the Data Transmission Terminal. This sends the signal for all other Arks to emerge.