
Rage Guide Walkthrough Wasteland
Liberate Captain Marshall
Elizabeth Cadence
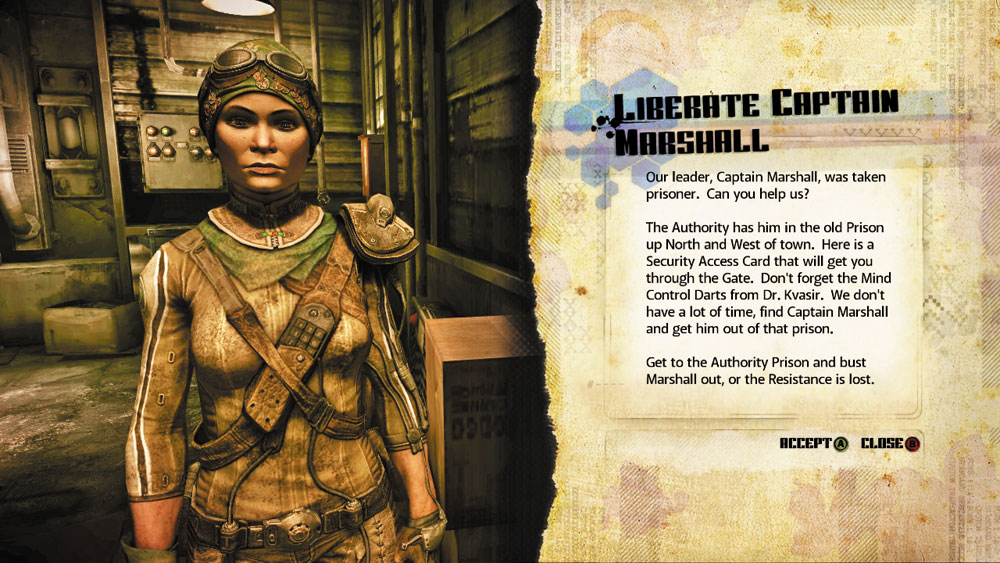
Objective: Free Captain Marshall from the Authority
Our leader, Captain Marshall, was taken prisoner. Can you help us?
The Authority has him in the old Prison up north and west of town. Here is a Security Access Card that will get you through the gate. Don’t forget the Mind Control Darts from Dr. Kvasir. We don’t have a lot of time.
Get to the Authority Prison and bust Marshall out, or the Resistance is lost.
| Provided Equipment | ||
| ICON | ITEM | QUANTITY |

|
Authority Access Cards | 1 |
Reward: None
New Objective: Head to the Authority Prison
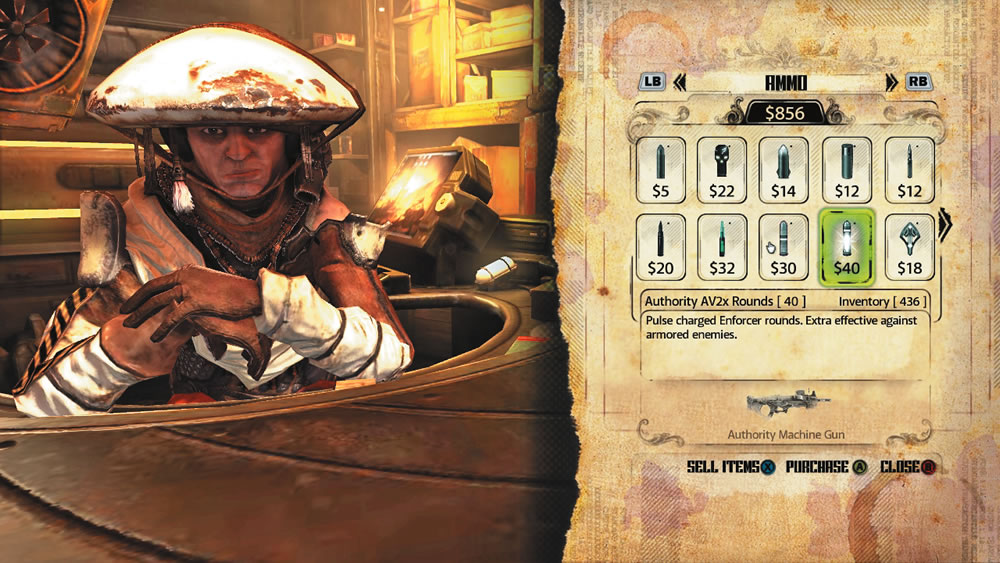
Strolling through the Authority Prison is no picnic, so make sure you’re well stocked on supplies and ammo before leaving Wellspring. Visit Coffer and purchase Light and Medium Armor Upgrades if you haven’t already. The schematics for the Sentry Bot and Sentry Turret can come in handy too. When shopping for ammo, buy plenty of Authority AV2x Rounds for your Authority Machine Gun. These special rounds are pulse-charged, ideal for punching through enforcer armor. Also, make sure you have plenty of Buckshot for your Combat Shotgun. Next, pay Rusty a visit to stock up on vehicle items. Chances are you’ll encounter bandits on the way to the Authority Prison, so make sure you have enough Shields and ammo to survive the encounter. If you have enough racing certificates, buy the Medium Cuprino Armor to bolster the defenses of your ride.
The Authority Prison is located beyond the Northern Watch Tower, sending you through Scorcher Territory. Be ready to battle several bandit vehicles here armed with rockets and Shields of their own. If you don’t feel like fighting (or don’t have the equipment for it) simply boost out of the area while deploying Shields to protect your vehicle from incoming rockets, otherwise enter the fray and make a stand. There may be more bandit vehicles patrolling the road near the Authority Prison too. Single them out and blast them to smithereens with your rockets.
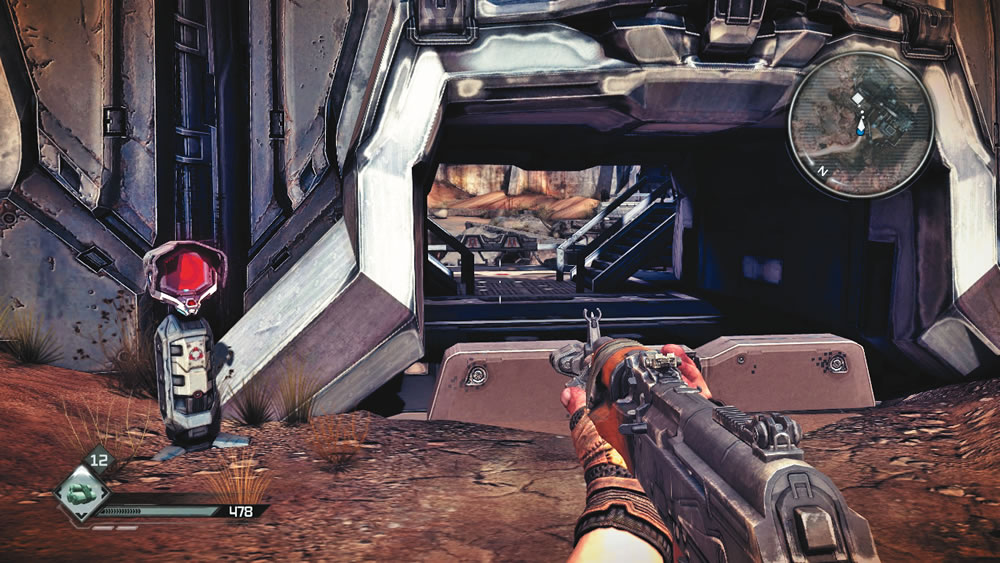
Park your Cuprino outside the prison and approach the terminal to the left of the main gate. Interact with the terminal to swipe the Authority Access Card that Elizabeth gave you, which causes the gate to open. Two Authority enforcers guard the gate; sniping them from a safe distance is very effective. Once the area is clear, step inside and pass between the two staircases. Just beyond the staircases is a ladder leading down to a narrow trench. Follow the trench into a cave where you can access the Authority Prison through a hatch.
Authority Prison
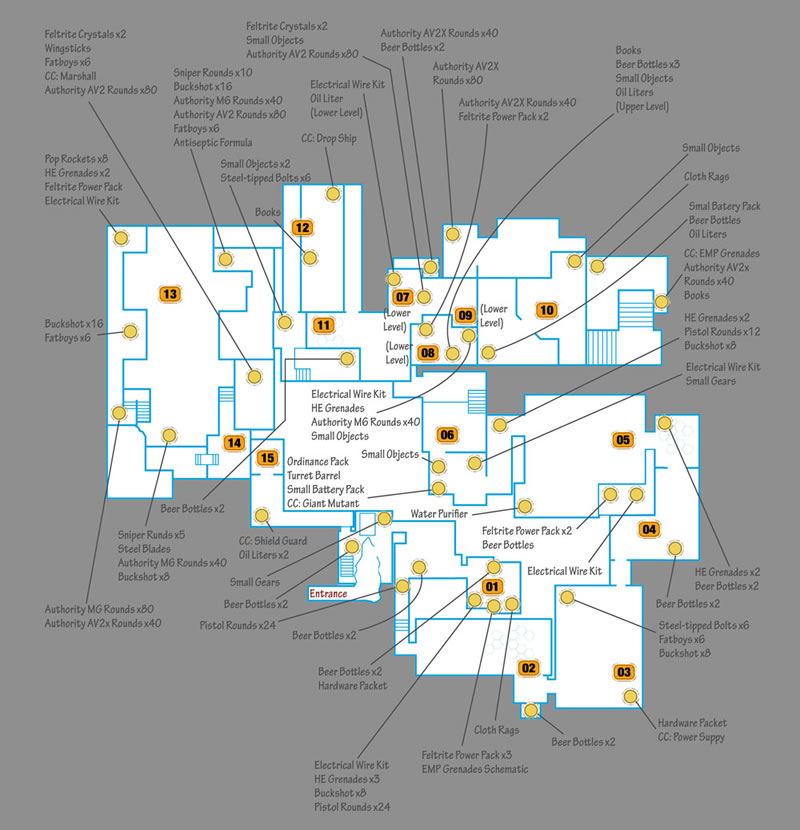
New Objective: Find Captain Marshall
As you enter the prison, an automated voice informs the security personnel of an upcoming prisoner transfer, but don’t let this warning make you rush. You have plenty of time to find Captain Marshall, so take the time to explore and gather pick-ups. There are no hostile units in the first passage and this makeshift storeroom containing Feltrite Power Packs, various ammo, and a couple of EMP Grenades, as well as a schematic to make more. EMP Grenades are essential here, allowing you to disable Authority equipment. Add the EMP Grenades to your quick use items, but don’t throw one yet. You need to use these EMP Grenades in specific areas to knock out generators.
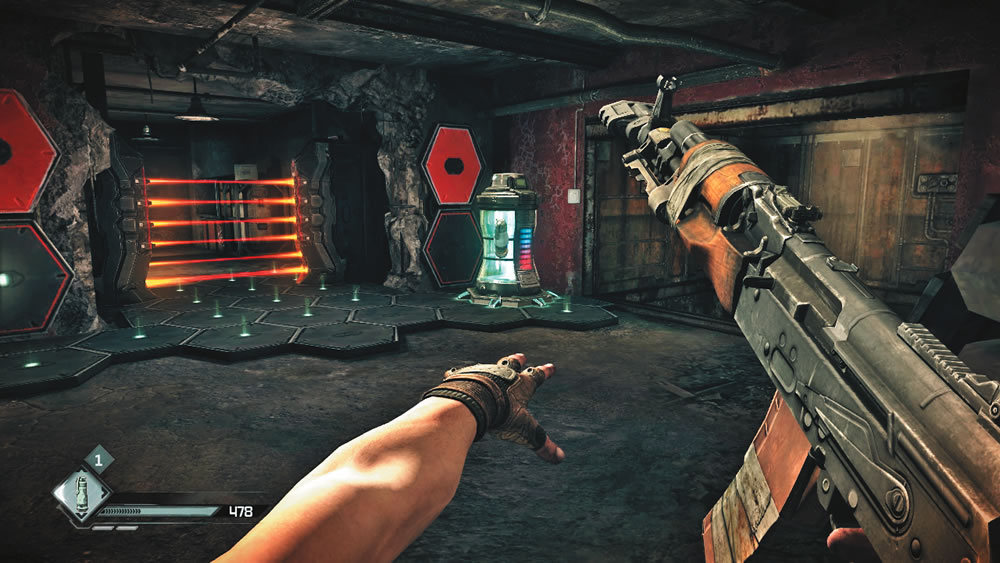
You encounter the first generator in this room. The blue-lit cylindrical object powers the nearby security barrier, preventing you from entering the next room. Equip an EMP Grenade and toss it at the generator. Unlike HE Grenades, EMP Grenades adhere themselves to the first surface they touch. Make sure the EMP Grenade sticks to the side of the generator to guarantee success. EMP Grenades have a small blast radius, but it’s still a good idea to get the grenade as close to the intended target as possible. The detonation of the EMP Grenade disables the generator, draining power from the nearby security barrier. Your EMP attack hasn’t gone unnoticed, however. The automated voice is heard again, warning of a power outage in Grid 9. Cautiously advance to the next room.
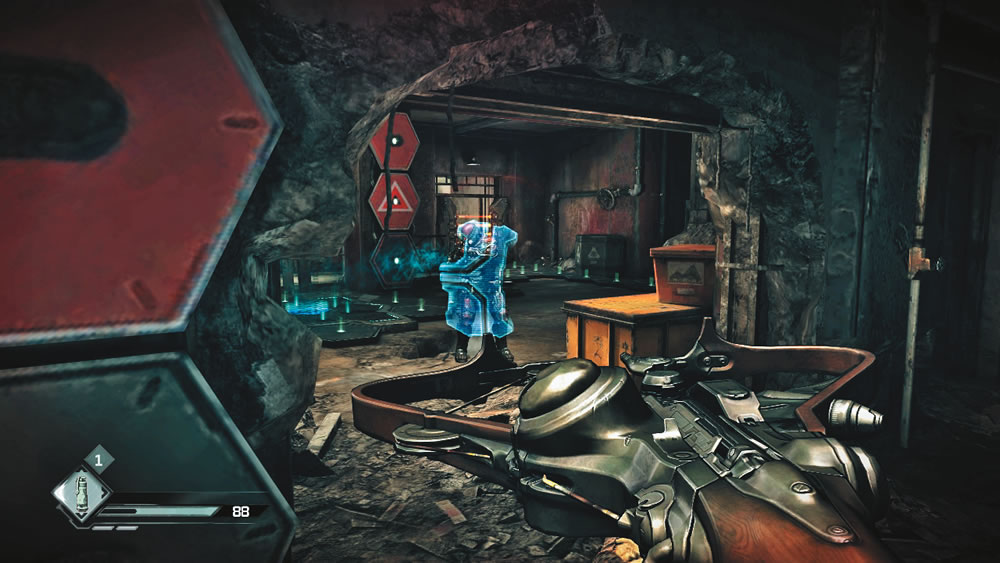
Here you encounter a couple of enforcers. They may look like robots, but they’re just humans in heavy body armor. One of the enforcers is equipped with a shield-like force field. You can short out the energy shield with a couple of Electro Bolts fired from your Striker Crossbow. However, don’t let the enforcer retreat to the brightly lit blue hexagonal panel on the floor. He can gain more energy here and restore his energy shield. The Electro Bolts also temporarily stun the enforcers. While they’re stunned, rush up to them and shoot them in the head with your Combat Shotgun for a quick, yet messy, kill. Once the two enforcers are down, turn to the right side of the room to spot another generator. Disable it with an EMP Grenade to drain the nearby security barrier. Before exiting, descend the steps to the left of the security barrier to enter a crawl space containing some ammo.
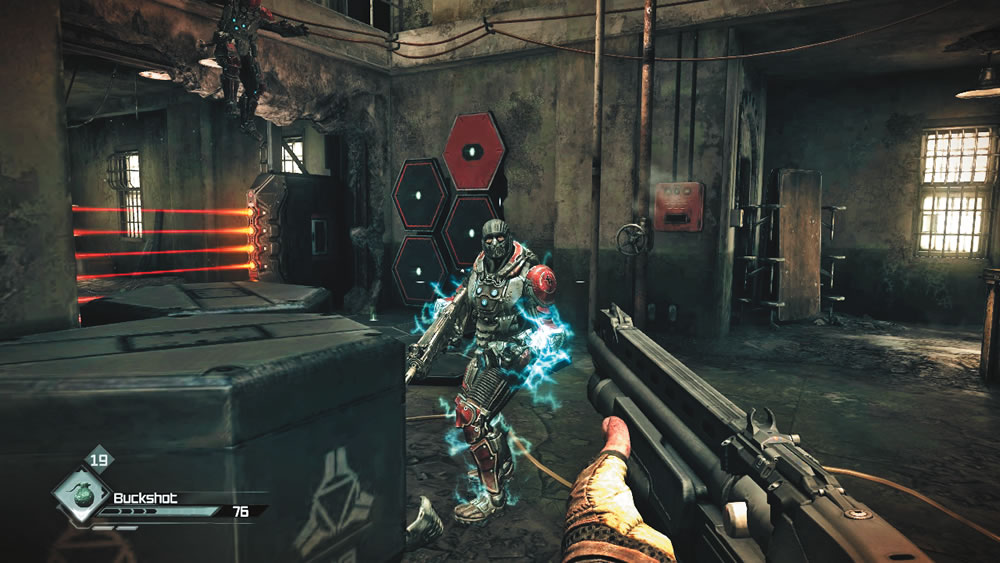
Three enforcers occupy this room and they attack aggressively. Fortunately, none of them is equipped with an energy shield. Follow the same game plan here by stunning them with Electro Bolts and blasting them at close range with the Combat Shotgun. Once all three enforcers are down check in the crate against the back wall for the Power Supply card, then enter the adjoining office to grab a couple more EMP Grenades off the desk. While in the office, peer through the window next to the desk to spot another generator. Toss an EMP Grenade through the window and attach it to the distant generator. Stand directly in front of the window before throwing to make sure the EMP Grenade reaches its target. This knocks out the power to the nearby security barrier, allowing you to proceed.
Cell Block D
As you enter this cell block, a couple of enforcers descend on jetpacks through a hole in the ceiling. Don’t let their impressive entrance intimidate you. Shock them both with Electro Bolts and then blast them at close range with your Combat Shotgun. If necessary, retreat into the previous room for cover and fire through the narrow doorway. The initial enforcers are backed up by reinforcements, including one equipped with an energy shield. Disable the energy shield with Electro Bolts, then finish the enforcer off with a weapon of your choice. Now is a good time to break out your Authority Machine Gun loaded with Authority AV2x Rounds. This allows you to engage the enforcers at greater range without exposing yourself. Once the fight is over, locate the generator in the corner and disable it with an EMP Grenade to drain the next security barrier.
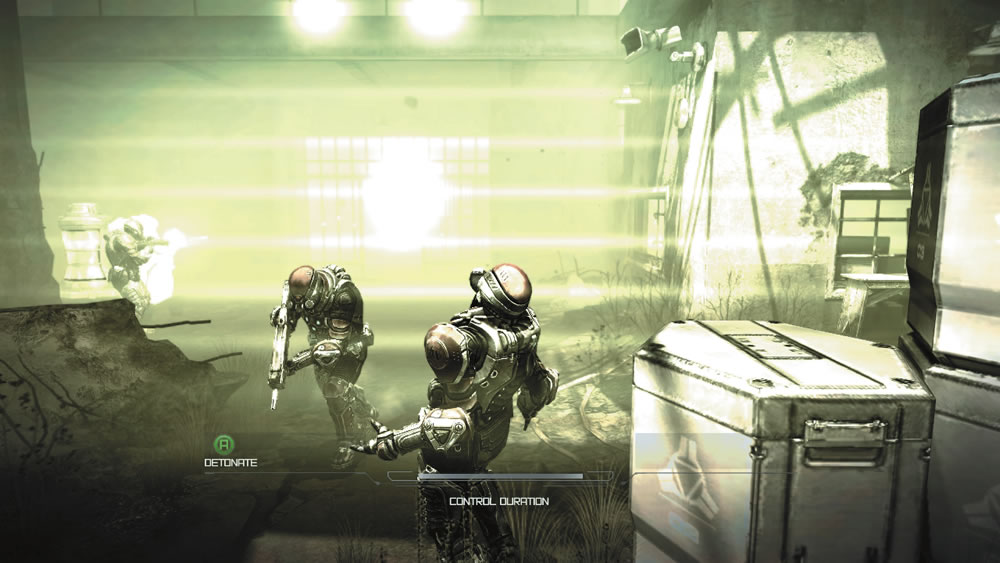
Hat Trick
This achievement/trophy is awarded for killing three or more enemies by detonating a single Mind Control Bolt-affected victim. For best results, fire a Mind Control Bolt into a tight cluster of enemies and detonate the victim before his buddies can run away.
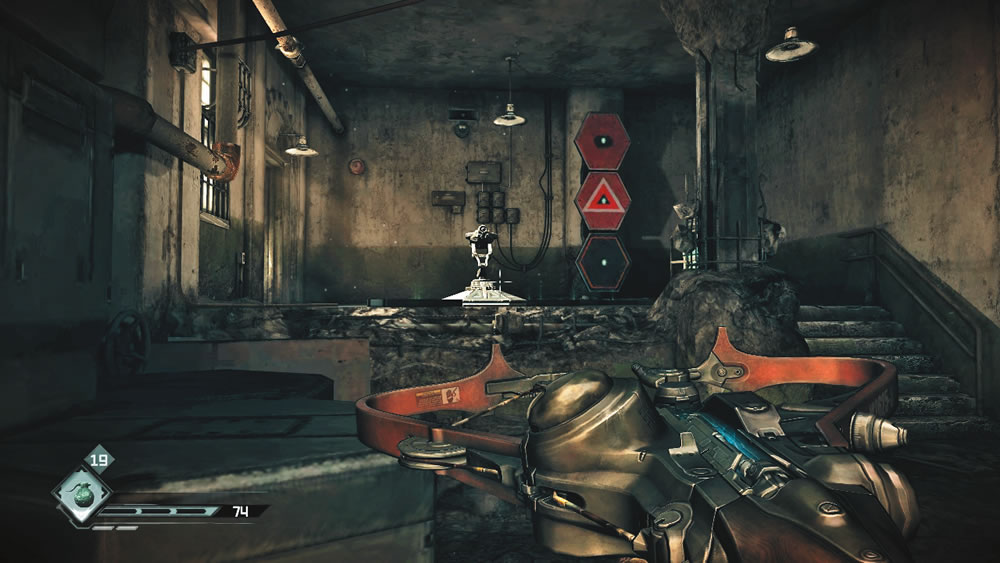
Grab some ammo, two EMP Grenades, and a set of Small Gears as you pass through the next corridor. Don’t let your guard down when you hear the PA system announce that automated security systems are online. Just ahead, a turret pops out of the floor and opens fire. Quickly retreat and seek cover in the previous room. The turret is powered by a generator to the right. From the doorway you can’t get a direct view of the generator, so toss an EMP Grenade as close to the generator as possible, in between the turret and the generator. Turrets can only be powered down using this method, or by spraying them with bullets. Once the turret is disabled, crawl inside the crack in the wall, in the previous hallway, to find the Giant Mutant collector card. This is the most powerful card in RAGE Frenzy, so don’t pass it up.
In this corridor, another automated turret appears, this time suspended from the ceiling. Immediately dart through the corridor and dive into the doorway on the left before you take too much damage. From this parallel corridor, peer through the second doorway to spot a distant generator through a hole in the wall. Carefully toss an EMP Grenade through the hole in the wall, attaching it to the generator. This disables the turret, but it doesn’t end all hostilities here. Watch out for an enforcer approaching through the hall. Zap him with an Electro Bolt, then take him out with a close-range blast from your Combat Shotgun.
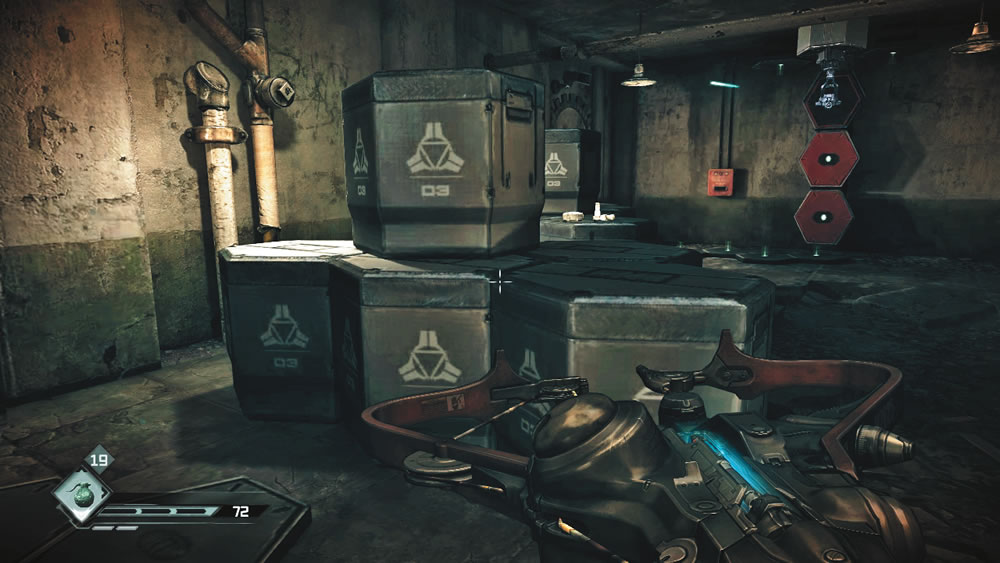
Another automated turret descends from the ceiling in this room, so quickly take cover behind the crates by the doorway. Crouch down and creep from one stack of crates to the next. You can find some ammo and two more EMP Grenades on one of the crates. Work your way to the last stack of crates on the right side of the room. Peer around the left side of the crates until you can see a generator through the doorway on the left side of the room. Toss an EMP Grenade through the doorway to knock out the generator and power down the turret.
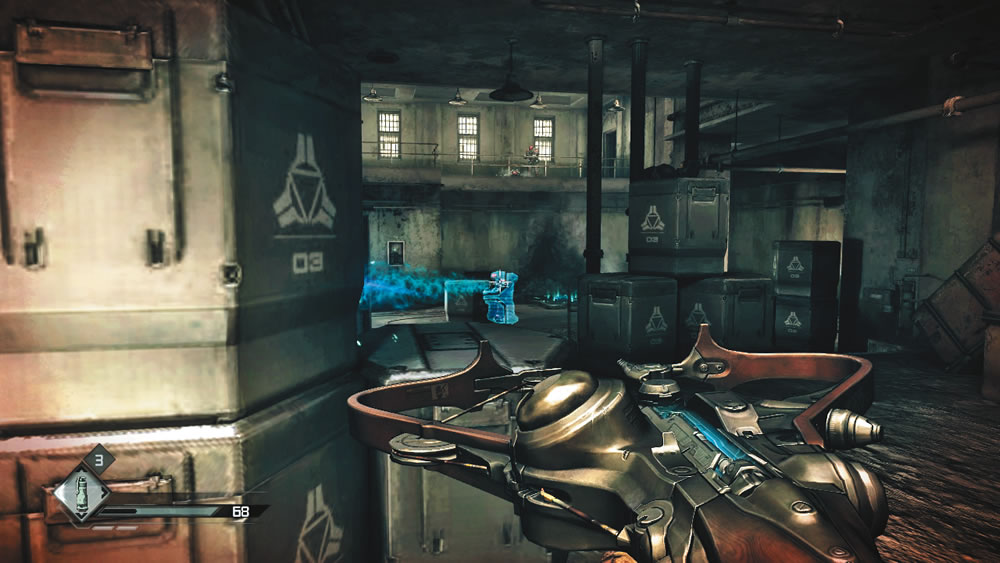
In this cell block you encounter more enforcers, including one with an energy shield. Keep your distance and engage them with Electro Bolts and your Authority Machine Gun. When engaging the enforcer with the energy shield, make sure he doesn’t retreat to the blue power node on the floor, otherwise he can continually regenerate his energy shield. Disable his shield with Electro Bolts, shock him with another round, then kill him with your Authority Machine Gun from range. You can pick up more Authority AV2x Rounds here as well as some Pulse Shot ammo for your Combat Shotgun. Pulse Shot adds some EMP qualities to standard Buckshot, making it quite effective against enforcer armor. Once the fight is over, locate the generator on the right side of cell block and disable it with an EMP Grenade. Before proceeding into the next cell block, take a right at the top of the stairs. Grab the EMP Grenade card from the small table. You cannot return to this room later.
Cell Block F
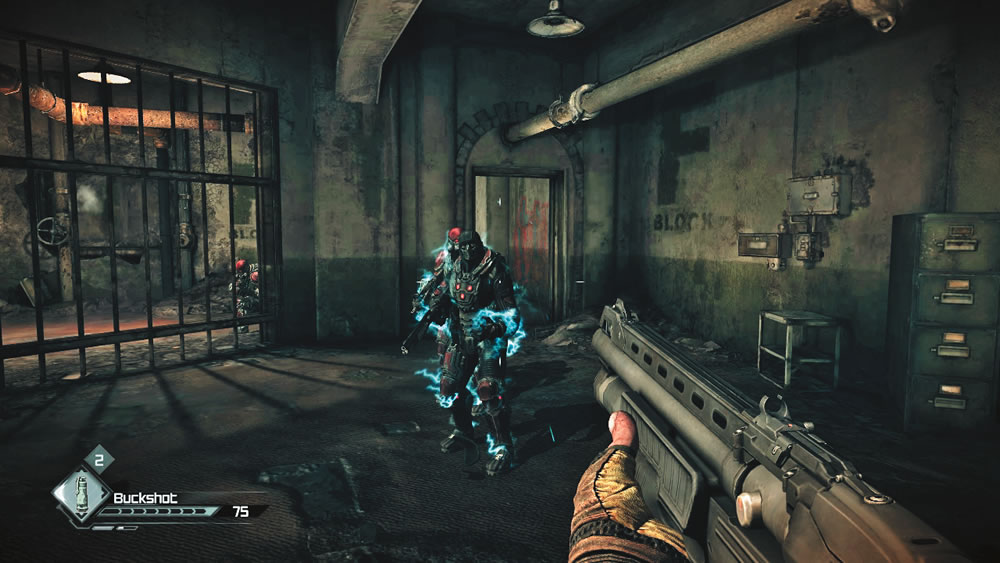
A small squad of four enforcers seek to halt your advance here. Keep your distance at first, engaging them with Electro Bolts. Then, once they’re shocked, rush in and finish them off with your Combat Shotgun. If you prefer to keep your distance, don’t forget your stash of HE Grenades. These are a great way to knock out multiple enforcers clustered close together. Try to toss one behind the enforcer equipped with the shield. If he doesn’t turn the shield toward the grenade, the blast will take him out. Following the fight, search the area for ammo and other items before moving on.
You’ve finally reached the cell block where Captain Marshall is being held—along with several mutants. Instead of shooting the two enforcers patrolling the cell block, interact with the nearby terminal to open the cell doors. This allows the mutants to escape and pummel the enforcers to death. Once the mutants have finished off the enforcers, they come after you. Be ready to put them down with your Combat Shotgun.
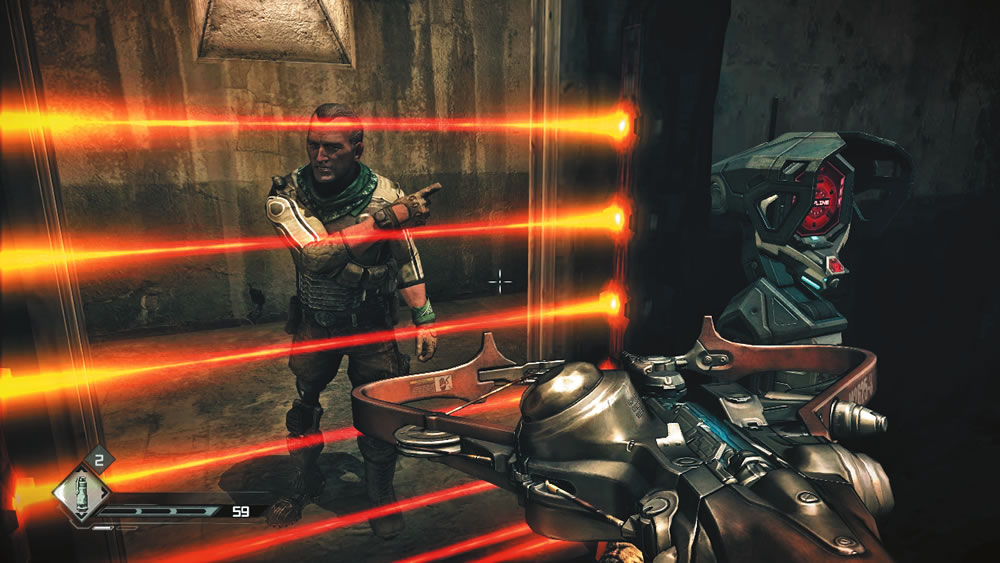
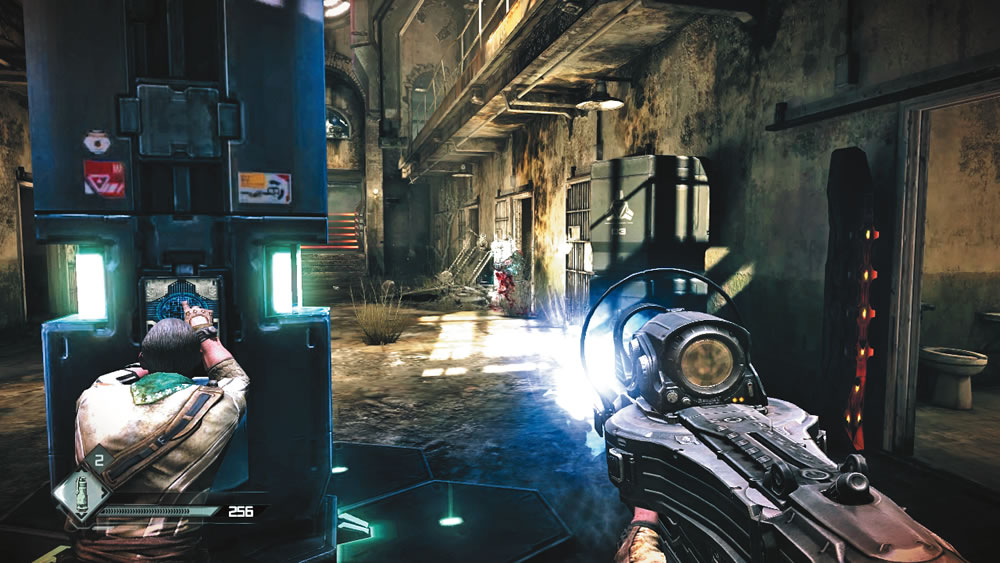
After you’ve finished off the mutants, Captain Marshall gets your attention from a cell on the bottom level. Circle around the upper-level walkway to reach a staircase leading down to the ground floor. Marshall’s cell was not opened when you freed the mutants, allowing him to avoid the fate of the enforcers. Instead, his cell is locked by different terminal. Interact with the terminal next to his cell to deactivate the security barrier.
Shortly after you free Captain Marshall, an alarm sounds and a new security barrier blocks the cell block’s exit. Before long, enforcers stream into the area and open fire. Captain Marshall rushes to a com beacon in an attempt to remove its power module. Equip your Authority Machine Gun and cover Marshall while he removes the power module. One of the enforcers is equipped with an energy shield, so hit him with Electro Bolts, then finish him off with Authority AV2x Rounds. As soon as Marshall removes the power module, the security barrier at the far end of the cell block deactivates. Wait for the Captain to grab an Authority Machine Gun of his own from the nearby weapons locker, collect the Drop Ship card in this locker for yourself, then follow him out of the cell block. On the way out, be sure to search the bodies of the dead enforcers.
Courtyard
New Objective: Help Captain Marshall escape
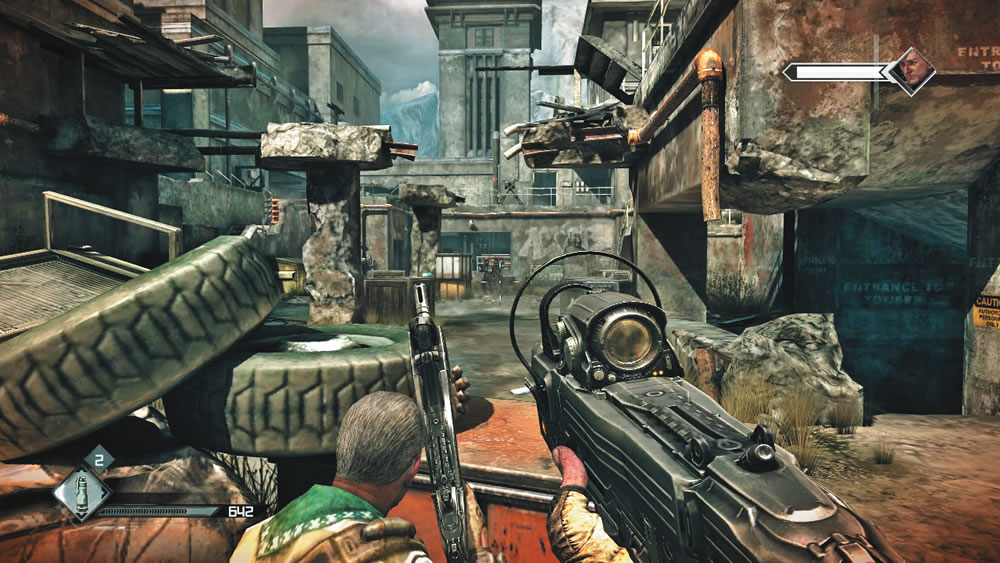
Grab some ammo and other items while following Captain Marshall to the prison’s outdoor courtyard. More enforcers wait to ambush you here, so seek cover and return fire with your Authority Machine Gun. During this fight take Captain Marshall’s lead, only moving out when he does. Don’t wander too far away from his position so you can support him. Take note of the Captain’s health meter in the top right corner of the screen. If he dies, the mission is a failure. As you descend to the courtyard’s ground floor, an enforcer mans a turret at the opposite end. Quickly take cover to avoid being ventilated. Equip your Sniper Rifle and score a pair of headshots on the gunner as fast as possible. It takes one round to knock off his helmet and a second round to puncture his skull.
After clearing out the enforcers, Marshall asks you to find a way past the security barrier. Scour the ground floor of the courtyard for ammo first, then climb the steps on the right side to reach the upper-level walkway where the turret is positioned. Throw an EMP Grenade into the room behind the turret; this deactivates the generator that’s powering the energy gate that blocks the turret platform. Marshall rushes through and tells you to watch his back while he rigs the power module to blow a hole through the nearby double doors. While Marshall works, take control of the turret and prepare for an enforcer counterattack. Within seconds, an Authority dropship appears overhead and multiple enforcers descend on the courtyard with the aid of jetpacks. Blast the enforcers with the turret, but don’t hold the trigger down too long. The meter at the top of the screen represents the turret’s heat. If the turret overheats, if must cool down for a few seconds before it can fire. Fire in short bursts to prevent overheating. By the time you finish off the enforcers, Captain Marshall has overloaded the power module. Take cover before it explodes, blasting the double doors open.
Jetpacker
While manning the turret, try to kill one of the enforcers as he descends using his jetpack. If you kill the enforcer while he is still in the air, you earn the Jetpacker achievement/trophy.
New Objective: Return to the Resistance Base
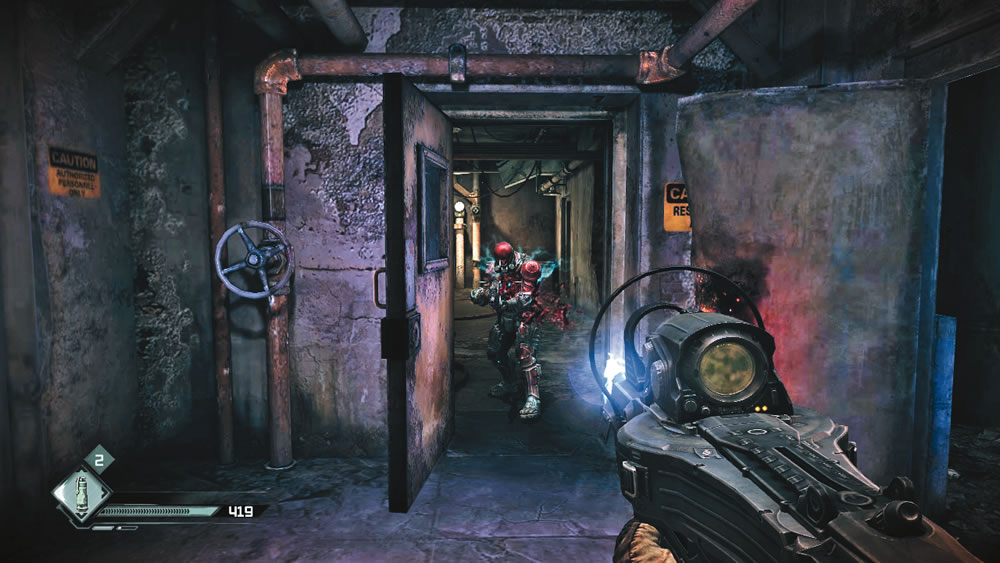
As Captain Marshall attempts to bypass the controls of a service lift, the cable slips, causing the lift to drop several meters. You can’t join the Captain now. You’ll have to separate. From deep in the lift’s shaft, the Captain tells you to head back to Wellspring—he’ll meet you there. Turn to the door on the right and listen for an enforcer trying to break through. As soon as the door flies open, blast the enforcer with your Authority Machine Gun. Grab the Shield Guard collector card from the small room on the right, then pass through the adjoining corridor and follow the path back to the hatch where you entered the prison.
Jail Break
Did Captain Marshall escape without a bullet in his back? If so, you earn the Jail Break achievement/trophy for liberating the Captain from the Authority Prison.
Wellspring
Exit the prison facility and return to your Cuprino still waiting outside the main gate. On the way back to Wellspring, be ready to confront more bandits in Scorcher Territory. If you have the Shields and ammo, stick around and clear the area for a little extra cash. If you prefer, simply boost out of the area to get back to Wellspring. Back in town, head directly for the Second Chance Bar—stop by the bar and receive payment from Sally on the way to the back room. You can find Captain Marshall and Elizabeth waiting for you downstairs. The Captain is grateful for your assistance, but the high profile escape will definitely draw the Authority’s attention. If you want to live, you really have no choice—welcome to the Resistance! Captain Marshall has a new mission for you. . .