
Rage Guide Walkthrough Eastern Wasteland
Gaining Influence
JOBS
|
|
Captain Marshall
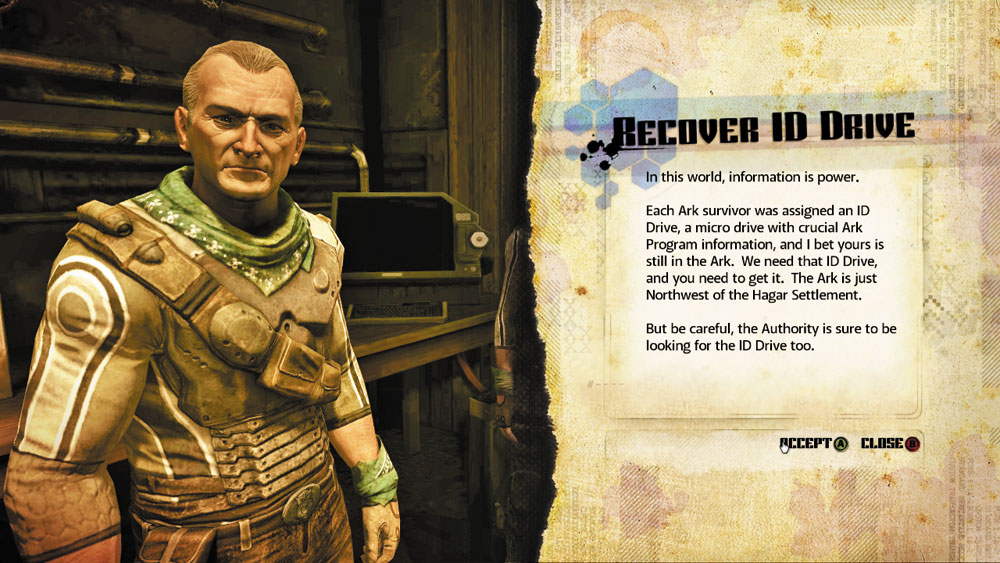
Objective: Earn Redstone’s trust.
Find out what Redstone needs and do it, otherwise you’re as good as dead.
Redstone walks a fine line keeping the Authority at bay and dealing with us. You’ll have to be extra careful around him. He’d sell you out in a heartbeat if you’re not useful. Gain Redstone’s trust and we can go after the Authority.
Come back and see me once you’ve made friends with Redstone.
Provided Equipment: None
Reward: None
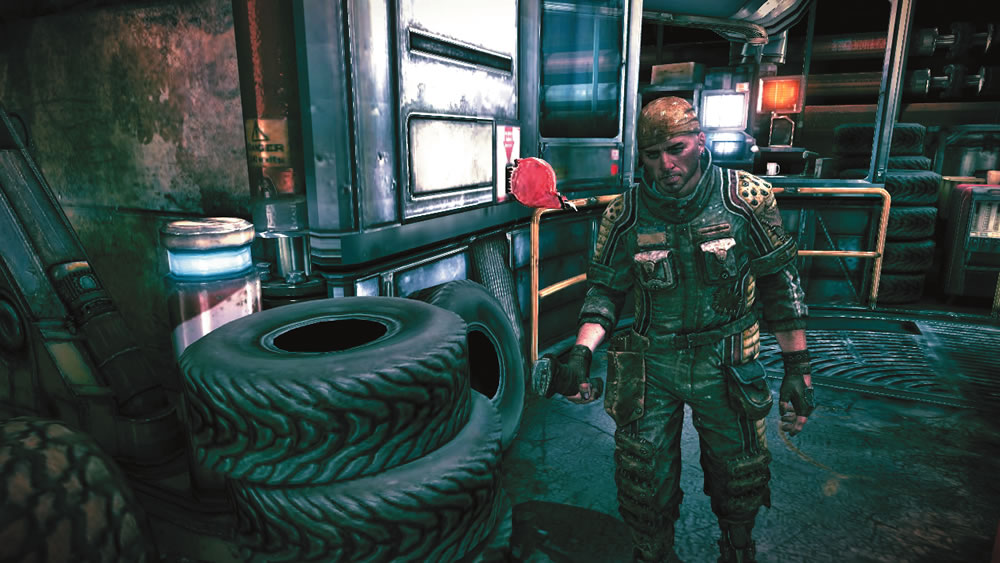
Leave Captain Marshall behind and enter Elizabeth’s lab. Ignore the grotesque remains of a dead mutant and look for the Authority Mutant collector card on the nearby table. Next, head down the tunnel to the left to reach the lift leading up to Saul’s garage. You emerge from the floor in the garage—the entrance to the Resistance base is disguised as a car lift. All of your vehicles have now been transferred from Mick’s garage in Wellspring to Subway Town. As in Mick’s garage, interact with the garage door to customize your vehicles. Saul is located opposite of the garage door—you need to speak with him before heading out into Subway Town. Like Durar and Mick, Saul can repair any damage to your vehicles as well as tow your ride back to his garage. Saul says you can find Mayor Redstone upstairs.
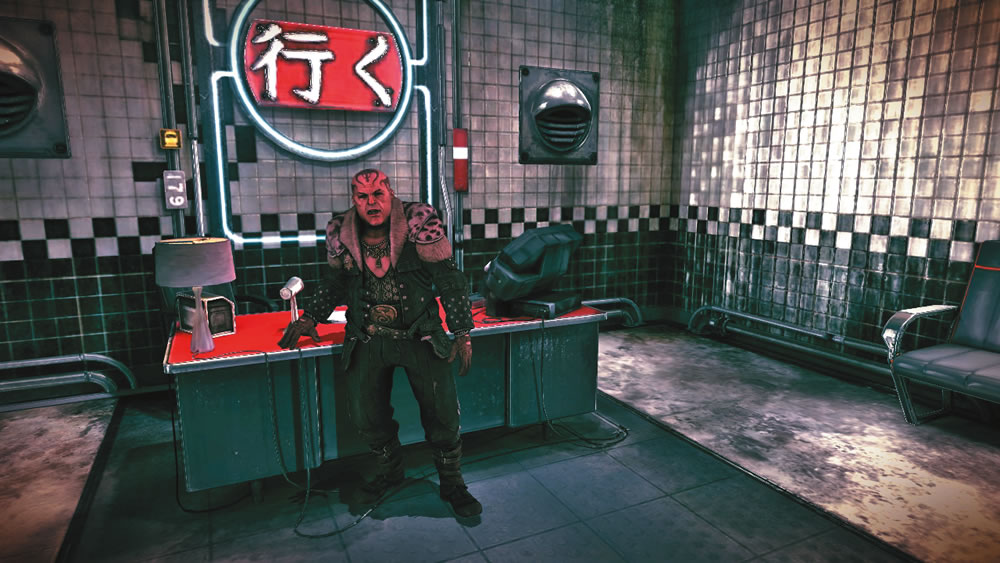
Step out of Saul’s garage and make your way upstairs. Feel free to speak to some of the inhabitants of Subway Town along the way. Cain, seated outside the garage, gives you a quick welcome, telling you where you can find races and sell items. The other inhabitants seem friendly enough, offering advice and filling you in on the latest news and gossip. You can’t access the Fez Bar on the first floor until you’ve met with Mayor Redstone, so don’t be disappointed when Krug denies you entry. Explore the upper floor of Subway Town until you come across the Mayor’s office. Vincent, the guard outside, tells you not to keep Redstone waiting. Seconds after stepping into the office, the Mayor doesn’t waste any time ensuring you know he’s the boss around here. If you can help him do things, you’re welcome to stay. Otherwise you’re of no use to him. Now that he’s made himself clear, he has a job for you. . .
Foreman Jones
Mayor Redstone
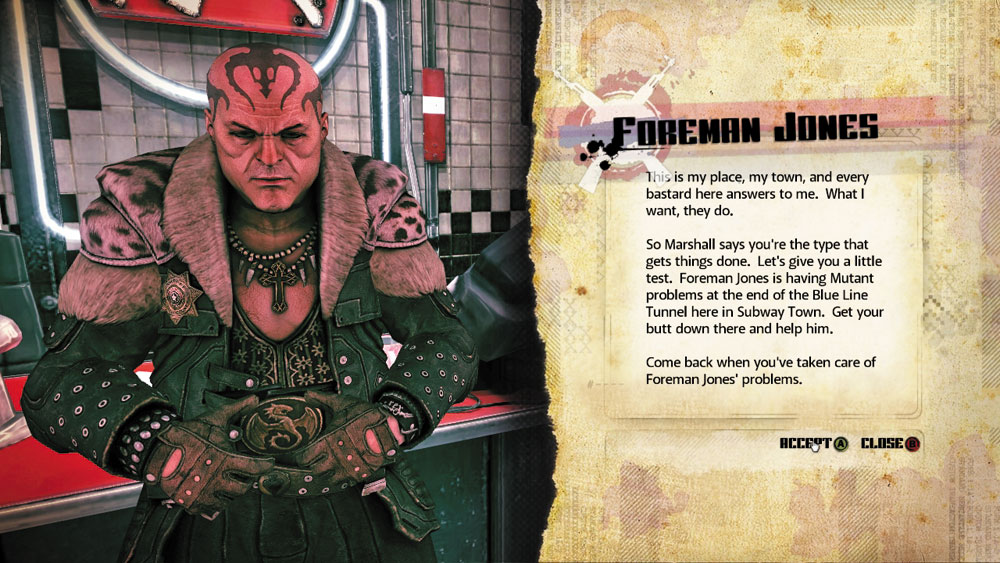
Objective: Help Foreman Jones
This is my place, my town, and every bastard here answers to me. What I want, they do.
So Marshall says you’re the type that gets things done. Let’s give you a little test. Foreman Jones is having mutant problems at the end of the Blue Line tunnel here in Subway Town. Get your butt down there and help him.
Come back when you’ve taken care of Foreman Jones’s problem.
Provided Equipment: None
Reward: None
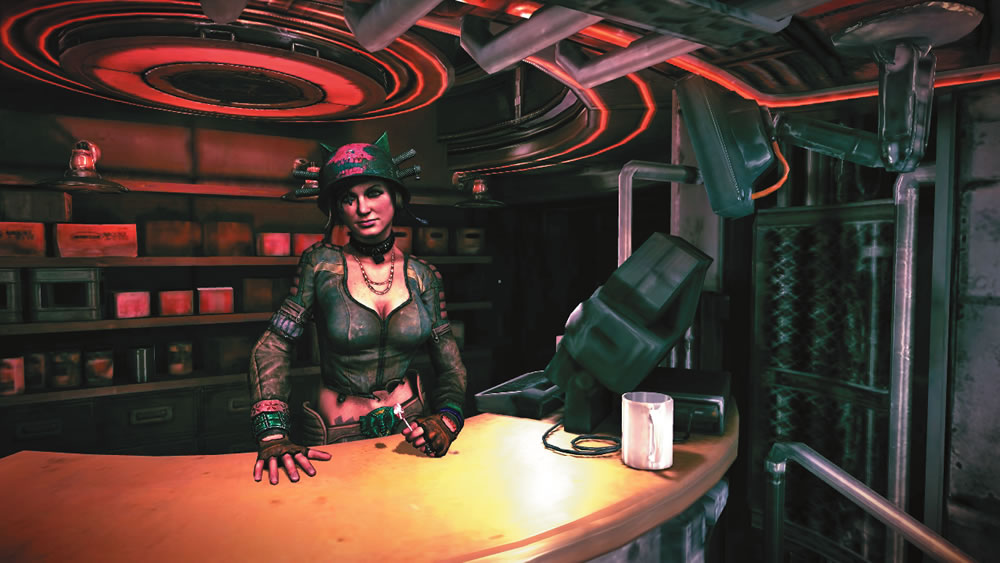
After leaving Redstone’s office, find Jani’s Supplies, also located on the second floor. Here you can buy and sell equipment, just like at Coffer’s Outfitters shop in Wellspring. Jani has a wider selection of equipment than Coffer does, so take a few minutes to browse her wares. If you have the cash, buy the Heavy Armor Upgrade to increase the amount of damage you can take before becoming incapacitated. Jani also sells a wide variety of schematics, including ones for Advanced Wingsticks, Advanced Sentry Bots, and Advanced Sentry Turrets. All of these schematics are well worth their asking price if you have the extra dough, but don’t blow all your money on schematics. Save some money to stock up on ammo. To complete the task for Foreman Jones you’ll want at least 100 rounds of Buckshot for your Combat Shotgun and 20 HE Rockets for your Rocket Launcher. Also, make sure you have at least 200 rounds for both your Assault Rifle and Authority Machine Gun.
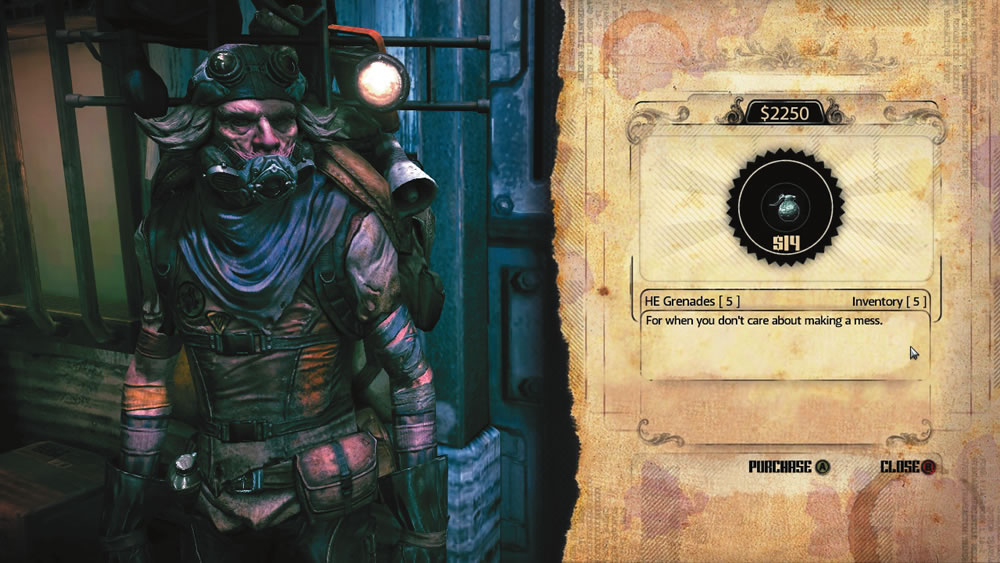
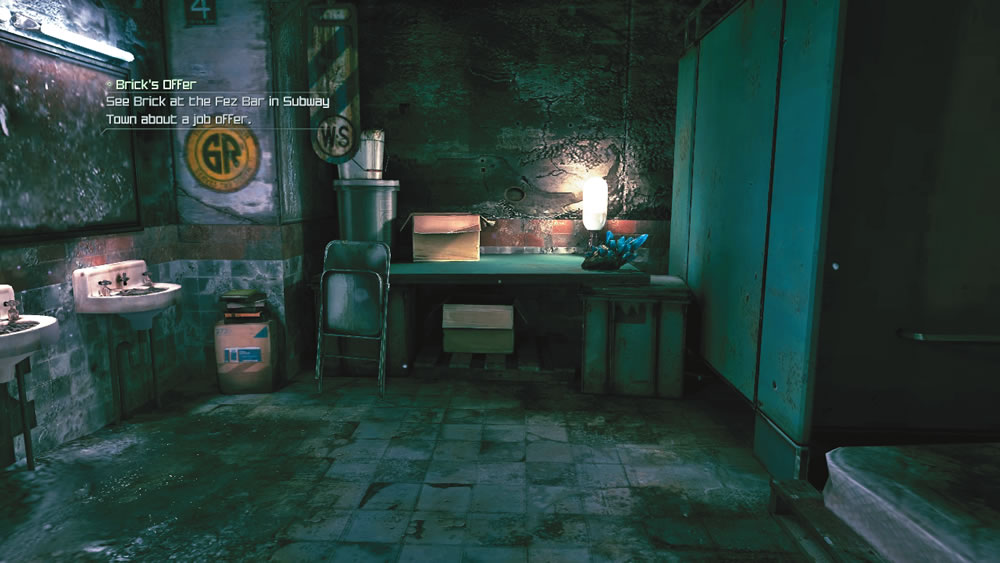
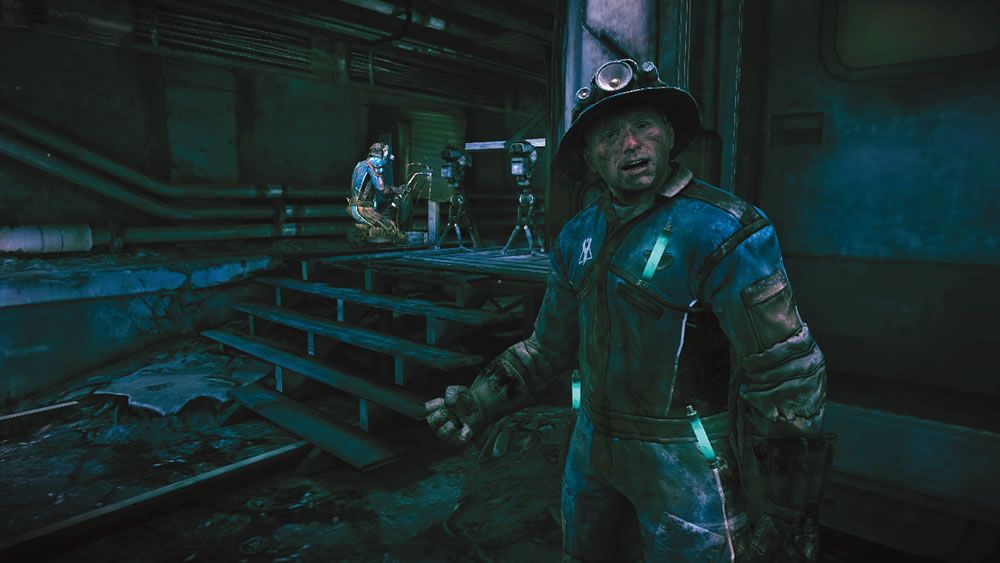
Foreman Jones can be found at the end of the Blue Line subway tunnel. Step into the tunnel behind Norbu, the old man with a cane, and follow the tracks until you spot several workers conducting repairs. The man standing in front of the subway car is Foreman Jones. Mutants are hindering his progress in the tunnel—they’ve broken through at the Blue Line Station and Foreman Jones needs someone to stop them. . .
Mutant Expansion
Foreman Jones
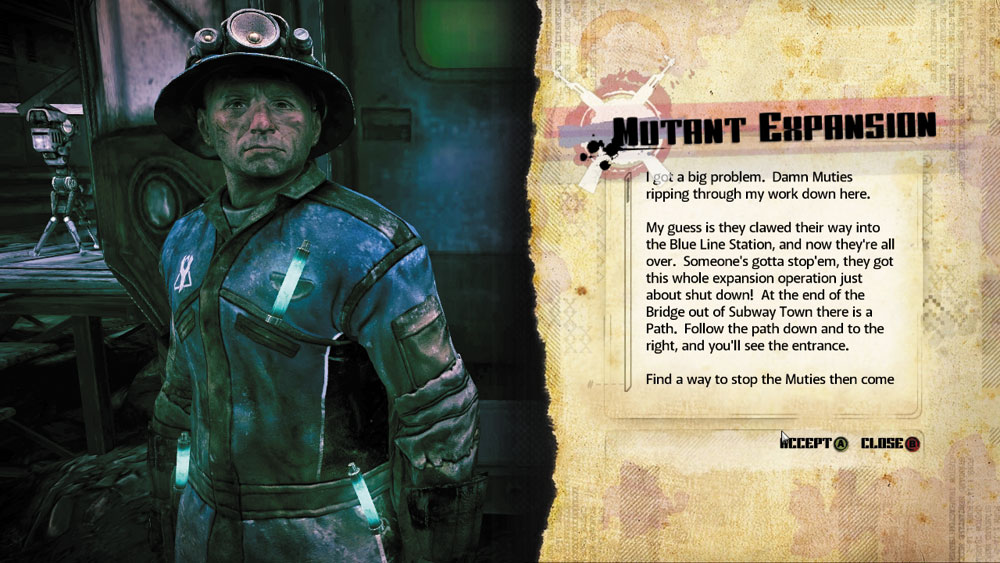
Objective: Seal off Blue Line Station.
I got a big problem. Damn Muties are ripping through my work down here.
My guess is they clawed their way into the Blue Line Station, and now they’re all over. Someone’s gotta stop ‘em. They got this whole expansion operation just about shut down! At the end of the bridge out of Subway Town there is a path. Follow the path down to the right, and you’ll see the entrance.
Find a way to stop the Muties, then come back and report.
Provided Equipment: None
| Reward | ||
| ICON | ITEM | QUANTITY |
| Dollars | 200 | |

New Objective: Enter the Blue Line Station
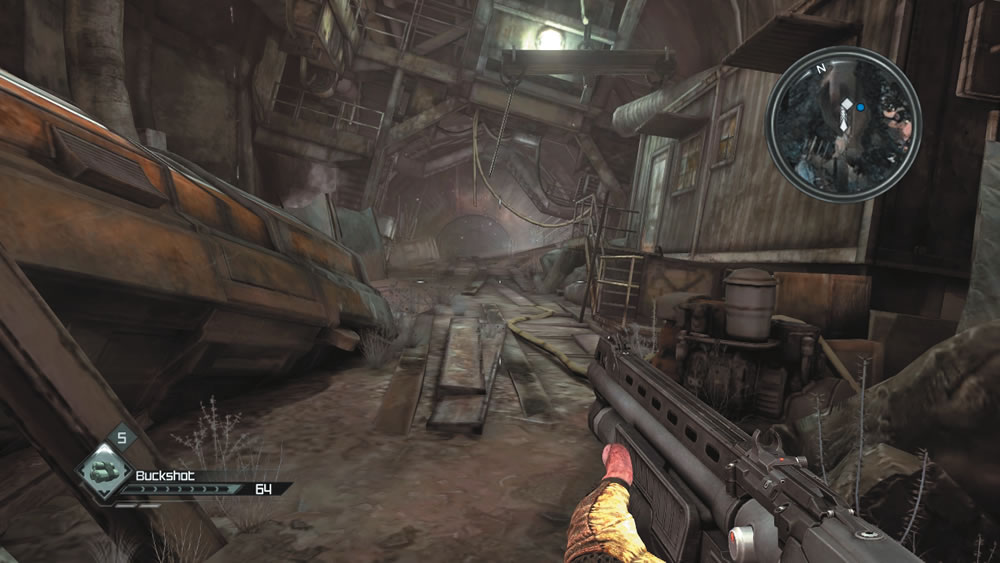
To reach the Blue Line Station entrance, you must exit Subway Town. Head back to Saul’s garage and hop into your vehicle of choice. The drive won’t take long, and you won’t face any resistance, so feel free to take the Dune Buster or Jetter ATV if you prefer. Outside Subway Town, follow the marked path to the right, collecting the Desert Spore along the way, until you come to a barrier. At that point, exit your vehicle and proceed to the Blue Line Station entrance on foot.
Blue Line Station
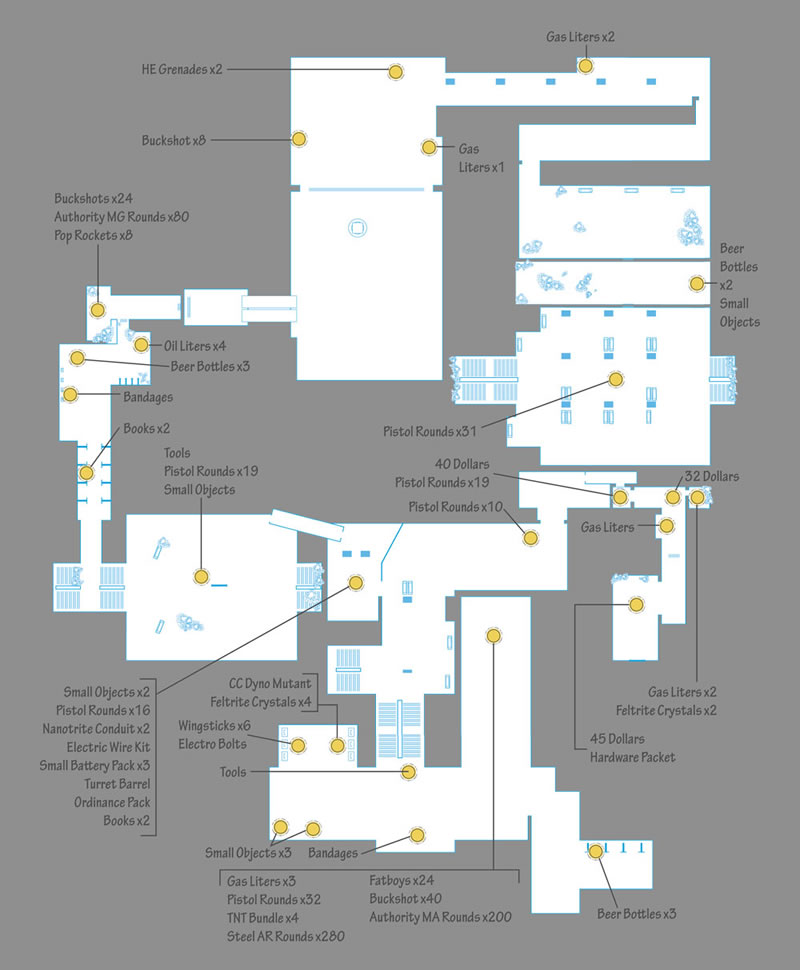
New Objective: Find the TNT
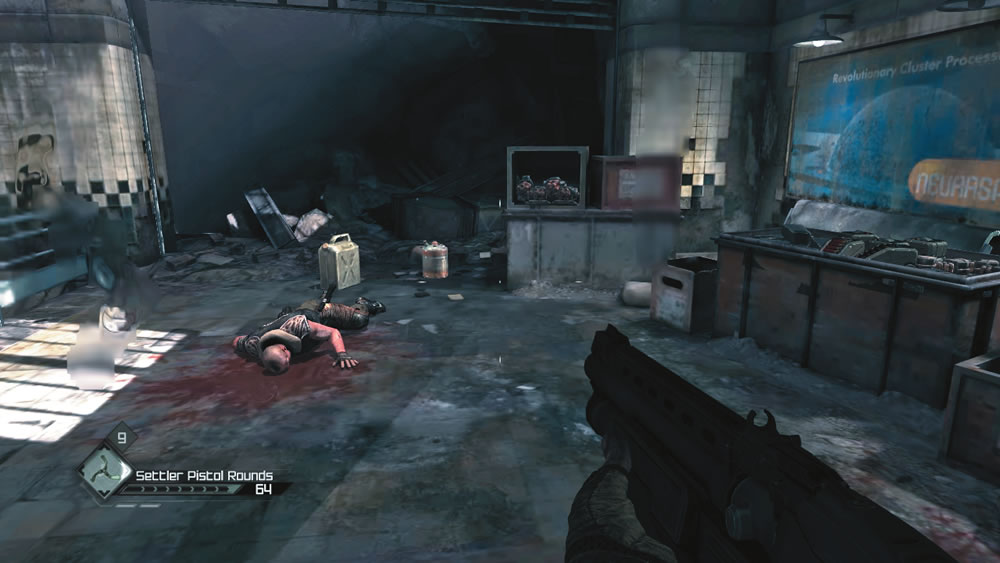
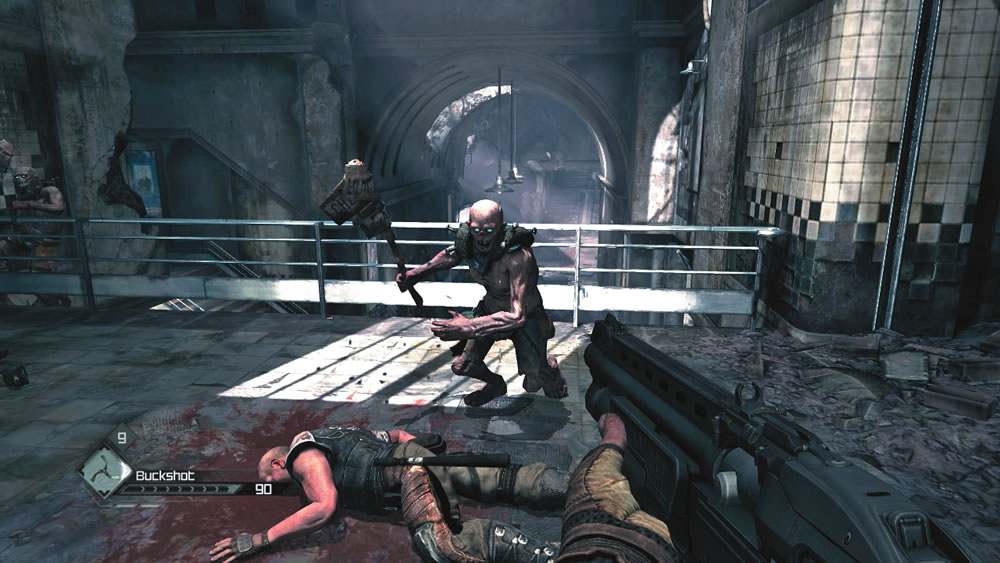
Foreman Jones wasn’t kidding—the Blue Line Station is swarming with mutants. Don’t bother engaging them right now, as they all run away from you—save your ammo for later. While advancing through the station, search the bodies of the dead subway workers for money and other loot. The TNT left behind by the workers is located at the far end of this dead-end corridor on the station’s upper level. Gather the ammo and other supplies here before grabbing the TNT Bundle. Picking up the TNT Bundle triggers a mutant ambush as the gate behind you closes, trapping you in this confined space overlooking the station’s lower level. Equip your Combat Shotgun and start blasting mutants as they crawl beneath the gate. More mutants scale the wall on the right and hop over the railing. The mutants are most vulnerable when they’re crawling beneath the gate and climbing over the railing, so hit them before they can get to their feet and charge. Hold your ground and apply Bandages as necessary until the gate reopens, allowing you to escape. From this point on, don’t let your guard down—the mutants won’t run away from you anymore.
New Objective: Find the Detonator
As you make your way back downstairs, watch out for more mutants charging at you. Some of the mutants are carrying sticks of lit dynamite in each hand. Take these guys out quickly, preferably with a Wingstick. If they manage to detonate within close proximity, you’ll suffer heavy and potentially lethal damage. Even after you’ve killed these mutants, the dynamite they’re carrying still poses a threat. Make sure you’re far away when those sticks of dynamite detonate. At the bottom of the stairs, a lone mutant bursts through a door on the left. Blast him and then enter the now open door to access an office containing several objects, including some parts ideal for constructing a Sentry Turret.
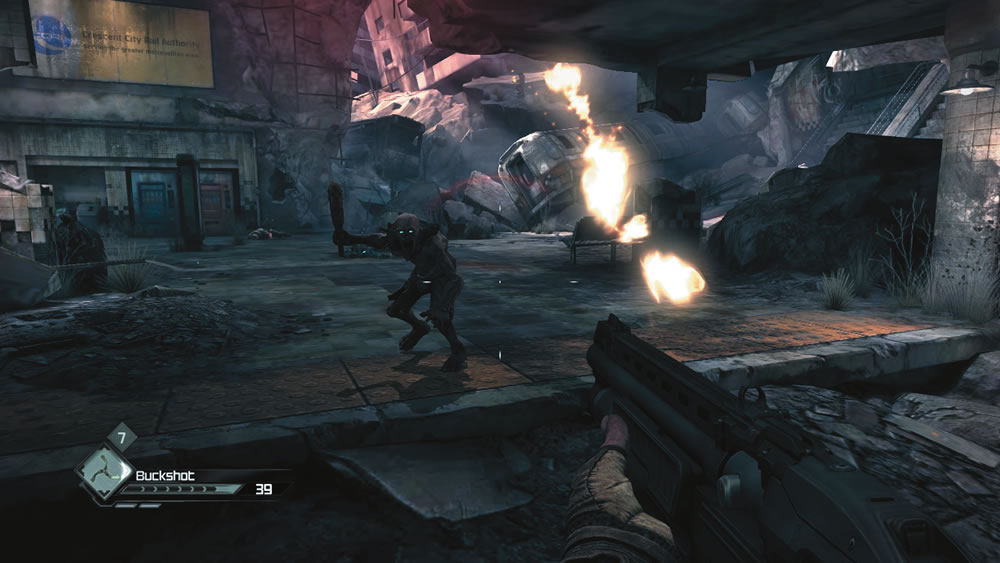
After raiding the office, pass through the subway car to reach this heavily damaged corridor. Here you come under attack by several mutants, including a couple lobbing fireballs from a distance. Deal with the charging mutants first while constantly moving to avoid the incoming fireballs. The Combat Shotgun is best at close range, but switch to your Sniper Rifle when you have a chance to take out the fireball-tossing mutants. Keep some Bandages handy as you fight off these enemies. The mutants are fast and relentless, attacking from every direction, so keep spinning to observe your surroundings. Amidst the confusion, watch out for a couple of dynamite-carrying mutants charging down the steps at the end of the corridor.
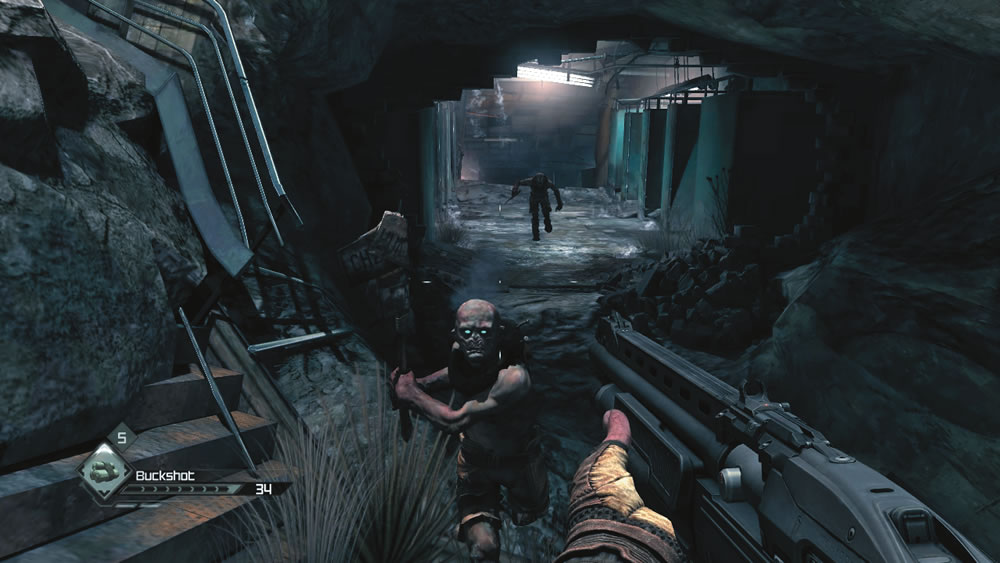
Climb the steps and turn to the right to face this flooded restroom. More mutants attack you here. Hold on the steps and fire through the hole in the wall to eliminate the first wave. More mutants attack as you enter the restroom, so stay on guard and be sure to completely reload your Combat Shotgun after each engagement. If you can keep your distance, Wingsticks work well here, too. Just be sure to grab your Wingstick if it gets lodged in a dead mutant. Inside the restroom you can find some Bandages and other junk you can sell for a modest profit. Upon exiting the restroom, turn to the left to gather a large stash of ammo, including eight Pop Rockets for your Combat Shotgun.
Terminal
As you enter this area, turn to the right and then face the large doorway at the far end of the terminal. Before long, swarms of mutants climb through holes in the floor and the surrounding rubble. Deploy a Sentry Turret facing the large clock in the center of the Terminal. If you bought the schematics for an Advanced Sentry Turret, this works even better. Position yourself just behind your Sentry Turret and stand guard, blasting any mutants that get too close. A single Advanced Sentry Turret can handle the incoming flow of mutants on its own. If using a standard Sentry Turret, be ready to assist by launching Pop Rockets at the advancing mutants.
As the mutant attack dwindles, a tremor rocks the terminal as a ranged Large Mutant crashes through the doorway ahead. Immediately equip your Rocket Launcher and begin firing HE Rockets at this new threat. Don’t stand still, however. Move laterally to avoid the incoming grenade-like rounds fired by the launcher mutant. The launcher mutant isn’t the only threat. A new wave of mutants joins the attack, charging directly at you. If your Sentry Turret is still active, it can help pick off the mutants. Otherwise, deploy another Sentry Turret or a Sentry Bot to deal with the mutants while you focus your Rocket Launcher attacks on the launcher mutant. It takes at least six direct hits with the Rocket Launcher to kill the launcher mutant, so don’t let up. Once the launcher mutant is down for the count, mop up the remaining mutants with your Combat Shotgun.
Keep ‘Em Coming
The mutant attack in the terminal presents the perfect opportunity to unlock this achievement/trophy. Simply deploy a Sentry Turret and let it take out at least five enemies on its own. If the Sentry Turret is knocked down or destroyed before killing five mutants, you must deploy another one, at which point the count starts over. Stand guard and prevent the Sentry Turret from getting knocked down to reach the goal.
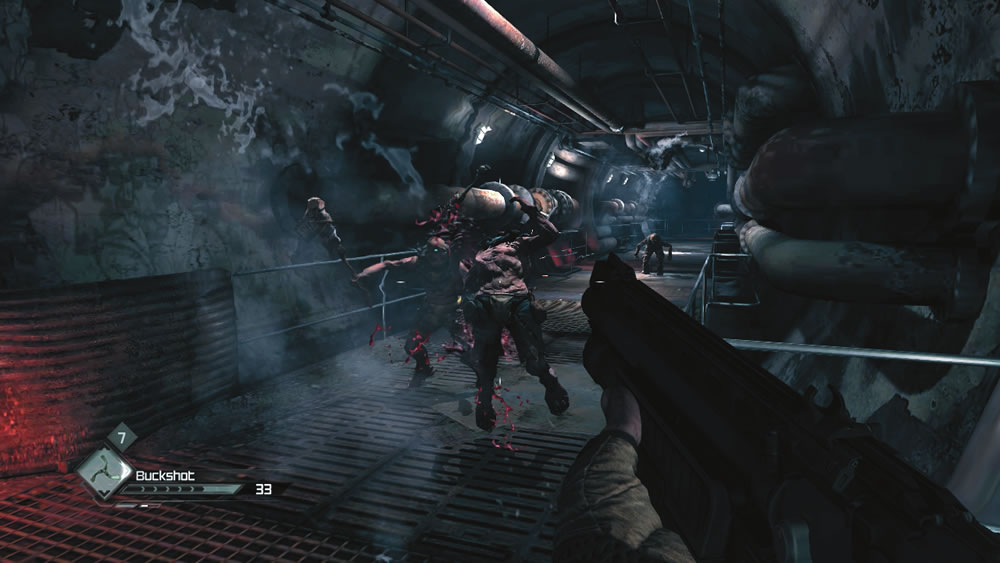
Advance to this maintenance tunnel connected to the terminal. Soon after stepping into the tunnel, you’re charged by more mutants. Some of the mutants come running right at you while others brachiate along the pipes in the ceiling. Consider deploying another Sentry Turret here and let it do all the heavy shooting. Otherwise, use your Combat Shotgun to blast each mutant as it gets close. The Authority Machine Gun is also effective here, allowing you to hit the mutants at long range before they pose a melee threat.
Station Platform
New Objective: Plant four TNT Bundles
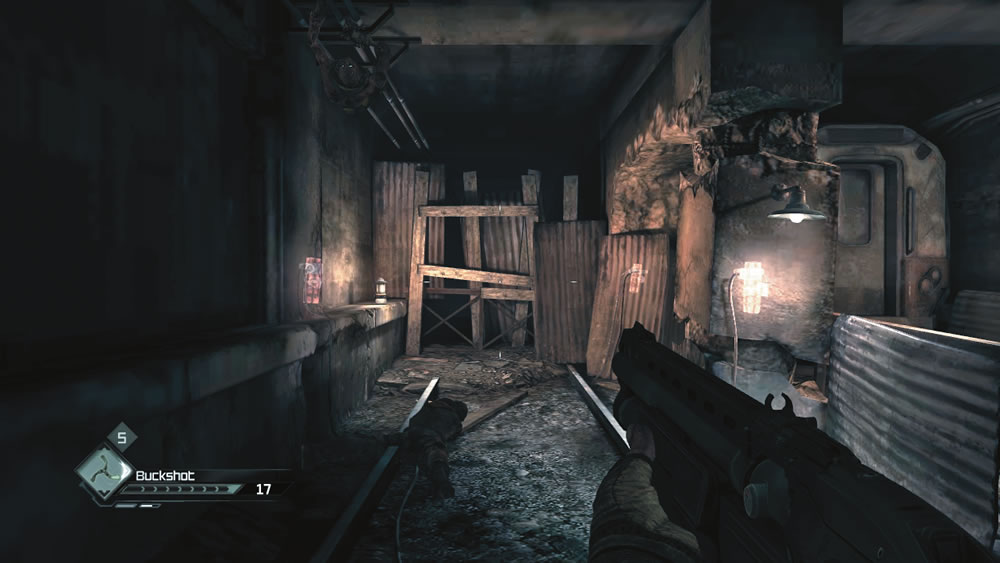
As you near the subway tunnel, watch for a few more mutants loitering by the tracks. Clear the tunnel of mutants and then approach the makeshift barricade to the left—this is where the mutants are coming through. You need to place bundles of dynamite at four separate spots on and around this barricade in order to collapse the tunnel. Interact with the faint outlines of dynamite bundles at these four spots to rig the tunnel for destruction. If you have trouble finding these four spots, simply follow the four lines leading from the Detonator to the dynamite spots.
New Objective: Collapse the tunnel
Climb onto the station platform and follow the wire back to the Detonator. Before interacting with the Detonator, equip your Rocket Launcher and make sure it’s fully loaded. You may want to check the magazine capacities of your other weapons as well—collapsing the tunnel will trigger a massive mutant counterattack. When you’re ready, interact with the Detonator to trigger a massive explosion, collapsing the subway tunnel.
Seconds after the detonation, two tentacle mutants appear, each descending the steps on opposite ends of the station platform. Immediately target one of the two tentacle mutants and relentlessly pound it with HE Rockets until it dies. It takes three direct hits to kill one tentacle mutant. With the first tentacle mutant dead, locate the second one and kill it with another barrage of HE Rockets. It’s important to take out the tentacle mutants as fast as possible because they’re not the only angry mutants you face. Scores of regular mutants swarm the station platform as well. Switch to your Combat Shotgun or Authority Machine Gun and begin blasting mutants as fast as you can. Deploying a Sentry Turret or Sentry Bot here can make surviving this fight a lot easier. Still, keep Bandages handy so you can heal quickly if you find yourself getting pummeled from all directions. As the mutant attack dies down, the subway car doors behind the Detonator open, revealing your escape path. Blast the mutants that come charging out the subway car and then follow the orange cable on the ground all the way back to the Blue Line Station’s entrance.
Subway Town
New Objectives:
- Return to Foreman Jones in Subway Town
- Return to Redstone
Outside the Blue Line Station, return to your vehicle and drive back to Subway Town. You can find Foreman Jones inside the Blue Line tunnel where you left him. He’s impressed with your work and hands over $200 for your troubles. Next, head upstairs to see Mayor Redstone. While the Mayor acknowledges your success, he isn’t quite ready to trust you yet. Fortunately, he has another job lined up for you. . .
Gearhead Vault
Mayor Redstone
Objective: Search for Plutonium Feltrite.
The Gearheads control electricity around here, and I want to end their stranglehold on my town.
Word on the street is that the Gearheads have combined Plutonium and Feltrite. If we could get our hands on that, then our power problems would be over. Trouble is, they got that stuff locked up in the bank vault above us. So I need you to go and get it for me. Here’s a key to the Management Office. You can find the office on the second floor in the back of town.
Bring me that Plutonium Feltrite and maybe it’ll secure your place around here.
| Provided Equipment | ||
| ICON | ITEM | QUANTITY |

|
Management Key | 1 |
Reward: None
New Objective: Head to the Management Office
Exit Redstone’s office and head straight for Jani’s Supplies. Start by selling off any junk you’ve collected. In preparation for your next job you need to purchase plenty of armor-piercing rounds. The Gearheads are decked out in heavy armor, capable of repelling most small arms fire. Authority AV2x Rounds for your Authority Machine Gun are very effective, as are Feltrite AR Rounds for your Assault Rifle. But the single most effective ammo against Gearheads are Fat Mammas fired from your Settler Pistol. These perform similar to Fatboys but with increased penetrative power, capable of passing through multiple targets. If you haven’t already, you can purchase the Fat Mammas Schematic from Jani for $200. Next, make sure you have enough parts for making Fat Mammas. It takes 12 Fatboys and one Explosive Pack to make a batch of six Fat Mammas. Constructing Fat Mammas isn’t cheap, but they’re well worth the price, capable of dropping a Gearhead with a single shot. Just make your shots count. Before you spend all your cash on Fat Mammas, make sure you have at least 10 HE Grenades and 20 HE Rockets before leaving Jani’s.
The Management Office door is located on Subway Town’s second floor, not far from Hope and the banjo player. The door is marked with the Crescent City Rail Authority (CCRA) logo. The key Redstone gave you allows you to open the door. Follow the corridor beyond the door to the entrance of the Gearhead Vault.
The Gearhead Vault
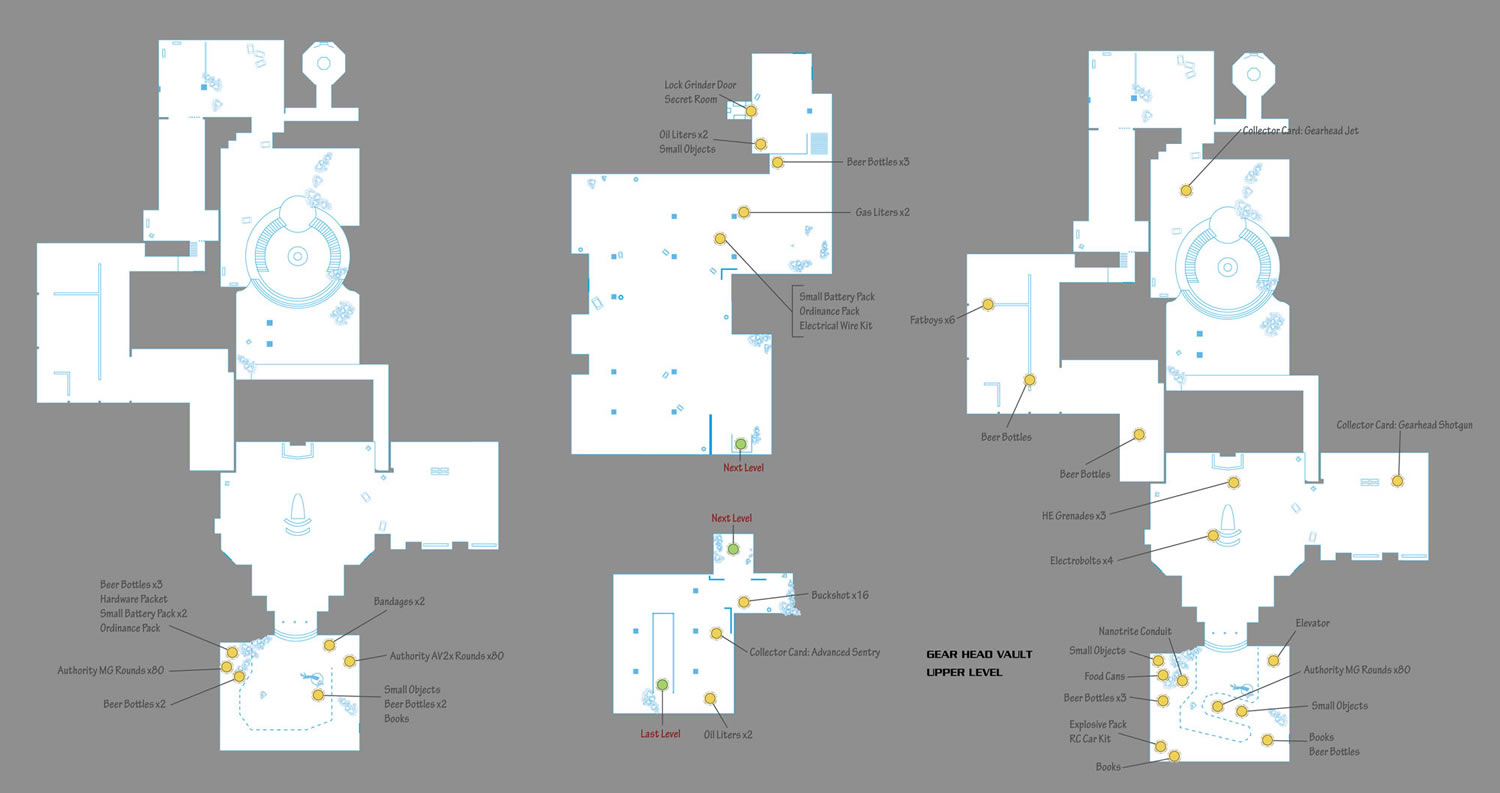
New Objective: Locate the Plutonium Feltrite
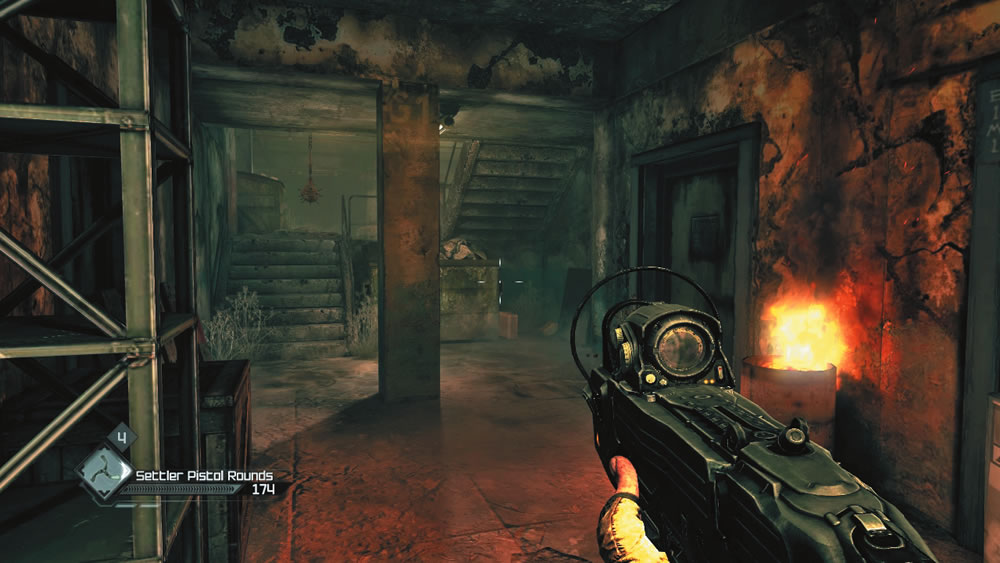
Shortly after entering the Gearhead Vault, look for a locked door on the right before ascending the stairs. Use a Lock Grinder to bust open the door. Step inside a small supply closet to score some loot, including an Electrical Wire Kit and a Turret Barrel. The closet is also filled with other junk you can sell to Jani for a small profit, helping offset the cost of the Lock Grinder you just used.
Parking Garage
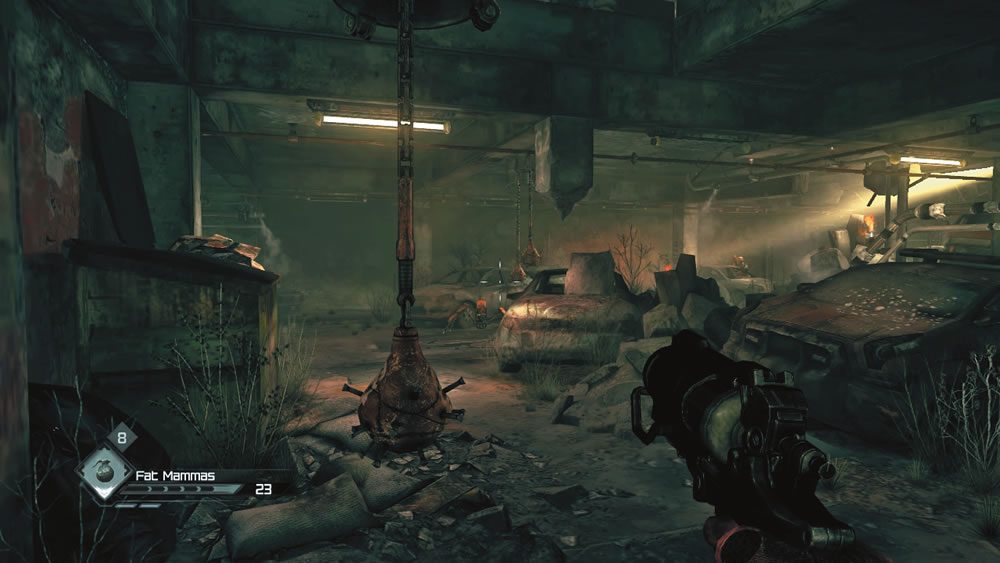
Creep upstairs while listening to the distant Gearhead conversation. Arm your Settler Pistol and load some Fat Mammas. At the top of the stairs, a crude mine dangles from the ceiling of the parking garage. Sidestep past the mine to avoid contact. If the mine detonates, it will inflict serious damage as well as warn the Gearheads of your presence. Locate your first Gearhead by peering through the Monocular, then drive a Fat Mamma through his head. Fat Mammas have enough power to easily penetrate the helmets worn by the Gearheads, making them the easiest way to score headshot kills on these heavily armored enemies. After killing the first Gearhead, be ready to take on his buddies. Stay near the stairwell and avoid contact with that mine while returning fire. Listen for the light tapping sound of an incoming Sentry Bot. Equip your Striker Crossbow and hit the Sentry Bot with a couple of Electro Bolts to disable it. Pulse Shot and EMP Grenades are equally effective against these spider-like robots. Once the Sentry Bot is down, continue attacking the Gearheads while using the cars for cover.
Advance to this section of the parking garage, but watch out for another Sentry Bot posted on top of a car. Peek around the corner and fire a couple of Electro Bolts at the Sentry Bot. Next, equip your Settler Pistol and wipe out any remaining Gearheads by puncturing their skulls with Fat Mammas. Remember, these bullets aren’t cheap, so don’t rush your shots. Carefully study the movements of your target through the Monocular before squeezing the trigger. If you prefer to save your Fat Mammas for later, switch to your Assault Rifle or Authority Machine Gun. When using these weapons, you must chip away at the Gearhead armor, preferably stripping away their helmet before going for the headshot. If you’re not careful, you can waste a lot of ammo on a single enemy. Focus on headshots to conserve ammo.
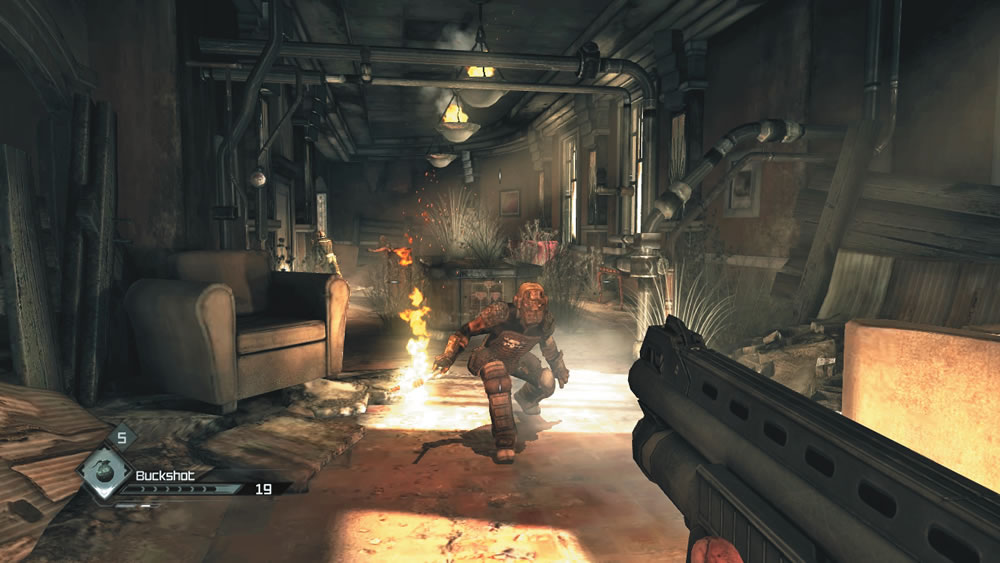
Cautiously approach this ramp leading up to the next level of the parking garage. When you hear the loud footsteps, back up and watch for a Gearhead decked out in heavy armor marching toward you. This Gearhead is covered in metal from head to toe and armed with a minigun, not unlike the minigun-toting bandits you encountered in the Shrouded Bunker. This guy can take much more punishment, though. Use HE Rockets or HE Grenades to strip away his armor. The Rocket Launcher is very effective against this enemy, but it will take at least three direct hits to kill him. If you don’t have enough HE Rockets, soften him up with HE Grenades and then blast him with your Authority Machine Gun, focusing your fire on his head. Make sure you’re always attacking from behind cover, as exposing yourself to his incoming minigun fire can mean a quick death.
Plaza
Continue through the parking garage, and check the backseat of a car near the exit for the Adv. Sentry Bot collector card before working your way up to a plaza outside the bank’s entrance. As you climb the debris-strewn ramp leading out of the parking garage, you’re charged by a Gearhead armed with a flaming baseball bat. Gun him down with your Assault Rifle or Authority Machine Gun. A second Gearhead hides near the dead tree in the center of the plaza, shooting at you with a pistol. Wait until he reloads, then blast him with the weapon of your choice. The entrance to the bank is blocked by several flame barriers, fueled by gas jets. You need to find a valve to shut off the gas before you can enter the bank. Grab the Bandages near the bank’s entrance and then enter the bar to the left. There are more items to loot in the bar, as well as a ladder leading up to an upper-level walkway ringing the plaza.
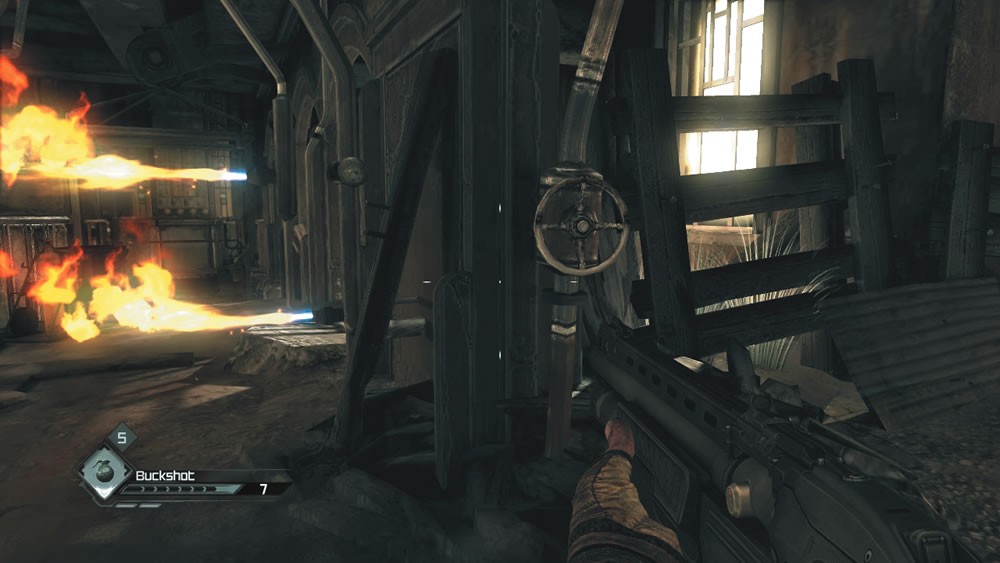
Soon after reaching the upper level, you’re attacked by more Gearheads, including one with a flaming baseball bat. Blast the Gearhead charging at you first, then immediately seek cover. Engage the rest of the Gearheads with your Settler Pistol, using Fat Mammas to make quick work of them. Move from one piece of cover to the next while advancing along the U-shaped walkway. For the most part, the Gearheads attack from a distance while hiding behind cover. Mimic their tactics and snipe them with your Monocular-enhanced Settler Pistol. The valve regulating the flow of gas is located at the end of the walkway. Interact with the valve to shut off the gas, causing the flame barriers at the bank’s entrance to disappear. Board the nearby lift and ride it down to the main floor.
Bank
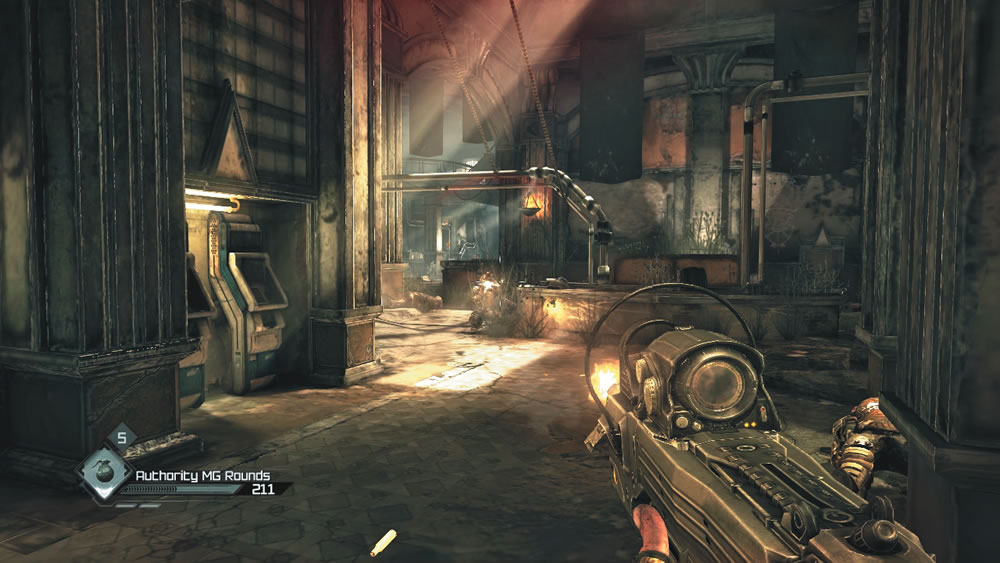
The bank’s lobby is guarded by more Gearheads taking cover behind the reception desk. Hold near the bank’s entrance and return fire. If you’re running low on Fat Mammas, consider switching to your Authority Machine Gun. Using the weapon’s magnified sight you can zoom in on the enemies and target their heads with impressive accuracy. However, watch out for incoming grenades lobbed over the desk in your direction. Be ready to backpedal into the plaza to avoid getting caught in a grenade’s blast radius. Once the lobby is clear, search the area to the right to grab a Gearhead Shotgun collector card sitting on a planter. Don’t worry about shutting down the flame barrier in the lobby—this simply blocks a path you’ll access later from a different direction.
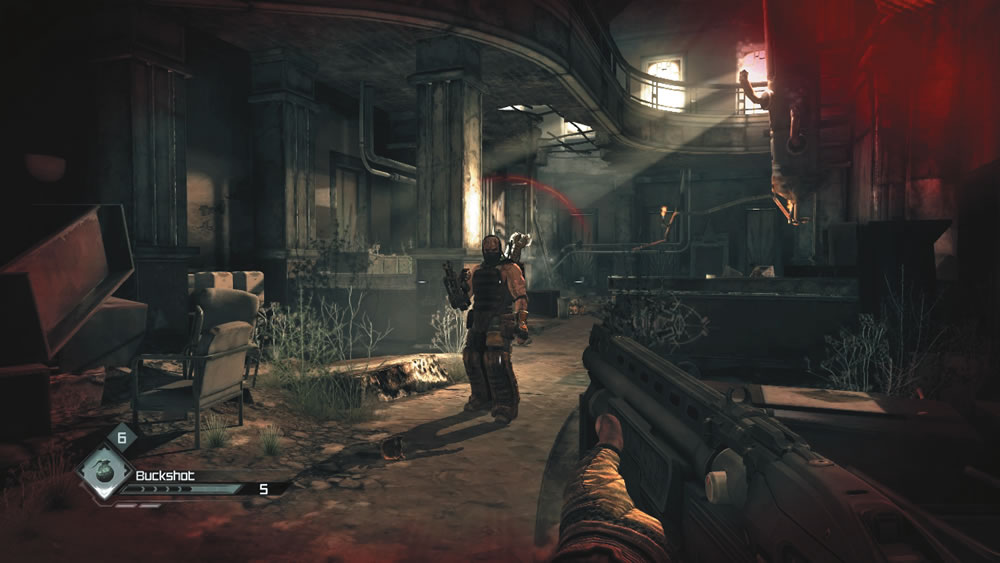
Prepare to face more resistance in the adjoining corridor. Use your Settler Pistol or Authority Machine Gun to methodically pick off the Gearheads hiding behind cover. But be ready to take cover when you hear the clanking sound of heavy footsteps approaching—another heavily armored Gearhead equipped with a minigun is headed your way. Use HE Grenade or HE Rockets to take out this guy, ensuring that you don’t expose yourself to his devastating attacks. Once the guy with the minigun is down, finish off the remaining Gearheads hiding behind desks and other objects. At the end of the corridor, pass through the doorway on the left to enter the bank’s offices.
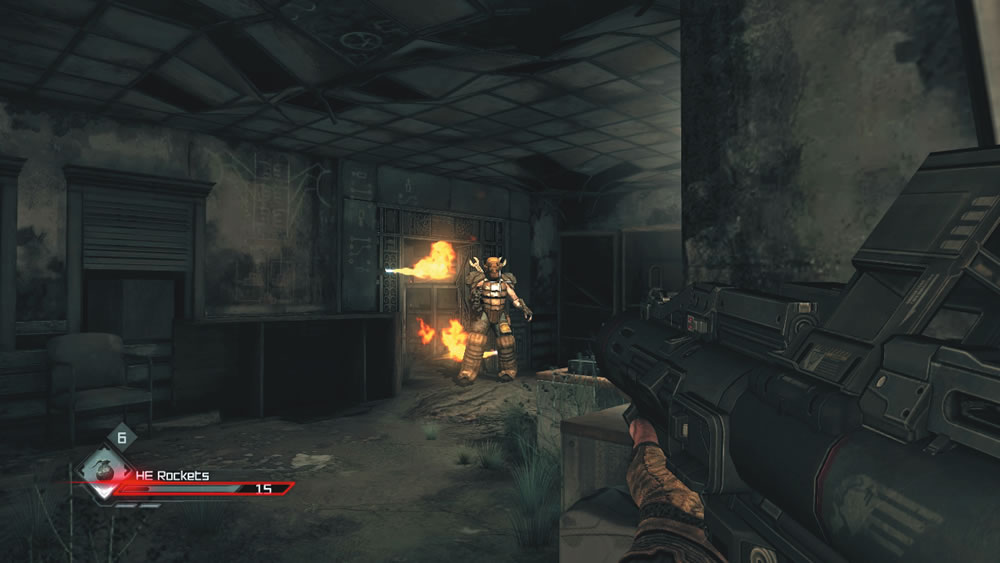
As you move through the offices, two flame barriers are activated, blocking the entrance and exit—you’re trapped. To make matters worse, two heavily armored Gearheads equipped with miniguns march in, one through each doorway. Hide in one of the offices while equipping your Rocket Launcher—there’s no time to waste. Focus on one enemy at a time, pounding each Gearhead with HE Rockets until there’s nothing left behind but a red mist. If you’re running low on HE Rockets, hit each Gearhead enough times until his helmet is gone, then finish him off with headshots using your Authority Machine Gun. Regardless of which tactics you use, it’s important to take these guys out fast before they can close in on your position and rip you to shreds with their miniguns. Once both enemies are down, the flame barriers disappear, allowing you to exit the offices.
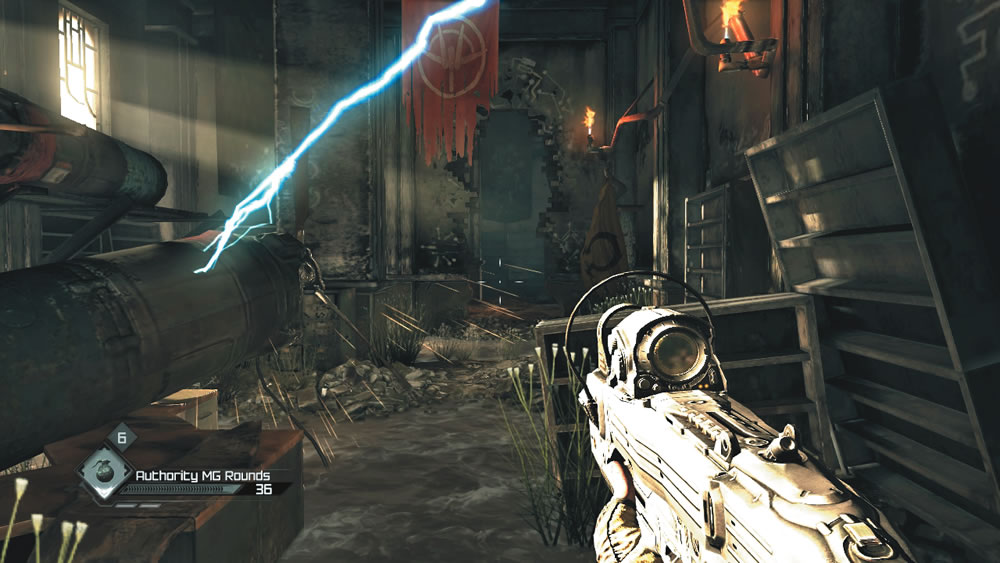
Watch out for a charging Gearhead on the steps outside the offices. He kicks a flaming trash can at you and then comes charging at you with a flaming baseball bat. Sidestep the incoming trash can, then open fire on the Gearhead while backpedaling. Continue up the steps and through the adjoining corridor. You eventually come to this room where an airplane engine serves as a makeshift security feature. At regular intervals, a bolt of electricity strikes the engine, causing the propeller to spin for a few seconds. Time your movements through here carefully. Wait until the propeller has stopped spinning before walking past. You now have a clear path to the vault.
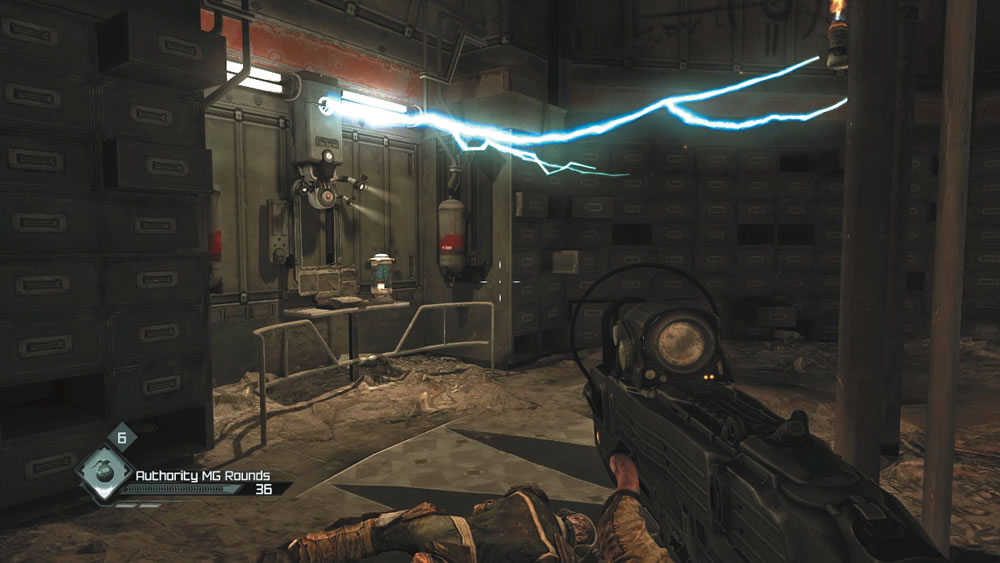
All that you find in the vault is a Broken Feltrite Power Cell—it doesn’t appear to contain the Plutonium Feltrite Redstone was expecting. Don’t worry about the arcs of electricity surrounding the power cell, just grab it and prepare to make your exit. As you near the vault’s door, you hear more heavy footsteps heading your way. Equip your Rocket Launcher and wait for another heavily armored Gearhead to come marching in. This guy is armed with a flamethrower. Given the tight confines of the vault, this isn’t a fight you want to prolong. Pummel the Gearhead with HE Rockets until he’s down for good. It’s time to get back to Subway Town.
New Objective: Take the Broken Power Cell to Redstone
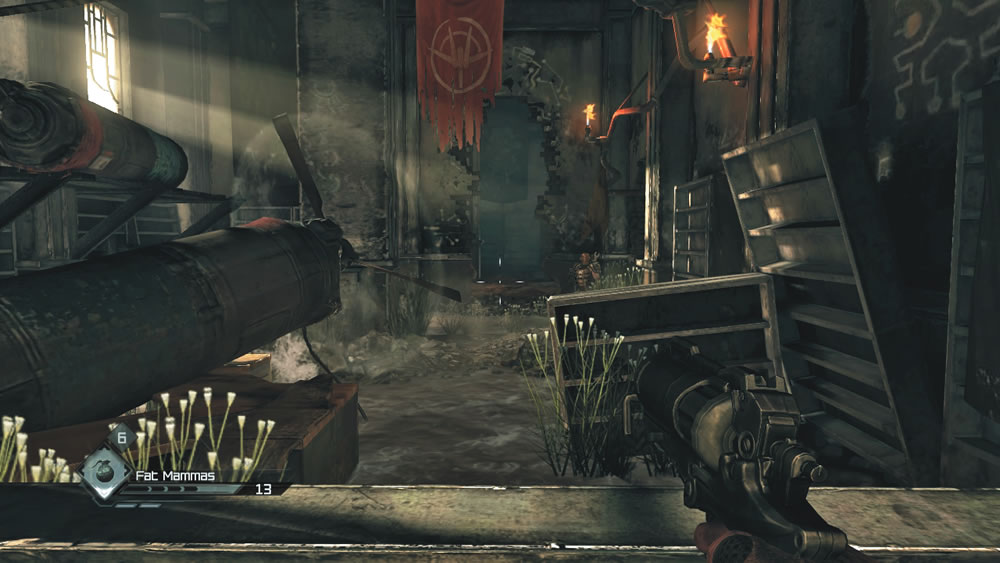
Navigate past an intermittent flame jet to return to the room with the aircraft engine. A few Gearheads have taken up positions in this room, so find cover and let the spinning propeller kill a few. Finish off any survivors with your weapon of choice, then slip past the propellers once they’ve stopped. The room’s exit is blocked by bars, however. Hide behind the counter while another minigun-toting Gearhead marches toward you. Don’t bother shooting this guy—the propeller blades are enough to chop him to pieces. During his advance, the Gearhead with the minigun crashed through a wall near the vault. Carefully walk past the propellers once they’ve stopped and pass through this newly opened passage.
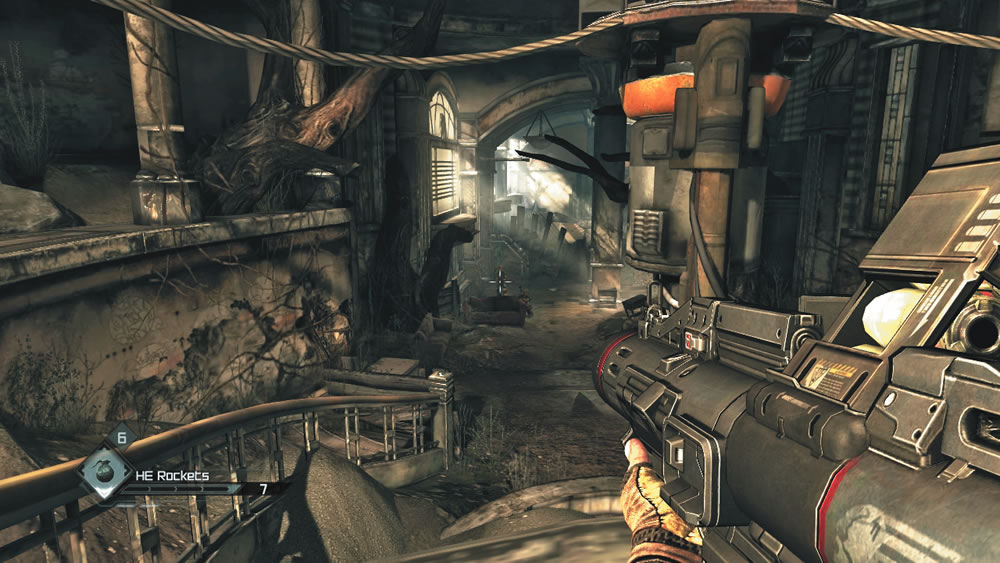
Pause at the top of this large staircase and fire down on the Gearhead bandits below. One is armed with a rocket launcher, so take cover. Return the favor by firing your own Rocket Launcher at the Gearheads hiding behind the sofa. One rocket may not be enough to take them both out, so follow up your initial attack with shots from your Authority Machine Gun. When the area is clear, collect the Gearhead Jet card from the chair in the dirty office at the top of the stairs, then descend the steps and follow the adjoining hall to the lobby. The flame barrier can now be deactivated by interacting with the valve on the right side of the hall.
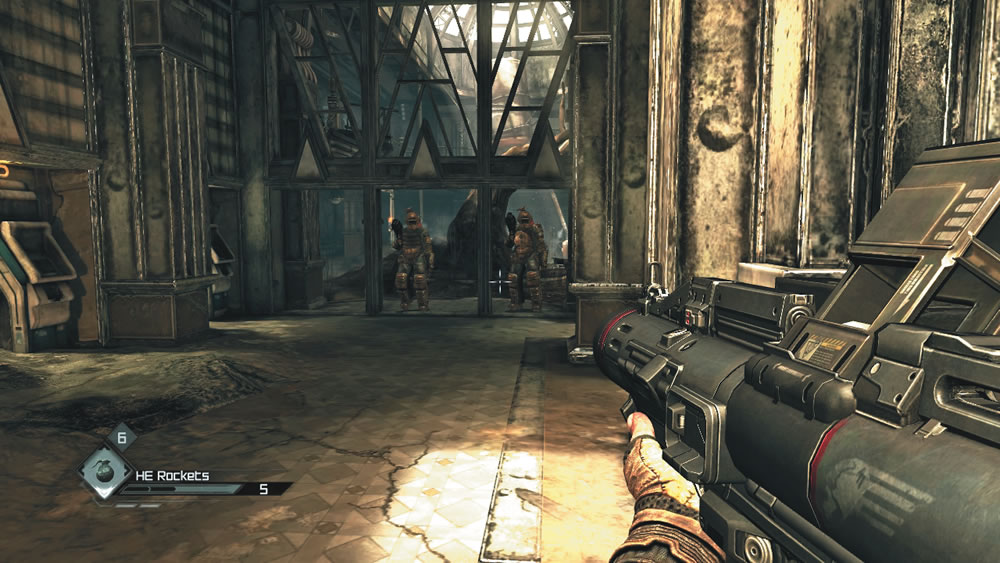
As you near the bank’s exit, a couple of flamethrower-equipped Gearheads come marching through the plaza. Equip your Rocket Launcher and immediately attack these enemies as they come into view. However, be sure to keep your distance to avoid getting roasted. If necessary, retreat back into the bank’s lobby and utilize cover while engaging these slow-moving thugs. The bank’s doorway is a great choke point to concentrate your fire on. Saturate this area with HE Rockets and HE Grenades as the two Gearheads approach. The splash damage from explosive weapons allows you to hit both Gearheads at once. If you’re out of explosive weapons, open fire with your Authority Machine Gun or Assault Rifle to slowly chip away at their heavy armor. If possible, try to hit the red fuel tanks on their backs. If you manage to puncture one of these tanks, the Gearhead will be launched into the air like a rocket before eventually exploding. It’s much more effective to knock off their helmets and kill them with headshots, however. Once these two Gearheads are down, the path is clear. Retrace your steps through the parking garage and return to Subway Town.
Vault Assault
Successfully raiding the Gearhead Vault earns you the Vault Assault achievement/trophy.
Subway Town
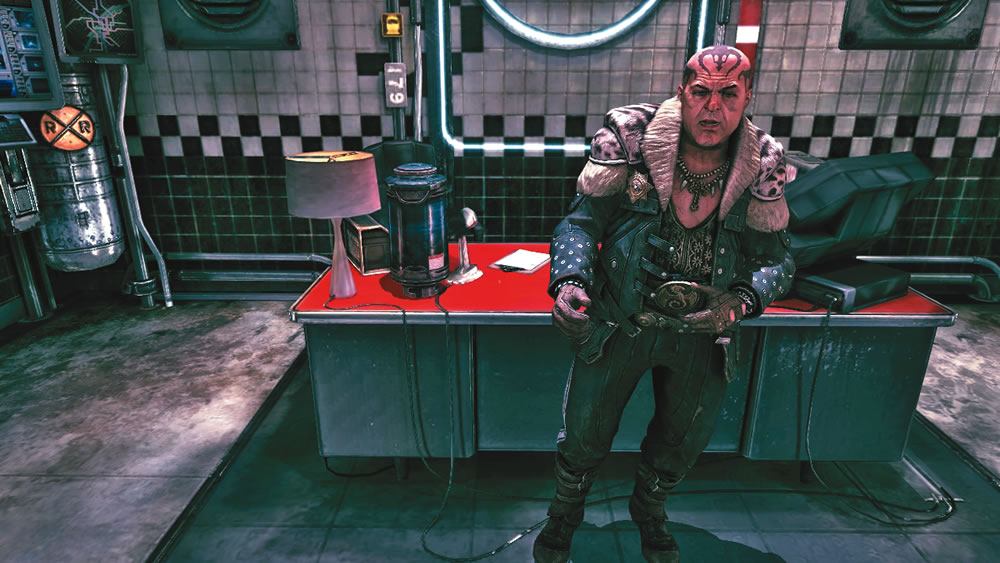
Following your adventure through the Gearhead Vault, head to Mayor Redstone’s office. Surviving a fight with the Gearheads has caught the attention of a few Subway Town regulars like Destinee. Even Vincent, Redstone’s doorman, has no cutting remarks for you this time. Unfortunately, Redstone is less than thrilled with your work, immediately realizing that the canister is empty. Now he has a problem. If the Gearheads suspect Redstone organized the attack on their vault, they’ll retaliate by shutting the power off to Subway Town. Redstone realizes he must take immediate action to prevent such a calamity and he needs your help to put his plan into motion. . .
The Price of Power
Mayor Redstone
Objective: Redirect the power to Subway Town.
Either you’re trying to rip me off or someone lied to me.
Which means, this problem is your problem. If the Gearheads suspect I sent you, then they’ll shut off the power. It’s time for a permanent solution. I need you to infiltrate their Power Plant and redirect the power leads straight here. Once the place is secure, my boys will take over. Problem solved.
You do this for me, and I’ll give you free rein to do your business.
Provided Equipment: None
Reward: None
New Objective: Find the Power Plant to the north
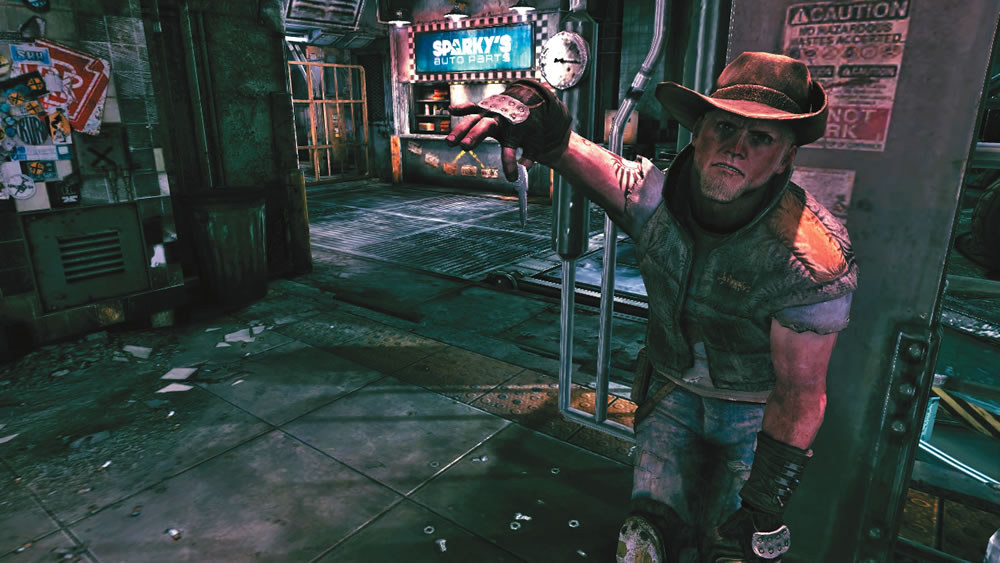
After accepting Redstone’s latest job, he suggests finding a new vehicle. He feels your Cuprino won’t last long in the Eastern Wasteland. Apparently Starky has been bragging about his Monarch. At this point, the Monarch Needed job becomes available. Before setting out for the Power Plant, head downstairs to find Starky. You can find him on the lower level, not far from Sparky’s Auto Parts shop. Speak with Starky to initiate a race. If you win, you take home his Monarch!
Starky’s Monarch
Starky
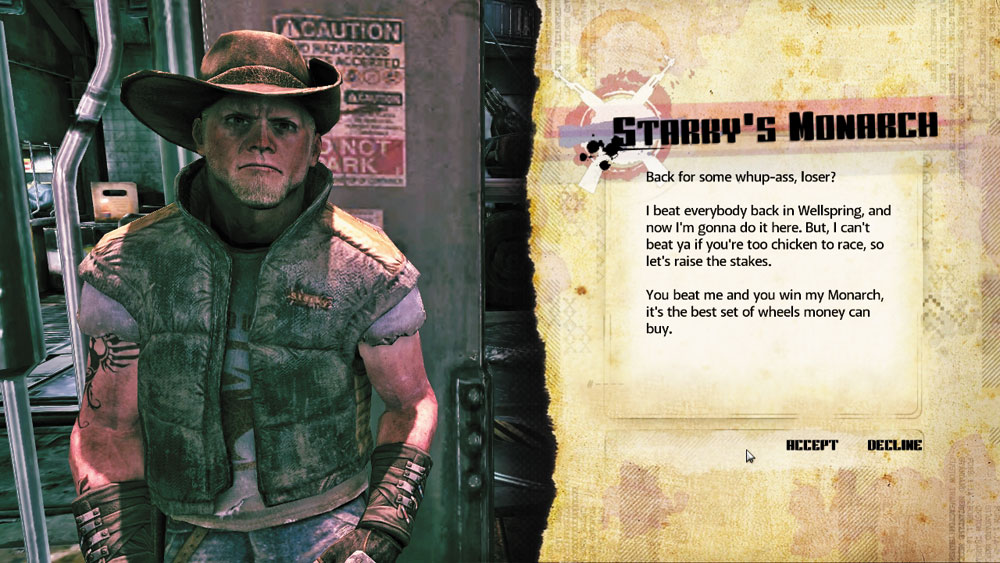
Objective: Beat Starky to the finish line, again.
Back for some whup-ass, loser?
I beat everybody back in Wellspring, and now I’m gonna do it here. But I can’t beat ya if you’re too chicken to race, so let’s raise the stakes.
You beat me and you win my Monarch—it’s the best set of wheels money can buy.
Provided Equipment: None
| Reward | ||
| ICON | ITEM | QUANTITY |

|
Pulse Ammo | 6 |

|
Minigun Ammo | 600 |

|
Homing Rockets | 4 |

In this race it’s your Cuprino against Starky’s Monarch. Don’t be intimidated by the turret-mounted weapons and rugged looks of the Monarch—you’re not fighting it, just racing it. After a couple of boosts, you should have no trouble taking and maintaining the lead. The Monarch is heavily armored, but it’s not as fast as your Cuprino. As long as you keep boosting and stay on the course, you’ll have no problem winning this race. If Starky is on your tail, consider using the provided Drop Mines to slow him down. The Drop Mines won’t make much of a dent in the Monarch, but it may cause Starky to swerve to avoid hitting them. Instead of worrying too much about Starky, keep your eyes on the course. This figure-8-style track can get a little confusing, so pay attention to the orange and white signs pointing which way to go. If you accidentally make a wrong turn, Starky will easily take the lead before you can get back on course. If this occurs, use boost to catch up and retake the lead. If you’re the first to cross the finish line on the third lap, you walk away with Starky’s ride. If you lose, you can restart the race.
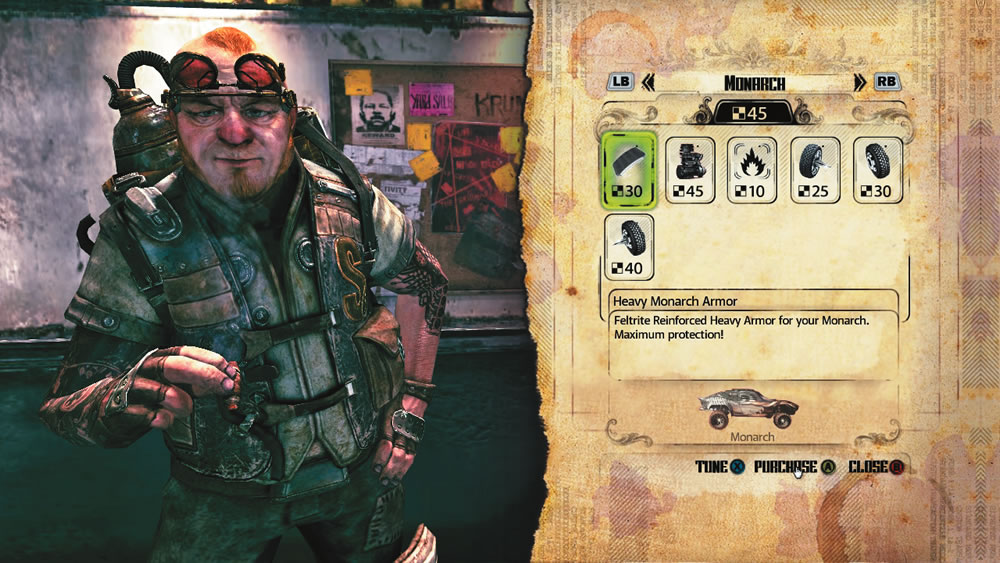
Starky is disappointed with his performance, but reluctantly hands over the keys to his Monarch—the vehicle is now in your garage. While you’re downstairs, step over to Sparky’s Auto Parts shop to stock up on ammo and Shields. The Monarch is equipped with three weapons: a Minigun, a Rocket Launcher, and an Advanced Pulse Weapon. Make sure you have ammo for all three. The Advanced Pulse Weapon is a high-energy cannon capable of blowing up a bandit vehicle with a single shot. However, the Pulse Ammo isn’t cheap, costing $60 for only six rounds. You’ve already won six rounds from Starky, so there’s no need to buy Pulse Ammo now unless you have tons of cash to blow. Don’t forget to browse the available upgrades for your Monarch. If you have 30 racing certificates, purchase the Heavy Monarch Armor now. This allows the vehicle to absorb extremely heavy damage, making it ideal in fights with bandits. All other upgrades can wait. Before leaving Sparky’s, make sure you have at least 12 Shields and any other quick use items you like to deploy during vehicular combat. Now that you have a well-stocked Monarch, you’re almost ready for your trip to the Power Plant. But before leaving Subway Town, stop by the Fez Bar. The bartender has a job for you.
Brick’s Bounty
Objective: Take out bandit vehicles for Brick.
I got shipments coming, and I don’t want trouble on the roads!
Damn bandits have been causing problems for my liquor suppliers. I’d pay handsomely if you took to the roads and killed a few. Tell you what, you take out an Authority Predator and I’ll pay you double.
For every enemy vehicle you take out, I’ll dish out some cash and racing certificates.
Provided Equipment: None
| Reward | ||
| ICON | ITEM | QUANTITY |
|
|
Dollars | 10 |

|
Racing Certificate | 1* |
| * = per bandit vehicle destroyed | ||
Krug, the bouncer standing outside the Fez Bar, will now let you into the bar. Step inside the converted subway car and turn right. Like the Second Chance Bar in Wellspring, the Fez Bar is filled with several colorful characters willing to offer advice and wager bets. Speak with Brick, who is standing behind the bar and wearing a Fez-style hat. This is Brick’s place and he needs you to hunt bandits. Just like Sally, he offers to pay you $10 and one racing certificate for each bandit vehicle you destroy. The payment is doubled to $20 and two racing certificates for every Authority Predator you destroy. Accept the terms of Brick’s job and head for the bar’s exit. Or, if you prefer, visit Abbott for a game of five-finger filet or talk to Teague, Subway Town’s resident card shark, to start a game of Rage Frenzy.
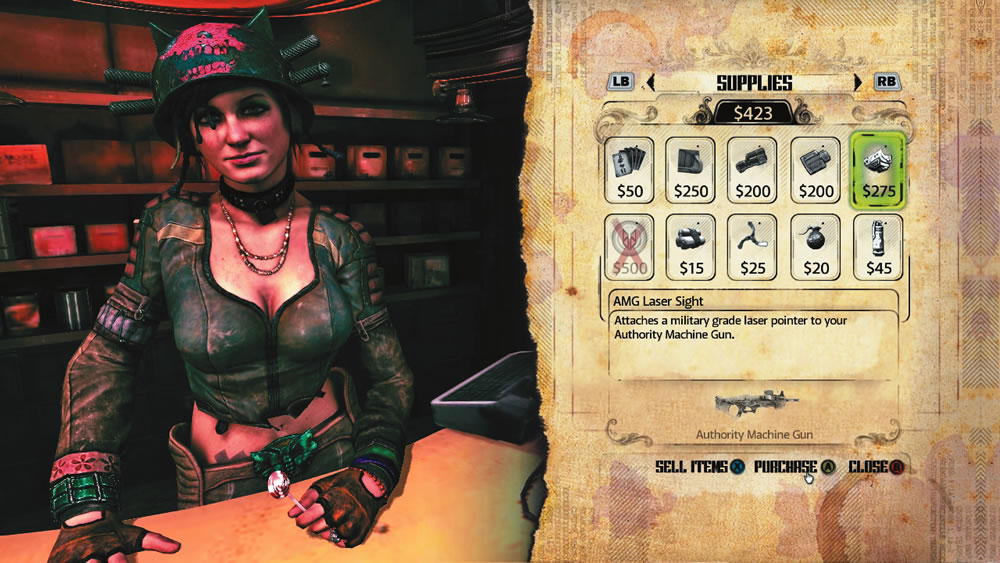
Your preparation for the raid on the Power Plant is almost complete, but before leaving Subway Town, head upstairs to Jani’s Supplies. The Power Plant is occupied by Gearheads, so expect the same level of armored resistance as you did in the Gearhead Vault. Start by selling any junk you looted from the Gearhead Vault. Next, purchase plenty of ingredients to make at least a couple dozen Fat Mammas. Also, make sure you have at least 300 Authority AV2x Rounds, 20 HE Rockets, 20 HE Grenades, and 20 Electro Bolts. If you haven’t already, now’s also a good time to buy the AMG Laser Sight for your Authority Machine Gun. This upgrade significantly increases the accuracy of the weapon, helping ensure your bullets find their mark. After stocking up at Jani’s, head downstairs to Saul’s garage and select your new Monarch before leaving Subway Town.
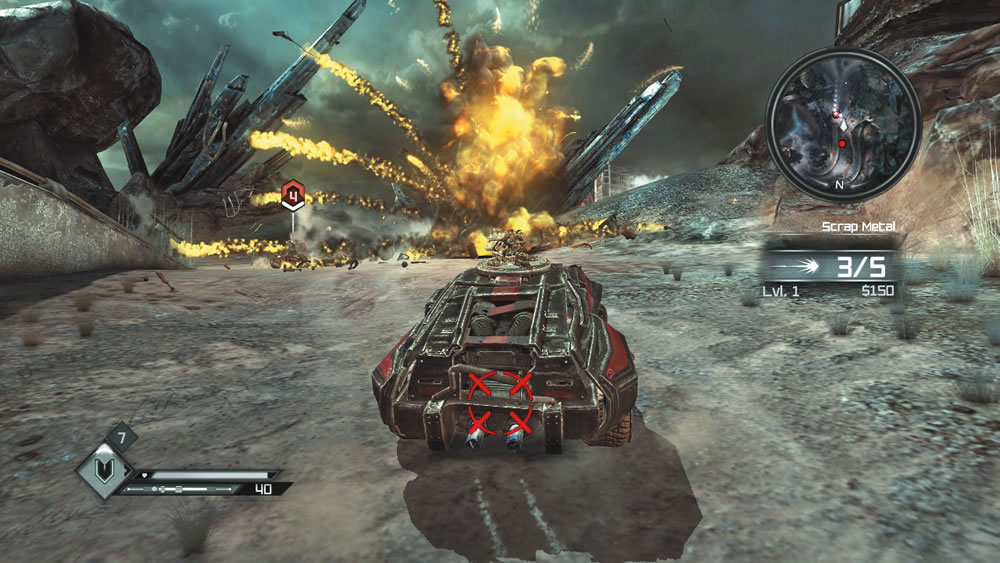
Now it’s time to find the Power Plant—the path is marked on the minimap. Before driving too far into the Eastern Wasteland, experiment with switching the Monarch’s weapons. By default, the Minigun is selected, but you can switch to the Rocket Launcher and Advanced Pulse Weapon. Proceed to the Power Plant, but be ready to engage some bandit vehicles once you enter Gearhead Territory—blast every guard tower you encounter along the way. Deploy Shields as the enemy vehicles launch rockets at you and then immediately retaliate. The Monarch’s Rocket Launcher is more than sufficient for taking out most bandit vehicles, but if you find yourself in a pinch, select the Advanced Pulse Weapon. This works similar to the Rocket Launcher, requiring a lock on an enemy vehicle. Once locked, fire the weapon to launch a devastating blue Pulse charge. Like the Homing Rockets, the Pulse charge has limited tracking ability, but delivers lethal damage upon contact with the targeted vehicle. The Monarch isn’t very maneuverable or fast, so don’t try to outmaneuver the enemy vehicles. Instead, simply point your vehicle in the general direction of the attacking vehicles and open fire. The Monarch can absorb a lot of damage, especially if you manage your Shield deployments carefully. Don’t worry about chasing after the bandit vehicles—let them come to you while making slight steering adjustments. Monitor the movement of the bandit vehicles on the minimap and maneuver the Monarch to face the incoming attackers, greeting them head on with Homing Rockets.
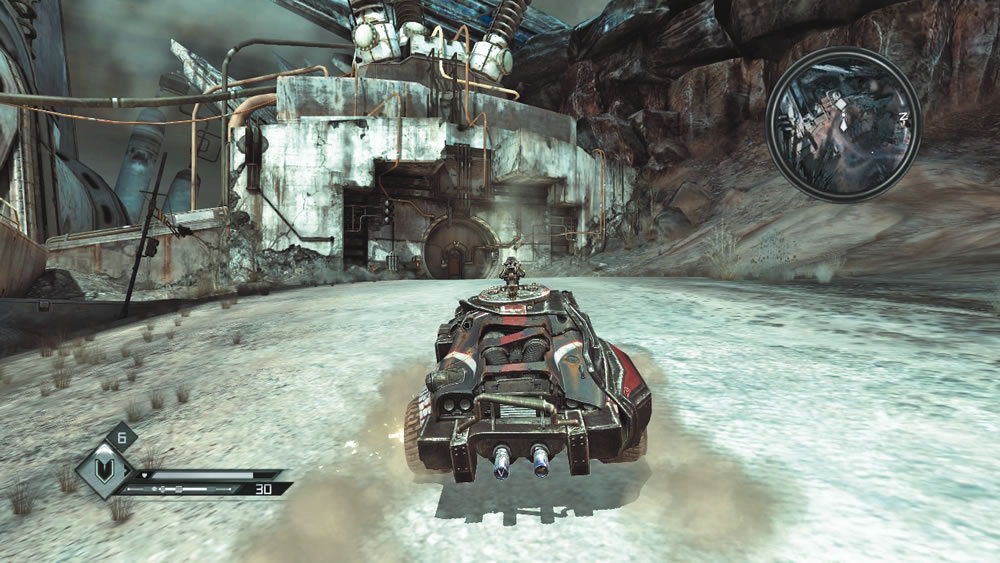
As you near the entrance to the Power Plant, destroy the nearby guard tower with your Homing Rockets. The Homing Rockets won’t lock on to the tower, so you need to drive toward the target while firing. Alternatively, you can just ram the tower with the Monarch. Once the area is clear of threats, drive toward the Power Plant entrance and park your Monarch. Before entering on foot, search the ground to the right of the Power Plant’s door—the Monarch collector card is located here. You can also collect a Desert Spore near the road, to the south of the Power Plant entrance. Now interact with the door to enter the Power Plant.
Power Plant
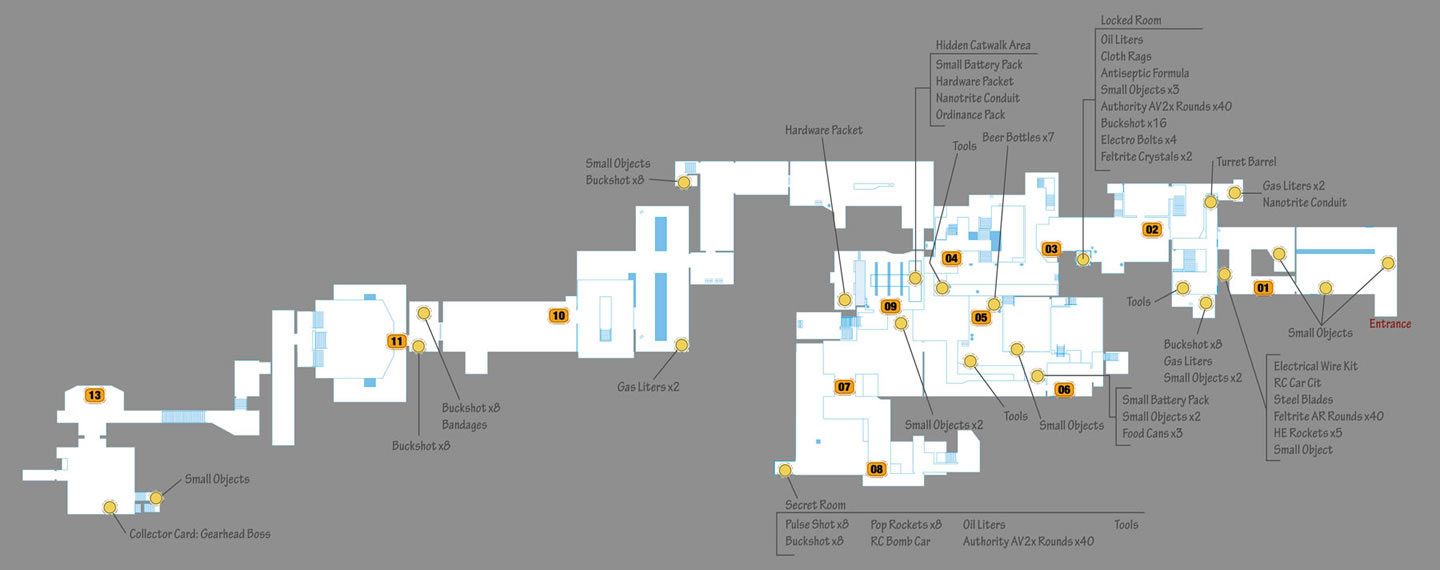
New Objective: Locate the Power Control Board
Just inside the Power Plant entrance you encounter the first Gearhead—his back is turned and he’s sweeping the floor with a broom. Hit him in the back of the head with a Wingstick for a stealthy kill. Loot the dead Gearhead’s body, then grab the other Small Objects scattered around the room. The path ahead is blocked by an arc of electricity. Interact with the yellow control box on the wall to shut it down. A second arc of electricity blocks the path around the next corner, and this time the yellow control box is out of reach. Get the attention of a nearby patrolling guard by firing your weapon. He’ll deactivate the electricity and come to investigate—gun him down and continue deeper into the Power Plant. You can also use Electrobolts or Pulse Shots to deactivate these yellow boxes.
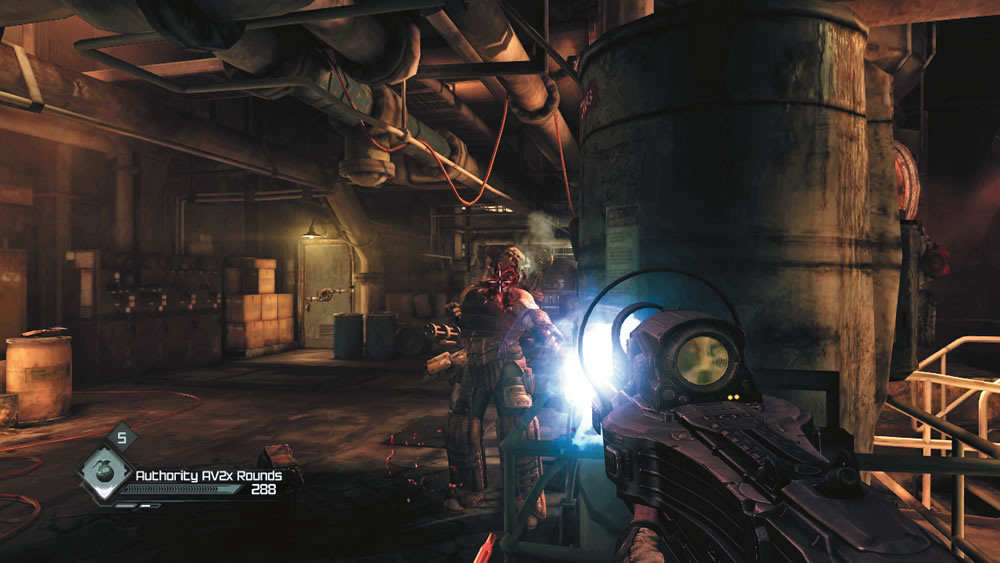
As you exit some offices, turn right to aim down this corridor—a Gearhead armed with a minigun is waiting for you here. Stun him with an HE Grenade or two, then shoot him in the head with your Authority Machine Gun. If the grenade attacks knock off his helmet, it won’t take many headshots to finish this guy off. A couple of Gearheads arrive soon afterward, so be ready to deal with the reinforcements, including a bandit charging at you with a flaming baseball bat. Finish off the reinforcements and then raid the nearby locked closet using a Lock Grinder. Inside you find two Feltrite Crystals, a variety of ammo, and ingredients to make Bandages.
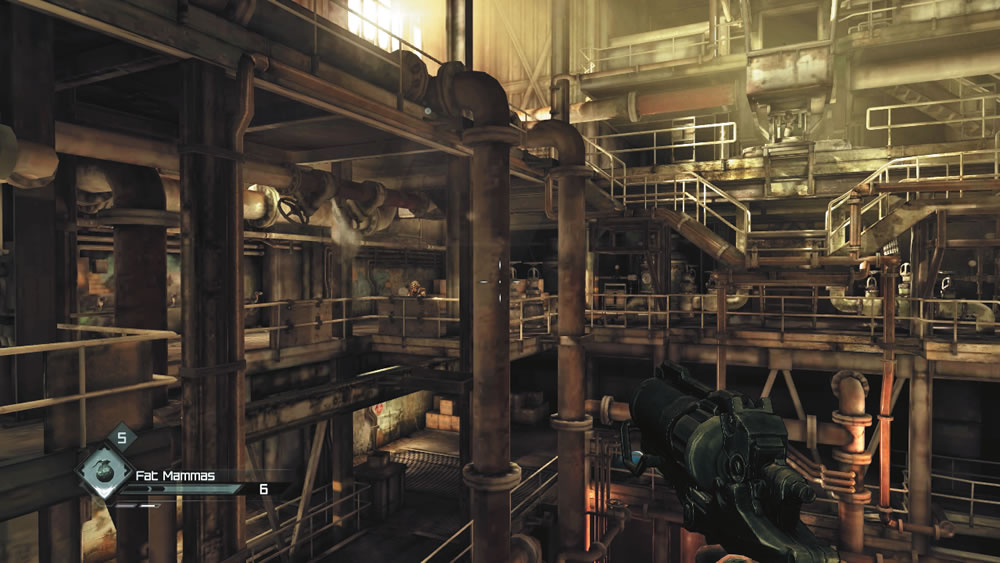
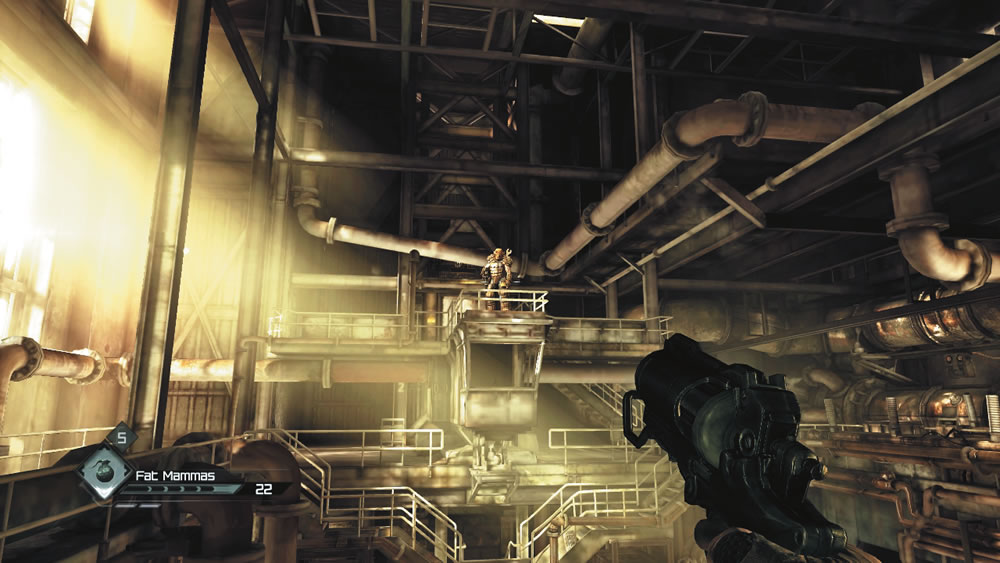
In this area, you’re attacked by multiple Gearheads firing from behind cover on the various catwalks. Crouch behind the steel plate just below the railing at the end of the corridor and equip your Settler Pistol loaded with Fat Mammas. Peek out of cover and peer through the Monocular to score headshots on the Gearheads. Remember, take your time to line up the shots to ensure a hit, then duck down behind cover. However, listen for the distinct sound of a Sentry Bot approaching from the left. Disable it with a couple of Electro Bolts fired from your Striker Crossbow. Engage one target at a time until you stop taking fire. Once it’s clear, move to the left side and climb the stairs to the second level. Along the way, watch out for more Sentry Bots that may be suspended from the ceiling. Electro Bolts or Pulse Shots (fired from the Combat Shotgun) are the best way to disable these threats.
At the top of the stairs, turn left and immediately take cover as more Gearheads open fire. Once again, use your Settler Pistol and Fat Mammas to pick apart the resistance. Halfway across the catwalk, an elevator descends and a Gearhead armed with a minigun appears high above this room. Don’t waste your Fat Mammas on this guy. Instead, hit him with your Rocket Launcher until there’s nothing left but a red mist. Continue advancing along the catwalk toward the elevator, blasting Gearheads and Sentry Bots along the way.
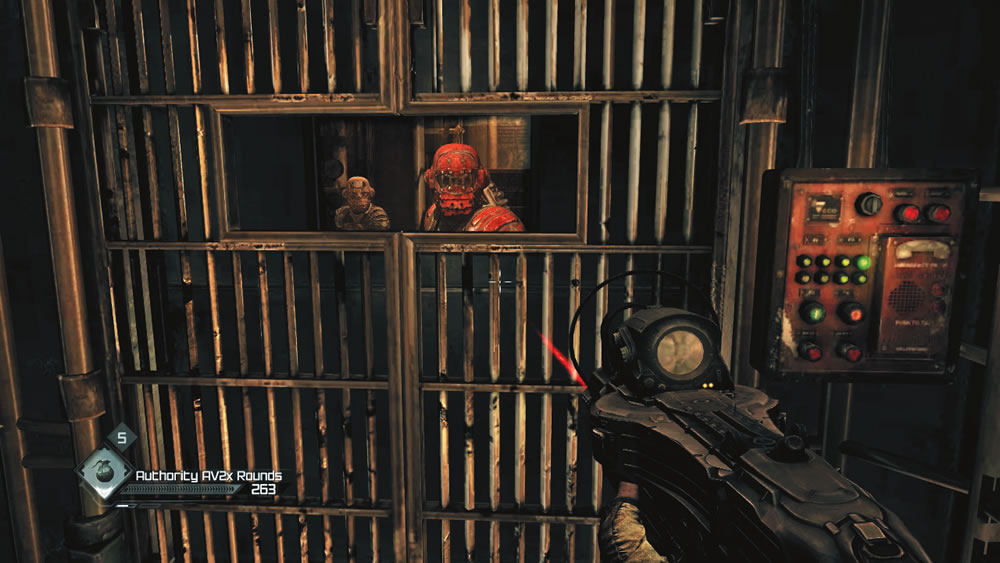
At the elevator, interact with the switch on the right. While waiting to the elevator to arrive, the Gearheads launch a counterattack from the surrounding catwalks. Instead of taking them all on, duck behind the metal plate below the railing and monitor the stairway by the elevator—if they want to kill you, they’ll have to charge up these stairs. This allows you to stage an effective ambush, picking off one Gearhead at a time. The bandits are dangerous at this range however, so drop them quickly before they can retaliate. The Authority Machine Gun works best at this range, as does the Combat Shotgun. Once the elevator doors open, rush inside and throw the switch.
Once the elevator doors close, you’re safe for the time being. The elevator comes to a stop on an upper floor, however. Through a small window in the door you can see the Gearhead leader, decked out in heavy red armor. He orders one of his men to cut the elevator cables. The Gearhead leader spends a few seconds taunting you before the elevator plunges down the shaft, causing you to temporarily black out.
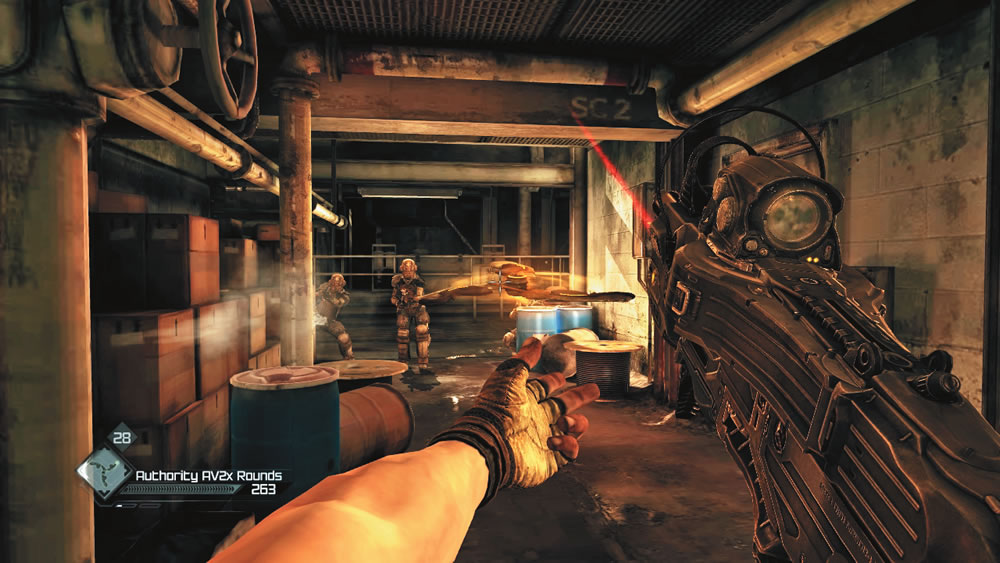
Crawl out of the damaged elevator and turn right. The Gearheads weren’t expecting you to survive the fall, reflected in the casual way they patrol this area. If you have any Advanced Wingsticks, use them to surprise the patrolling Gearheads. While the Advanced Wingsticks may not kill the Gearheads outright, it will chip away some of their armor and helmets, making them easier to gun down with your standard weapons. Once your presence is known, prepare to face several reinforcements. Continue tormenting them with Advanced Wingsticks while returning fire. Among the reinforcements are a couple of Sentry Bots. Be ready to put them down with Electro Bolts or Pulse Shot.
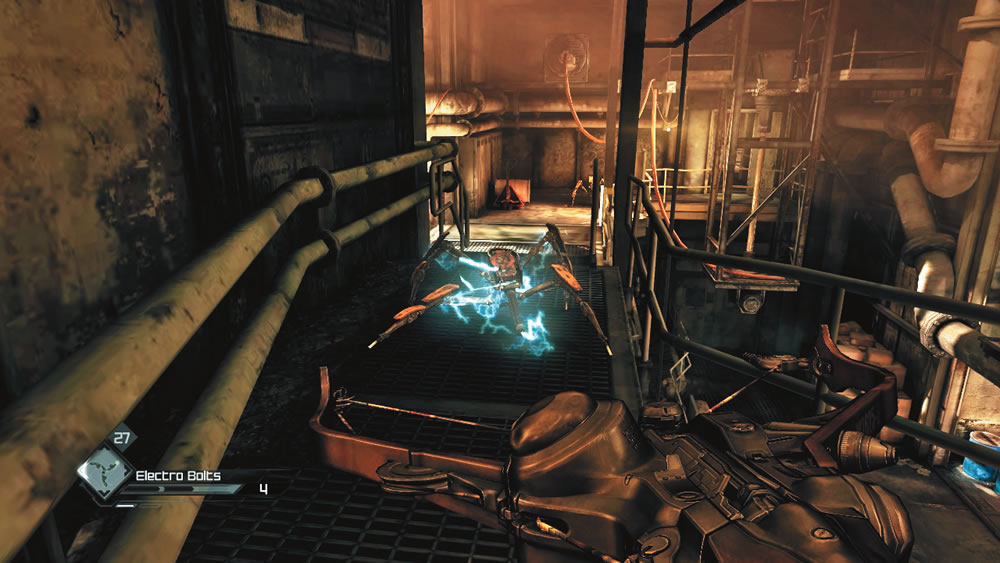
Climb a ladder followed by a set of steps to reach an office where you’re attacked by a lone Gearhead. Mow him down with your Authority Machine Gun and proceed to the catwalk outside the office. Here you’re attacked by two more Sentry Bots. Act quickly to finish them off with Electro Bolts or Pulse Shot. If you have EMP Grenades, toss one between the two Sentry Bots to take them both out.
Here you’re ambushed by a few Gearheads attempting to halt your advance. When they pop out of cover and open fire, immediately backpedal and seek cover. Also, watch out for incoming grenades. Peek out of cover and use your Settler Pistol to pick off one Gearhead at a time by driving a Fat Mamma through his skull. HE Grenades and Pop Rockets also work particularly well, especially if the bandits are gathered in a tight group. As you advance, watch for more enemies on the parallel catwalk and act quickly to neutralize them.
Follow the stairs down to this area where you encounter a Gearhead armed with a flamethrower. The path ahead is blocked by a flame barrier, so there’s no escape. Wait until the Gearhead moves next to the gas tank on the right, then fire a Pop Rocket at him. The Pop Rocket causes the gas tank to explode, temporarily dazing the Gearhead and knocking off his helmet. This makes him vulnerable to the spinning blades moving along the ceiling, causing him to lose his head. With the flamethrower-toting bandit down, the flame barrier disappears and more bandits enter the room. Hold near the entrance and engage them with your weapon of choice. When the room is clear, locate the locked door on the left side and open it with a Lock Grinder. Inside you can find a variety of ammo, an RC Bomb Car, and some other junk. Now carefully cross the room while evading the two spinning blades suspended from the ceiling. Look for an opening, then weave between the two blades while running to the opposite side of the room.
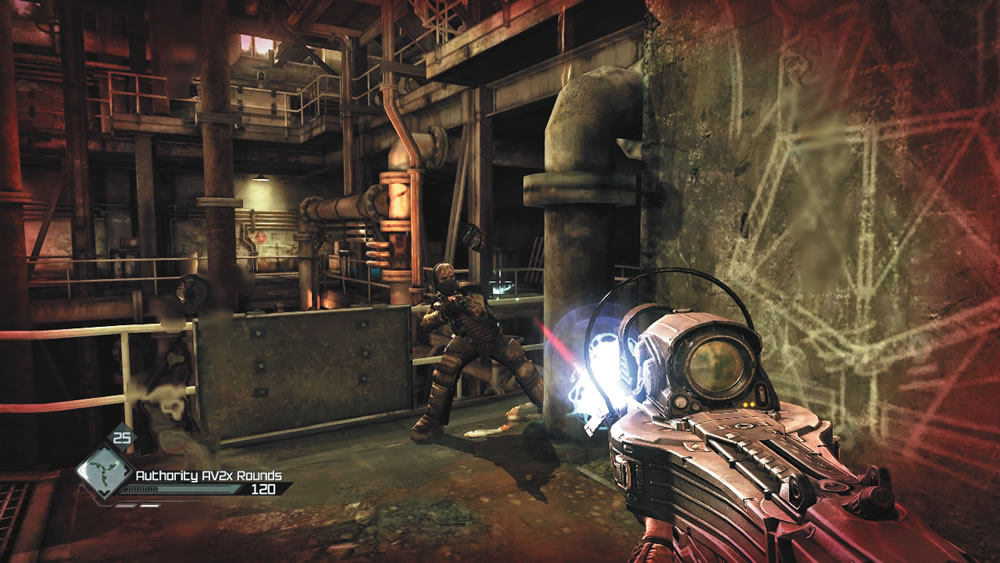
Climb the stairs to this corridor that opens up on a large room ringed by a catwalk. Mow down the two nearby bandits, but watch for more Gearheads posted on the adjoining catwalk. One comes charging at you with a flaming baseball bat, too. There’s a ladder near the room’s entrance that leads up to a small platform overlooking the catwalks. This platform offers decent cover as well as a good perspective from which to snipe enemies with your Settler Pistol or Sniper Rifle. Or if you prefer, you can stay on the lower level and advance little by little, using the metal plates beneath the catwalk railing for cover. As you advance, most of the Gearheads will retreat. However, continue watching for more bandits with flaming baseball bats heading your way.
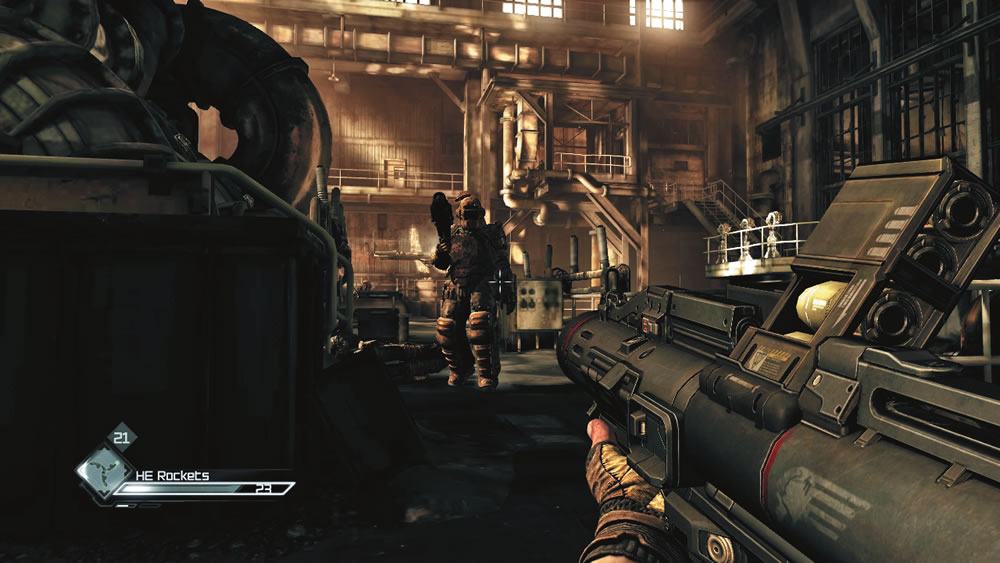
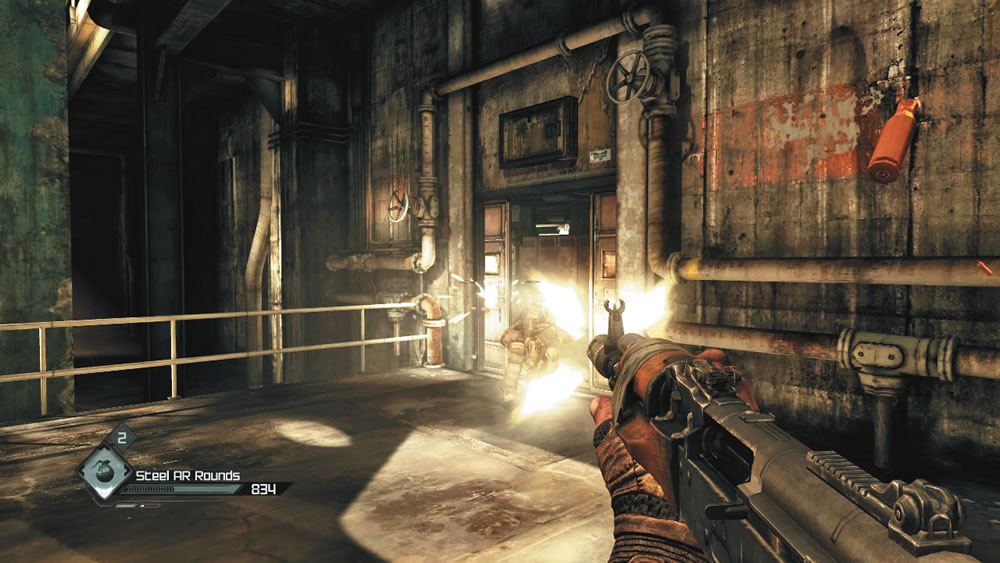
Pass through a server room and head upstairs to the large generator room—you’re not far from the Power Control Board now. However, several Gearheads stand in your way. Hold near the doorway and engage them with your Authority Machine Gun and Settler Pistol. By now you may be getting low on armor-piercing ammo. If this is the case, use anything you have left to cut through the resistance here. Even Steel AR Rounds fired from your Assault Rifle can be effective, although it will take several hits to drop a Gearhead. Toss any Advanced Wingsticks you have left, too. Eventually you’re approached by another Gearhead armed with a flamethrower—don’t waste any time. Take this guy out with HE Rockets fired from your Rocket Launcher. Continue pushing forward while mowing down the reinforcements with any ammo you have left. At the end of the walkway, a couple of Gearheads guard the doorway leading to the Power Control Board. Toss an HE Grenade (or fire an HE Rocket) through the doorway, then mow down the survivors while they’re dazed.
Power Control Board
New Objective: Redirect power to Subway Town
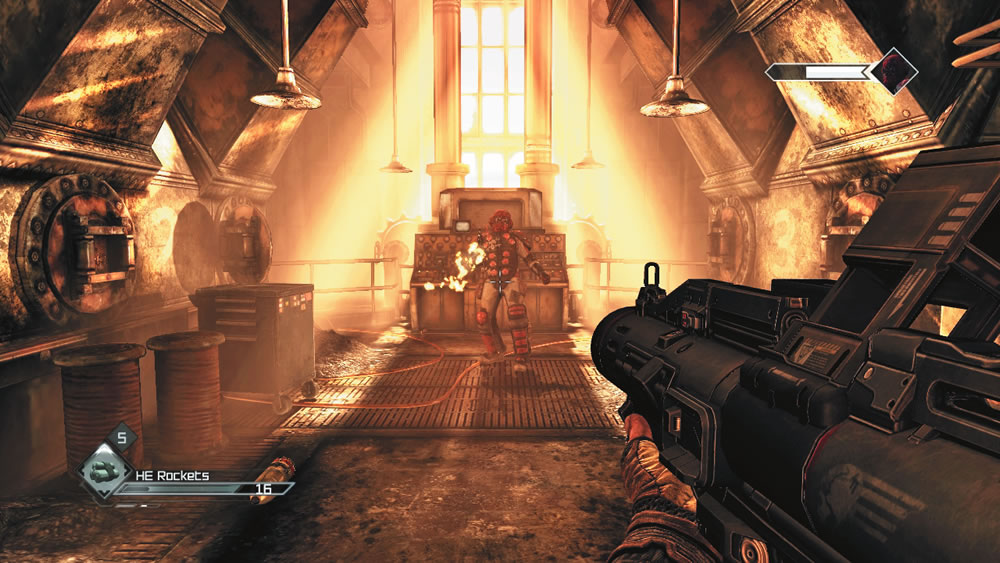
Climb the stairs leading up to the Power Control Board—as you advance, the doors behind you seal shut. Before reaching the top of the stairs, equip the Rocket Launcher and load a fresh clip. At the top of the stairs, the leader of the Gearheads is waiting for you, decked out in the same heavy red armor as before. His health meter appears in the top right corner of the screen. The Gearhead leader is equipped with a grenade launcher-type weapon, but don’t let him shoot it in this narrow space with nowhere to hide. Instead, hammer him with HE Rockets until he’s dead. Once the Gearhead leader is down for good, loot his body and interact with the switch on the Power Control Board to redirect the Power Plant’s electricity to Subway Town. After throwing the switch, turn around to spot a Gearhead exiting a newly opened doorway, armed with a flaming baseball bat. Gun him down and then pass through the doorway.
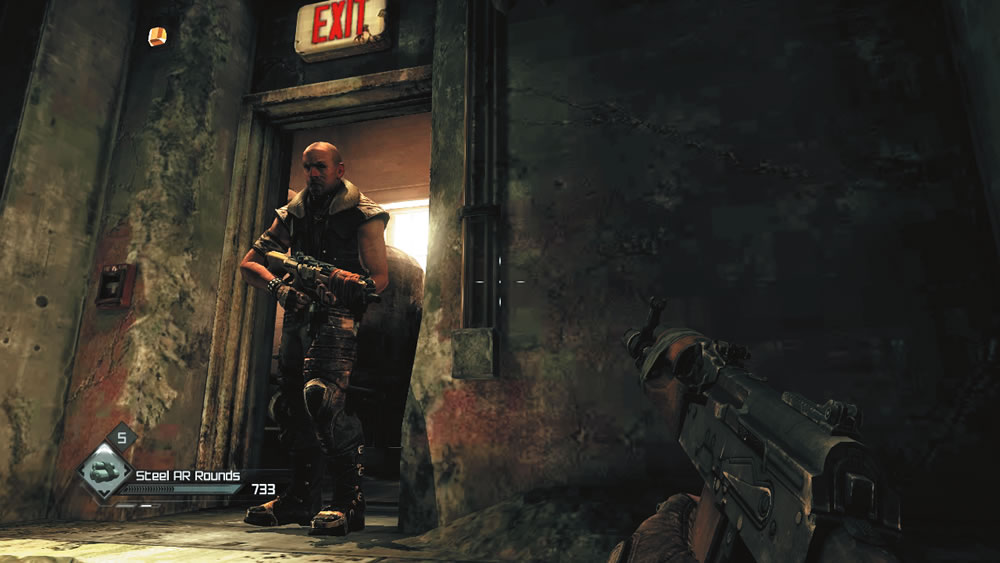
In the adjoining passage you encounter another Gearhead. There isn’t much cover here, so neutralize him as fast as possible, even if it means hitting him with an HE Rocket. Once he’s dead, one of Redstone’s men appears in the doorway on the right—don’t shoot him. He asks you to help wipe out the remaining Gearheads in the generator room by interacting with a nearby control panel linked to a few booby traps. Sounds like fun!
New Objective: Help Redstone’s men
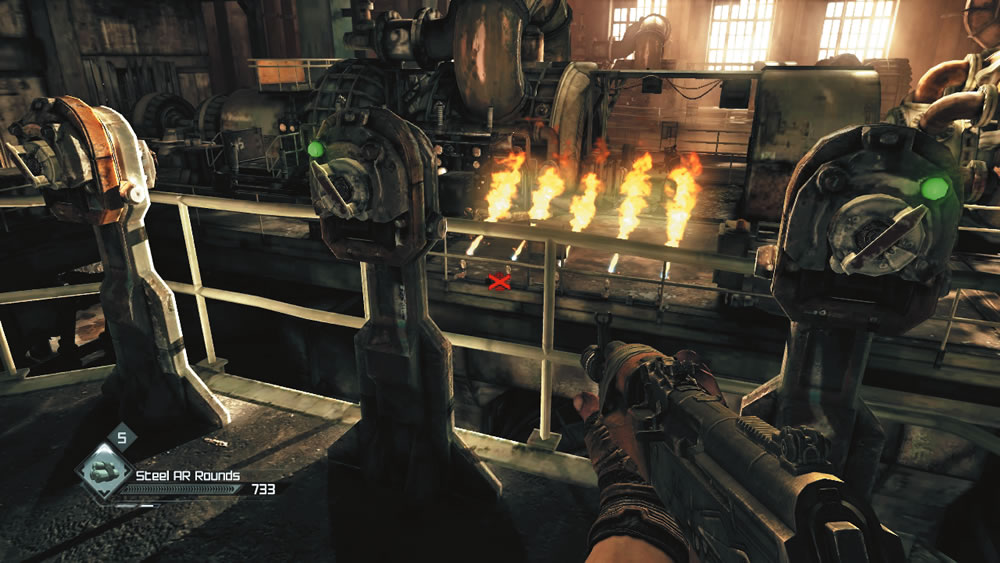
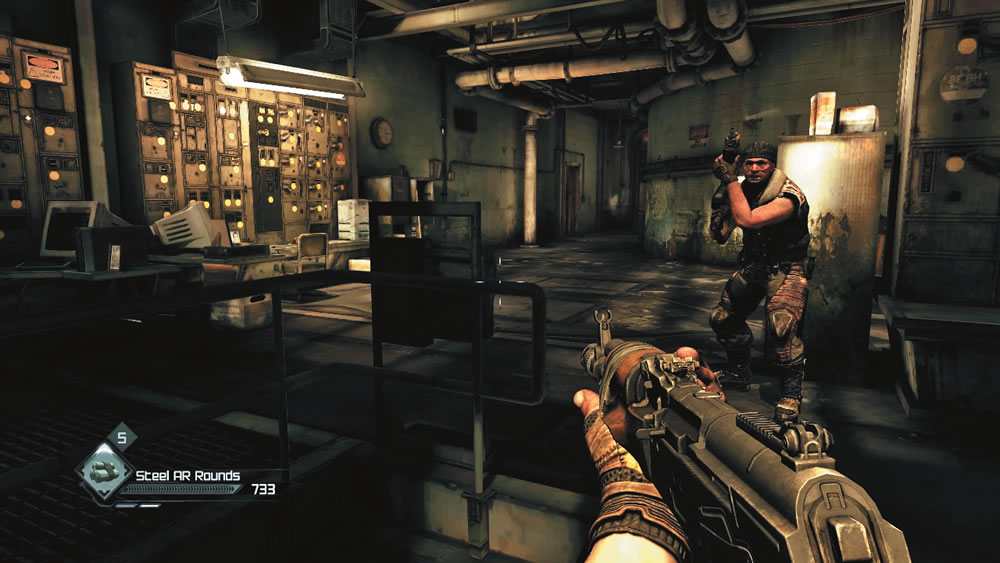
Pass through the doorway where Redstone’s man appeared and follow the adjoining path to a control panel with three switches labeled Electro, Fire, and Chopper. Redstone’s men are on the left side of the room while the Gearheads advance from the right. When there are Gearheads on the right, throw the corresponding switch to activate a series of chopper blades capable of cutting your foes to pieces. Throw the middle switch when the Gearheads advance to the center of the room to activate five flame jets. If the Gearheads make it to the left side of the room, throw the left switch to unleash a powerful electrical current—just don’t use this one when Redstone’s men are in this area. Experiment with the different booby traps and try to trigger them when the Gearheads are in the kill zone of each. Each booby trap is active for only a few seconds, followed by a brief cool down period. Time the use of each booby trap carefully, taking into consideration the positions of the Gearheads. The Gearheads are focused on attacking Redstone’s men, so you don’t need to worry about taking cover unless you open fire. However, you can complete this stage by simply activating the booby traps at the proper times.
After killing all the Gearheads, a door opens up behind the control panel, leading back to the Power Plant’s entrance. One of Redstone’s men tells you to head back to Subway Town to inform the Mayor of the news. Before you go, enter the stairwell on the left to reach an office above the control room. You can find the Gearhead Boss card in the file cabinet at the top of the stairs. Interact with the nearby door to return to the Wasteland and your Monarch.
Power Struggle
The Power Struggle achievement/trophy is unlocked after completing the objectives at the Power Plant.
New Objective: Inform Redstone of your success
Hop in your Monarch and prepare to engage more bandit vehicles as you drive away from the Power Plant. Deploy your Shields as soon as you detect the launch of incoming rockets. Answer back with a volley of Homing Rockets of your own, methodically blasting each incoming enemy vehicle. Once the area is clear, follow the marked path back to Subway Town. Before leaving the garage, pay Saul to repair any damage to your ride. Also, don’t forget to check in with Brick at the Fez Bar to receive payment for the bandit vehicles you’ve destroyed.
Subway Town
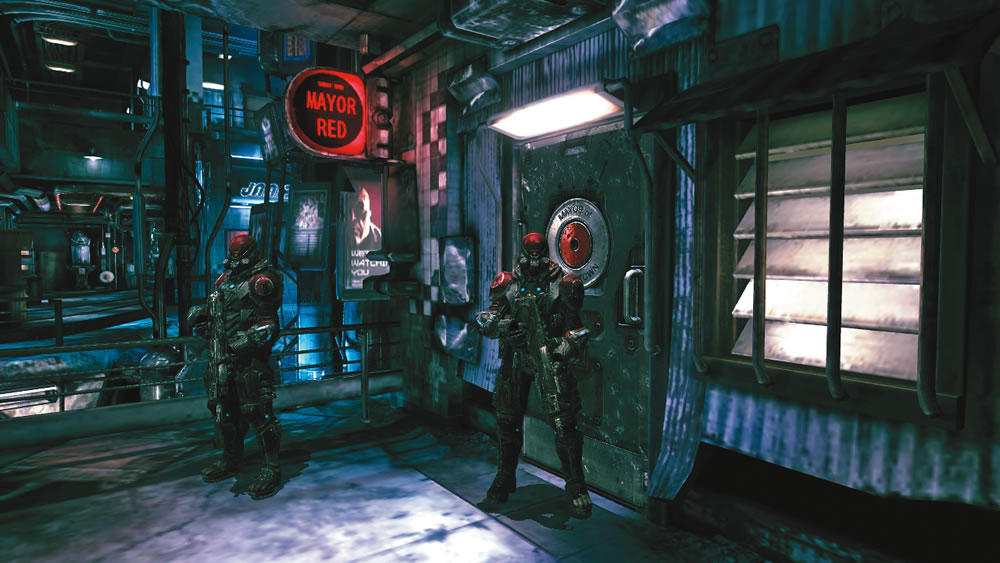
Back in Subway Town, two Authority enforcers stand guard in front of Mayor Redstone’s office—it looks like this isn’t the best time for a visit. Instead, head back to the Resistance base and speak with Elizabeth in her lab. She tells you about the Authority’s involvement in mutant experimentation. She’s determined to get the word out so everyone knows about the Authority’s crimes. Next, speak with Captain Marshall—this finally completes the Gaining Influence job. Marshall acknowledges the presence of the Authority upstairs, but says you’re safe for now since they don’t know what you look like. You still need to act quickly before they get wise. Marshall tells you to see Lassard—he’s been working on decrypting your ID Drive. Before talking to Lassard, head back upstairs. There are a couple of side jobs you can complete now.
Abandoned Distillery
Dietrich
Objective: Distill two bottles of Blueshine
I’ve encountered some challenges at my distillery.
Every time I turn on my machines, Muties hear the noise and come running. The job is easy: find my empty bottles and use my machine to fill them with Blueshine. The hard part is surviving long enough to collect the bottles. You’ll find a cave just off the bridge out of Subway Town. The cave leads to the back entrance of the Abandoned Distillery.
Bring back two bottles of Blueshine and I’ll give you something very valuable.
Provided Equipment: None
| Reward | ||
| ICON | ITEM | QUANTITY |

|
Regenerative Infusion Recipe | 1 |

|
Vial of Blueshine | 1 |

|
Comet Bloom | 2 |

|
Bandages | 1 |
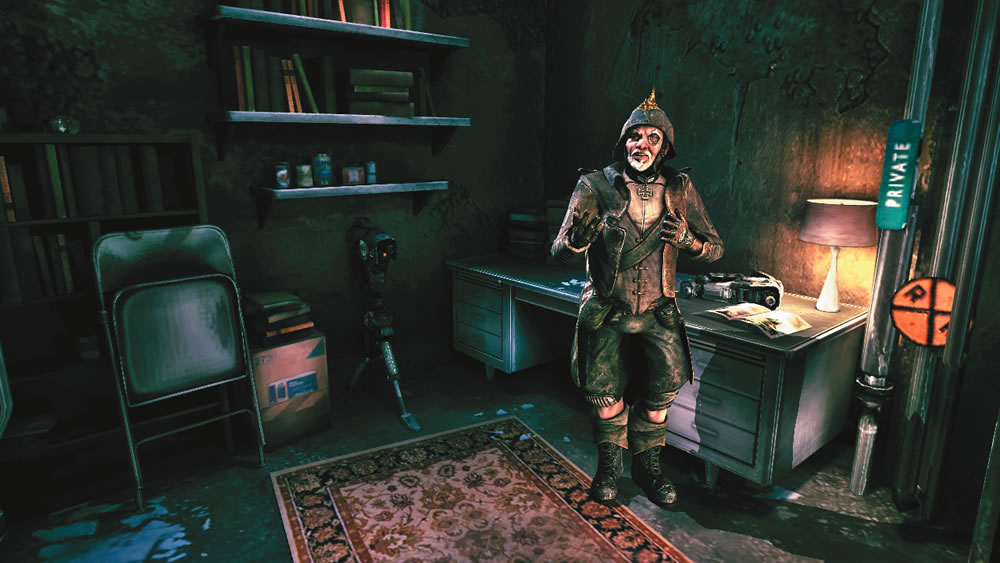
You can find Dietrich in a small room on the upper floor of Subway Town, not far from the CCRA Management office where you entered the Gearhead Vault. Step inside and listen to his problem. Mutants are making it difficult to run his distillery, so he needs you to distill a couple of bottles of Blueshine for him. Accept his job and then visit Jani to prepare for the mutant extermination job. Make sure you have at least 60 rounds of Buckshot, a few Advanced Wingsticks, and the parts to build at least one Advanced Sentry Turret and one Advanced Sentry Bot. When you’re all ready, return to Saul’s garage and pick a vehicle of your choice for the short drive to the cave.
New Objective: Reach the Abandoned Distillery
Like Dietrich said, the entrance to the cave is located near the Subway Town bridge. If you’re having trouble spotting the entrance, reference the minimap. Park your ride outside the cave and advance to the Abandoned Distillery’s back entrance on foot. While passing through the cave, look for the Portman collector card on the right side of the path. There’s also a rare Desert Spore on the left side of the path as you near the distillery’s door. Interact with the door at the end of the path to enter Dietrich’s distillery.
The Abandoned Distillery
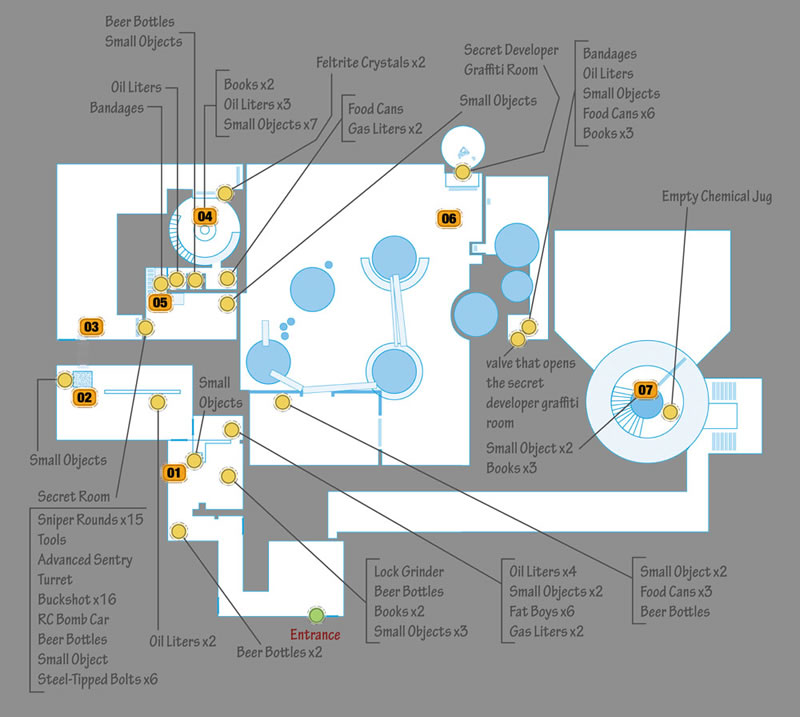
New Objective: Find the Distillery Room
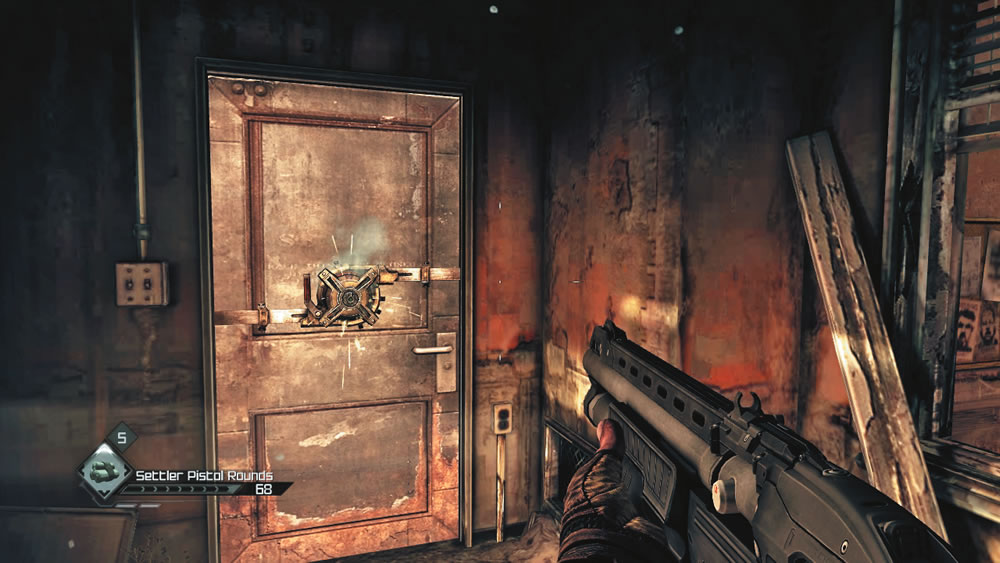
There are no mutants around when you first enter the distillery, so take your time scouring the first few rooms for junk. You eventually come to a locked door. Instead of making a Lock Grinder of your own, search the office to the right—a Lock Grinder is sitting in the open desk drawer. Grab the Lock Grinder and use it to breach the locked door. After passing through the door, turn to the right to enter a small closet containing a wide range of junk as well as some Fatboys.
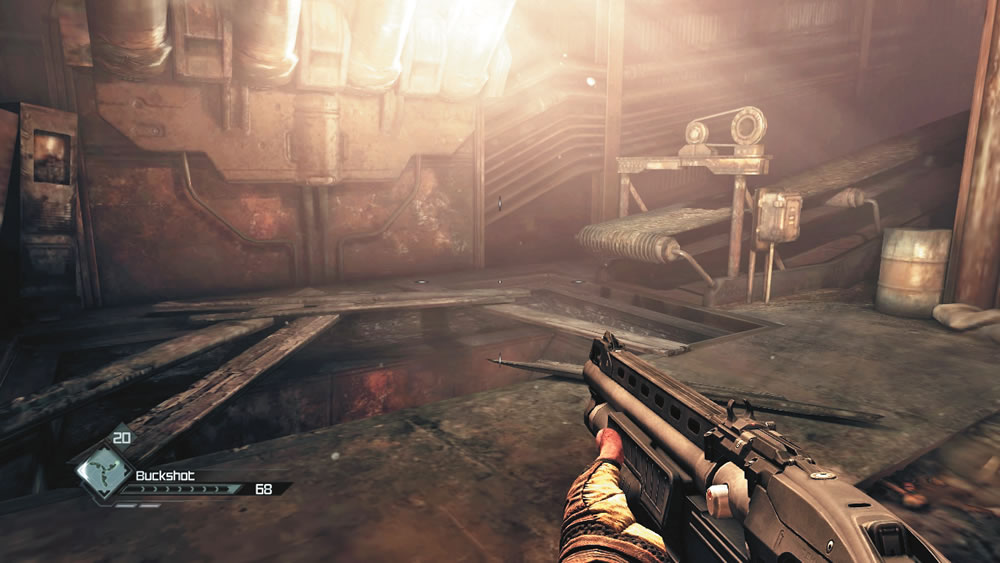
Follow the path running parallel to a conveyor belt in this room. At the end of the conveyor belt is a pit, covered by several wooden planks. Suddenly, a mutant drops through the ceiling and crashes through the boards, disappearing into the pit below. Don’t bother chasing after the mutant immediately. Instead, search the area for items to loot, then drop down into the pit. You can exit the pit by crawling through a rusty pipe. You must crouch to fit through the pipe.
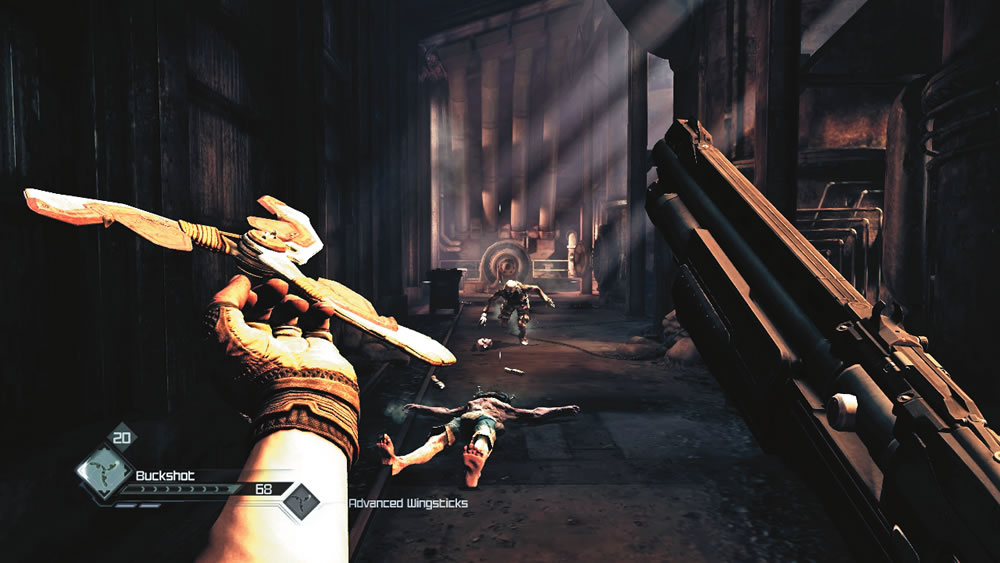
As you emerge from the pipe, take note of the lone mutant at the far end of this corridor. Remain crouched and creep up behind the mutant while equipping an Advanced Wingstick. When you’re within an acceptable range, toss the Advanced Wingstick at the mutant to lop off his head. It isn’t long before reinforcements come charging down the corridor. Backpedal if necessary to keep your distance while tossing Advanced Wingsticks at the charging mutants. The Advanced Wingstick can attack multiple targets with one toss, making it very effective when dealing with large crowds. If the mutants get too close for comfort, open up with the Combat Shotgun. Once the mutants are all dead, use an Electrobolt or Pulse Shot on the yellow fuse box to open a secret door; collect the loot inside, then proceed to the end of the corridor and turn right. You can find a fully assembled RC Bomb Car on a low platform here.
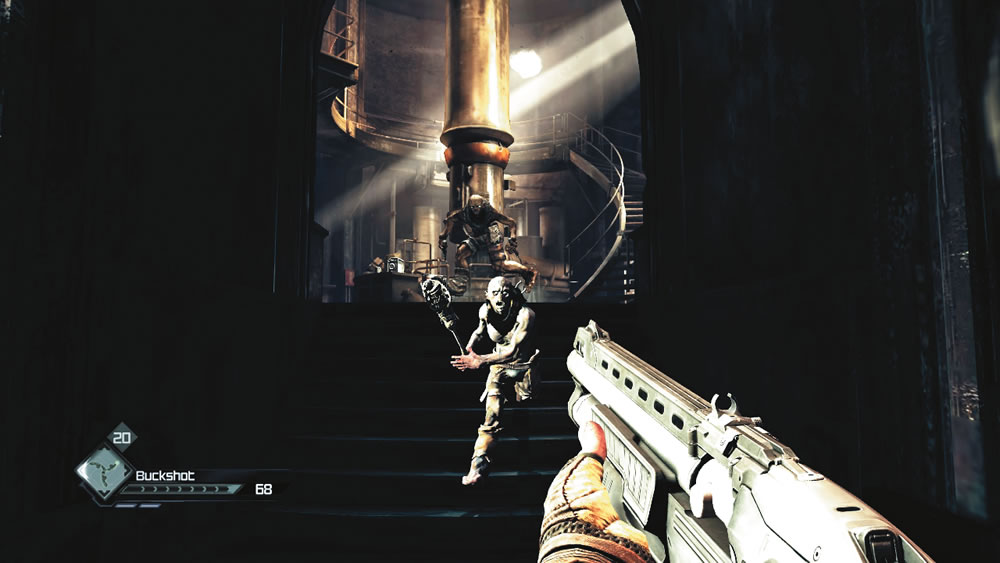
As your turn to enter this large room, two mutants come charging at you. Wait for them to get within a few feet, then open fire with the Combat Shotgun. Before climbing the spiral staircase up to the top floor, loot the ground floor. There’s plenty of Small Objects, Beer Bottles, and Oil Liters here you can sell to Jani for a small profit. Break a crate for some Feltrite. When you’re finished picking through the junk, head upstairs to enter an old control room.
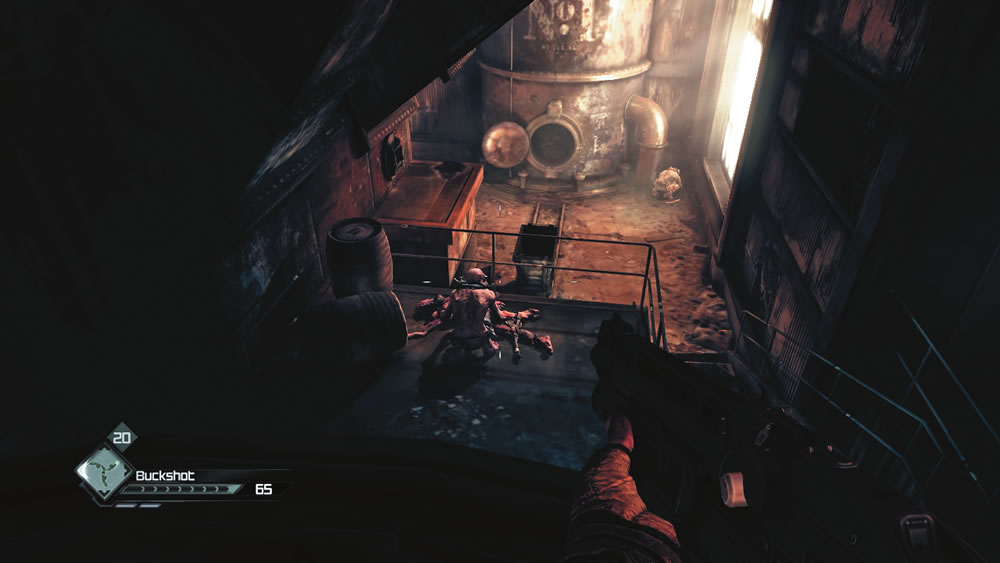
In the control room, quietly creep up onto the control panel overlooking the next room. A plank propped up against the control panel allows you to climb up without jumping. Just below you can see two mutants with their backs turned to you. Use Advanced Wingsticks or Steel-Tipped Bolts fired from your Striker Crossbow to silently take these guys out. If they hear you, they’ll both charge toward you, climbing through the control room window. If this occurs, step back into the control room and blast them with your Combat Shotgun before they can strike you with their melee weapons. When both mutants are dead, drop down from the control room window to enter the next area.
In this large room you’re swarmed by several mutants descending from the massive silo-like stills in the center. Maneuver to an open area where you can easily deploy your Advanced Wingsticks against the climbing mutants. Be ready to blast them with your Combat Shotgun as they reach the ground and begin rushing toward you. Eliminate all the mutants, then search the surrounding area for more junk. Next, climb the ladder attached to the central still until you reach the top. Here you’re attacked by more mutants, including one lobbing fireballs at you from atop a neighboring still. The Advanced Wingsticks work much better up here, allowing you to take out multiple mutants with each toss. Using the planks and pipes as walkways, advance from one still to the next, but watch your step—a fall from these heights is fatal. While crossing these makeshift bridges between the stills, watch out for more mutants charging toward you. Do your best to take them out with Advanced Wingsticks before they can advance within melee range. Drop down from the last pipe to reach a catwalk high above the room. Blast more mutants here and proceed through the doorway at the far end of the catwalk. Drop through the hatch in the floor and crawl through the low opening to access the Distillery Room.
New Objectives:
- Grab the Empty Chemical Jugs
- Use the Distiller to fill the Jugs with Blueshine
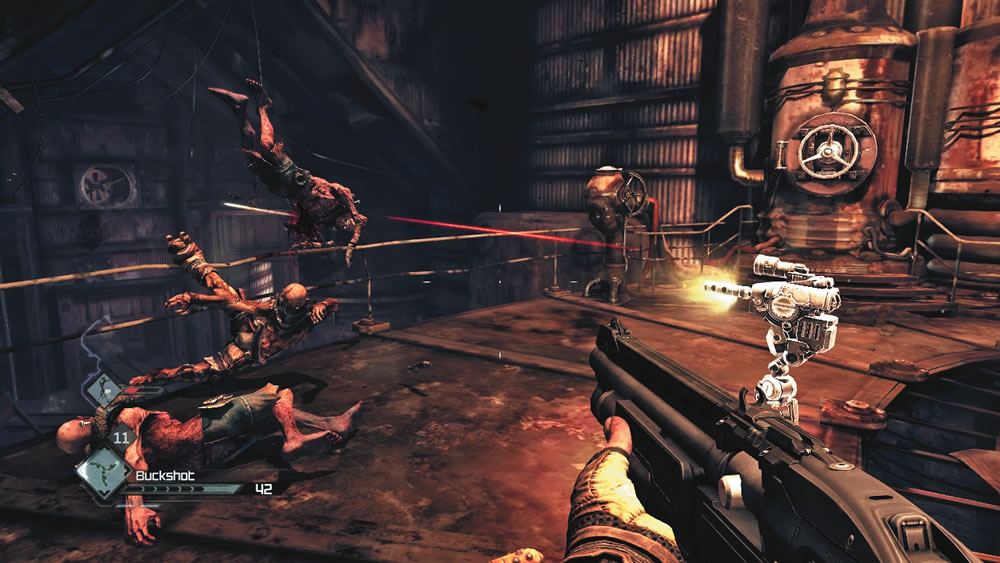
In the Distillery Room, there are two staircases leading up to the still—both take you to the same platform. Making Blueshine requires three easy steps. Start by grabbing the two Empty Chemical Jugs on nearby table. Next, interact with the open hatch in the Distiller to insert the first jug. Finally, interact with the valve to the left of the Distiller to begin making the first batch of Blueshine. As the old equipment rumbles to life, the cries of distant mutants can be heard. If you haven’t already, build an Advanced Sentry Turret and deploy it near the desk by the Distiller, facing the platform’s railing. The Advanced Sentry Turret has no problem tracking and killing all the incoming mutants. However, stand guard and pick off any mutants that get too close to your devastating toy.
During the attack, keep an eye on the Distiller. When the hatch opens, grab the filled jug and place the other empty jug inside the Distiller. Restart the Distiller by interacting with the valve and prepare for another round of mutants. By now, your Advanced Sentry Turret has probably run out of power and has collapsed. Salvage any parts from the turret and build an Advanced Sentry Bot (or two) to help you fend off the next wave of attackers. In addition to being armed with a turret of their own, the Advanced Sentry Bot can perform lethal melee attacks. However, the Advanced Sentry Bot is mobile and autonomous and may hop over the railing to fight mutants on its own, leaving you to guard the Distiller all by yourself. Even then, the Advanced Sentry Bot draws plenty of attention, making it much easier for you to deal with the mutants who break through. Watch the Distiller and grab the second Jug of Blueshine as soon as the hatch opens. At this point a door behind the Distiller opens and more mutants pour through. If your Advanced Sentry Bot is nearby, you’ll have no problem plowing through these attackers. Before leaving the Distillery Room, interact with your Advanced Sentry Bot to retrieve any reusable parts. The newly opened passage behind the Distillery Room leads to the exit. It’s time to get this Blueshine to Dietrich!
Passive Aggressive
If you haven’t already, the fight in the Distillery Room is the perfect opportunity to unlock the Passive Aggressive achievement/trophy. Deploy a Sentry Bot or an Advanced Sentry Bot and let it kill three enemies on its own to earn this achievement/trophy.
Dev Graffiti
You must find the secret room in the Distillery to earn the Dev Graffiti achievement/trophy. When you reach the room that contains several tall stills, search for a ladder leading down to a recessed area of the floor. Climb down to this low area and follow the path around the base of the stills. At the end of the path is a mattress; interact with the valve just above the mattress—this opens the door to the developer graffiti room. Return to the ladder and climb up to the main floor. At the top of the ladder, turn right to locate a small opening in the wall. Crouch and crawl through the low entrance to the developer graffiti room. In the center of the room is a sculpture of junk resembling the id Software logo. The walls of the room are scrawled with the signatures of the RAGE development team.
Subway Town
New Objective: Take the Blueshine to Dietrich
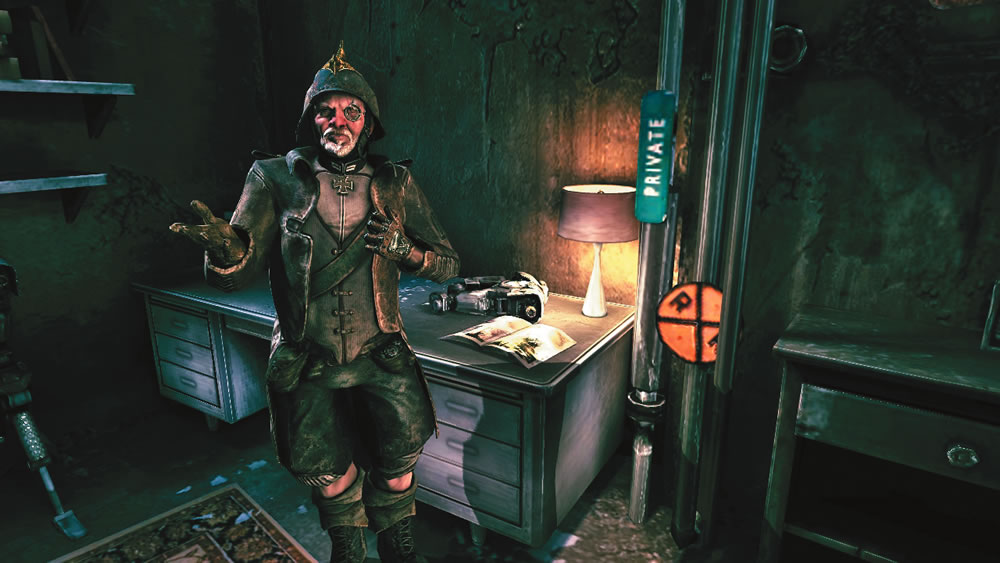
Return to your vehicle and make the short drive back to Subway Town. Dietrich is ecstatic to have his Blueshine, with plans to make a fortune from selling it. As promised, he makes sure you’re well rewarded for your work, handing over the Regenerative Infusion Recipe as well as the ingredients to make it, including a Bandage, two Comet Blooms, and a Vial of Blueshine. Regenerative Infusion is a consumable that increases your health regeneration for 90 seconds. This will come in handy for your upcoming fight against the Authority. Before making any Regenerative Infusion, consider taking one of the key ingredients to Norbu, and old man hanging out by the Fez Bar. He’s been looking for some Comet Bloom. . .
Comet Bloom
Norbu
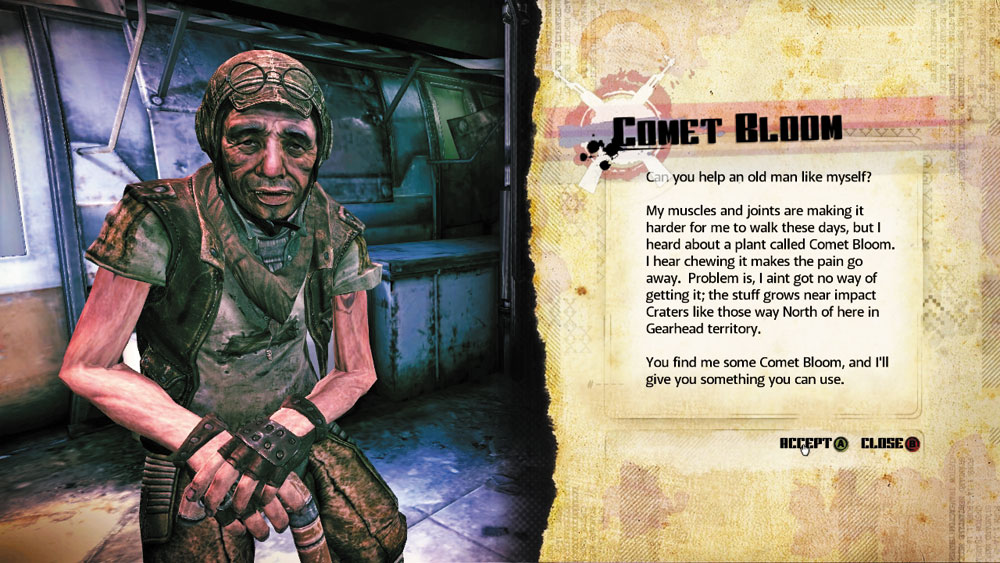
Objective: Gather Comet Bloom
Can you help an old man like myself?
My muscles and joints are making it harder for me to walk these days, but I heard about a plant called Comet Bloom. I hear chewing it makes the pain go away. Problem is, I ain’t got no way of getting it; the stuff grows near impact craters like those way north of here in Gearhead territory.
You find me some Comet Bloom, and I’ll give you something you can use.
Provided Equipment: None
| Reward | ||
| ICON | ITEM | QUANTITY |
|
|
Dollars | 350 |
Now that you have some Comet Bloom, speak with Norbu by the Fez Bar. This old man is suffering from muscle and joint pain and has heard that Comet Bloom may ease his ailments. If at least one Comet Bloom is still in your possession, the job is completed as soon as you accept it. Norbu thanks you and hands you $350. If you want more Comet Bloom to make Regenerative Infusion, you can find it by the Authority Blockade out in the Eastern Wasteland. It grows and regenerates in three distinct spots at this location. Now you can head back to the Resistance Base and see what mission Lassard has planned for you.