
Rage Guide Walkthrough Wasteland
Destroy the Bomb Caches
Sheriff Black
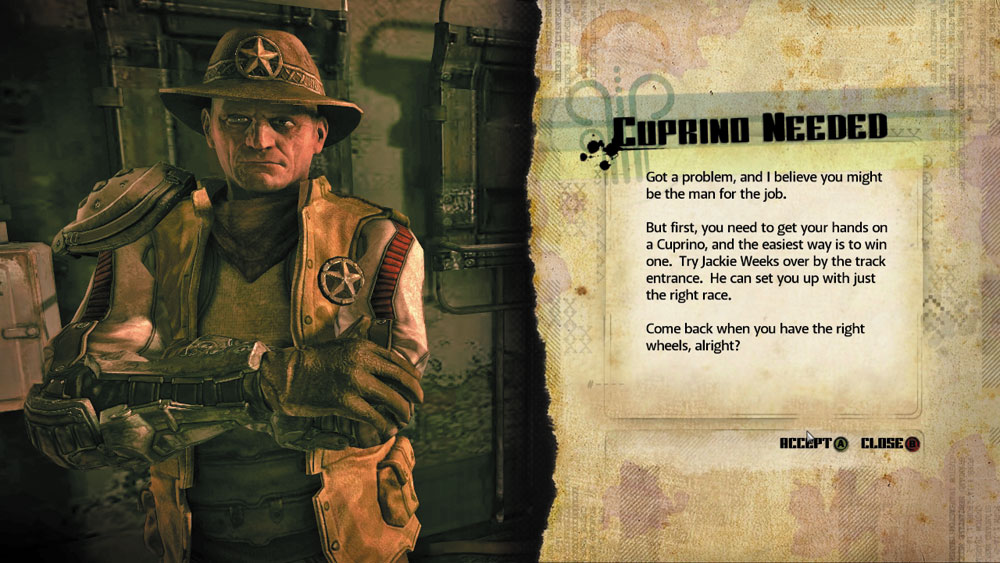
Objective: Destroy the Bomb Caches
Those damn Remote Controlled Bomb Cars are really causing troubles in the canyon up north.
One of my men uncovered the plans for the damn things. Here, take this schematic, build yourself some RC Bomb Cars, and use them to destroy any bomb-making caches. The Shrouded Bunker is at the northern end of the canyon.
Destroy the Shrouded Clan’s bomb caches, and I’ll make it worth your while.
| Provided Equipment | ||
| ICON | ITEM | QUANTITY |

|
RC Bomb Car Schematic | 1 |

|
RC Car Kit | 3 |

|
Explosive Pack | 2 |

|
Small Battery Pack | 2 |

|
Nanotrite Conduit | 2 |
| Reward | ||
| Icon | Item | Quantity |

|
Dollars | 225 |
New Objective: Head to the Shrouded Bunker
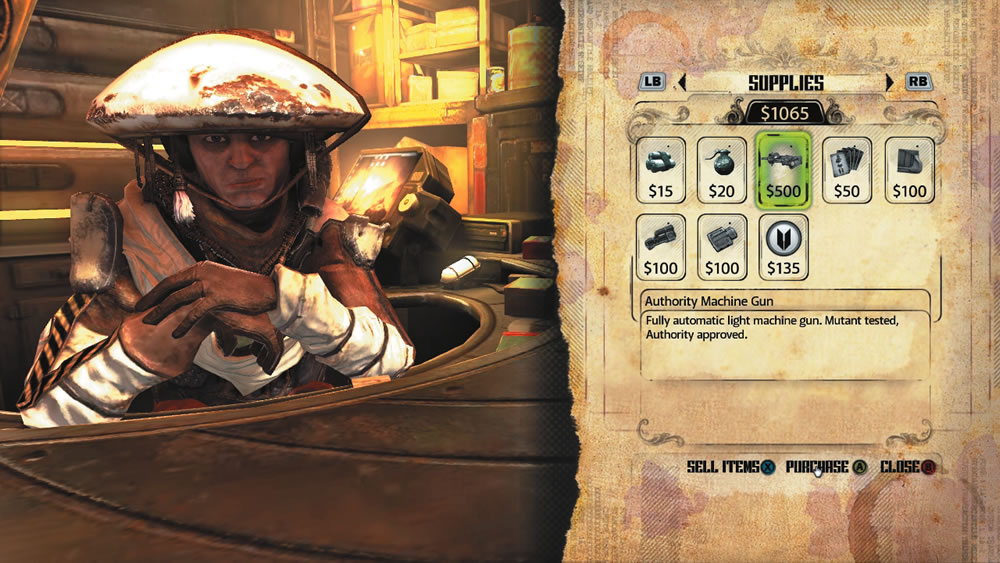
In the Supplies section of Coffer’s store you can now purchase an Authority Machine Gun for $500—don’t buy it. You can get this weapon for free in a locked closet within the Shrouded Bunker, so bring along enough parts to build at least one Lock Grinder. You’ve probably already recovered some Authority MG Rounds from previous jobs, but make sure you have at least 400 rounds before entering the Shrouded Bunker. This will allow you to put your new weapon to use as soon as you steal it from the bandit storeroom. If you have the extra cash, consider buying the Light Armor Upgrade ($135) and the Medium Armor Upgrade ($210)—you must own the Light Armor Upgrade before the Medium Armor Upgrade becomes available. These upgrades increase the amount of damage you can take, making them well worth the money. Also stop by Rusty’s to stock up on any vehicle items you may need.
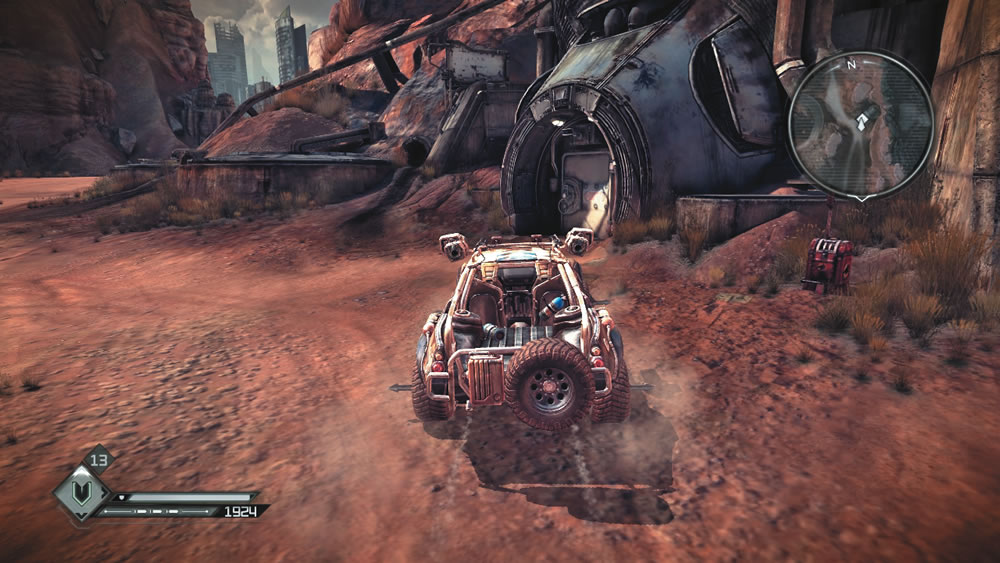
The Shrouded Bunker isn’t far from Wellspring, carved into the wall of the canyon. Destroy any bandit vehicles and RC Bomb Cars along the way and make sure the area is clear before exiting your Cuprino—scan the minimap for red dots. Leave the Cuprino parked outside the bunker next to the mailbox, then interact with the bunker’s hatch to gain access.
Shrouded Bunker
New Objective: Destroy Bomb Cache 1
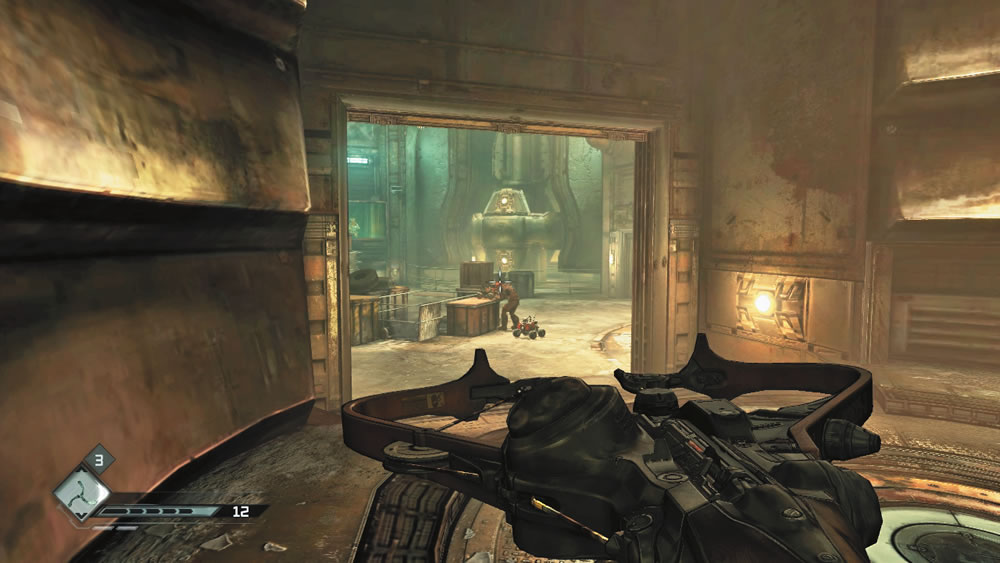
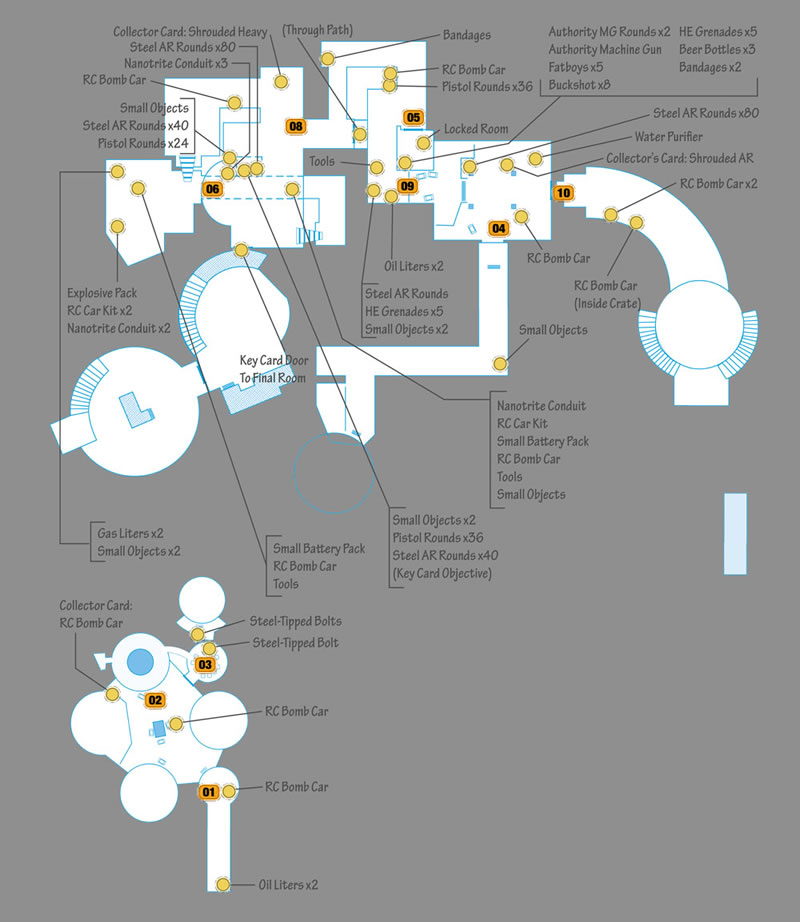
Cautiously step through the entry tunnel until you see a bandit standing in front of a workbench. Watch the RC Bomb Car patrolling the floor. Shoot the car when it drives past the bandit to trigger a large explosion. At this point the bandits realize they’re under attack. Prepare for more RC Bomb Cars to appear, operated by the bandit standing behind protective glass. Don’t let these RC Bomb Cars get close—use your Assault Rifle to detonate them. Once you’ve destroyed a couple of RC Bomb Cars, the bandits enter the room ahead and attack with Assault Rifles of their own. Your Assault Rifle works well against these bandits, but so does your Settler Pistol used in combination with the Monocular. This allows you to zoom in on the bandits hiding behind cover and score headshots.
Bomb Cache 1
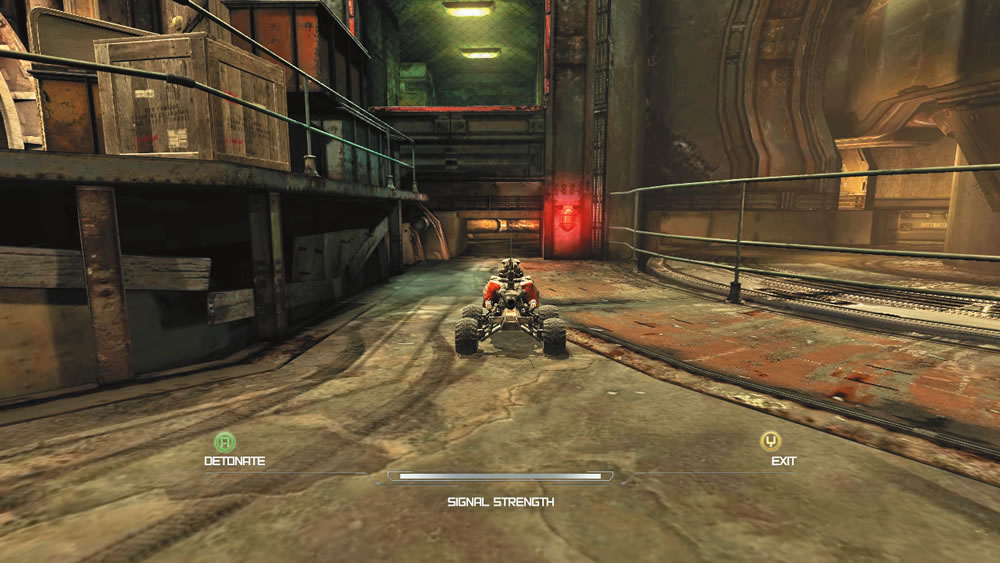
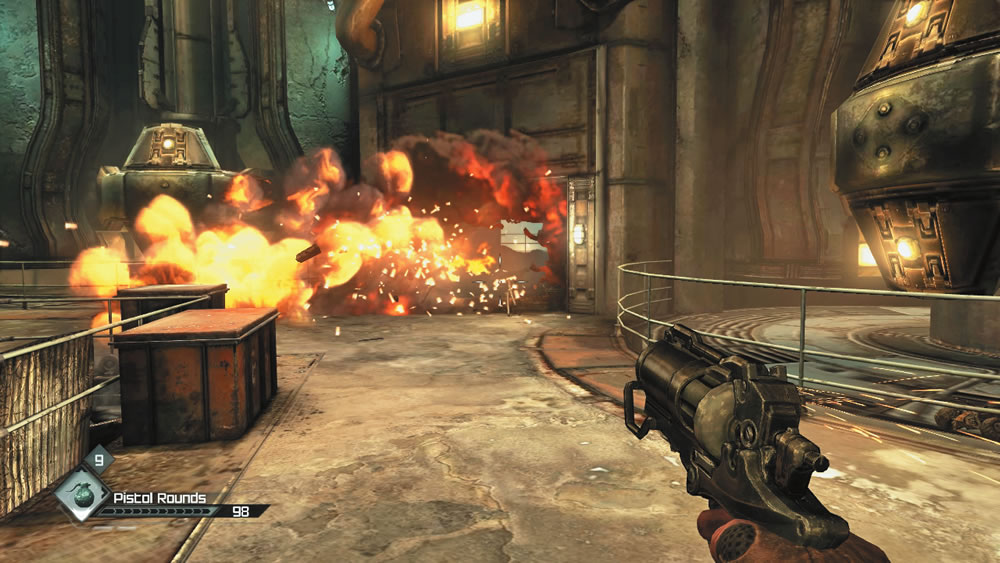
After eliminating the bandits, scour the area for ammo and supplies. There are plenty of RC Bomb Car parts to be found here, including the remains of the cars you destroyed. Don’t forget to search the bodies of the bandits, too. These guys carry cash, ammo, and some useful ingredients. Near the protective glass where the RC Bomb Cars emerged, collect the RC Bomb Car card from the platform. Now you need to destroy the first bomb cache. Access your engineering screen and construct one RC Bomb Car, then add it as a quick use item. Activating an RC Bomb Car switches the camera view to a third-person angle focusing on the RC Bomb Car you’re controlling. Drive the vehicle into the small opening beneath the protective window, where the bandit controlling the RC Bomb Cars once stood. Follow the tunnel to an enclosed room with a garage-like door with tinted green glass. This is where the first bomb cache is located. Detonate the RC Bomb Car to trigger a large explosion, blowing open the door and giving you access to the bunker’s lift.
New Objective: Destroy Bomb Cache 2
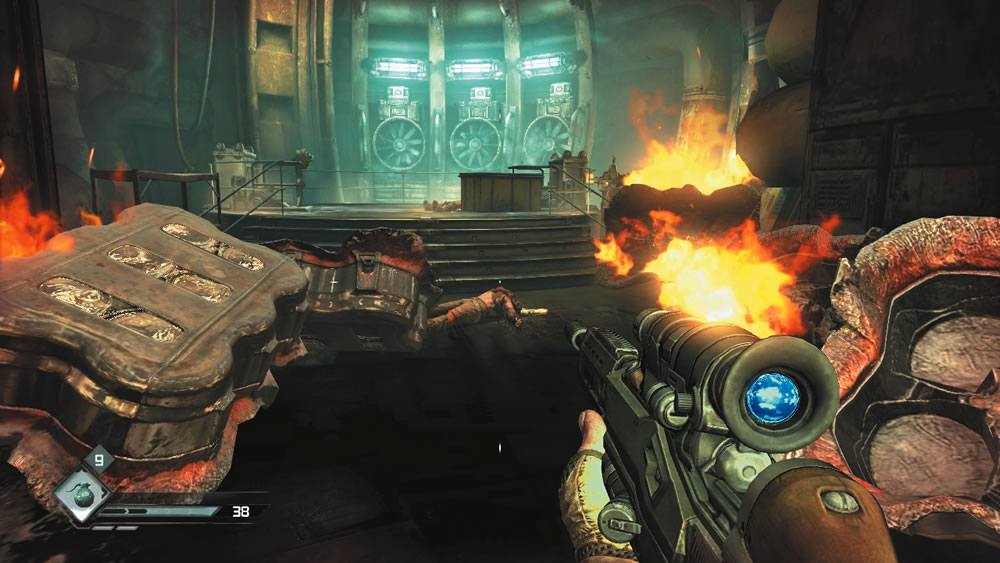
Equip your Sniper Rifle and peer through the remains of the room containing the first bomb cache. A pair of bandits appears at the far end of the corridor, rising up from a lift. Quickly zoom in with your Sniper Rifle and score headshots before the bandits can seek cover. Search the dead bandits for loot, then interact with the switch on the lift. The lift quickly descends to the bunker’s lower level.
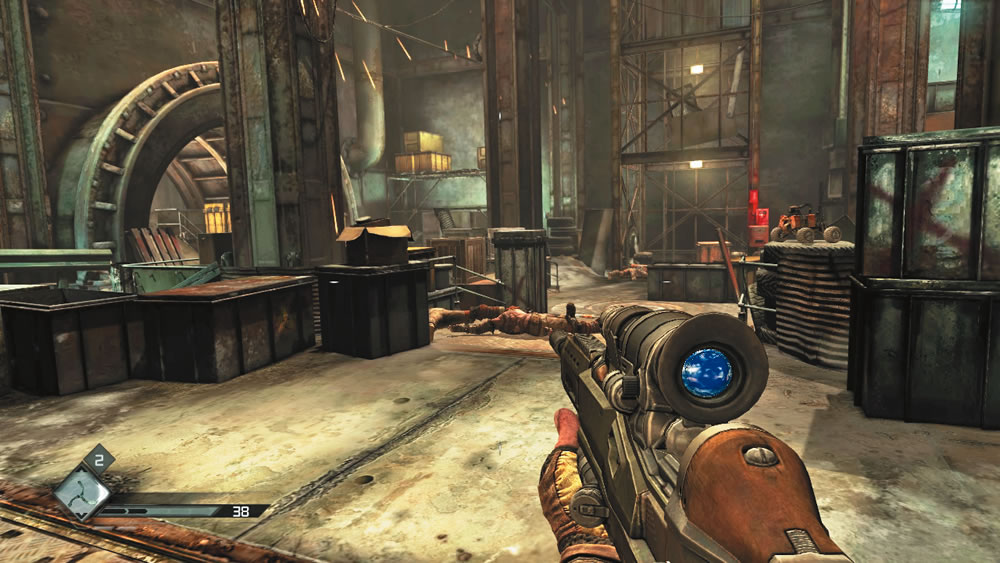
When the lift stops, step into the nearby tunnel and use a Wingstick to silently decapitate a patrolling bandit. More bandits can be found in the adjoining workshop. Use the Striker Crossbow to silently pick off as many bandits as possible before you’re spotted. At that point, switch to your Sniper Rifle and score headshots on the remaining survivors and reinforcements. HE Grenades also work well for drawing the bandits out of cover. Once you’ve routed the bandits here, take a moment to loot the workshop. Here you can find a variety of RC Bomb Car parts, a Shrouded AR collector card, and two Water Purifiers.
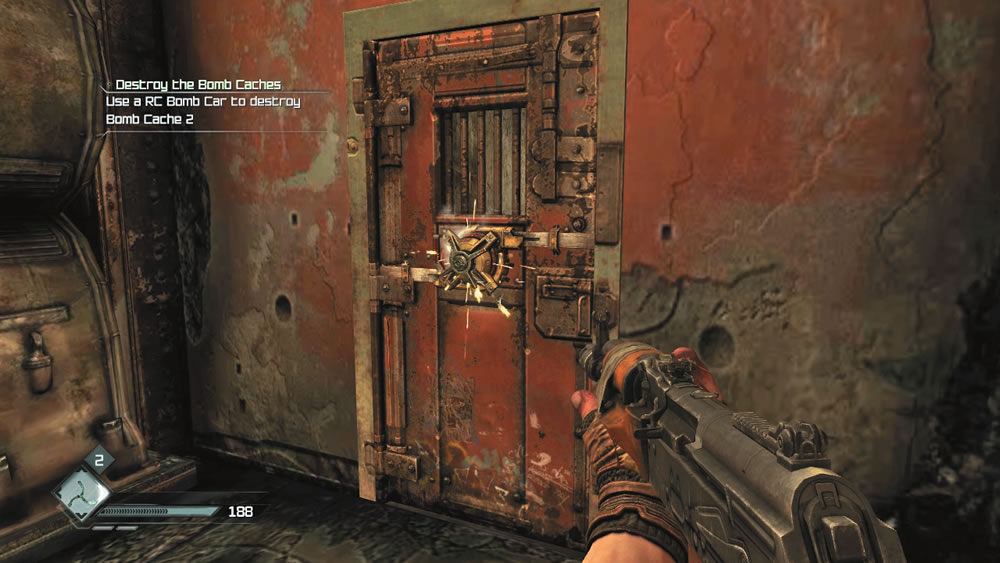
Raid the shelves here to add Bandages, HE Grenades, and a brand new Authority Machine Gun to you inventory. Finding the Authority Machine Gun here saves you $500! Further down the corridor is a fully assembled RC Bomb Car as well as more Bandages and Pistol Rounds.
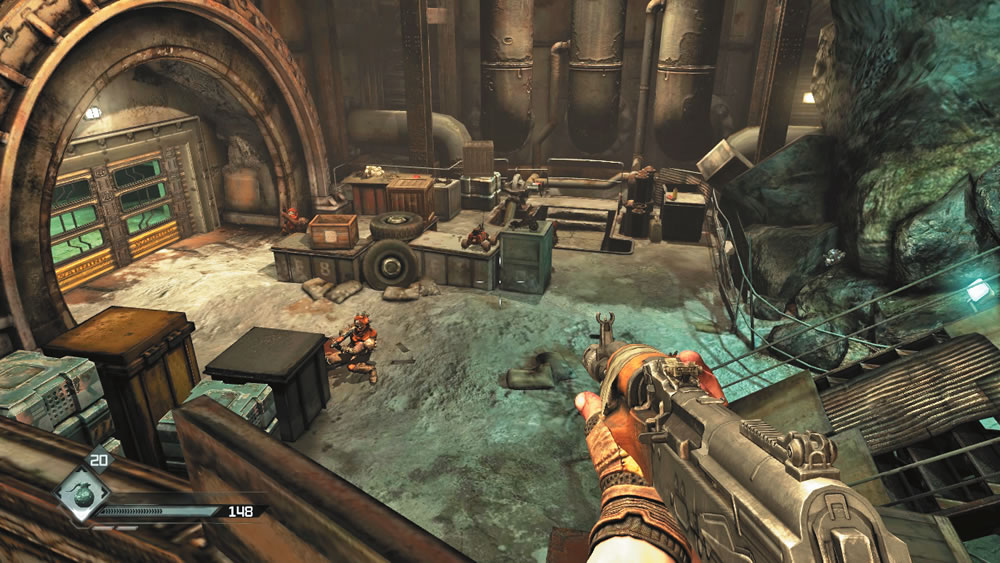
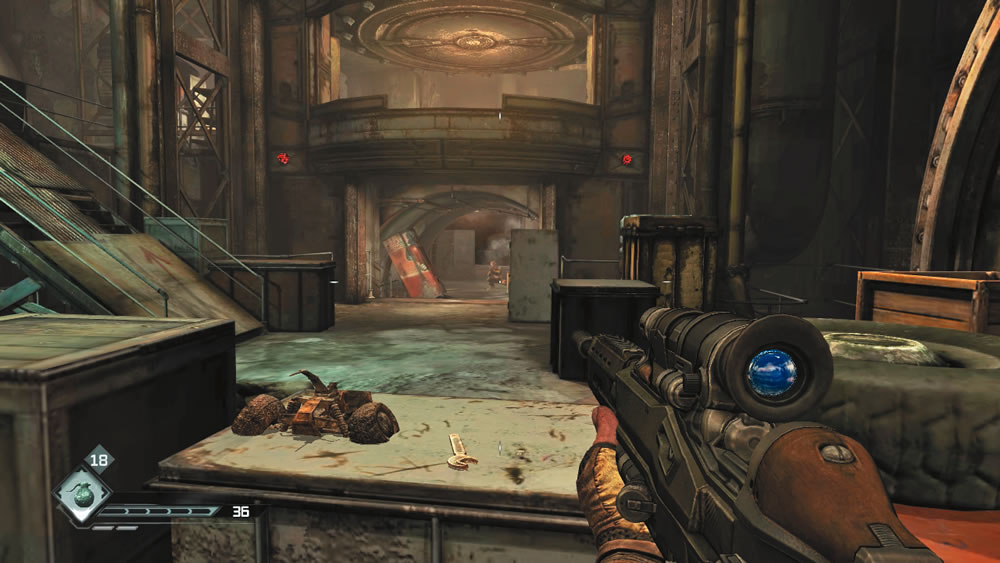
Pass through the large drainage pipe until you come to another workshop area. You can grab the Shrouded Heavy card from the large pipe on the right as you enter this area; do it before alerting any bandits to your presence, if you like. Eliminate the bandits on the upper level first, then attack the enemies on the floor below. Stay put on the balcony-like feature overlooking the workshop and pick off the bandits below with the Assault Rifle or Authority Machine Gun. This is also a good opportunity to lob HE Grenades down on the enemies as they attempt to hide behind cover. Descend to the workshop via the nearby stairs and quickly take cover behind one of the workbenches. A few more bandits may be located in the tunnel ahead. Equip your Sniper Rifle to finish them off. Afterward, scour the workshop for supplies, including more RC Bomb Car parts. Enter the tunnel and turn to an open closet on the left. Here you can find more supplies including a Key Card that opens a locked door. Return to the upper level and interact with the large metal door outlined with a red seal—the Key Card opens the door.
Three Birds, One Bomb Car
In addition to detonating the bomb caches, RC Bomb Cars can also be used as an offensive weapon. Find a safe place to hide, then deploy an RC Bomb Car, driving it toward your enemies before detonating it. Try to find large clusters of bandits hiding behind cover. If you manage to kill three enemies with one RC Bomb Car, you unlock the Three Birds, One Bomb Car achievement/trophy.
Bomb Cache 2
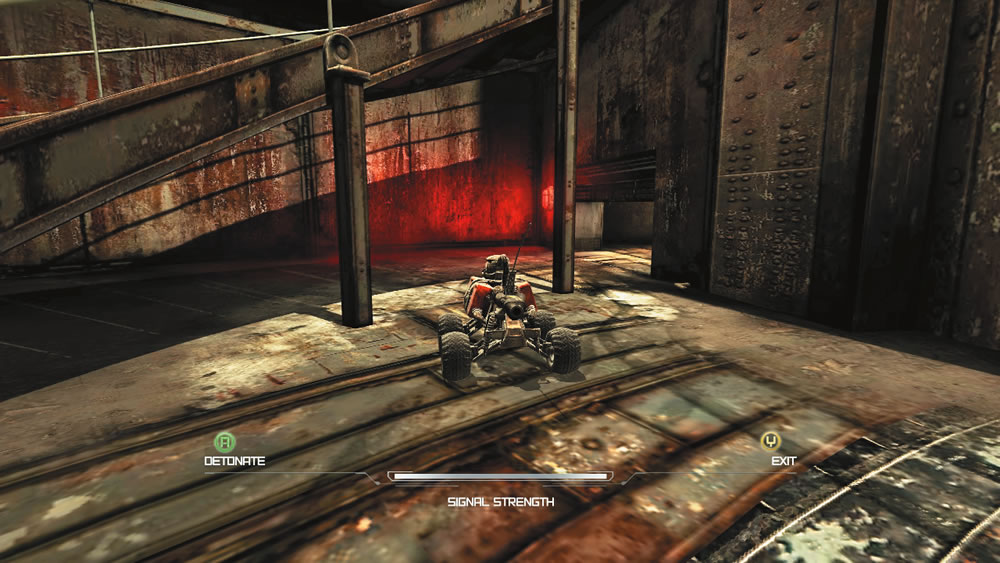
You enter this workshop on an upper-level walkway. Use the height advantage to fire down on the bandits below. Start by blasting one of the patrolling RC Bomb Cars. Saturate the floor below with HE Grenades and automatic fire. However, watch out for bandits flanking you along the walkway. When the workshop is clear, circle around the elevated walkway to a staircase and descend to the ground floor. Here you can find more RC Bomb Car parts as well as some ammo and more HE Grenades. Stand near the base of the curved staircase to spot the entrance to the second bomb cache. Deploy an RC Bomb Car and drive it through the small opening beneath the stairs. Drive the RC Bomb Car through a short passage to the second bomb cache and detonate it.
New Objective: Destroy Bomb Cache 3
The massive explosion destroys the garage-like doors, opening a shortcut to the previous workshop where you grabbed the Key Card. Although you cleared this area earlier, bandit reinforcements have taken up defensive positions here, trying to trap you. Use the Sniper Rifle and Authority Machine Gun to methodically fight your way past the defenders. Retrace your steps back to this corridor (by the large drain pipe) where a large metal door opens. If you’re quick, you can fire your Rocket Launcher at the doorway and take out three bandits with one shot. Otherwise, hold at the opposite end of the corridor and gun them down with the Authority Machine Gun. Once it’s clear, pass through the open door and fight your way back to the first workshop you encountered on the lower level.
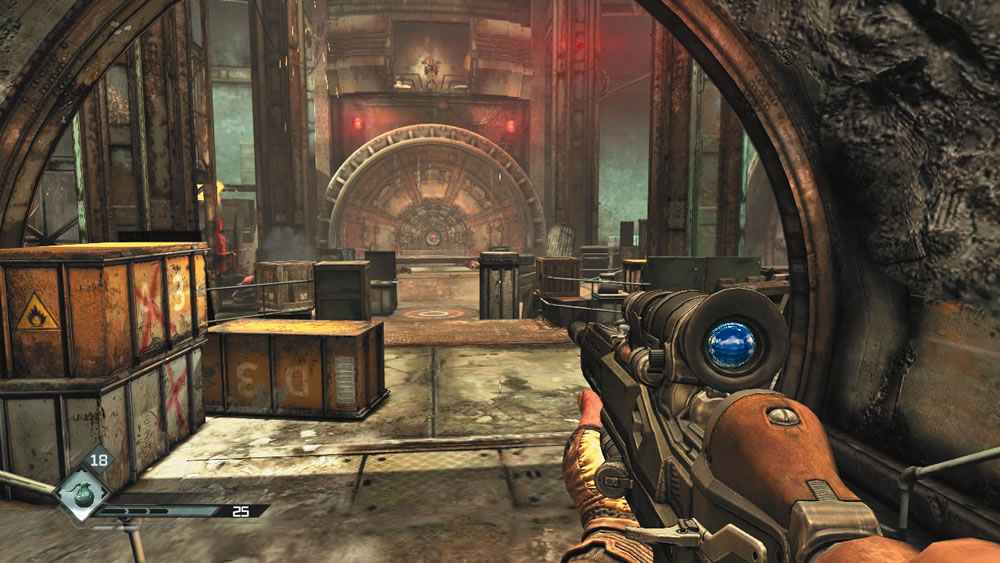
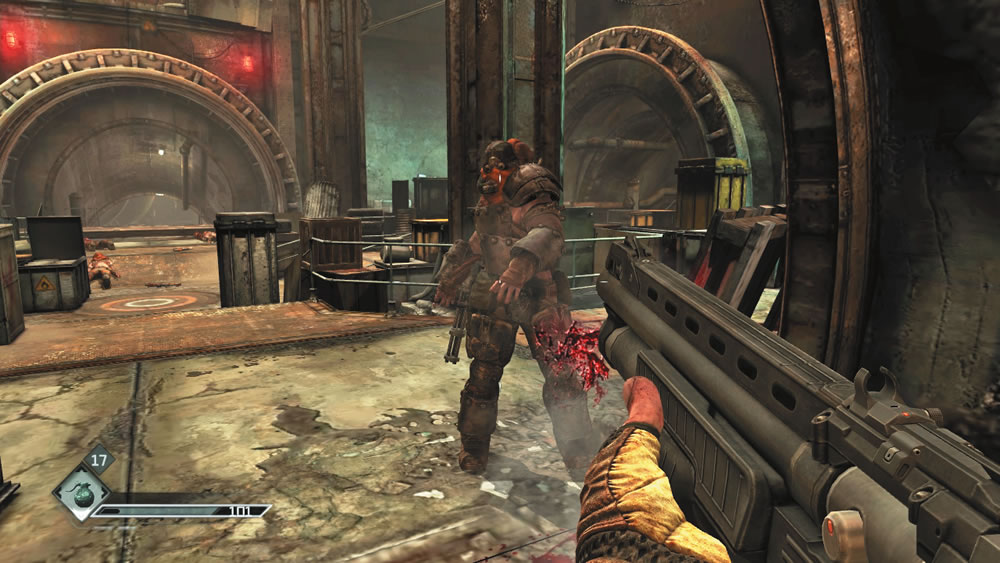
More bandits have taken up defensive positions in this workshop. Switch to your Sniper Rifle and pick them off as they poke their heads out of cover. There’s also a bandit manning a machine gun turret above the large circular doorway at the far side of the room. Limit your exposure to this bandit and quickly score a headshot to put an abrupt halt to the incoming fire. Shortly after eliminating all the bandits in the workshop, the large circular door opens and a few reinforcements rush forward. Pick off the standard bandits quickly with your Sniper Rifle, but be careful not to expose yourself to the armored bandit with a minigun attached to his arm. Quickly take cover and wait for this bandit to get closer. When he’s within throwing range, toss an HE Grenade at his feet and wait for it to go off. The HE Grenade stuns the bandit for a few seconds, giving you just enough time to rush up next to him and blast him with your Combat Shotgun. However, be prepared to take cover if the first attack doesn’t kill him. Toss another HE Grenade at him, then follow up with more close-range Combat Shotgun blasts or equally effective Rocket Launcher hits.
Bomb Cache 3
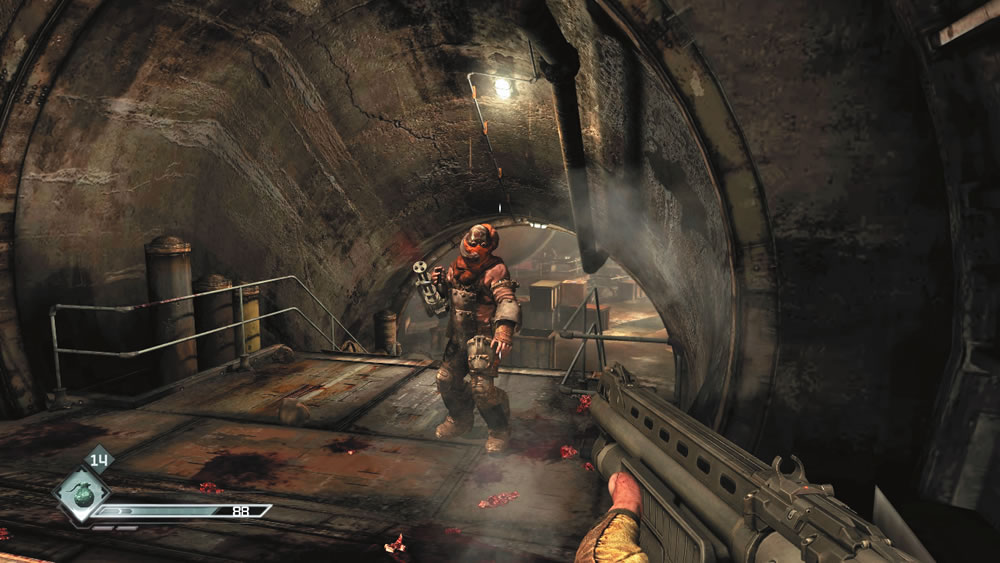
Cautiously enter the circular doorway from which the armored bandit attacked. More bandits fill this corridor, along with another armored bandit equipped with a minigun. Hold near the entrance to the corridor and pick off the standard bandits with your Sniper Rifle while waiting for the armored bandit to get close. Once again, toss an HE Grenade at the feet of the armored bandit, then blast him with the Combat Shotgun while he’s dazed. Once the corridor is clear of threats, search the right wall for a low opening leading to the third bomb cache. If you’re out of RC Bomb Car parts, there are two complete RC Bomb Cars located on a shelf near the corridor’s large doorway. Deploy an RC Bomb Car, drive it through the tunnel to the third bomb cache, and detonate it. The massive explosion destroys the garage-like door at the end of the corridor, providing a shortcut to a lift. It’s time to get out of here!
New Objectives:
- Take the lift and escape the bunker
- Tell Sheriff Black about your success
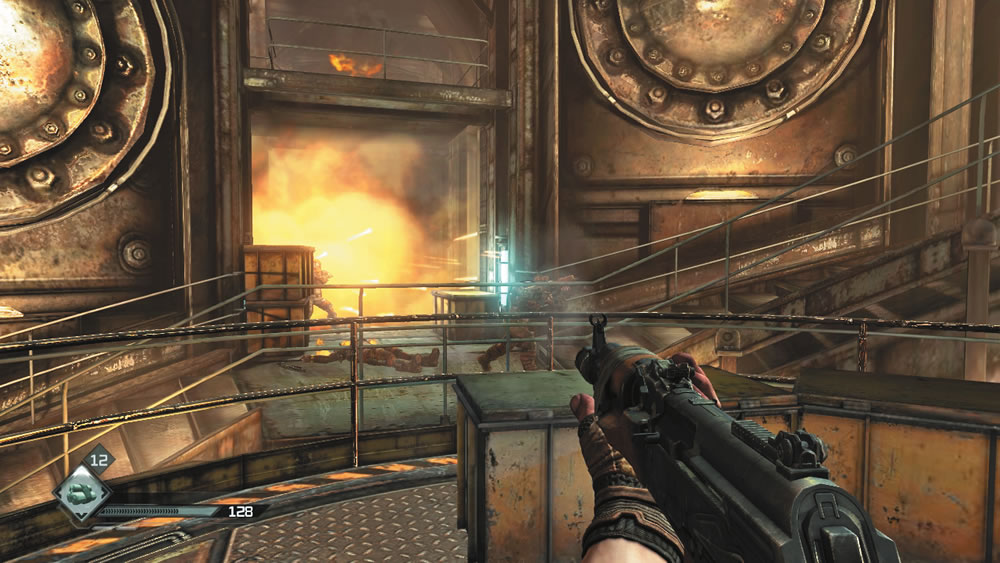
Rush through the flaming passage ahead and hop on the lift. Throw the lift’s switch and begin the slow ride up. It looks like you’re not the only one looking for a way out of this doomed bunker. Several bandits rush up along the spiral staircase flanking the lift. Equip Bandages as your quick use item while riding the lift. A few bandits stop to shoot at you, but most are more concerned about escaping. Constantly spin around and look for bandits shooting at you from the perimeter of the shaft. Return fire with your Assault Rifle or Authority Machine Gun. Secondary explosions rocking the facility kill most of the hostiles here, but stay on your toes and be ready to apply Bandages if you take heavy damage. Two more bandits will descend on the lift, and another two block your path to the exit. Mow them down and then make a beeline for the bunker’s nearby exit.
Debunked
If you managed to escape the Shrouded Bunker in one piece, you’re awarded the Debunked achievement/trophy.
Wellspring
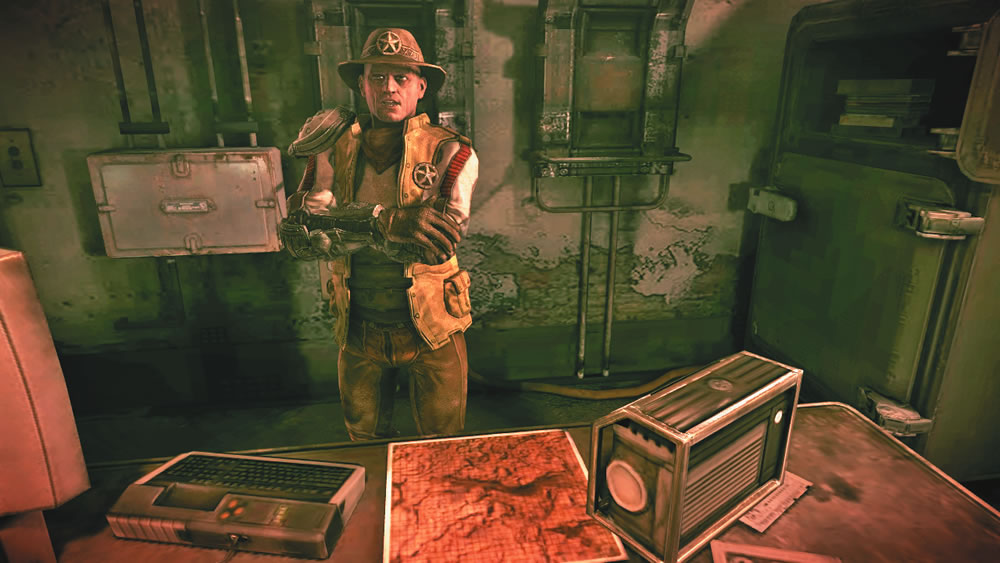
Having completed your objectives at the Shrouded Bunker, hop in your Cuprino and race back to Wellspring. On the way to Sheriff Black’s office, stop by the Second Chance Bar for a quick visit with Sally, collecting any bounty money you may have earned. Sheriff Black is happy to hear you’ve shut down the Shrouded Clan’s RC Bomb Car factory. The canyon will be much safer now. After handing over $225 in payment, a ringing alarm sounds. Sheriff Black says that’s the well alarm. He suggests checking in with Carlson to see what the problem is. You can find Carlson in the Wellmaster’s office, not far from Mayor Clayton’s office.