Rage Guide Walkthrough Wasteland
Highjacked Well
Carlson
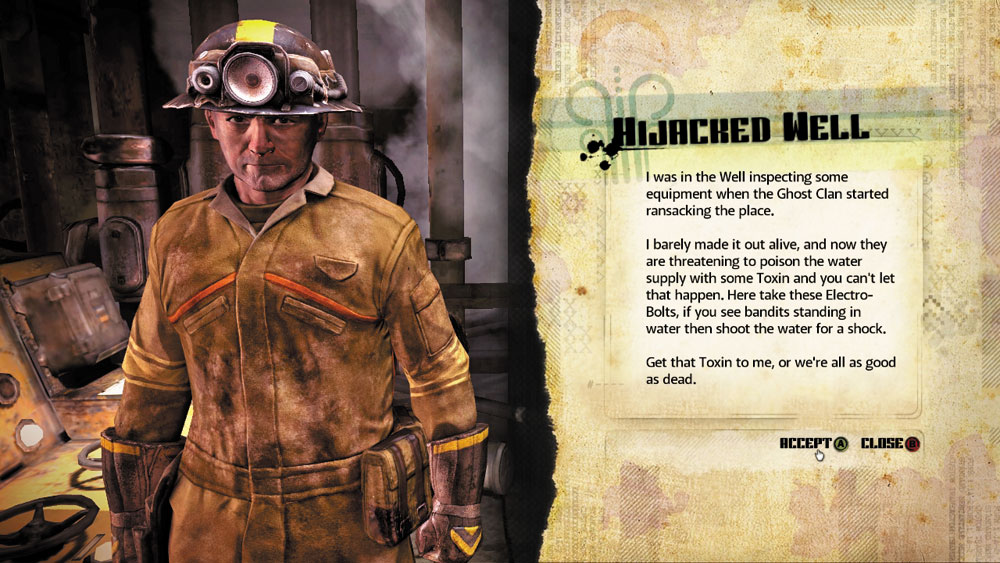
Objective: Stop the Ghost Clan
I was in the Well inspecting some equipment when the Ghost Clan started ransacking the place.
I barely made it out alive, and now they are threatening to poison the water supply with some Toxin. You can’t let that happen. Here, take these Electro Bolts. If you see bandits standing in water, then shoot the water for a shock.
Get that Toxin to me, or we’re all as good as dead.
| Provided Equipment | ||
| ICON | ITEM | QUANTITY |

|
Electro Bolts | 12 |
| Reward | ||
| Icon | Item | Quantity |

|
Dollars | 200 |
New Objective: Enter the Well in Wellspring
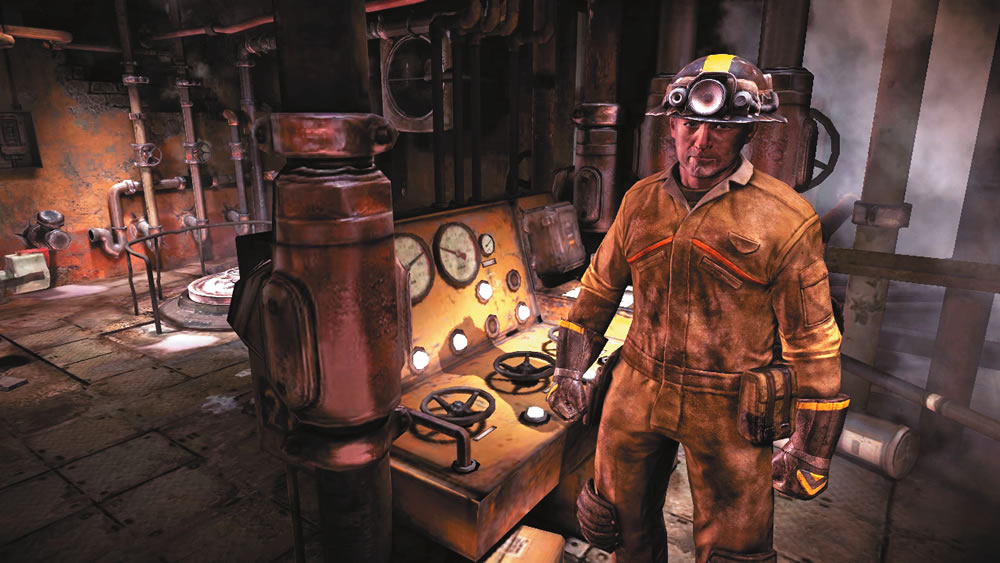
Carlson has some bad news. For some reason, Wellspring’s only water source is under attack by the Ghost Clan. Carlson needs you to enter the Well and stop the bandits from poisoning the water supply. You can access the Well by interacting with the large hatch in the floor of the Wellmaster’s office, only a few steps away from Carlson. Before entering the Well, take inventory of your ammo. Carlson gives you 12 Electro Bolts for your Striker Crossbow that will come in handy, but consider visiting Coffer to replenish the ammo for your other weapons. Don’t bother buying any more Electro Bolts—you’ll find more in the Well. If you have extra money, you can now purchase schematics for the Sentry Turret and Sentry Bot. Both offer a little extra firepower and are well worth the $125 asking price for each schematic. Once you’re well stocked, head back to the Wellmaster’s office and enter the Well.
The Well
New Objective: Stop the Ghost Clan
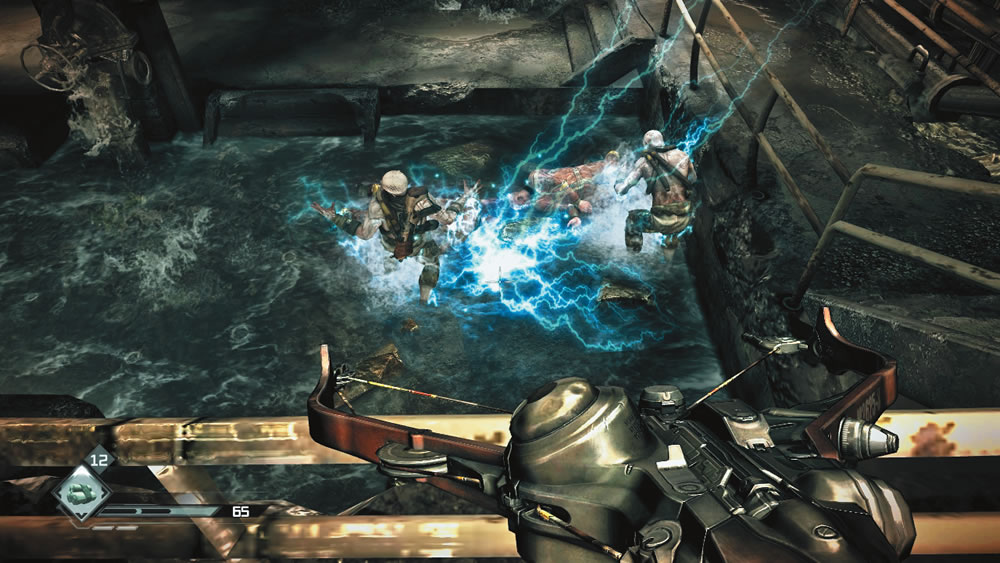
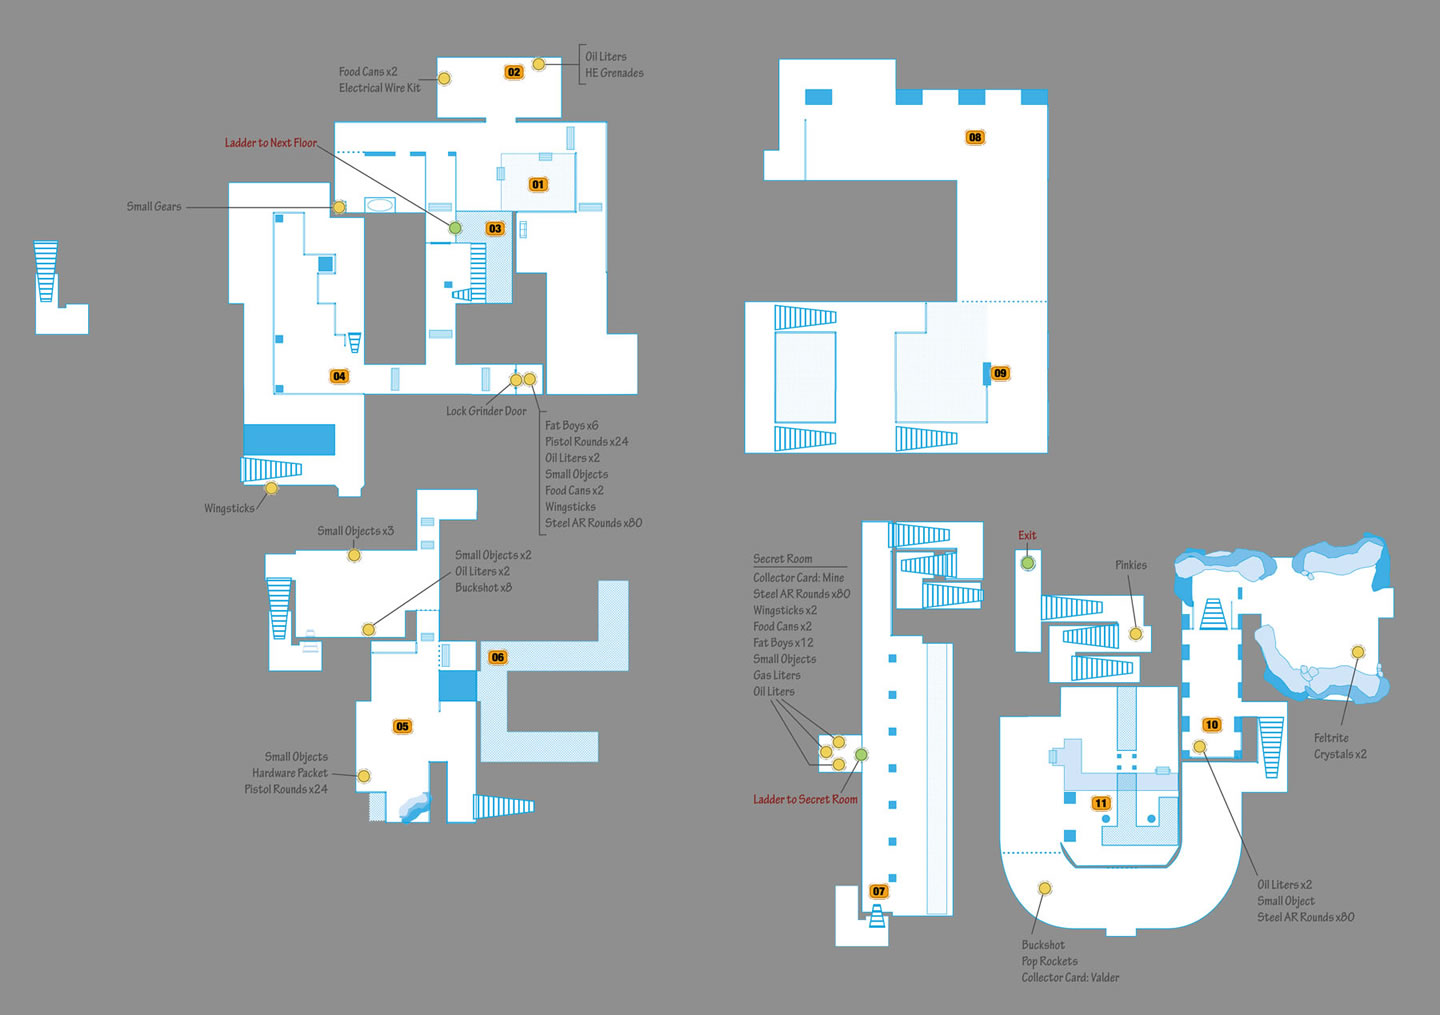
Just inside the Well’s entrance you encounter a couple of well workers—one is dead. The injured well worker warns you of bandits around the corner. Like Carlson, he tells you to use the Electro Bolts to stop them. Equip your Striker Crossbow and choose the Electro Bolts as your selected ammo. Just ahead you can hear the voices of bandits. Creep to the railing ahead and look down to spot two bandits standing in a pool of water below—they’re picking the pockets of two dead well workers. Fire an Electro Bolt into the water to instantly electrocute both bandits. Before descending the nearby steps, turn to the orange crate on your left to grab a stash of 36 more Electro Bolts.
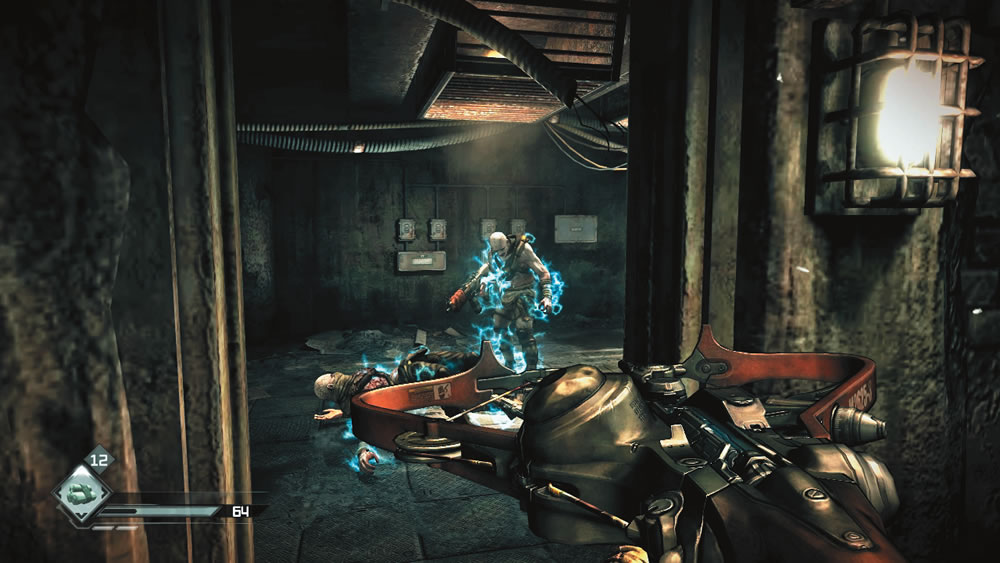
A few steps down the next corridor is a small supply closet occupied by three bandits. Creep up to the doorway and toss in an HE Grenade—cook the grenade so the bandits don’t have much time to escape. After the HE Grenade detonates, mop up any survivors with your Striker Crossbow. The closet contains HE Grenades and Bandages. Also, don’t forget to search the dead bandits—if there’s anything left to search. Ghost Clan bandits don’t carry much, but you still might find a dollar or two.
Silent But Deadly
If you haven’t already, now’s the perfect time to earn this achievement/trophy by scoring ten kills with the Striker Crossbow.
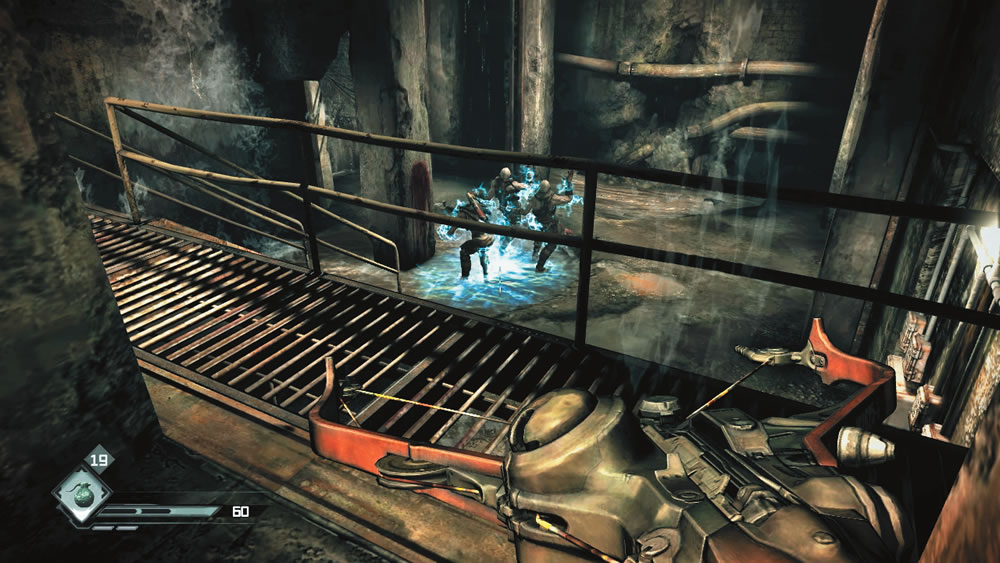
Equip your Combat Shotgun and blast a charging bandit as you proceed down the corridor outside the closet. Follow the passage to the left and climb a short ladder. Soon you hear the voices of more bandits. Creep through the passage and equip your Striker Crossbow as three bandits come into view beyond the railing on the right—they’re all standing in water. Fire a single Electro Bolt into the water to take out all three bandits. Continue through the passage ahead and look for a locked door on the left. Interact with the door to apply the Lock Grinder. Behind the door is a small closet containing a variety of junk and ammo.
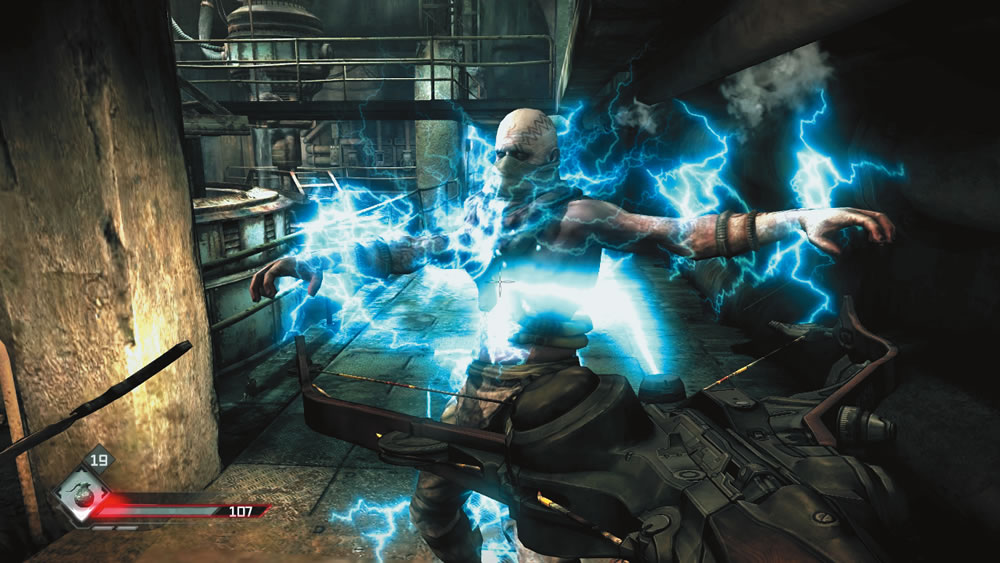
Across from the closet is a large room ringed by a walkway and an upper-level catwalk. Hold in the tunnel and open fire on the bandits inside. One charges at you while another fires an Assault Rifle from the catwalk. Take out the charging bandits with an Electro Bolt, then switch to your Sniper Rifle to pick off the bandit on the catwalk. Once the first two bandits are down, enter the room and access the lower-level walkway to the right. As you move along this walkway, watch for more bandits approaching. Either hit them with Electro Bolts or switch to your Combat Shotgun and blast them at close range.
Continue through the narrow passage until you come to a room occupied by a vat filled with bodies—this is where the Ghost Clan is throwing their victims. The body of a well worker drops onto the pile. Look up to spot the bandit who dropped the body, standing on a wooden platform to the left. Zap him with an Electro Bolt. As you try to escape this room, a gate shuts in front of you and multiple bandits rush in from the perimeter. Immediately switch to your Combat Shotgun and blast the bandits as they rush at you. Choose Bandages as your quick use item and use them if you take heavy damage from the bandit melee attacks. Keep blasting bandits until the gate reopens, allowing you to exit. Before leaving, search the dead bandits for loot. There’s also a shelf in here holding some Fatboys for your Settler Pistol.
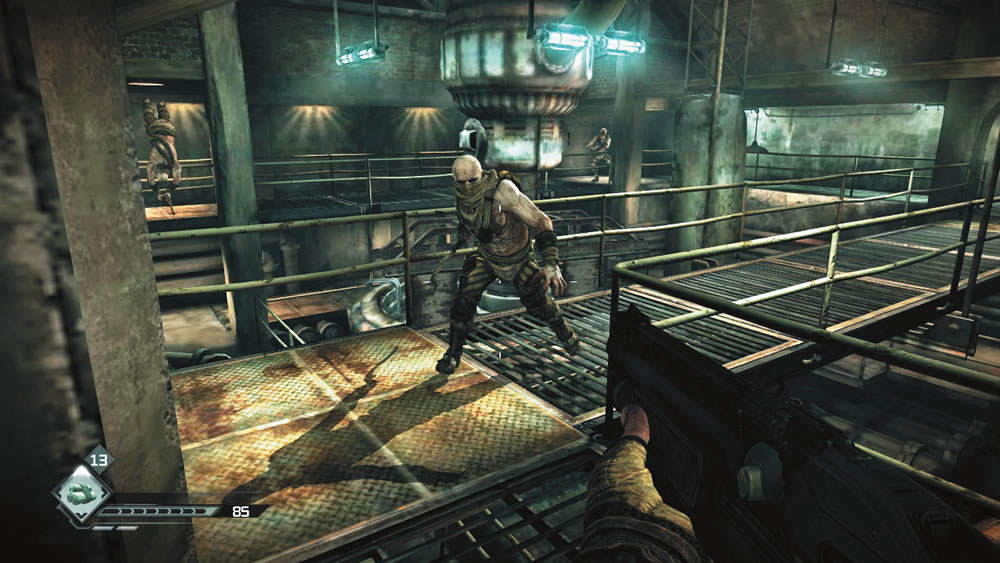
In the next area you must navigate a catwalk system above a large room while battling several bandits. Equip your Combat Shotgun and keep moving while shooting. Most of the bandits attack with melee weapons, but one is armed with an Assault Rifle—take him out with your Sniper Rifle. Initially, most of the bandits are on the lower floor and leap up to the catwalk. Try to hit them as they climb over the catwalk railing, killing them before they can attack. Constantly spin to check your surroundings to avoid getting hit from behind. Also, keep some Bandages handy to heal yourself if you start getting clobbered. The catwalk connects to a small storeroom occupied by three more bandits. Blast them and then raid the shelves for some junk.
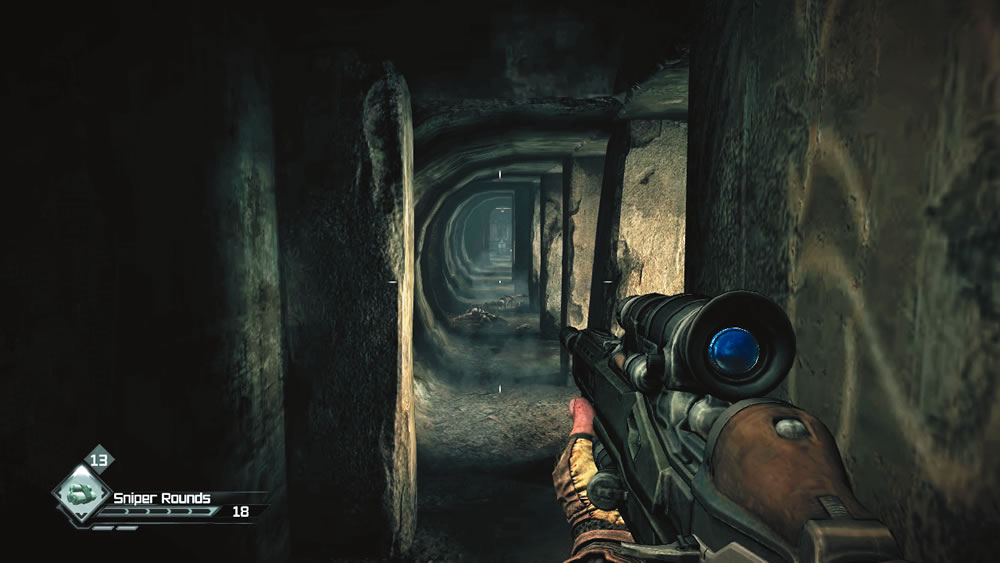
Descend the nearby steps to enter this long tunnel patrolled by multiple bandits. Hold in the stairwell and pick off the nearby bandits with your Striker Crossbow or Assault Rifle. Be ready to switch to your Combat Shotgun to deal with any charging bandits that get too close for comfort. A few bandits take up positions behind the concrete supports deeper in the tunnel and open fire with Assault Rifles. Use your Sniper Rifle to engage these long-range threats. Hold in the stairwell until all the bandits are dead, then advance through the tunnel, looting the bandit bodies along the way. Keep an eye out for a dimly-lit ladder on the left side of this tunnel. Climb the ladder to find a small area filled with loot. You cannot return here, so grab the Drop Mine collector card before you leave.
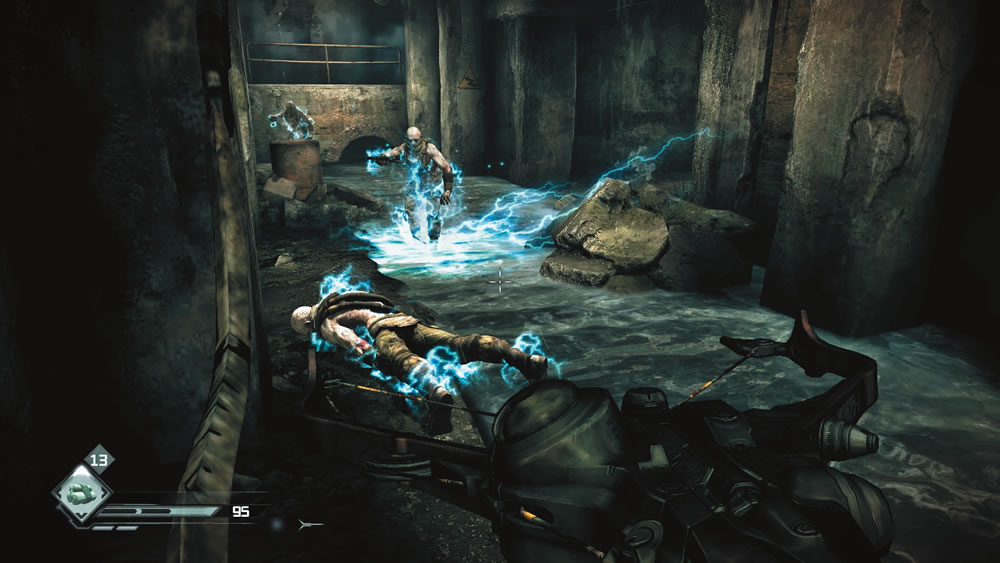
Another set of steps takes you deeper into the Well, placing you above a short tunnel filled with water. Fire an Electro Bolt in the water to take out the first set of patrolling bandits. Next, descend the steps into the tunnel, but stay along the left side to avoid stepping in the water. As more bandits charge at you, simply shoot the water with an Electro Bolt to fry them on the spot. Follow the tunnel to the right to engage a few more bandits, but make sure your feet aren’t in the water as you launch an Electro Bolt from the Striker Crossbow.
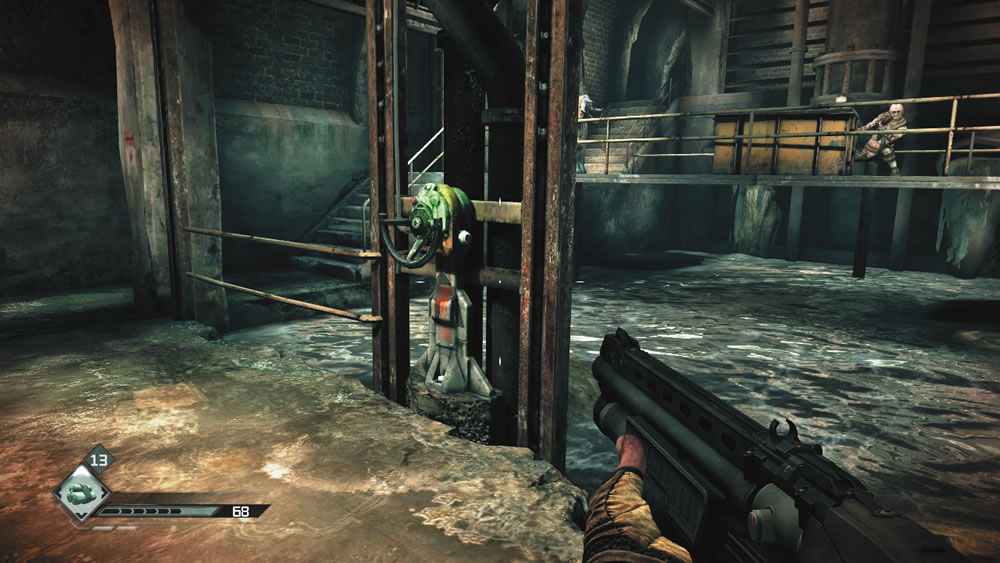
The bandits spring another ambush here, dropping a gate behind you as you enter this area. A pair of bandits come charging at you while another one fires at you from a catwalk. Blast the charging bandits first, hitting them with your Striker Crossbow or Combat Shotgun. Next, engage the bandit on the catwalk with your Assault Rifle or Authority Machine Gun. Once you’ve eliminated three waves of bandits, interact with the valve, marked by a blinking green light. Turning this valve opens the gate ahead, allowing you to access the catwalk beyond. Pass under the gate, loot the bandit bodies, and proceed to the cavern-like room at the top of the steps. Look to the left to spot a couple of Feltrite Crystals. Gunfire can be heard nearby.
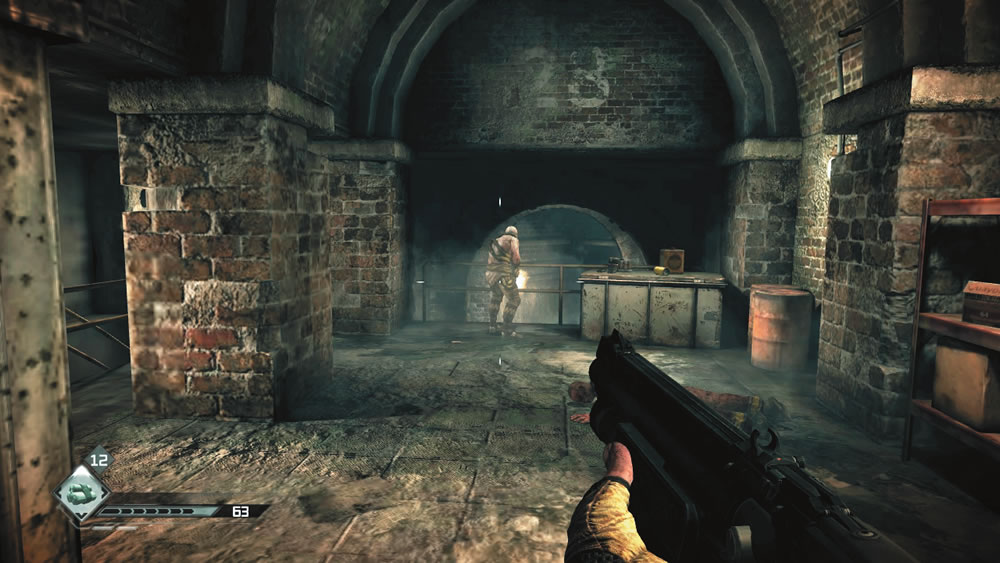
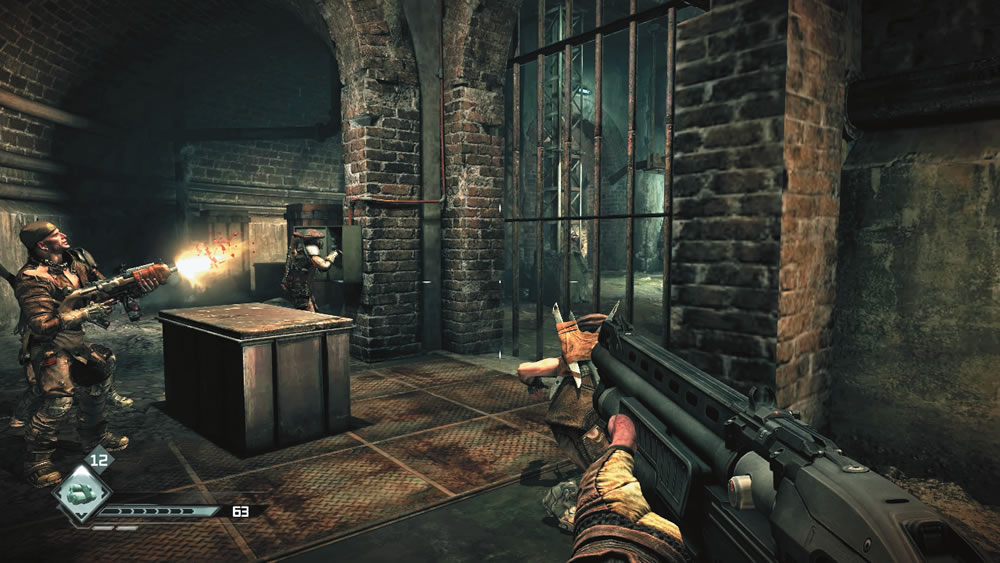
Climb the steps and sneak up behind a bandit firing an Assault Rifle. Shoot him in the back with your Combat Shotgun. In the tunnel below you spot a Wellspring guard urging you to join him. Before following the guard, grab the supplies up here, including 80 Steel AR Rounds. Descend the nearby steps and approach the Wellspring guard in the tunnel below. He leads you to a small group of guards battling bandits through a large gate. One of the guards is working on a control box, attempting to open the gate. Equip your Sniper Rifle and help the guards engage the bandits in the adjoining room by firing through the bars in the gate. The Valder card is located at the dead-end of this tunnel; you cannot return here later, so be sure to pick up this card before proceeding.
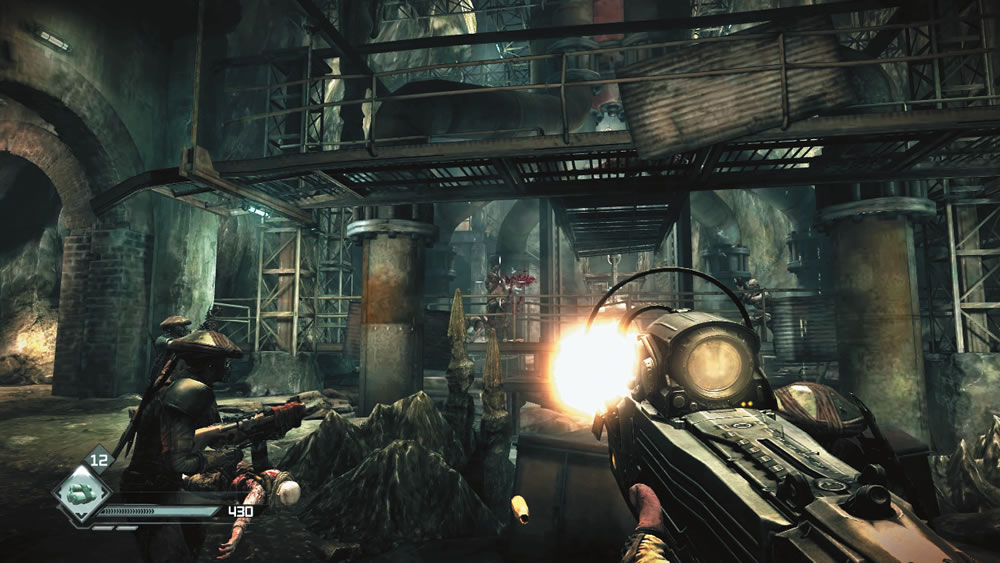
When the gate opens, follow the Wellspring guards into the next room and continue blasting bandits. Avoid using Electro Bolts during this fight as you may accidentally kill one of the Wellspring guards standing in water. Instead, use your Assault Rifle and Authority Machine Gun to accurately engage the bandits on the catwalks. Hold near the entrance and help the Wellspring guards regain control of the facility. As the incoming fire dies down, advance along the catwalk to move deeper into the room. Watch out for more bandits hiding here and quickly mow them down with your automatic weapon of choice. Once the area has been cleared of bandits, the lead guard tells you to remove the Toxin canister from the filtration system in the center of the room. Grab the Toxin and then activate the nearby switch to enable a lift, giving you a ride to the catwalk above. Follow the catwalk to a series of stairs and then climb the ladder at the end of the passage to return to Wellspring.
Wellness Plan
Excellent work! You saved Wellspring’s water supply, unlocking the Wellness Plan achievement/trophy.
Wellspring
New Objective: Take the Toxin up to Carlson
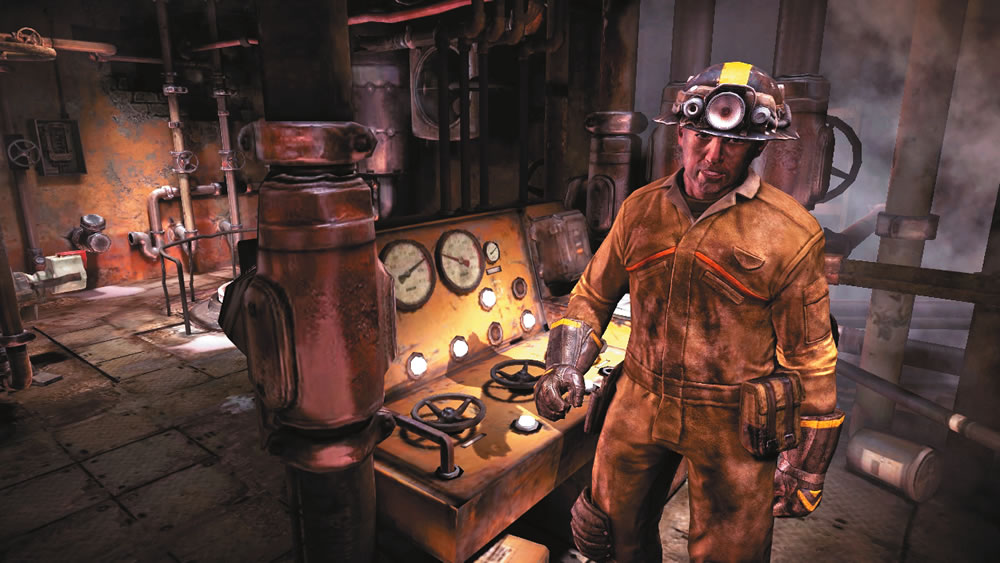
You emerge from a hatch in the street not far from Sheriff Black’s office. Return to the Wellmaster’s office to give Carlson the good news. He pays you $200 for a job well done. But Carlson isn’t sure what’s in the Toxin. He suggests seeing Dr. Kvasir. . .
Finding Feltrite
Jacob
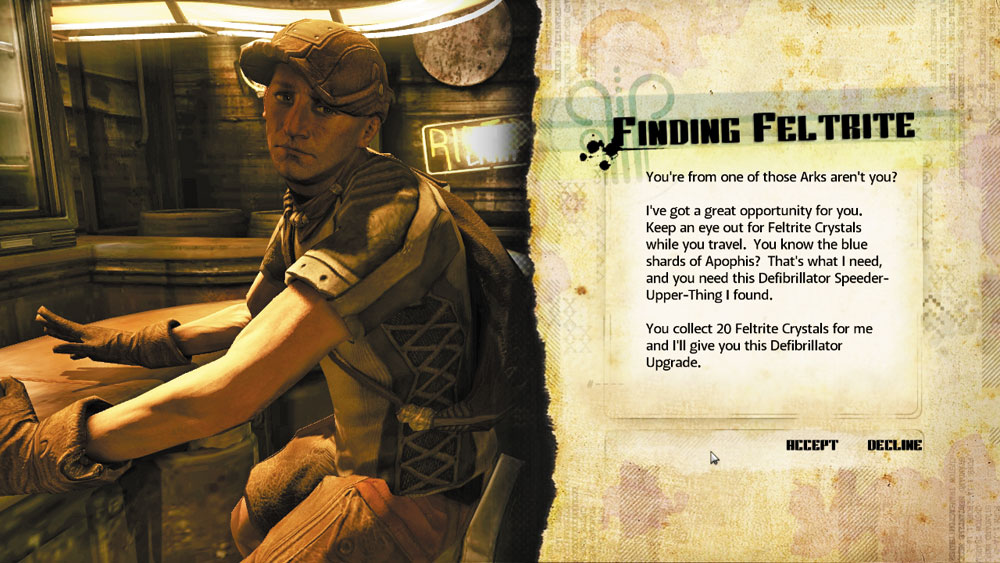
Objective: Find 20 Feltrite Crystals
You’re one of those Ark survivors aren’t you?
I’ve got a great opportunity for you. Keep an eye out for Feltrite Crystals while you travel. You know, the blue shards of Apophis? That’s what I need, and you need this Defibrillator Speeder-Upper-Thing I found.
You collect 20 Feltrite Crystals for me and I’ll give you this Defibrillator.
Provided Equipment: None
| Reward | ||
| ICON | ITEM | QUANTITY |

|
Defibrillator Upgrade | 1 |
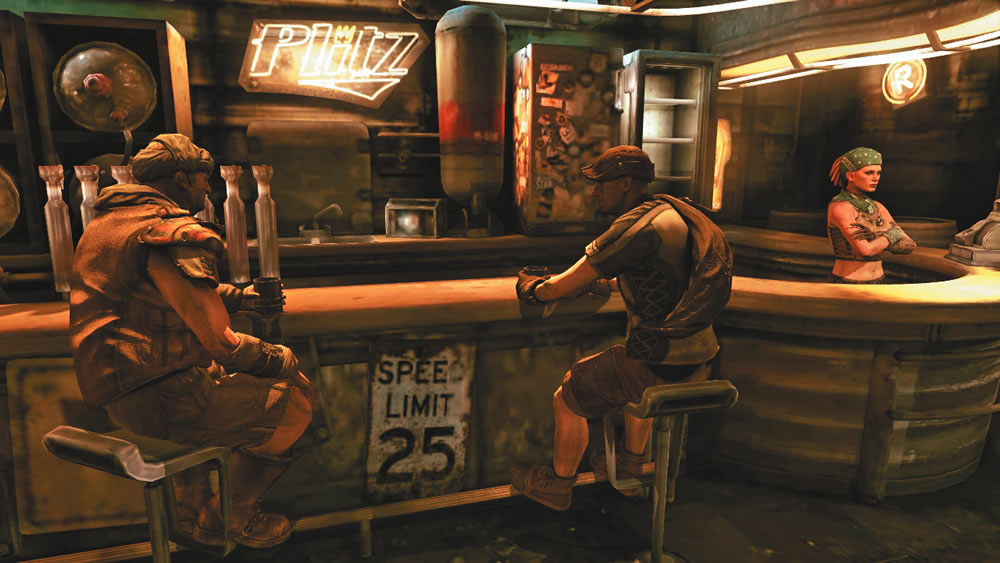
After clearing the Well, an optional side quest becomes available in the Second Chance Bar. Look for Jacob, sitting at the bar not far from Sally. Jacob is looking for Feltrite and has offered to provide you with a Defibrillator Upgrade if you give him 20 Feltrite Crystals. This is one offer you may want to consider declining. The Defibrillator Upgrade he’s offering reduces the recharge time of your Defibrillator from six to five minutes. On the other hand, 20 Feltrite Crystals are worth $500 if you sell them to a vendor. Unless you’re dying frequently, the upgrade just isn’t worth it. If you don’t want this Defibrillator Upgrade, be sure to sell all that Feltrite you’ve been collecting. Outside of this side quest, there is no other use for it.
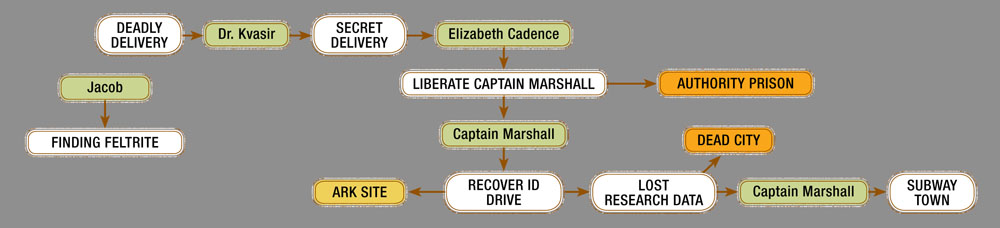
Mission Flowchart Part 04