
Rage Guide Walkthrough Eastern Wasteland
Assault the Authority Bridge
Portman
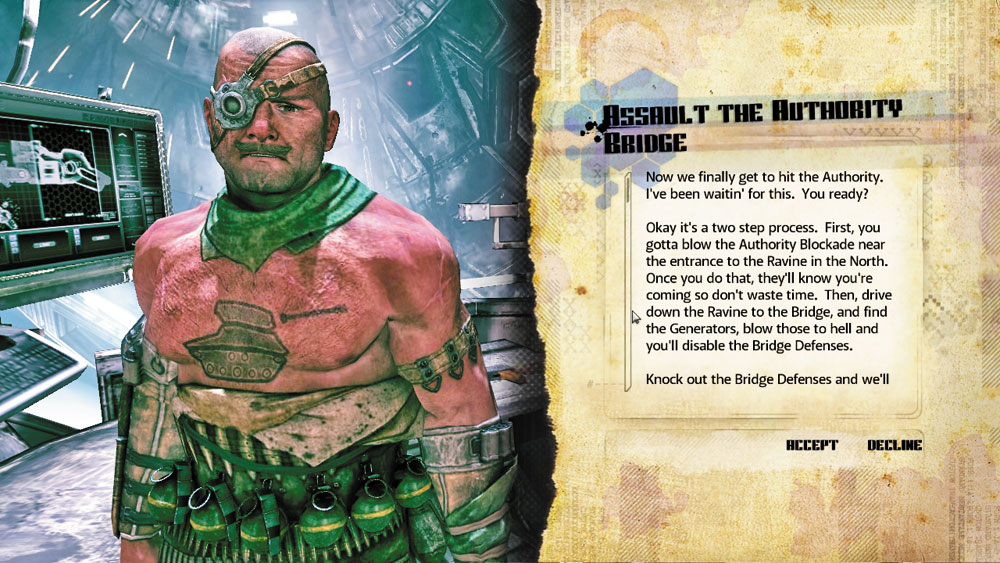
Objective: Take out the Bridge’s defenses.
Now we finally get to hit the Authority. I’ve been waiting for this. You ready?
Okay it’s a two-step process. First, you gotta blow the Authority Blockade near the entrance to the ravine in the north. Once you do that, they’ll know you’re coming, so don’t waste any time. Then, drive down the ravine to the bridge, and find the generators. Blow those to hell and you’ll disable the Bridge Defenses.
Knock out the Bridge Defenses and we’ll have access to Capital Prime.
| Provided Equipment | ||
| ICON | ITEM | QUANTITY |

|
Explosive Pack | 2 |
| Reward | ||
| Icon | Item | Quantity |
|
Authority Pulse Cannon | 1 |
| Icon | Item | Quantity |

|
BFG Rounds | 3 |
New Objective: Search out the Authority Blockade
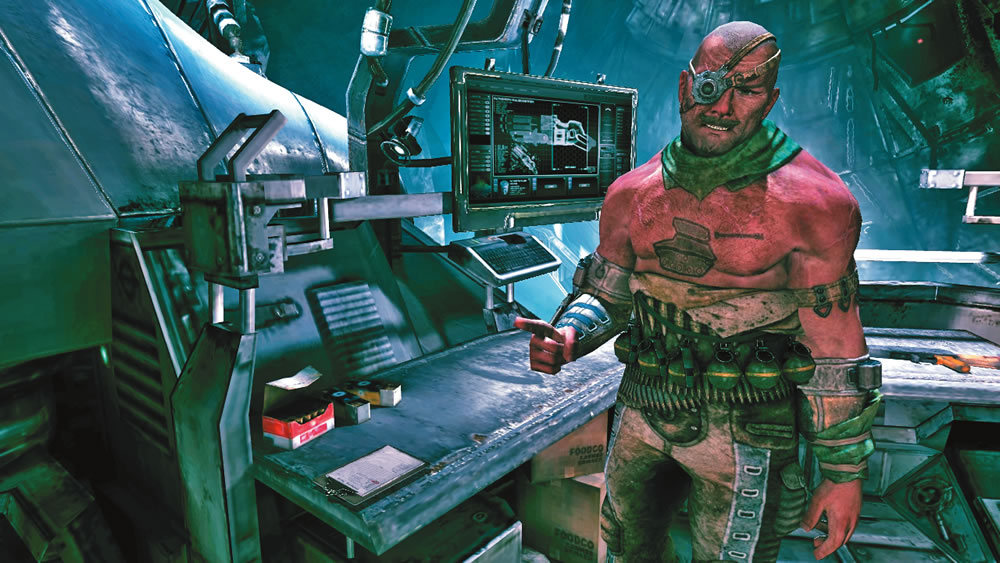
It’s finally time to take the fight to the Authority! Speak with Portman to get your next assignment. Before you can enter Capital Prime, you must first eliminate the defenses at the Authority Bridge. Once the defenses are down, you can cross the bridge and attack Capital Prime directly. After speaking with Portman, grab the Authority Augmenter Schematic sitting on his workbench. This only appears here if you didn’t get the schematic by speaking with Lassard earlier. Along with the schematic you also receive the parts to make one Authority Augmenter.
This consumable temporarily increases your damage output. Don’t worry about making or using Authority Augmenters now, but they will come in handy later once you attack Capital Prime.
Master Chef
The schematic for the Authority Augmenter is the last one made available in the campaign. If you’ve collected/purchased all the schematics and recipes up to this point, you earn the Master Chef achievement/trophy. If the achievement/trophy isn’t earned at this point, consider purchasing any remaining schematics from Halek, Coffer, or Jani. Also, don’t forget the recipes earned by completing jobs. You earn recipes from Janus Outrigger, Ramos Outrigger, and Richard (in the Second Chance Bar).
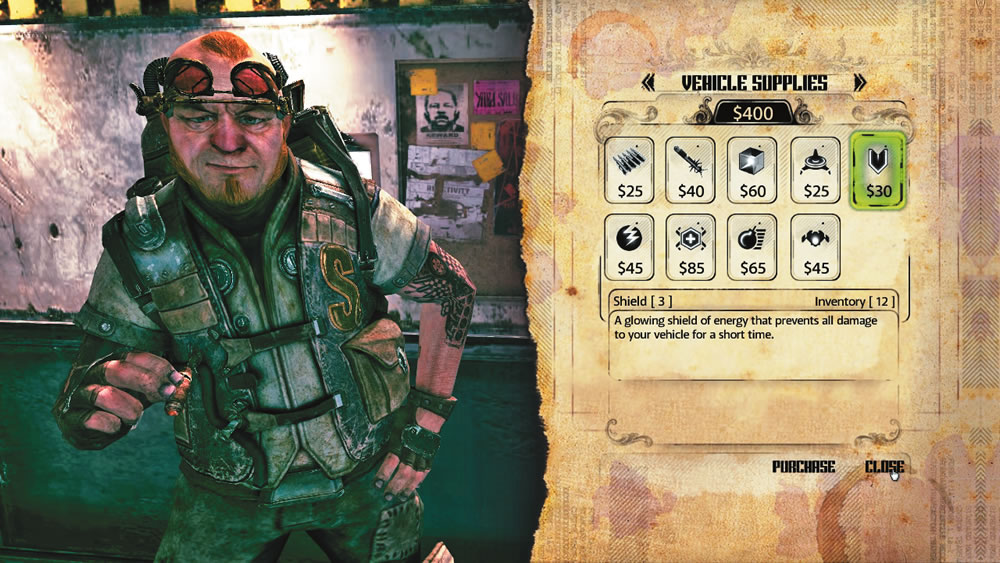
Before leaving Subway Town, visit Sparky’s Auto Parts downstairs. During the attack on the bridge you’ll encounter Authority Predators. These tank-like vehicles aren’t as fast and maneuverable as the bandit buggies you’ve fought thus far, but they are heavily armored and equipped with a powerful pulse cannon. Prepare for these upcoming encounters by purchasing plenty of Shields and ammo for your Monarch’s weapons. The Miniguns inflict very little damage against Authority Predators, so spend your cash on Homing Rockets and Pulse Ammo. If you haven’t already, now is a great time to buy the Heavy Monarch Armor. After visiting Sparky, go upstairs and see Jani. You’ll face a few enforcers on the Authority Bridge, so make sure you have at least 100 Authority AV2x Rounds and a few EMP Grenades. Once you’re stocked up on gear, return to Saul’s garage and prep your Monarch for the journey to the Authority Blockade.
Authority Blockade
New Objective: Blow the Blockade
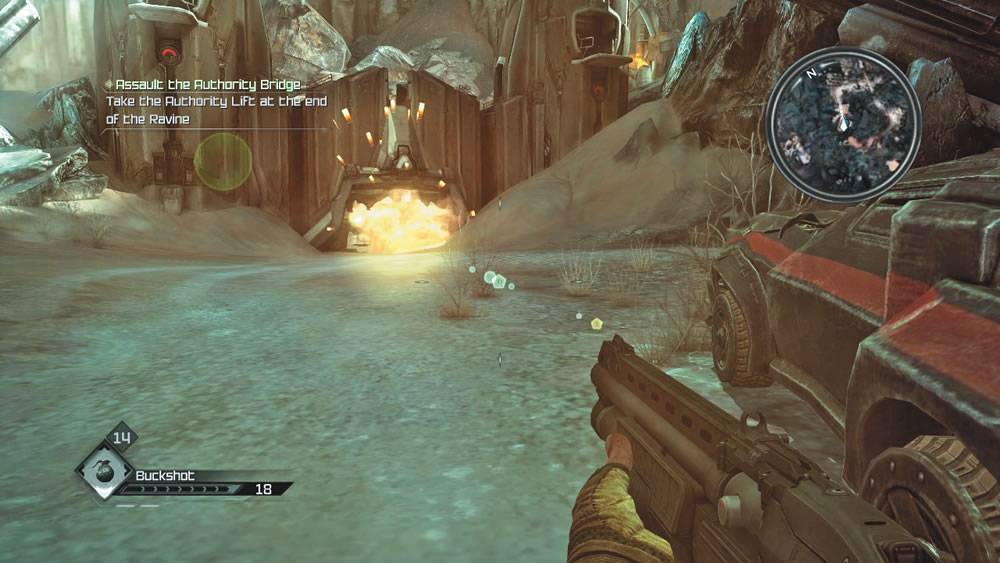
The Authority Blockade is located in a narrow canyon, not far from the Jackal Canyon. As you approach the Blockade, there are several mutants standing in the road. Instead of shooting the mutants, simply run them over with your Monarch. Once the canyon is clear, get out of the Monarch and cautiously approach the Blockade. When even more mutants climb over the Blockade, race back to your vehicle and eliminate the mutants by running them over. It’s now safe to plant the explosives. Park your Monarch a safe distance away and then interact with the faint explosive icon on the Blockade’s door. Rush back to your vehicle and wait for the explosives to detonate, blowing a hole in the Blockade. Race through the opening in the Blockade and run over yet more mutants while driving down into the ravine.
Roadkill
This is an excellent opportunity to earn the Roadkill Achievement. Run over 10 mutants with your vehicle to unlock it. If you missed out on this opportunity here, you can still run over mutants in certain races.
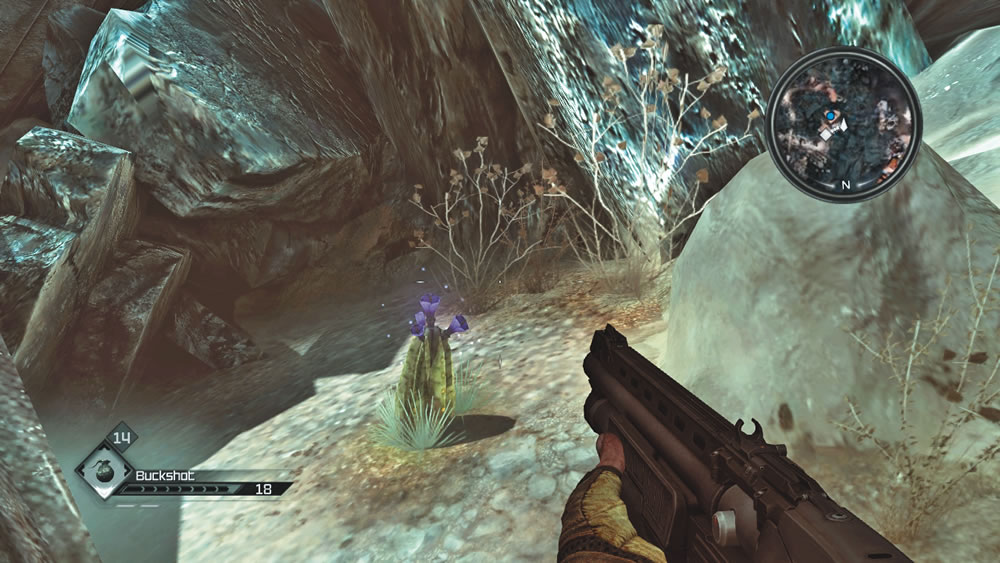
Ravine
New Objective: Take the Authority Lift
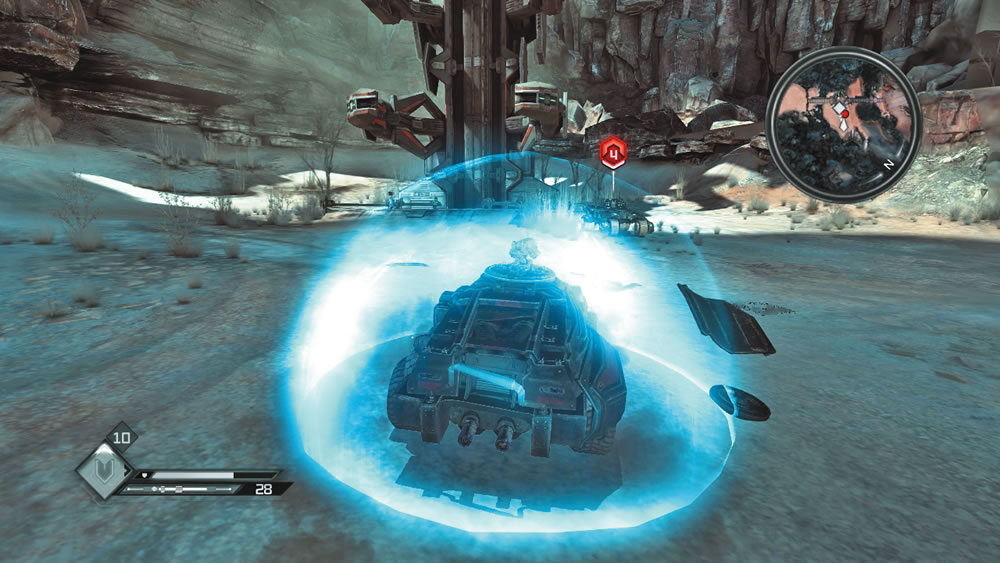
As Portman predicted, blowing the Blockade has attracted the attention of the Authority. Not far into the ravine you encounter the first Authority Predator. Deploy Shields as soon as the enemy vehicle comes into view and wait until you have achieved a lock before firing Homing Rockets or the Advanced Pulse Weapon. The Advanced Pulse Weapon is most effective, destroying the Authority Predator with a single hit. Pulse Ammo isn’t cheap, so make sure your shot counts. If you don’t have any Pulse Ammo, Homing Rockets are effective, but it takes at least two solid hits to take out a Predator. A second Authority Predator patrols the area near the lift, just below the Authority Bridge. Once again, deploy Shields and take out the Predator with a single hit from the Advanced Pulse Weapon or two hits from the Homing Rockets.
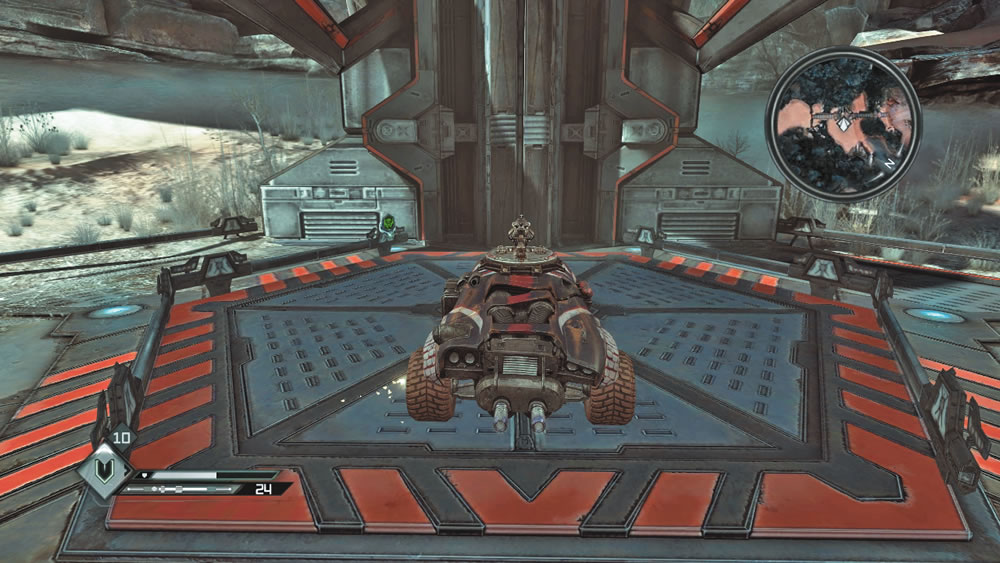
Having cleared out the bottom of the ravine, drive your Monarch onto the lift. Hop out of your vehicle and interact with the green terminal screen to activate the lift—this will take you up to the center of the Authority Bridge. Once the lift starts moving, get back in your Monarch, but don’t move. There are no guardrails preventing you from driving off the lift and plummeting back into the ravine. If this occurs, you can call the lift back down and try again.
Authority Bridge
New Objective: Destroy the generators
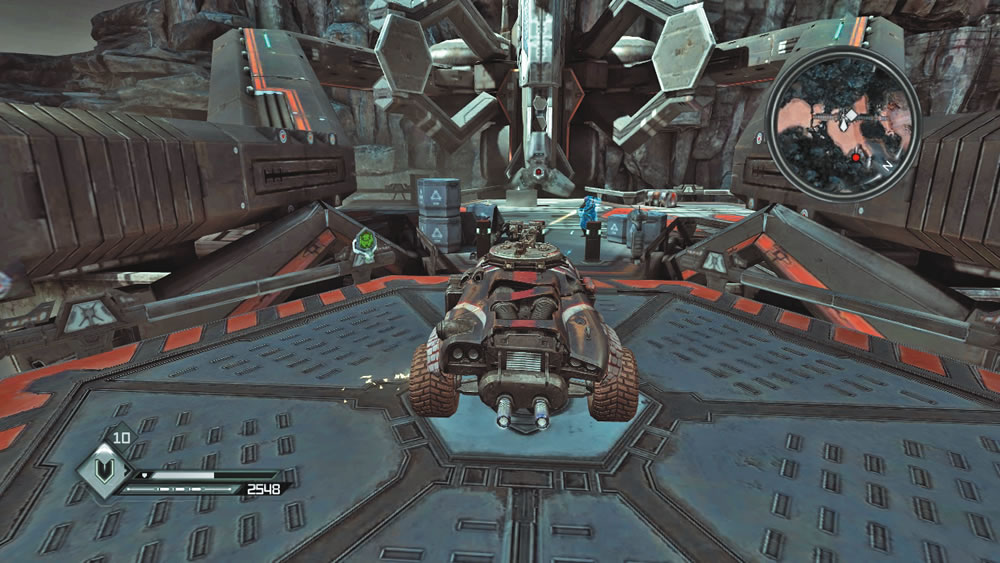
When the lift stops, an enforcer on the bridge calls out for reinforcements. A small barrier prevents you from driving onto the bridge, so stay put and keep the Monarch facing forward. Immediately gun down the enforcer with the Monarch’s Miniguns. The Monarch’s weapons won’t lock on to individual enemies, but it will track them, allowing you to focus your fire in the general area of your target. An Authority dropship arrives overhead and drops off reinforcements on the right side of the bridge. If necessary, hop out of the Monarch to lure the reinforcements within range of your vehicle’s weapons. Two of the enforcers are equipped with energy shields, but they’re no match for your Monarch’s Miniguns.
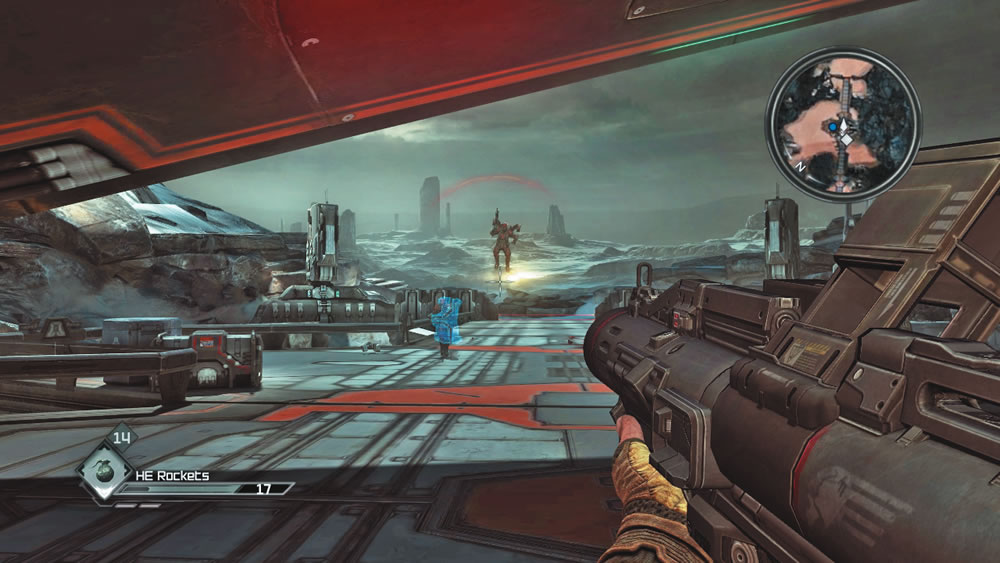
After eliminating the first wave, a second round of reinforcements arrives on the left side of the bridge. If you prefer, you can lure them toward the Monarch and take them out with the Miniguns, or you can simply engage them directly with your own weapons. Use EMP Grenades to disable the energy shields carried by a couple of the enforcers, then mow them down with your Authority Machine Gun. More EMP Grenades are located on the nearby crates if necessary. Make sure all the enforcers are dead before turning your attention to the generators.
Jetpacker
The enforcer reinforcements descend from the dropships using jetpacks. If you haven’t earned the Jetpacker achievement/trophy, this is your last chance in the campaign to do so. To unlock it you must kill an enforcer during their jetpack descent. The easiest way to do this is to hit them in mid-air with any hitscan weapon. The enforcers hover a few meters over the ground before eventually dropping. Take this opportunity to blow an enforcer out of the sky to secure this achievement/trophy.
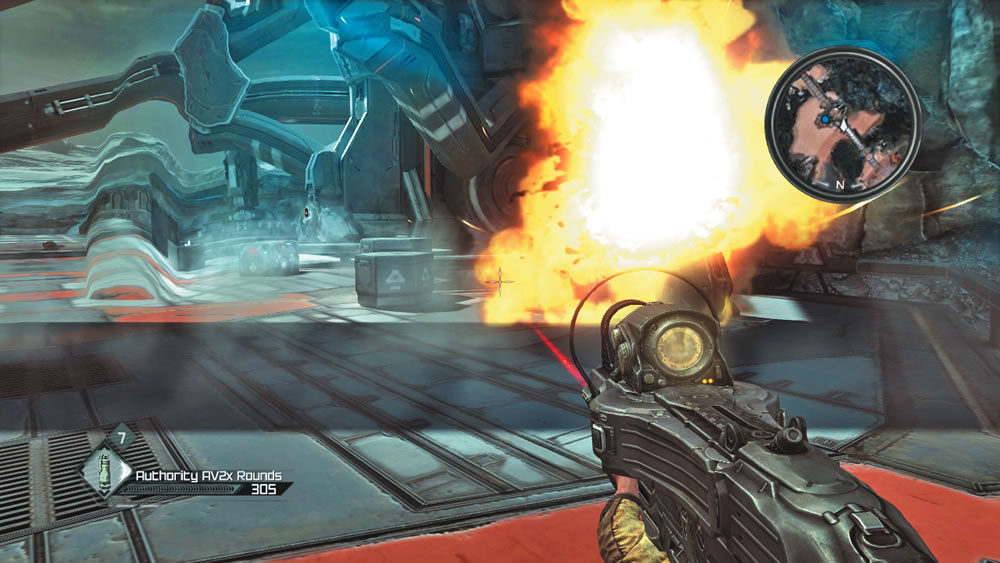
There are two generators powering the Bridge Defenses. Interact with the transparent explosive icon on each generator to plant your charges, then back away. Once both generators are destroyed, locate the terminal with the green screen at the bridge’s center. Interact with the terminal to lower the barricades in front of your vehicle. Now return to your Monarch to make your way back to Subway Town.
New Objective: Return to Portman
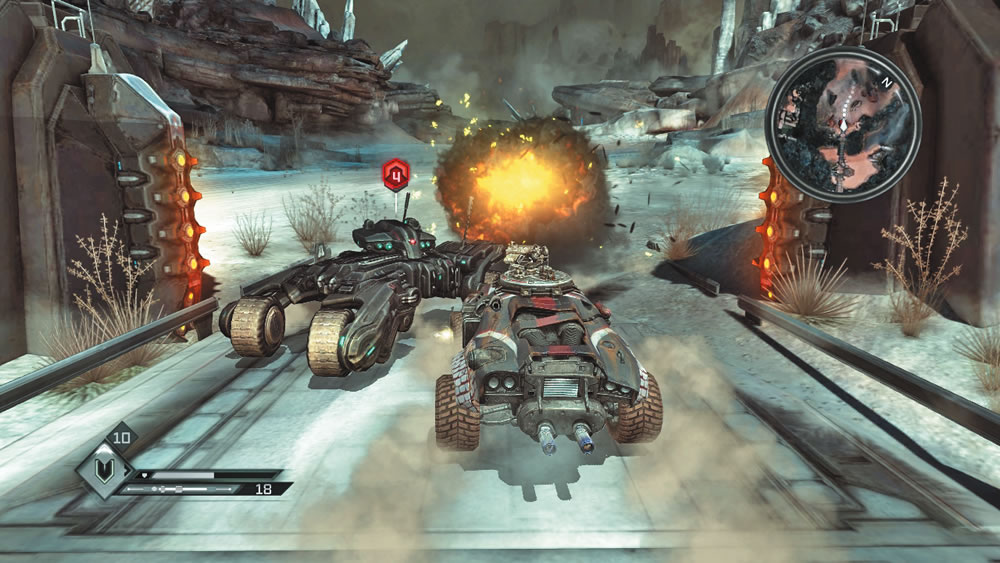
Once back in your Monarch, hold on the lift until a Predator drives past you. Follow the Predator to the right and blast it from behind with Homing Rockets or the Advanced Pulse Weapon. Keep hammering the Predator until it explodes into a brilliant fireball. Now race back to Subway Town, located only a short distance from the Authority Bridge.
Gotta Have ‘Em All
If you’ve snagged all the collector cards so far, here’s your chance to complete your collection and earn the Gotta Have ‘Em All Achievement! The Elite Guard card is found here on the bridge, behind some boxes.
Subway Town
On the way into the Resistance Base, speak with Elizabeth, who is standing outside her lab. She tells you that her research shows the Authority is working on creating an army of mutants, controlled via Nanotrites. Fortunately, Portman has a new toy for your next mission. He feels you need a bit more firepower, so he offers you an Authority Pulse Cannon he looted from a dead guard. Grab it to add it to your arsenal, along with three BFG Rounds. After speaking with Portman, talk to Captain Marshall. He has one final mission for you. . .