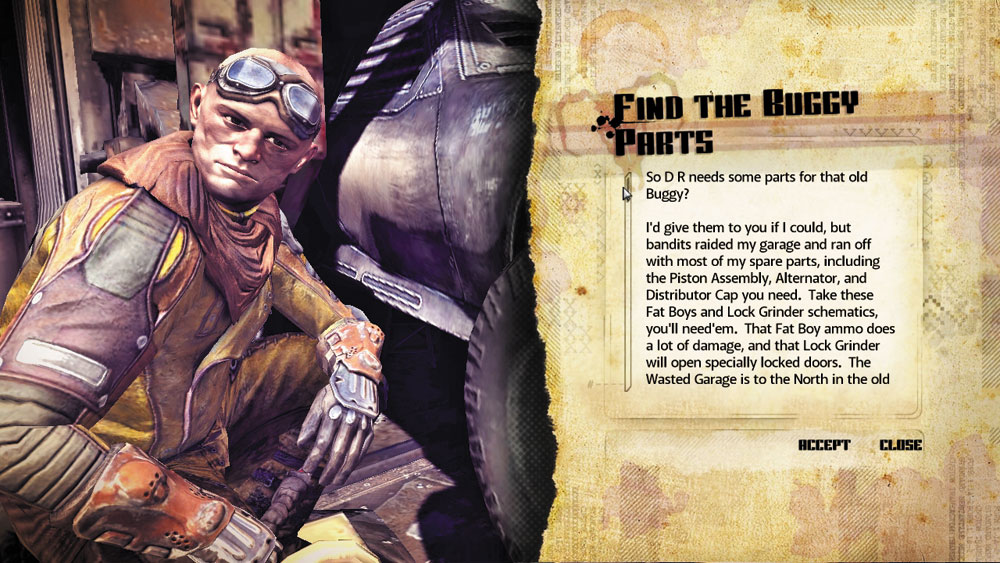
I’d give them to you if I could, but bandits raided my garage and ran off with most of my spare parts, including the Piston Assembly, Alternator, and Distributor Cap you need. Take these Fatboys and Lock Grinder schematics. You’ll need ‘em. That Fatboy ammo does a lot of damage, and the Lock Grinder will open special locked doors. The Wasted Garage is to the north in the old dam.
No need to come back here, just get those parts back to Durar at the Hagar Settlement.
Provided Equipment
ICON
ITEM
QUANTITY
<
Fatboys
12
Lock Grinder Schematic
1
Electrical Wire Kit
1
Hardware Packet
1
Small Gears
1
Reward
Icon
Item
Quantity
Tow Truck Radio
1
New Objective: Head west to the Wasted Garage
Although Johan doesn’t have the parts you need to fix the buggy, he does give you some useful equipment for your raid on the Wasted Garage, including some Fatboys for your Settler Pistol. Fatboys inflict much more damage than standard Pistol Rounds, capable of dropping bandits with a single shot. But Johan only gives you 12 Fatboys, so use them wisely. He also gives you the schematics and necessary parts to build one Lock Grinder. Lock Grinders are necessary to access locked doors. You can build one by accessing the engineering screen, piecing together the Electrical Wire Kit, Hardware Packet, and Small Gears. Hop back on the ATV and follow the path marked on the minimap to reach the narrow path leading to the Wasted Garage—this is the same path you took to reach the Radio Tower. A few bandits guard the path to the Wasted Garage, but they’re no match for your Settler Pistol and Combat Shotgun. Fight your way past these guards, then locate and open the door leading into the Wasted Garage.
Wasted Garage
New Objective: Find the Alternator
Fifth Floor
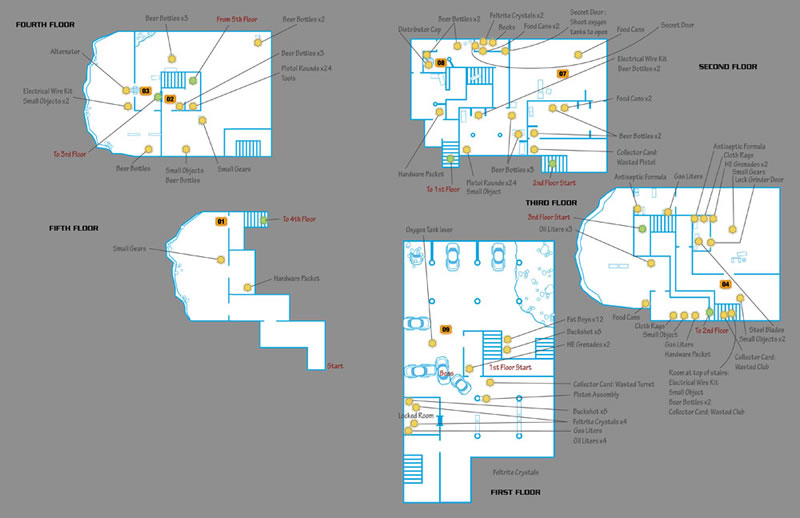
Advance through the first few rooms of the Wasted Garage until you come to a locked metal door. Be sure to grab the Small Gears and Hardware Packet along the way. The lock on the door can be destroyed with a Lock Grinder. If you haven’t already, access the engineering screen within your inventory. Here you can construct a Lock Grinder. Johan gave you all the requisite parts, so it’s just a matter of building it. Once you’ve constructed a Lock Grinder, interact with the locked door to attach it. The Lock Grinder chews through the lock within seconds. Pass through the unlocked door and proceed down the adjoining stairs to the next floor.
Fourth Floor
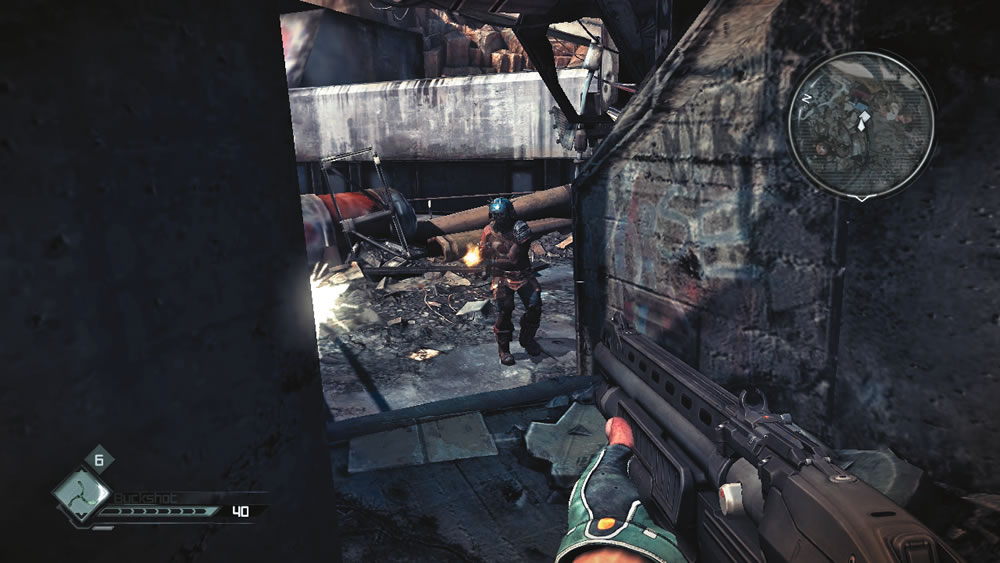
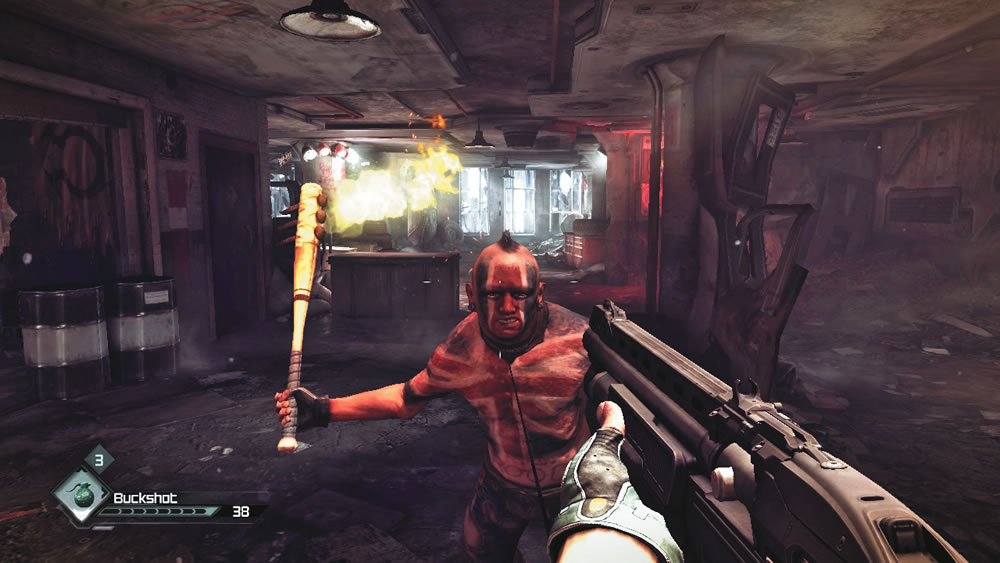
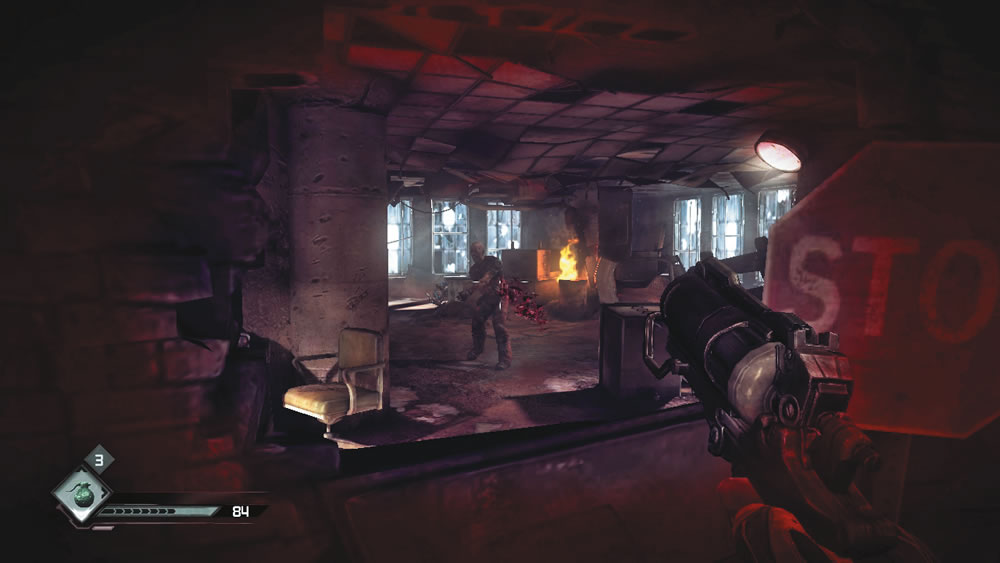
As you descend the stairs you can hear a couple of bandits talking. While eavesdropping, grab the Pistol Rounds and Tools on the nearby nightstand. Use your Settler Pistol to shoot the bandit leaning against the wall. Fire a bullet through the side of his skull. Of course, this sets off a commotion deeper in the workshop as the remaining bandits take cover and return fire. Hold your ground and use the Monocular to score precision headshots on the startled bandits. As the enemies fall, cautiously advance into the workshop using furniture and other debris as cover while engaging the bandits. While advancing through the area, be sure to search your victims for ammo. There’s also several Beer Bottles and other objects scattered throughout the room. Most of the bandits attack with pistols from range, but others may charge at you with flaming, spiked, baseball bats. Use the Combat Shotgun to take these guys out fast.
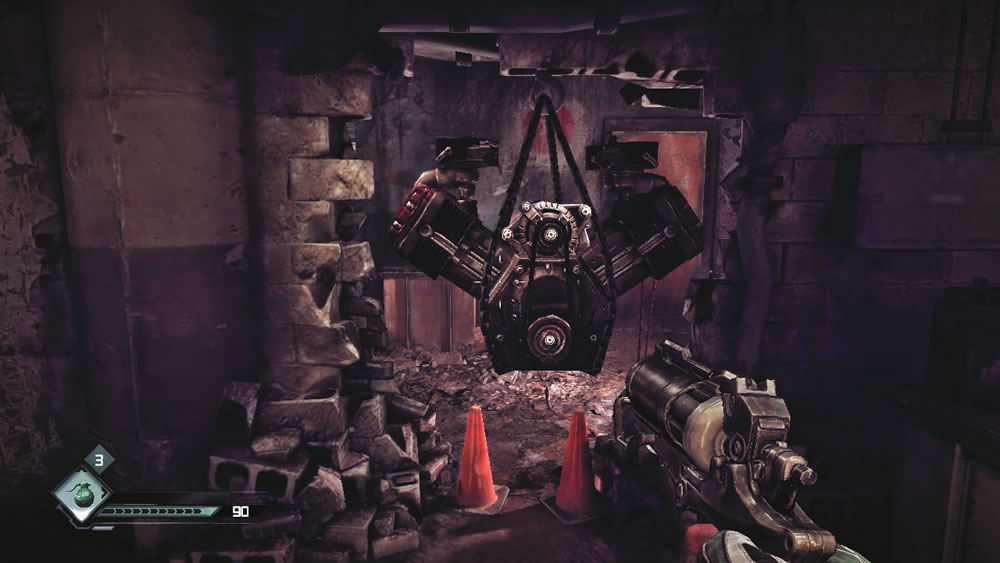
The Alternator you’re looking for is attached to an engine suspended by some chains within a damaged brick wall of the workshop. Simply follow the sound of the running engine to locate it. However, be on the watch for more bandits. There are a couple of bandits guarding the engine. Pick them off through the doorway using the Settler Pistol and Monocular combination. Pass through the doorway and circle around to the front of the engine to remove the Alternator. Only two more parts to go. Return to the previous corridor and search for a stairwell leading down to the next floor.
Third Floor
New Objective: Find the Distributor Cap
The bandits on the next floor are waiting for you. In addition to pistols, some are armed with grenades. If you hear a ticking sound and see a red grenade icon on the screen, run away before the grenade explodes. At this range, the Settler Pistol is the best weapon during this firefight. However, keep your eyes peeled for bandits charging at you with melee weapons. Backpedal until you can equip the Combat Shotgun and finish them off at close range with one shot. Once the room falls silent, scour the area for loot. At the top of the nearby dead-end stairwell, grab the Wasted Club card and some other items. Don’t overlook the locked door here. If you have a Lock Grinder, you can get inside to grab some Antiseptic Formula, Cloth Rags, and a couple of HE Grenades.
Continue through the debris-filled workshop, picking off bandits as you go. Beyond the locked door, a few bandits are holed up in a small room. Either toss an HE Grenade into the room or peek around the doorway and blast them with the Combat Shotgun. In addition to the ammo left behind by the bandits, you can also find a Gas Can and Antiseptic Formula inside this room.
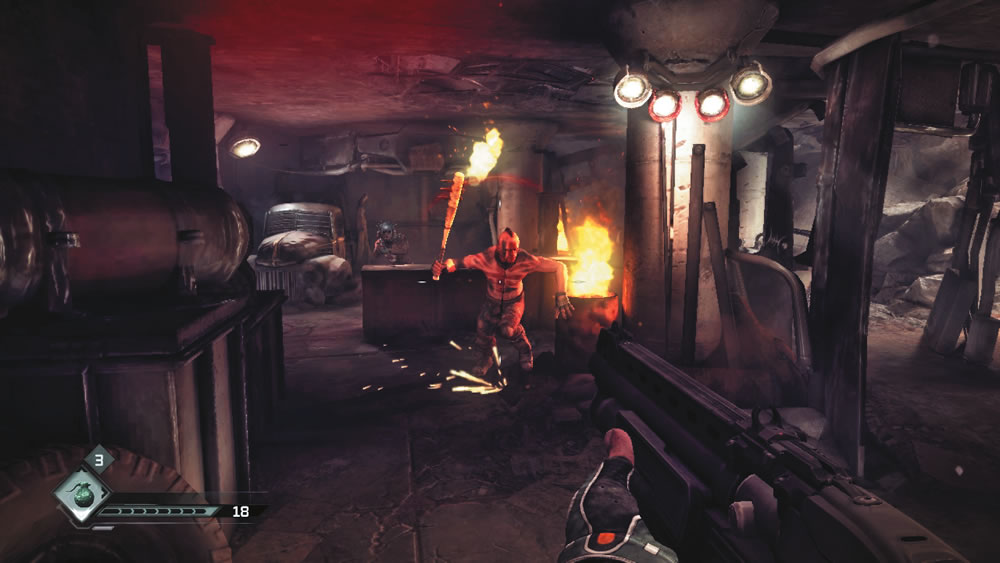
Three more bandits occupy this room, hindering your advance. Take out the bandit with the flaming baseball bat first, blasting him with the Combat Shotgun. Next, retreat to the previous room and equip the Settler Pistol. Peek out of cover to finish off the remaining pistol-toting bandits. When all the hostiles are down, scour the floor for ammo and then continue into the adjoining hall. There you can find some Cloth Rags, a Hardware Packet, as well as some other junk. When you’re finished grabbing items, descend the nearby steps to the next floor.
Second Floor
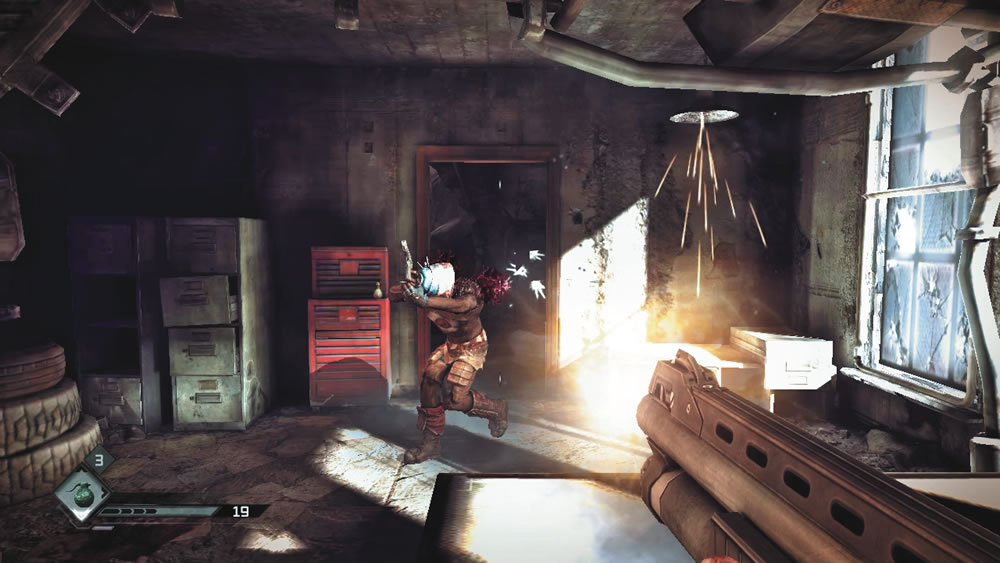
Initially, hold inside the stairwell and engage the next group of bandits from the doorway. Side step in front of the doorway to fire, then duck back inside the stairwell to take cover. One of the bandits is armed with an assault rifle, so be sure to take cover as a stream of bullets heads your way. A well-tossed HE Grenade can really scatter the crowd. Thin out the resistance before pushing deeper into the next room. Be ready to blast rushing bandits with the Combat Shotgun. Once you’ve dealt with any close-quarter threats, switch back to the Settler Pistol to deal with enemies firing at you from long range. As the hostilities dwindle, grab ammo and cash off your victims. You can find Pistol Rounds and an Electrical Wire Kit here too. There’s also plenty of Beer Bottles scattered about. Plus, you’ll find the Wasted Pistol card under the stairwell you entered from. Help yourself.
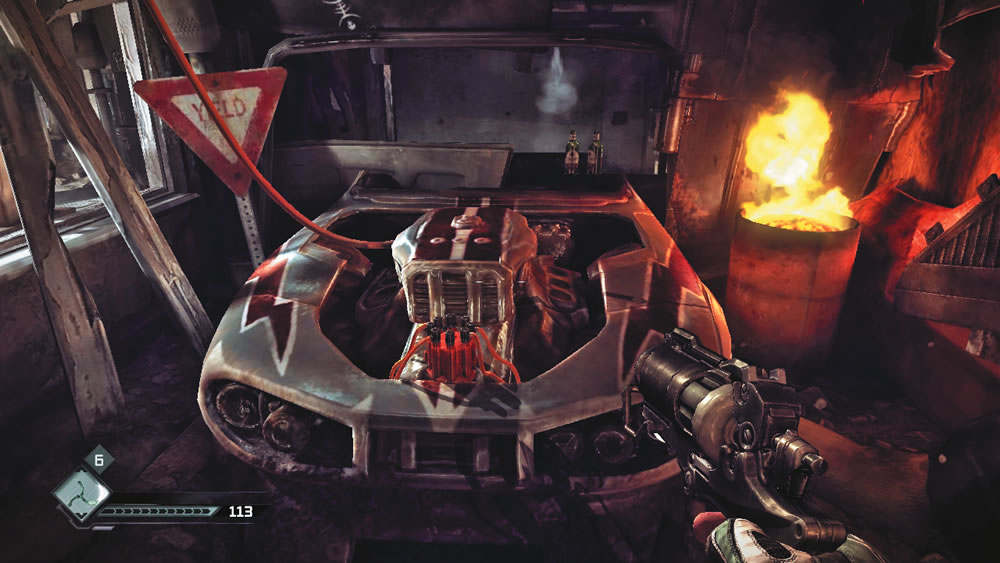
A couple of bandits have barricaded themselves in this narrow hall. One of them tosses grenades in your direction. Backpedal into the previous room to avoid getting blown to bits. When you’re not dodging incoming grenades and assault rifle fire, duck in and out of the doorway and pick off the two bandits with your Settler Pistol. Once the area is clear, shoot the explosive oxygen containers leaning against the blocked door; the explosion allows you to access the area behind it and collect some loot. Next, enter the hall to locate the Distributor Cap attached to a car engine. Rip the Distributor Cap free and then backpedal. A fuel line has dislodged from the engine, spewing fuel. Get away before the nearby flame ignites the fuel, setting off a large explosion. The explosion blows open a door, allowing you to continue deeper into the garage; watch out for the burning bandit rushing through the newly opened passage. Following the explosion, watch for more bandits appearing to the left. Hold near the car and engage them with your Settler Pistol. As the incoming fire dies down, hunt down the remaining bandits with the Combat Shotgun. Search the nearby rooms for ammo and a Hardware Packet before descending the nearby steps to the next floor.
First Floor
New Objective: Find the Piston Assembly
There is a yellow cylindrical gas tank straight ahead as you step through the door at the bottom of the stairs. There is a yellow cylindrical oxygen tank straight ahead as you step through the door at the bottom of the stairs. Don’t shoot it yet. Save it for when you come under attack by bandits later. Just make sure you’re a safe distance away from the explosion.
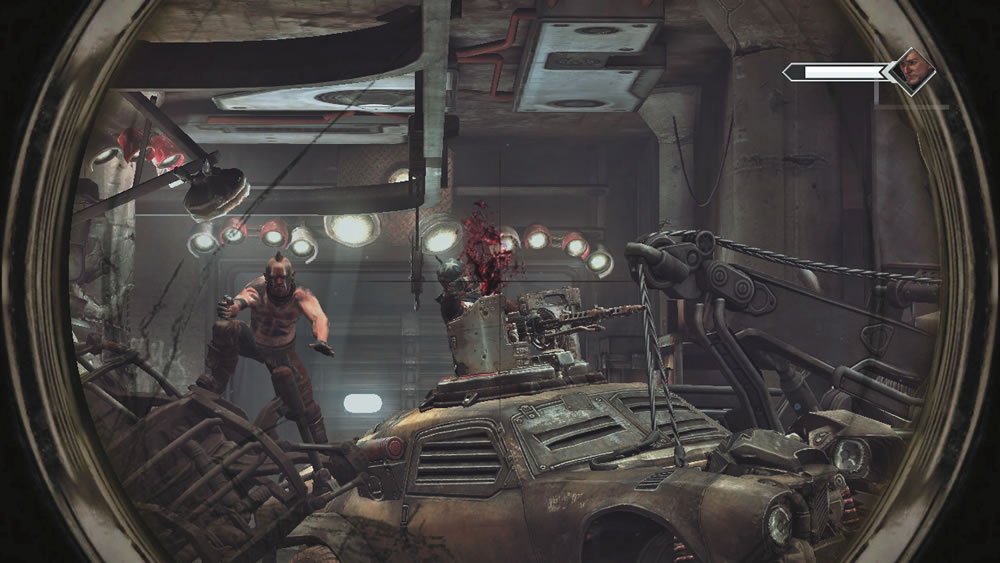
At this point, a car comes racing through the garage, zooming straight at you. The car hits the tail end of a pick-up truck before coming to an abrupt stop. Suddenly, the driver pops out of a hatch in the car’s roof and mans a machine gun turret while barking orders—this must be the Wasted Clan’s leader. Using the Monocular, quickly take aim at the leader’s head before he can open fire. The leader is equipped with a helmet that you can’t shoot off. Aim for his face while it’s exposed above the turret. The leader’s health meter appears in the top right corner of the screen. Each successful hit drops his health significantly—but don’t get greedy. Once the leader ducks behind the turret, quickly sidestep to the left for cover before he can open fire. Also, watch out for more bandits charging you at close range. Periodically the leader stops shooting and barks more orders. Take this opportunity to duck out of cover and score more hits on his face. Continue ducking in and out of cover to strike the leader until he’s dead. There may be more bandits in the garage, so don’t let your guard down.
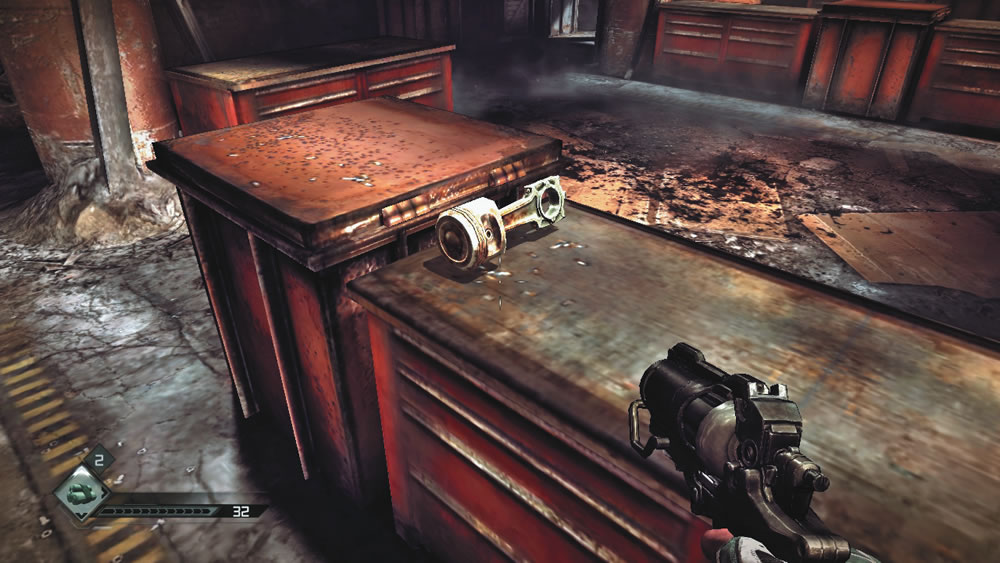
Maneuver past the Wasted Clan leader’s vehicle to reach the back of the garage. Grab the Pistol Assembly off the workbench. Collect the Wasted Turret card from the table against the wall behind you. Near the workbench is another locked door. If you have the required parts, construct another Lock Grinder and breach the door. This closet contains a couple of rare Feltrite Crystals as well as some Buckshot for your Combat Shotgun. You now have all the parts Durar needs to repair the buggy. Locate the exit and return to the Wasteland.
Waste Management
Successfully completing the Wasted Garage earns you the Waste Management achievement/trophy.
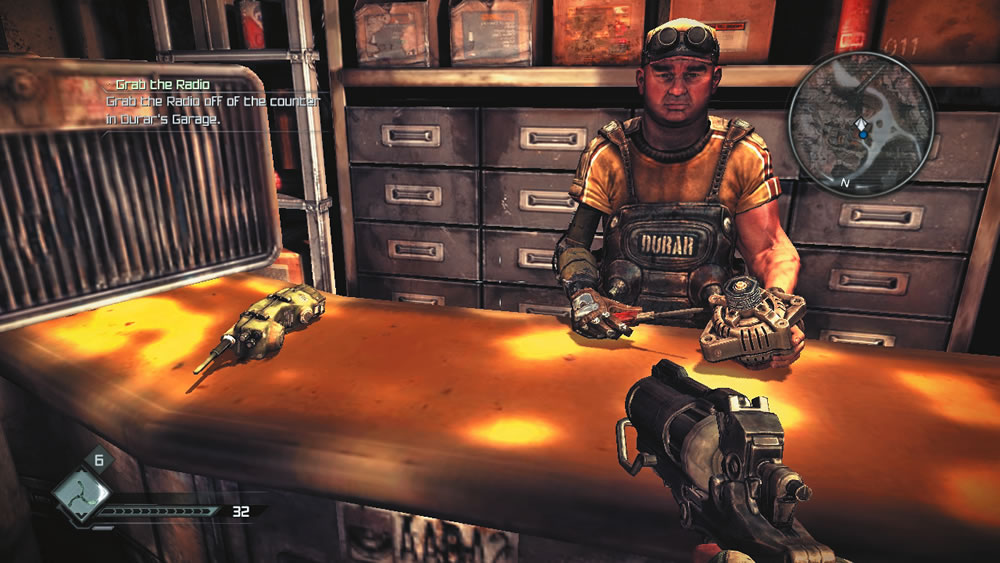
You emerge from the Wasted Garage in a completely different location outside the old dam. Fortunately, there’s a bandit ATV nearby. Use Wingsticks to dispatch the two bandits loitering near the ATV, then claim the ride for yourself. Ride back to the Hagar Settlement. Durar is happy to see you’ve made it back with the parts. Before he fixes the buggy, he has something for you. Grab the Tow Truck Radio on the counter. You can use this to get a tow back to Durar’s garage anytime you smash your vehicle up in the Wasteland. The Dune Buster Buggy is now yours. Take it for a spin or check in with Dan to see if he has any other jobs for you.