
LEGO CITY Undercover Guide Walkthrough
Chapter 8: The Rescue
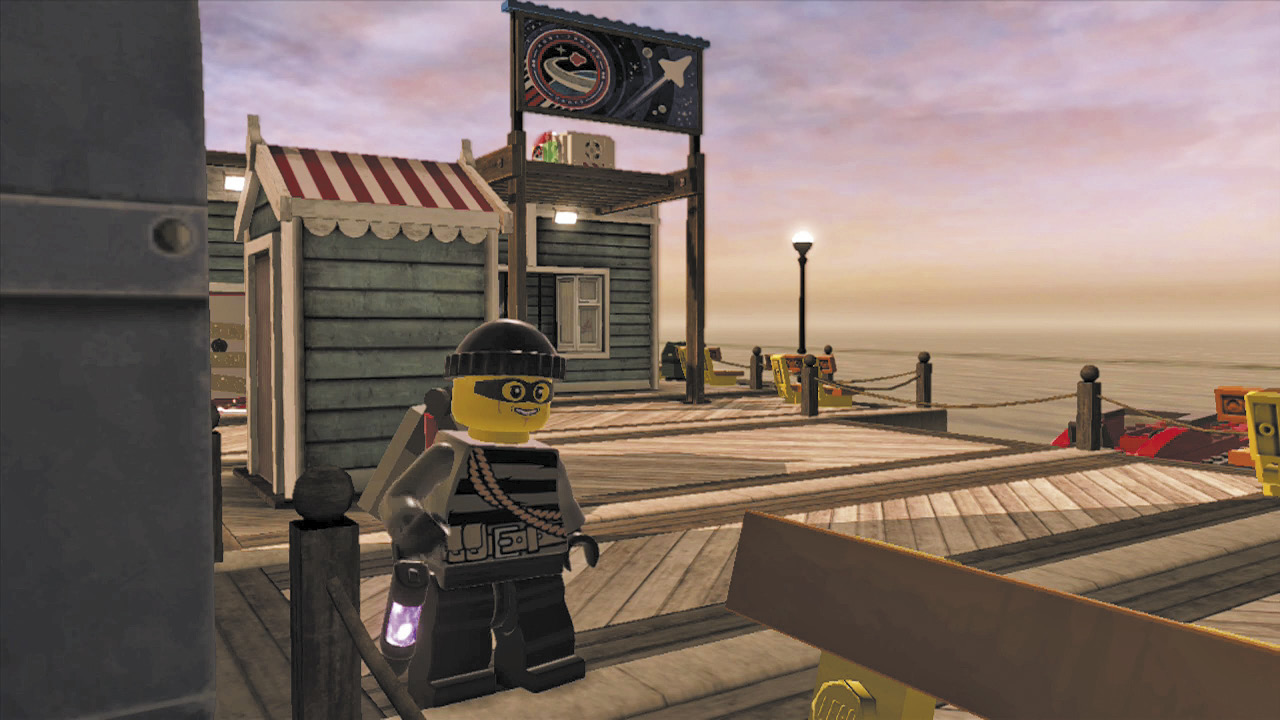
Chase has succeeded in stealing the moon buggy from Apollo Island’s space center for Chan—though he’s still unsure why the small-time crook would want such a high-end piece of equipment. Before he finds any answers, Chase receives an emergency call from Chief Dunby: The famous millionaire ForRest Blackwell has been kidnapped!
City Exploration
Objective: Save Blackwell
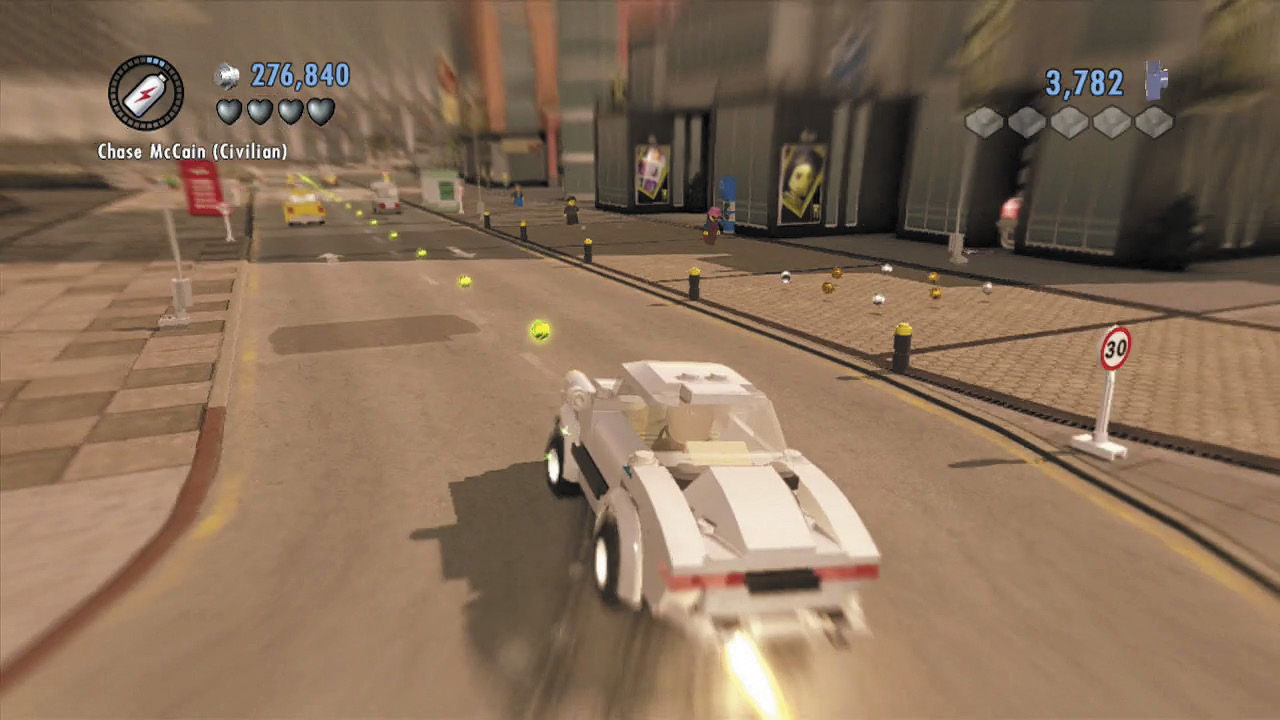
There’s no time to lose! Hop in a car and race through the streets, following the green studs toward your objective.
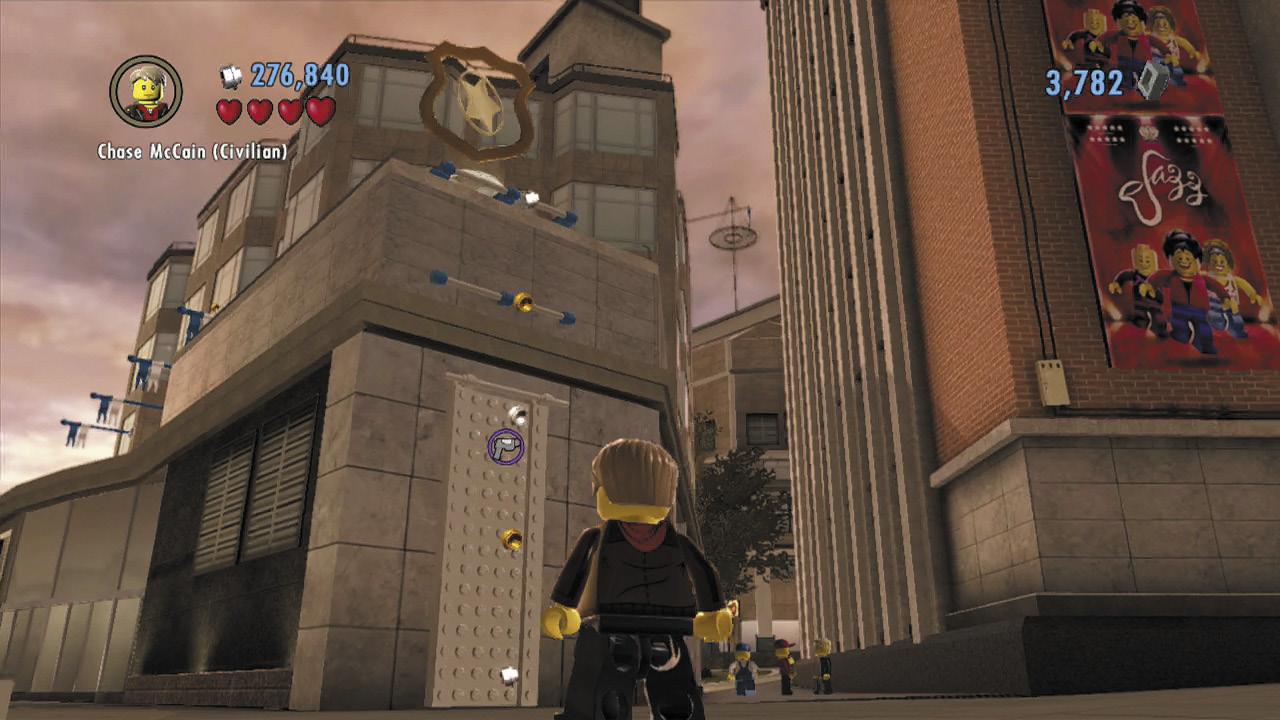
You need to climb a building to reach your objective, but the climbable LEGO wall lacks its traditional blue coloring. There must be a way to activate it!
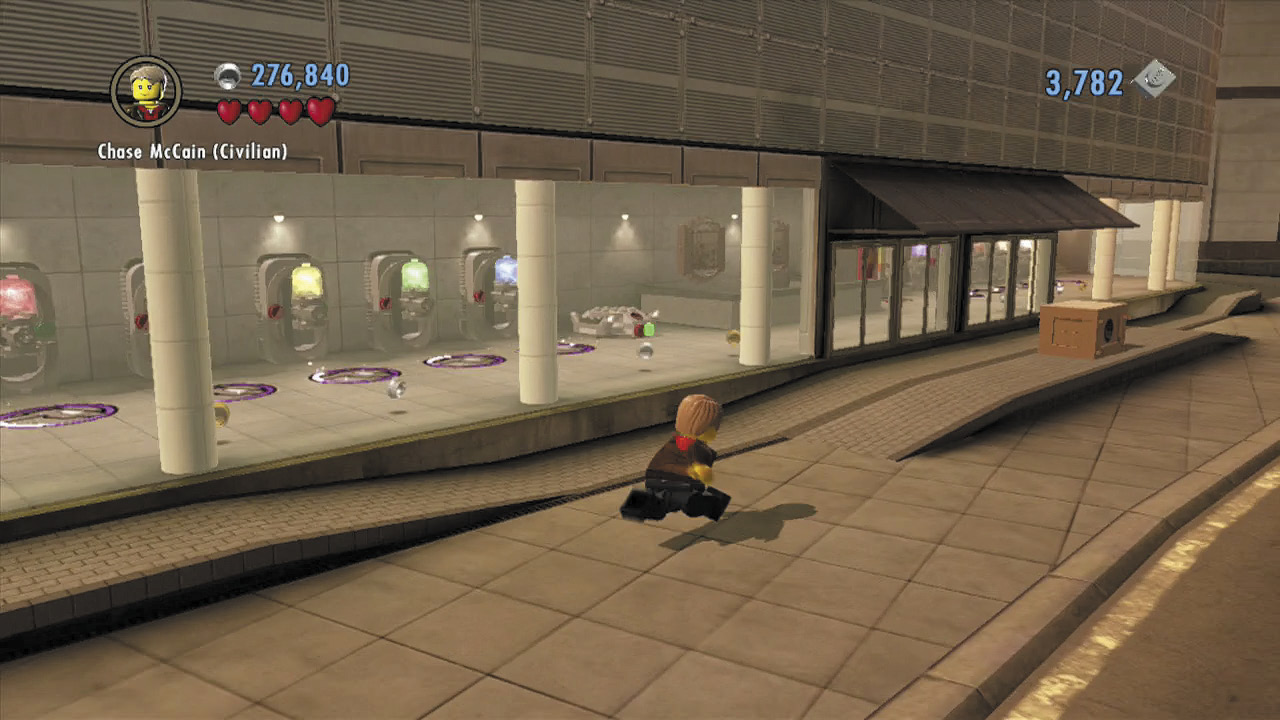
Cross the street and look through the windows of the nearby building—several color swappers are inside. Smash the crate outside the building to find some bricks, then build these into a transporter pad.
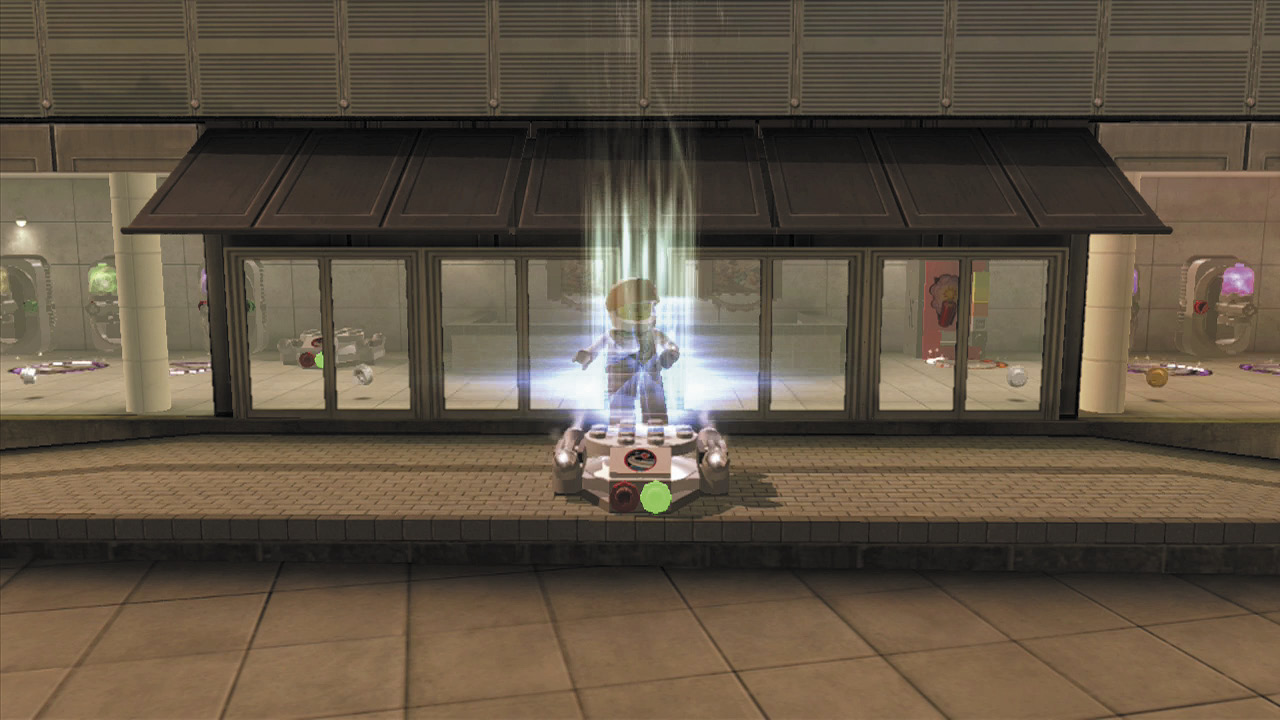
Use the transporter pad to beam into the building. Fill your color gun with blue energy and return to the climbable LEGO wall.
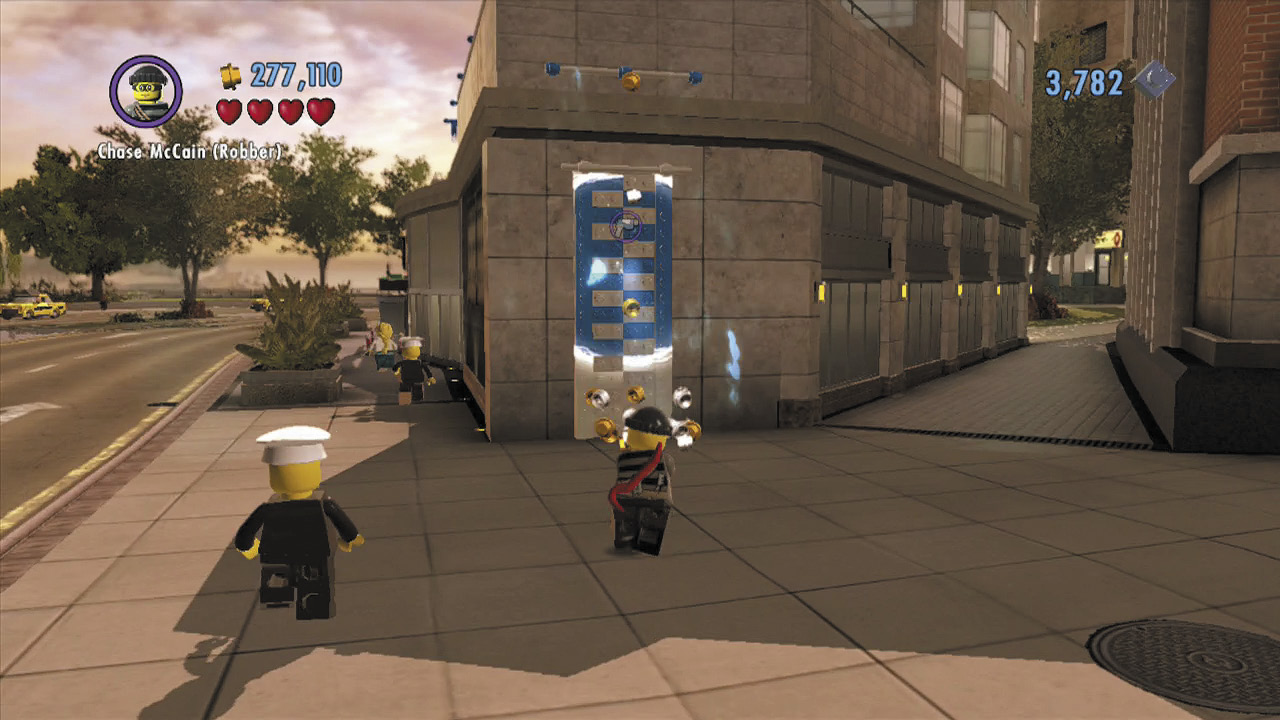
Blast the LEGO wall with blue energy. That’s better! Now climb up to the objective beacon on the roof.
Rooftop Run
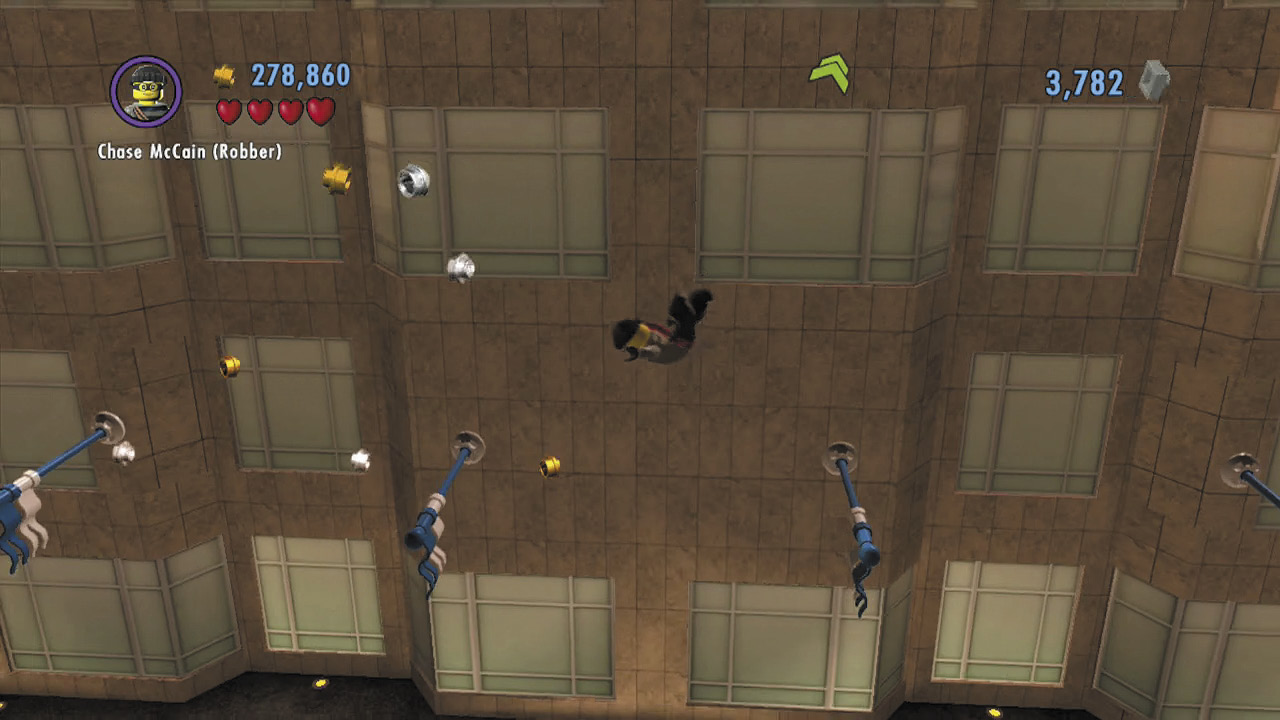
Time for a run across the rooftops of LEGO City. Swing across the flagpoles to the left, then tiptoe across the tightrope that follows to reach the next building.
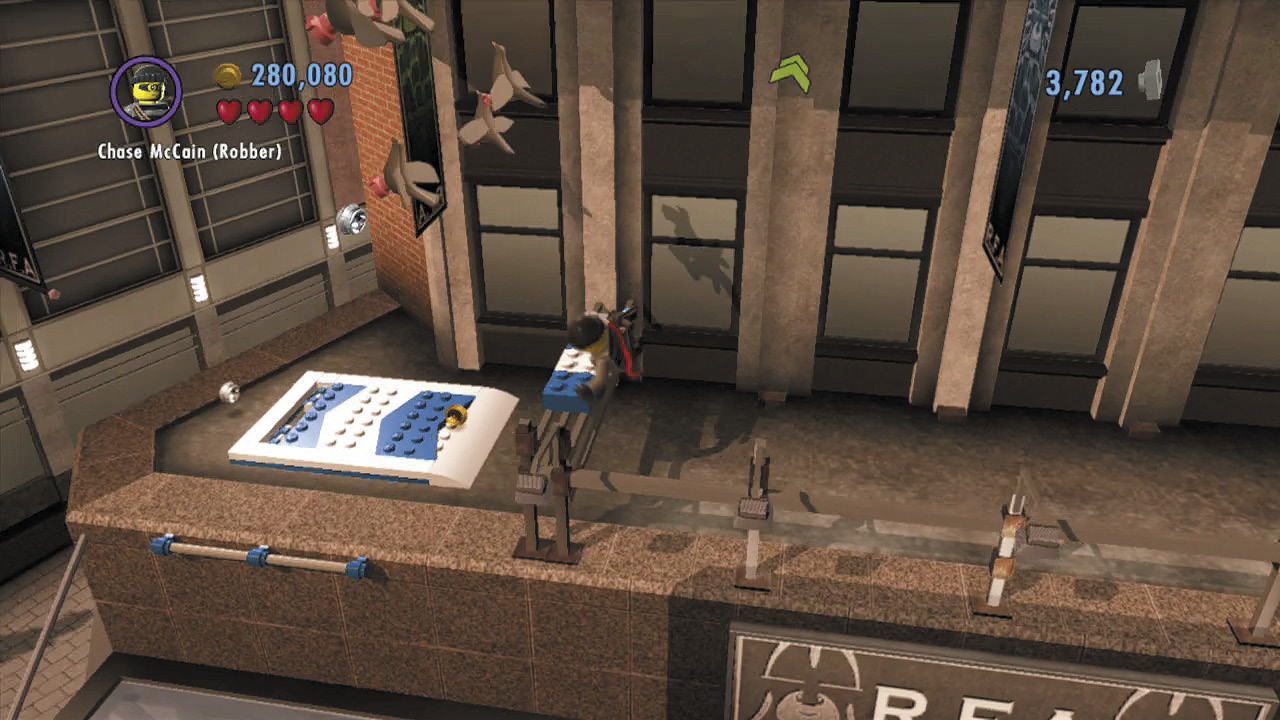
Vault two vents on your way to a catapult pad. Use the pad to soar over to the next building.
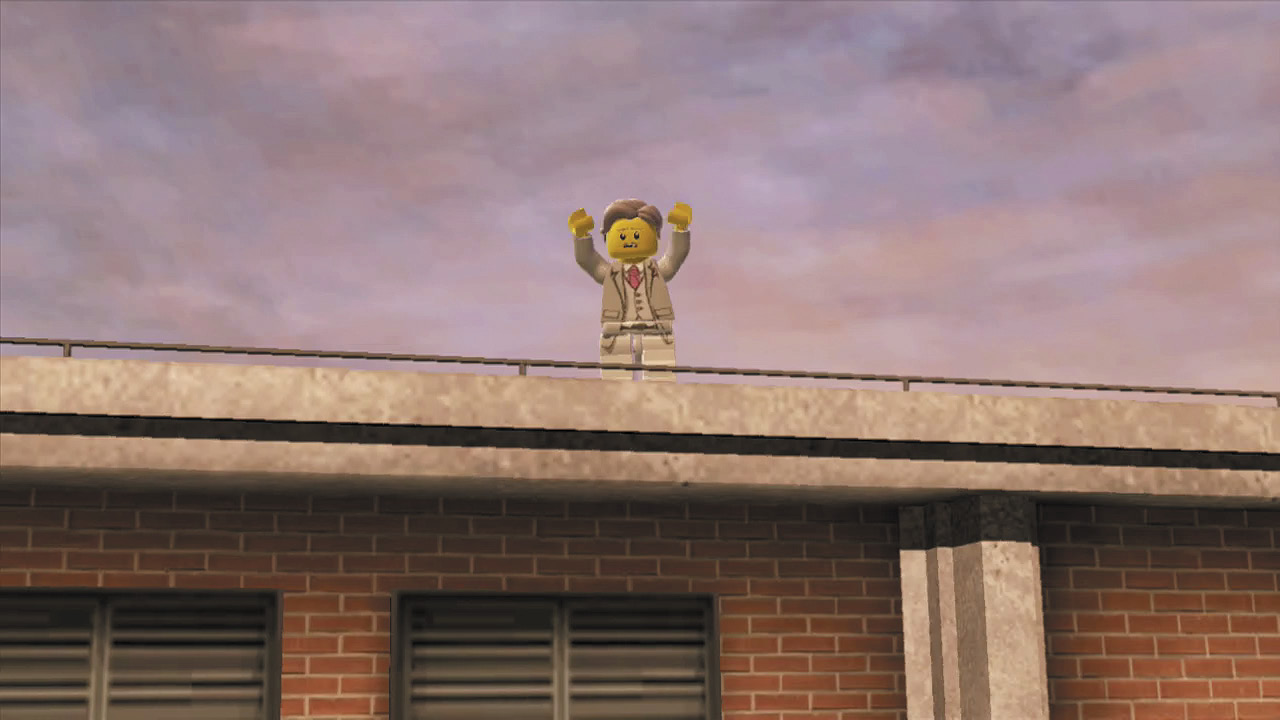
After landing, Chase hears the cries of Forrest Blackwell. His abductors have brought him up to a high building. Perhaps they’re waiting for a helicopter?
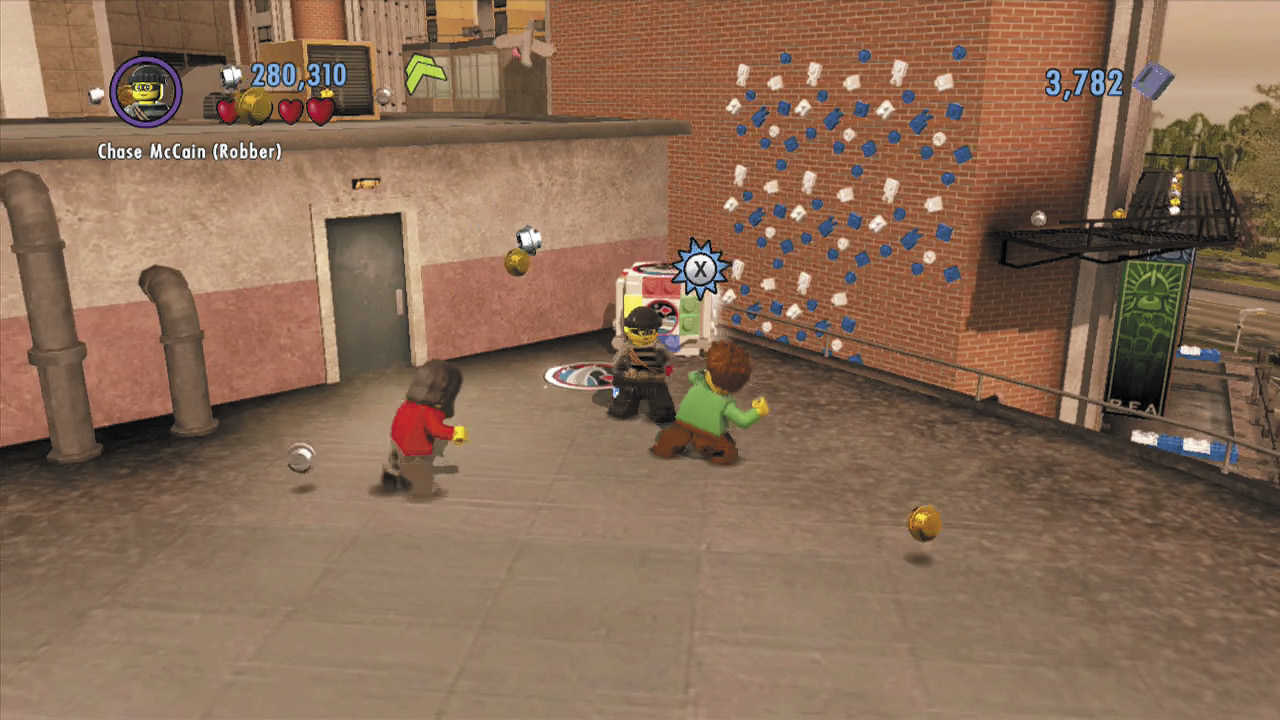
Defeat the goons who soon ambush you, and activate the nearby space crate to beam in some bricks.
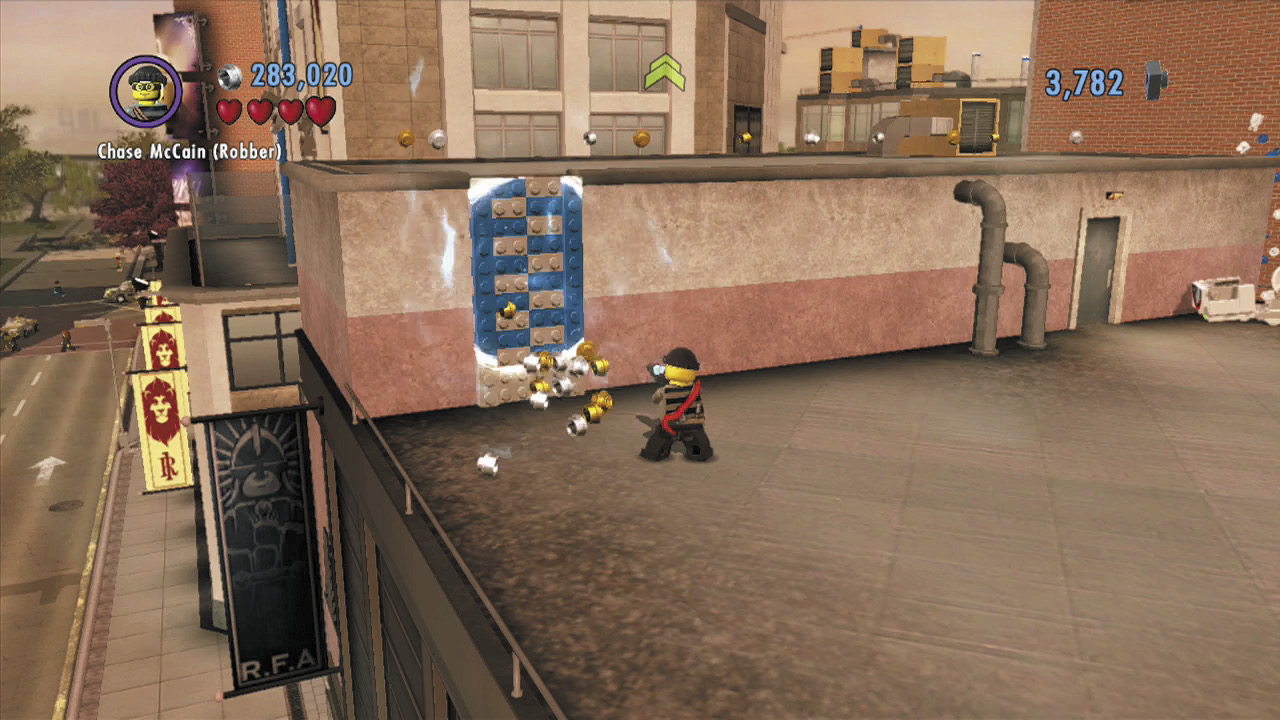
Build a LEGO wall out of the bricks, then blast the wall with blue coloring so you may climb up to the roof above.
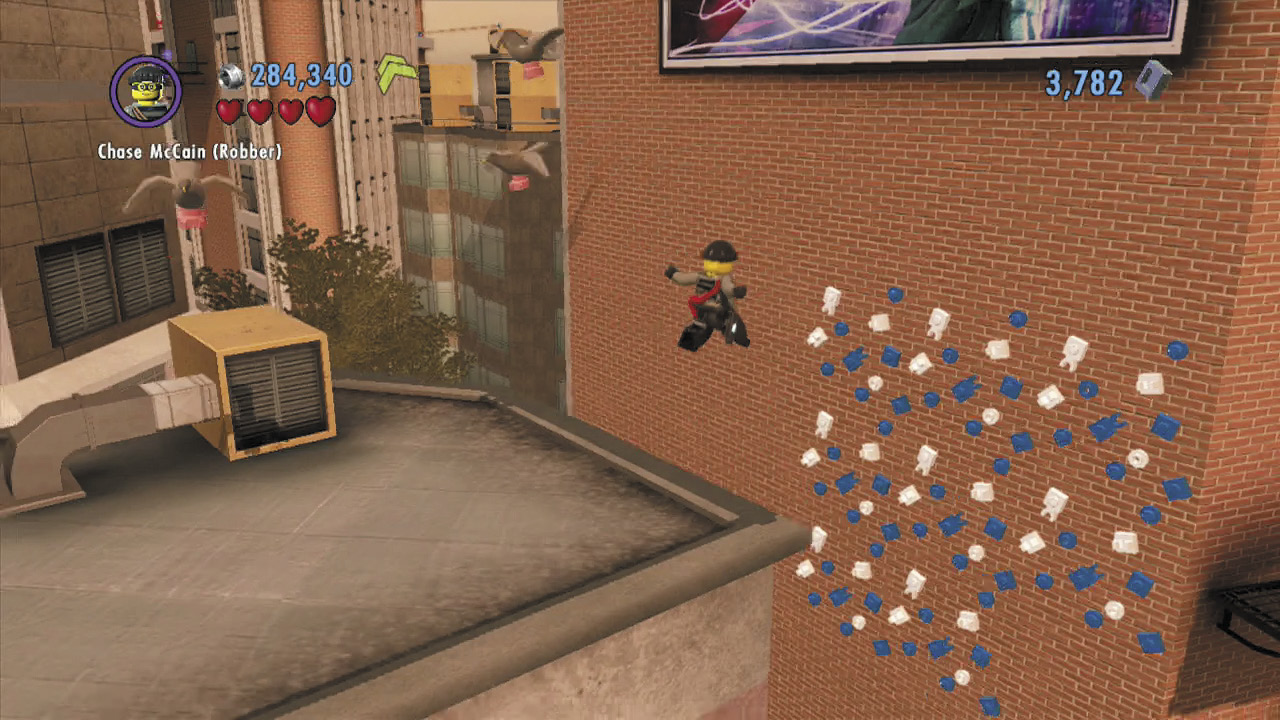
Run to the right, and make a daring leap over to the blue and white LEGO patch on the wall of the previous building. Climb over to the metal walkway on the right.
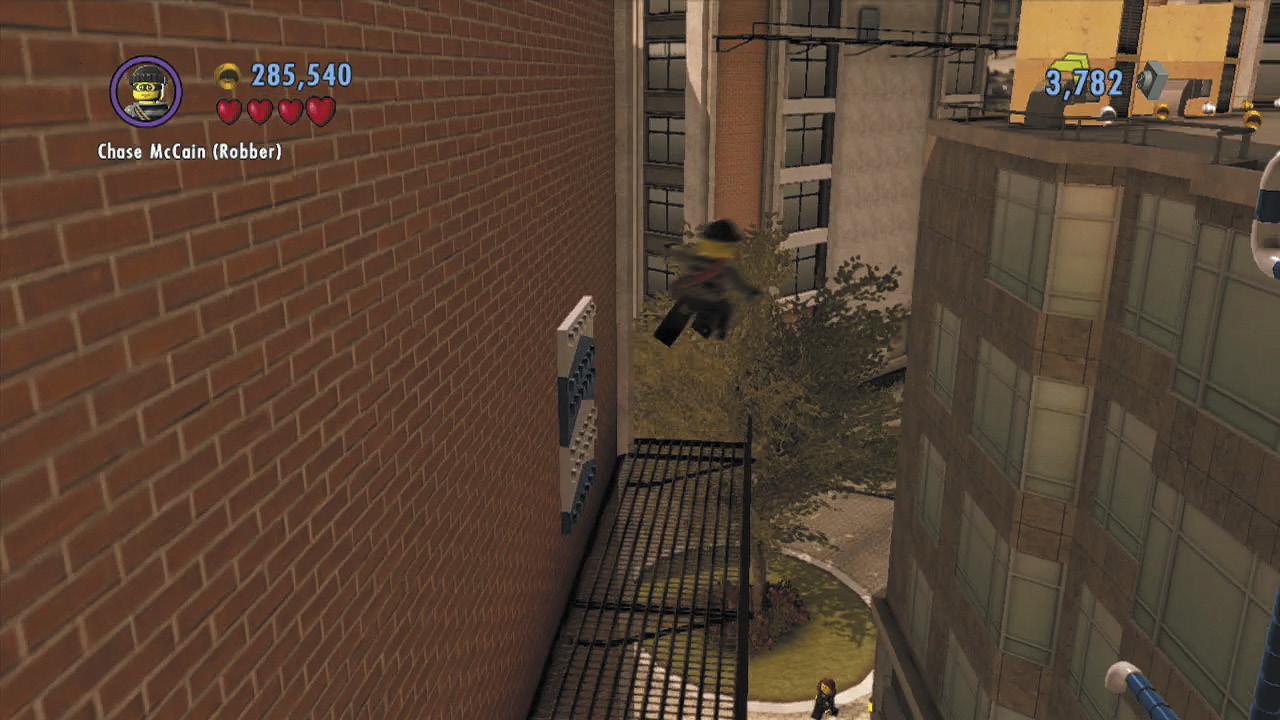
Beat up another goon as you circle around the walkway. When you reach a blue and white LEGO pad, jump up and grab it, then jump backward and grab the blue and white drainpipe on the neighboring building.
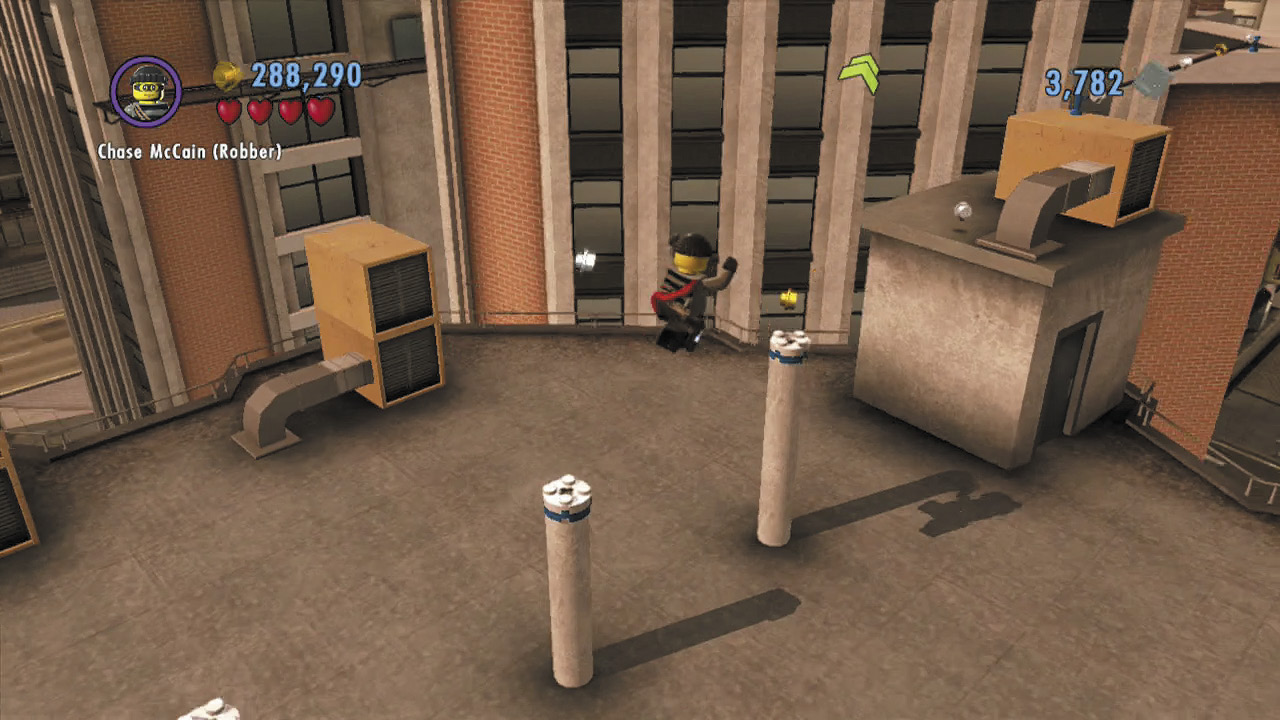
Climb the pipe to reach the building’s roof. Jump along the four thin poles up here to reach a tightrope that leads to another building.
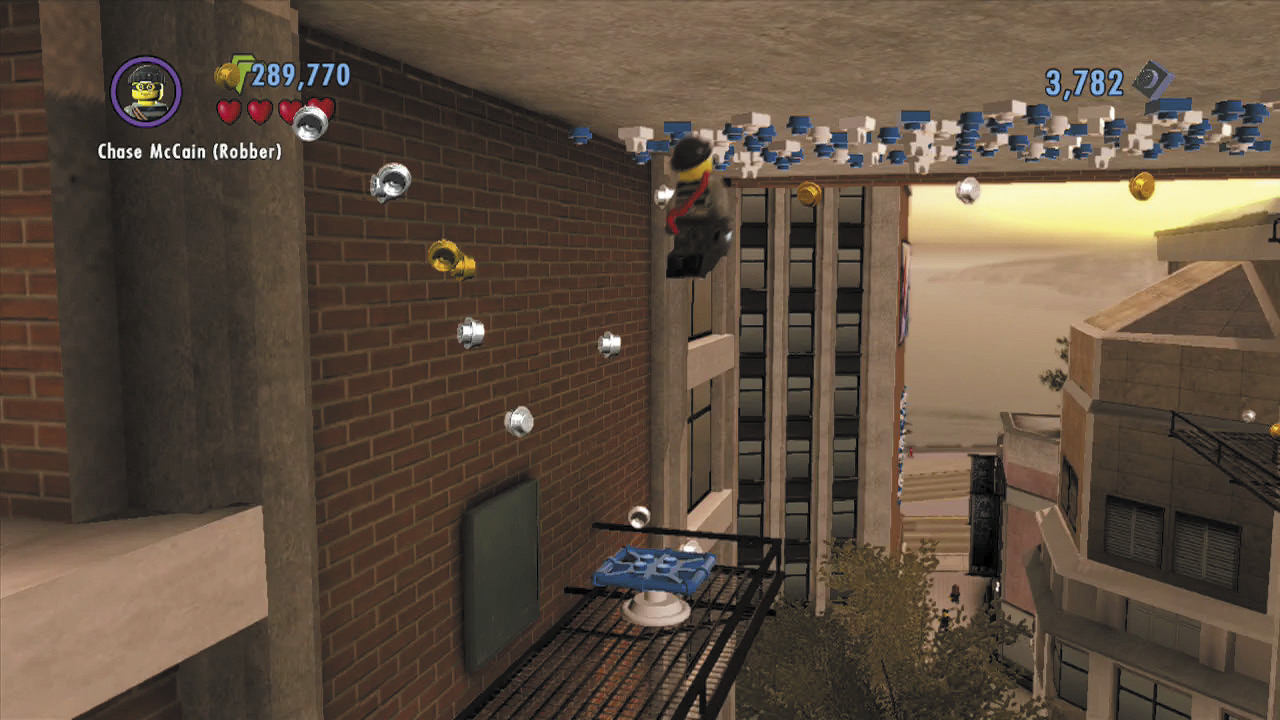
Run to the right and drop to a lower walkway. You discover bouncing bricks on the walkway; build them into a trampoline, then bounce up and grab the overhead LEGO patch.
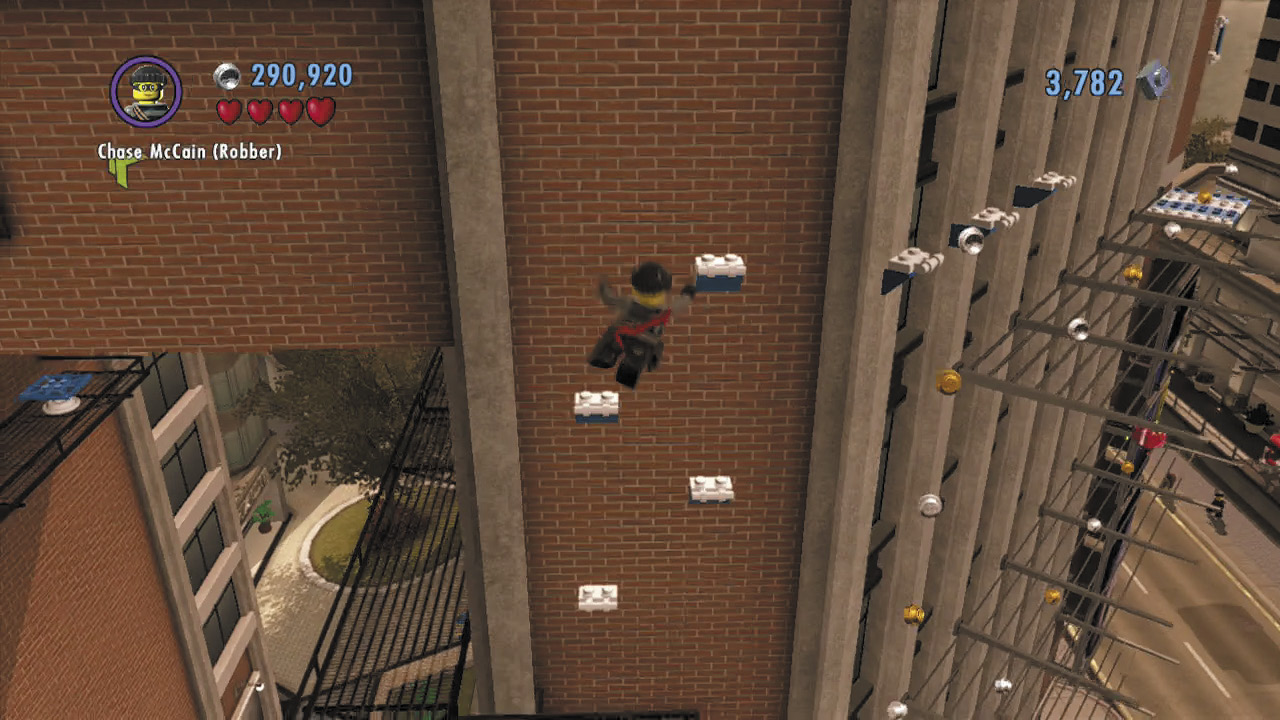
Shimmy to the right along the LEGO patch, and drop to the neighboring building’s walkway. Run toward the foreground to find some handholds, and jump up and to the right to reach a higher walkway.
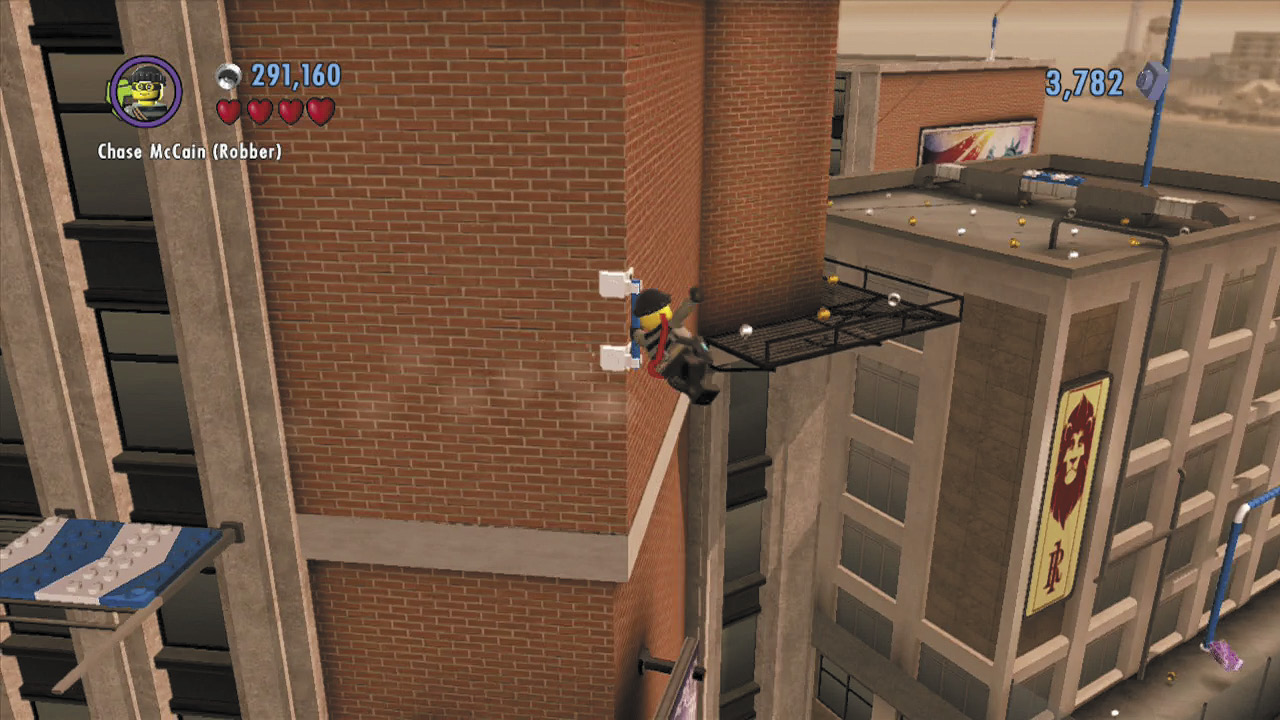
Use a wall runway to run around the corner of the building and reach another walkway. Skills!
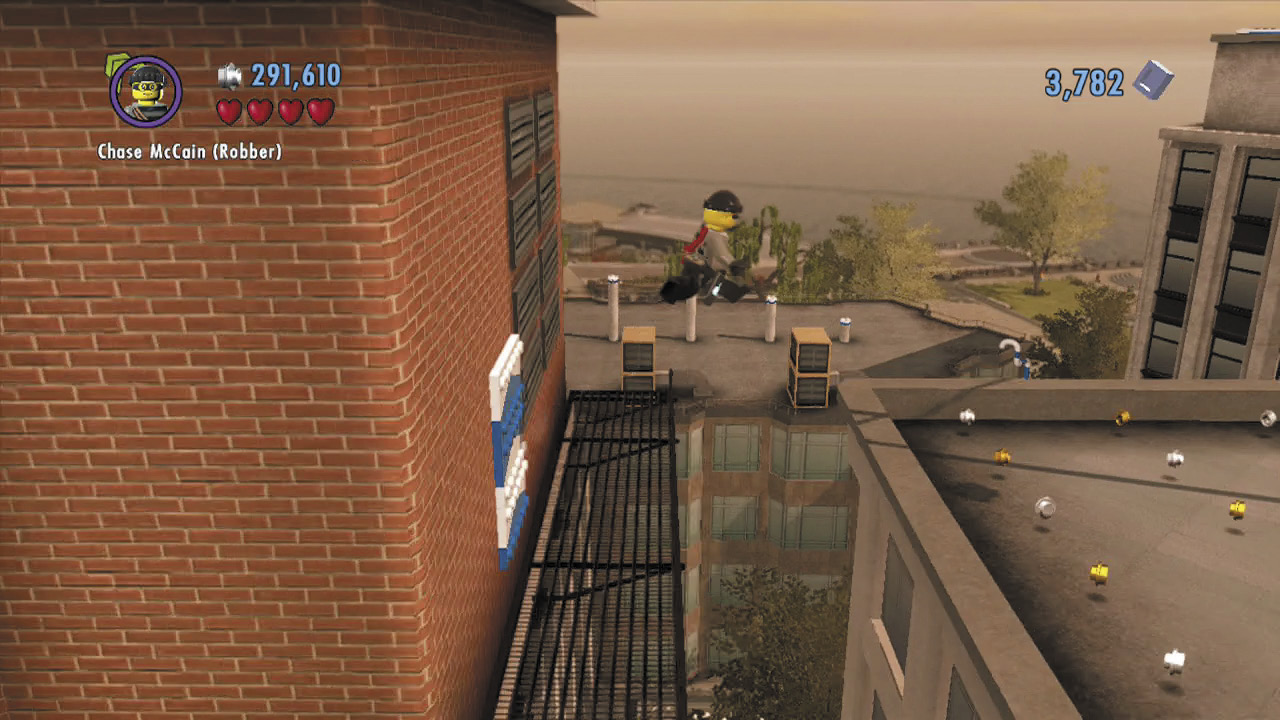
Circle around the walkway to find a blue and white LEGO pad on the wall. You know what to do! Jump up and grab the pad, then perform a backward jump to reach the roof of the nearby building.
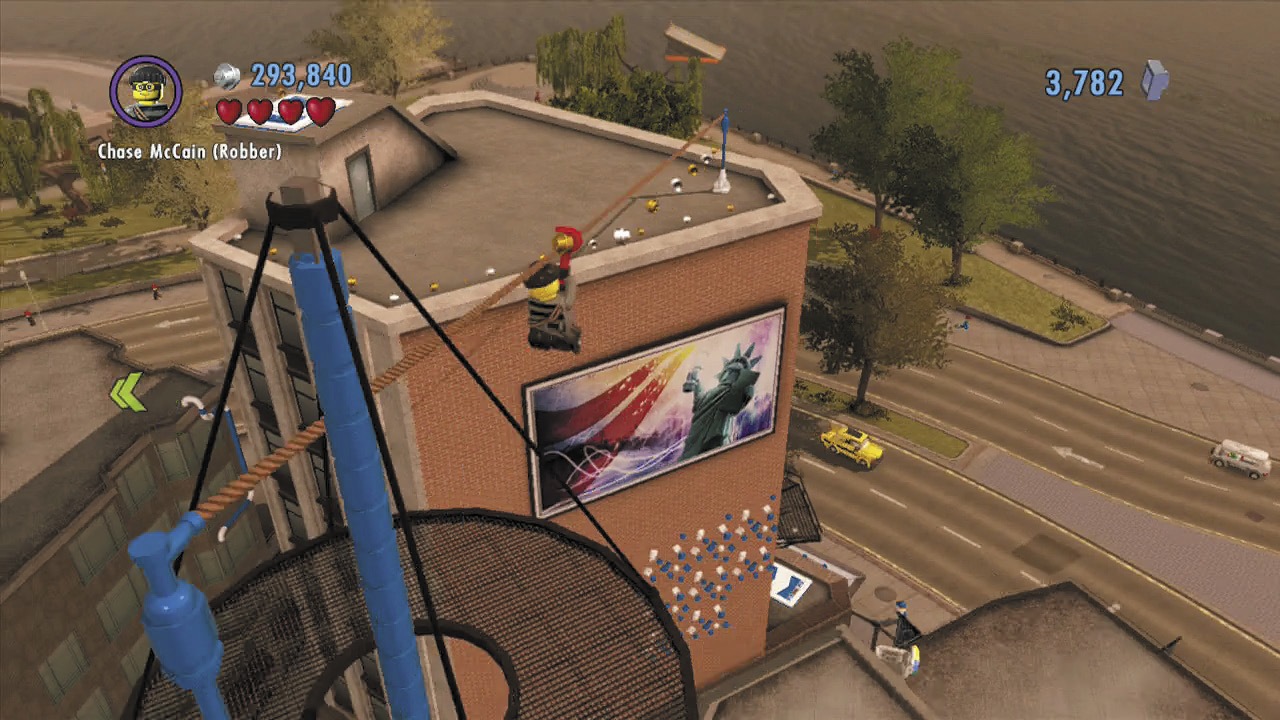
Vault a vent on your way to a tall blue pole. (Ignore the drain pipe in the foreground.) Climb up the pole to reach a tightrope, then slide down to another rooftop.
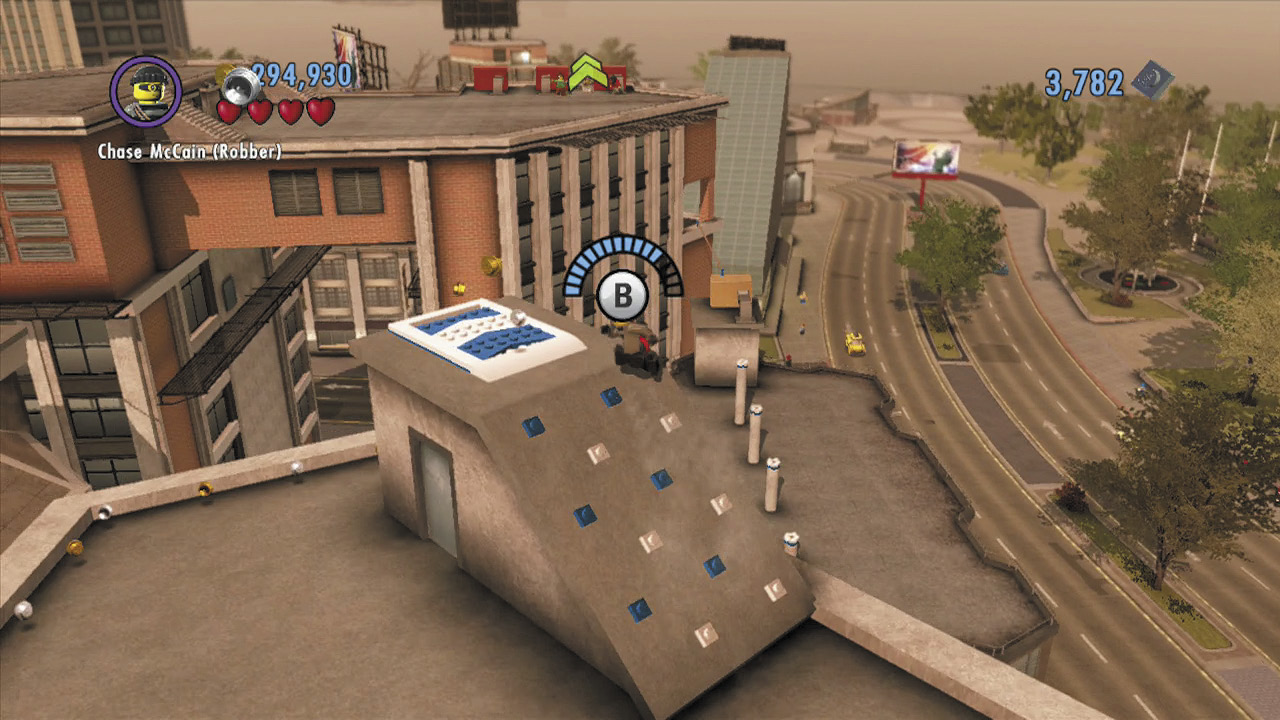
Rapidly press  to scale the sloped portion of the roof and reach a catapult pad. Use the pad to launch over to another roof, where you finally catch up to Forrest Blackwell’s abductors.
Saving Mr. Blackwell
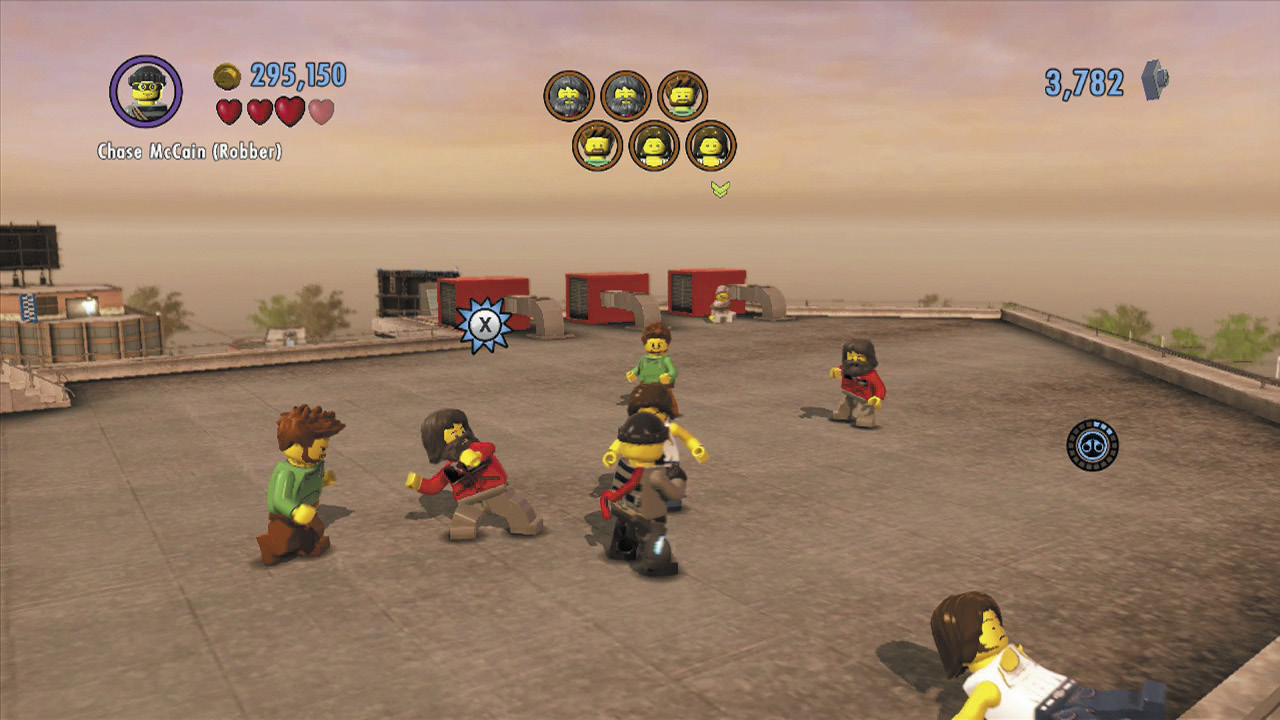
Using counters and overpowering the stronger enemies, beat up the thugs who have captured Mr. Blackwell. Arrest all of the goons to save the day!
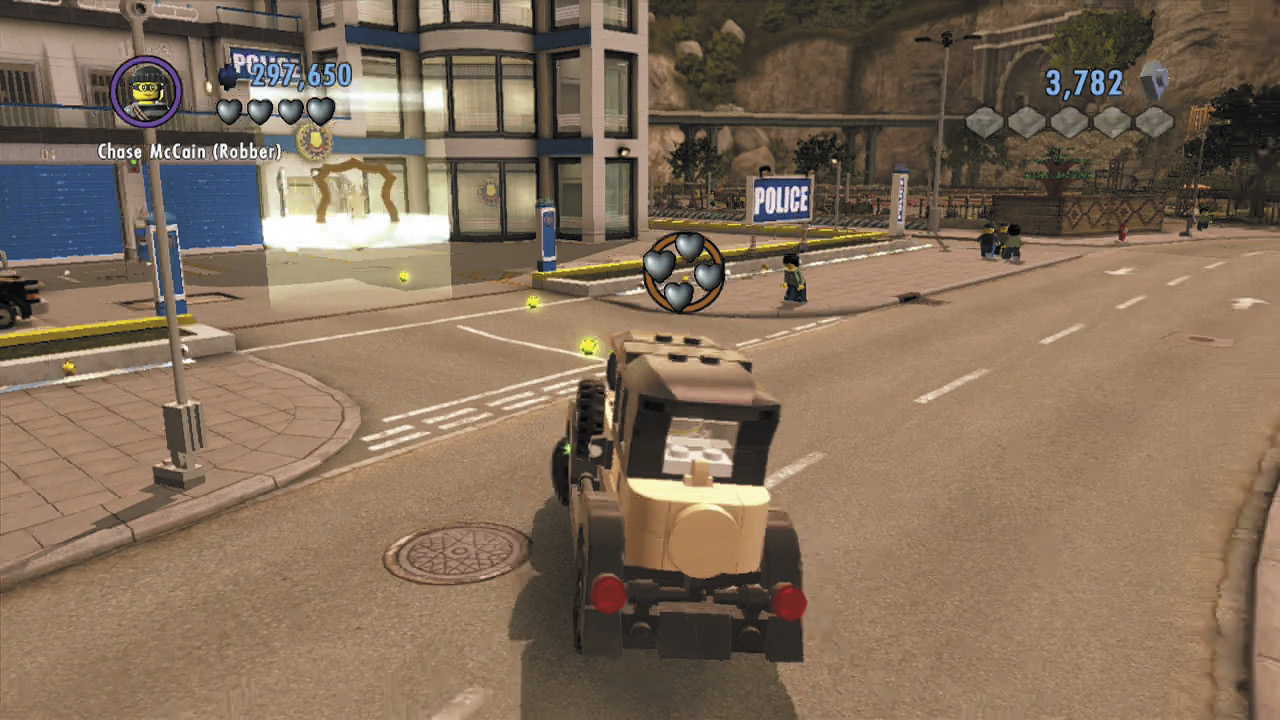
Mr. Blackwell asks you to drive him to the police station, where he’ll feel more safe. The ride is uneventful, so just enjoy the trip!
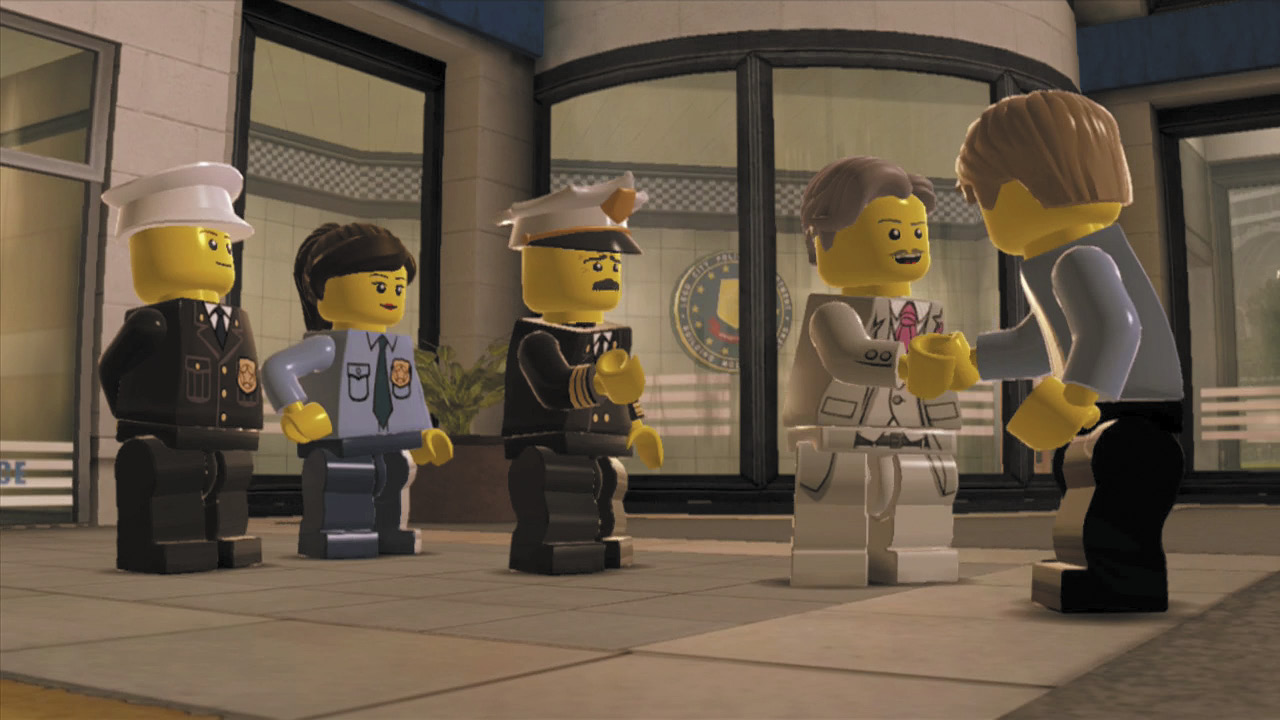
Thrilled to be safe and sound, Mr. Blackwell thanks Chase for all his help. Even Chief Dunby seems relieved that you’ve rescued LEGO City’s richest citizen. Well done!
Objective: Rescue Natalia from Chan’s Scrapyard
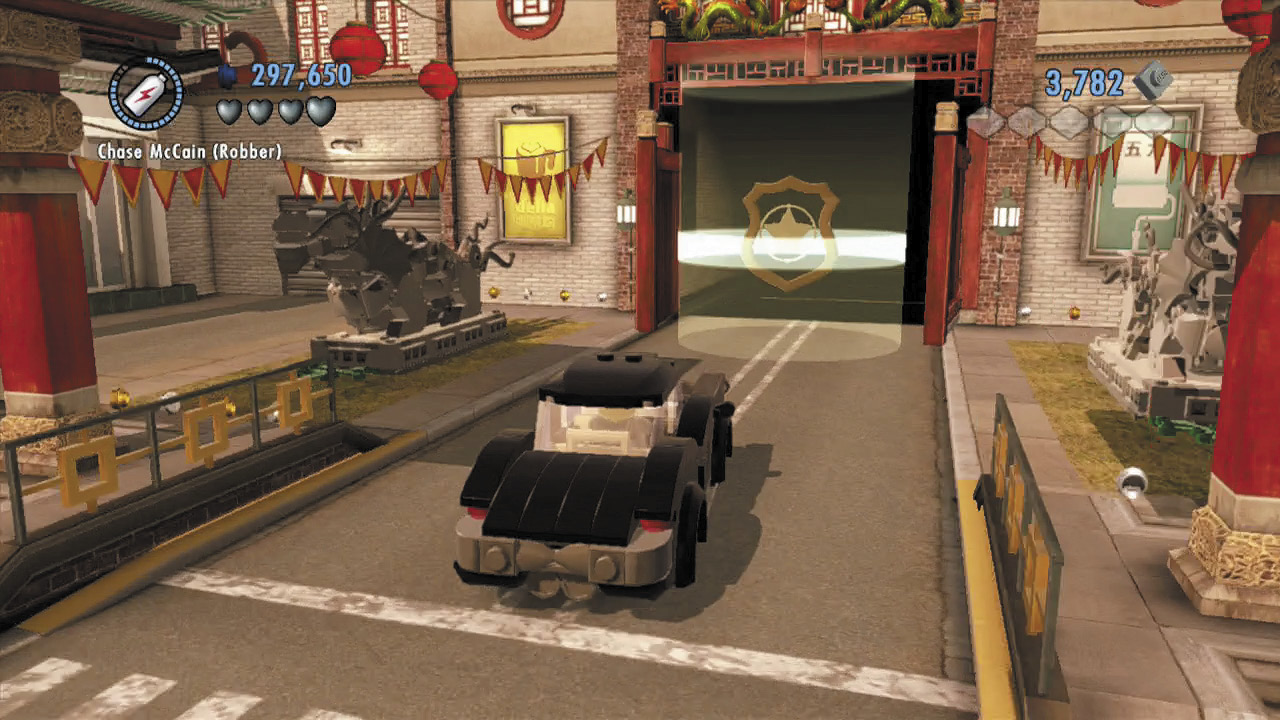
Moments after Chase rescues Forrest Blackwell, he receives a call from Natalia. It seems she’s been poking around Chan’s scrapyard in search of clues about her missing father and now finds herself in dire straits! You’d better find a vehicle and hurry over to the scrapyard, pronto.
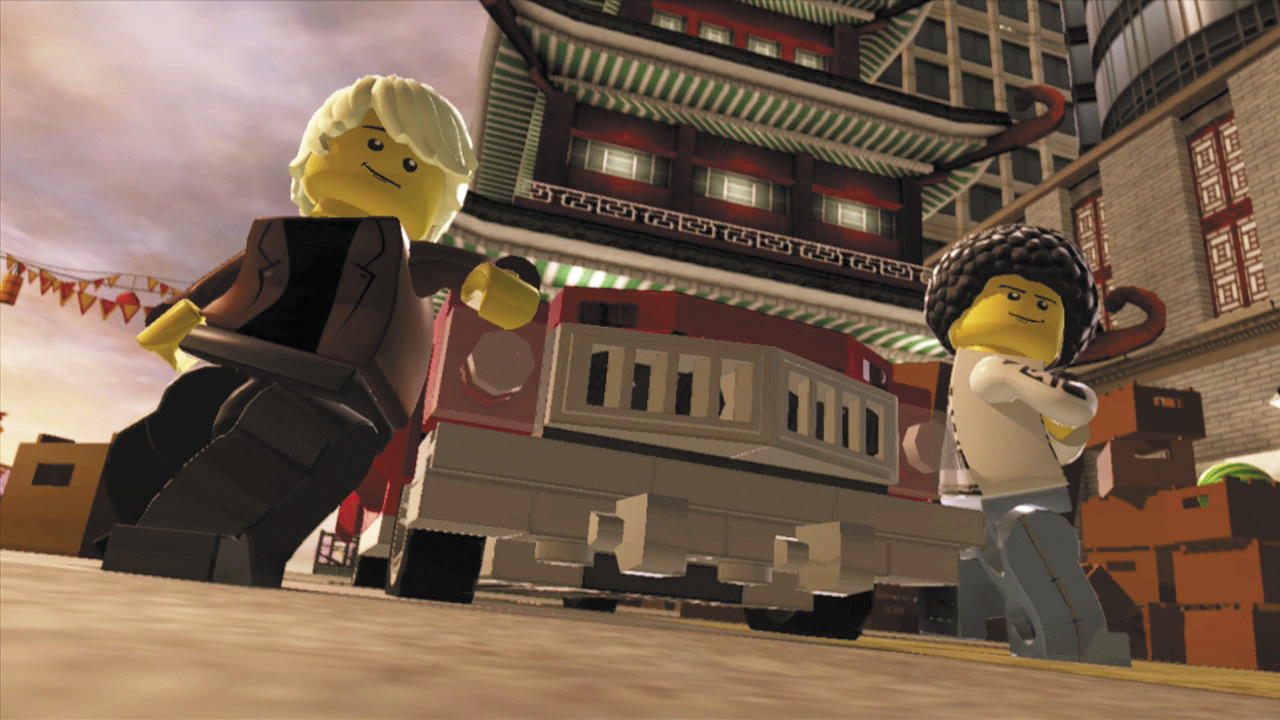
Chase’s backup arrives just as he reaches the scrapyard. That’s right: Officers Studski and Clutch will be accompanying you through the risky mission at hand!
Special Assignment 7: Scrapyard Scrap
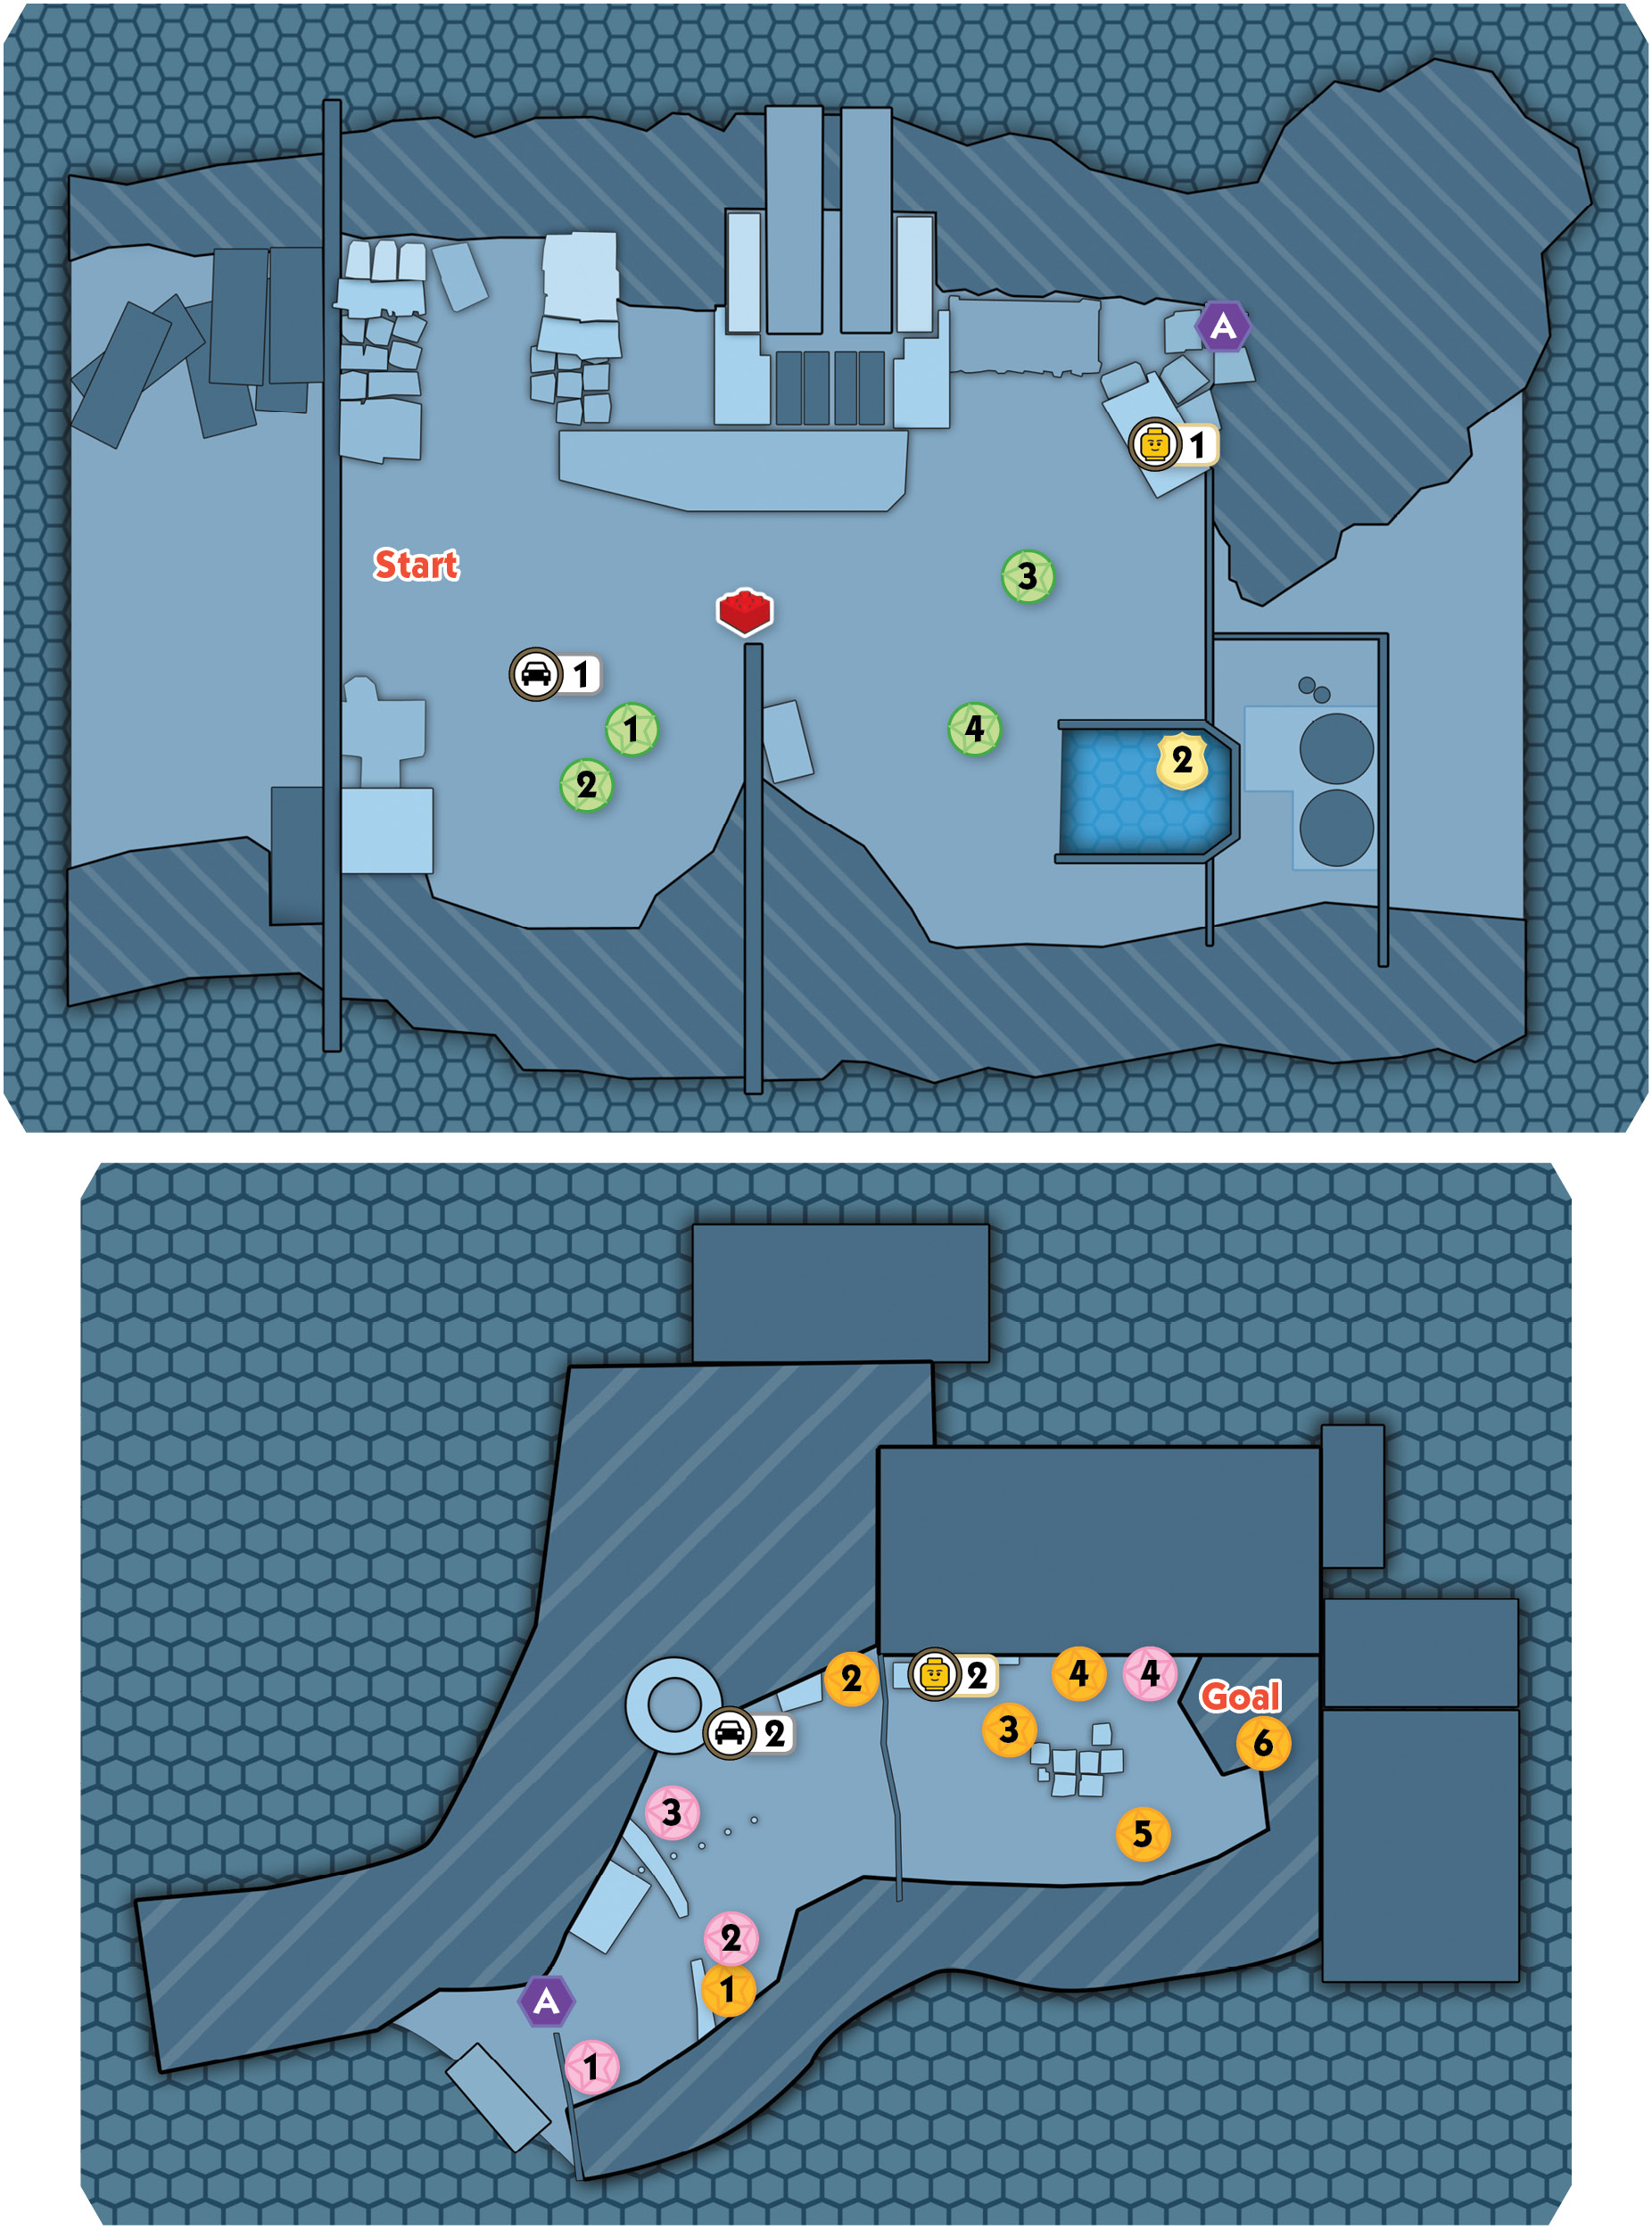
Stage Collectibles: “Scrapyard Scrap”
| Map Icon(s) | Type | Mode | Notes |
|---|---|---|---|
 |
Police Shield Piece 1 | Story | Smash four cars around the scrapyard’s first half. |
 |
“Schmoozer” vehicle token | Free Play | Drill the shaky ground near the start, then ride up the water geyser. |
 |
“Chase Suit” character token | Story | Crack the safe inside the trailer after luring the dog away. |
 |
Police Shield Piece 2 | Story | Crack the safe after draining the hazardous pool. |
 |
Red Brick—Super Safe Crack | Free Play | Use Rex Fury to rip apart the super-strength crate, then launch off the catapult pad. |
 |
Police Shield Piece 3 | Story | Smash four objects and build four pieces of machinery around the scrapyard’s second half. |
 |
Police Shield Piece 4 | Free Play | Douse six barrel fires around the scrapyard’s second half. |
 |
“Jalopy” vehicle token | Free Play | Drill the shaky ground on the scrapyard’s right side, place the gear onto the catapult, pull the lever, then beam over and collect the token. |
 |
“Studski” character token | Free Play | Chop through the boarded door on the scrapyard’s right side. |
LEGO City HeroStud Requirement:  112,000
Objective: Search the Scrapyard
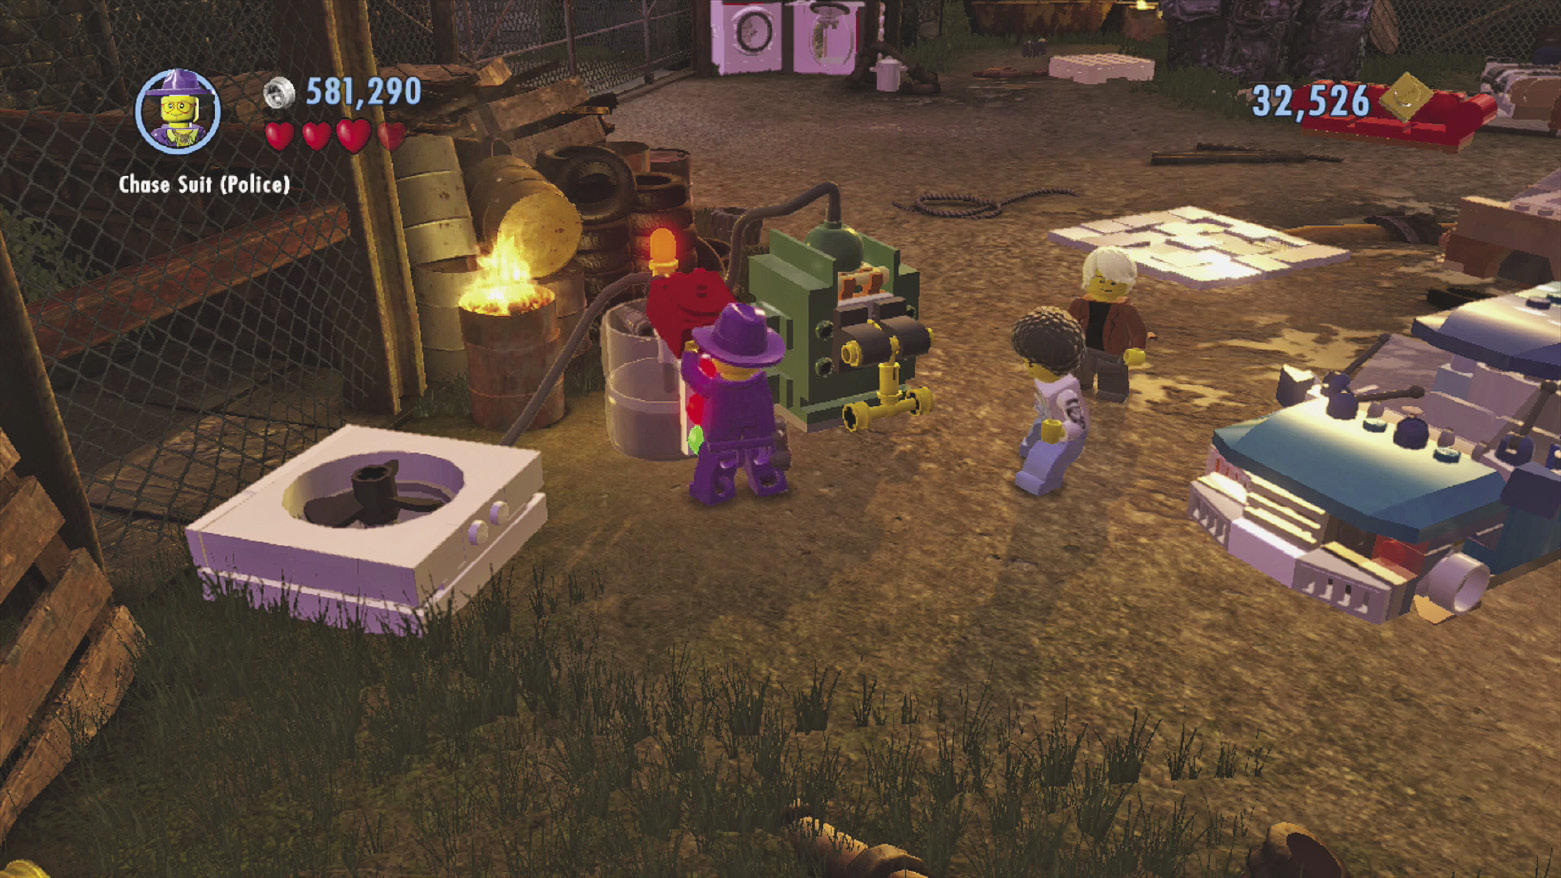
You’ve got to hurry—Natalia’s in trouble! Beat up the gang members in the first area, then run to the foreground to find a generator. Use the nearby gas can to partially fill the generator’s tank with fuel.
Police Shield Piece 1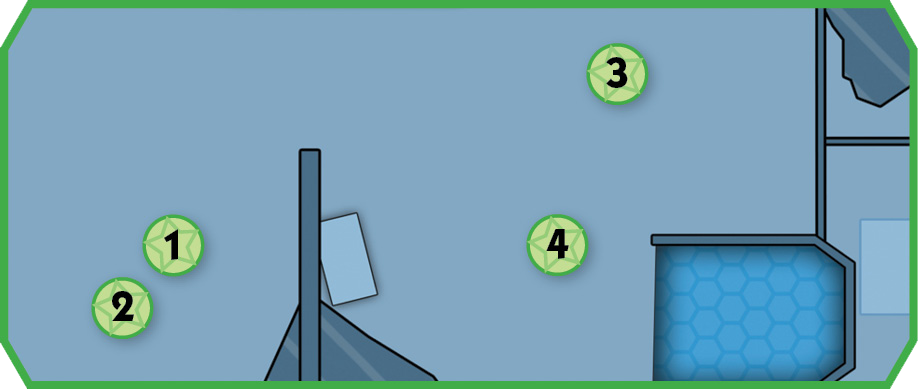 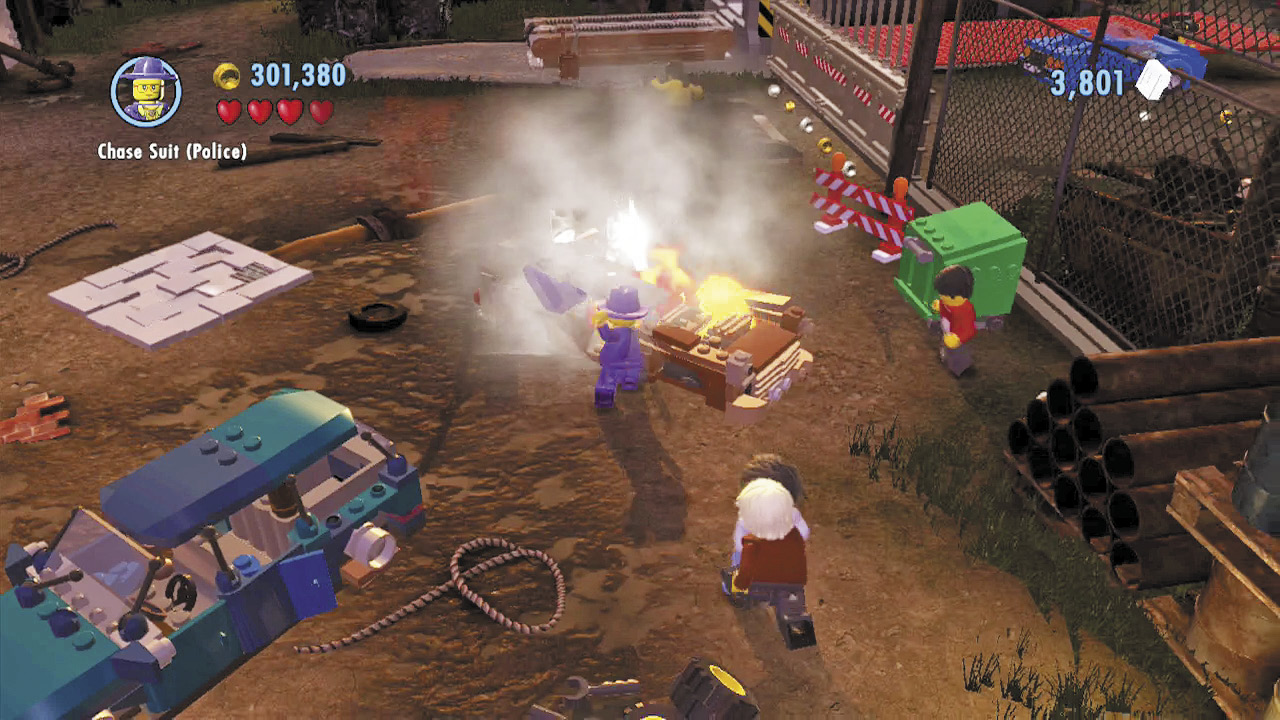 Smash four cars around the scrapyard to score a shield piece. Check the maps to see where the four cars are located. |
Free PlayVehicle Token 1: Schmoozer 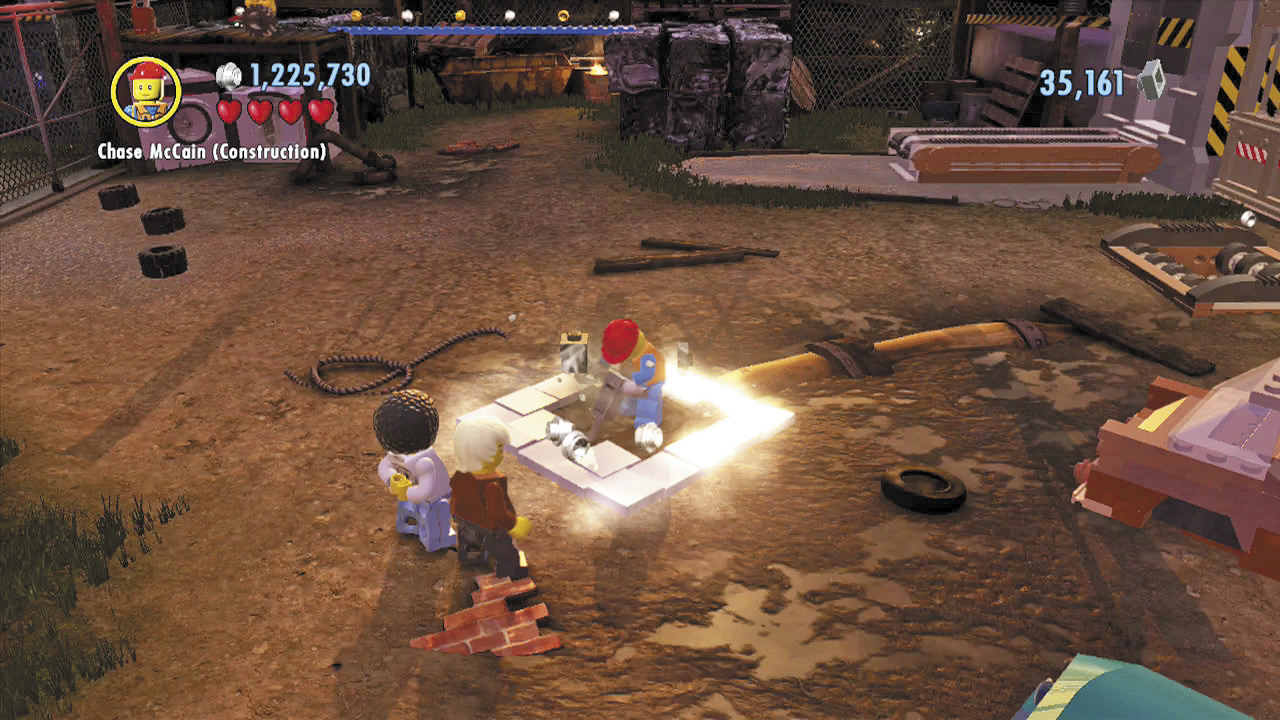 During Free Play, toggle to the construction worker and drill the shaky ground near the start to uncork a water geyser. Ride up the geyser to reach a hovering vehicle token! |
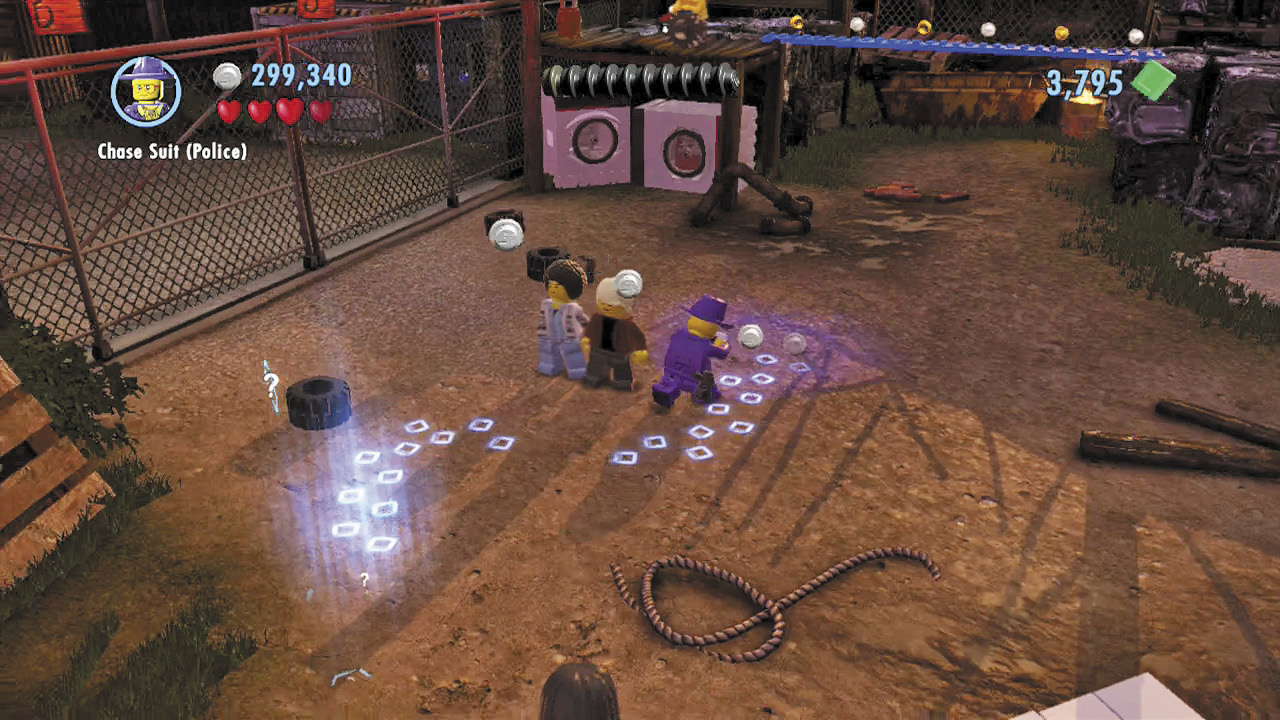
You need two more gas cans to fill the generator. Smash a green bin on the left to discover a scan spot, then follow the footprints over to a washer and dryer. Open the washer to discover the second gas can.
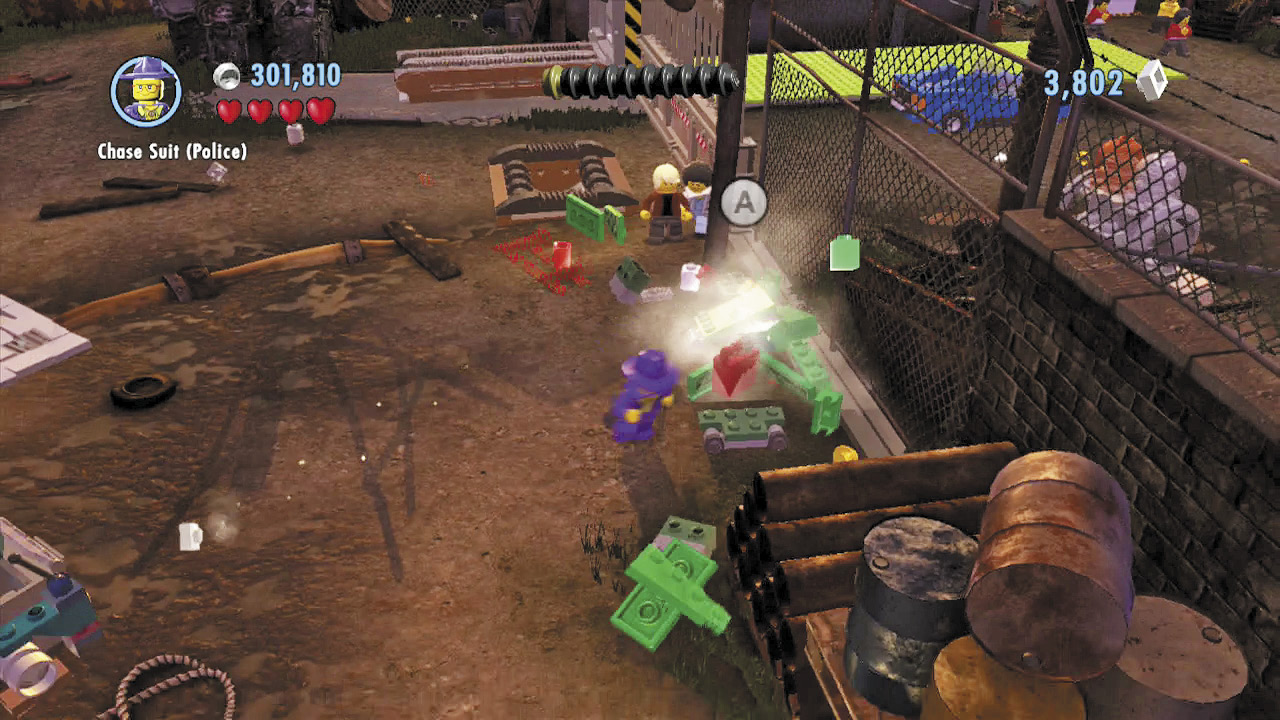
Smash another green bin on the right to find the final gas can. Nice work! Now fill the generator and pull its handle to fire up a nearby floor fan. Jump into the fan, which will blow you up to a crane.
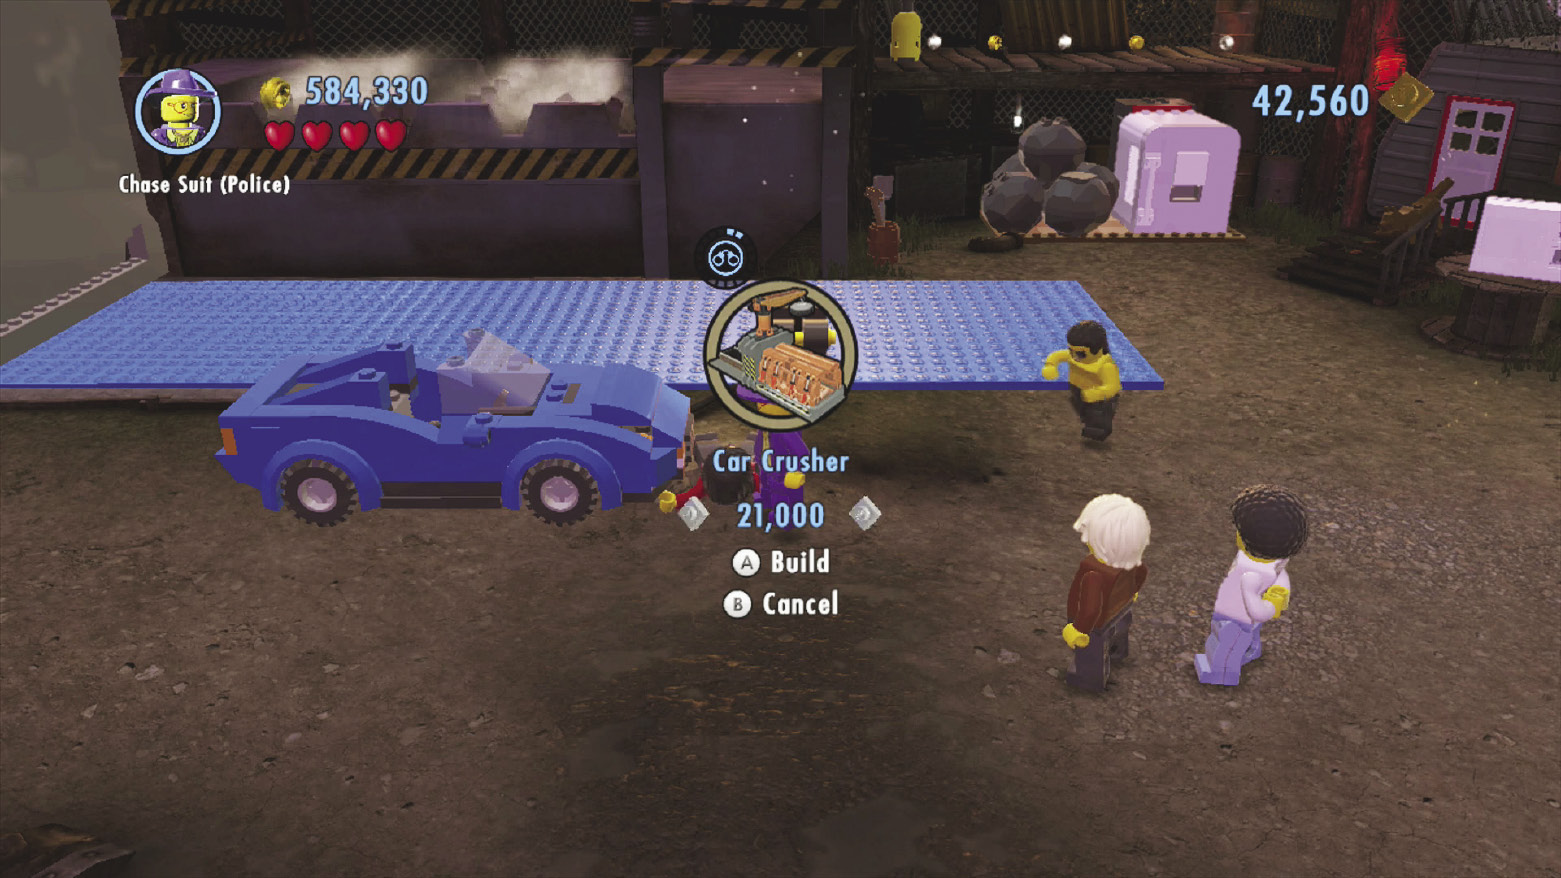
Operate the crane to make it drop some large cylinders on the ground. The cylinders smash, leaving a large superbrick behind!
On a Roll
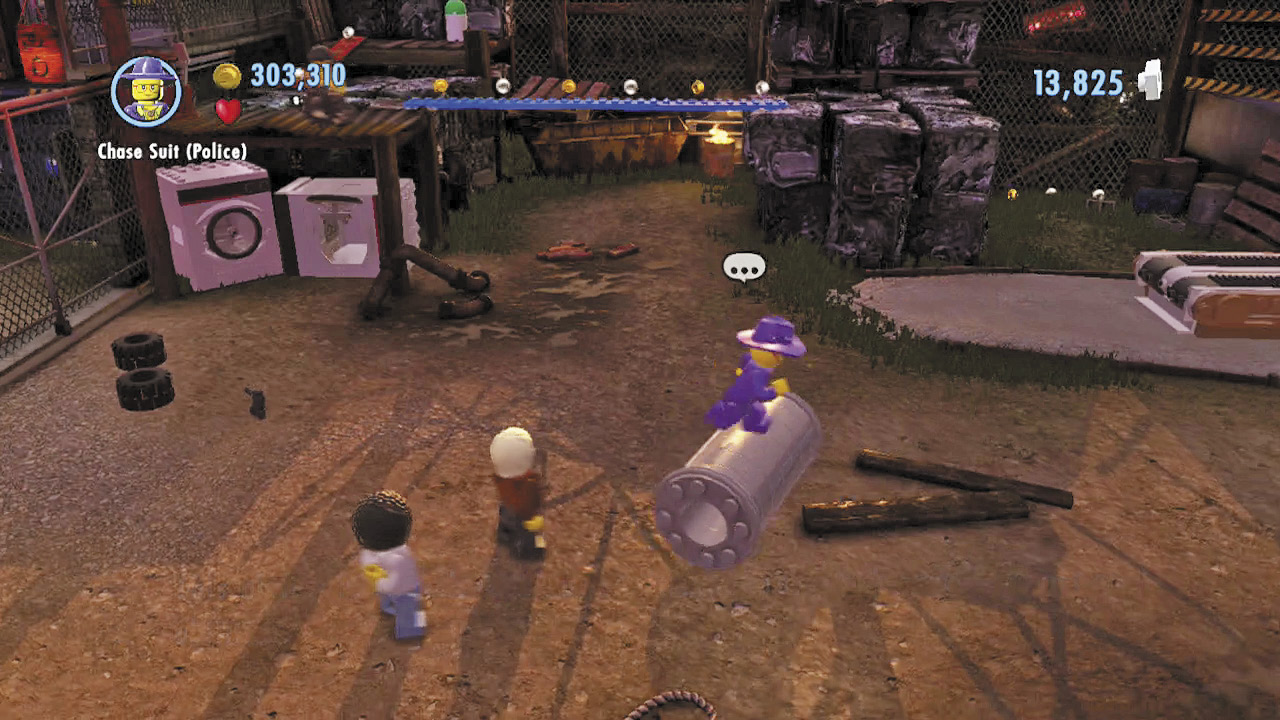
Drop from the crane and collect the superbrick. Press  to jump onto the lone remaining cylinder, then roll to the right.
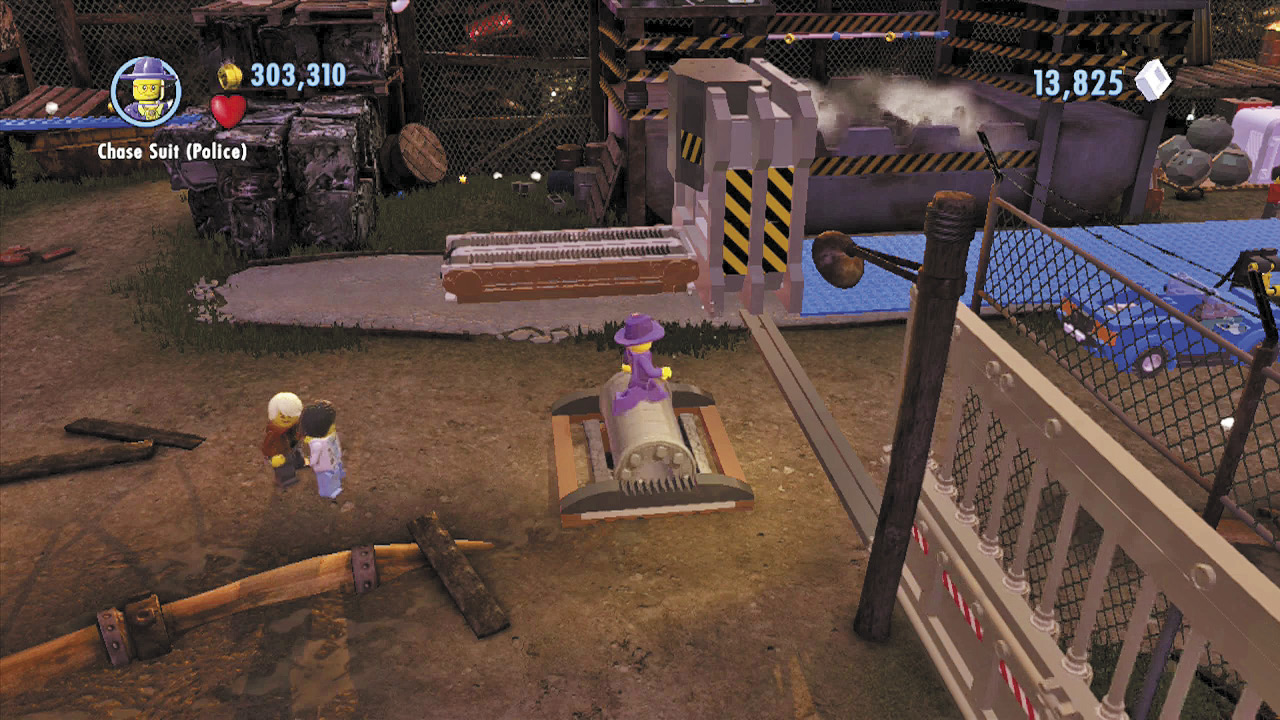
Roll the cylinder onto the groove near the fence on the right. After the cylinder slides into place, start rolling it again to open the fence. Now you can explore more of the scrapyard!
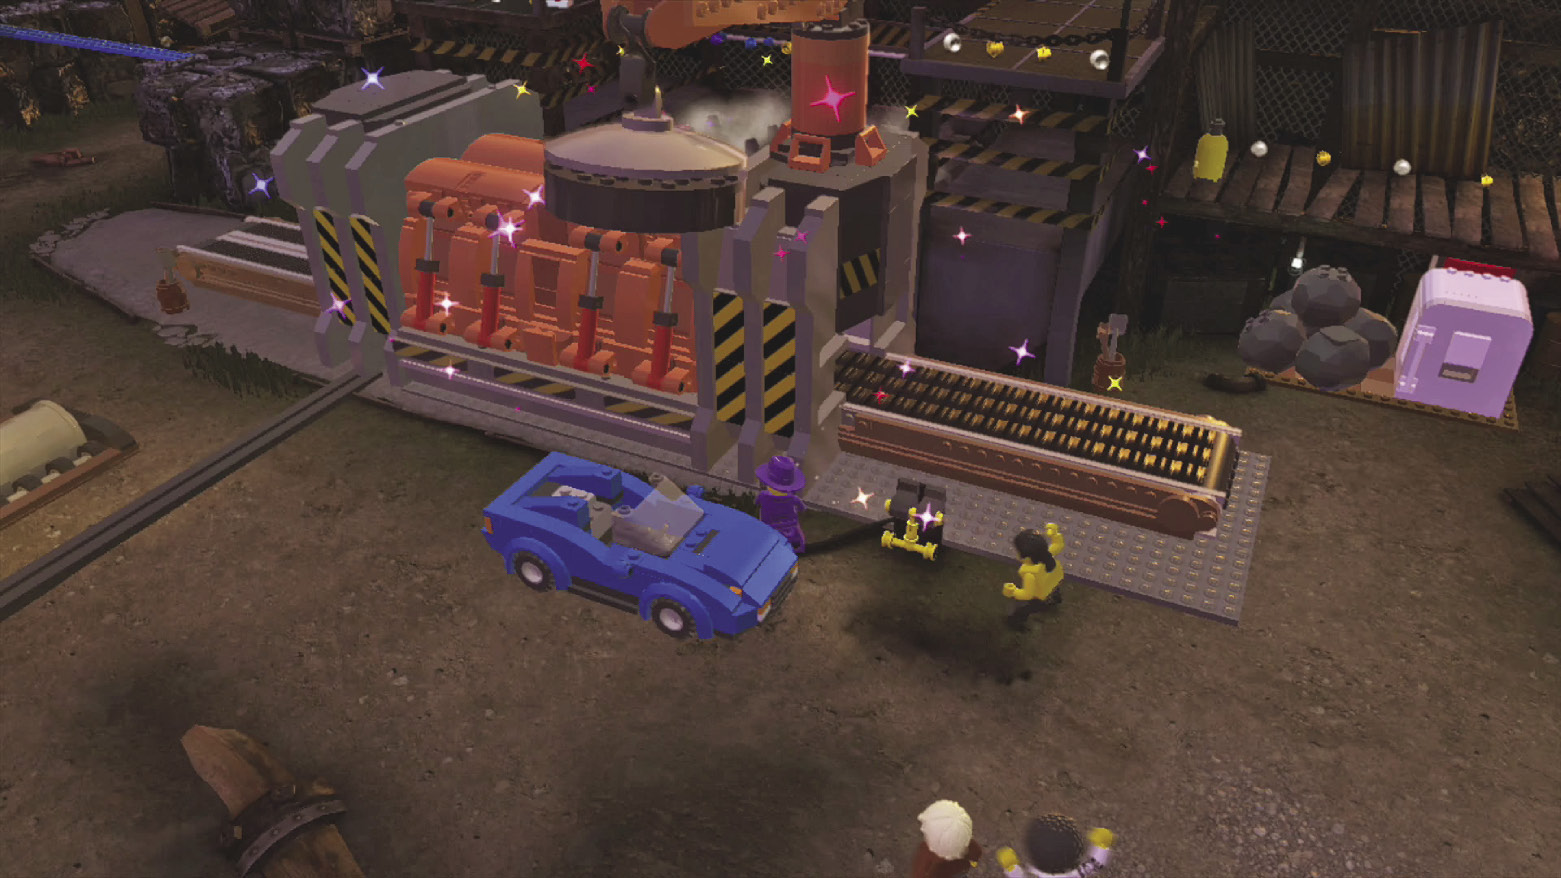
Take out more goons on the scrapyard’s right side. You need 21,000 bricks to build a car crusher over here. Better look around for more superbricks!
Superbrick 1
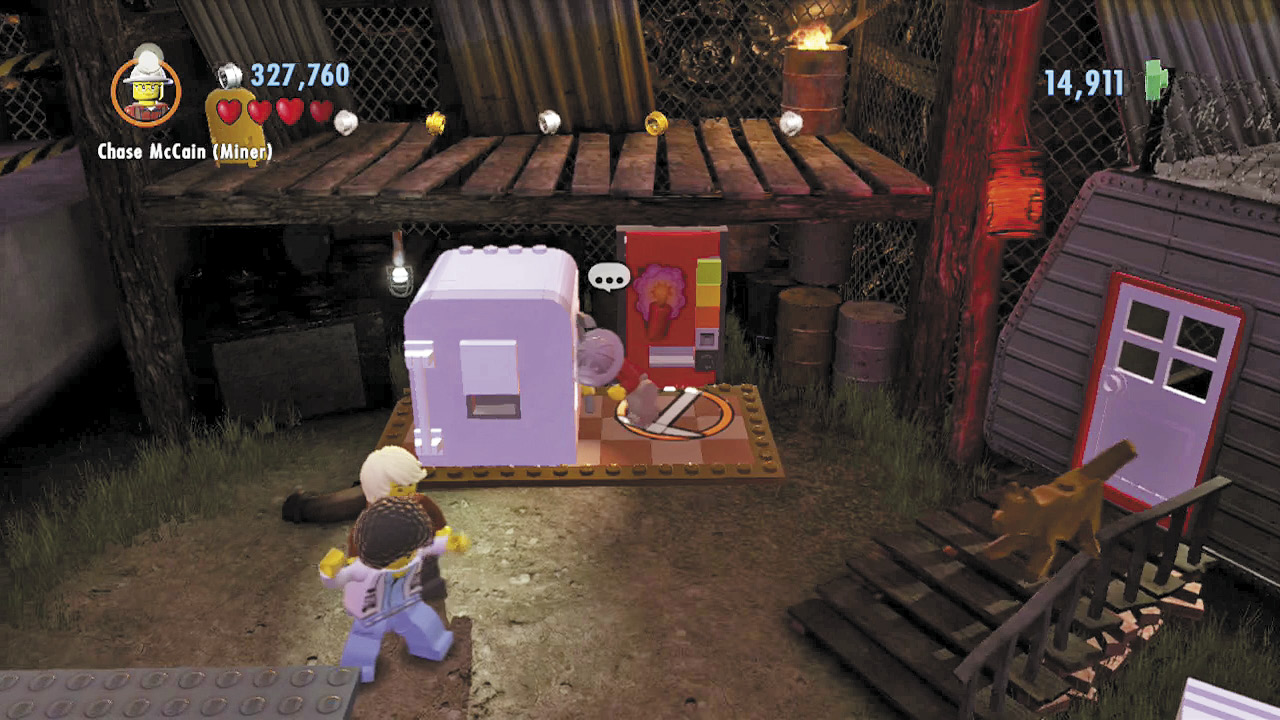
Smash some background boulders with the pickax, then shove the nearby fridge to the left along a checkered track. Hey, there’s a dynamite dispenser behind the fridge!
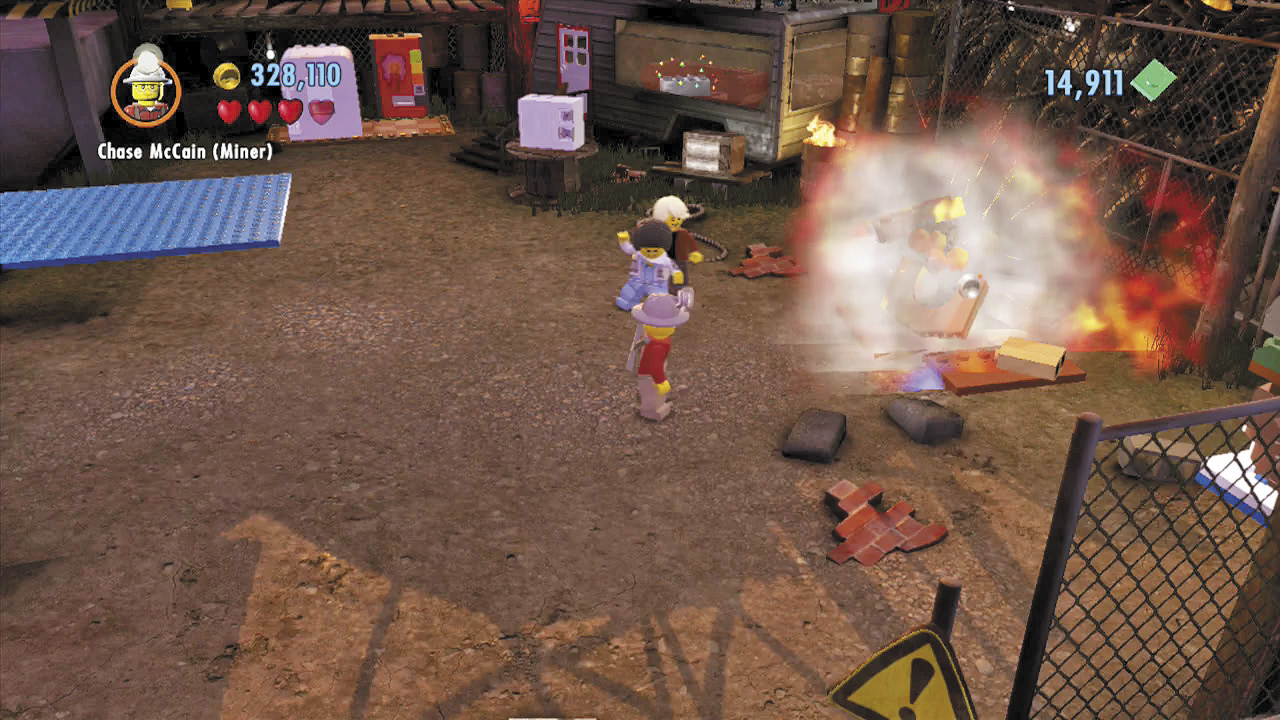
Collect some dynamite from the dispenser, then place it into the small barrel near the silver Dumpster to the right. After the blast, build the remaining bricks into a doghouse.
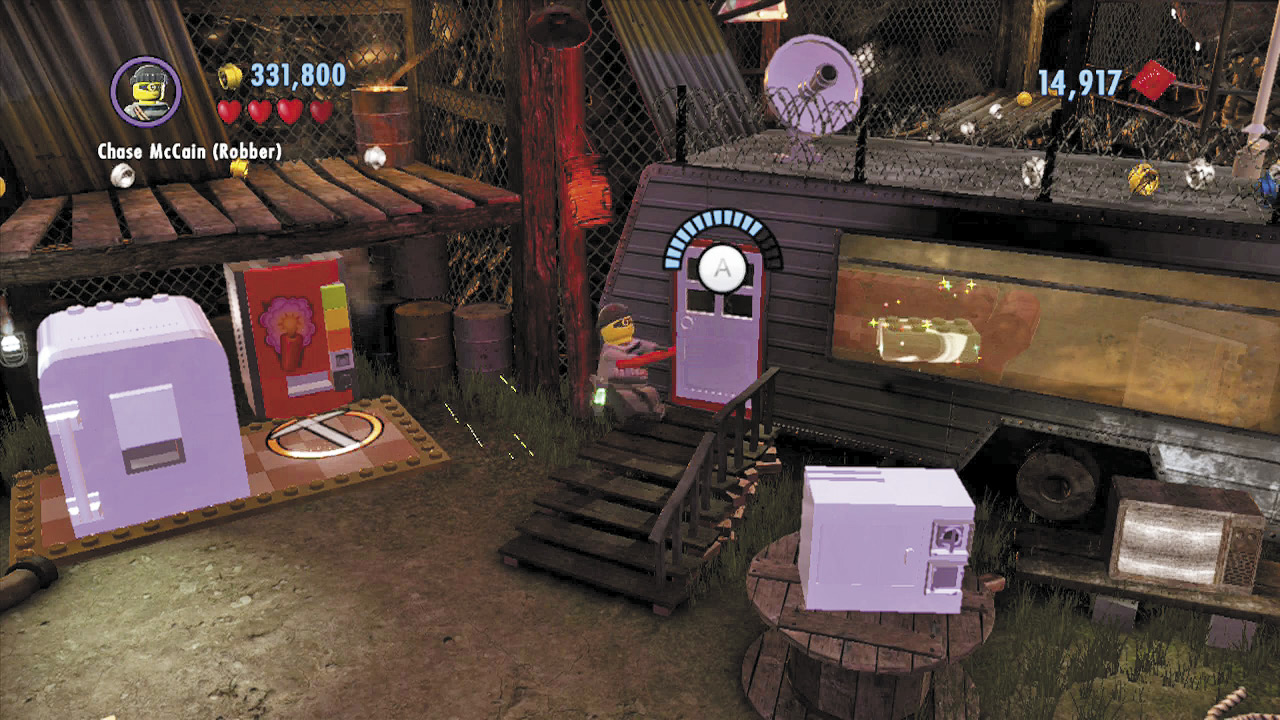
Building the doghouse lures the guard dog away from the nearby trailer. Pry open the trailer’s door and collect the superbrick inside.
Character Token 1:Chase Suit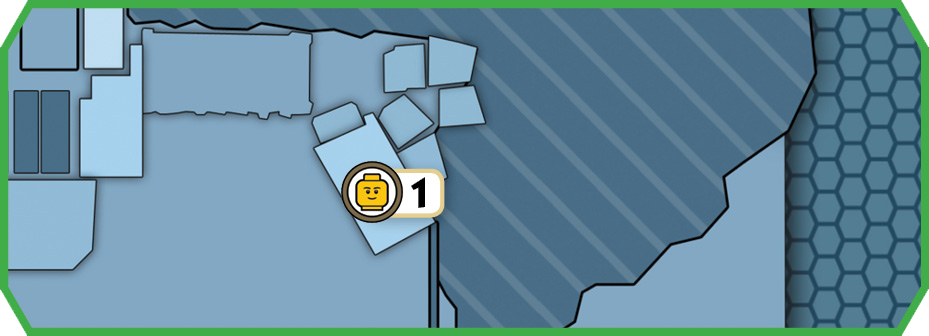 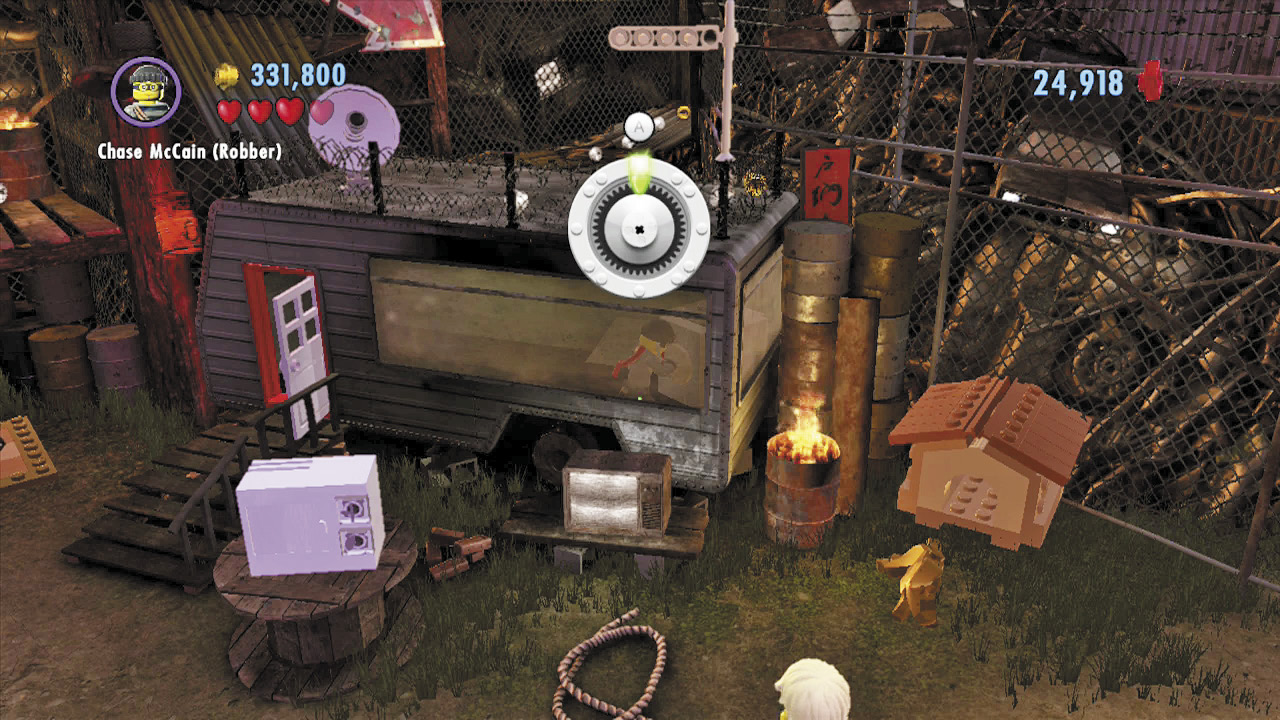 After luring the guard dog away from the trailer, enter the trailer and crack the safe to discover a flashy new civilian outfit for Chase! |
Superbrick 2
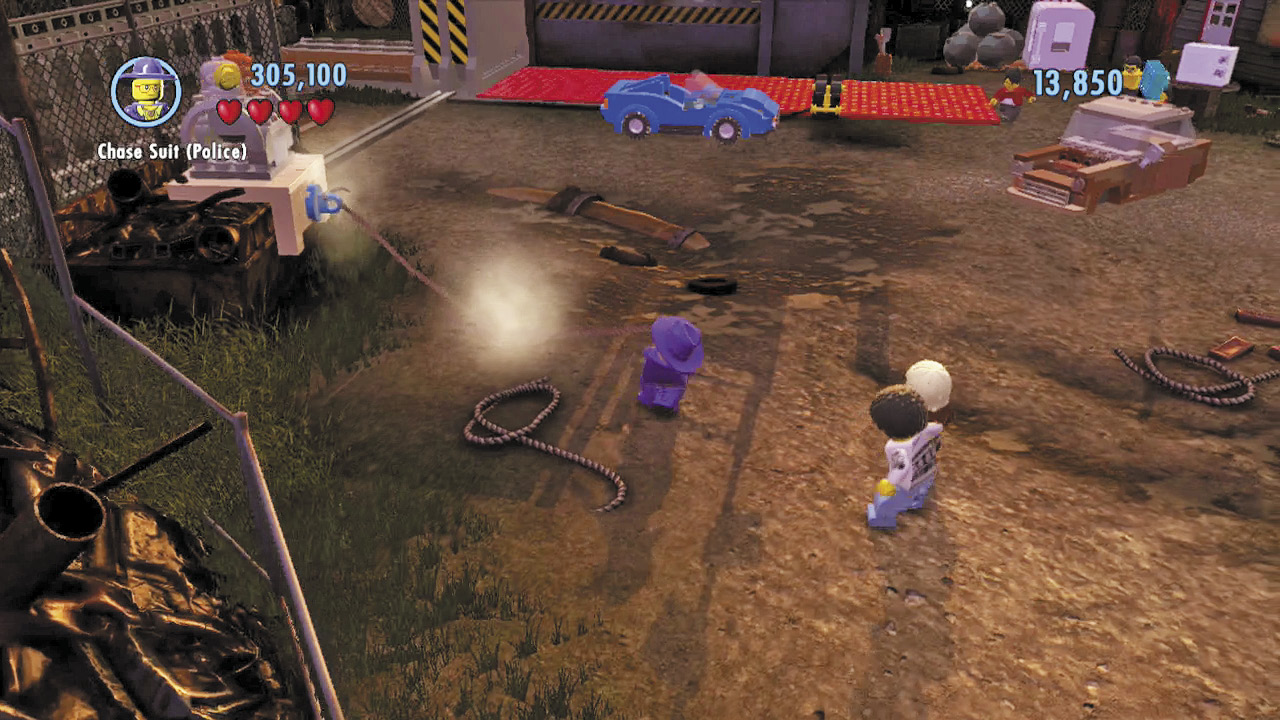
Go left and use the grapple gun to pull down some machinery. The machinery breaks into bricks. Build these into a color swapper, then fill your color gun with green energy.
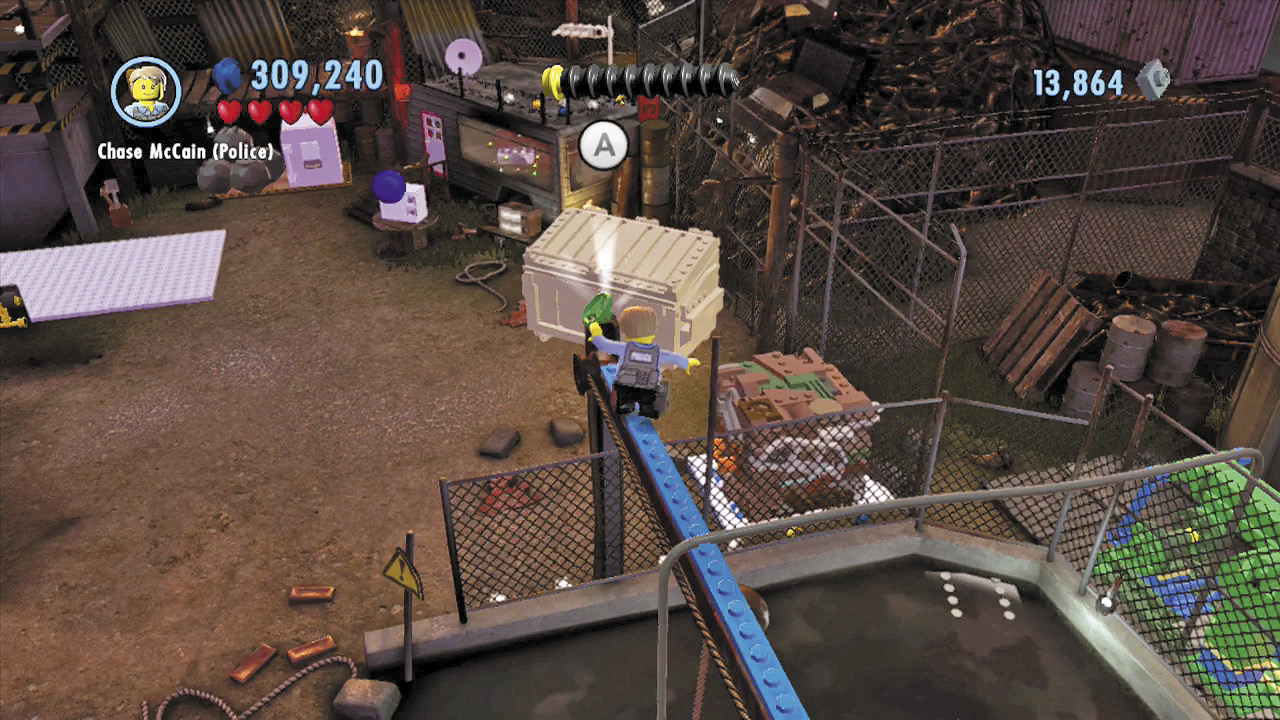
Run to the right and jump up a few handholds to reach a blue balance beam. Tiptoe to the edge and pick up the valve wheel. Be careful not to fall—the water below is electrically charged!
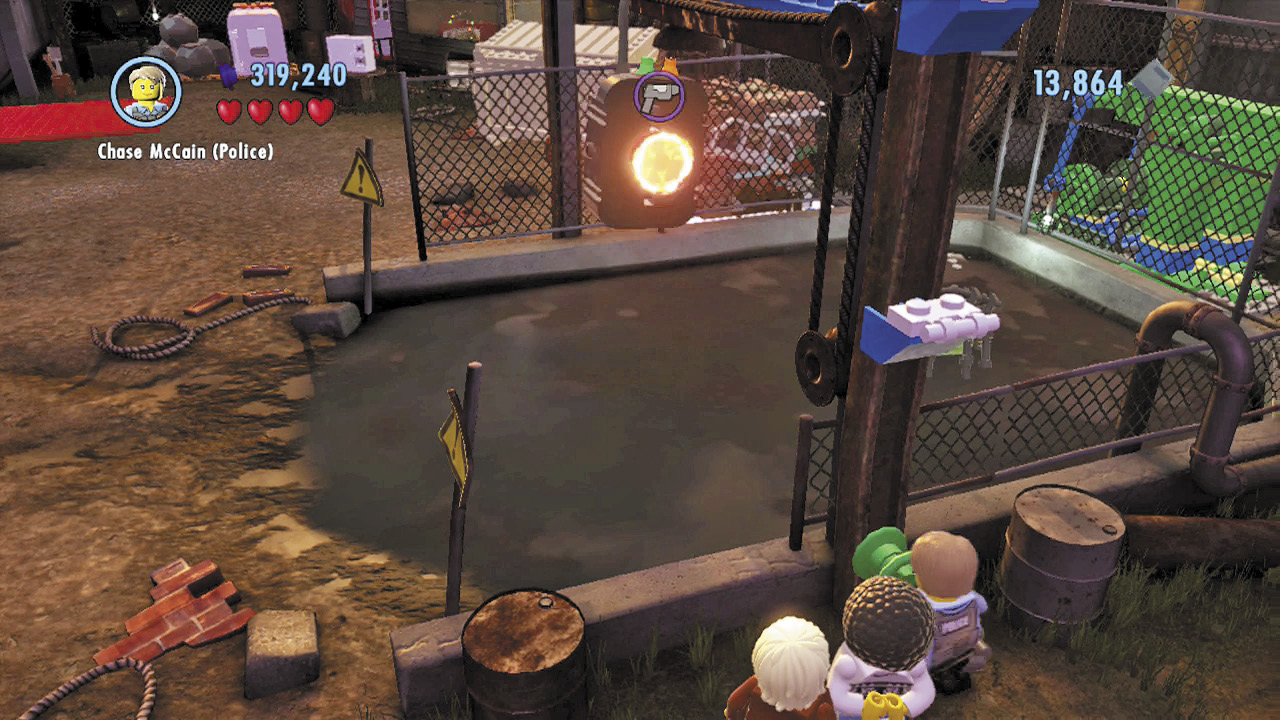
Backtrack across the beam and drop to solid ground. Insert the valve wheel into the slot near the handholds you used to reach the beam. Turn the wheel afterward to raise a red switch up from the water.
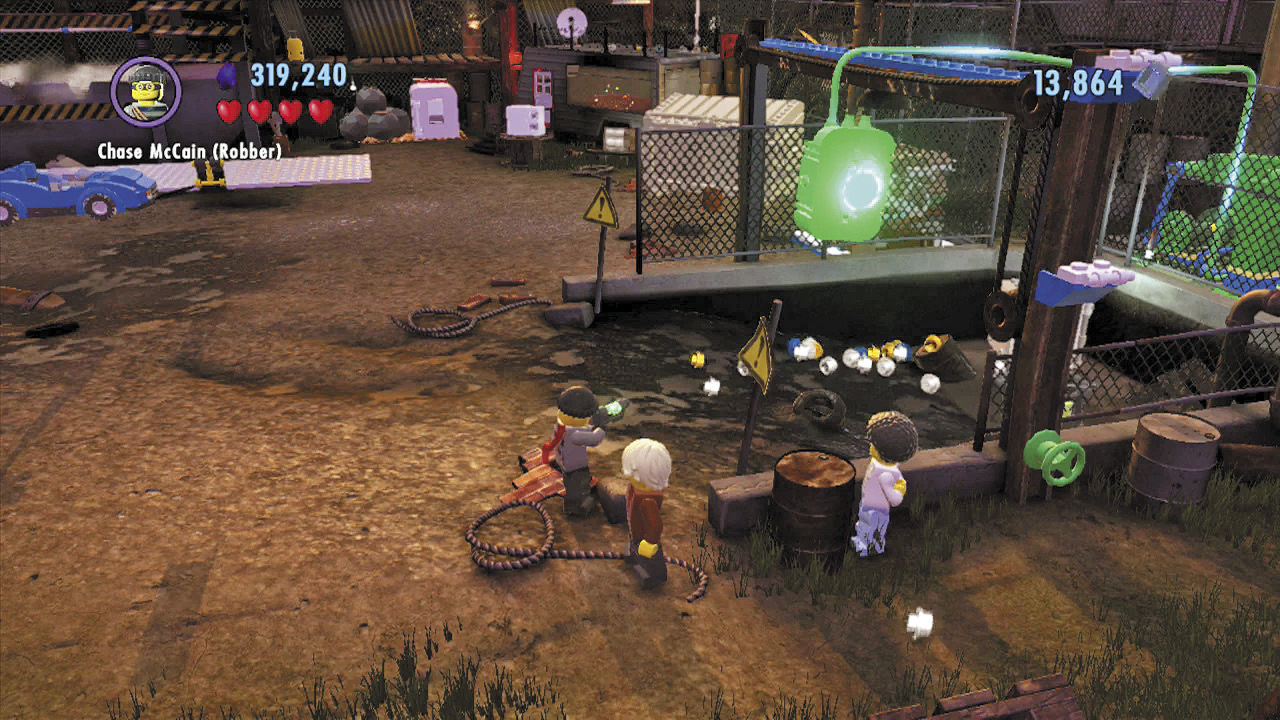
Blast the switch with green energy to activate it. This powers the nearby pump, draining the water from the pool. Now you can smash the small cage that was floating in the water and collect the superbrick that’s inside!
Police Shield Piece 2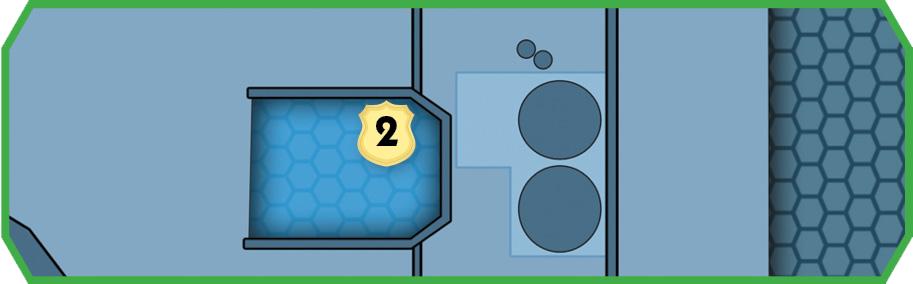 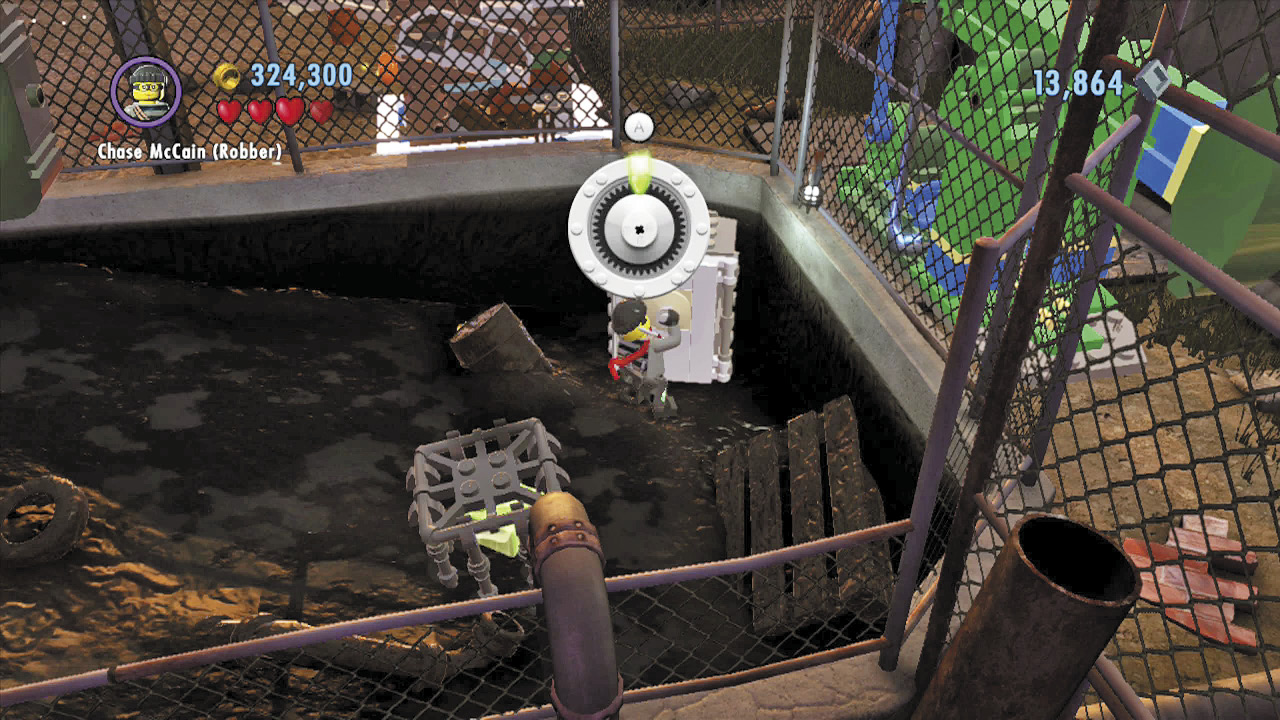 Draining the hazardous water from the pool exposes a standing safe. Crack the safe to discover a shield piece! |
Free PlayRed Brick: Super Safe Crack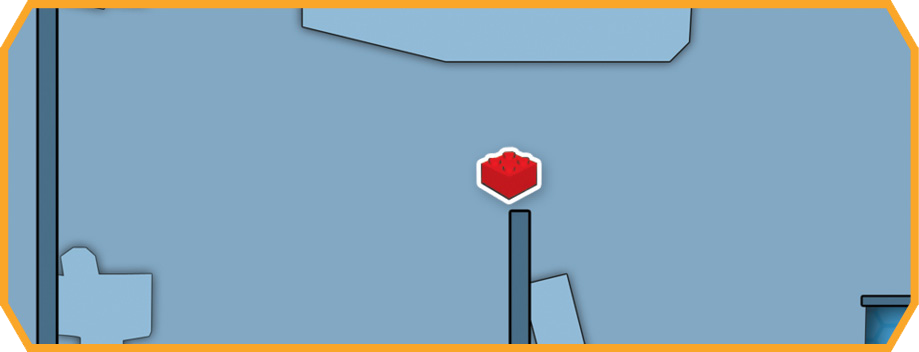 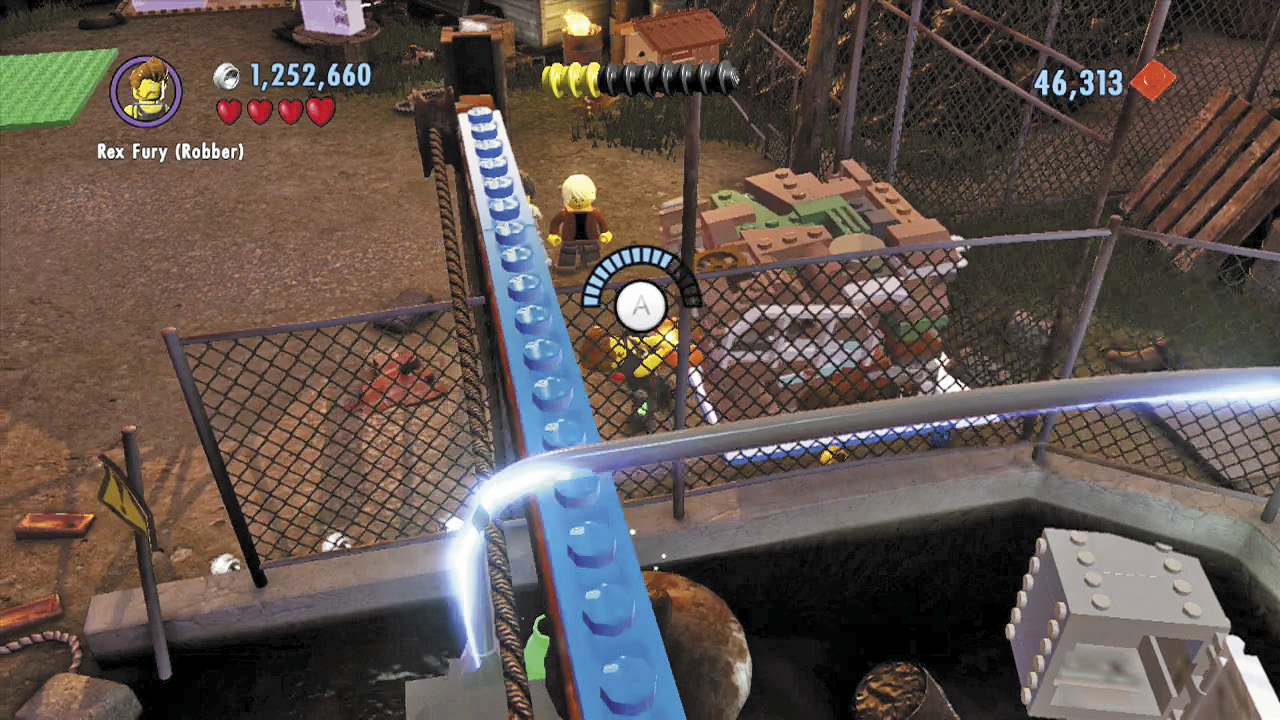 During Free Play, use Rex Fury to rip apart the super-strength crate on the right. This exposes a catapult pad. 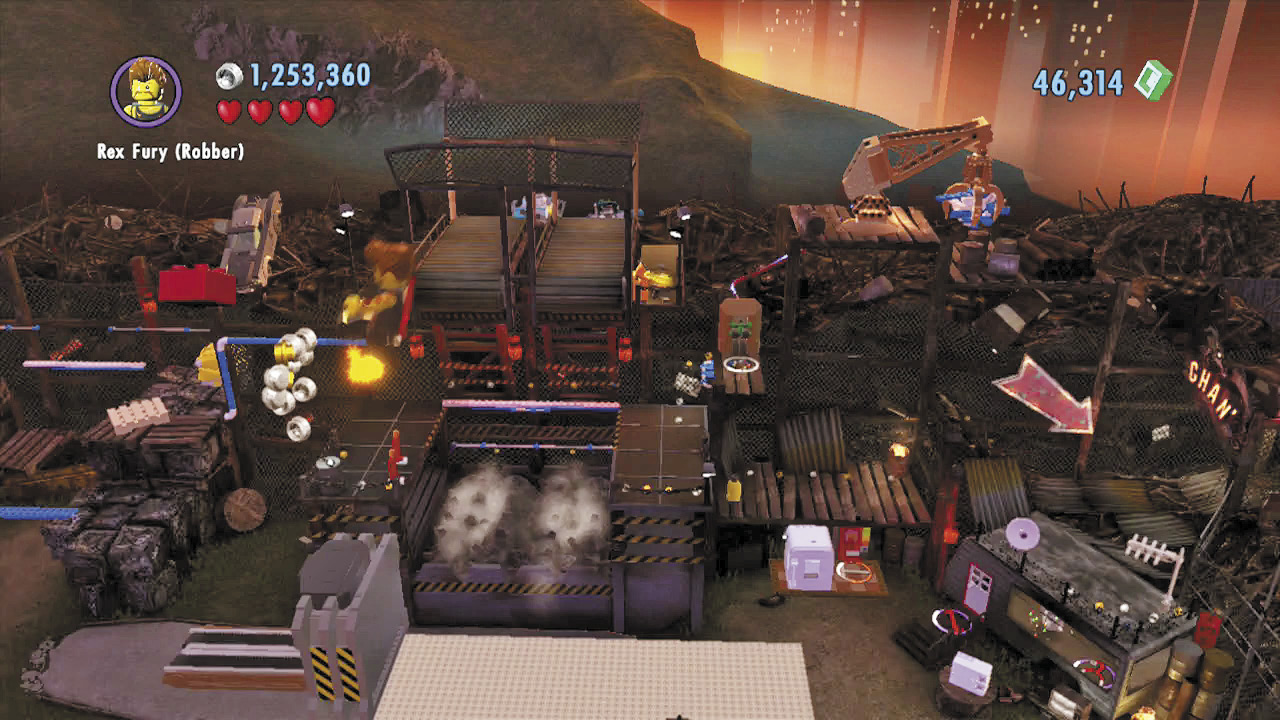 Launch off the catapult pad, and you’ll soar through the air and collect this stage’s red brick, which hovers on high. Nice flying! |
Complete the Car Crusher
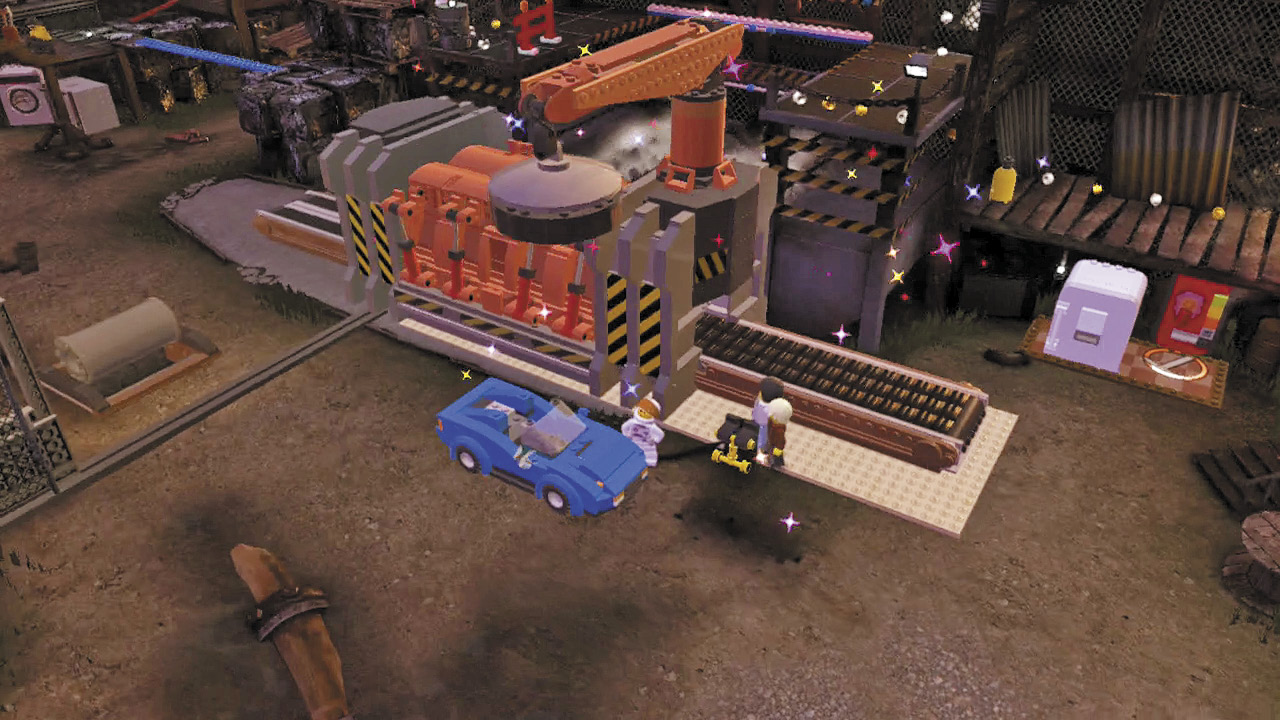
You now have enough bricks to build the car crusher. Go ahead and do so, then pull its control lever.
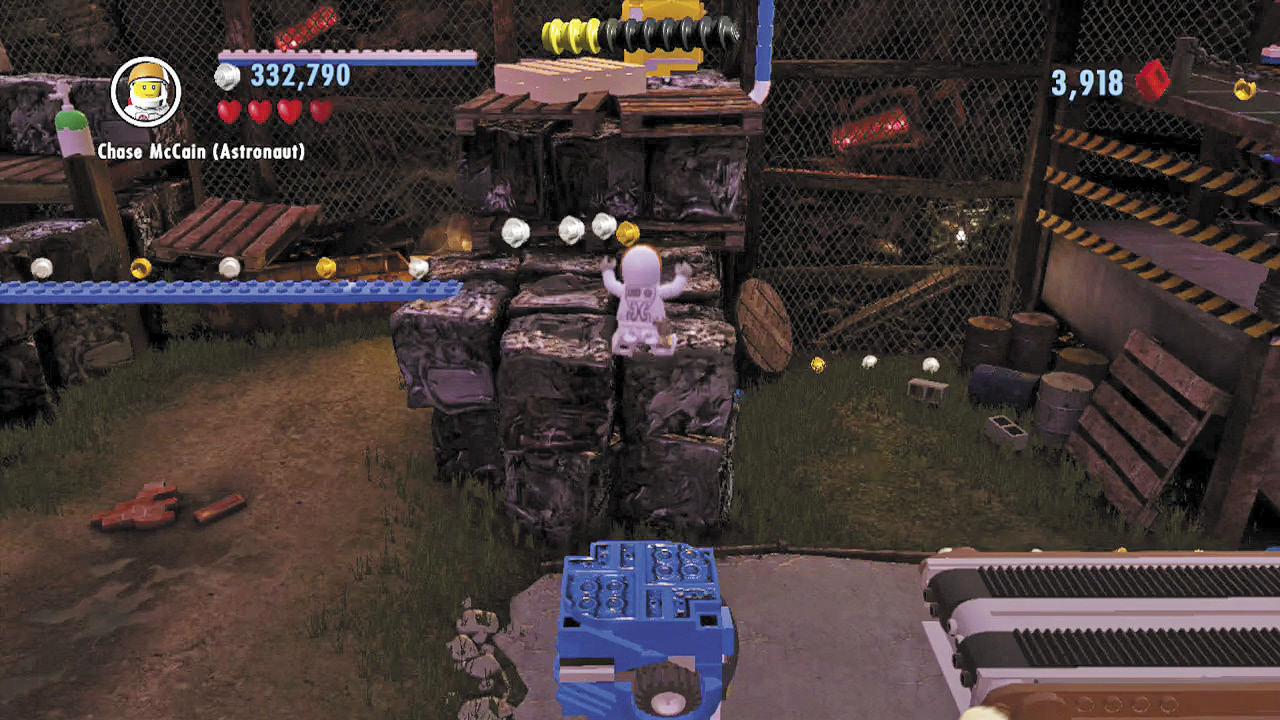
The car crusher smashes up the nearby vehicle, turning it into a compact cube. Run back to the scrapyard’s left side and use the cube to reach the top of the background junk.
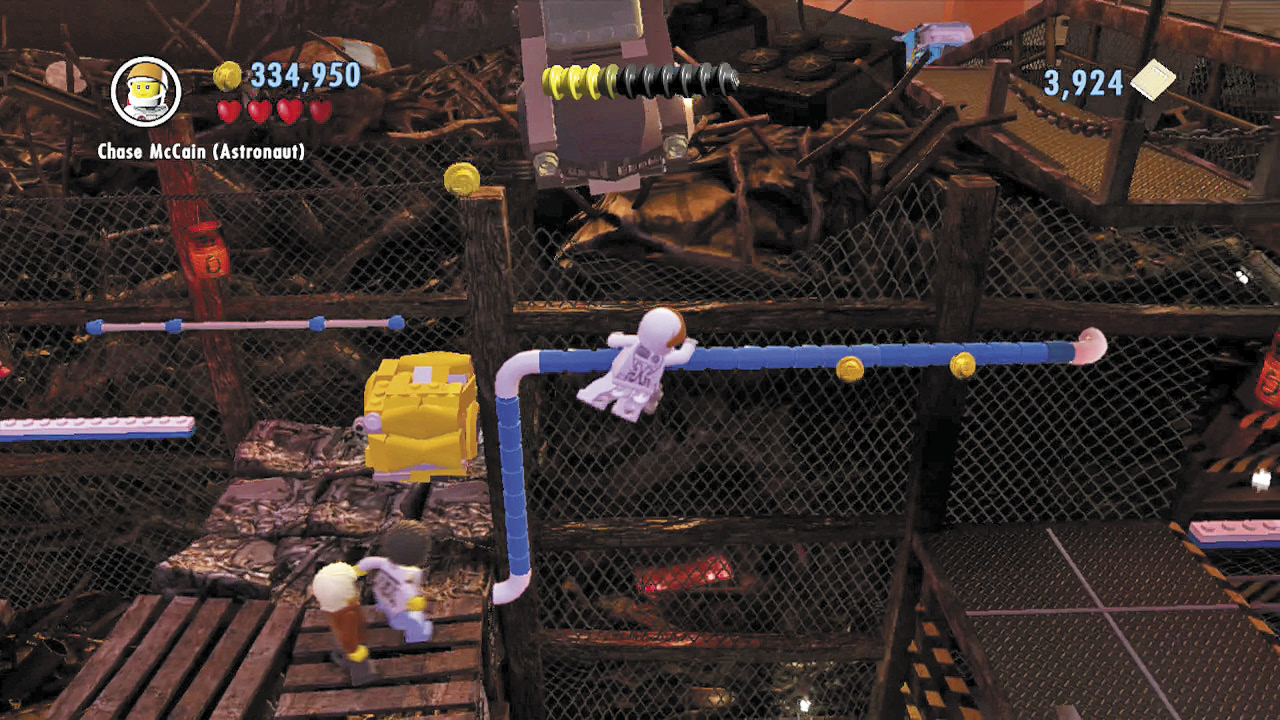
Use balance beams, handholds, and thin ledges as you navigate the junk piles. Climb a blue and white pipe to return to the scrapyard’s right side.
Grinder Time
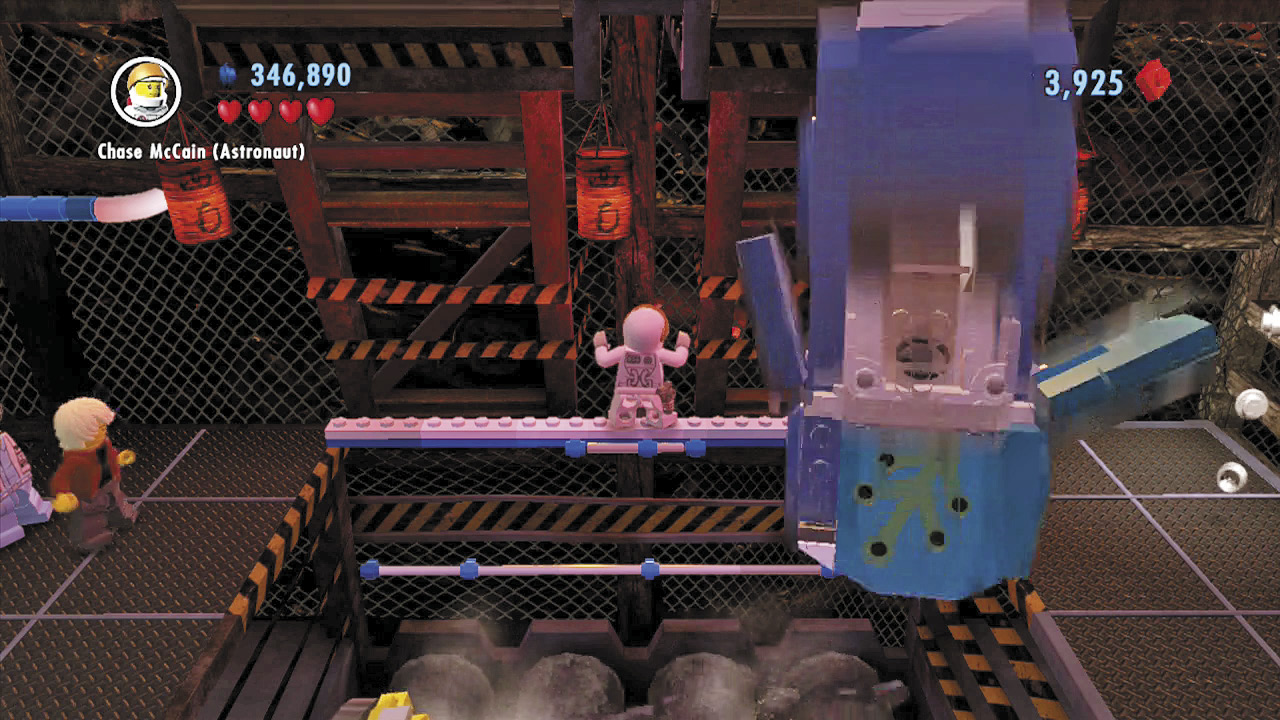
The pipe leads to a deadly grinder machine. Inch along the thin background ledge to cross without tumbling into the whirling teeth below.
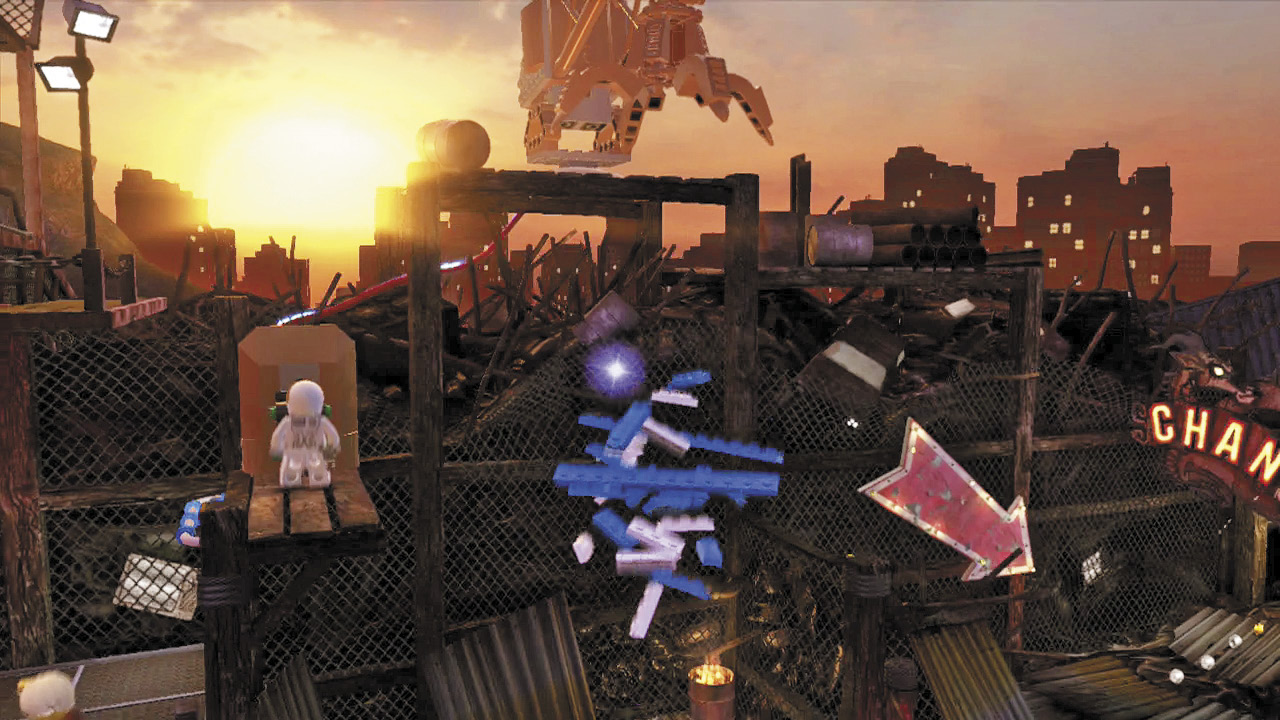
Once you’re past the grinder, jump up to a lever and pull it. This causes a crane to drop a pile of bricks onto the platform below.
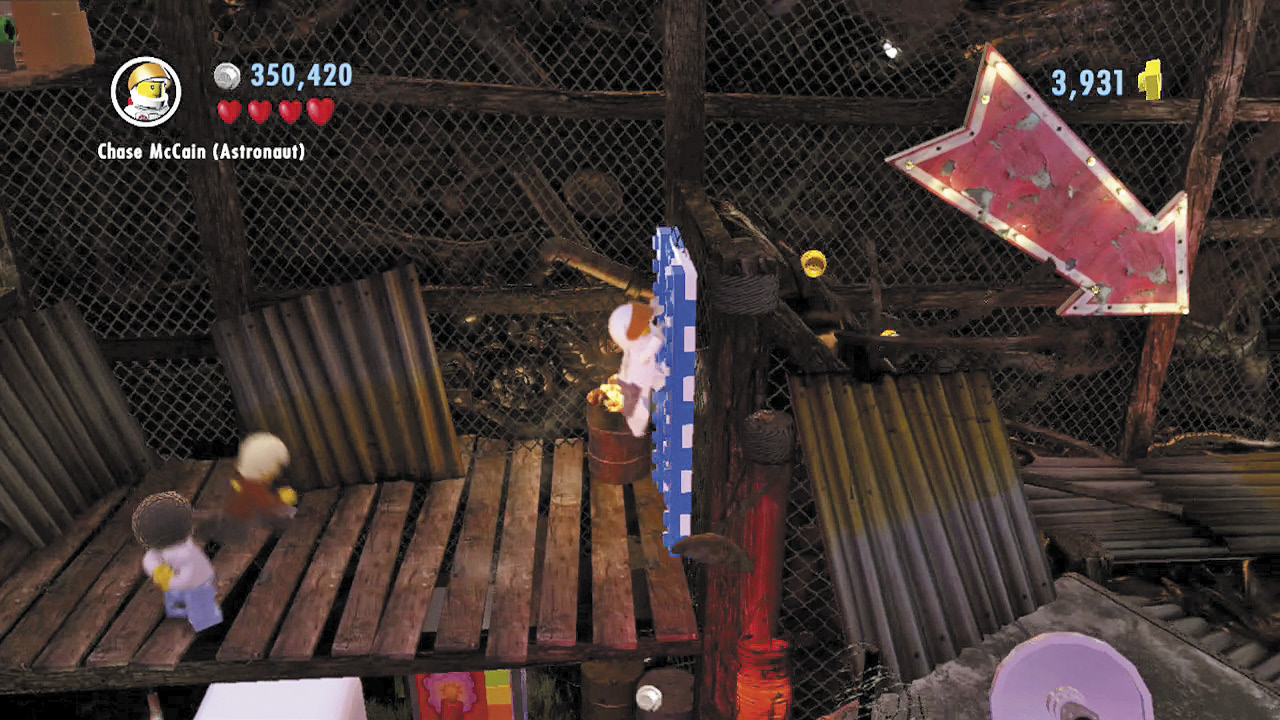
Drop near the bricks and build them into a climbable LEGO wall. Climb up to vault the high fence and reach the scrapyard’s final area.
Objective: Rescue Natalia
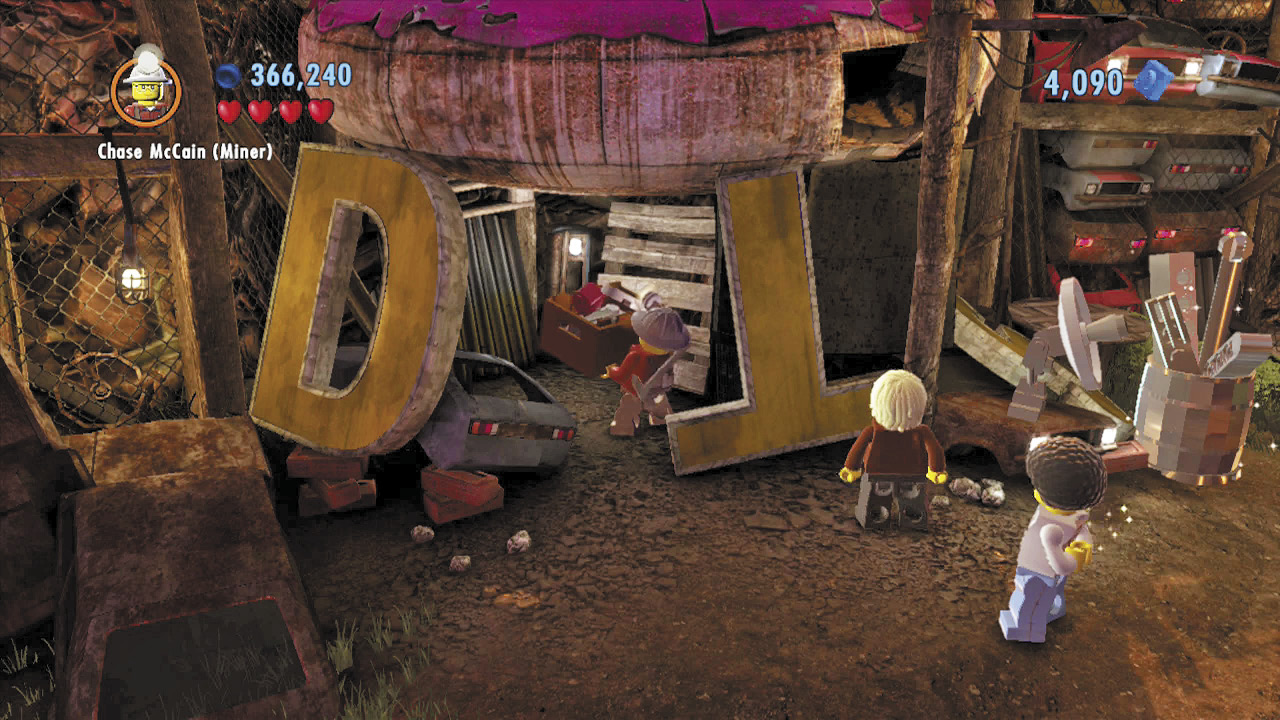
You’re getting close, but don’t relax now! Beat up more thugs in this section of the scrapyard, then smash through the background boulders to discover a crate of LEGO bricks. This should come in handy!
Police Shield Piece 3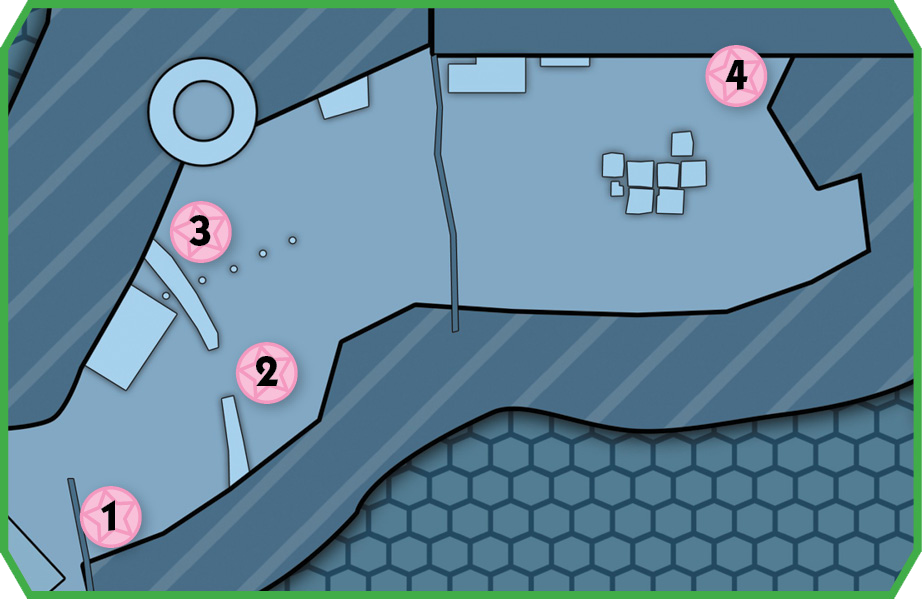 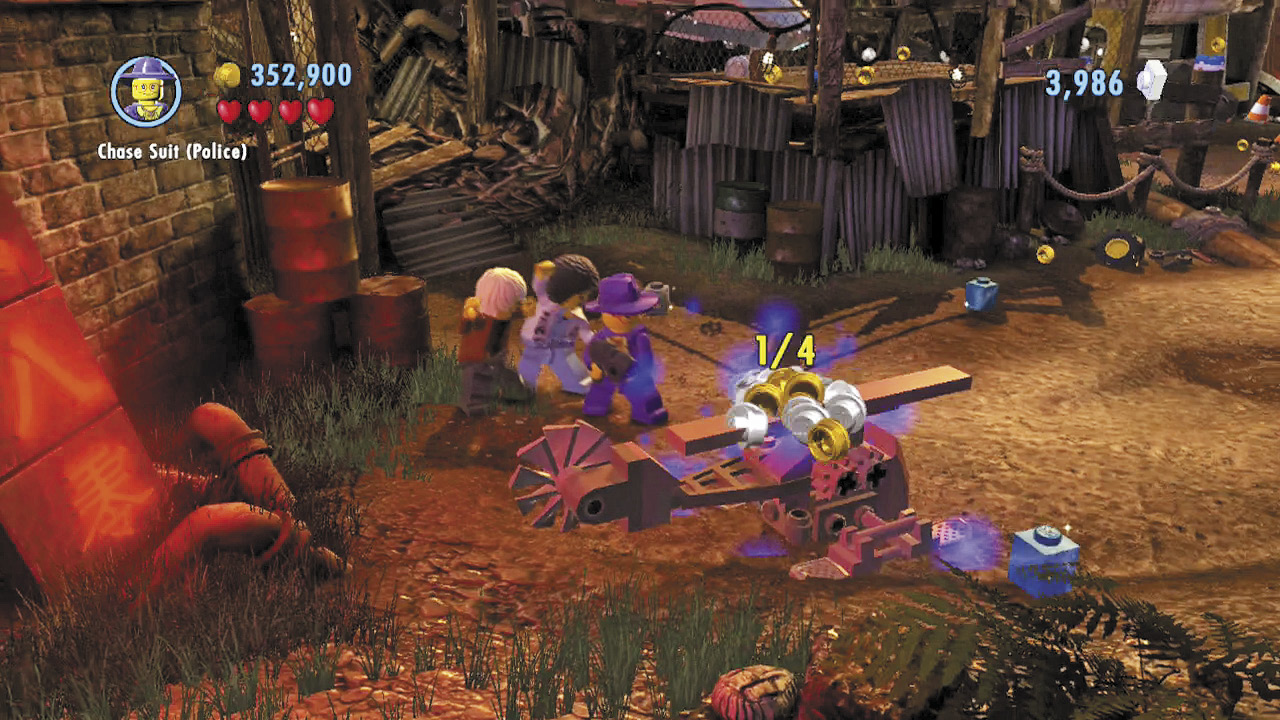 Build four pieces of machinery around the scrapyard’s second half to assemble another shield piece. You’ll need to smash various objects to find the bricks needed to build each machine. You can’t reach one of them until you travel through a transporter. Check the map to see where all four machines are located! |
Free PlayPolice Shield Piece 4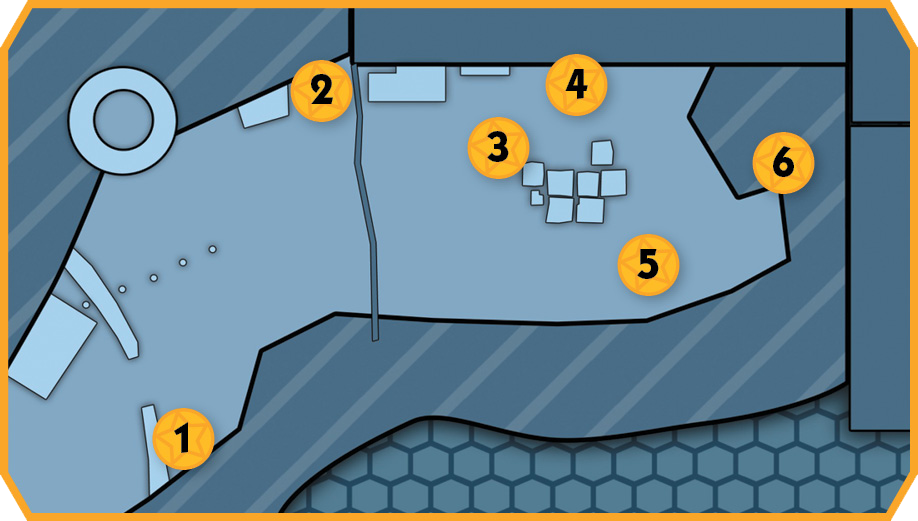 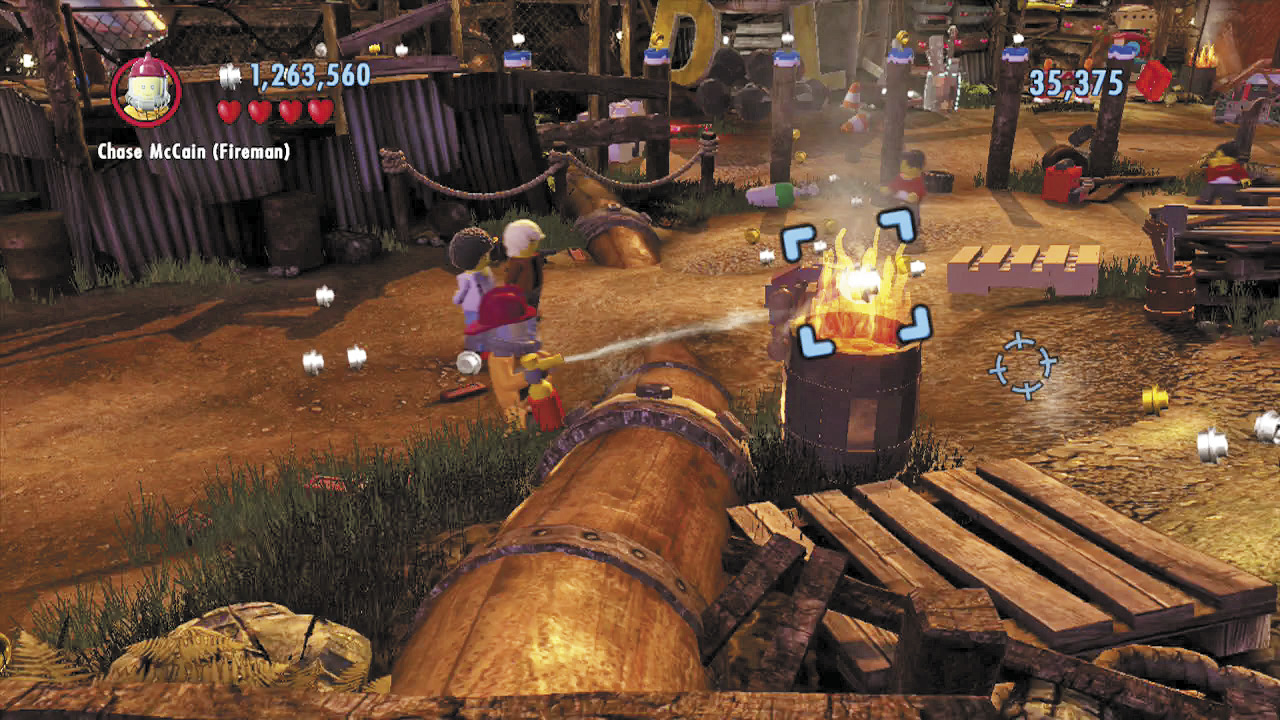 Use the fireman disguise to douse six barrel fires around the scrapyard’s second half, and you’ll wash off a steamy shield piece. Some of the fires can’t be found until you travel through a transporter pad. Check the maps to see where each barrel fire is located! |
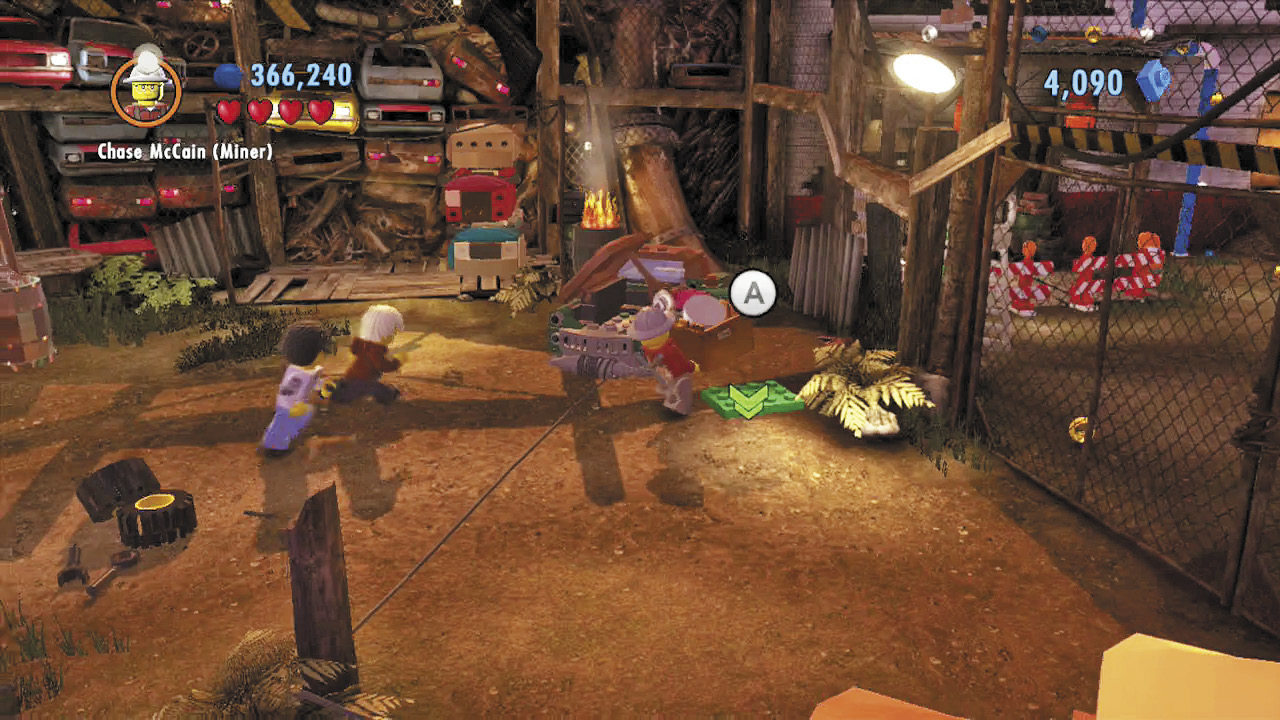
Carry the crate of bricks over to the green pad on the right. Drop the crate onto the pad, then build the bricks to construct the nearby car’s engine.
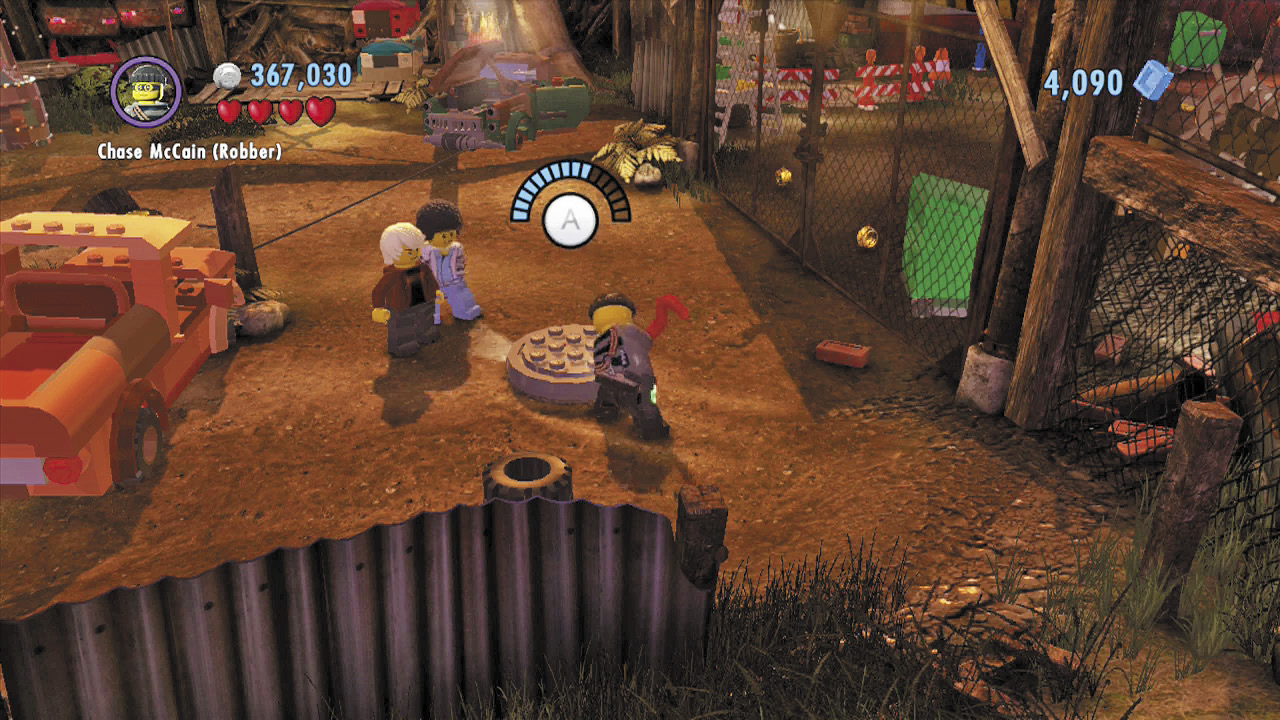
Repairing the car’s engine causes a nearby truck to start up—the vehicles were linked by jumper cables! The truck drives a short distance, exposing a sewer cover that was hidden beneath it. Pry open the sewer cover to discover some dynamite.
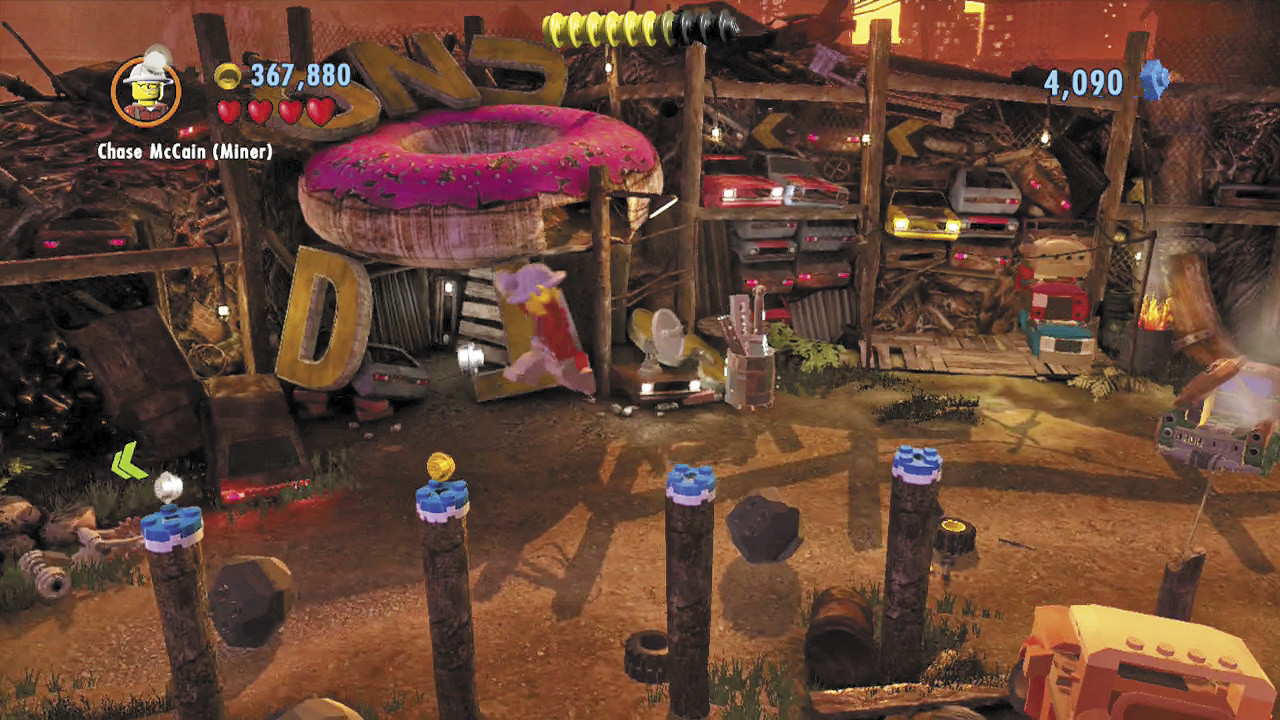
More gang members storm out to stop you—beat them down, then collect the dynamite and jump on top of the nearby truck. Jump from the truck’s roof and land on the nearby thin pole. Hop across the poles to reach a platform to the left.
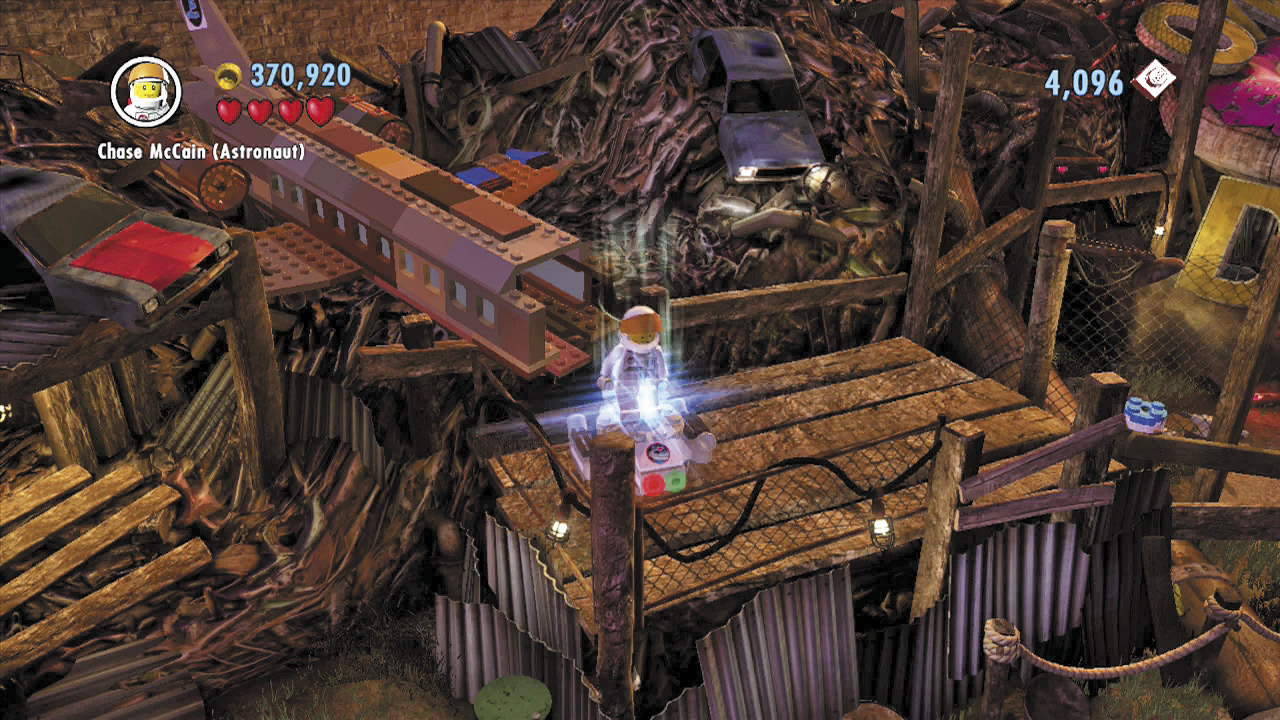
Drop the dynamite into the barrel on top of the platform, which sits near a silver plane. The blast blows off the cockpit, causing some bricks to spill out of the fuselage. Build these into a transporter pad, then beam over to the yard’s right side.
Free PlayVehicle Token 2: Jalopy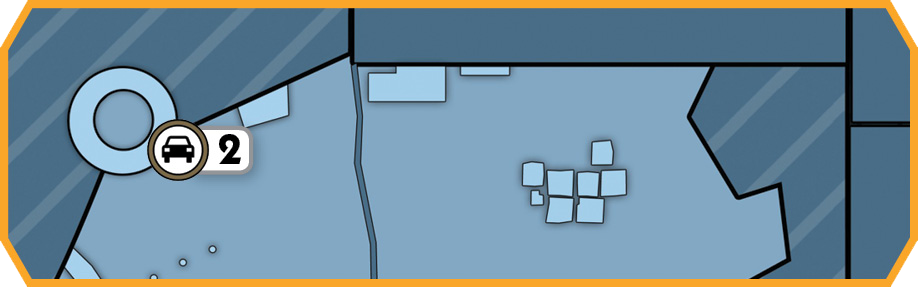 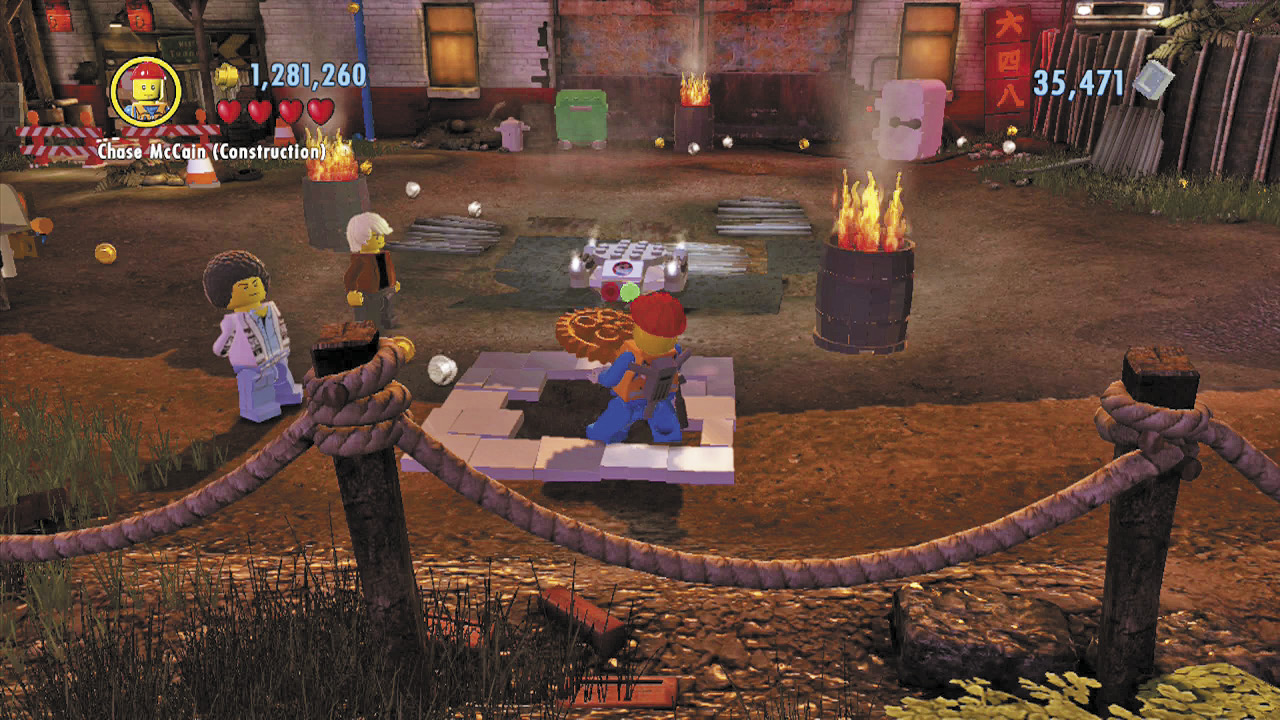 After traveling through the transporter, drill the shaky ground to discover a large gear. 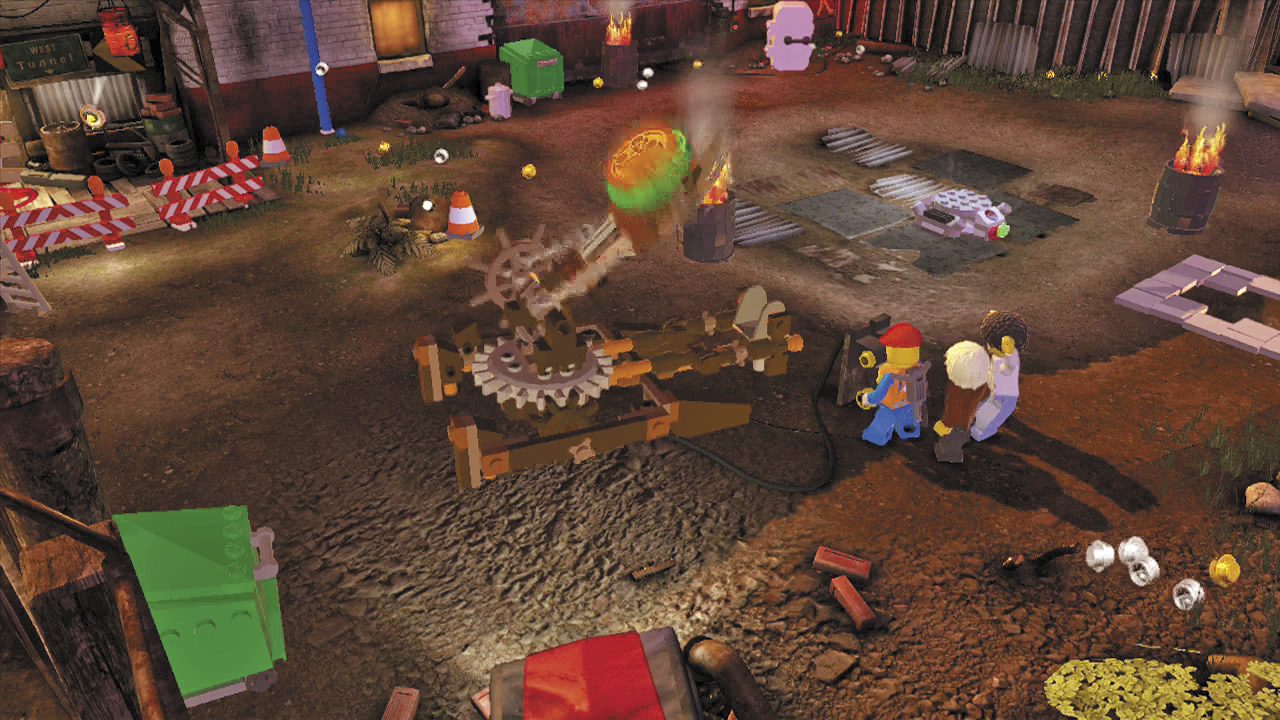 Carry the gear to the left, and place it onto the large catapult. Pull the catapult’s lever to send the gear flying over to the yard’s left side. 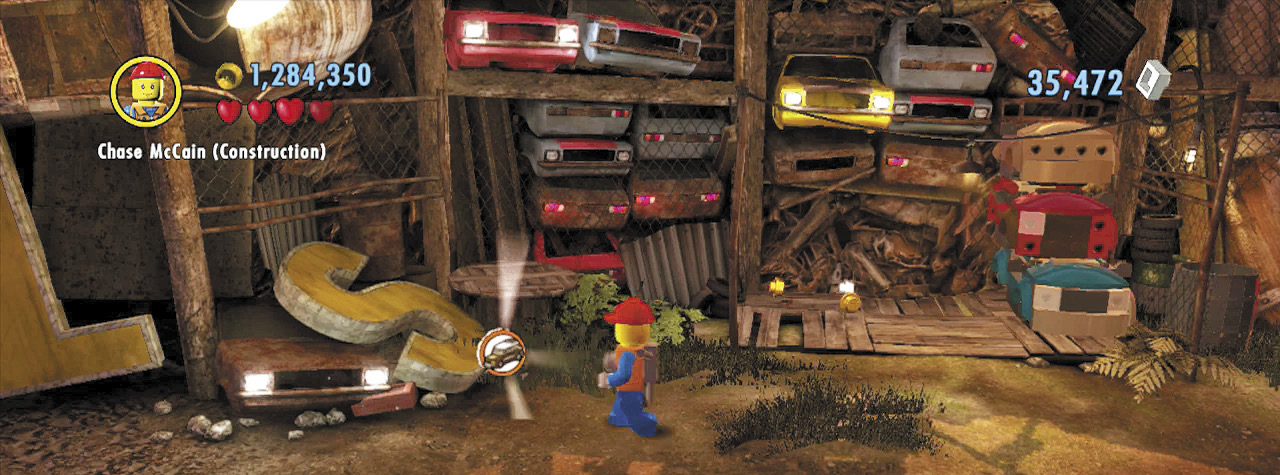 The gear smashes a silver barrel, exposing a character token! Beam back over there and claim your prize. |
Free PlayCharacter Token 2: Studski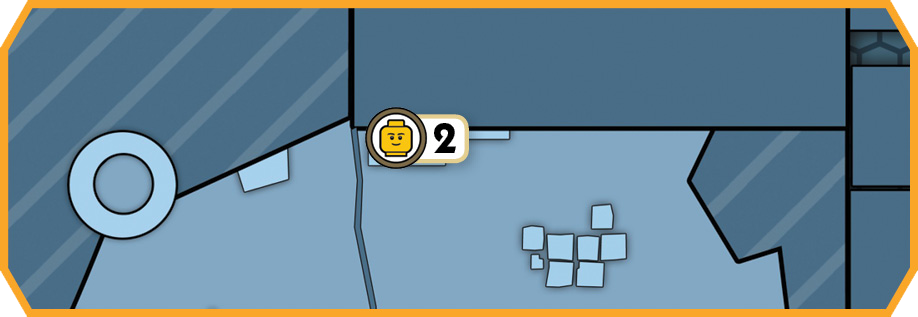 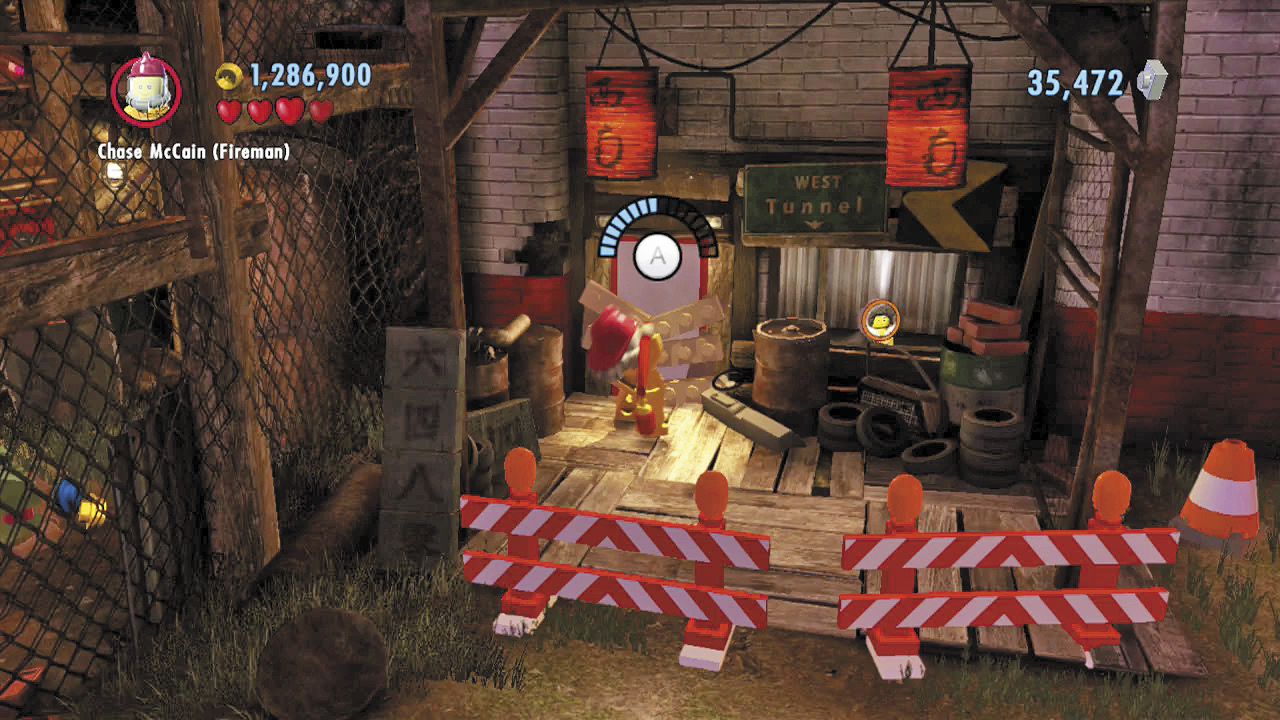 Chop through the boarded door on the yard’s right side to enter a small room with a character token. This one’s an easy grab! |
Rescuing Natalia
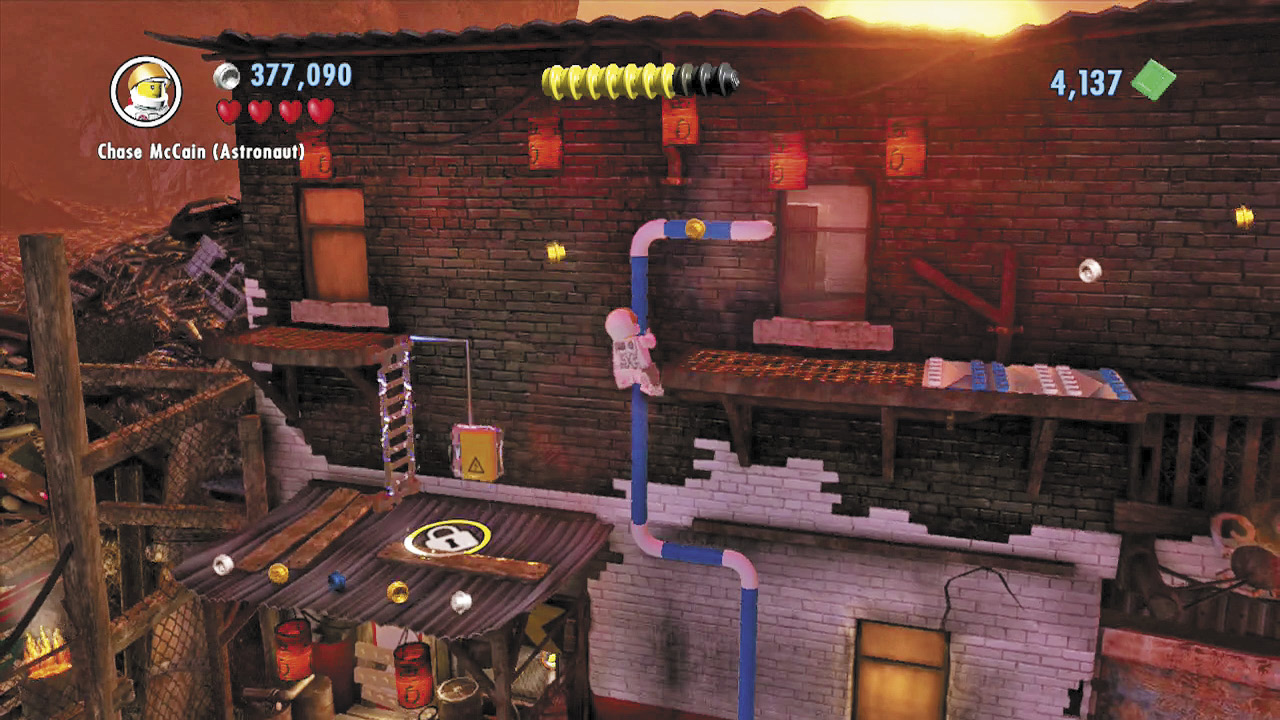
More thugs await Chase after he materializes from the transporter. Take them out, then climb the blue background pipe to reach a higher platform.
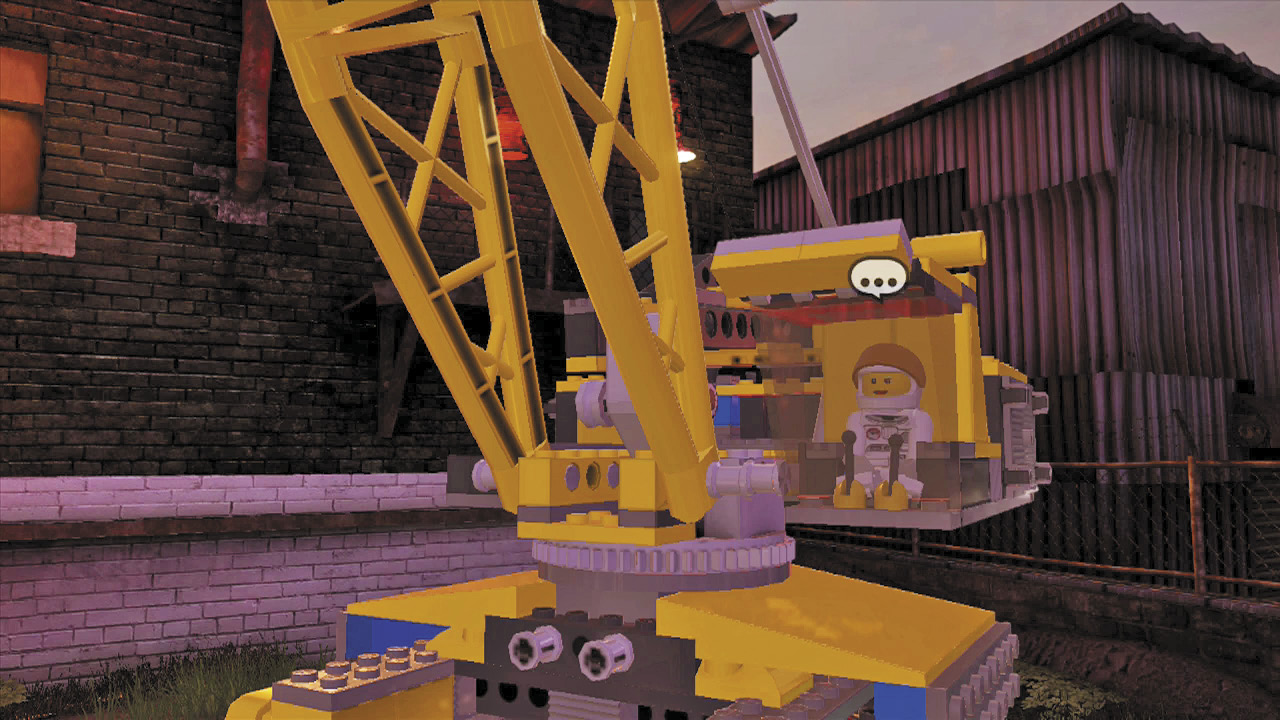
Use a wall runway to dash across the platform’s gap, then flip across a flagpole to reach the platform’s end. From here, press  to jump into the nearby crane, from which Natalia is desperately hanging. Chase lowers the poor girl to the ground, saving her from captivity!