
LEGO CITY Undercover Guide LEGO City Tour
Auburn
Points of Interest
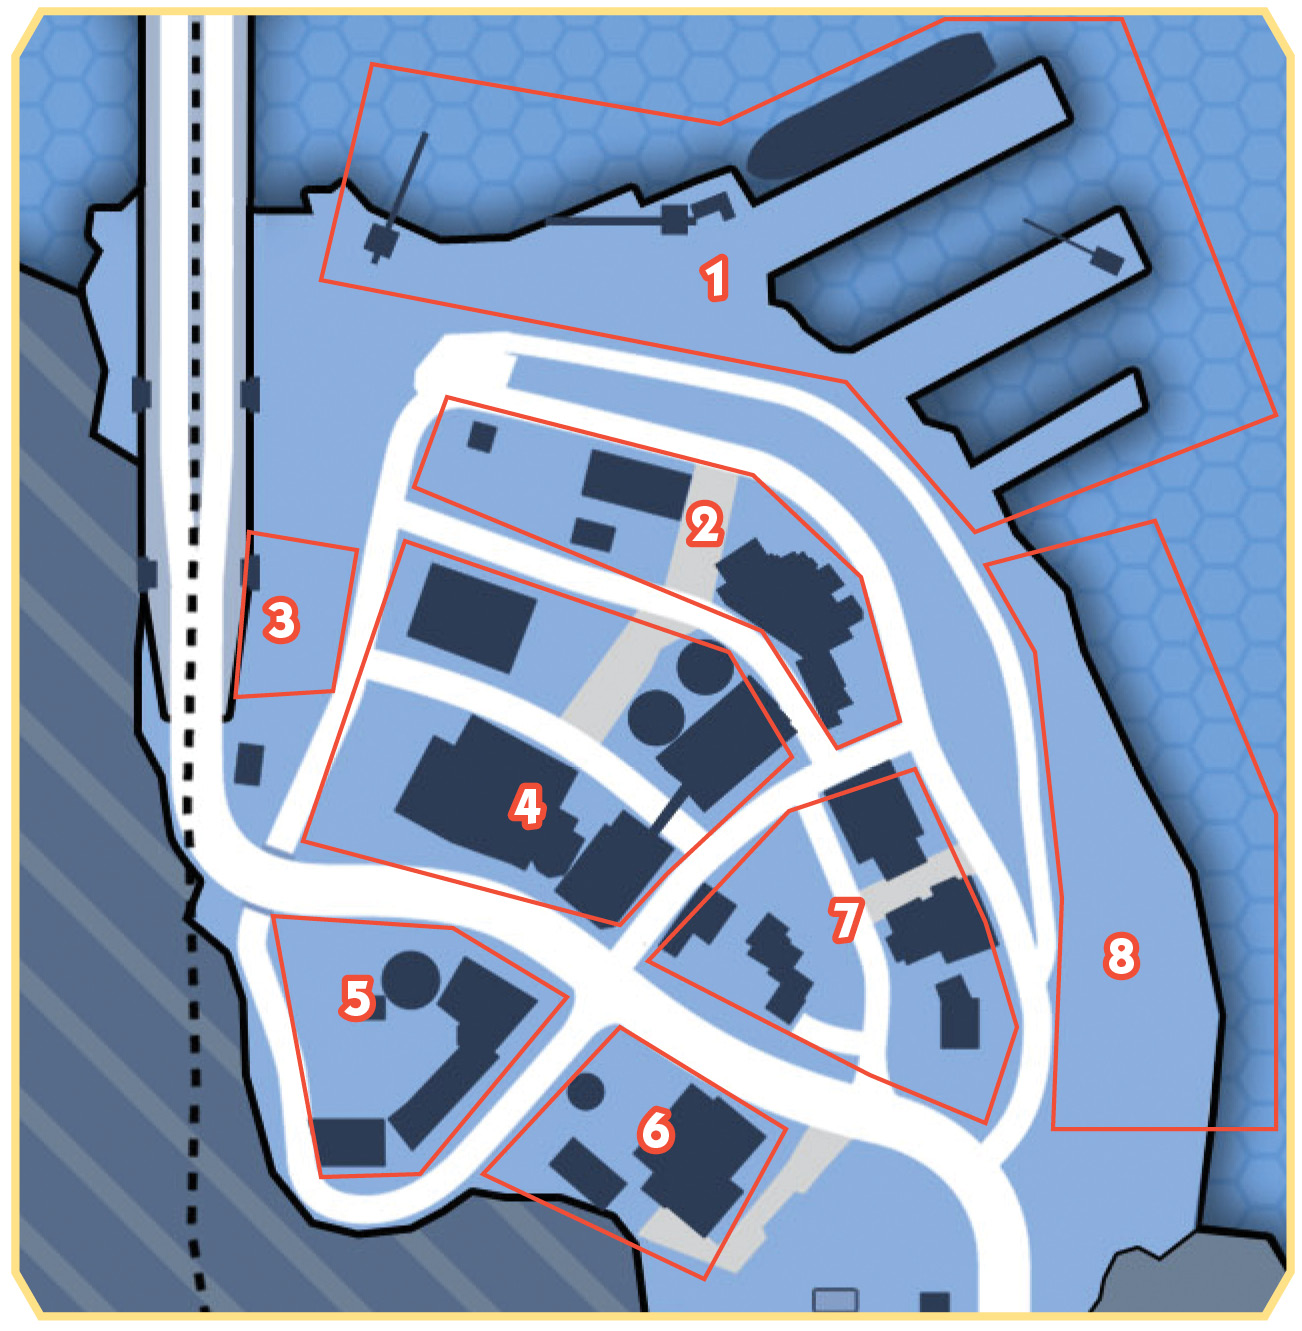
1. North Docks
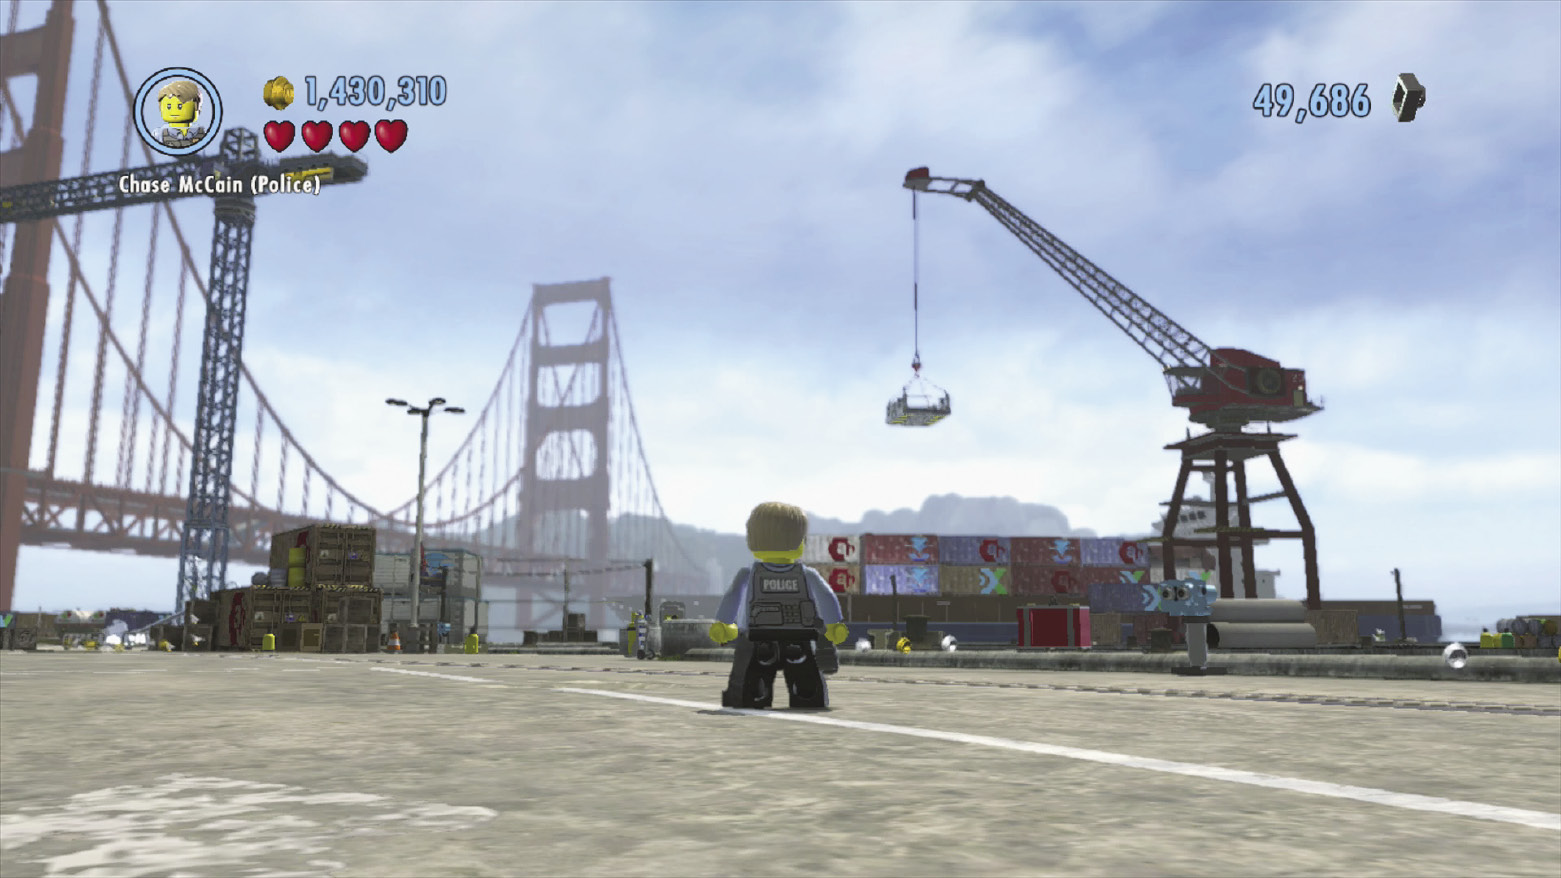
The docks feature a number of goodies for Chase to track down, and most are located around its northern area.
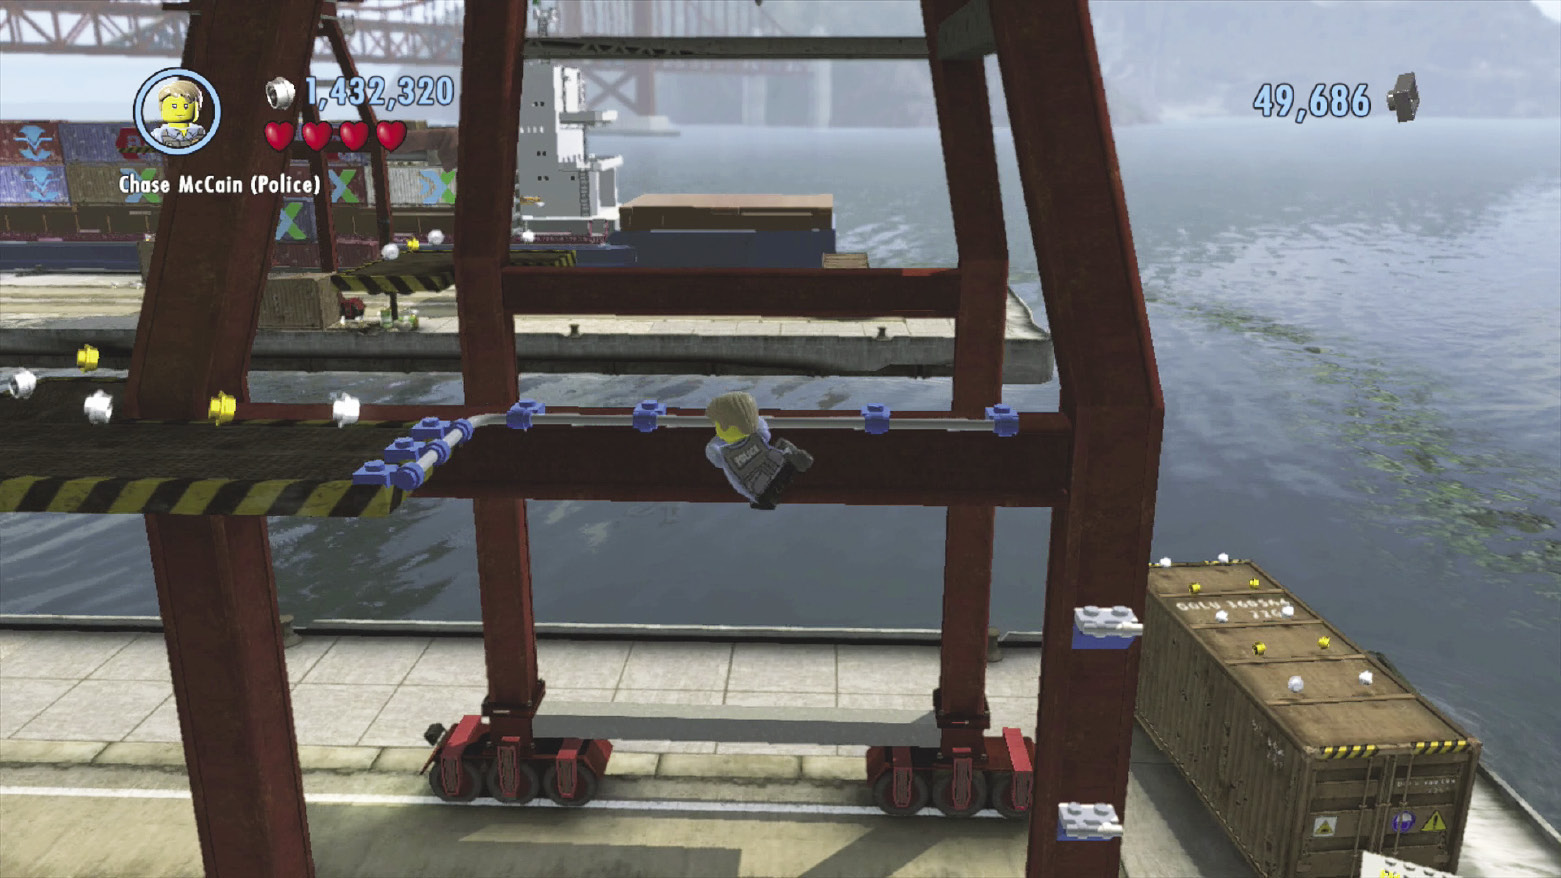
You can climb one of the docks’ eastern cranes by leaping up several handholds, starting from the base. Use the grapple gun to swing across a gap at one point, then scamper up a steep slope to reach a character token atop the crane’s arm.
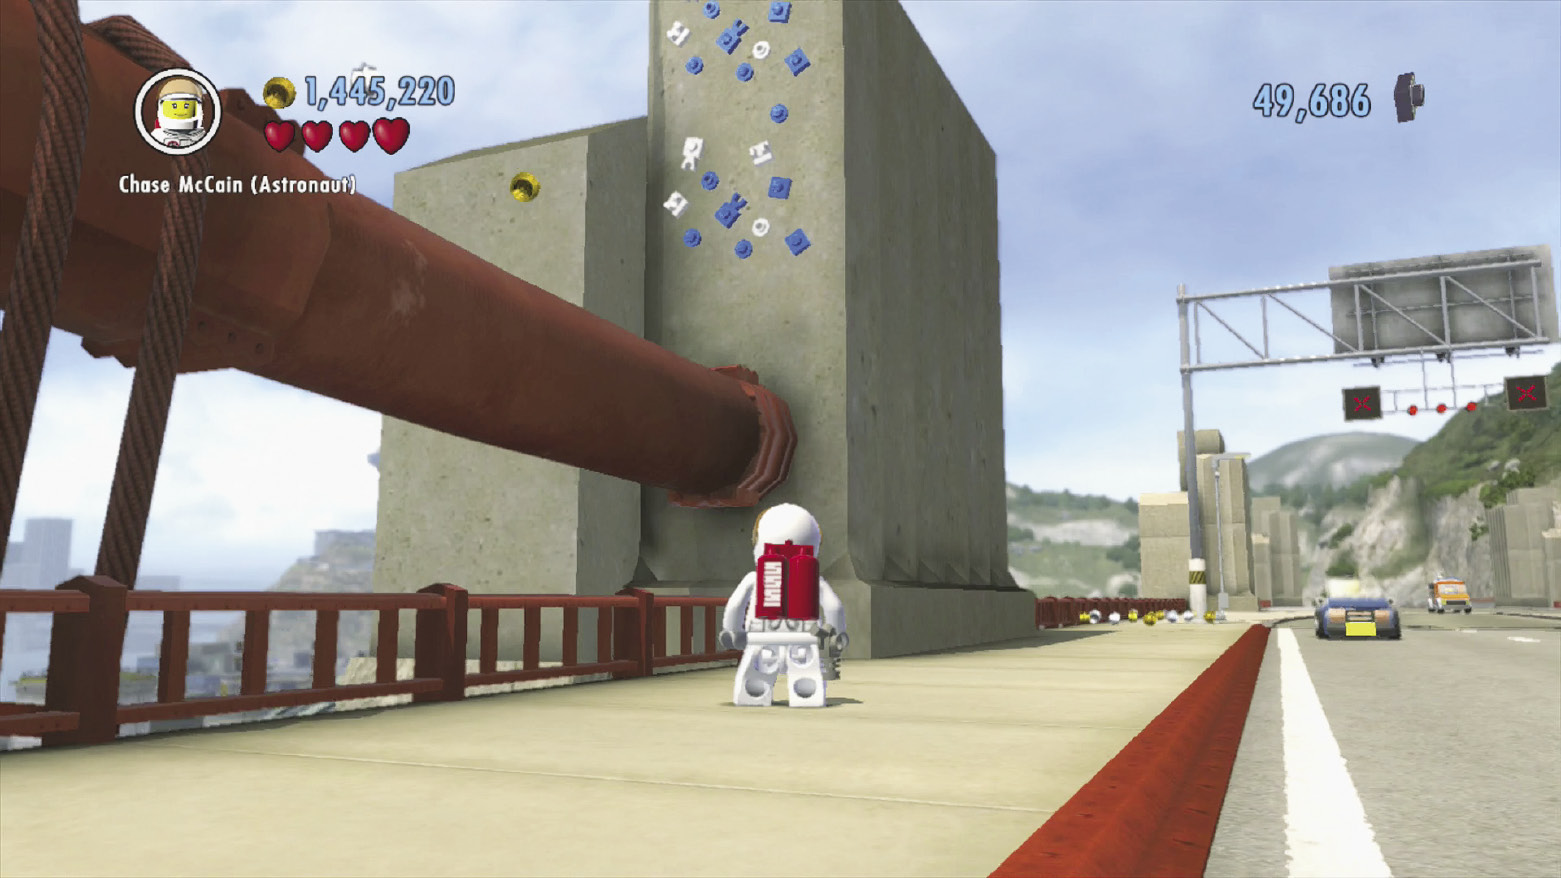
With a little effort, it’s also possible to reach the top of the docks’ northern cranes. Begin by driving toward the Auburn Bay Bridge and looking for a stone column that has some blue and white LEGOs on one side. Jetpack-jump up to the LEGO patch, landing on the bridge’s orange support to reach it.
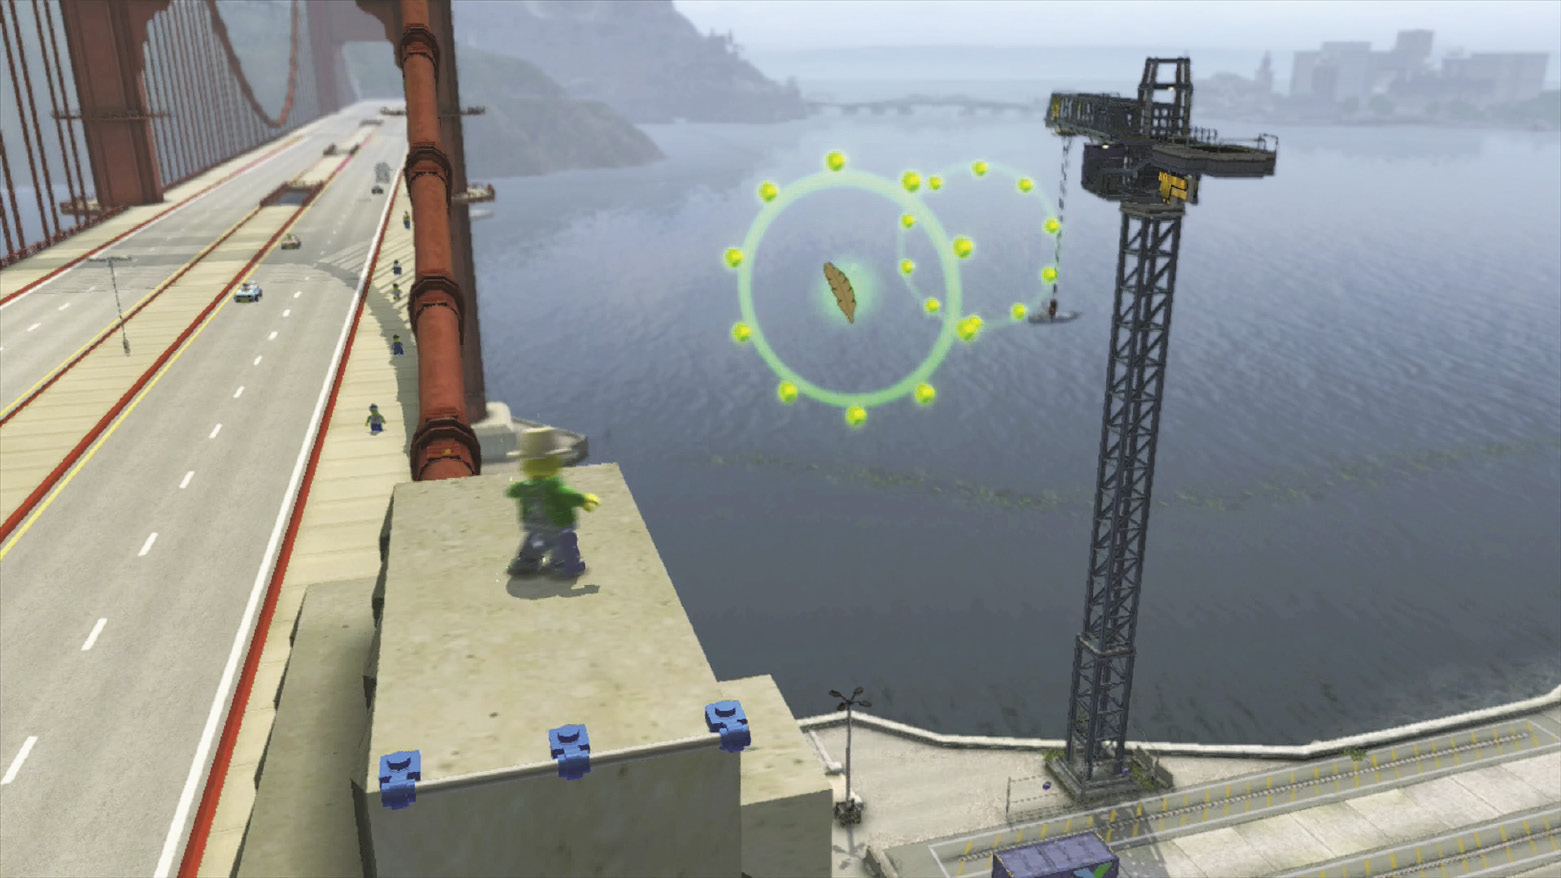
Activate the chicken symbol atop the column, then glide through the stud rings to reach the top of the first northern crane.
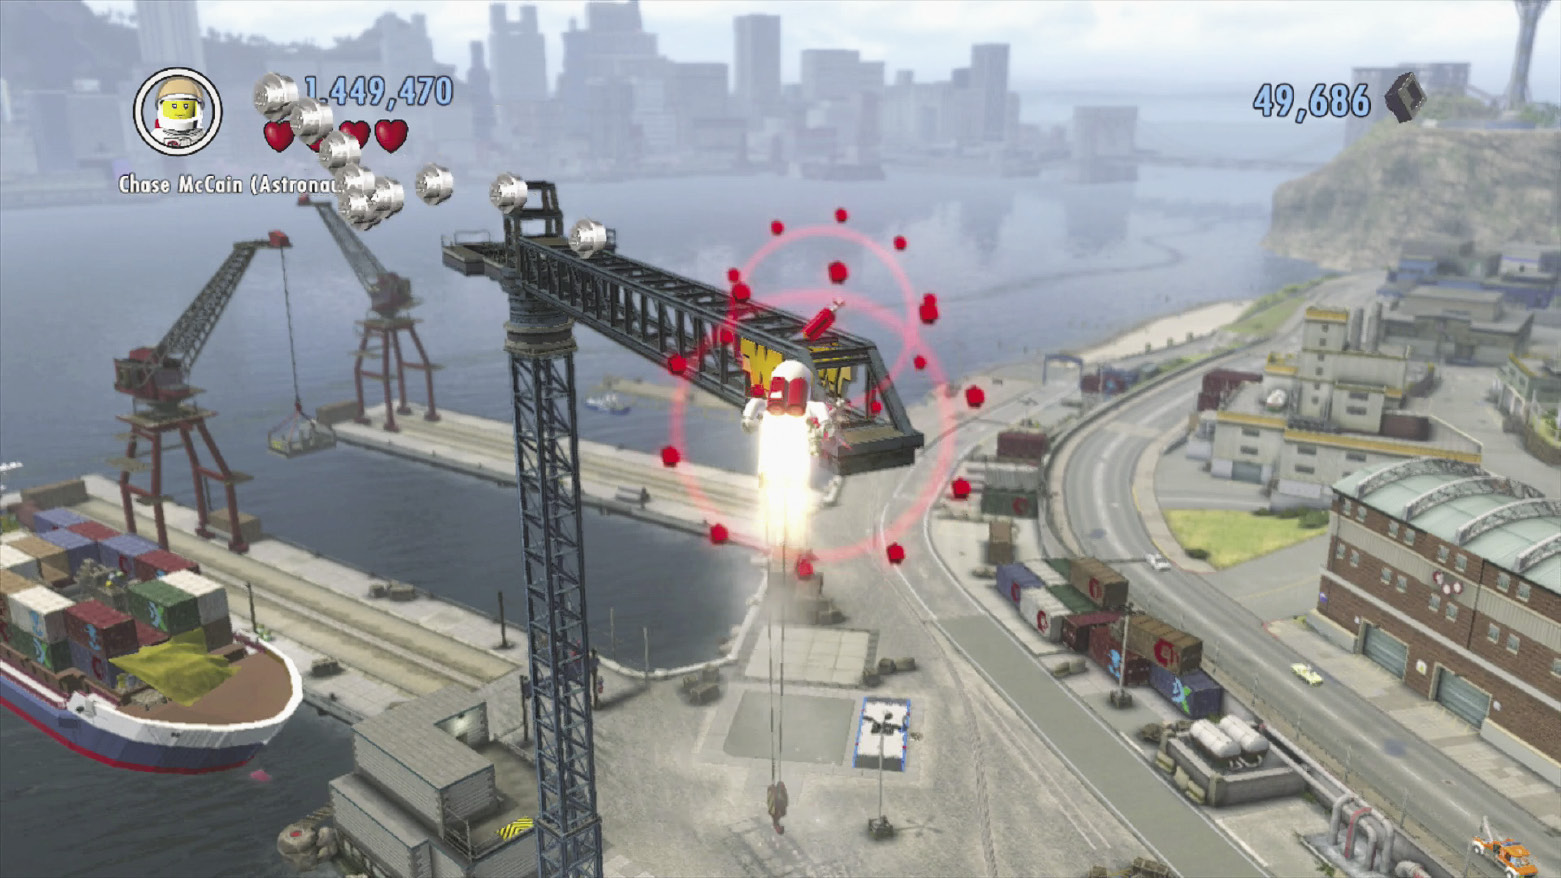
Run to the end of the first crane to discover a jetpack symbol. Activate this as well, then boost through more stud rings to reach the other northern crane, where you can raise Auburn’s flag.
2. North-Central Buildings
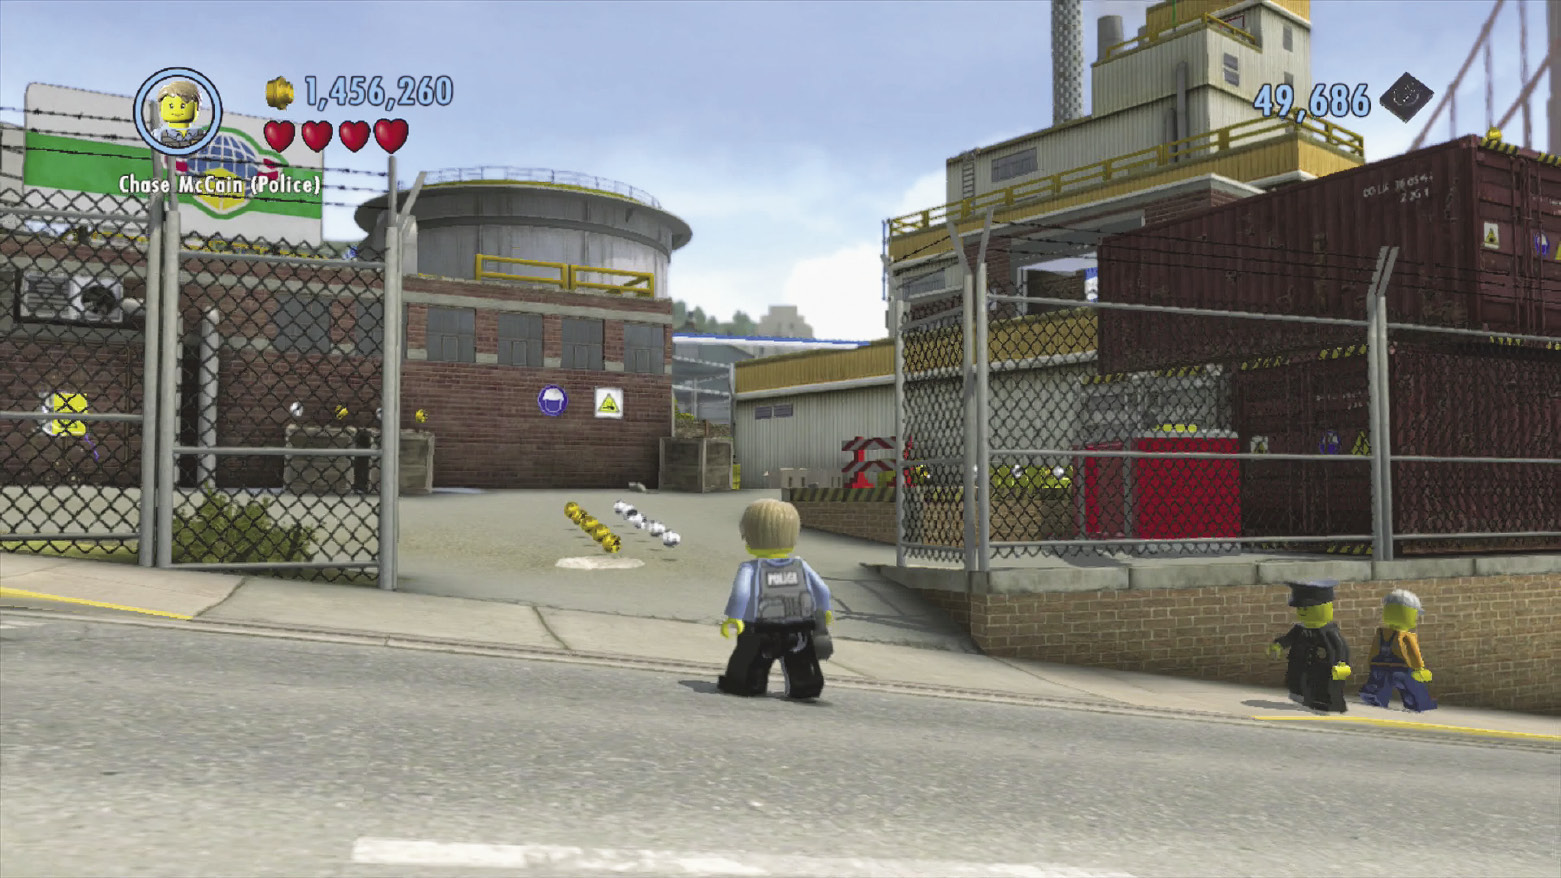
Many items of interest are found around the north-central buildings. This is where Auburn’s free run event plays out, so it’s important to know how to navigate the buildings.
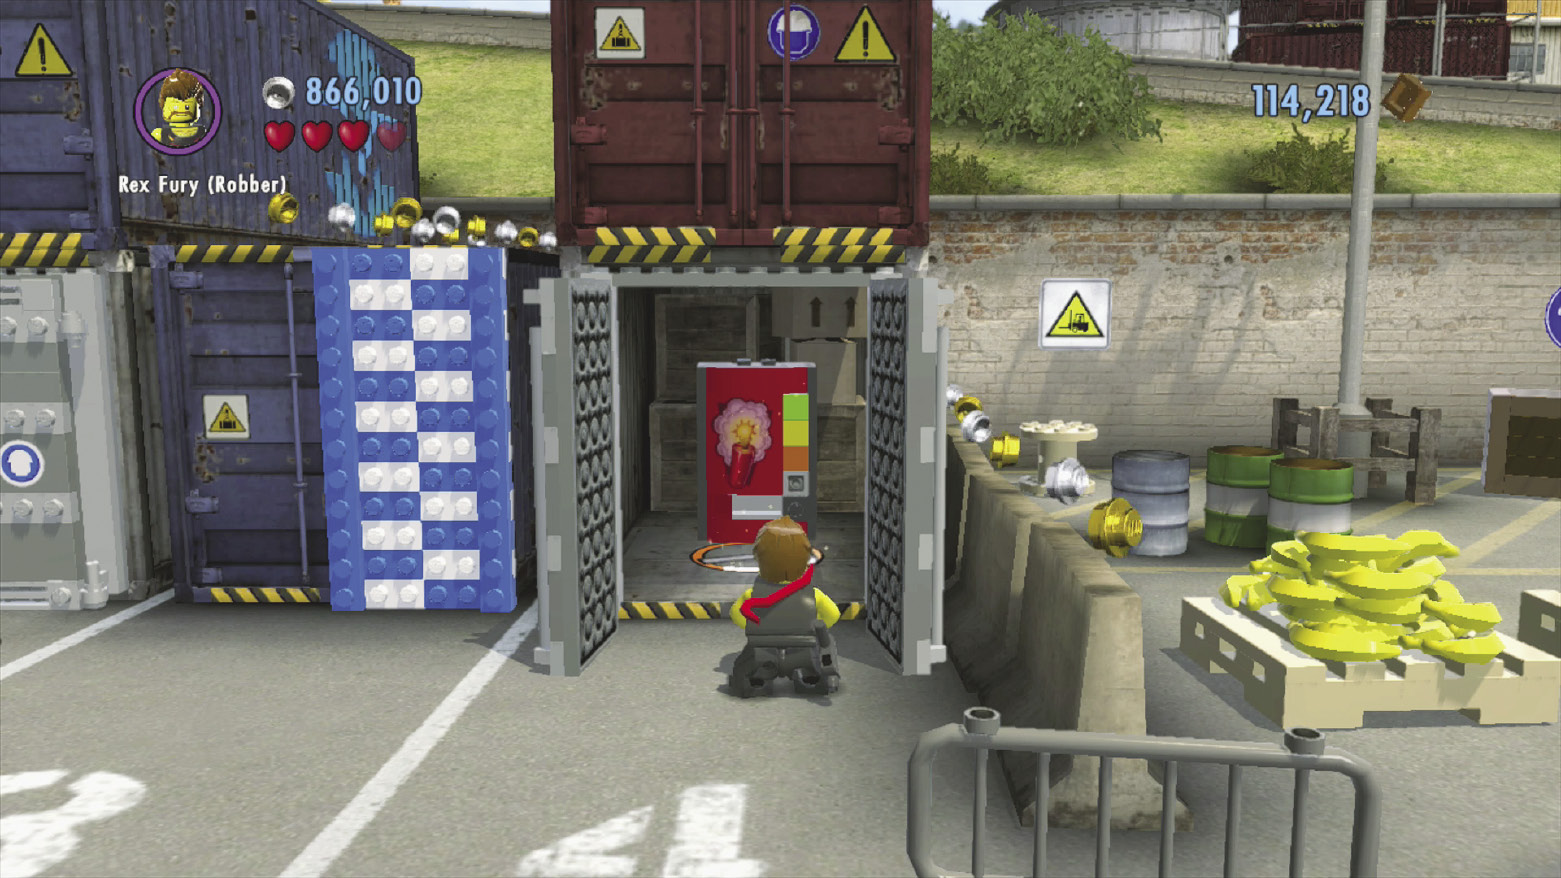
Before you can fully explore the north-central buildings, you must blast the northeast fence’s silver gate. Search the large crates near the loading docks to discover a dynamite dispenser in the one near the banana pallets.
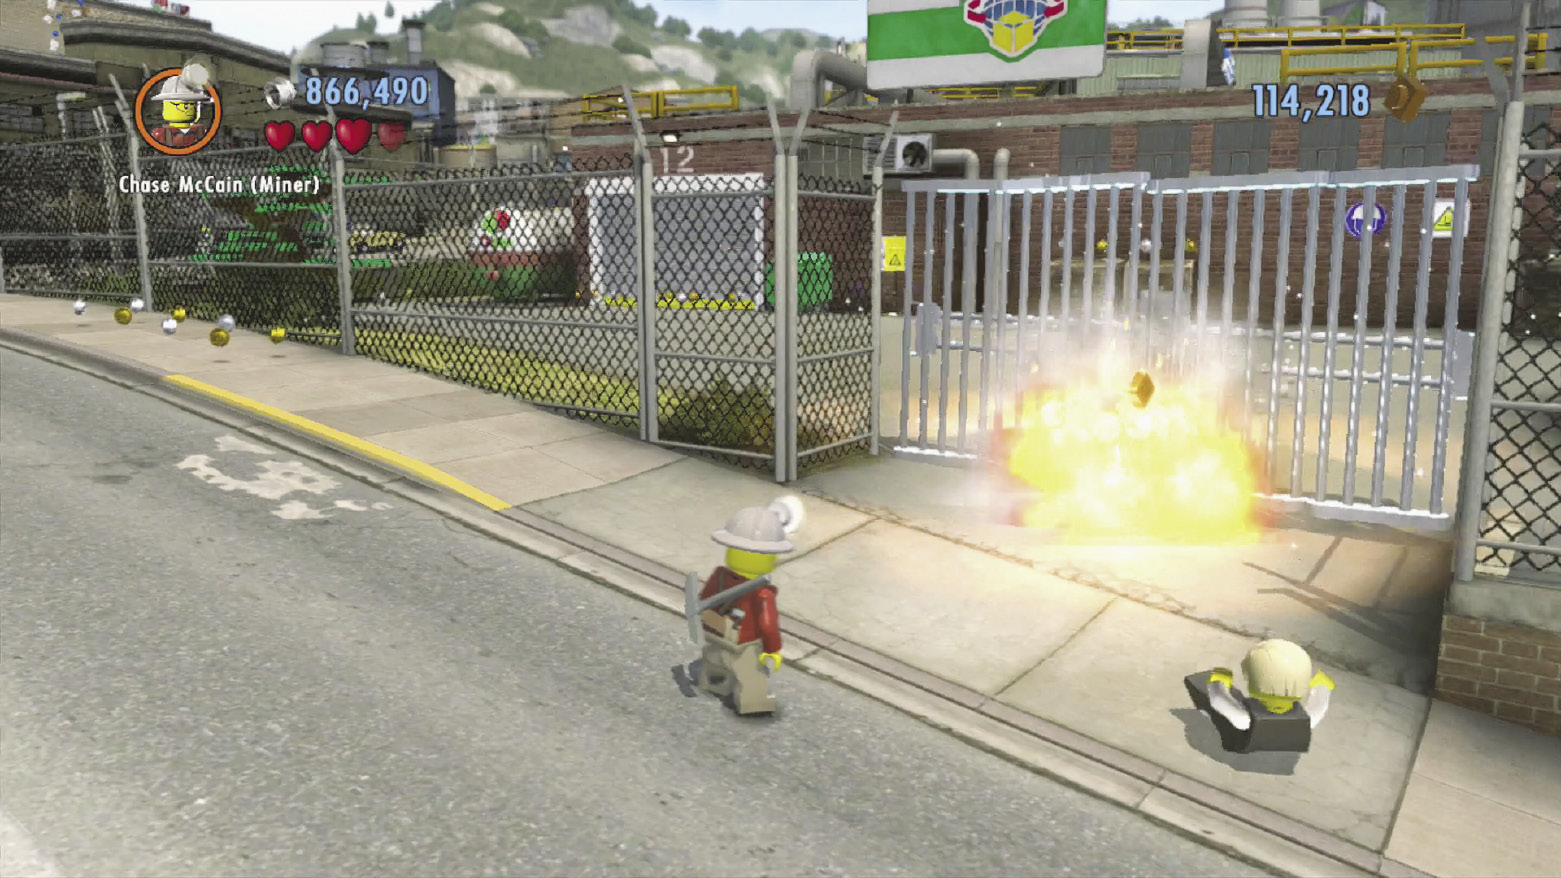
Bring the dynamite to the silver gate, then blast it to bits. Now you can begin exploring the north-central buildings.
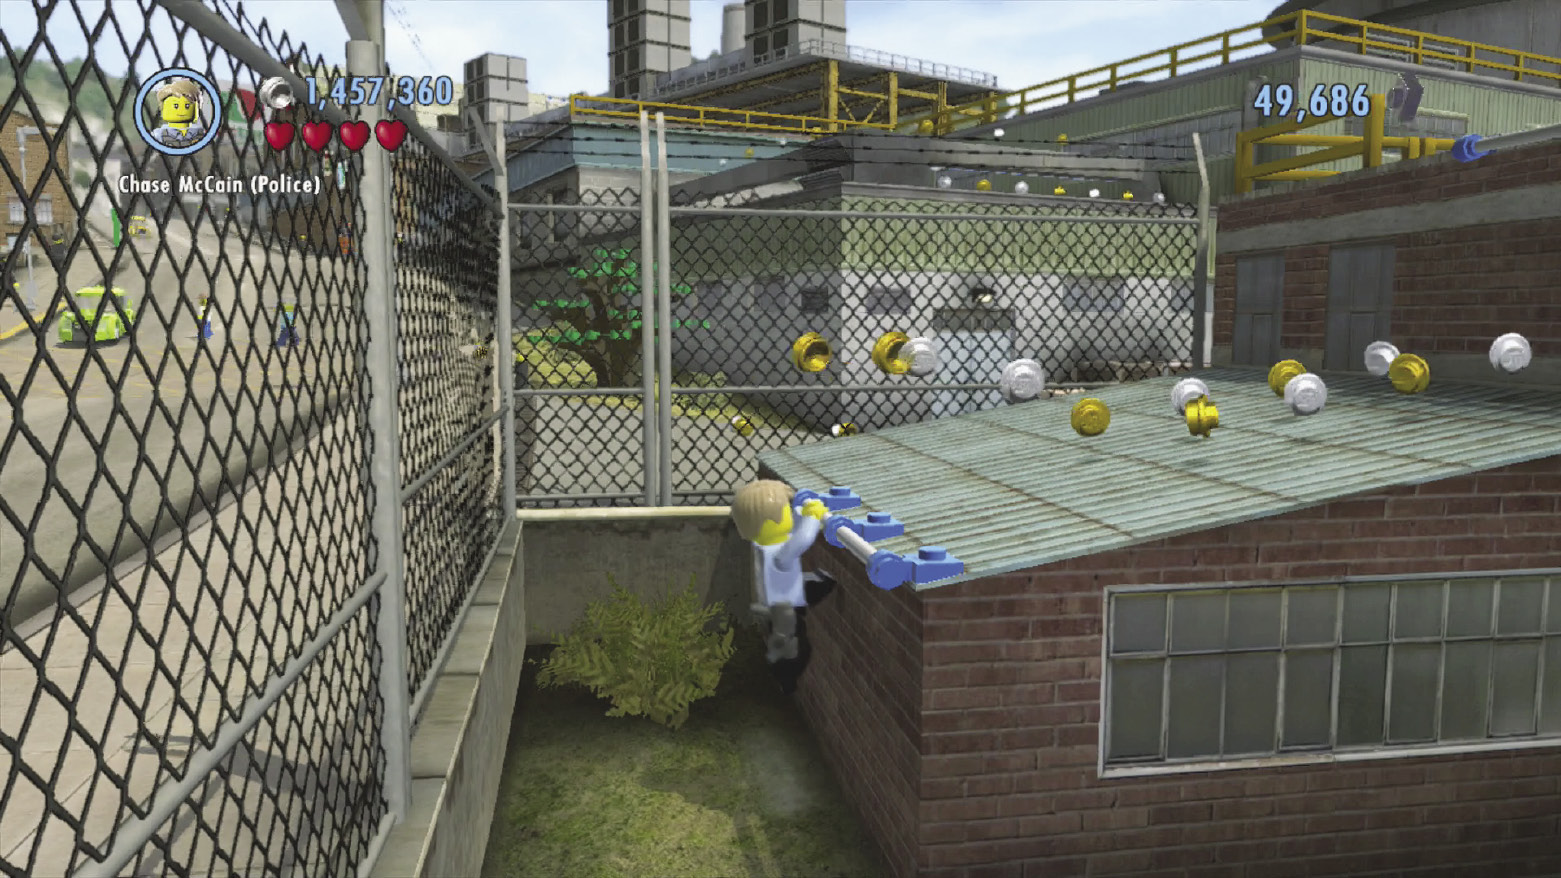
Fix the fuse box on the garage to open it and score a superbrick if you like, then circle around the nearby Octan drum to spy a low handhold. Grab the handhold to begin your ascent up the north-central buildings’ rooftops.
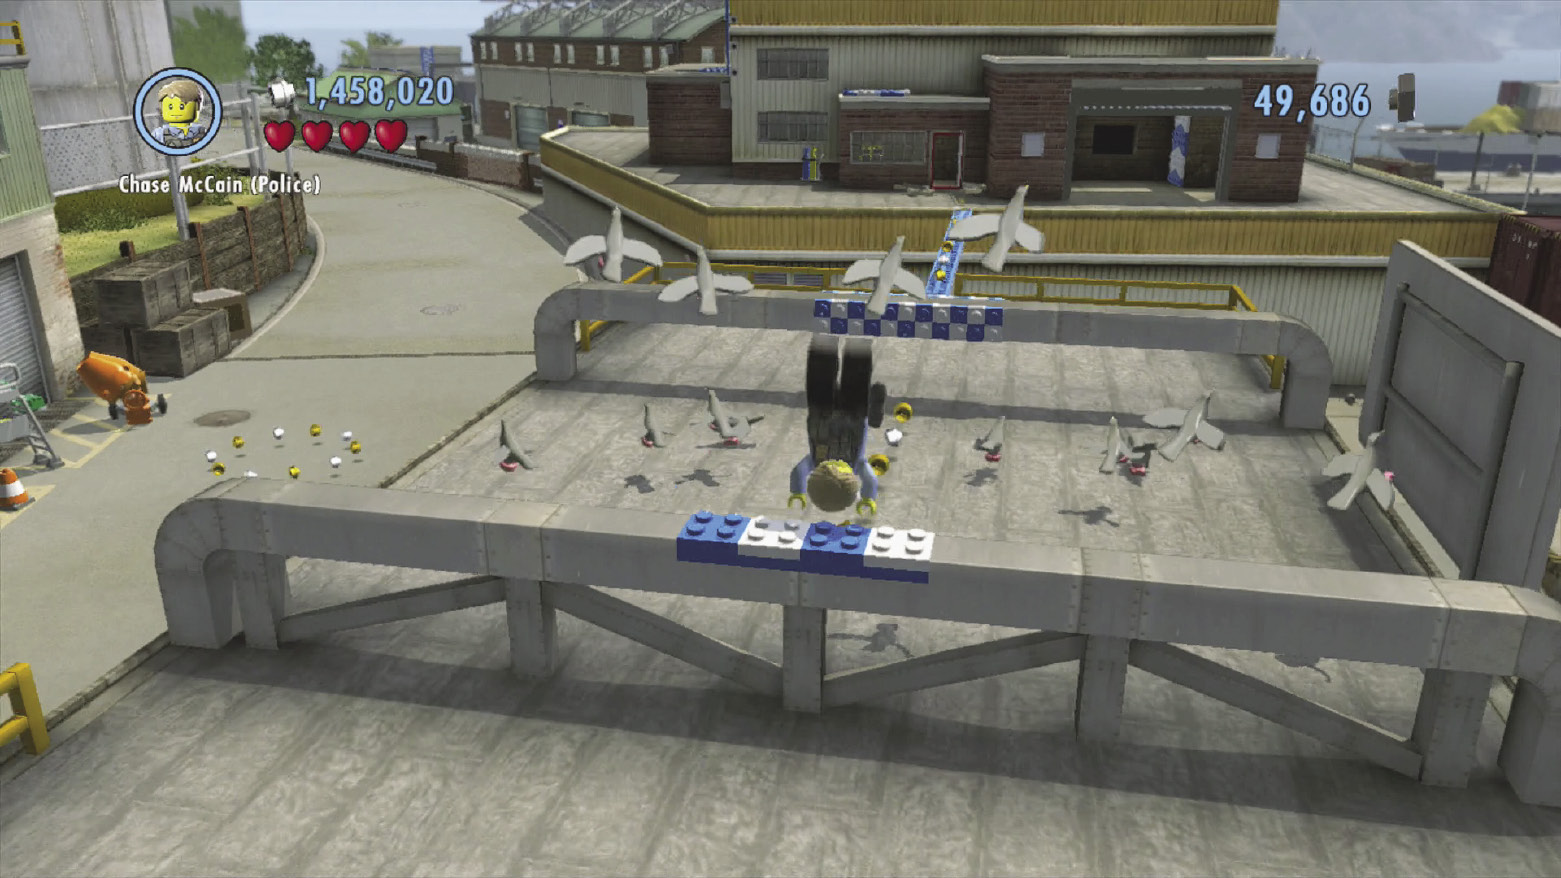
Vault a pair of vents to reach a blue balance beam that leads to the next building.
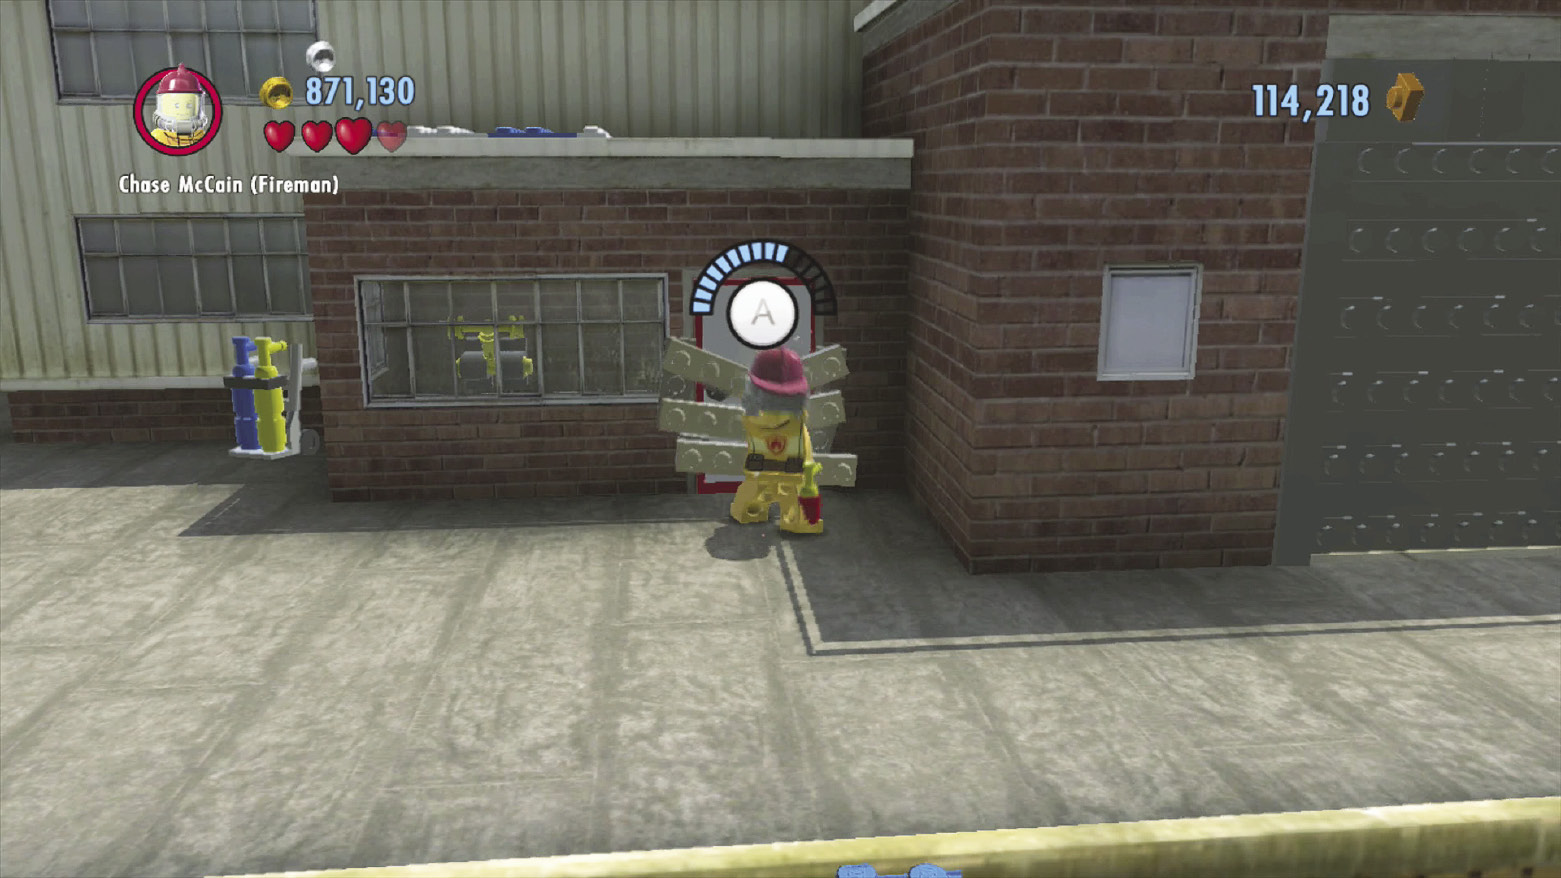
Chop through a boarded door to enter a small room with a lever. Pull the lever to open the nearby garage door.
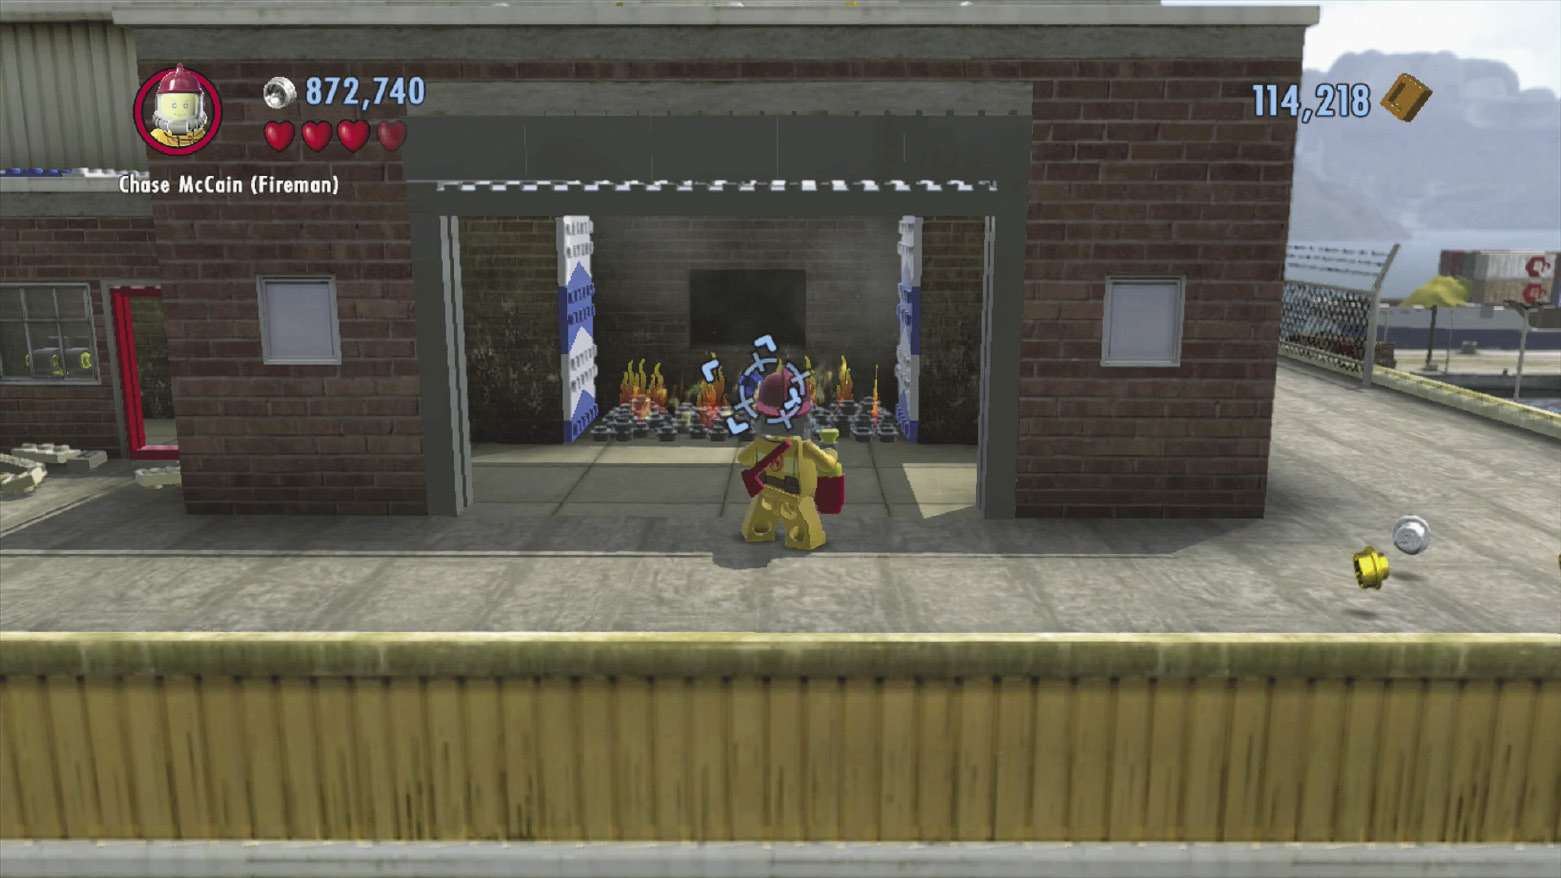
Enter the garage and douse the flames at the base of the wall-jump pads. Leap between the pads to reach the roof above.
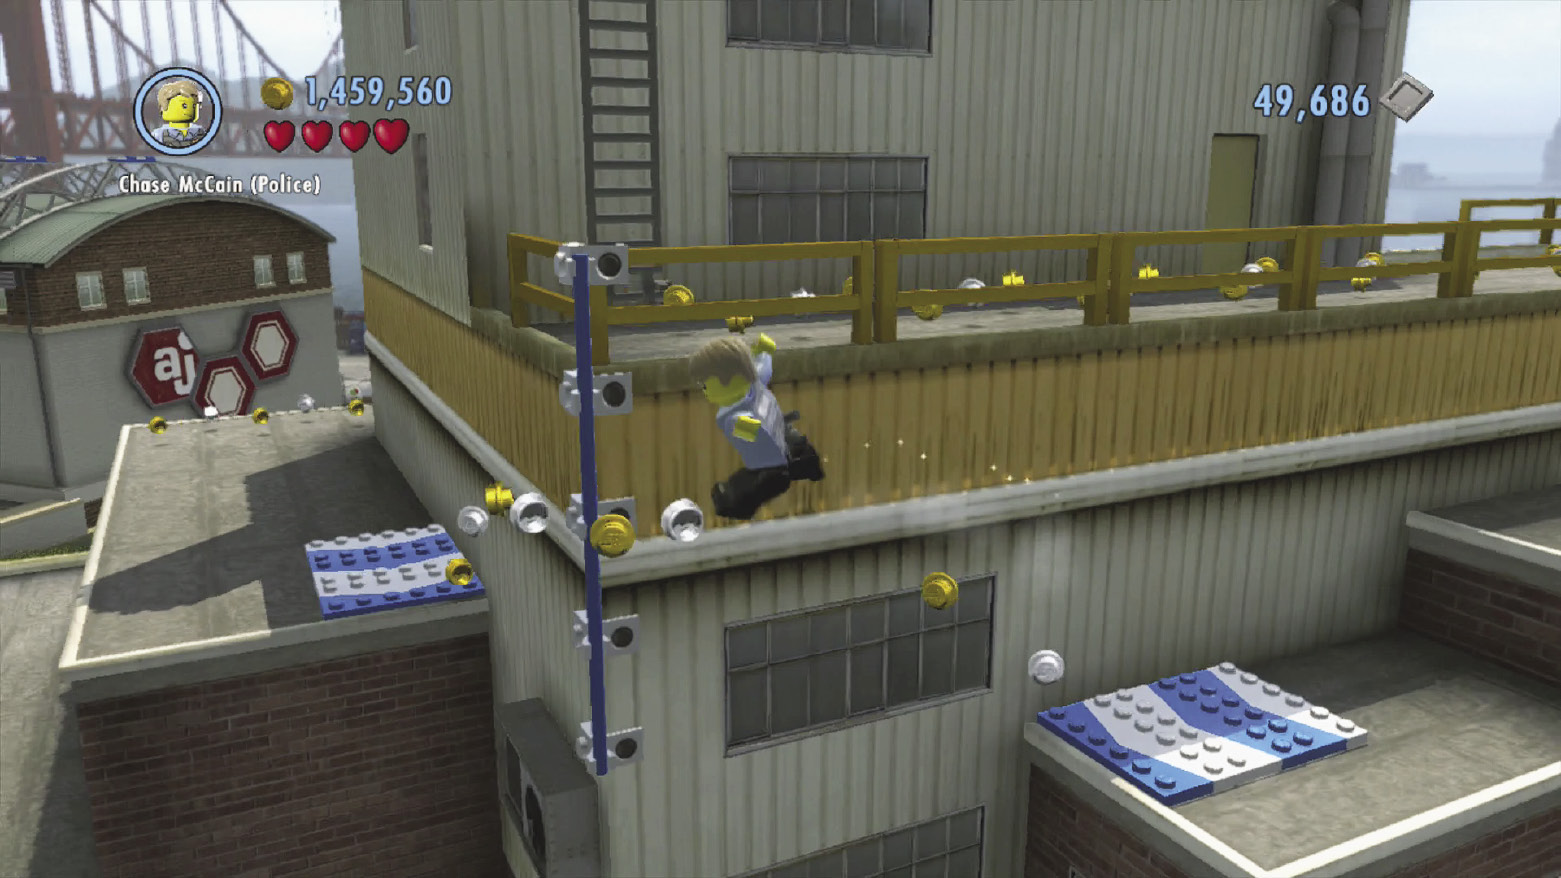
Next, use a wall runway to zip around the building’s corner. Climb a LEGO wall afterward, then use another wall runway to round another corner.
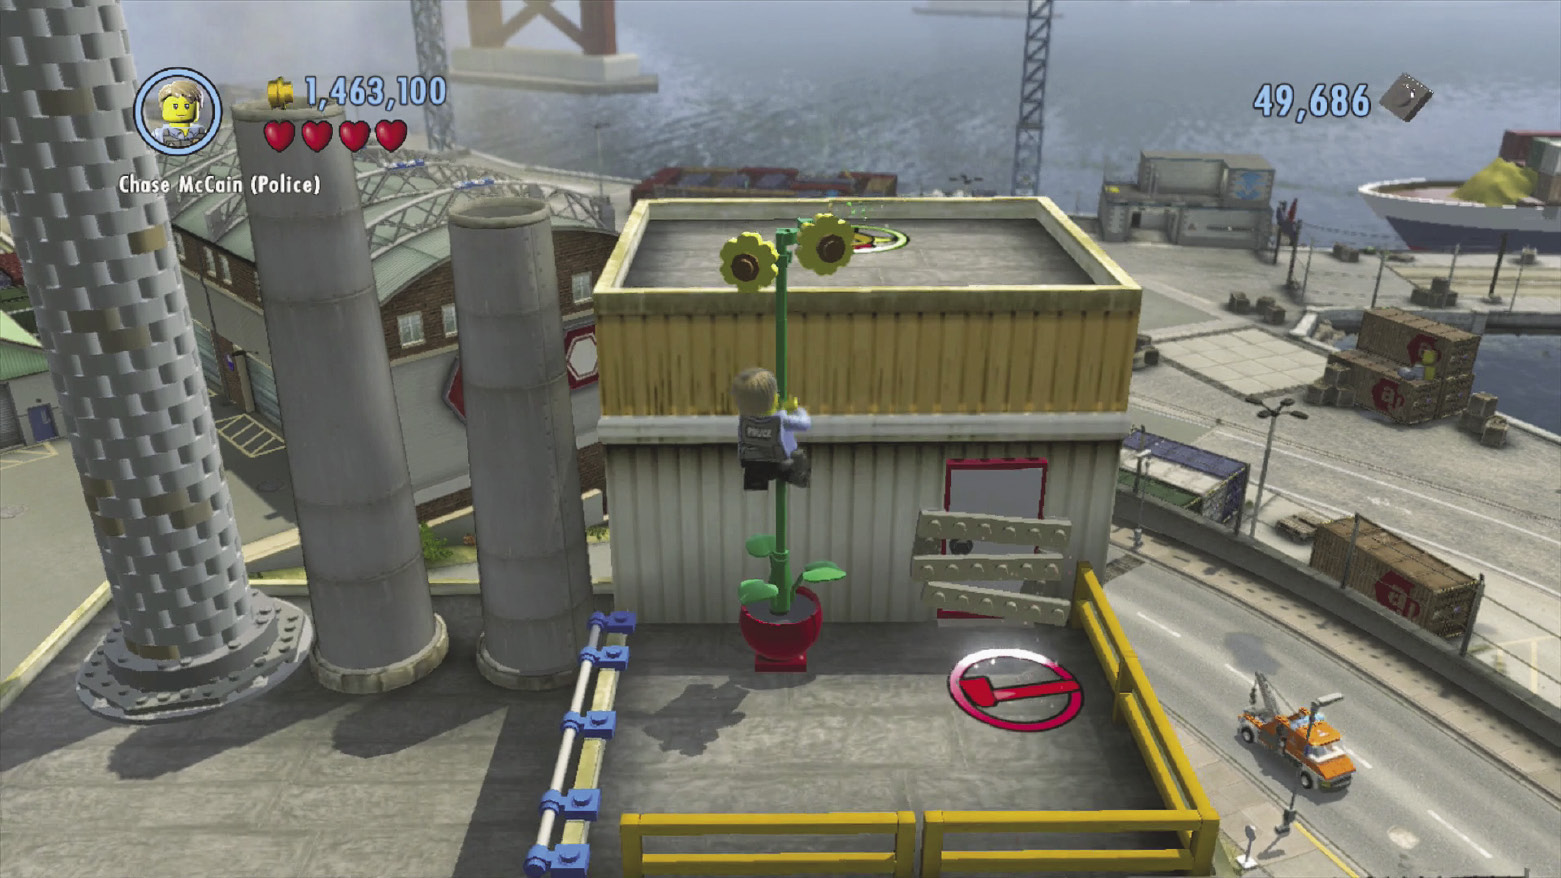
Climb a ladder to reach a small superbuild pad and a planter. Water the planter to grow a sunflower that stretches up to the higher roof above.
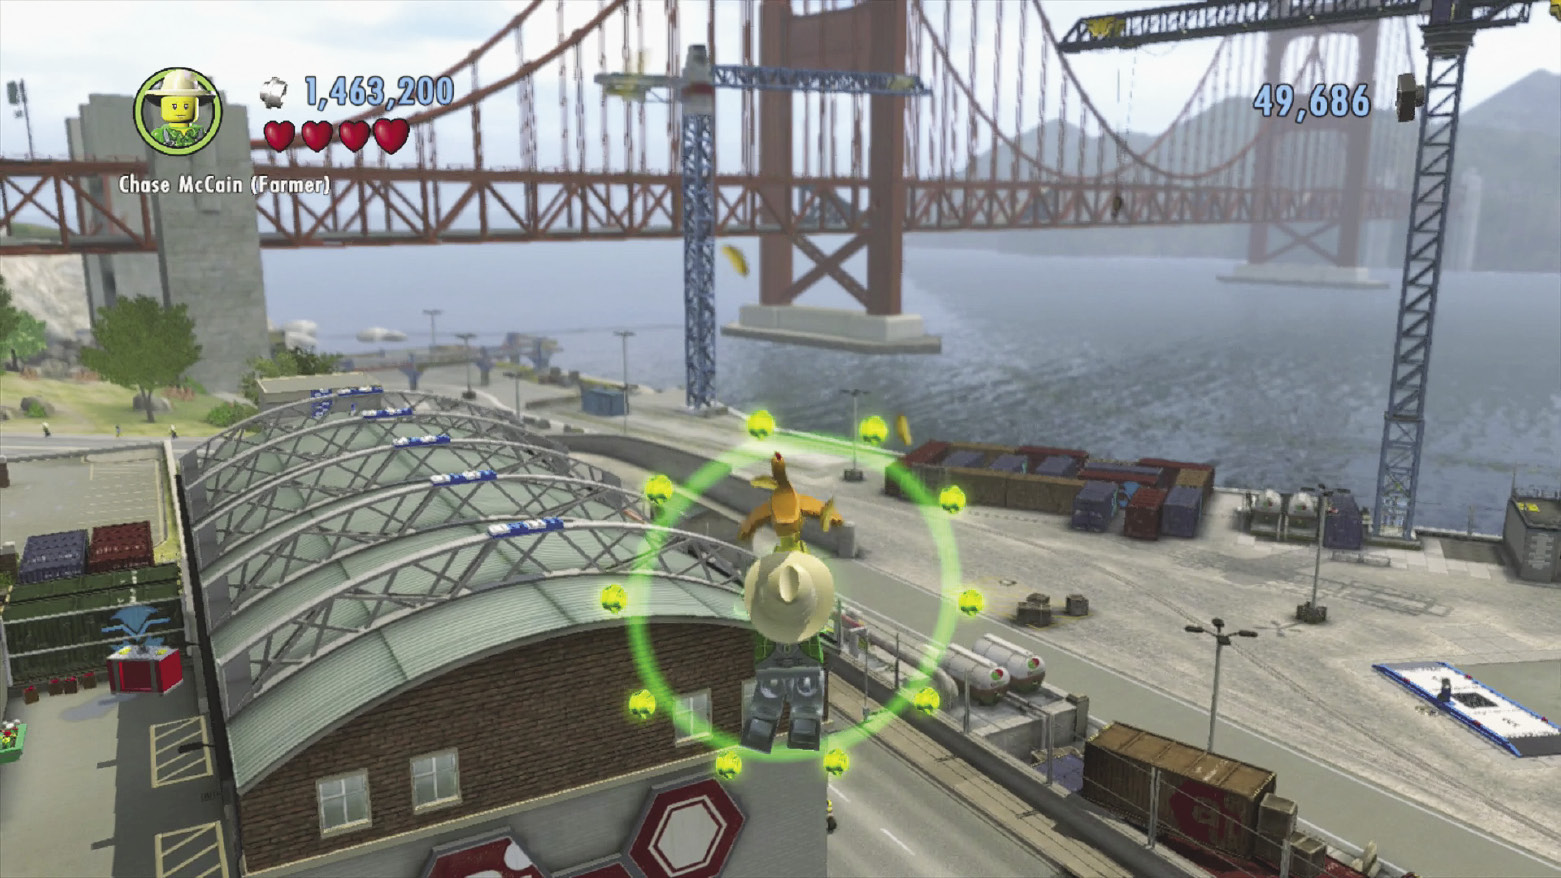
Climb the sunflower to reach a chicken symbol. Activate the symbol and then glide across to the far building.
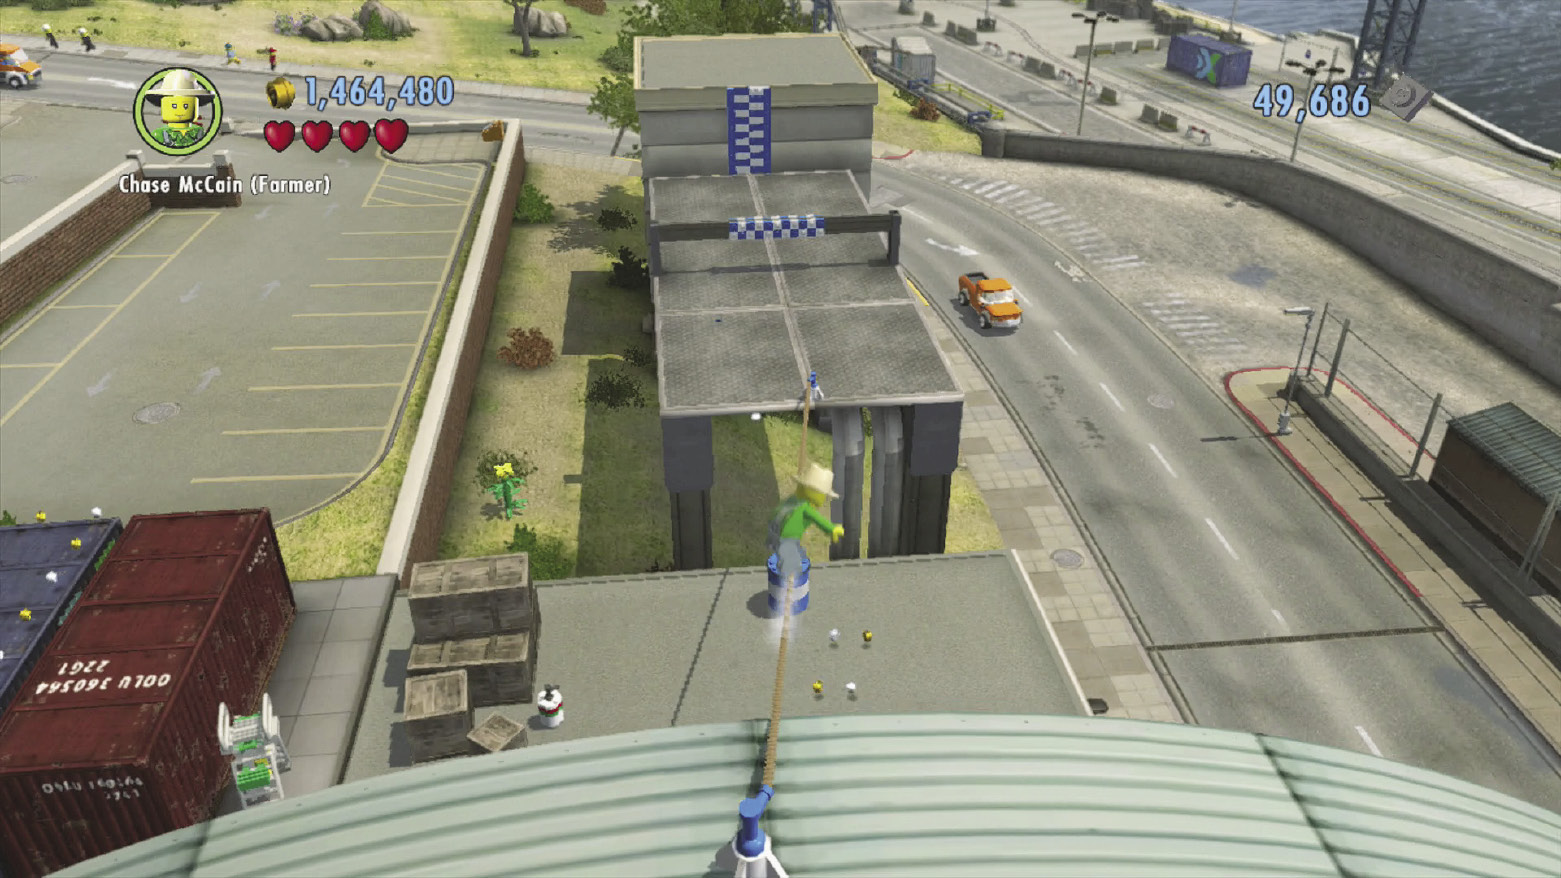
Vault several rooftop supports to reach a tightrope that leads to the final building. Slide down to reach the end of the run. Whew!
3. Metro Station
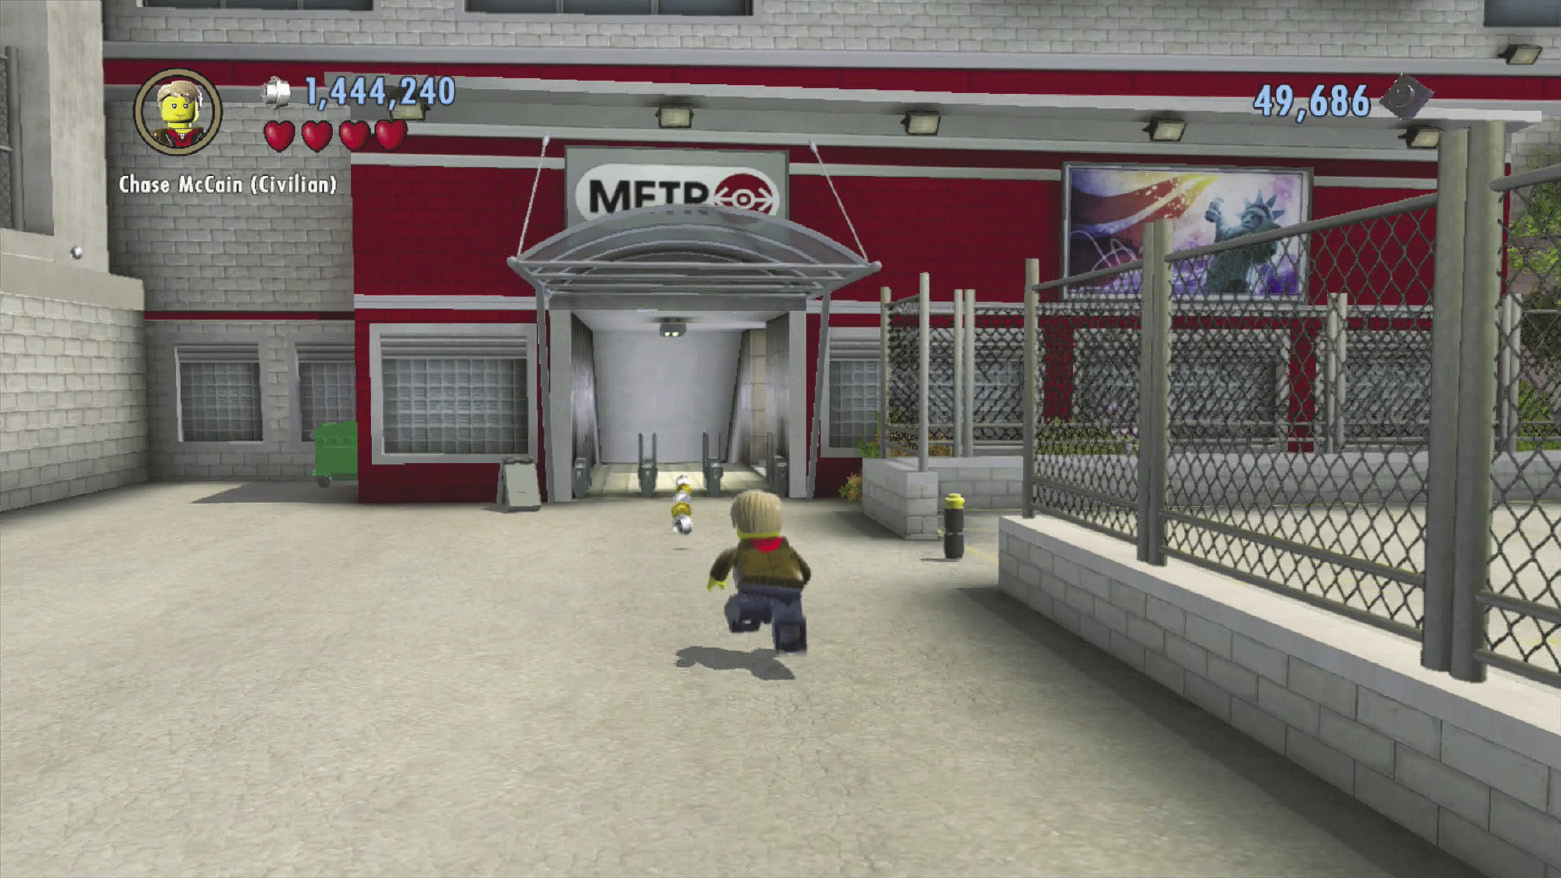
Auburn’s train station is located in a tunnel underneath a bridge, making it tricky to locate. Drive up to the north side of town and look for a red metro station with a small parking lot out front. The metro station is right near the bridge—head inside to visit Auburn’s underground train station!
4. South-Central Buildings
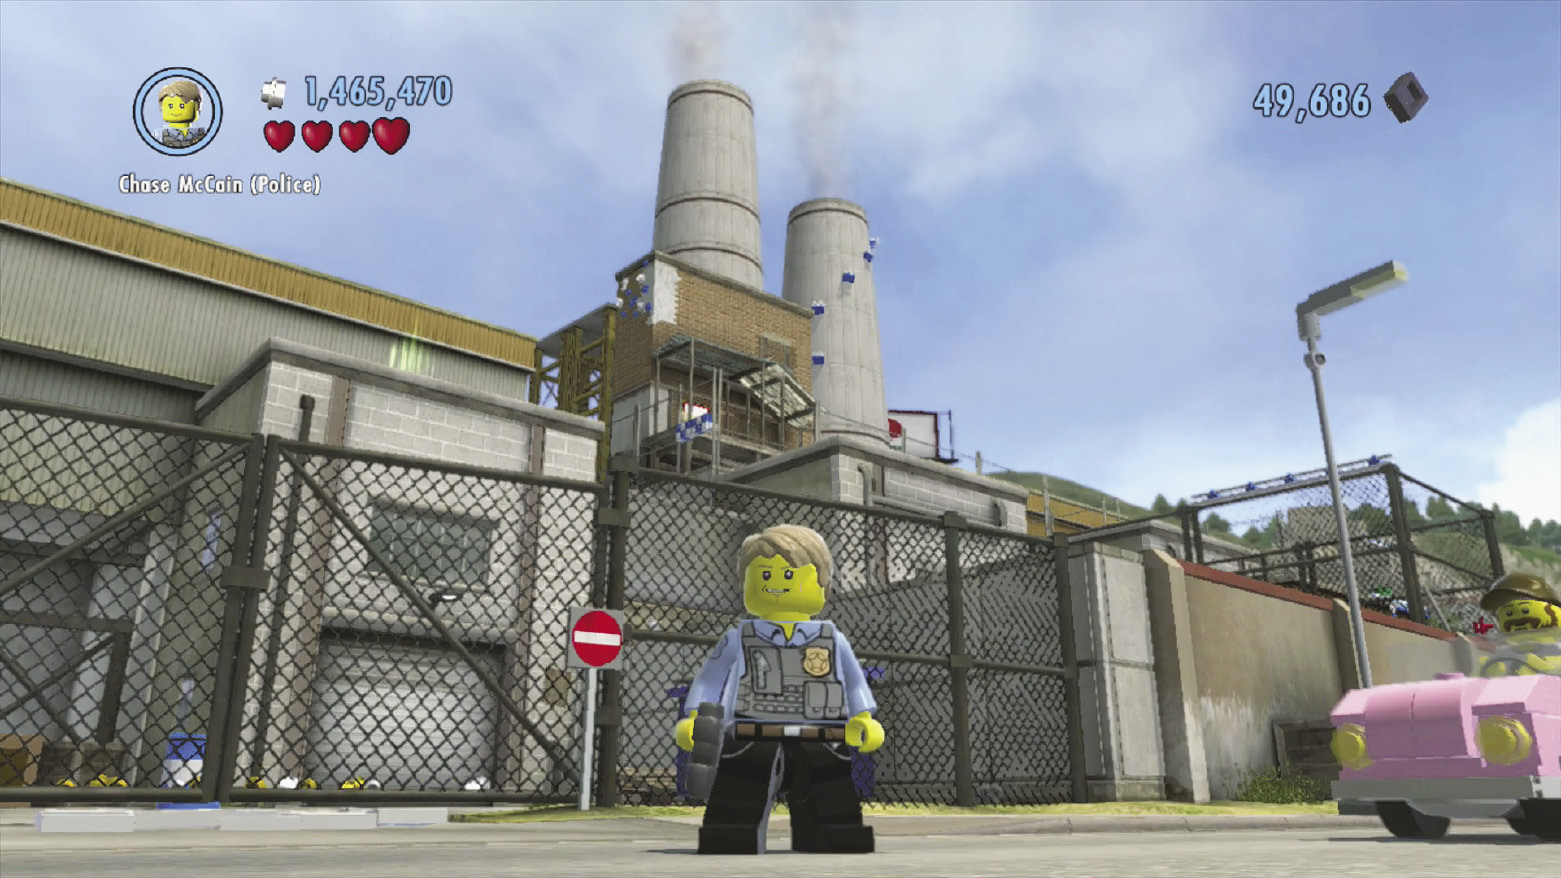
Traverse this block of buildings to reach a number of goodies.
North Access Point
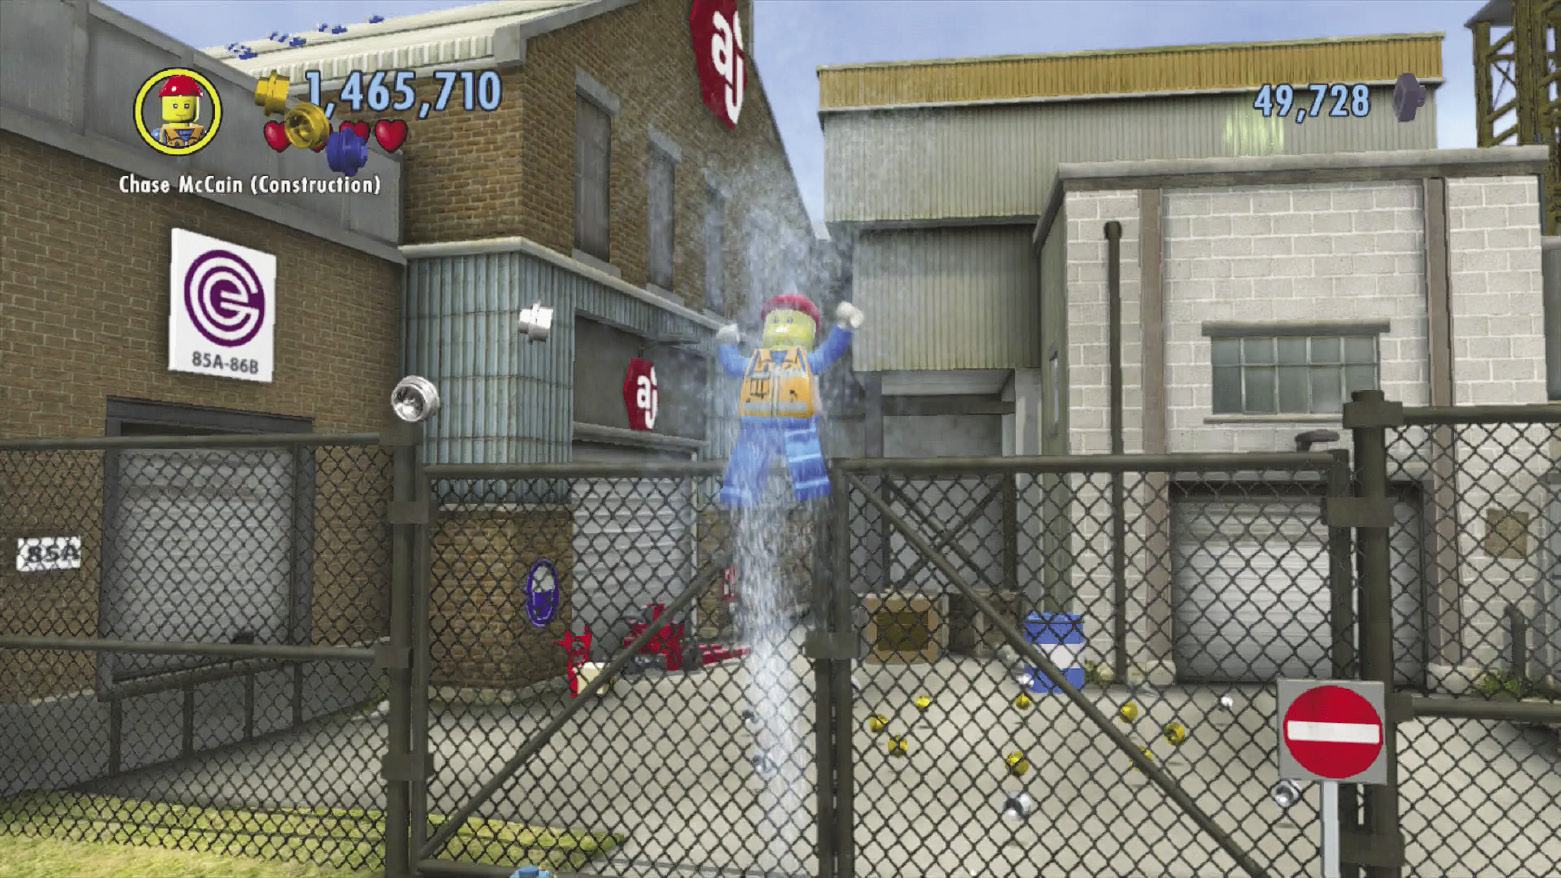
Drill the shaky pavement on the sidewalk along the street that runs north of the buildings. Drilling the pavement here uncorks a geyser that boosts you over the tall fence.
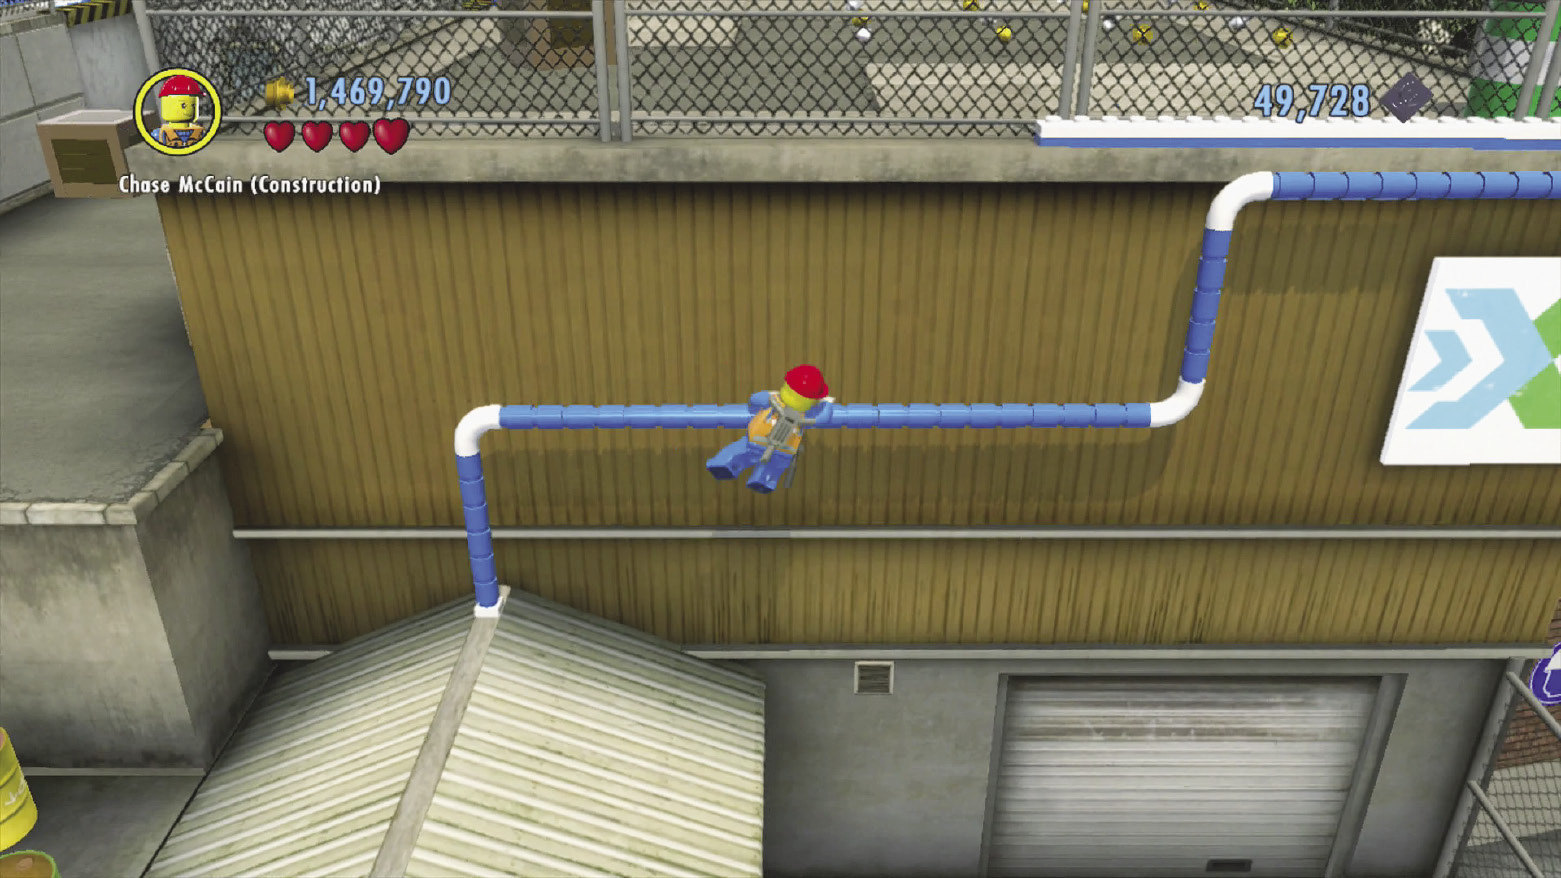
Climb a ladder, then run to the right and vault another tall fence. Head through the next fence’s open door and then shimmy along a blue drainpipe, heading up to a fenced-off roof.
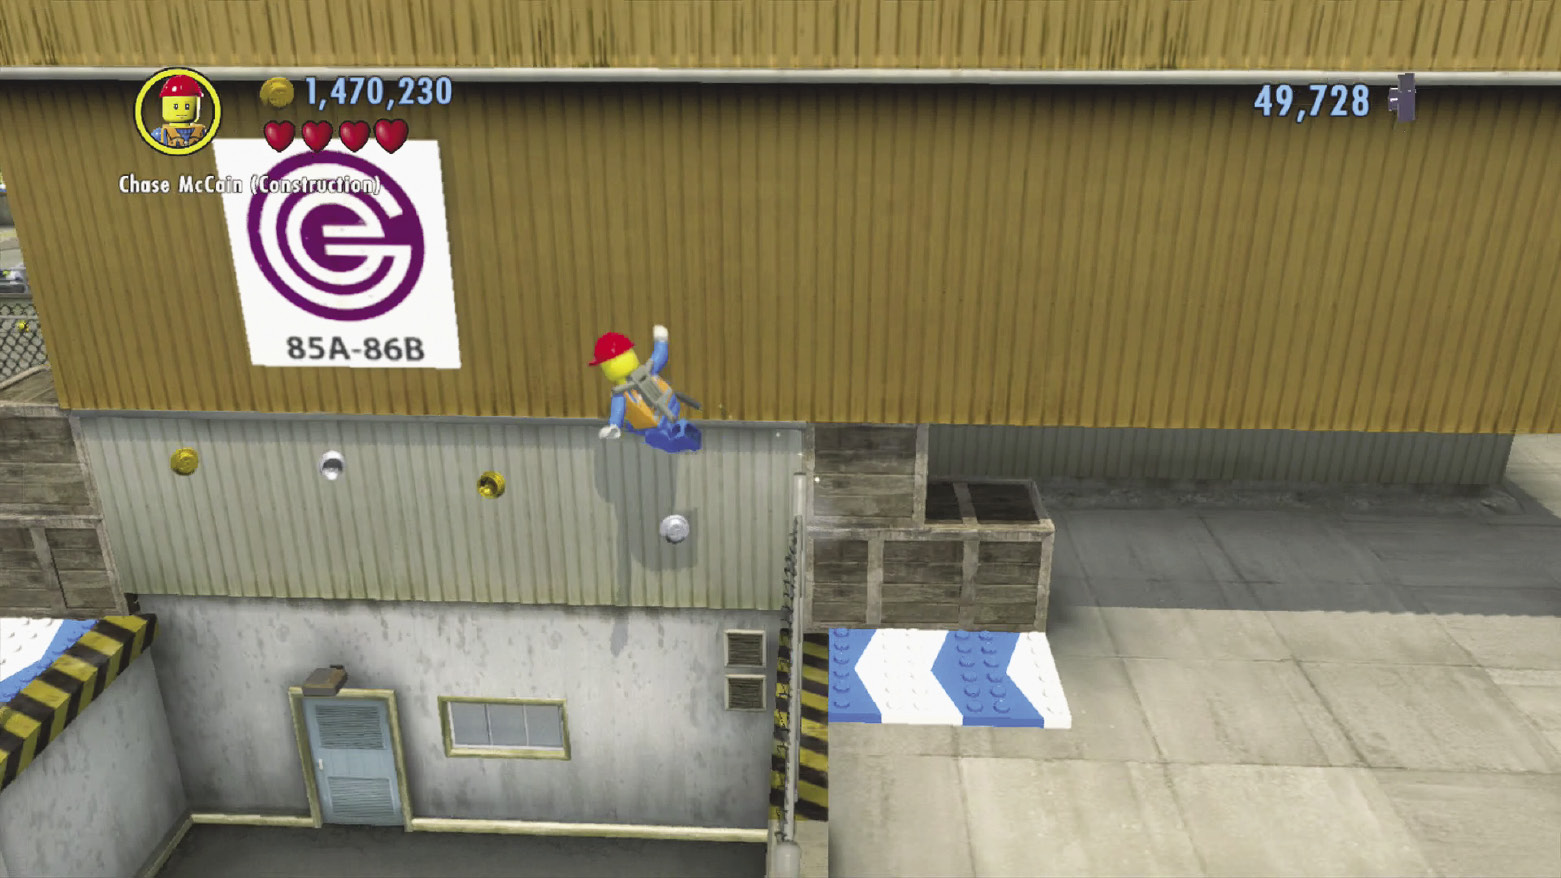
Vault the roof’s fence, then use a wall runway to sprint over to the neighboring roof. Run left and slide under the next fence you encounter.
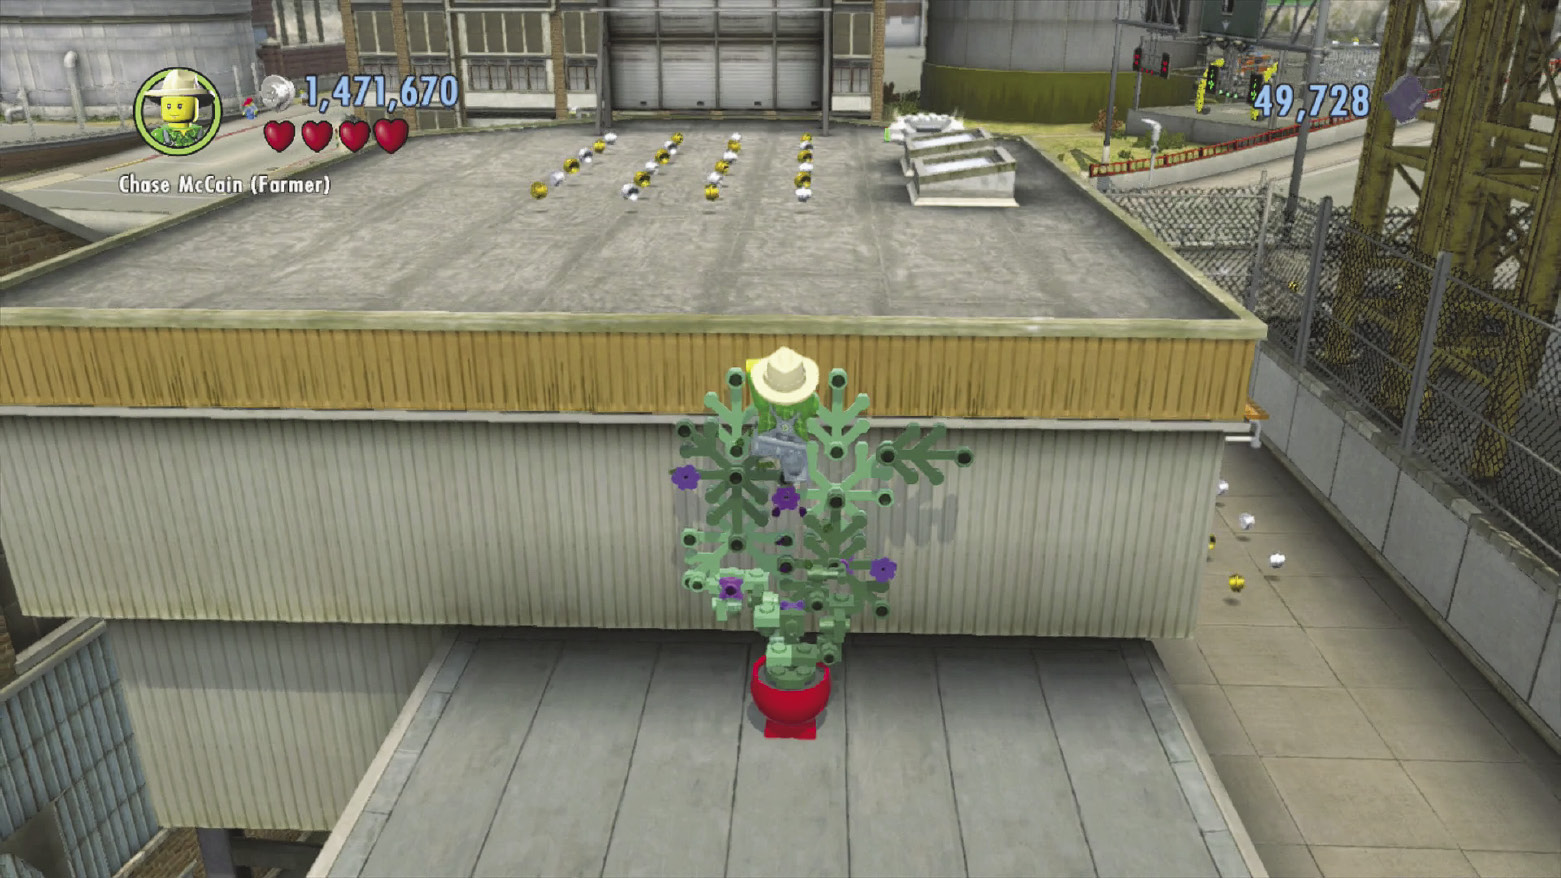
Water a planter to grow some vines, then climb the vines to reach a higher roof. From here, you can either use a transporter pad to reach a distant roof or perform a jetpack jump to reach the blue and white LEGO patch that runs up the nearby building on the right.
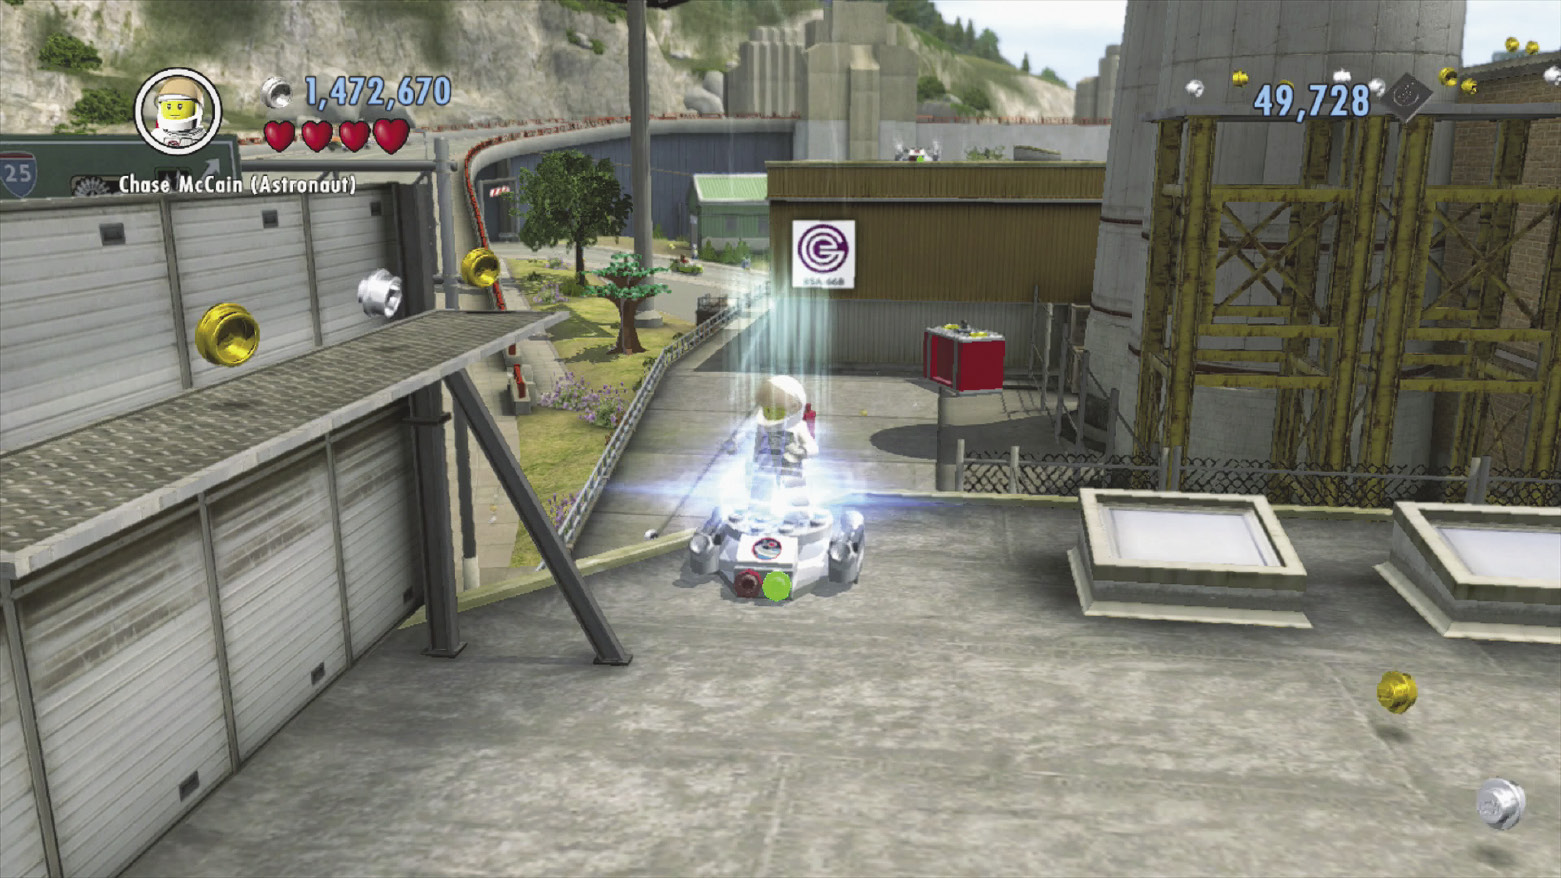
The transporter pad leads to a “dead-end” roof with an audio scan symbol. The LEGO patch leads up to a smaller roof, from which you can jump and scale a series of handholds that run up a thick chimney.
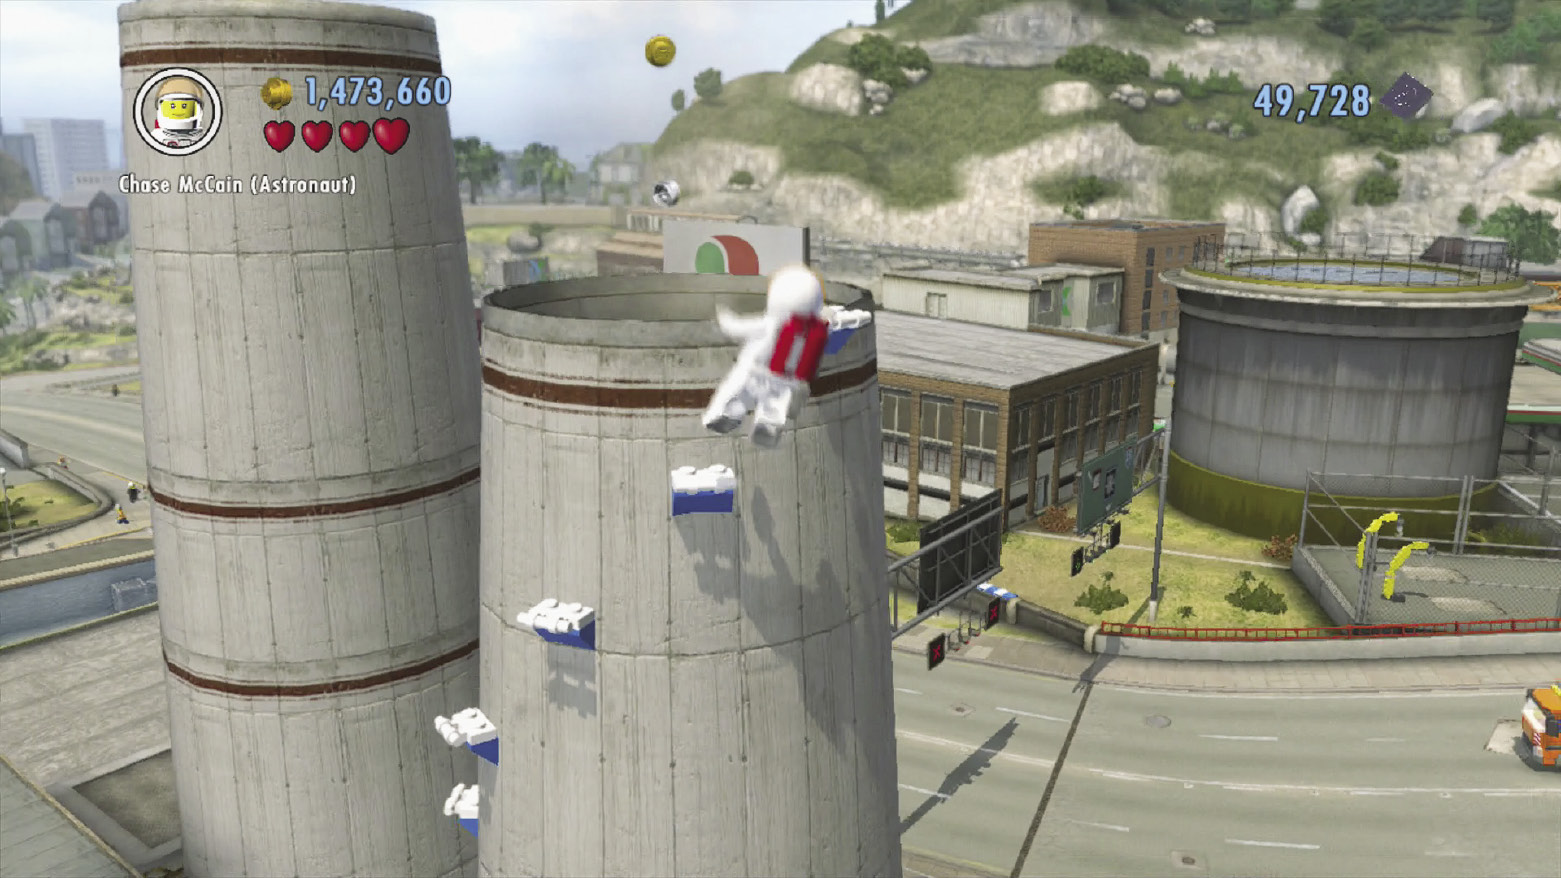
If you climb the chimney, the smoke stack will boost you skyward. You can drift over to the neighboring chimney if you like, above which floats a character token.
South Access Point
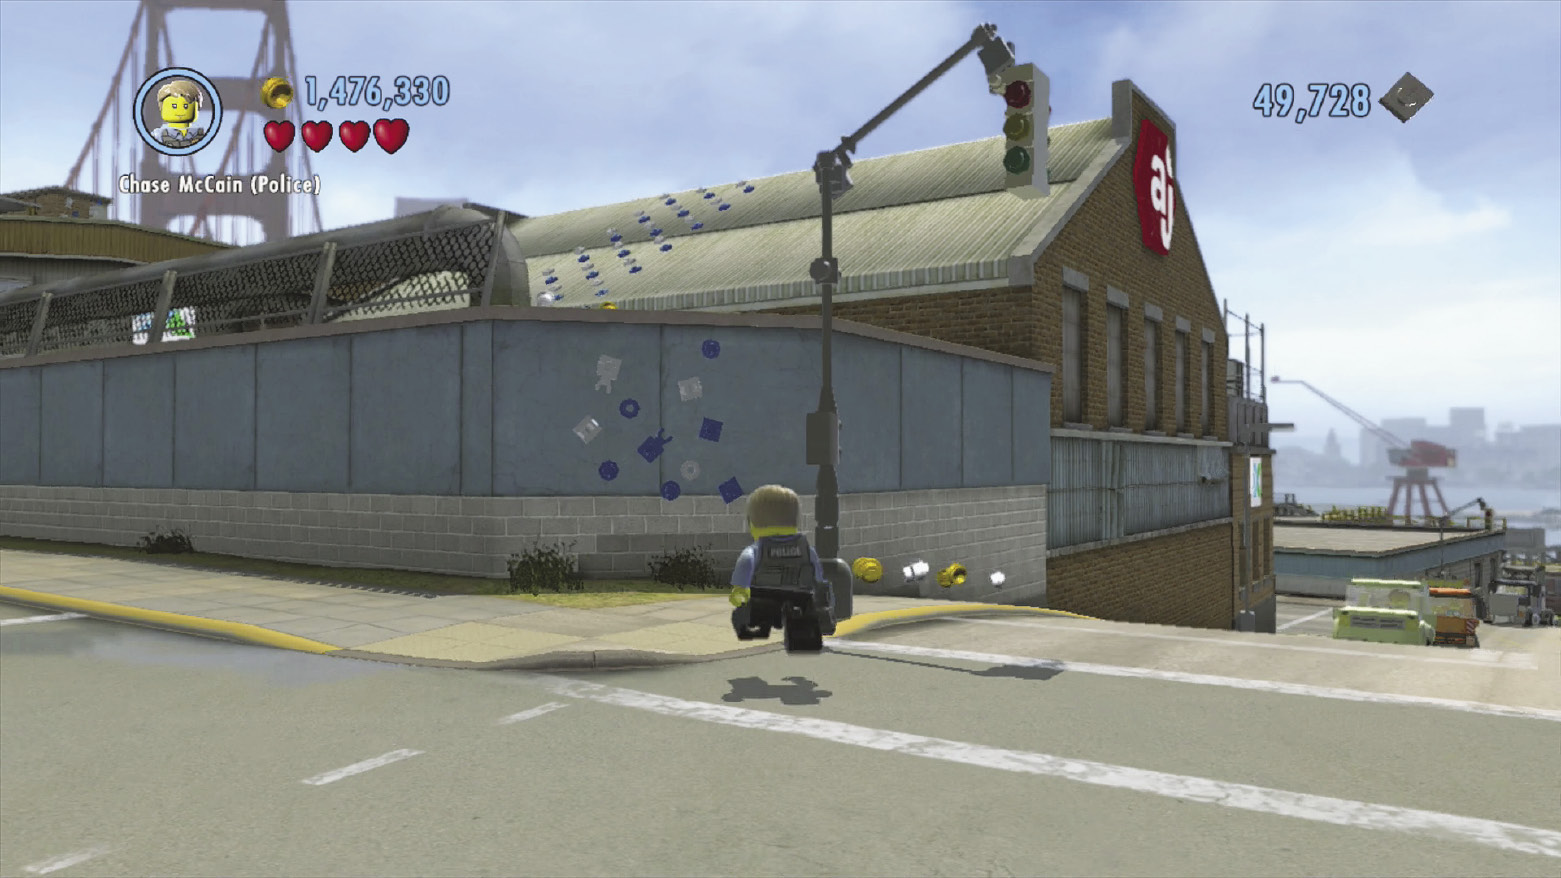
Drive around the southeast corner of the south-central buildings, looking for a blue and white LEGO patch that you can climb to reach a half-filled pool.
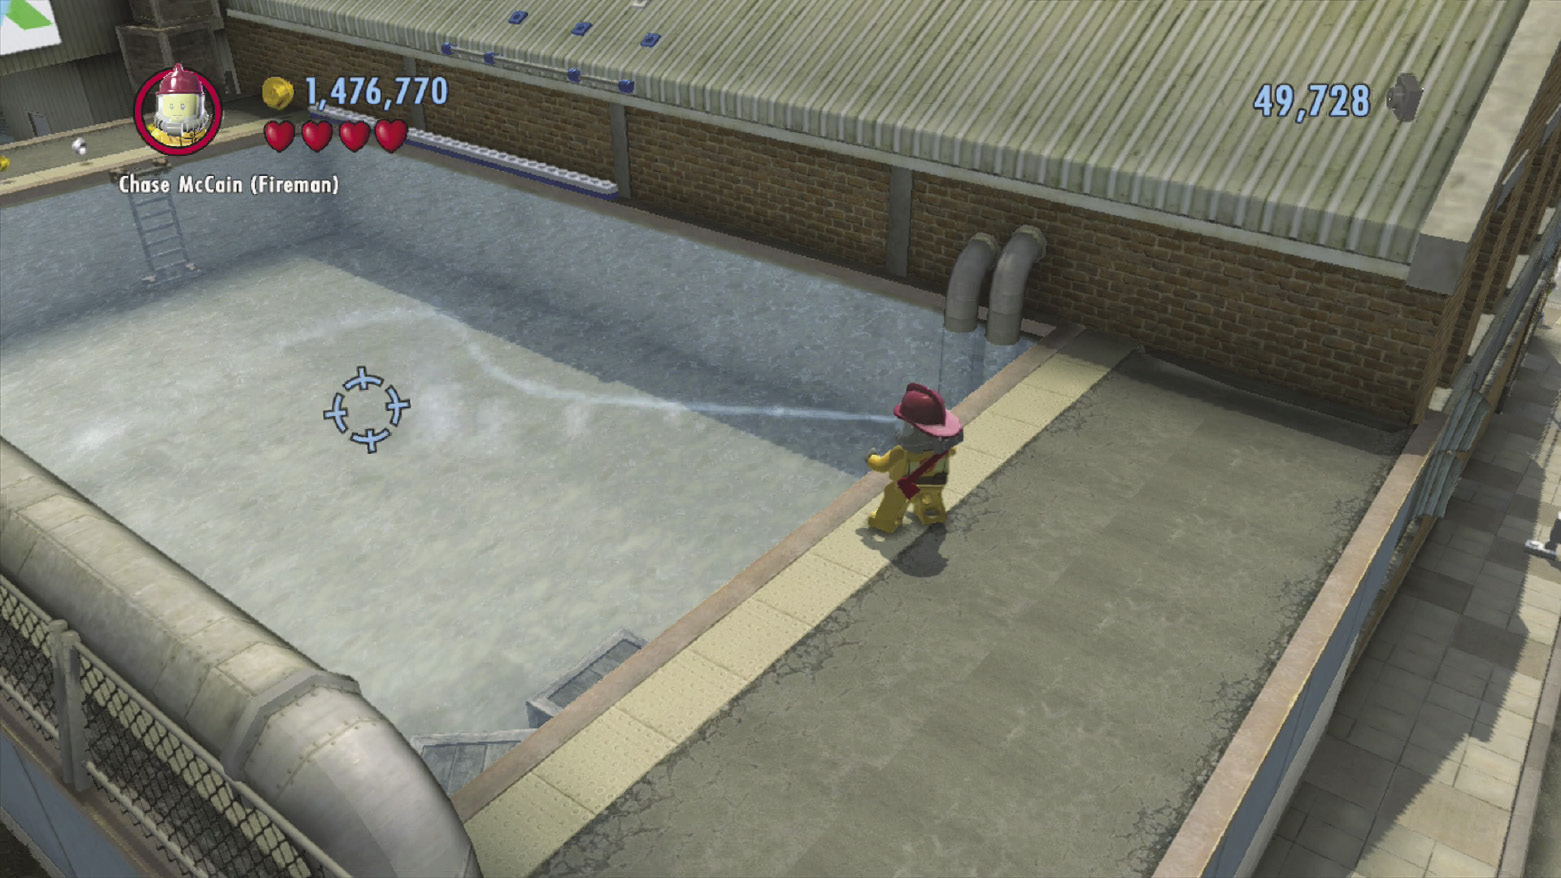
Use the fireman disguise’s extinguisher to fill the pool the rest of the way. Swim across and leap up to a thin ledge. Jump from the ledge to reach a handhold, then scamper up the steep roof above.
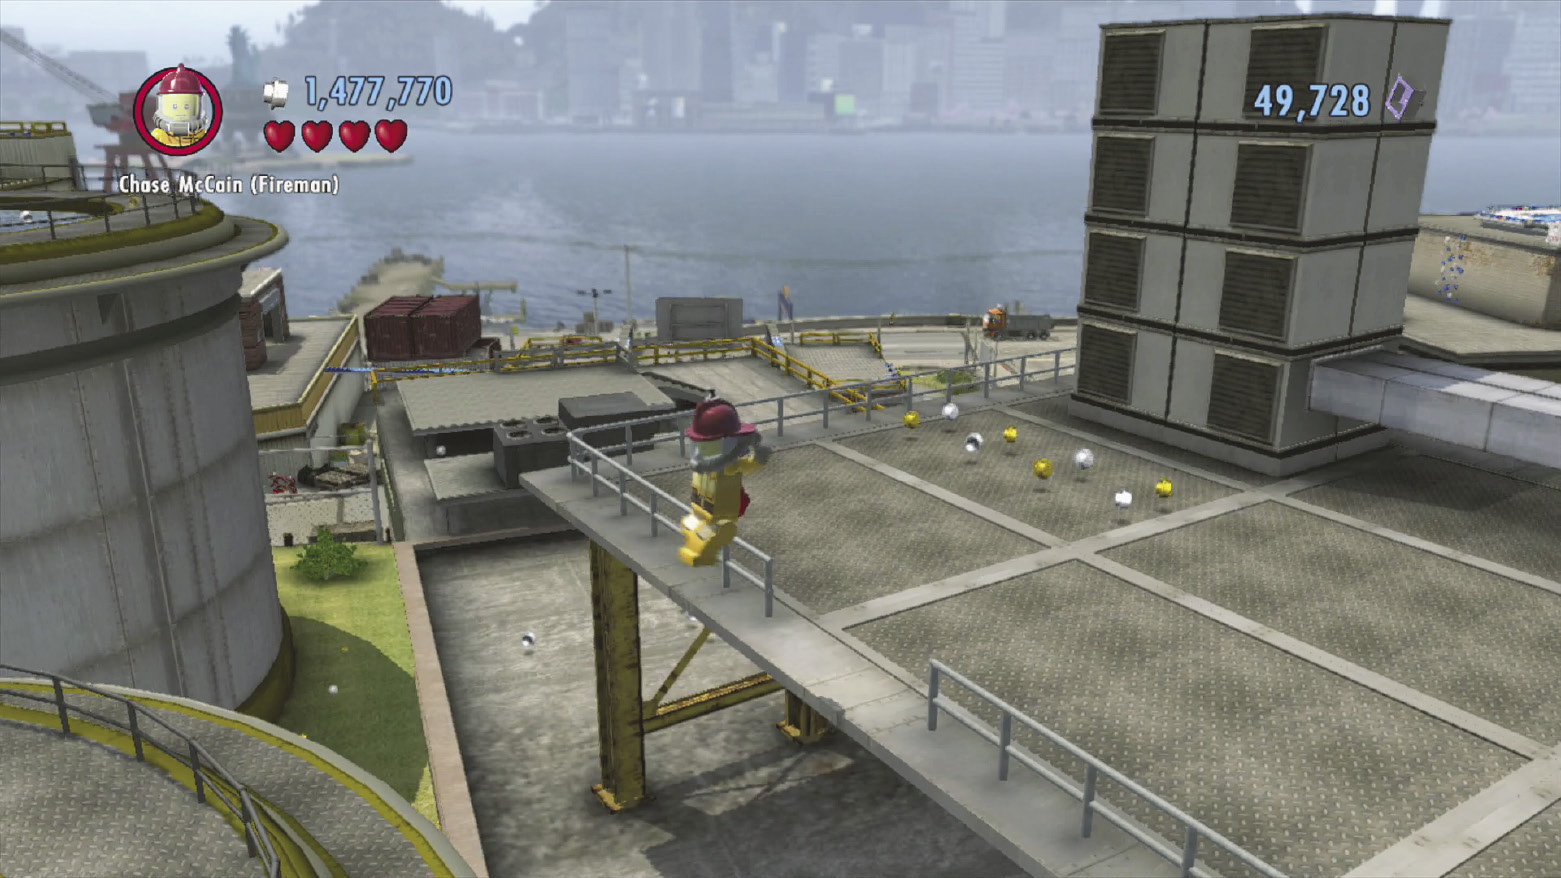
Slide down the roof and vault a tall fence. Slide under a vent and then look left to spy an opening in the railing. Leap to the left and land on a large water tank.
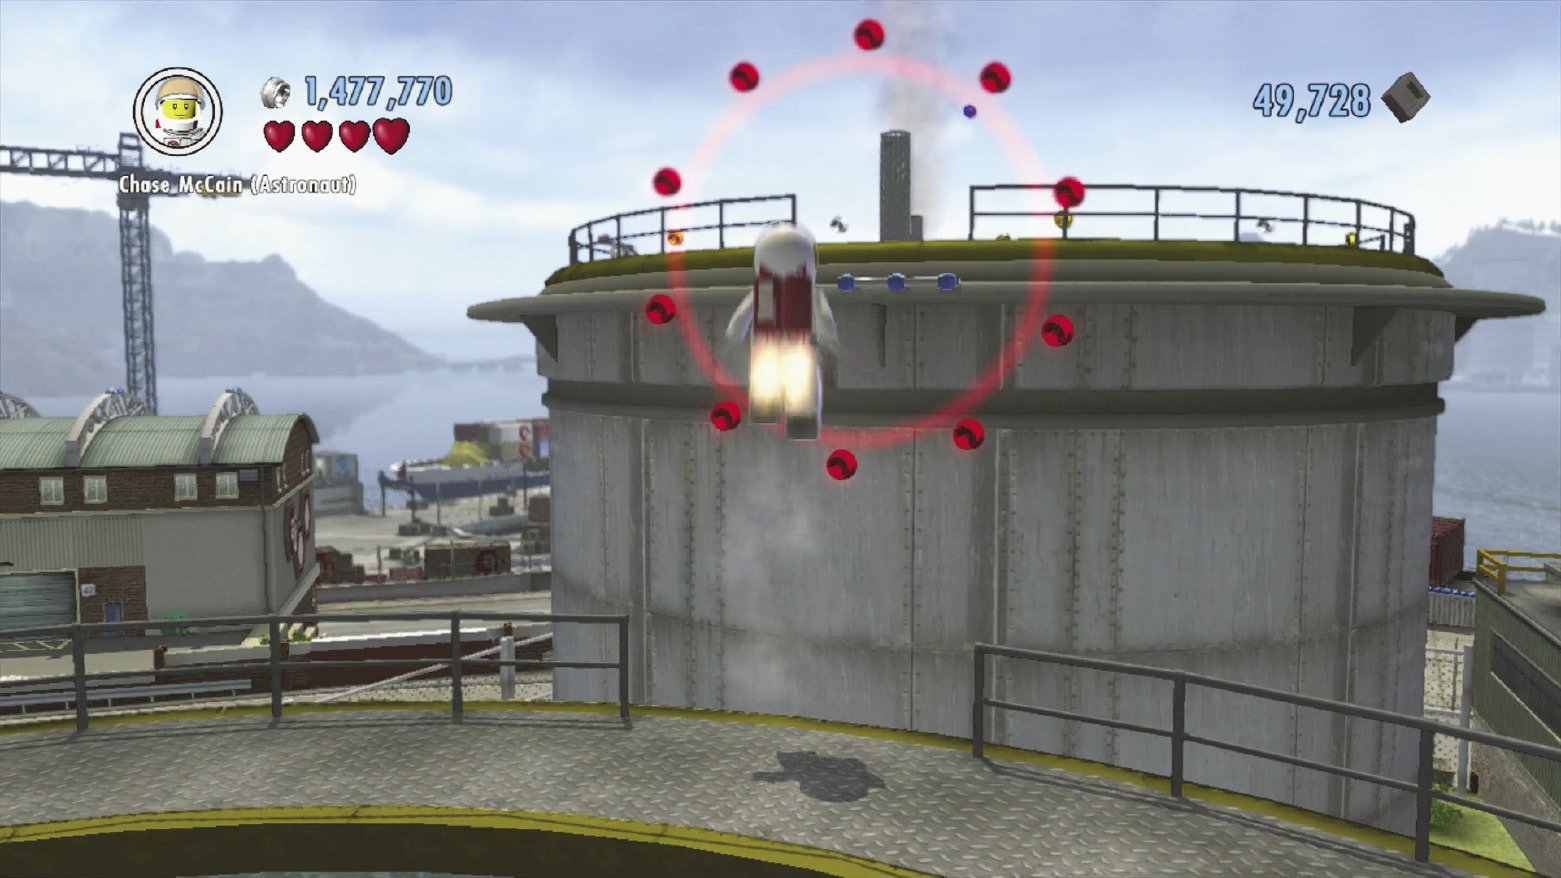
Activate a jetpack symbol on the rim of the tank, then boost over to the taller tank ahead. You can reach a hovering character token up here, where this rooftop run ends.
5. Hank’s Garage and Gas Station
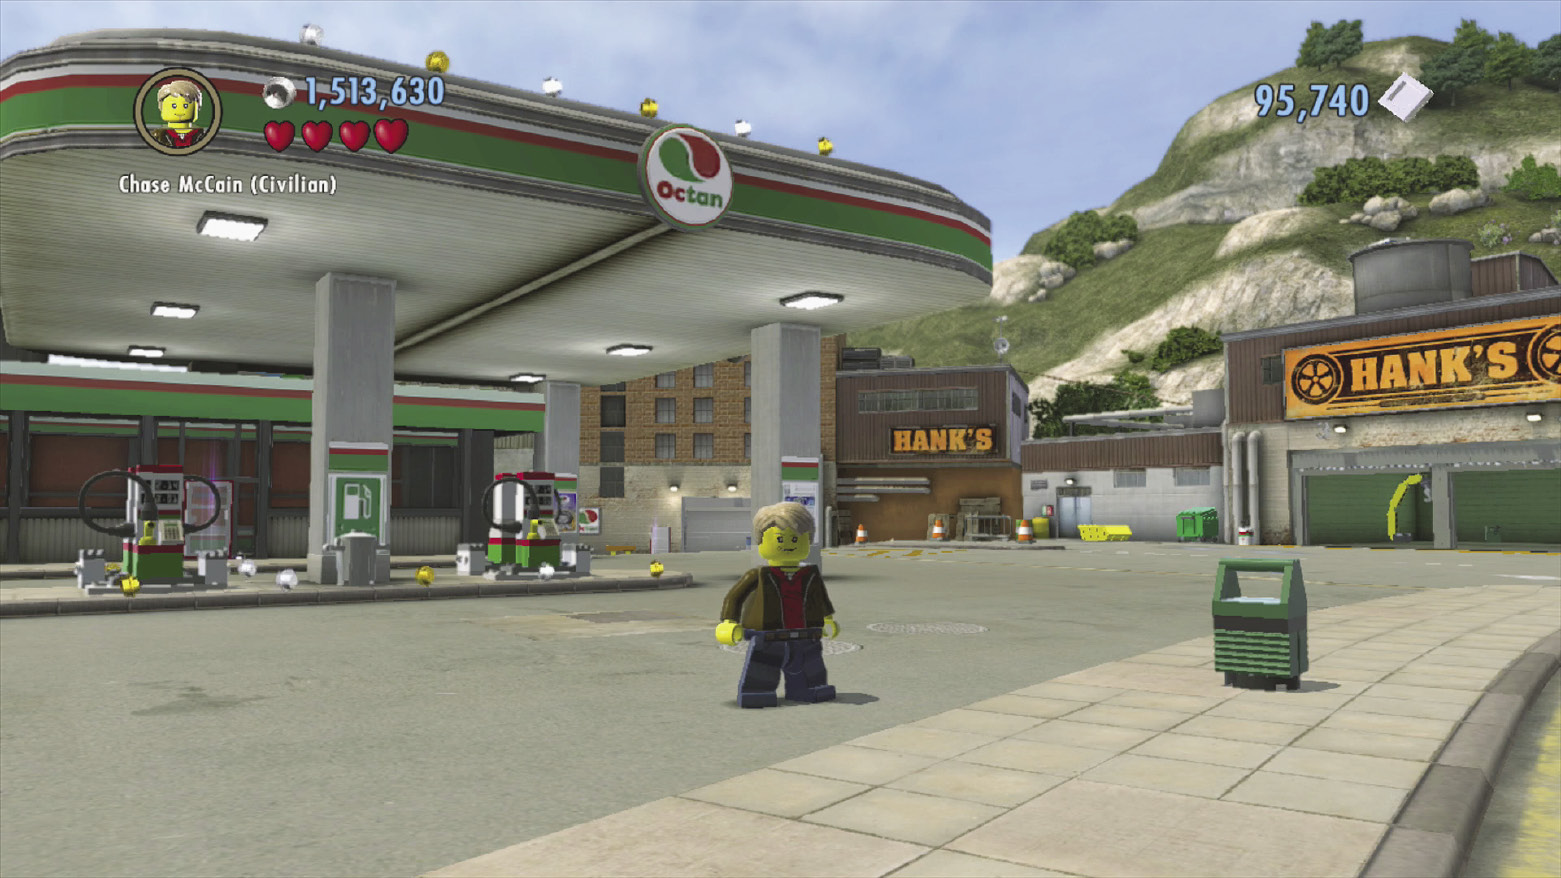
This section of Auburn sports a gas station and a storage garage. A wooden ramp leads up to the freeway, which in turn leads north toward the Auburn Bay Bridge.
6. South Buildings
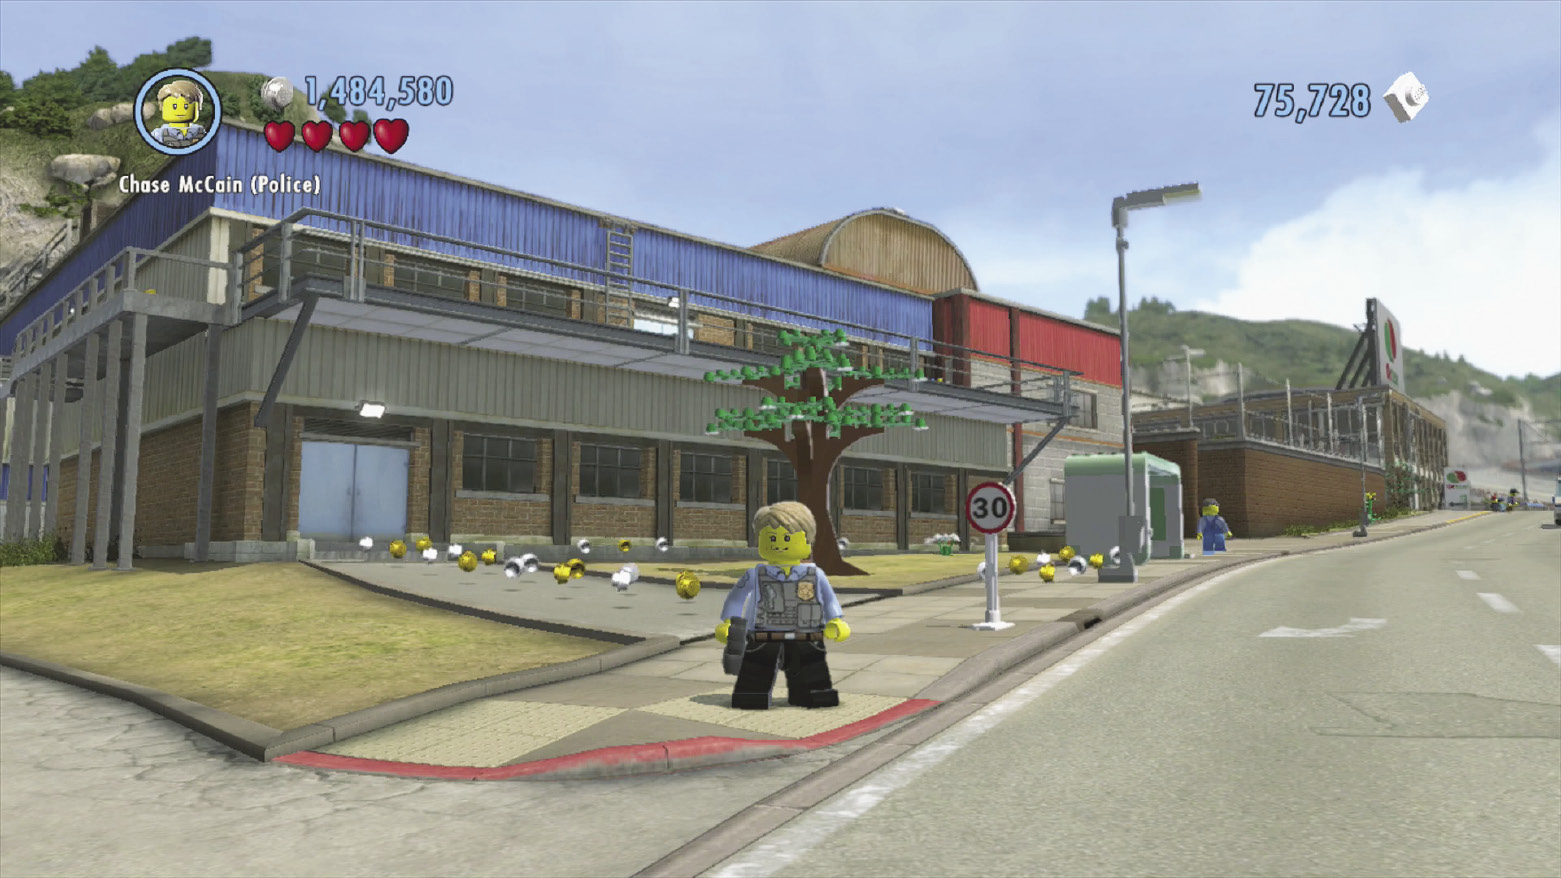
You can climb the southern collection of crates and buildings to reach a few goodies across the street.
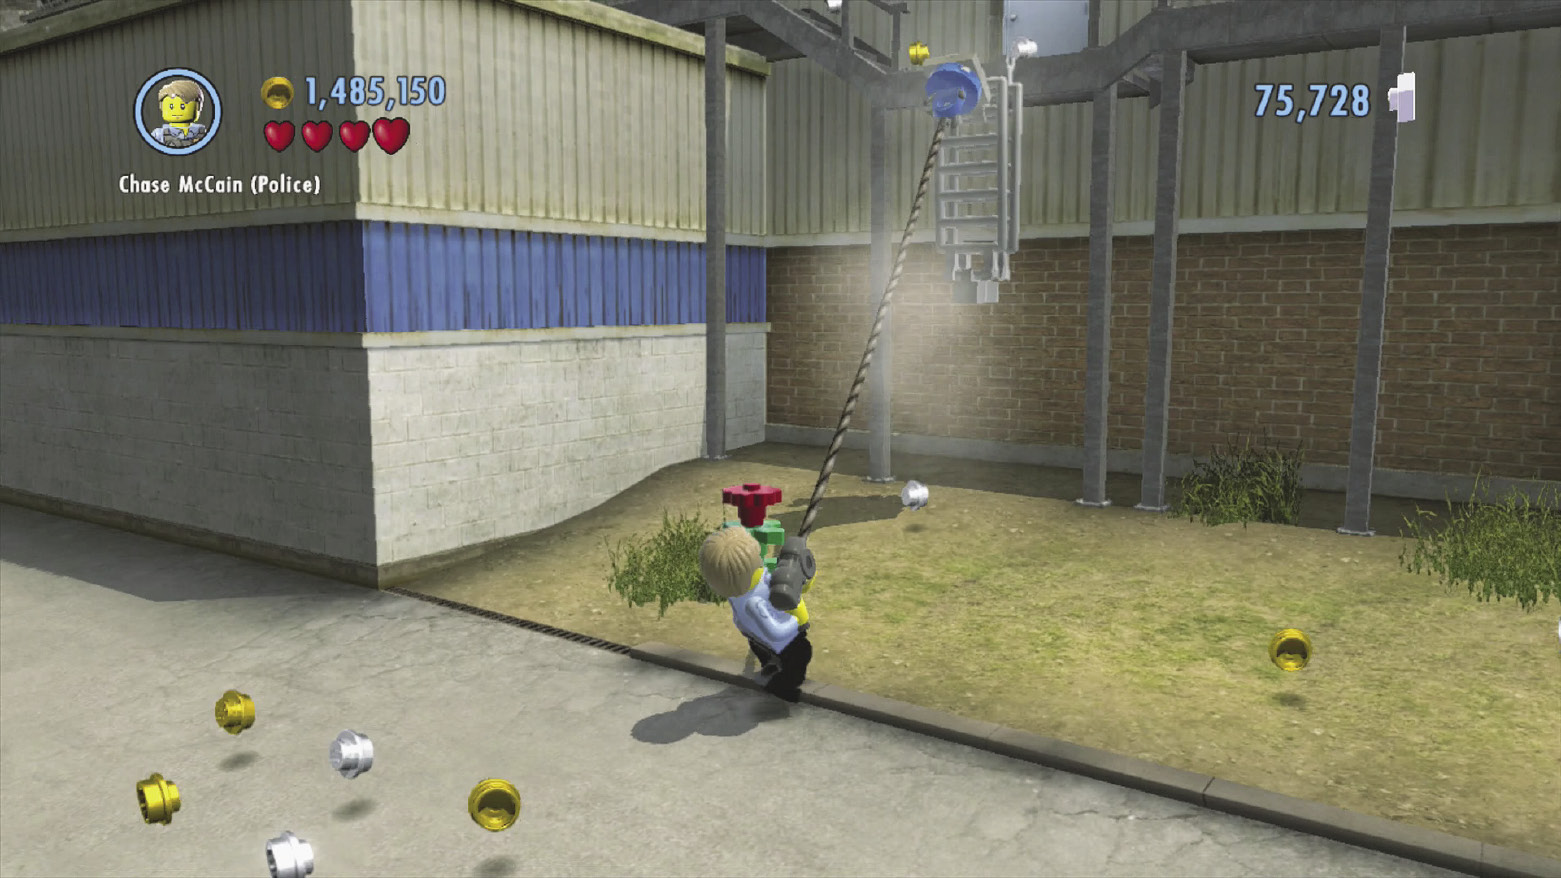
Use the grapple gun to pull down a ladder along the south side of the south buildings, then climb up.
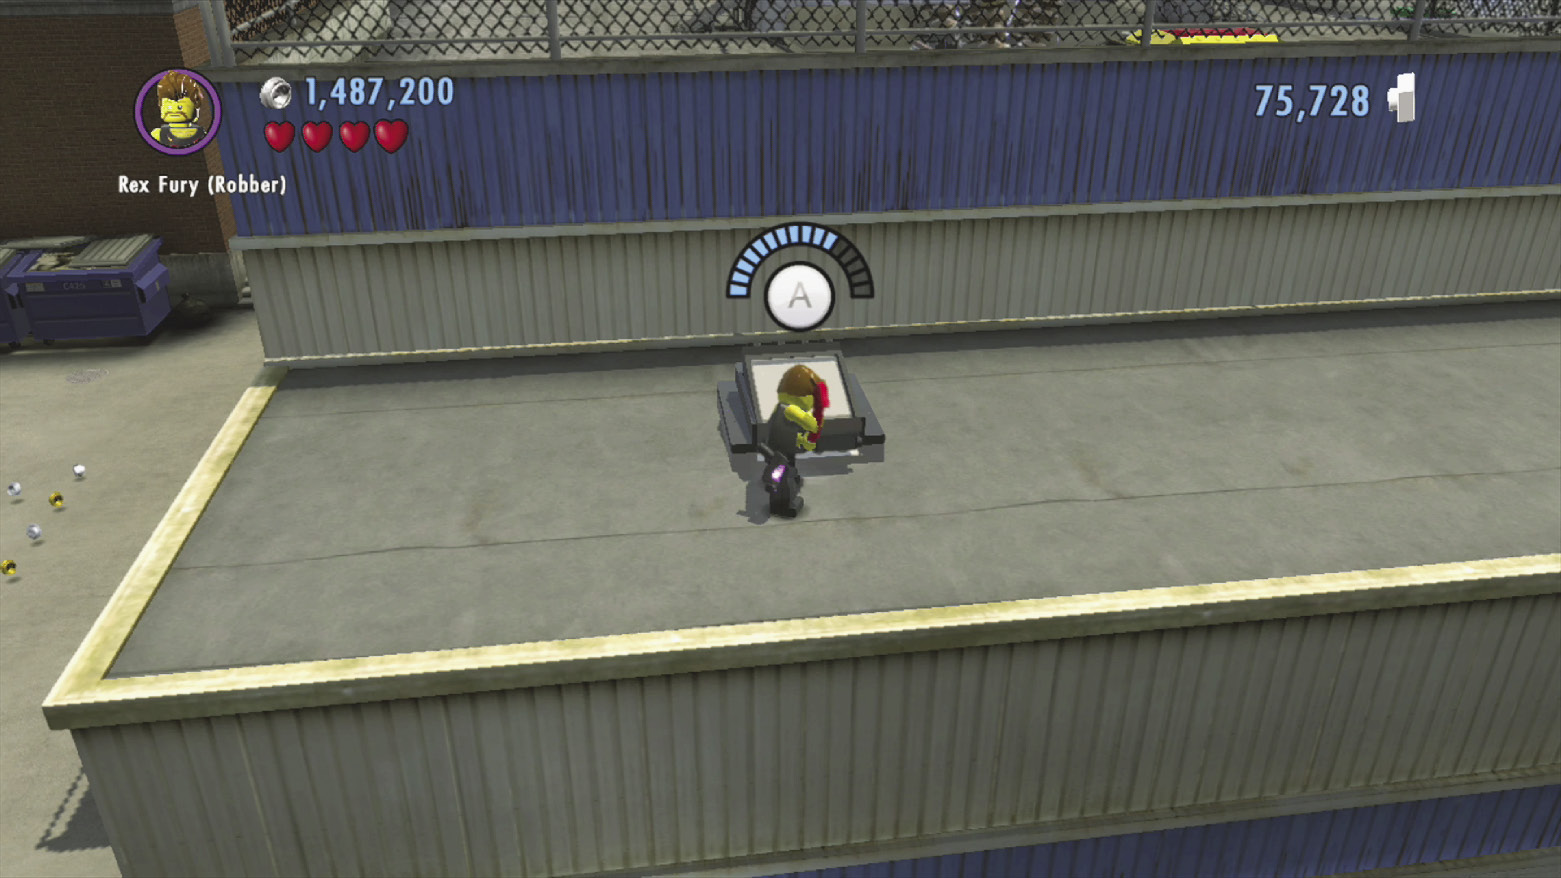
Run left after climbing up the ladder to locate a skylight. Pry this open and drop through to land in a small room with a safe that contains a character token.
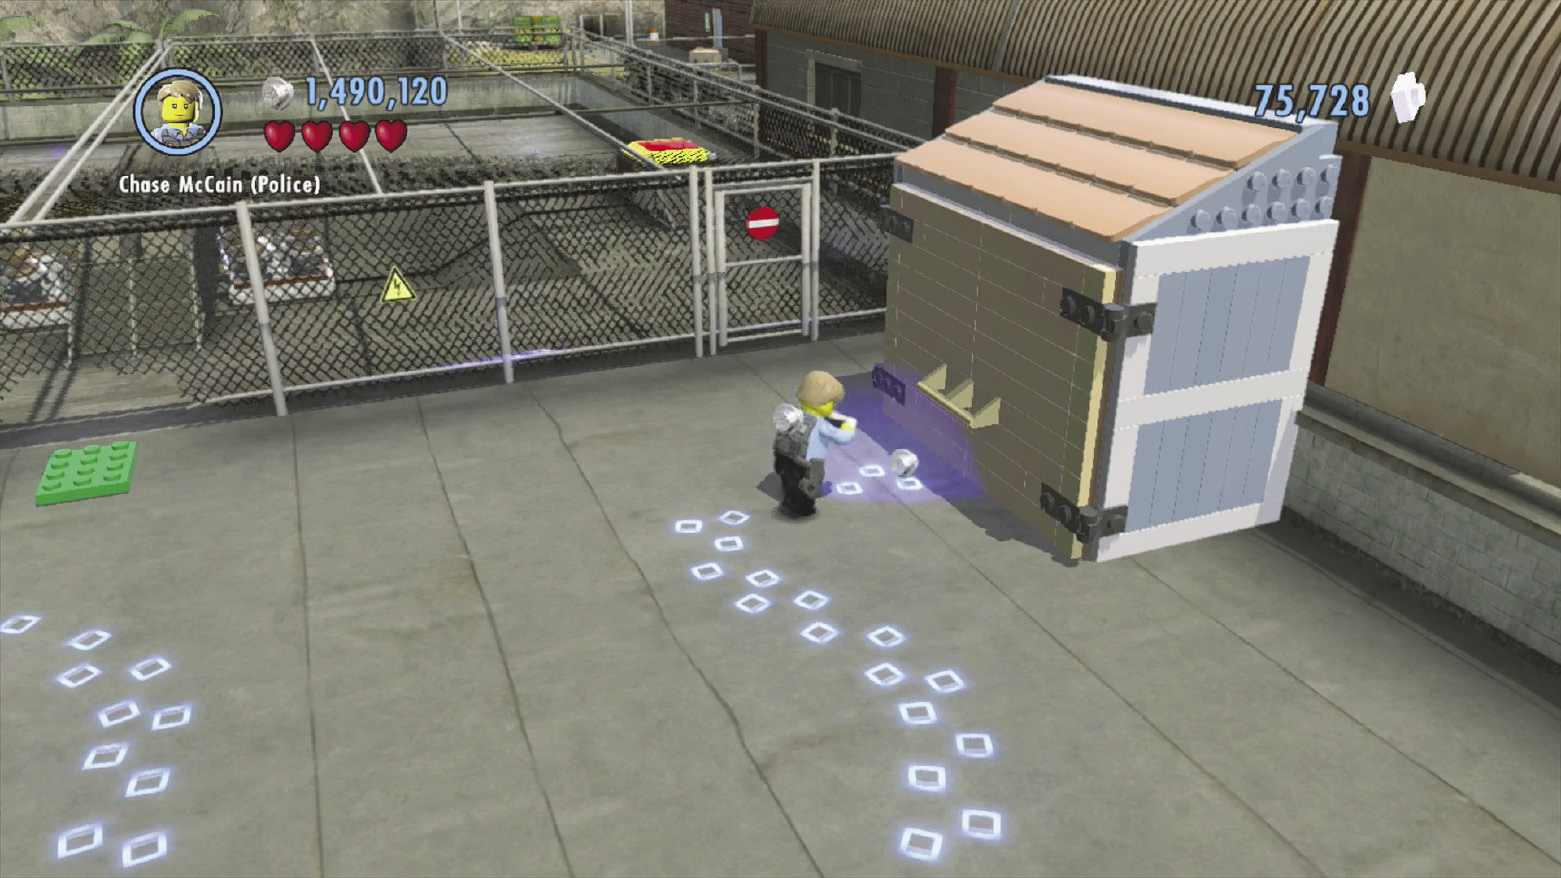
Or run right and climb a few more ladders to reach the building’s roof. Use a scan spot up here and trace some footsteps to a shed with a box of bricks.
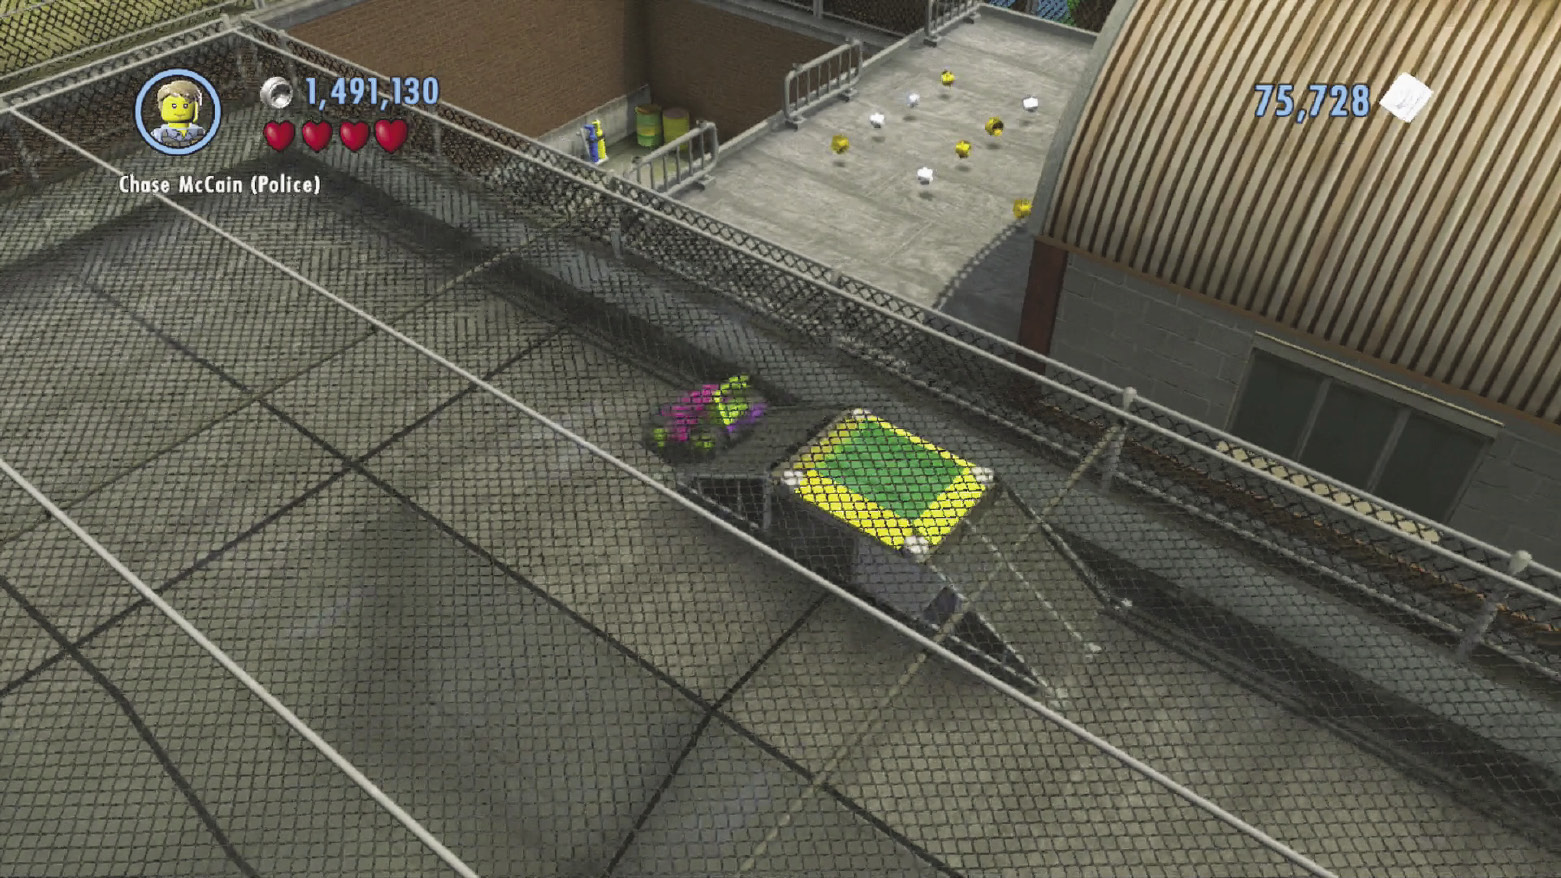
Set down the box and build the bricks into an RC car. Race the car through the electrified cage, scaling two ramps to reach two buttons and shut off the electricity.
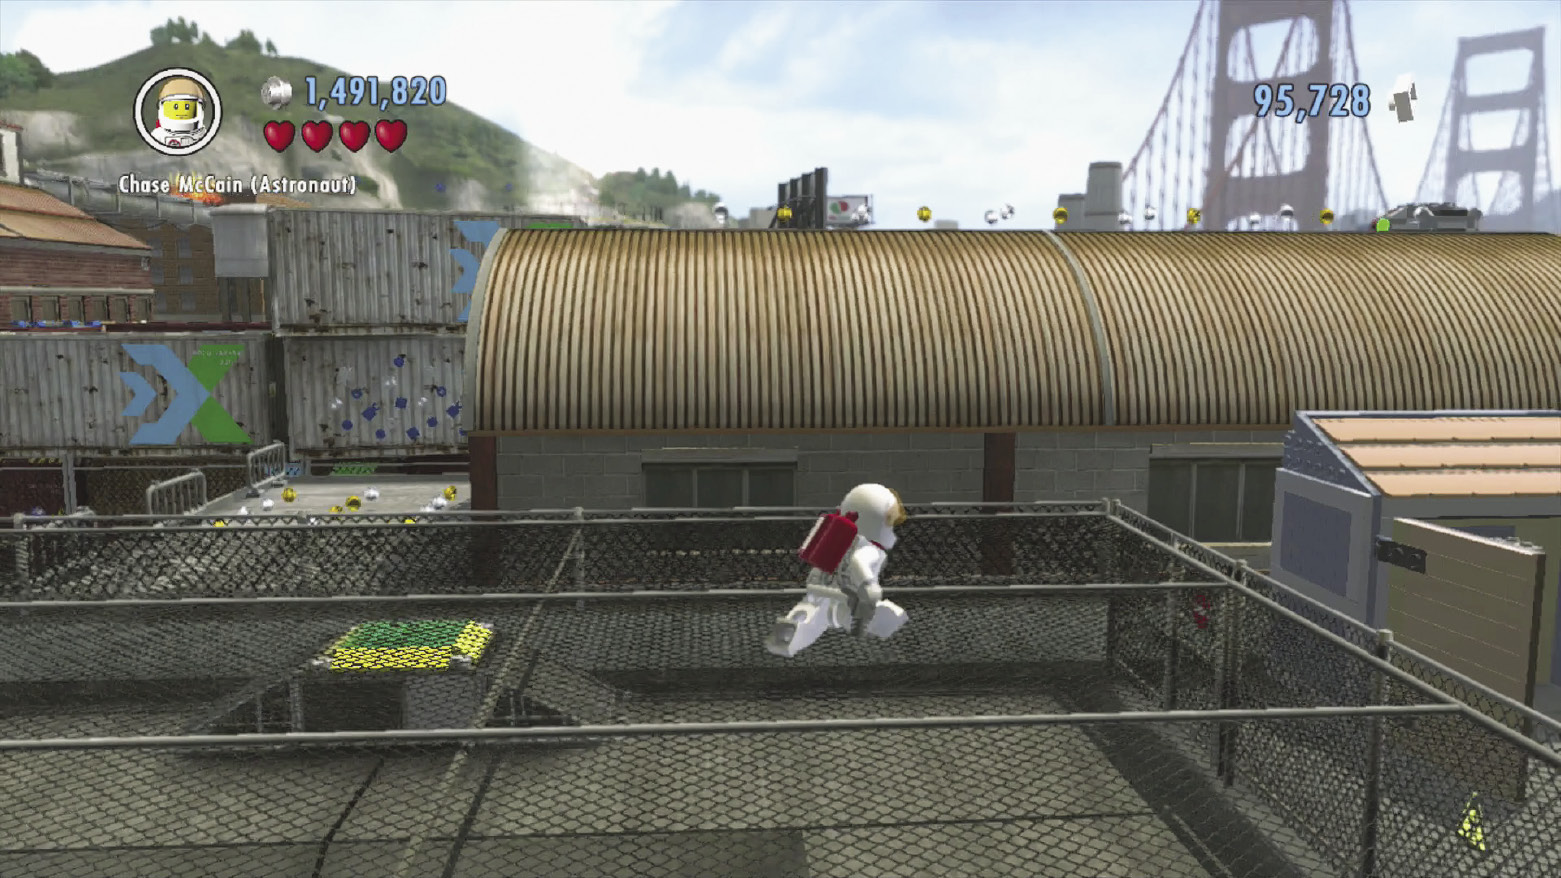
After shutting off the electricity, it’s safe to jump onto the cage and boost onto the nearby roof. From there, you can boost over to a character token or drop and explore the lower ground.
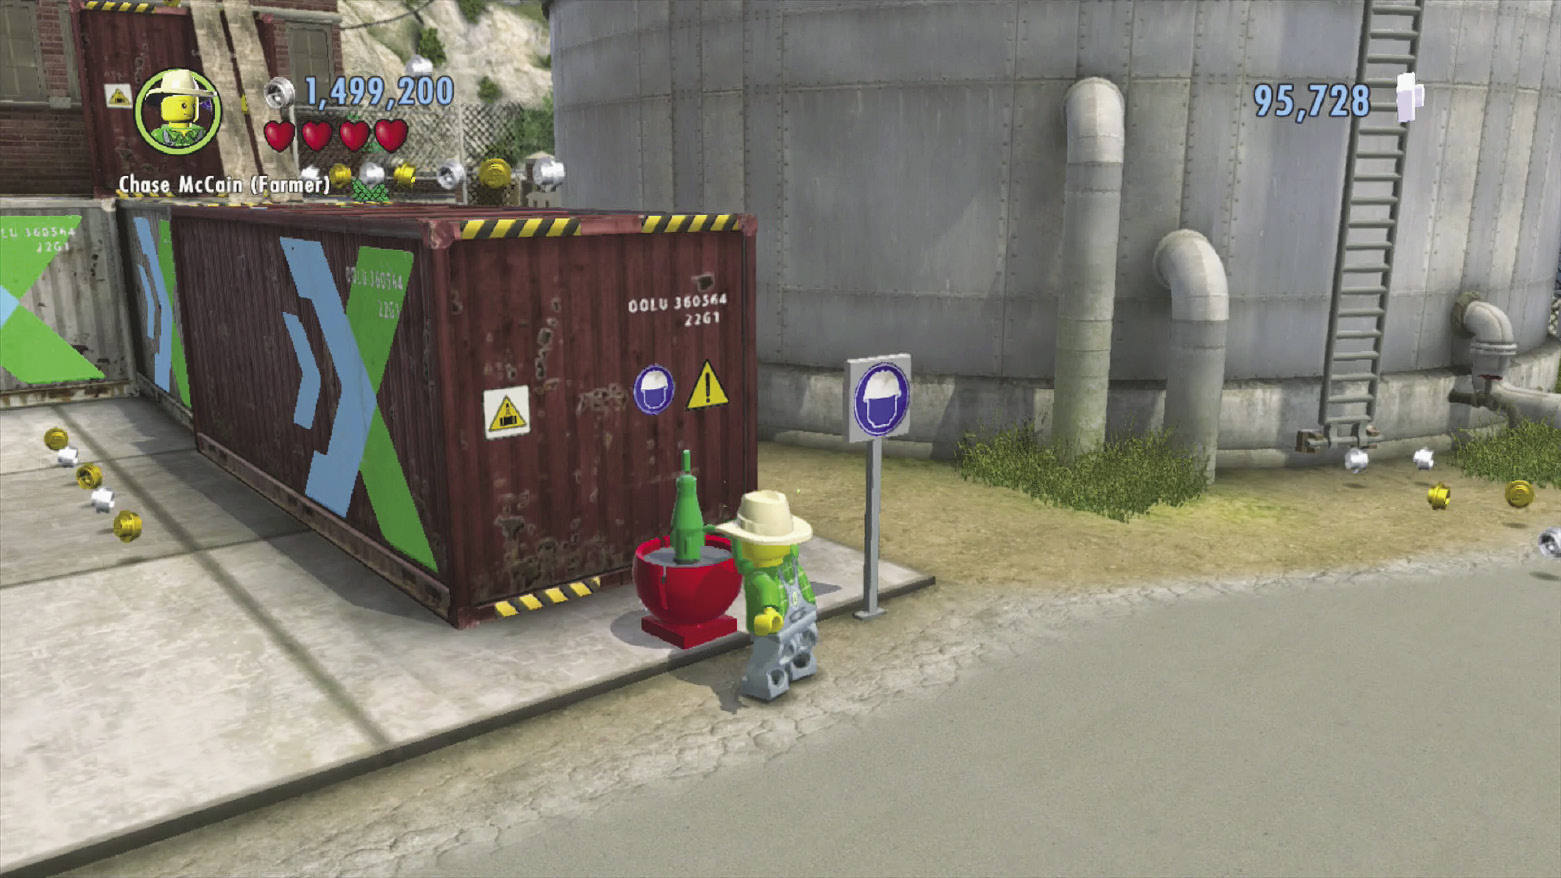
Water the planter near the large water tank to grow a sunflower. Climb to the top of the nearby crate.
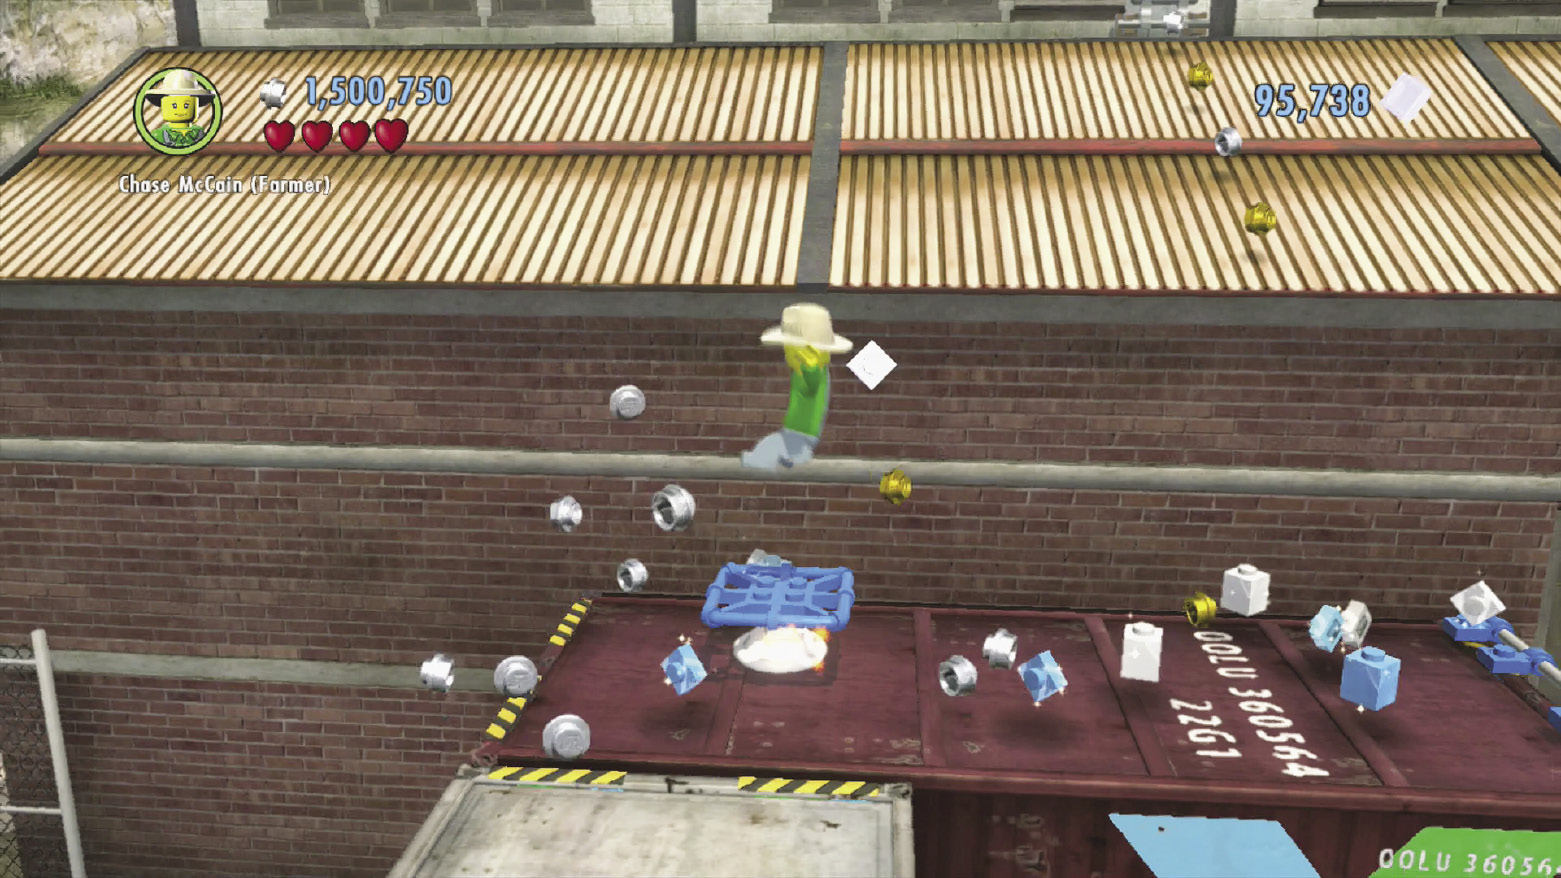
Leap to the left crate and smash a blue and white barrel to find some bricks. Build these into a trampoline, then bounce up to the tin roof above.
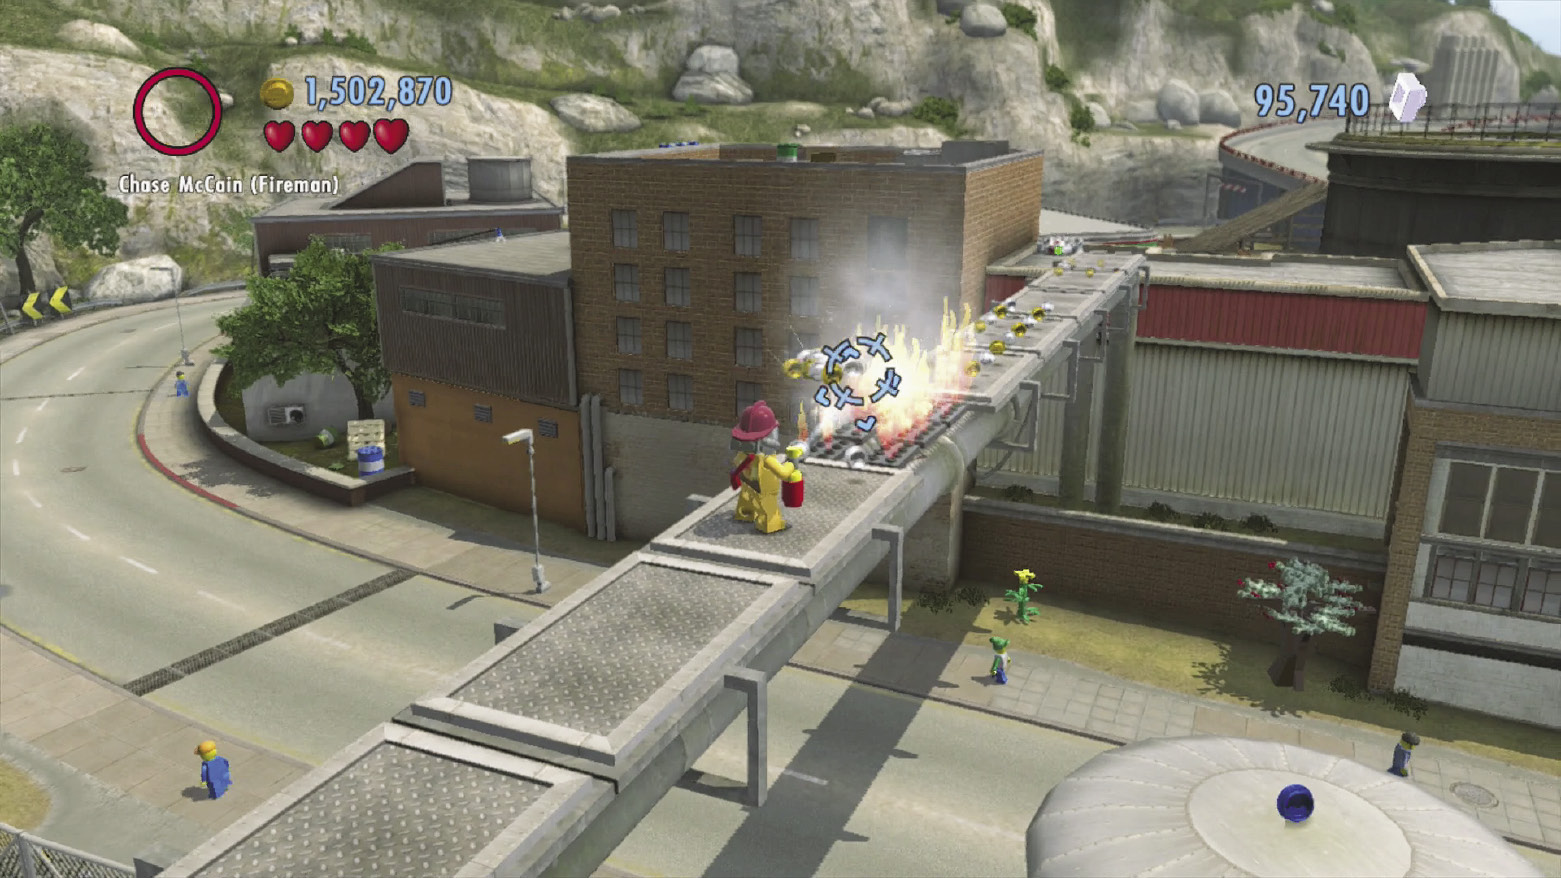
Run northwest along the tin roof to reach a long pipe that stretches across the street. The pipe is on fire—douse the flames and then run across to reach the roofs to the northwest.
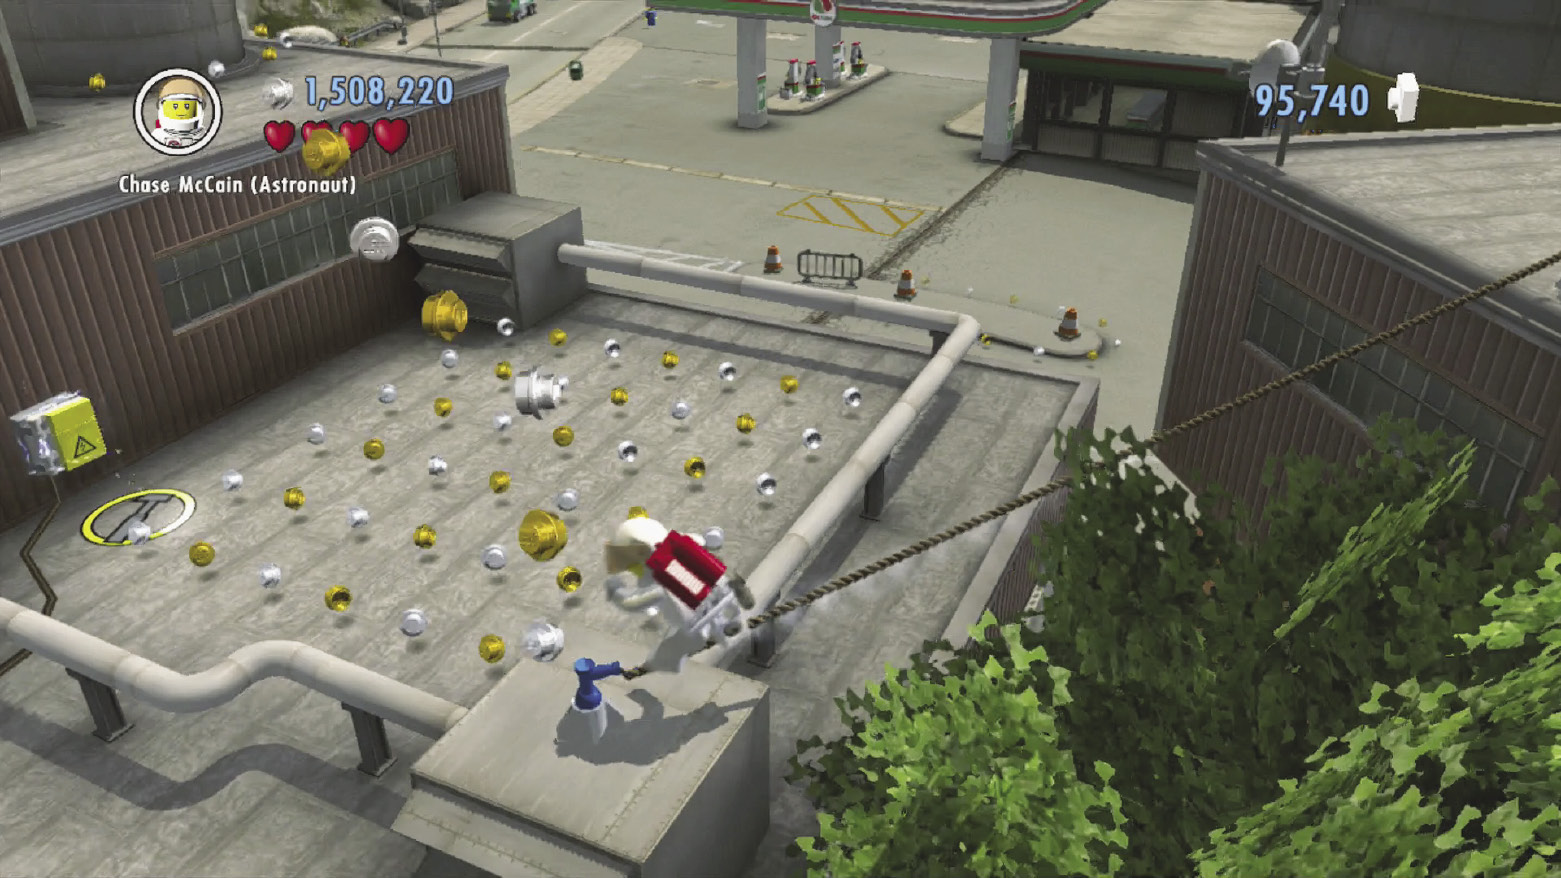
Use a transporter to beam up to a higher roof, then slide down a tightrope to reach another building. Fix a fuse box up here to activate a fan, then use the updraft to reach a higher roof.
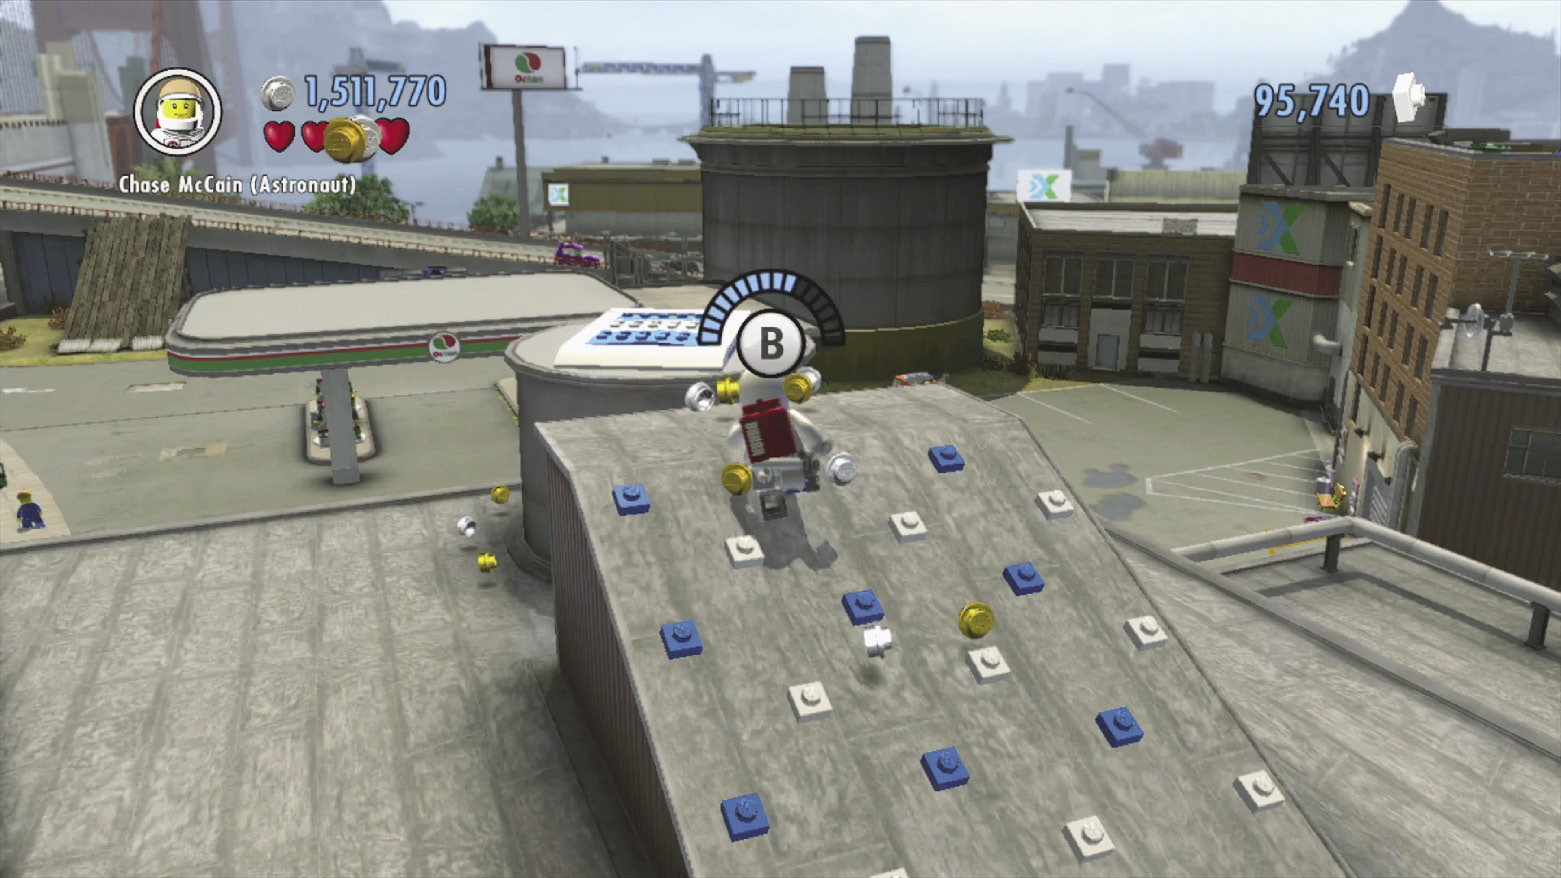
Scamper up a steep slope to reach a catapult pad that sends you soaring over to a large water tank near Hank’s Garage.
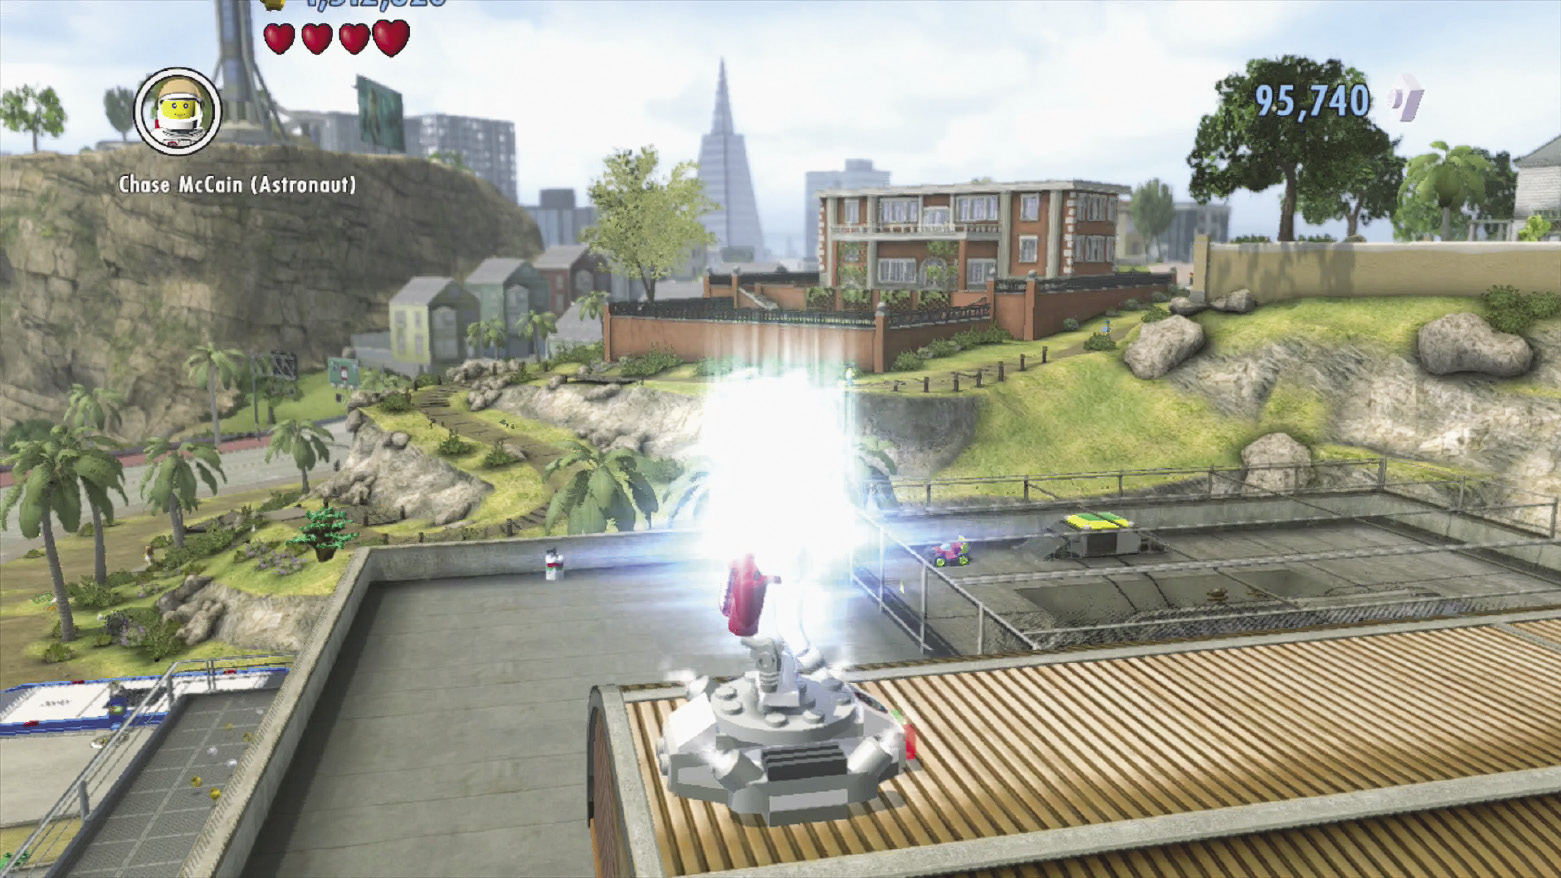
Use the transporter pad atop the water tank to beam over to another tin roof. You’ve come full circle; you’re now back near the roof with the electrified cage and RC car.
7. East Buildings
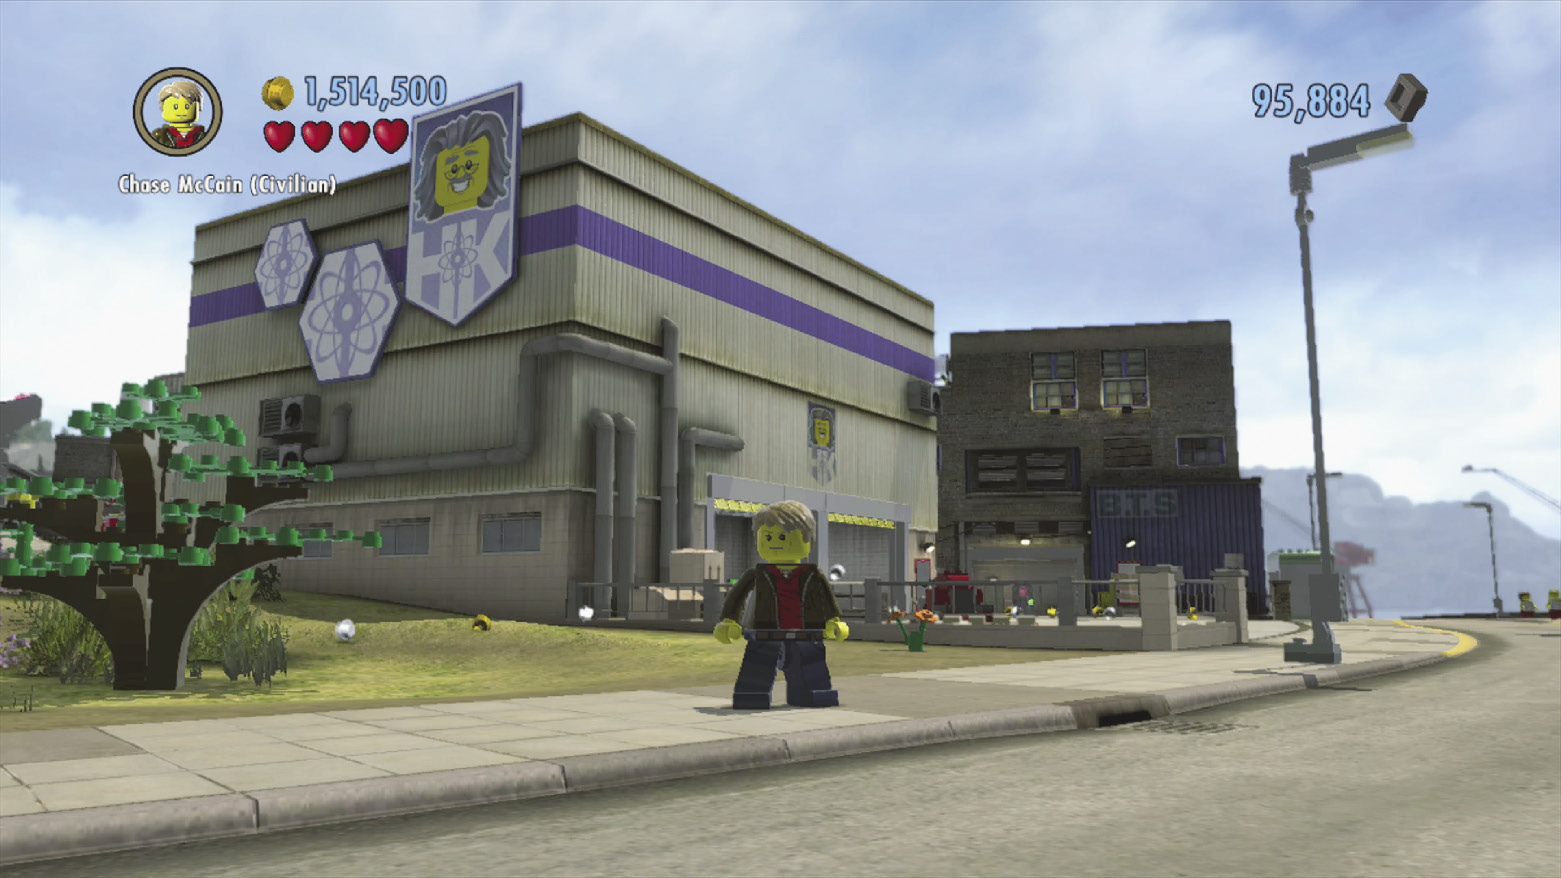
This group of buildings to the southeast features several goodies. The image of Natalia’s father, Professor Henrik Kowalski, dominates one of the buildings here—his private lab!
North Access Point
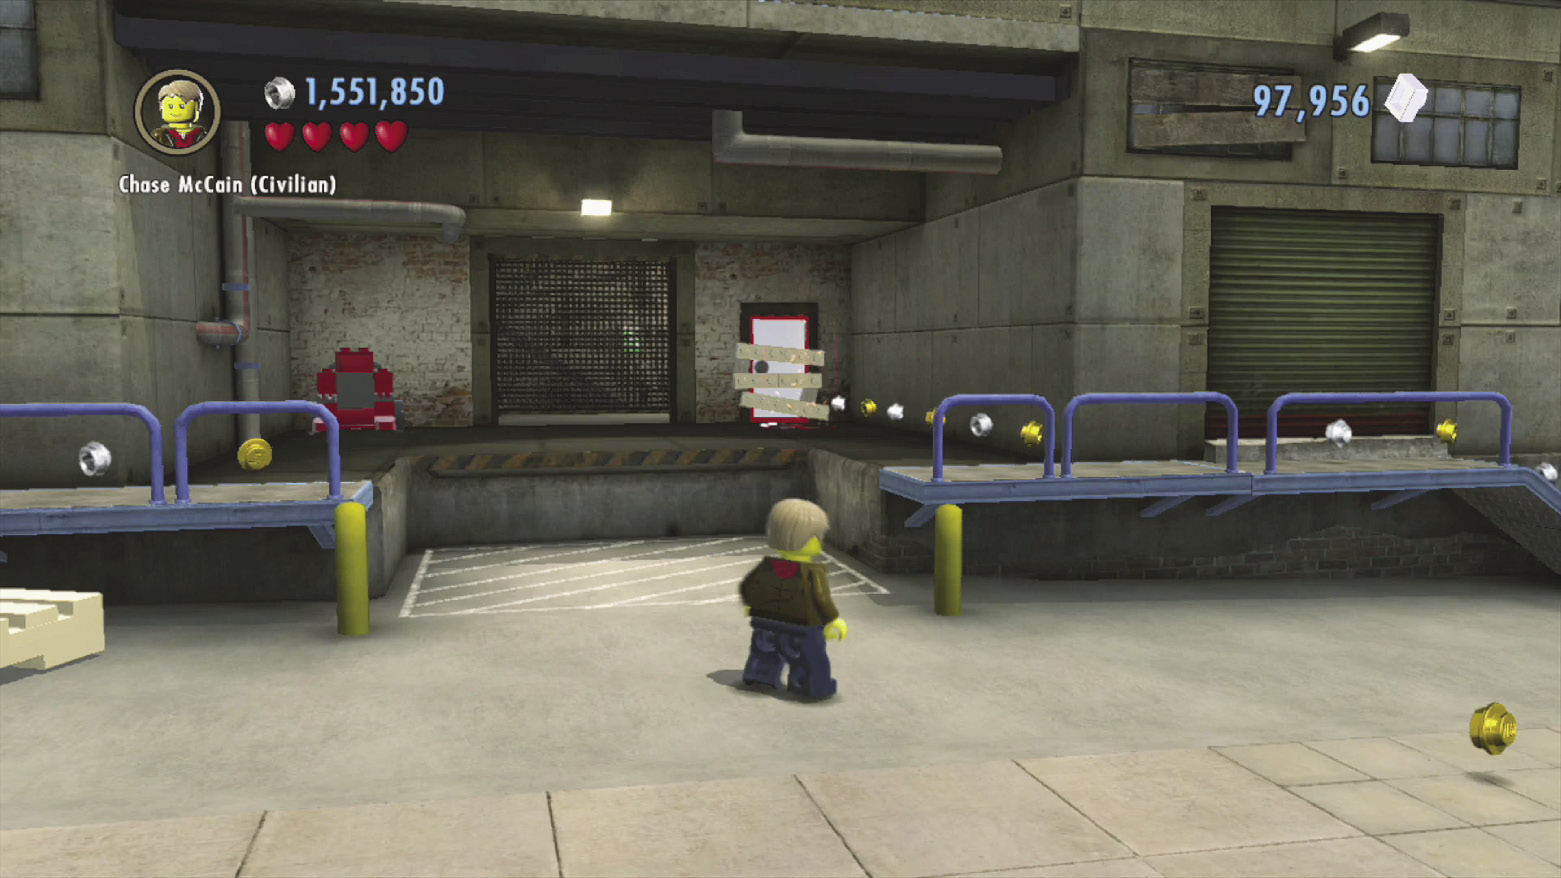
Run around the north end of the east buildings, looking for a boarded door you can chop open. Head up the interior stairs to reach the building’s roof.
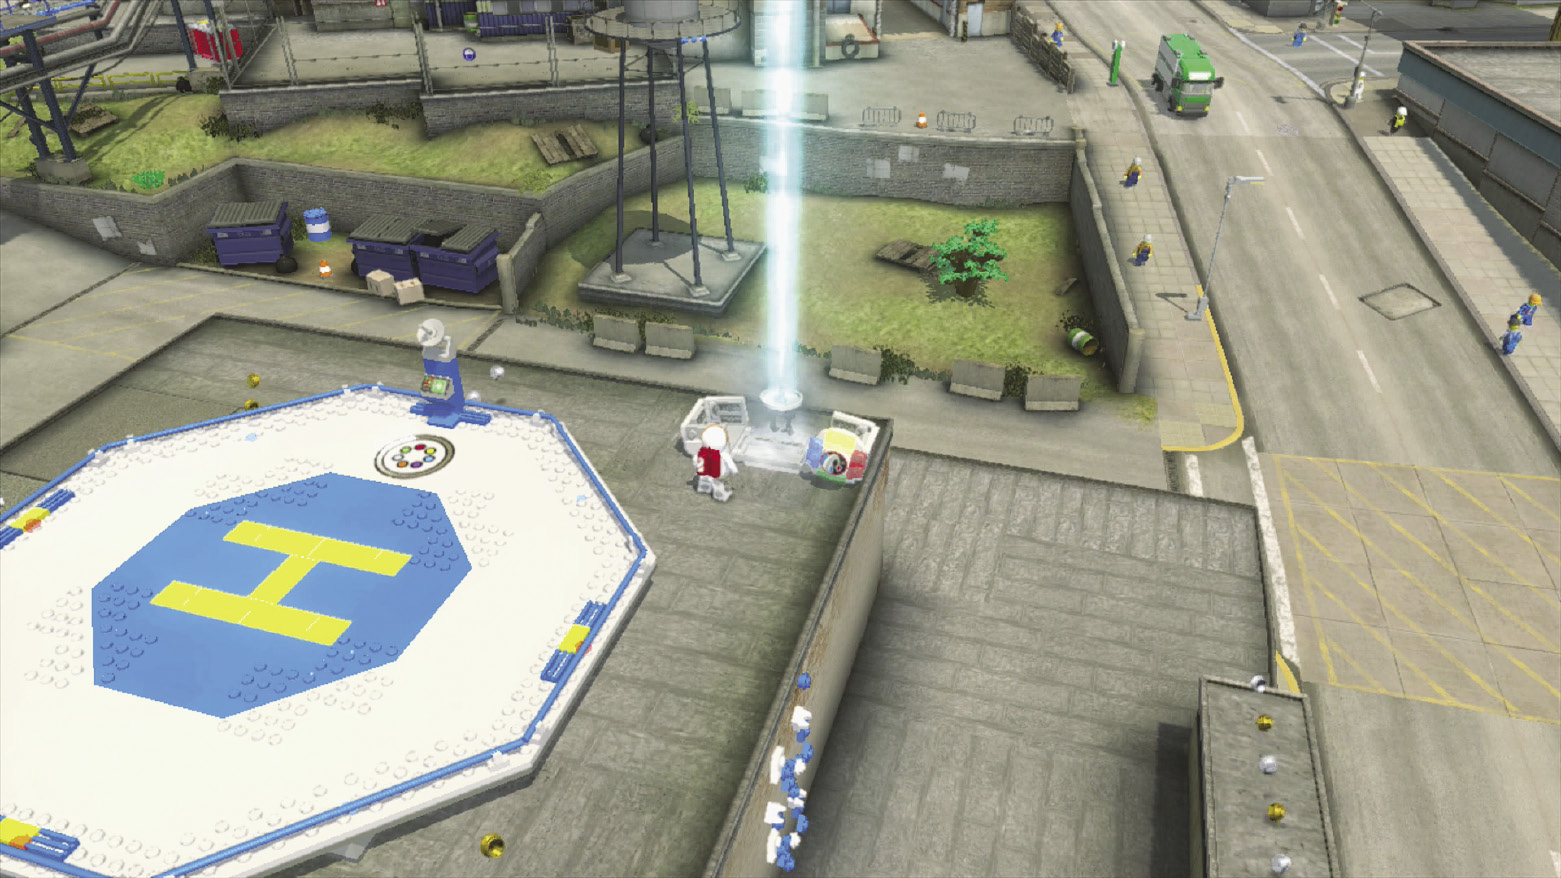
The roof sports a superbuild pad and a space crate. Activate the crate to beam in some bricks that form a catapult pad.
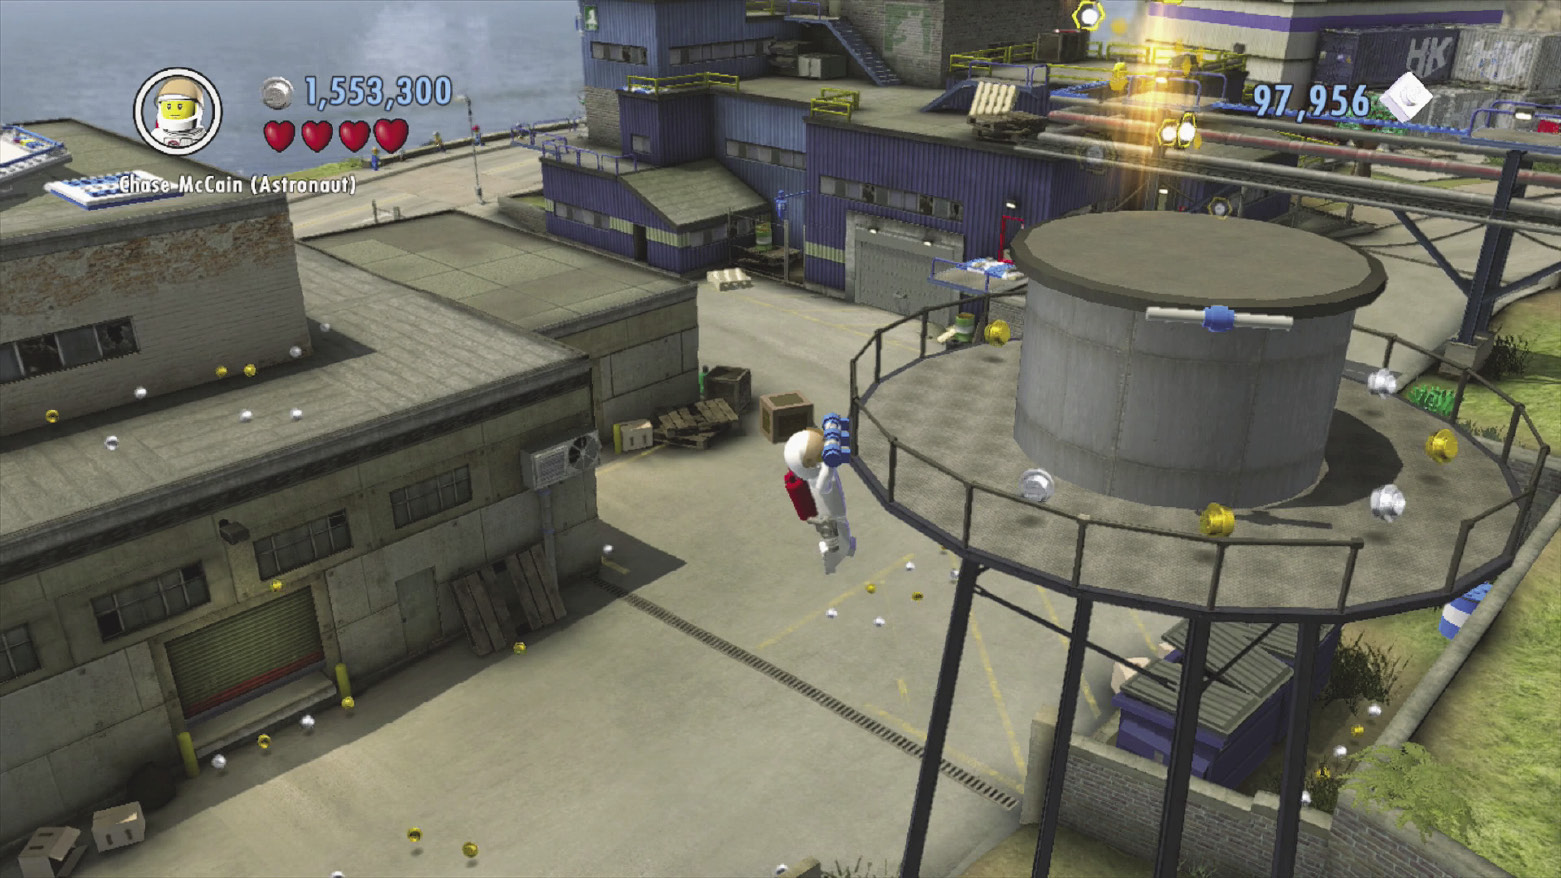
Use the catapult pad to launch over to a water tower, where a scan spot that triggers a vehicle robber event is located.
Central Access Point
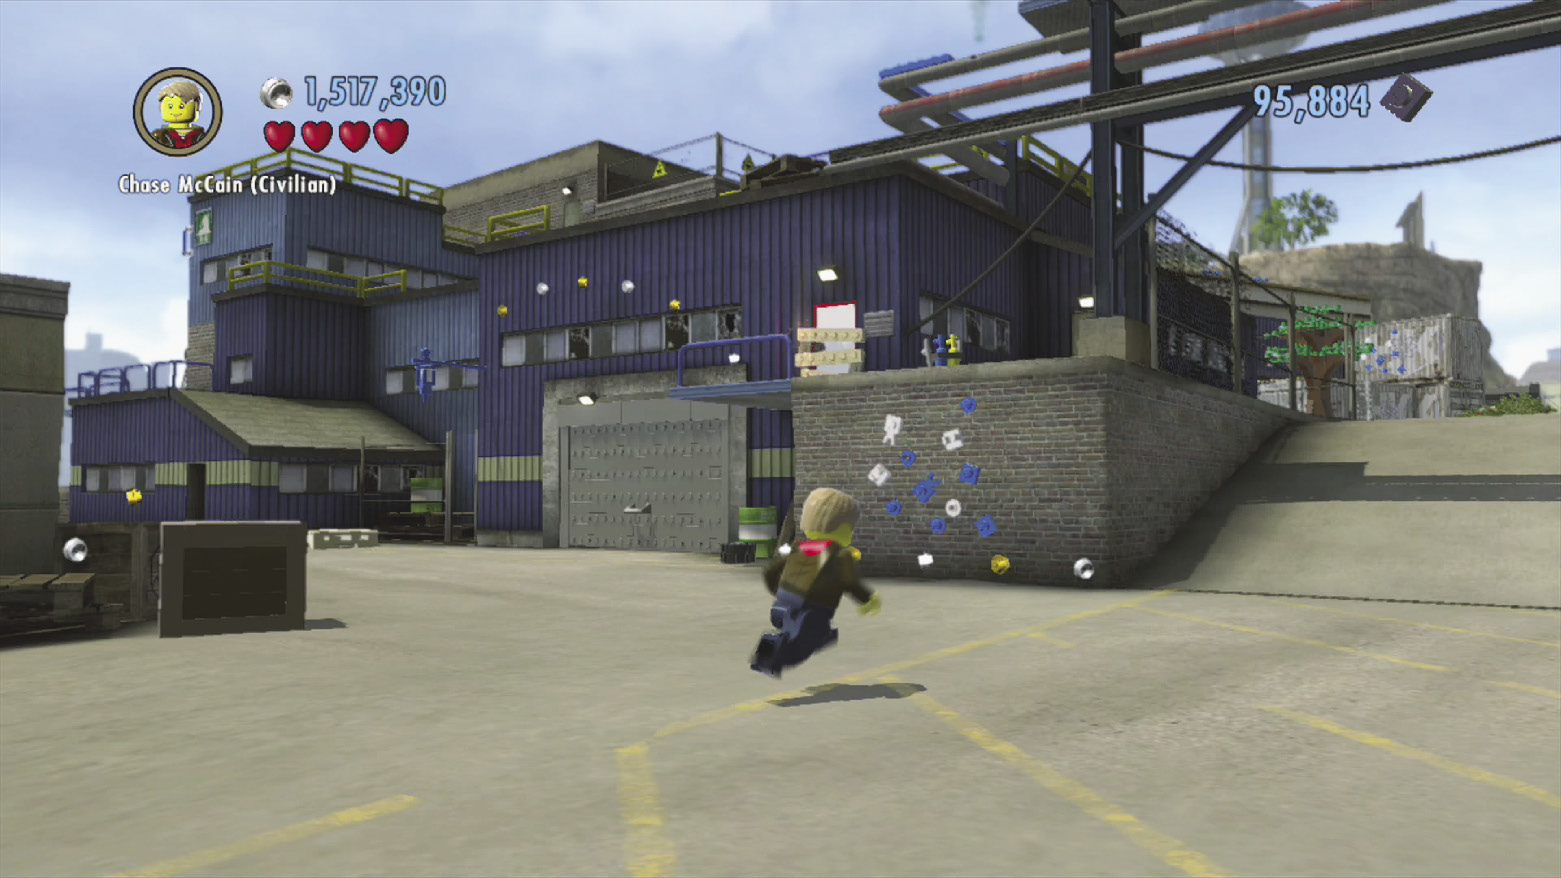
Climb the building next to Professor Kowalski’s lab by scaling the blue and white LEGO patch on one corner of the building.
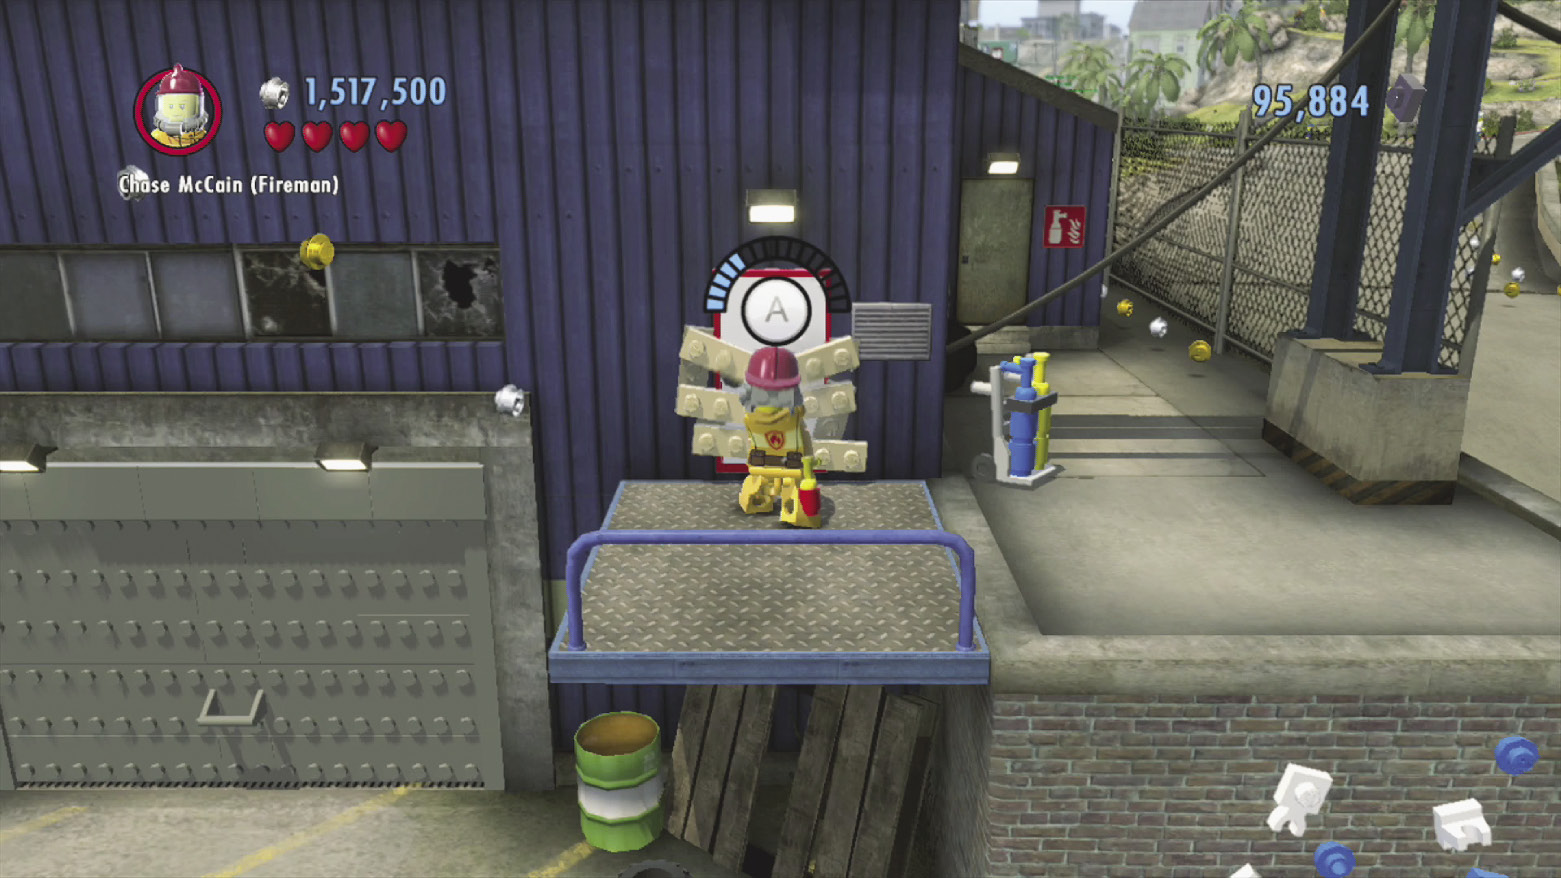
Chop open the boarded door above the blue and white LEGO patch to discover some bricks. Build these into a wall runway, then zip over to a flagpole and flip onto an eve.
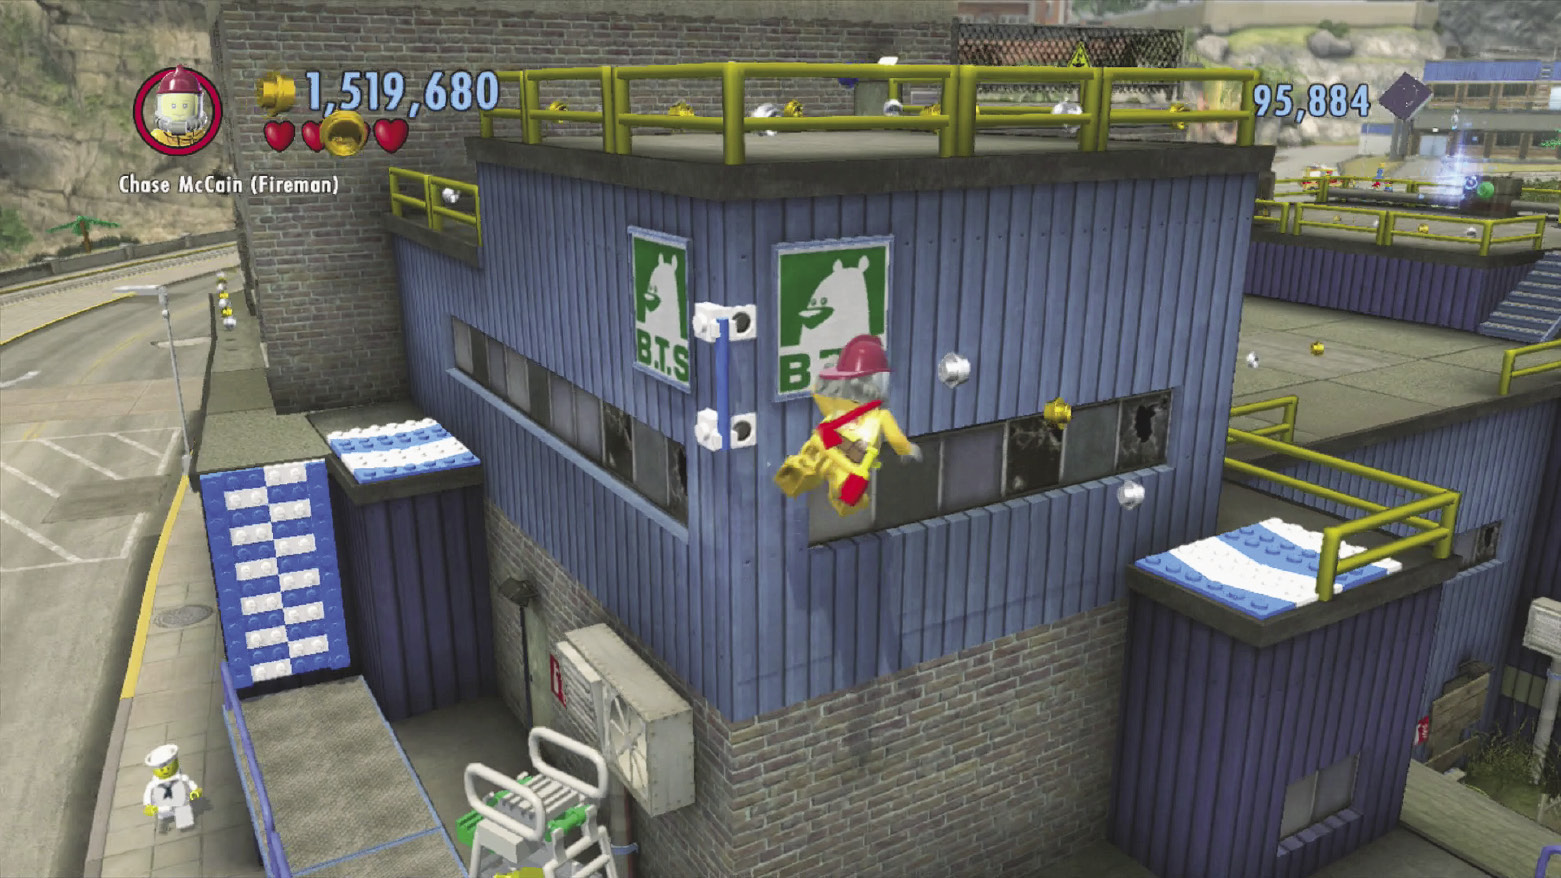
Run around the building and climb a blue and white LEGO wall. Dash across a wall runway to reach a roof.
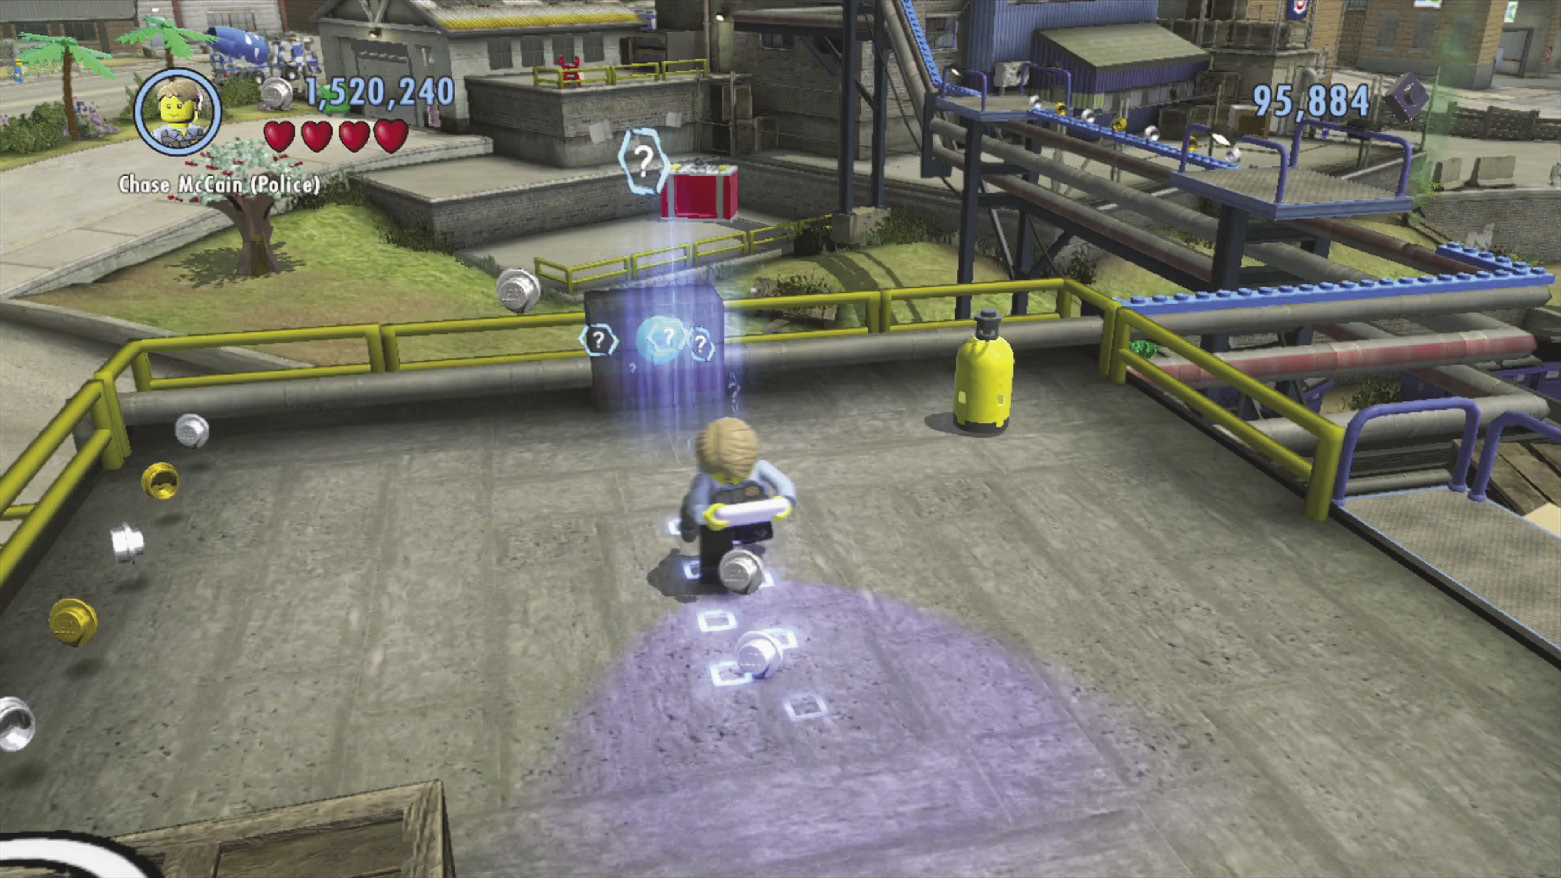
Sprint up some stairs and use a scan spot to track down a valve wheel. Use the wheel to extend a nearby platform.
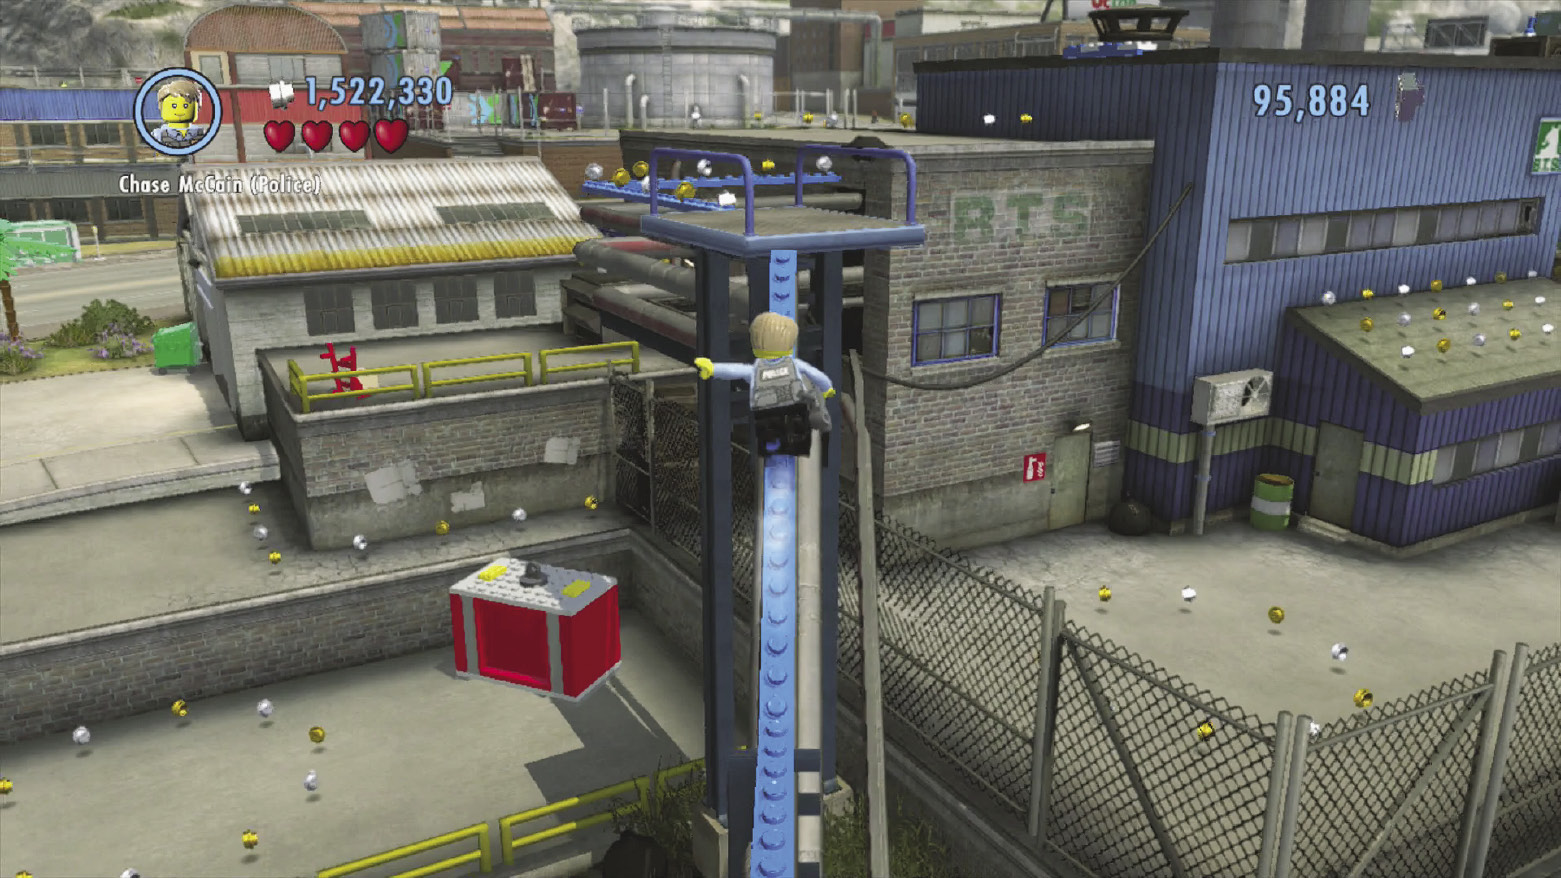
Cross the blue balance beams and platforms to reach another building. You can leap up the chimneys here to reach a character token before sliding down a tightrope to reach the final building.
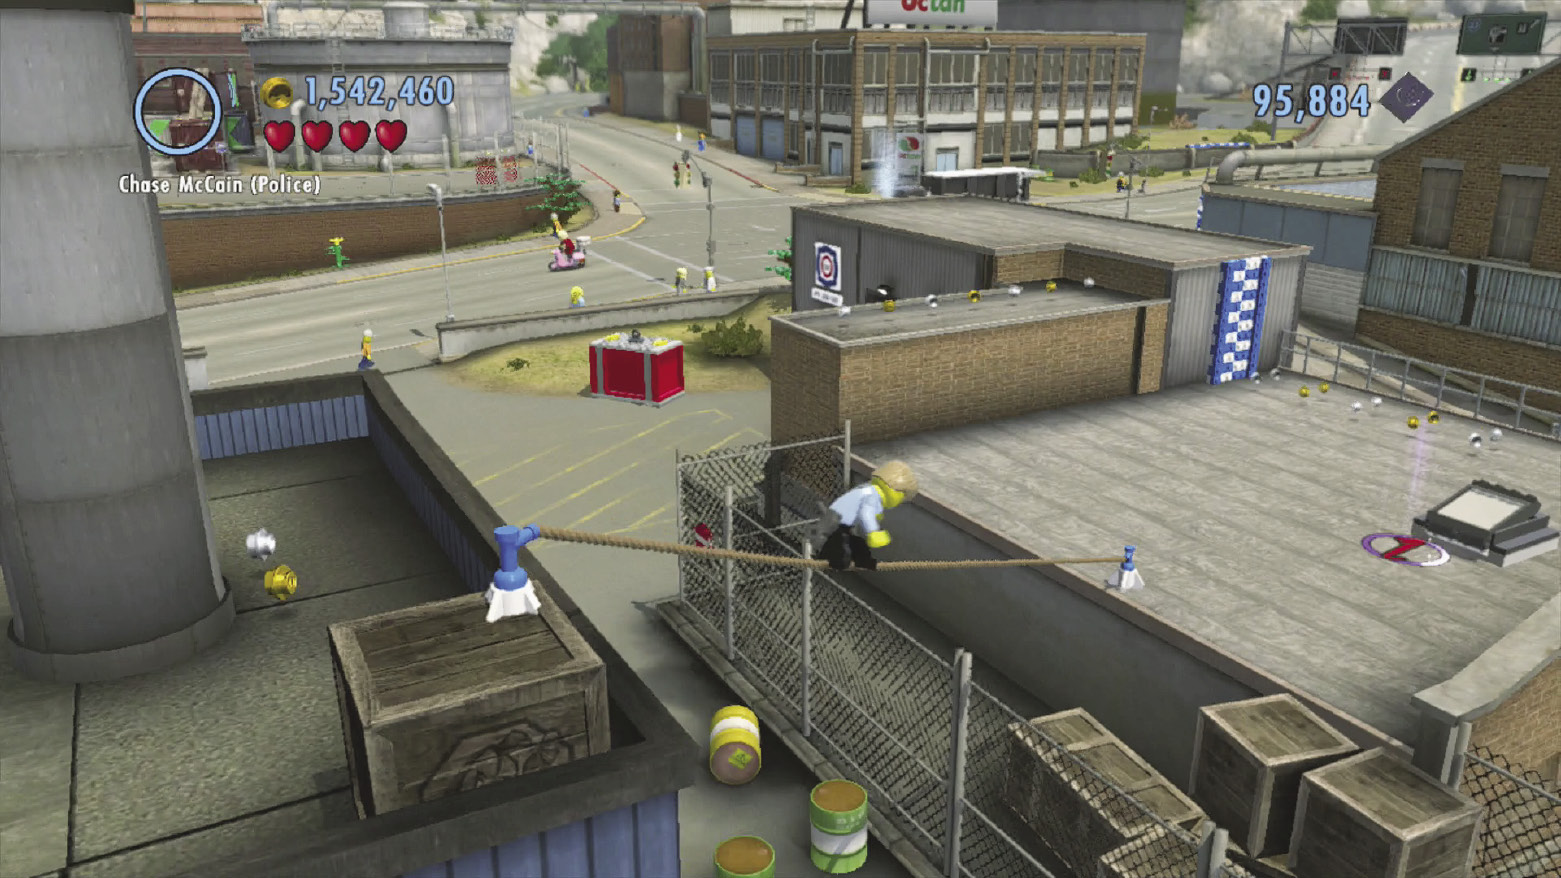
The final building features a skylight. Pry it open and drop through to land inside a garage. Crack a safe here to find a superbrick.
8. Beach
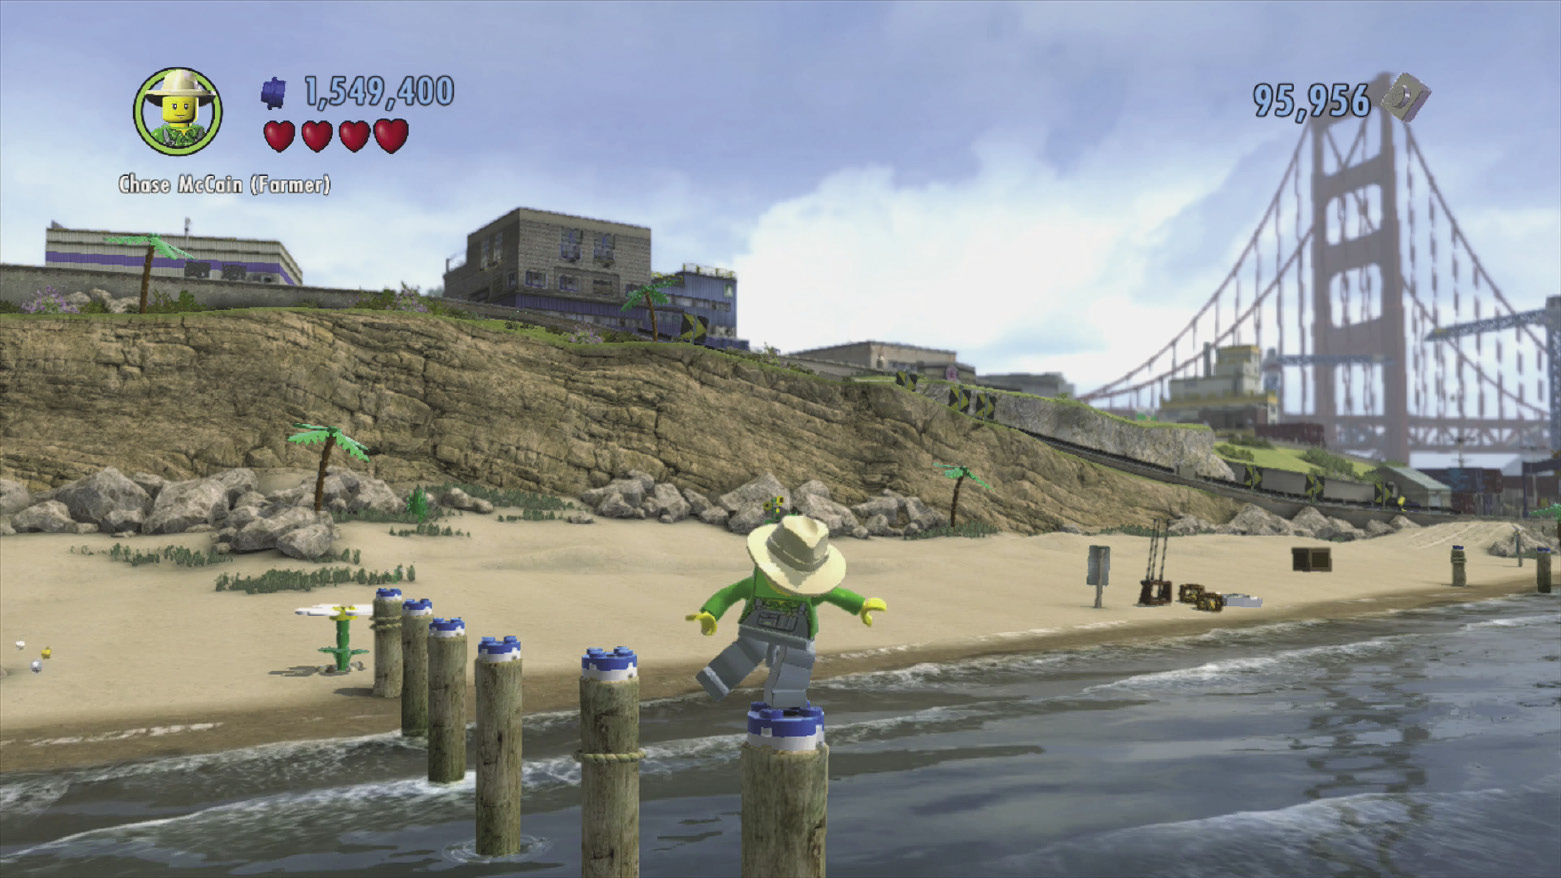
Auburn’s scenic beach is a happening spot. Stroll through the sizzling sands and hop along the thin poles that stretch out to the water to reach some valuable superbricks.
Feats and Collectibles
Map Legend
| Map Icon(s) | Feat/Collectible | Reward(s) | Location/How to Reach |
|---|---|---|---|
 |
Alien Caught | Gold brick | Underneath a wooden ramp near the gas station. |
 |
ATM Smashed | Gold brick | In the train tunnel, at the train station platform. |
 |
BBQ Fire Extinguished | Gold brick | On the beach. |
 |
Boulder Destroyed | Gold brick | Underneath the Auburn Bay Bridge (smash piles of boulders to discover). |
 |
Cat Rescued | Gold brick | Climb the south buildings, then cross the flaming pipe to reach a rooftop billboard. |
 |
Character Token 1 | Sarah Horner | Atop the large cargo ship at the docks. |
 |
Character Token 2 | Clown Robber Max | Pry open the metal door at the base of one of the docks’ north crane. |
 |
Character Token 3 | Tow Truck Driver | Complete the timed stud run around the crates at the north docks. |
 |
Character Token 4 | Docks Crane Driver | Climb the docks’ eastern crane; the token is at the top. |
 |
Character Token 5 | Louie Mitchell | Hidden in a nook beneath the final leg of the free run course. Smash a blue barrel, build a trampoline, then bounce up and shimmy along the overhead LEGO patch to reach. |
 |
Character Token 6 | Hazmat Guy | Build the Auburn Chimney atop the north-central buildings, then use the chimney’s updraft to reach the hovering token. |
 |
Character Token 7 | Deborah Graham | Navigate the north-central buildings, cross the blue balance beam, circle around the right side of the building, and search behind the Octan gas tank. |
  |
Character Token 8 | Violet de Burgh | Paint three crates of cherries red around Auburn. |
 |
Character Token 9 | Samson Crow | Paint the bananas yellow on the pallets along the east road near the docks. |
 |
Character Token 10 | Henrik Kowalski | Navigate the south-central buildings using the southeast access point; leap to the water towers and use a jetpack jump to reach the hovering token. |
 |
Character Token 11 | Hot Tub McCreedy | Paint five buoys red in the water by the beach. |
 |
Character Token 12 | Lance Linberger | Navigate the south-central buildings, using the chimney updrafts to reach the hovering token. |
 |
Character Token 13 | Allie Jaekshe | At the east buildings, climb the building near Professor Kowalski’s lab, then jump up the three chimneys to reach the hovering token. |
 |
Character Token 14 | Stephen Rhodes | Inside the gas station near Hank’s Garage. |
 |
Character Token 15 | Mechanic | Build the Sky Glide superbuild atop the water tower near the south buildings, then use the updraft to reach the hovering token. |
 |
Character Token 16 | Garage Worker | Smash four objects around the beach and build their bricks into palm trees and other objects. |
 |
Character Token 17 | Bobby Hammer | Navigate the south buildings, starting from the flower pot; the token is on a high crate at the end of the run. |
 |
Character Token 18 | Chris Parry | Pull down the ladder near the south buildings, pry open the skylight, drop inside, and open the safe. |
 |
Coffee Break | Gold brick | Navigate the south-central buildings. |
 |
Disguise Booth | Gold brick, “Harbour Worker” character token | Near Professor Kowalski’s lab. |
 |
District Conquered | Gold brick | Climb the Auburn Bay Bridge’s southern supports, slide down its east support rail, climb up a stone column, glide over to Auburn’s north docks’ crane, jetpack jump over to the neighboring crane, and raise the flag there. |
 |
Drill Thrill | Gold brick | Climb the south buildings, then cross the flaming pipe to reach a rooftop fuse box. |
 |
Flowers Watered 1 | Gold brick | Among the north-central buildings. |
 |
Flowers Watered 2 | Gold brick | Behind the south buildings. |
 |
Free Run | Gold brick, “Docks Foreman” character token | Navigate the north-central buildings to reach the free run token, then return to the beacon and navigate the buildings again. |
 |
Gang Arrested | Gold brick | Navigate the south-central buildings to reach a transport pad that leads to the roof with the audio scan point. |
 |
Pig Returned | Gold brick | Navigate the north-central buildings to reach the pig at the end of the rooftop run. |
 |
Red Brick | Data Scan Upgrade—Character Challenges | Smash a small green trash bin across the street from the disguise booth, then follow the footprints to the hidden red brick. |
 |
Silver Statue | Gold brick | Atop a stone column near the Auburn Bay Bridge (smash boulders and build a trampoline to reach). |
 |
Superbuild 1: Call-in Point | Gold brick, “Dragger” vehicle token | At the north docks. |
 |
Superbuild 2: Auburn Chimney | Gold brick | Navigate the north-central buildings to find the small circular superbuild pad. |
 |
Superbuild 3: Helipad | Gold brick, “Hera” vehicle token | Atop a roof of the east buildings (chop through a boarded door and climb the interior stairs). |
 |
Superbuild 4: Sky Glide | Gold brick | In the large water tank near the south buildings (fix the fuse box to drain the water). |
 |
Superbuild 5: Call-in Point | Gold brick, “Trasher” vehicle token | Near the south buildings. |
 |
Superbuild 6: Stunt Ramp | Gold brick, “Race Car Driver” character token | Near Professor Kowalski’s lab. |
 |
Time Trial | Gold brick, “Brawn” vehicle token | Boat docked along the eastern docks. |
 |
Train Station | Gold brick, fast travel | In the train tunnel beneath the Auburn Bay Bridge (smash the green cabinets on the station platform). |
 |
Vehicle Robbery Completed 1 | Gold brick, “Rex’s Riot” vehicle token | Use Rex Fury to rip apart the superstrength crate near the garage north of the gas station, then pry open the door. |
 |
Vehicle Robbery Completed 2 | Gold brick, “Enberg” vehicle token | Among the east buildings (douse the fire in front of a door, then pry it open). |
 |
Vehicle Robber Arrested | Gold brick, “Sphinx” vehicle token | Atop a water tower among the east buildings (chop through the boarded door, climb the interior stairs, activate a space crate, catapult-pad over to the water tower). |
 Alien Caught
Reward: Gold brick
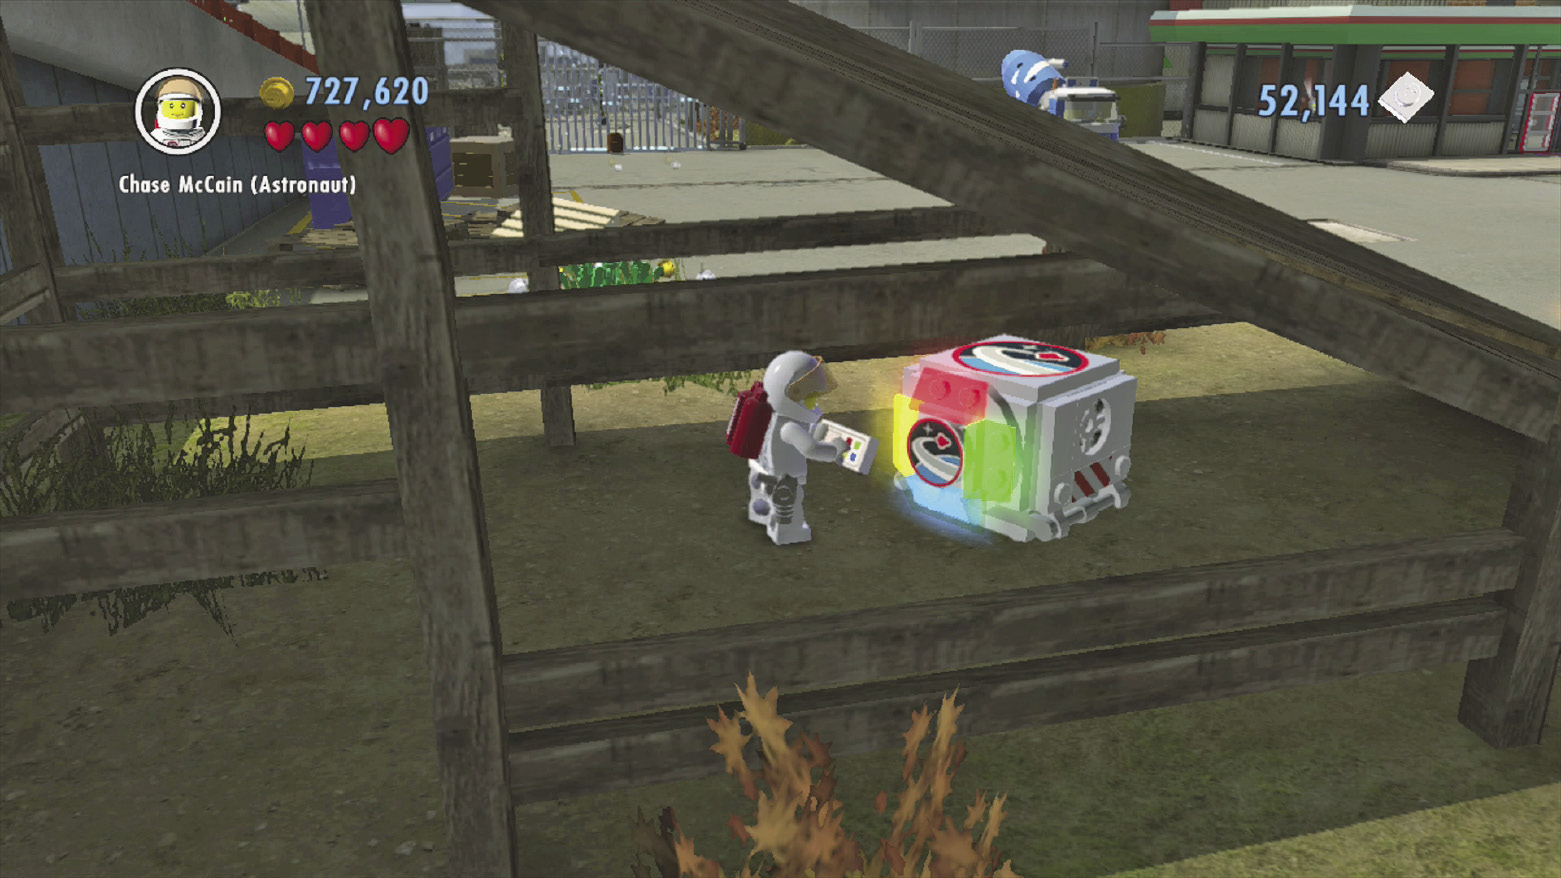
Slide underneath a wooden ramp near the gas station to discover a space crate that triggers this zone’s alien pursuit.
 ATM Smashed
Reward: Gold brick
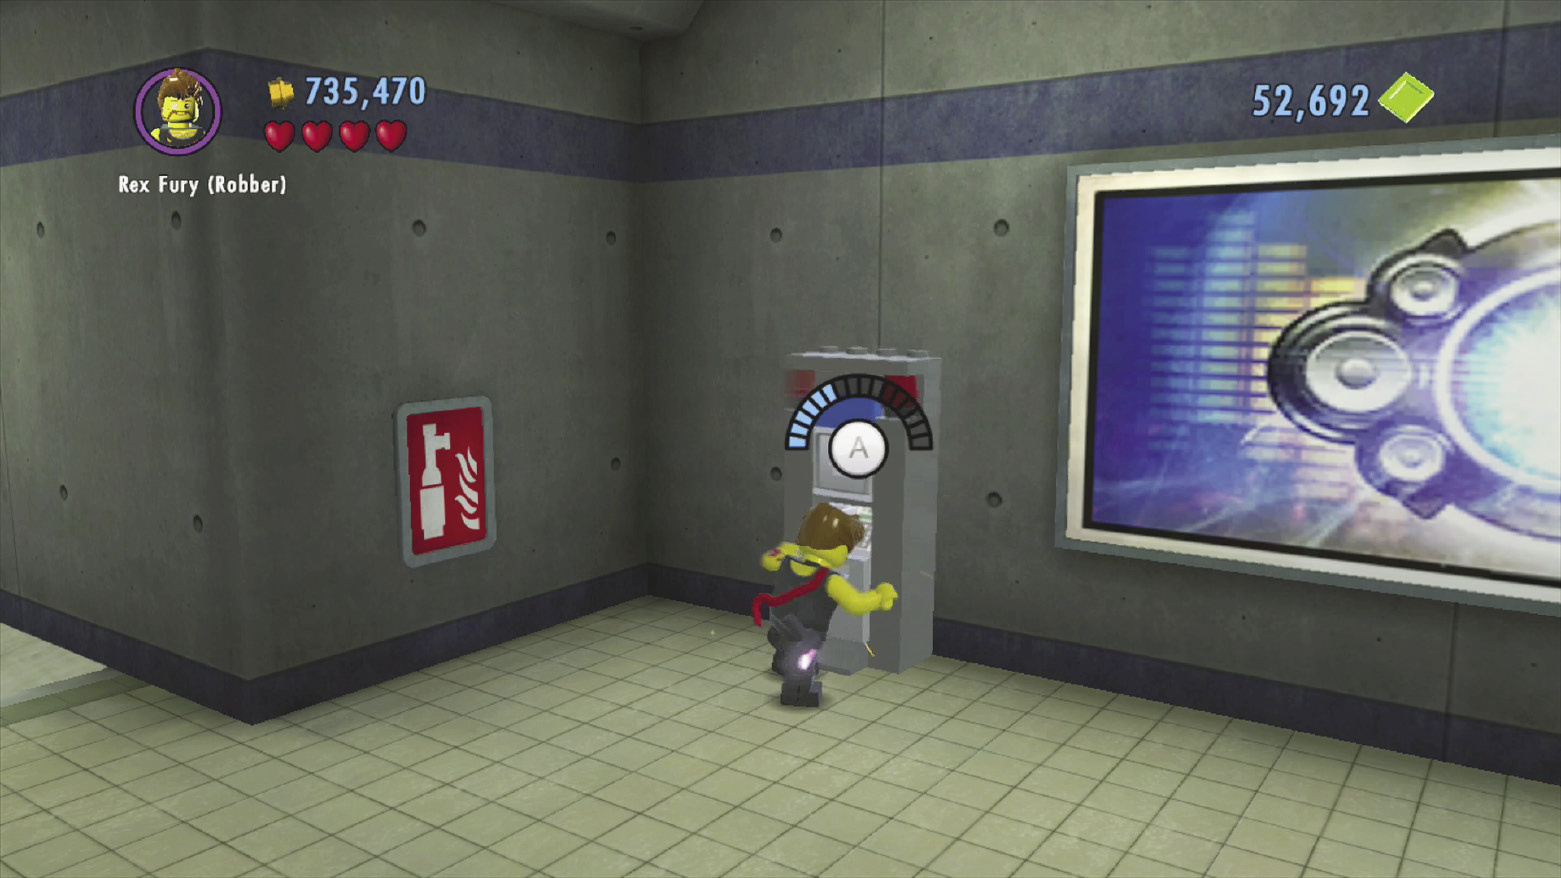
The ATM is found in the metro tunnel, near the train station platform. Simply use the metro station entrance (POI 3) to enter the tunnel, then smash up the ATM.
 BBQ Fire Extinguished
Reward: Gold brick
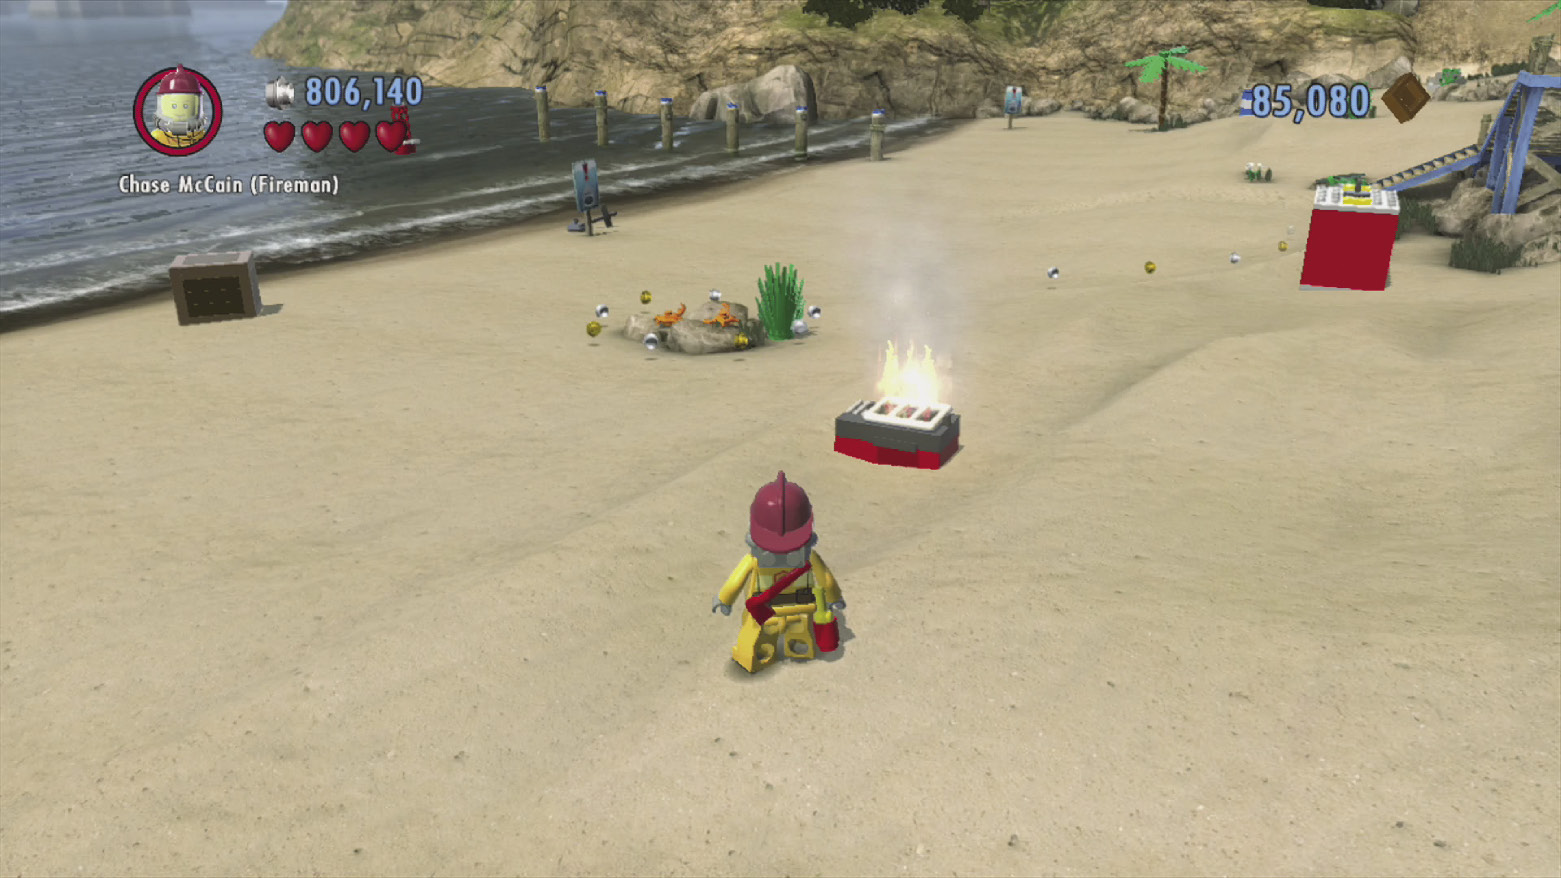
A BBQ fire has been left unattended on Auburn’s east beach. Douse it to ensure the public’s safety.
 Boulder Destroyed
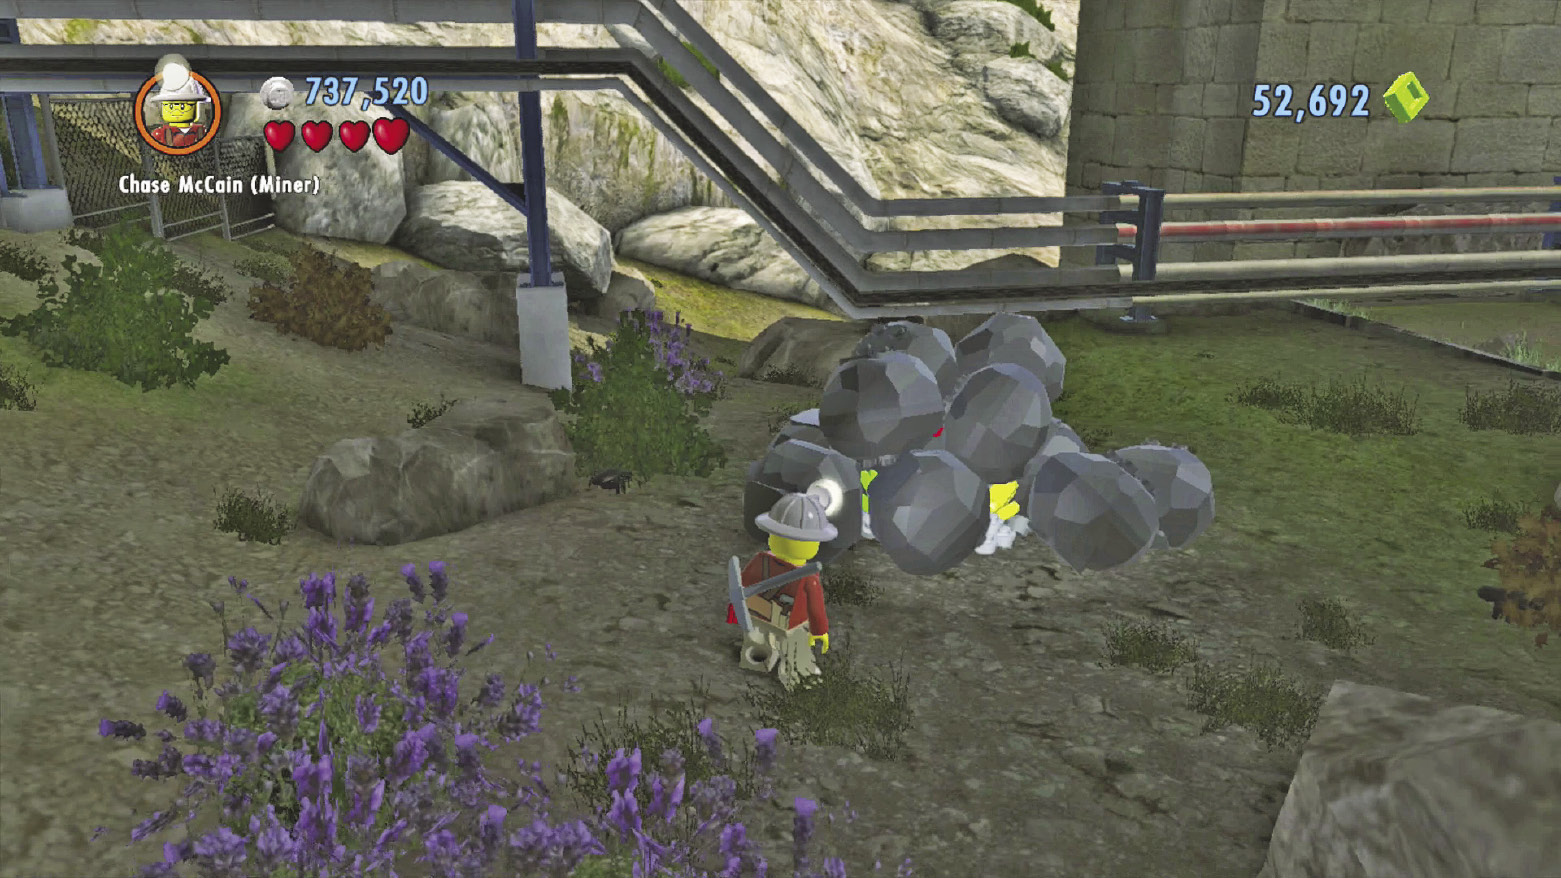
Reward: Gold brick
Smash a pile of boulders beneath the bridge to discover and destroy Auburn’s special boulder.
 Cat Rescued
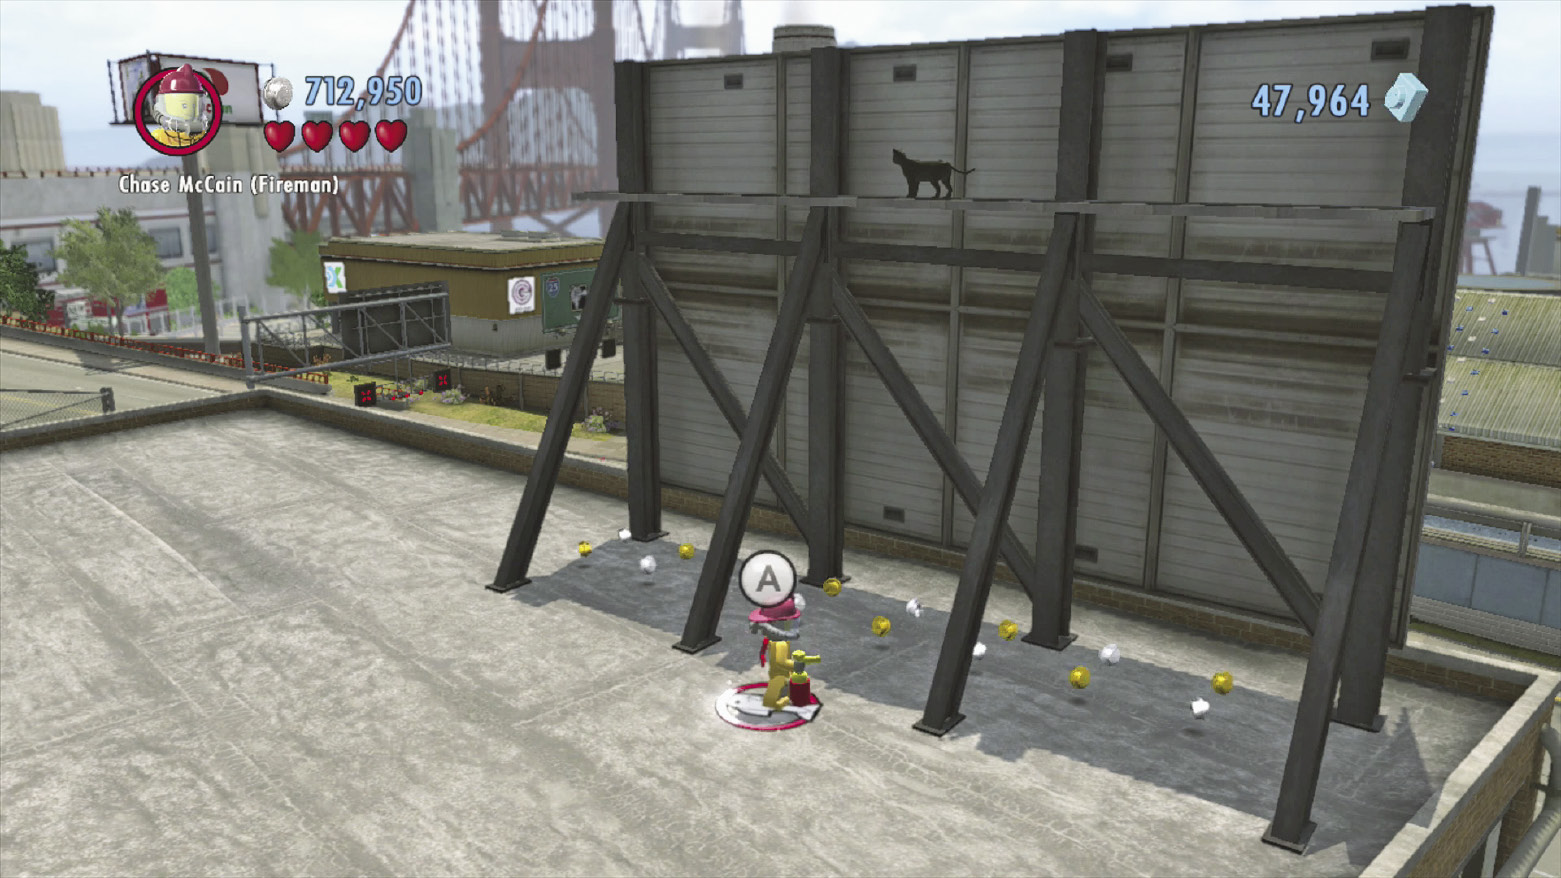
Reward: Gold brick
Climb the south buildings (POI 6) and cross the flaming pipe that stretches across the street. Run across the rooftop beyond to find a hapless cat trapped atop a large billboard.
 Character Token 1
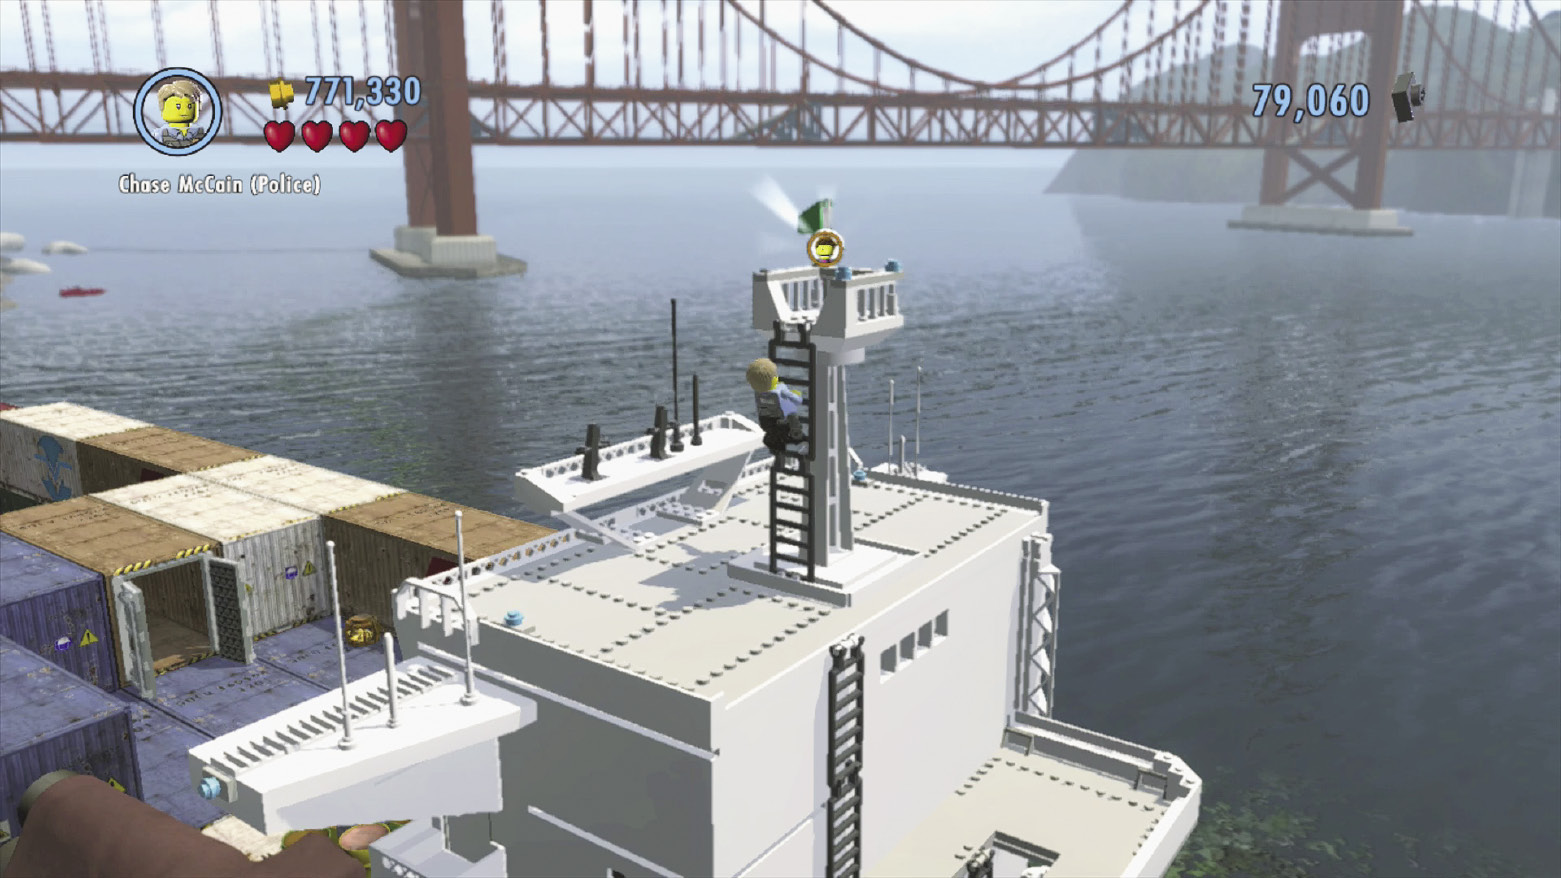
Reward:Sarah Horner
Climb to the top of the large cargo ship that’s moored at the north docks—you’ll find a character token way up on the crow’s nest. Leap from the nearby crates to land on the ship’s deck.
 Character Token 2
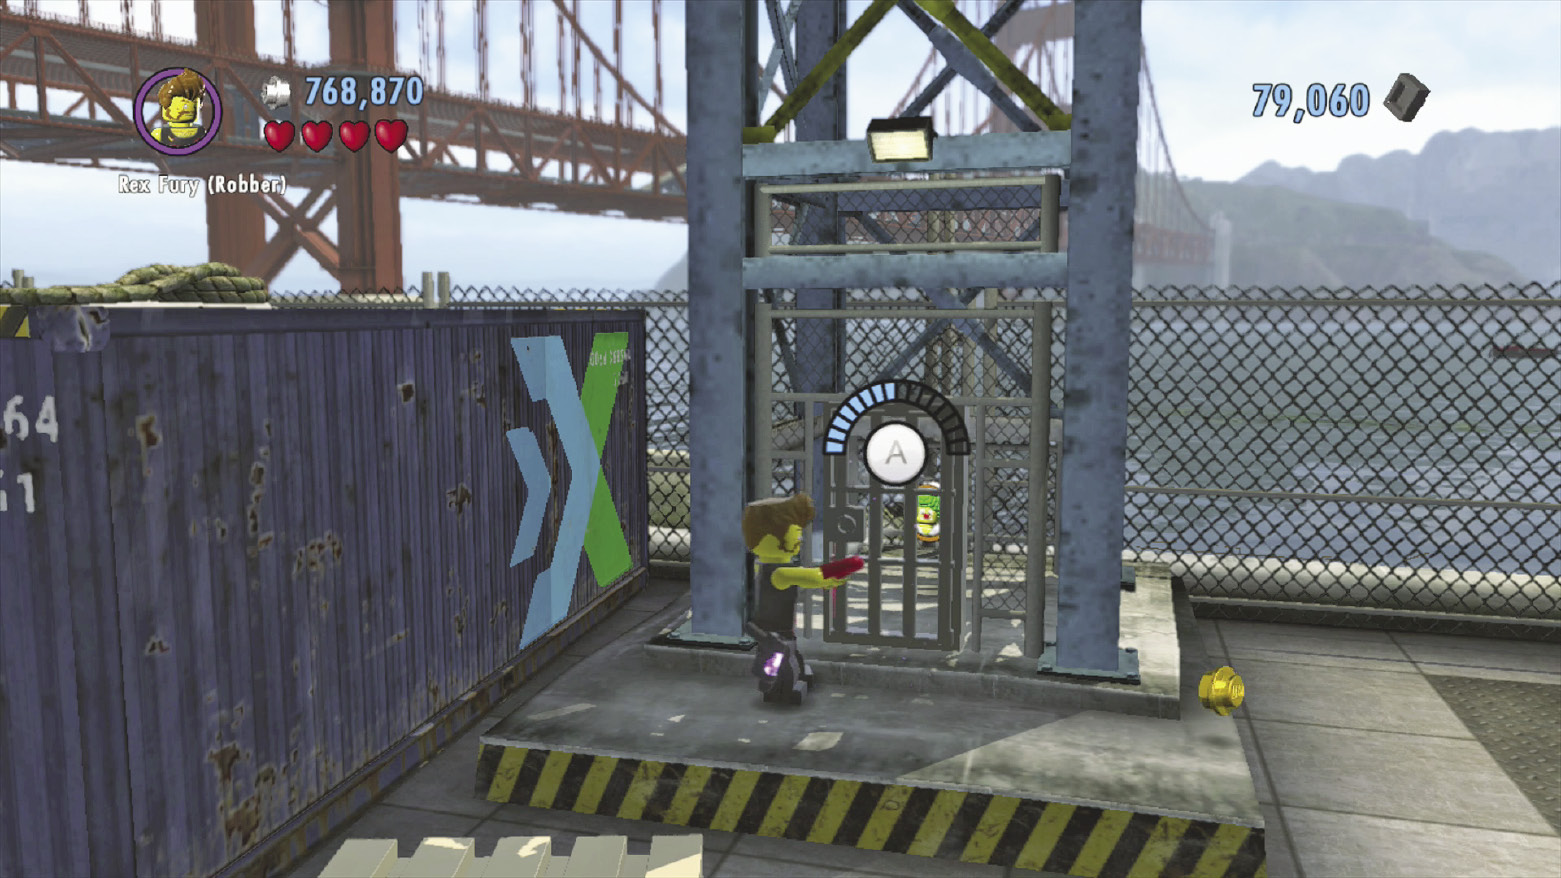
Reward: Clown Robber Max
Pry open the metal door at the base of one of the docks’ northern cranes to get at this character token.
 Character Token 3
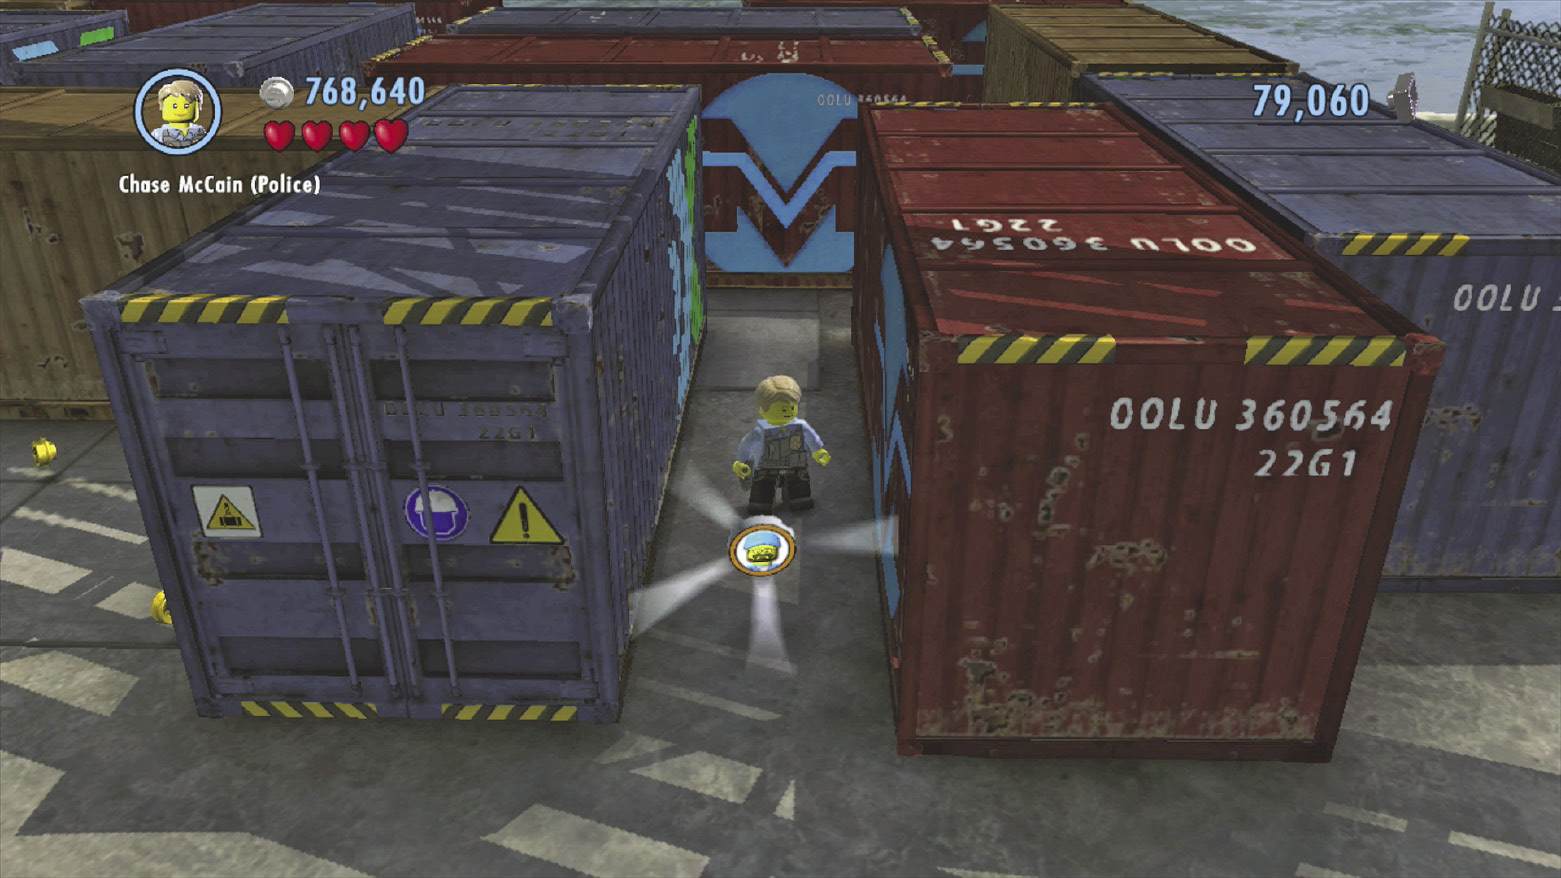
Reward:Tow Truck Driver
While exploring the north docks, notice a time token near a group of crates. Collect the token, then race through the crates and collect the studs that suddenly appear! Reach the end of the stud run before time runs out to make a character token appear nearby as well.
 Character Token 4
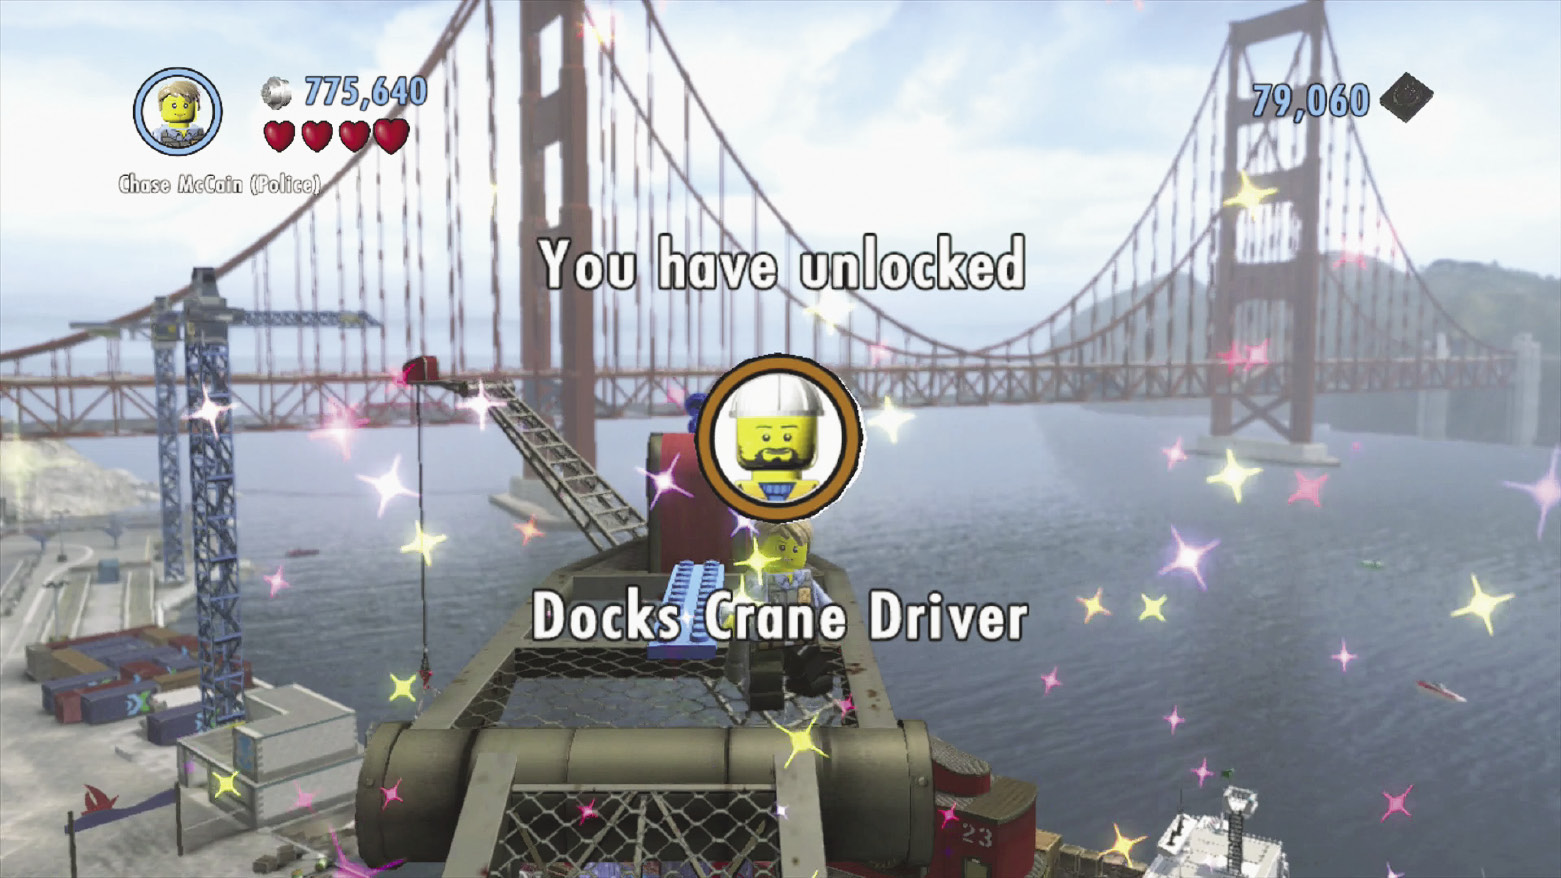
Reward: Docks Crane Driver
Climb the north docks’ eastern crane to reach a character token way up at the top.
 Character Token 5
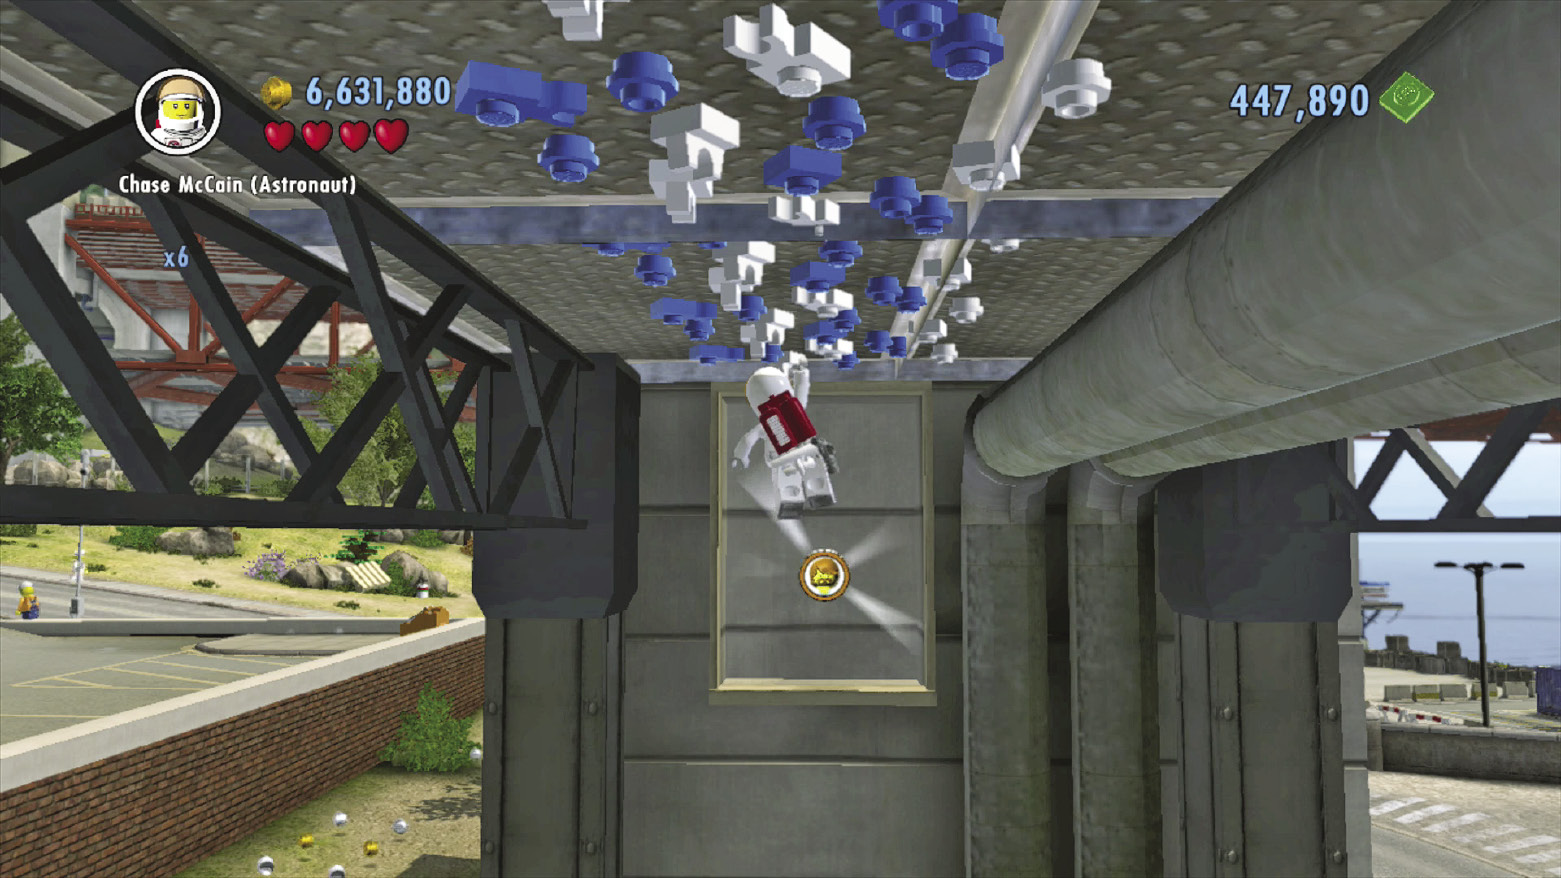
Reward:Louie Mitchell
This character token hovers beneath the small building that features the lost pig and free run token on its roof. Smash a barrel and build a trampoline out of its bricks, then bounce up and grab the overhead LEGO patch. Shimmy over to the token and collect your prize!
 Character Token 6
Reward:Hazmat Guy
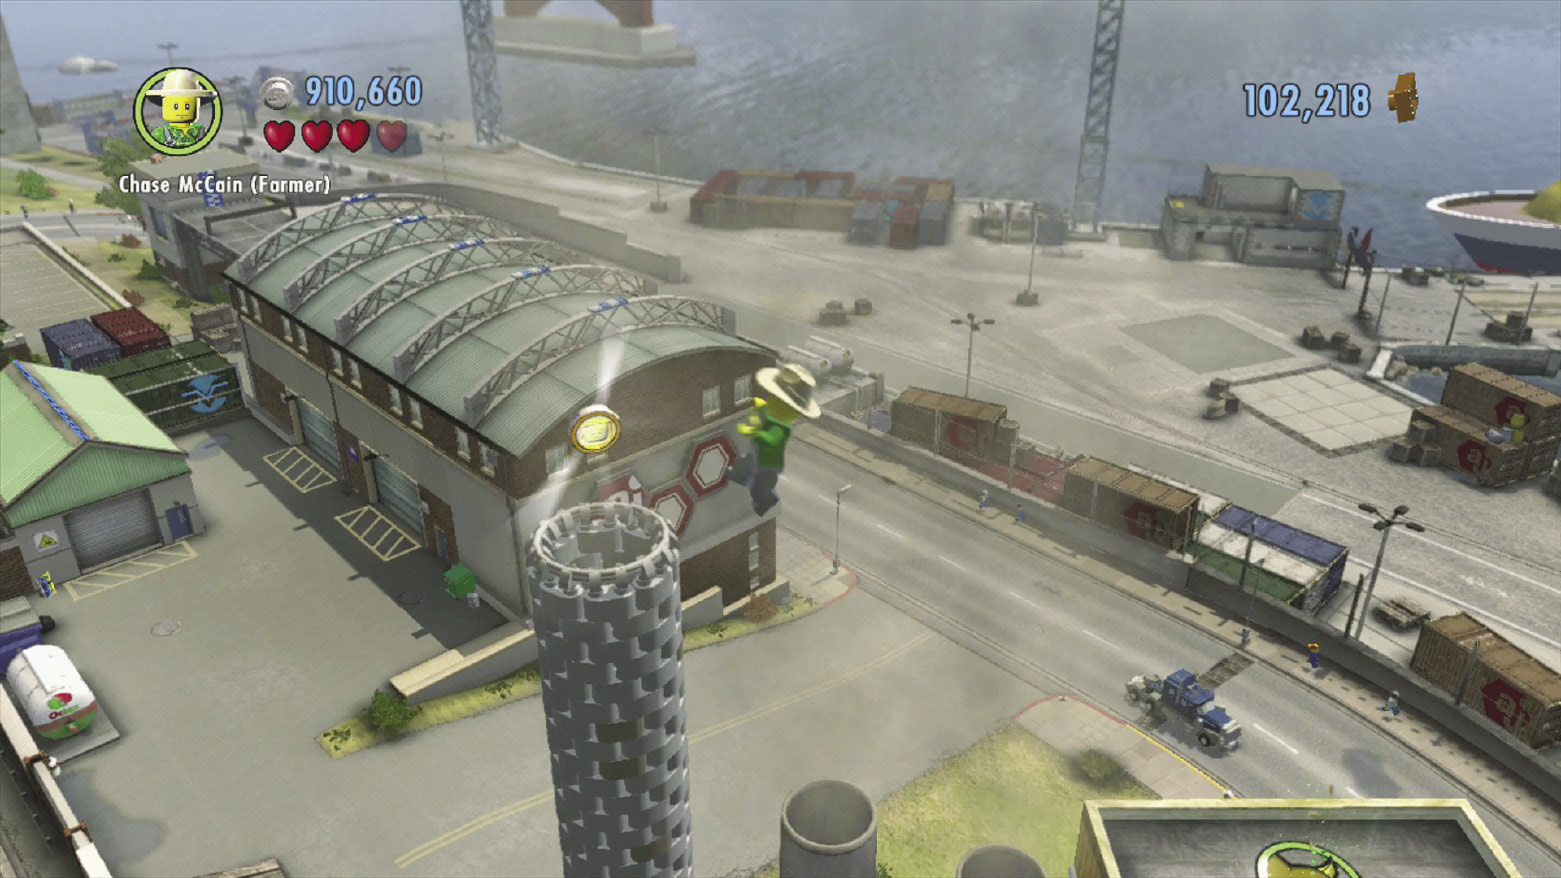
Navigate the north-central buildings (POI 2) and build the Auburn Chimney superbuild atop one of the roofs. Climb up and use the chimney’s updraft to reach a character token that hovers high above.
 Character Token 7
Reward:Deborah Graham
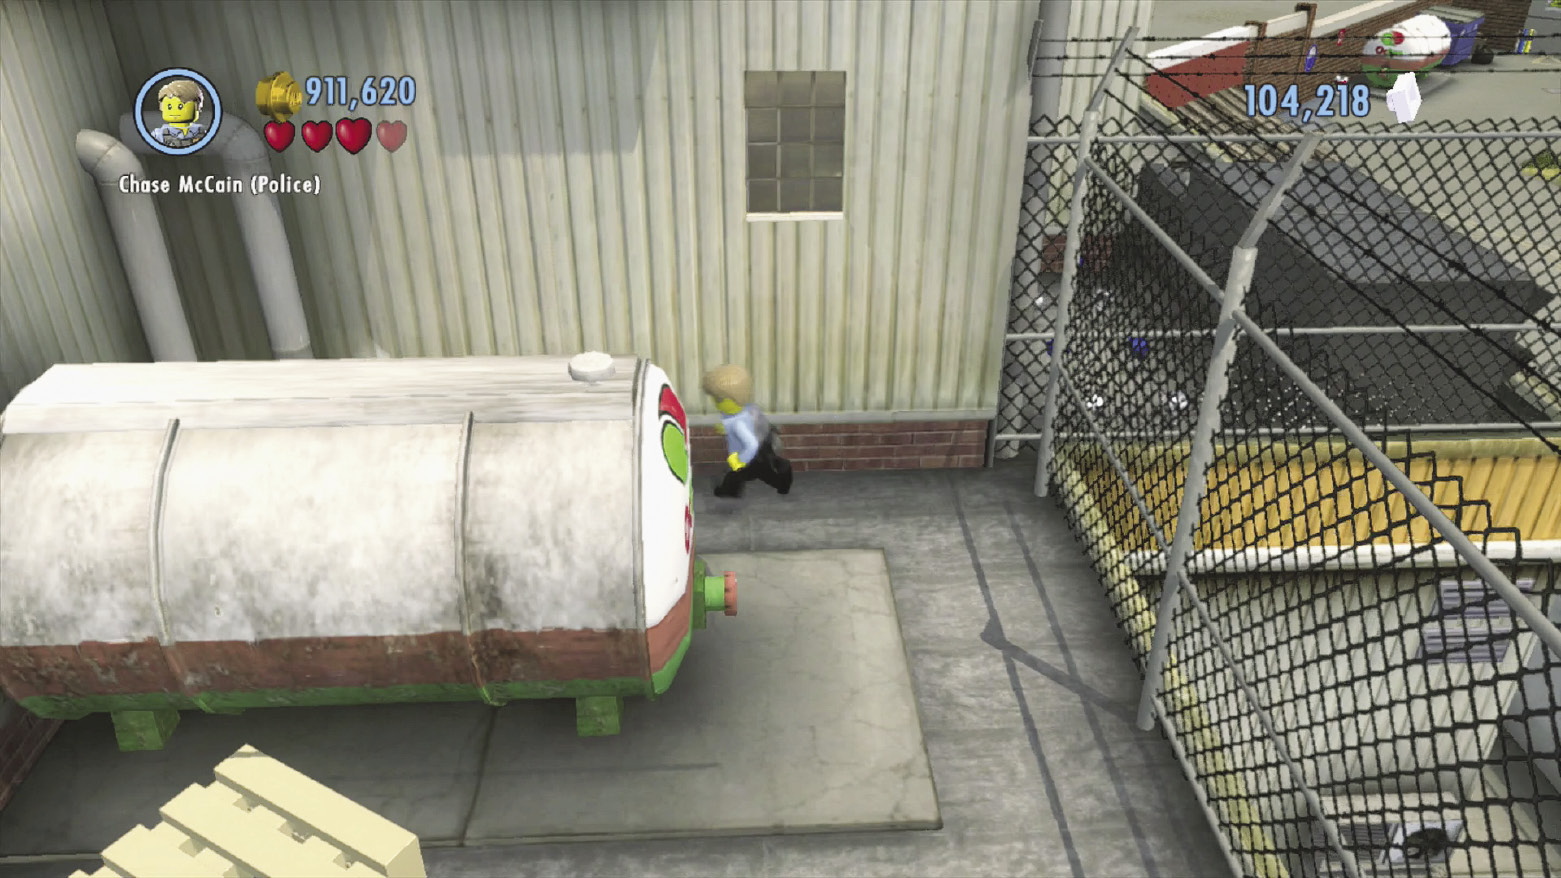
While navigating the north-central buildings (POI 2), after crossing the blue balance beam, circle around the right side of the building and search behind an Octan oil tank to discover a hidden character token that can’t be seen until you collect it.
 Character Token 8
Reward:Violet de Burgh
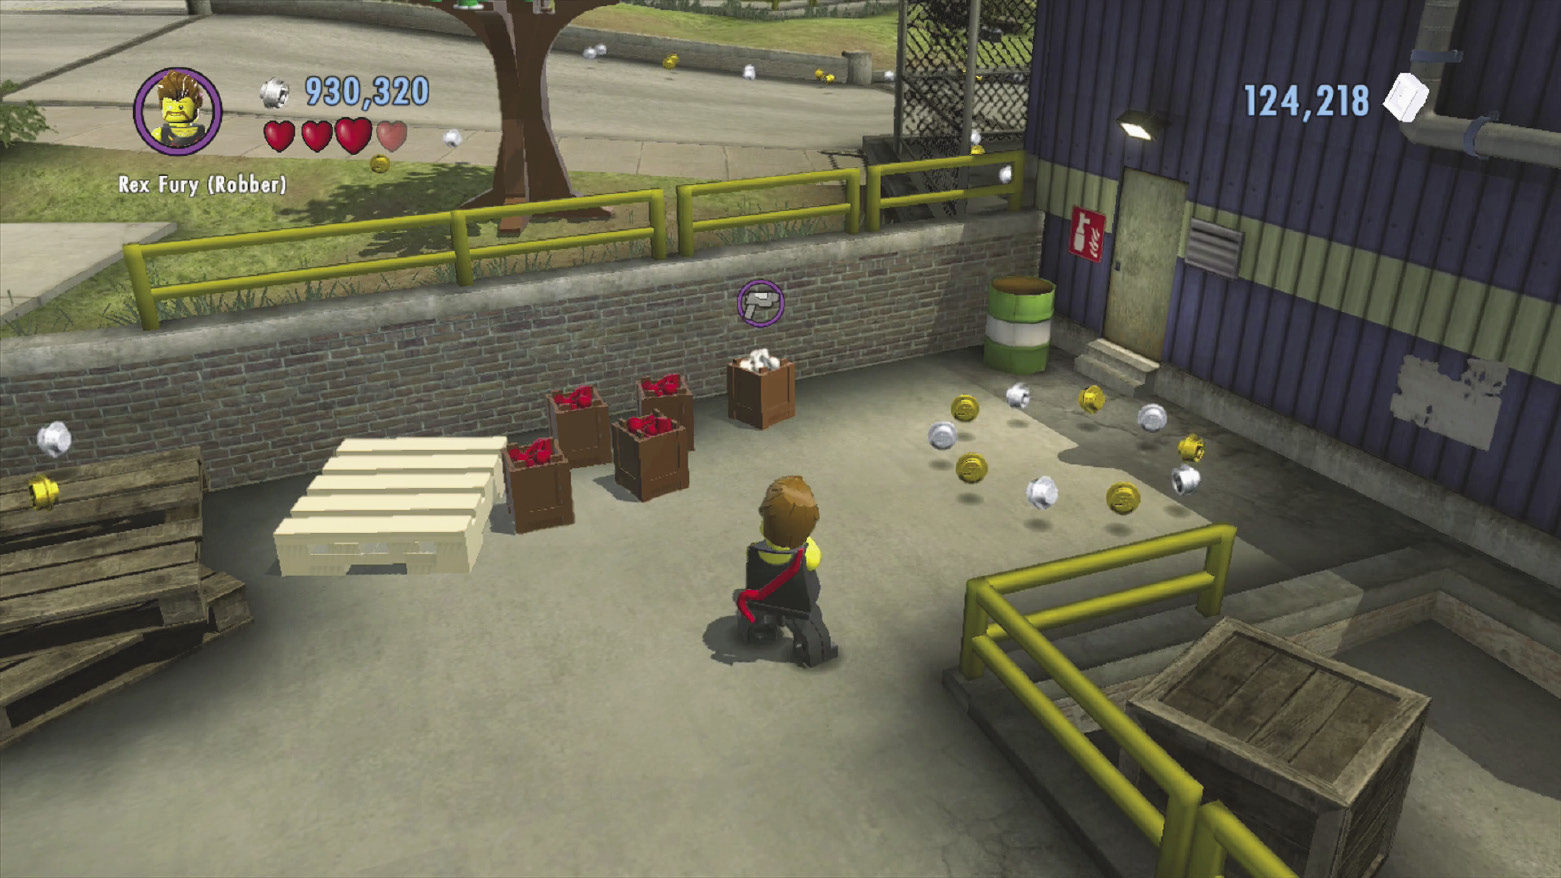
Find and blast three small crates full of cherries around Auburn, coloring them all red. Check the map for the crates’ locations. You can find a red color swapper in the east buildings (POI 7) by chopping through a boarded door on the side of the building near Professor Kowalski’s lab.
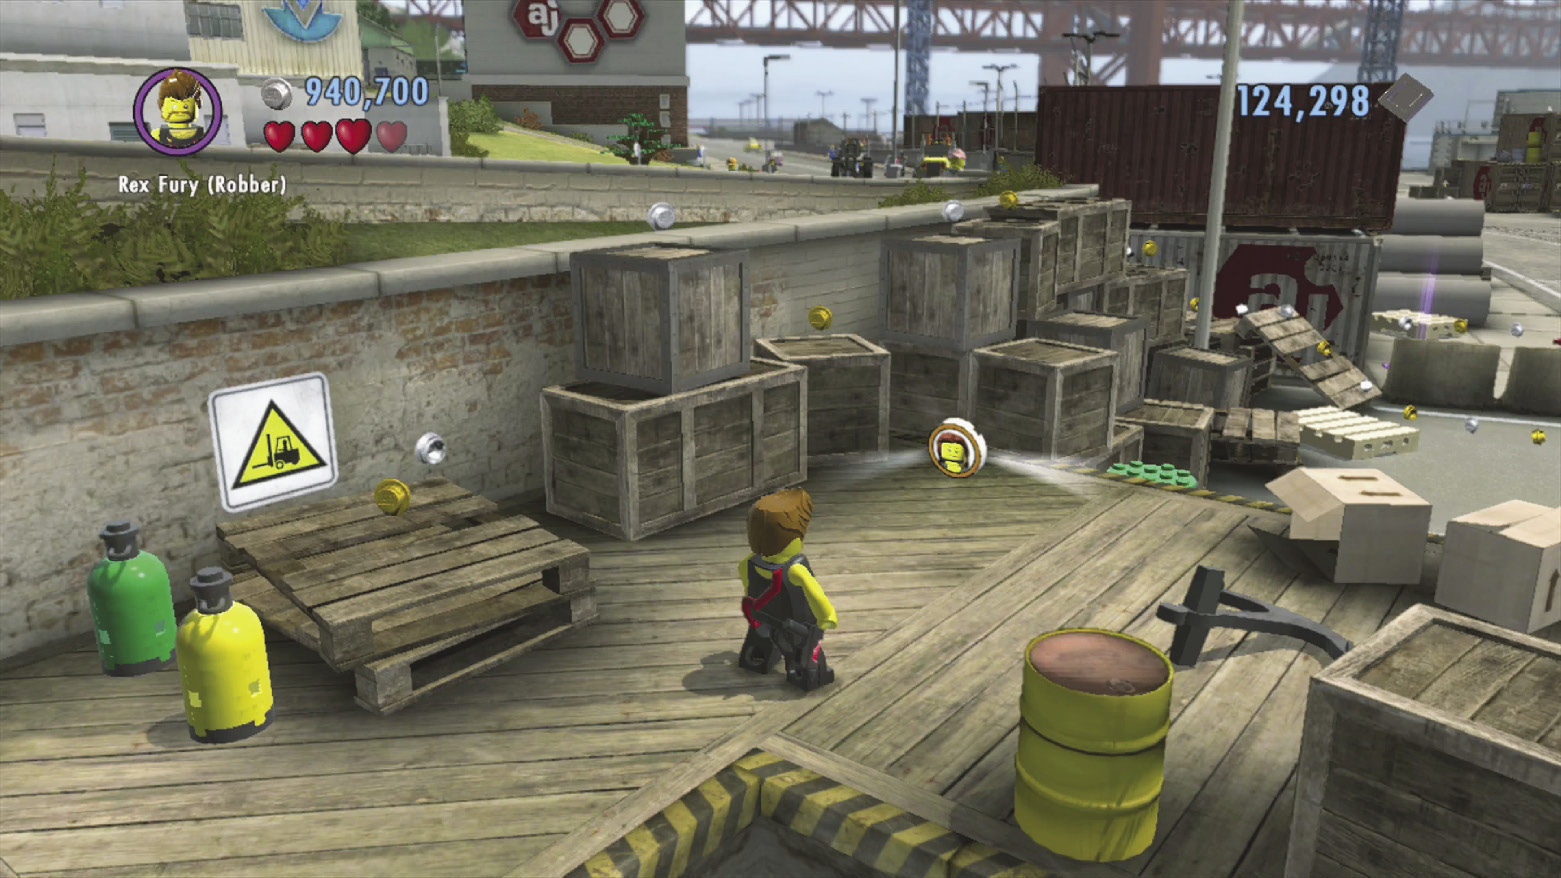
After you color all three crates of cherries red, a character token appears near the banana pallets that line the east road near the docks. Go on and grab it!
 Character Token 9
Reward: Samson Crow
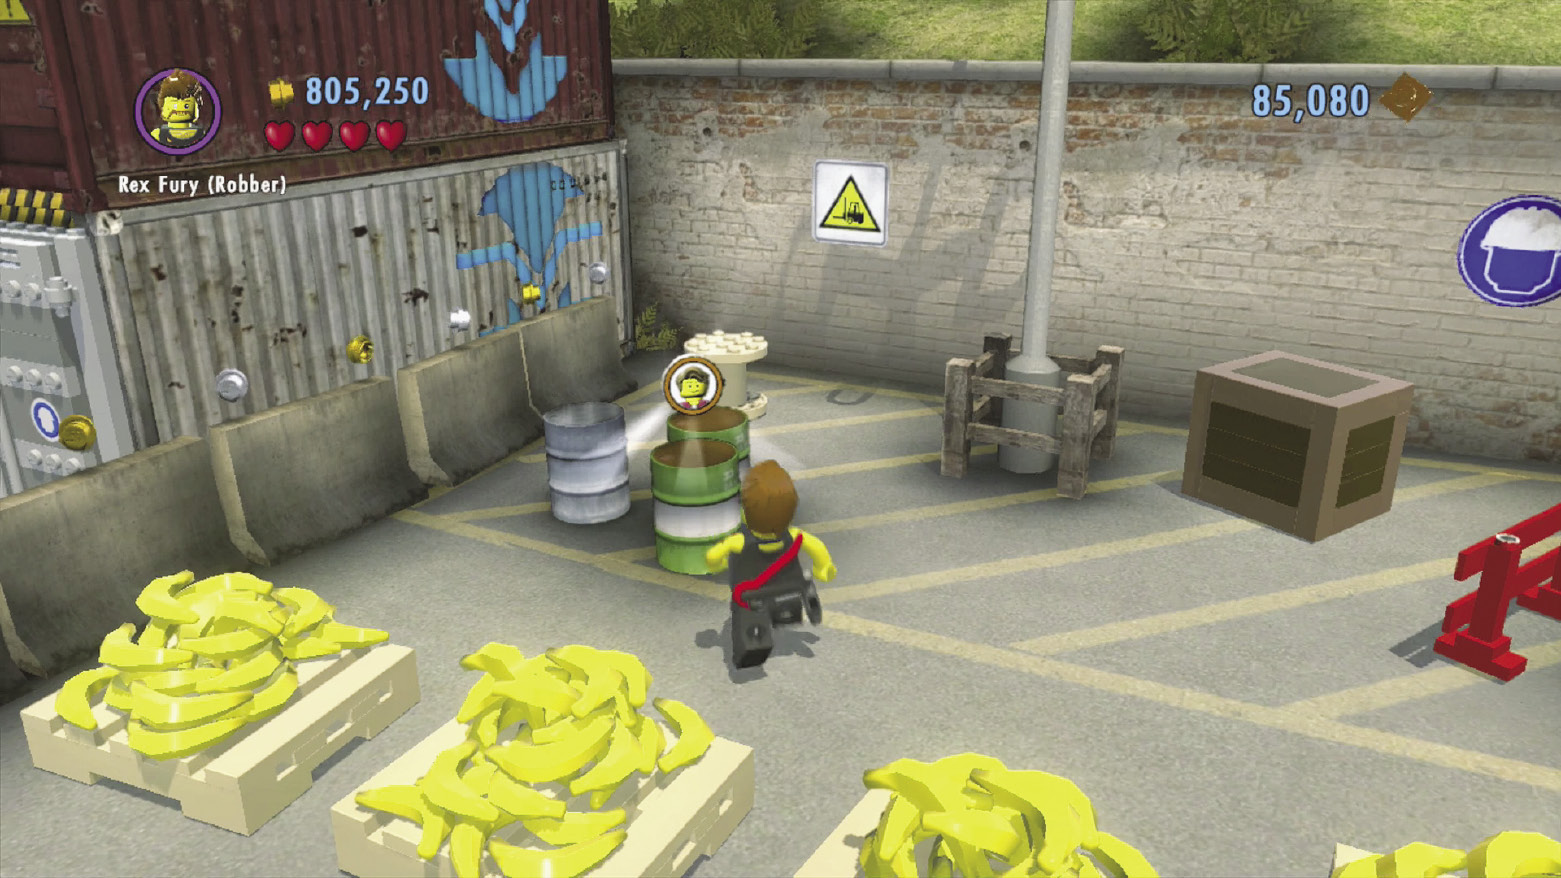
While driving up Auburn’s east road, heading toward the docks, spy a group of pallets with piles of bananas stacked on them. Pry open a nearby crate to discover a yellow color swapper, then blast and paint the white bananas yellow. Paint them all yellow to make a character token appear nearby!
 Character Token 10
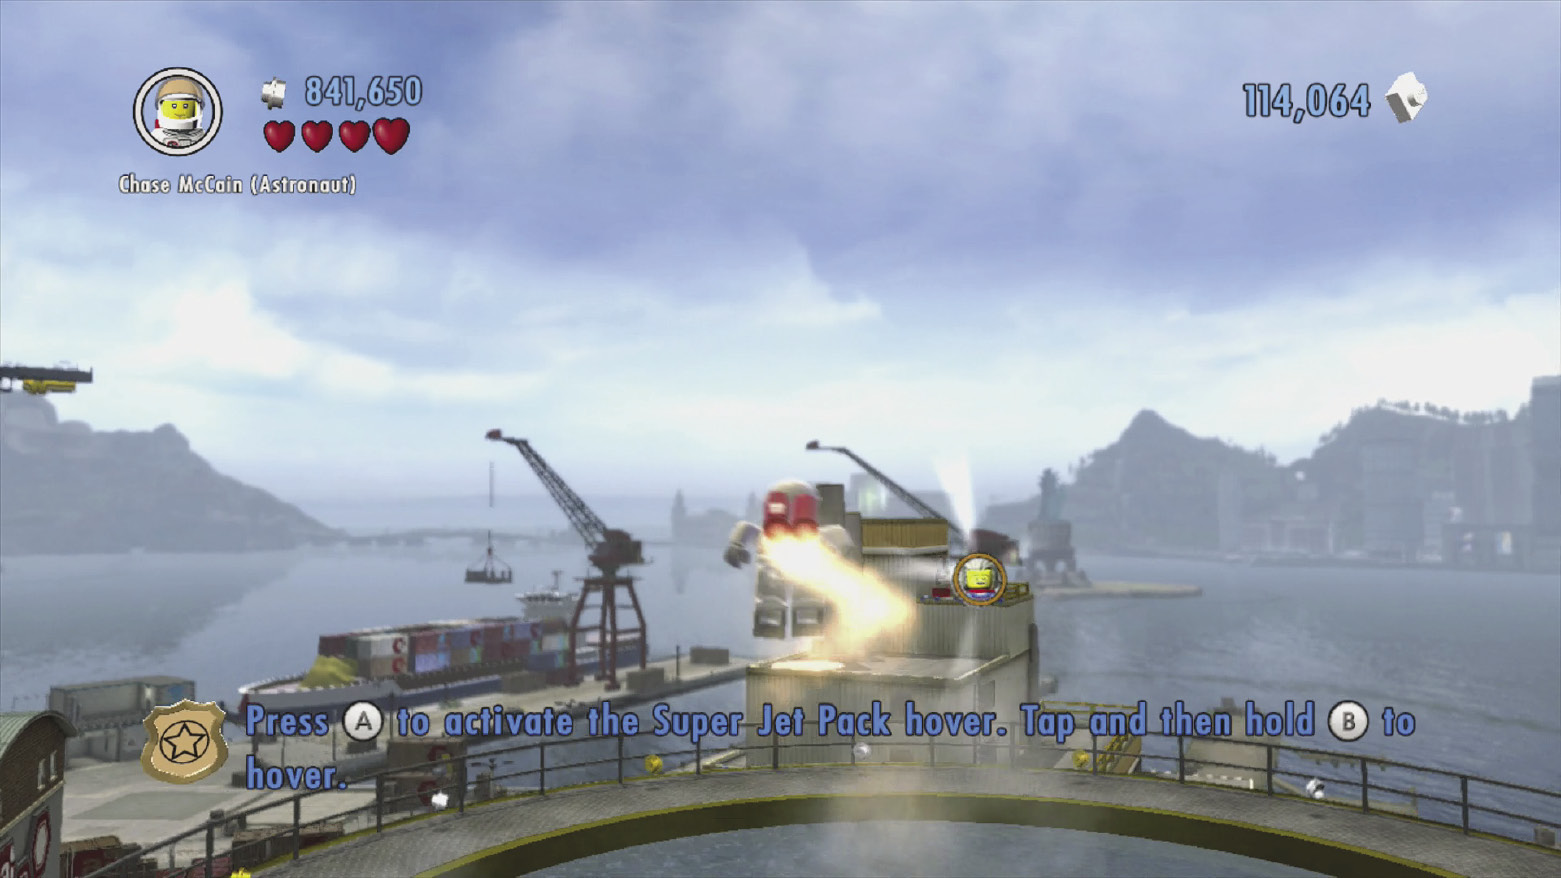
Reward: Henrik Kowalski
Drive around the southeast corner of the south-central buildings (POI 4), climbing a blue and white LEGO patch and filling a pool full of water. Keep following the rooftop run, leaping over to some nearby water tanks. A character token hovers above the taller tank—use a jetpack jump to reach it.
 Character Token 11
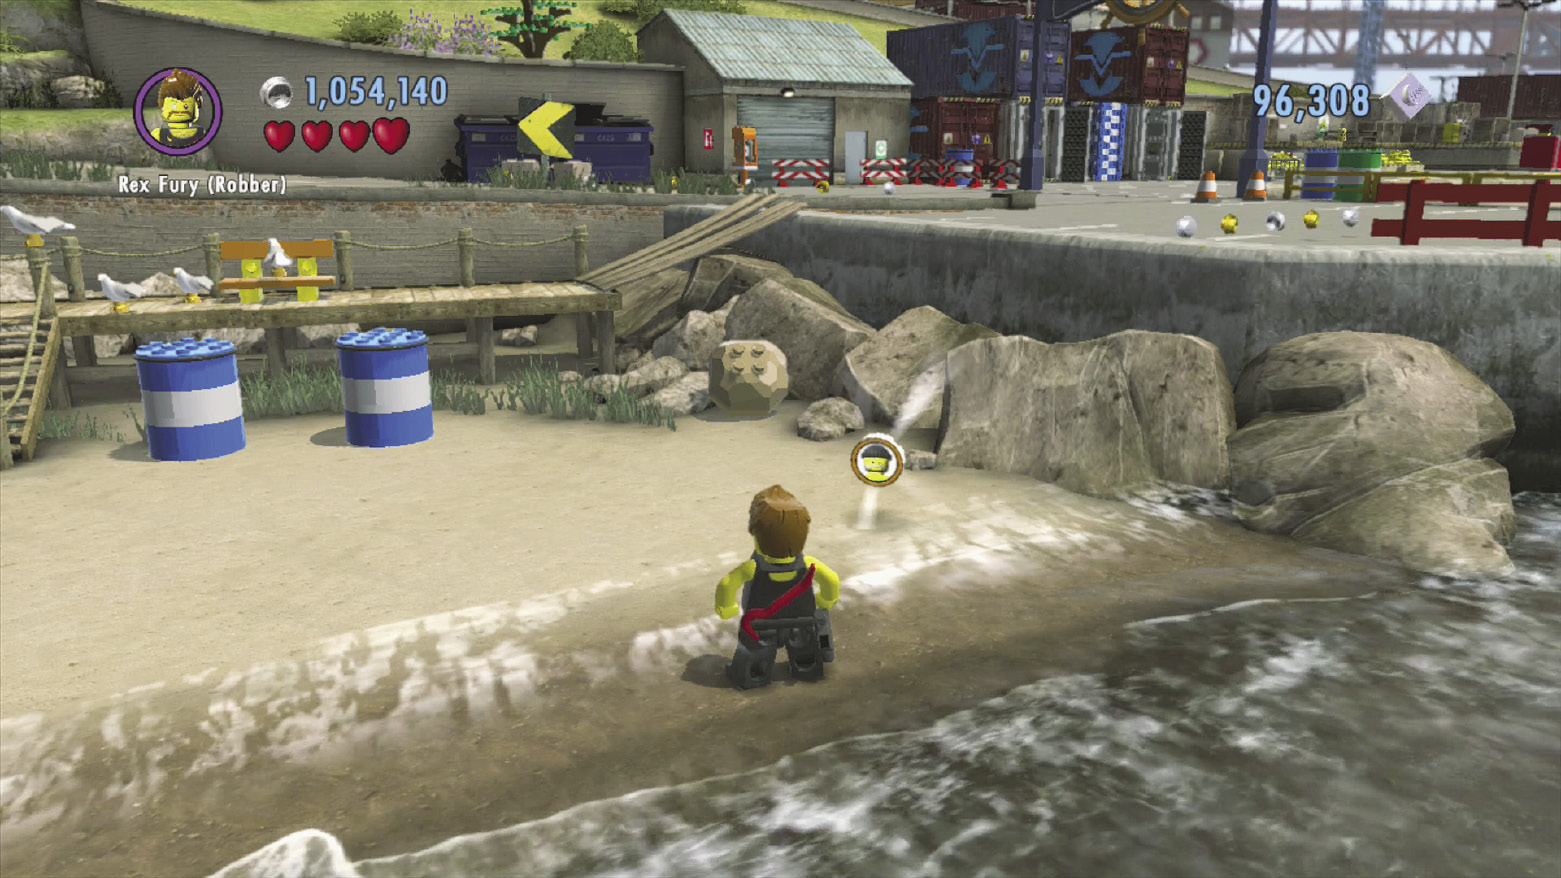
Reward: Hot Tub McCreedy
While visiting the beach, take aim and blast five distant floating buoys with the robber’s color gun. Paint all five buoys red to make a character token wash up nearby! You can find a red color swapper in the nearby east buildings (POI 7), near Professor Kowalski’s lab.
 Character Token 12
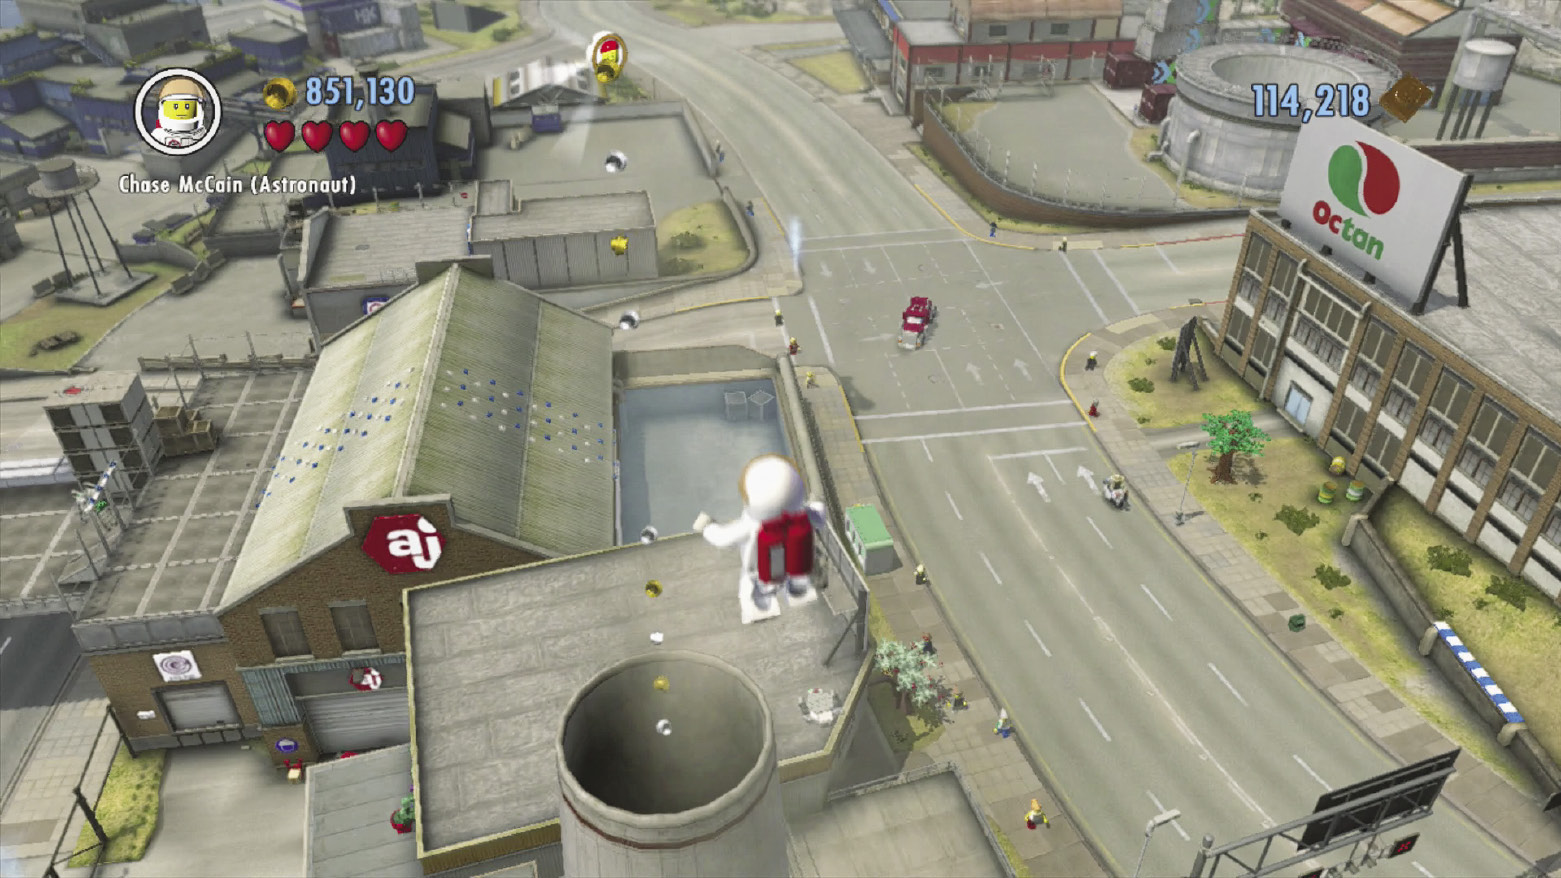
Reward: Lance Linberger
Make your way across the south-central buildings (POI 4), starting from the north drill geyser and eventually using a jetpack jump to reach a patch of blue and white LEGOs on the side of one of the buildings. Climb the handholds on the giant chimney that follows, then use the chimney’s updraft to reach a high hovering character token.
 Character Token 13
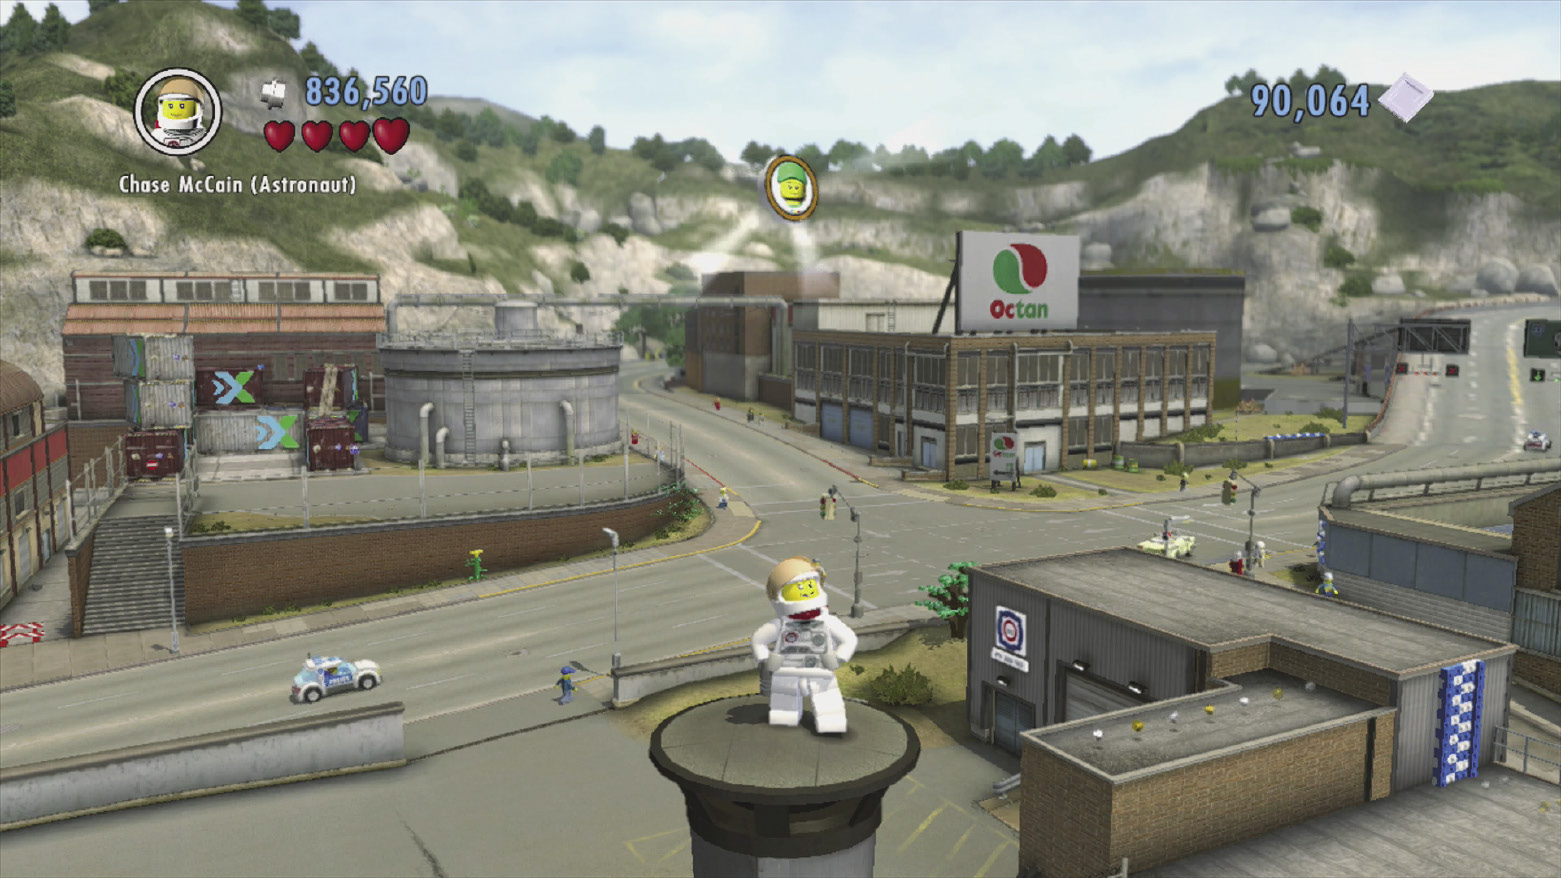
Reward: Allie Jaekshe
While exploring the east buildings (POI 7), climb the building near Professor Kowalski’s lab and cross the rooftops to reach a roof with three chimneys. Jump up the chimneys to reach a hovering character token.
 Character Token 14
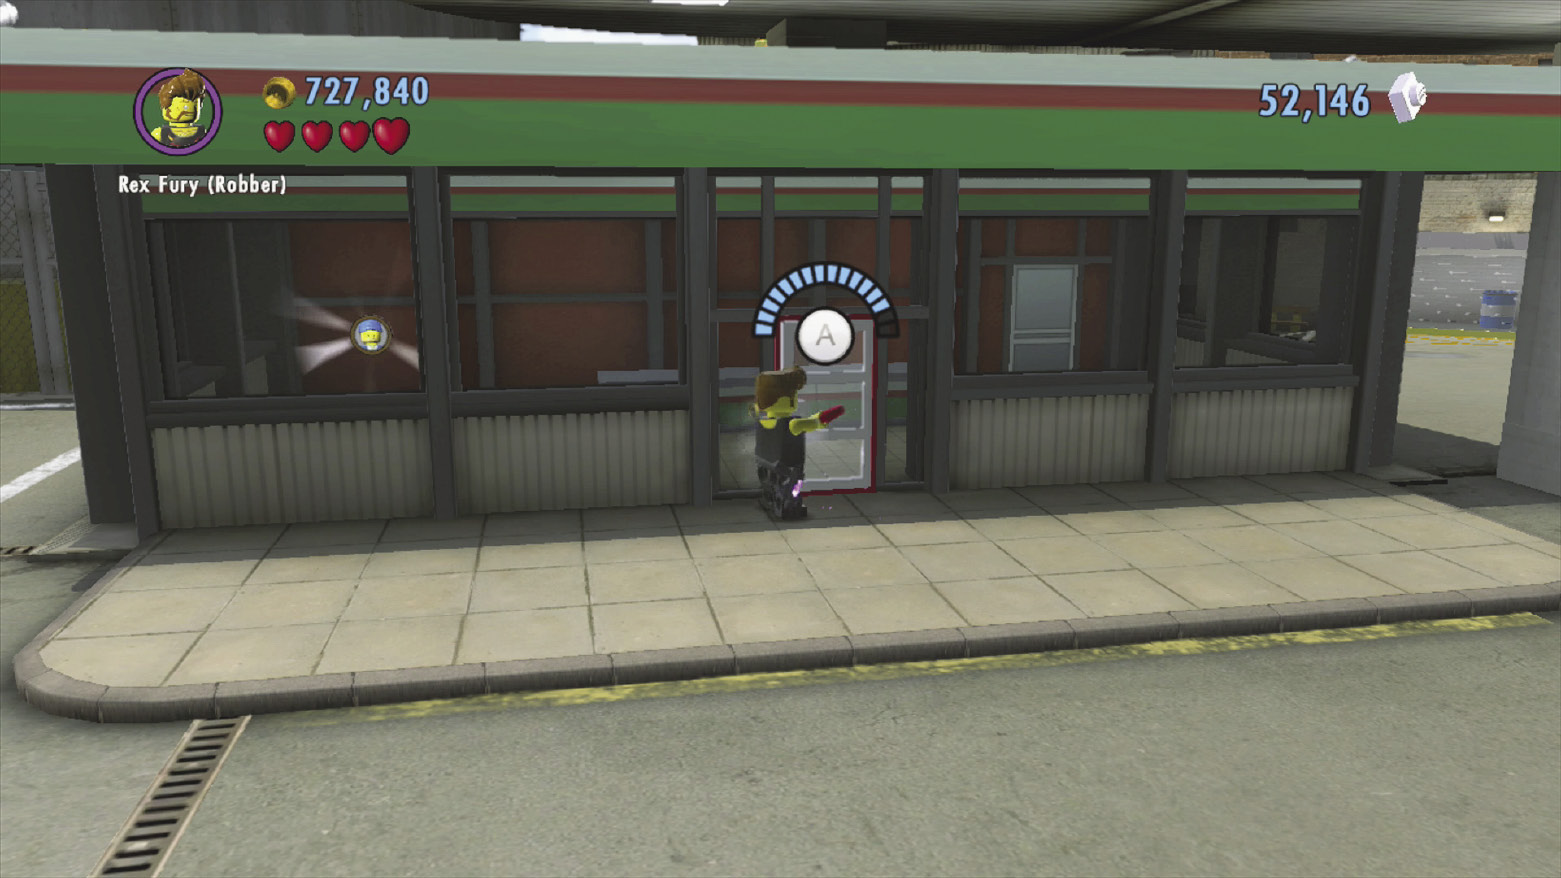
Reward: Stephen Rhodes
Pry open the gas station’s door near Hank’s Garage, then enter the station and collect the character token within.
 Character Token 15
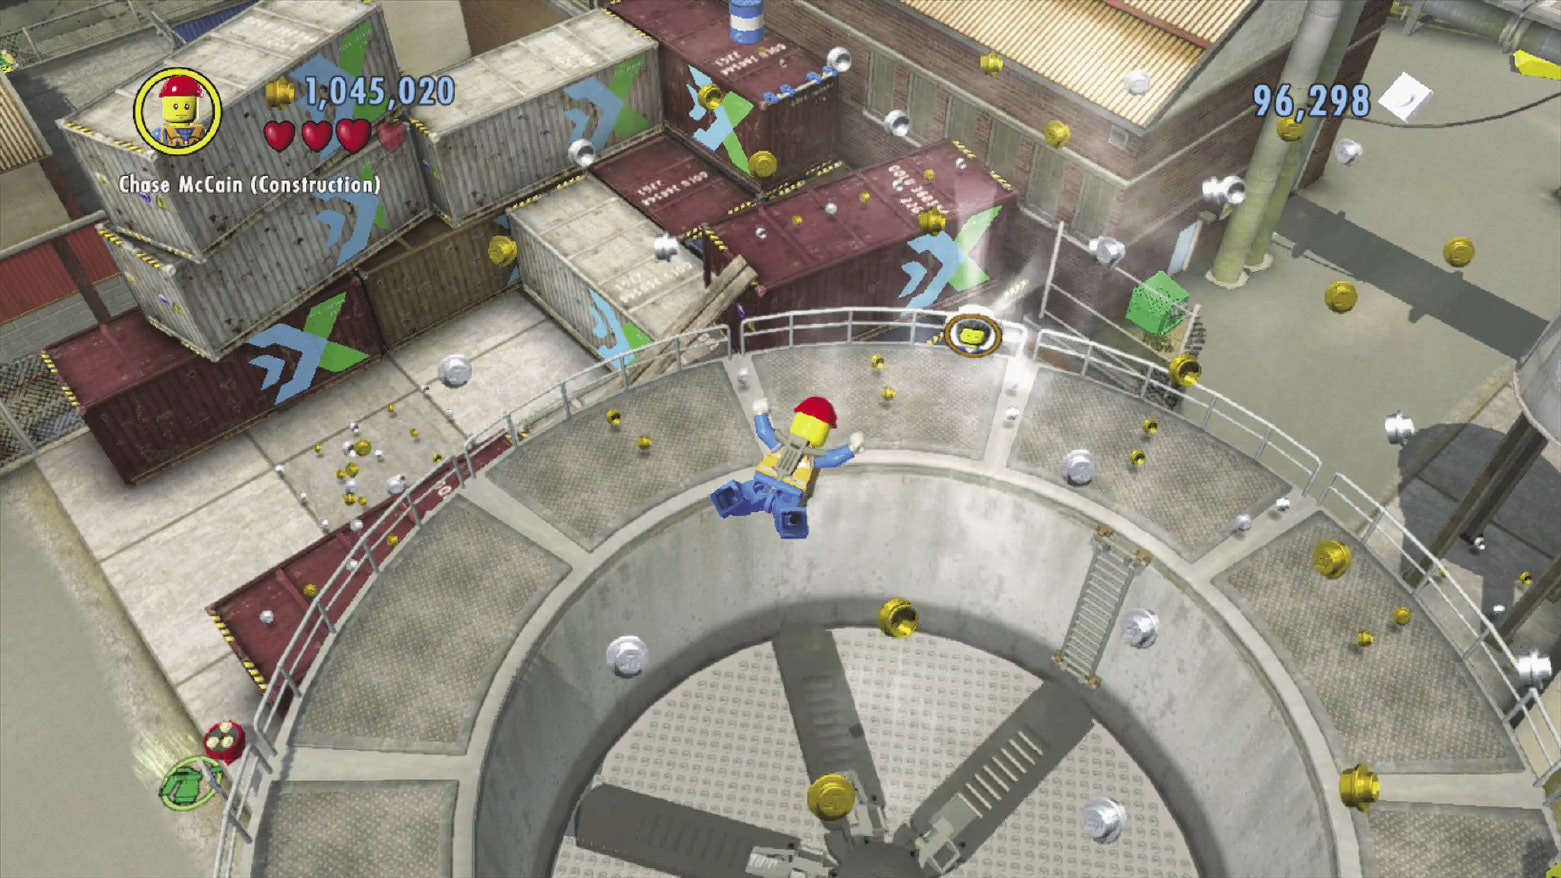
Reward: Mechanic
After constructing the Sky Glide superbuild atop the southern water tank, use the giant fan’s updraft to reach a character token that hovers high above.
 Character Token 16
Reward:Garage Worker
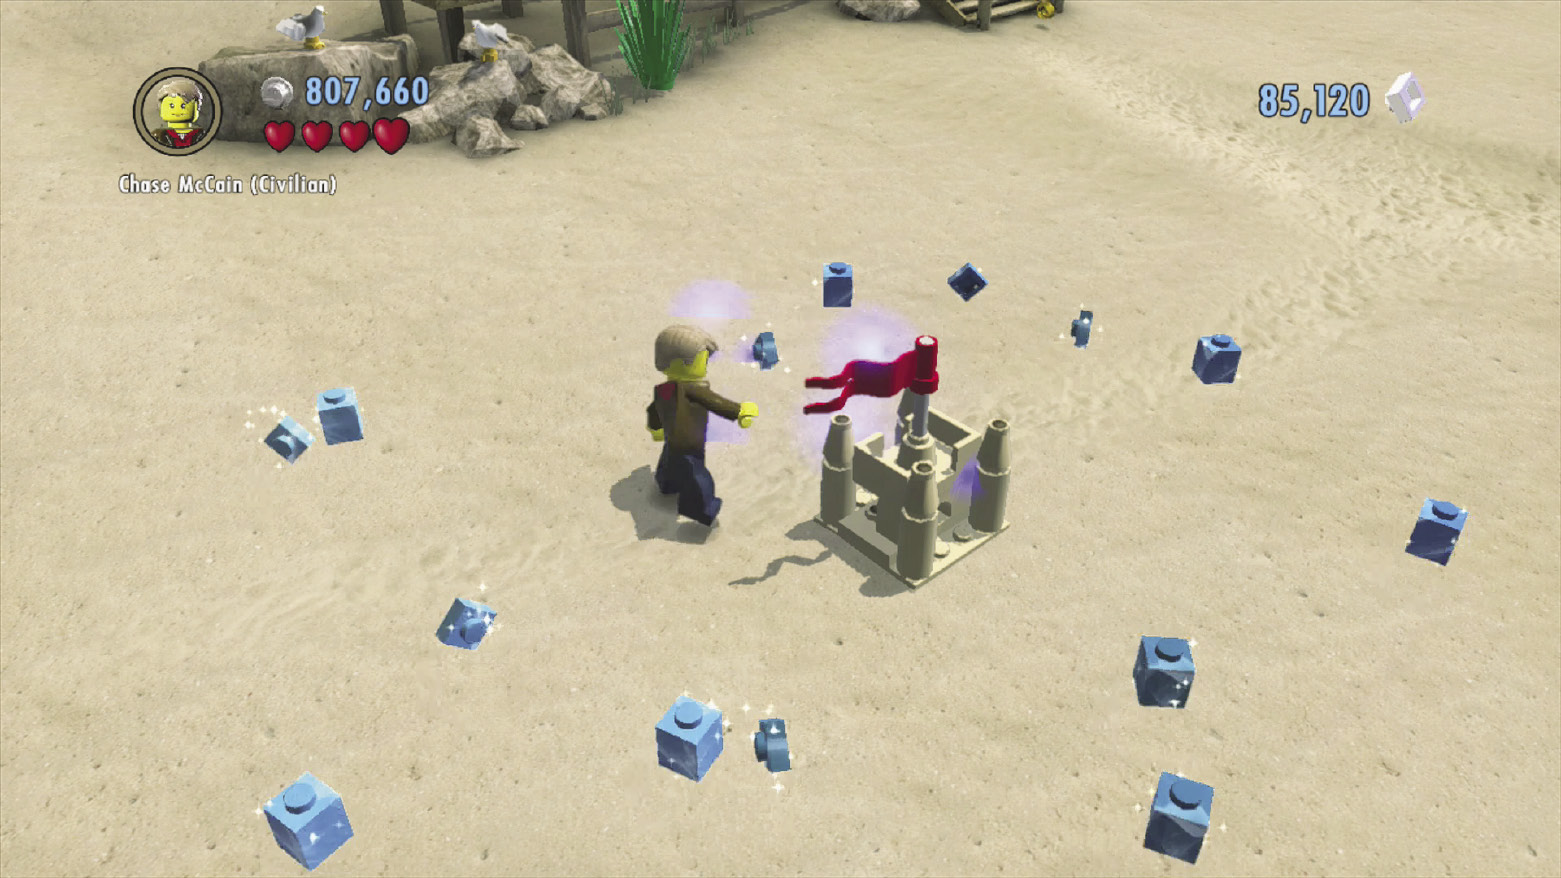
Smash four objects around the beach and build four different objects out of their bricks.
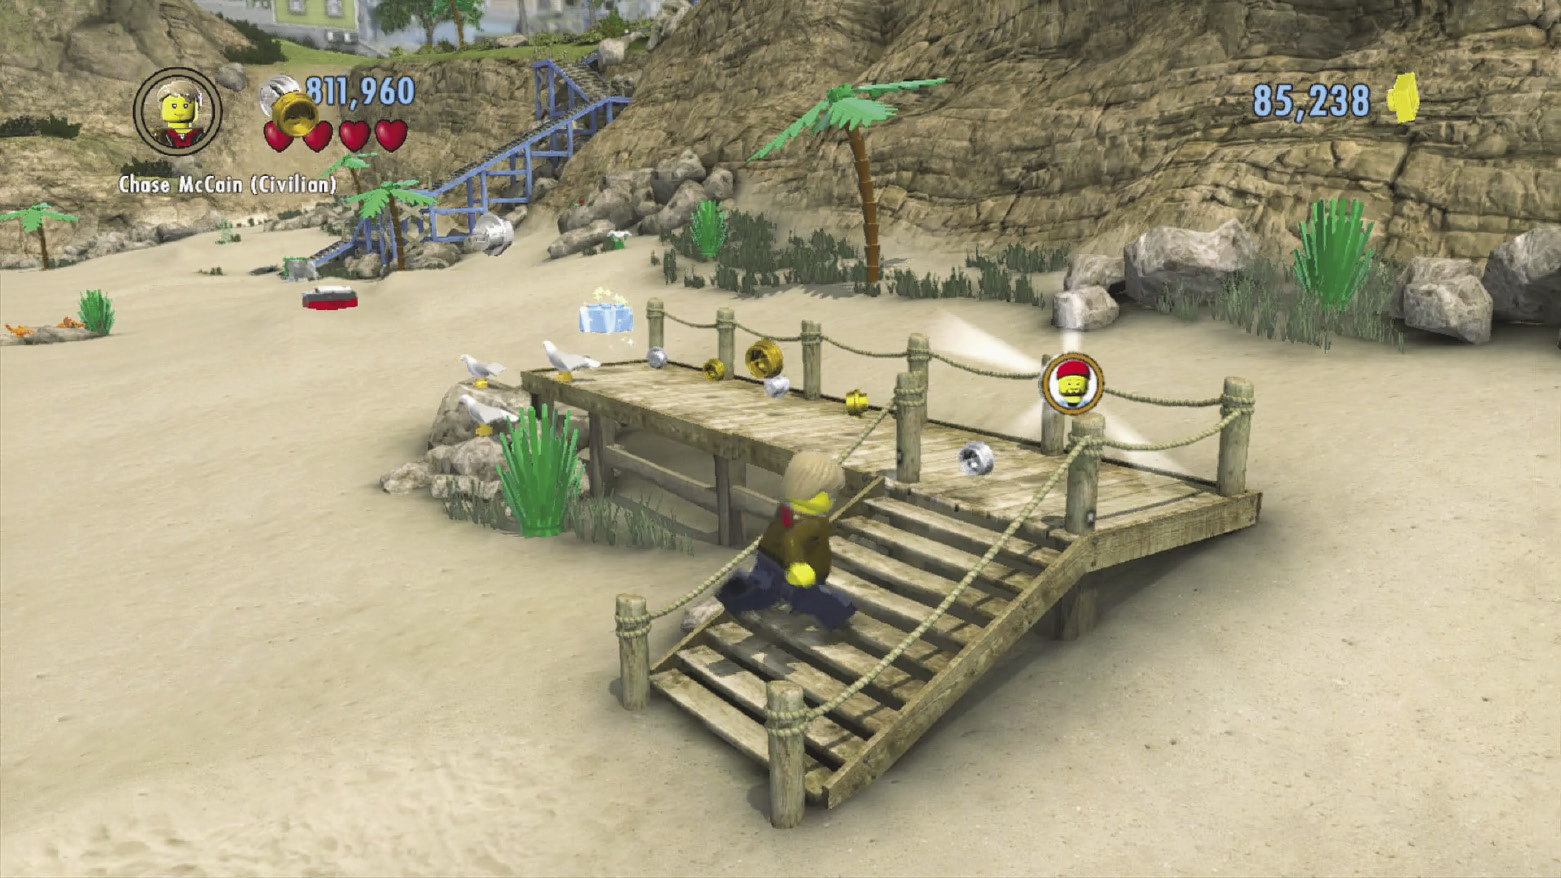
After you build all four objects, a character token appears here.
 Character Token 17
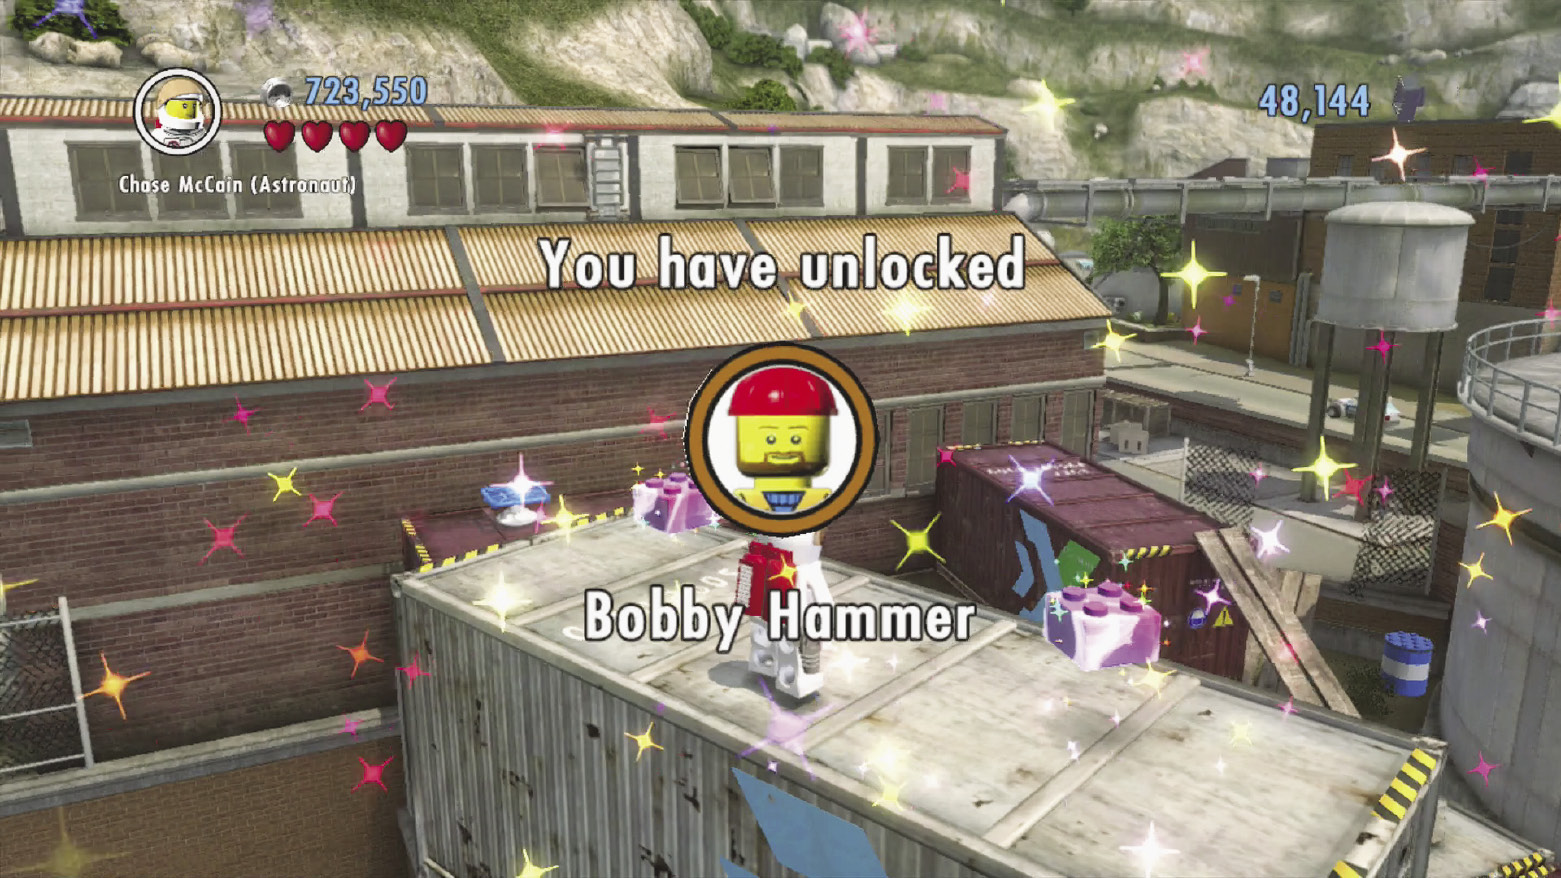
Reward:Bobby Hammer
Jetpack jump from the tin roof near the electrified cage atop the south buildings (POI 6) to reach this token, which hovers atop the stacked southern crates.
 Character Token 18
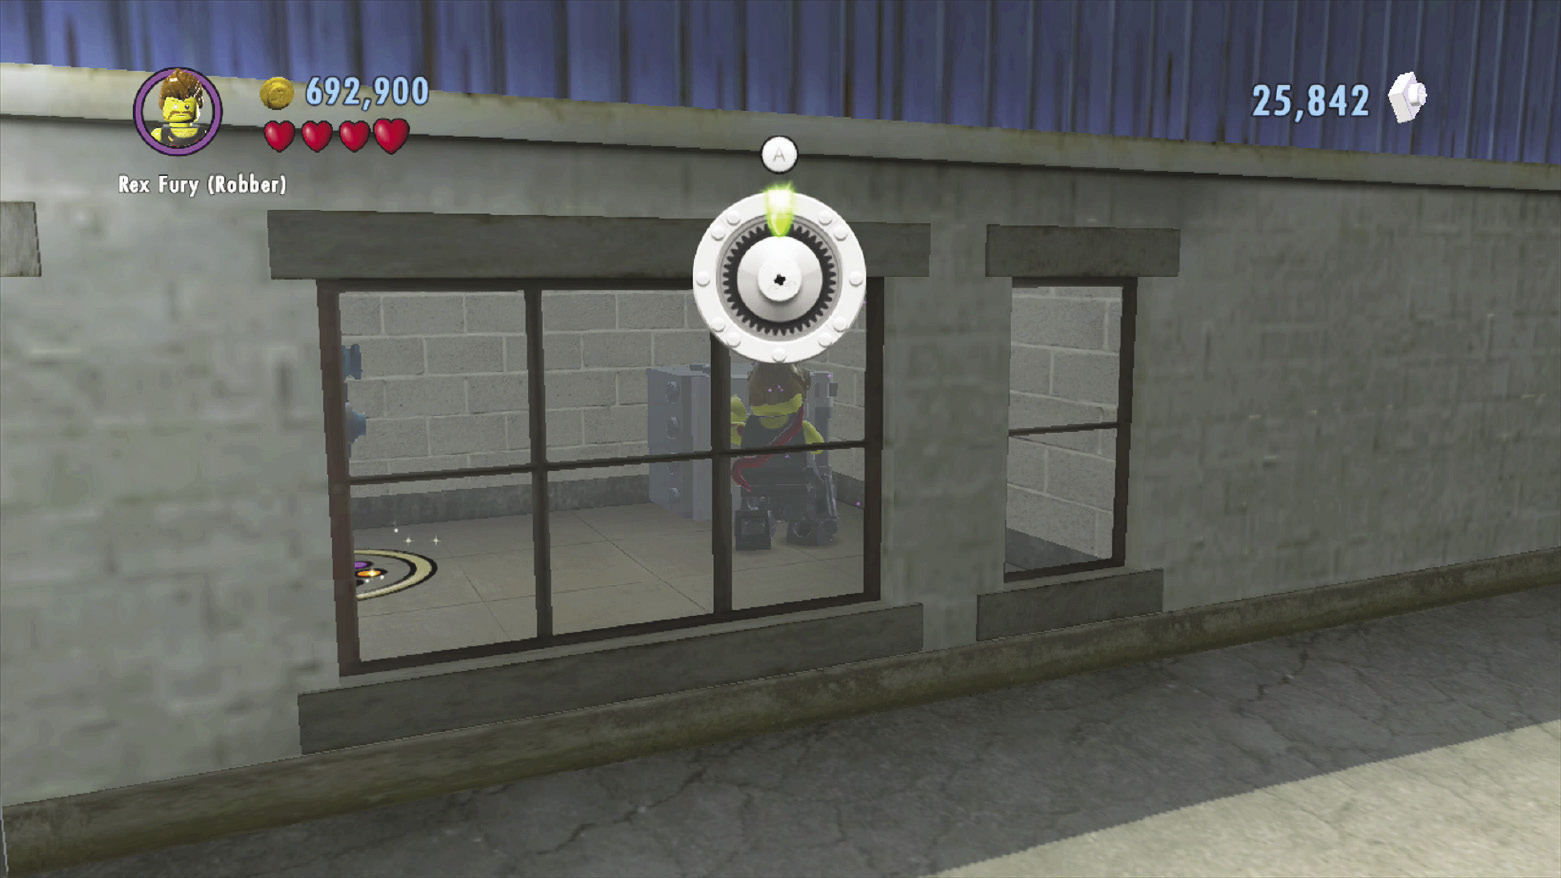
Reward: Chris Parry
While exploring the south buildings (POI 6), pull down the ladder and pry open the skylight. Drop through and crack the safe to score a character token.
 Coffee Break Completed
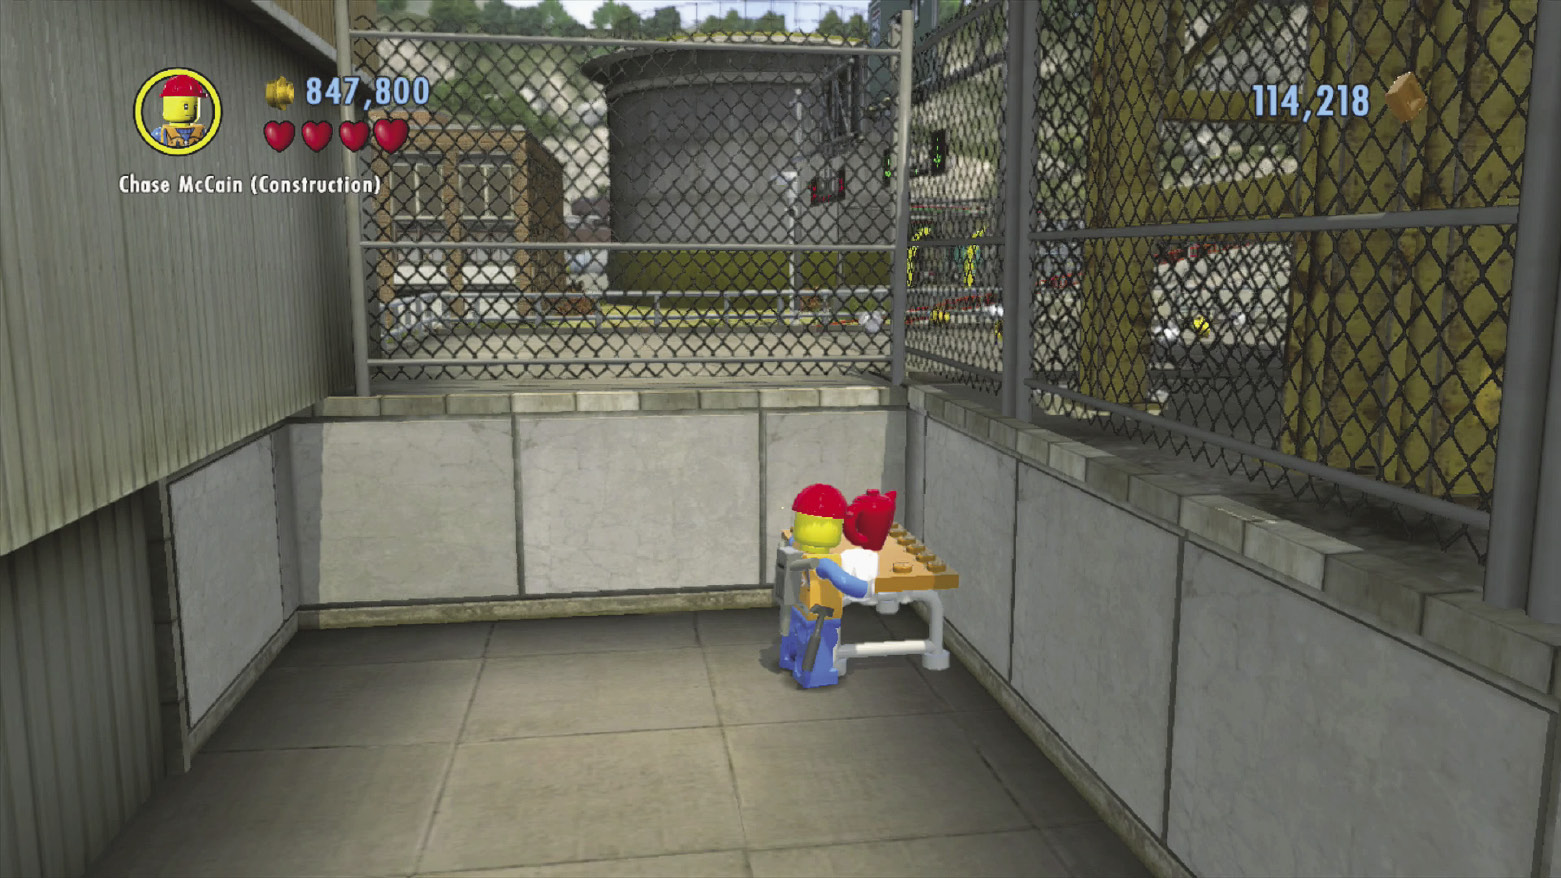
Reward: Gold brick
Navigate the south-central buildings (POI 4), starting from the north drill geyser, to reach a coffee break station. Pour yourself a hot cup of joe before venturing onward.
 Disguise Booth
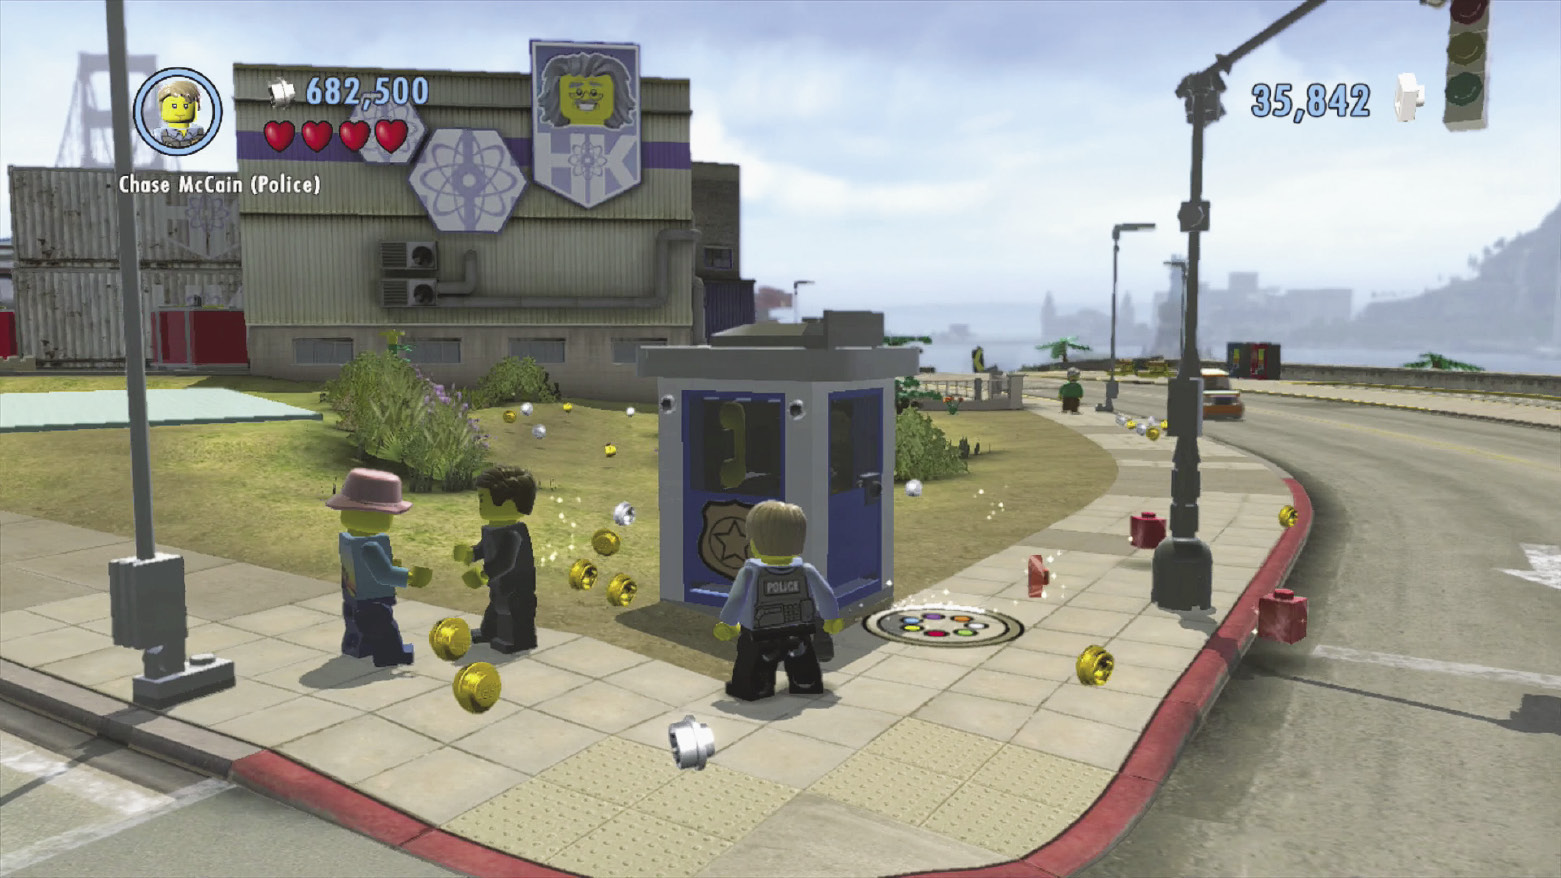
Reward: Gold brick, “Harbour Worker” character token
Auburn’s disguise booth is located down south, right near Professor Kowalski’s lab. Smash the blue police crate and build the booth at your convenience.
 District Conquered
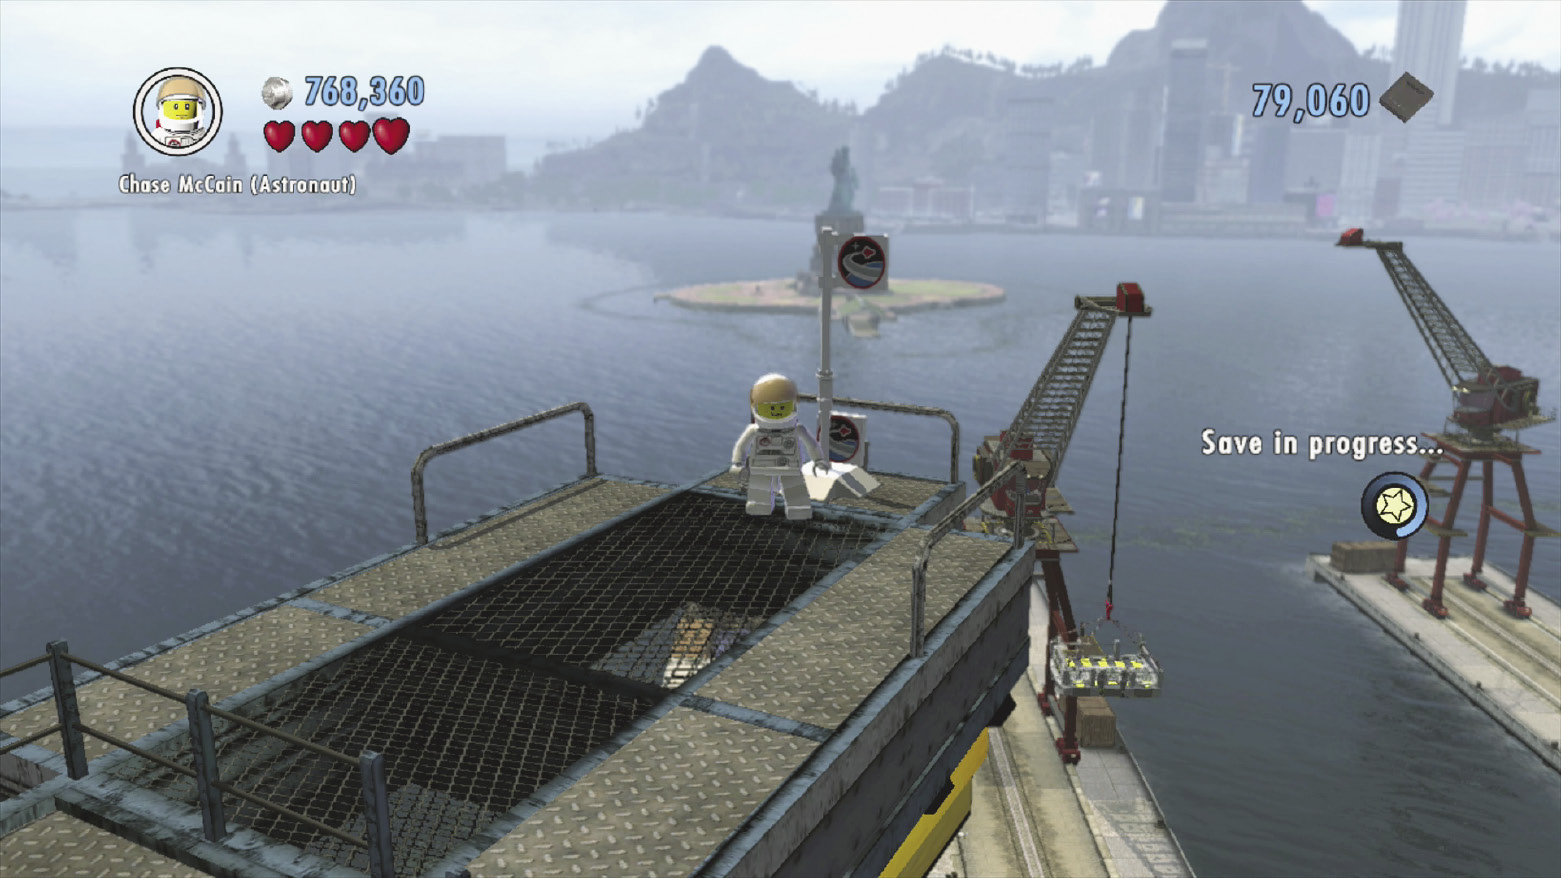
Reward: Gold brick
Raising Auburn’s flag requires significant effort, as you must reach the top of the docks’ north cranes. See the “North Docks” section under the Points of Interest for details.
 Drill Thrill Completed
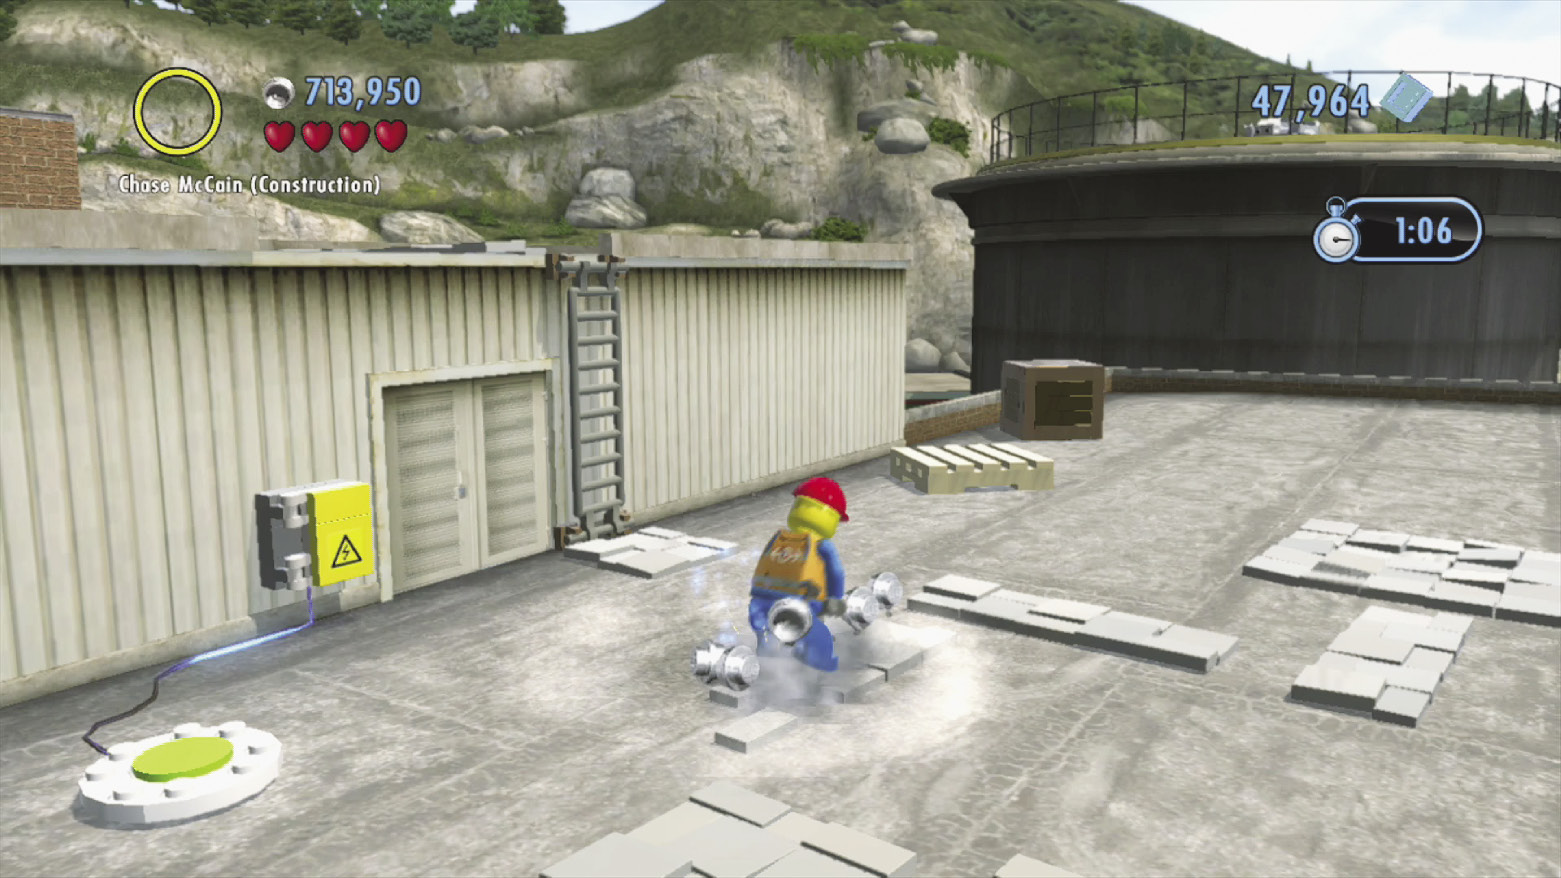
Reward: Gold brick
Climb the south buildings (POI 6) and cross the flaming pipe that stretches across the street. Fix the fuse box on the following rooftop to begin a drill thrill event. You’ll need to use a ladder and transporter pad to reach all of the shaky patches of roofing during this frantic challenge!
 Flowers Watered 1
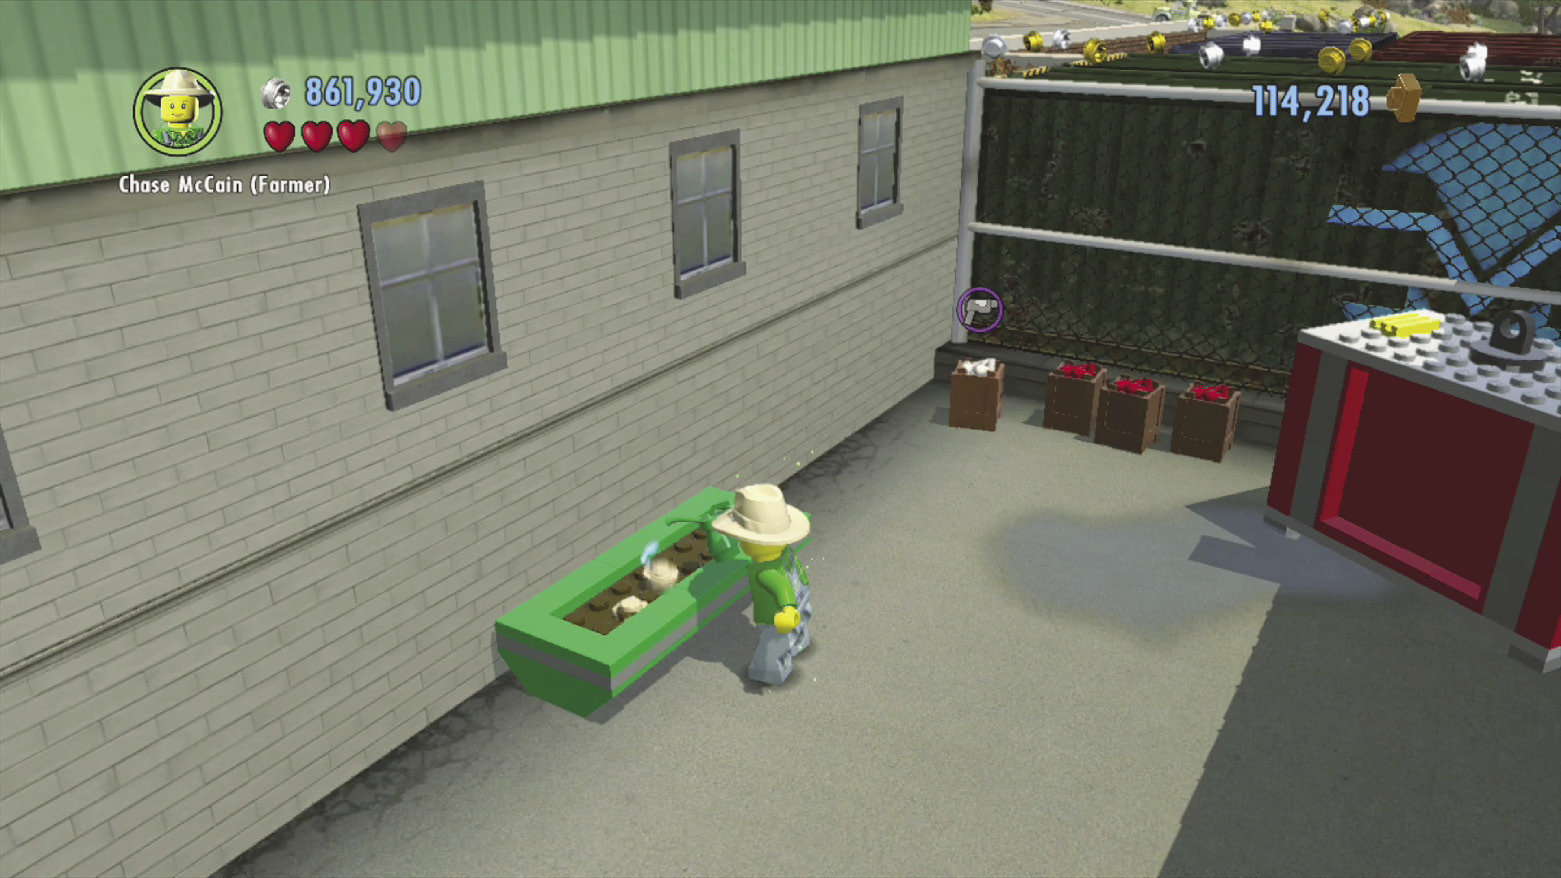
Reward: Gold brick
This first flower box is nestled amongst Auburn’s north-central buildings (POI 2). Run along the central alley and hop the north wall to find it sitting near a garage.
 Flowers Watered 2
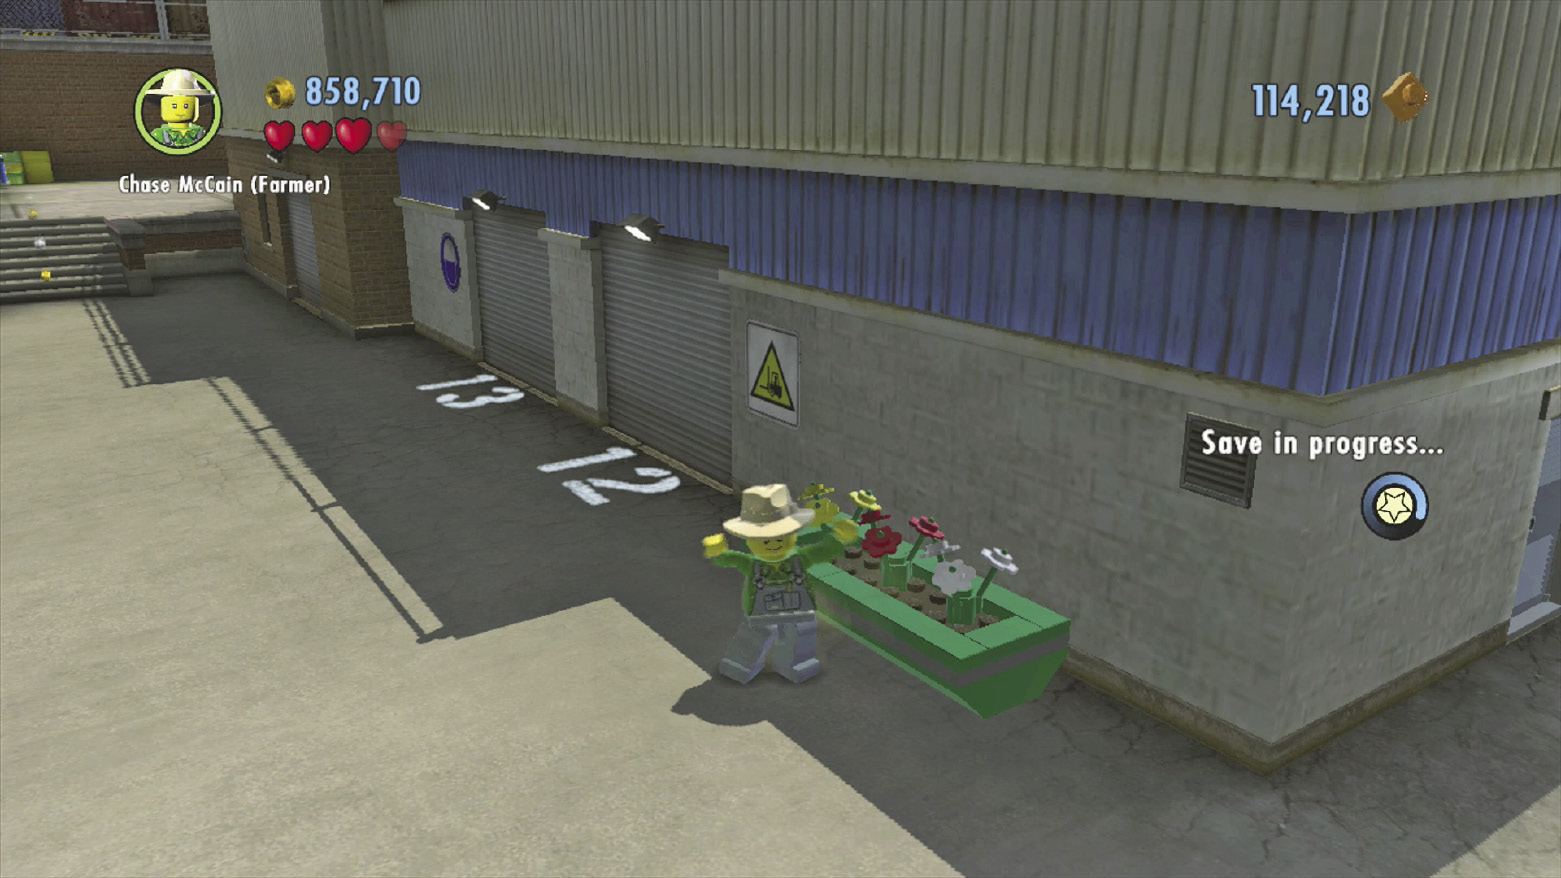
Reward: Gold brick
Circle around Auburn’s south buildings (POI 6) to spy another flower box tucked away just a short distance from the vehicle call-in point.
 Free Run
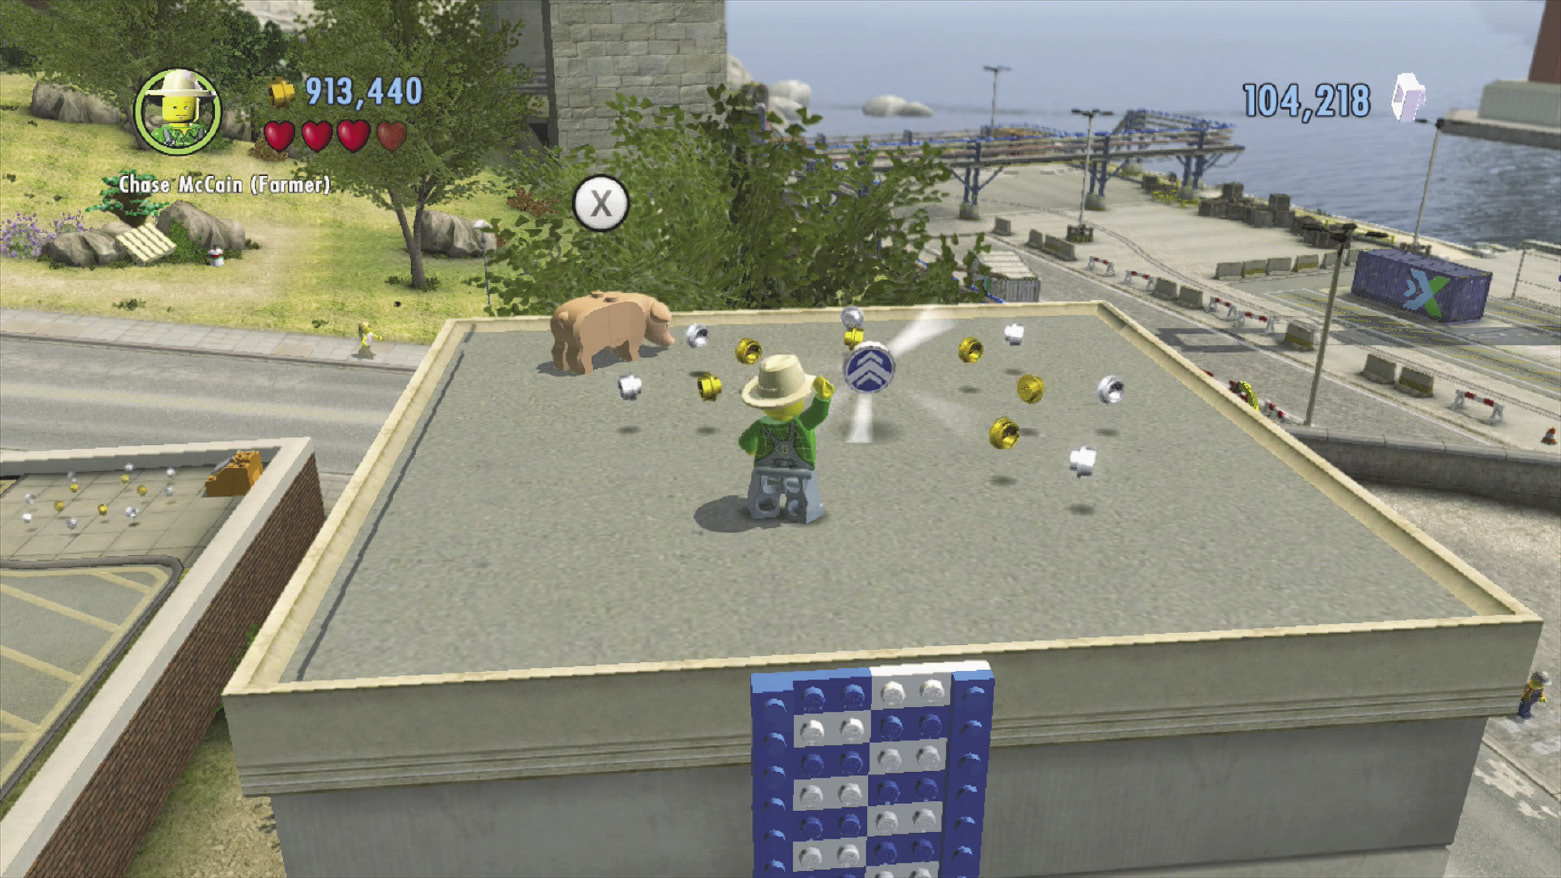
Rewards: Gold brick, “Docks Foreman” character token
Cross the rooftops of the north-central buildings (POI 2) to reach this zone’s free run token. Collect the token to make a free run beacon appear back where you began your ascent of the north-central buildings.
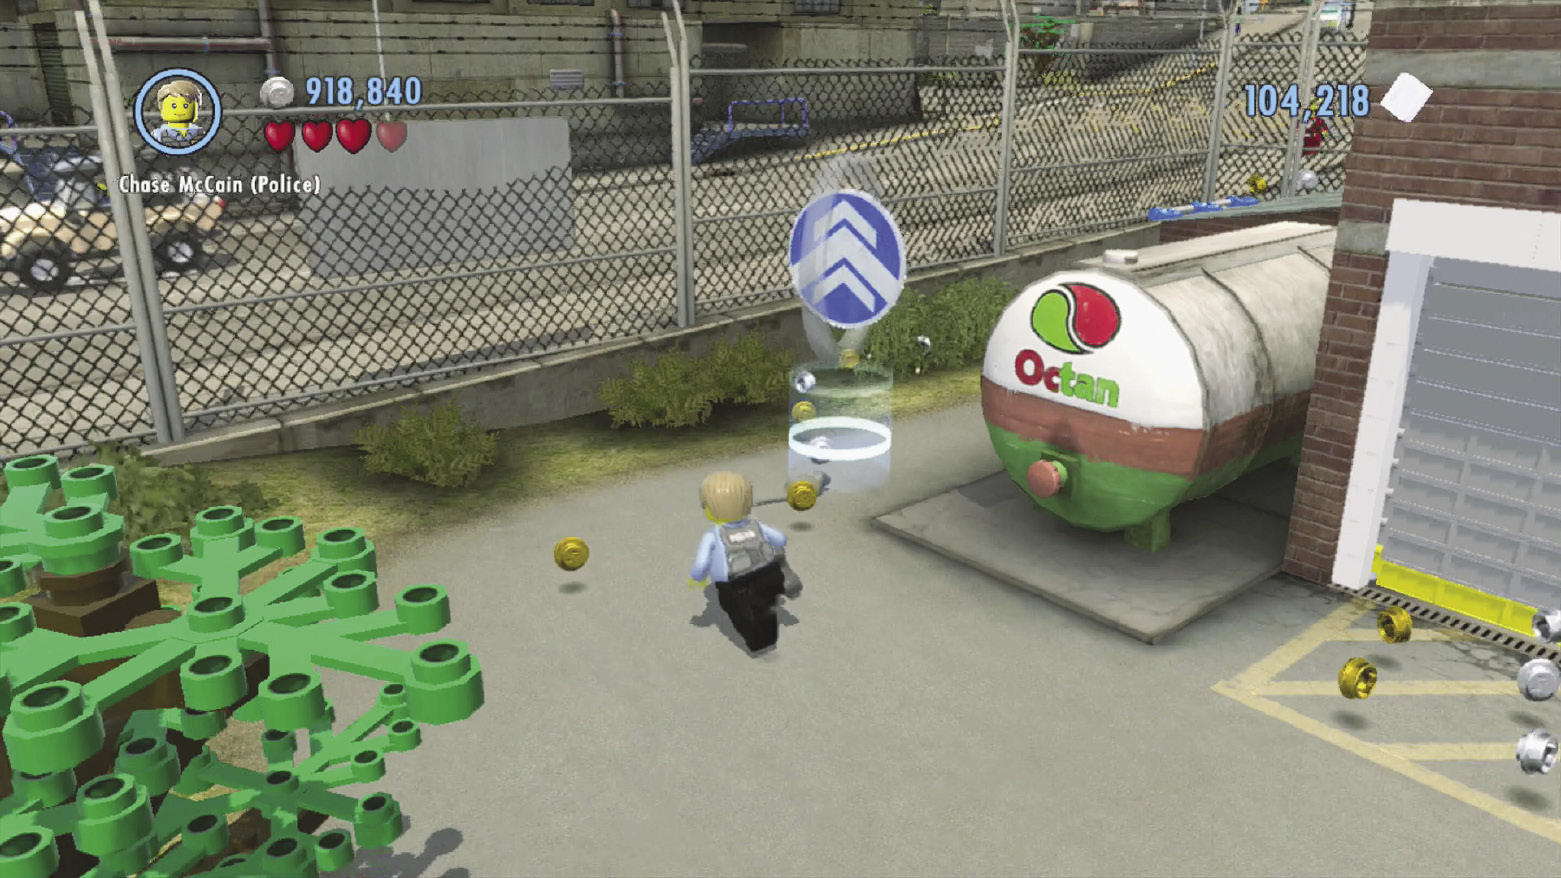
Return to the free run beacon and begin the event. Rush back along the north-central buildings’ rooftops, following the studs that appear. Keep going until you reach the finish!
 Gang Arrested
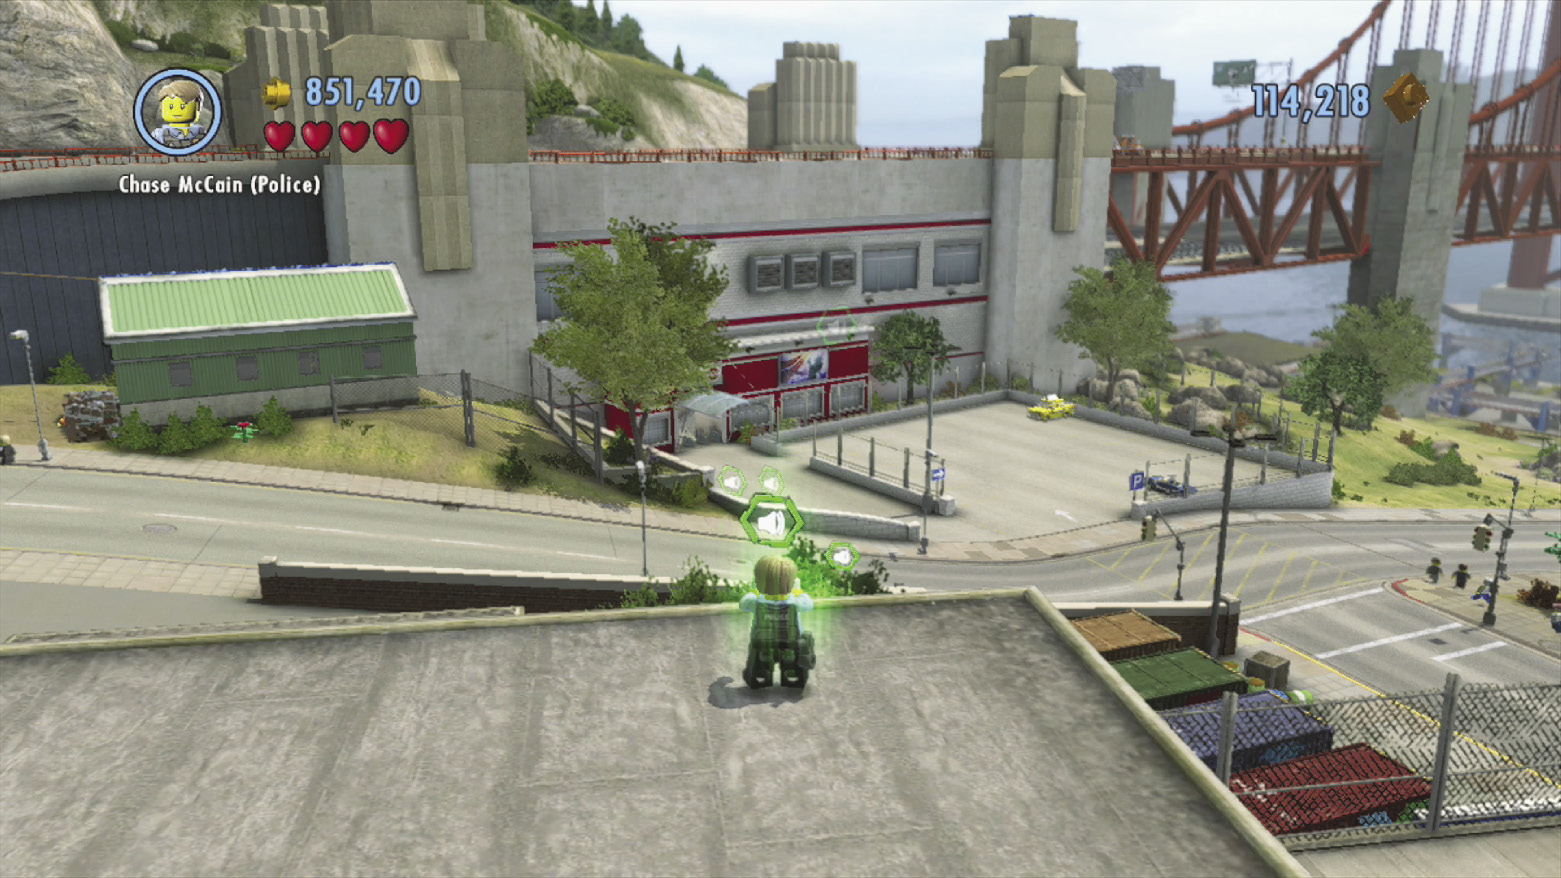
Reward: Gold brick
Navigate the south-central buildings (POI 4), starting from the north drill geyser, to reach a rooftop with a transporter pad. Beam over to reach a distant roof with an audio scan spot that triggers this event. Eavesdrop on the nearby gang members, then hurry all the way over to the beach and bust up those punks!
 Pig Returned
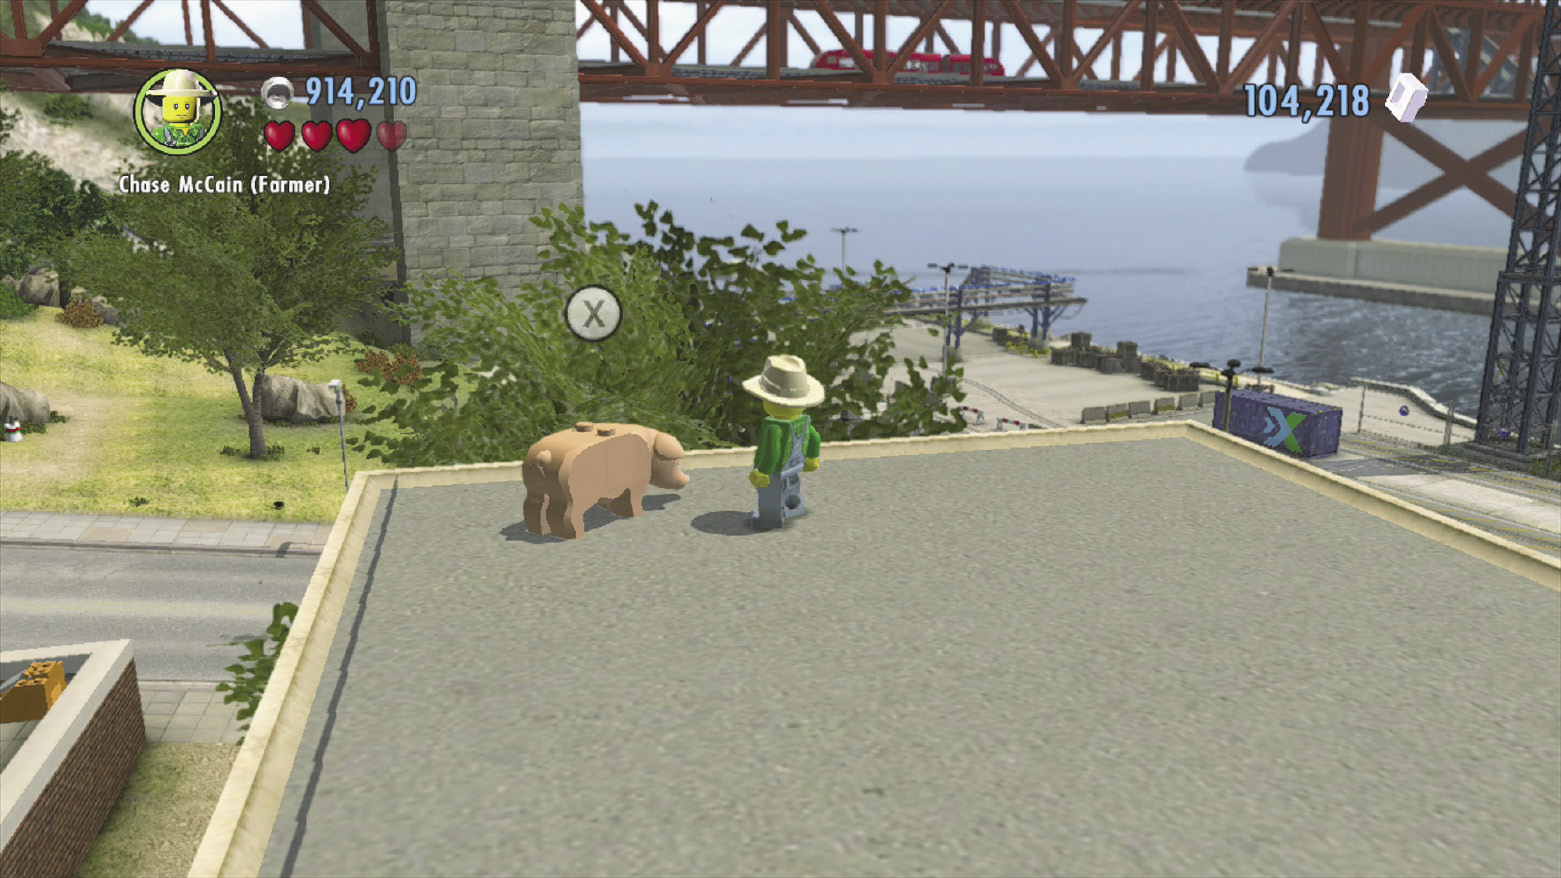
Reward: Gold brick
Auburn’s lost pig is stuck on the final roof at the end of the north-central buildings (POI 2). Make your way to the end of the rooftop run to find the pig, then ride the little guy to the nearby cannon that’s set up at the docks.
 Red Brick
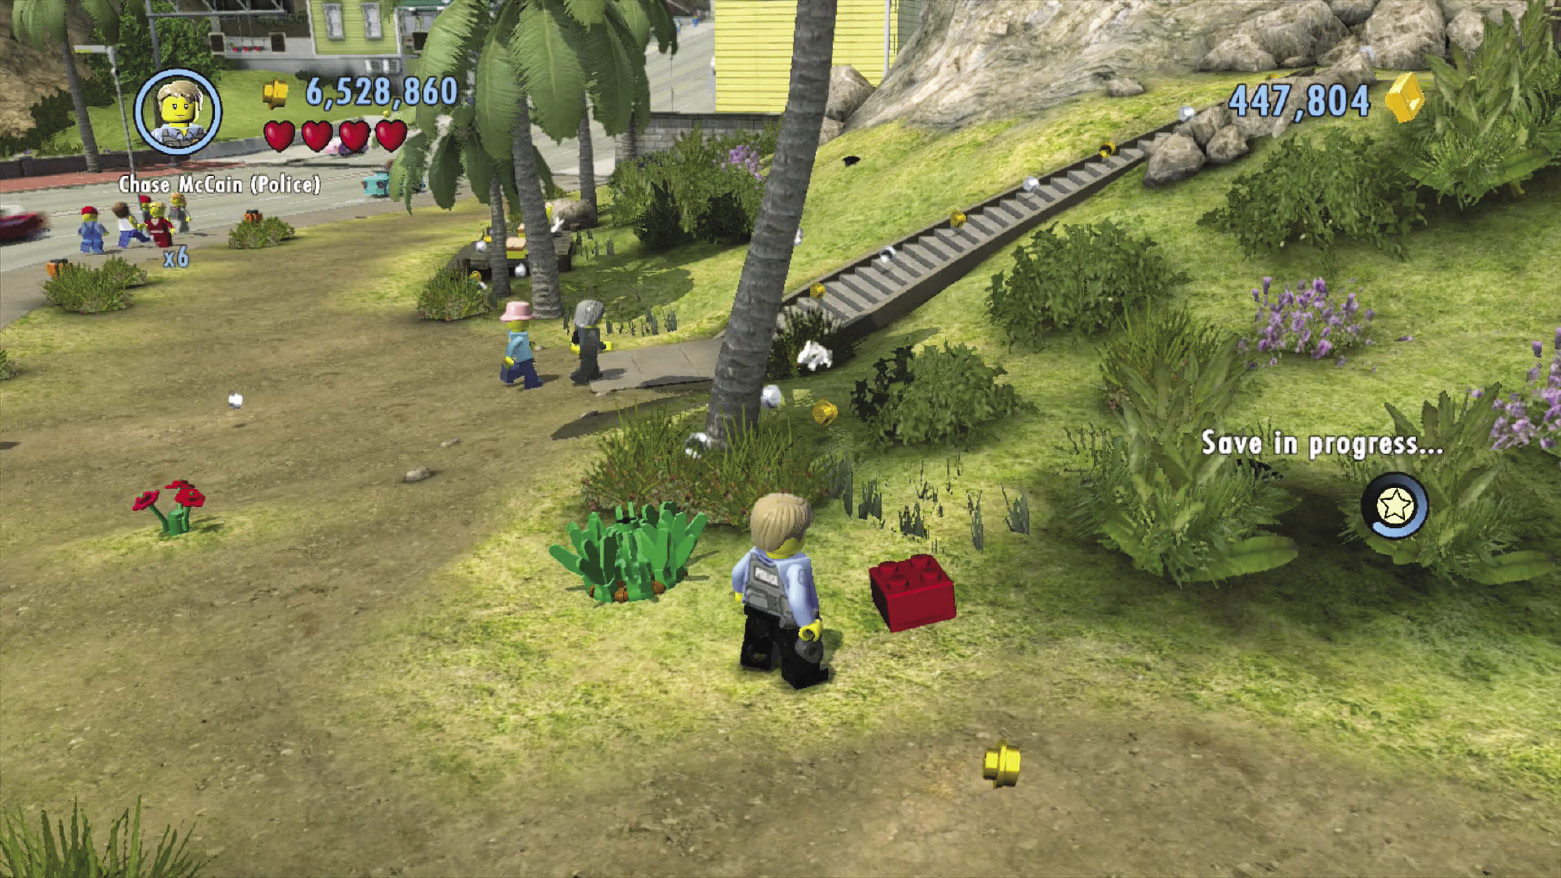
Reward: Data Scan Upgrade—Character Challenges
Smash a small trash bin across the street from Professor Kowalski’s lab to discover a blue scan spot. Trace the footprints over to a suspicious pile of leaves, where a bit of inspection exposes Auburn’s red brick!
 Silver Statue Destroyed
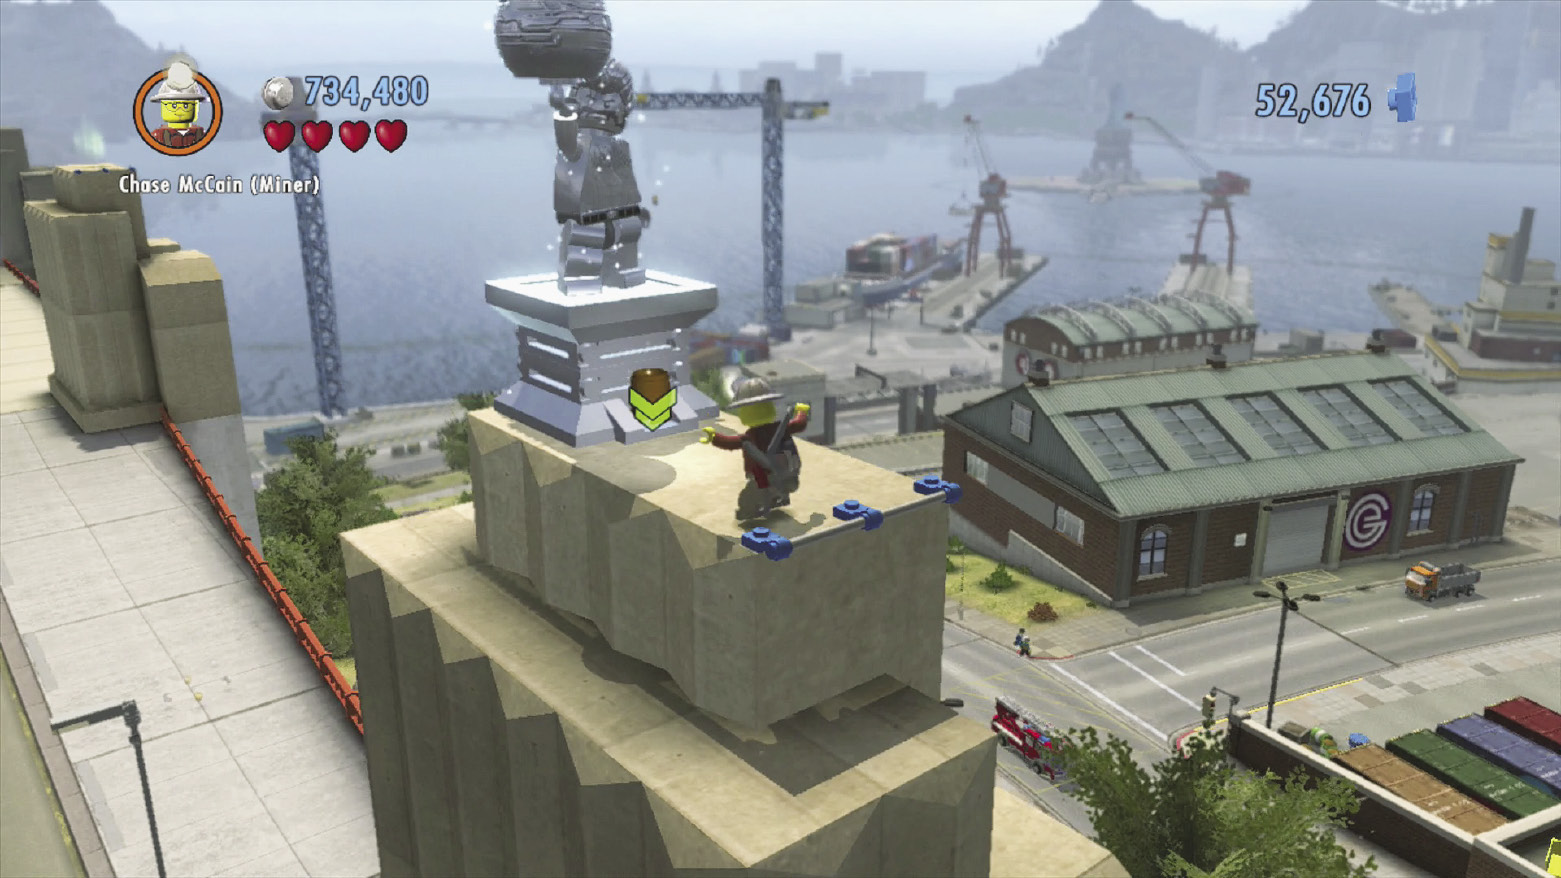
Reward: Gold brick
Drive north up the freeway, heading for the Auburn Bay Bridge. As you go, spy a pile of boulders near a stone column on the right. Smash the boulders, then build a trampoline out of their bricks. Bounce up to the top of the stone column, where a silver statue awaits destruction.
 Superbuild 1: Call-in Point
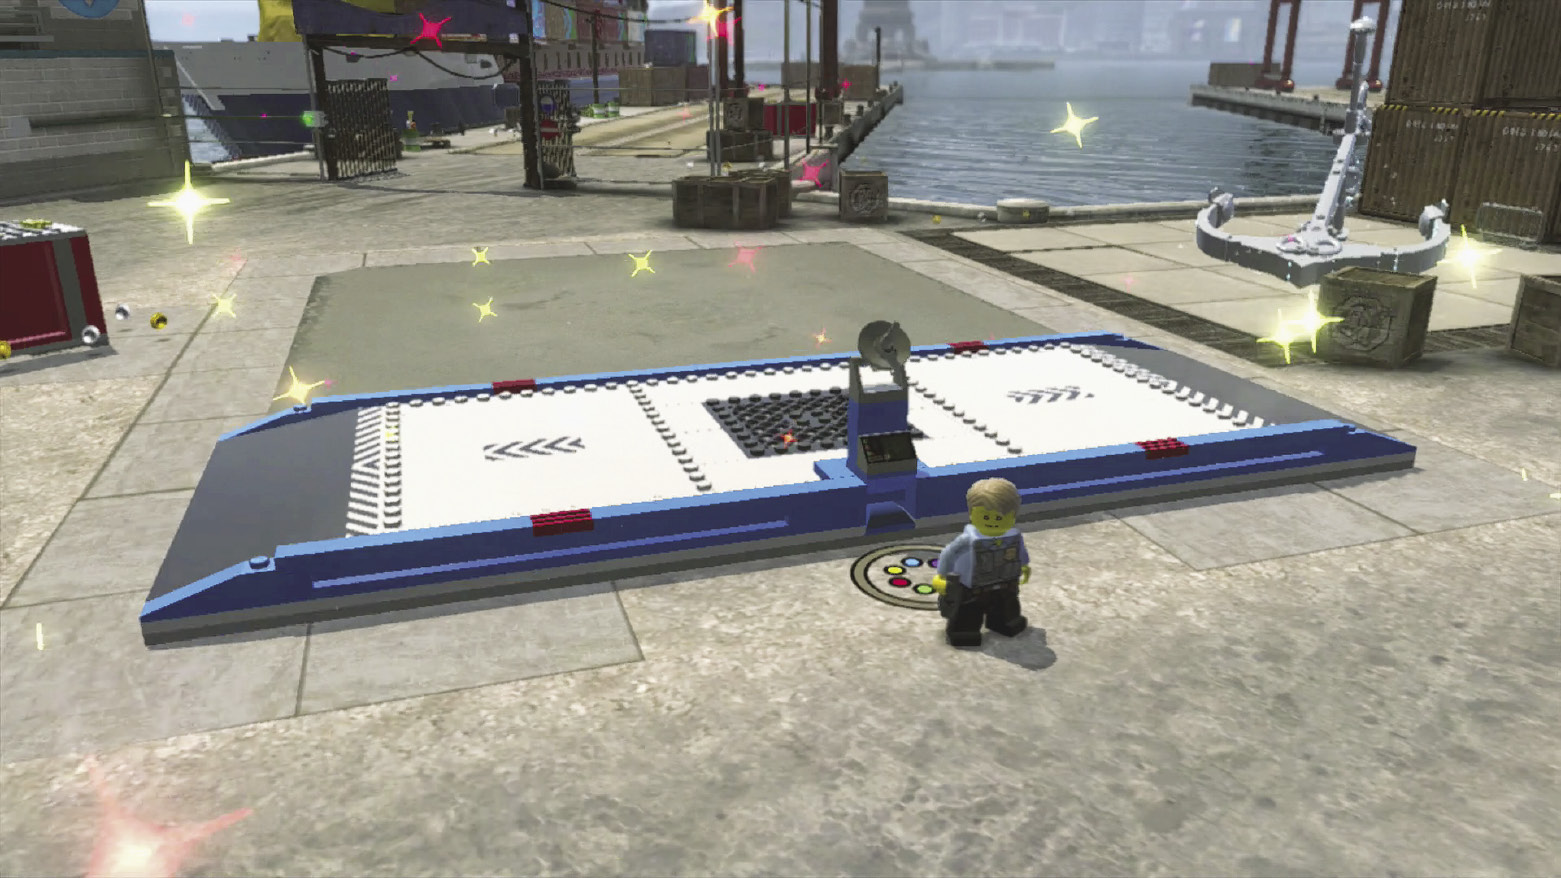
Reward: Gold brick, “Dragger” vehicle token
For a mere 8,000 bricks, you can build a vehicle call-in point near the north docks.
 Superbuild 2: Auburn Chimney
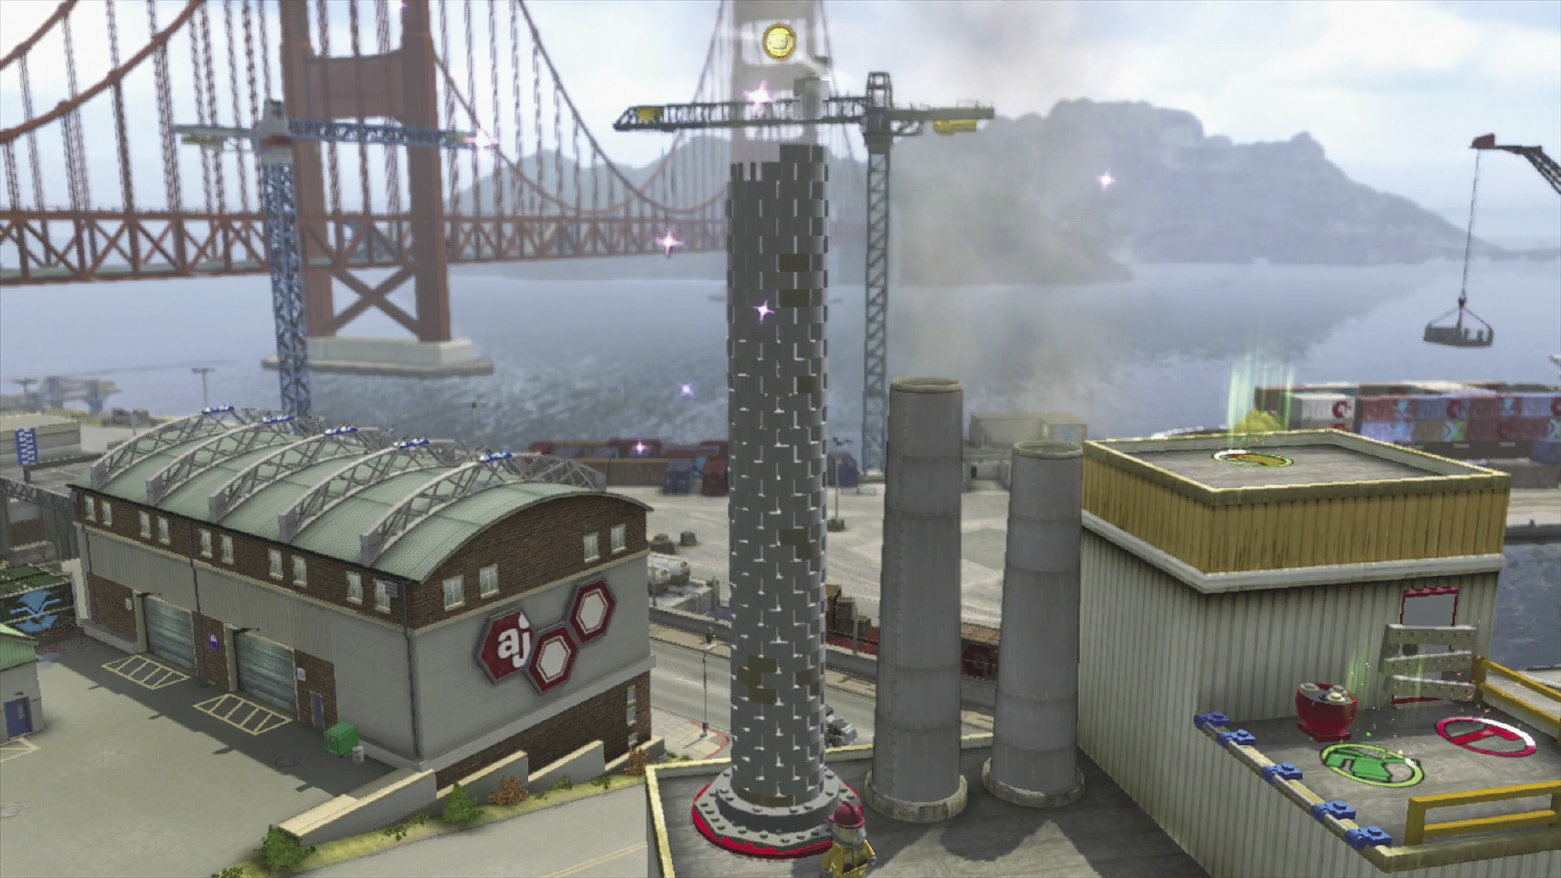
Reward: Gold brick
While navigating the rooftops of the north-central buildings (POI 2), keep an eye out for a small, circular superbuild pad. Here you can spend 12,000 bricks to build a tall chimney next to two others. This not only rewards you with a gold brick, but also causes a character token to appear above the chimney!
 Superbuild 3: Helipad
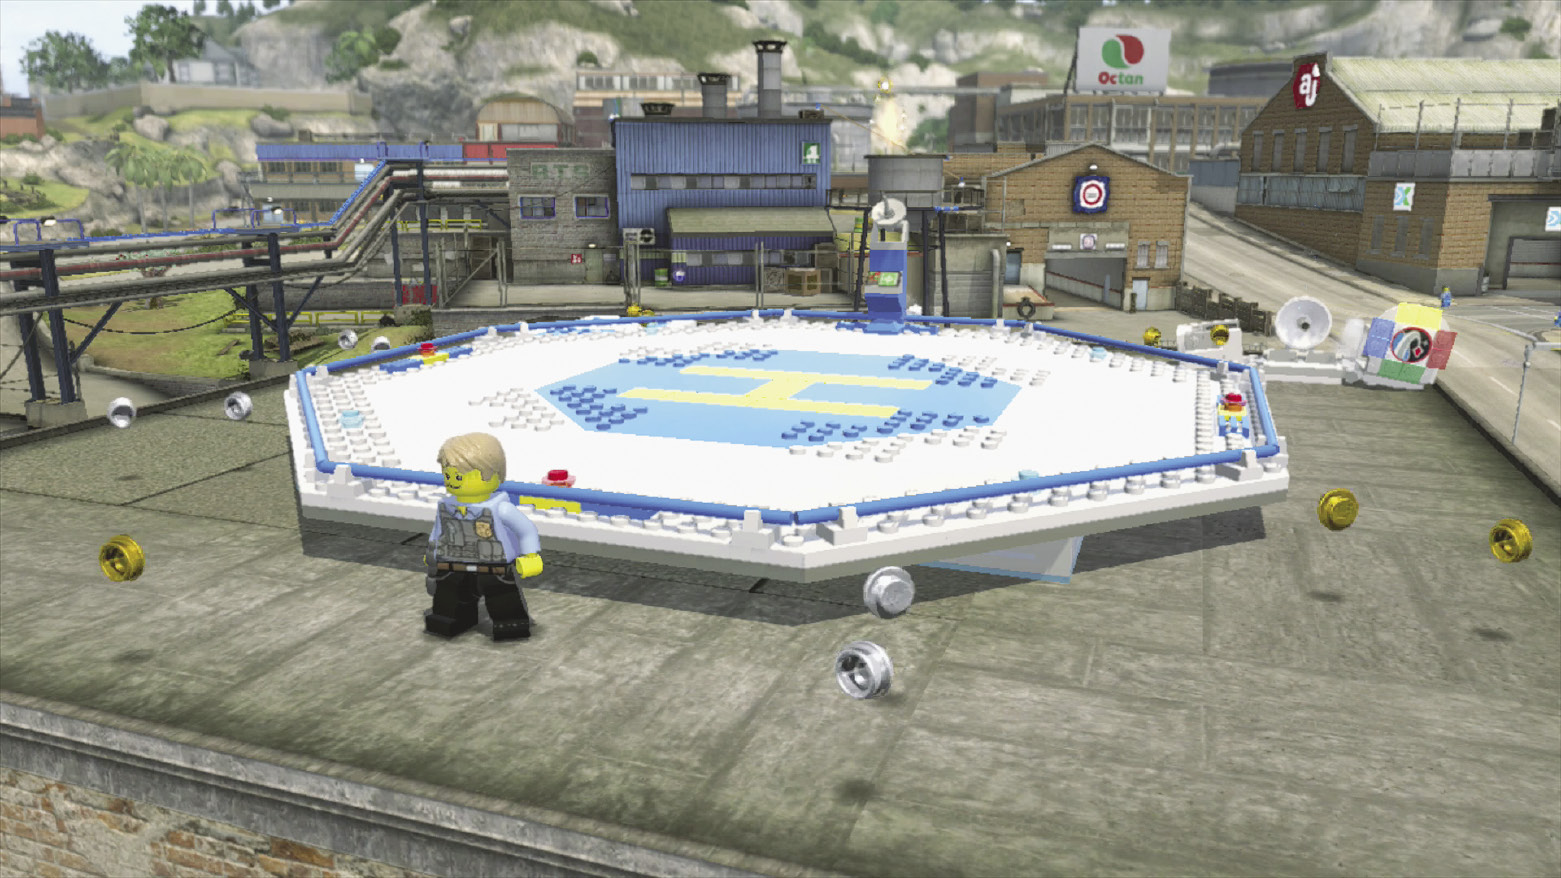
Reward: Gold brick, “Hera” vehicle token
Chop through the boarded door at the north end of the east buildings (POI 7) and head up the stairs to reach a roof where a helipad can be built for 20,000 bricks.
 Superbuild 4: Sky Glide
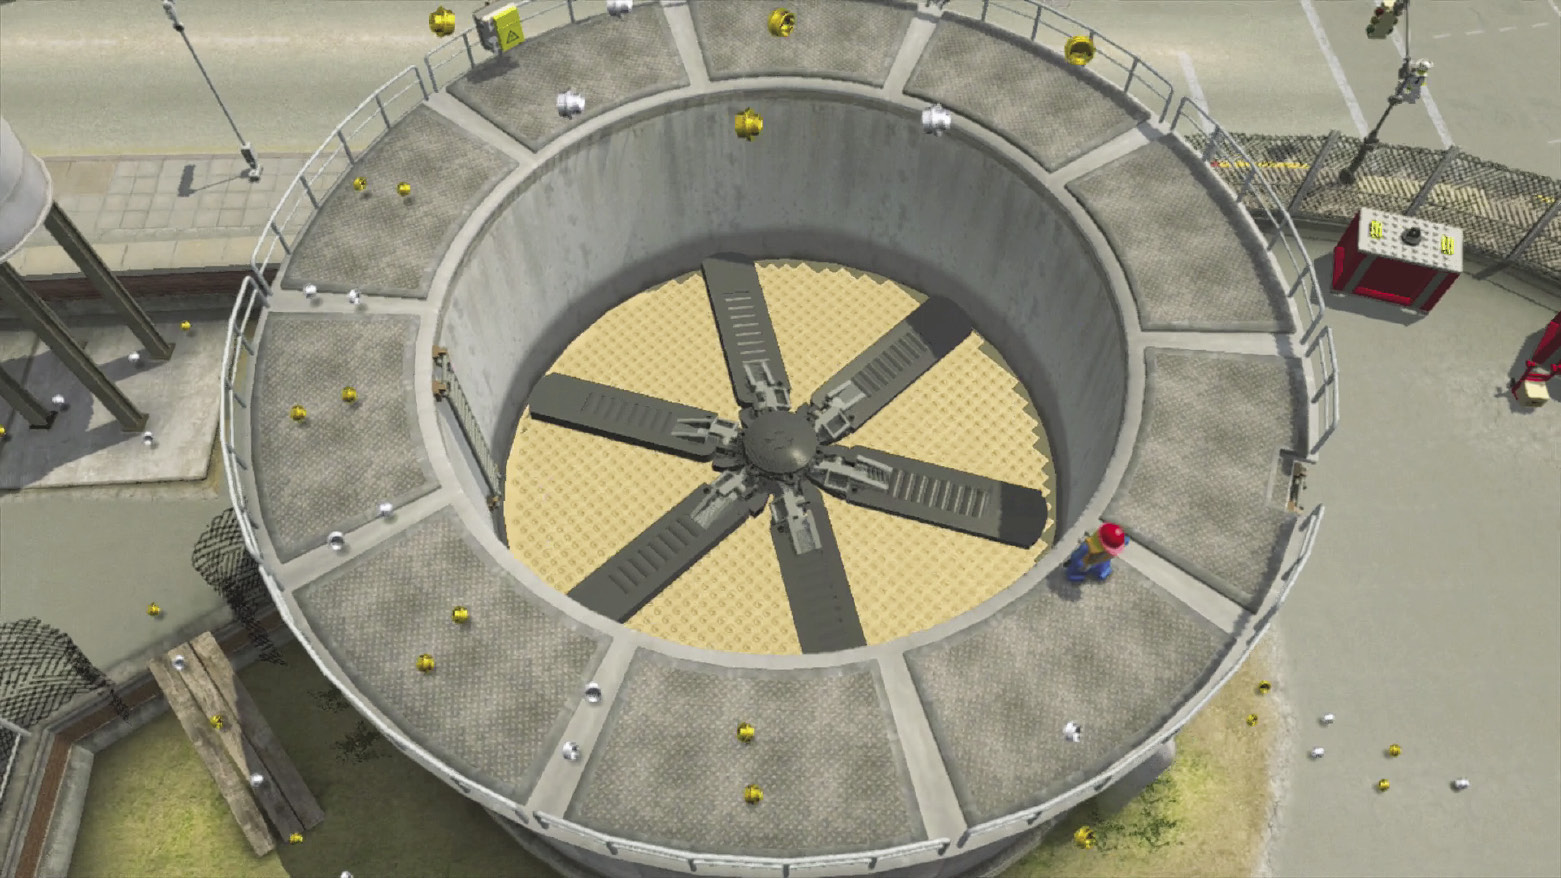
Reward: Gold brick
Climb the long ladder on the side of the large water tank near the south buildings (POI 6); then fix the fuse box atop the tank to drain the water and expose a superbuild. Construct a giant fan here for 12,000 bricks, and you’ll be blown up to a high hovering character token!
 Superbuild 5: Call-in Point
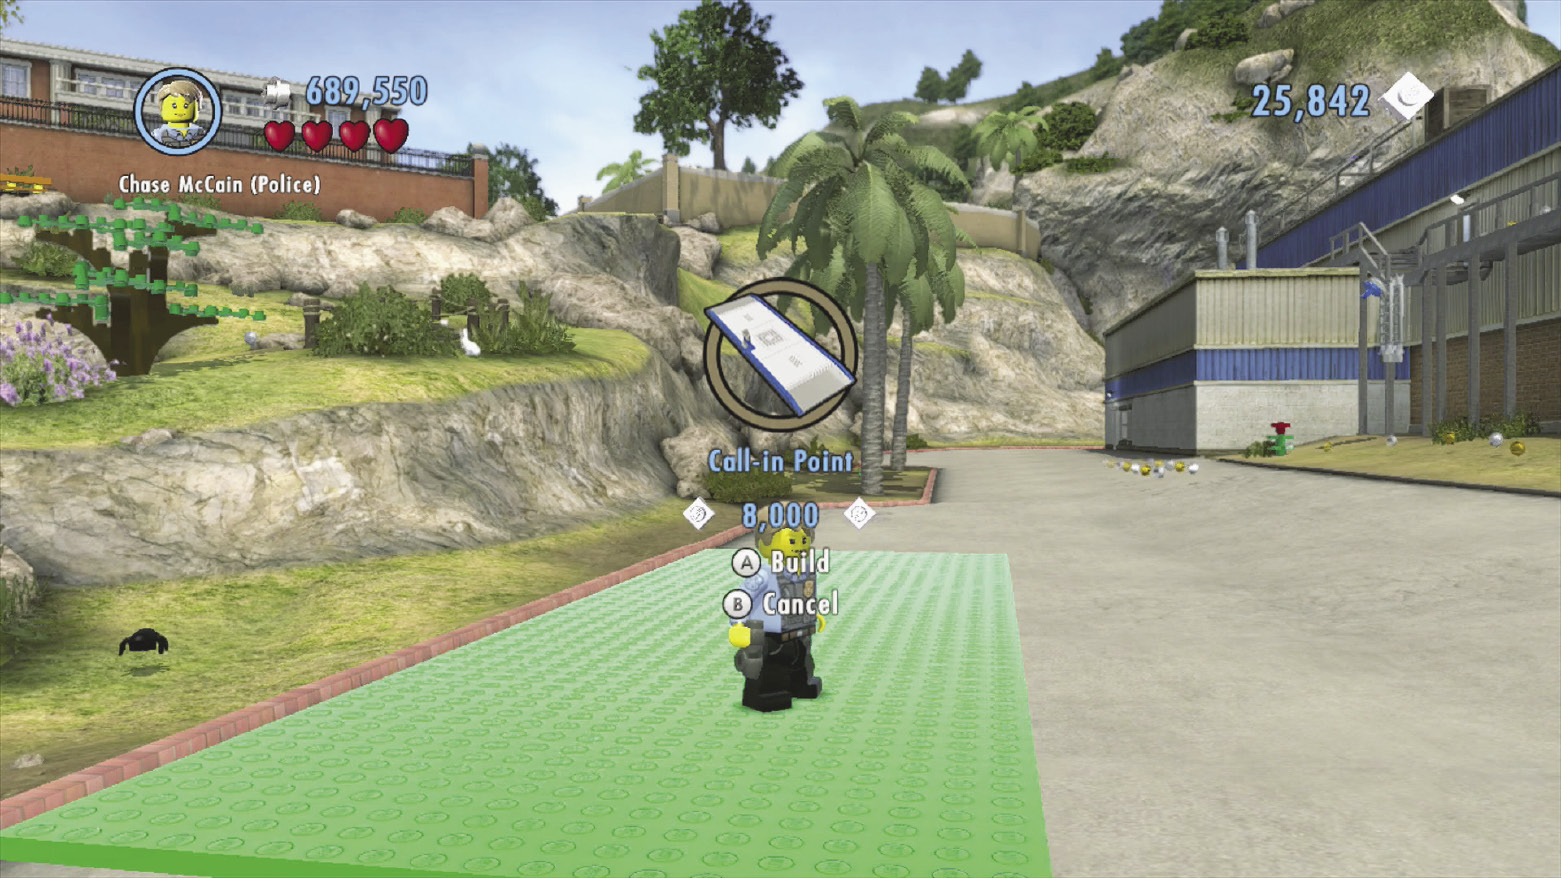
Reward: Gold brick, “Trasher” vehicle token
Another vehicle call-in point can be assembled here, at the south end of Auburn. Drop 8,000 bricks and build this valuable asset.
 Superbuild 6: Stunt Ramp
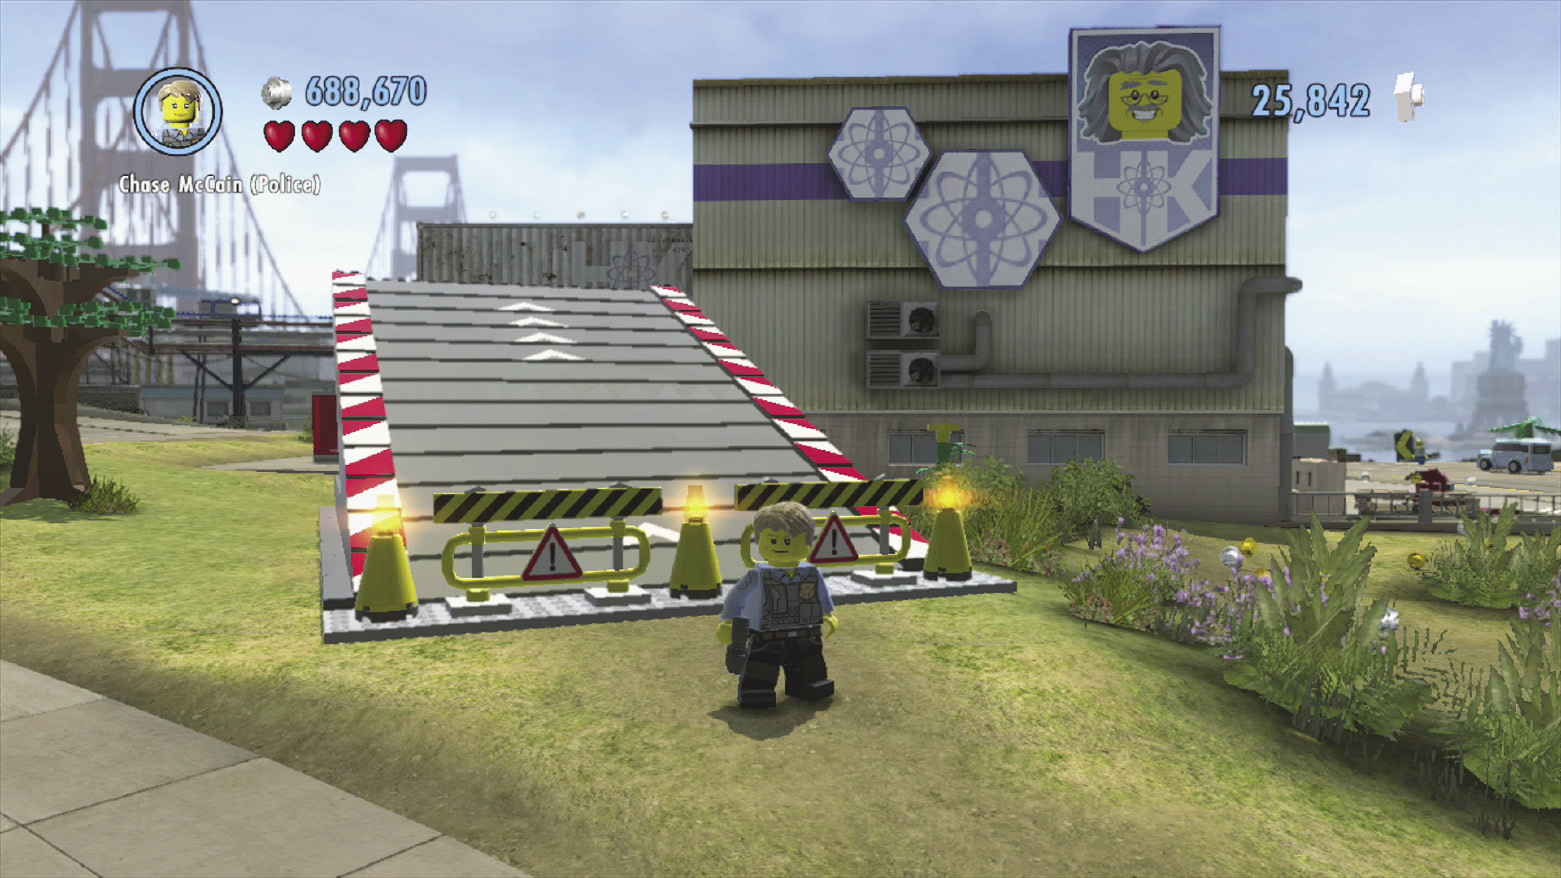
Reward: Gold brick, “Race Car Driver” character token
Drop 10,000 studs to build a stunt ramp here, right next to Professor Kowalski’s lab. This ramp comes into play while racing to complete the Time Trial that begins in Cherry Tree Hills.
 Time Trial
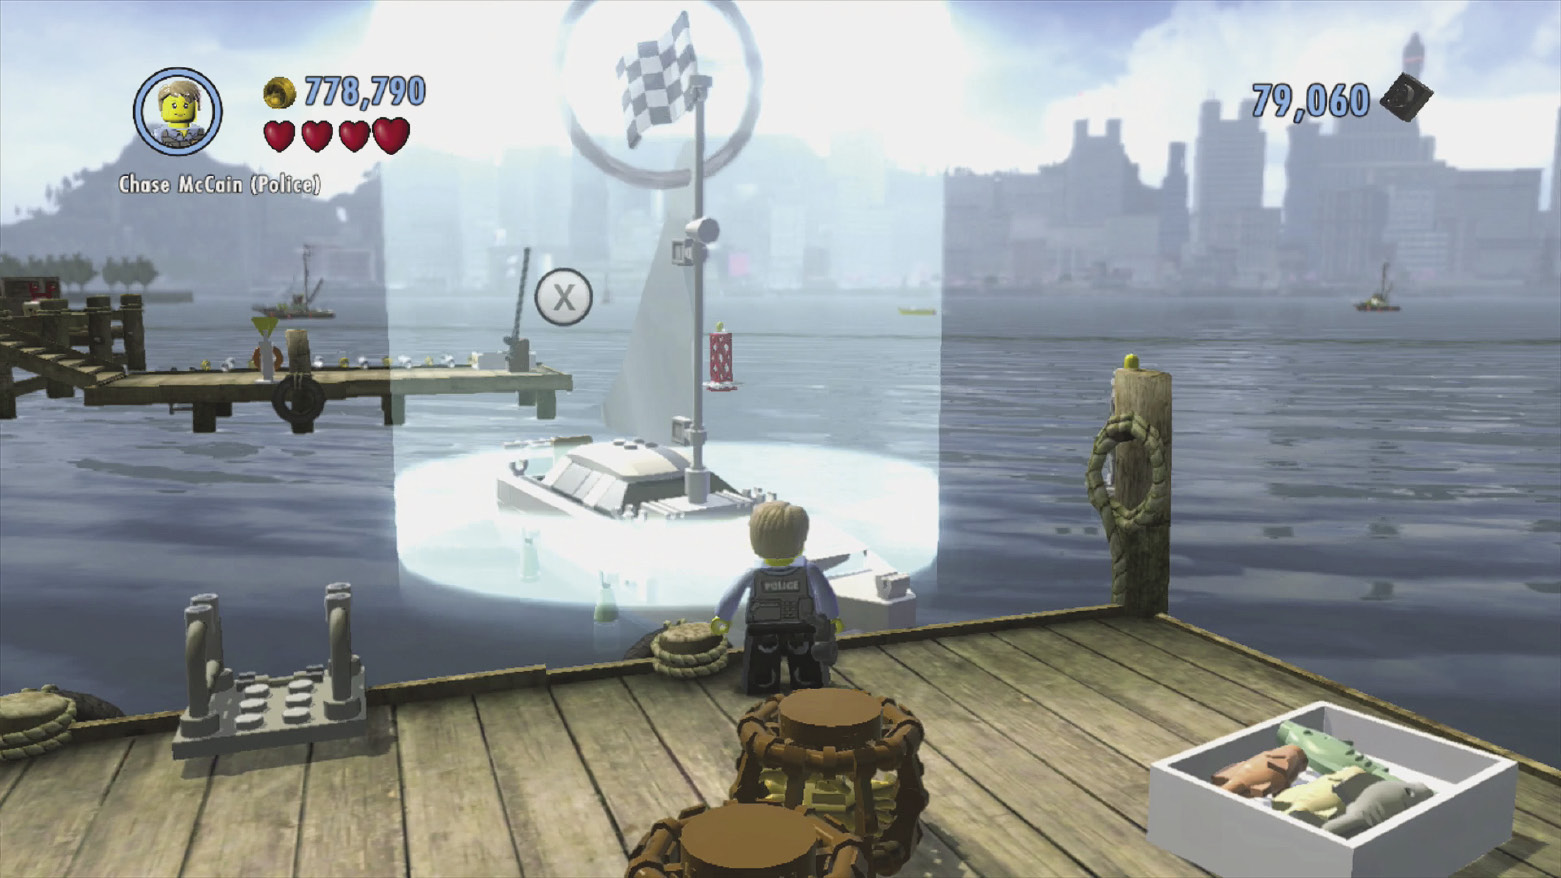
Reward: Gold brick, “Brawn” vehicle token
Hop into the boat docked along Auburn’s east piers to begin an exciting nautical race. Carefully pass through the wooden posts near the beach as you move from checkpoint to checkpoint, speeding toward the finish.
 Train Station
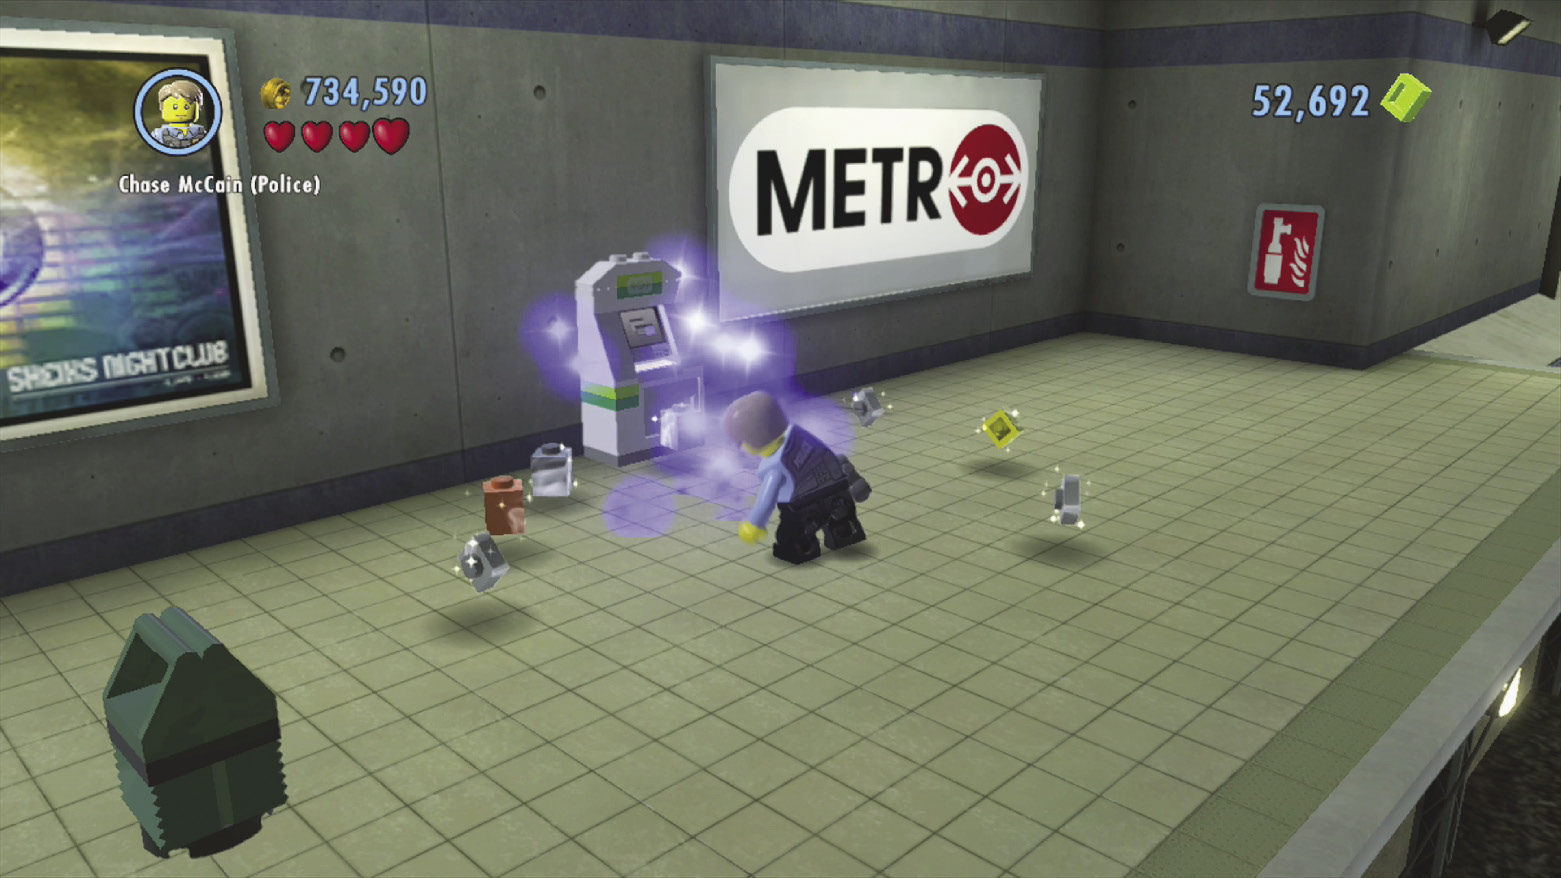
Reward: Gold brick, fast travel
Use the metro station entrance (POI 3) to reach Auburn’s underground train station, which runs north below the Auburn Bay Bridge. You’ll eventually come to a platform with a dynamite dispenser, an ATM, and a couple of green cabinets. Bash the cabinets to discover some bricks, then build these into the train station’s ticket dispenser, thus activating the station.
 Vehicle Robbery Completed 1
Reward: Gold brick, “Rex’s Riot” vehicle token
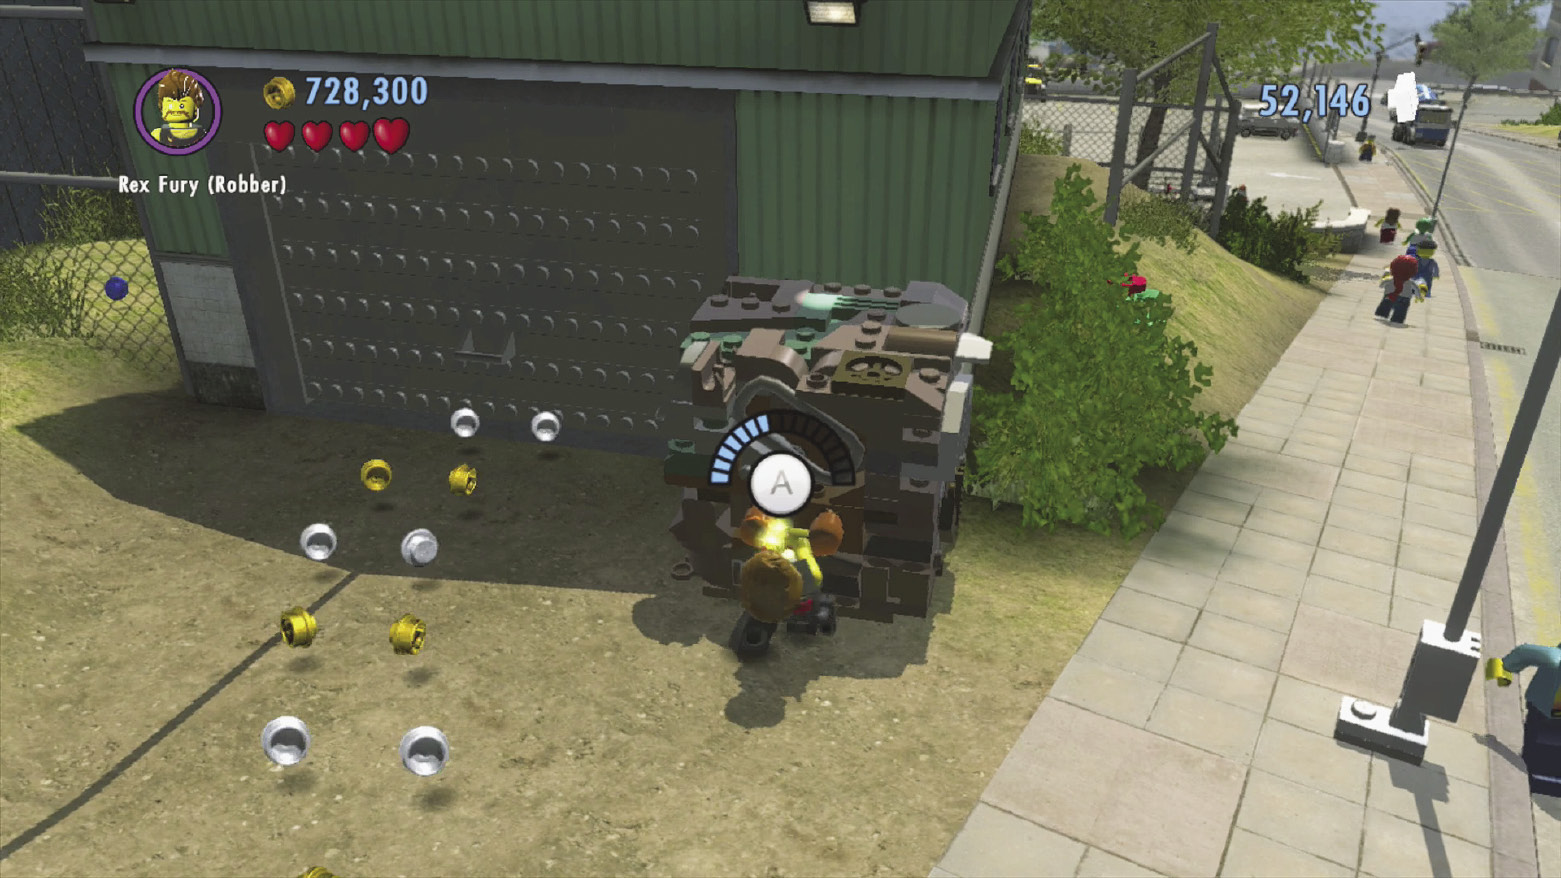
Use Rex Fury to rip apart the superstrength crate near the garage that stands north of the gas station (POI 5). This exposes a door you can crowbar; pry it open to begin a vehicle robbery challenge!
 Vehicle Robbery Completed 2
Reward: Gold brick, “Enberg” vehicle token
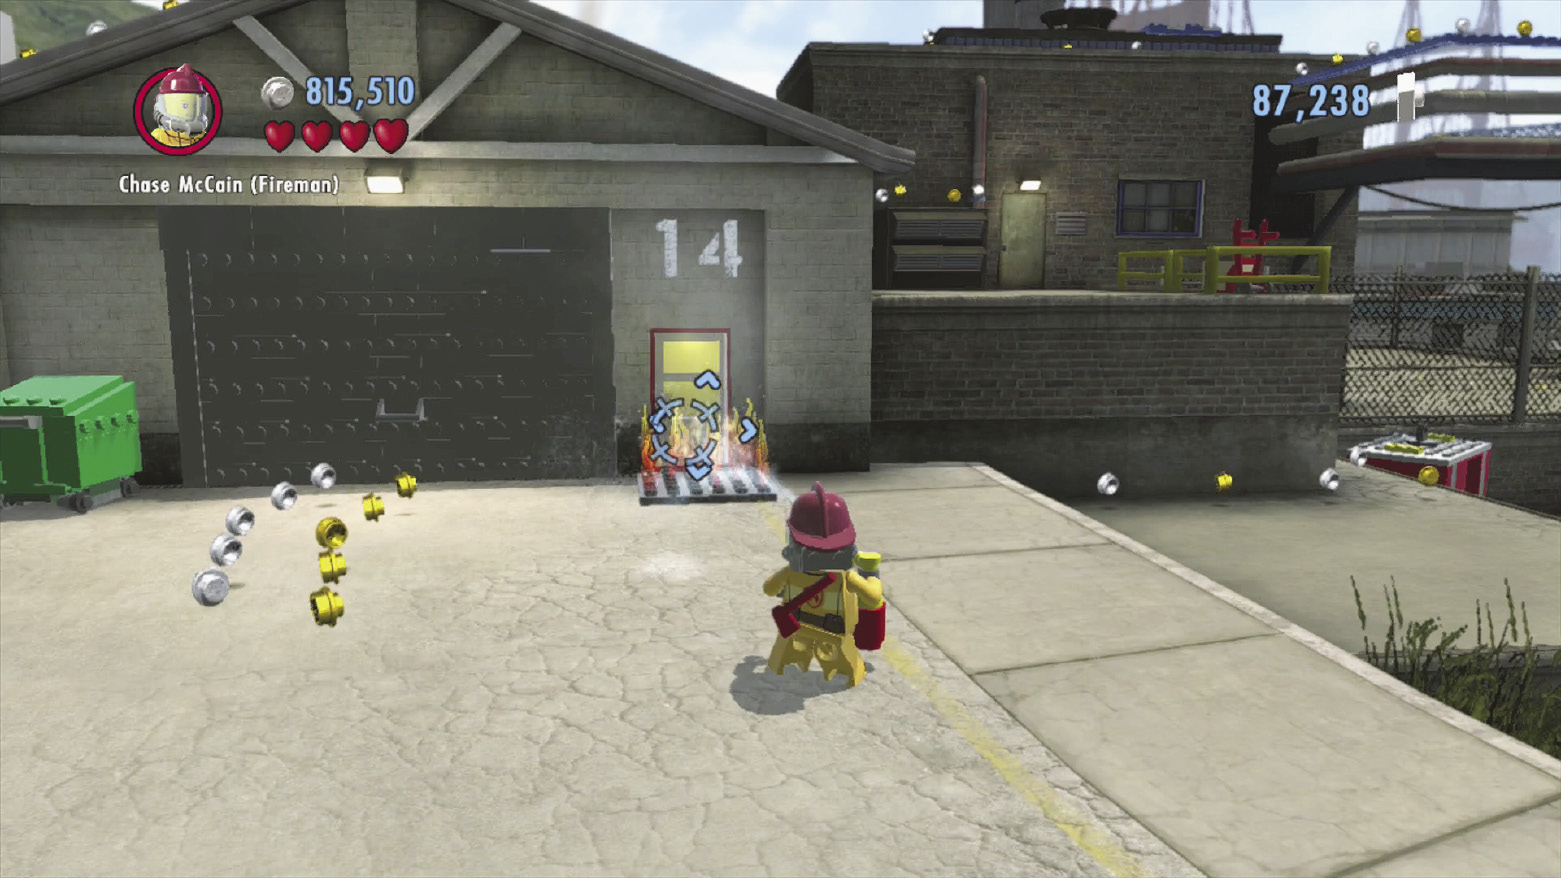
While exploring the east buildings (POI 7), look for a ground-level door that’s blocked by fire. Douse the flames, then pry open the door to begin another fast-paced vehicle robbery event!
 Vehicle Robber Arrested
Reward: Gold brick, “Sphinx” vehicle token
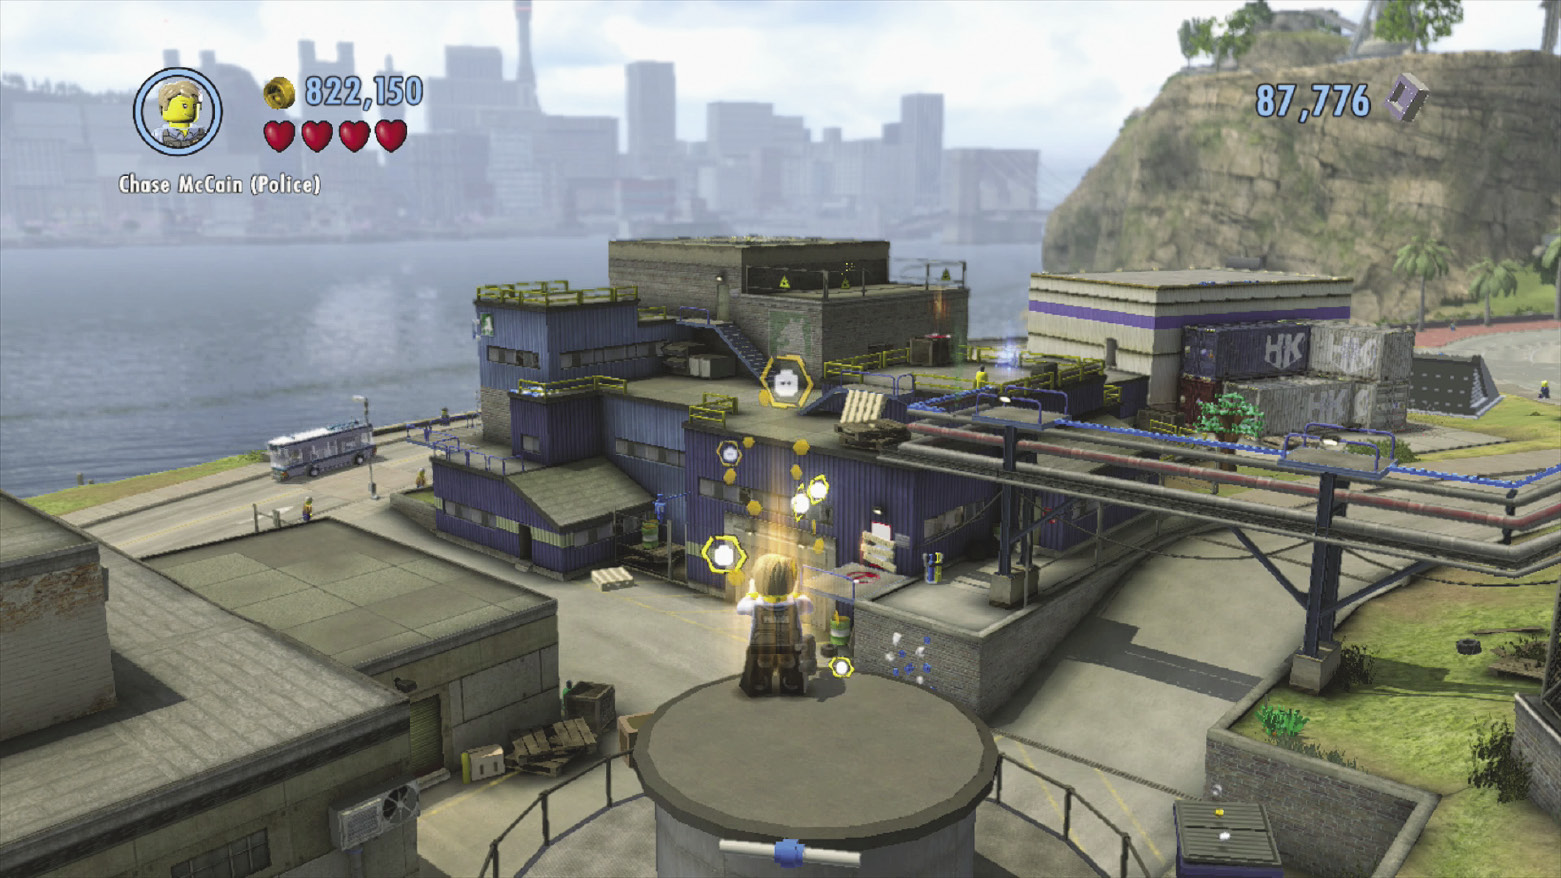
Scale the east buildings (POI 7) by chopping through the boarded door and going upstairs. Build the catapult pad and soar to the water tower, where the scan spot that triggers Auburn’s vehicle robber event is located.