
LEGO CITY Undercover Guide Walkthrough
Chapter 15: Far Above theCall of Duty
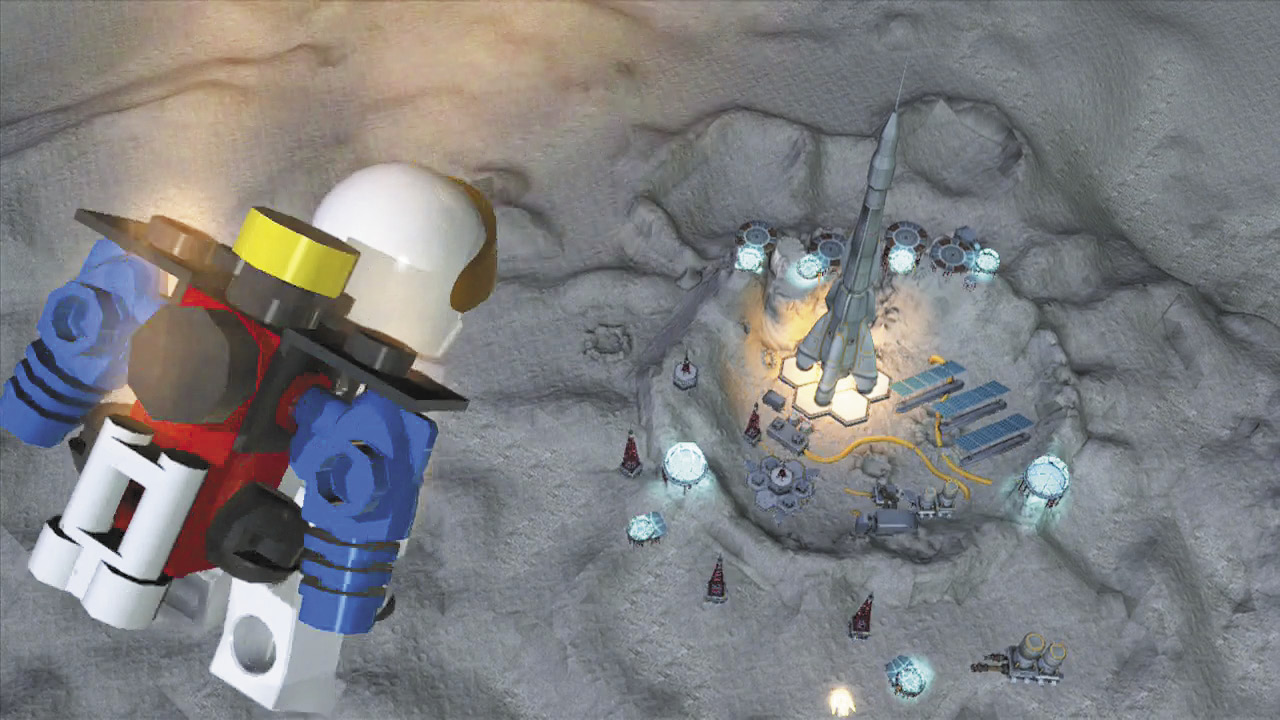
The Rex Fury case has had countless twists and turns, and now it winds to its conclusion. Chase McCain has saved LEGO City from destruction at the hands of the true mastermind behind Rex Fury, millionaire Forrest Blackwell. But the vile millionaire has managed to escape justice—and LEGO City—by way of rocket ship. Chase isn’t about to let Blackwell and Fury escape, however, especially not with Natalia in their clutches!
City Exploration
Objective: Get to the Launch Pad
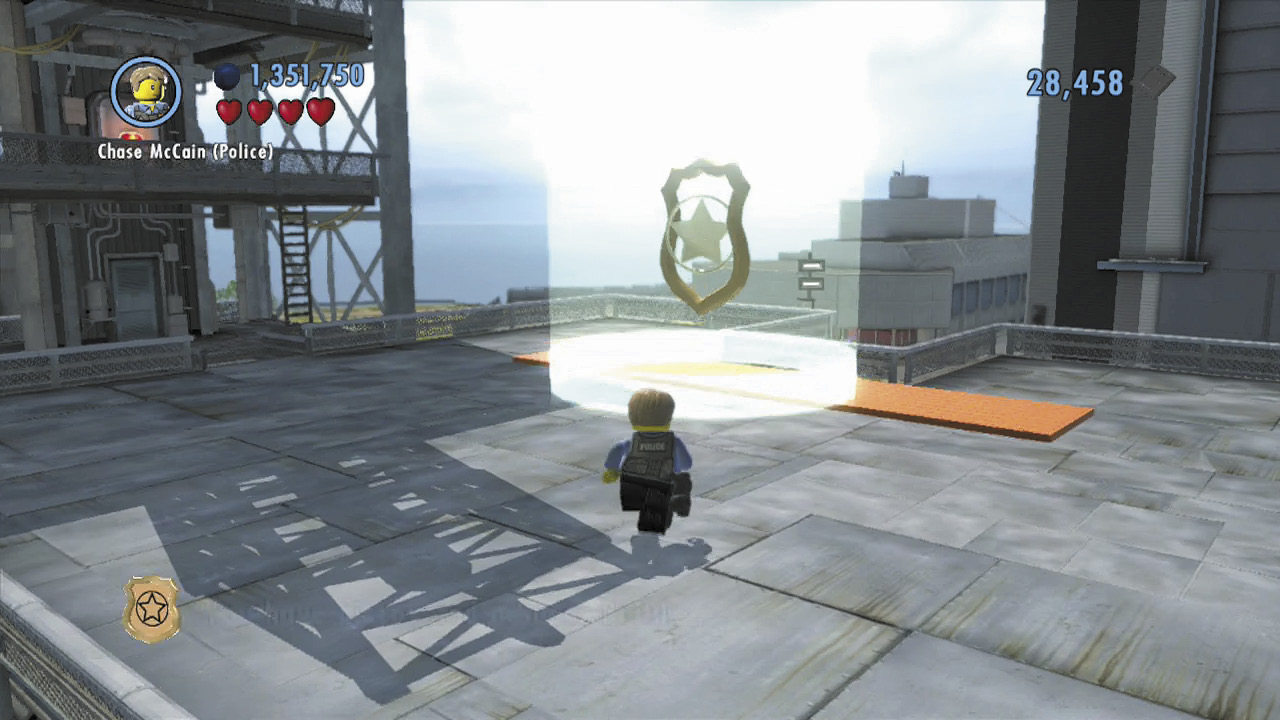
There’s no time to lose! Rush to the objective beacon on Apollo Island, climbing a ladder to reach it. The beacon marks a superbuild, where you can build a space shuttle. The shuttle requires 50,000 bricks to construct—luckily, the nearby launch tower is filled with superbricks!
Superbrick 1
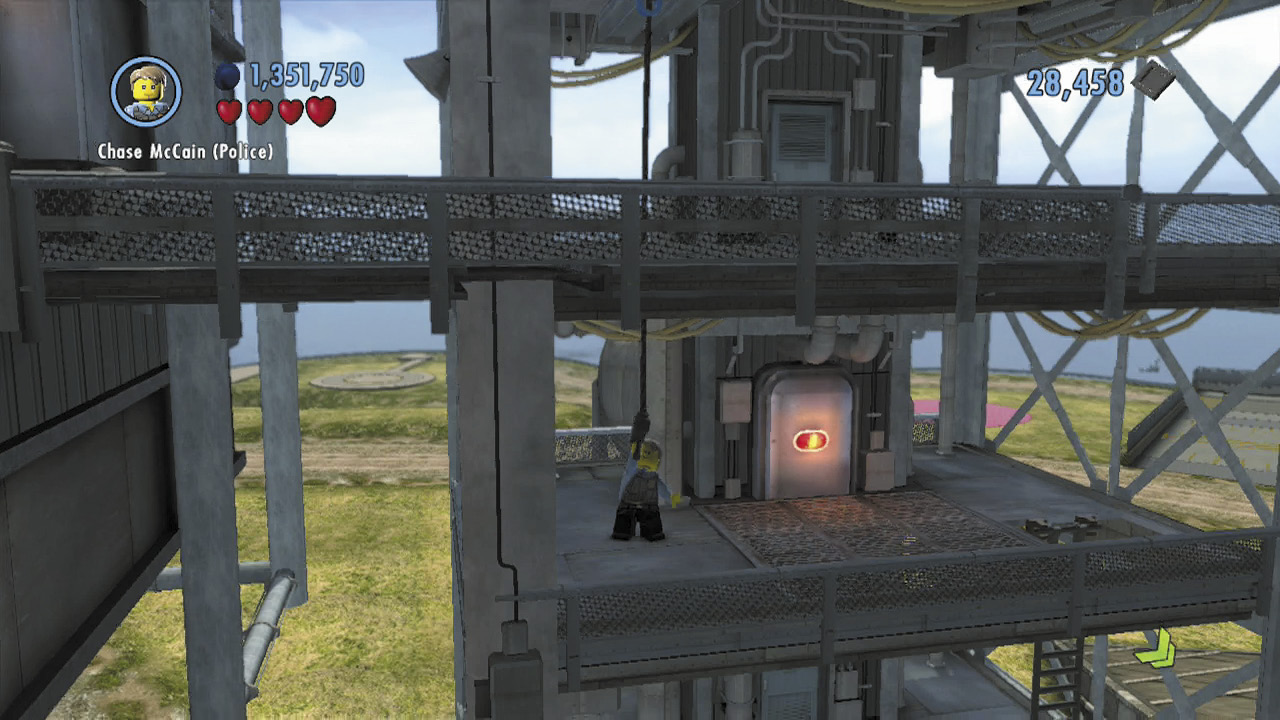
Climb a ladder to begin exploring the launch tower. Use the grapple gun to zip up to the platform above.
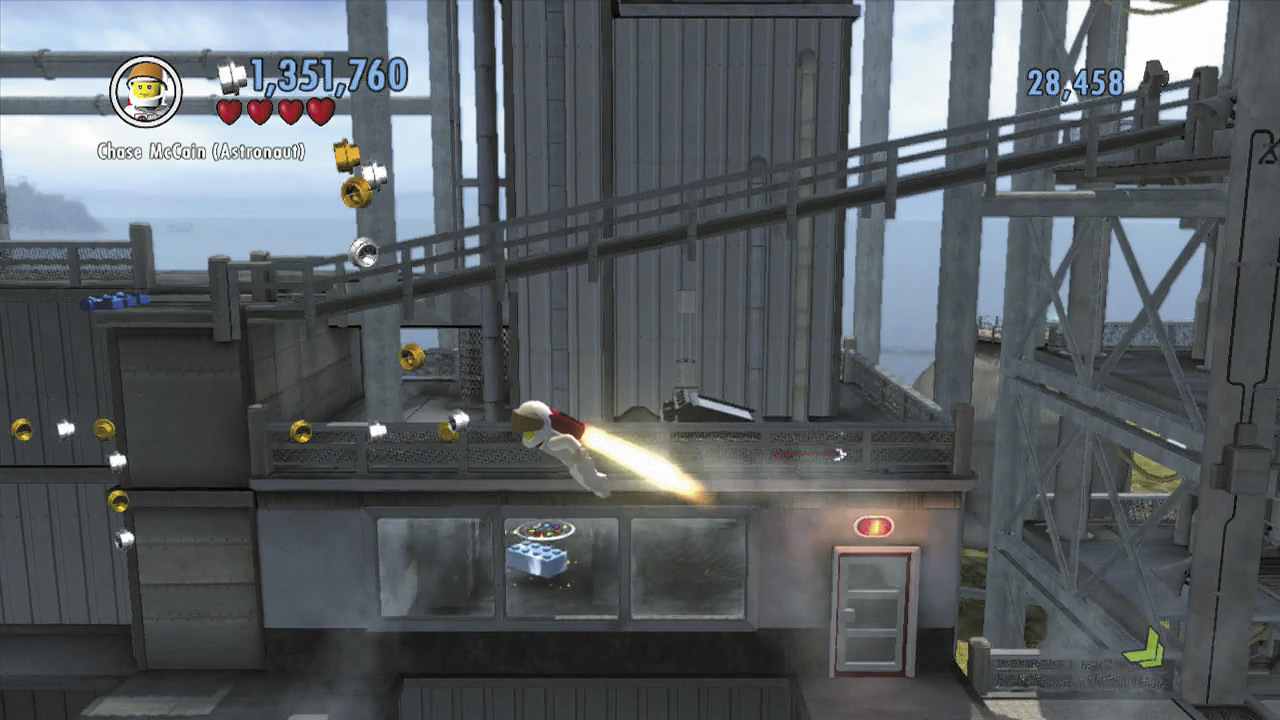
Perform a couple of jet pack jumps to clear the next two gaps to the left.
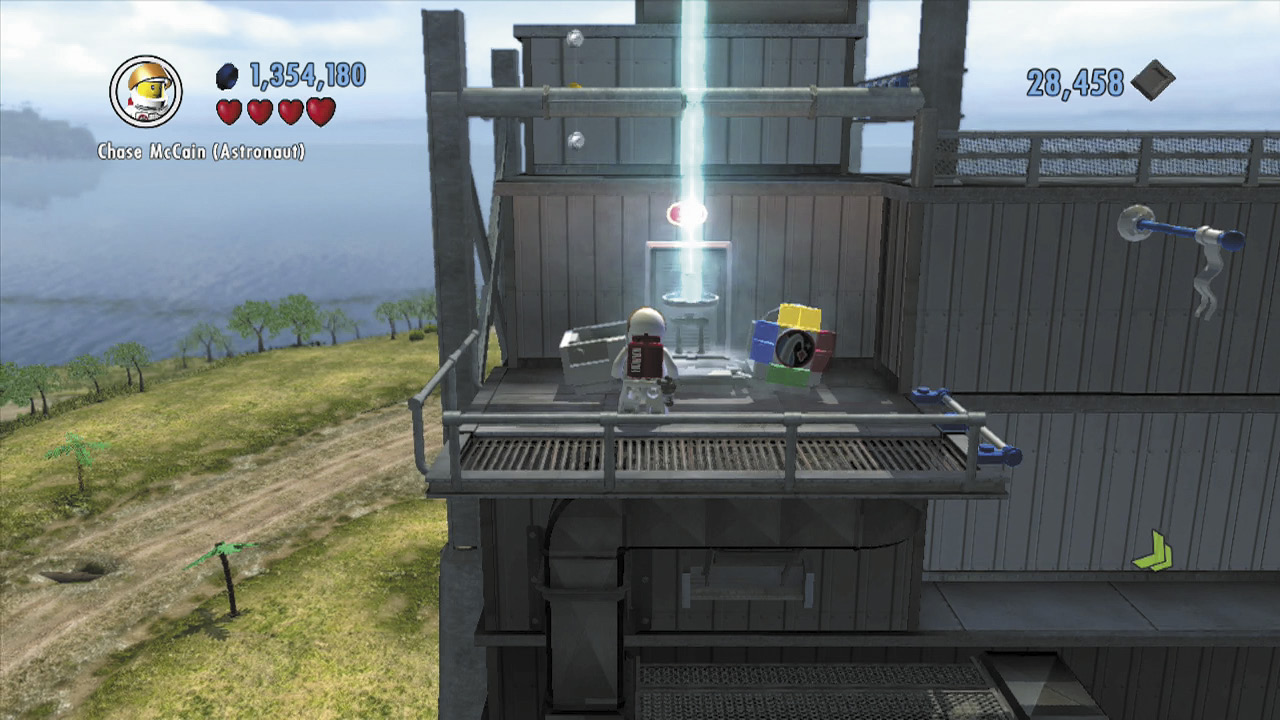
You land near a space crate. Activate it to beam in a superbrick nearby.
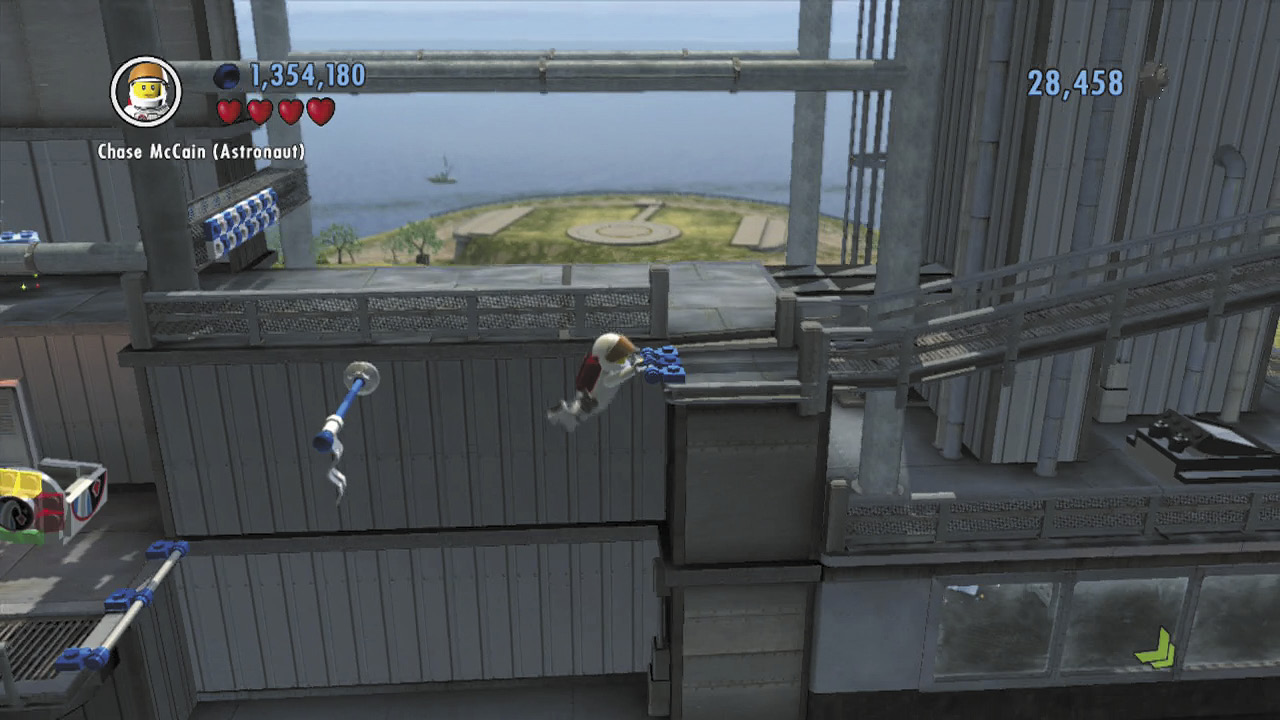
Flip across the flagpole to the right to reach a handhold. Climb up to the walkway above, then run left and slide under a low beam to reach the superbrick you’ve just beamed in.
Superbrick 2
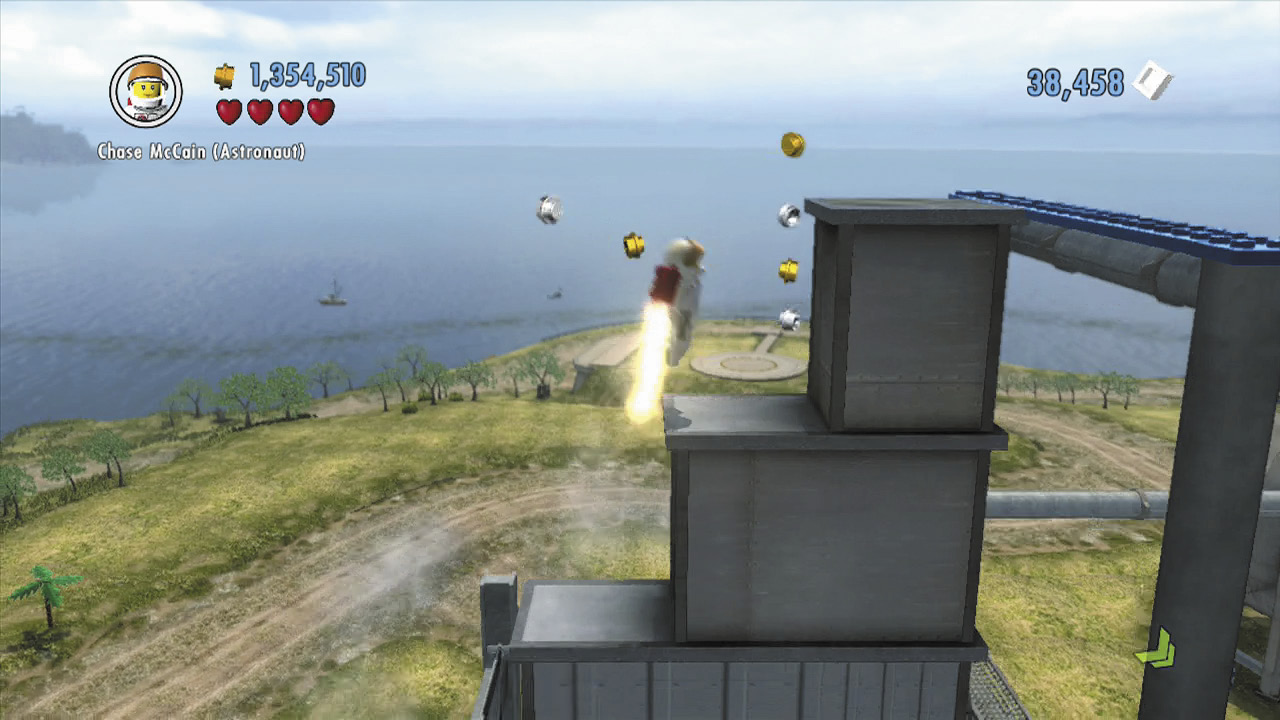
After collecting the first superbrick, perform a series of jet pack jumps to climb the background ledges and reach a blue balance beam.
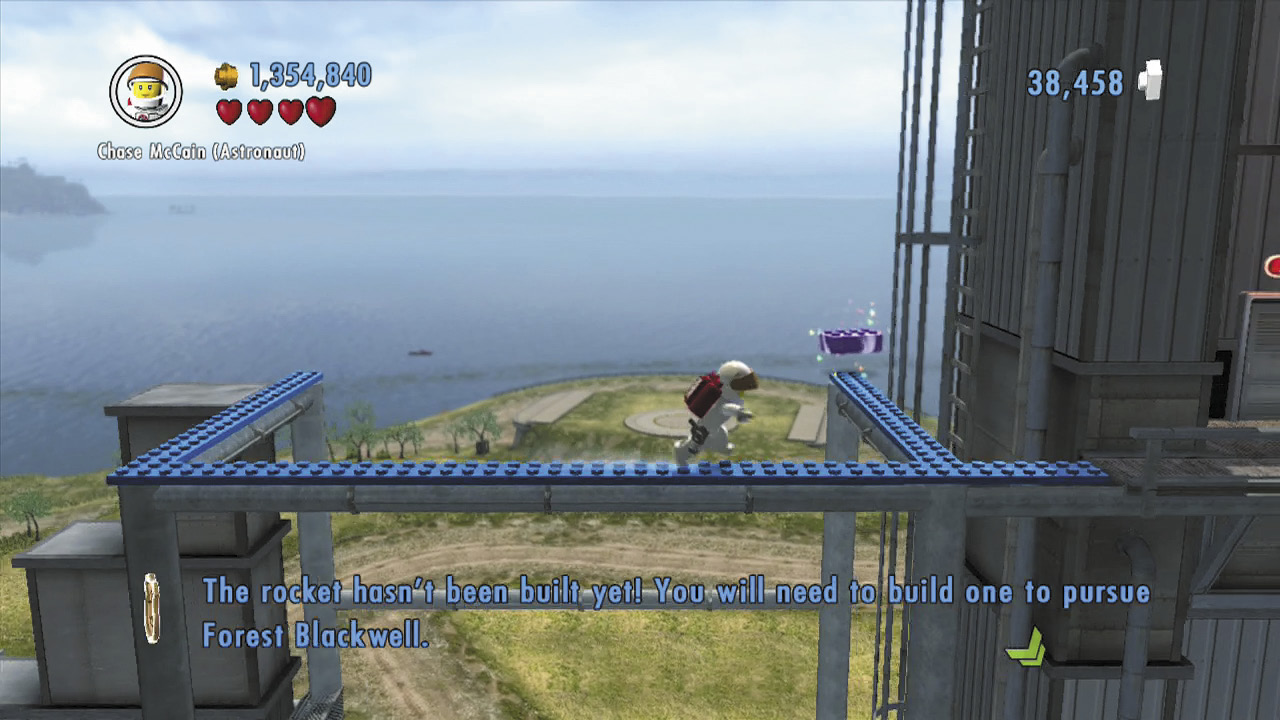
Tiptoe around the balance beam to reach another superbrick.
Superbrick 3
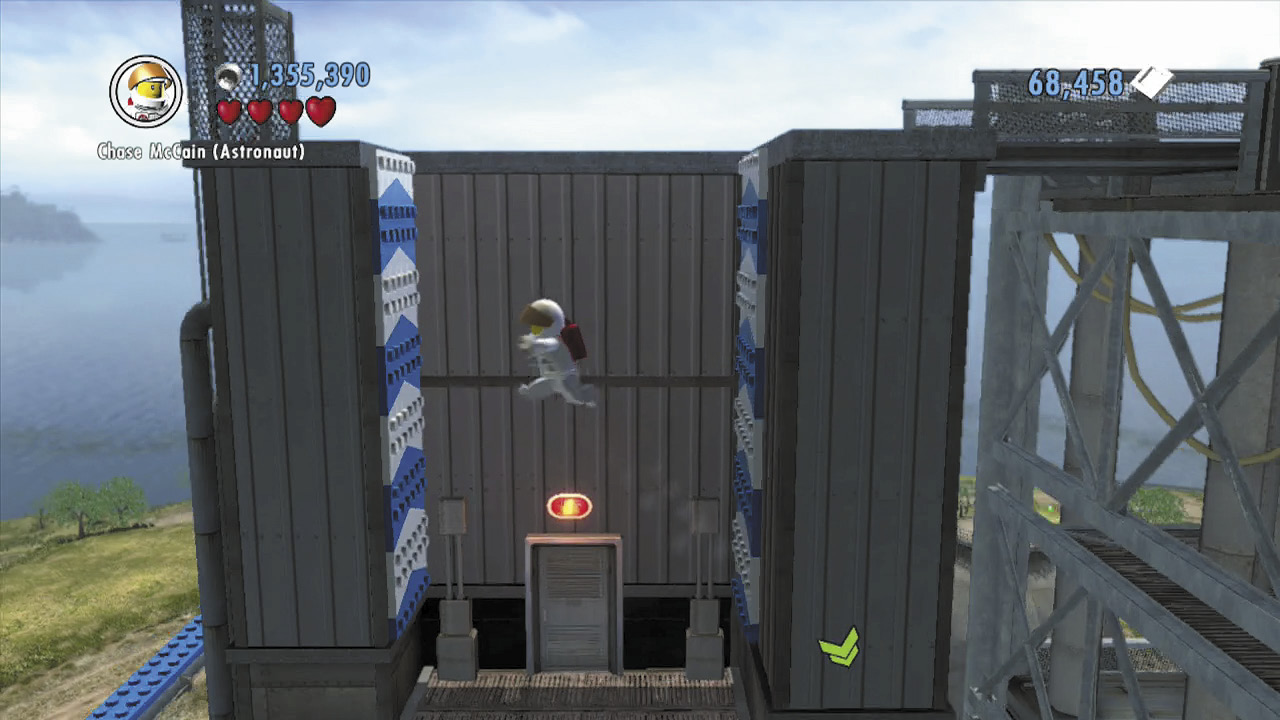
Run to the right from the balance beam and wall-jump to a higher platform.
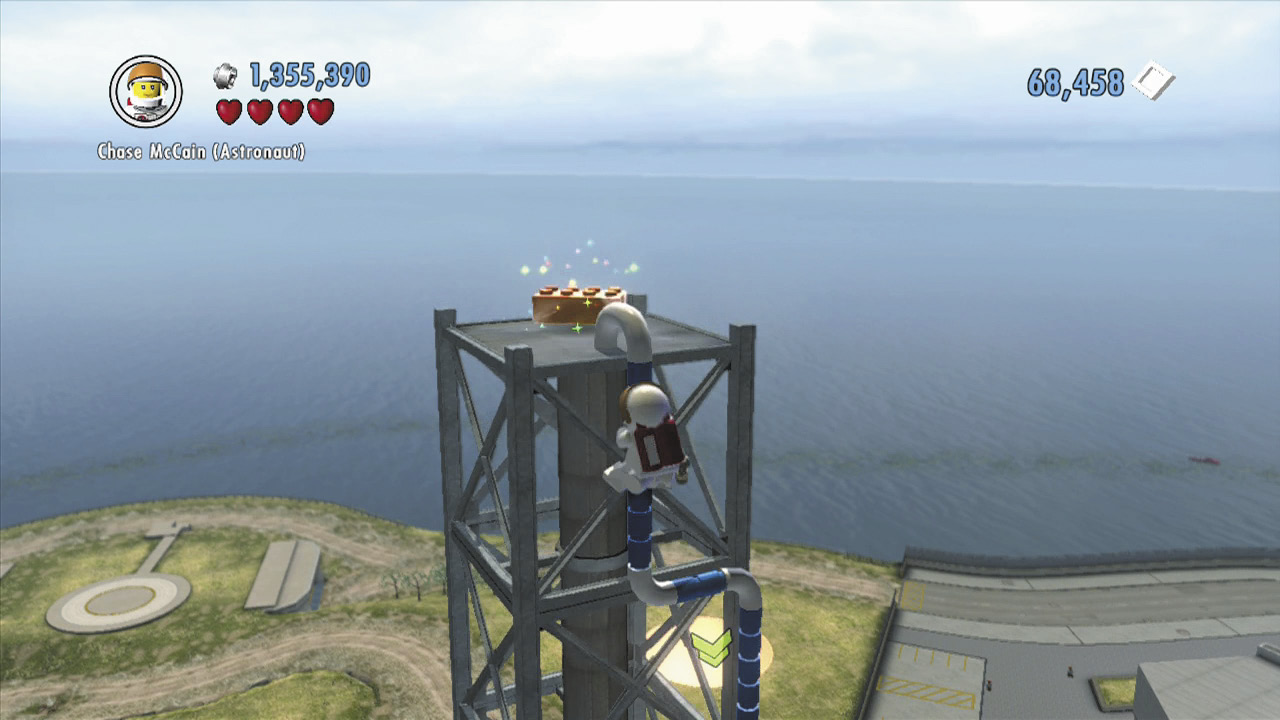
Climb a long, blue and white drainpipe to reach a superbrick at the very top of the launch tower.
Superbrick 4
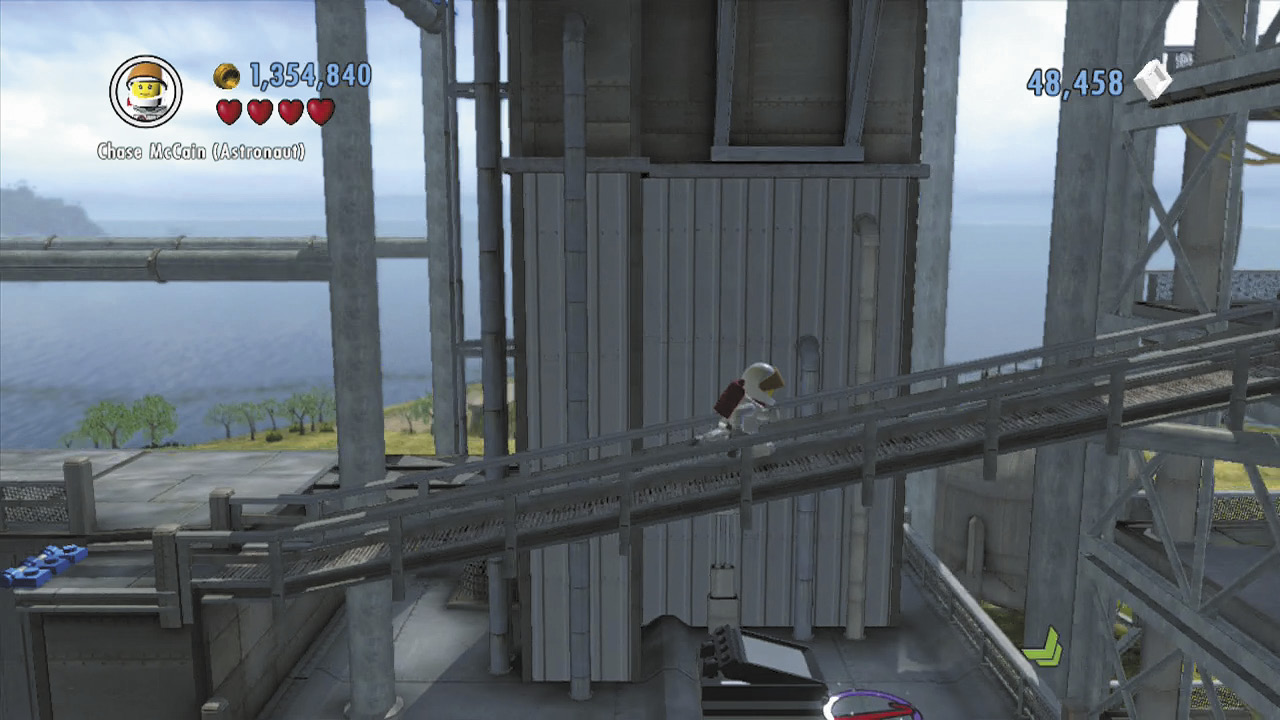
Drop from the tower and return to the blue balance beam. Drop again to the walkway below, then run up the ramp on the right.
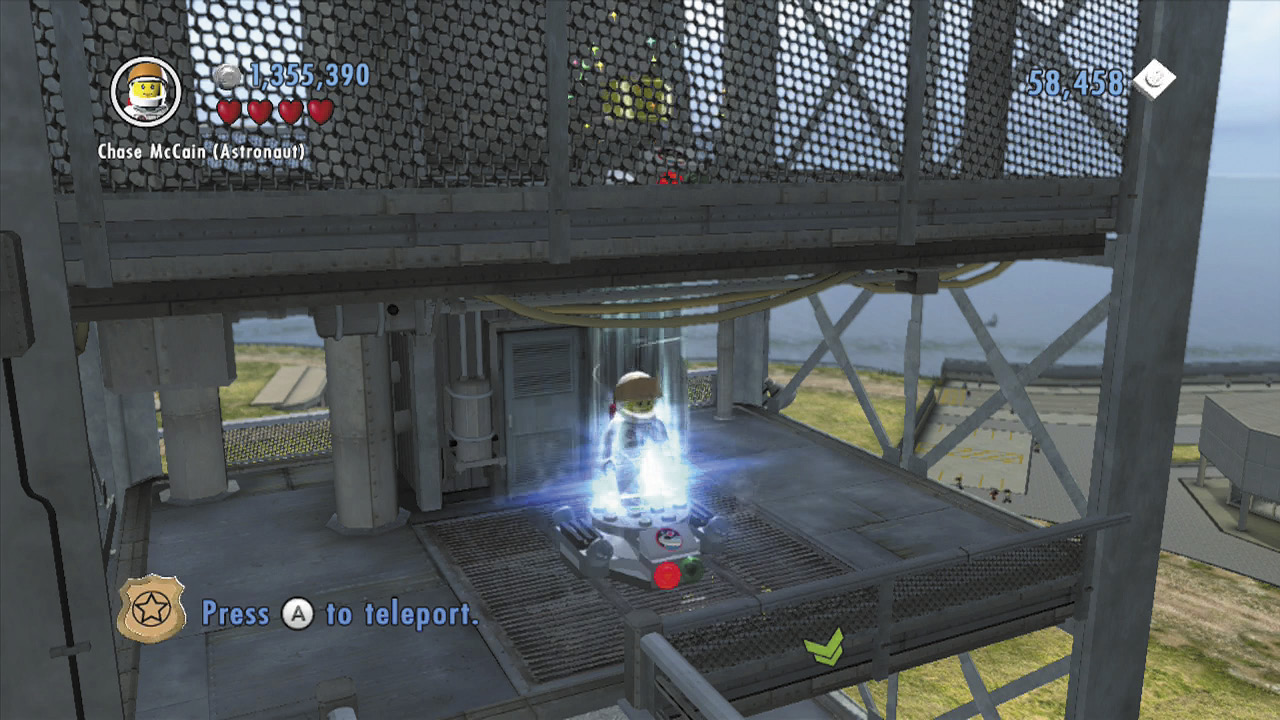
You soon reach a transporter pad. Beam up to a small room above, where a superbrick sits.
Superbrick 5
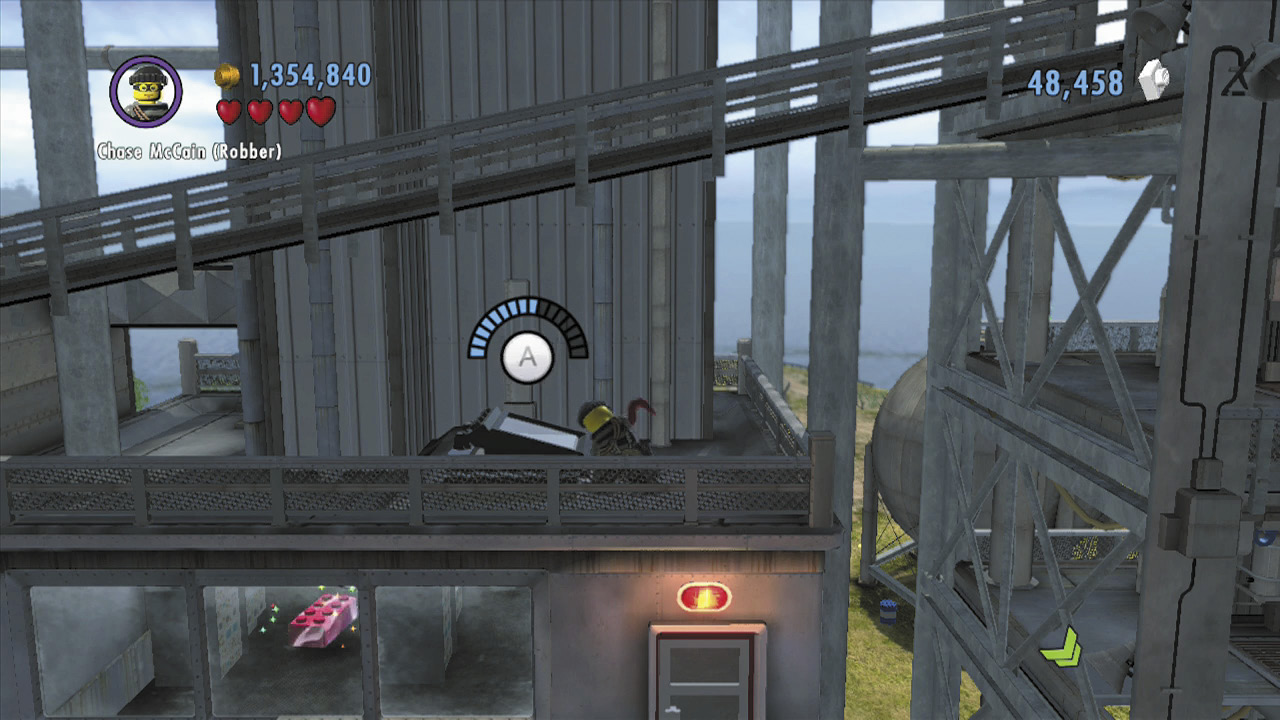
Beam back down to the lower platform and run down the ramp on the left. Jump off the side of the ramp to land in a lower area with a skylight.
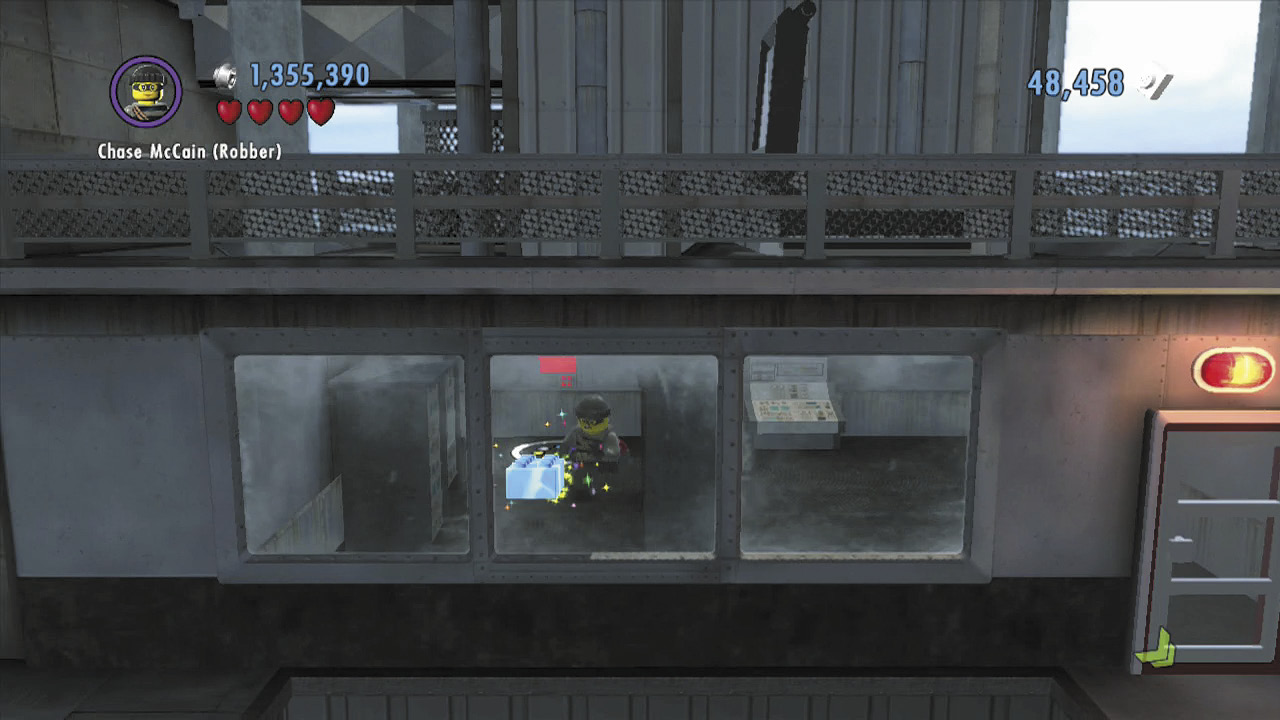
Pry open the skylight and drop into the room below. Claim a superbrick and then use the control panel on the background wall to open the room’s door so you may exit.
Building the Shuttle
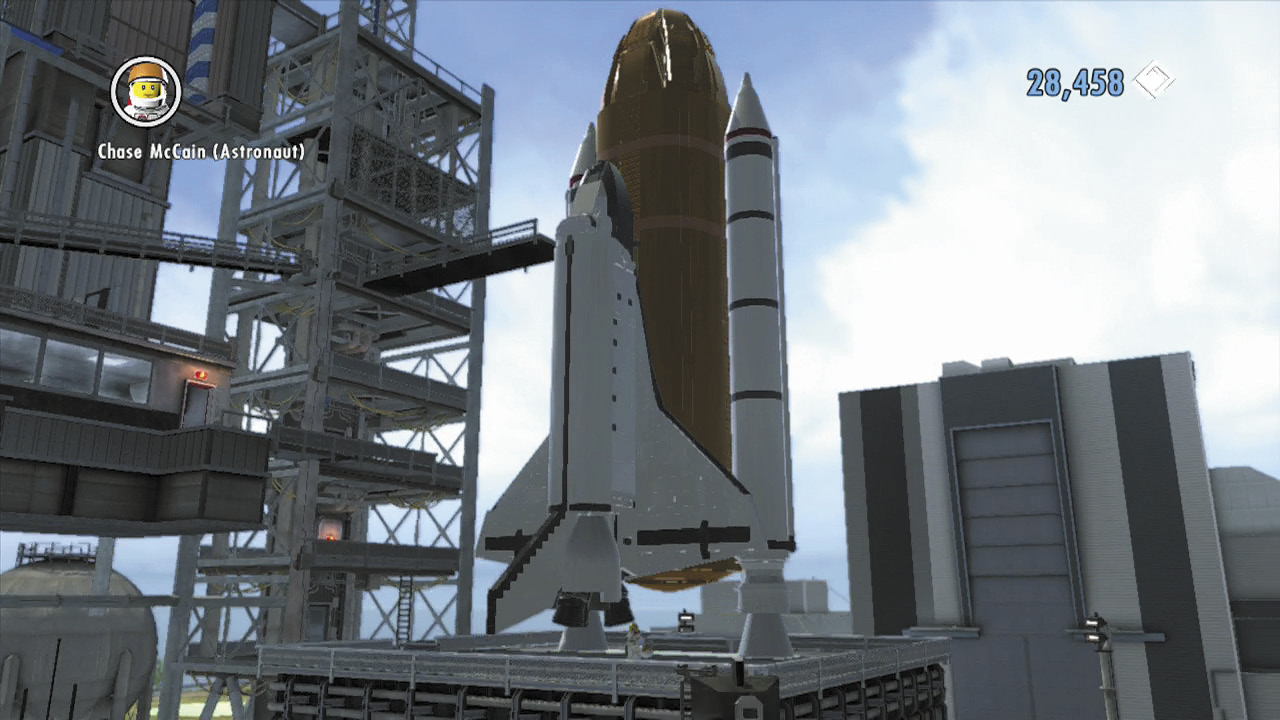
You’ve got plenty of bricks now, so let’s get a move on! Drop from the launch tower and return to the superbuild pad. Spend 50,000 bricks to build the space shuttle.
Boarding the Shuttle
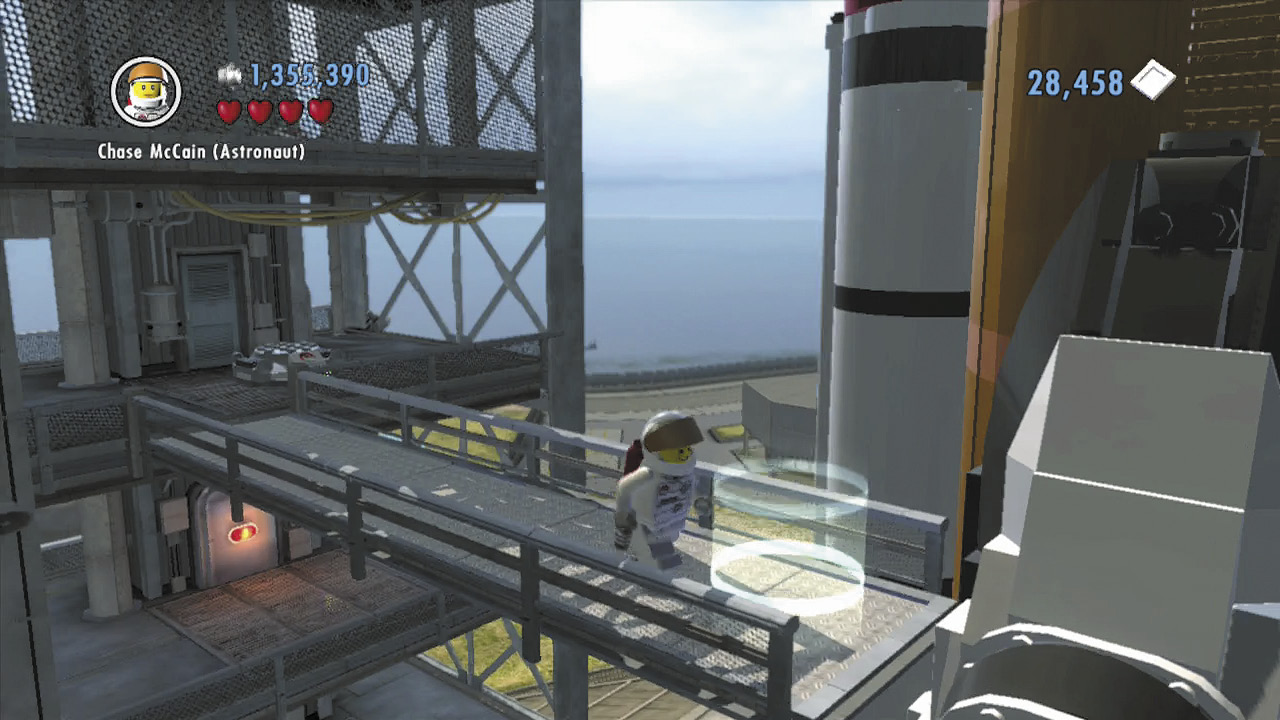
You’ve built the space shuttle—now you just need to enter the cockpit! Climb back up the launch tower, using the grapple gun to zip upward. Jet pack-jump to the left, then flip across the flagpole on the right to reach the ramp. Run up the ramp and cross the foreground walkway to reach the objective beacon near the shuttle’s cockpit. Step into the beacon to begin the final mission.
Special Assignment 15: Fly Me to the Moon
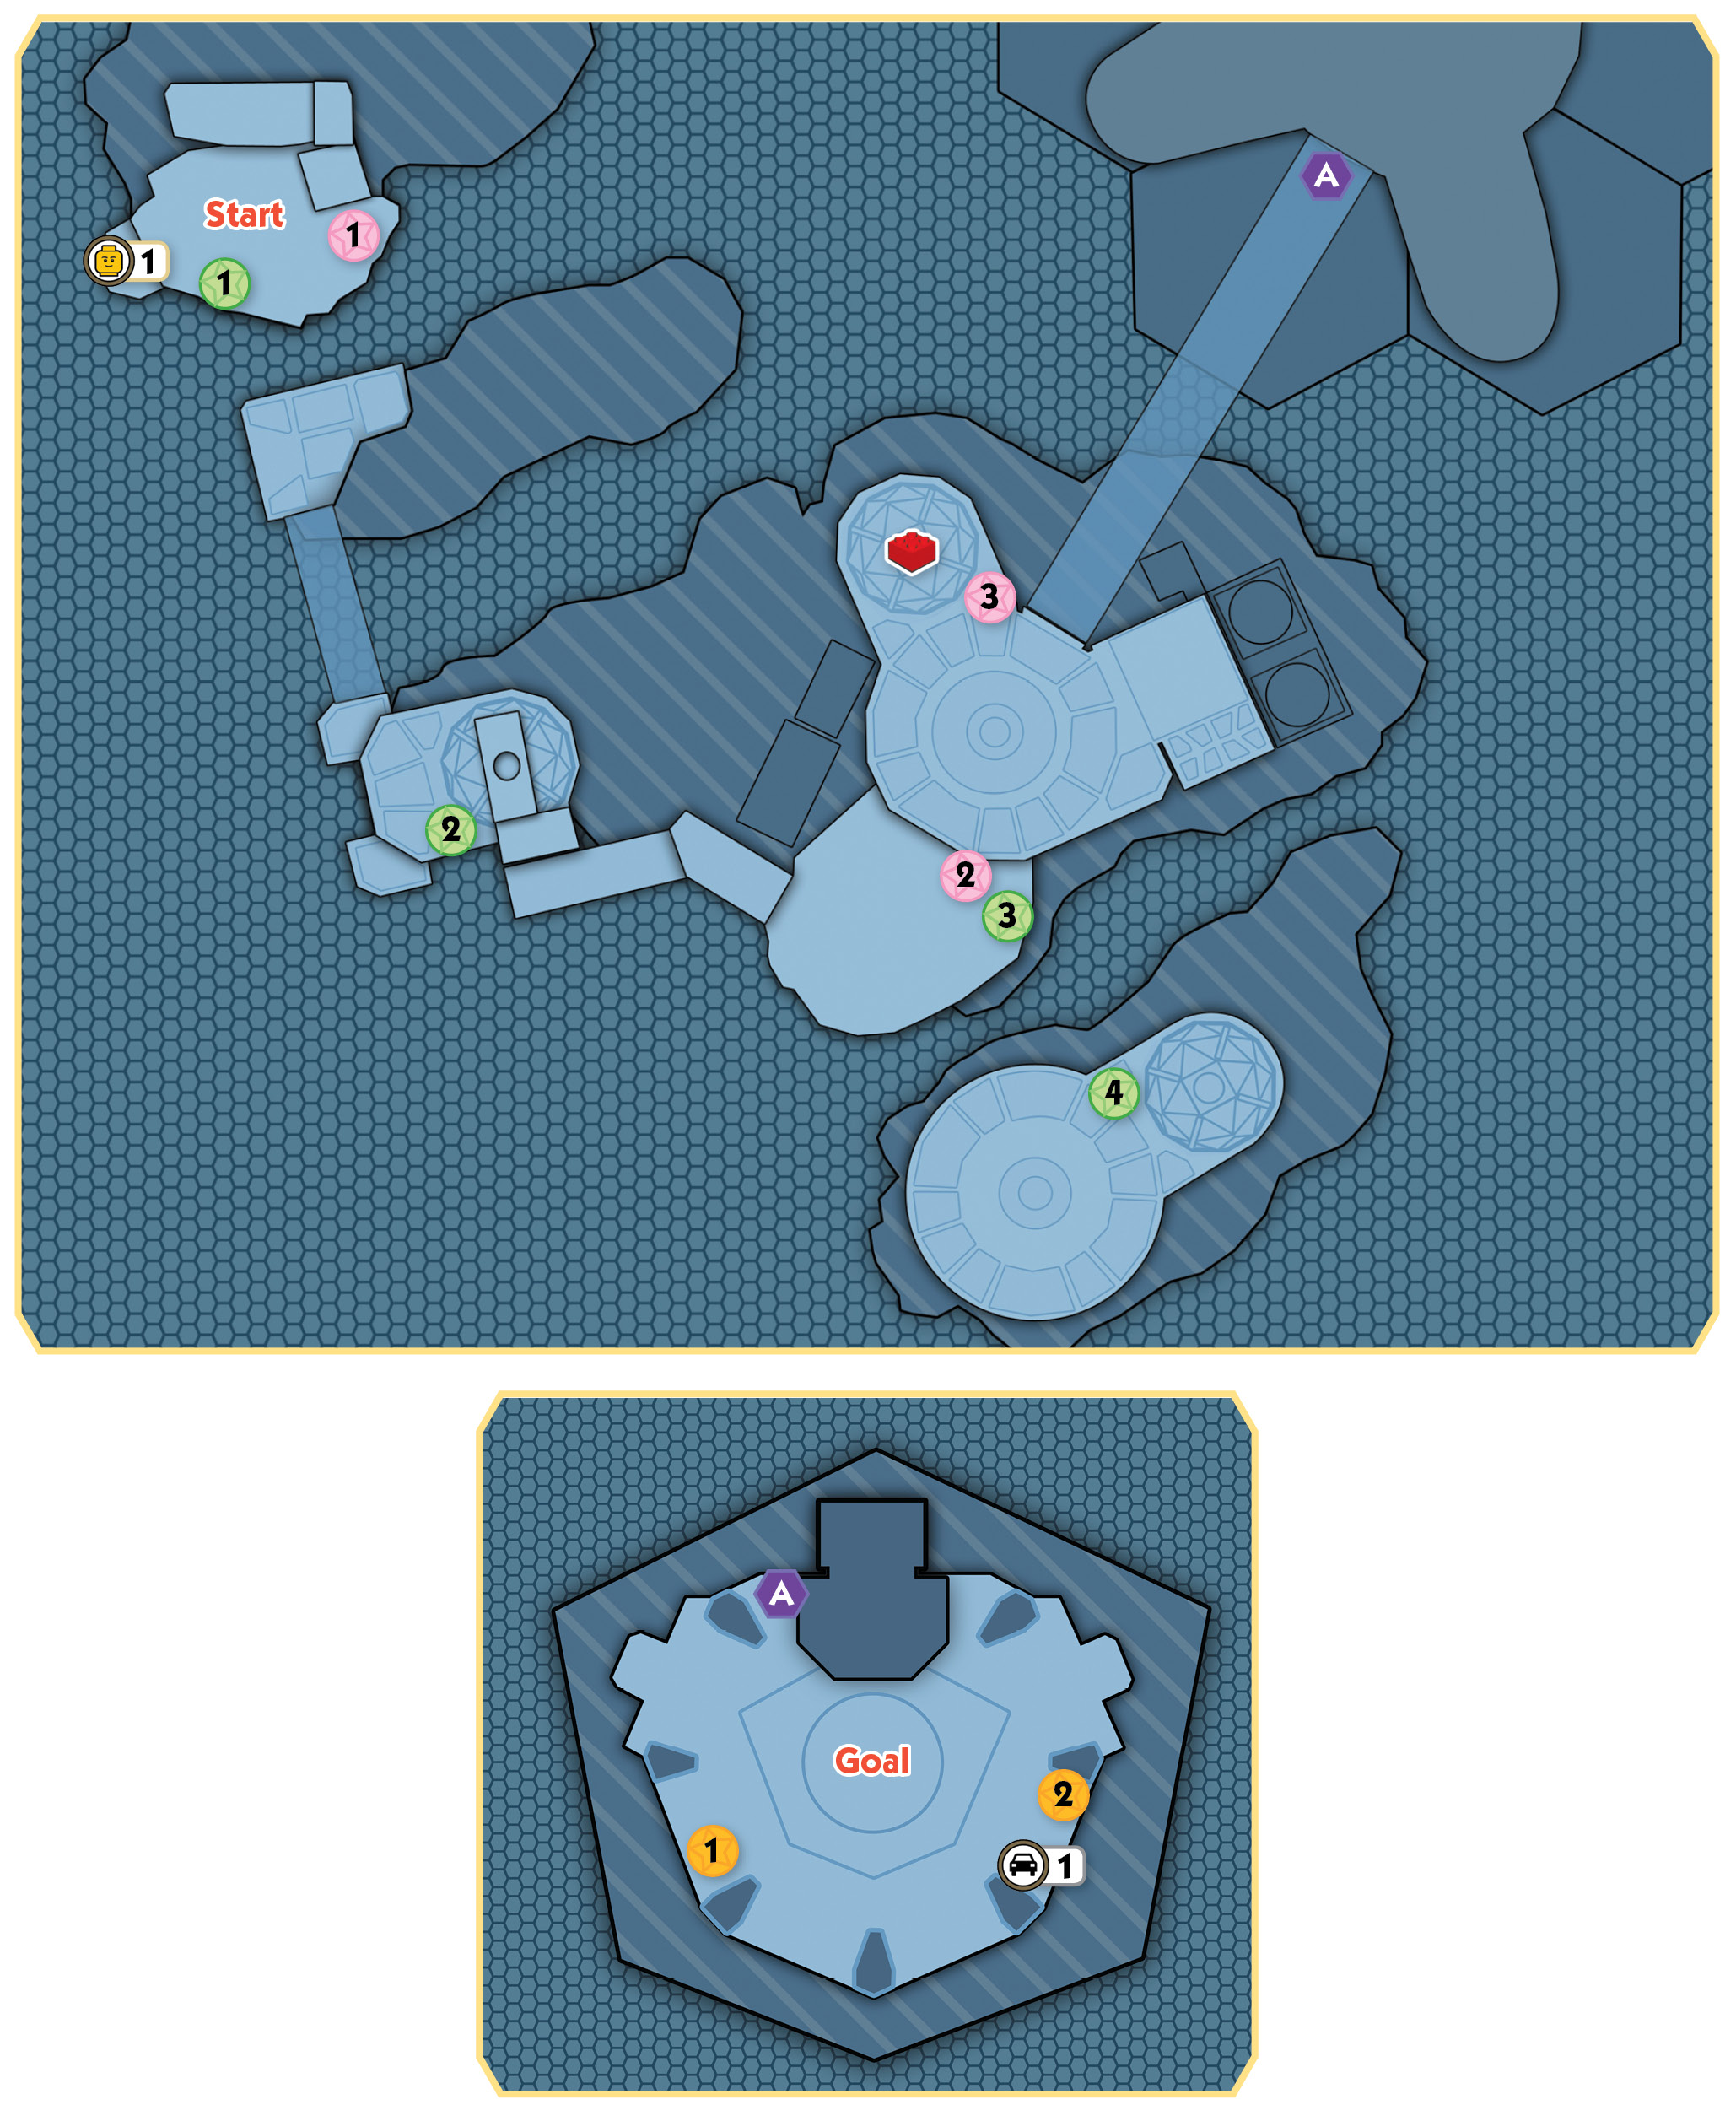
Stage Collectibles: “Fly Me to the Moon”
| Map Icon(s) | Type | Mode | Notes |
|---|---|---|---|
 |
“Ben Sharples” character token | Story | Fix the fuse box above the lift near the start, then use the color swapper. Drop to the foreground ledge and blast the switch. |
 |
Police Shield Piece 1 | Story | Smash four space probes around the moon base. |
 |
Police Shield Piece 2 | Free Play | Use Rex Fury to rip apart three strength crates around the moon base. |
 |
Red Brick—Studs x10 | Free Play | After ripping apart the final strength crate, blast the switch you uncover and enter the nearby dome. |
 |
Police Shield Piece 3 | Story | Crack two standing safes in the rocket’s loading bay. |
 |
“Payload” vehicle token | Free Play | Use Rex Fury to rip apart the strength crate in the rocket’s loading bay. |
| — | Police Shield Piece 4 | Story | Smash three crates during the final battle against Rex Fury. |
| — | “Rex’s Tempest” vehicle token | Story | Smash the remains of the T-Rex during the final battle against Rex Fury. |
| — | “Rex Fury” character token | Story | After falling past the spinning energy beams and exiting the rocket, pass through the first stud ring you see. |
LEGO City Hero Stud Requirement:
 26,000
Objective: Storm the Base
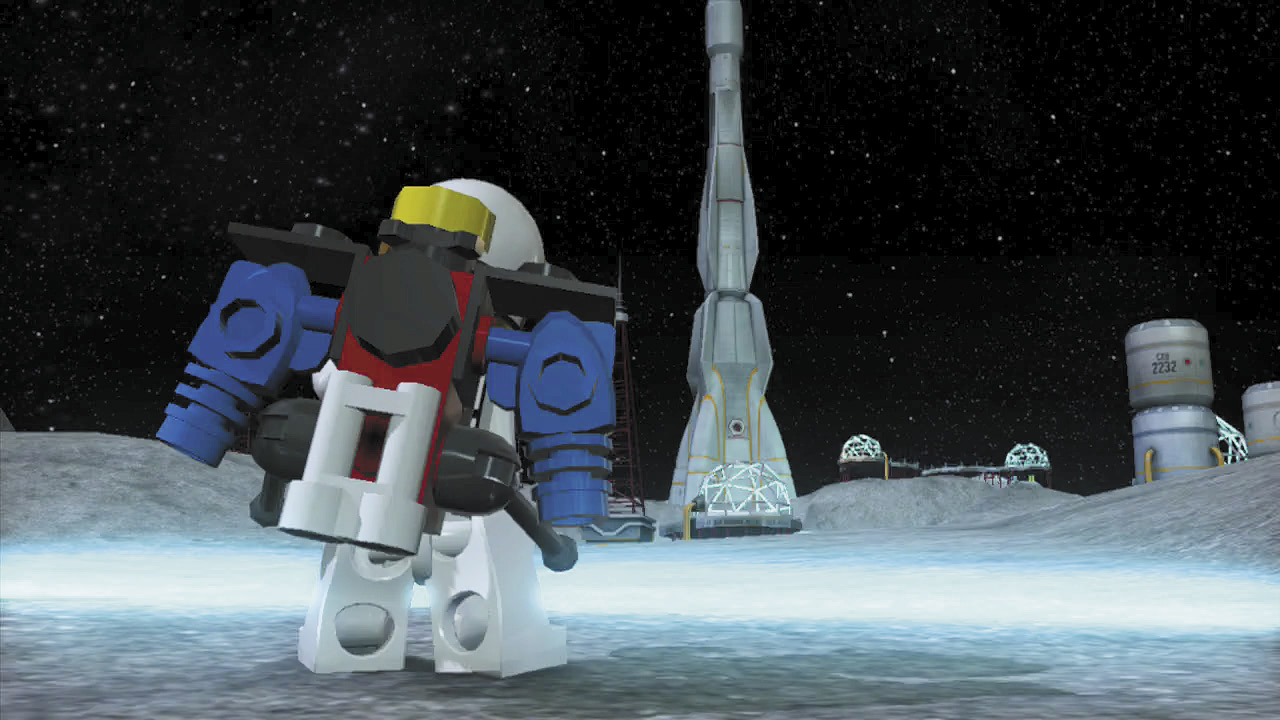
The shuttle has delivered Chase to the moon, where Forrest Blackwell has secretly erected an impressive base. Time to raid this moon base and rescue Natalia!
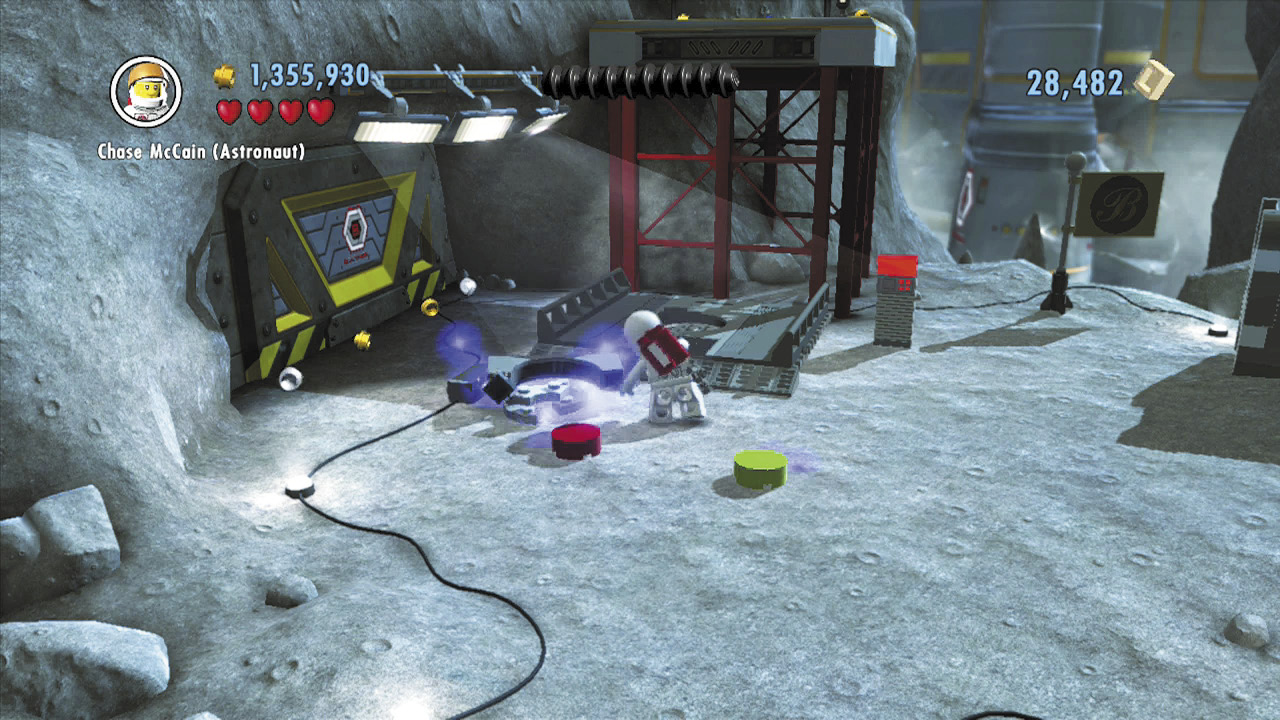
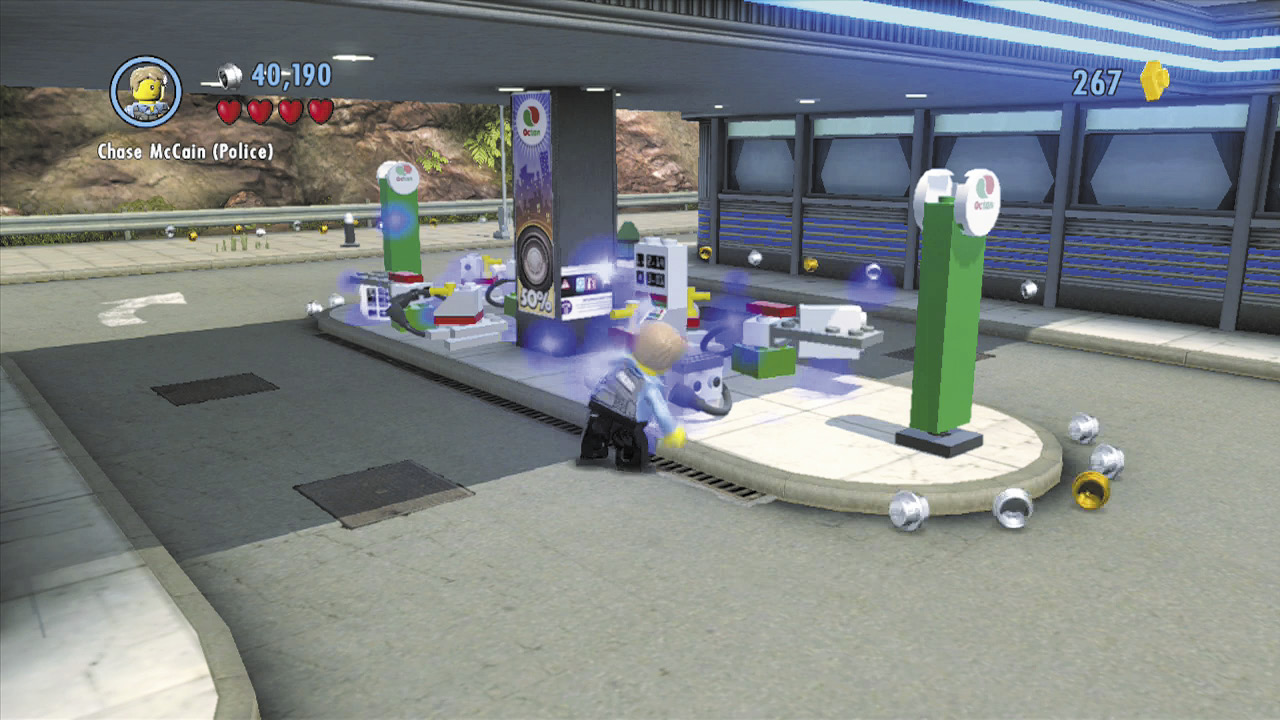
First things first: smash the crates near the starting point to discover some bricks, then build them into a red button. Step onto the button to ride up a lift.
Character Token 1: Ben Sharples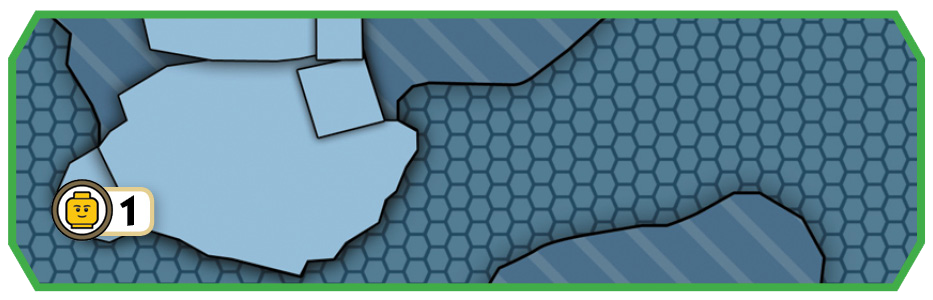 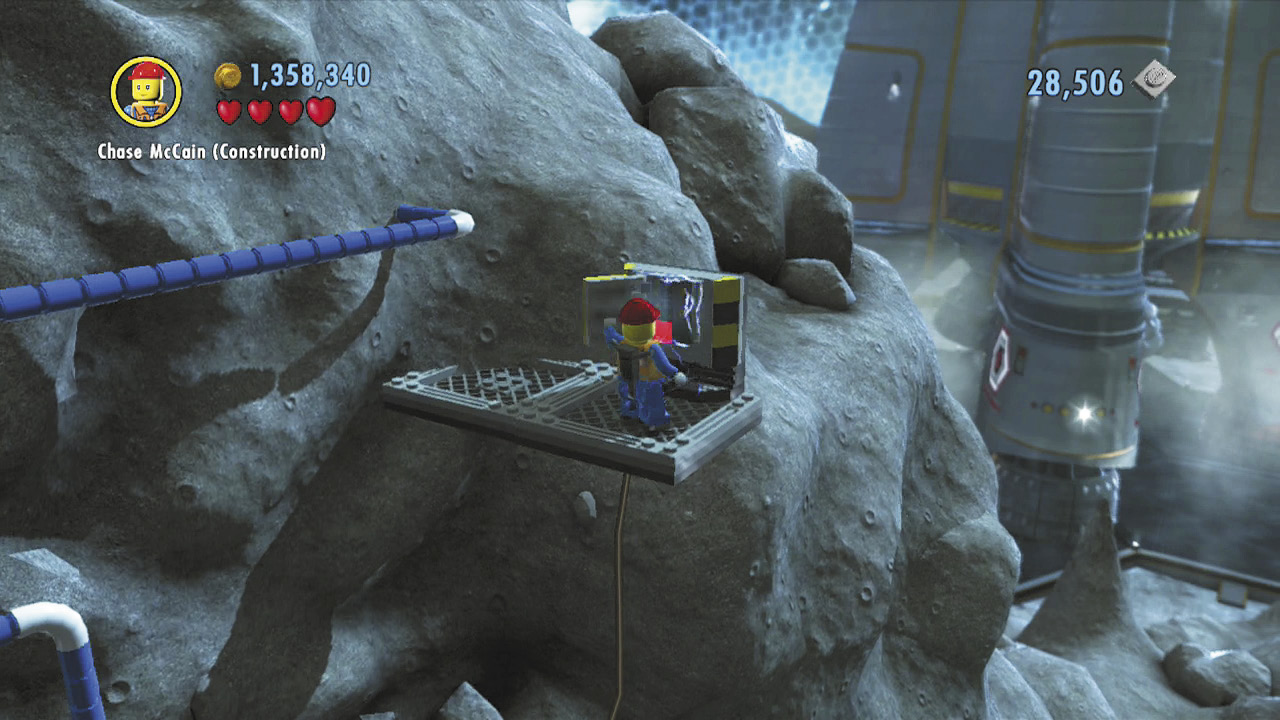 After riding up the lift, climb a blue pipe to reach a fuse box. Fix the fuse box to supply power to the color swapper below. 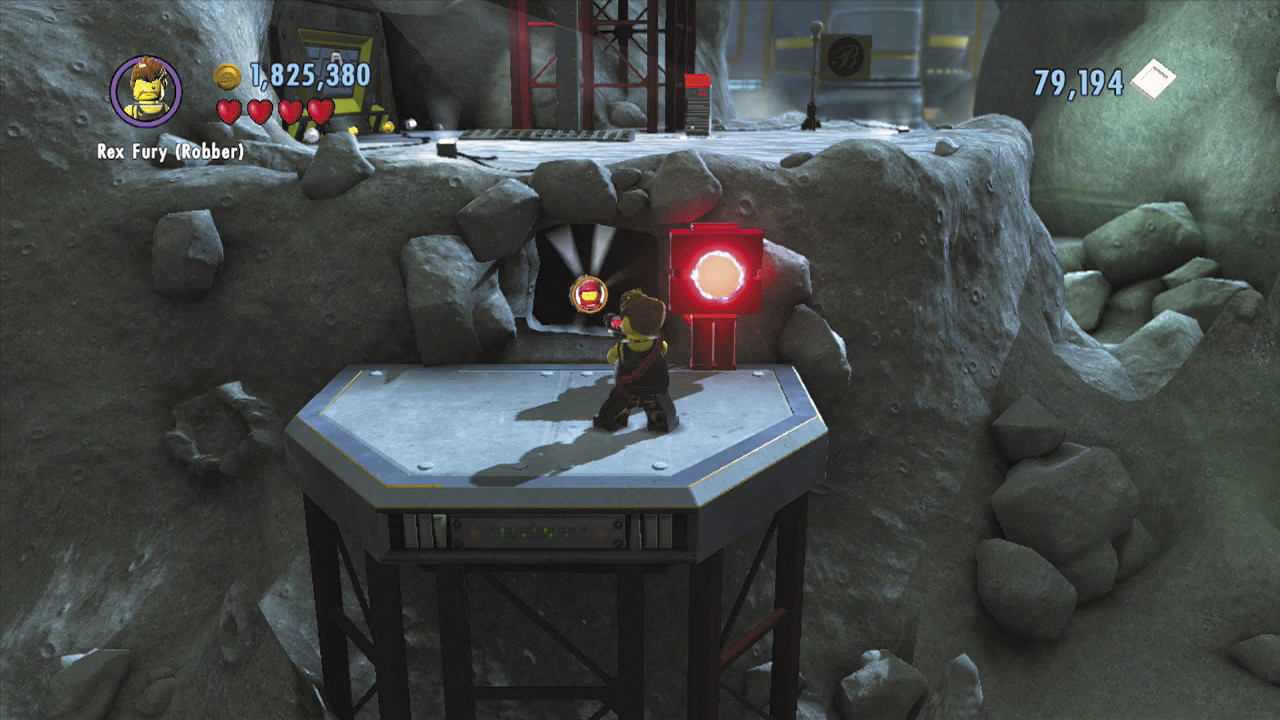 Use the color swapper to obtain some red energy, then drop back down to the starting point. Run to the foreground and drop off the edge to land on a small ledge below. Blast the green switch down here to shut off the nearby security lasers that guard a character token. |
Police Shield Piece 1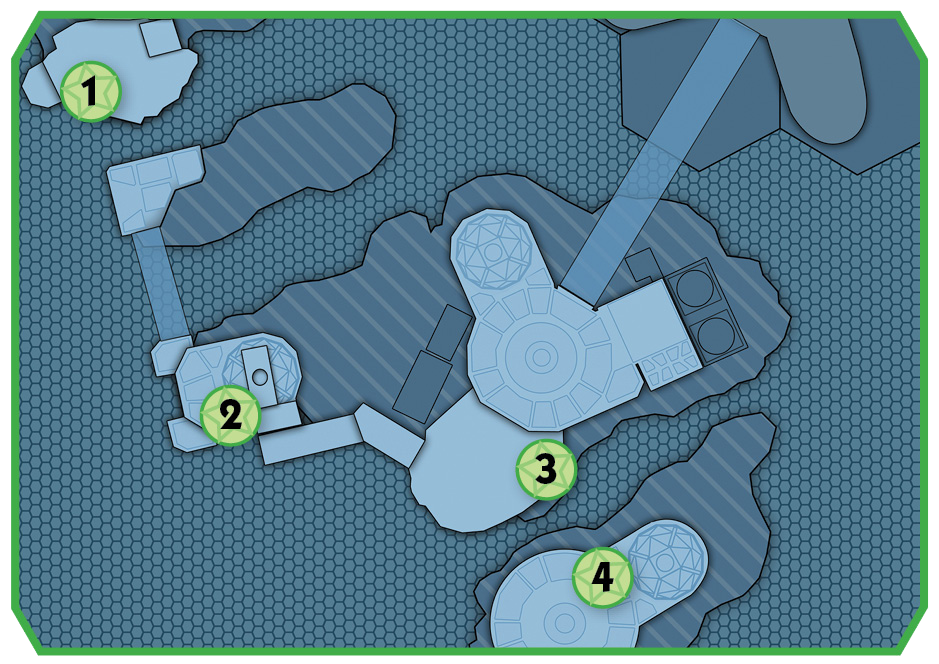 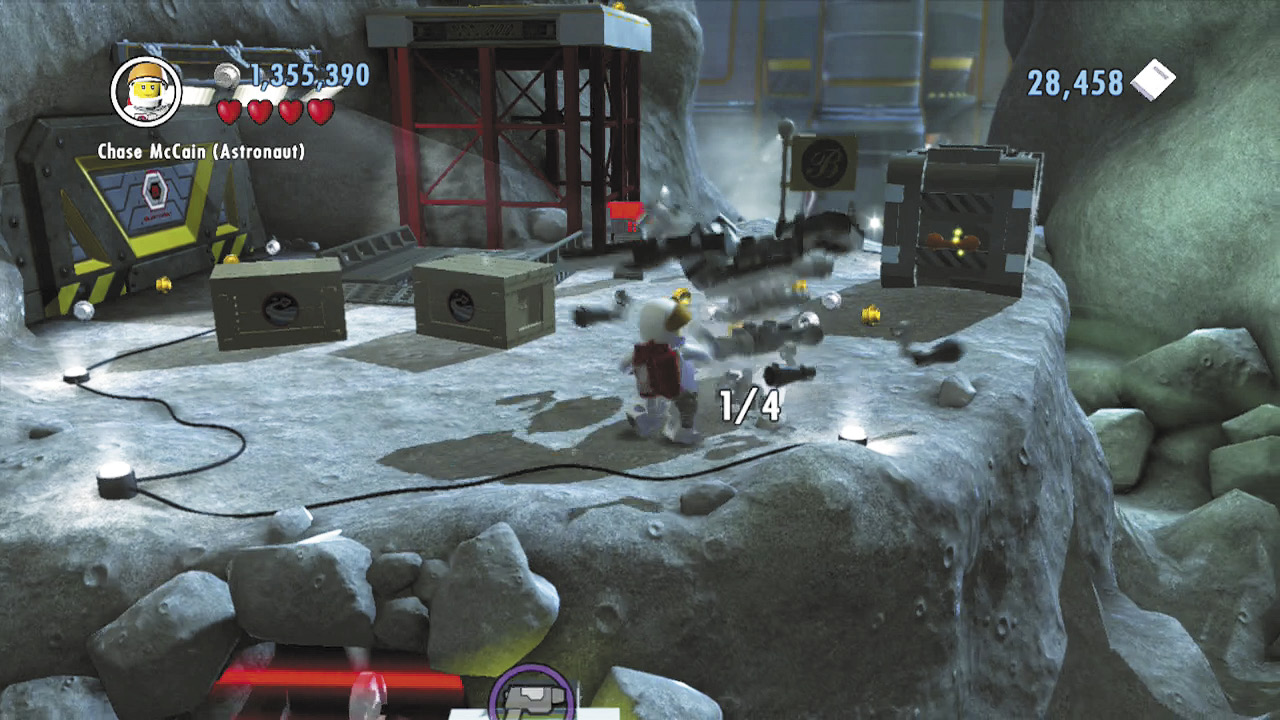 Smash four space probes around the base’s exterior to detect a shield piece! See the maps for the probes’ locations. |
Free PlayPolice Shield Piece 2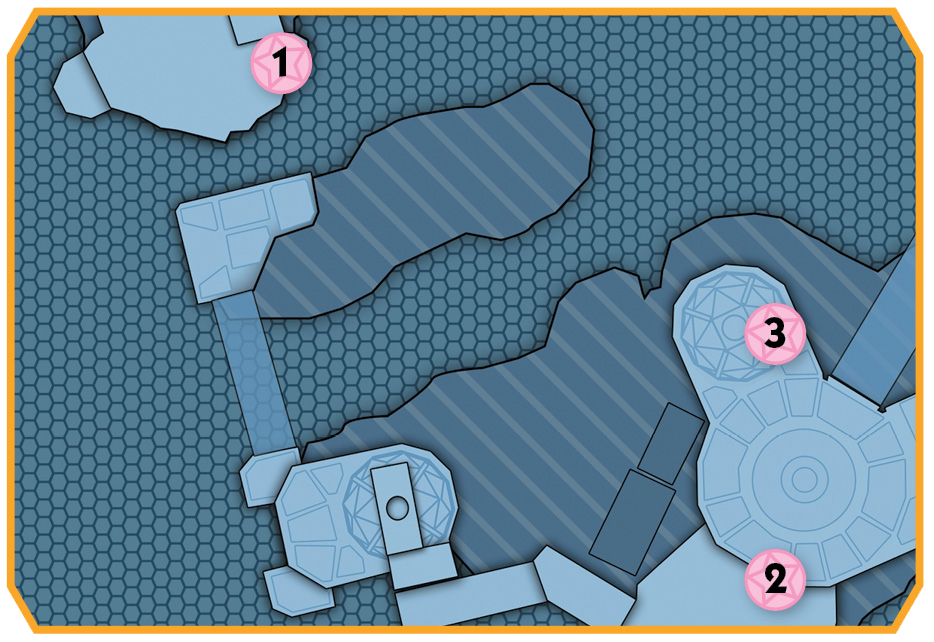 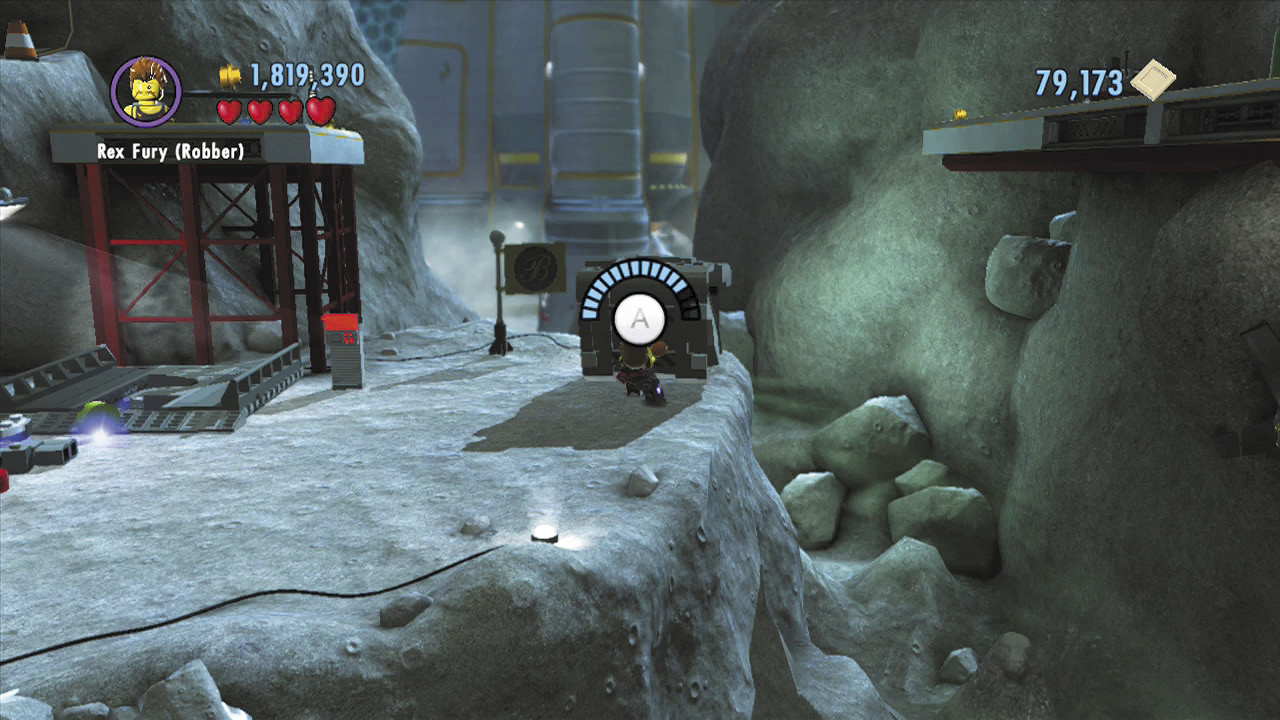 During Free Play, use Rex Fury to rip apart three super-strength crates around the moon base. These feats of strength will score you a shield piece! Check the maps to see where the three strength crates stand. |
Gaps and Goons
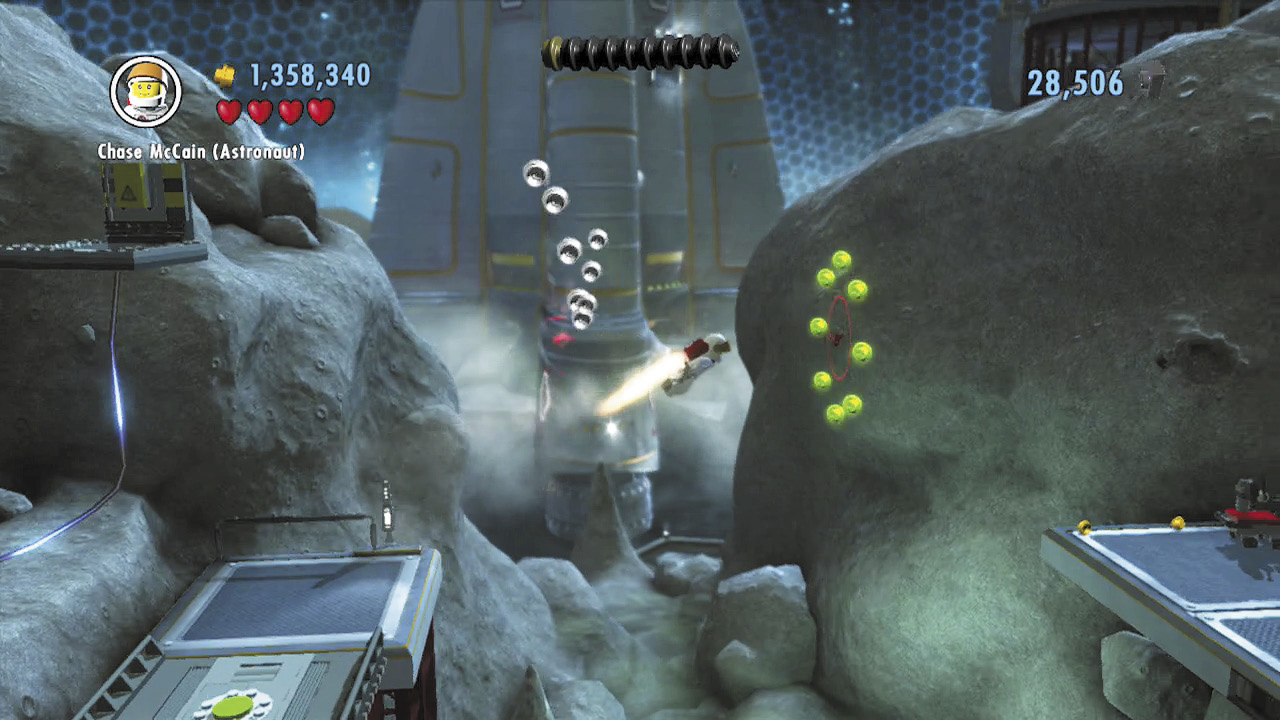
The lift hoists you up to a platform. Activate the jet pack symbol here, then boost through the stud rings to reach another platform.
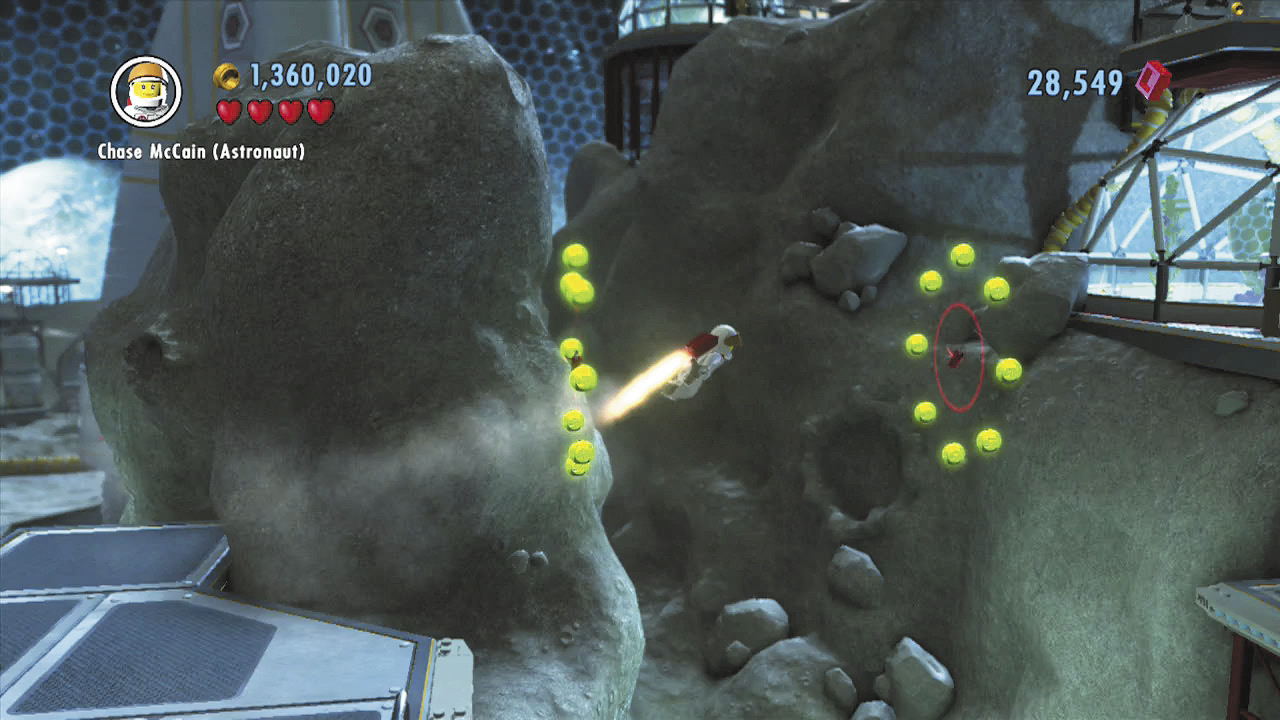
Beat up the astronaut goons who try to stop you, then activate another jet pack symbol and boost to the next platform on the right.
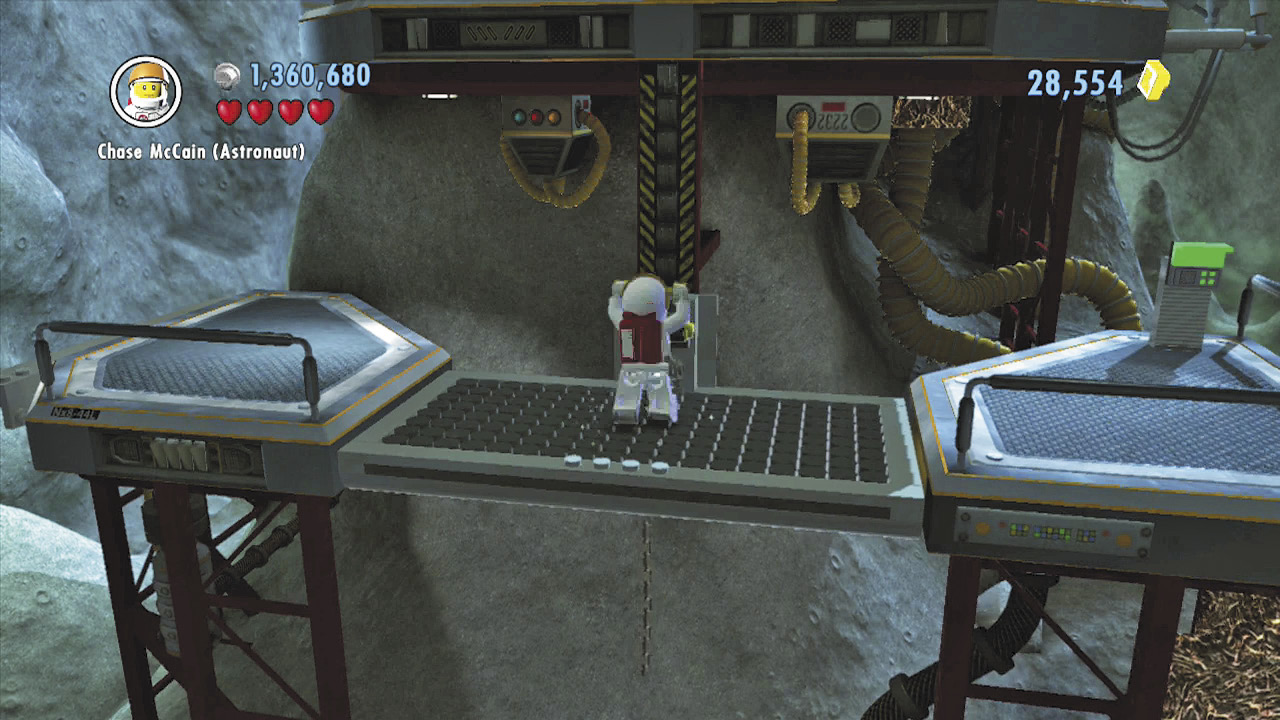
Swing from a chain to reach the next platform. Use a control panel over here to lower a lift. Step onto the lift and pull the lever to ride up to the platform above.
Dome Damage
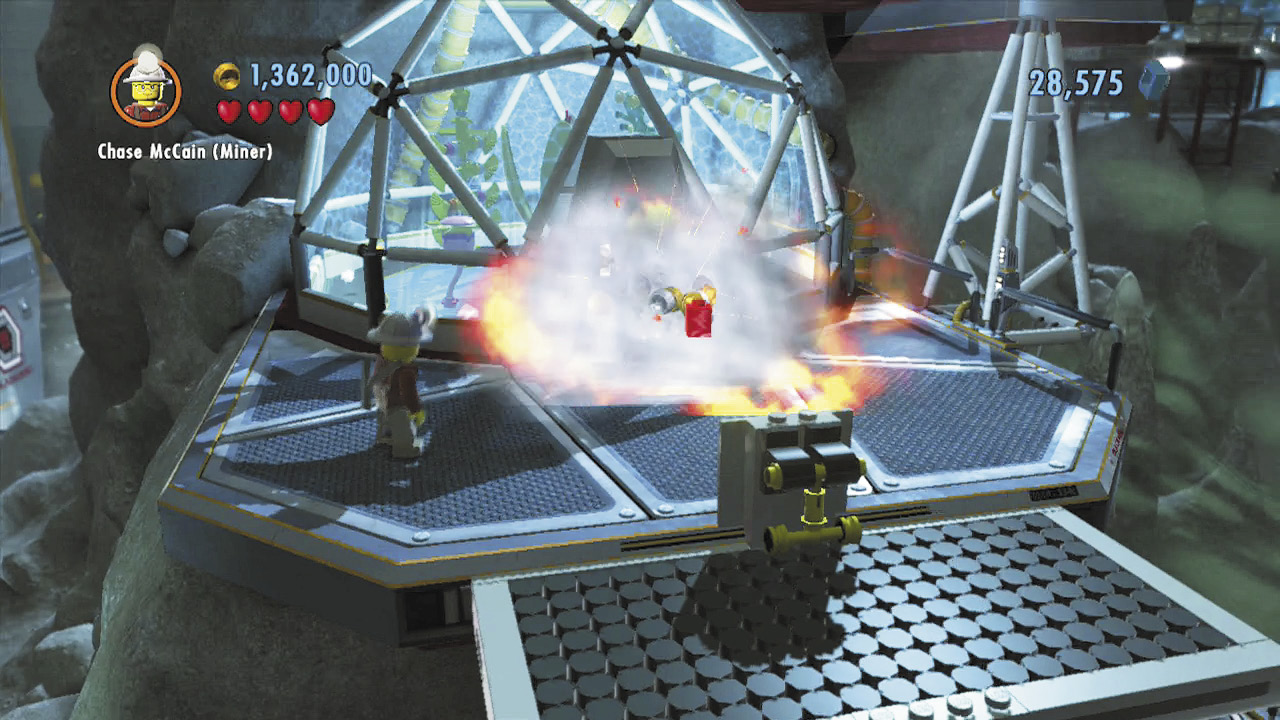
Smash the crates on the higher platform to discover some dynamite. Use this to blast the nearby silver door so you may enter the hydroponic dome.
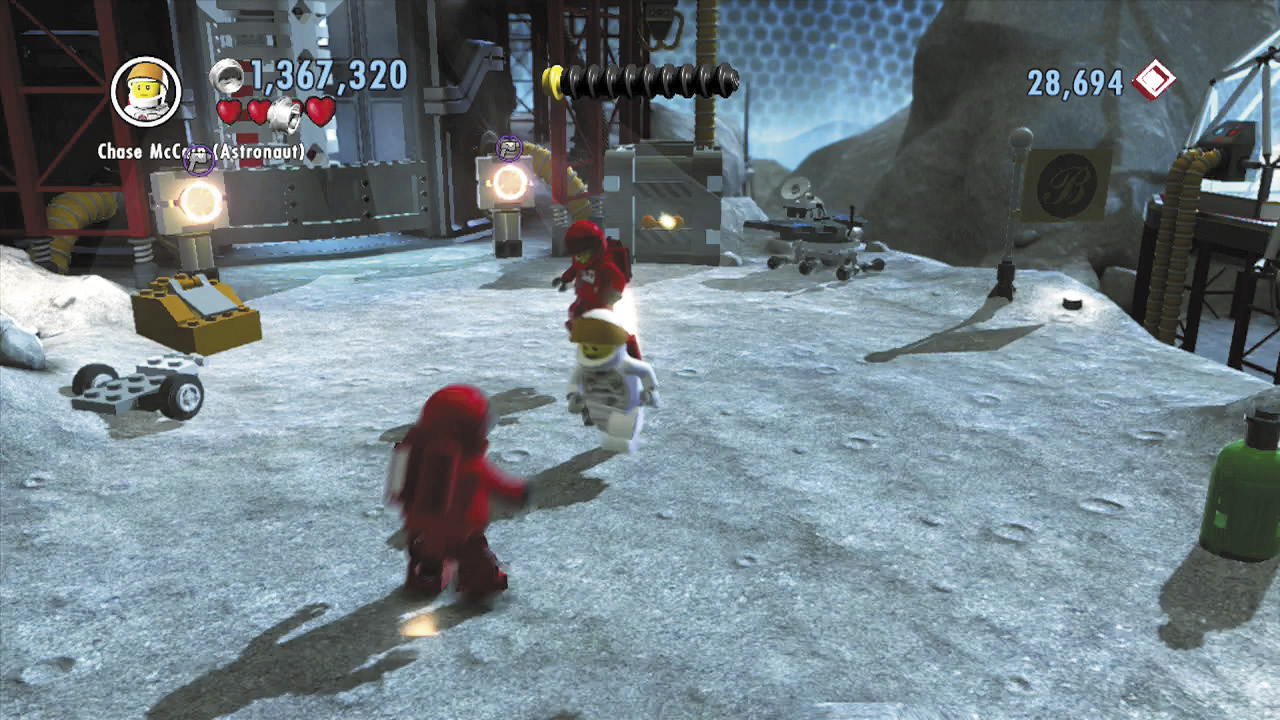
Smash the plants inside the dome to uncover some shaky flooring. Use the construction worker’s pneumatic drill to tear up the floor and cause a water geyser to froth up. Use the geyser to reach a higher platform.
Elevator Activator
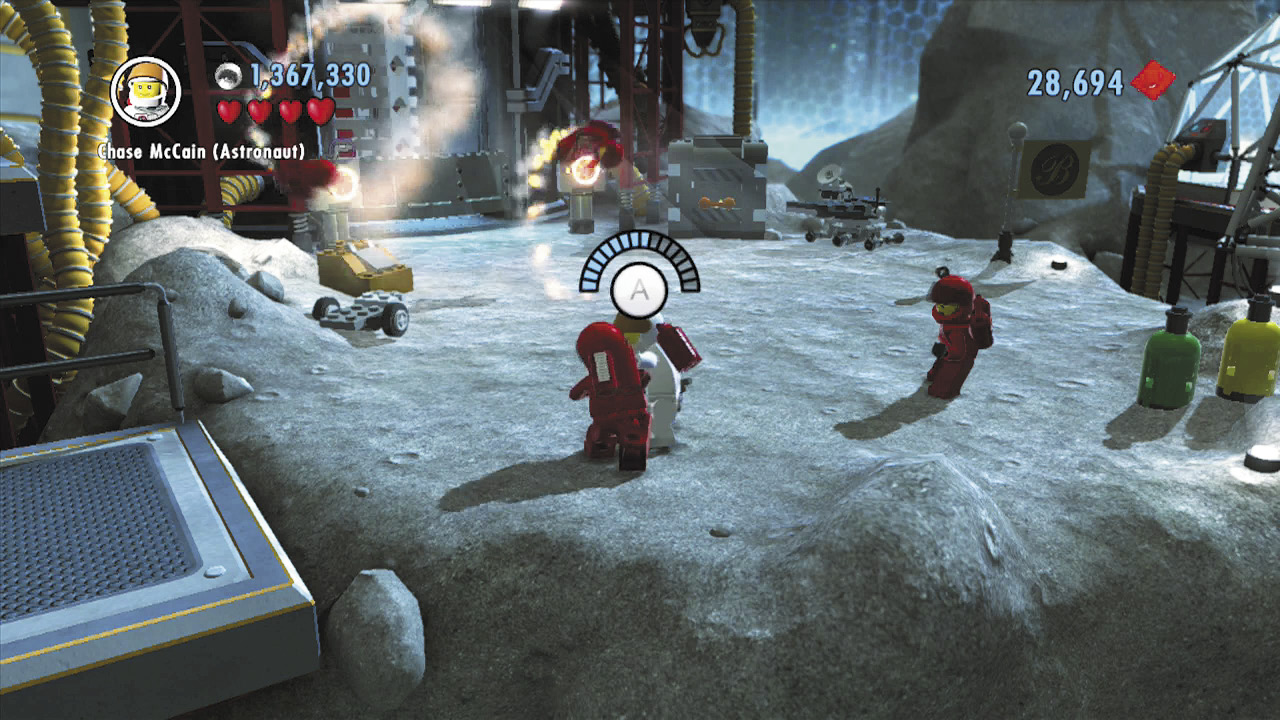
Run to the right until you reach an elevator that’s locked by a pair of red switches. Subdue the many astronaut goons who ambush you here, then boost over to the platform on the right.
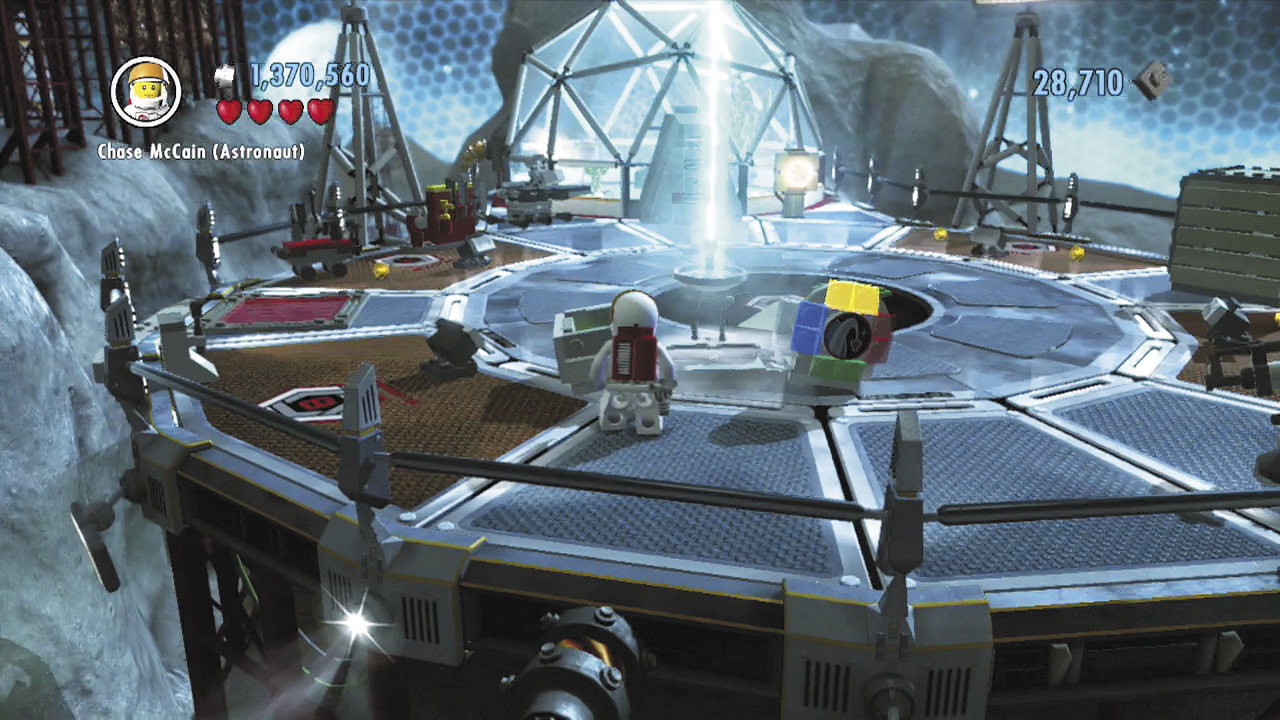
Smash the platform’s large crates to discover some bricks. One pile of bricks forms a space crate; the other forms a color swapper. Fill your color gun with green energy, and activate the space crate to beam in more bricks.
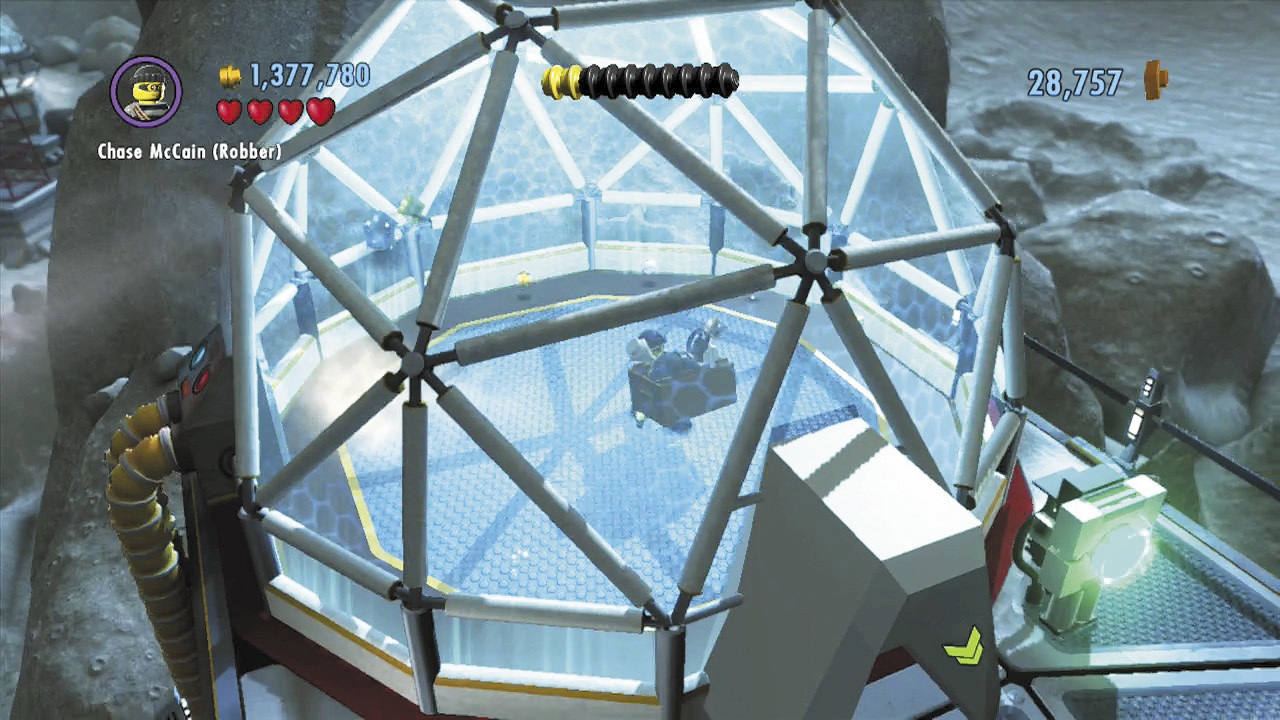
The bricks you beamed in aren’t bouncing, so you can’t build them just yet. Ignore them for the moment and blast the background dome’s red switch to open the dome’s door. Head inside and collect a box of bricks.
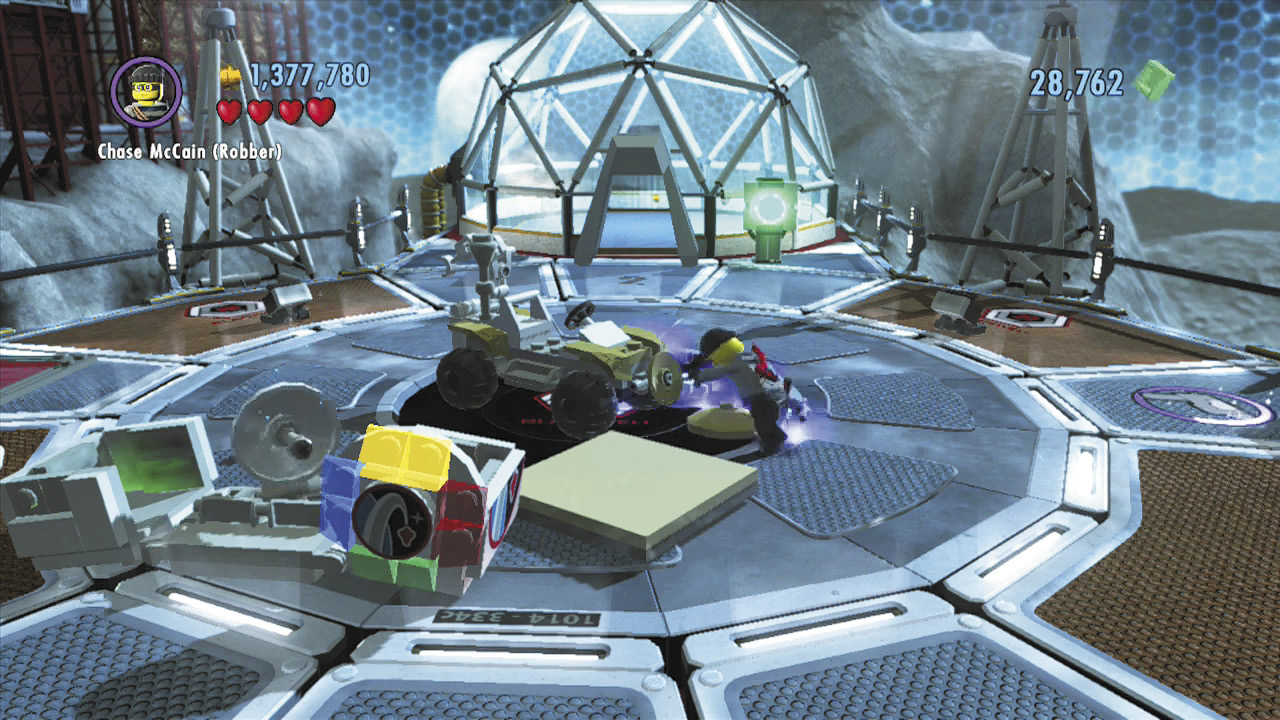
Bring the box over to the bricks that you recently beamed in via the space crate. Set the box down on the green pad—you’ll then be able to build all of the bricks into a moon buggy.
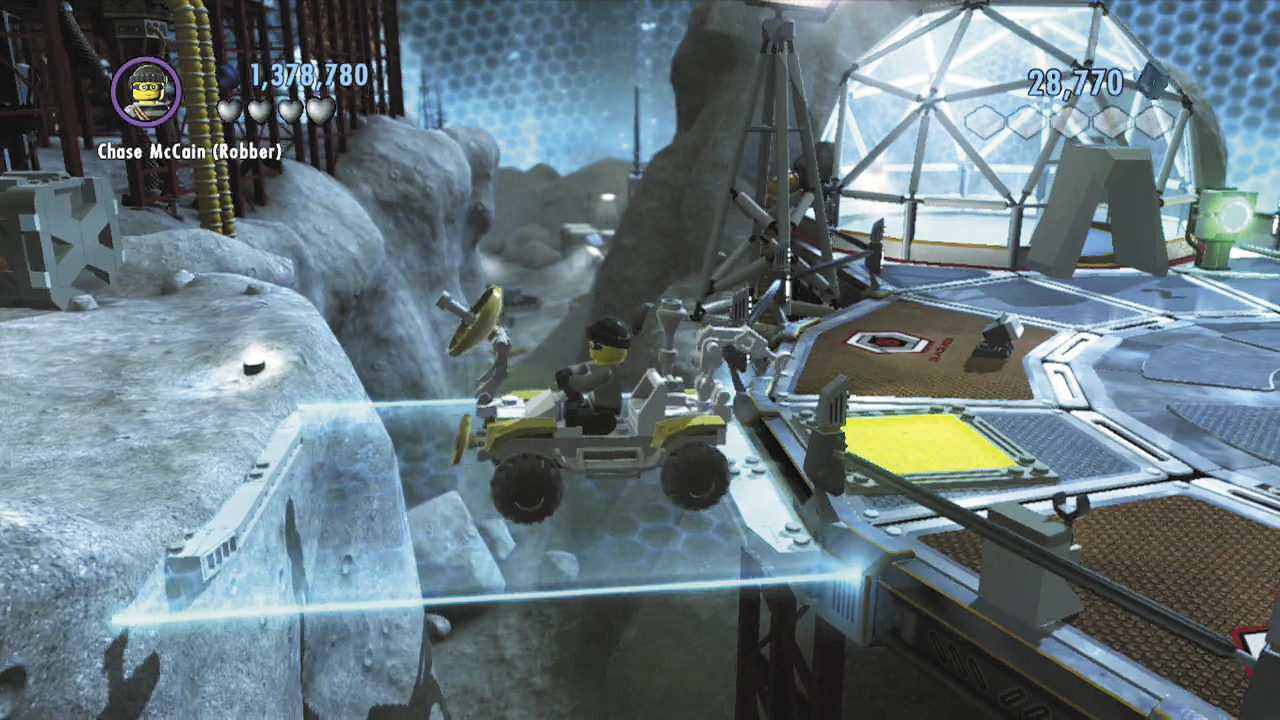
Carefully drive the moon buggy onto the large red button on the ground to the left, and an energy bridge will appear. Drive across the bridge to return to the elevator with the two red switches.
Hop out of the moon buggy and blast both red switches to access the elevator. Hop back into the moon buggy, then drive onto the elevator and ride up to the platform above.
Free PlayRed Brick: Studs x10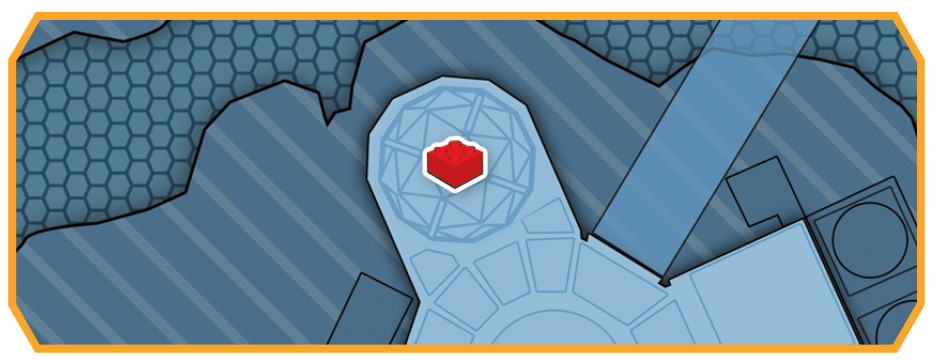 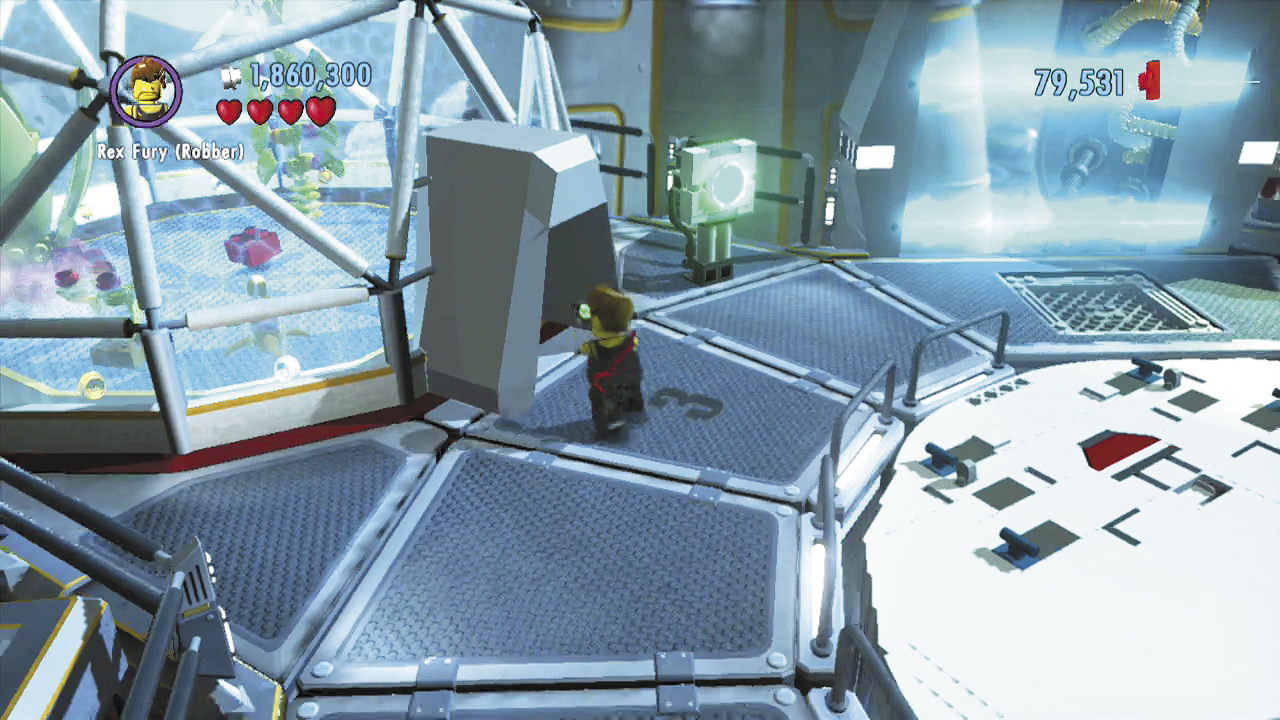 During Free Play, after you rip apart the final strength crate with Rex Fury as part of obtaining Police Shield Piece 2, you’ll uncover a red switch. Your color gun will already be loaded with green energy by this point, so simply blast the switch to open the nearby dome, where this stage’s red brick is located. |
Buggy Button
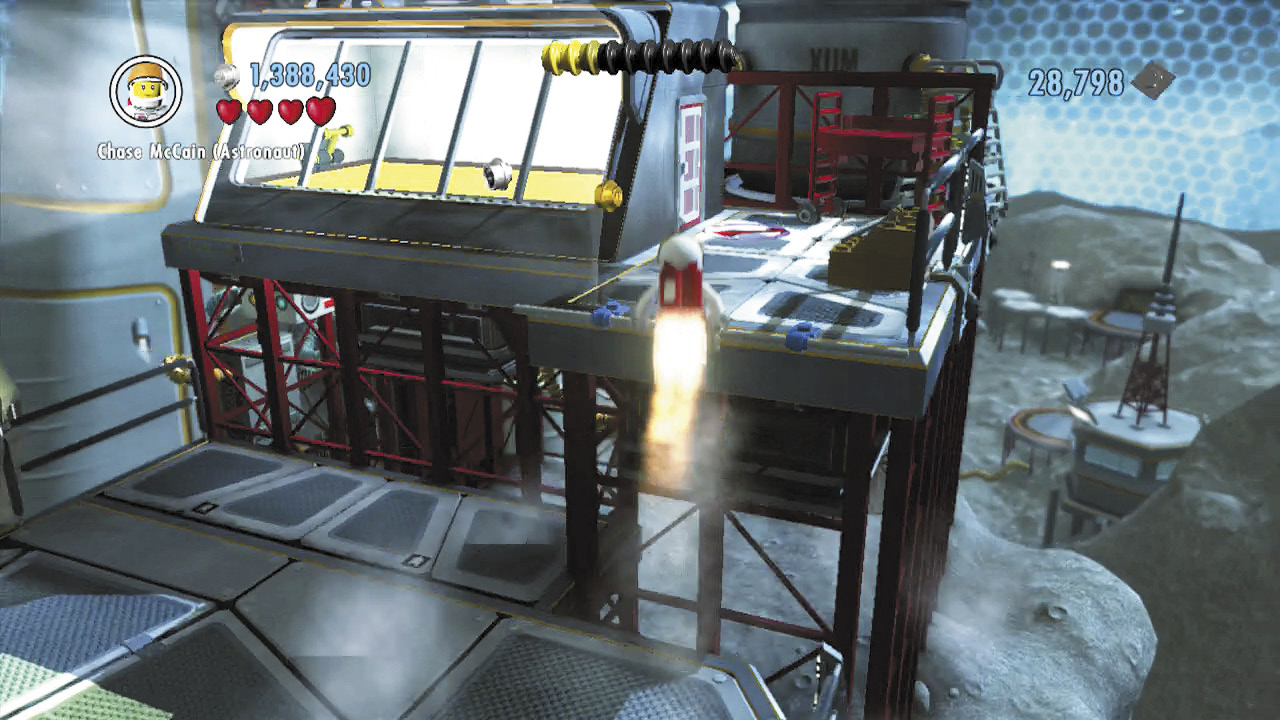
After riding up the elevator, jump off the moon buggy and run to the right. Jump up and grab a handhold, then climb to the platform above.
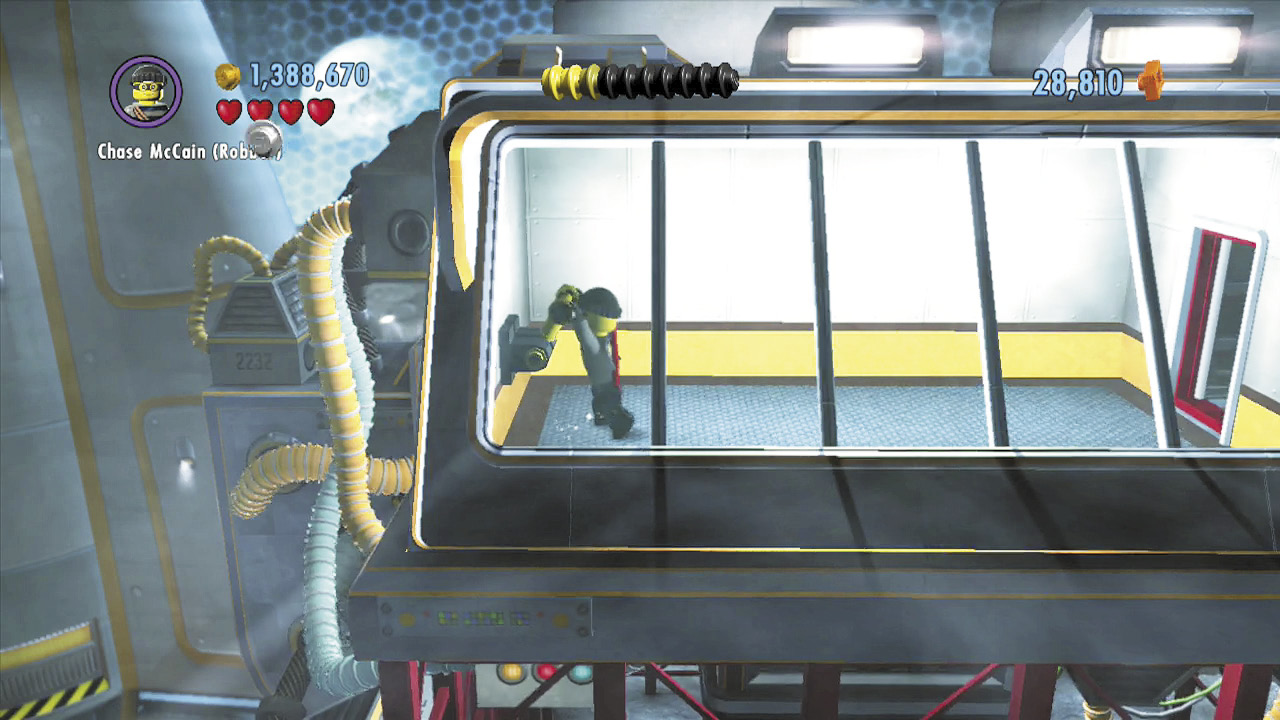
Pry open the nearby door and enter the small room beyond, which houses a lever. Pull the lever to make a large red button pop up from the ground back near the elevator.
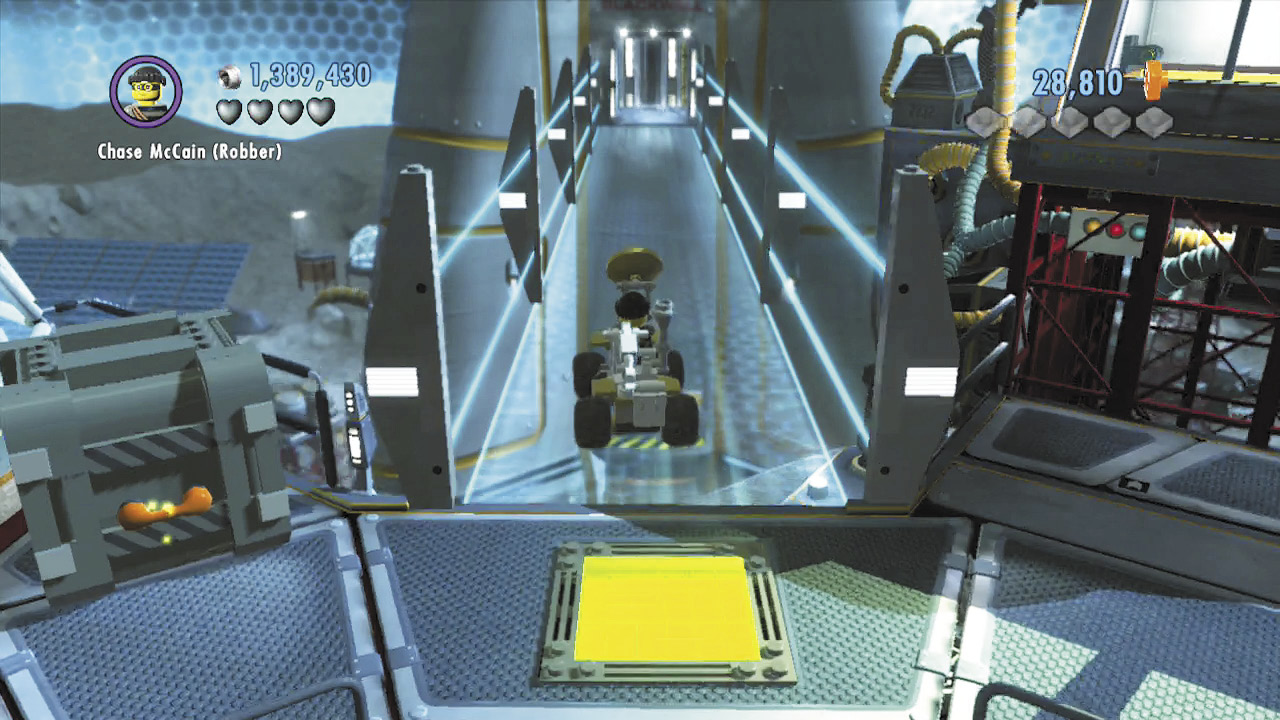
Return to the moon buggy and drive onto the red button to turn it green. This extends an energy bridge into the background, all the way toward Blackwell’s rocket. Speed down the bridge and enter the rocket. Natalia must be in there somewhere!
Objective: Find Rex Fury
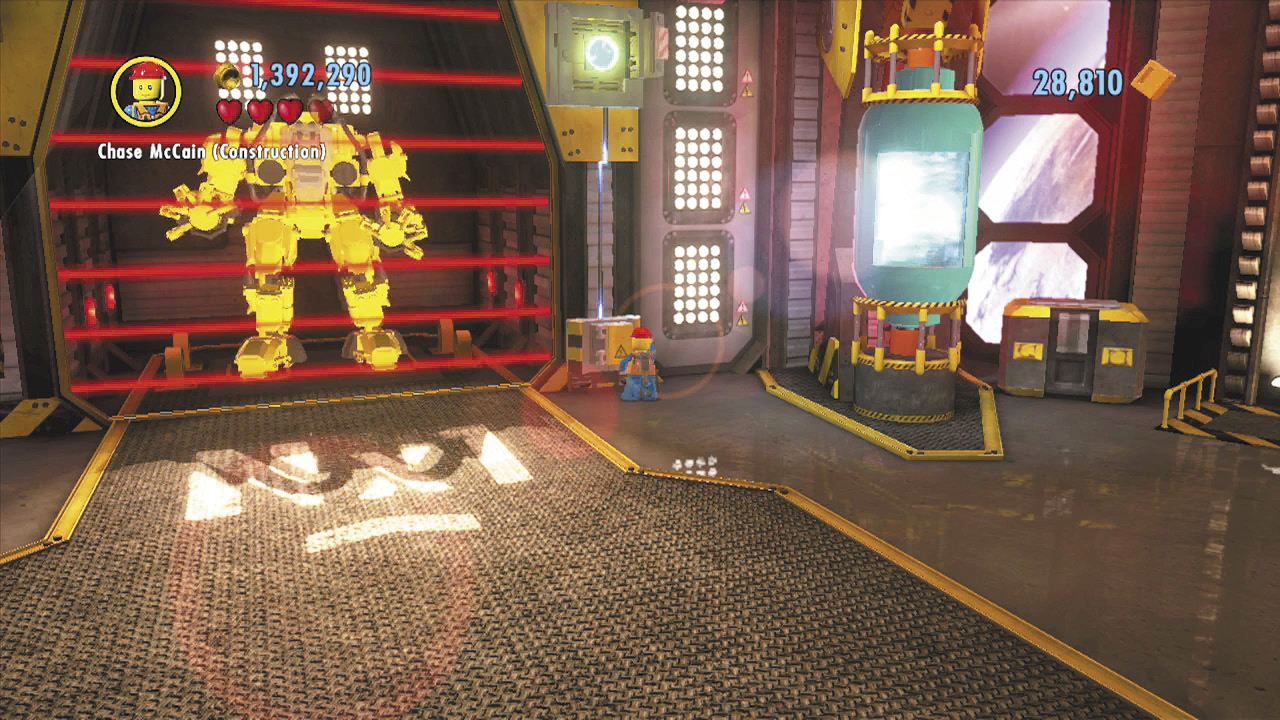
Chase finds himself in a large loading bay inside Blackwell’s rocket. Run to the left and hammer a fuse box to supply power to the green switch on the wall above.
Police Shield Piece 3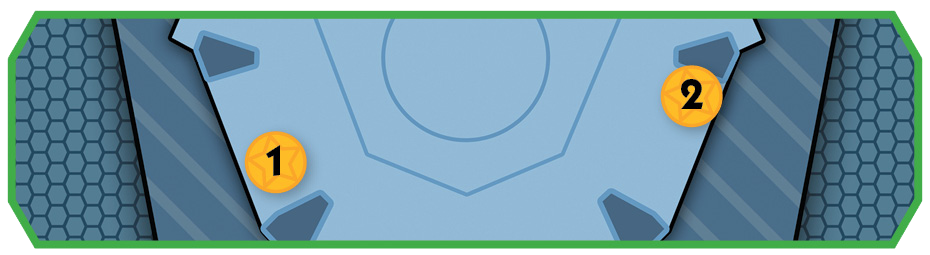 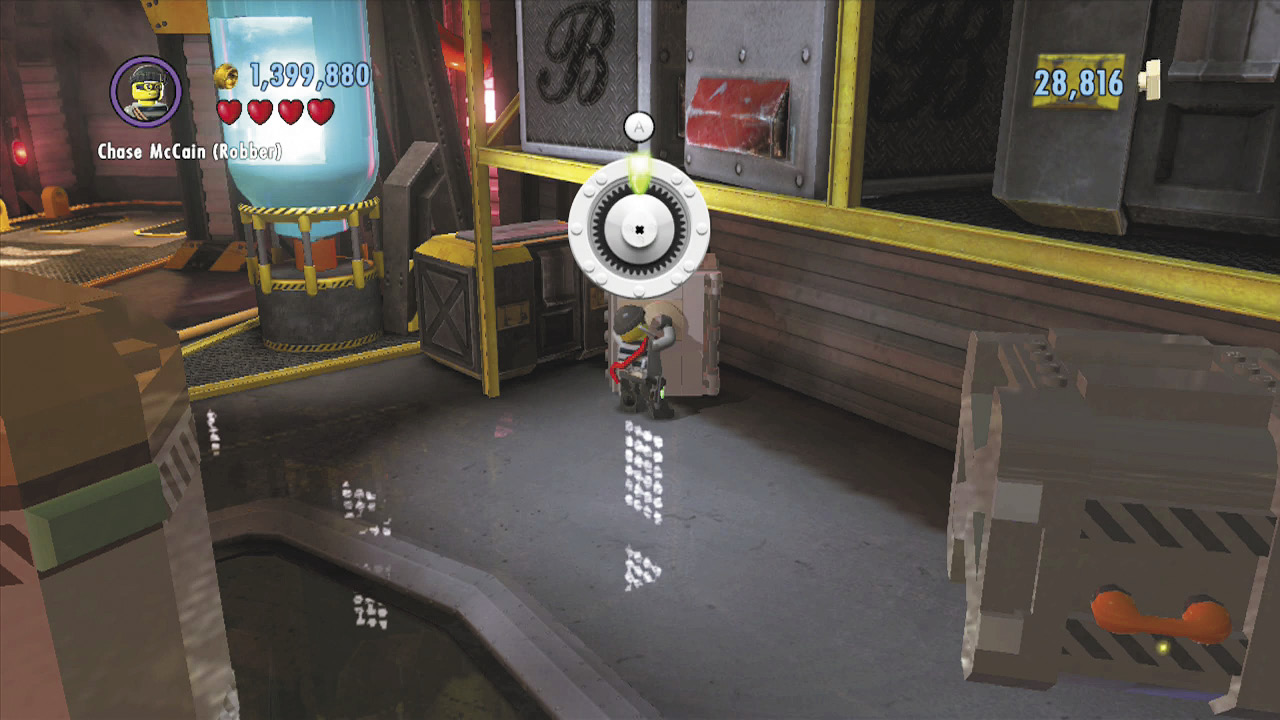 Crack two standing safes in the loading bay to pilfer a shield piece! Check the maps to see where the two safes stand. |
Free PlayVehicle Token 1: Payload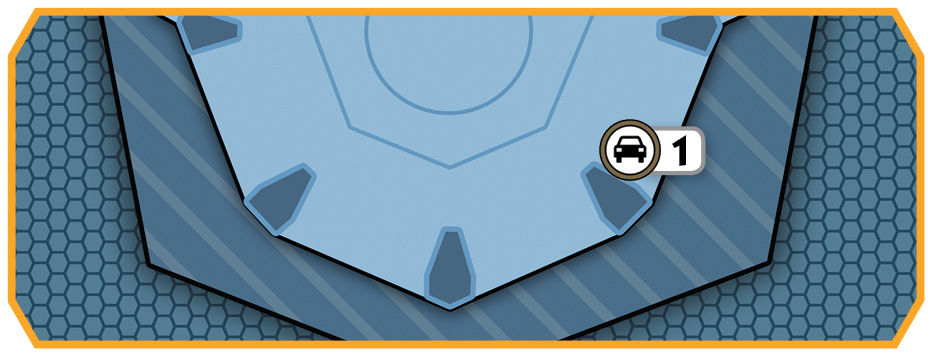 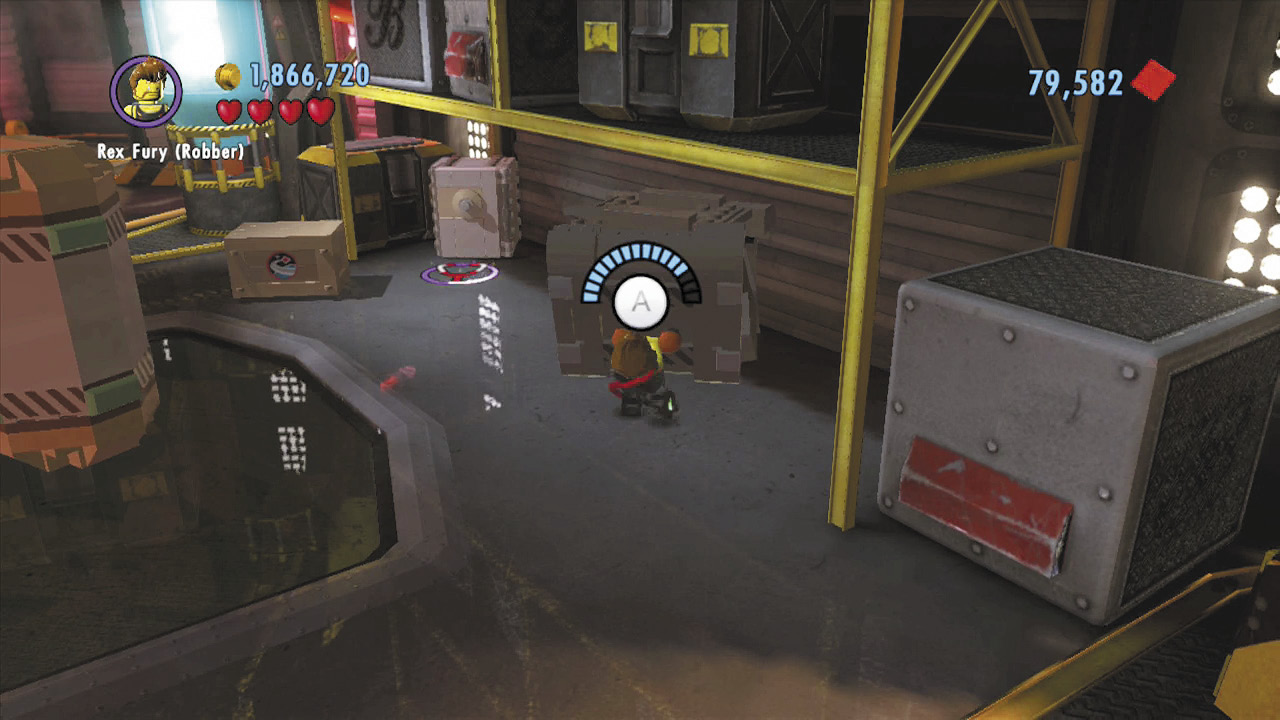 During Free Play, use Rex Fury to rip apart the super-strength crate in the loading bay’s right foreground corner. You’ll discover a vehicle token! |
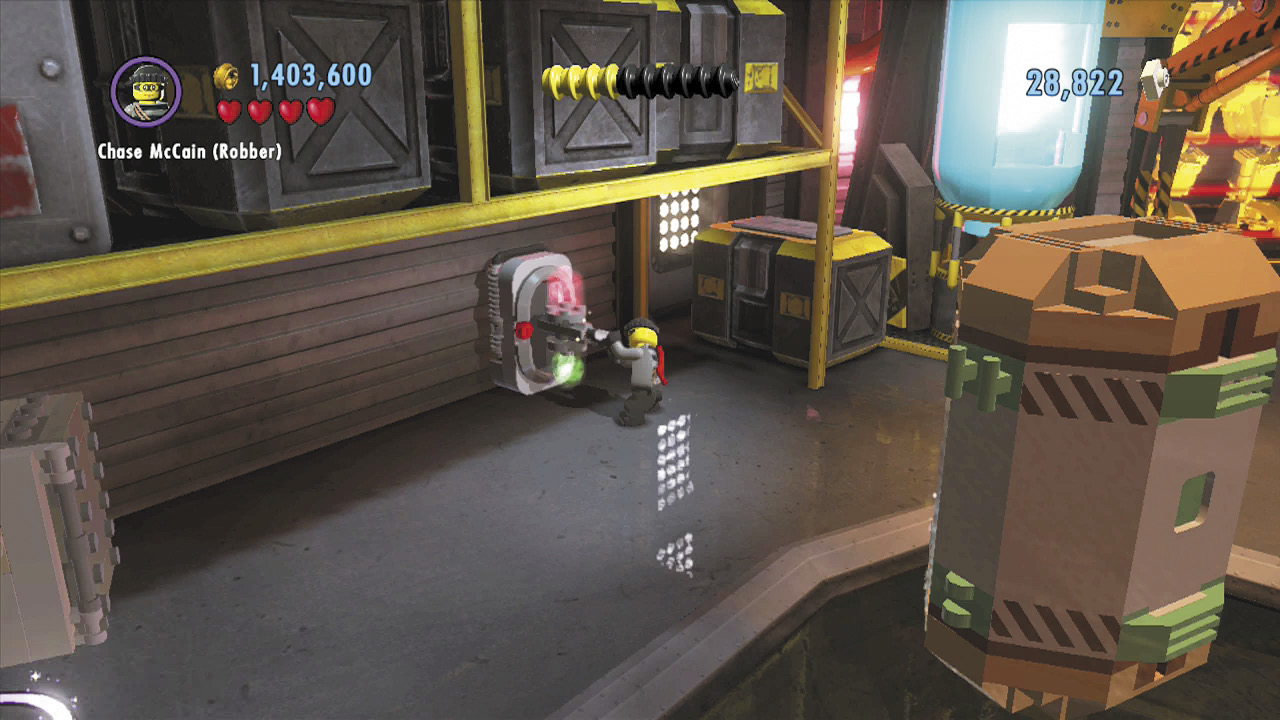
Head to the warehouse’s left side and smash a crate to expose a color swapper. Fill your color gun with red energy.
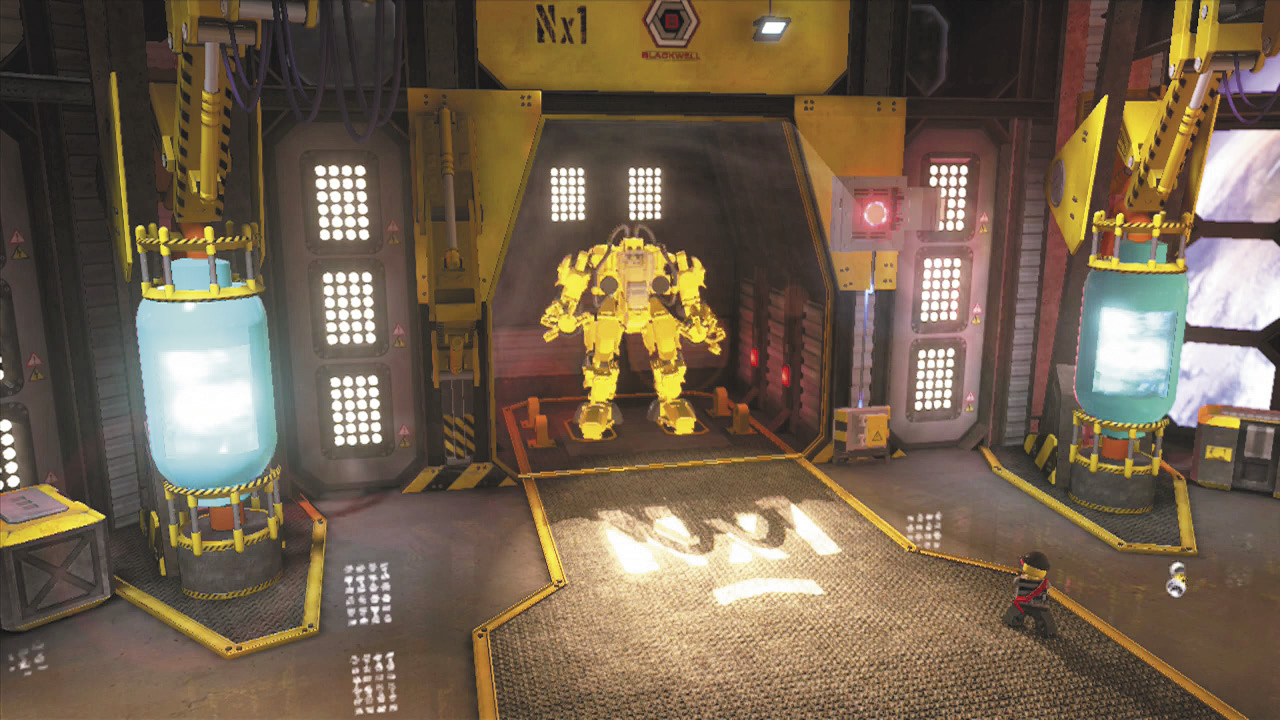
Return to the green switch and blast it to shut off the nearby security lasers. Approach the giant robot in the nook beyond the lasers and press  to jump into the pilot’s seat.
Heavy Metal
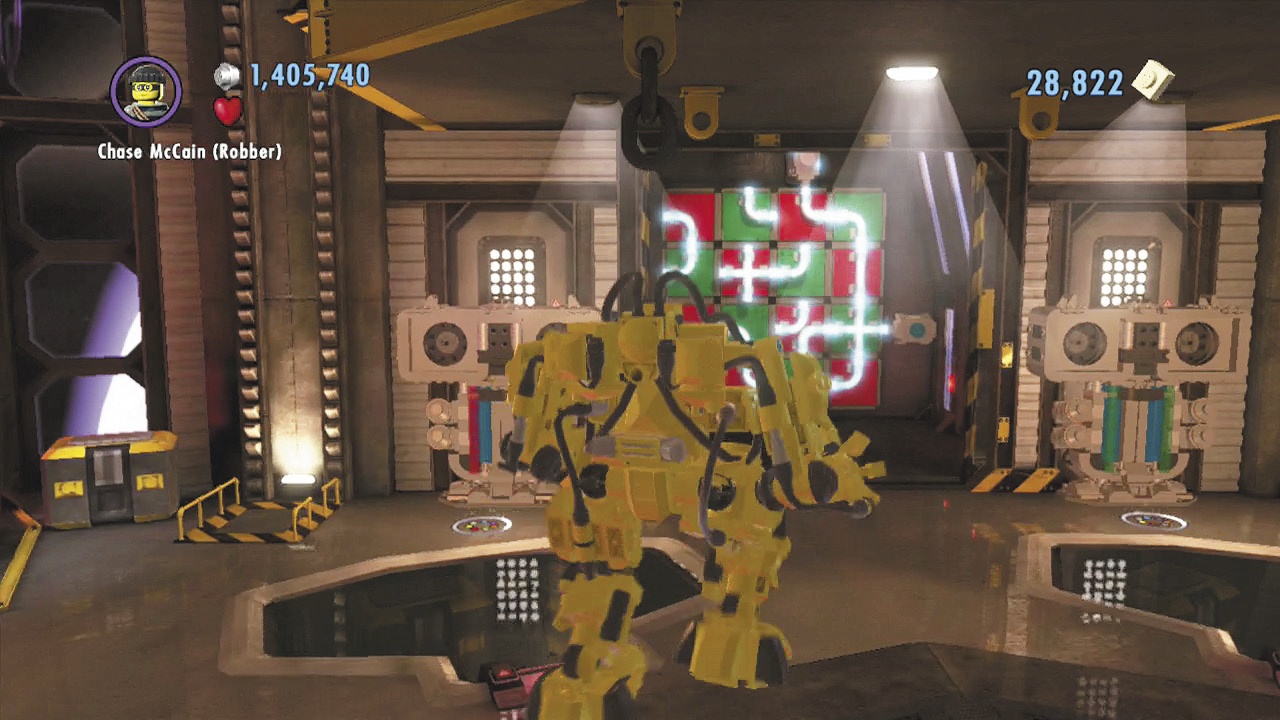
Cool, your very own robot! Stomp over to the background control panels and press  to make your robot take control of either one.
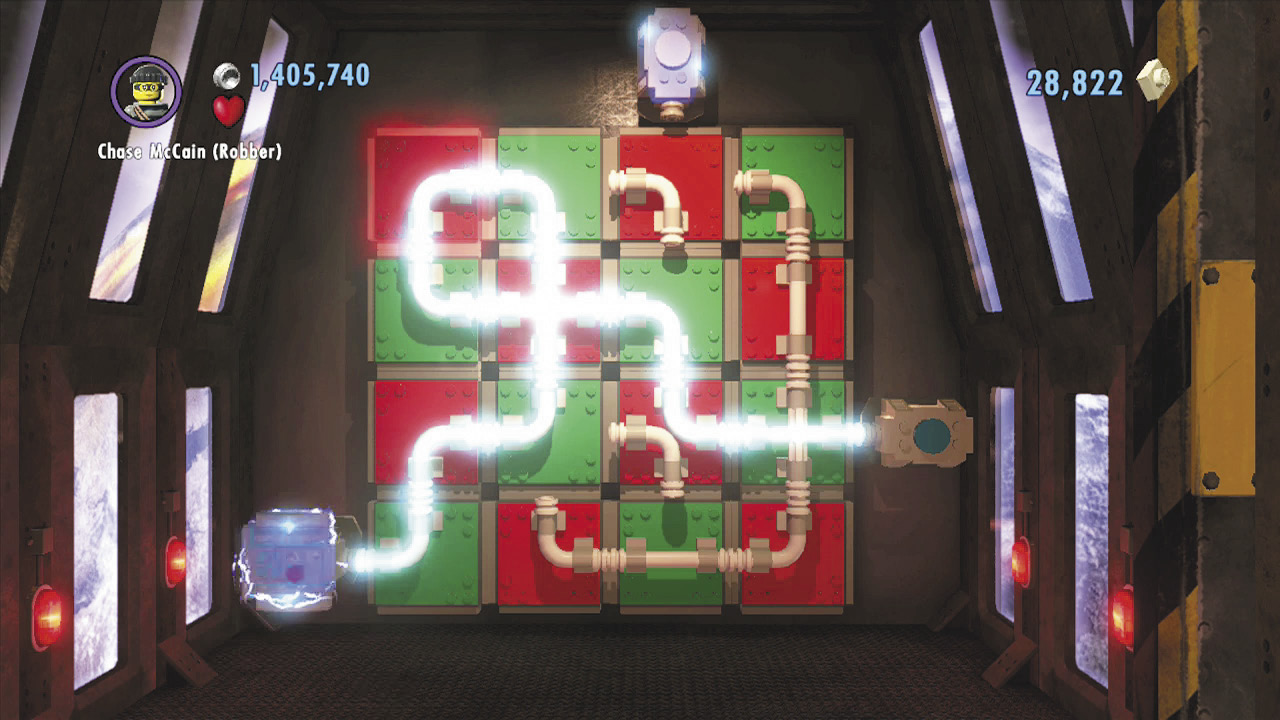
When you use the control panels, your view changes to show a network of pipes running across green and red tiles. Depending on the control panel you’re using, you’ll be able to rotate either the red tiles or the green tiles. Your goal is to spin the tiles and connect the pipes so that the flow of energy is sent to the conduit on the right, as shown.
Objective: Defeat Rex Fury
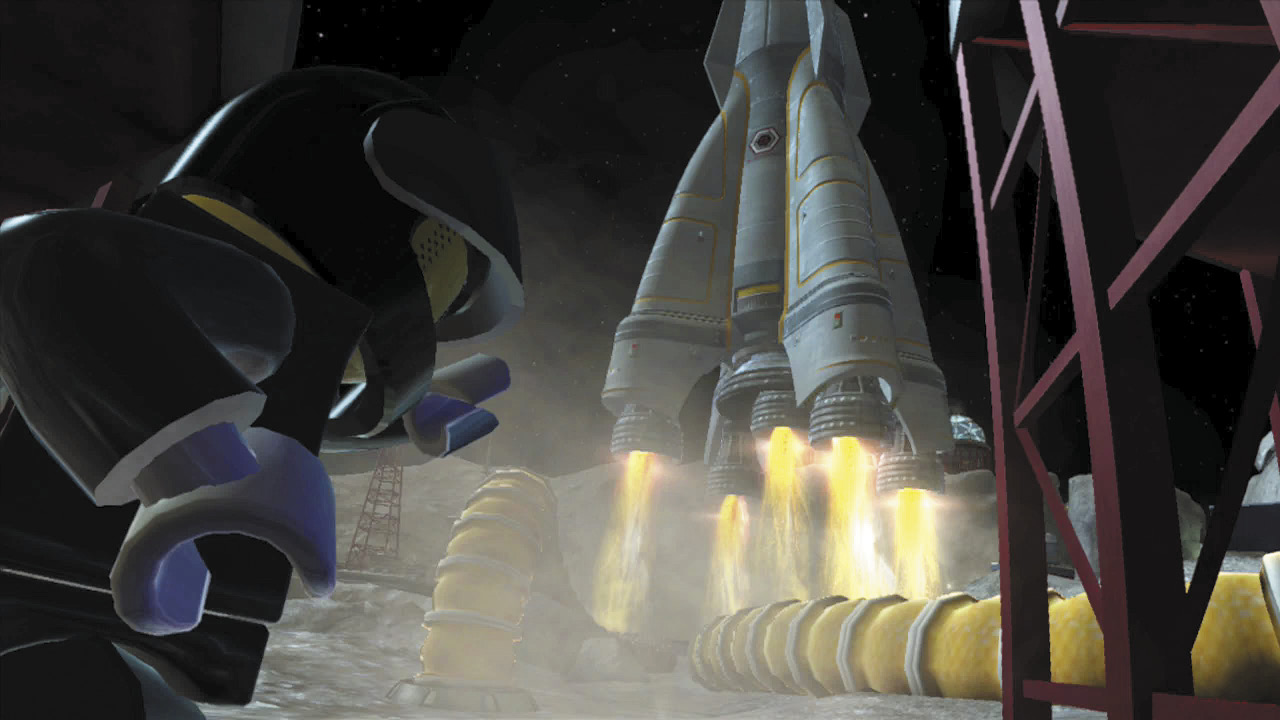
Reconfiguring the flow of energy causes Blackwell’s rocket to blast off. Its new destination: LEGO City!
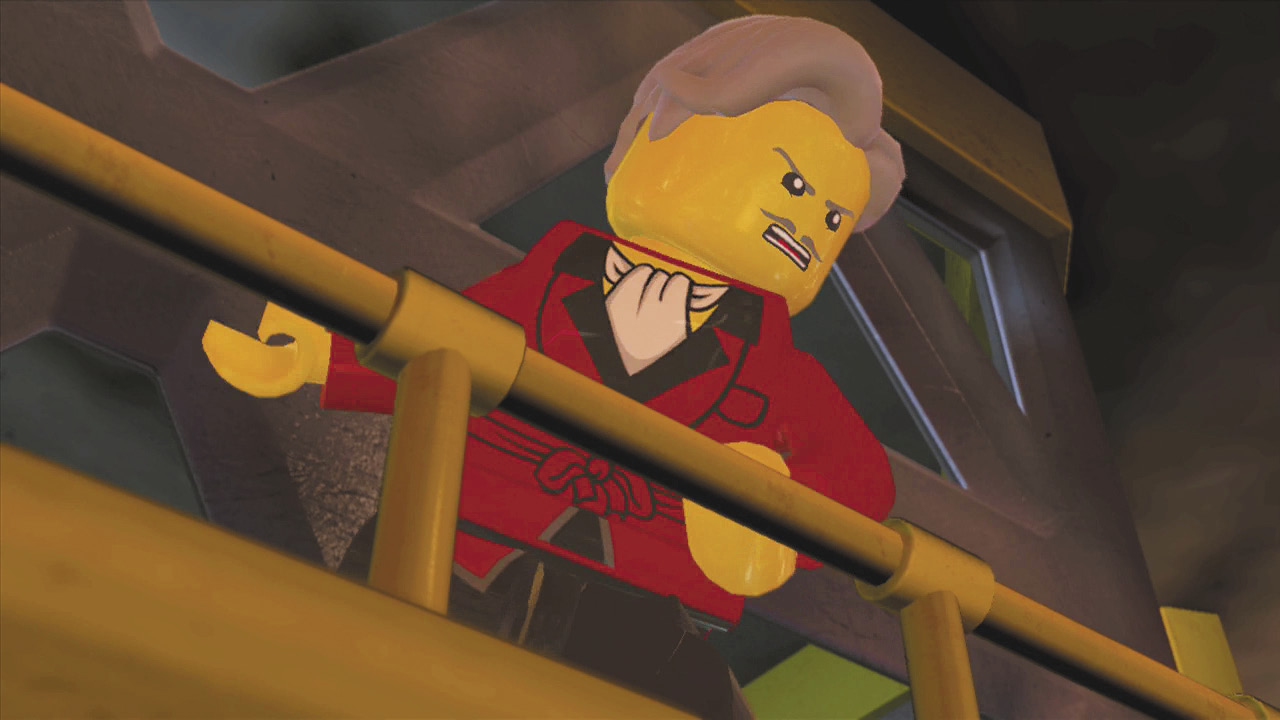
Naturally, Mr. Blackwell is not happy about Chase’s meddling. He wastes little time ordering Rex Fury to finish Chase off.
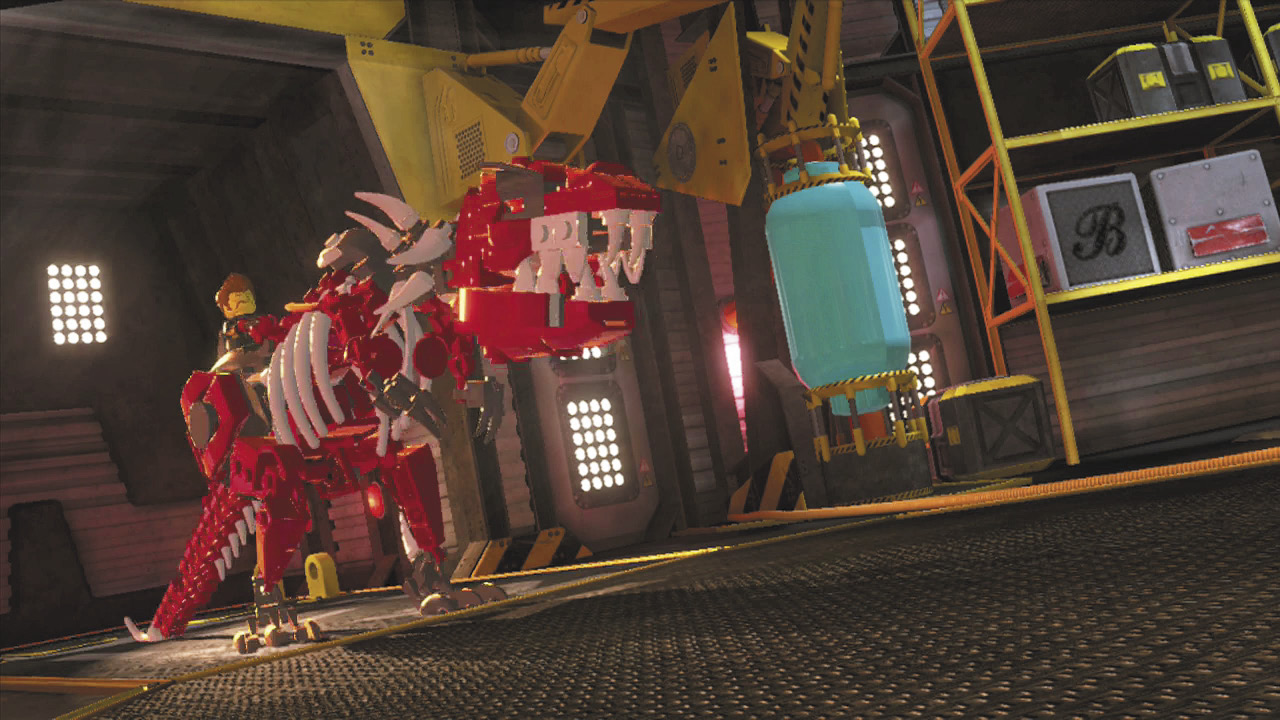
Rex arrives on cue, riding the giant mechanical T-Rex that Chase stole from the museum. Looks like it’s time for a robot showdown!
T-Wrecks
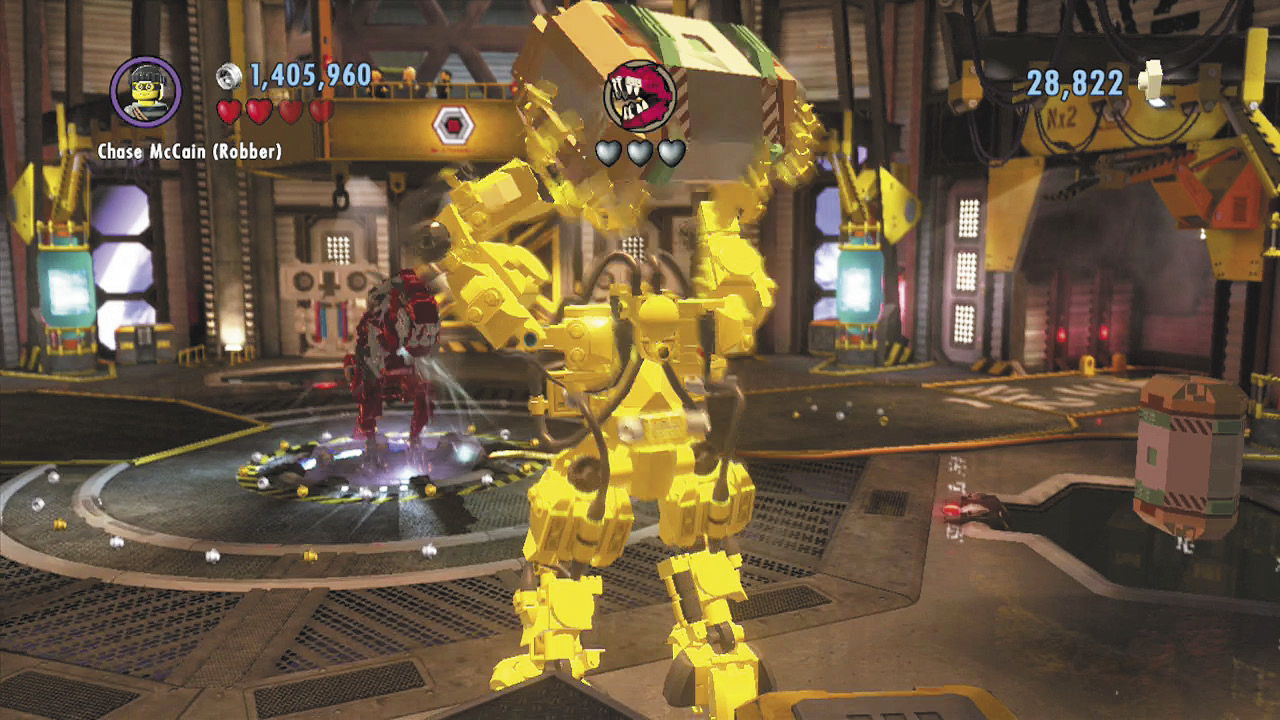
You know how dangerous that T-Rex can be, so waste no time stomping over and pressing  to pick up one of the loading bay’s giant metal barrels. While holding a barrel, aim at the T-Rex and press
  to hurl the barrel at it.
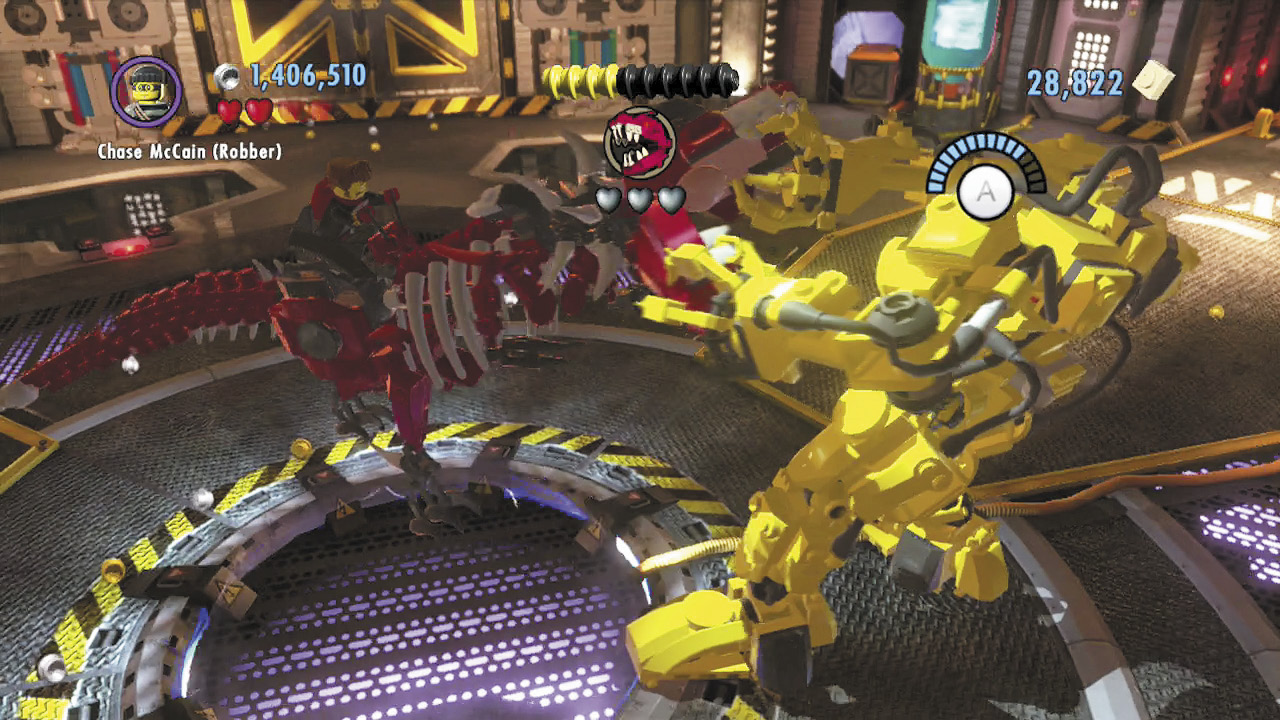
Nailing Fury’s T-Rex with a metal barrel stuns the monster for a brief moment. Hurry over to the T-Rex and press  to grab it. Keep tapping
  to overpower the T-Rex and knock it to the ground.
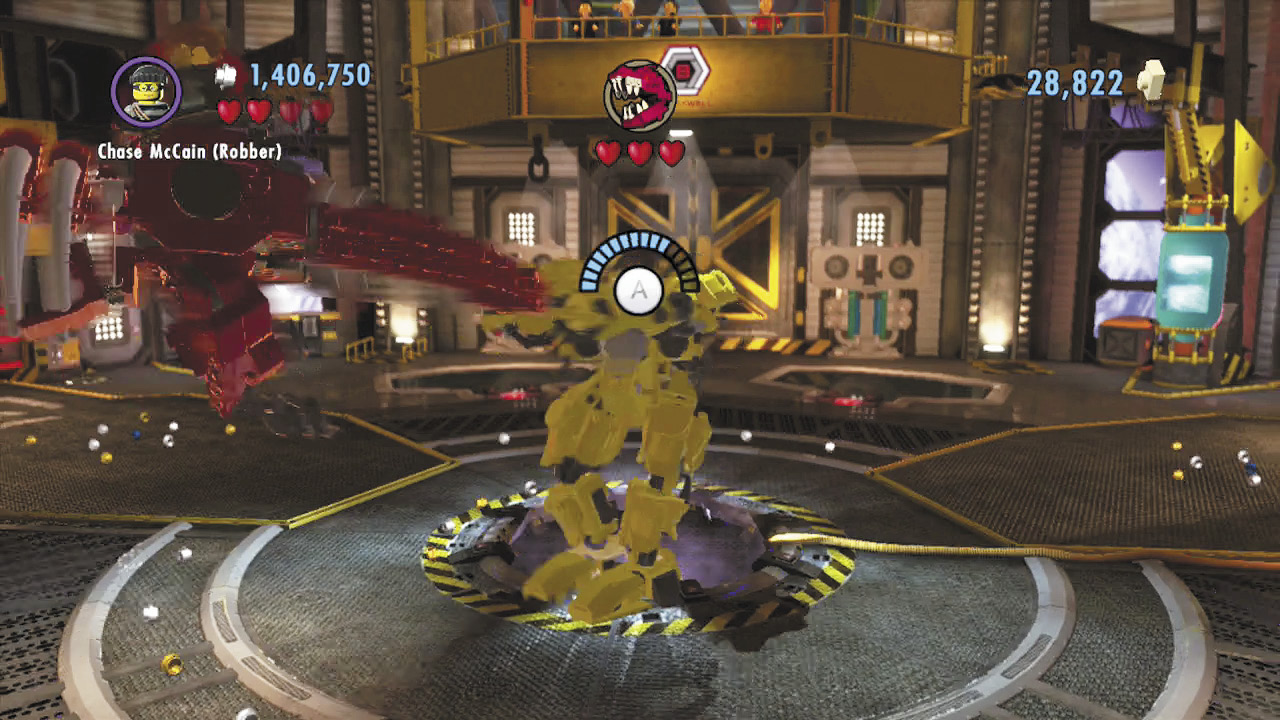
Now’s your chance! Hurry over to the action symbol that appears near the T-Rex while it’s down. Press  to pick up the T-Rex, then keep tapping
  to swing it around by its tail.
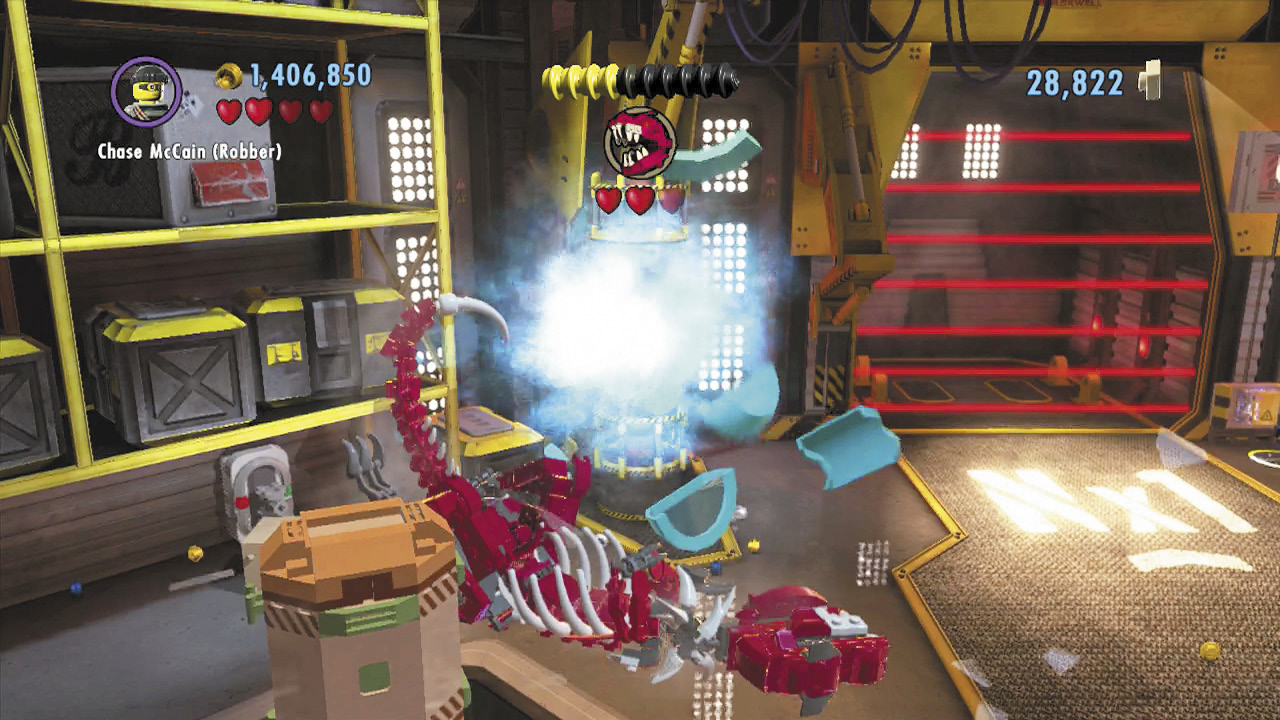
Chase throws the T-Rex into one of the energy tanks that line the loading bay’s walls. This damages Blackwell’s rocket, along with the T-Rex. Do this three times to destroy the T-Rex and advance the plot.
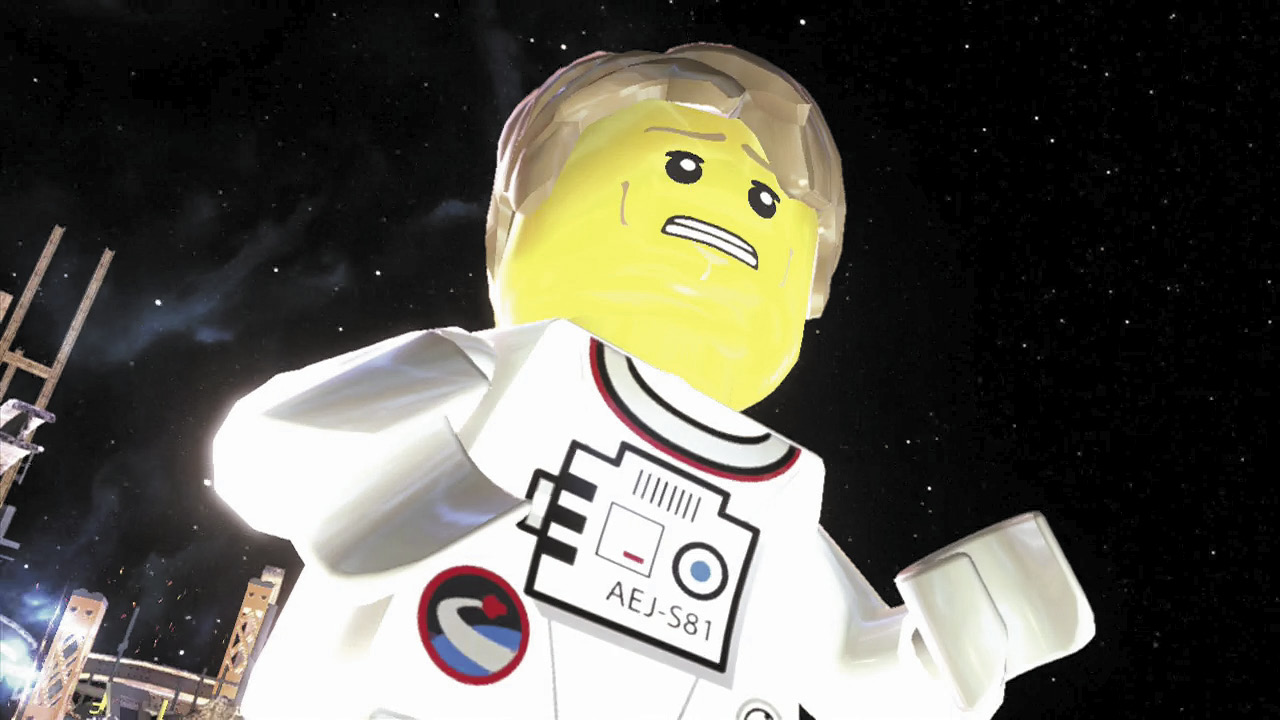
With his evil scheme undone, Blackwell decides to cut his losses, flee to his rocket’s command module, and set his rocket to self-destruct. The sequence can’t be stopped, and Chase soon finds himself plummeting to Earth aboard the broken remains of the loading bay!
Objective: Defeat Rex Fury—Again!
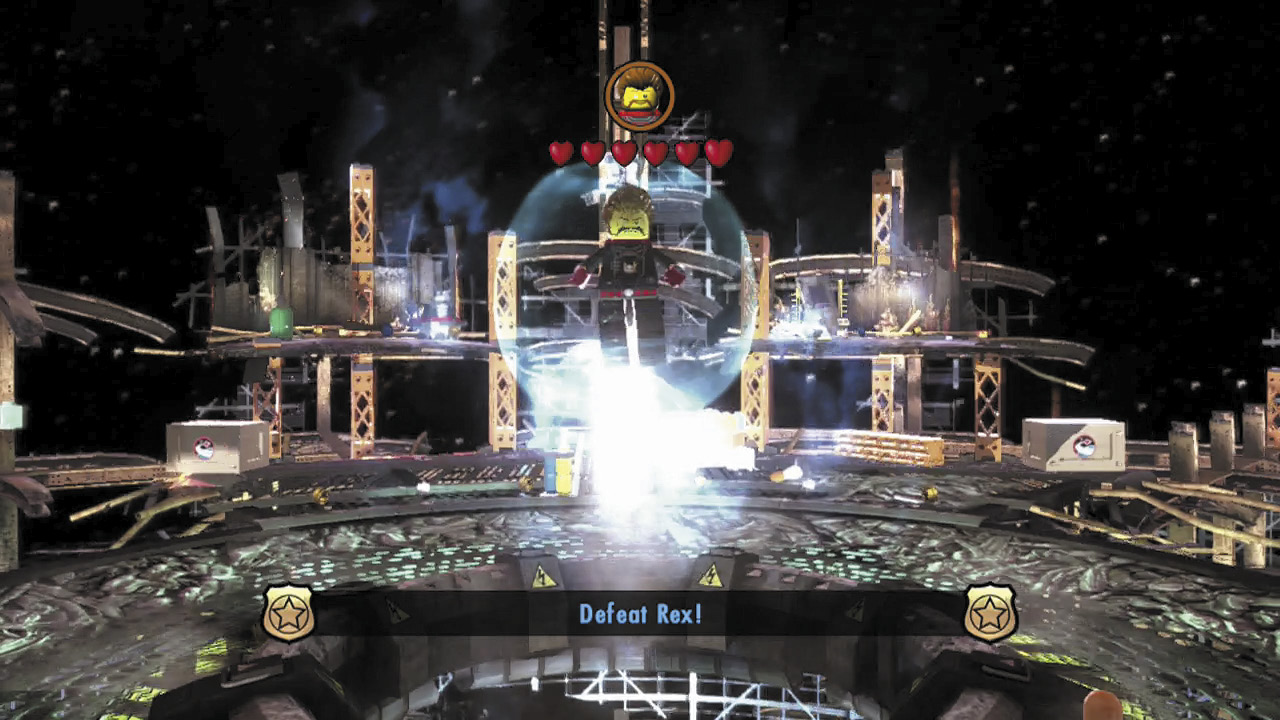
As if falling to your doom wasn’t enough, you must also contend with Rex Fury and his astronaut goons. Defeat the enemy astronauts until two sections of your plummeting platform break off and Rex makes his grand entrance.
Police Shield Piece 4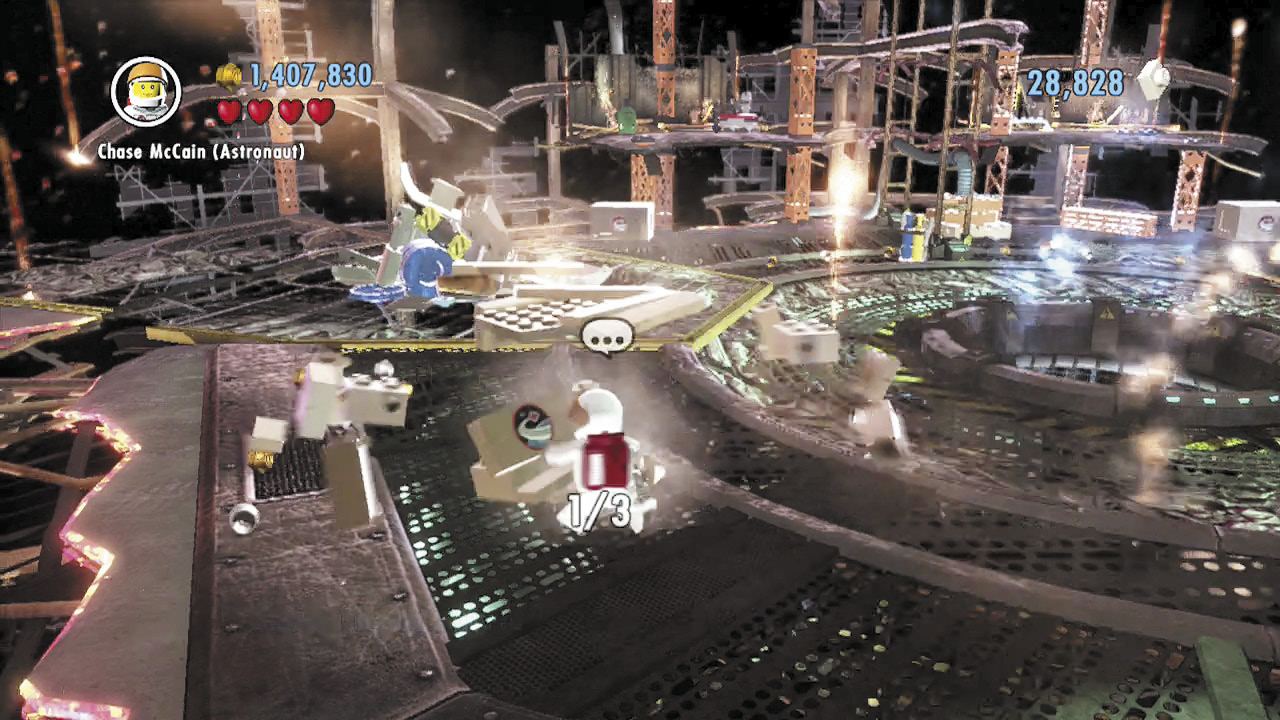 Smash three small crates around the falling platform, and you’ll earn a shield piece. There’s no map for this final battle area, but the crates are easy to spot. Two of them are on the left side of the falling platform; the other is on the right. |
Vehicle Token 2: Rex’s Tempest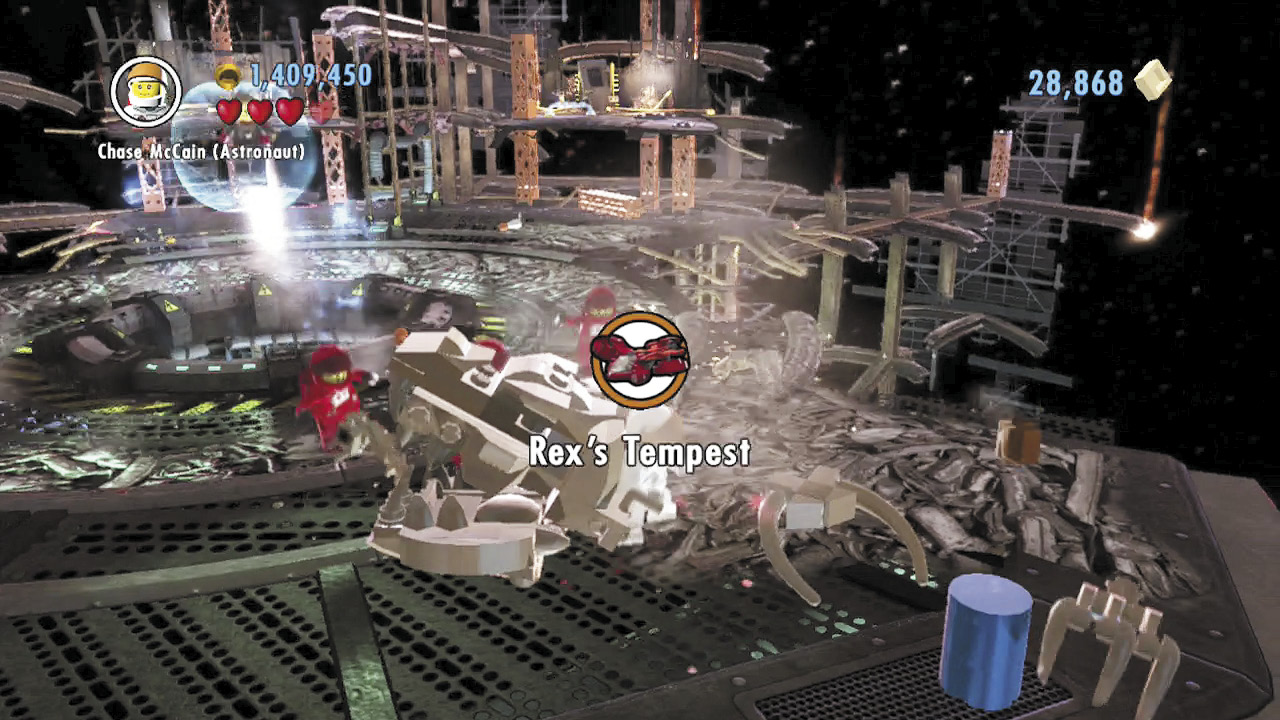 Smash the remains of the T-Rex, which lie in a heap on the platform’s right foreground corner, and you’ll discover a hidden vehicle token! |
Besting Rex
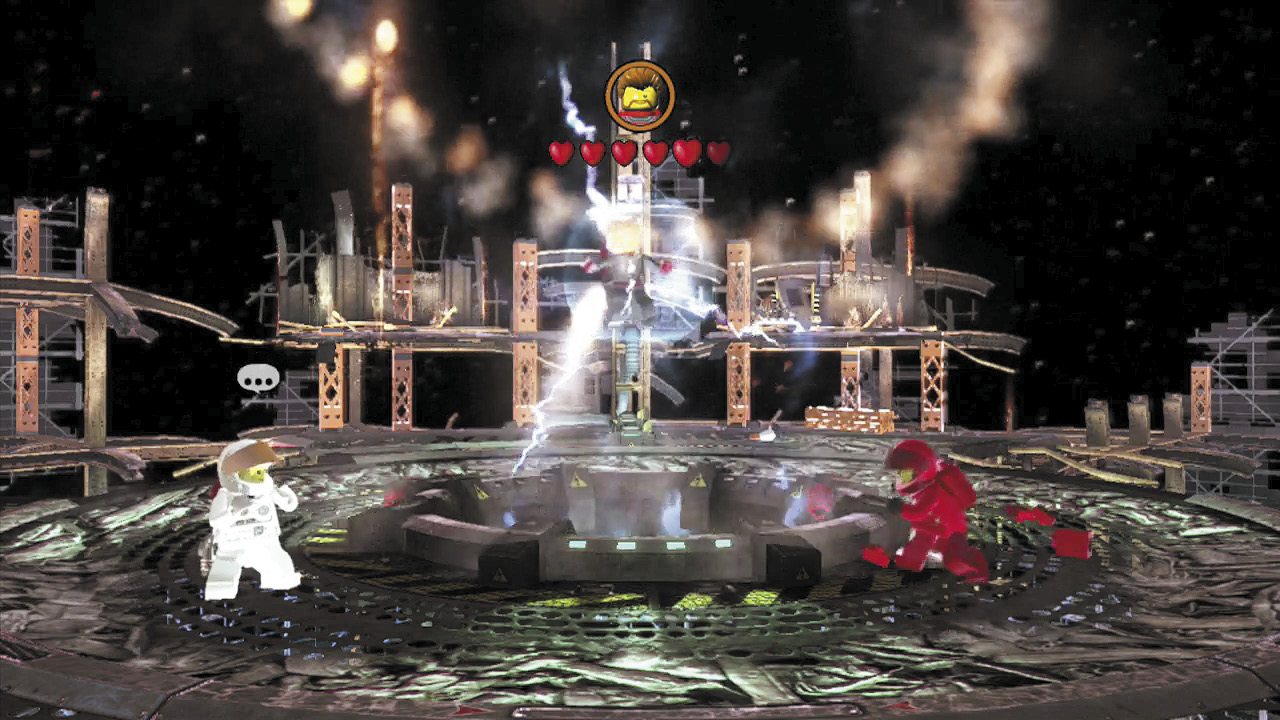
Rex is protected by a bubble shield, and there’s only one way to penetrate it. Grab one of his goons, then hold  to aim. Target Rex Fury, and release
  to toss the goon at Rex.
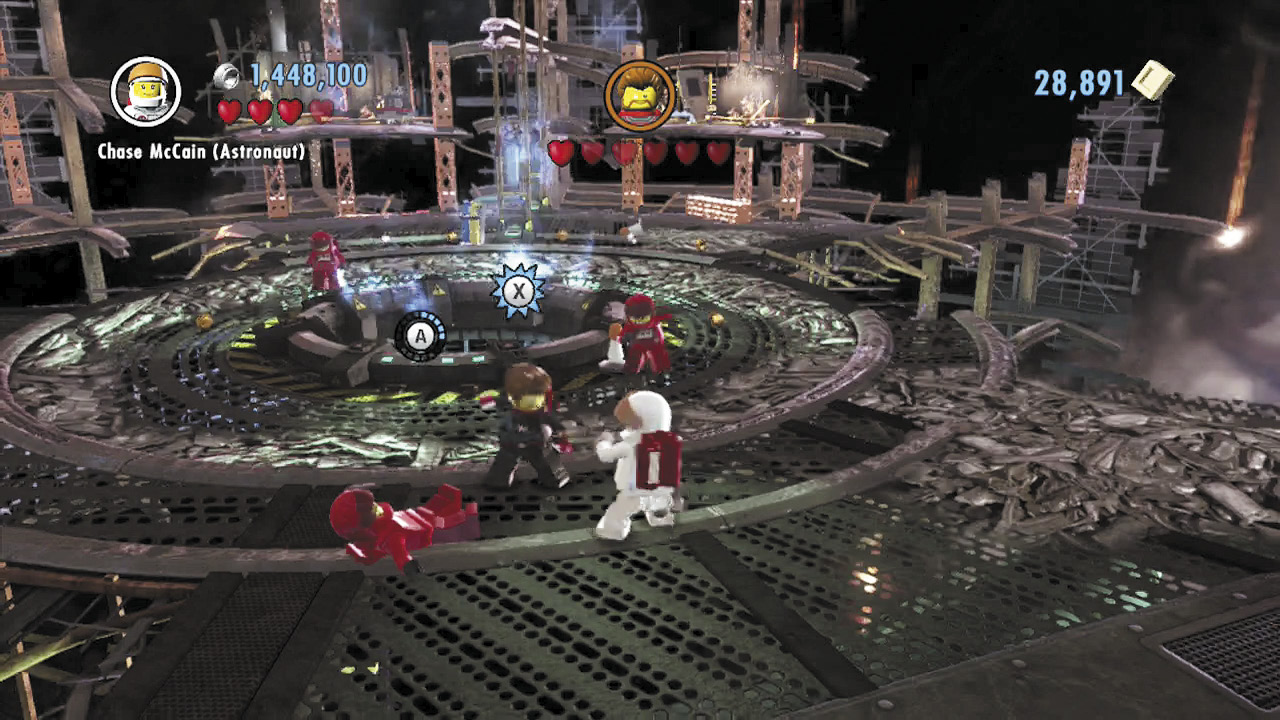
Hitting Rex with a thrown goon causes his shield to falter. Rex lands and decides to fight you, man to man. Don’t get too close to Fury, or he’ll pick you up and throw you. Instead, wait until you see an  icon appear above Rex’s head, then press
  to counter his attack and hurt him.
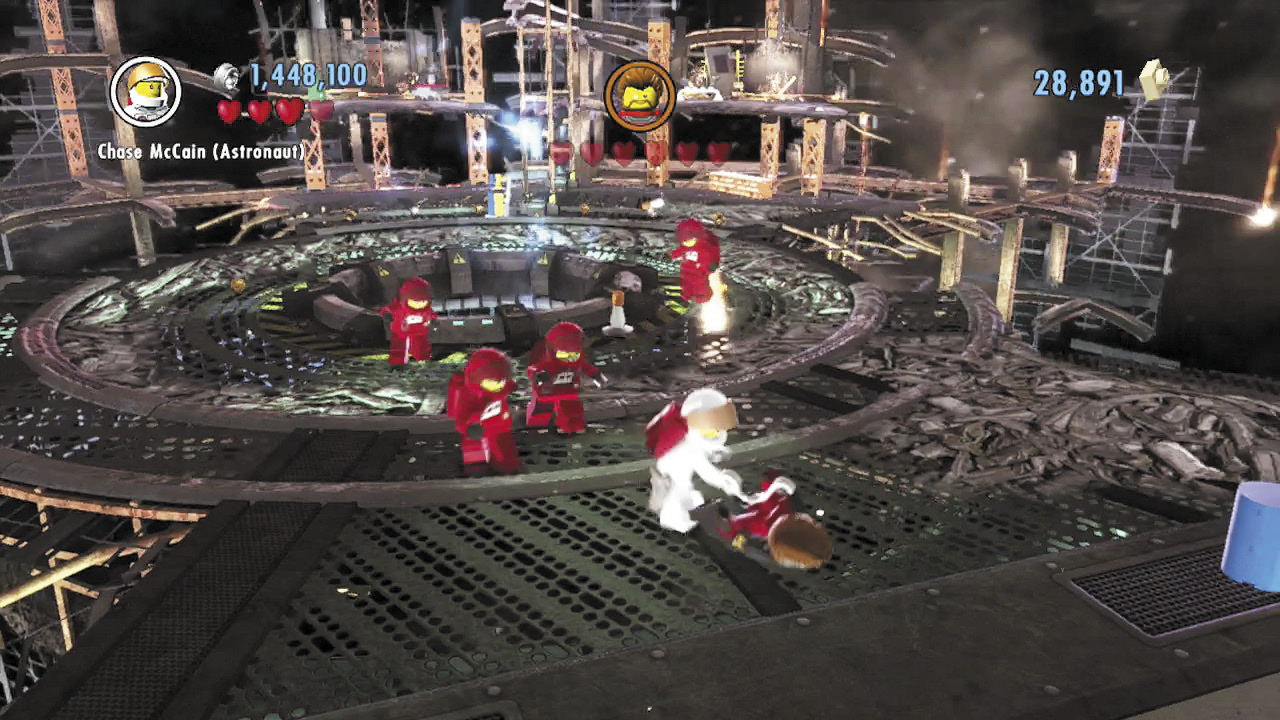
After you counter Rex, he flees and reactivates his bubble shield. Toss another goon at him, then counter Rex again by pressing  when the
  icon appears. Keep this up until you at last defeat Rex Fury. Be sure to slap on the handcuffs while he’s down!
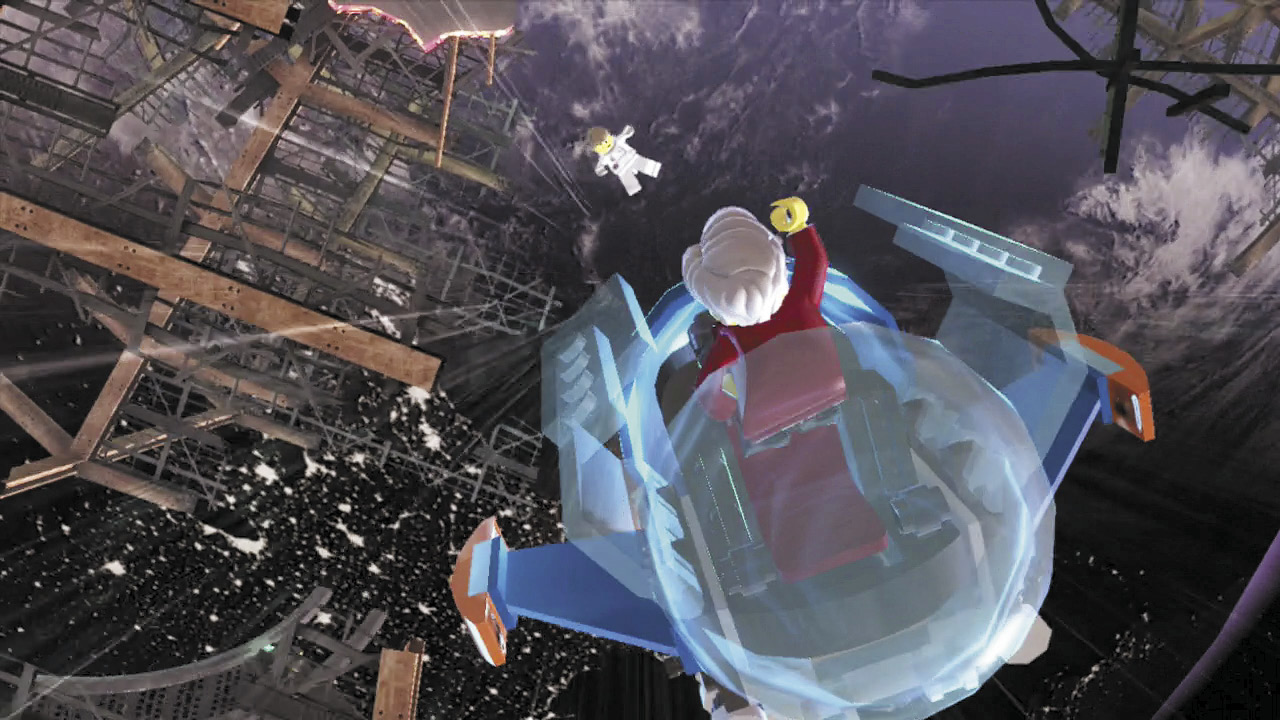
Deal the final blow to Rex Fury, and Blackwell’s evil scheme will at last be undone. The vile millionaire is sent careening off into space in his escape pod, and the remains of his rocket are stuck in a free fall to Earth.
Objective: Reach the Command Capsule
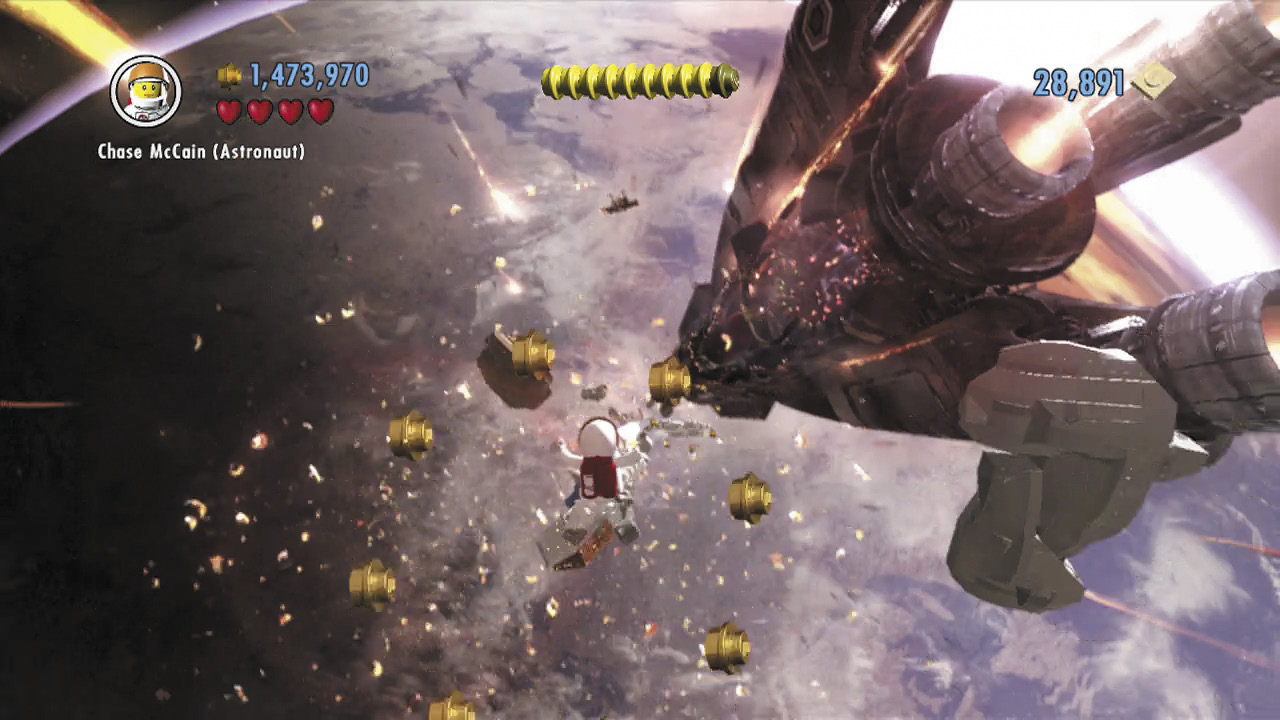
You have defeated the bad guys, but Natalia is still in jeopardy! Try to fly through the stud rings during this epic final fall to Earth—they’ll help you attain LEGO City Hero status. Avoid debris as you plummet, and press  to slow down and
  to speed up your descent.
Character Token 2: Rex Fury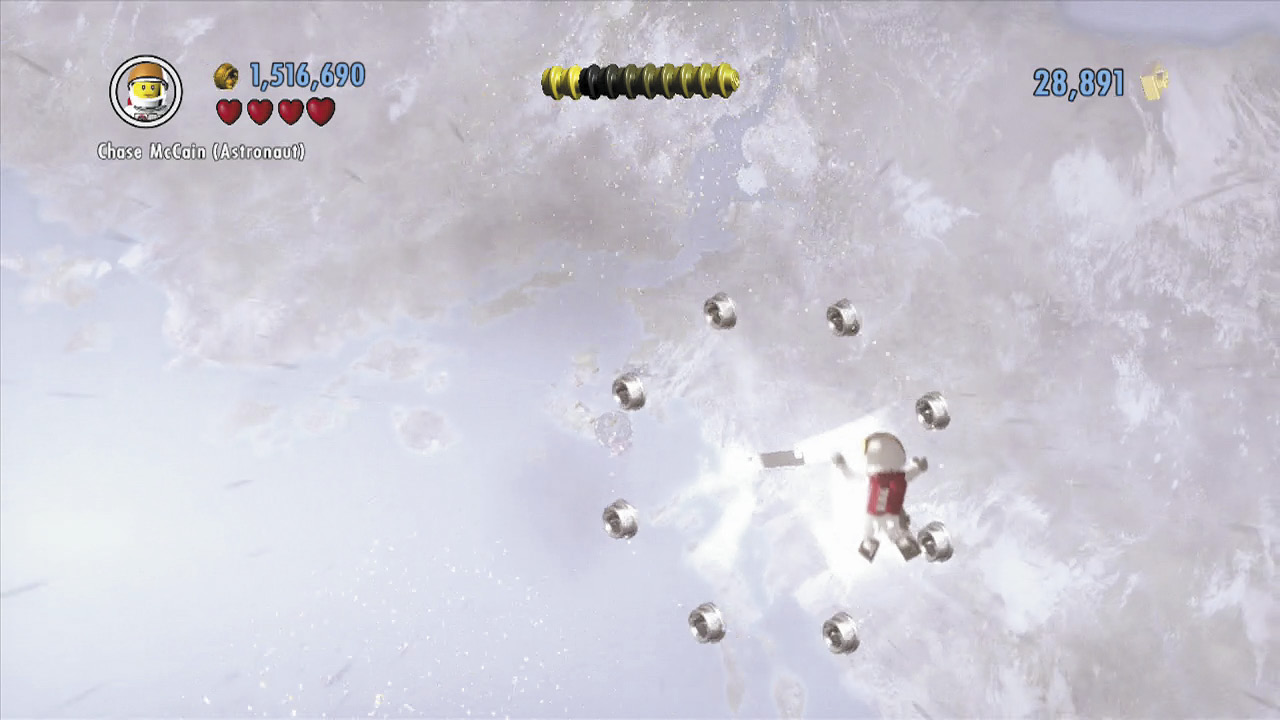 After falling past spinning energy beams and exiting through the bottom of Blackwell’s rocket, pass through the first stud ring you see to collect this stage’s final goodie—a very valuable character token! |
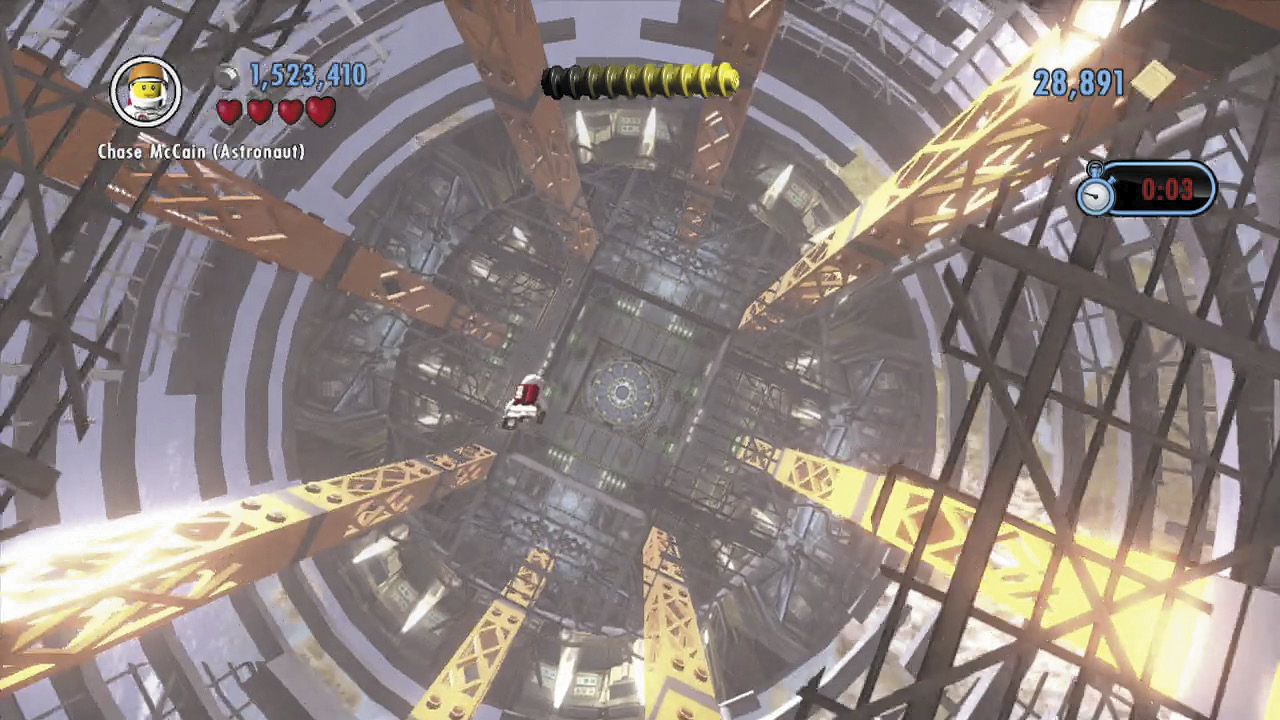
A timer appears as you near the end of your descent. Hold  to fall faster than normal, and catch up to the rocket’s falling command capsule before time runs out.
Day: Saved
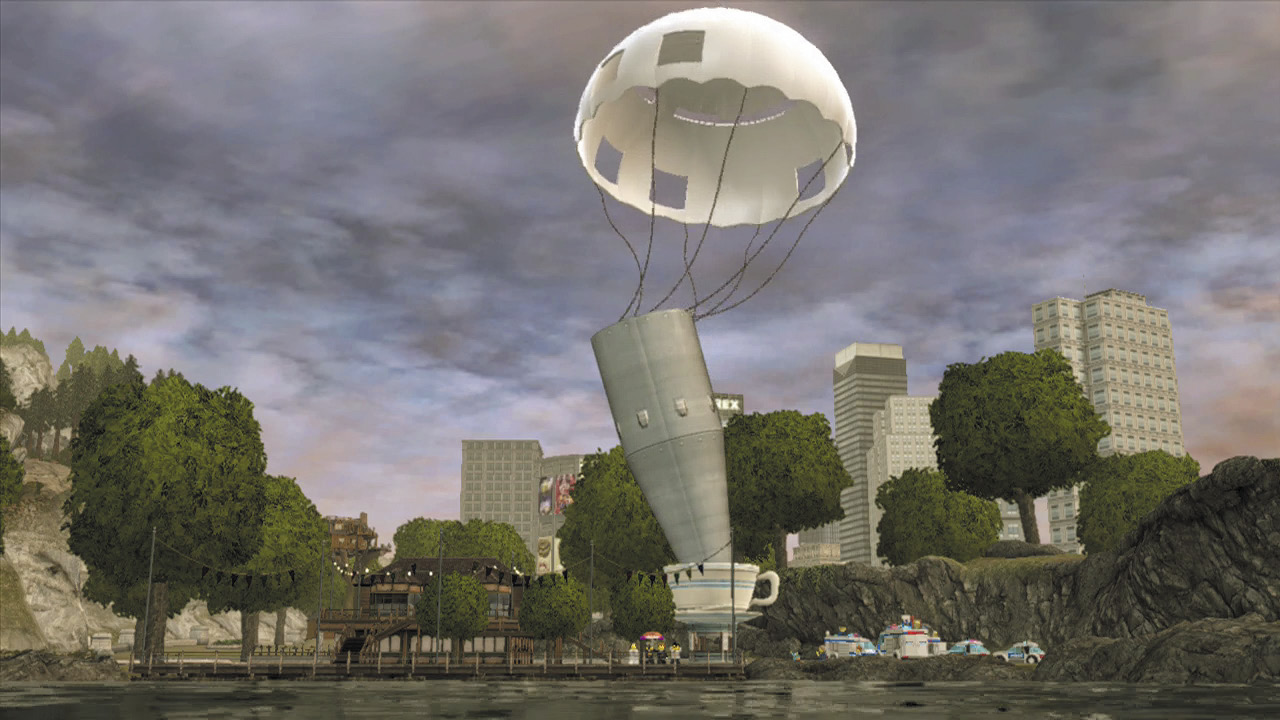
Chase lands on the command capsule just in time to pull a lever and deploy a giant parachute. The capsule gently touches down in LEGO City, and Natalia is saved!
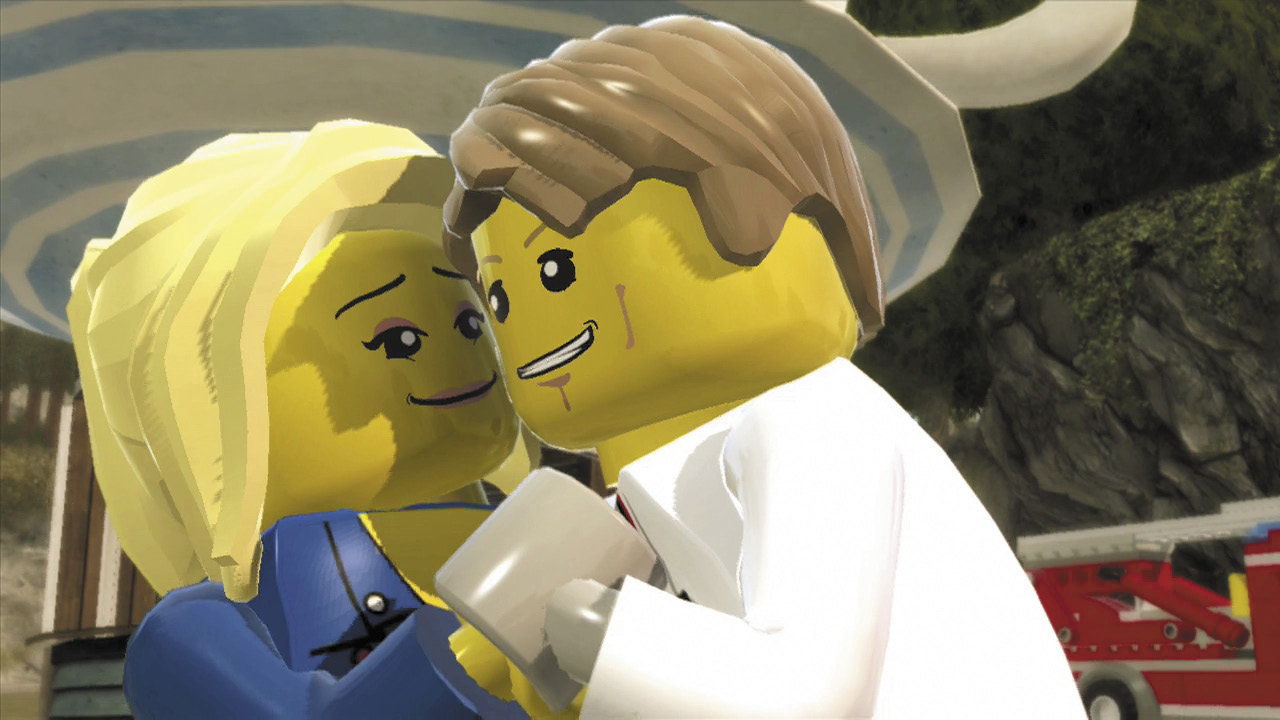
McCain returns to a hero’s welcome. The Rex Fury case is closed, and LEGO City has been saved. Natalia falls into his arms, and even Chief Dunby has to congratulate Chase on a job well done. Way to go, hero!