
LEGO CITY Undercover Guide Walkthrough
Chapter 3: Go Directly to Jail
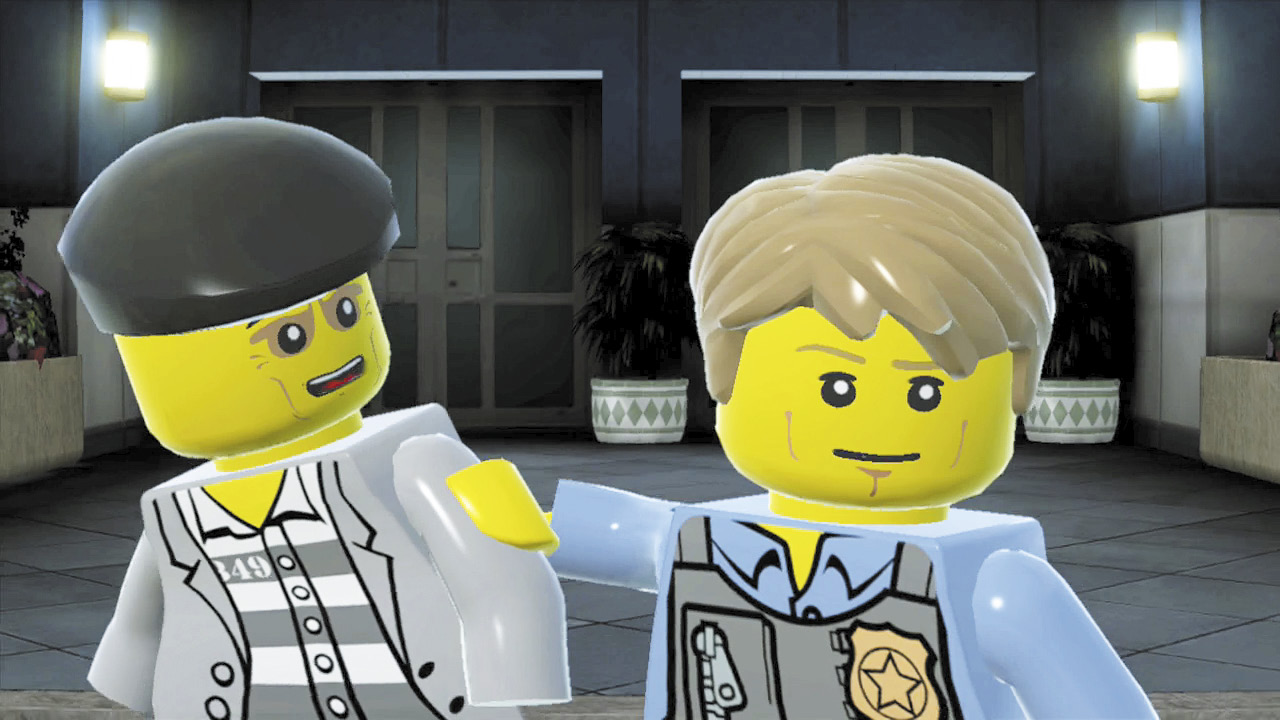
At last, Chase McCain has uncovered a lead in the Rex Fury case. The gang of robbers that Chase recently busted had been working for Rex, and although they don’t know where to find Fury, they’ve pointed Chase in the direction of Albatross Prison. Rex was imprisoned at Albatross for years, and the robbers believe that an inmate named Blue may know more about Fury’s whereabouts.
City Exploration
Objective: Find a Way to Albatross Prison Island
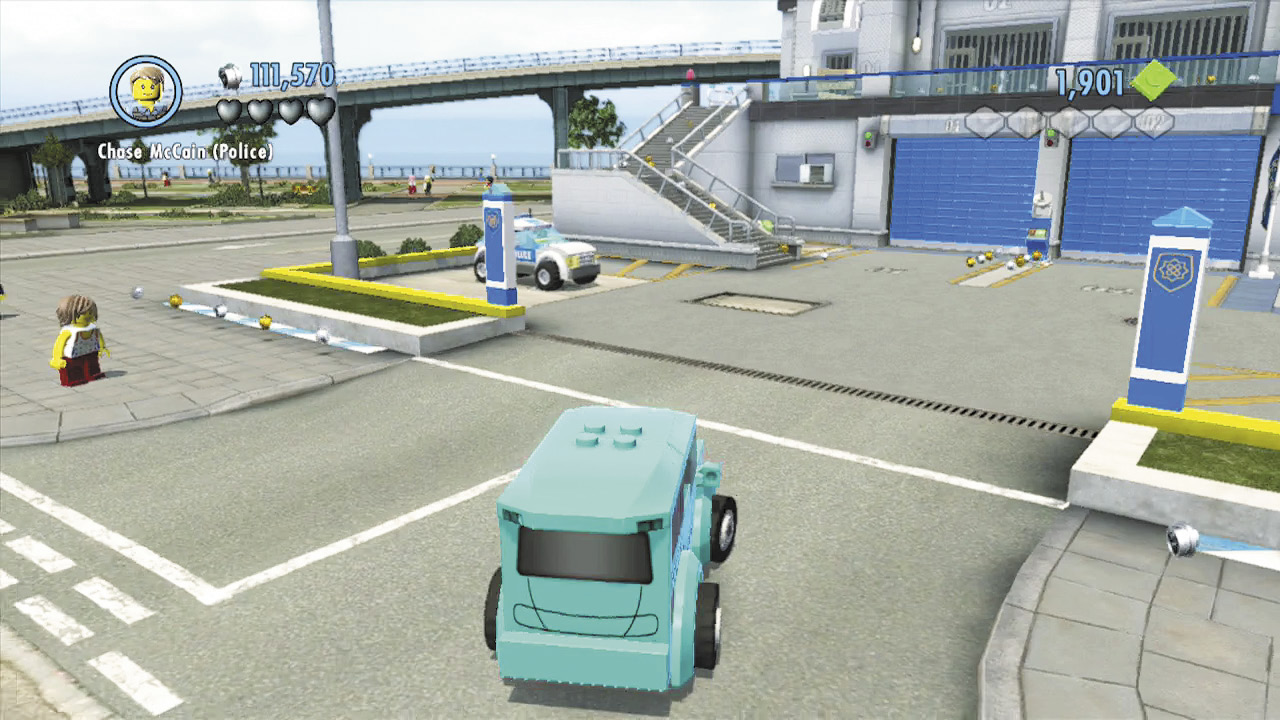
Albatross Prison is built on an island, and getting there won’t be easy. Chase wishes to keep his investigation private from Chief Dunby, so he must find a covert means of reaching the island.
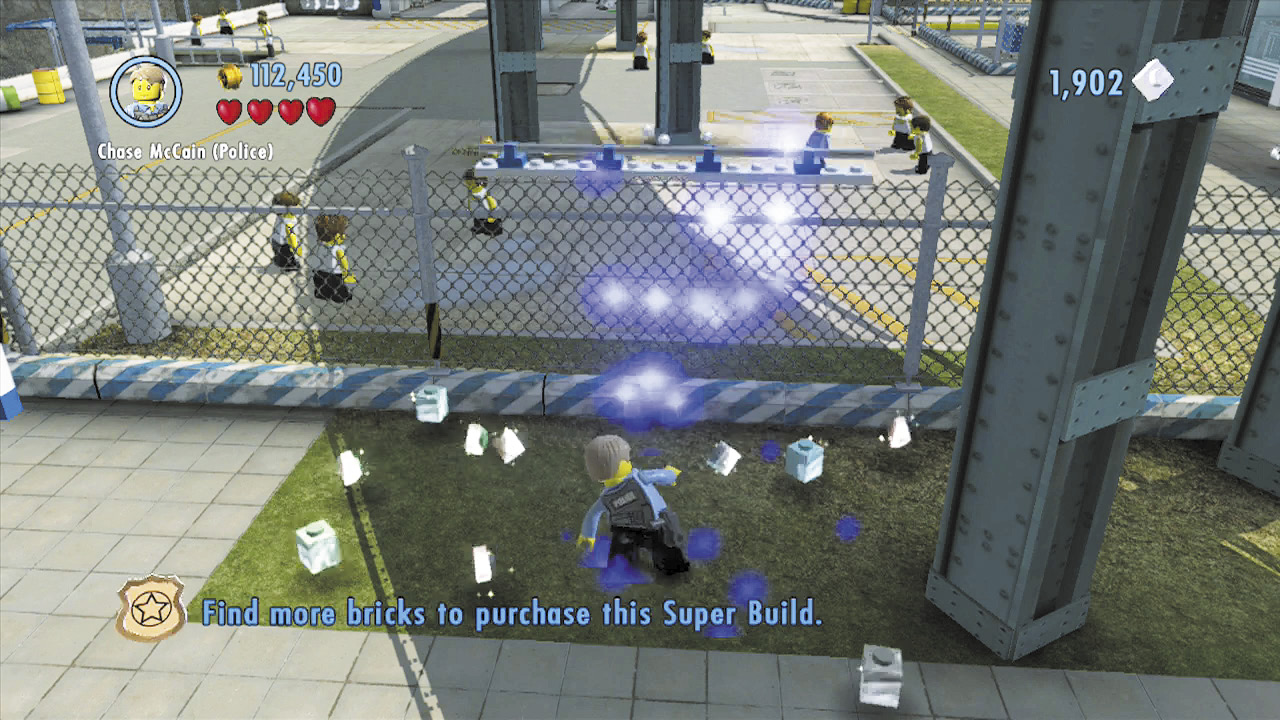
Commandeer a vehicle and drive to the police station. Don’t enter the building; instead, sneak around the back and smash a blue and white Dumpster to discover some LEGO bricks. Use these to add a blue and white bar to the nearby fence so that you may vault it and reach the pier behind the station.
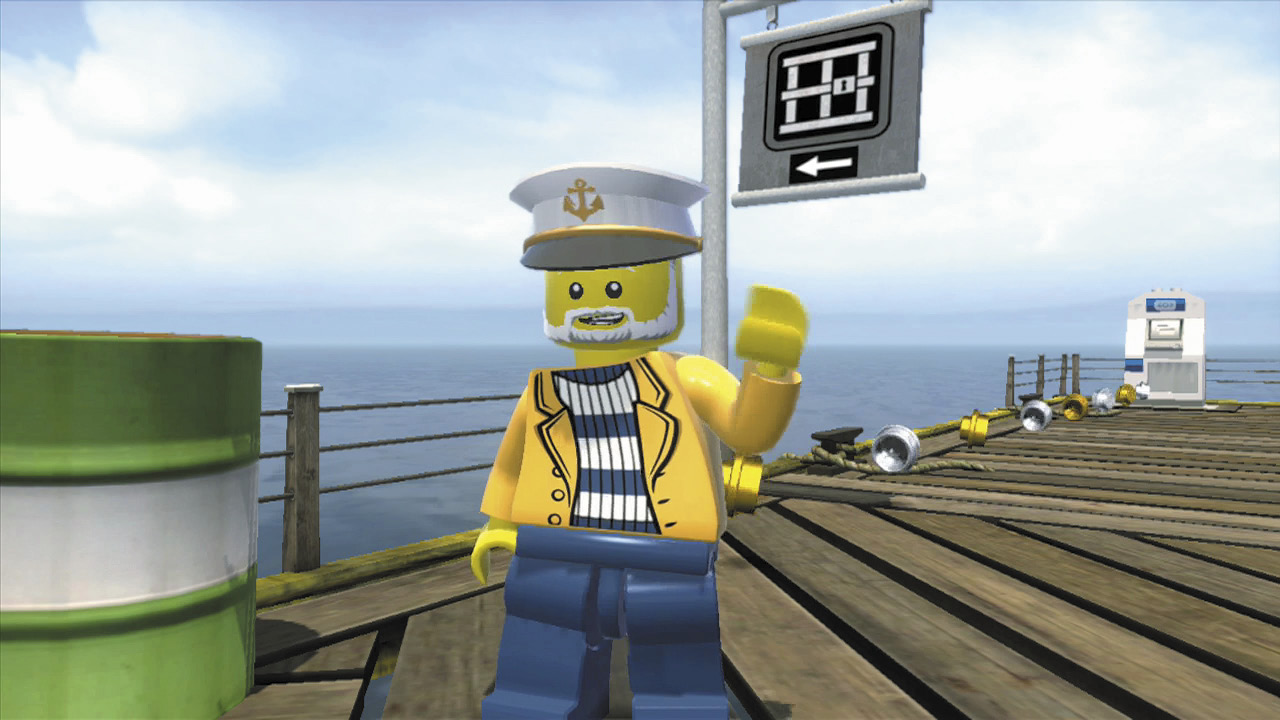
Chase chats with a ship captain on the pier and learns that the ferry to Albatross Island has sunk. Guess you’ll just have to build a new one!
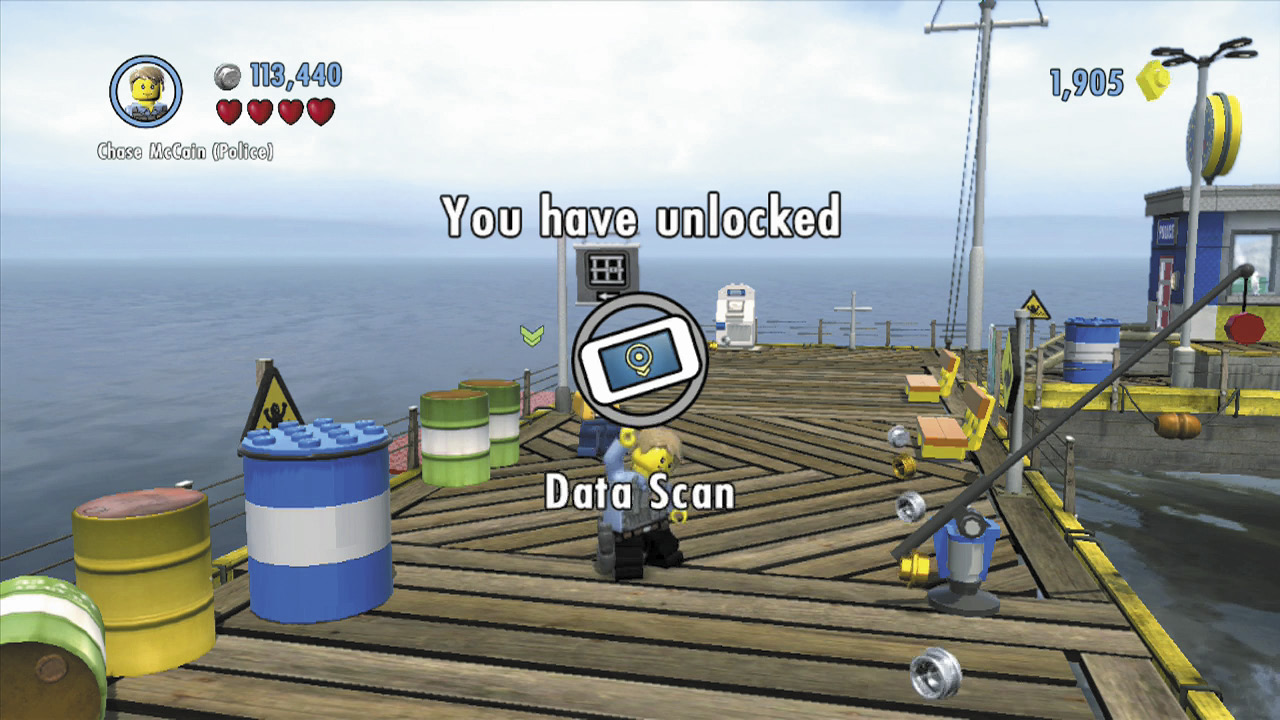
Building a ferry will cost 15,000 bricks! Fortunately, Ellie updates your communicator with an all-new data scan function. Now you can use the communicator to search for nearby collectibles—including superbricks!
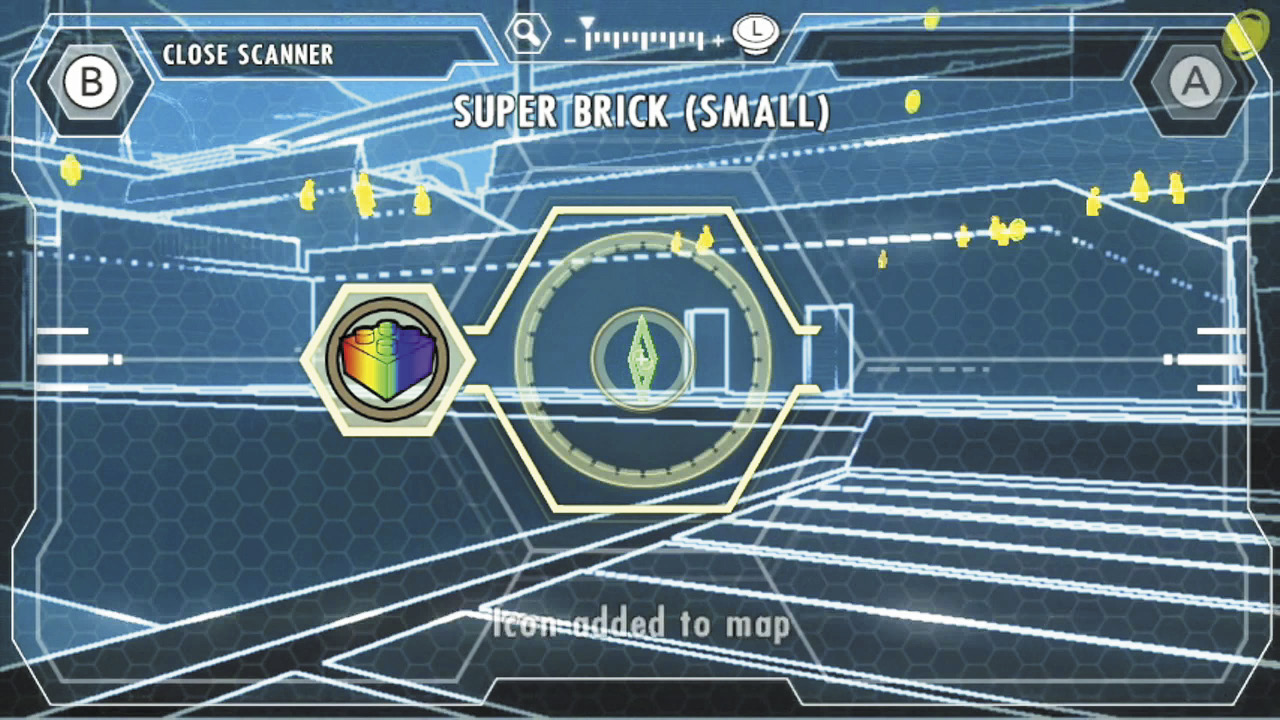
Tap the data scan icon on your GamePad to fire up Data Scan mode. Hold your Wii U GamePad up to the TV screen afterward, then look around for items of interest. There are four attainable superbricks in your vicinity. Focus on one to lock it in, and an icon will appear on the GamePad map, revealing its location. A handy marker will also appear on your TV screen to help you track it down. Nice!
Superbrick 1
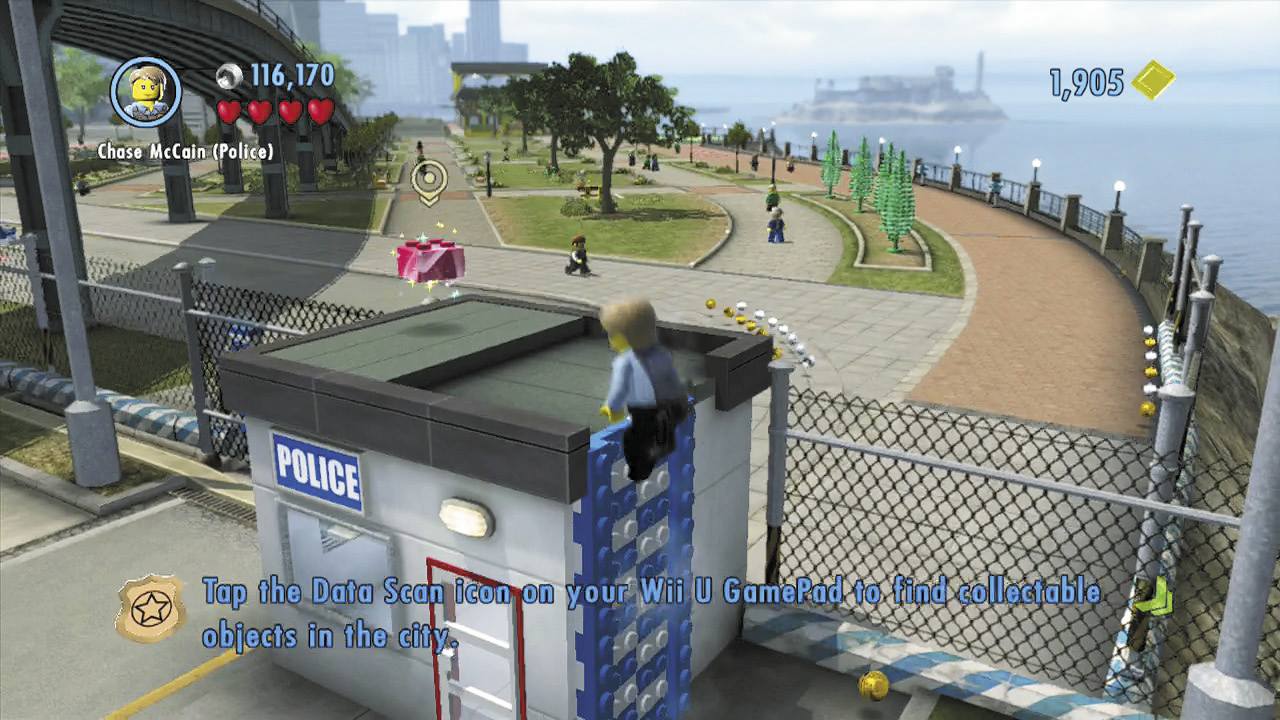
This superbrick is an easy grab—just climb up the nearby police booth and collect it.
Superbrick 2
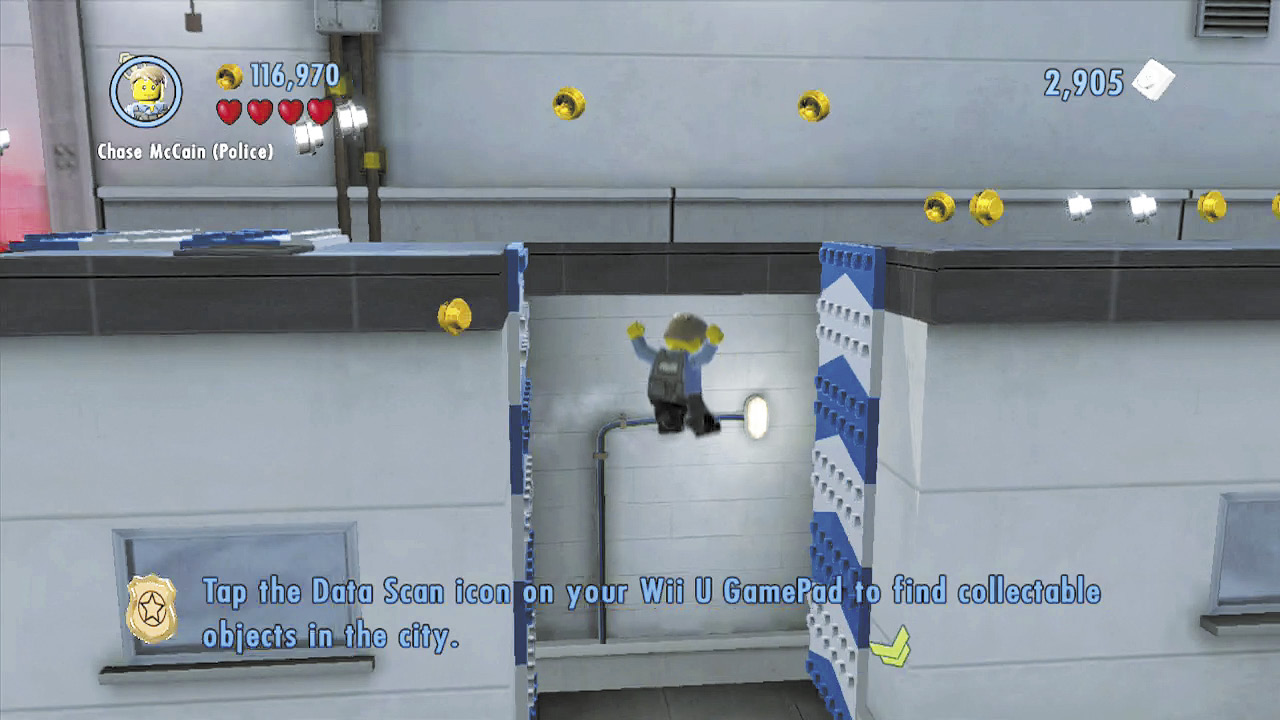
Run toward the police station and jump between the blue and white walls to reach the upper ledge.
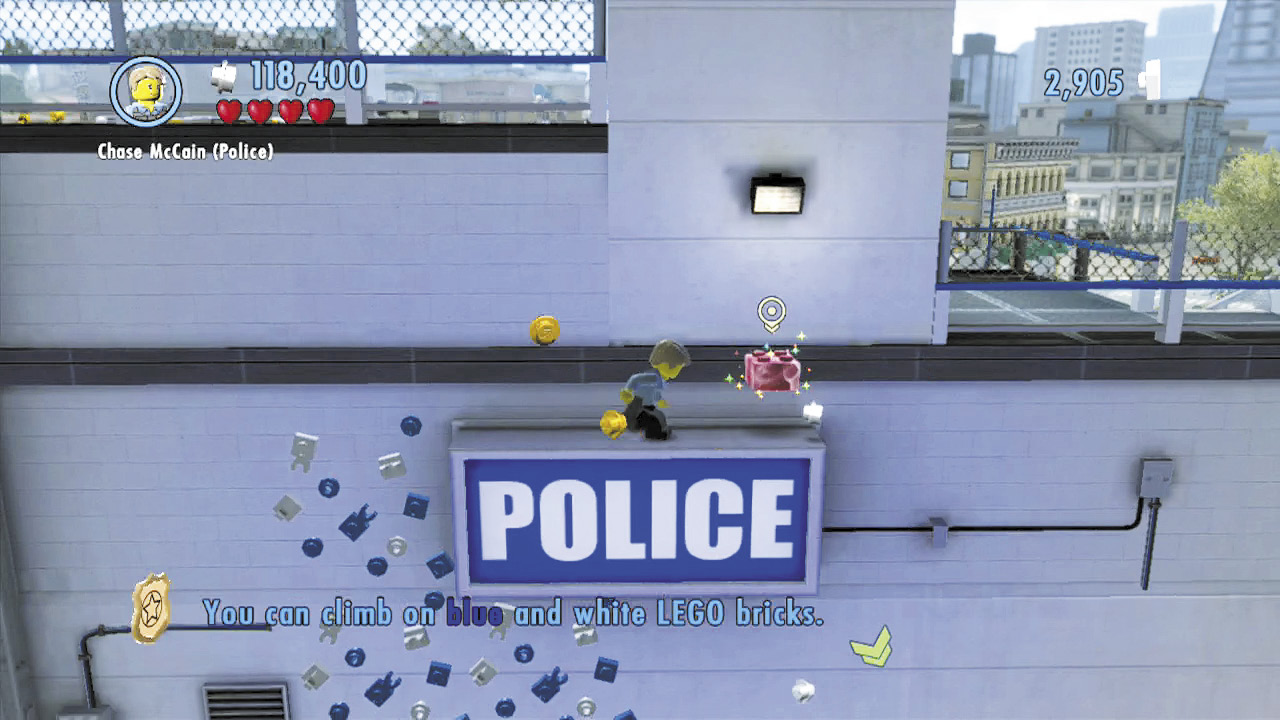
Use a wall runway to dash over to a handhold, then climb the blue and white LEGO patch on the side of the police station to reach the superbrick floating atop the “Police” sign.
Superbrick 3
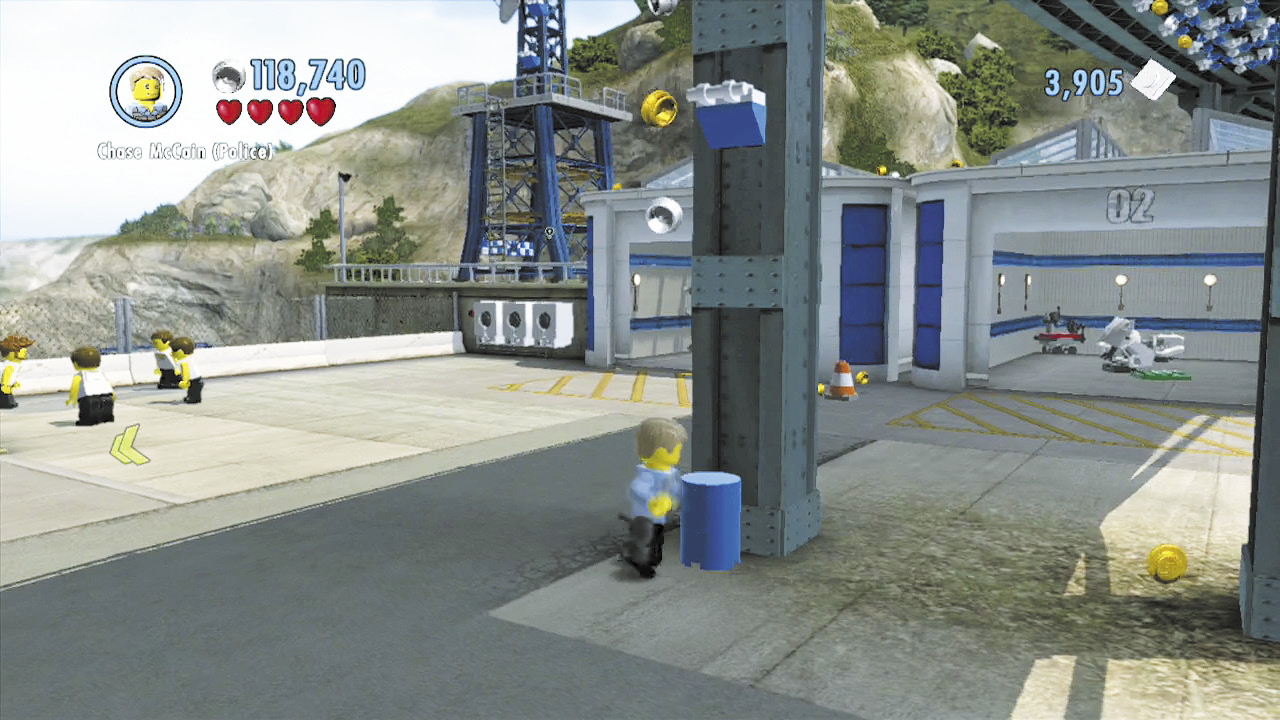
Smash the small blue drum near the elevated train track’s steel supports. Build the remaining bricks into a handhold, then climb up.
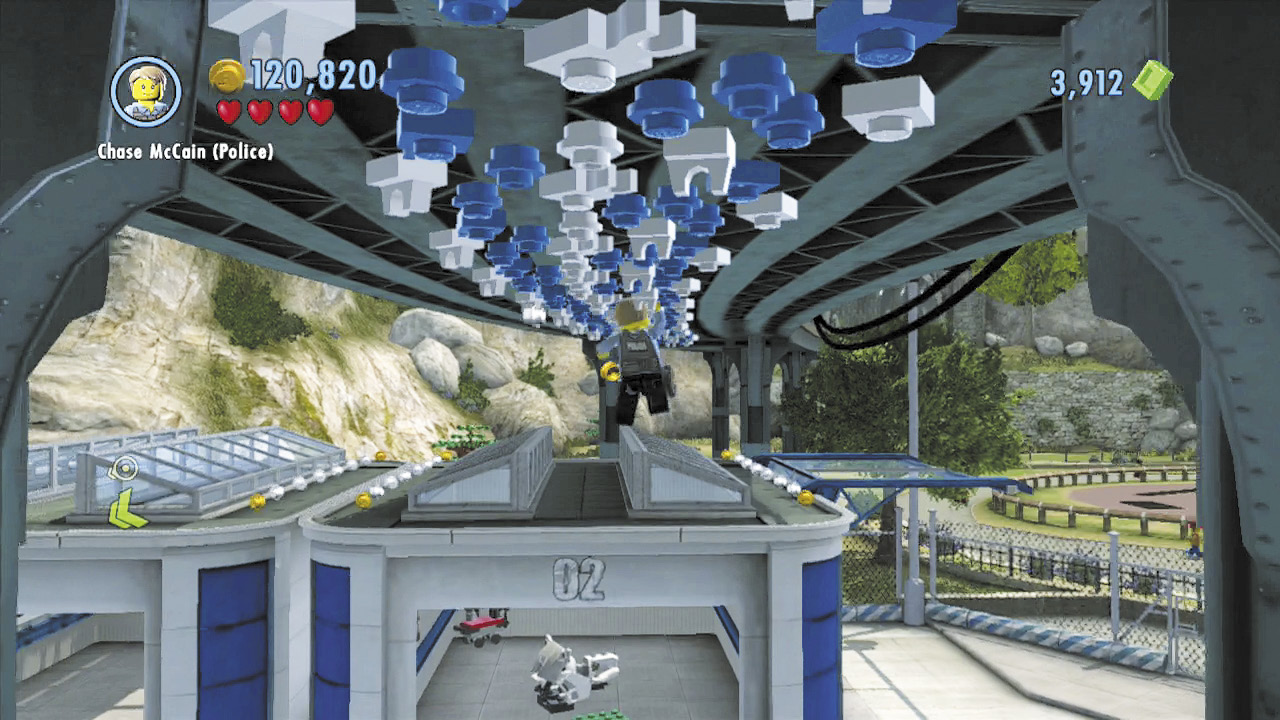
Jump and grab the overhead LEGO patch above the handholds, then shimmy over to the roof of the nearby garage.
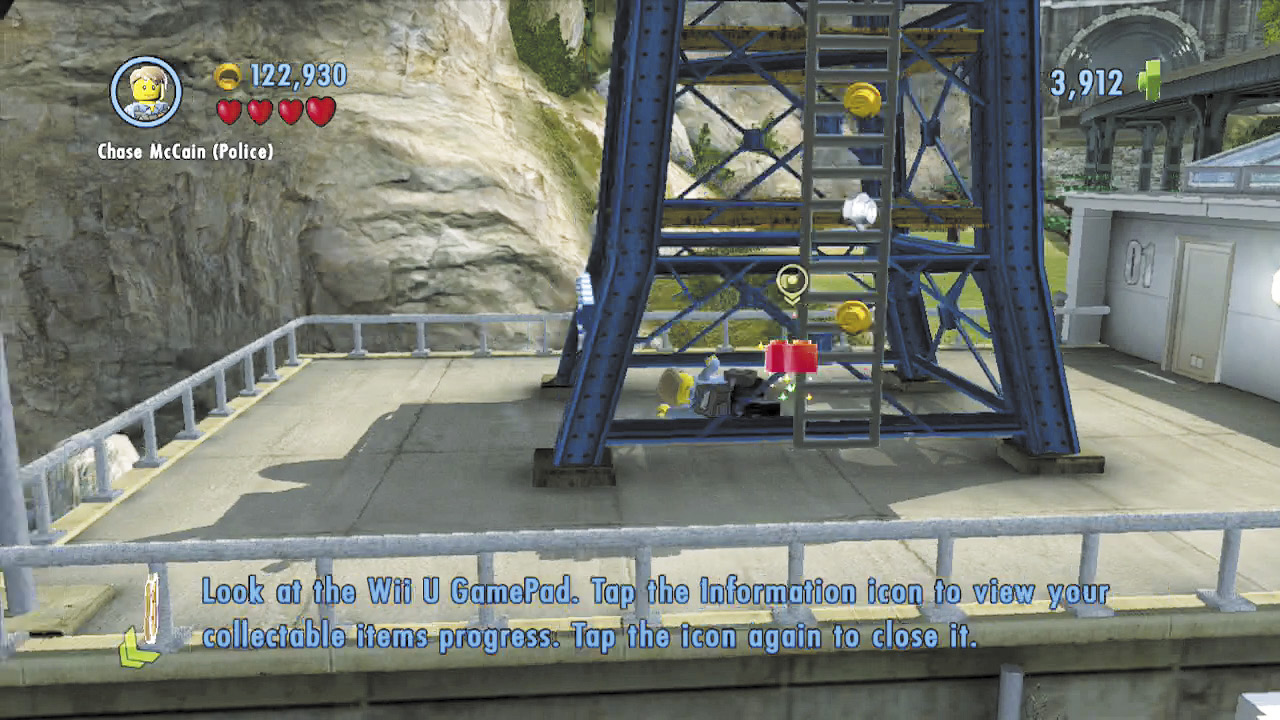
Run to the left, across the garage’s roof, and slide under the blue steel tower to reach the superbrick.
Superbrick 4
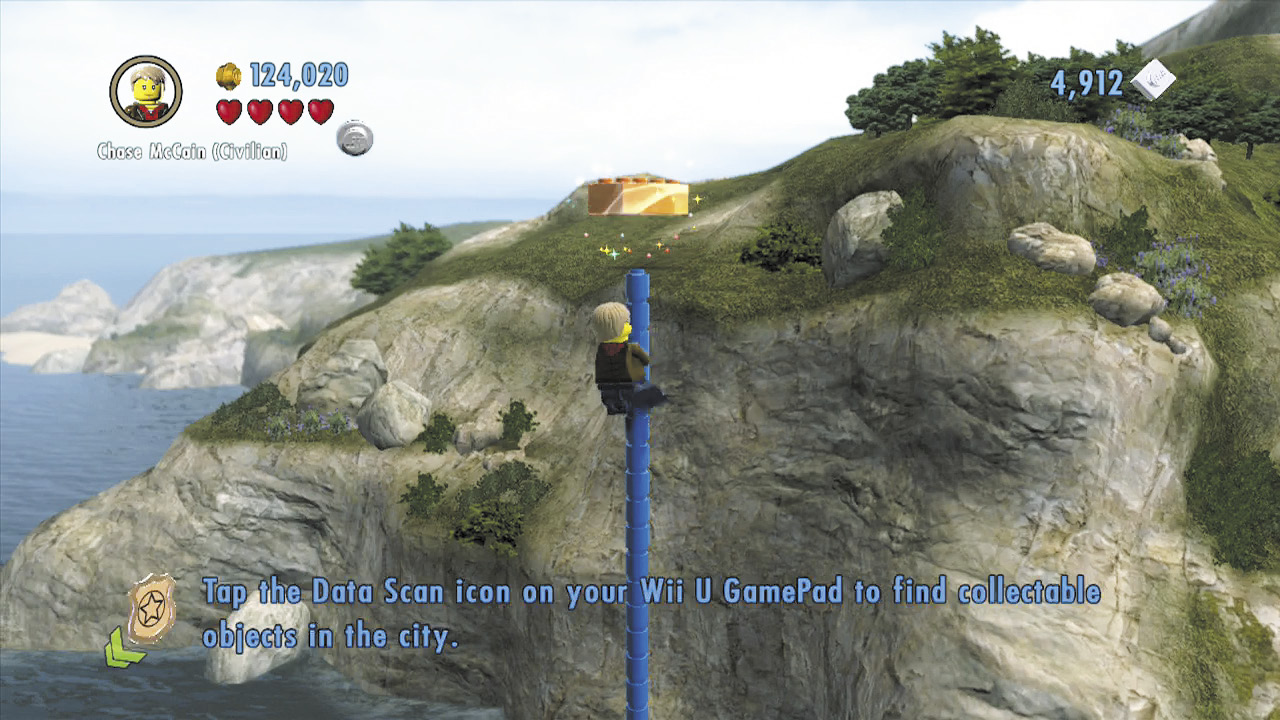
After collecting the third superbrick, slide back out from the tower and climb up the ladder to reach the tower’s top. A large superbrick floats just above the tower. Score!
Building the Ferry
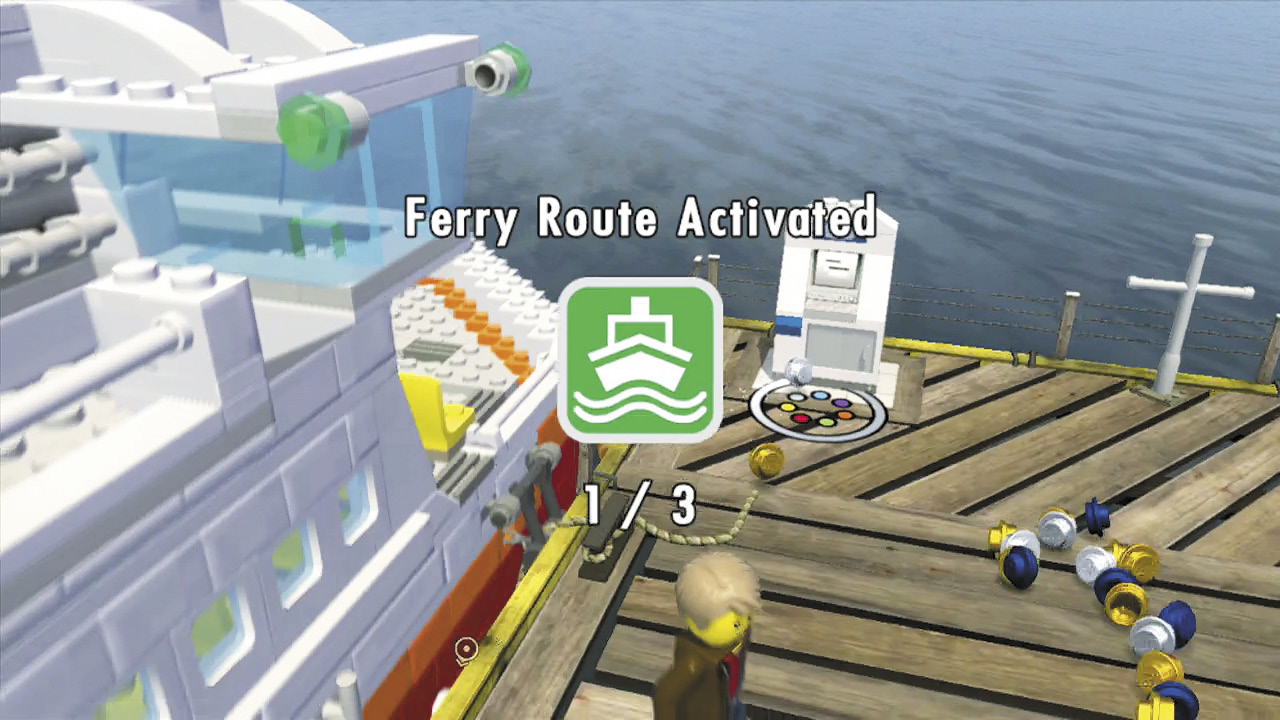
You should now have enough superbricks to build the ferry. Run to the superbuild near the pier and press # to spend 15,000 bricks and build the ferry. This one simple act scores you two gold bricks—one for completing the superbuild and another for activating one of LEGO City’s three ferry routes!
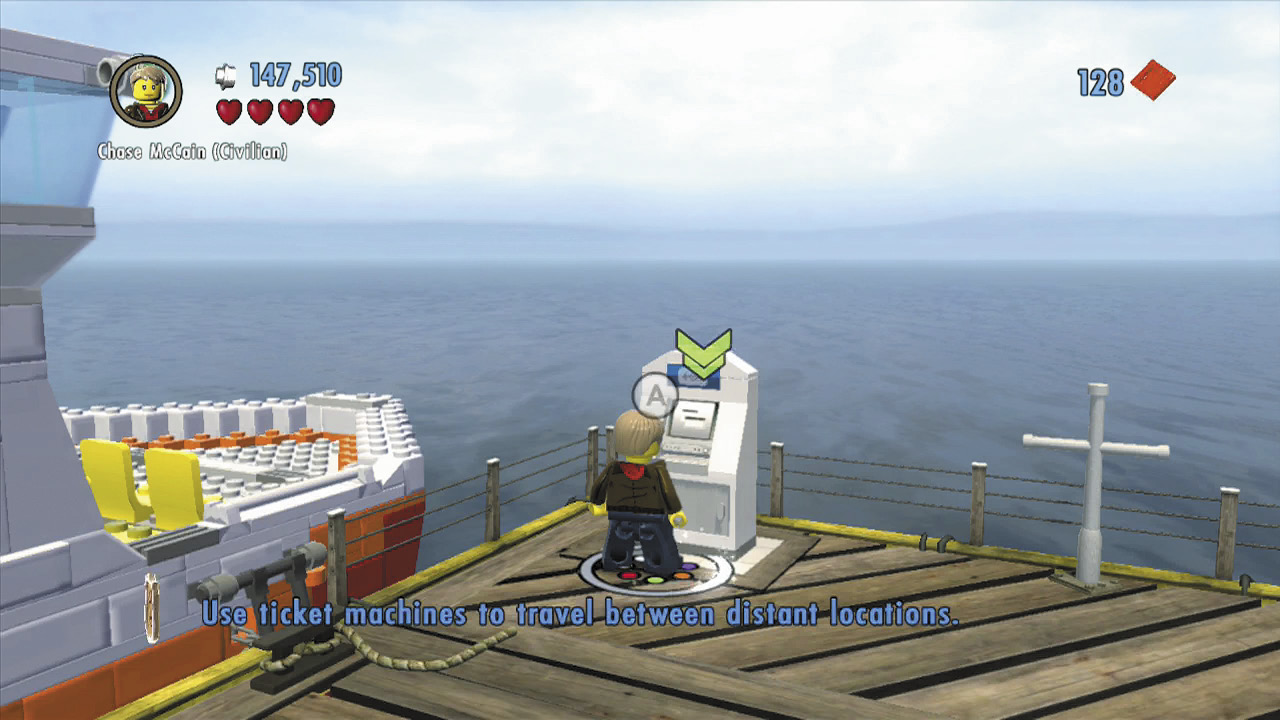
After building the ferry, use the nearby ticket machine to travel to Albatross Prison Island. Use your GamePad to confirm your destination and set sail.
Objective: Talk to Blue in the Prison Yard
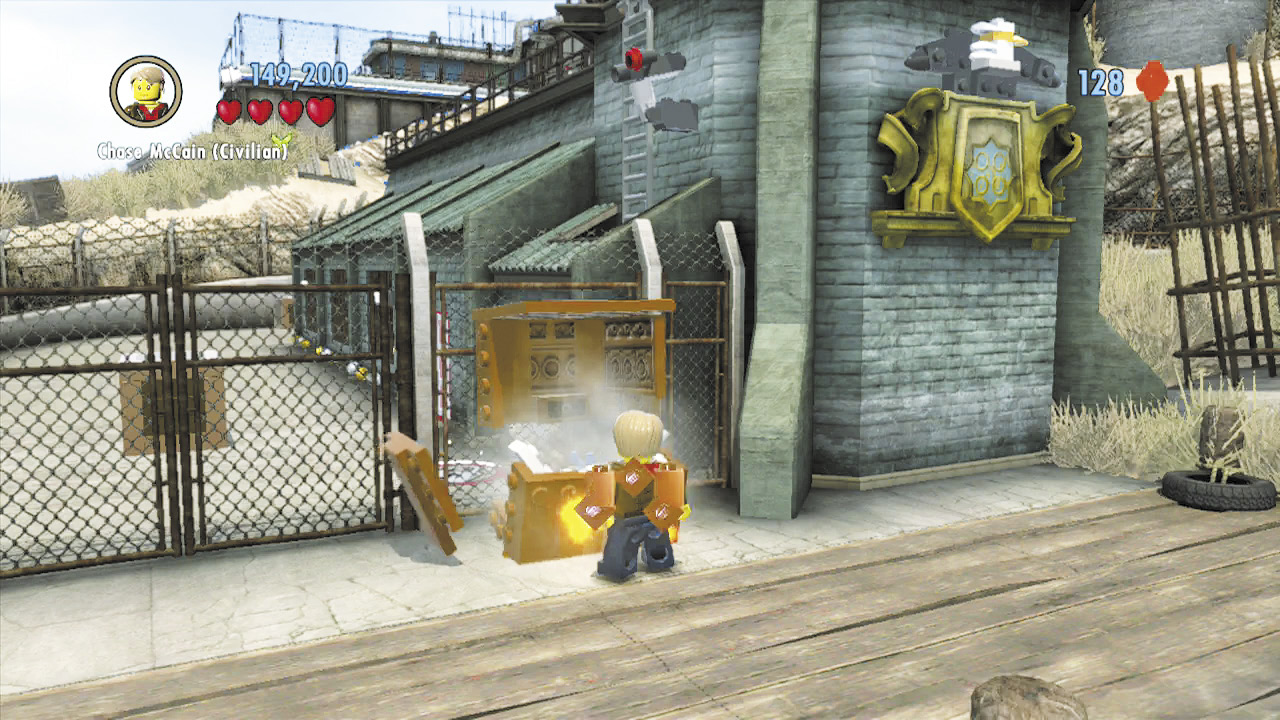
You’ve reached Albatross Prison. Now you just need to track down Blue. Begin your infiltration of the prison by smashing the brown crate near the guard tower to discover a box of LEGO bricks.
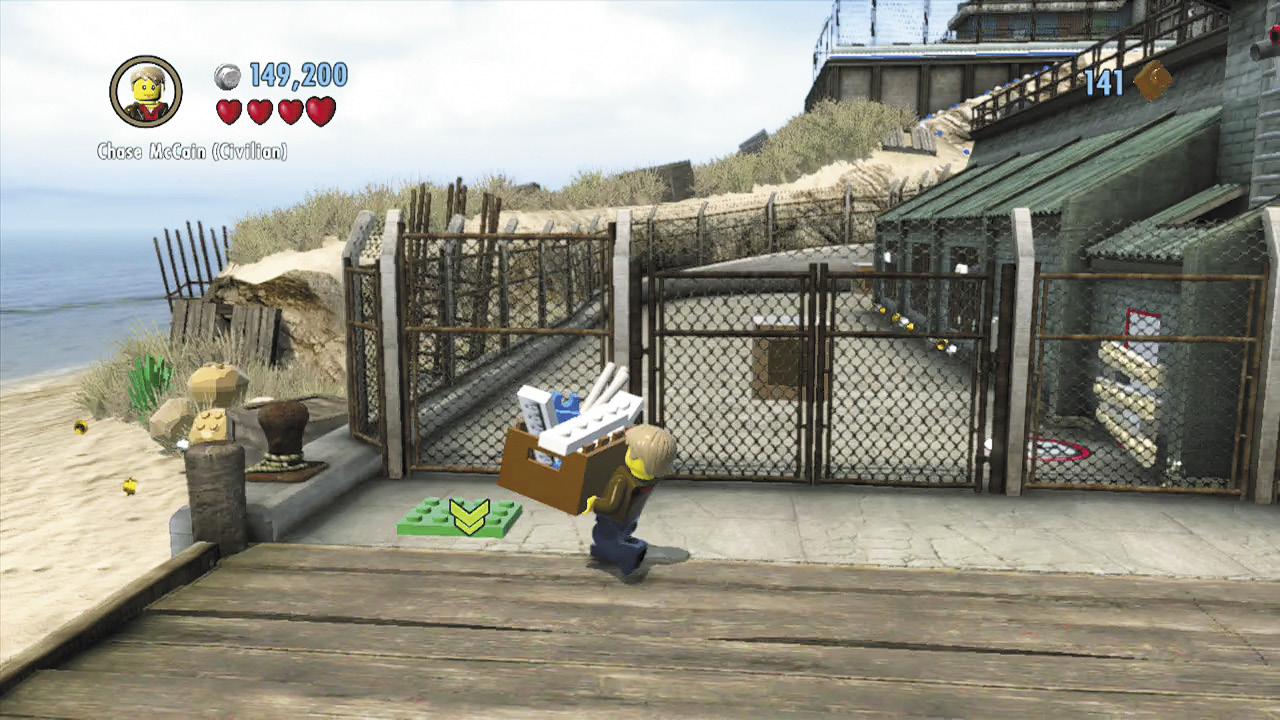
Carry the box to the nearby green pad, then set it down. Build the LEGO bricks to add a bar to the top of the fence, then vault over.
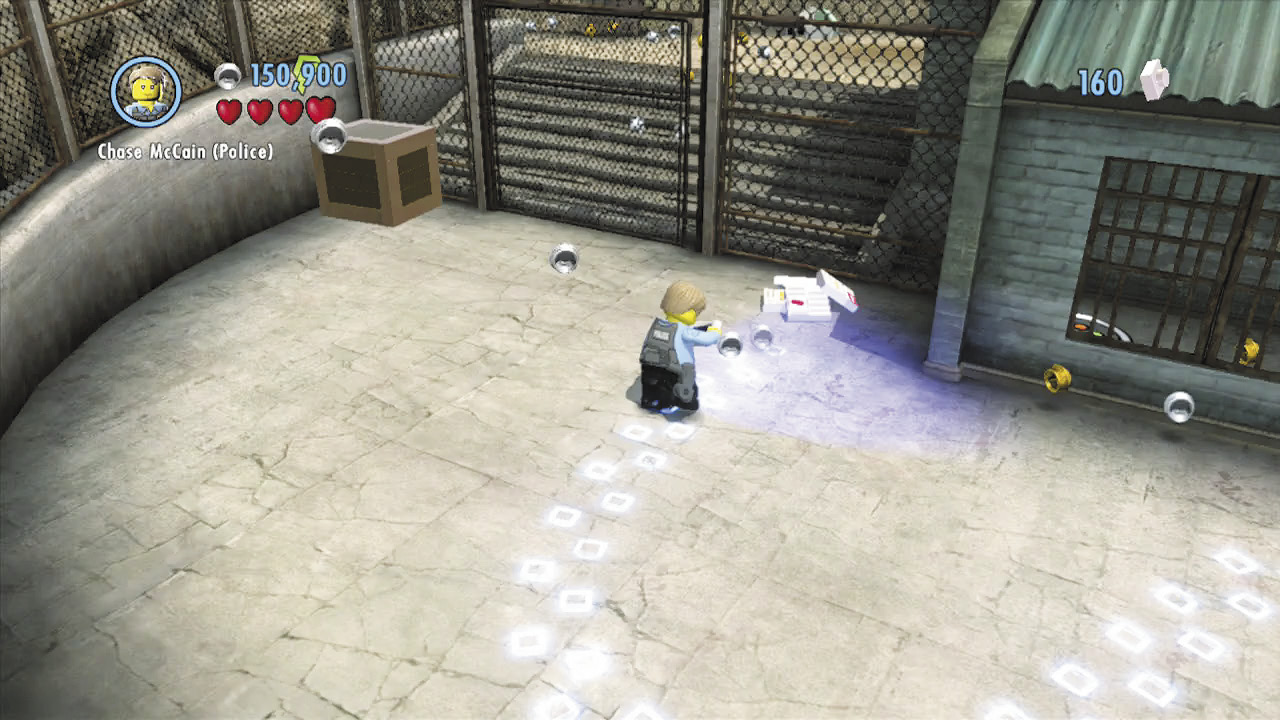
Smash another brown crate on the fence’s other side to discover a scan spot. Use Detective Scan to follow a trail of footprints over to a pile of debris. Search the debris to discover a key.
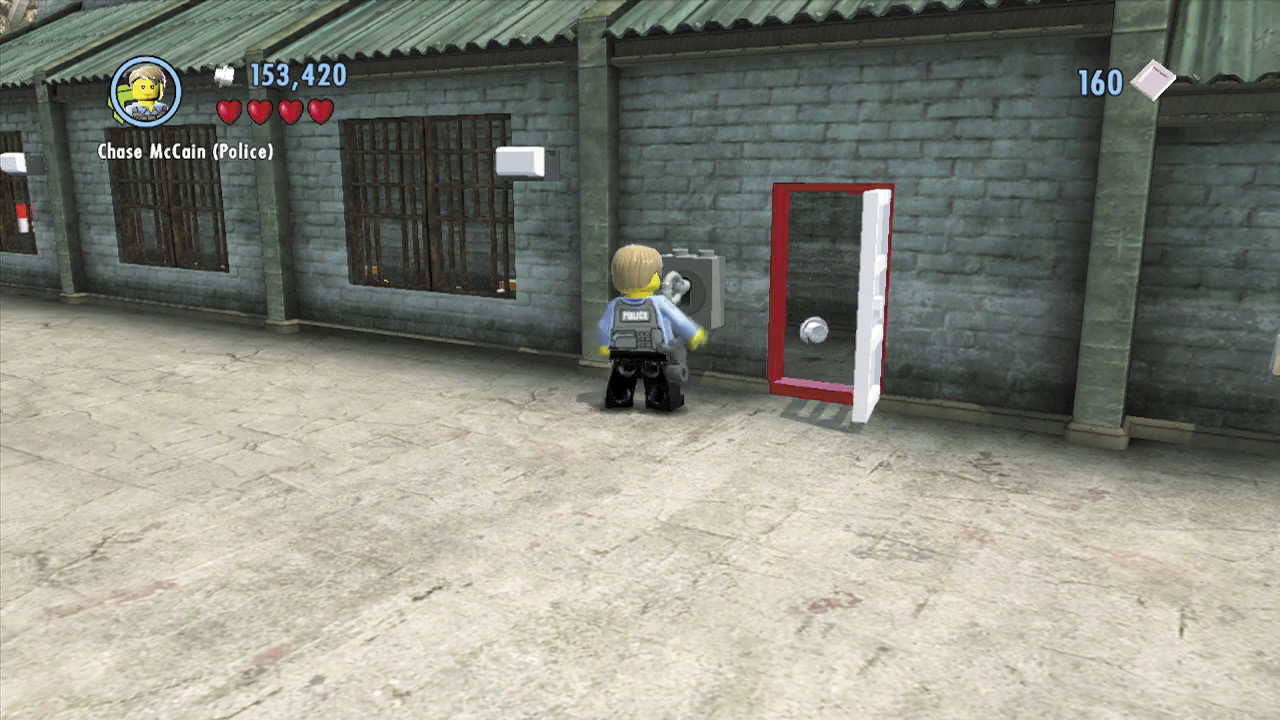
Collect the key, then backtrack a bit and use it to open the nearby door. Use the control panel inside the building to open the gate.
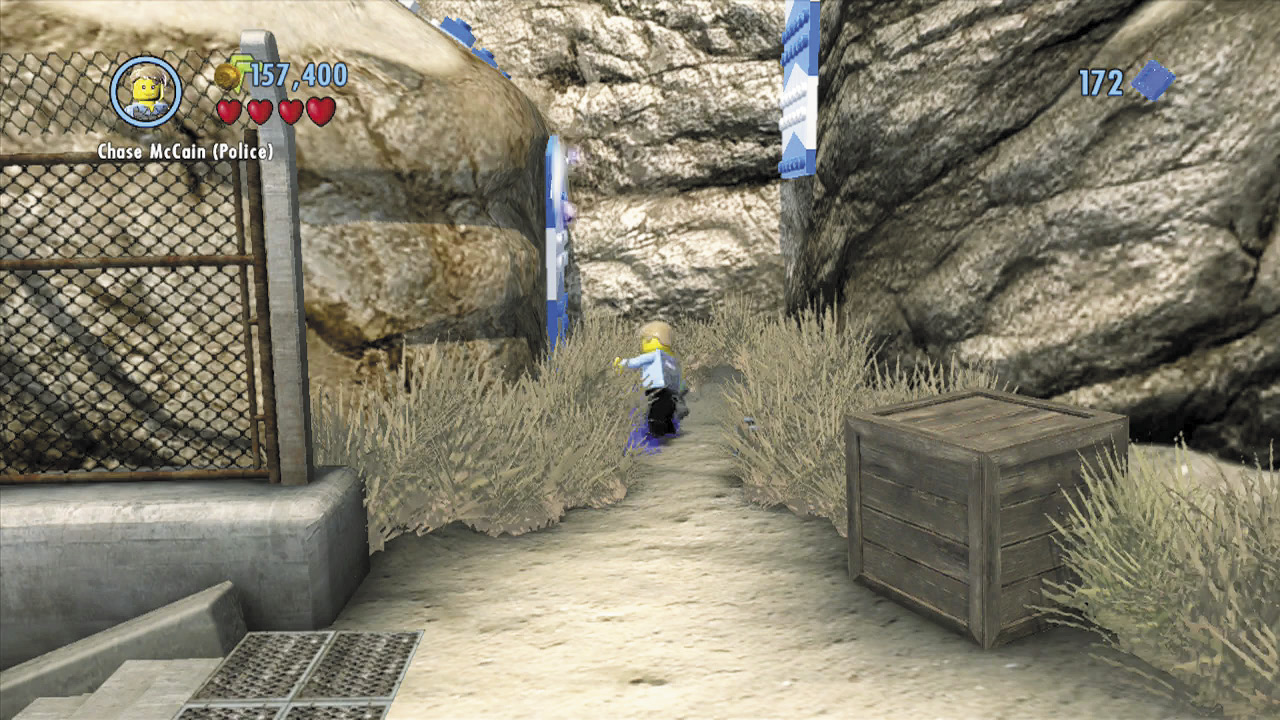
Exit the building and pass through the gate. Turn left and smash a Dumpster to discover some LEGO bricks. Build them into a blue and white wall.
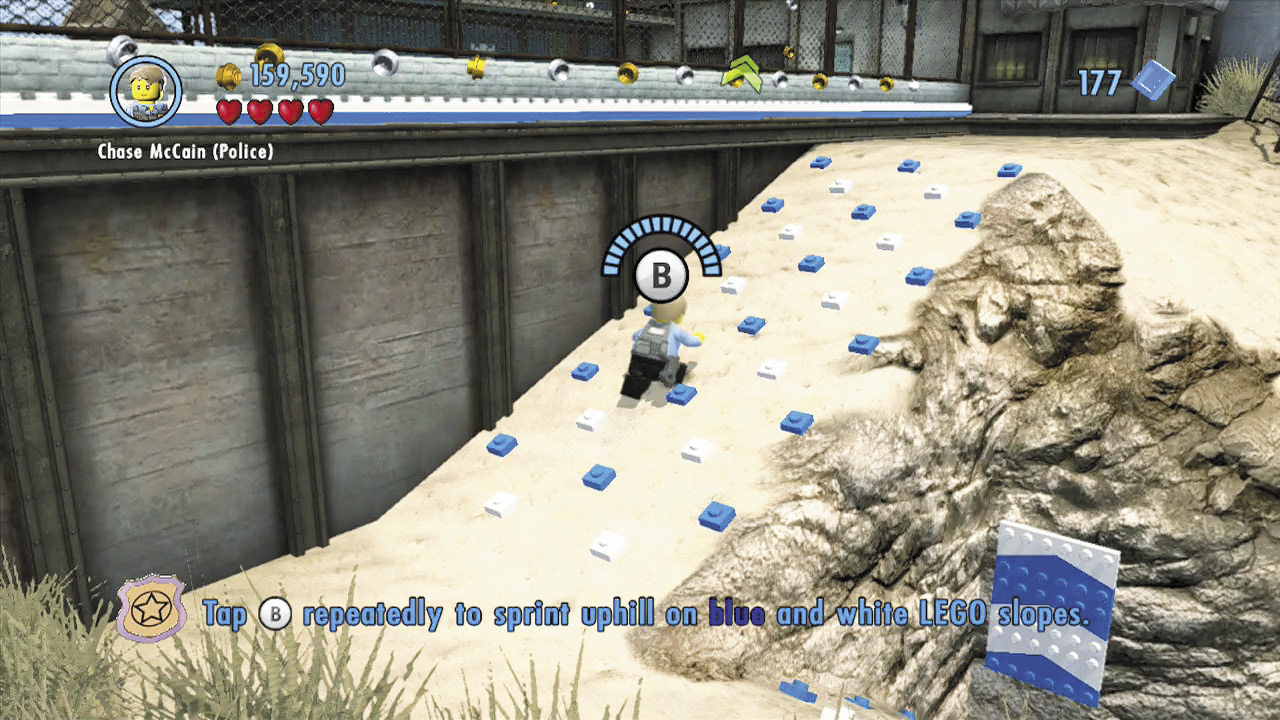
Jump between the blue and white walls to climb to a steep slope. Tap $ to sprint up the slope without slipping backward.
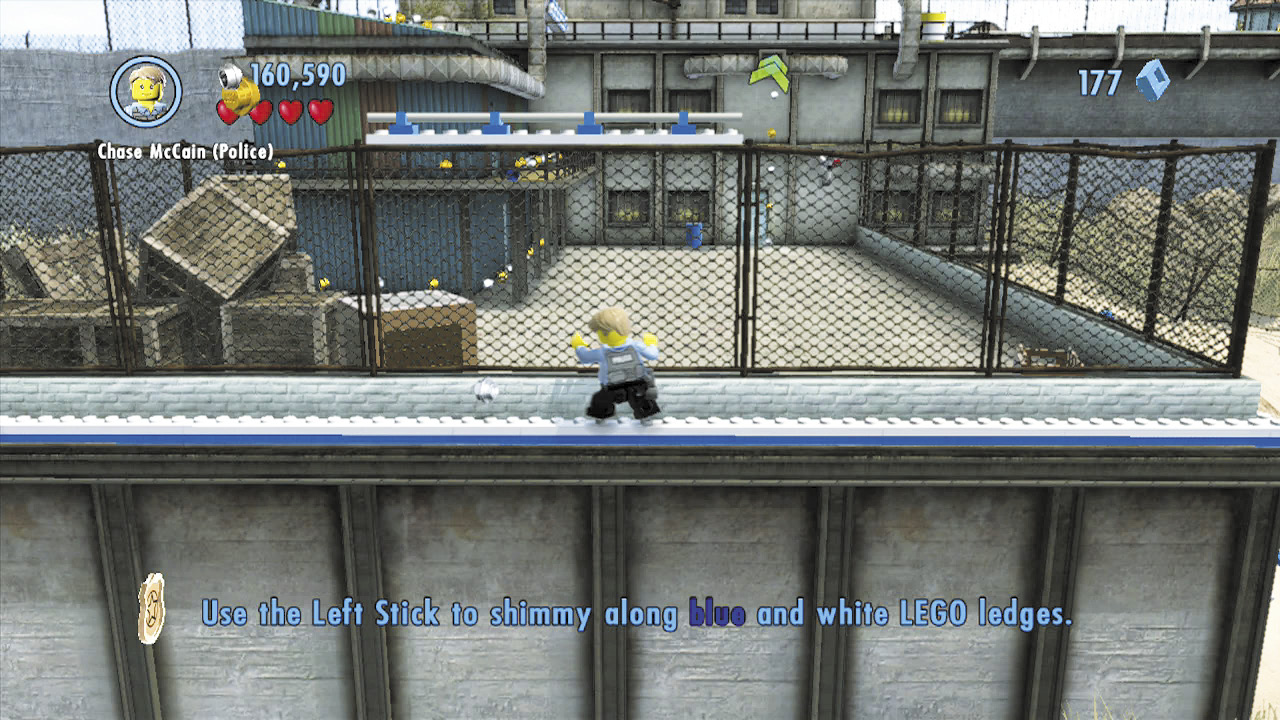
Jump onto the thin ledge above the slope, then inch your way around. Look for a bar running along the top of the fence, and vault it.
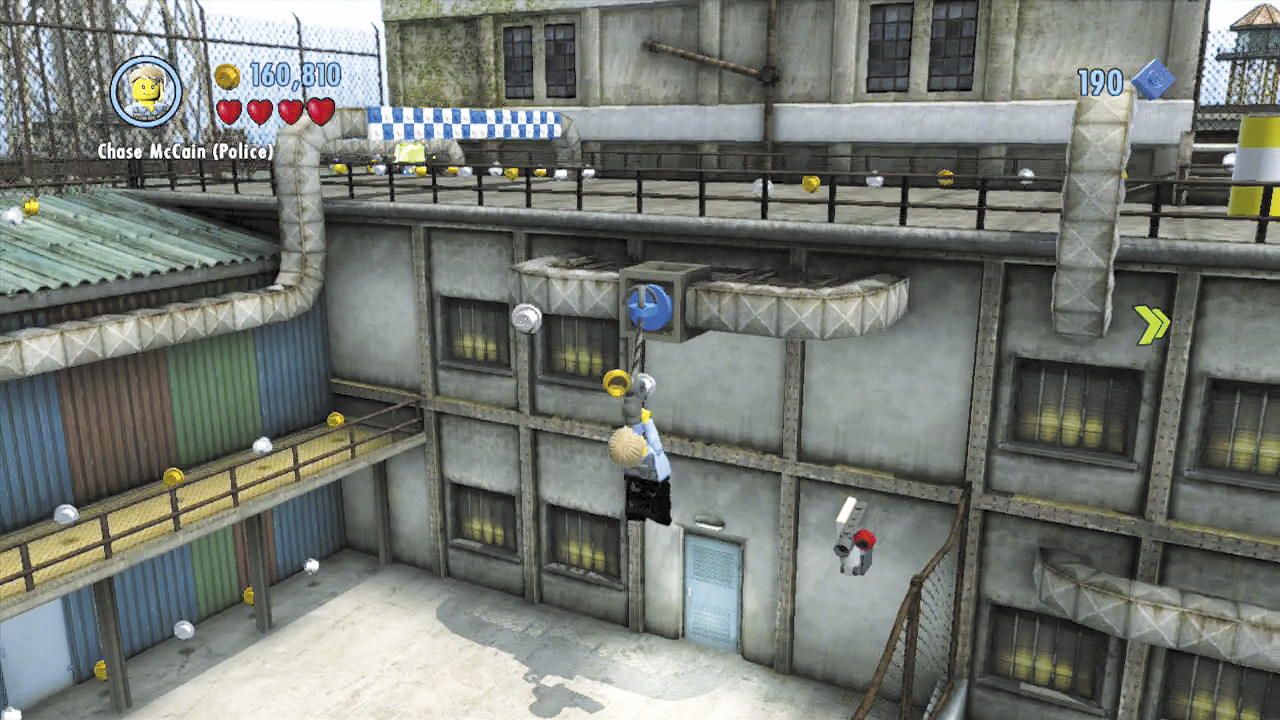
Use the grapple gun to zip up to a grapple point beyond the fence. Slide beneath the blue and white LEGOs to reach a superbrick, then slide back under and head to the right, around the rampart.
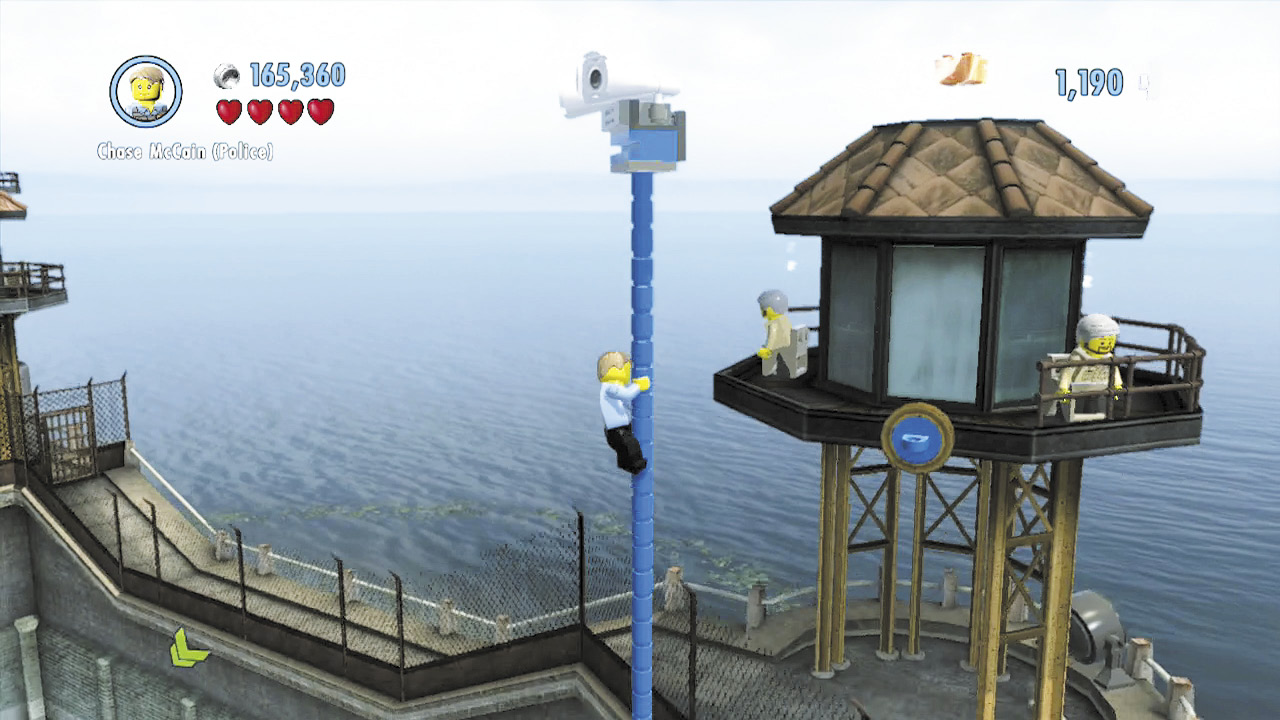
Use the grapple gun again to zip to the top of the guard tower at the rampart’s end. Leap to the nearby pole, then slide down to at last reach the prison yard.
Closed Court
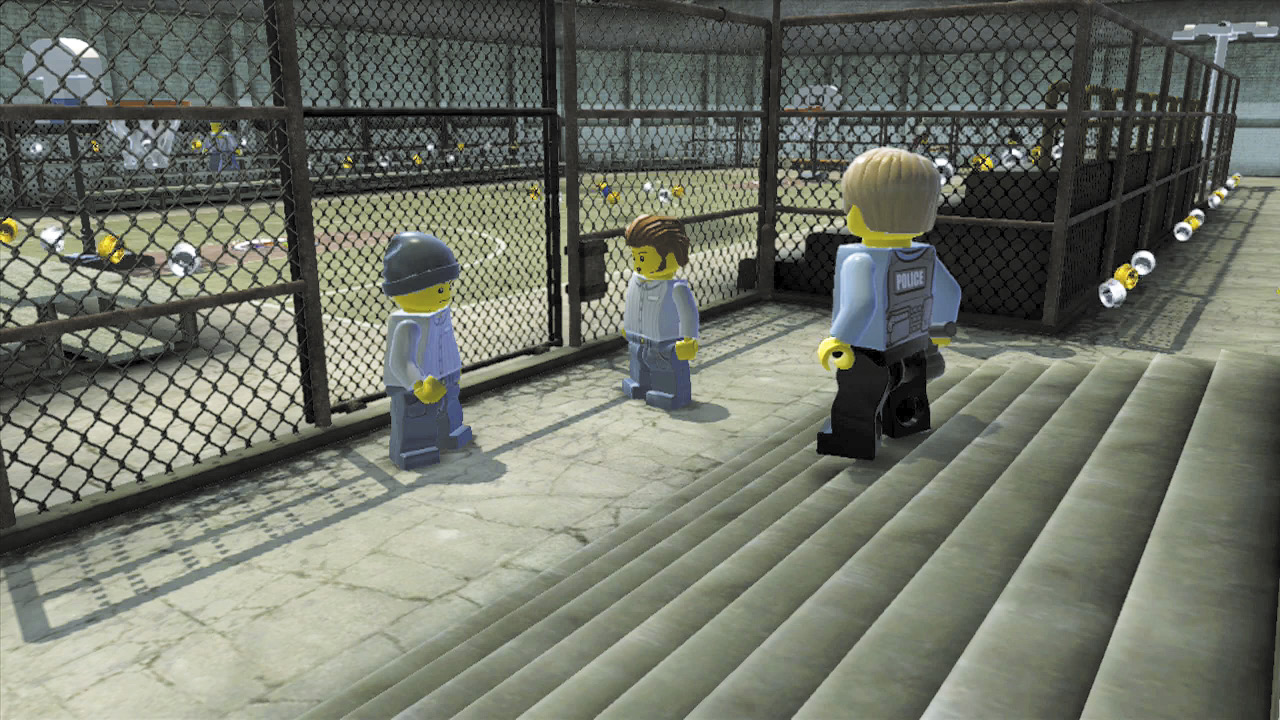
Use the yard’s exercise equipment if you like, then approach the pair of inmates near the basketball court. They agree to let Chase into the court, but only if he first retrieves a basketball that some bullies stole.
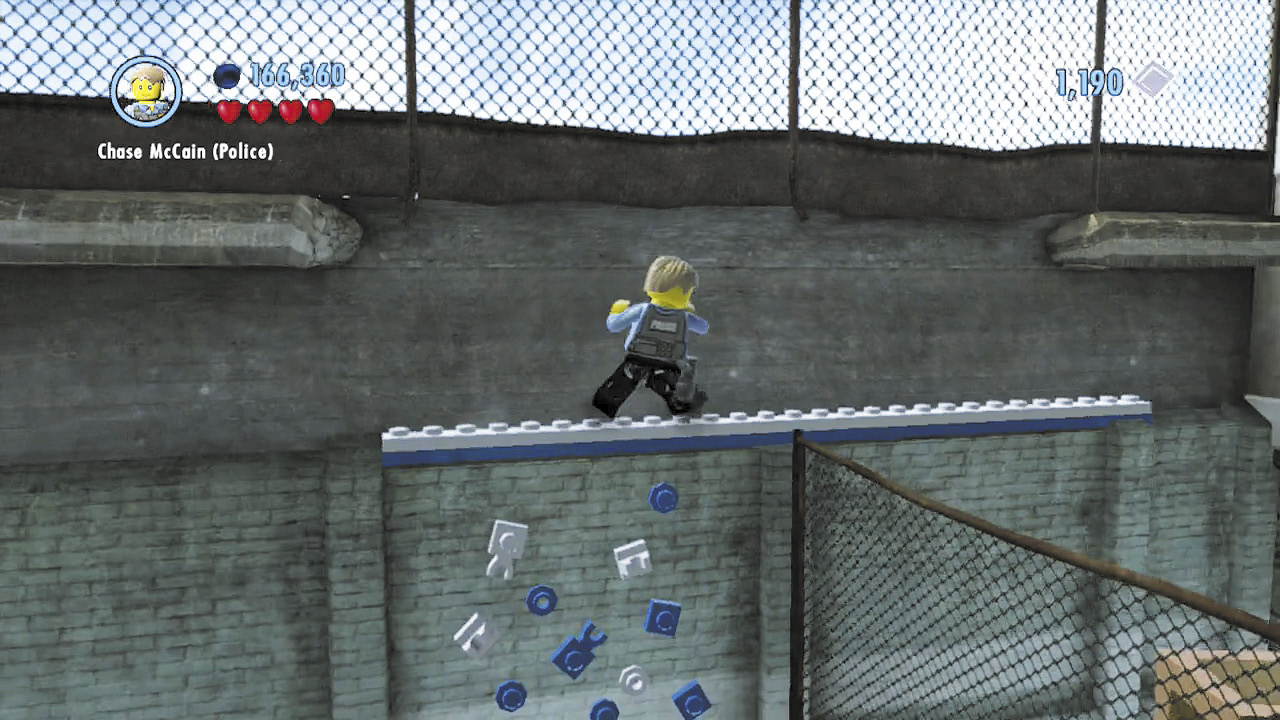
Run toward the background wall and climb up to a thin ledge. Drop from the ledge to land on the other side of the fence.
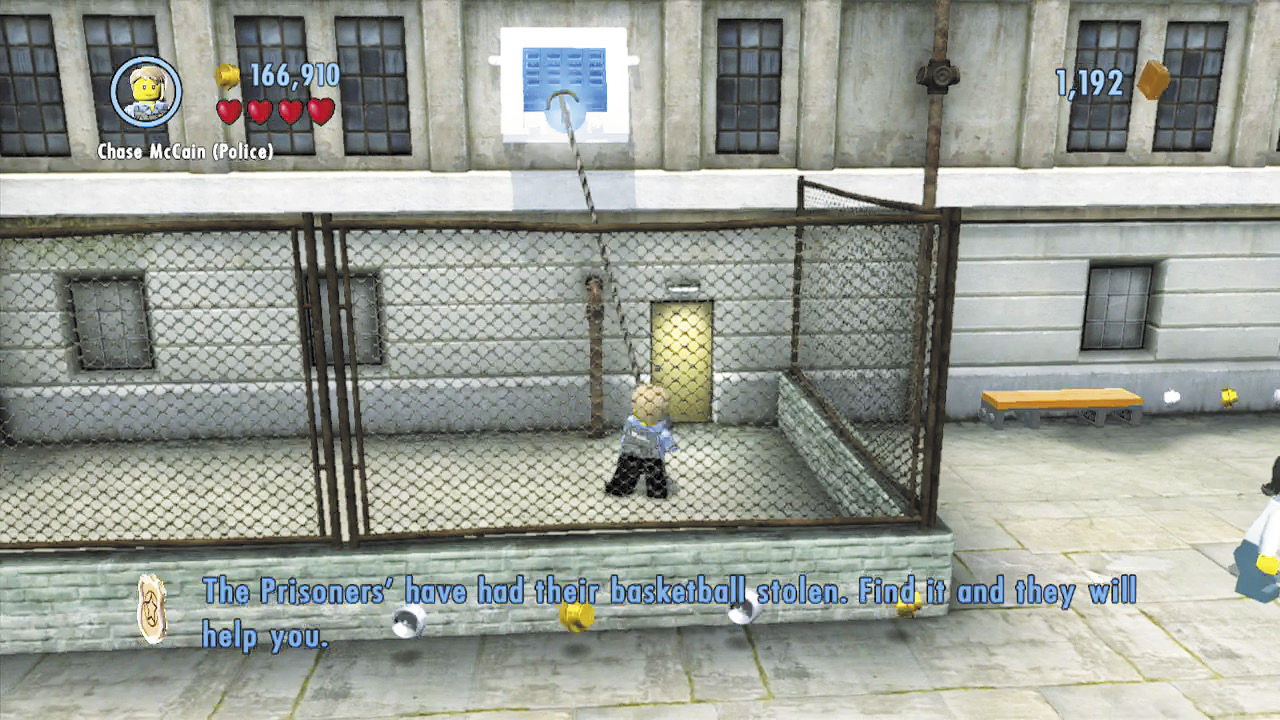
Use the grapple gun to pull down an air conditioner, which shatters into LEGO bricks. Build these into a catapult pad, then use the pad to soar over to the right. Drop into a lower area and confront the bullies who stole the basketball.
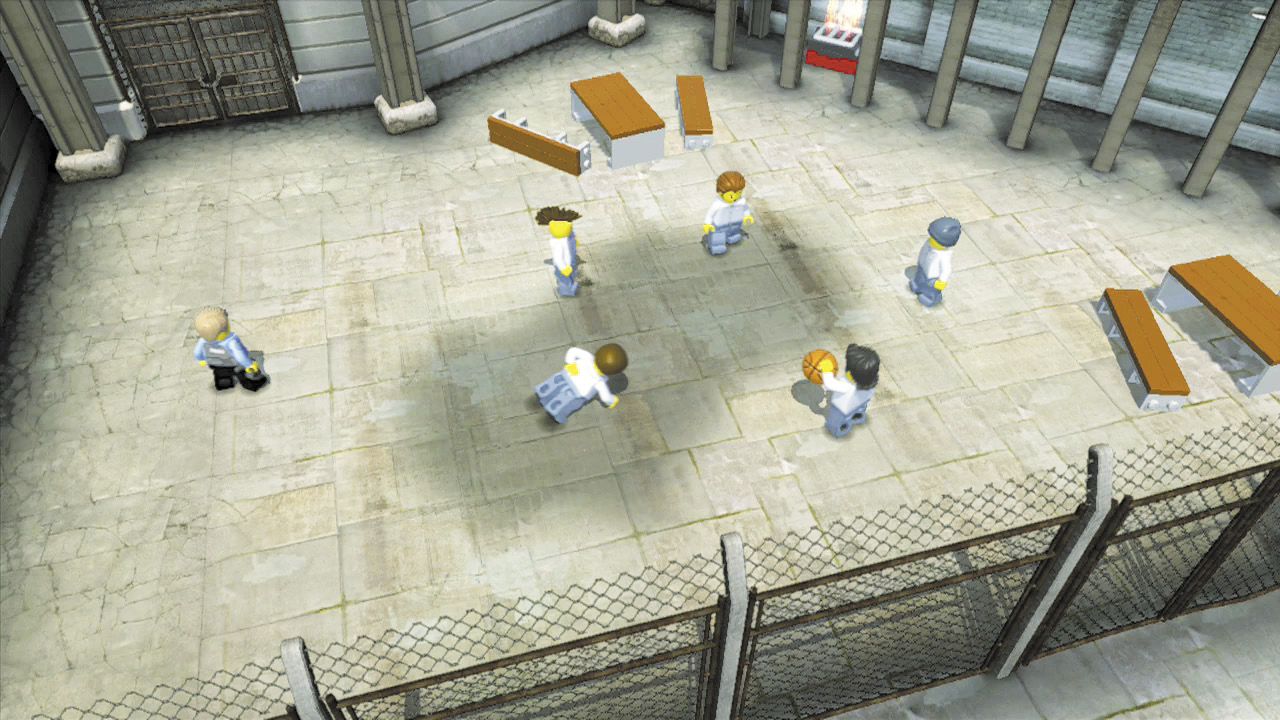
The bullies aren’t interested in sharing their ball, so you’ll have to “persuade” them. Throw them around and slap handcuffs on them while they’re down. Subdue all of the bullies and then claim the basketball.
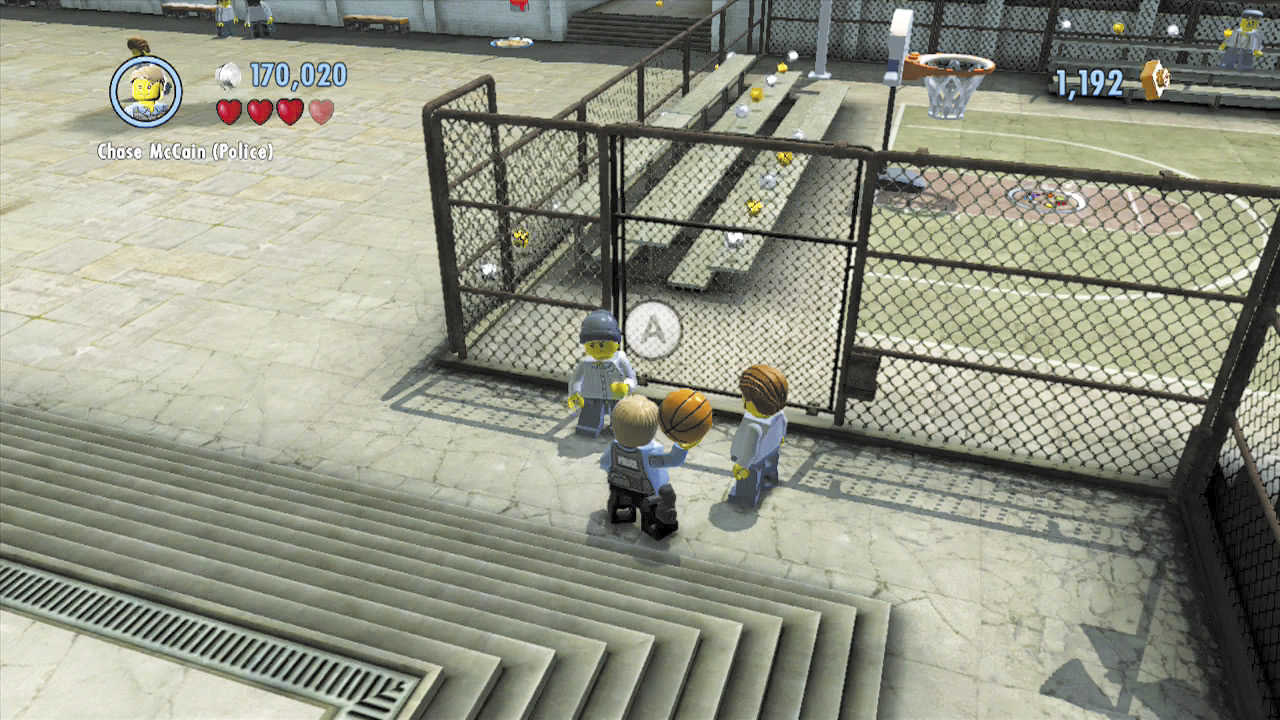
Hurry back to the two inmates by the basketball court. Hand them the ball, and they’ll open the court’s gate. Run over to the inmate in the blue hat—that’s got to be Blue!
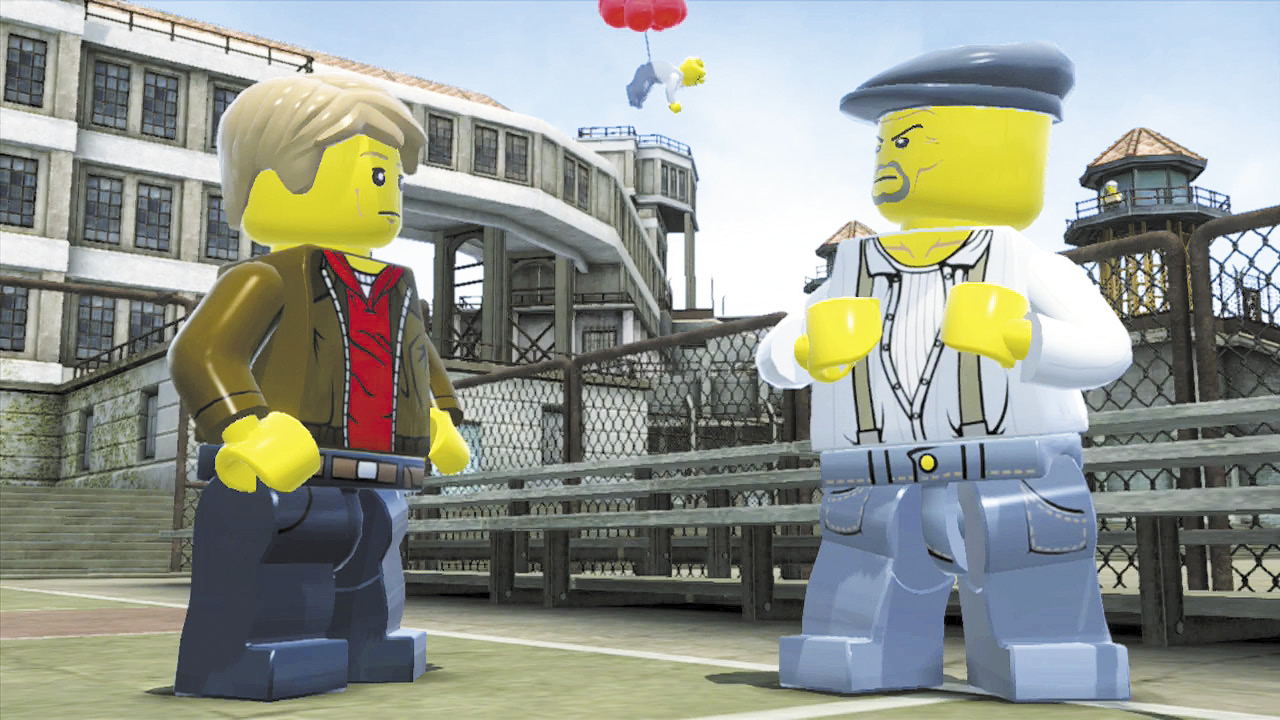
Blue isn’t sure how Rex Fury managed to escape the prison, but he agrees to help Chase find out. Blue tells Chase to get some gear from his cell; then he’ll call him on his communicator with more information.
Objective: Enter the Prison Cell Block
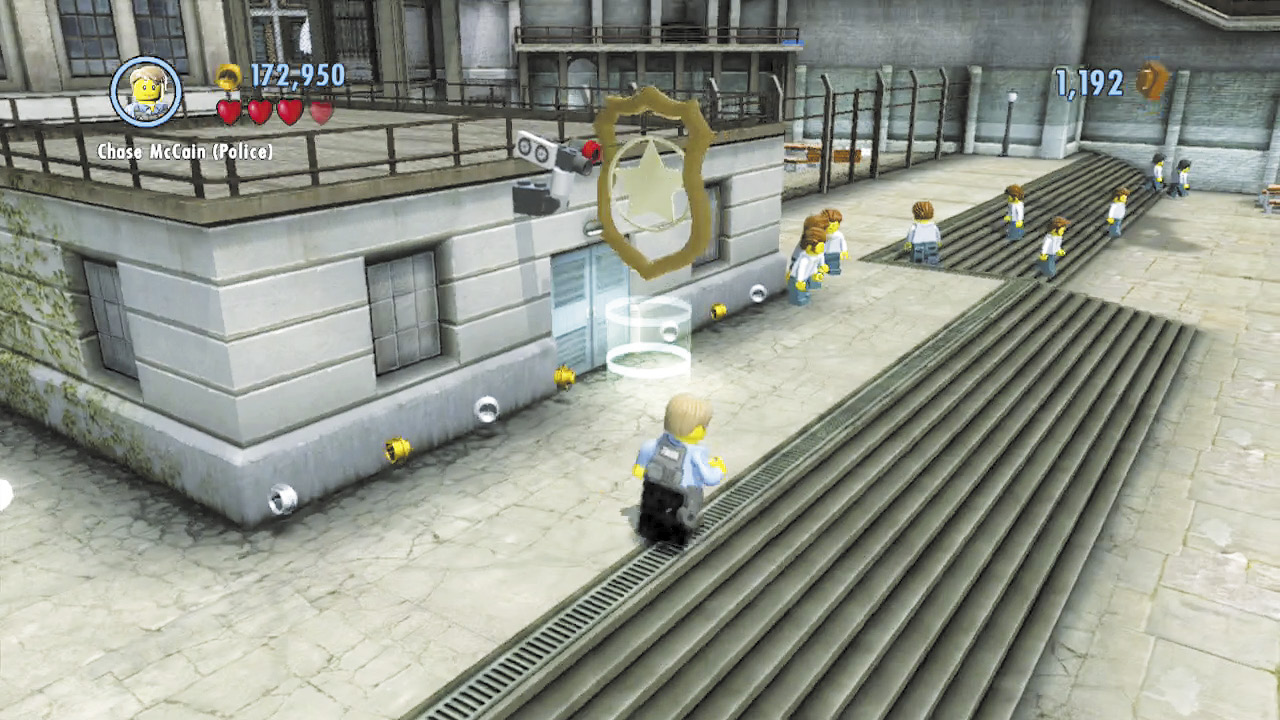
Speaking with Blue turned out to be very beneficial. Now you just need to raid Blue’s cell and find the gear he mentioned. Leave the basketball court and move to the nearby objective beacon to enter the prison and begin your search for clues.
Special Assignment 2: Trouble in Stir
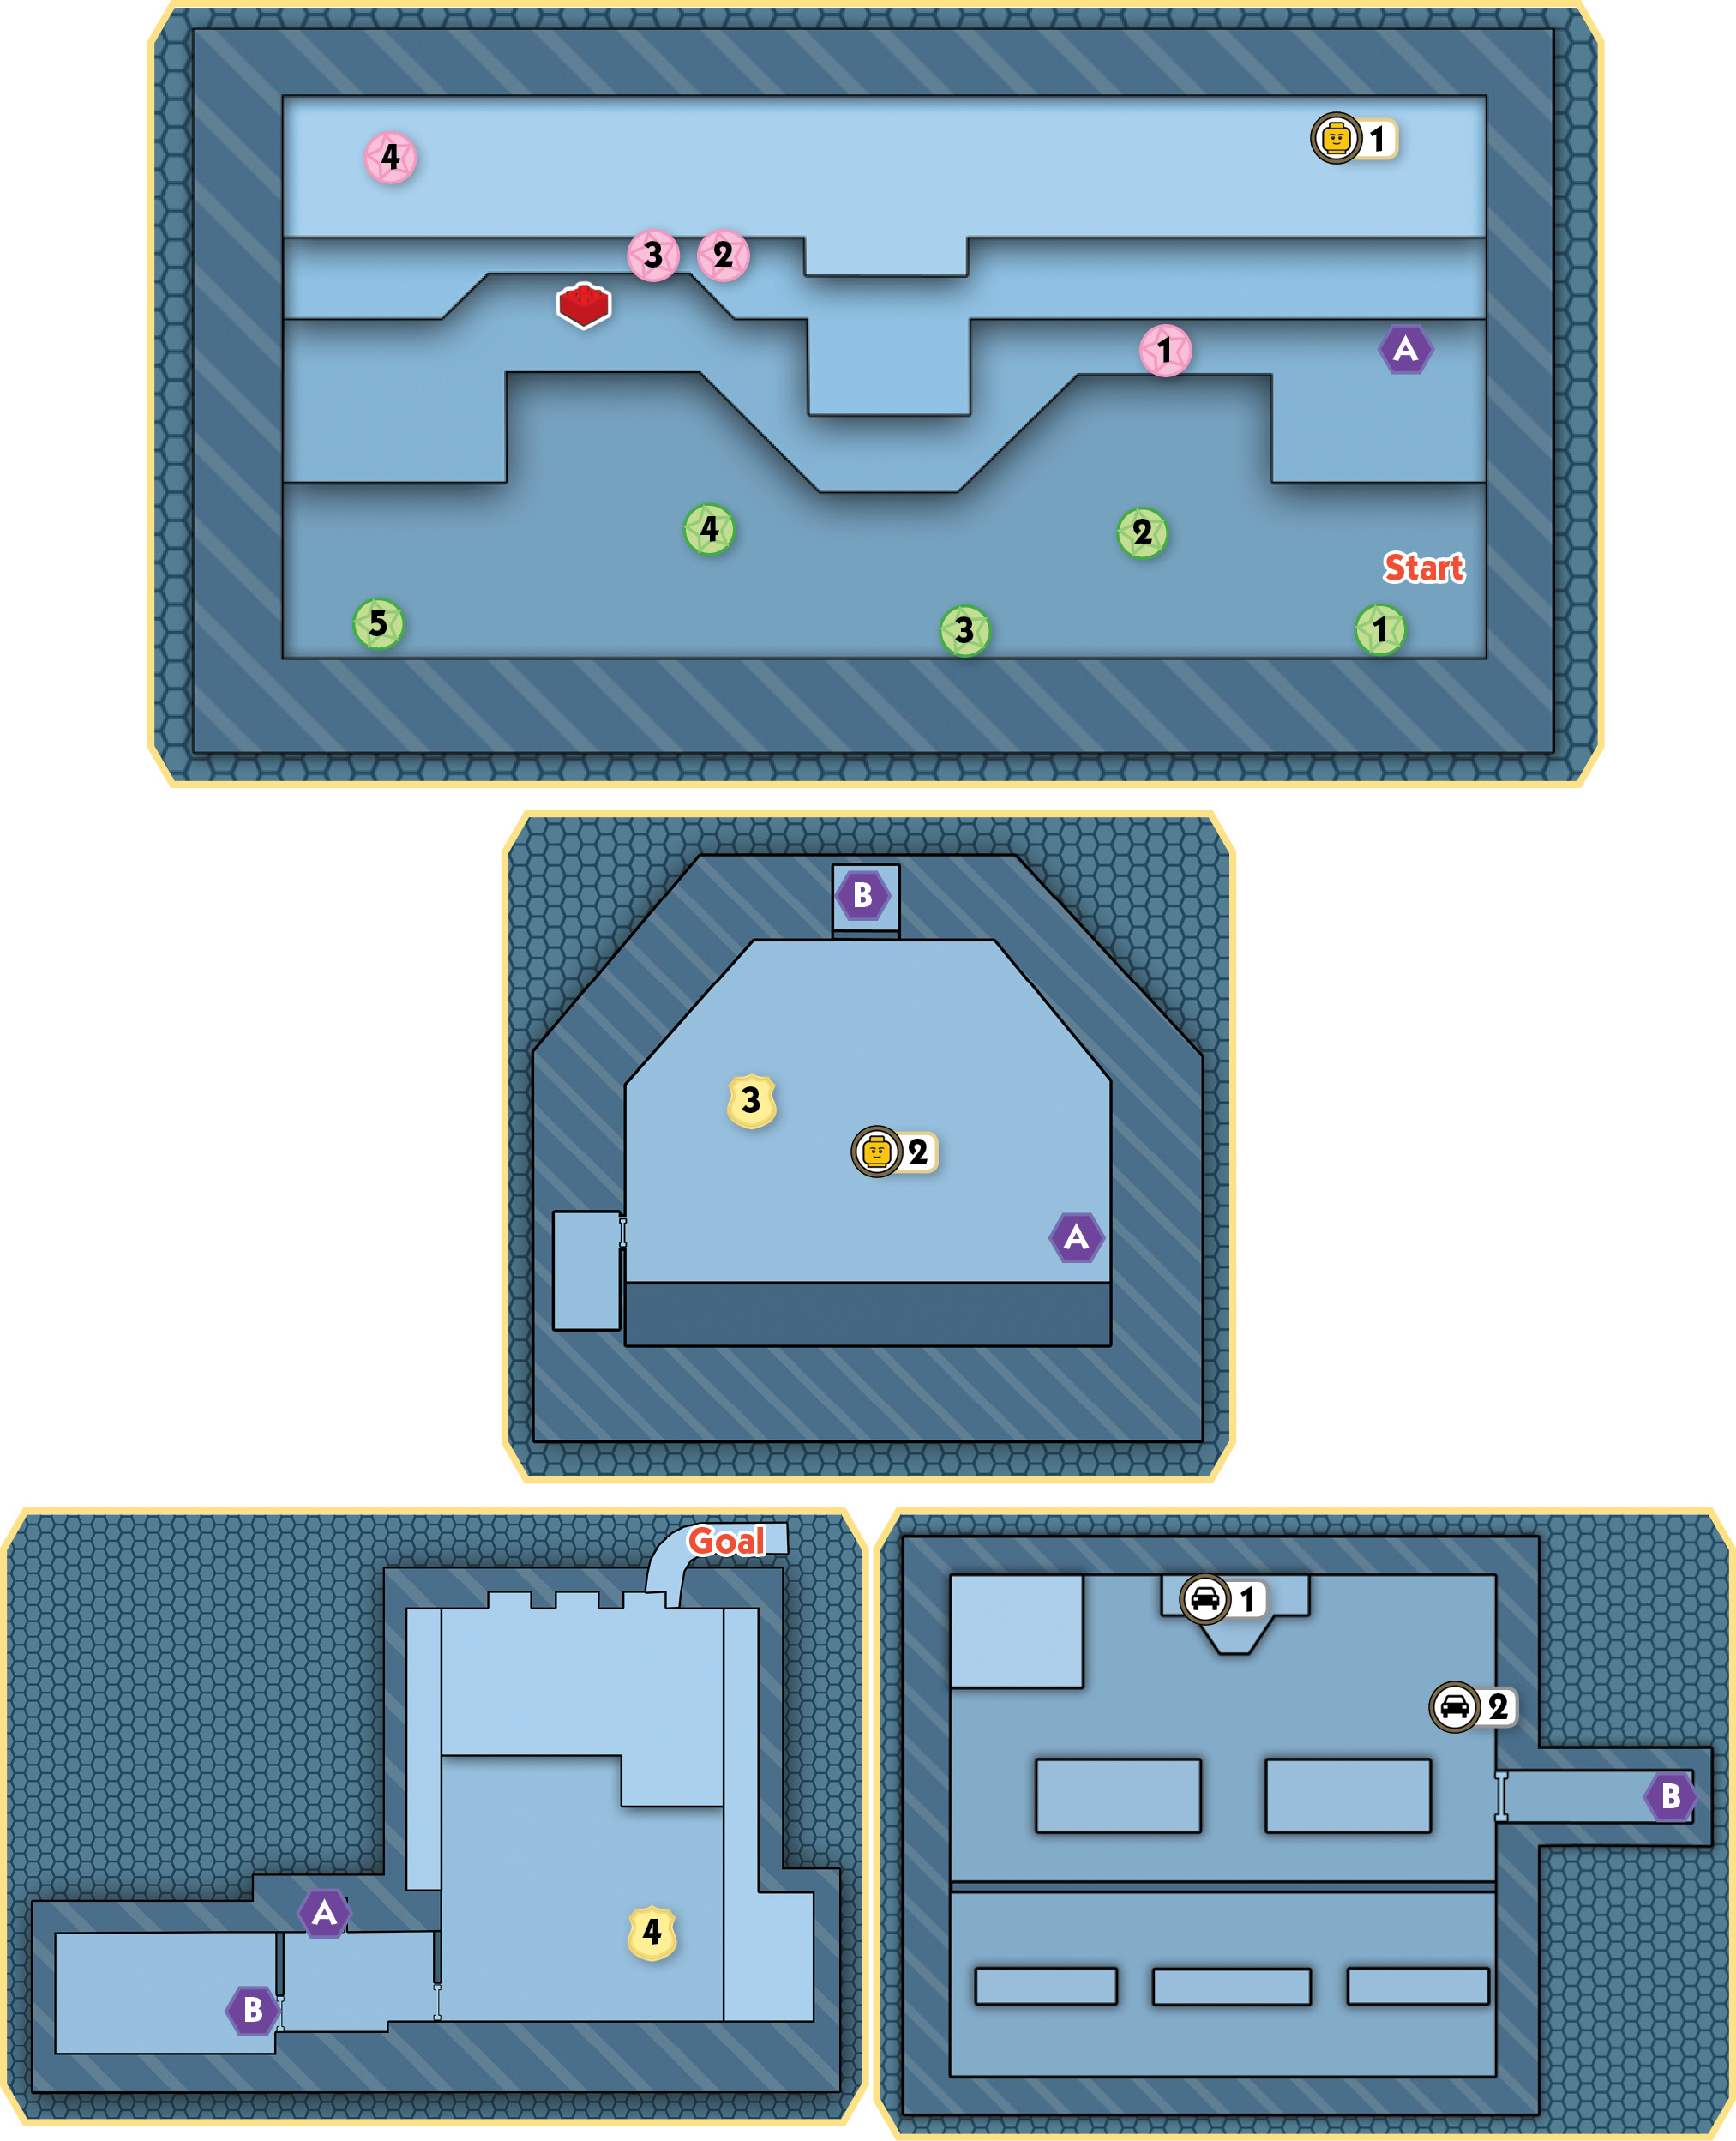
Stage Collectibles: “Trouble in Stir”
| Map Icon(s) | Type | Mode | Notes |
|---|---|---|---|
 |
Police Shield Piece 1 | Free Play | Douse five barrel fires around the prison’s ground floor. |
 |
Red Brick | Story | After climbing up to the second floor, pry open a cell and then smash through its left wall. |
 |
Police Shield Piece 2 | Free Play | Destroy four piles of contraband inside the prison cells. Free Play skills are needed to reach some of them. |
 |
“Blue Whittaker” character token | Free Play | Fix the elevator fuse box and climb up to the fourth floor. Find dynamite in the kitchen and blast open the storage area. |
 |
Police Shield Piece 3 | Story | Ride the mechanical bull inside the warden’s office. |
 |
“Prisoner” character token | Story | Smash the desk on the right, then follow the footprints to discover the token in the warden’s desk. |
 |
“Rino” vehicle token | Free Play | Break into the workshop with the fire axe, build the RC car, use it to open the background cage, collect the valve wheel, and open the furnace doors. |
 |
“Segway” vehicle token | Free Play | Break into the workshop with the fire axe, smash the background cabinet, crack the wall safe, blast the silver sink with dynamite, and ride the water geyser. |
 |
Police Shield Piece 4 | Story | Use the bench press in Rex’s cell, then smash the nearby furniture and build a drum set. Play the drums. |
LEGO City HeroStud Requirement:
 63,000
Objective: Subdue the Inmates
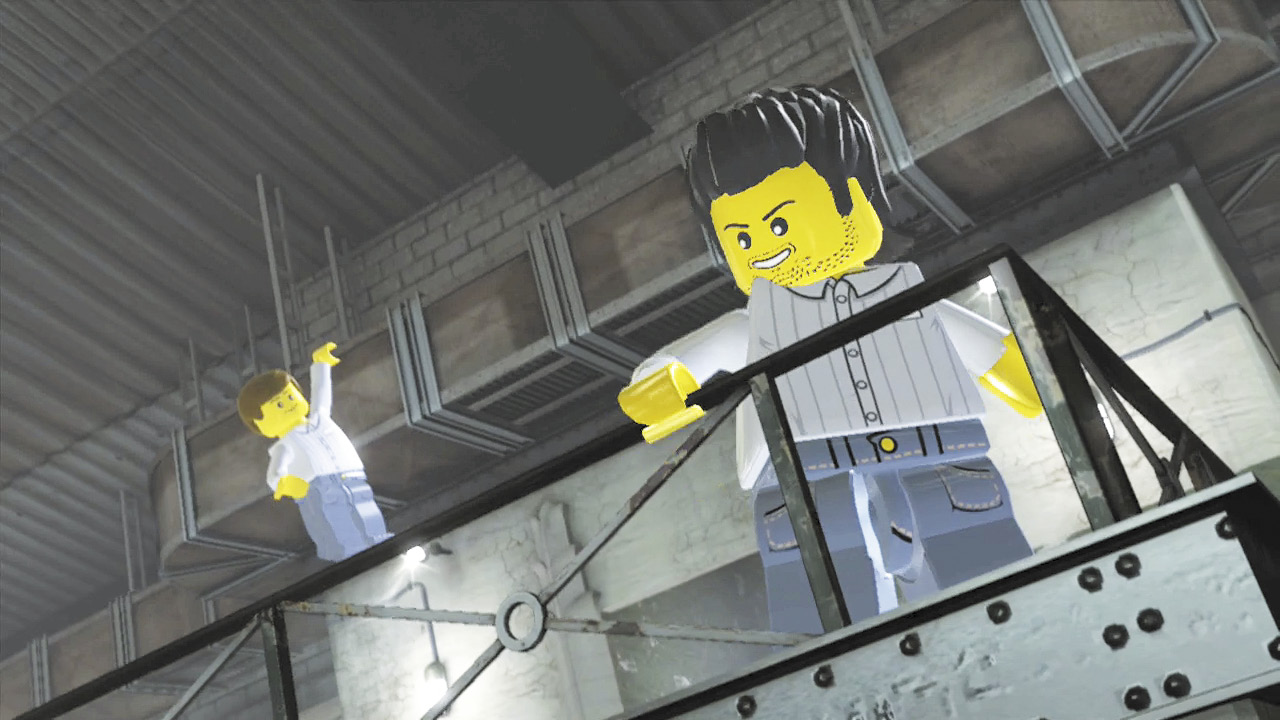
Chase arrives just in time to witness Albatross’s inmates going berserk in the cell block. You’ve got to subdue those prisoners!
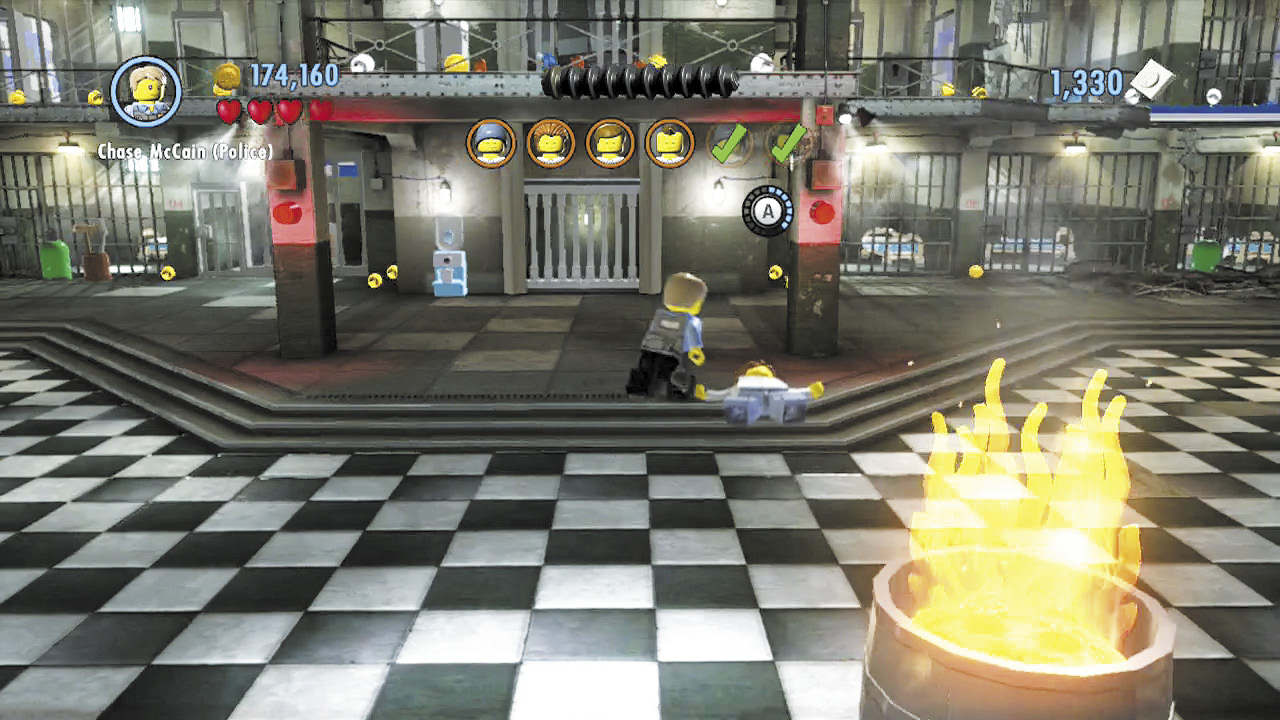
Run around the cell block’s ground floor and beat up six escaped prisoners. Slap handcuffs on each inmate to subdue them.
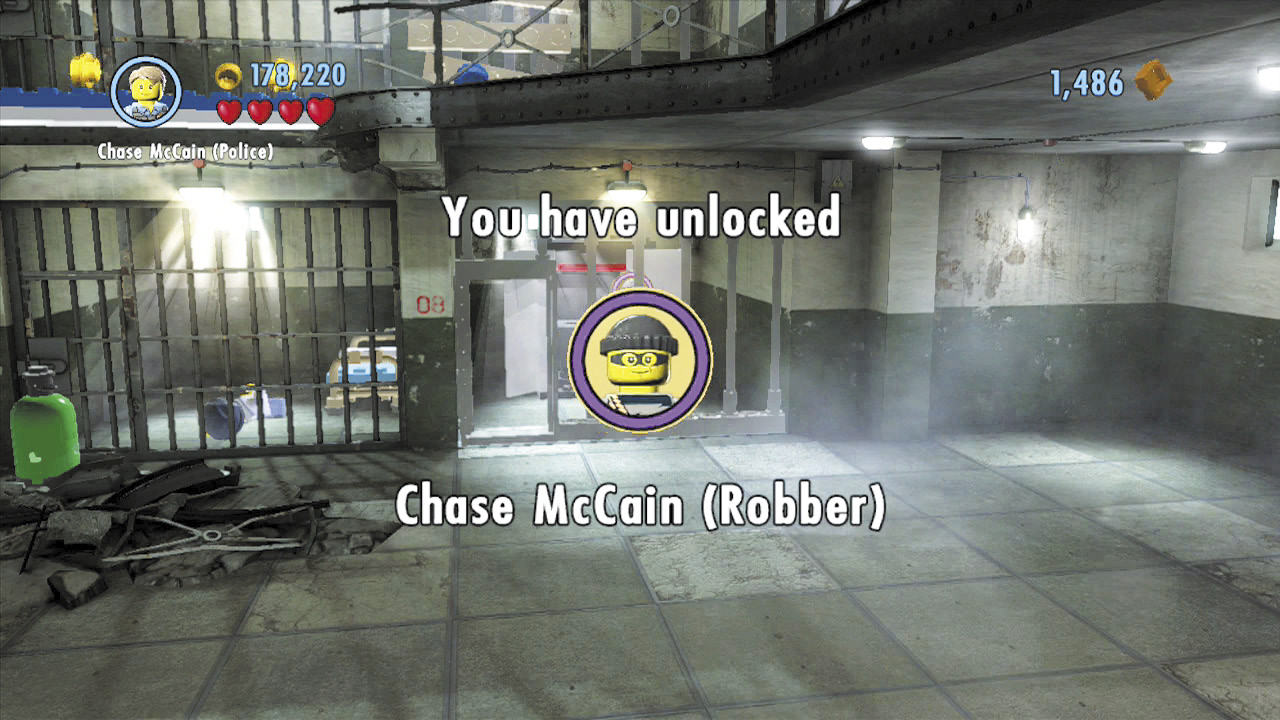
Happy to have order restored, the prison guard gladly unlocks Blue’s cell, granting Chase access to a locker. Enter the cell and open the locker to discover the Chase McCain (Robber) outfit!
Free PlayPolice Shield Piece 1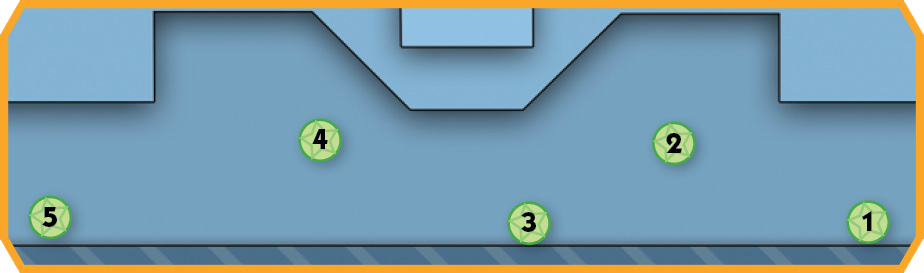 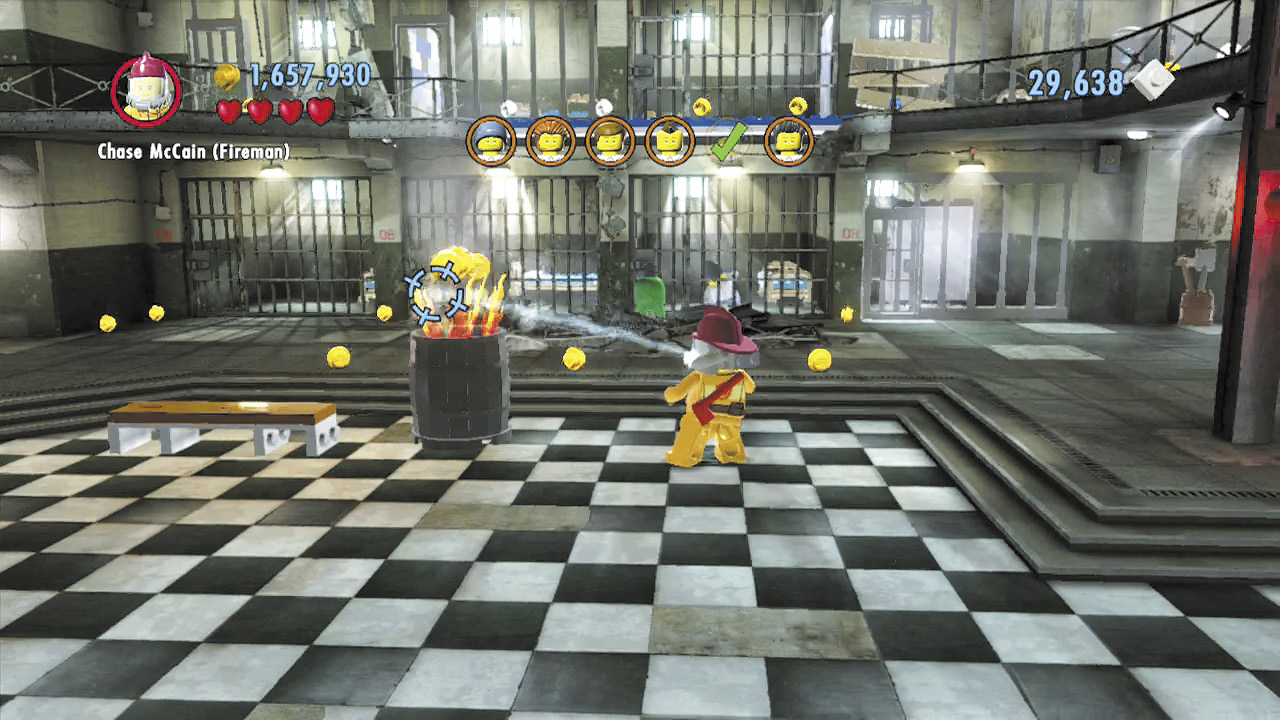 Use the fireman disguise’s extinguisher to douse five barrel fires around the prison’s ground floor, and you’ll rescue a sizzling shield piece! |
Objective: Enter the Warden’s Office
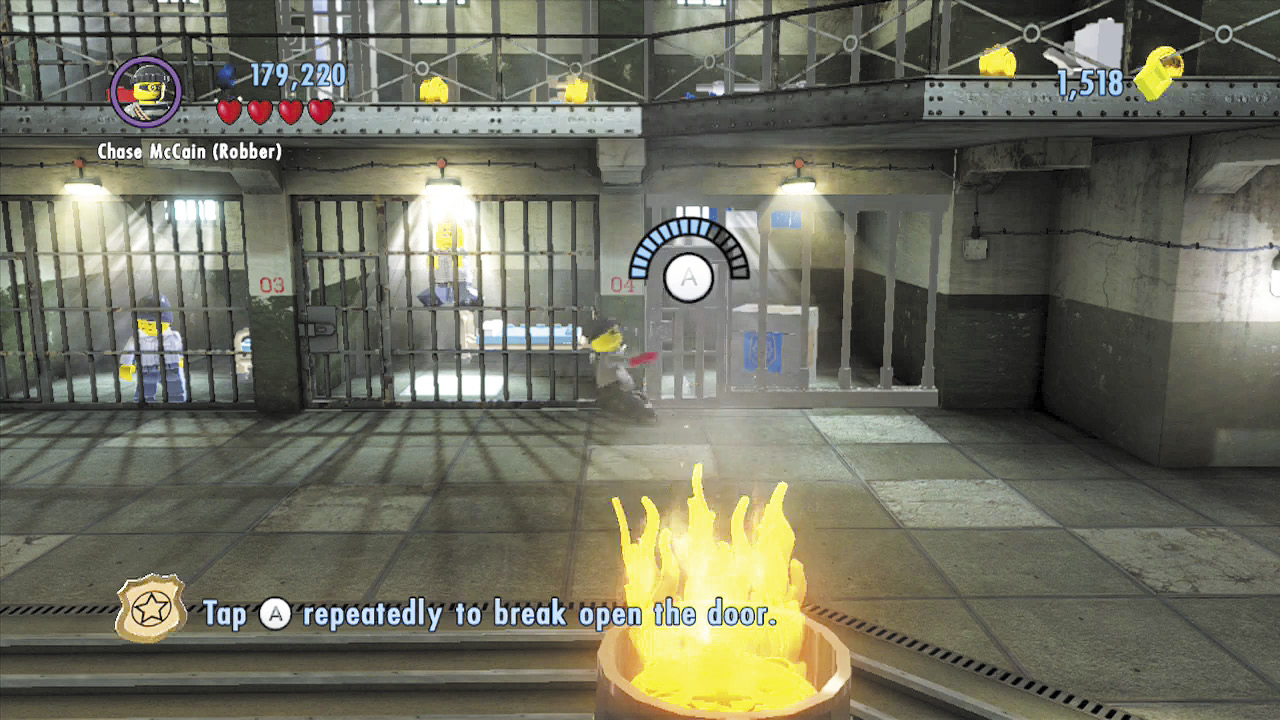
Now that you’ve found the robber disguise, you can explore much more of the prison. Run to the left and look for a cell with a crowbar symbol in front of it. Switch to the Chase McCain (Robber) outfit, then stand on the crowbar symbol and rapidly press # to pry open the cell’s door.
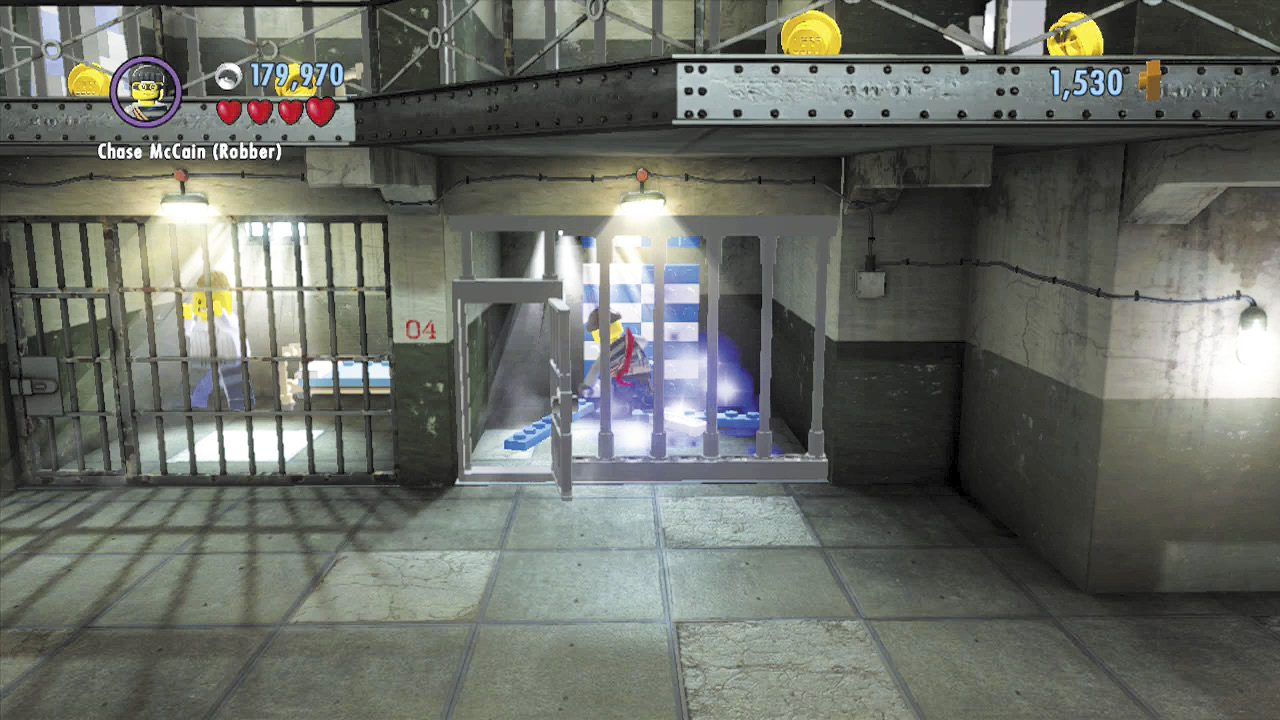
Nice work! Now smash the crate inside the cell to discover some LEGO bricks. Build these into a climbable wall, then head up to the prison’s second floor.
Red Brick: Studs x2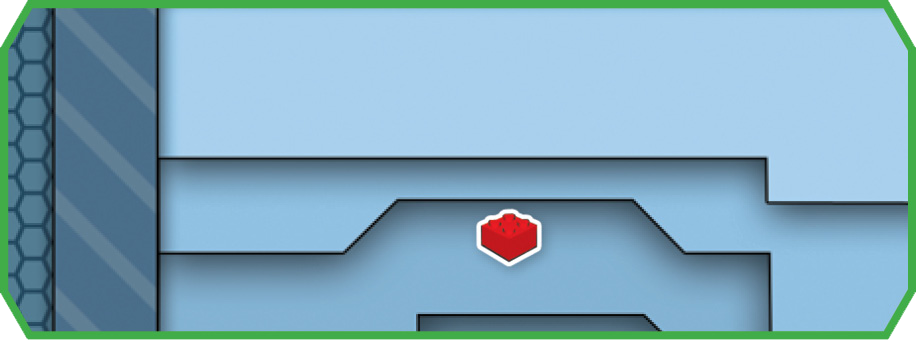 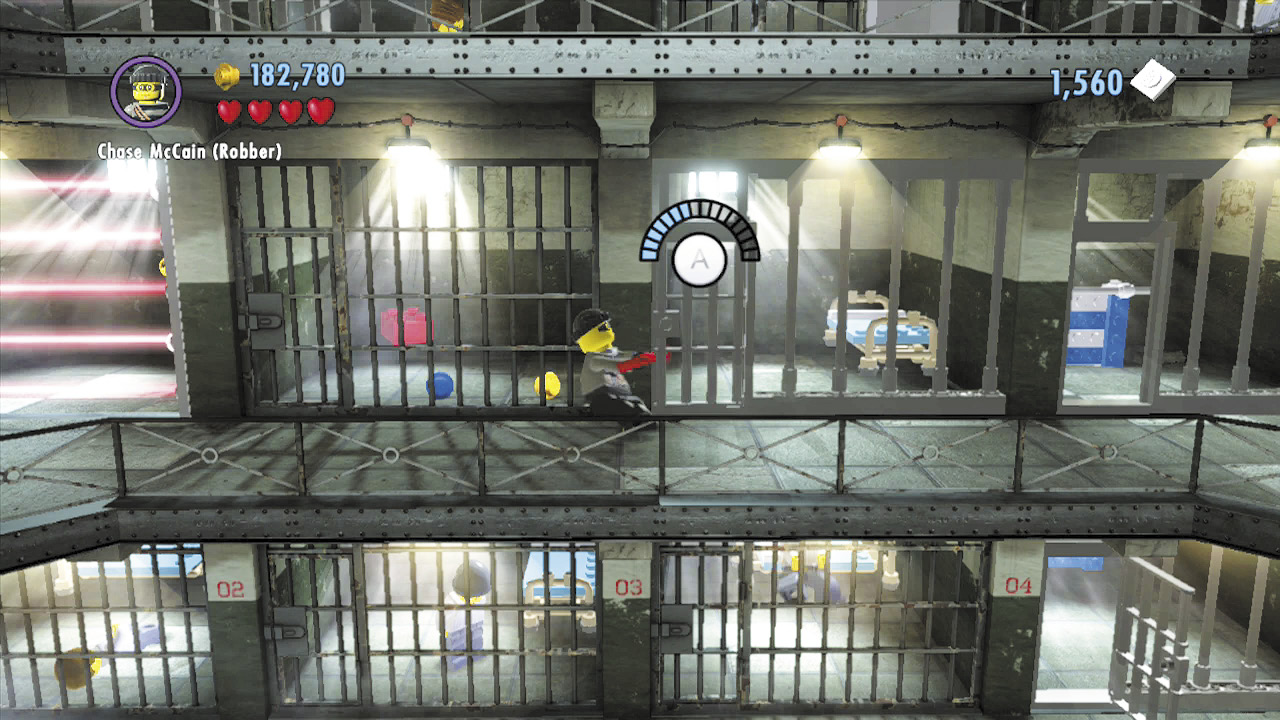 After climbing to the prison’s second floor, pry open another nearby cell. Smash through the cell’s left wall to enter the neighboring cell, where this stage’s red brick sits. |
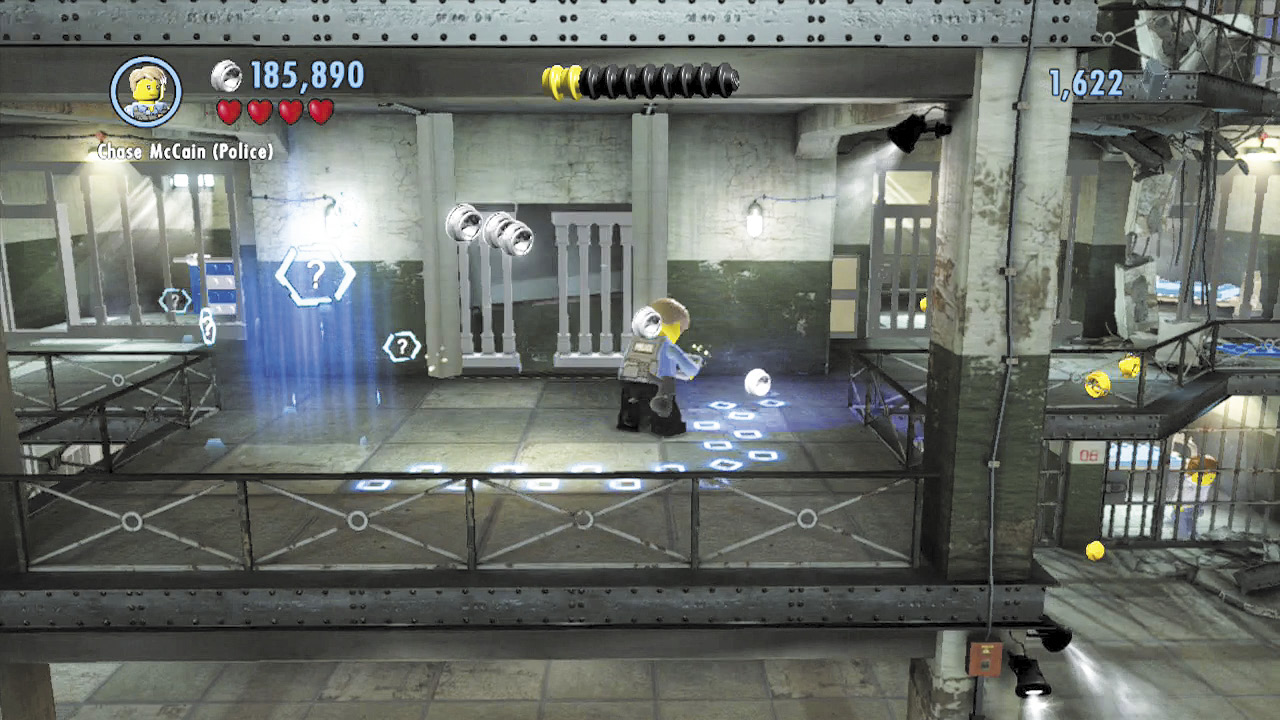
On the second floor, go right and smash a cart to discover a scan spot. Press 9 to toggle back to the Chase McCain (Police Officer) outfit so you may use Detective Scan mode. Follow the trail of footprints to a nearby cabinet, inside which you discover a key.
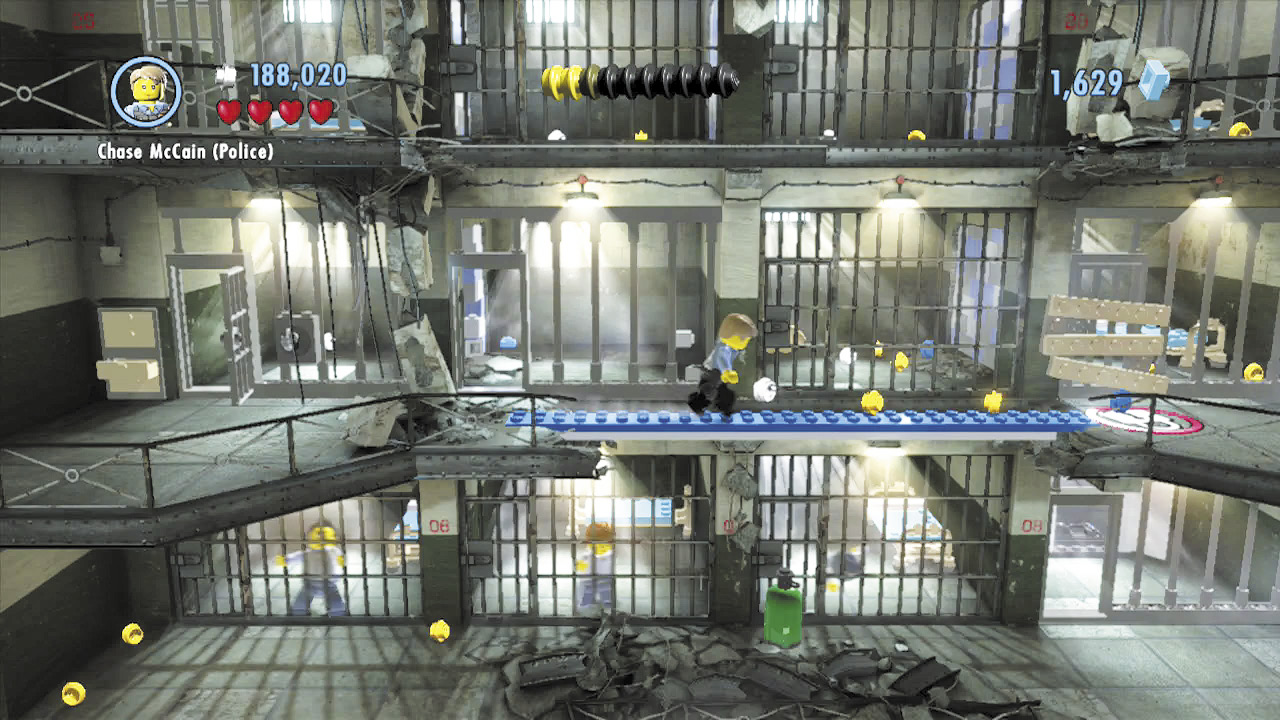
Use the key to unlock the nearby cell. Enter and smash the cell’s right wall to reach the neighboring cell. Exit the cell and carefully cross the blue balance beam to reach the second floor’s right side.
Free PlayPolice Shield Piece 2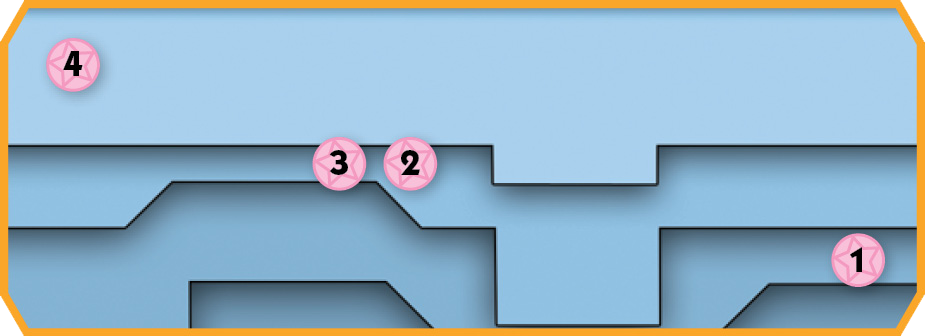 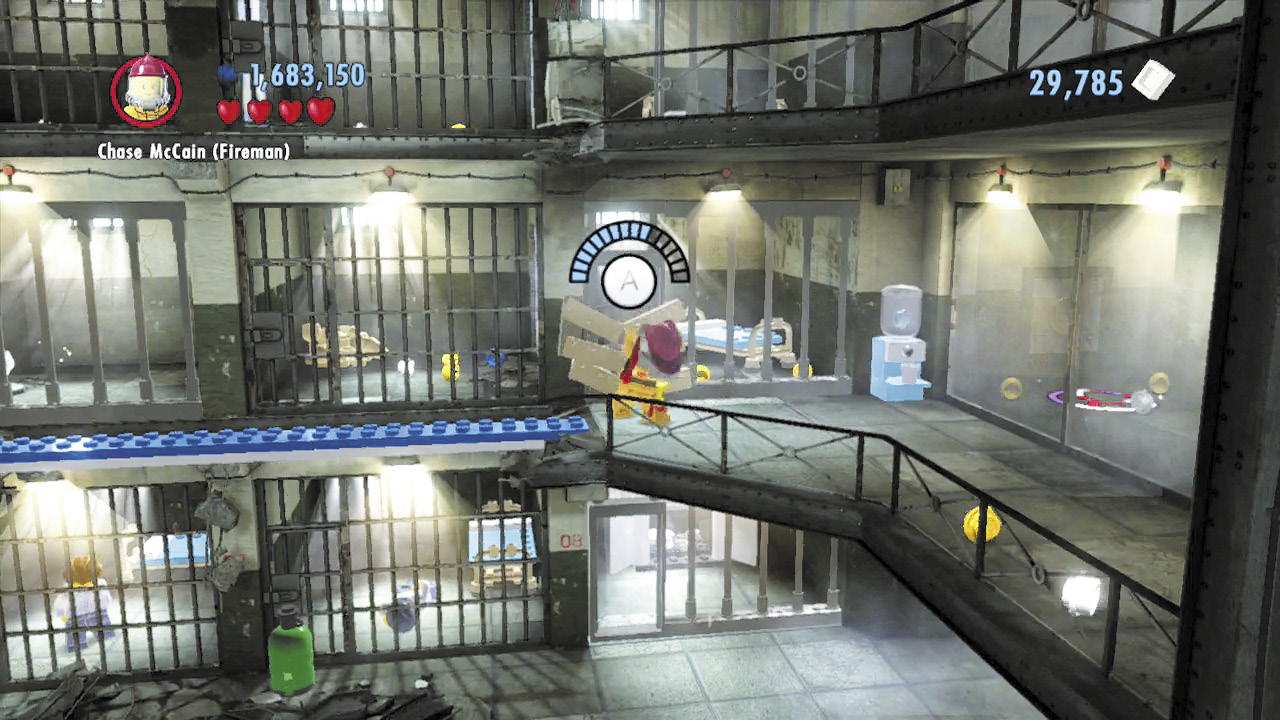 Chop through the boarded door beyond the balance beam to enter a cell. Smash through the cell’s left wall to enter the neighboring cell, then destroy a pile of contraband in the corner. Find and destroy four contraband piles in these prison cells to receive a shield piece! The maps show where each contraband pile is located—you’ll need to visit the fourth floor to reach some of them. |
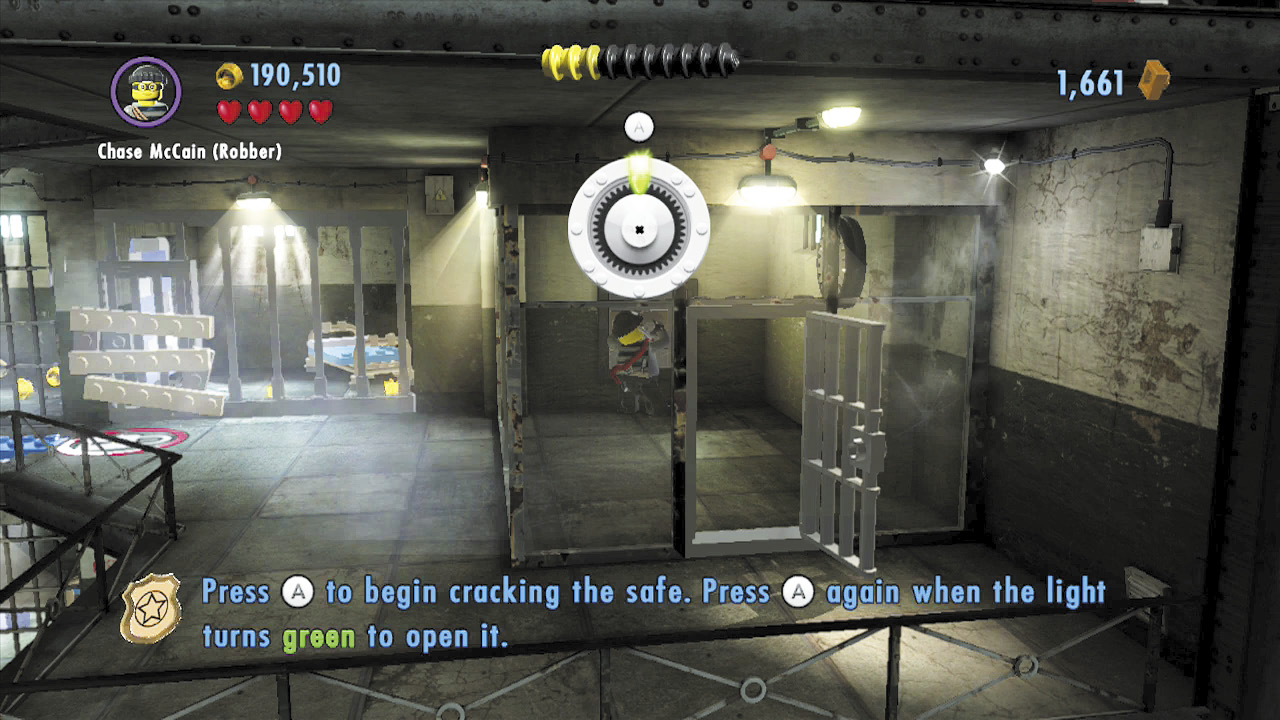
Run to the right to discover another crowbar symbol near a cell. Press 0 to change back into the robber disguise, then pry open the cell with the crowbar. Enter and stand on the stethoscope symbol near the safe. Press # to begin cracking the safe. When the dial’s red light turns green, press # again to open the safe.
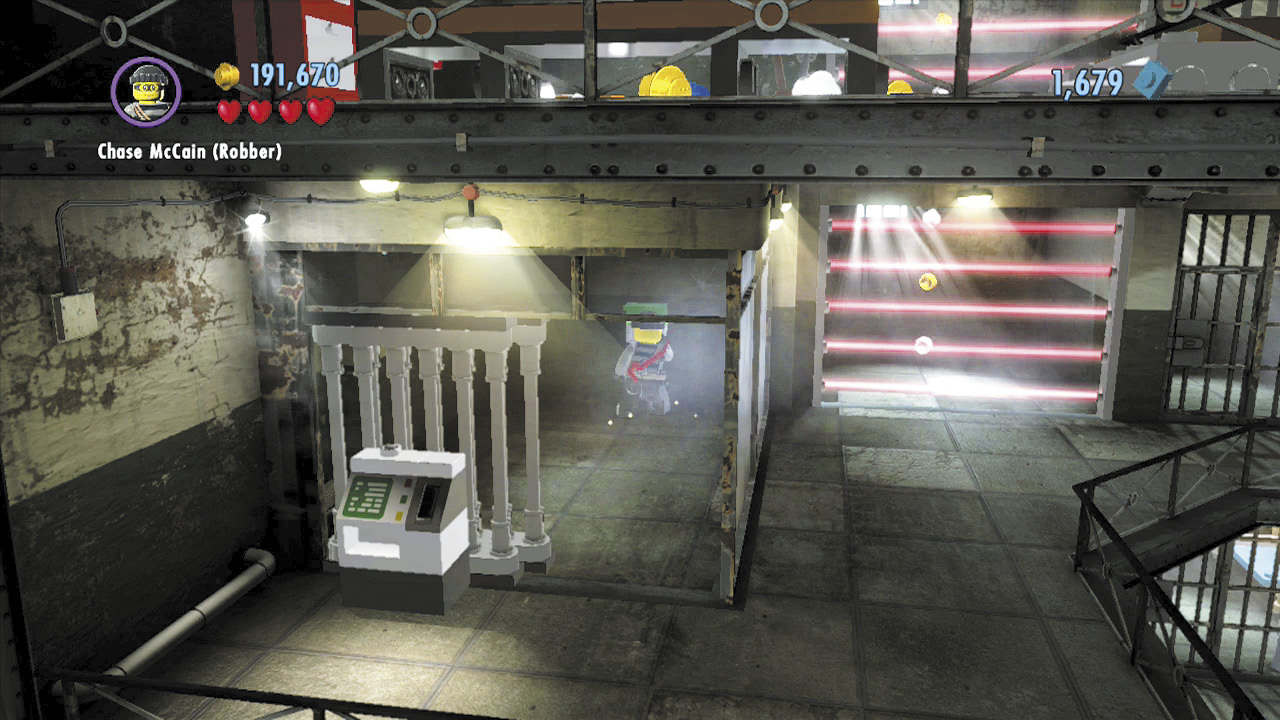
Good job! Collect the key card you discover inside the safe, then backtrack to the second floor’s left side. Insert the key card into the far-left machine to open the nearby cell. Use the control panel inside the cell to shut off the neighboring cell’s electric fence.
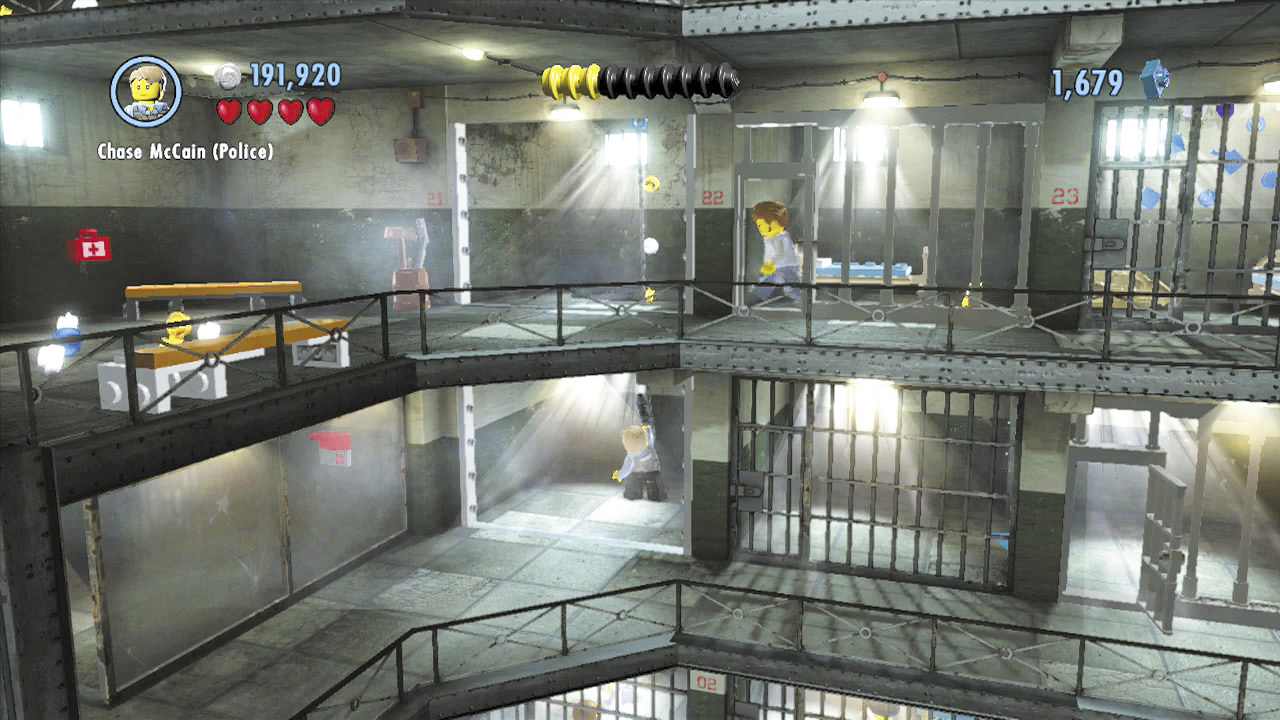
Enter the neighboring cell that was previously blocked by the electric fence, then change into the police officer outfit. Now you can use Chase’s grapple gun to zip up to the third floor!
Free PlayCharacter Token 1:Blue Whittaker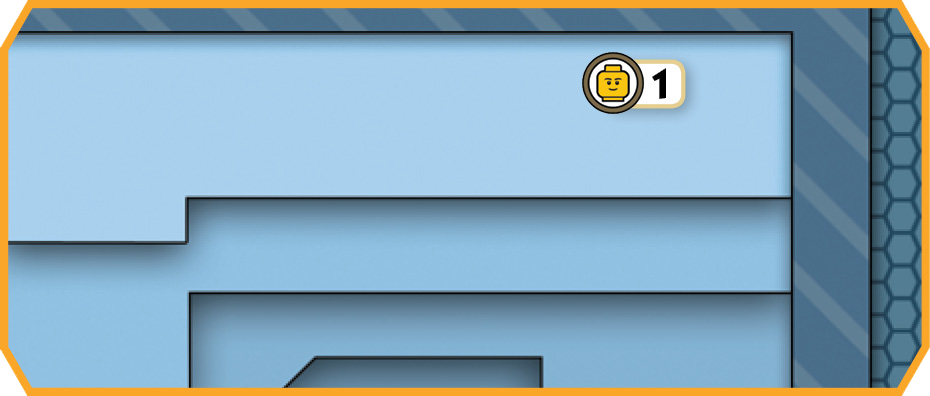 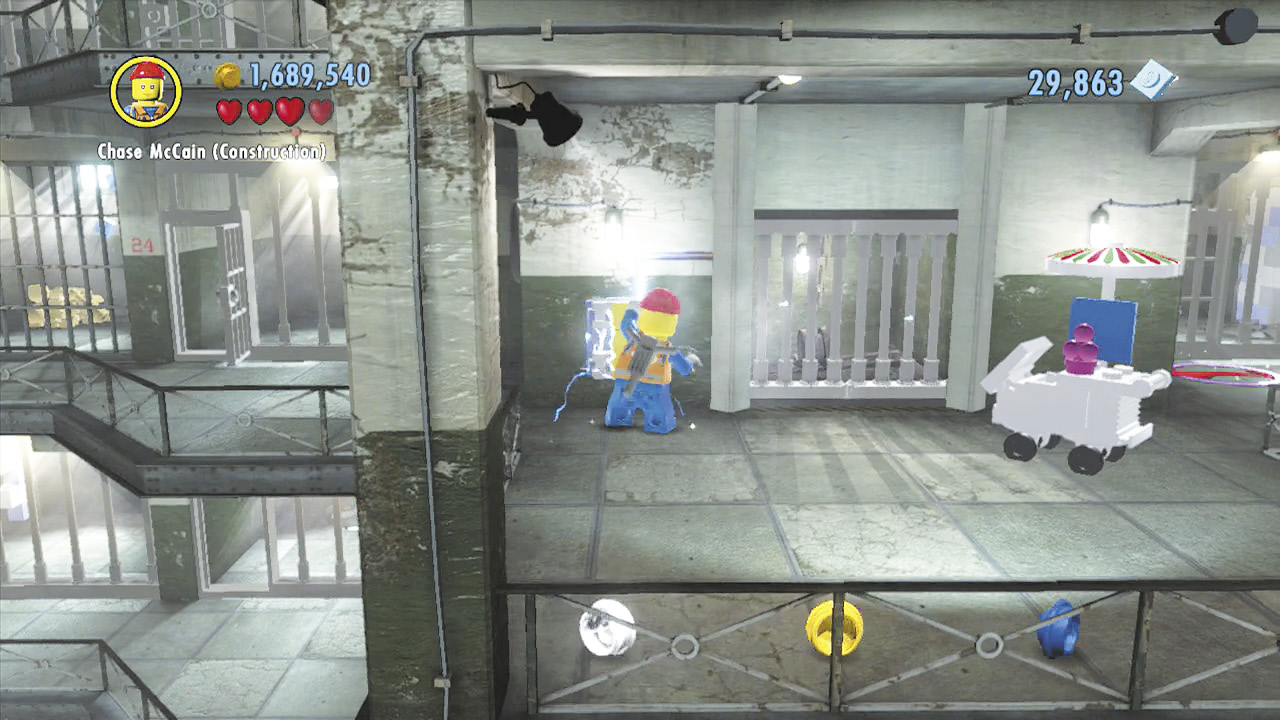 Go right after climbing up to the third floor, then use the construction worker disguise to fix the fuse box. This opens the nearby elevator. Climb the chain to reach the fourth floor. 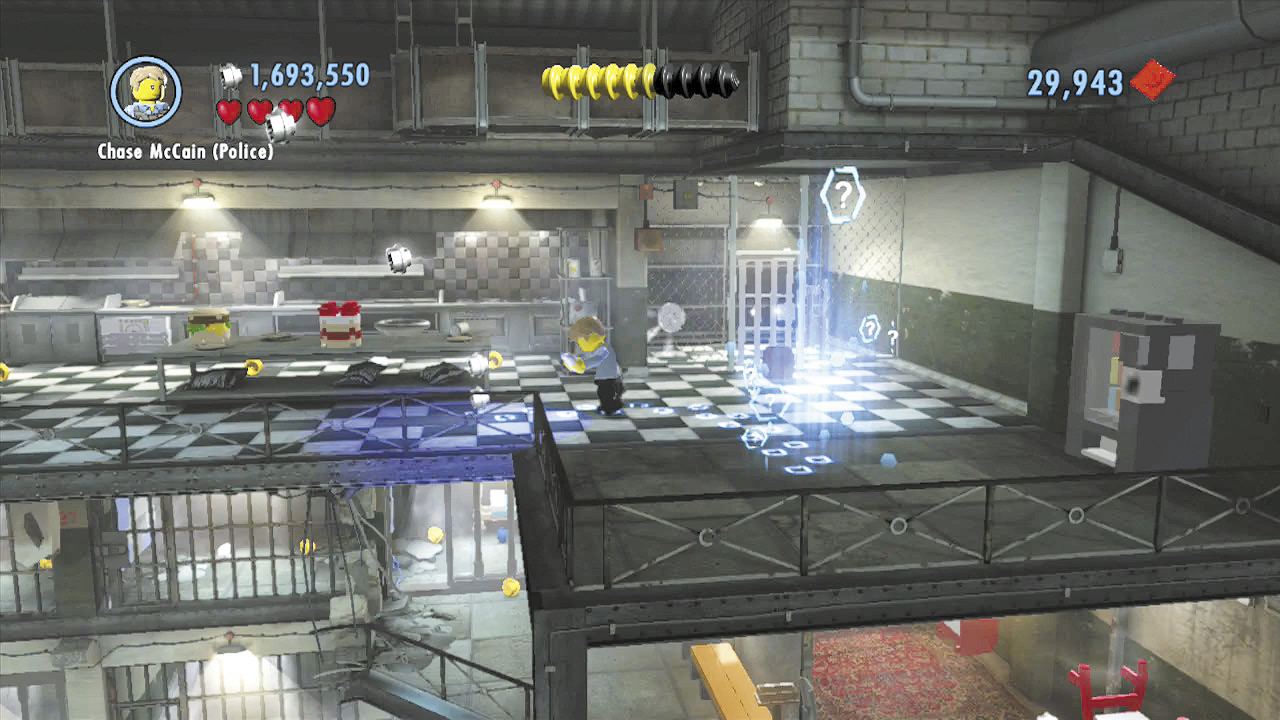 Go right and smash up the kitchen until you discover a scan spot. Follow the footprints to the oven, inside which you discover some dynamite. 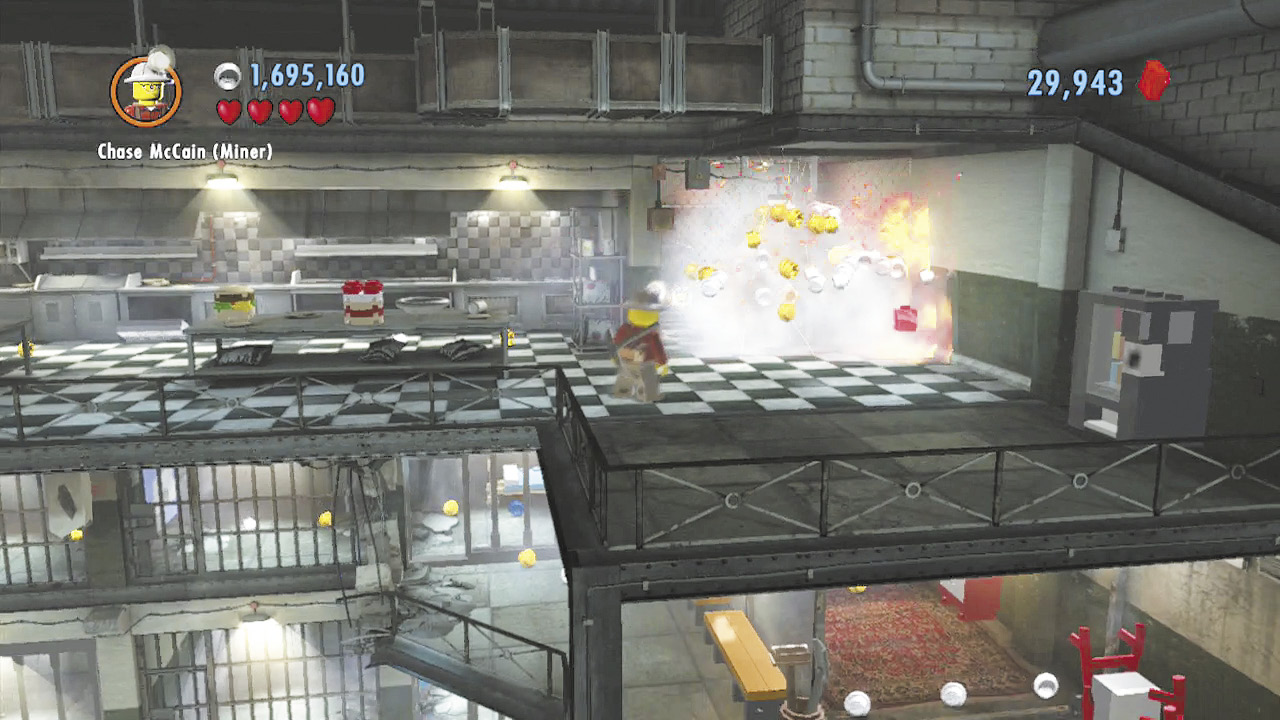 Use the dynamite to blast the silver bars to the right. Now you can collect the character token in the storage area beyond! |
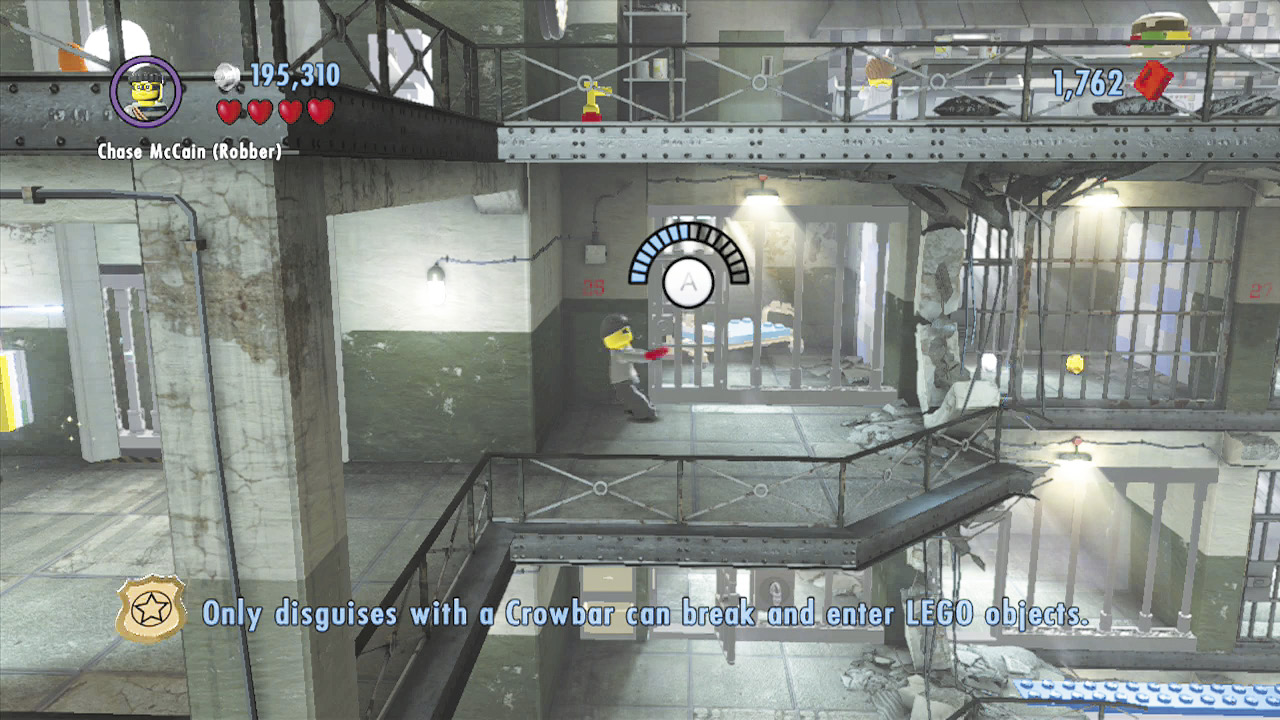
Look out! Deactivating the electric fence has also shut off all of the cells’ magnetic locks, freeing the rest of the inmates. Subdue them as you explore the third floor, and use the robber outfit’s crowbar again to pry open another cell.
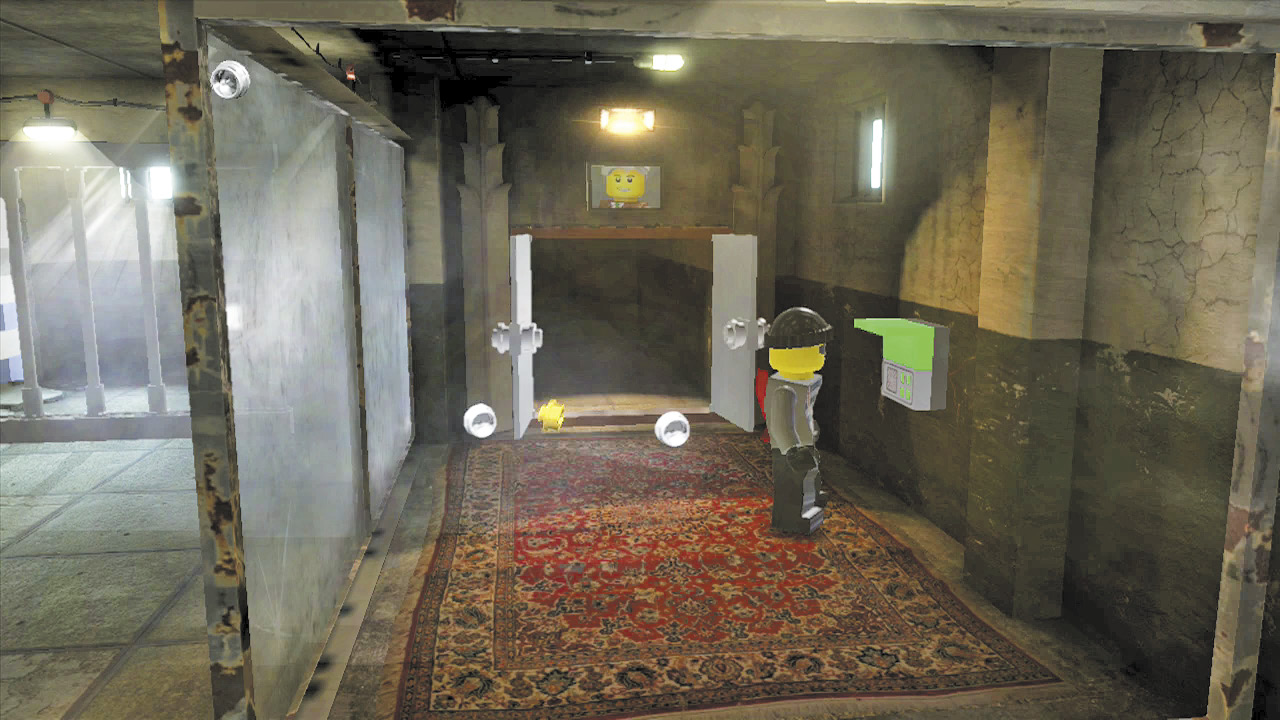
Smash three walls to pass through the third floor’s cells and reach its right side. Smash the red cabinet near the door to the warden’s office, then build the remaining LEGO bricks into a control panel. Activate the panel to open the warden’s office.
Objective: Search the Warden’s Office for Clues
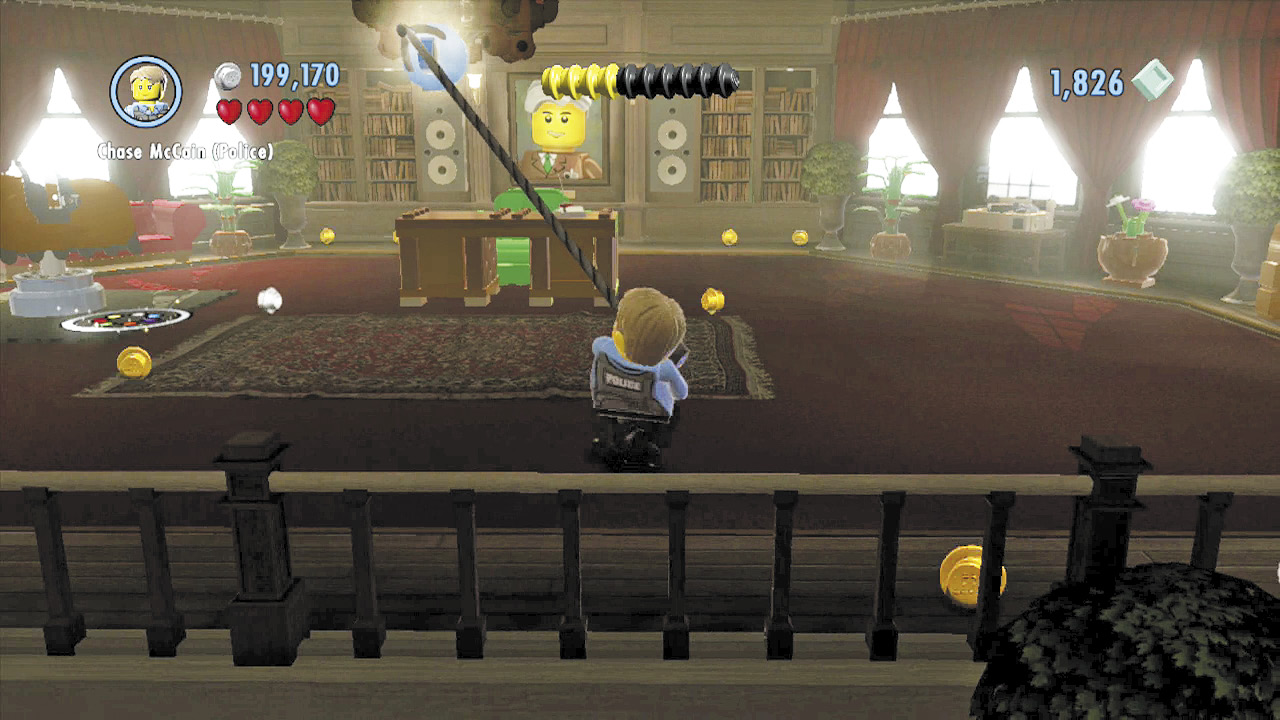
The warden strolls into the bathroom just as Chase slips into his office. Change into the police officer outfit and use the grapple gun to yank down the overhead chandelier. Build the chandelier’s bricks to create a powerful lock that seals the warden in the bathroom. Now you can search his office unhindered!
Police Shield Piece 3 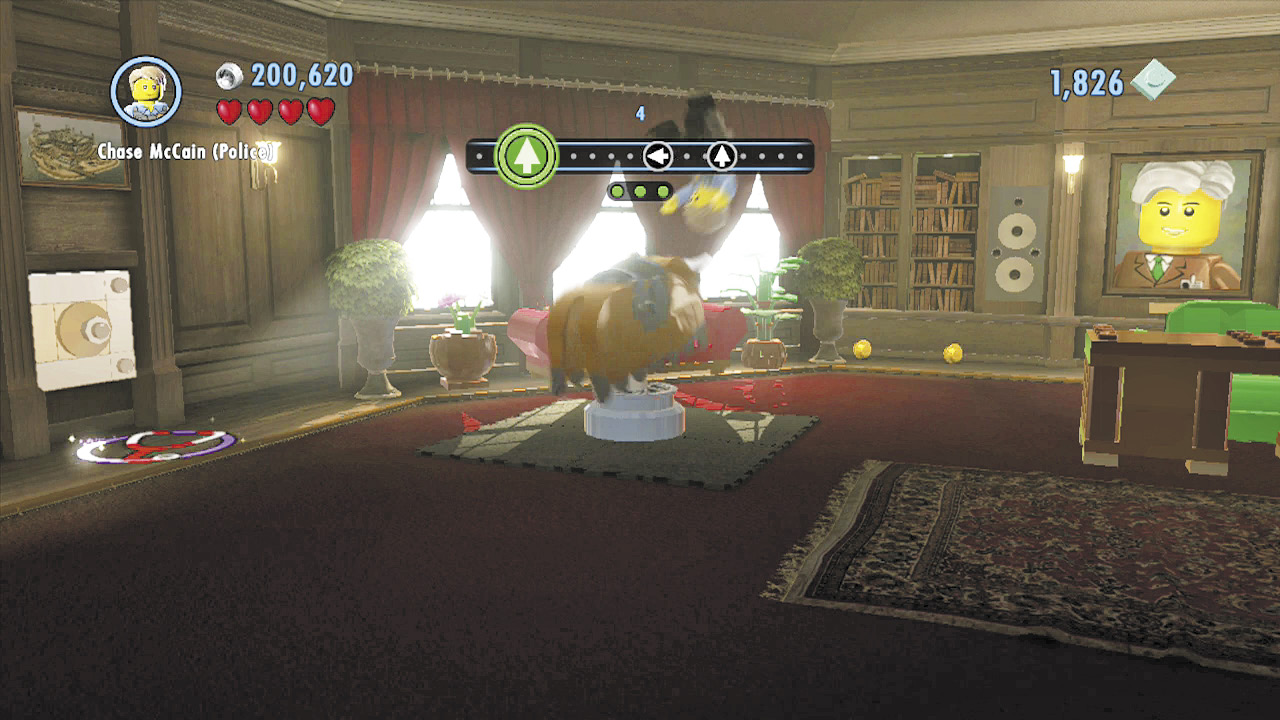 Ride the mechanical bull inside the warden’s office to rope up another shield piece. Simply press the appropriate buttons as they move past the indicator to avoid being bucked off. |
Character Token 2: Prisoner 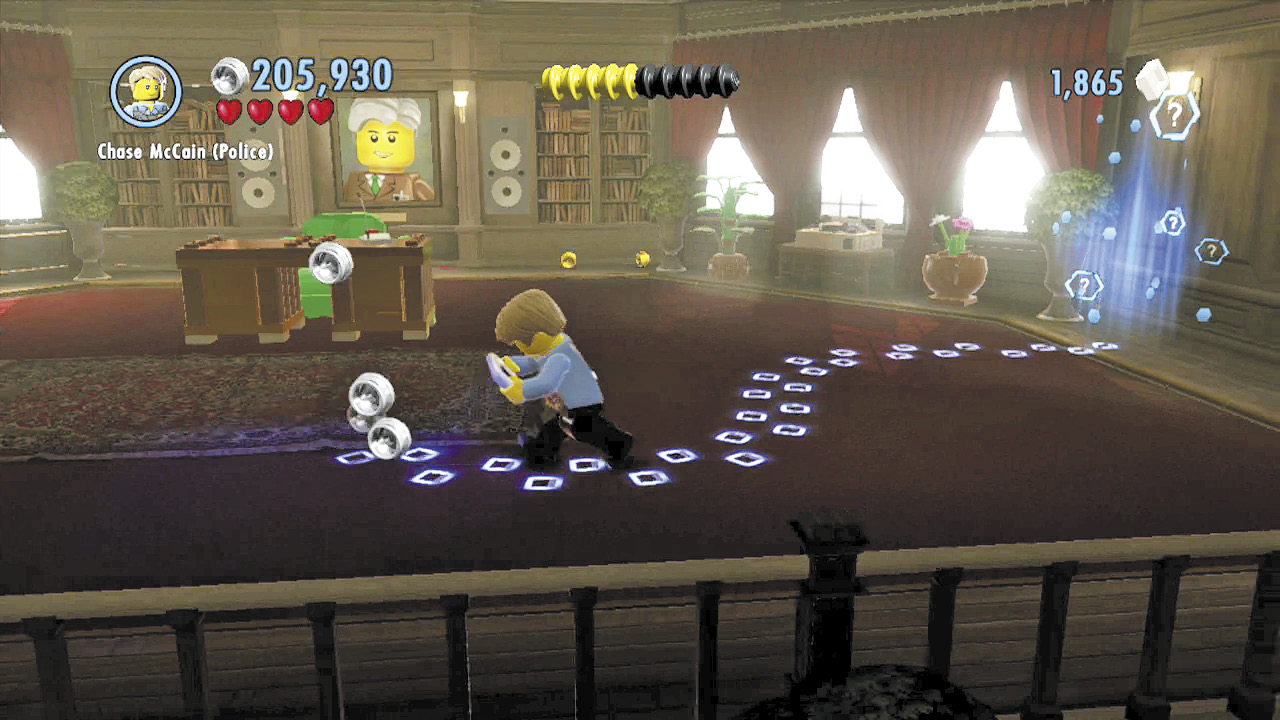 Smash the desk on the right side of the warden’s office to discover a scan spot. Trace the footprints to the warden’s desk, then open the drawer and grab a character token! |
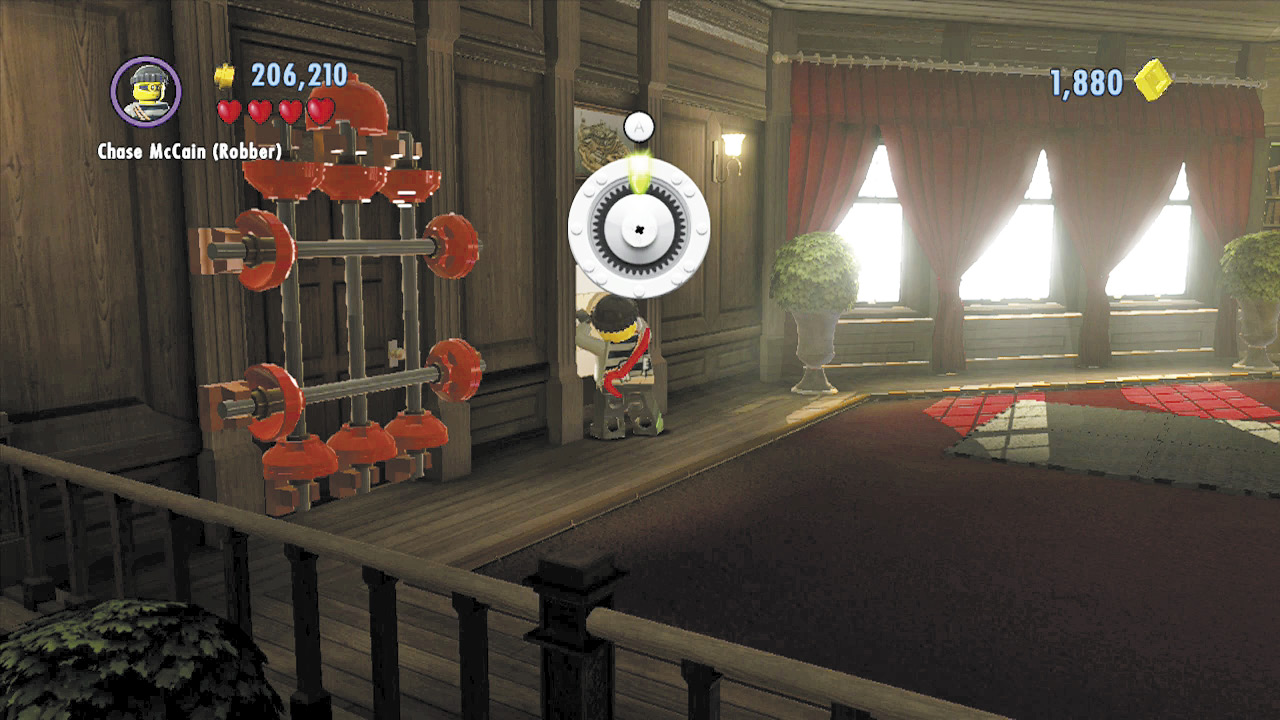
Switch to the robber disguise and use the stethoscope to crack the safe near the bathroom door. Out pops the warden’s prized record!
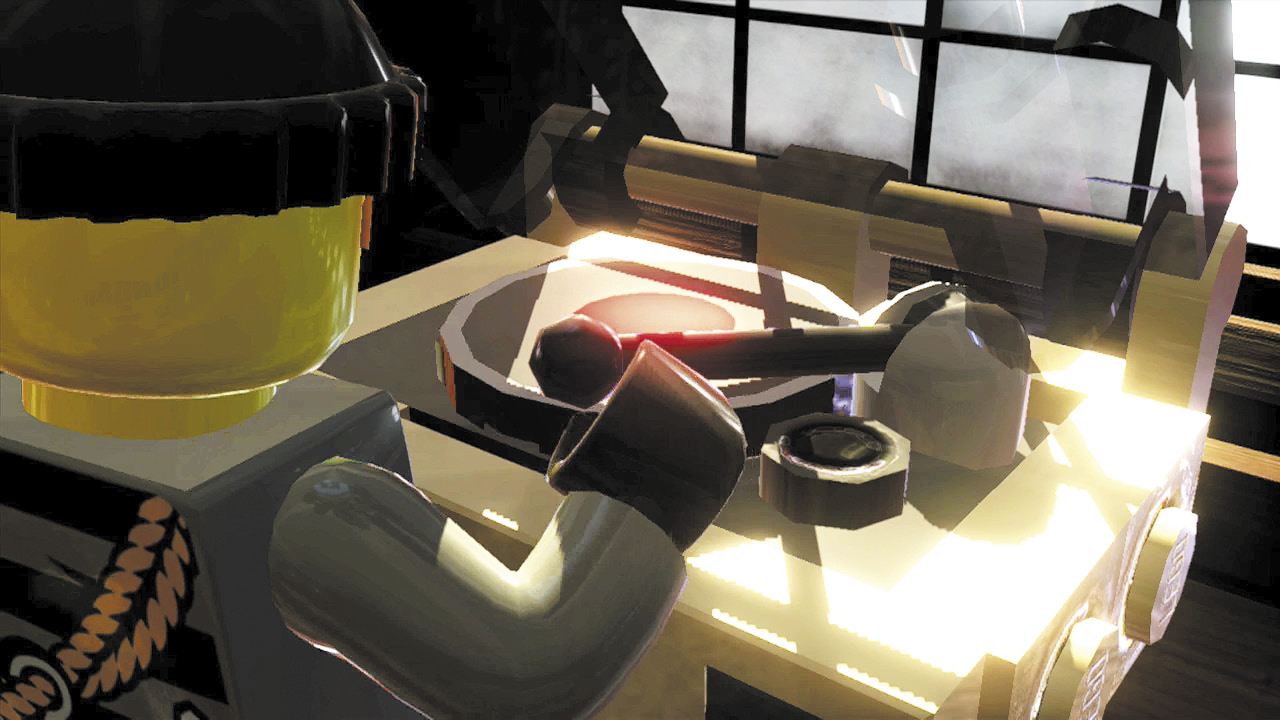
Pick up the record and place it onto the player on the right. Chase cranks up the volume, and the background speakers explode, revealing some bouncing LEGO bricks!
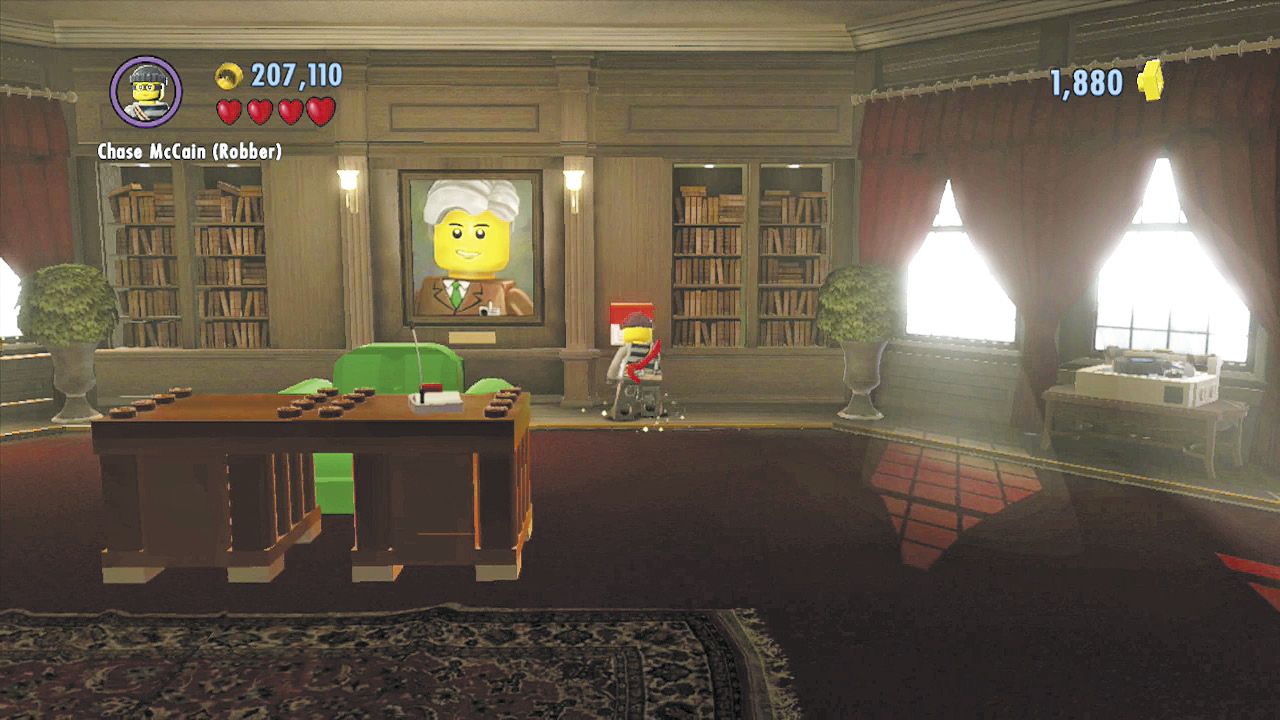
You know what to do! Build those bouncing bricks into a control panel, then use the panel to uncover a secret elevator behind the warden’s portrait. Sneaky!
Objective: Investigate Rex’s Cell
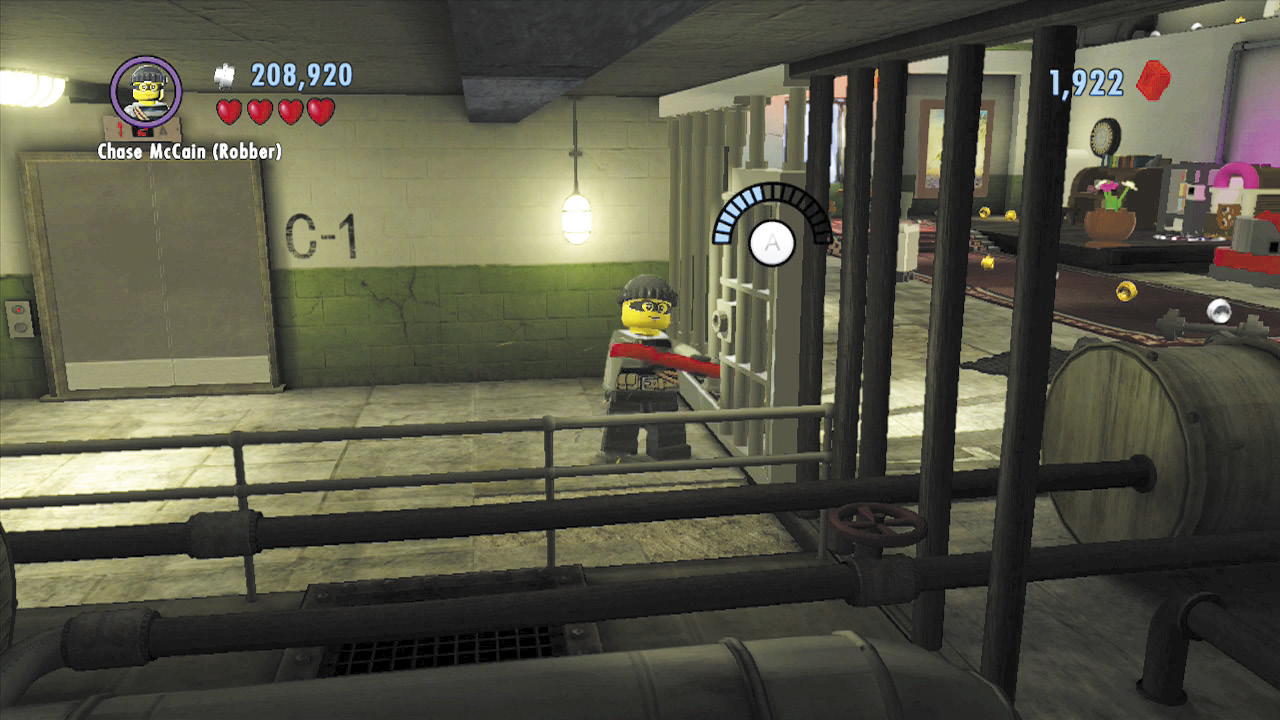
Great work—you’ve discovered Rex Fury’s private cell! Who says crime doesn’t pay? Use the robber disguise’s crowbar to pry open the cell door.
Free PlayVehicle Token 1: Rino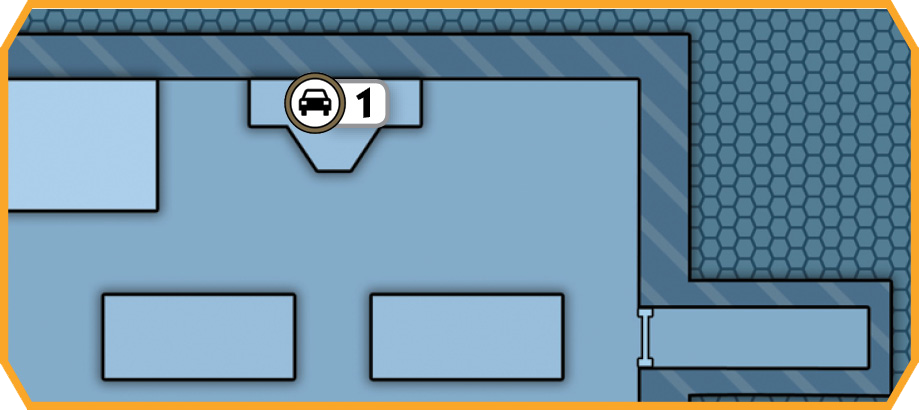 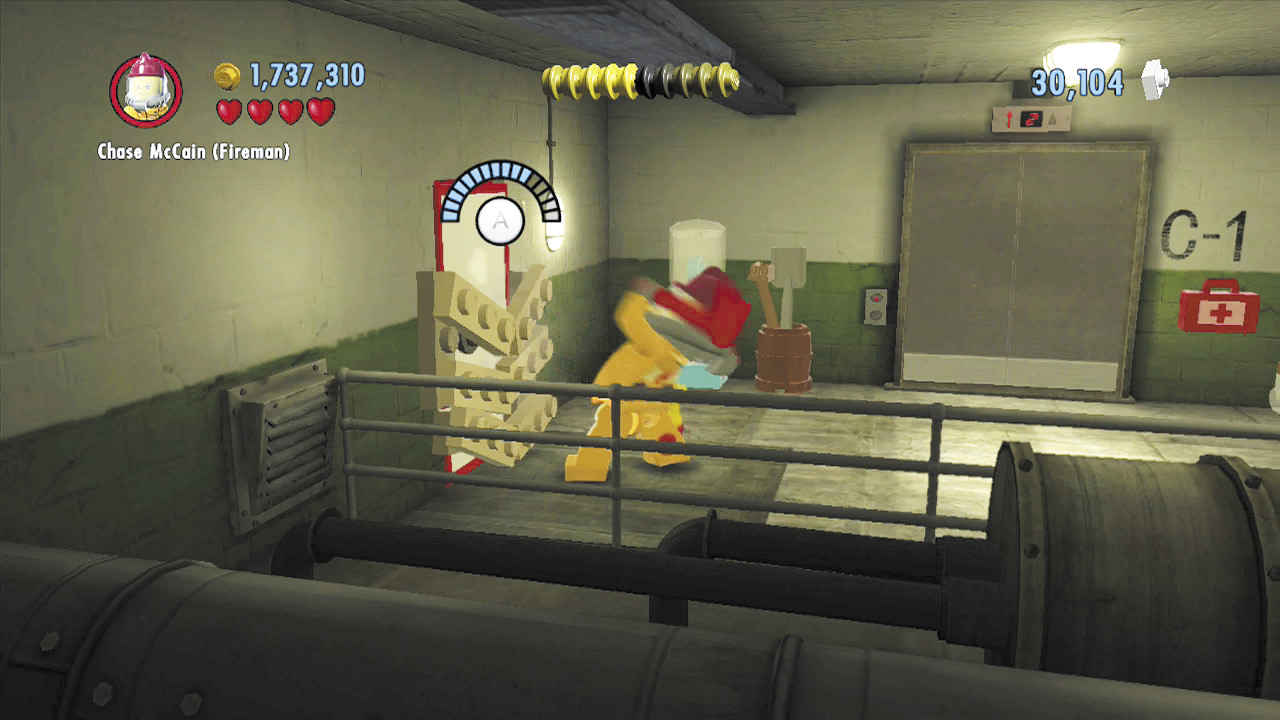 Before breaking into Rex’s cell, chop through the boarded door on the left to enter the prison’s workshop. 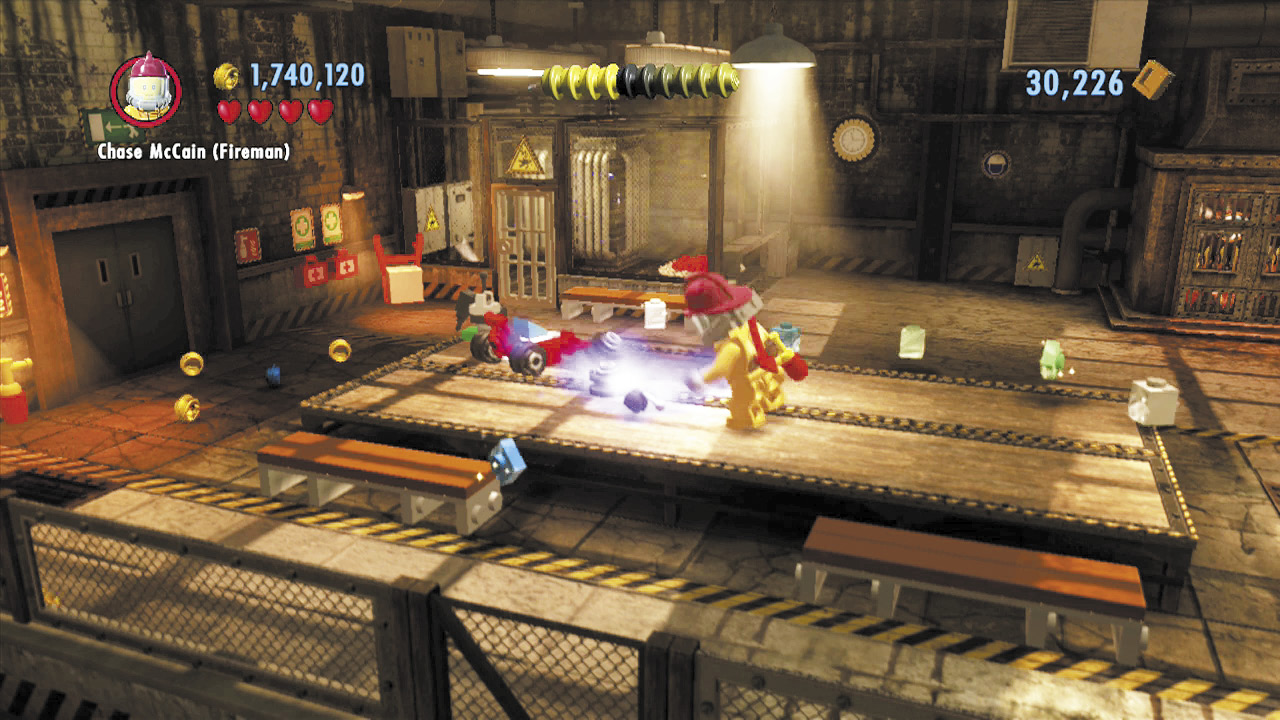 Smash the crate that sits atop one of the workshop’s long tables to discover some bricks. Build these into an RC car. 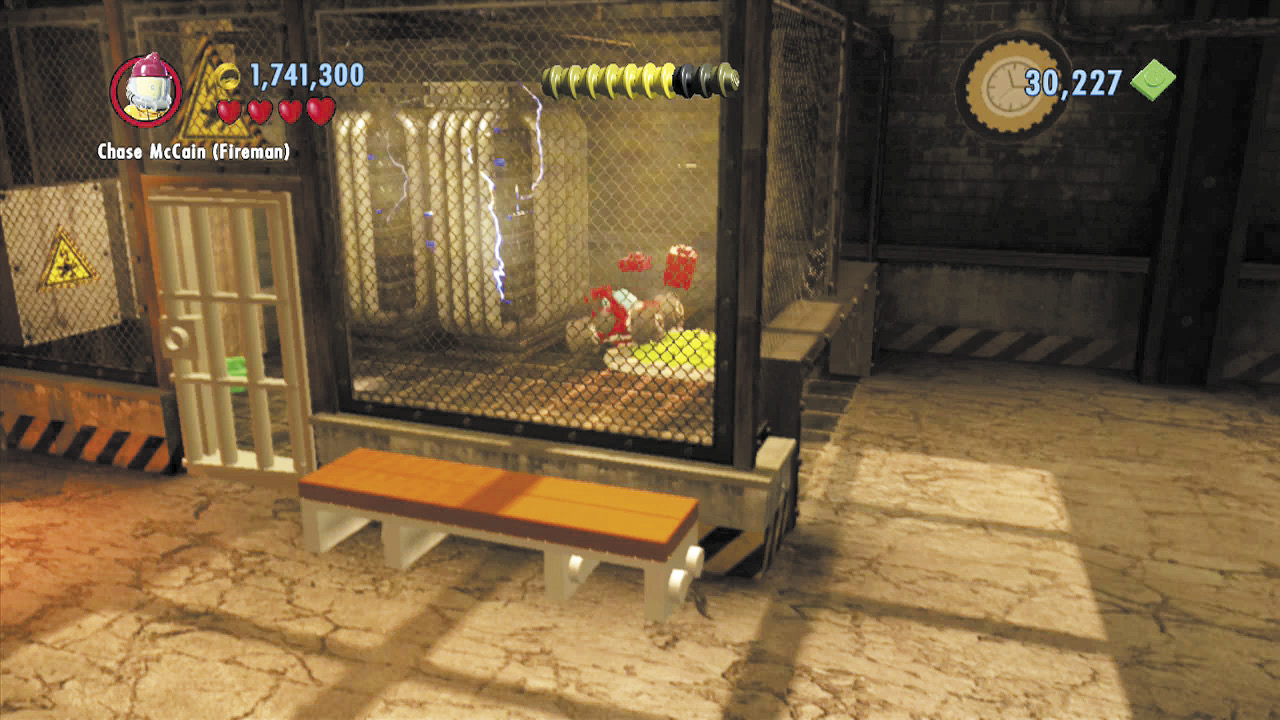 Stand on the action symbol and take control of the RC car. Drive it through the small opening in the background cage and park it atop the red button to open the cage’s door. 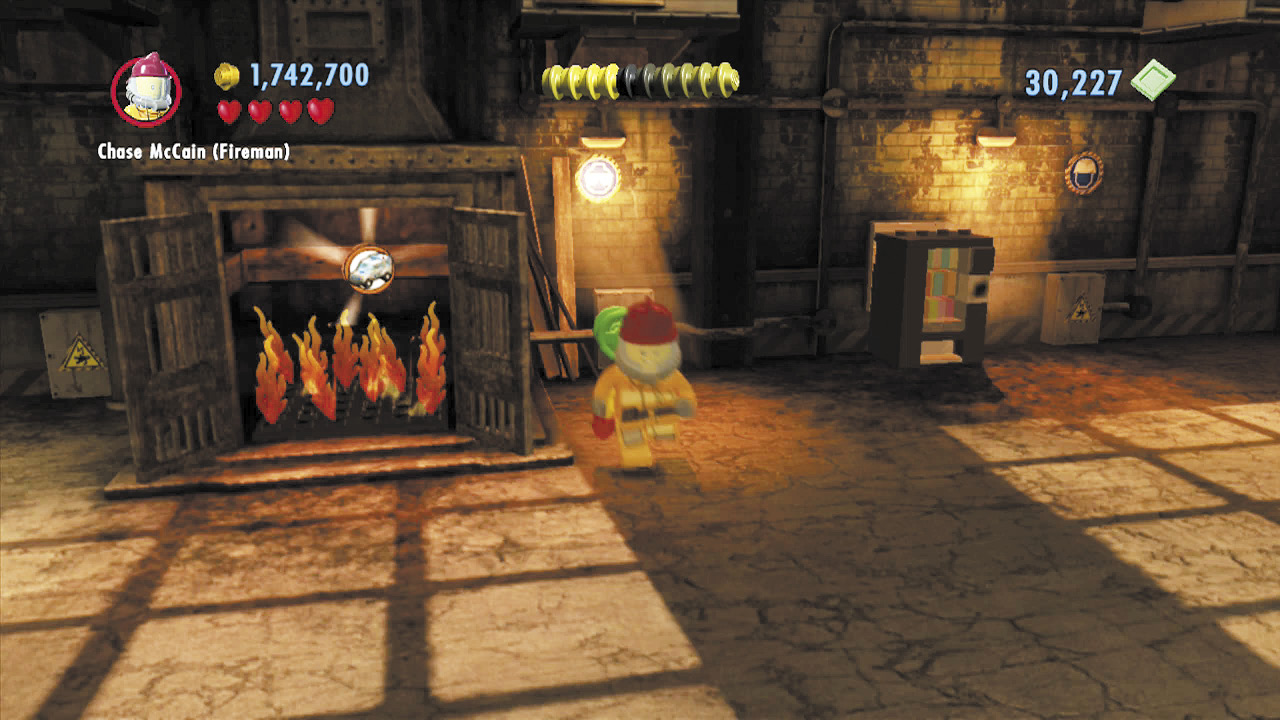 Enter the cage and collect a valve wheel. Place this onto the notch to the right, then turn the wheel to open the nearby doors, exposing a vehicle token! Extinguish the flames around the token before you try to grab it. |
Free PlayVehicle Token 2: Segway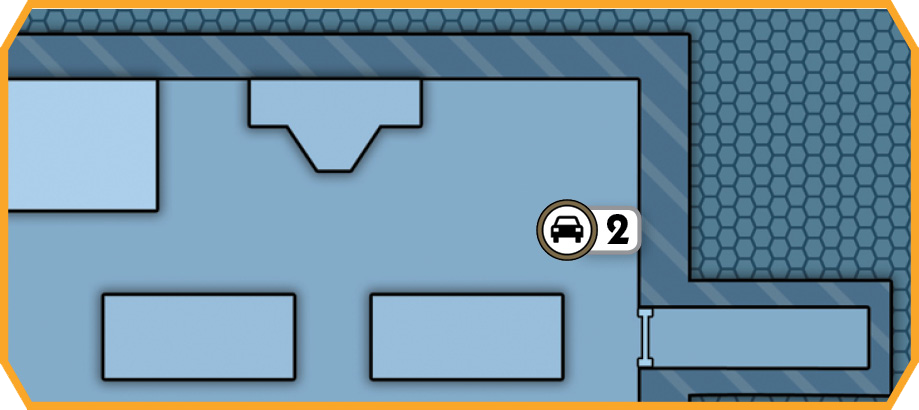 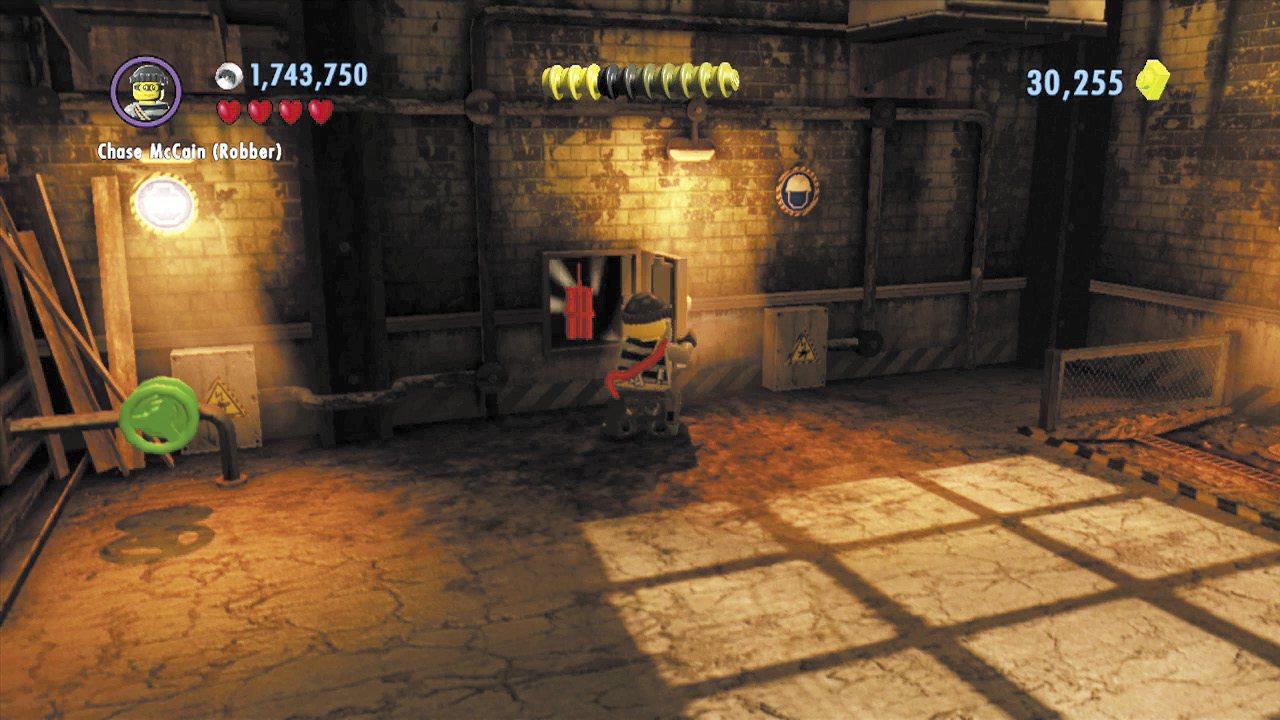 Inside the prison’s workshop, smash a background cabinet to discover a wall safe. Crack this to obtain some dynamite. 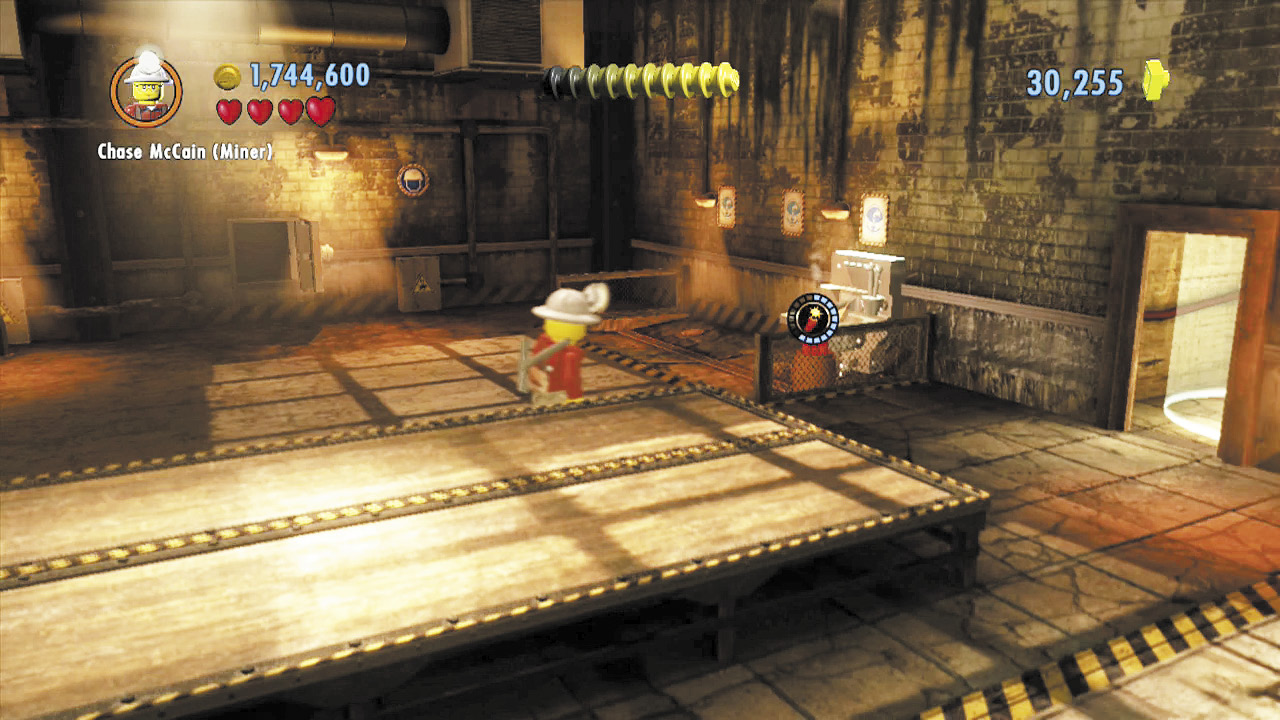 Use the dynamite to destroy the silver sink on the right, and a jet of water will spout up. Jump into the water jet; it boosts you up to a hovering vehicle token! |
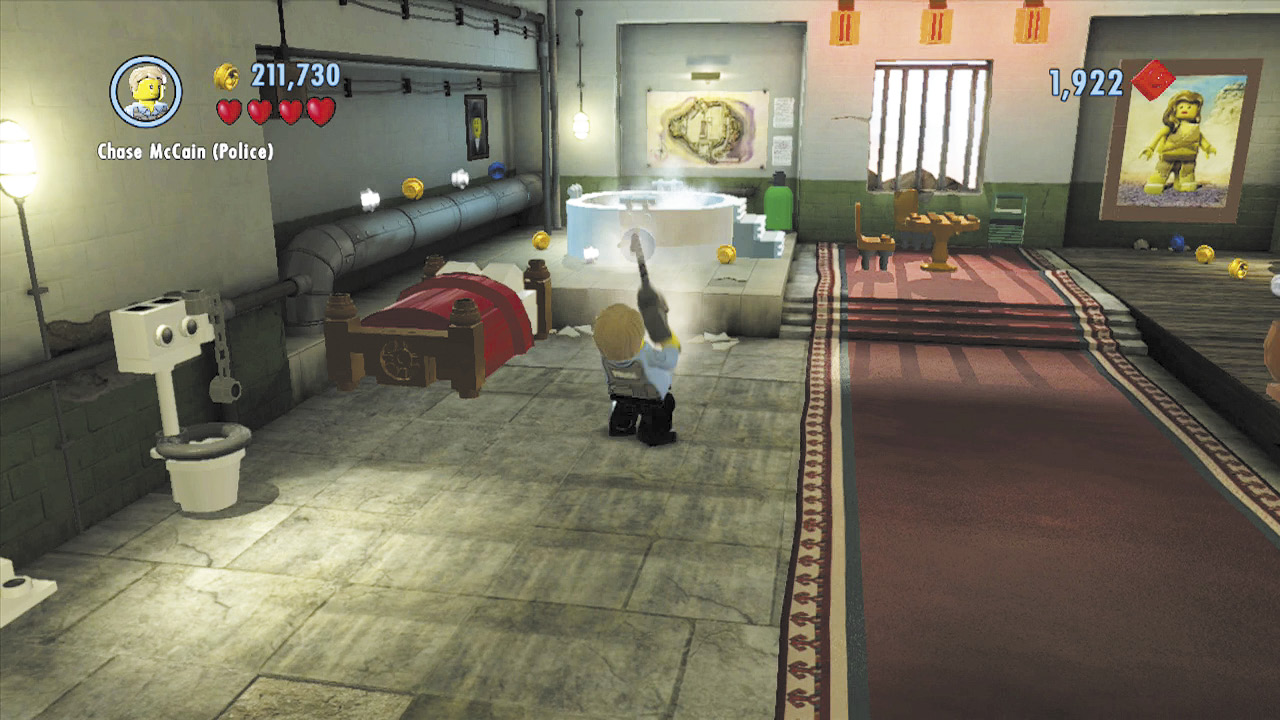
Subdue the goons inside Rex’s cell, then change into the police officer disguise and use the grapple gun to pull apart the hot tub. (Hot tub?!) Jump onto the red button inside the tub, and one of the three lights on the background wall will shut off. Intriguing!
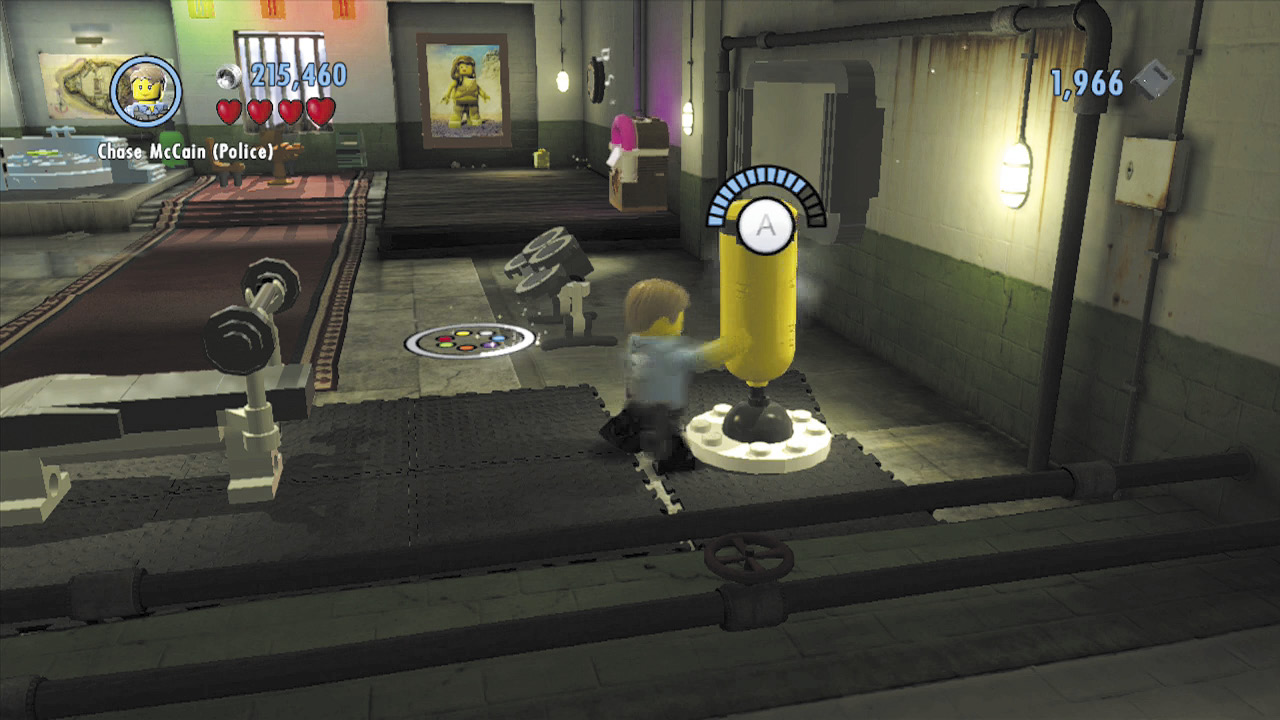
Run to the foreground and use the punching bag. Rapidly tap # to punch the bag until it explodes, exposing another button. Step on the button to shut off another light.
Police Shield Piece 4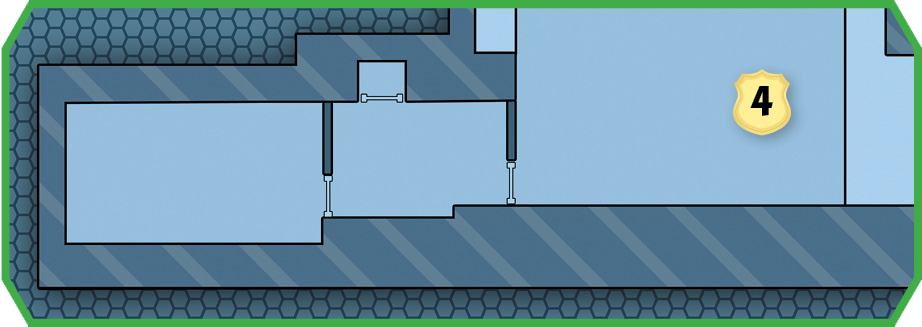 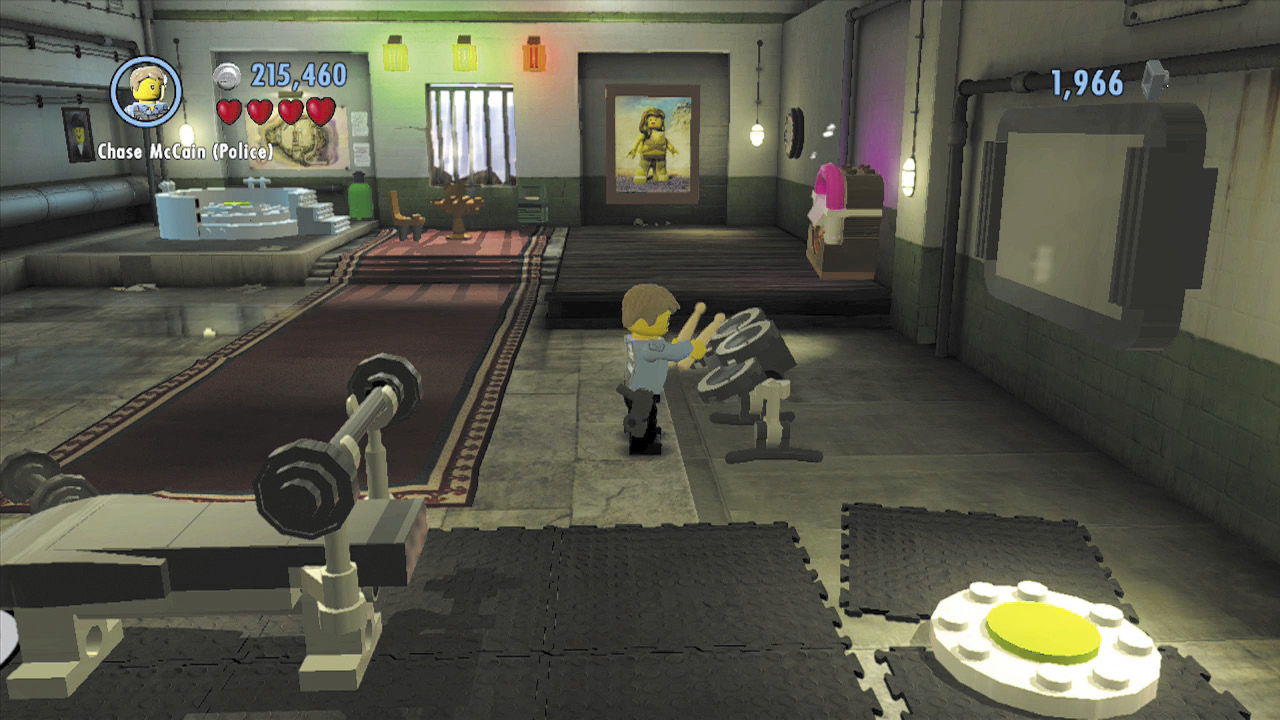 Use the bench press inside Rex’s cell, then smash the nearby furniture to discover some LEGO bricks. Build these into a drum set, then play the drums to earn a rockin’ shield piece! |
The Last Button
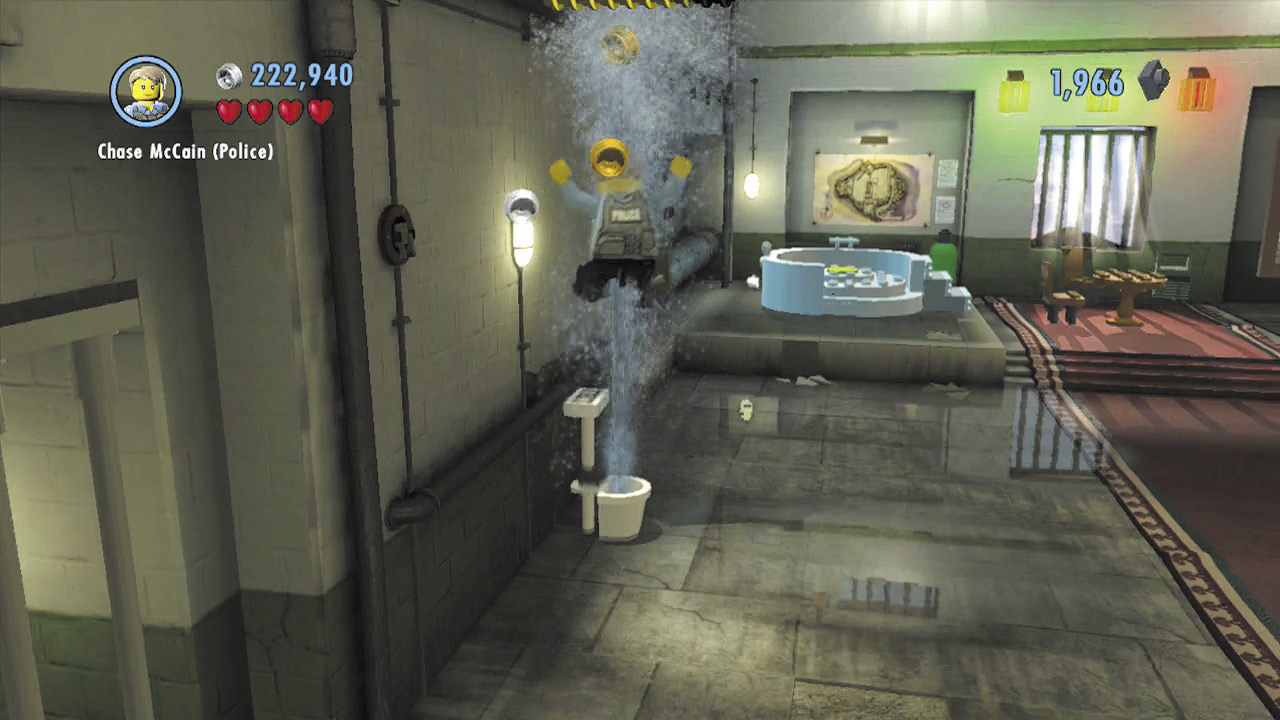
Just one more button to find! Smash the cell’s toilet to make a geyser gush upward. Jump into the geyser to reach a high ledge.
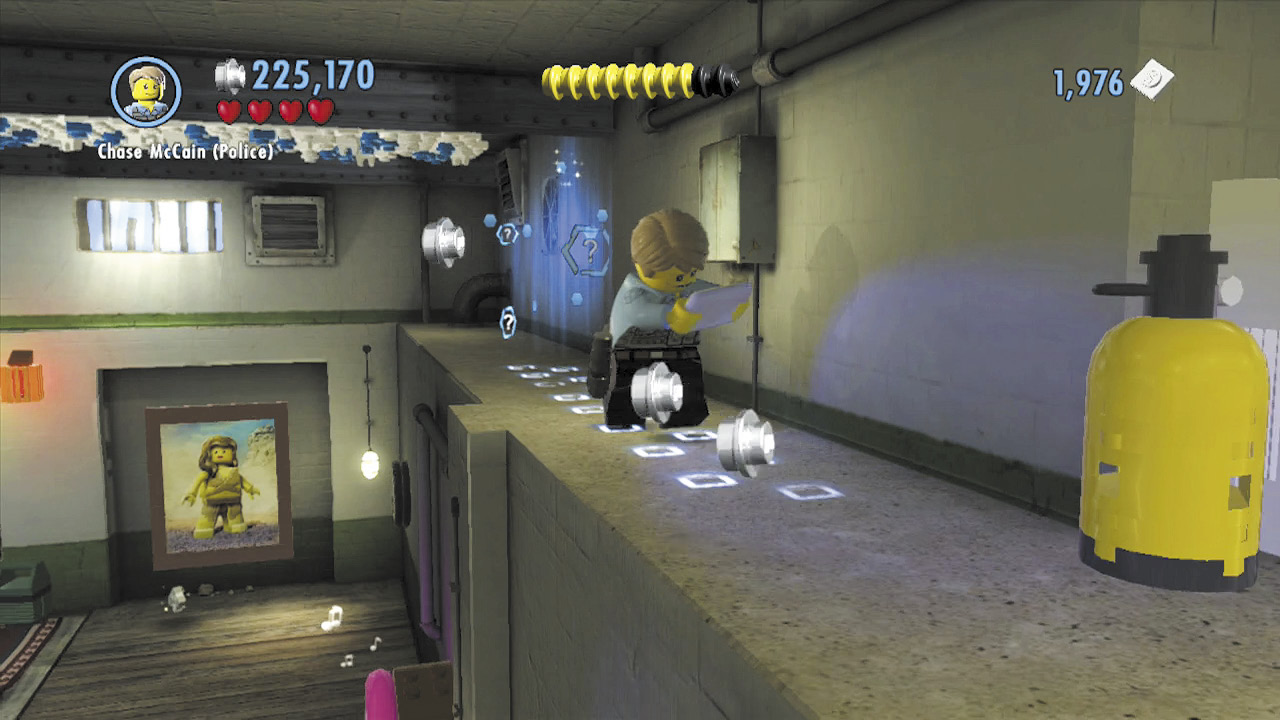
Shimmy across the LEGO patch on the ceiling to reach the opposite ledge, then smash some machinery to discover a scan spot. Use this to trace a trail of footprints toward a cabinet.
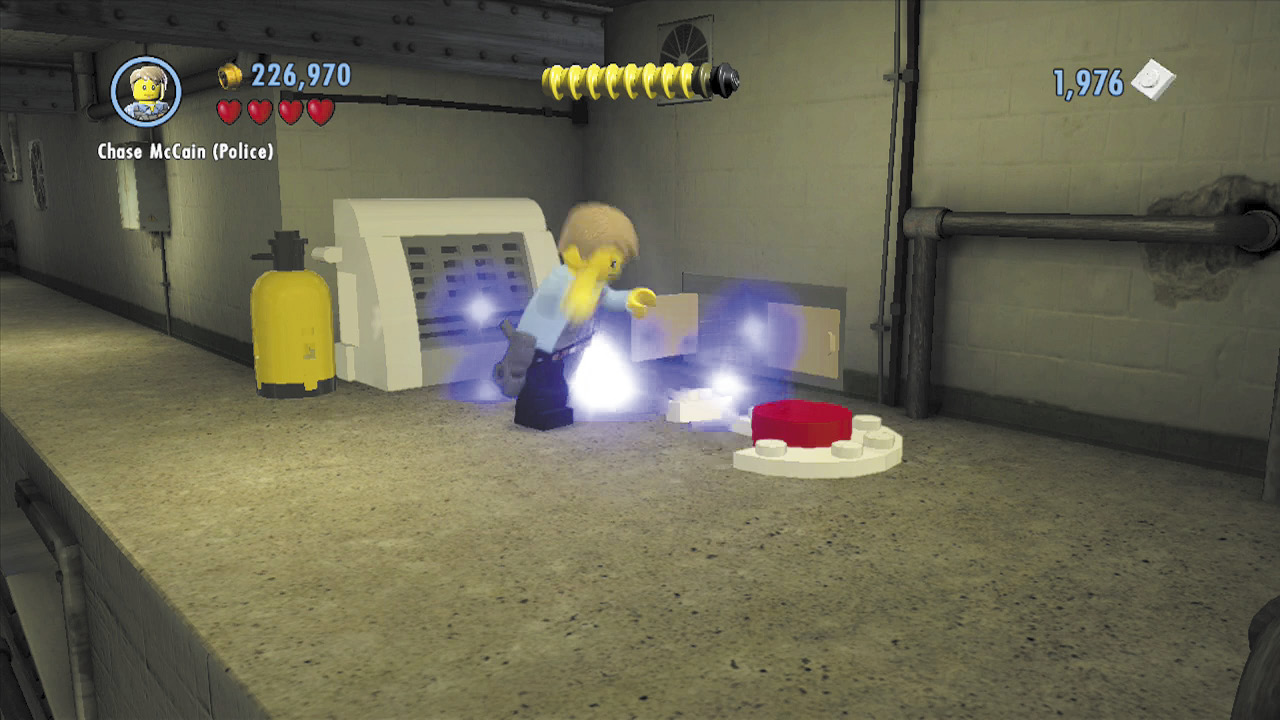
Open the cabinet, and LEGO bricks will tumble out. Build these into the final button, then step on it to shut off the last light. This opens a secret passage in the background wall.
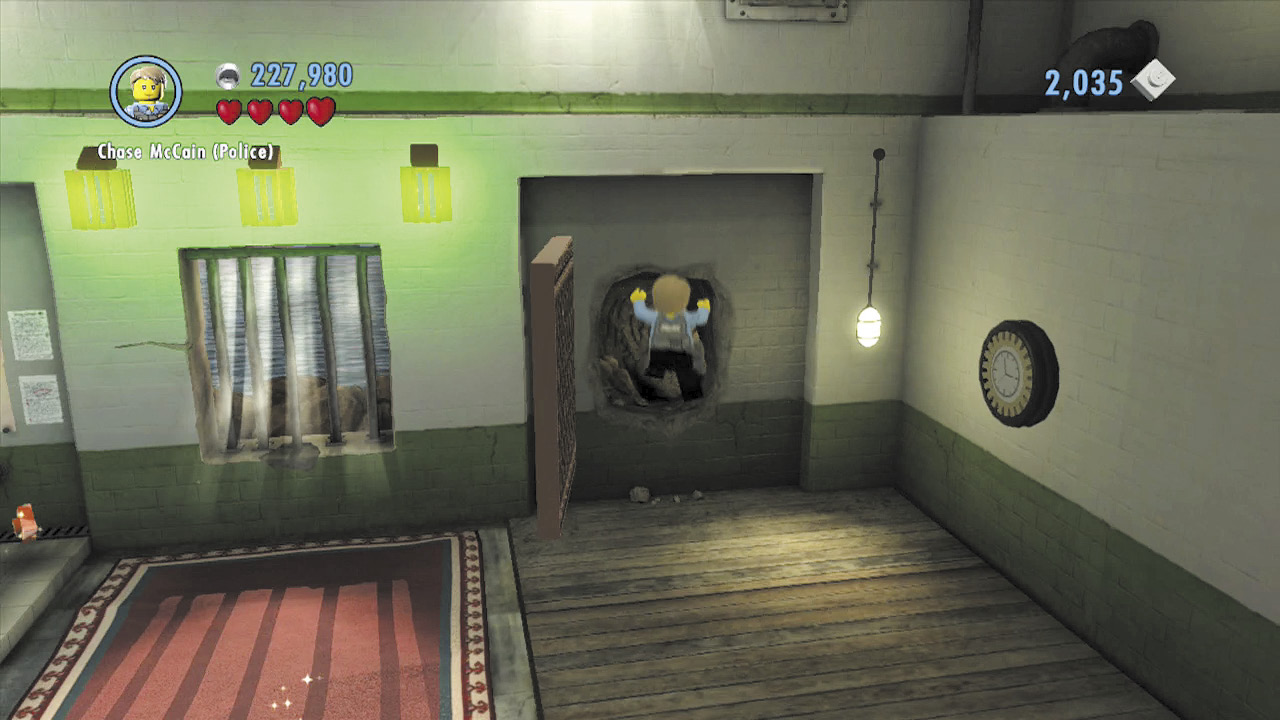
So this is how Rex made his escape! Jump into the secret passage to see where it leads.
City Exploration
Objective: Go to Cherry Tree Station
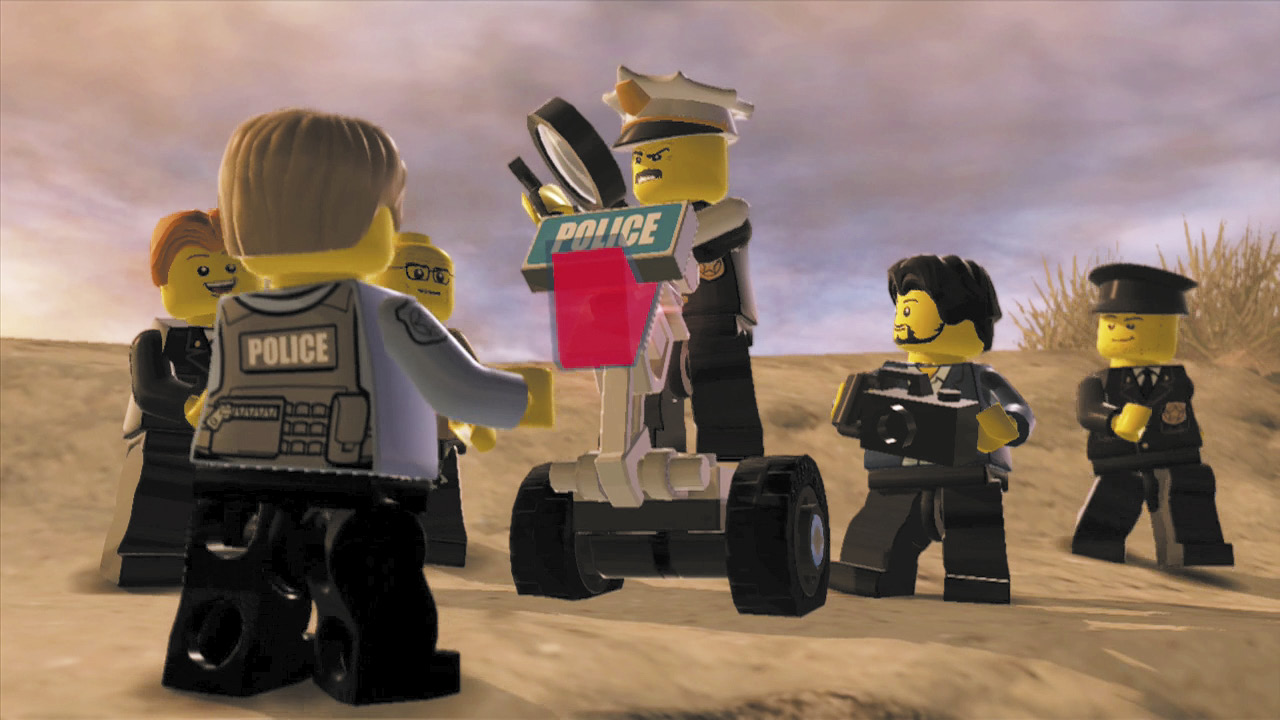
The secret passage from Rex’s cell lands Chase in hot water. Chief Dunby is waiting on the other side, furious over McCain’s meddling. Fortunately, Chase has discovered a vital clue: a small hammer that Rex must have used to tunnel his way out of prison. A small etching on the hammer reveals that it came from the Bluebell Mine!
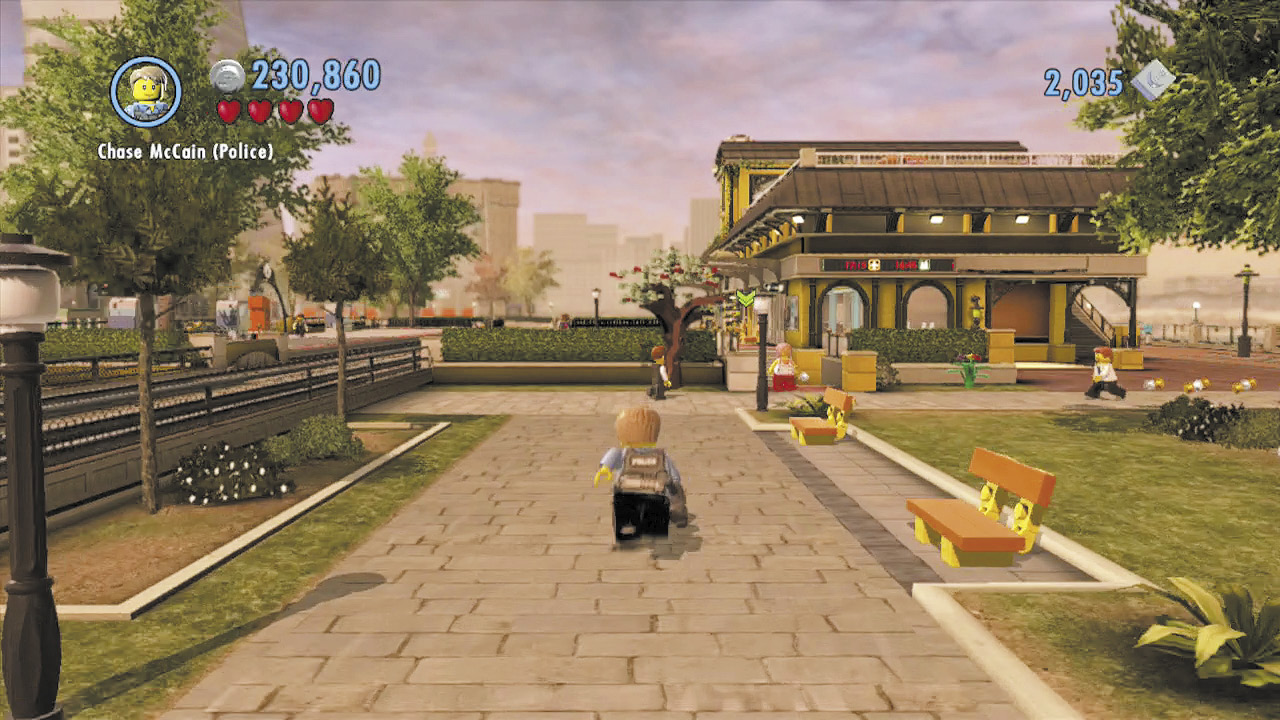
After your run-in with Dunby, you find yourself back at the pier near the police station. Run toward the station and vault the fence, then follow your objective marker to locate the nearby train station.
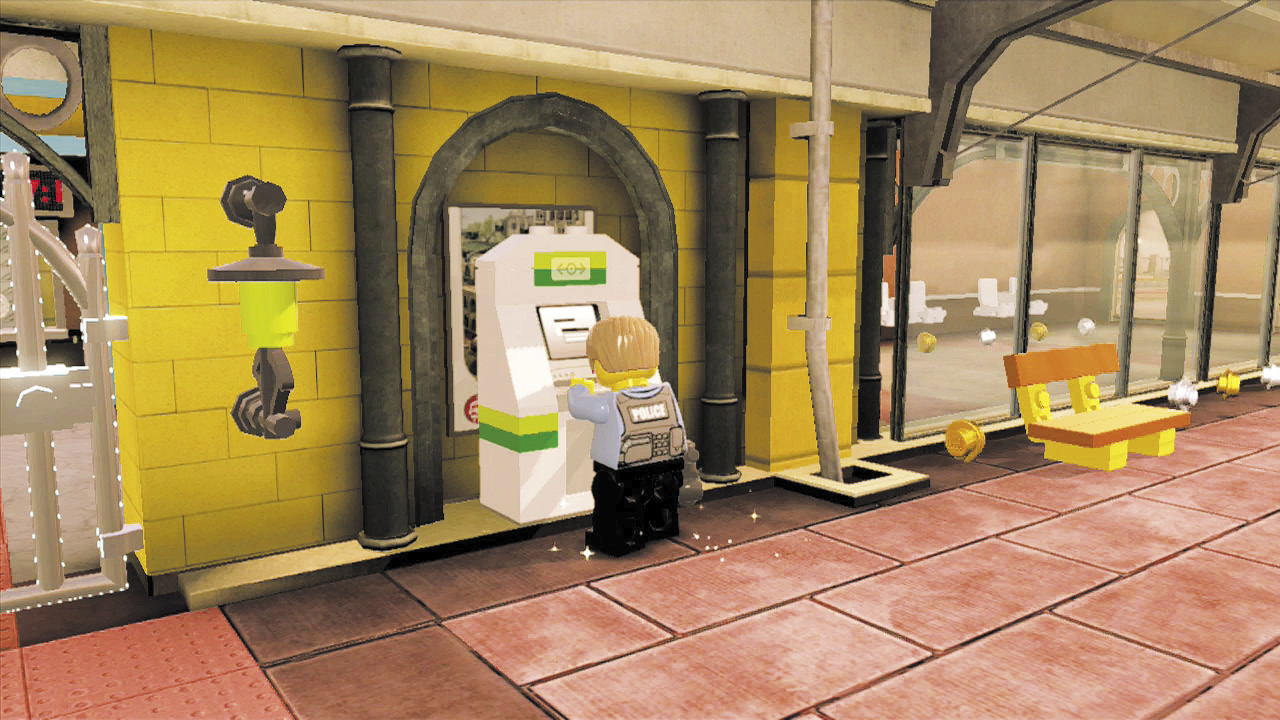
Use the ticket machine outside the station to choose a destination—in this case, the Bluebell Mine. Confirm the location on your communicator, and Chase will hop aboard the train after it arrives.
Objective: Enter the Mine
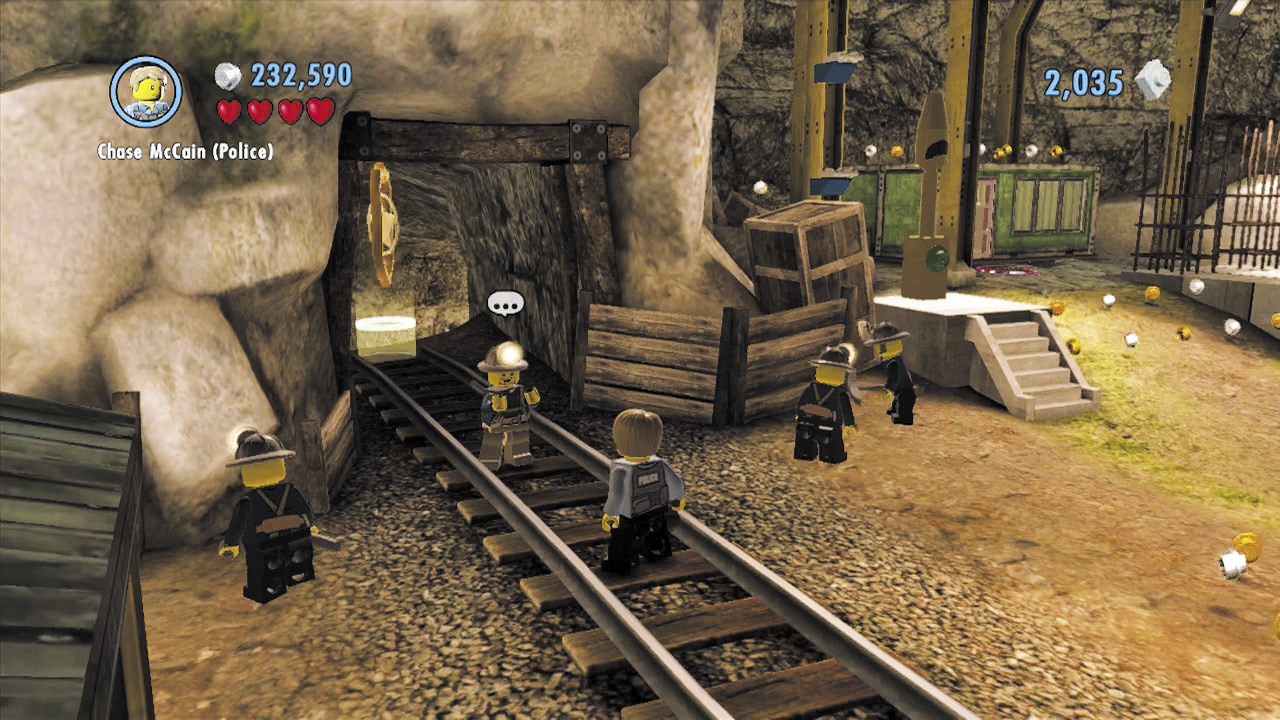
It’s not long before you’re dropped off at the Bluebell Mine. Simply follow the objective marker to locate the mine’s entrance. Unfortunately, the workers won’t let any unauthorized personnel into the mine. You’ll have to get rid of them!
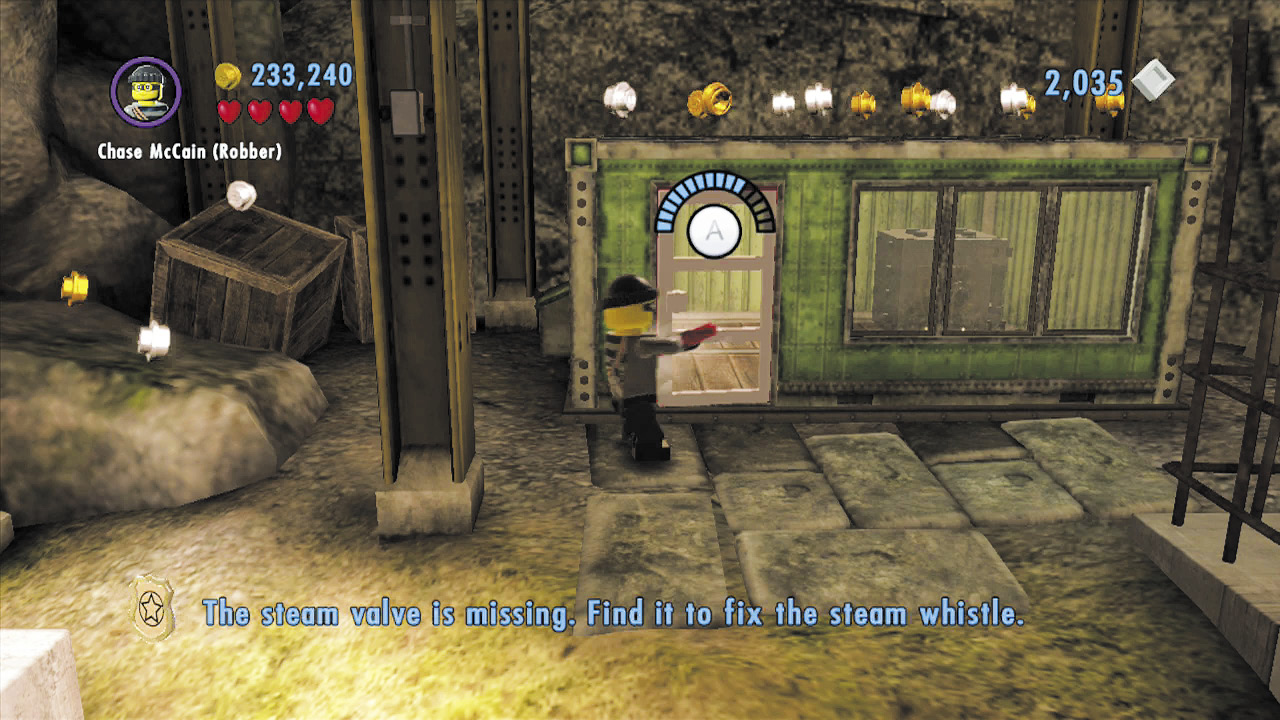
Follow your objective marker to locate a nearby storage shed. Use the crowbar to break in, then crack the safe to discover a valve wheel.
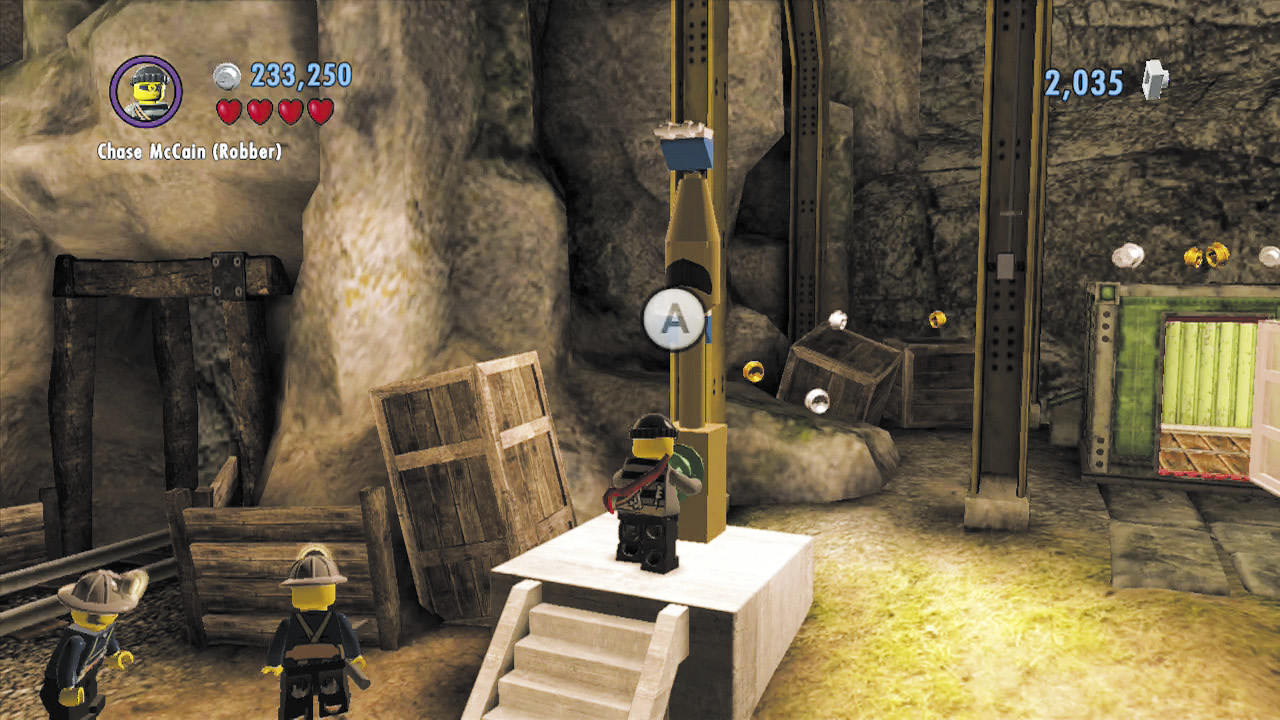
Carry the valve wheel over to the nearby steam whistle. Place the valve wheel onto the whistle, then turn it to signal the workers that it’s quittin’ time. Enter the mine to begin searching for clues.
Special Assignment 3: Miner Altercation
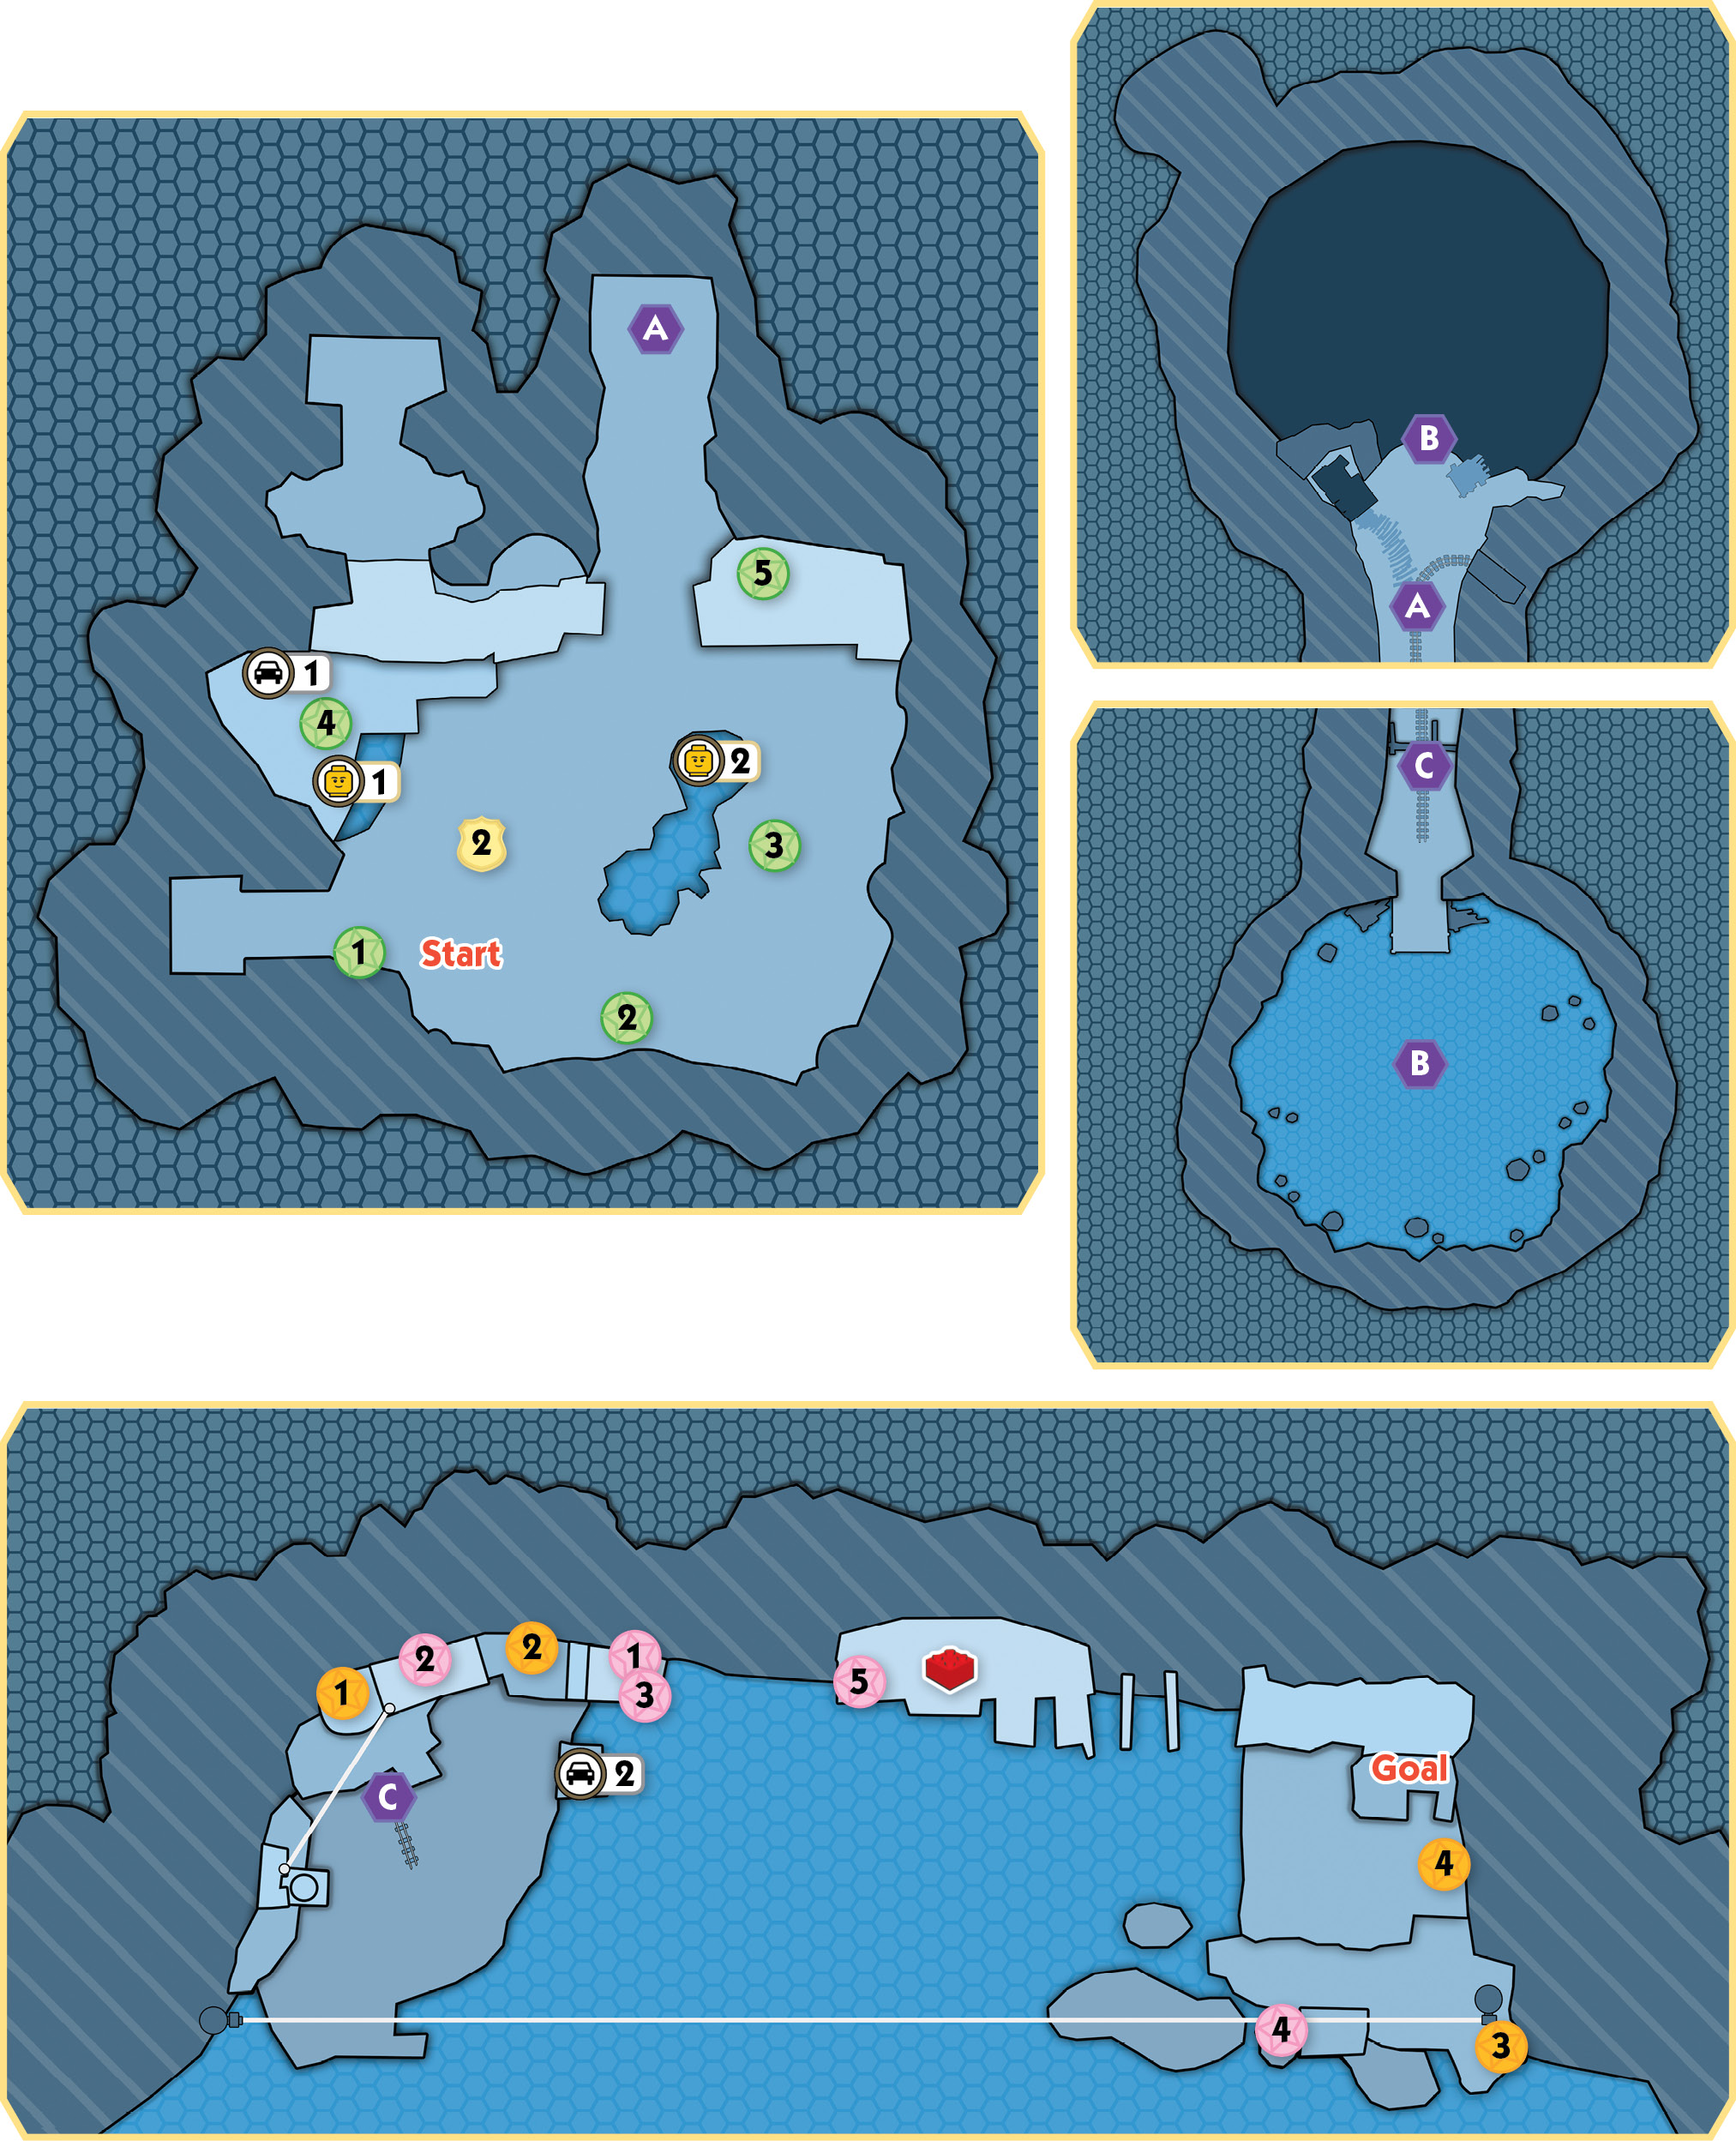
Stage Collectibles: “Miner Altercation”
| Map Icon(s) | Type | Mode | Notes |
|---|---|---|---|
 |
“Ross Wilding” character token | Story | Use the grapple gun to flip over the floating pallet near the start. |
 |
“Spikey Don” character token | Free Play | Repair the mobile drill’s fuse box, then pry open the manhole cover. |
 |
“Dumper” vehicle token | Free Play | Astronaut boost over the electrified rails, fix the fuse box, use the color swapper, backtrack out and climb the nearby ledge, blast the switch, and ride the elevator. |
 |
Police Shield Piece 1 | Free Play | Douse five barrel fires around the entry cavern. |
 |
Police Shield Piece 2 | Story | Use the pickax to smash the pile of boulders near the start. |
 |
“Steadfast” vehicle token | Free Play | Astronaut boost on top of the elevator and get the box of bricks. Place it on the green pad and build the gears. |
 |
Police Shield Piece 3 | Free Play | Destroy five gold ingots around the final mine cavern with the grapple gun or astronaut’s laser. |
 |
Police Shield Piece 4 | Story | Free four caged birds around the final cavern. |
 |
Red Brick—Unlimited Dynamite | Free Play | Chicken-glide from the final platform, then climb up to the brick. |
Lego City Hero Stud Requirement:
 72,000
Objective: Find Clarence “Stinky” Fletcher
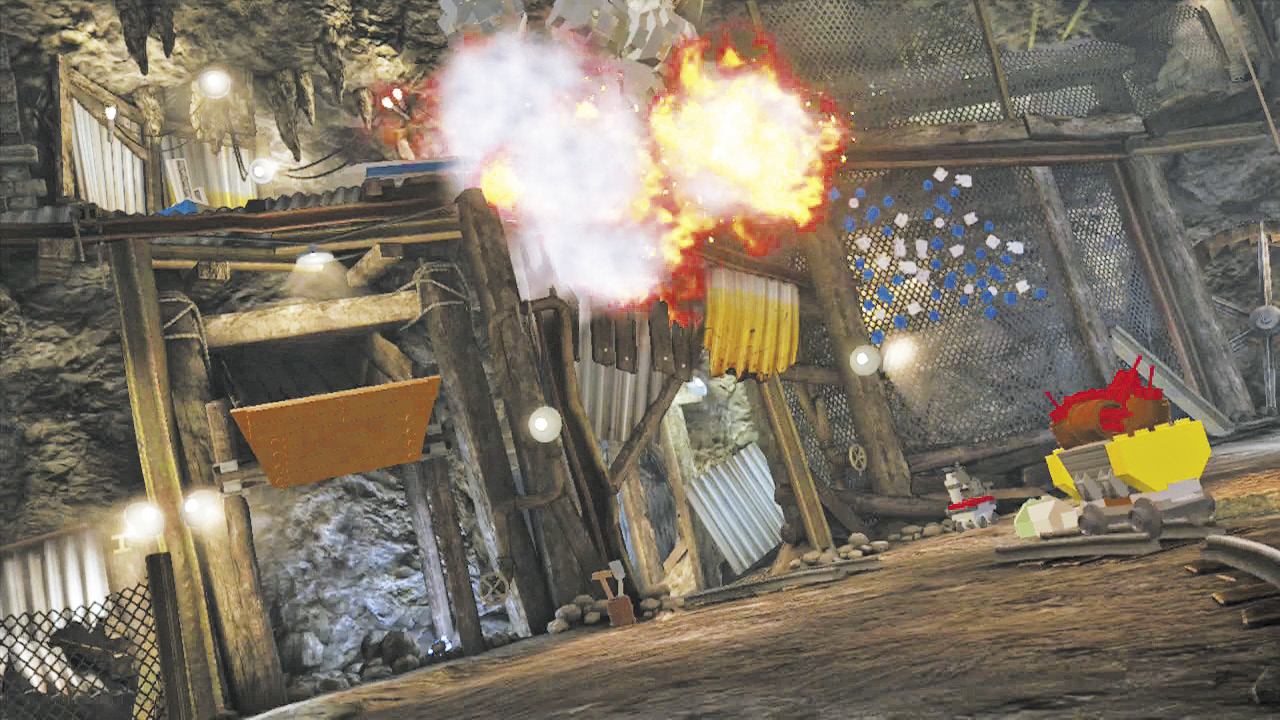
You’ve infiltrated the Bluebell Mine; now you just need to locate an associate of Rex’s named “Stinky.” Unfortunately, some of Rex’s goons have entered the mine as well, and they detonate explosives to trap you in the entry cavern. You’ll need to find a way to destroy those boulders!
Character Token 1:Ross Wilding 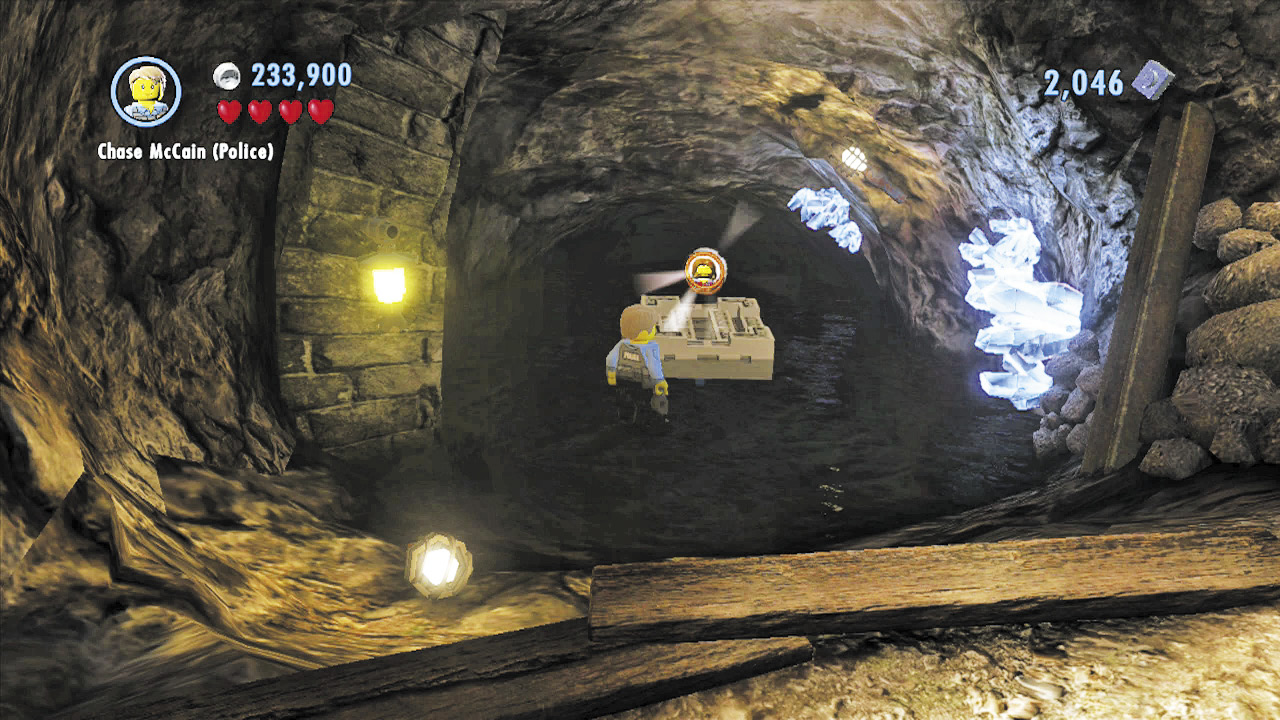 Use the grapple gun to flip over a floating pallet on the entry cavern’s left side. Jump onto the pallet and collect the character token! |
Free PlayCharacter Token 2:Spikey Don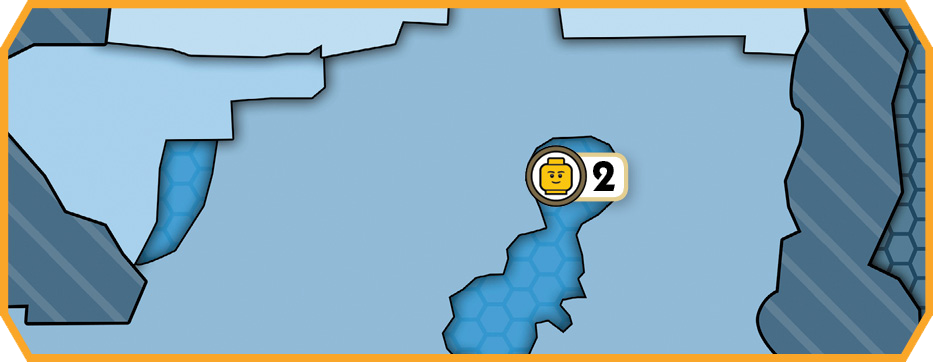 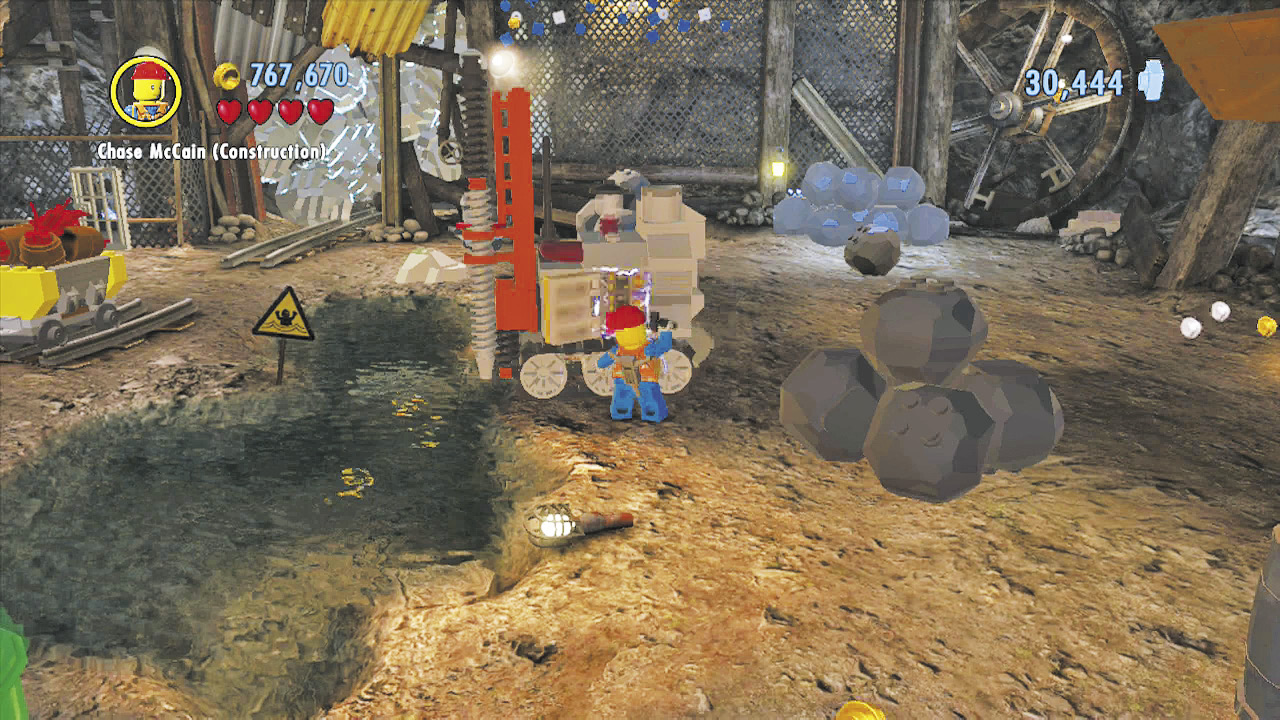 During Free Play, toggle to the construction worker disguise and repair the fuse box on the side of the mobile drill near the cavern’s center. This starts up the drill and causes the nearby pool to drain. 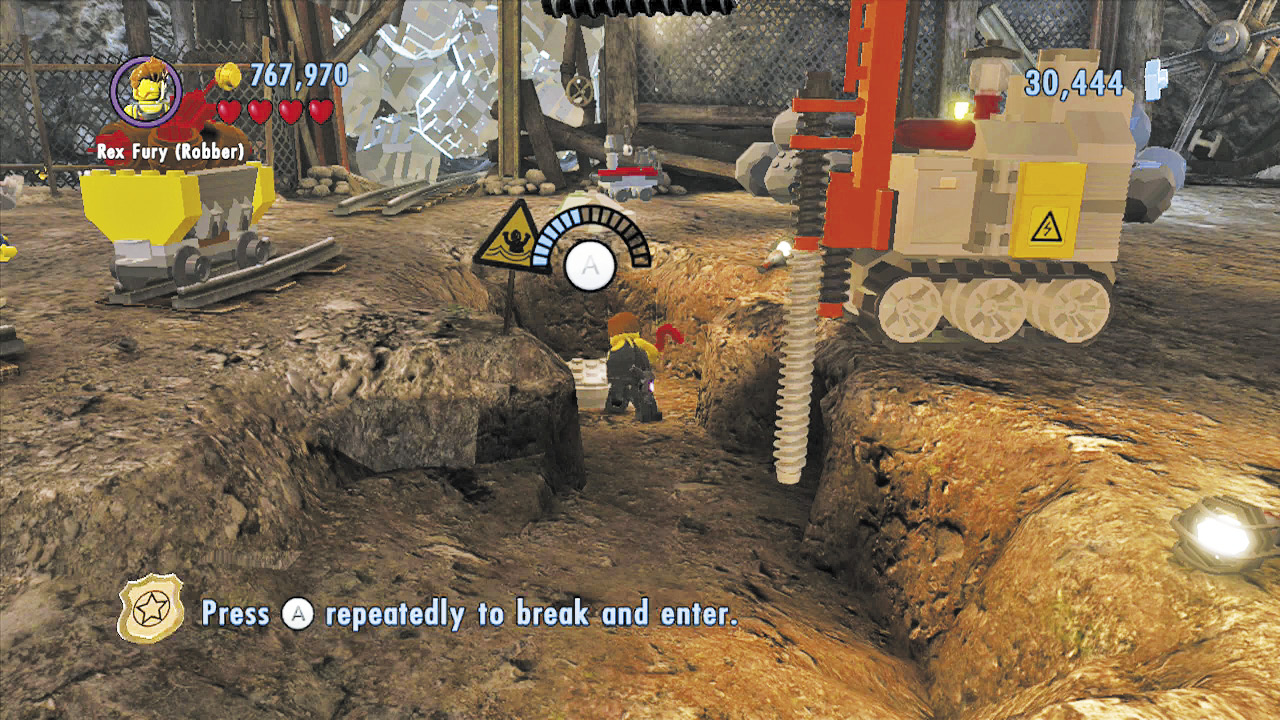 With the water gone, a manhole is exposed. Pry open the manhole to discover a character token! |
Free PlayVehicle Token 1: Dumper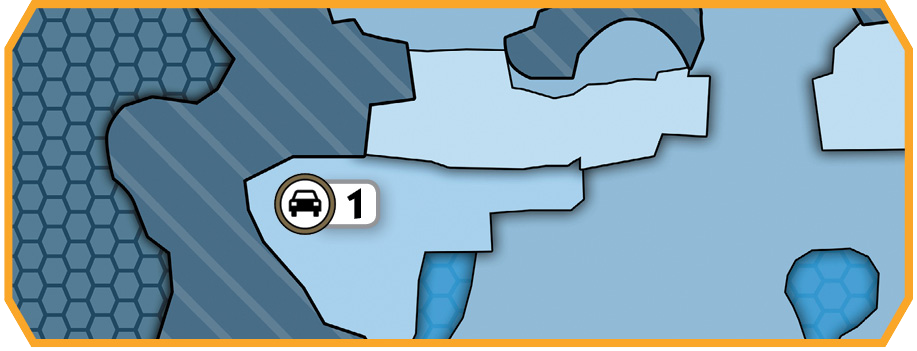 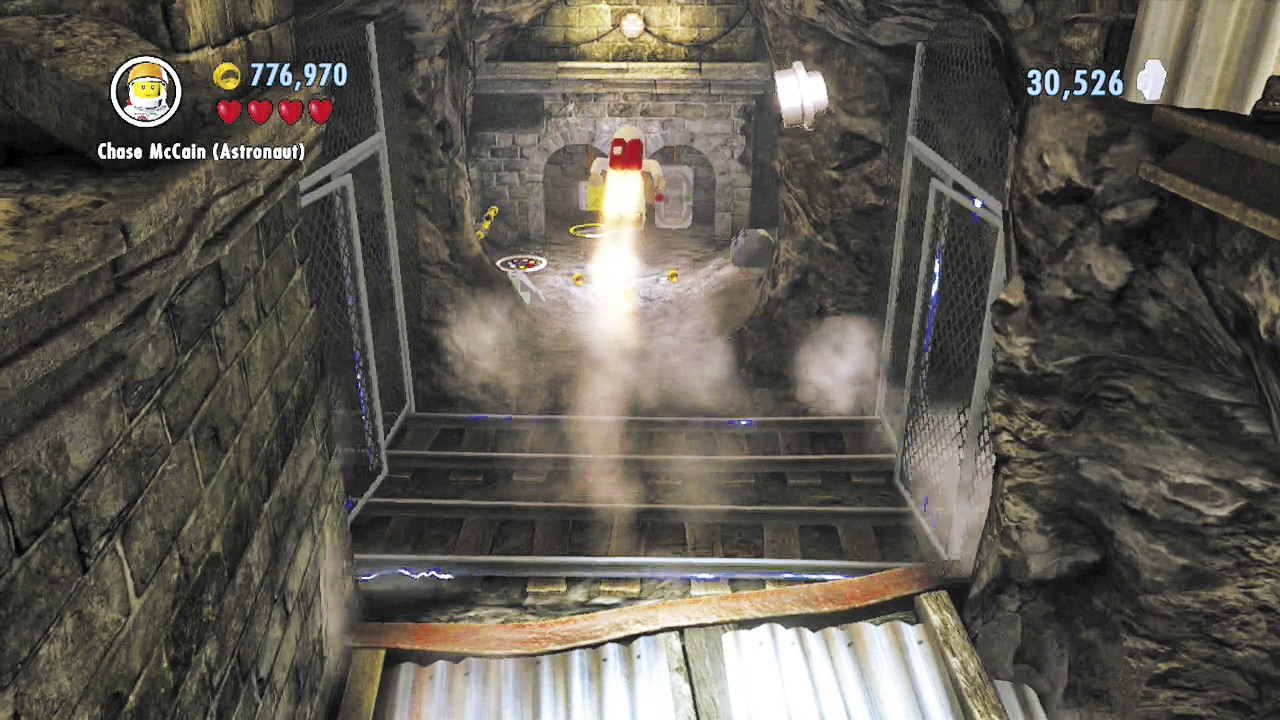 Use the astronaut disguise’s jet pack to boost over the electrified rails in the cavern’s background. After you land, pull a lever to shut off the electricity so you can safely return later. 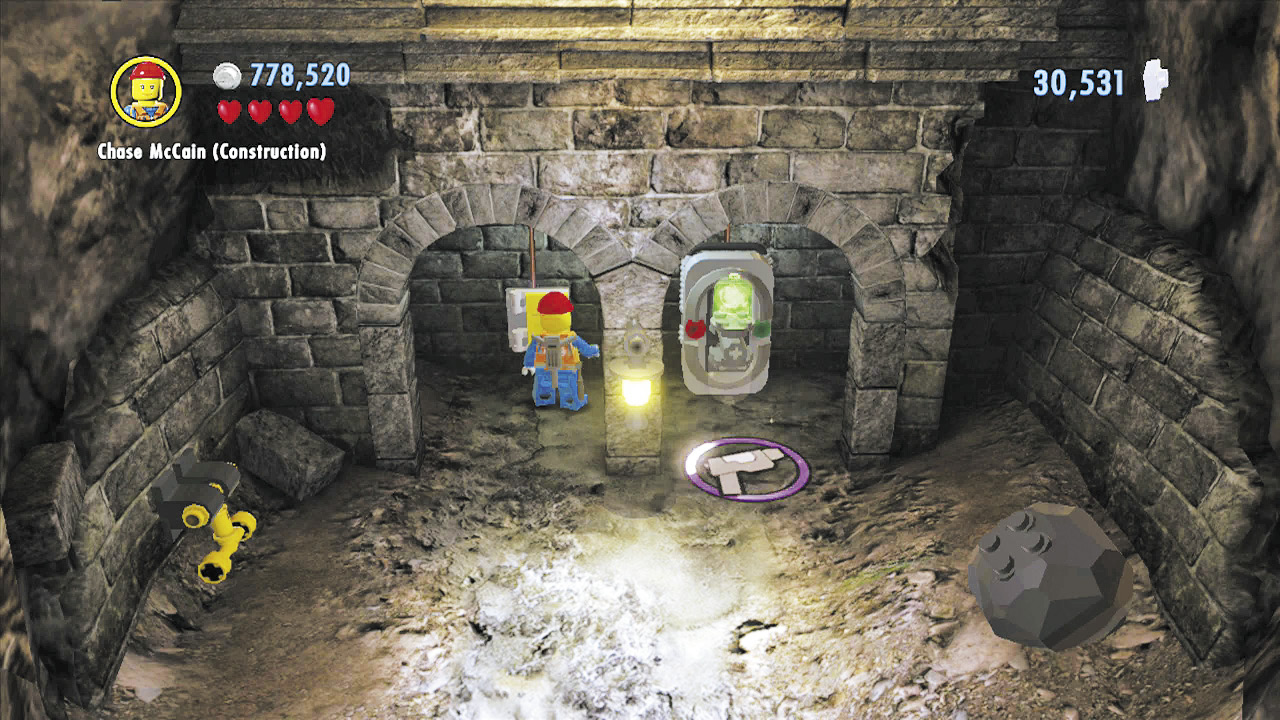 Repair the fuse box beyond the rails to power the nearby color swapper. Use this to fill the robber’s color gun with green energy. 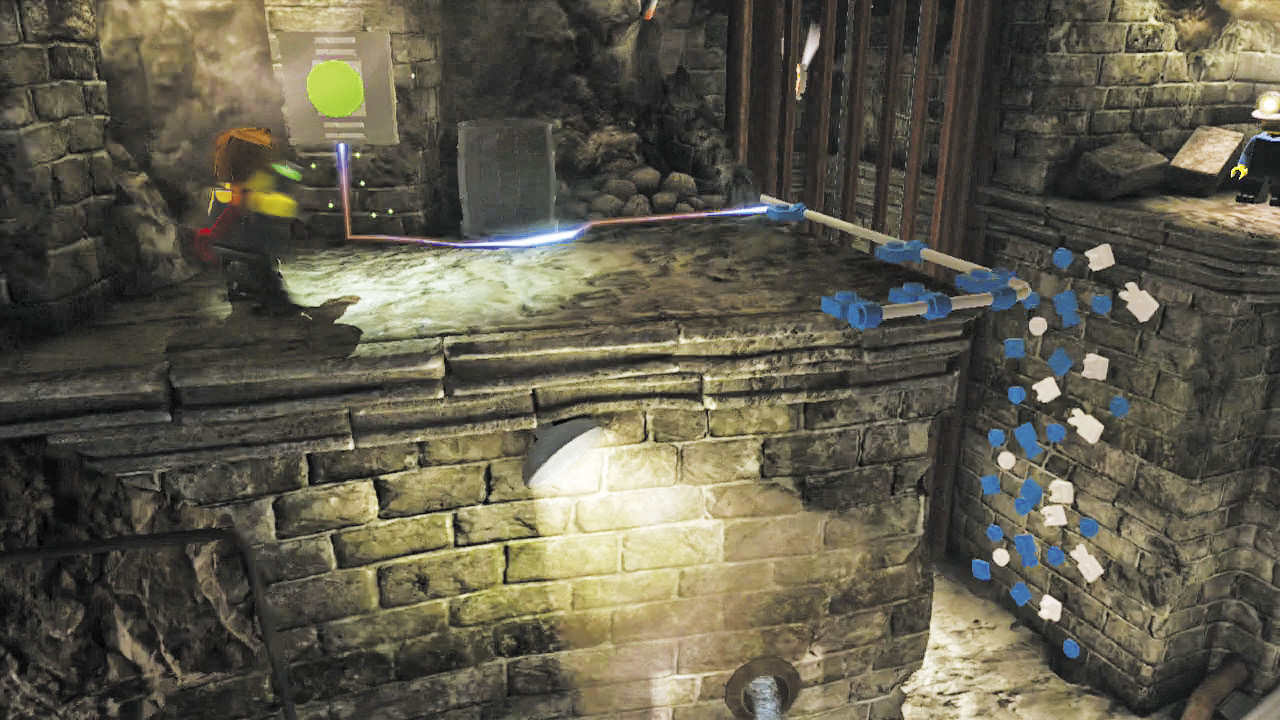 Backtrack across the rails and go left to locate a wall with a blue and white LEGO patch. Climb up to a ledge, then jump over to the other nearby ledge with the handhold. Blast the red switch on this ledge with green energy to activate the elevator below you. 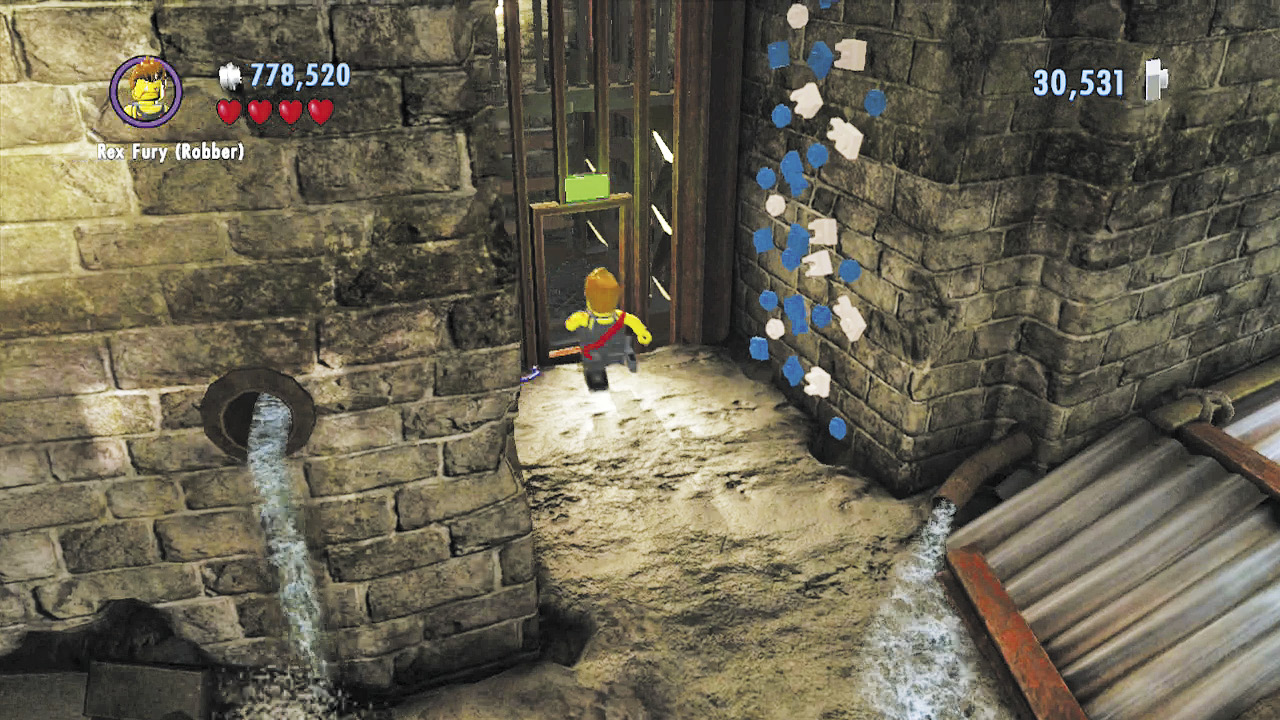 Drop from the ledge and step onto the elevator. This lifts you up to a vehicle token. Nice! |
Free PlayPolice Shield Piece 1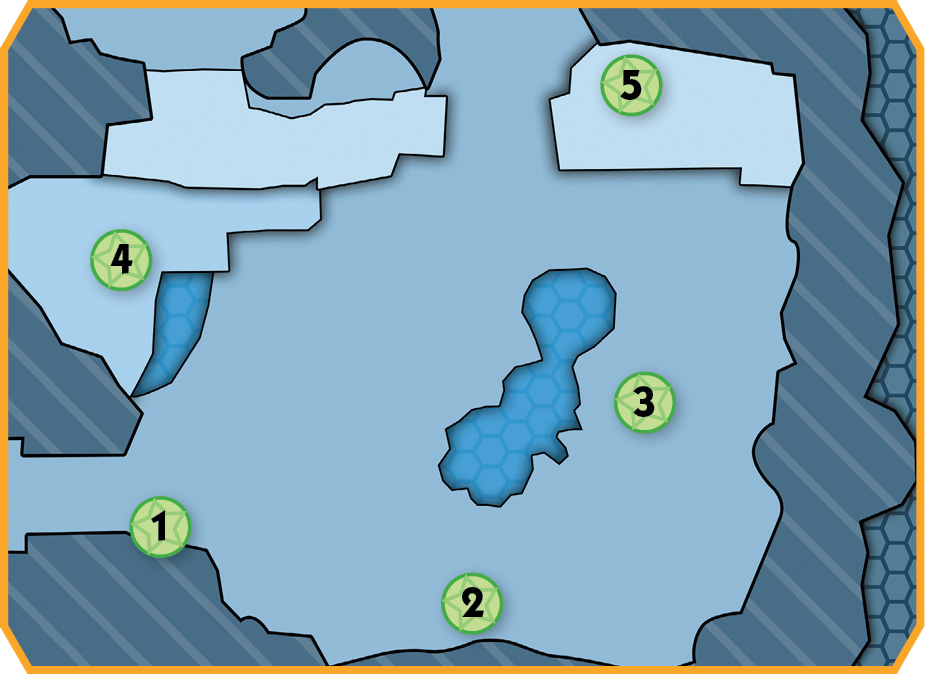 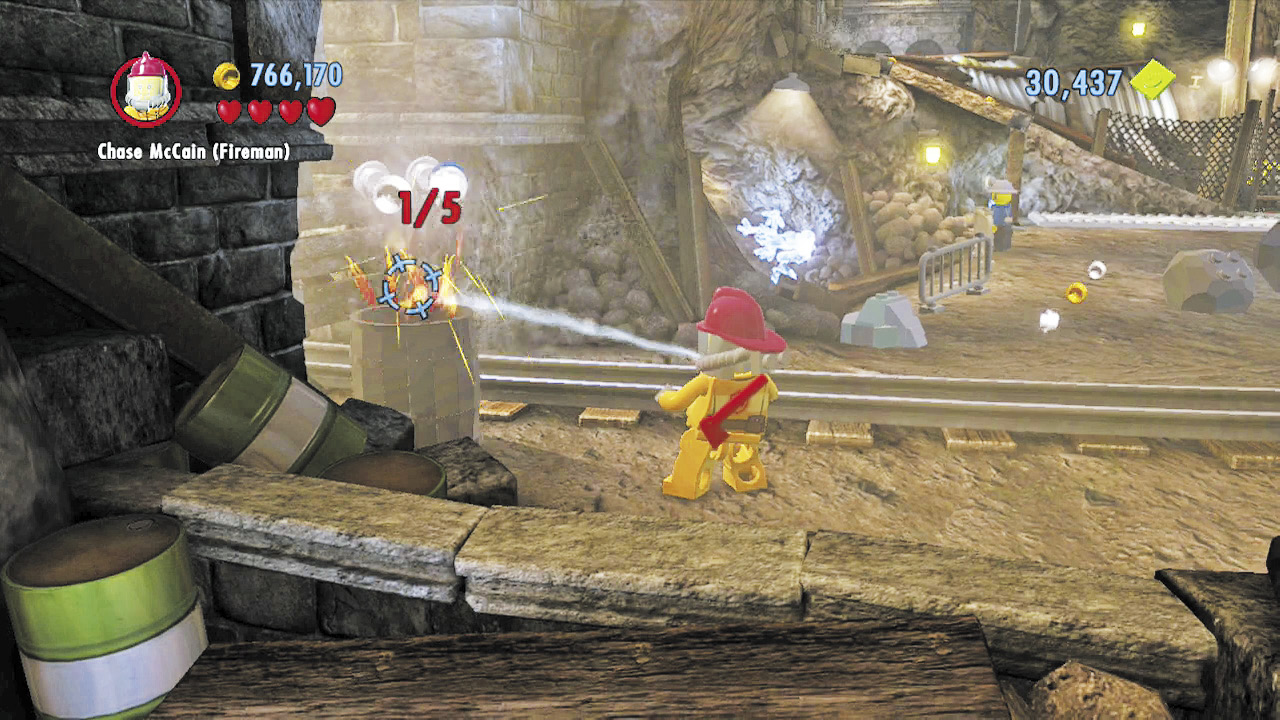 Douse five barrel fires around the first mine cavern with the fireman’s extinguisher to score a shield piece! Check the maps to see where the five barrel fires are located. |
Locating the Miner Disguise
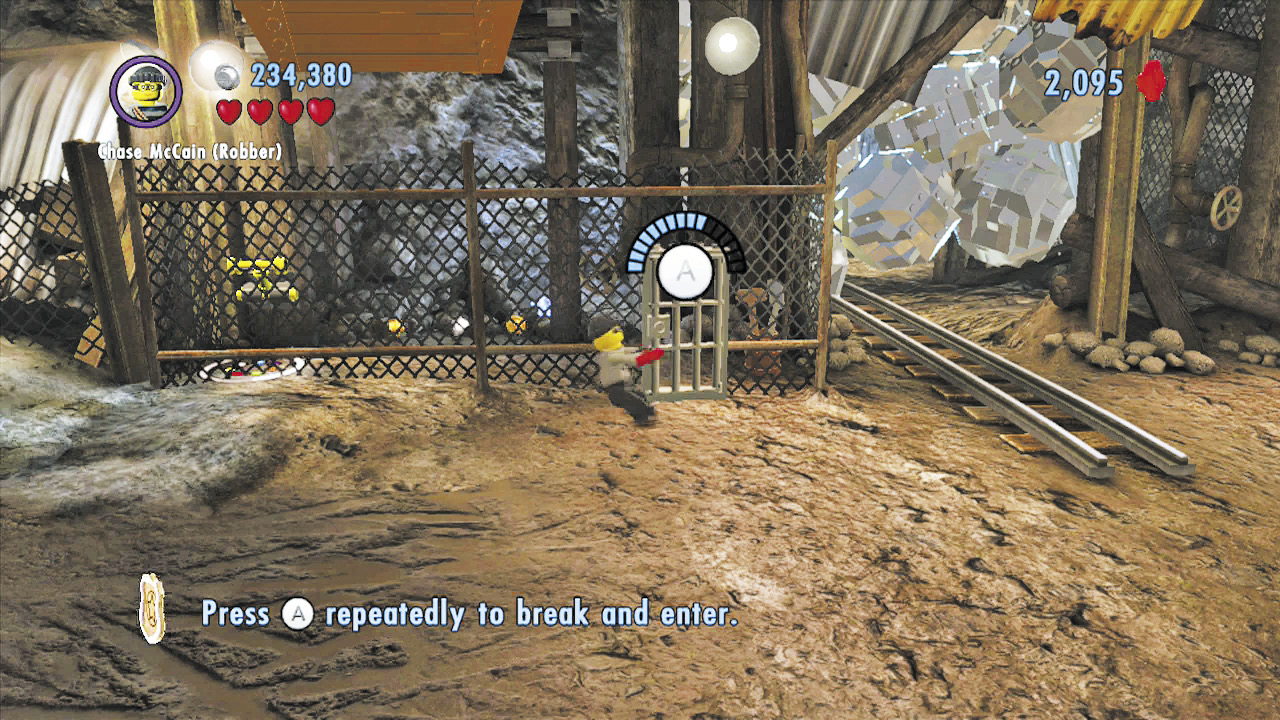
Crowbar the background door to access a fenced-off area that contains a lever. Pull this to make a bunch of bricks fall down from above.
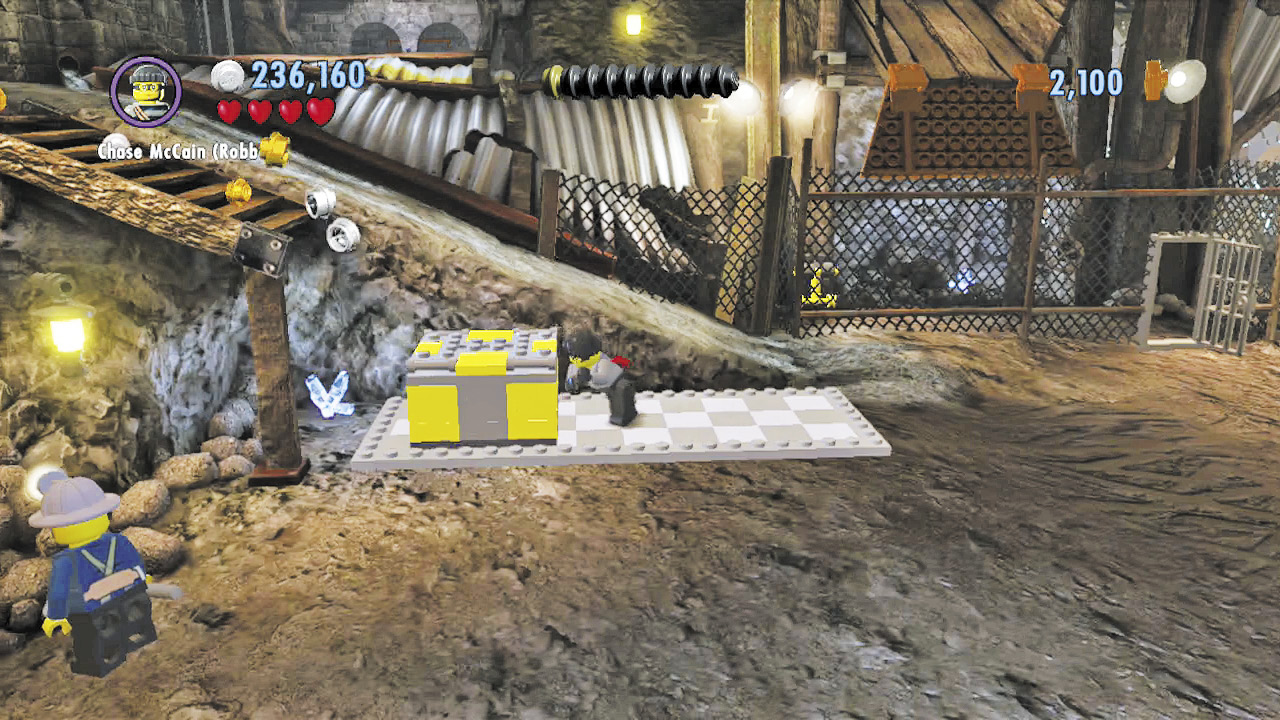
Build the bricks into a crate, then shove the crate all the way to the left along the checkered tiles. Now you can jump from the crate to reach the broken wooden stairs above!
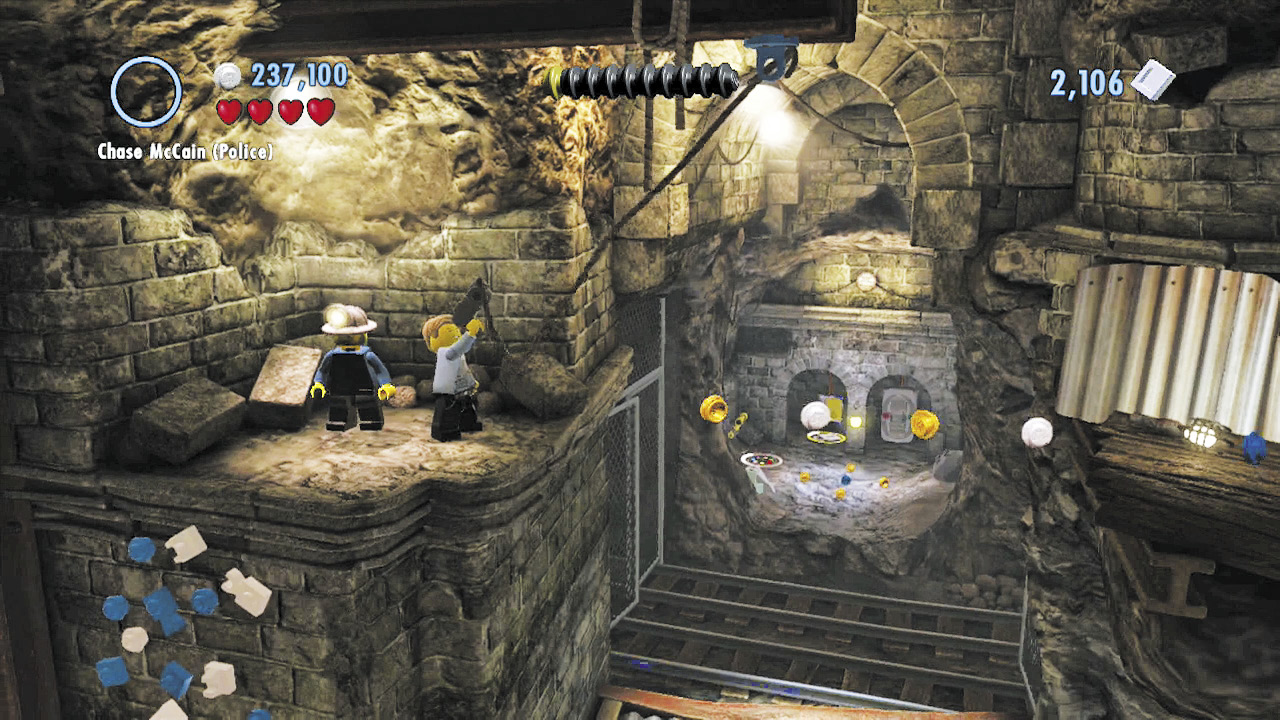
Climb up the blue and white wall beyond the stairs, then use the grapple gun to swing over to the right.
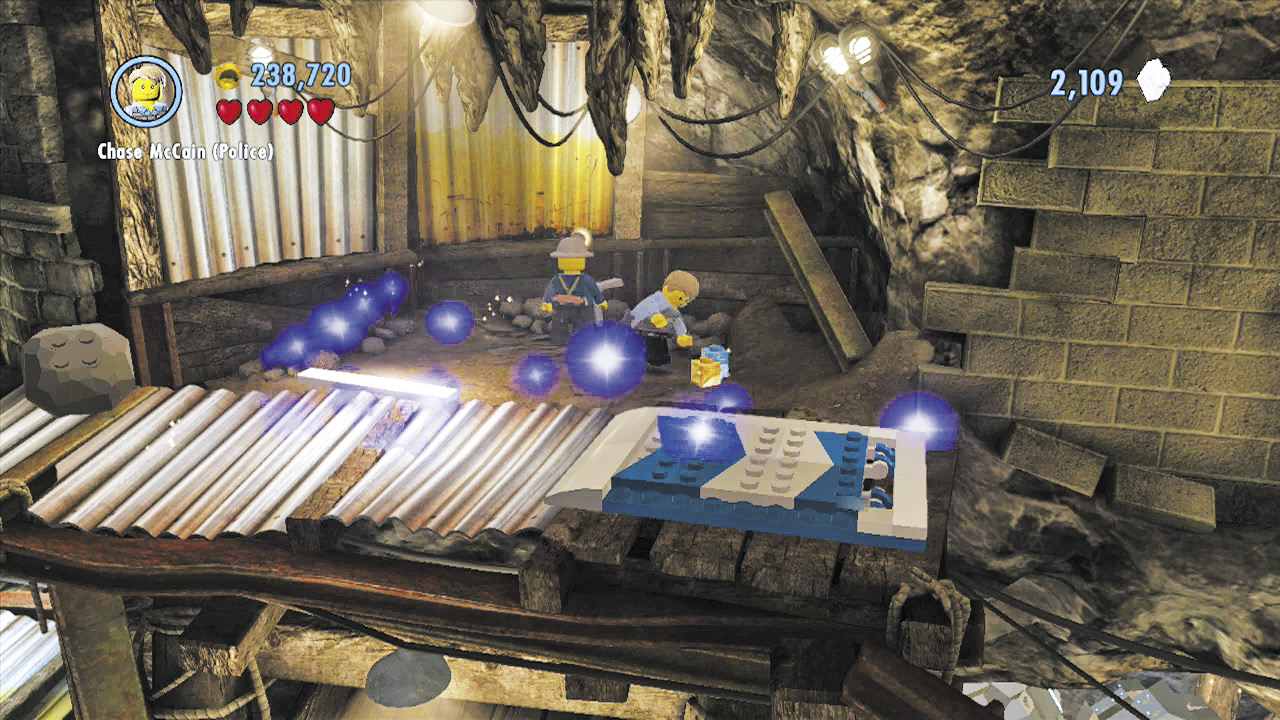
Smash some blue and white equipment to discover some bricks, then build a catapult pad. Use the pad to soar over to a shed.
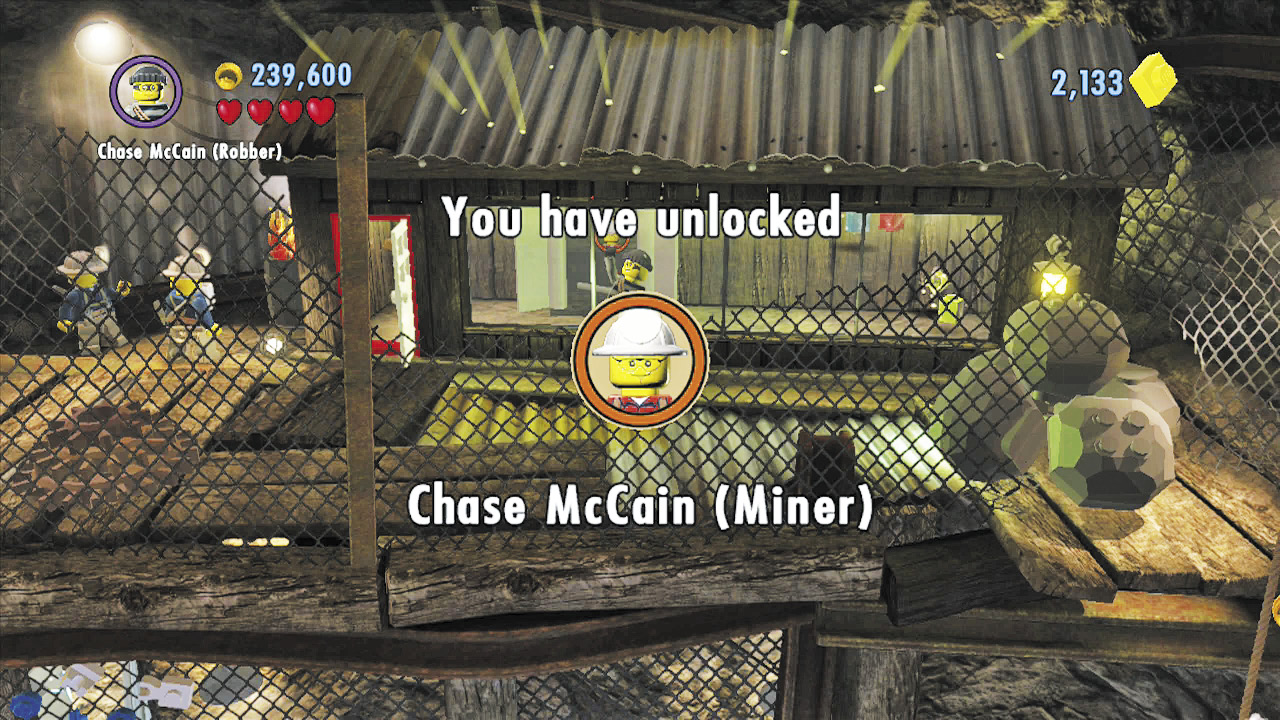
Break into the shed, then open the locker within to discover the Chase McCain (Miner) disguise. Nice!
Unblocking the Mine Tunnel
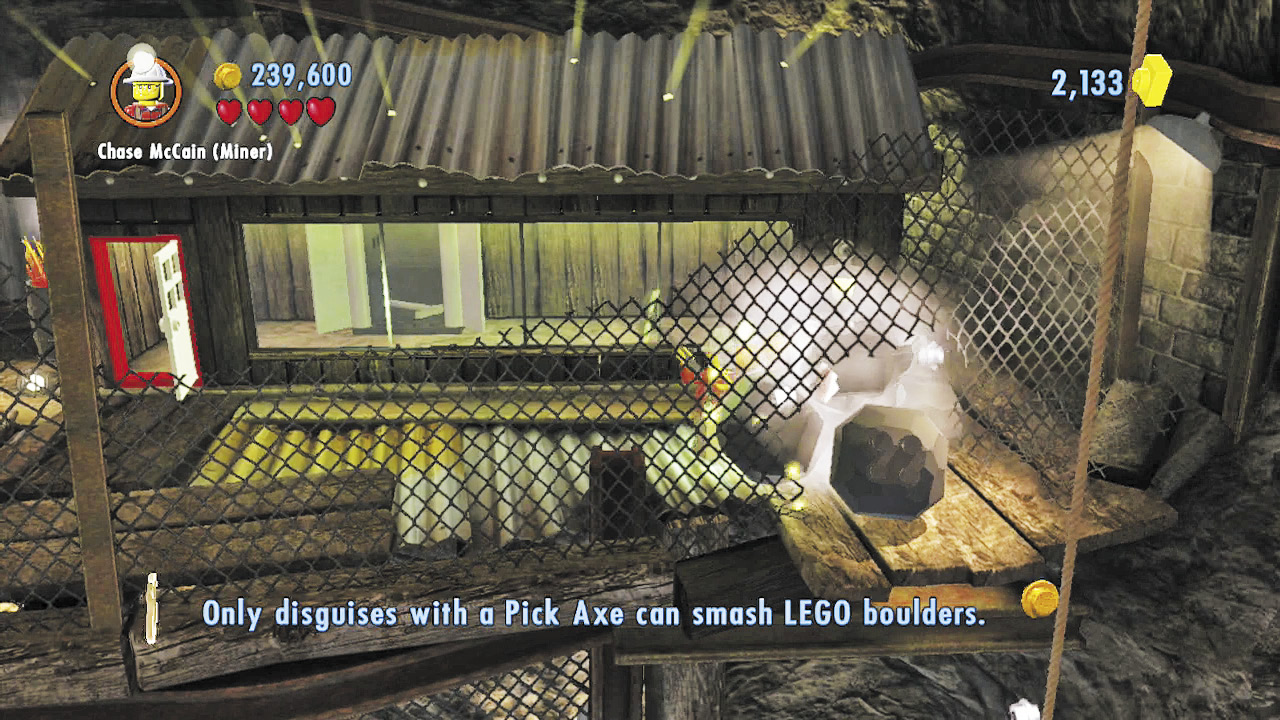
The miner disguise grants Chase the use of a powerful pickax. Swing the ax at the boulders outside the shed to destroy them and expose a hole in the fence. Slip through the hole and drop down to the cavern’s ground level.
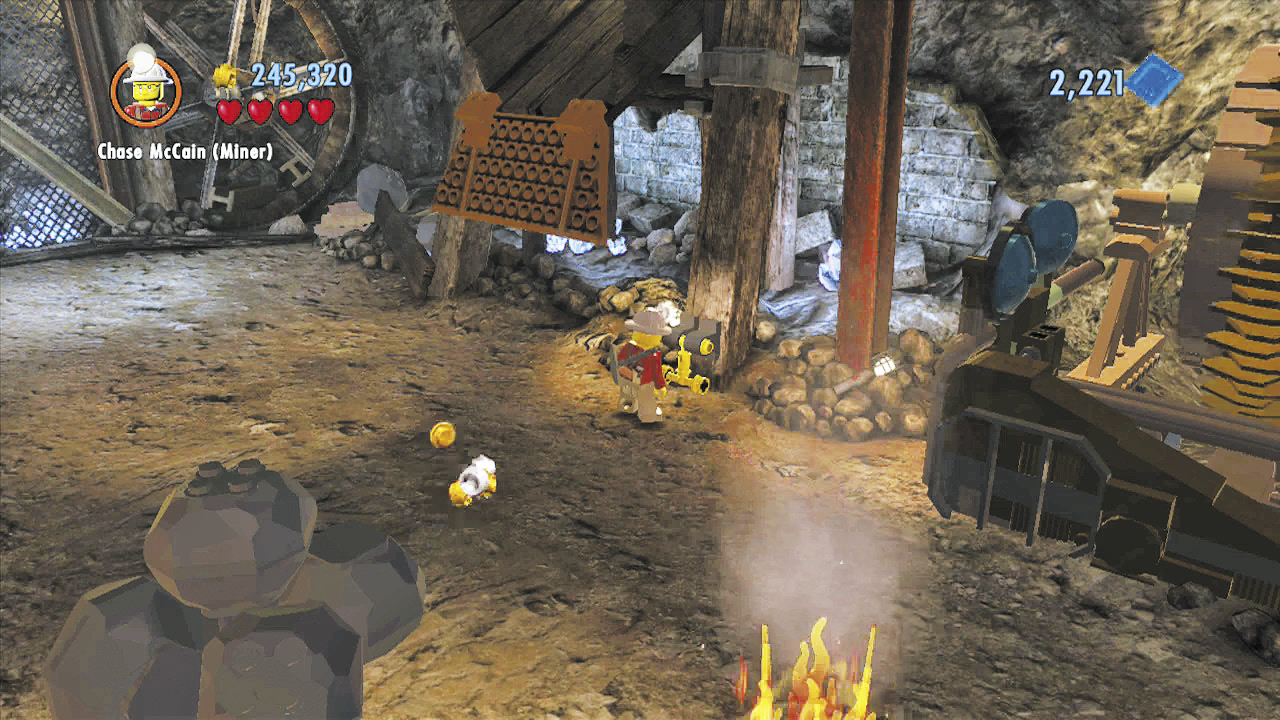
Destroy more boulders on the ground level to discover a lever handle. Insert this into a nearby switch, then pull the lever to make more bricks fall from above.
Police Shield Piece 2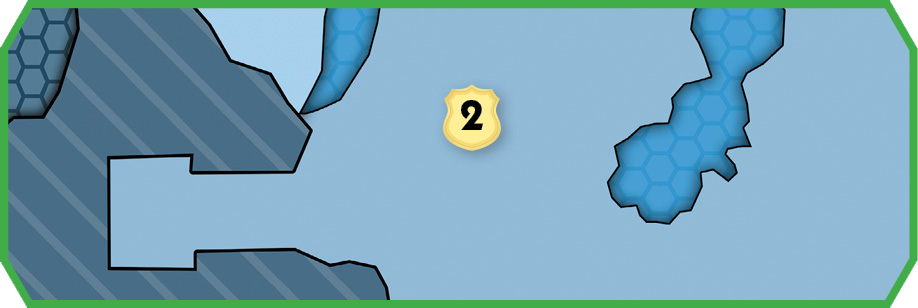 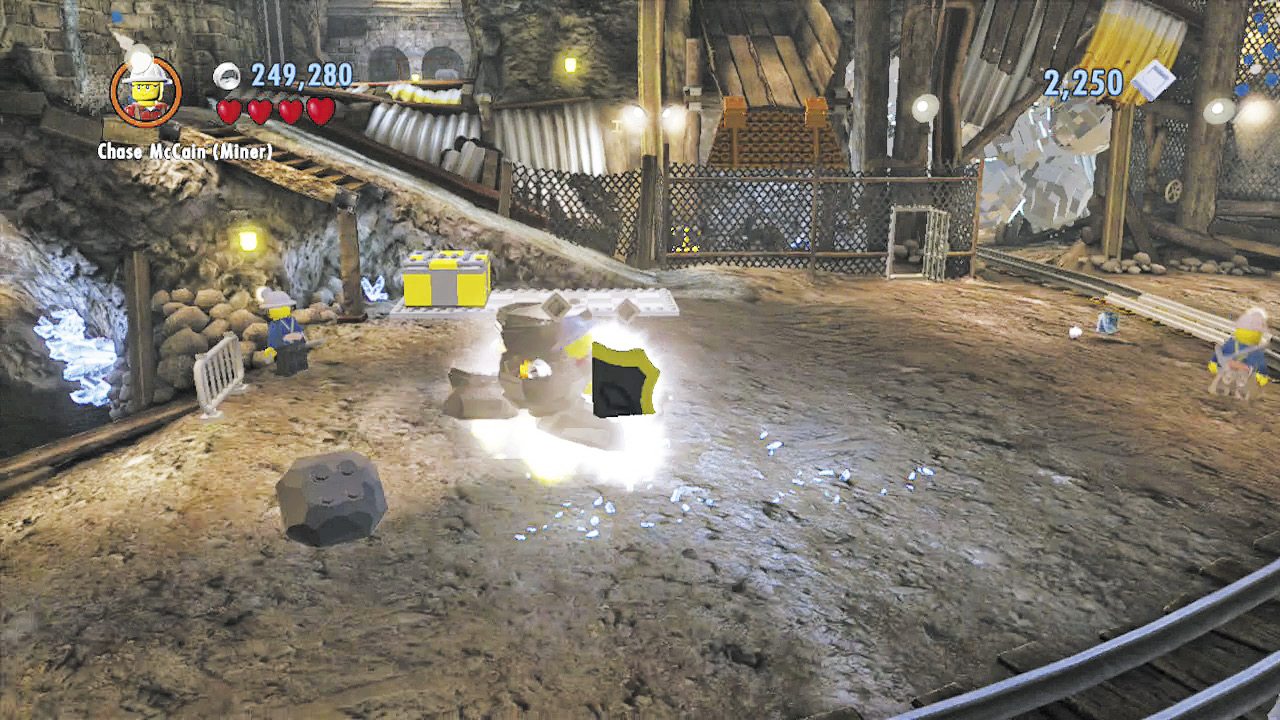 Use the miner’s pickax to smash a pile of boulders on the cavern’s left side and dig out a hidden shield piece! |
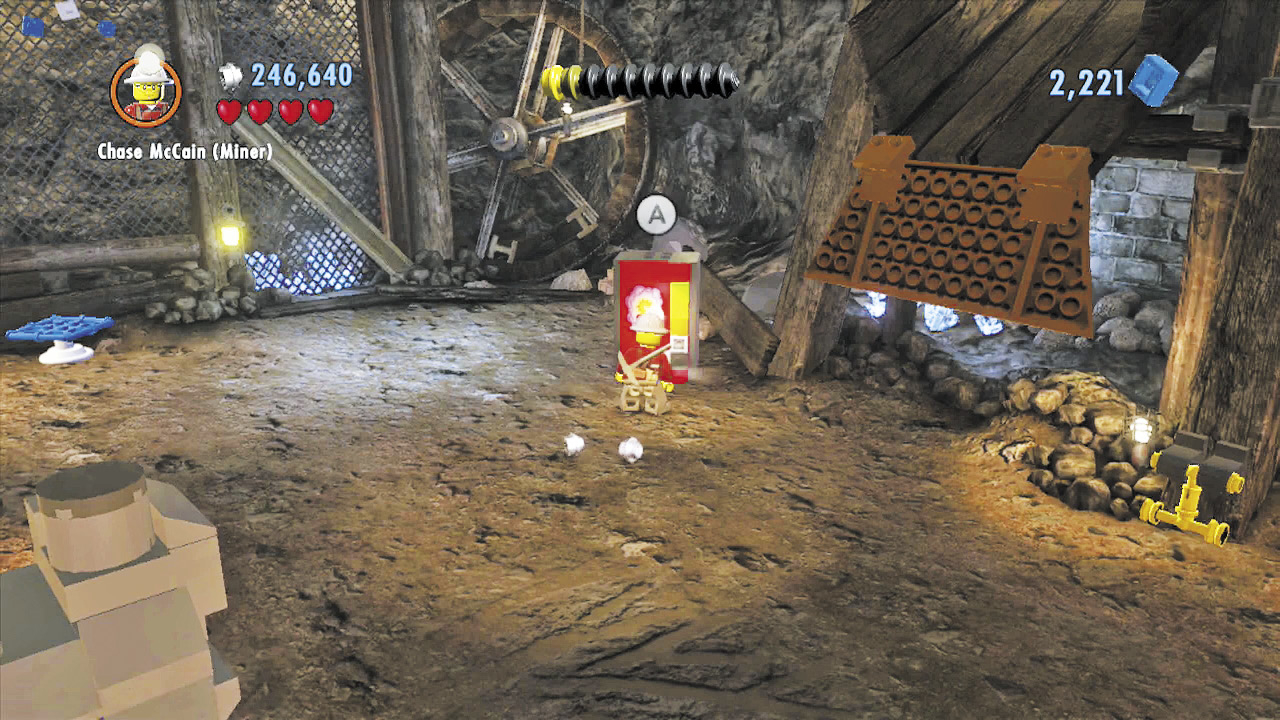
Build the bricks into a unique vending machine with a picture of dynamite on its front. Use the machine to obtain some dynamite, which Chase can pick up only while wearing his miner disguise.
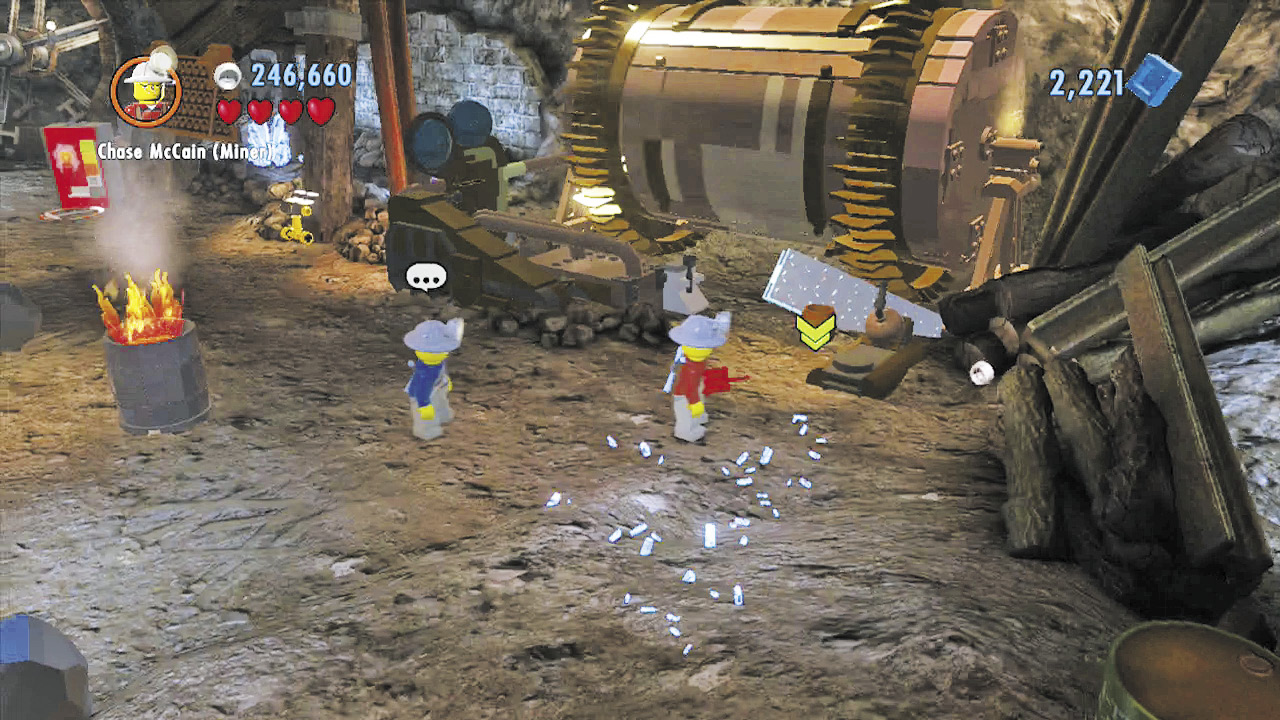
Carry the dynamite over to a small barrel near a blocked mechanism. Place the dynamite in the barrel, then run away before it goes boom!
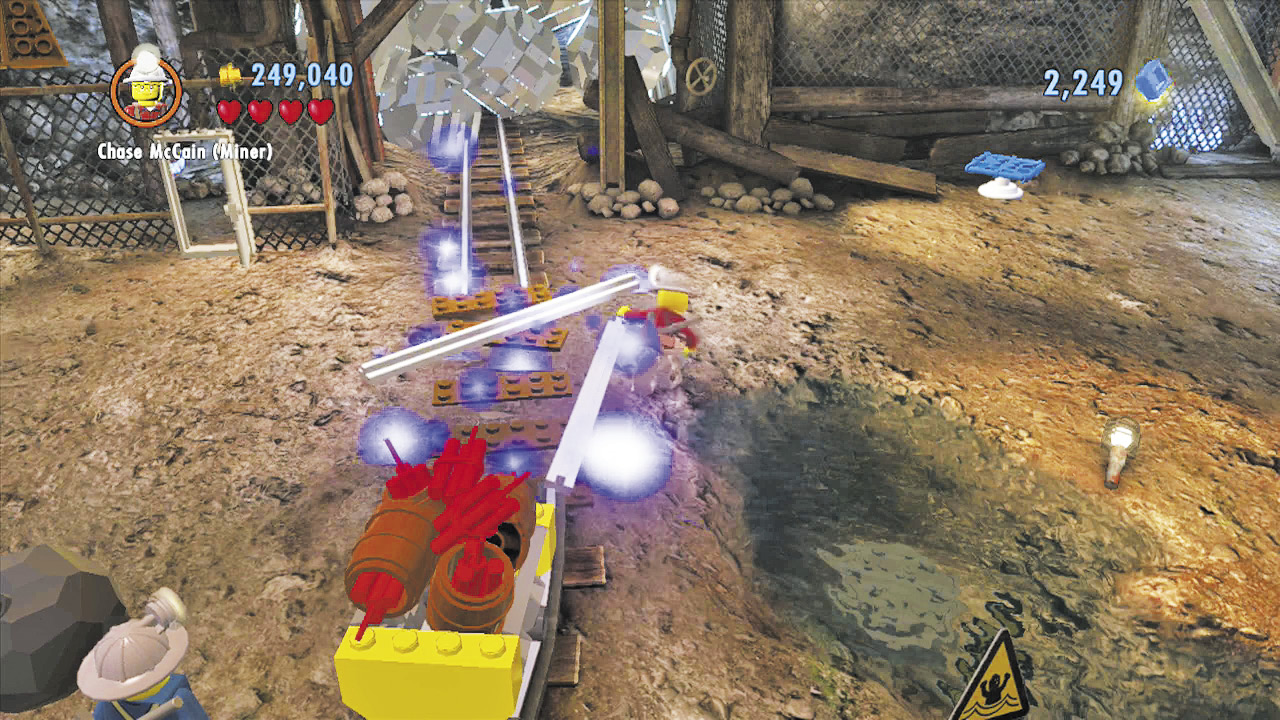
The dynamite destroys the silver obstruction and unblocks the mechanism. This causes a large crane to drop a pile of bricks near the mine cart track. Head over and build the bricks to repair the track.
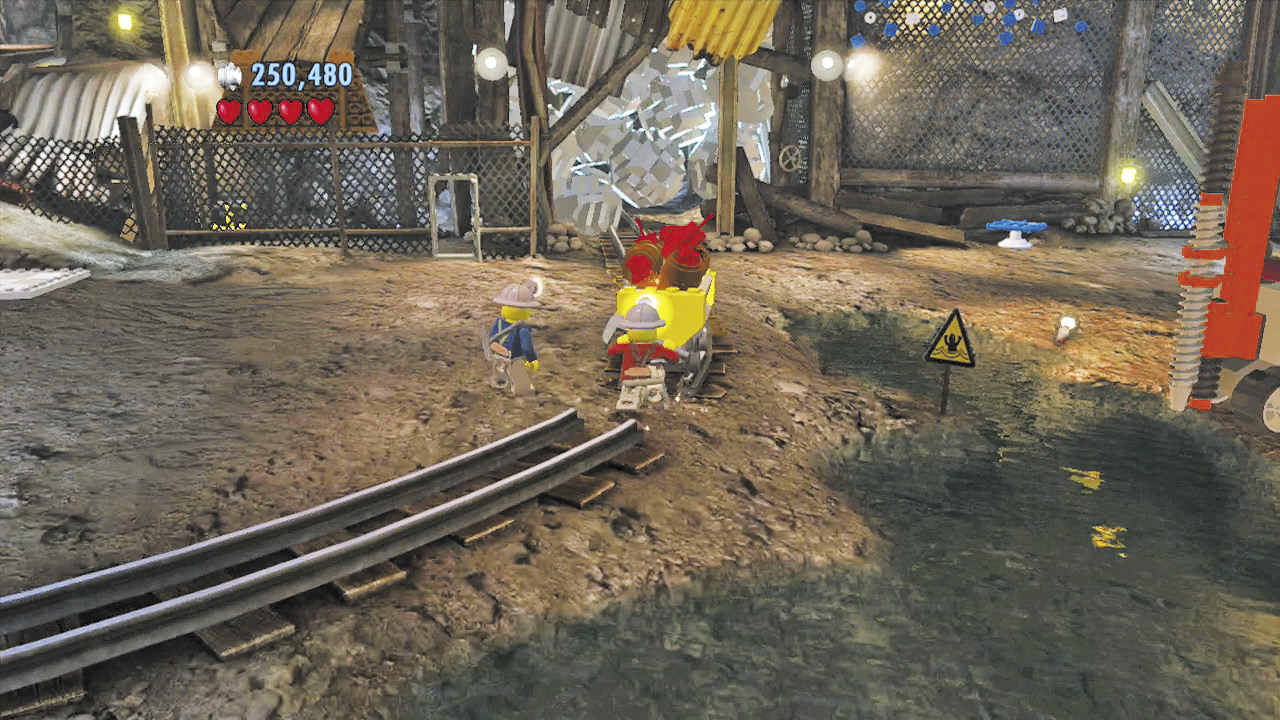
Nice work! Now simply shove the mine cart, which is loaded with dynamite, along the track. It destroys the pile of boulders ahead, unblocking the mine tunnel. Unfortunately, it also frees a couple of enemy goons! Subdue the goons, then stroll into the mine tunnel to reach the next area.
One Long Drop
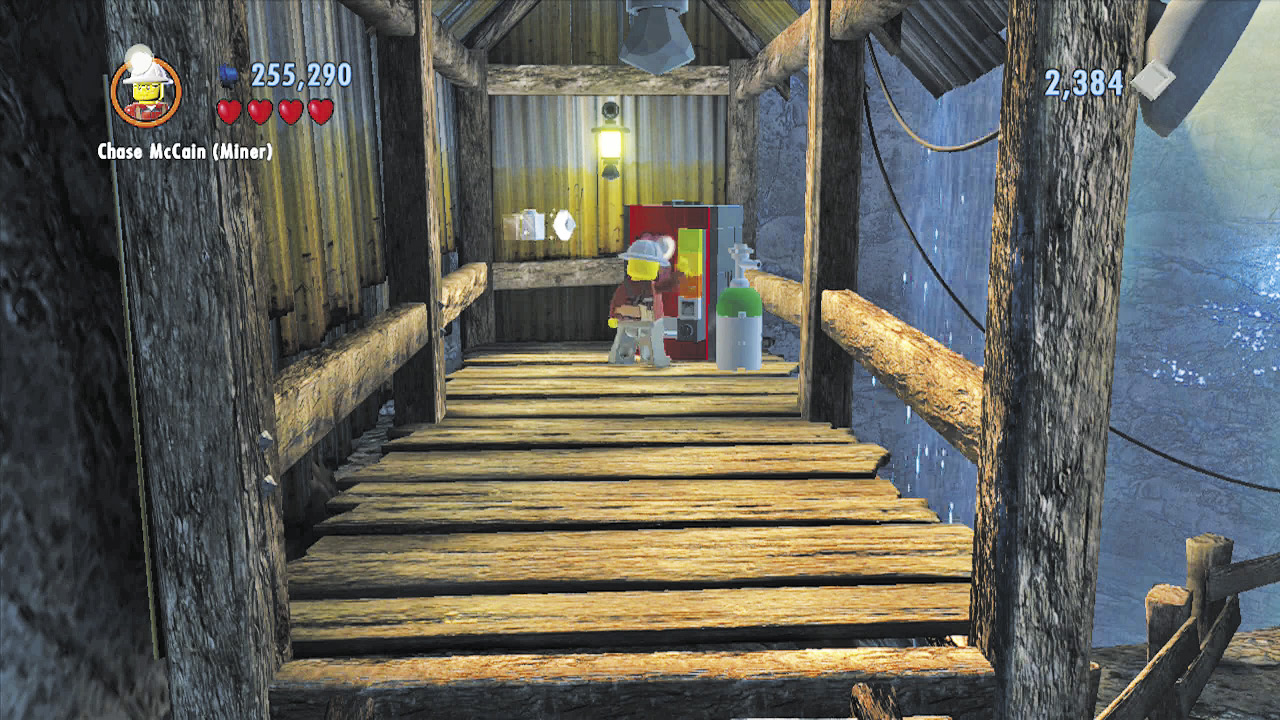
More thugs await in the next cavern. Beat them up, then use the nearby dispenser to obtain more dynamite. Place the dynamite in the small barrel near the silver outhouse.
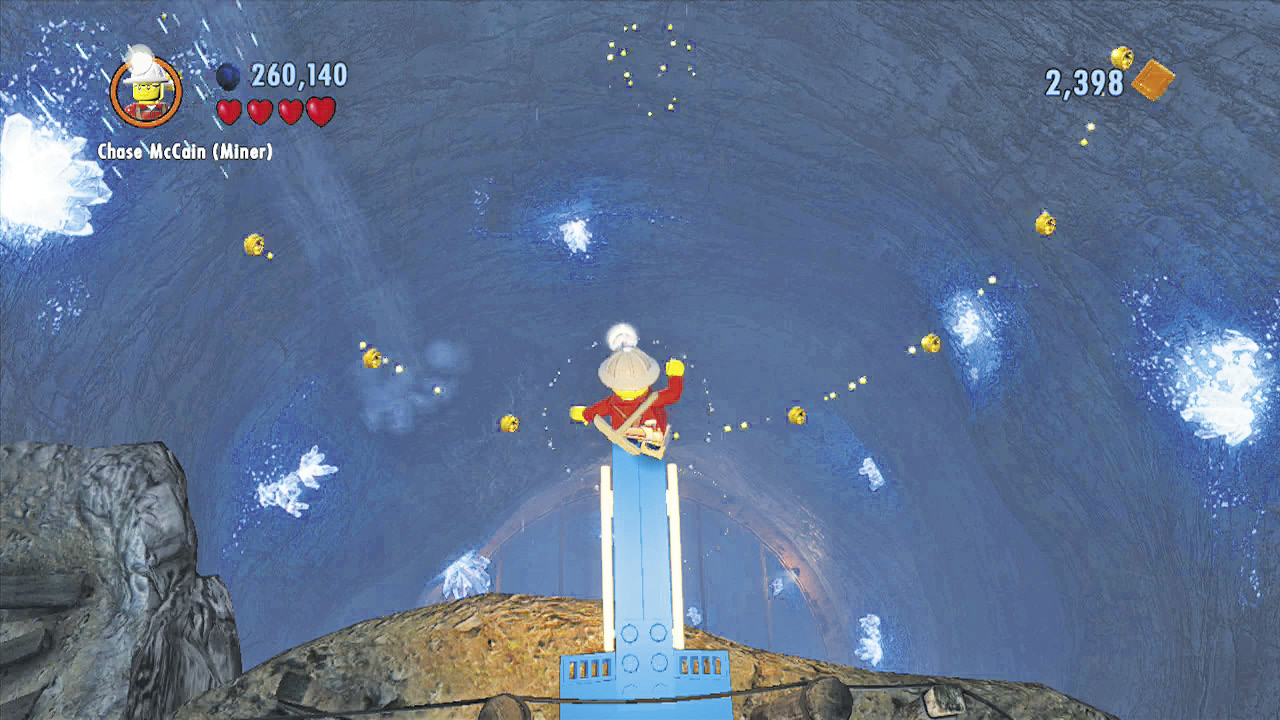
The outhouse erupts into a pile of bouncing bricks. Build these into a diving board, then step to the edge. Take a deep breath and then make a daring leap into the giant mine shaft!
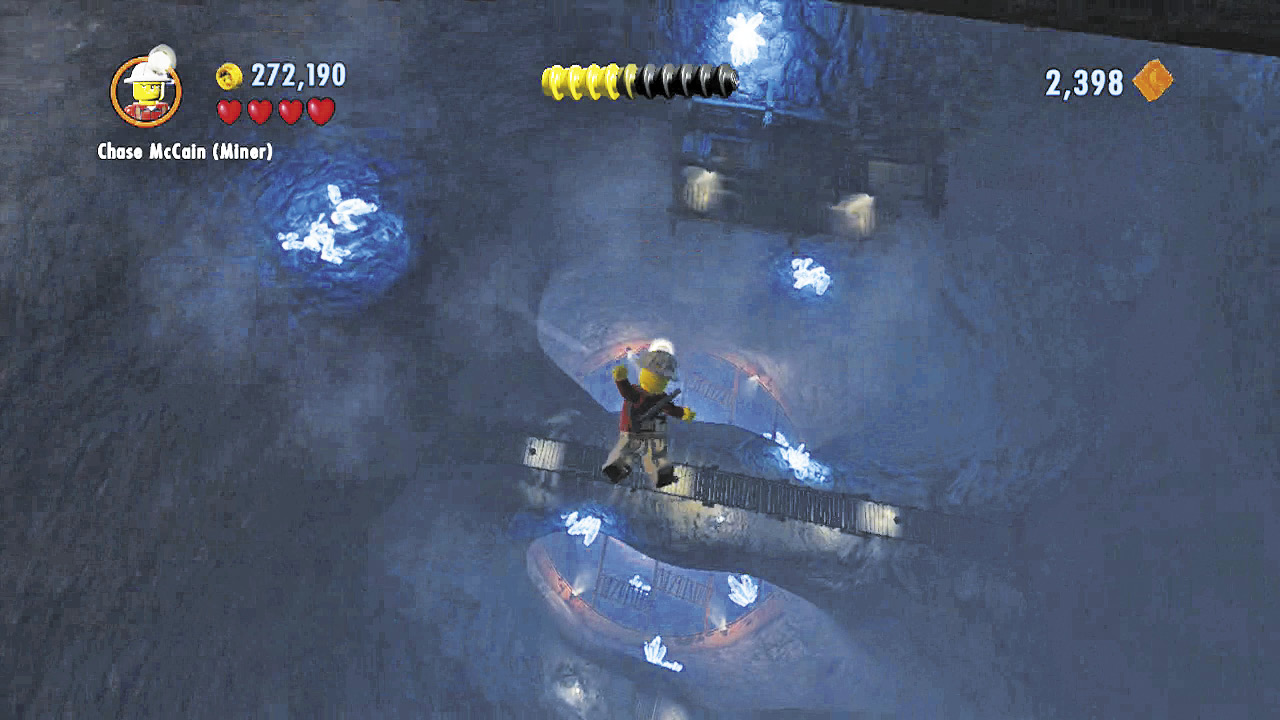
Wahoo! The mine shaft is ridiculously deep, and Chase just keeps falling. Avoid obstacles and try to pass through the rings of studs as you plummet. You’ll collect all the studs when you pass through the rings!
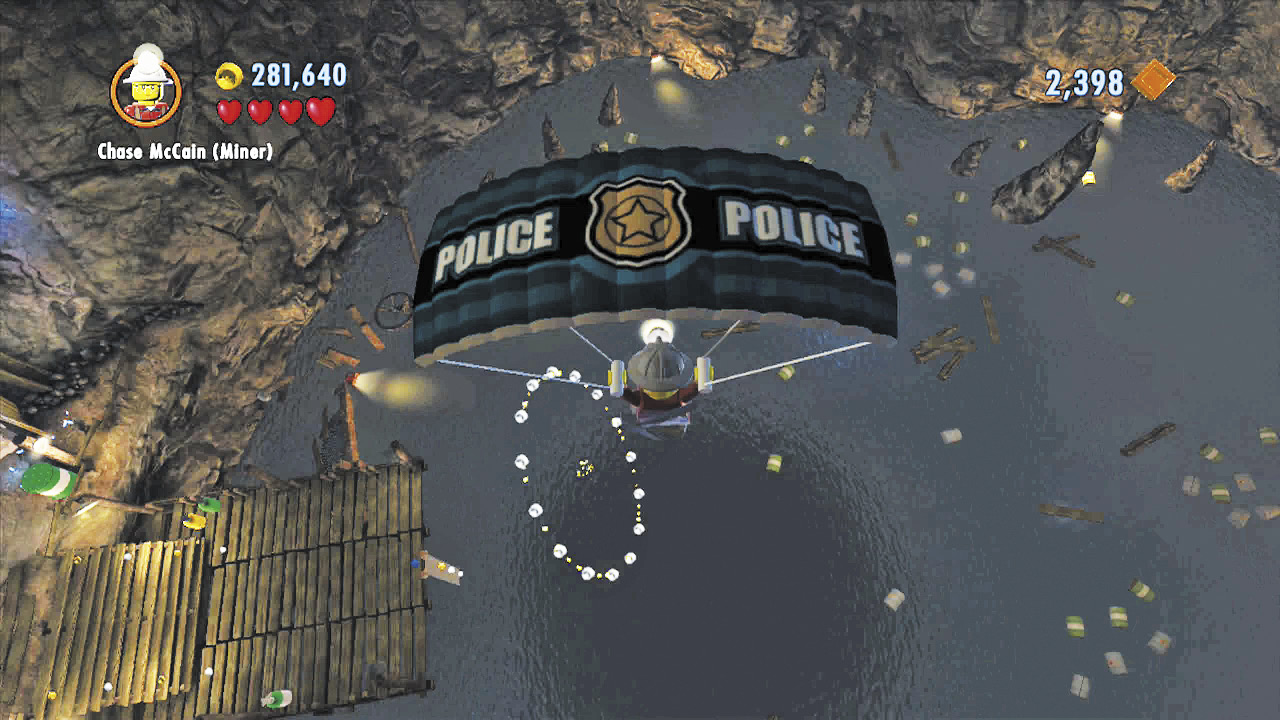
Eventually, Chase will deploy a parachute to slow his descent. (Now that’s planning ahead!) Try passing through the last few stud rings before splashing down in the water, then climb a ladder to reach solid ground.
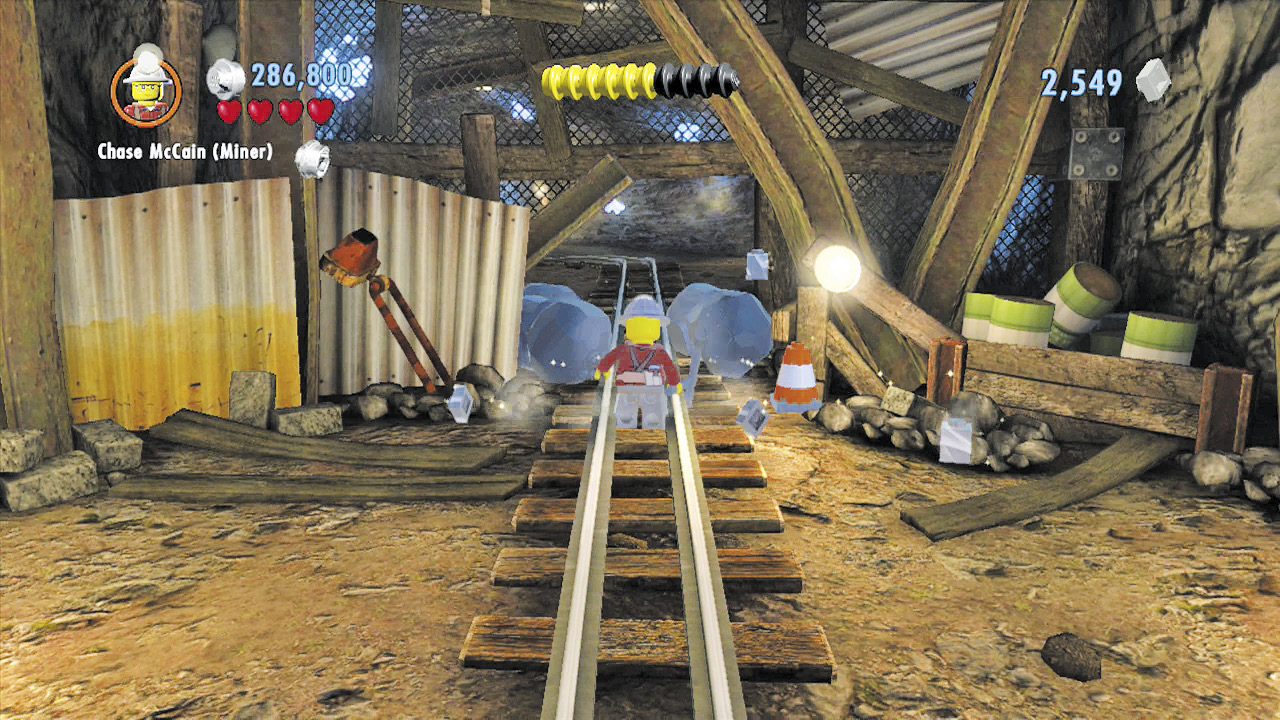
Use the pickax to smash through the pile of boulders that block the next mine tunnel, and head through to the next area. Stinky can’t be far!
Cable Car Construction
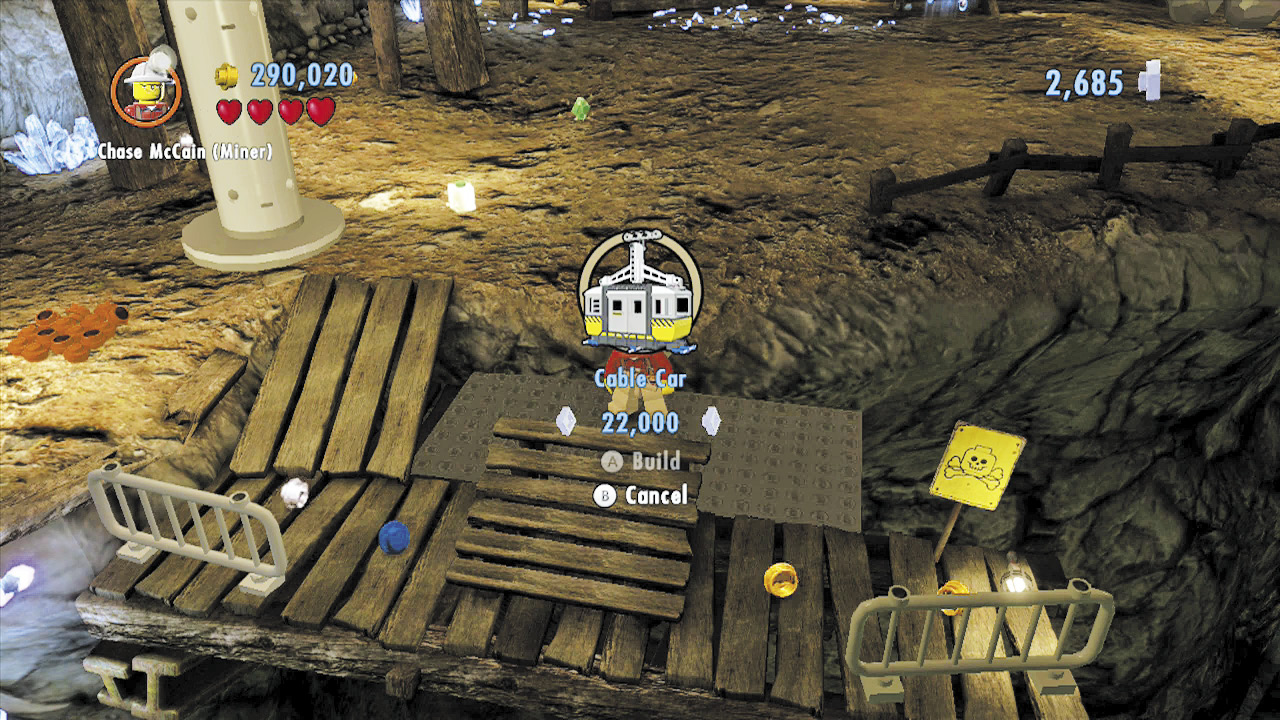
To progress farther into the mine, you must build a cable car. This will cost you 22,000 bricks, but never fear—there are superbricks nearby!
Superbrick 1
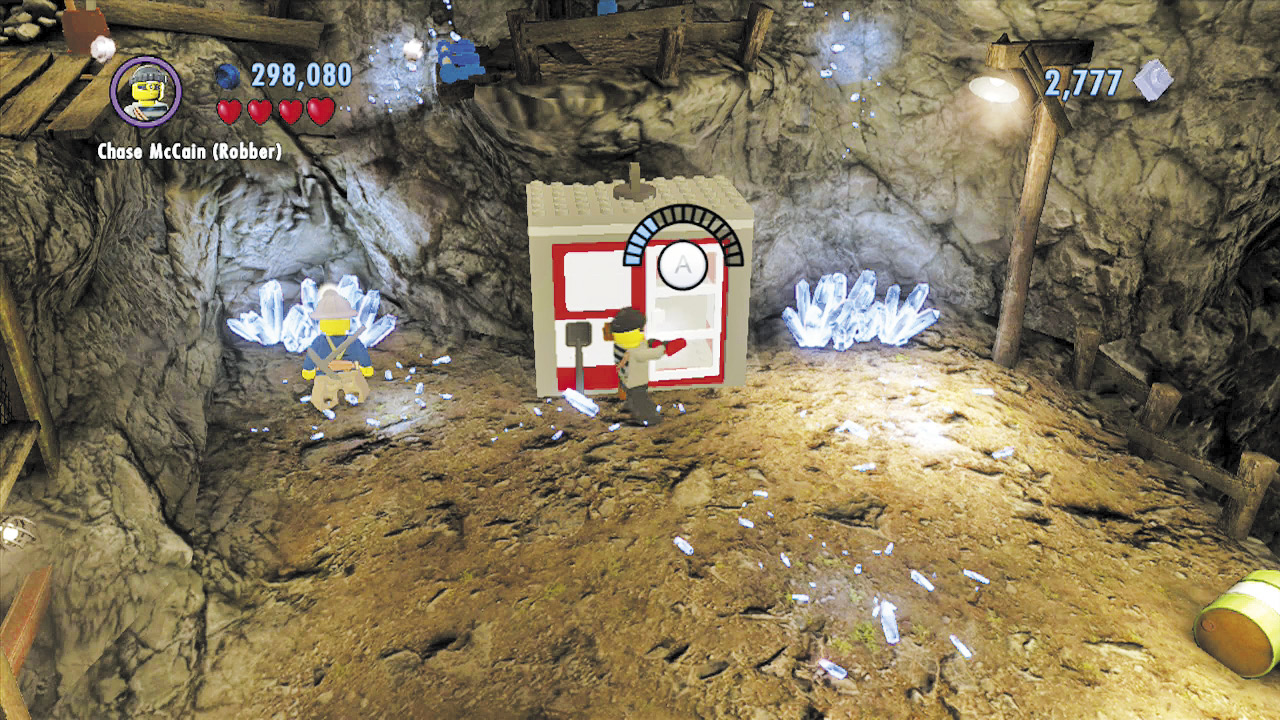
The first superbrick is easy to find—just pry open the door of the red storage shed to the right. Head inside and claim it.
Free PlayVehicle Token 2: Steadfast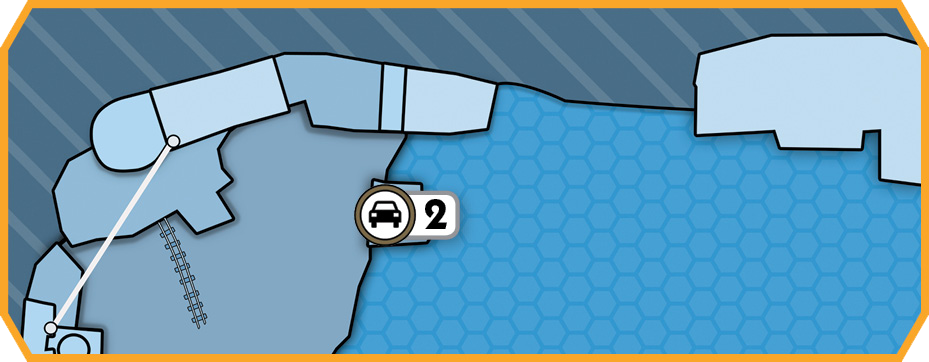 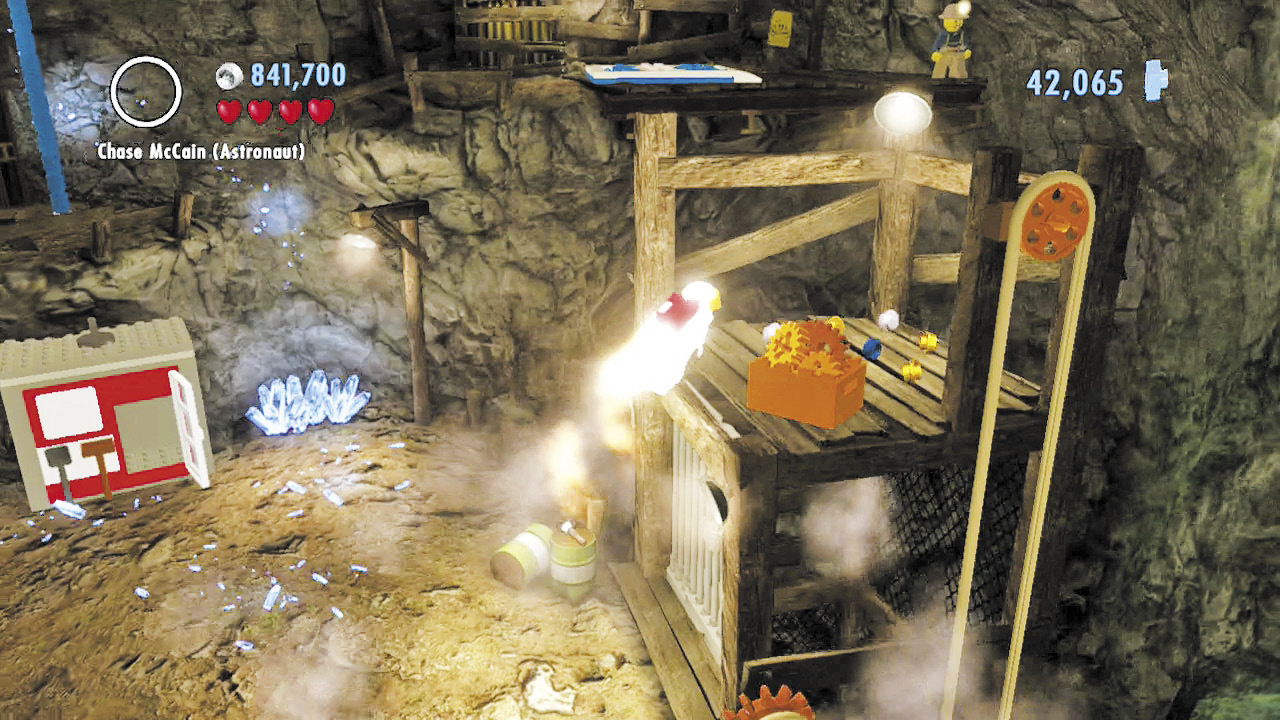 After claiming the first superbrick, toggle to the astronaut disguise and boost onto the top of the elevator to the right. Collect the box of bricks you find up here, and carry them to the green pad below. 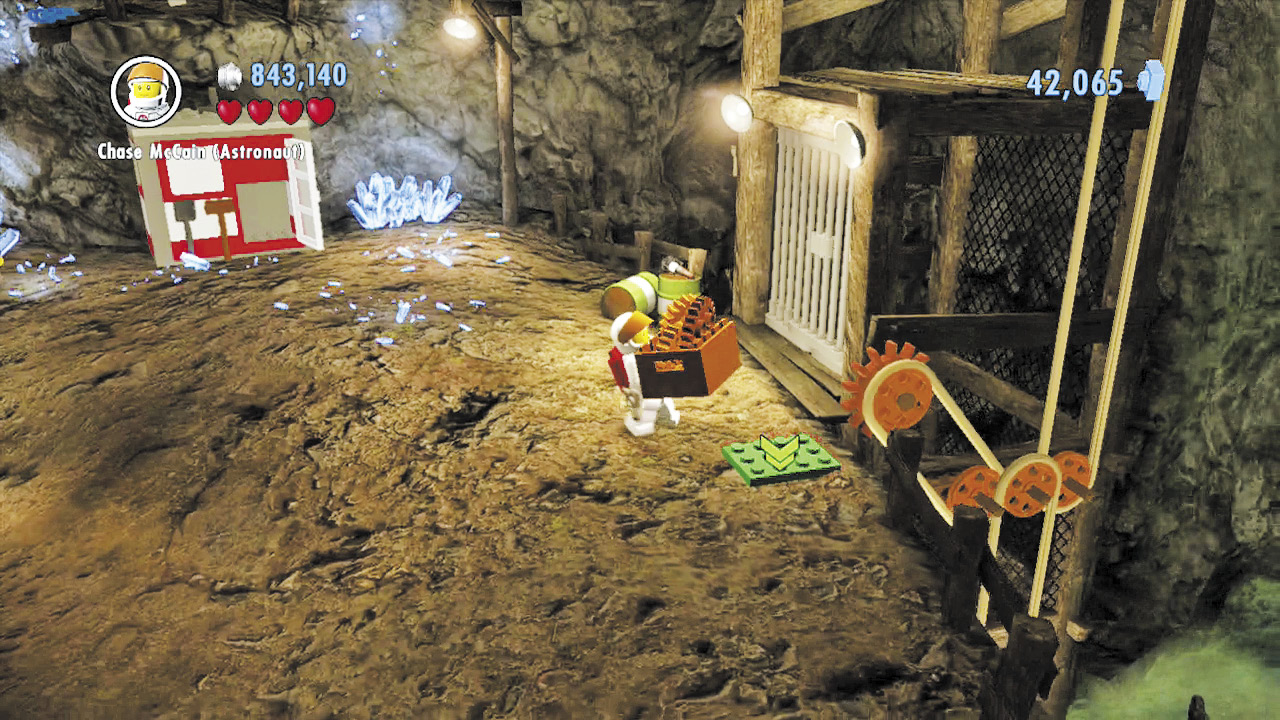 Place the box on the pad, then build the bricks to add a gear to the elevator mechanism. The elevator arrives, delivering a vehicle token to you. |
Superbrick 2
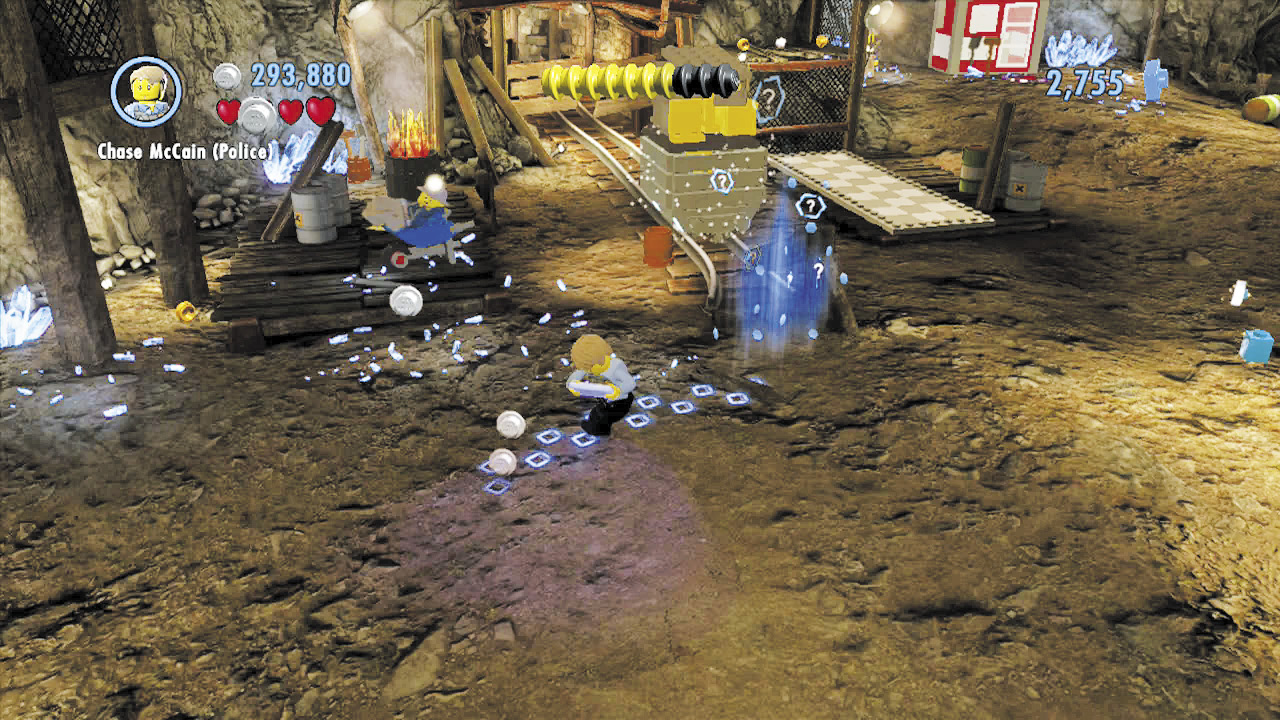
Next, smash the boulders in front of the central mine cart to discover a scan spot. Follow the footprints to a pile of debris, then clear away the debris to discover some dynamite. This should come in handy!
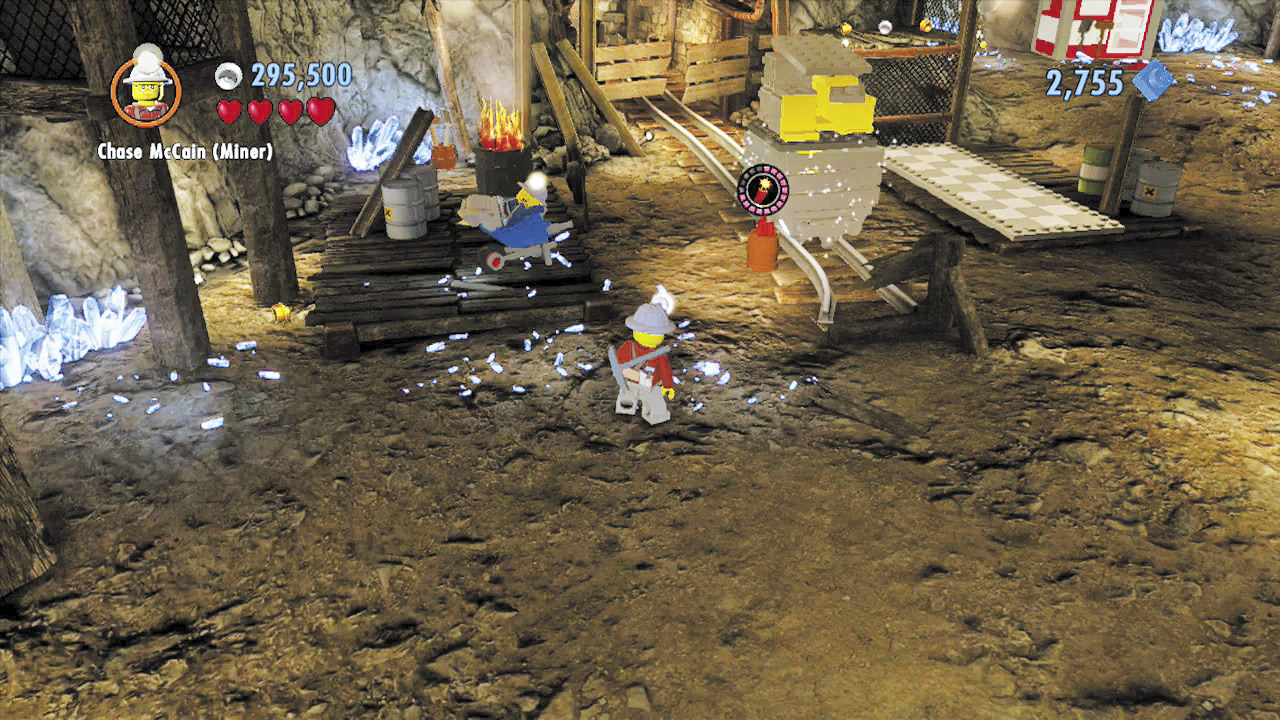
Place the dynamite in the barrel next to the mine cart and then run!
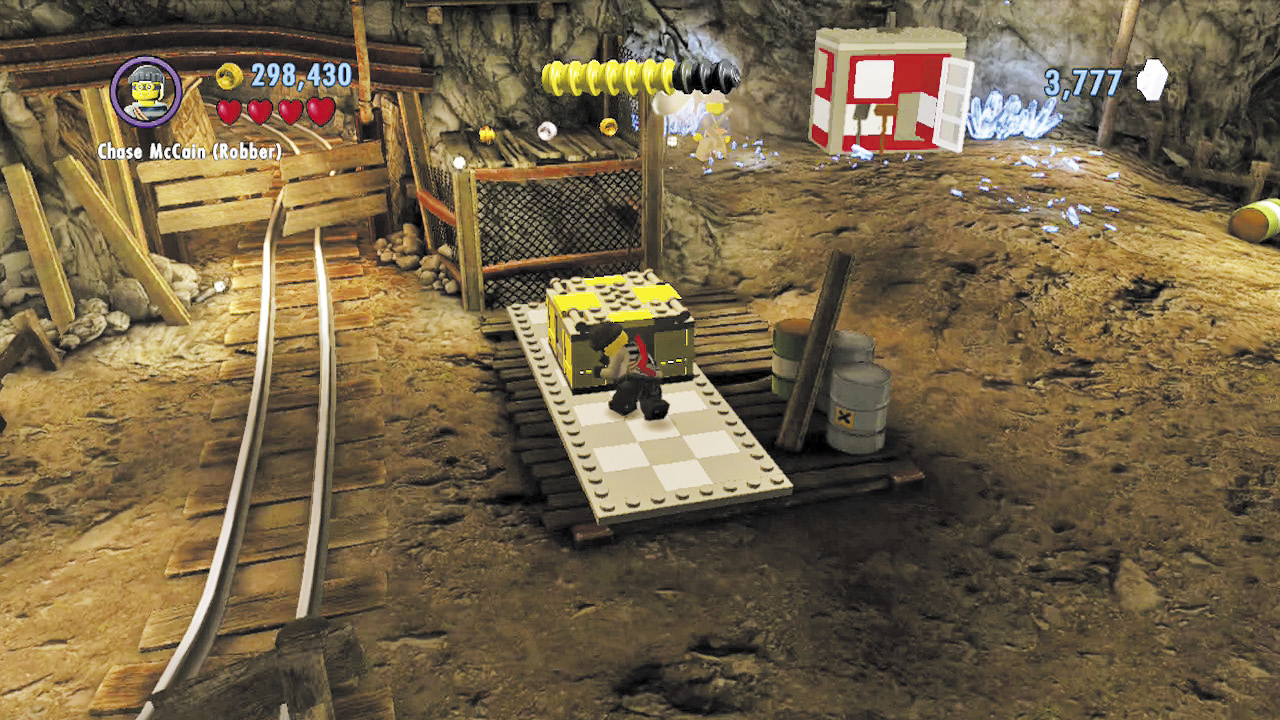
After the blast, build the remains of the mine cart into a crate, and shove the crate along the checkered floor. Jump from the crate to reach the ledge above.
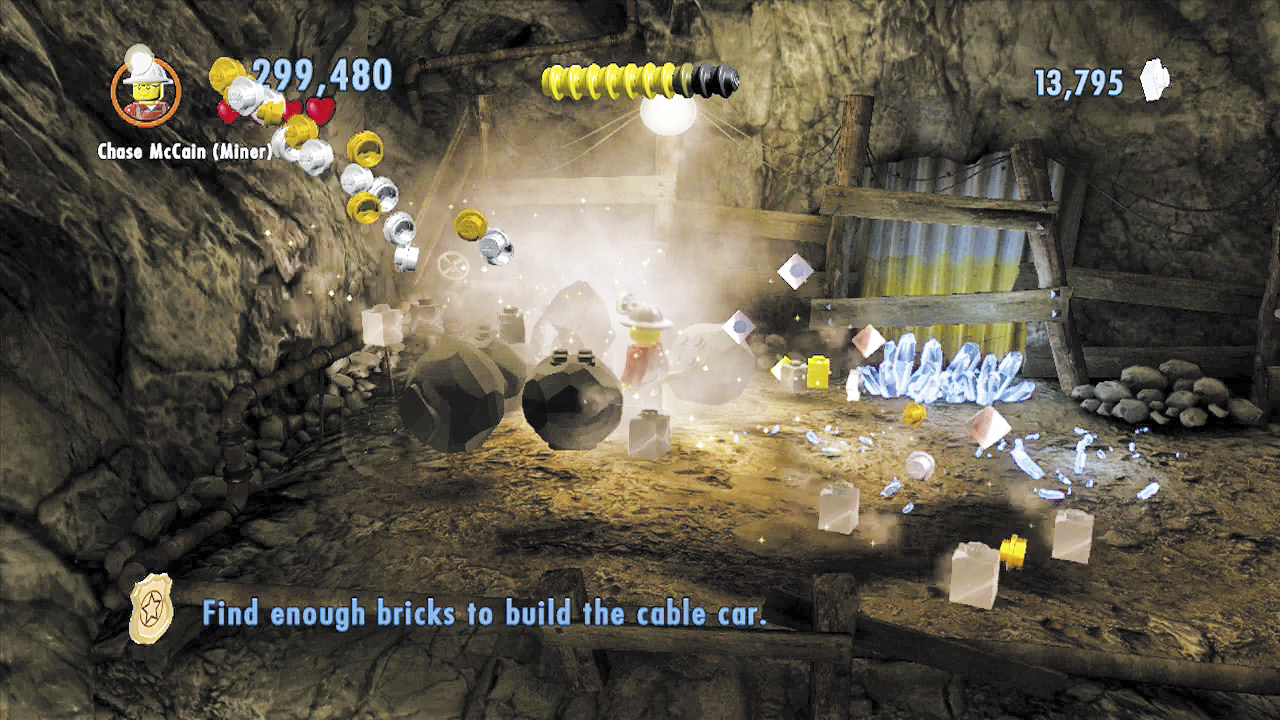
Subdue the goons on the ledge, then smash the boulders on the left to discover the second superbrick.
Superbrick 3
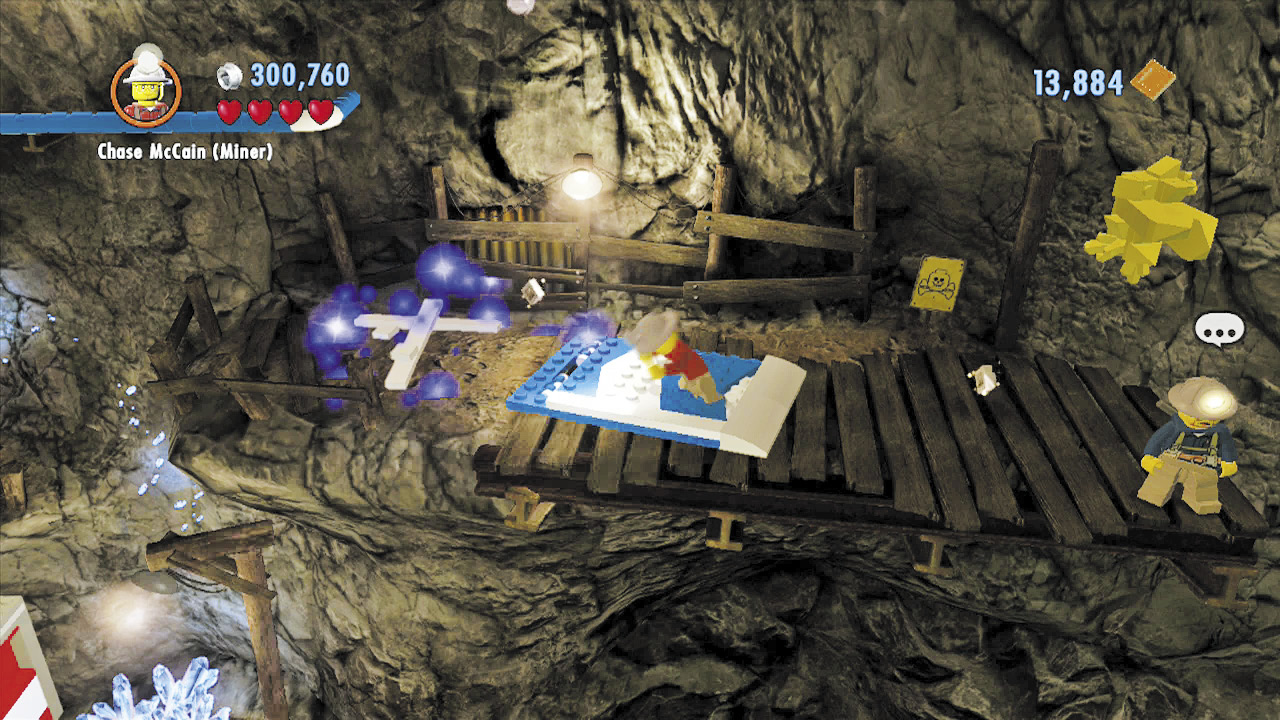
Climb a pipe on the right to reach a higher ledge. Smash the crates up here to find more bricks, then build a catapult pad.
Free PlayPolice Shield Piece 3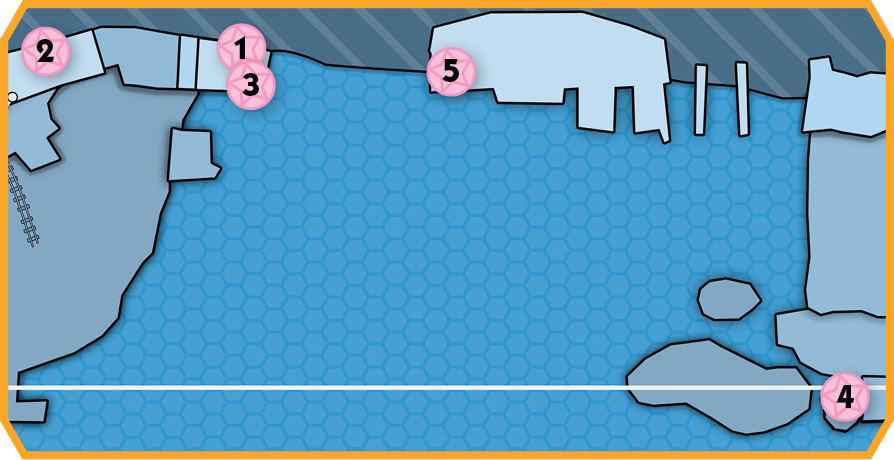 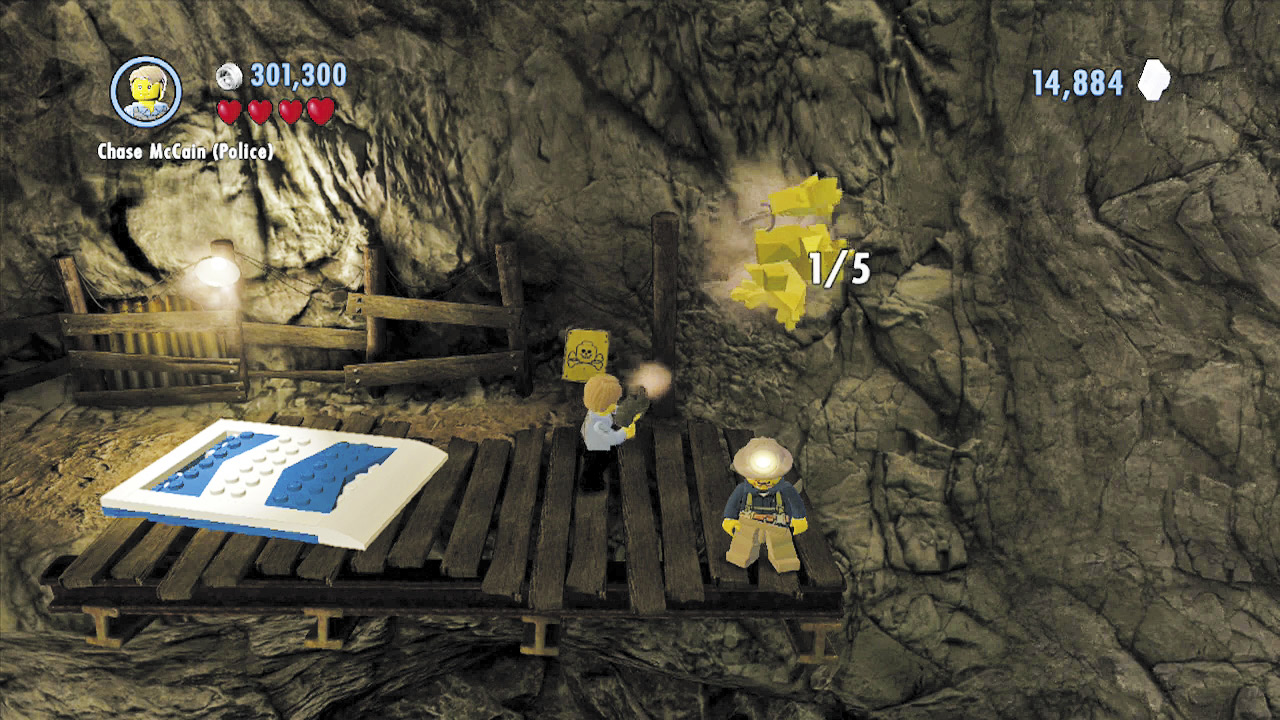 Before launching off the catapult pad, aim at the nearby gold ingot on the side of the cavern wall, and blast it with either the grapple gun or the astronaut’s laser to wreck it. Find and destroy a total of five gold ingots around this cavern to receive a shiny shield piece! One of these ingots is located in an area that is accessible only during Free Play. Check the maps to see where to find all five ingots. |
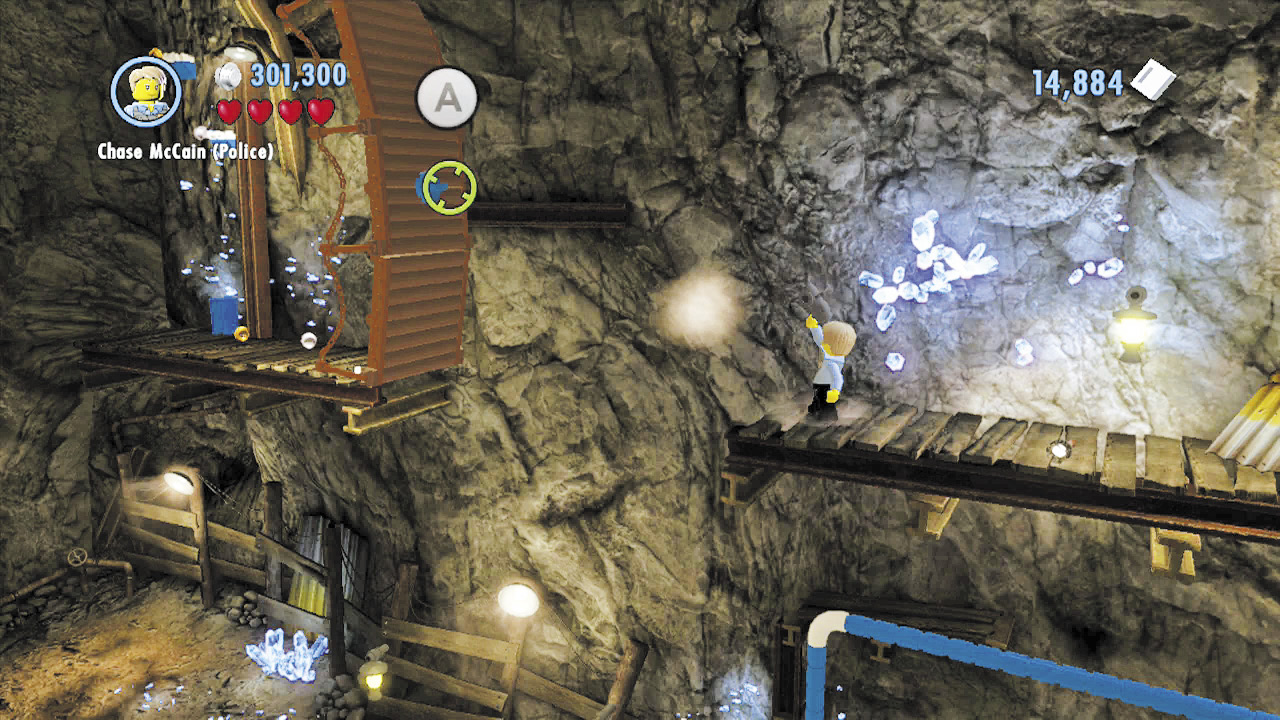
The catapult pad rockets you up to an even higher ledge. Use the grapple gun to pull down the bridge to the left.
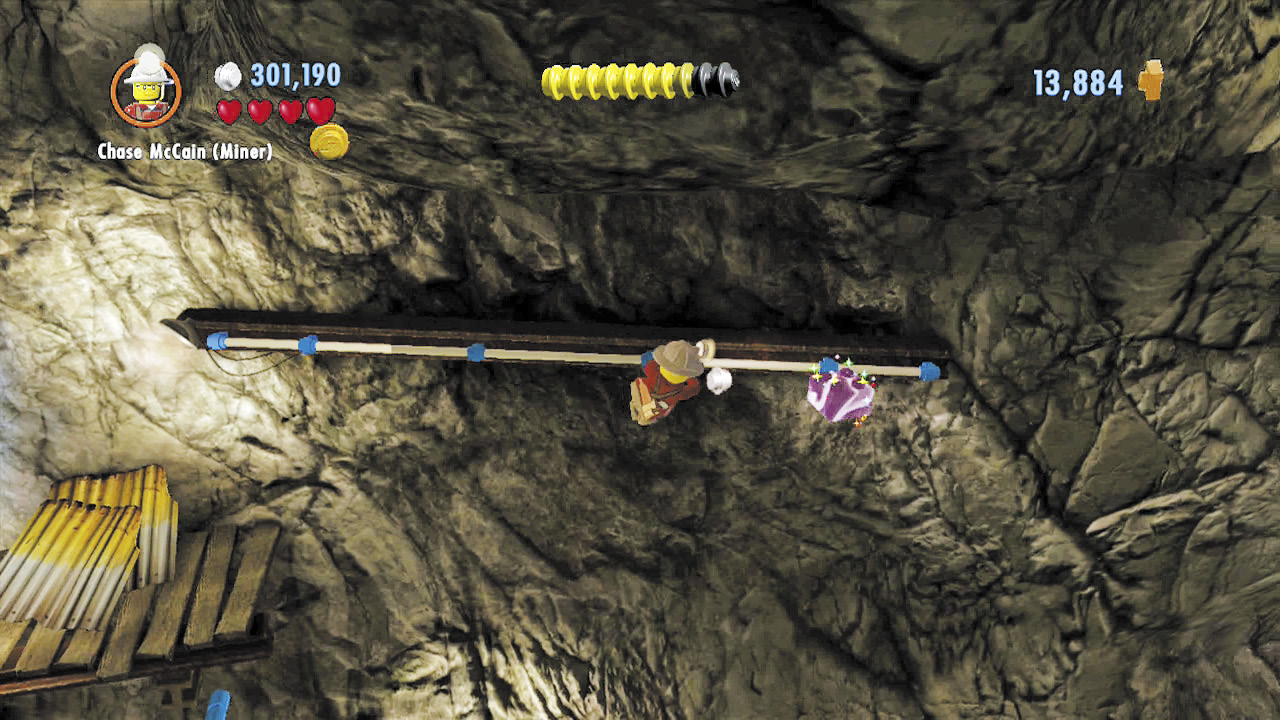
Before crossing the bridge, go right and jump onto a handhold. Shimmy to the right and collect a superbrick.
Superbrick 4
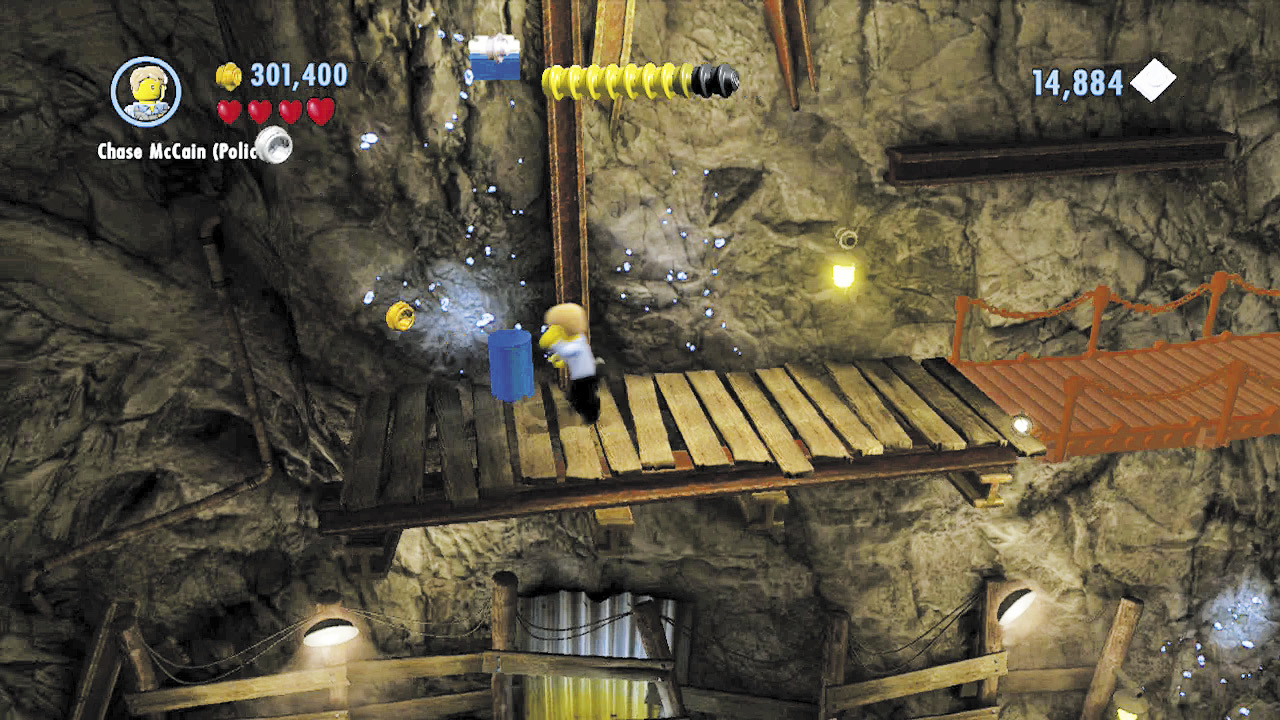
Now cross the bridge and smash a small blue drum to discover more bricks. Build these into a handhold, then jump up the handholds to climb even higher.
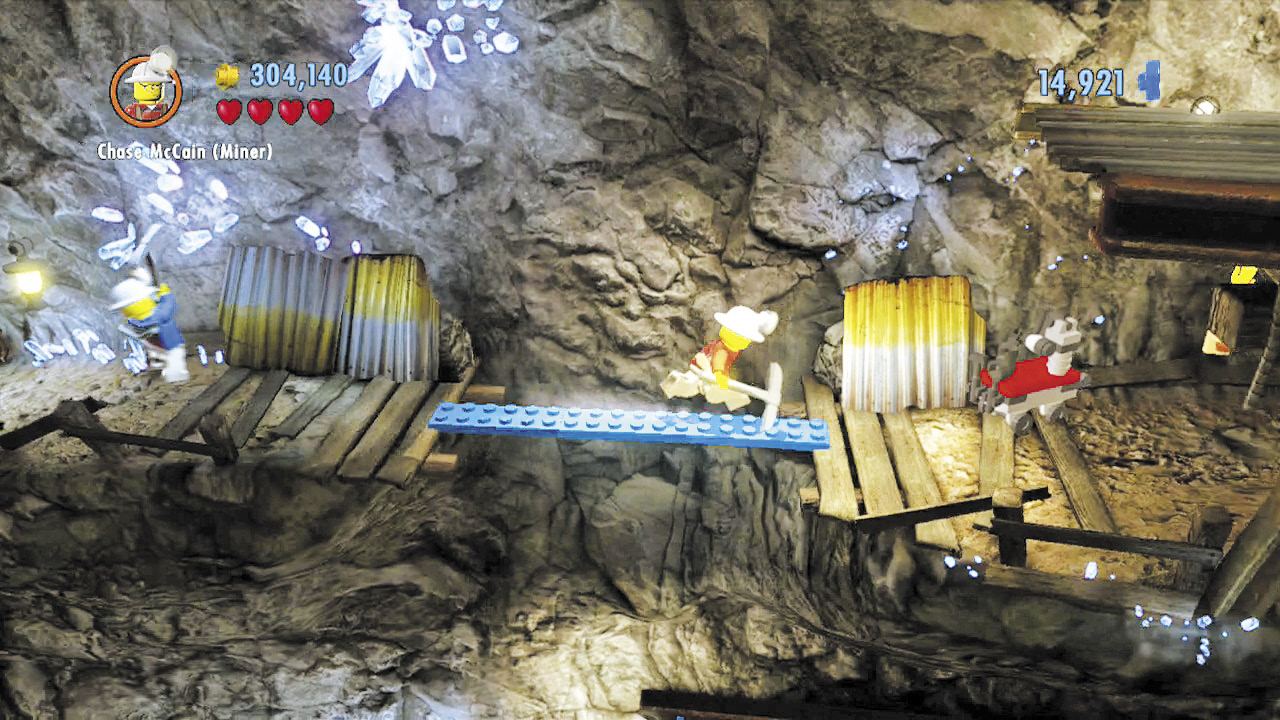
Smash through some boulders to reach a larger blue drum. Smash the drum to find more bricks, and build these into a balance beam. Cross the beam to discover a torch on the wall.
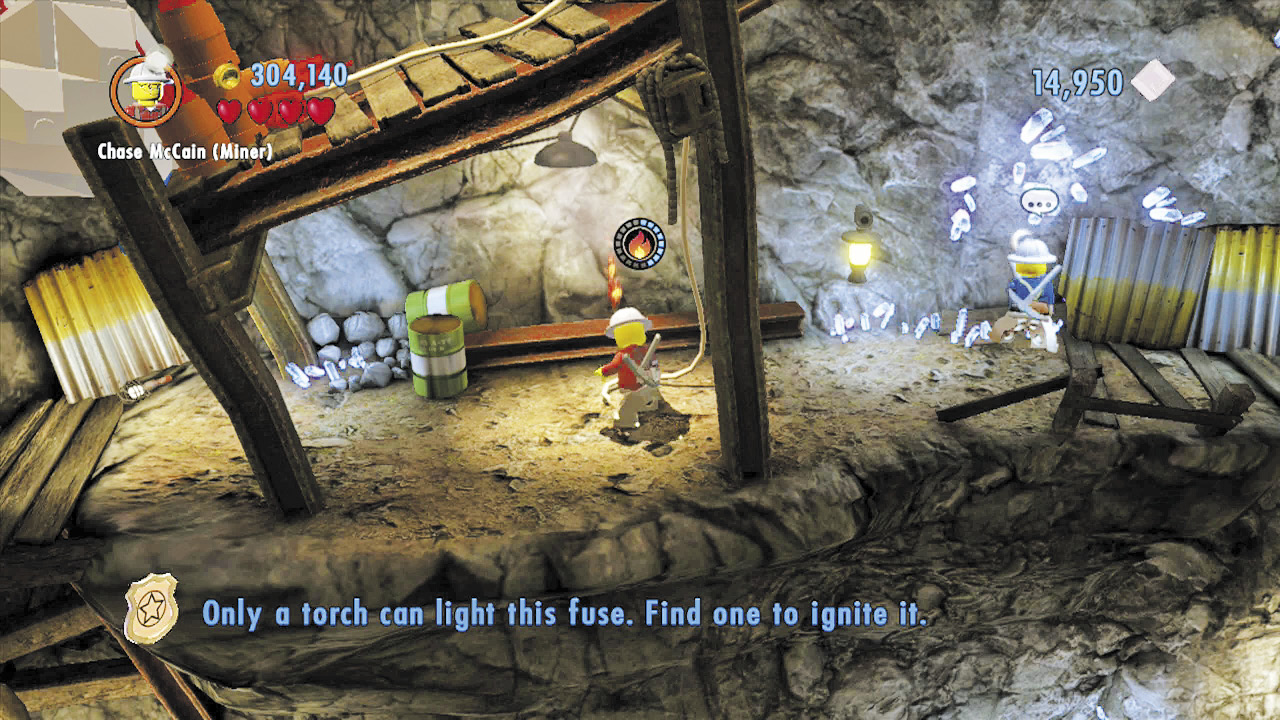
Quickly carry the torch back to the left, and use it to light the fuse on the ground. You’ve got to be quick—torches burn out after a short time.
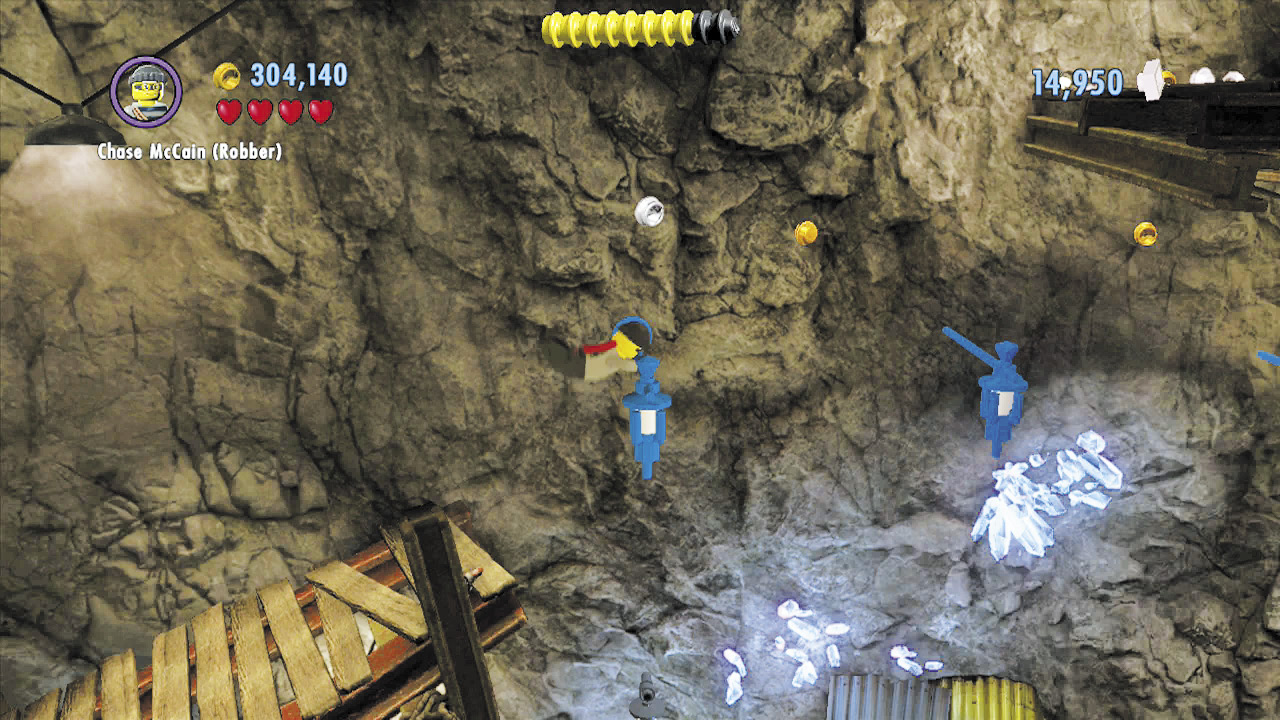
The fuse detonates a bunch of dynamite above you, exposing a handhold. Jump up to reach a high ledge, then flip across the series of lantern poles to the right.
Police Shield Piece 4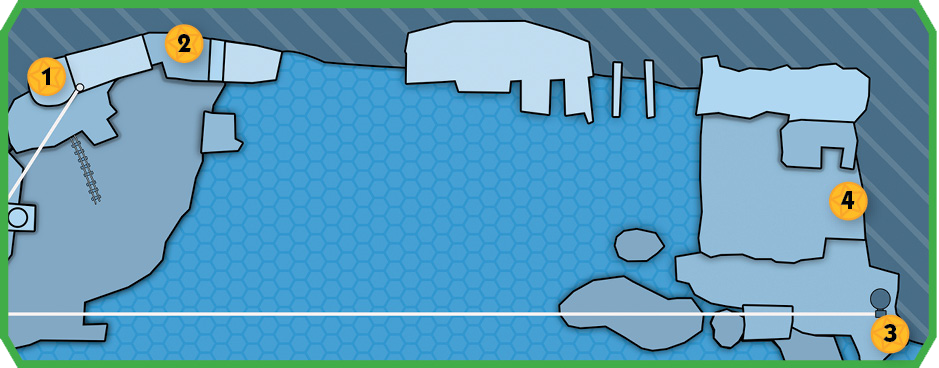 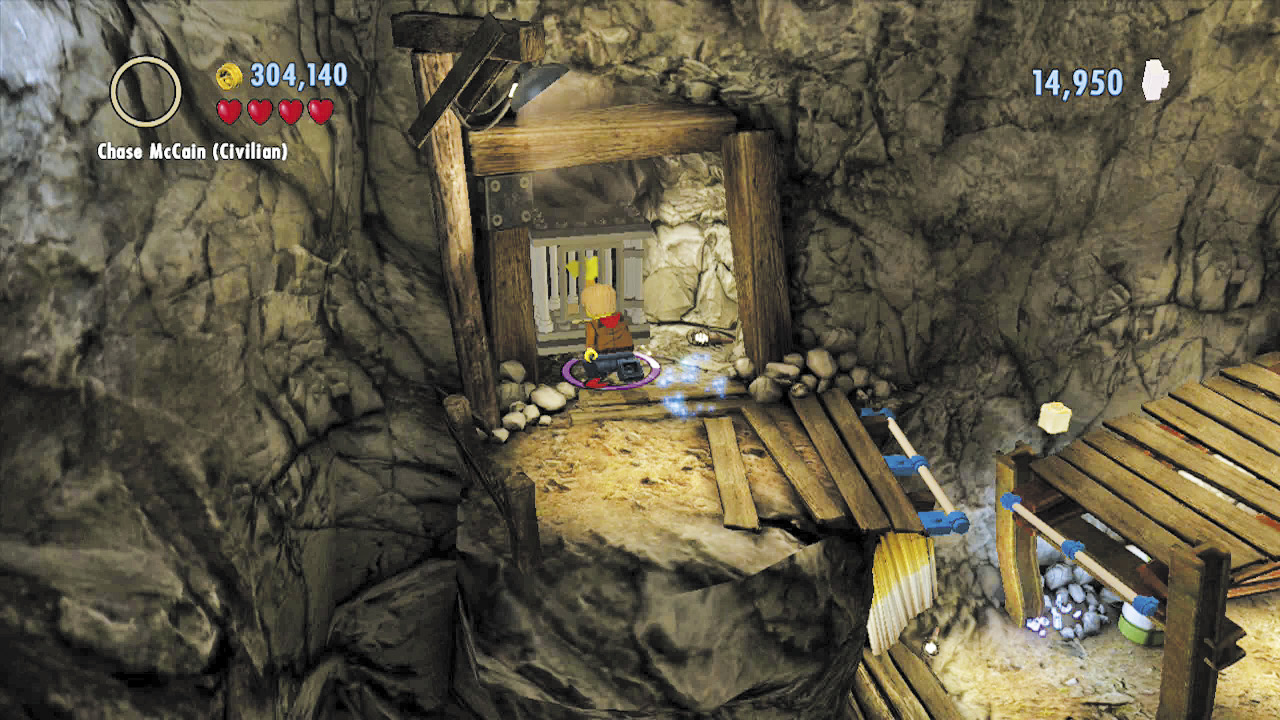 Before flipping across the lantern poles, jump onto the left ledge and use the crowbar to free a caged bird. Free four caged birds in this cavern to earn a shield piece! Check the maps to see where to find the four caged birds. |
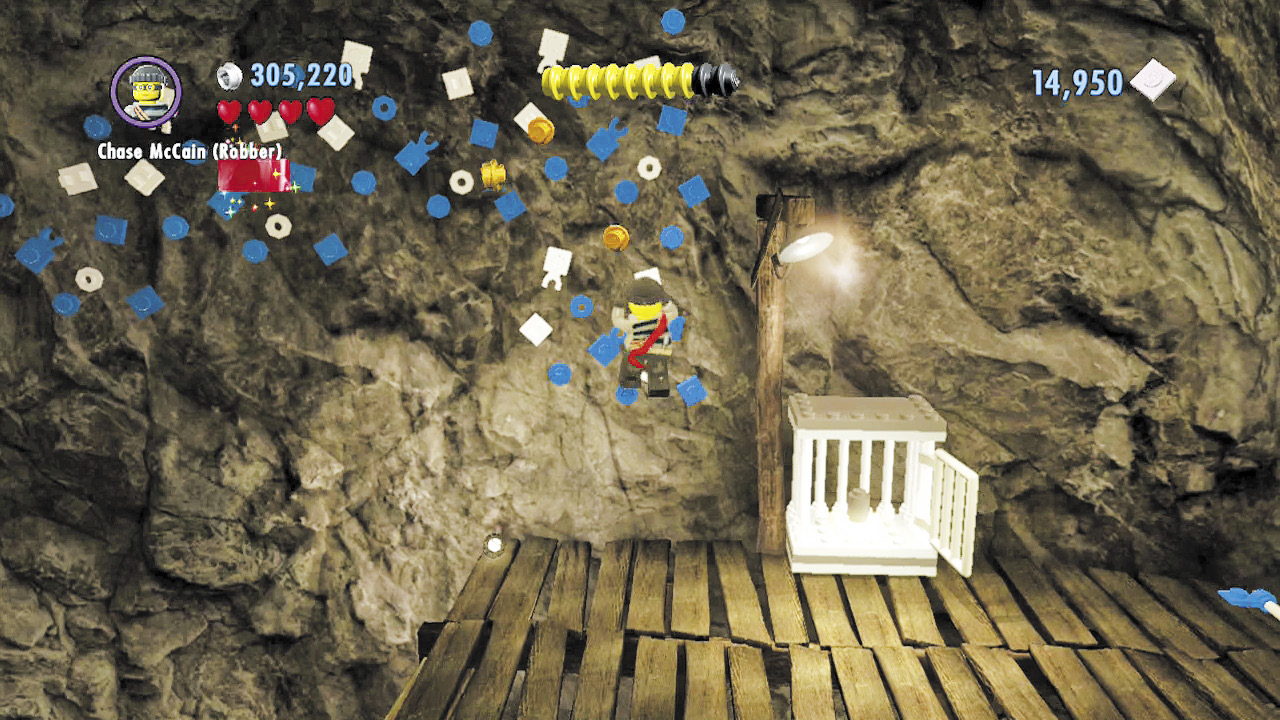
After flipping across the lantern poles, climb a ladder and then jump to a higher platform on the left. Climb across some blue and white LEGO patches, collecting a superbrick as you go.
Superbrick 5
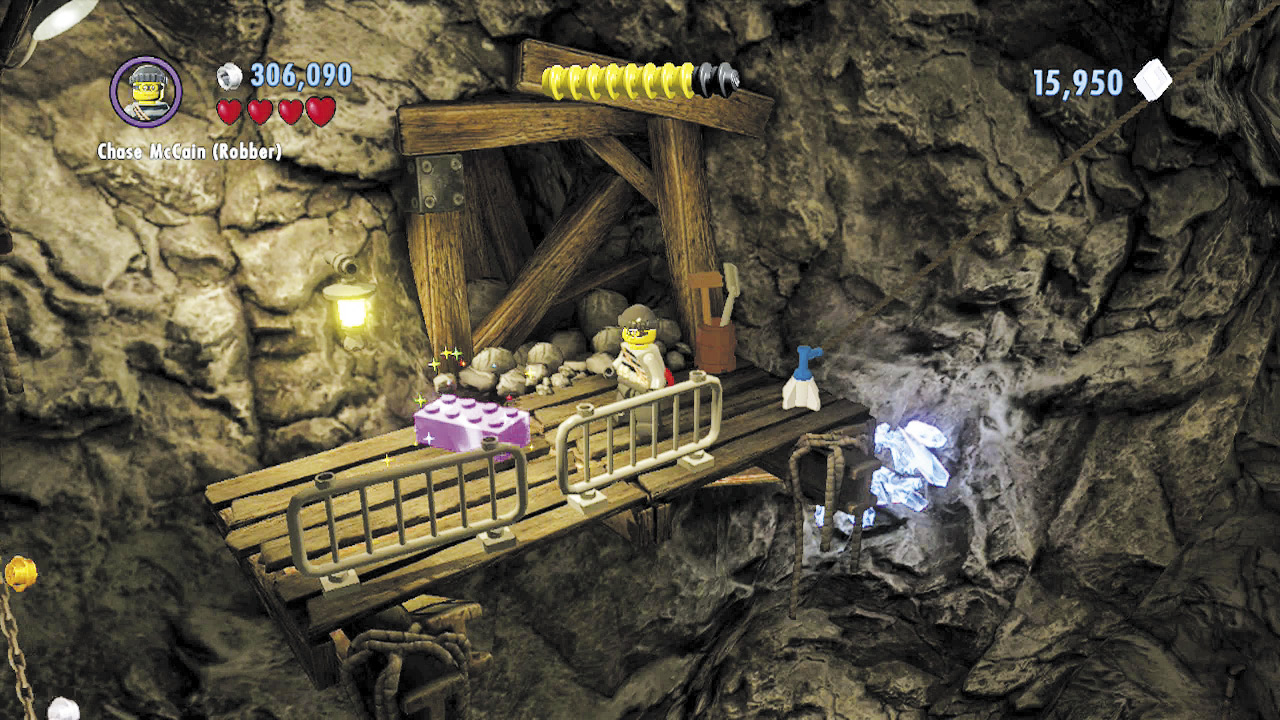
The LEGO patch leads you to the cavern’s highest platform. Climb a ladder and use a tightrope to slide down to a lower ledge, where a large superbrick sits. Score!
Superbrick 6
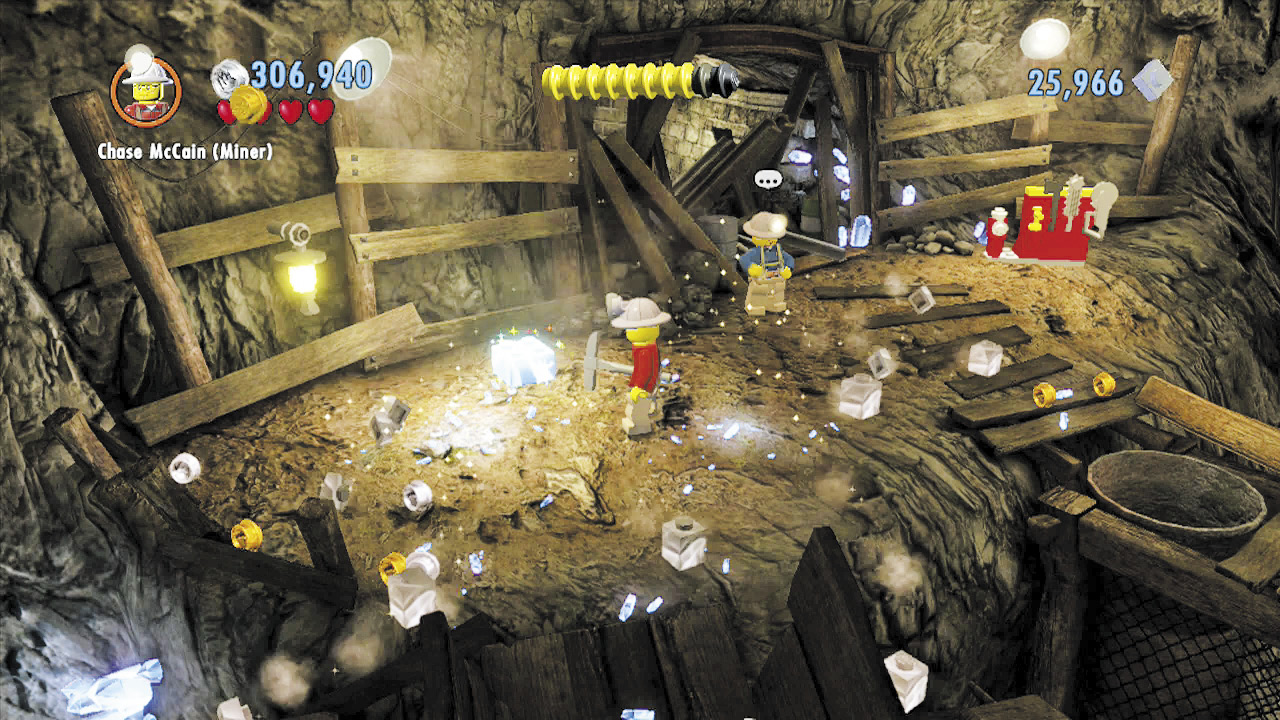
Slide down a chain to reach a lower ledge. Destroy the boulders here to discover another superbrick. You should have plenty of bricks by now!
Building the Cable Car
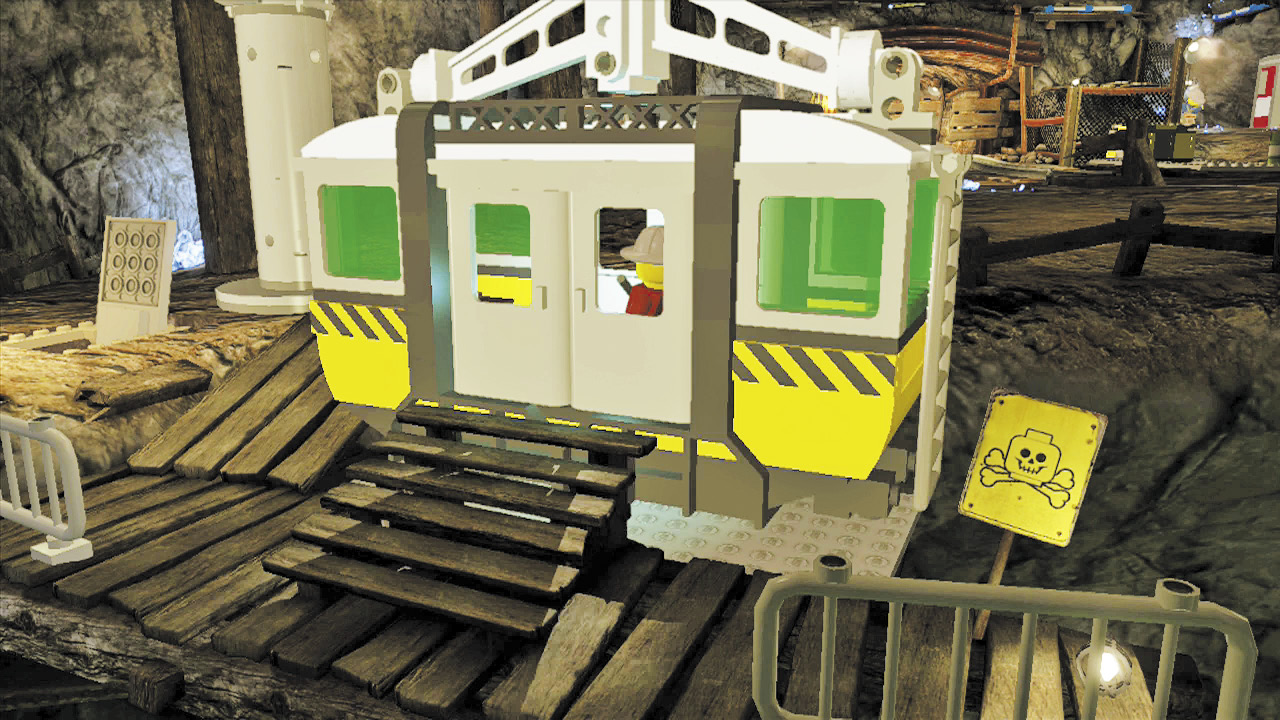
Drop to the ground level and run toward the foreground to find the LEGO pad where you can build the cable car. Spend 22,000 bricks to build the cable car, then step aboard to ride over to the cavern’s far-right side.
The Search for Stinky
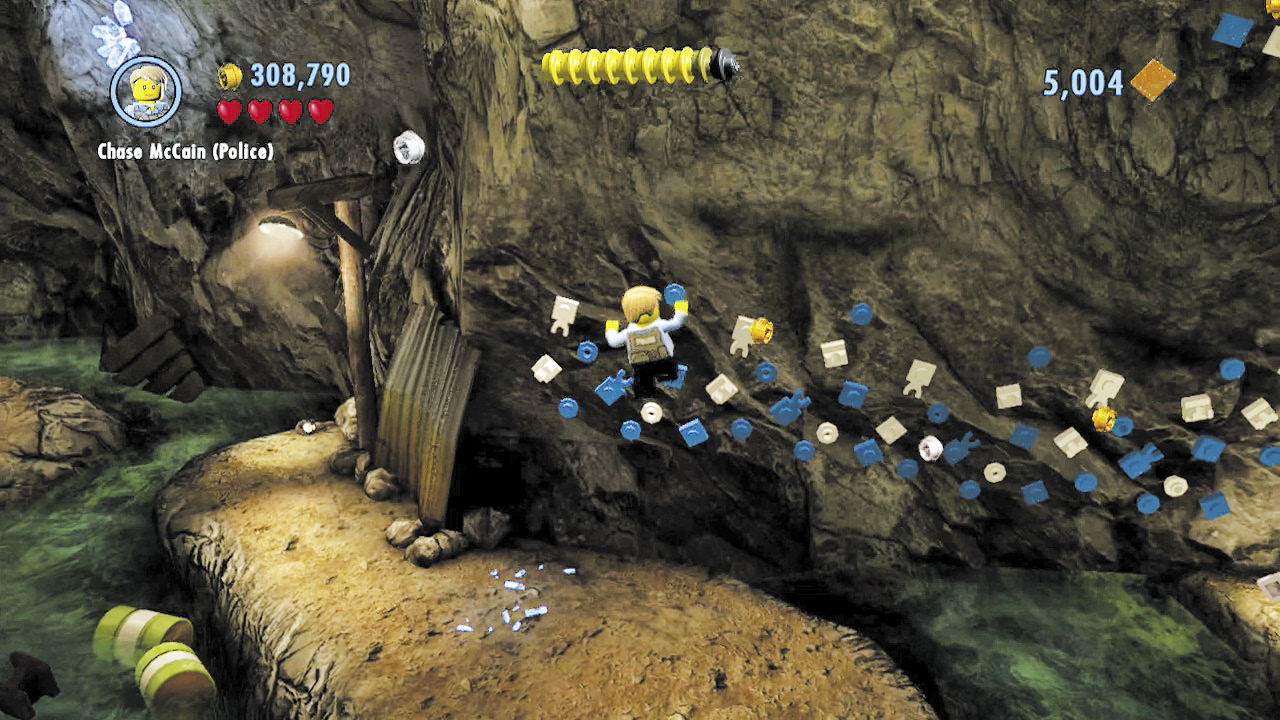
Meddlesome goons cause your cable car to crash en route to the cavern’s right side. Those punks! Climb the blue and white LEGO patch on the wall, making your way up to the goons.
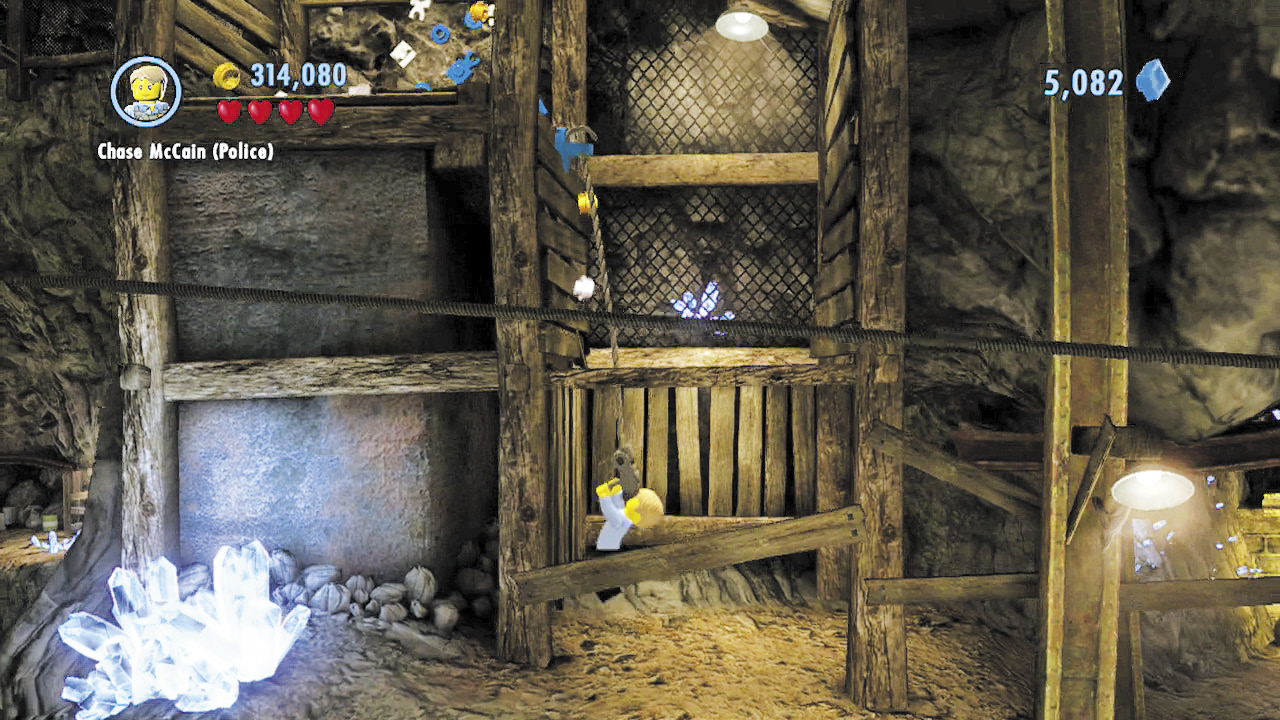
Beat up the bad guys after you climb up to their ledge, then scale the background ramp to locate a shaft. Use the grapple gun to zip up the shaft.
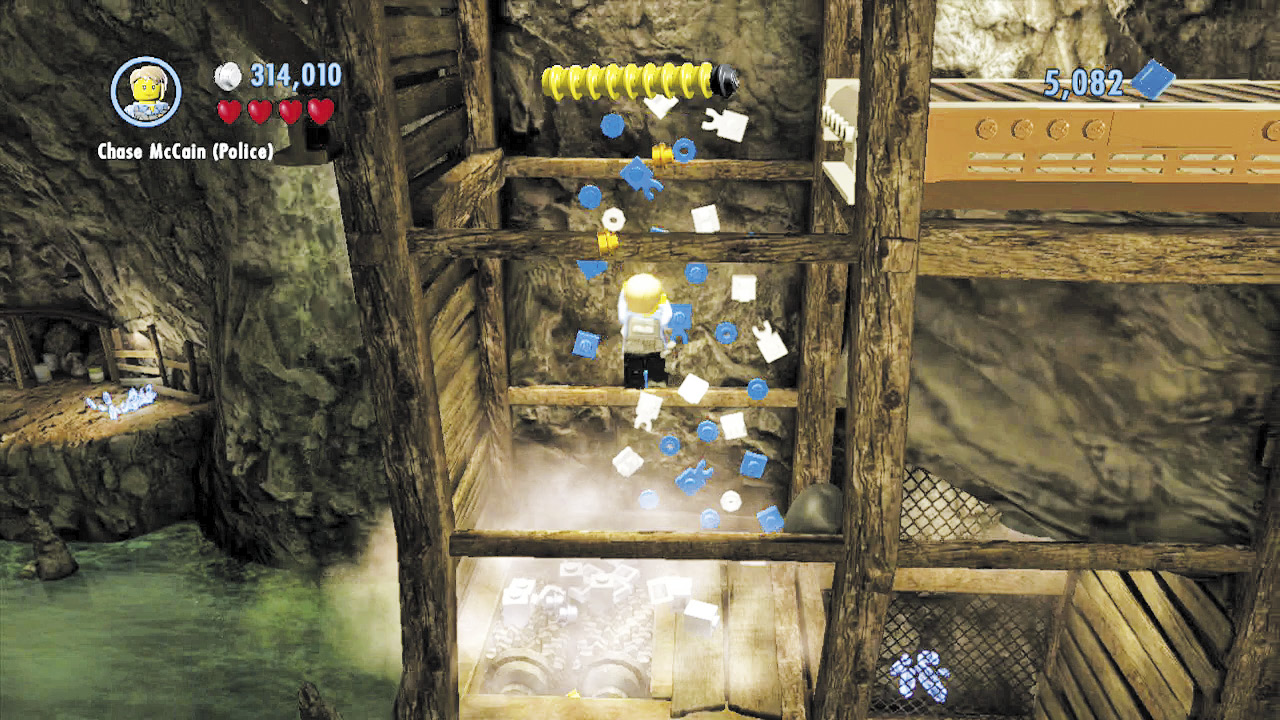
Beware! A mechanical grinder will make short work of Chase if he falls into it. Wait for a red-hot boulder to fall into the grinder, then quickly climb the blue and white LEGO patch to scale the shaft.
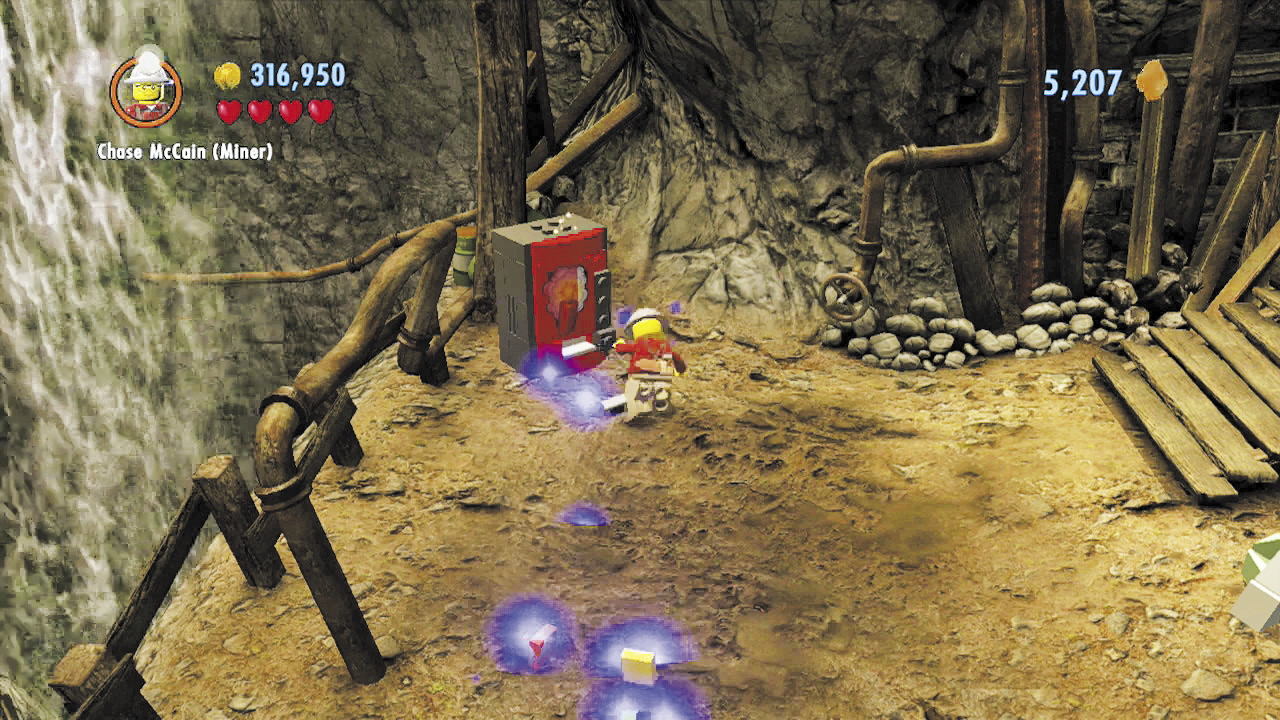
Cross the conveyor belt and bust more thugs as you work your way upward. Smash a few crates here to discover some bricks and build a dynamite dispenser.
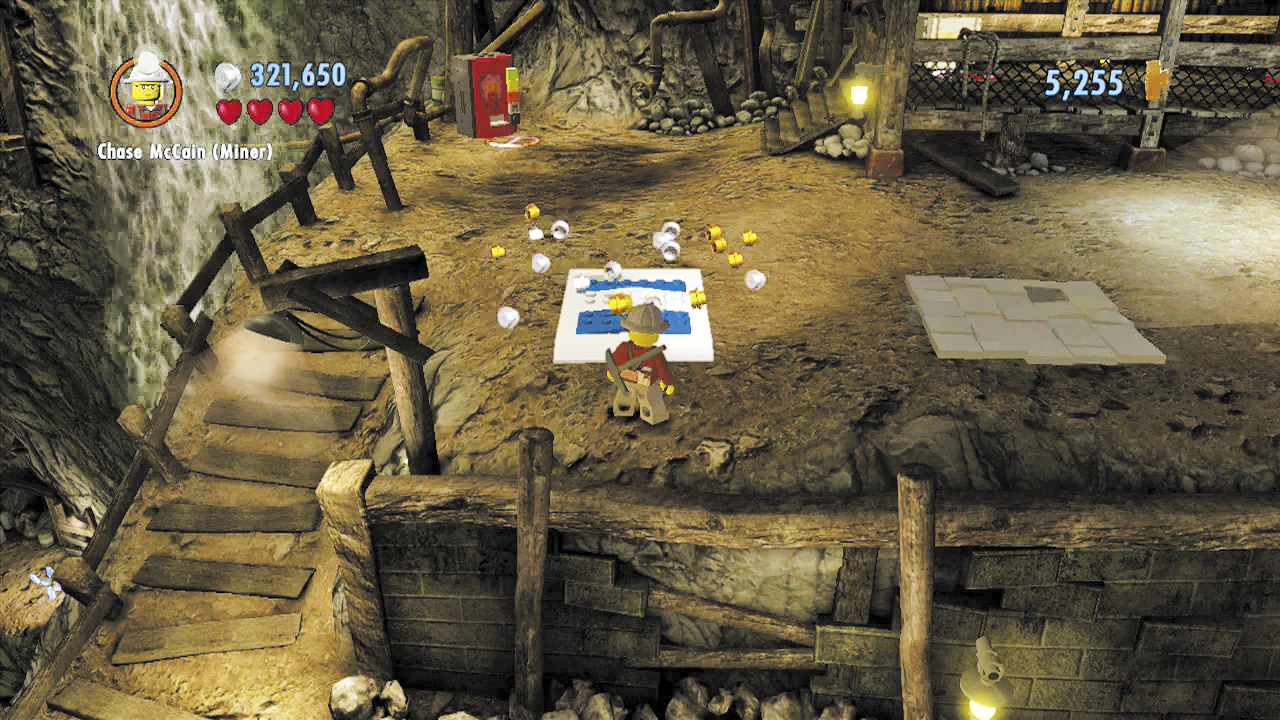
Use dynamite to destroy the nearby outhouse. Build the remaining bits into a catapult pad that delivers you to a higher ledge.
Free PlayRed Brick:Unlimited Dynamite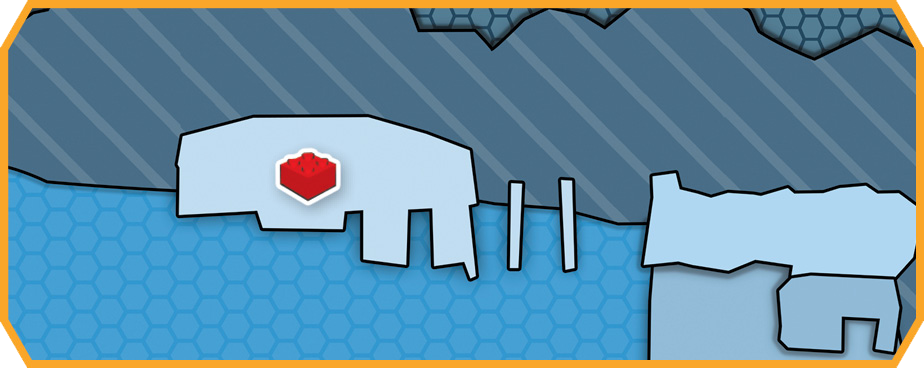 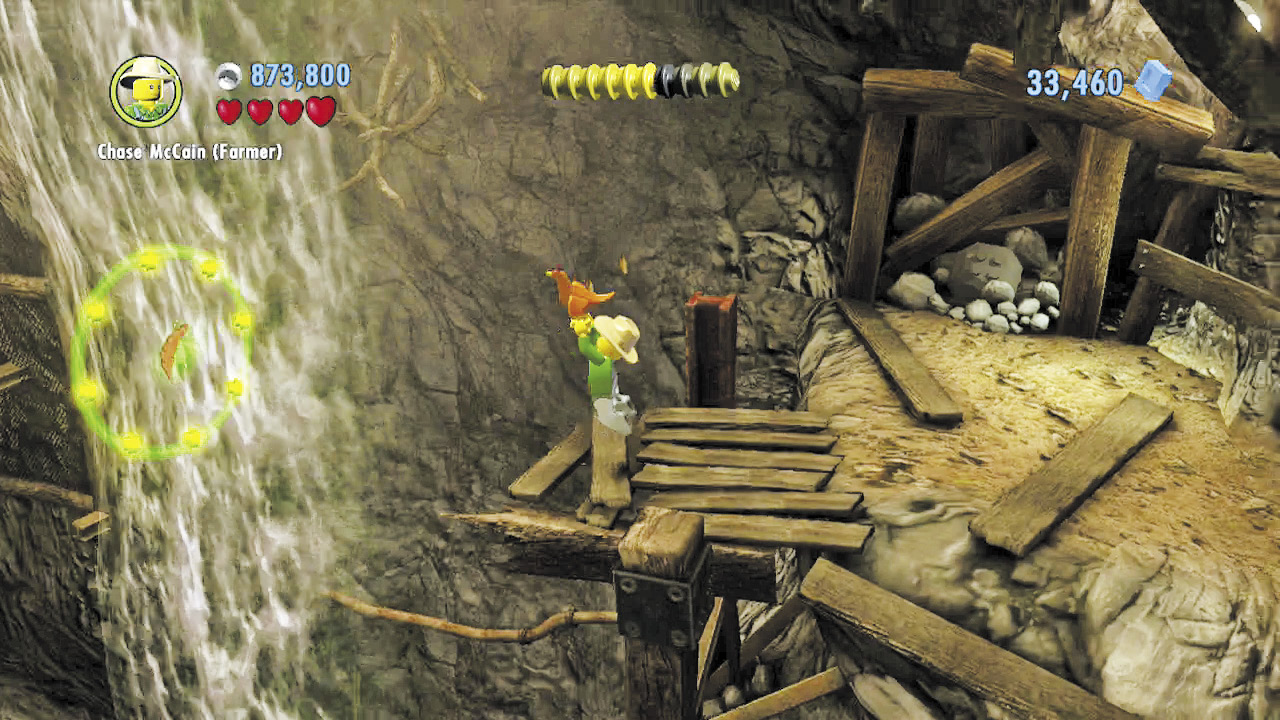 After launching off the catapult, toggle to the farmer disguise, then activate the nearby chicken symbol and glide through the rings to reach a distant platform on the left. 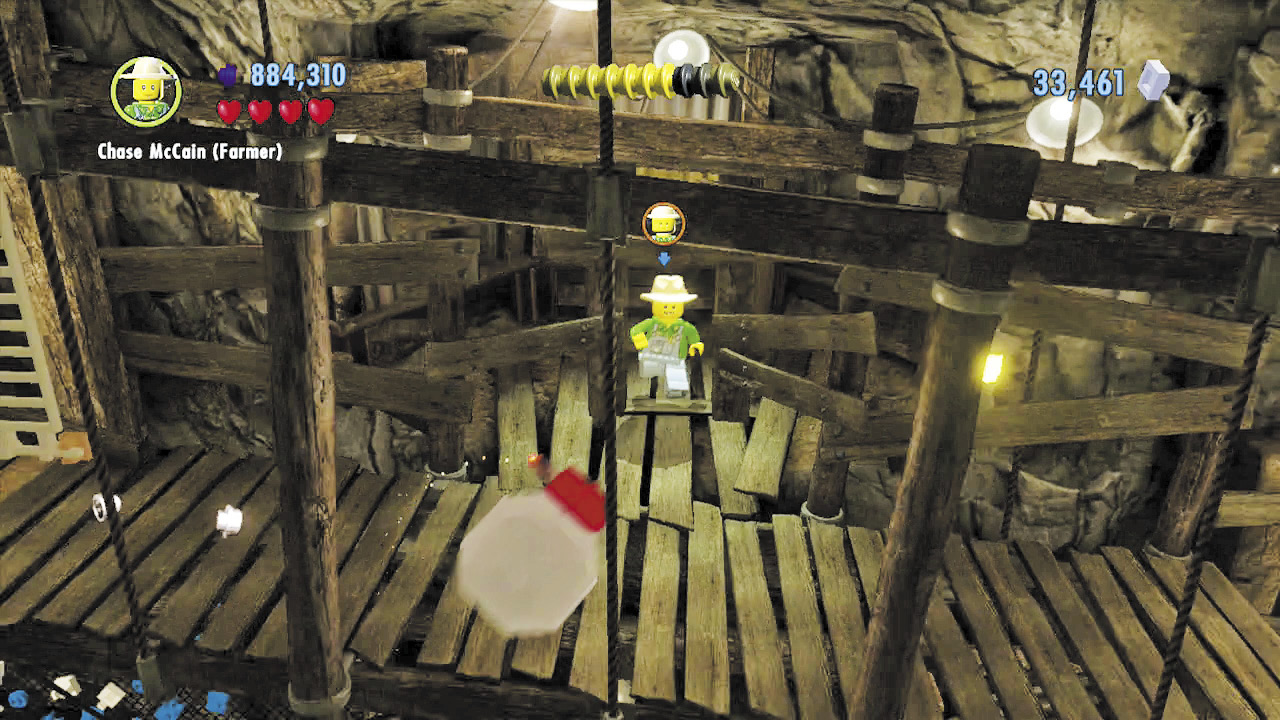 Beware the rolling boulders as you scale the sloping platform and ladders that follow—they’ve got dynamite strapped to them! Duck into background nooks to avoid the boulders as head up. 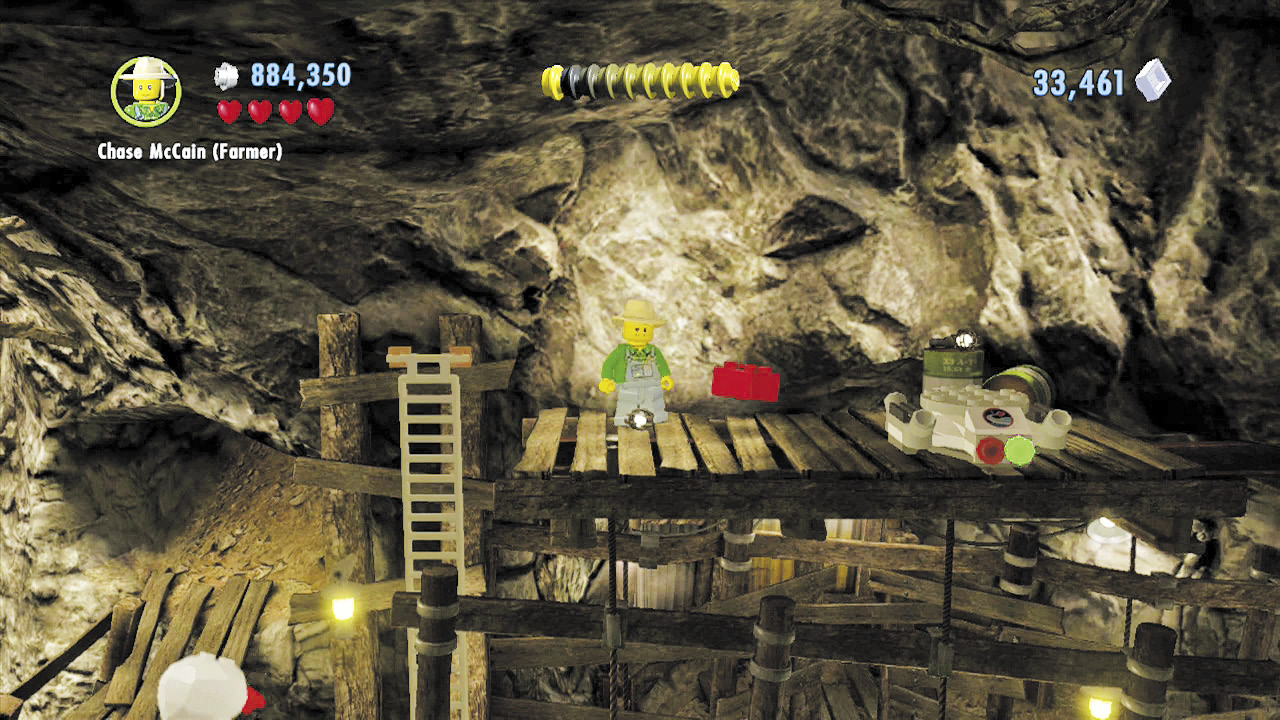 A red brick awaits you at the top of the platforms. Collect this worthy prize, then use the nearby transporter pad to beam back over to the ledge with the chicken symbol. |
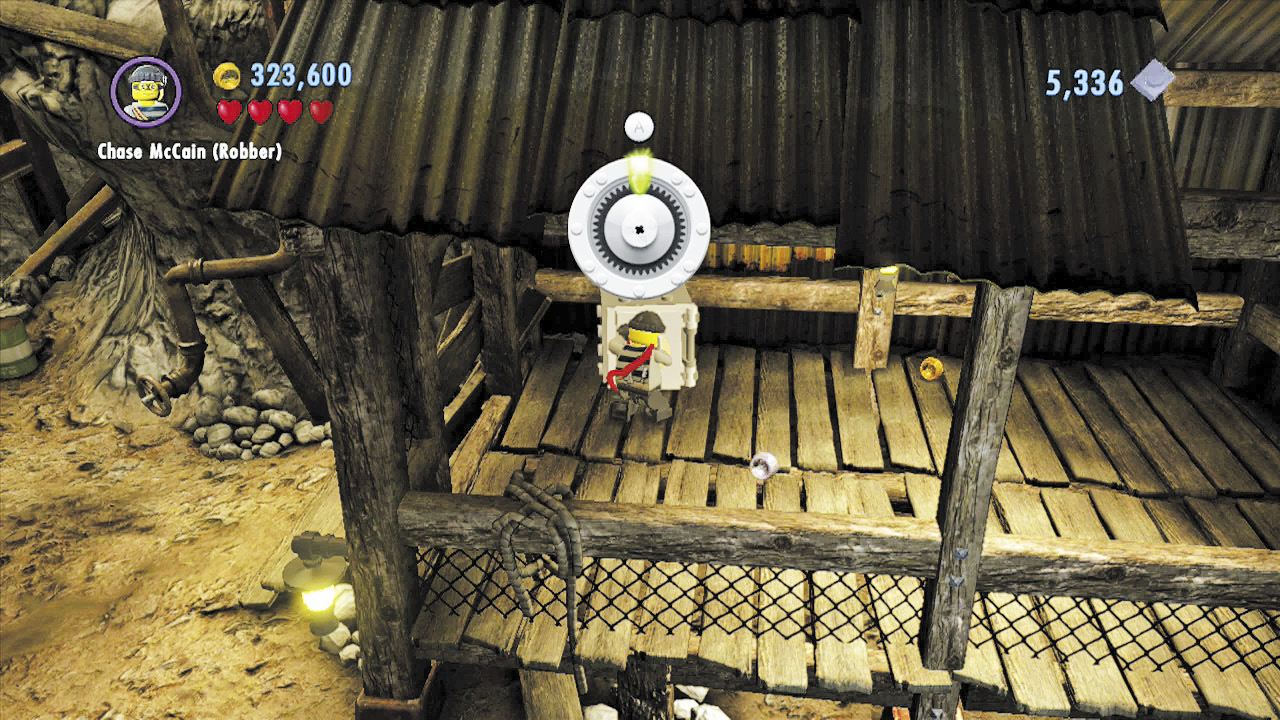
Run to the right and drop through a hole in the roof of the foreground shed to land near a safe. Crack the safe to discover a voice recorder left behind by none other than Clarence “Stinky” Fletcher! Discovering this tape recorder ends your mission in the mines.