
LEGO CITY Undercover Guide Walkthrough
Chapter 7: One Small Job for Chan
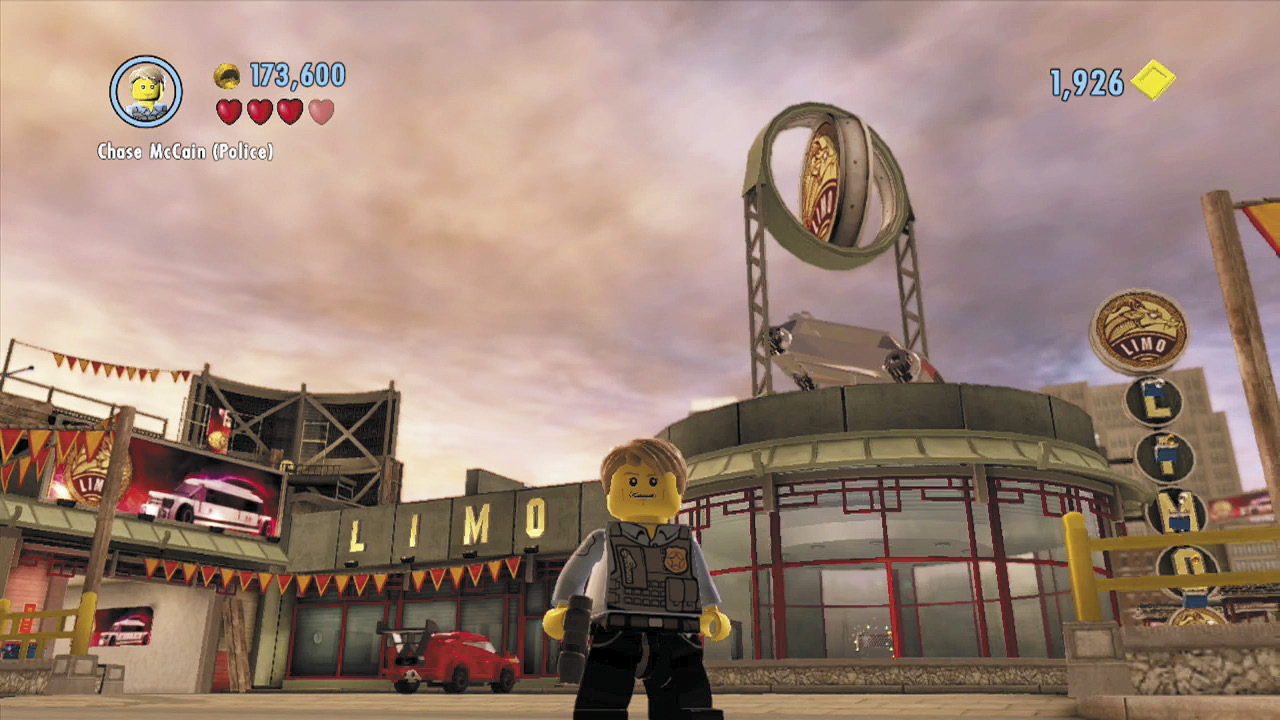
Thanks to his photography skills, Chase has managed to put several of Chan’s gang members on ice. This leaves the small-time crime boss little option but to call on McCain when he needs his next job done. Guess you’re not quite done with this petty crook just yet!
City Exploration
Objective: Get to Crescent Park Wharf
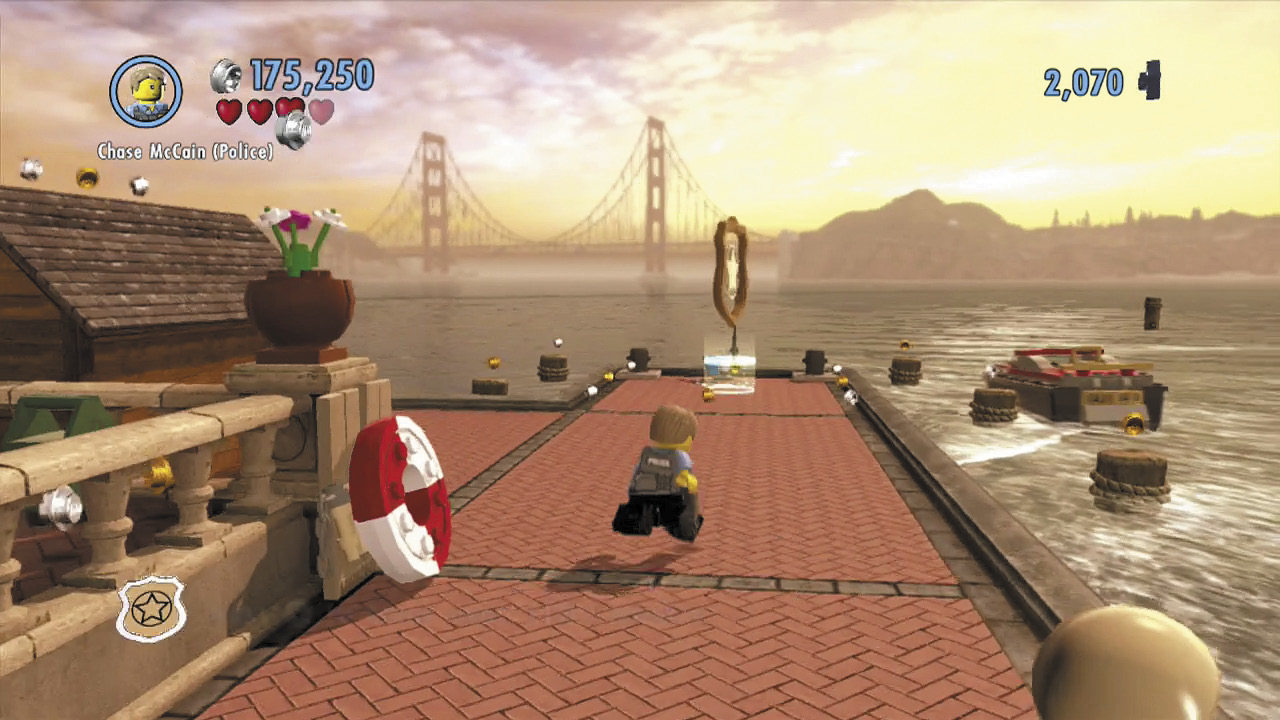
Chan has asked you to perform a job for him. Steal some wheels and follow the green studs to reach your destination: Crescent Park Wharf. Exit your vehicle after you arrive and run to the small objective beacon near the jetty.
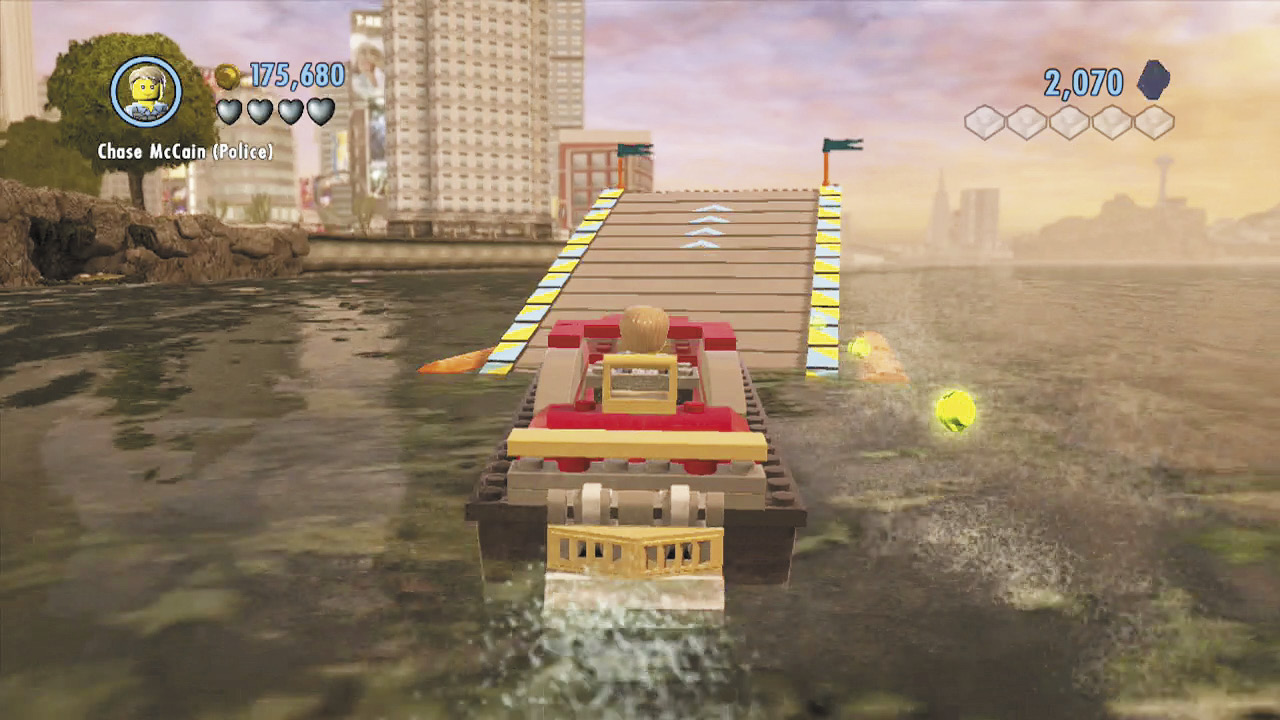
Press  to enter Chan’s boat, just as you would any street vehicle. Accelerate and follow the green studs toward Apollo Island, just as you do while driving a car. It’s a long trip, so entertain yourself by launching off ramps along the way!
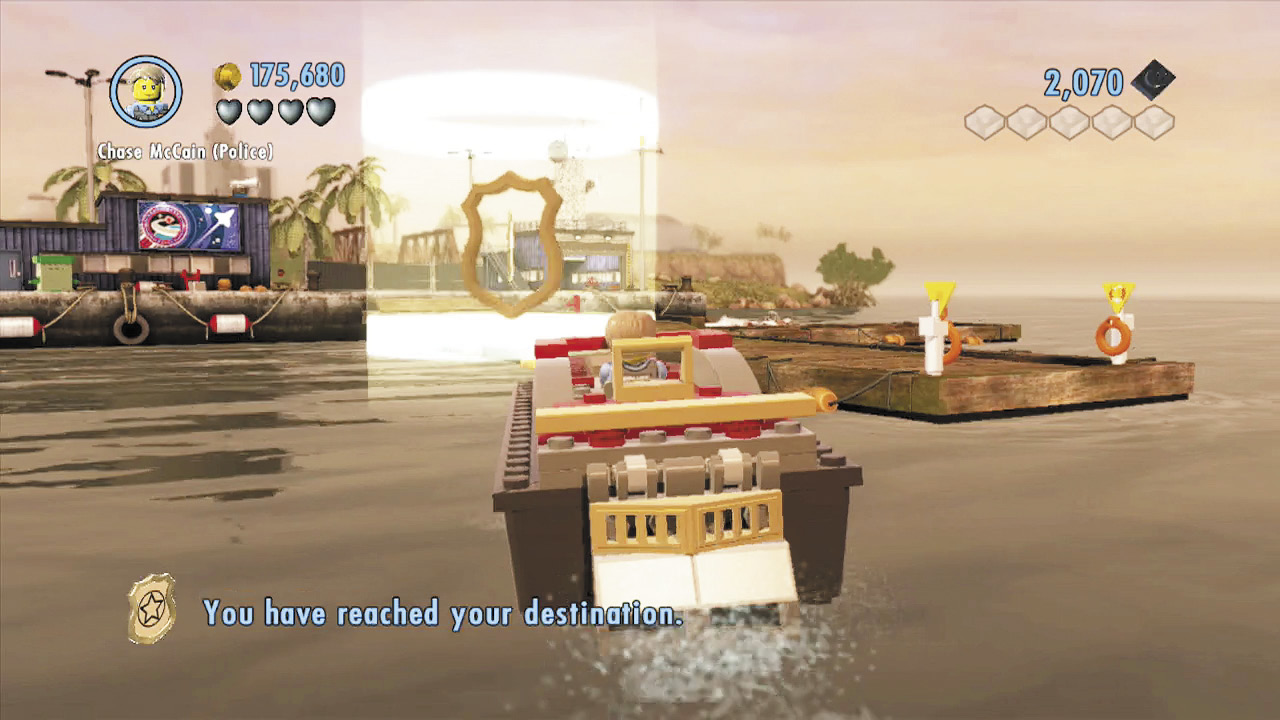
Dock at the objective beacon when you finally reach Apollo Island, then press  to exit the boat and step onto the pier. Chan soon calls with further instructions: You’re to break into the space center and steal a moon buggy!
Objective: Take Chan’s Boat to Apollo Island
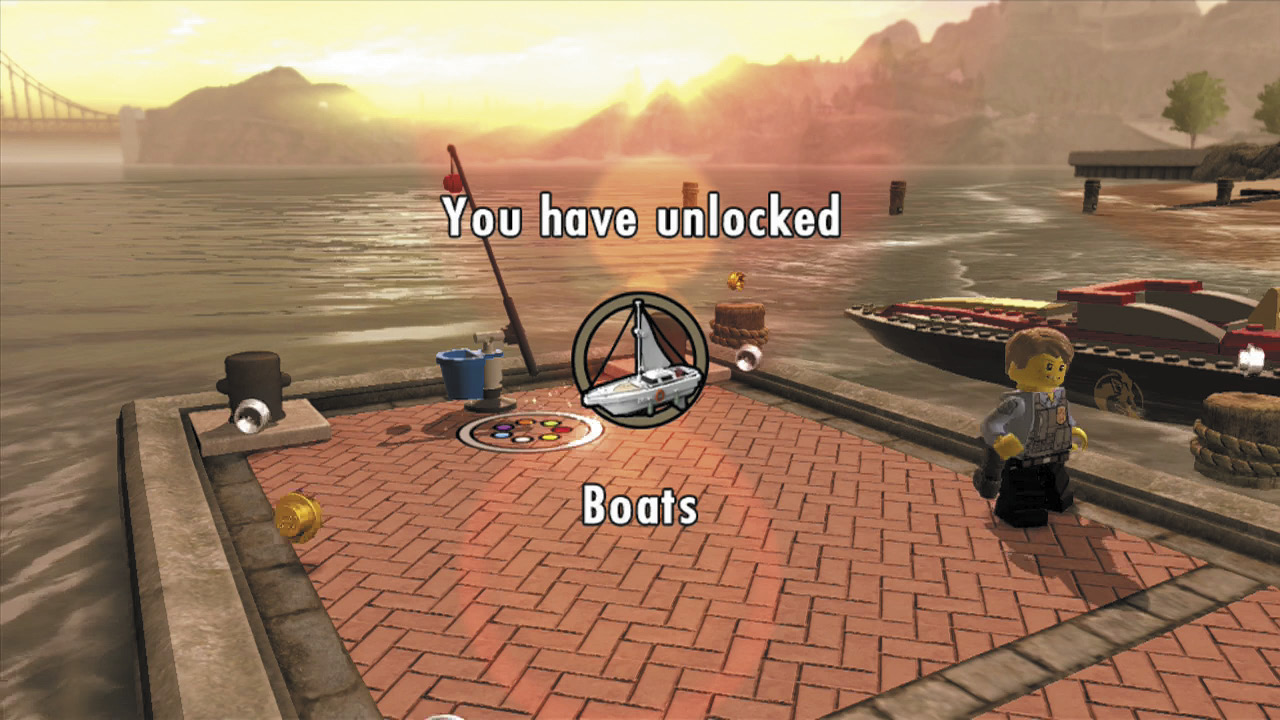
Chan calls again when you arrive at the wharf, furious that his other cronies aren’t responding. He instructs you to use his boat to reach Apollo Island, site of LEGO City’s space center. Cool!
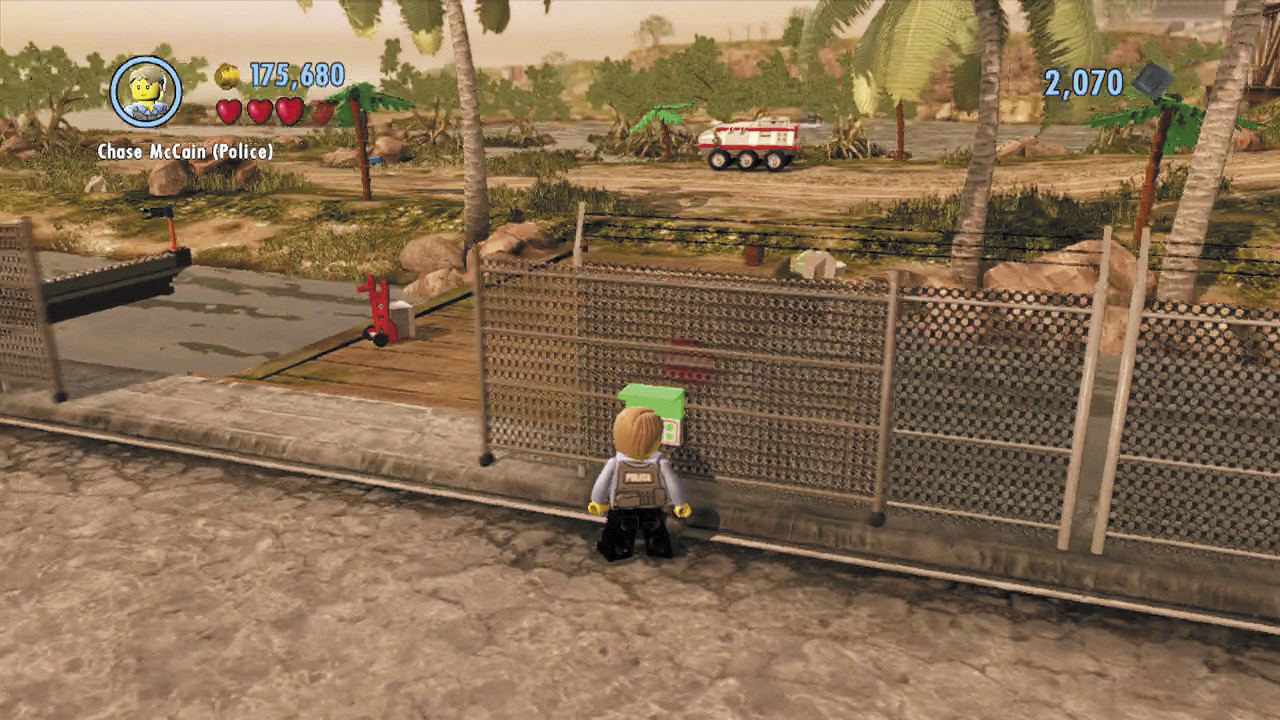
As you might expect, Apollo Island is locked down pretty tight. Use the control panel near the security gate to open it, then head through.
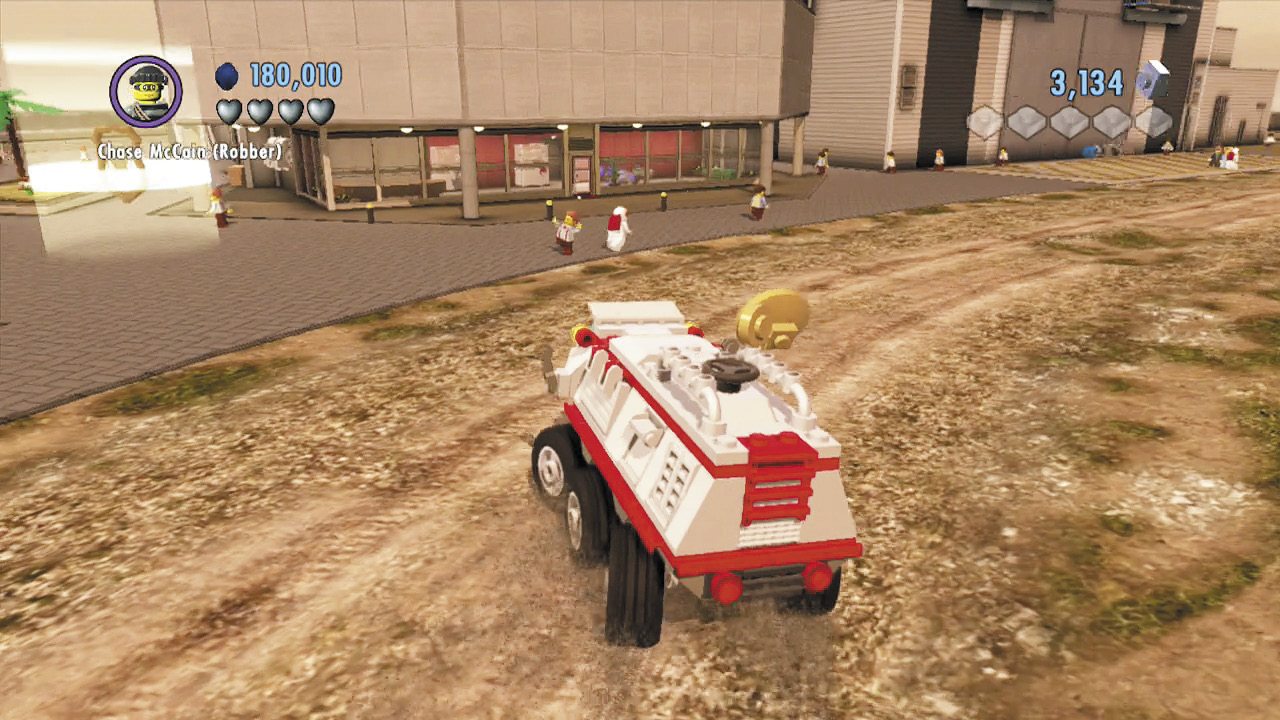
Hop into the high-tech vehicle beyond the security gate. Follow the green studs around the island as you make for the space center.
Objective: Find the Space Center
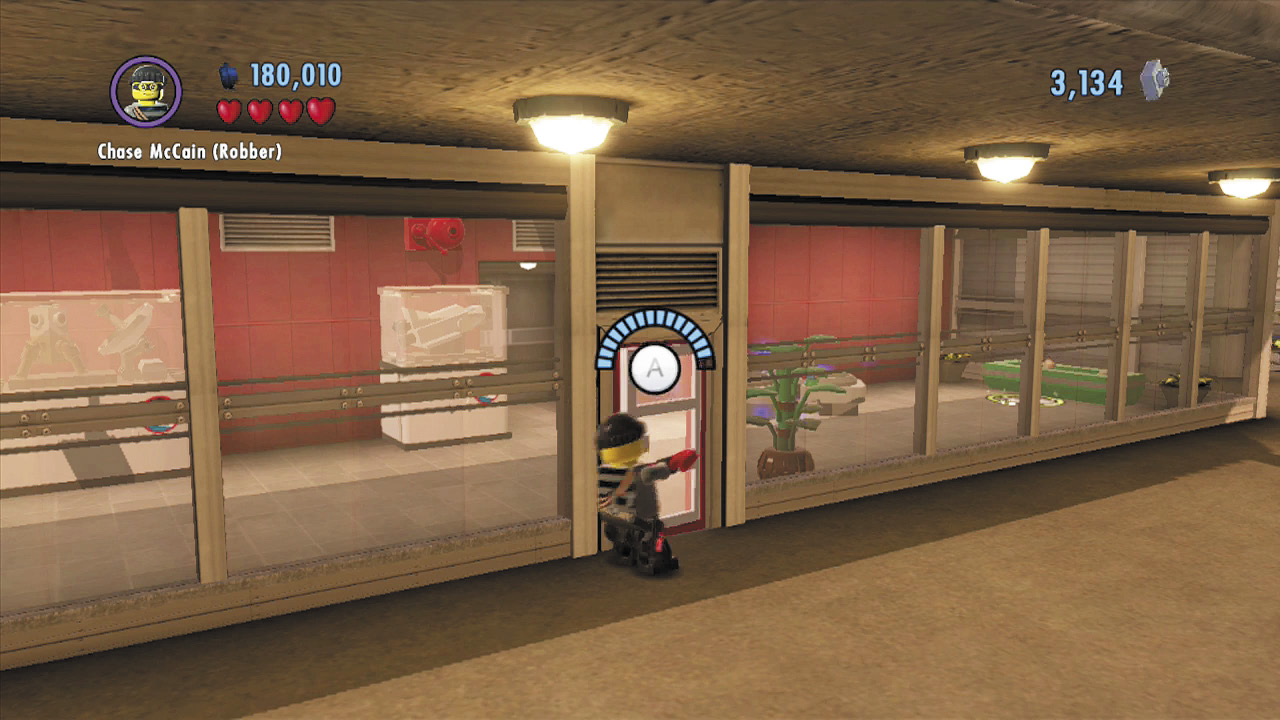
After you discover the space center, search nearby for a door that you can pry open with the crowbar. Enter the building and find the bouncing bricks. Use them to form a color swapper.

Fill your color gun with blue energy, then smash the cabinets in the room to find more bricks. Build these into a locker, then open the locker to obtain the Chase McCain (Astronaut) disguise!
Astronaut Antics
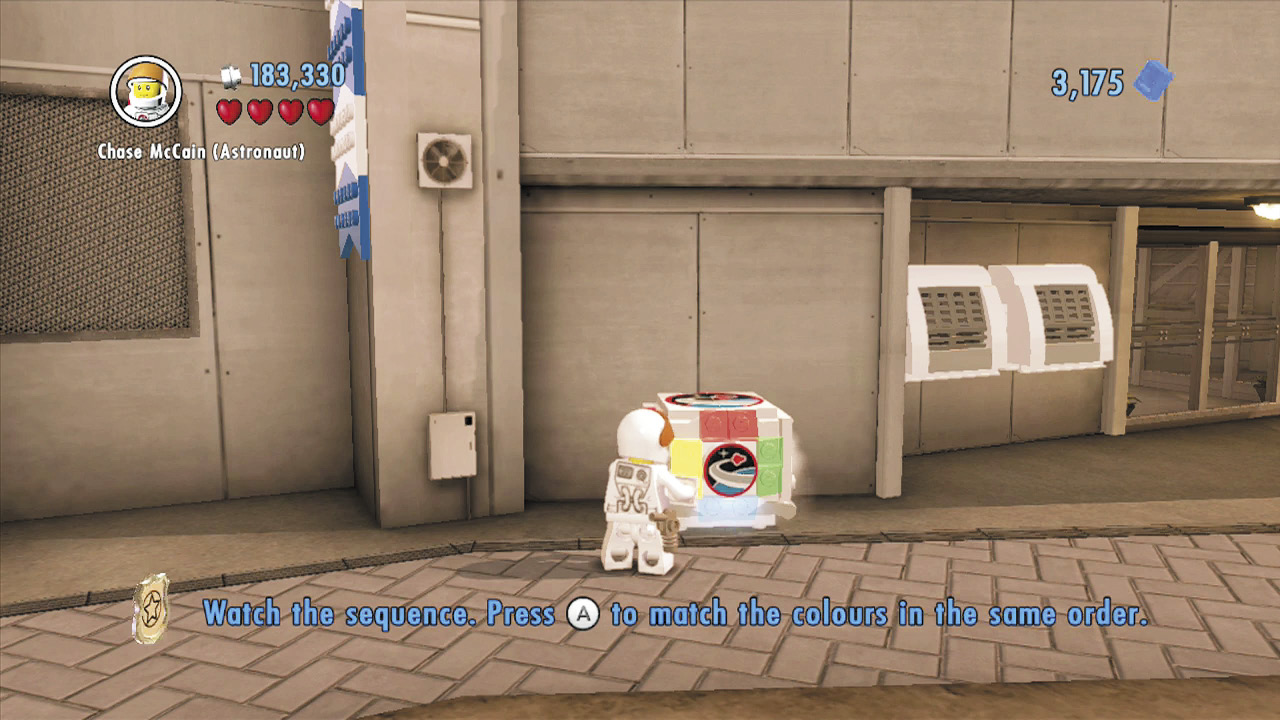
Exit the building and run around the left side. Smash a brown crate to discover more bouncing bricks. Build these into a special object called a space crate. Switch to your newfound astronaut disguise and activate the space crate.
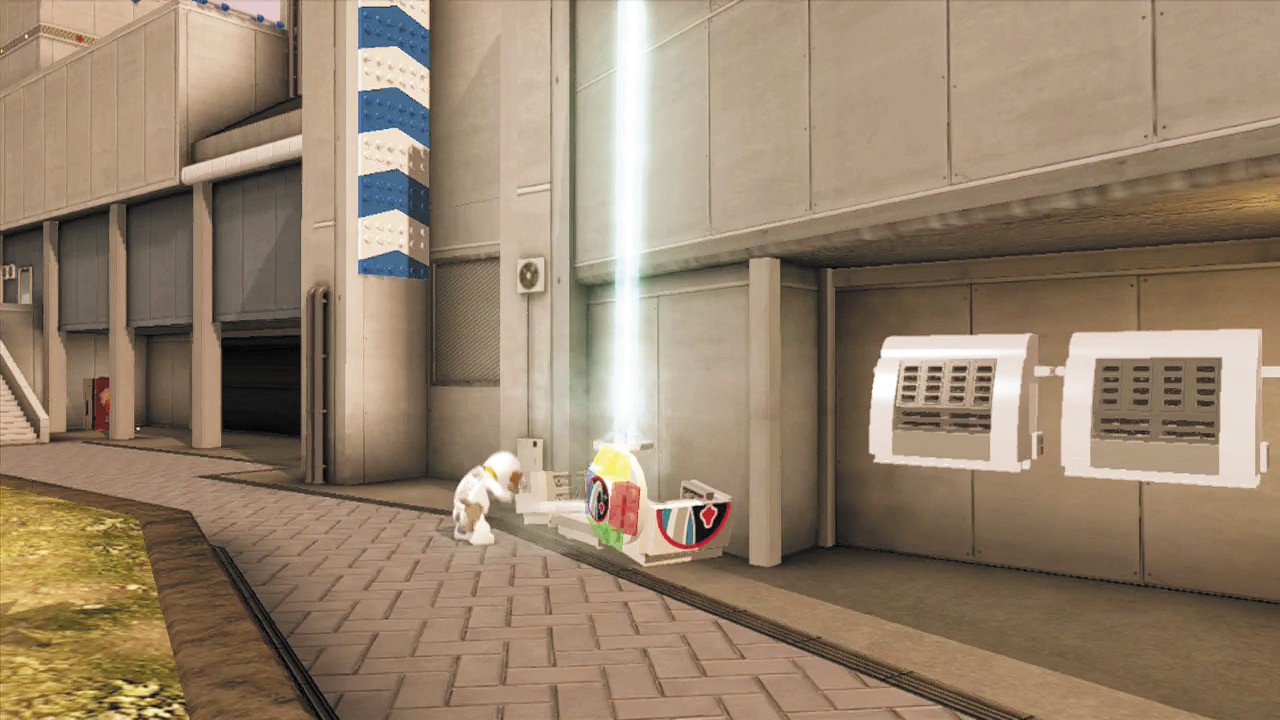
The space crate’s four colored lights blink in a certain order. Pay attention to the lights, then input the same sequence by using  to select the colors and
  to input each one. Solve this simple puzzle, and the space crate will activate, opening up to reveal a satellite dish that beams in some LEGO bricks nearby.
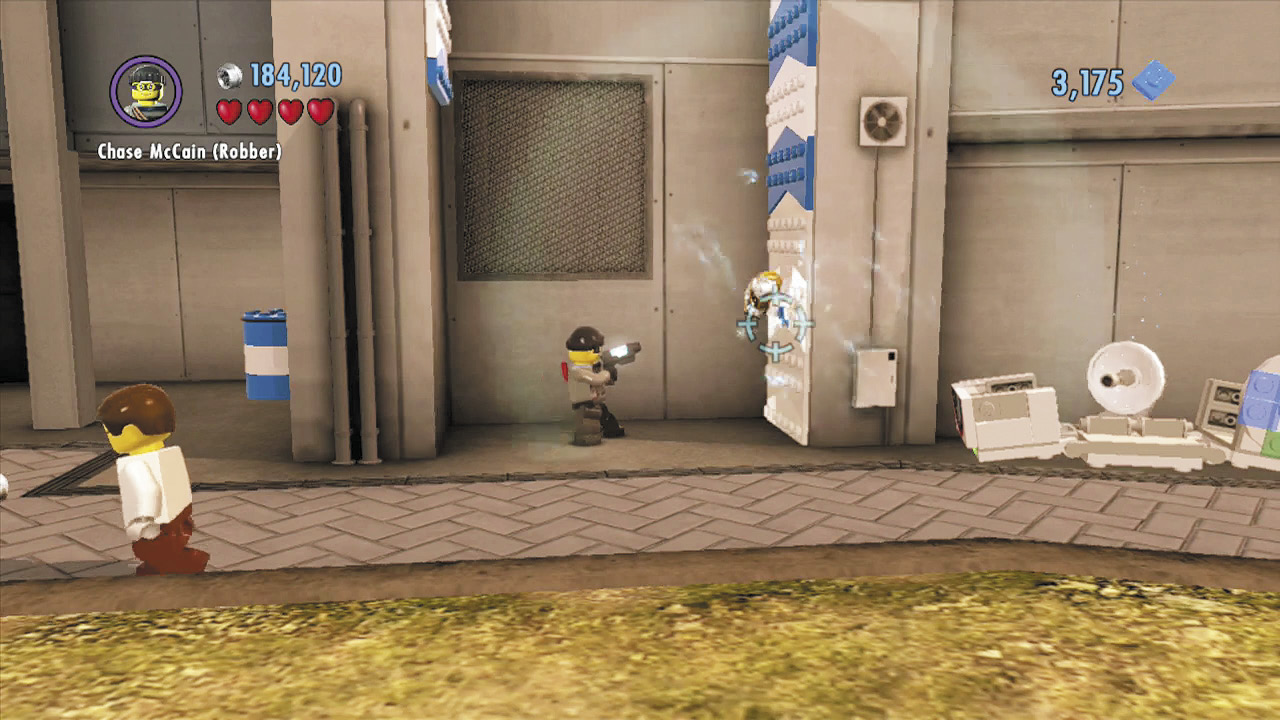
Nice work! Now simply build the bricks to restore the bottom of the nearby LEGO wall. Blast the wall with blue energy from the color gun, which you recently found by using the color swapper inside the space center. After you color the wall blue and white, you can wall-jump up to the space station’s roof.
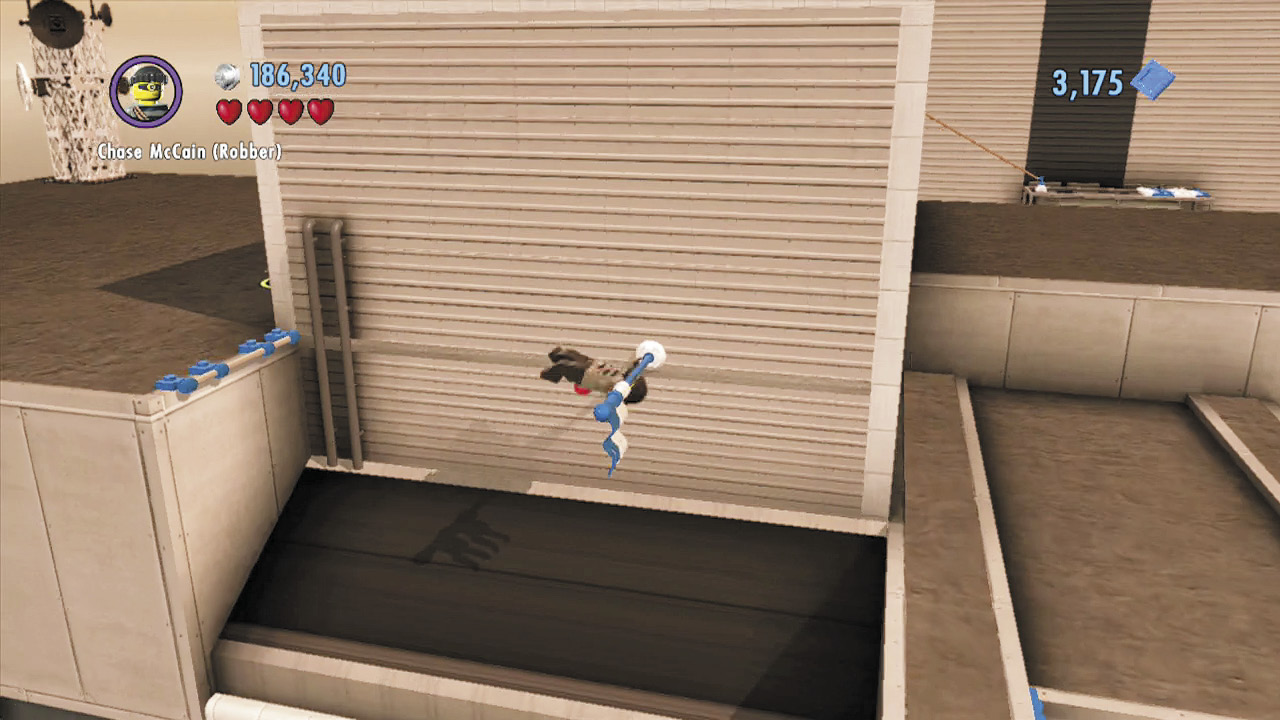
Swing from a flagpole to reach another section of the roof. Use the grapple gun to zip up to a higher area, where you discover more bouncing bricks.
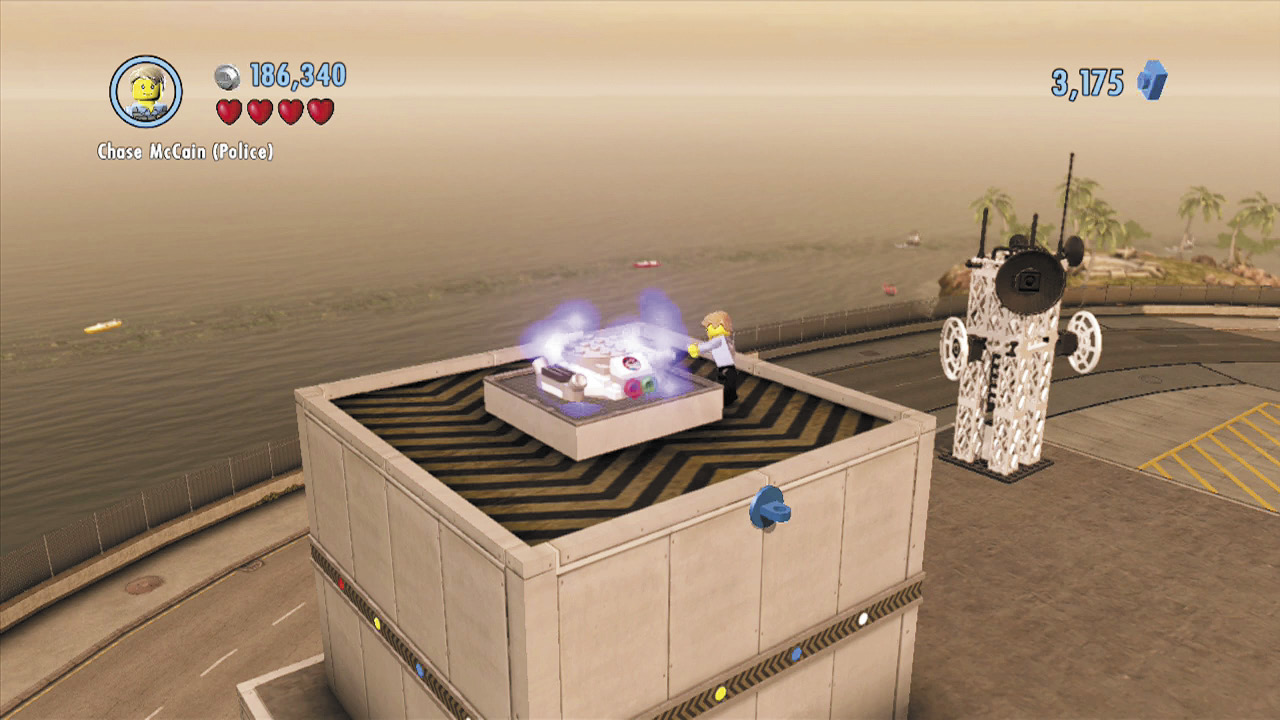
Build the bricks into a transporter pad, then stand on the pad and switch to the astronaut disguise. Press  to activate the pad, and you’ll be beamed inside the space center!
Special Assignment 6: Astronaughty
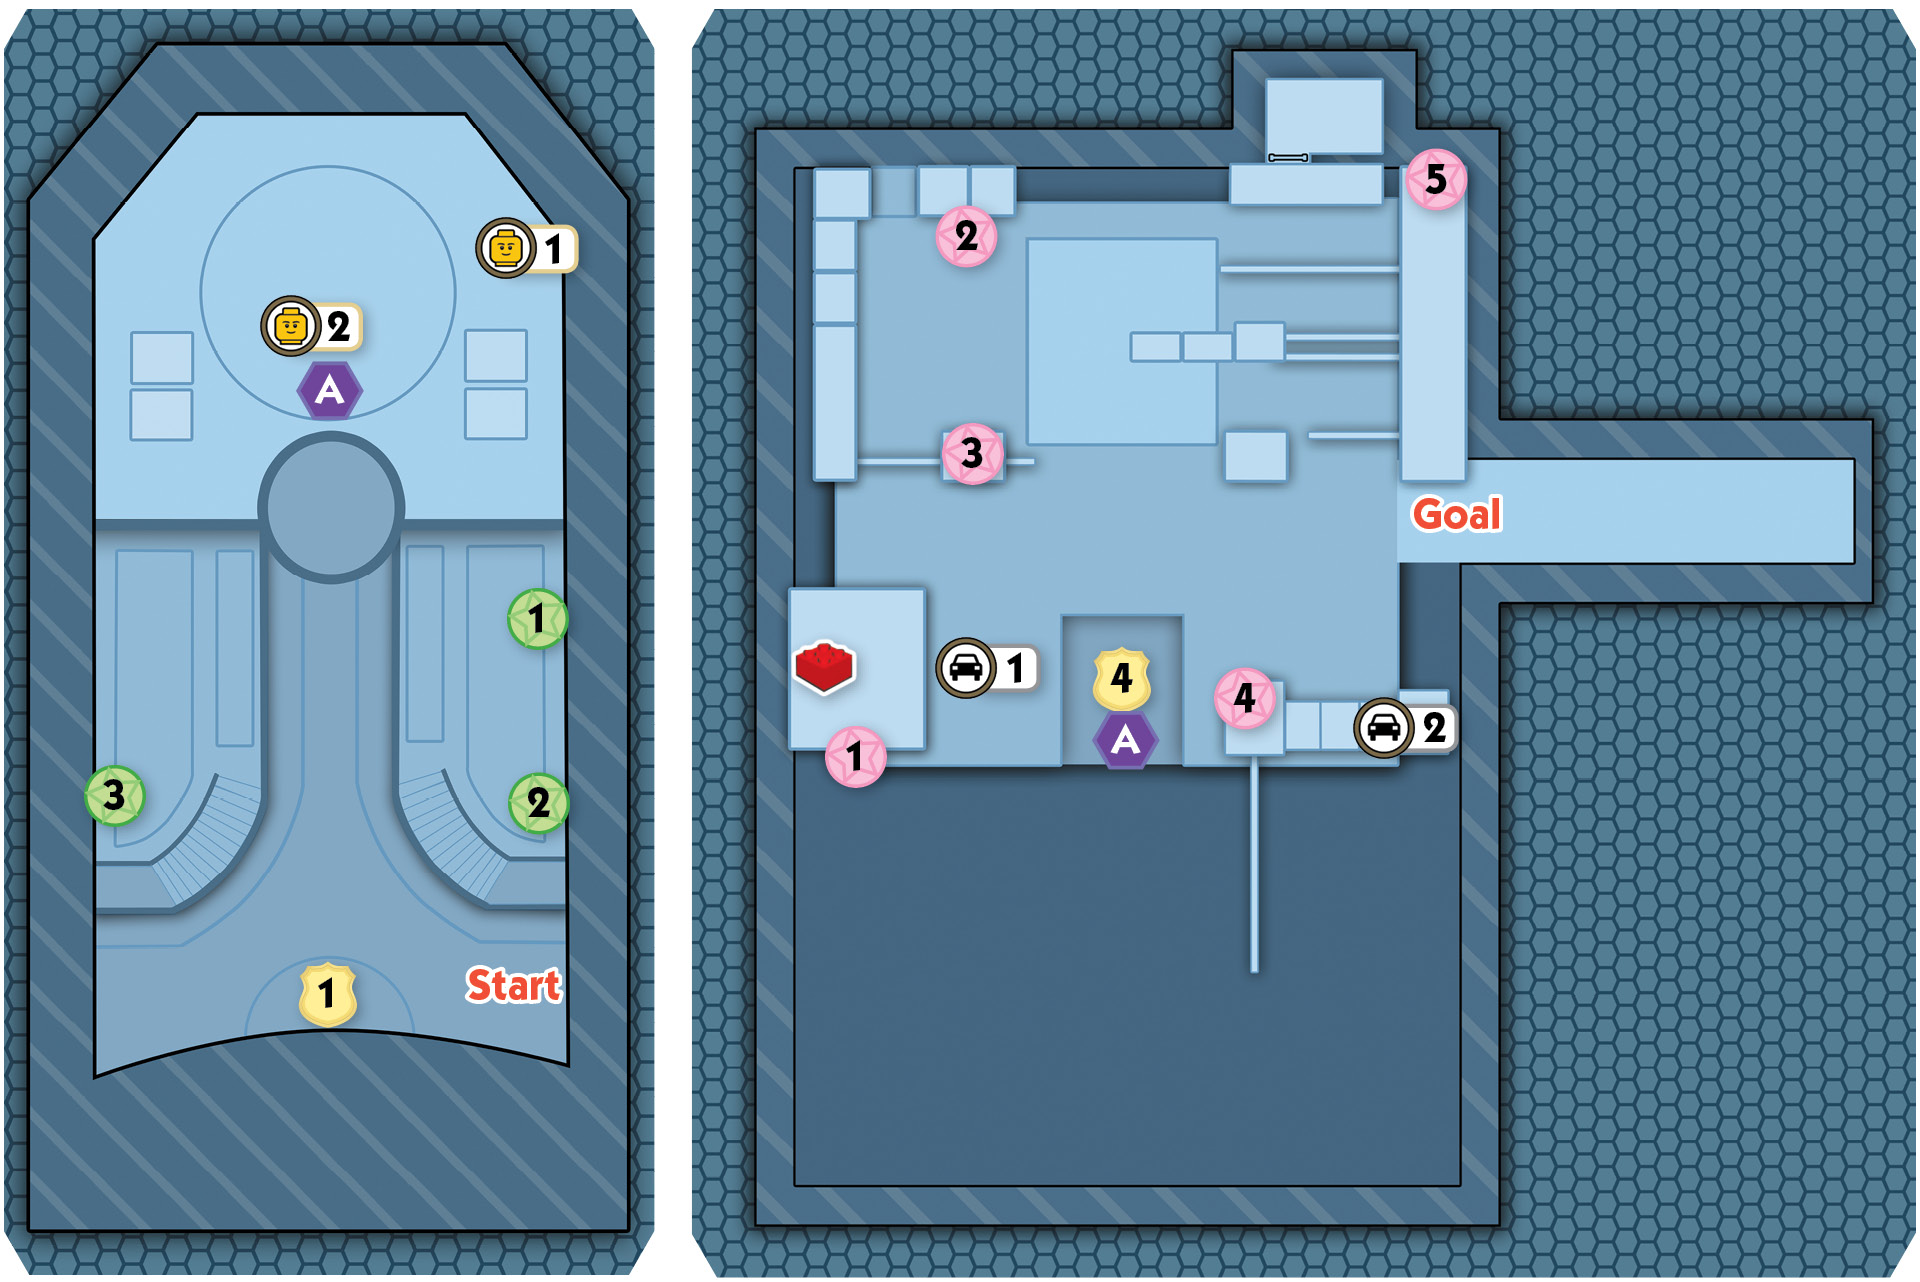
Stage Collectibles: “Astronaughty”
| Map Icon(s) | Type | Mode | Notes |
|---|---|---|---|
 |
Police Shield Piece 1 | Story | Ride the mechanical rocket in the lobby. |
 |
Police Shield Piece 2 | Story | Smash objects and build three portraits around the lobby. |
 |
“Space Villain” character token | Free Play | Use Rex Fury to rip apart the strength crate in the lobby. |
 |
“Space Scientist” character token | Story | Smash the remaining “planet” after making the solar system diorama fall. |
 |
“L.E.R.V.” vehicle token | Free Play | Drill the shaky ground in the hangar. |
 |
Police Shield Piece 3 | Free Play | Smash five space probes around the hangar. Some can be reached only during Free Play. |
 |
Red Brick—Super Astro Crate | Free Play | Fix the hangar’s background fuse box, ride the lift and get some dynamite, drop and blast the silver floor hatch, beam to another room, chop through the door, and crack the safe. |
 |
Police Shield Piece 4 | Free Play | Fix the fuse box in the lower storage room, then return to the floor switch puzzle and solve it again. |
 |
“Garrano” vehicle token | Free Play | Fix the fuse box on the hangar’s high walkways, climb the wall, and cross the handholds. |
LEGO City HeroStud Requirement:  50,000
Objective: Create a Diversion
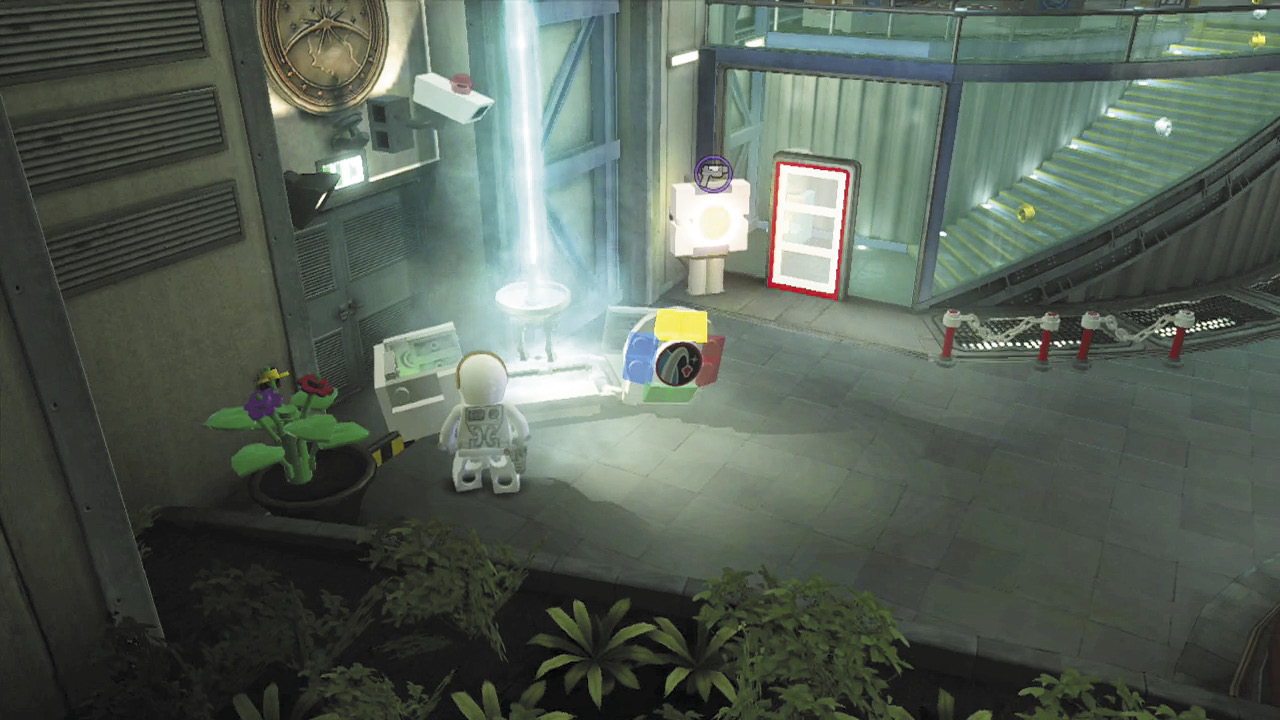
Stealing the moon buggy for Chan won’t be easy—the space center is crawling with personnel. You’ll need to create a diversion. Begin by activating the space crate on the left, mimicking the crate’s color sequence.
Police Shield Piece 1 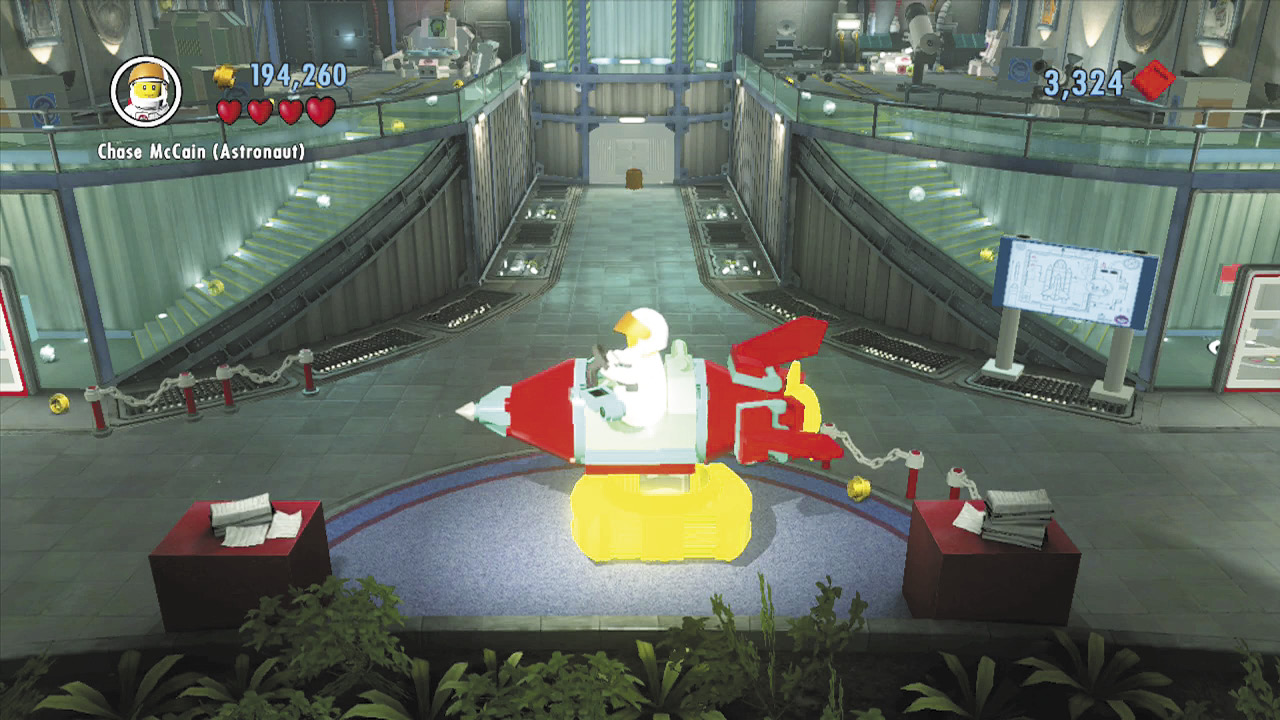 Ride the mechanical rocket in the lobby to earn a shield piece. Far out! |
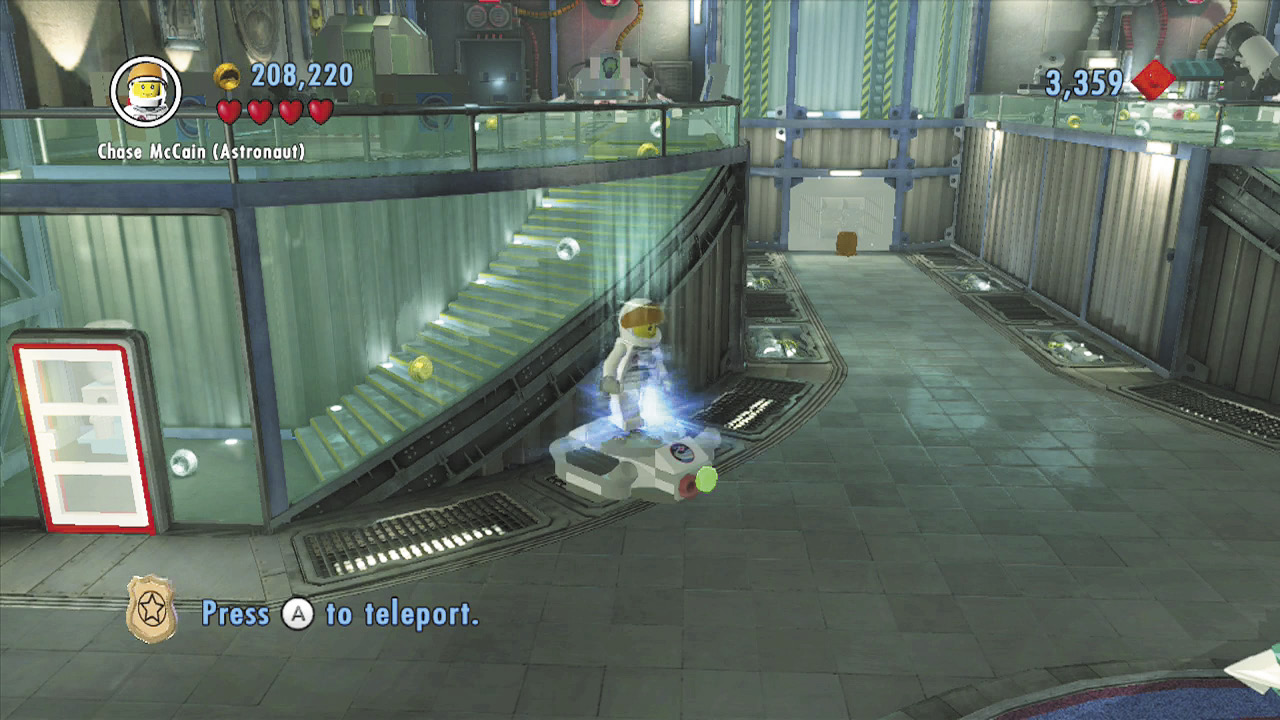
Activating the space crate beams in some bricks. Build these into a transporter pad, then use the pad to beam over to the right side of the lobby’s balcony.
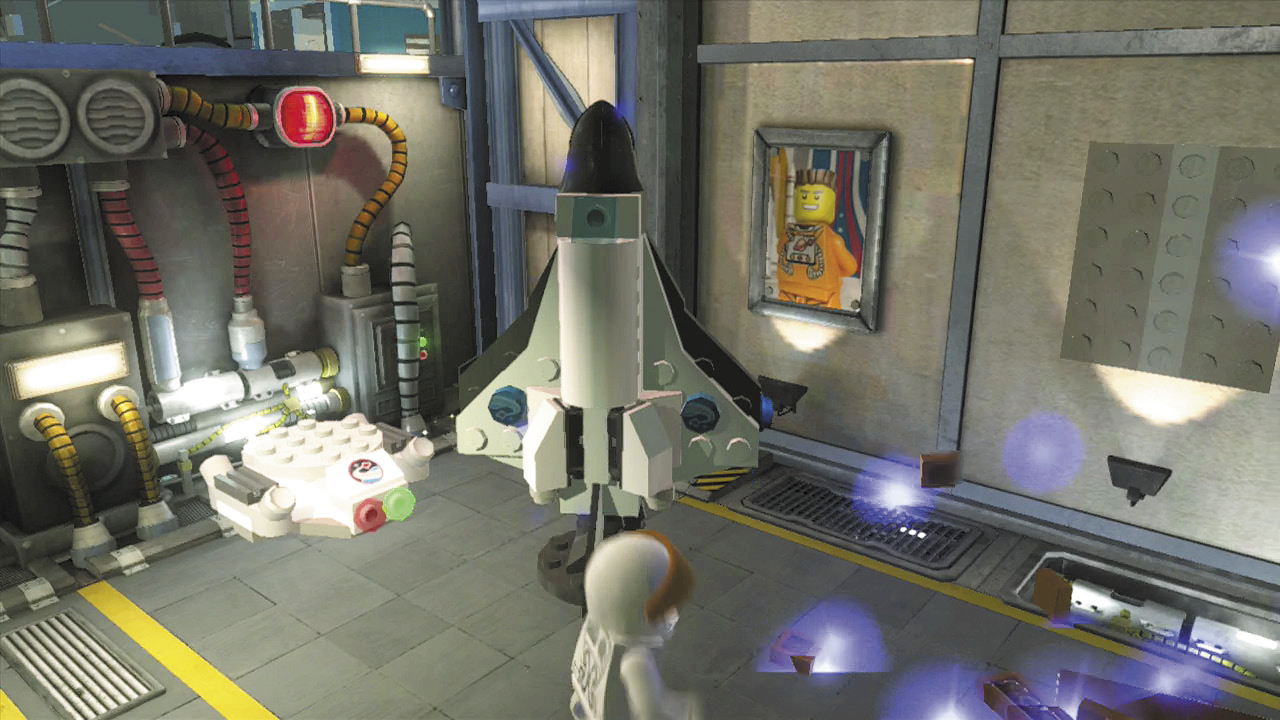
You discover some bouncing bricks on the second floor. Build them into a model shuttle. The shuttle blasts off and knocks down some more bricks.
Police Shield Piece 2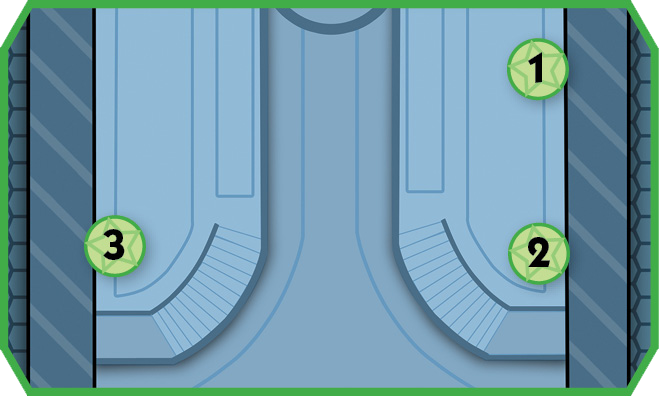 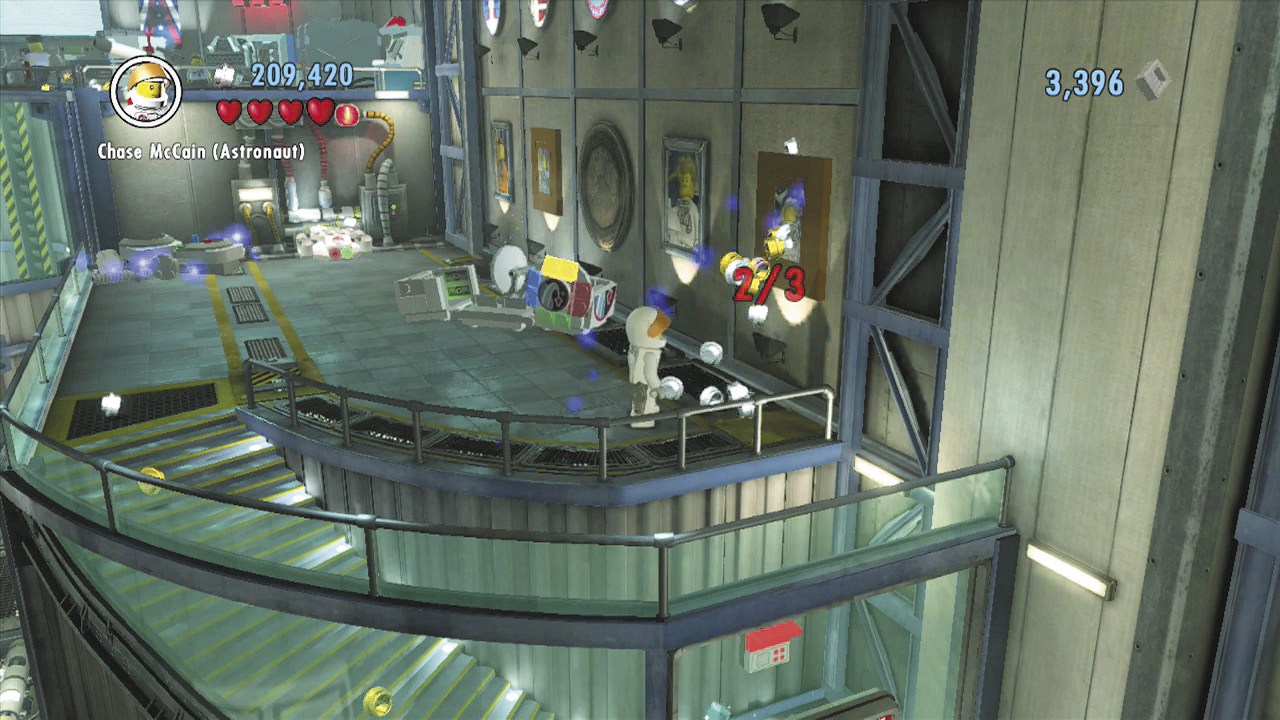 Smash objects to discover LEGO bricks around the lobby’s balconies, then build the bricks into portraits that Chase hangs on the wall. Find and hang all three portraits to score a shield piece! Check the maps for the locations of the three portraits. |
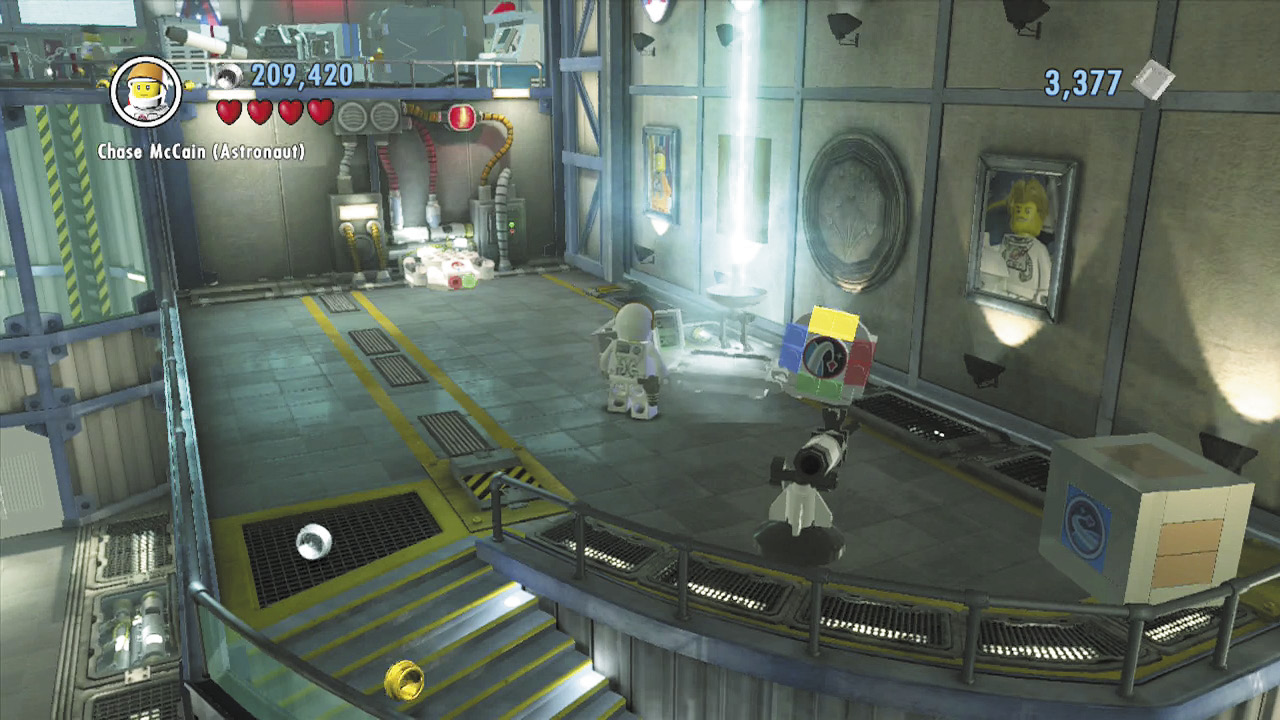
The shuttle knocked down some bricks; build these into a space crate. Activate this to beam in even more bricks nearby.
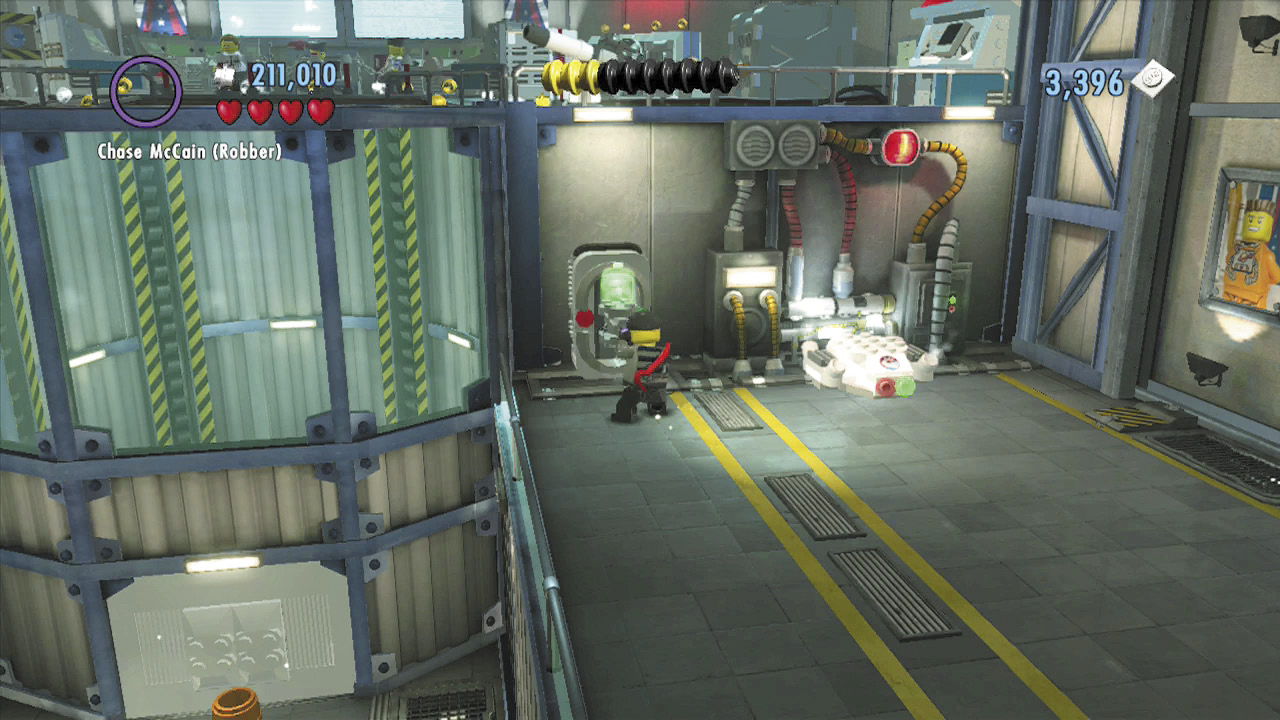
Build the final batch of bricks into a color swapper. Use the device to fill your color gun with green energy. Head downstairs afterward and use a control panel to open the door back to the lobby.
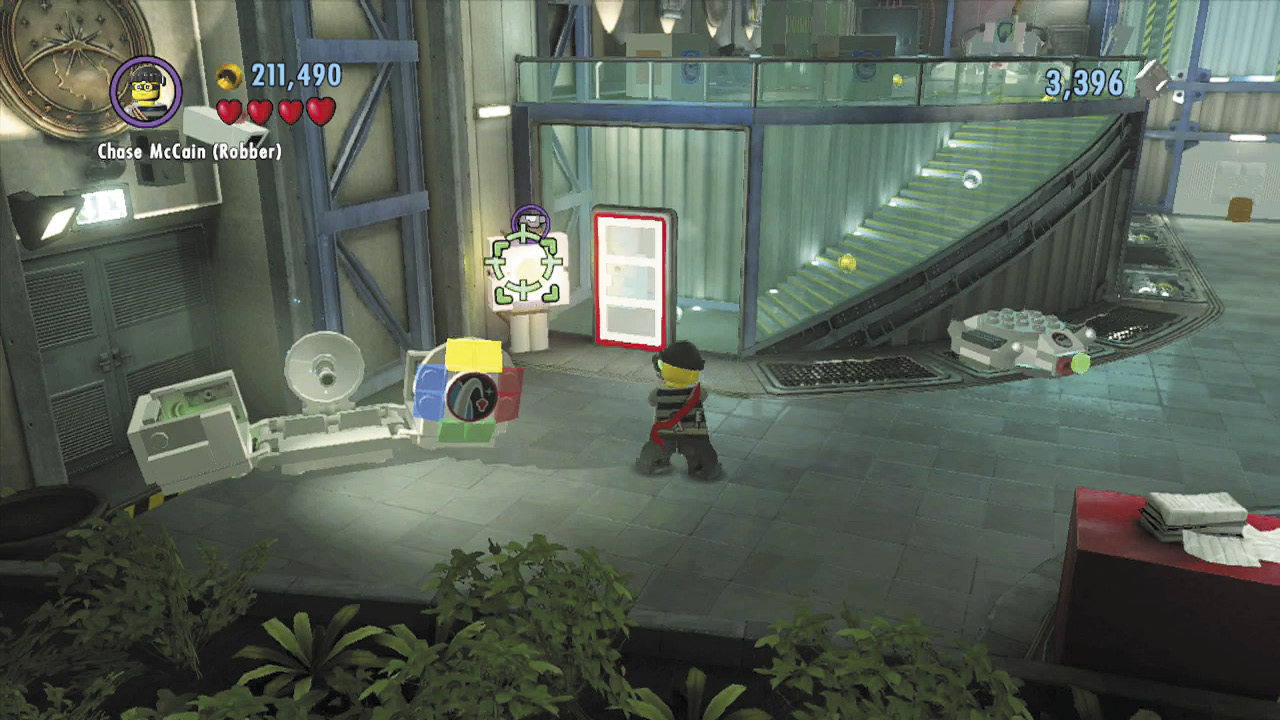
Move to the lobby’s left side and fire the color gun at the red switch on the wall. The switch turns green, and a nearby door opens. Head upstairs to explore the lobby’s left balcony.
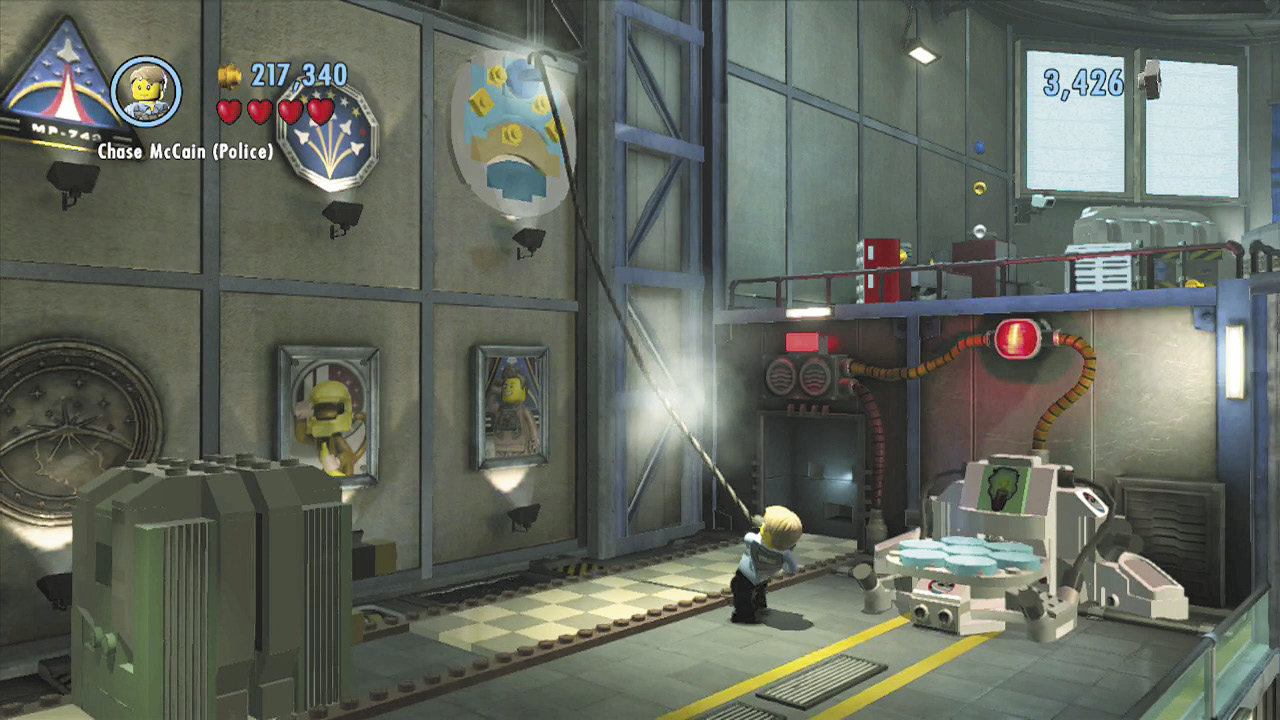
Use the grapple gun to pull down a large object from the wall. The object smashes apart, leaving some bricks behind. Build these to fill in the missing portion of the nearby checkered track.
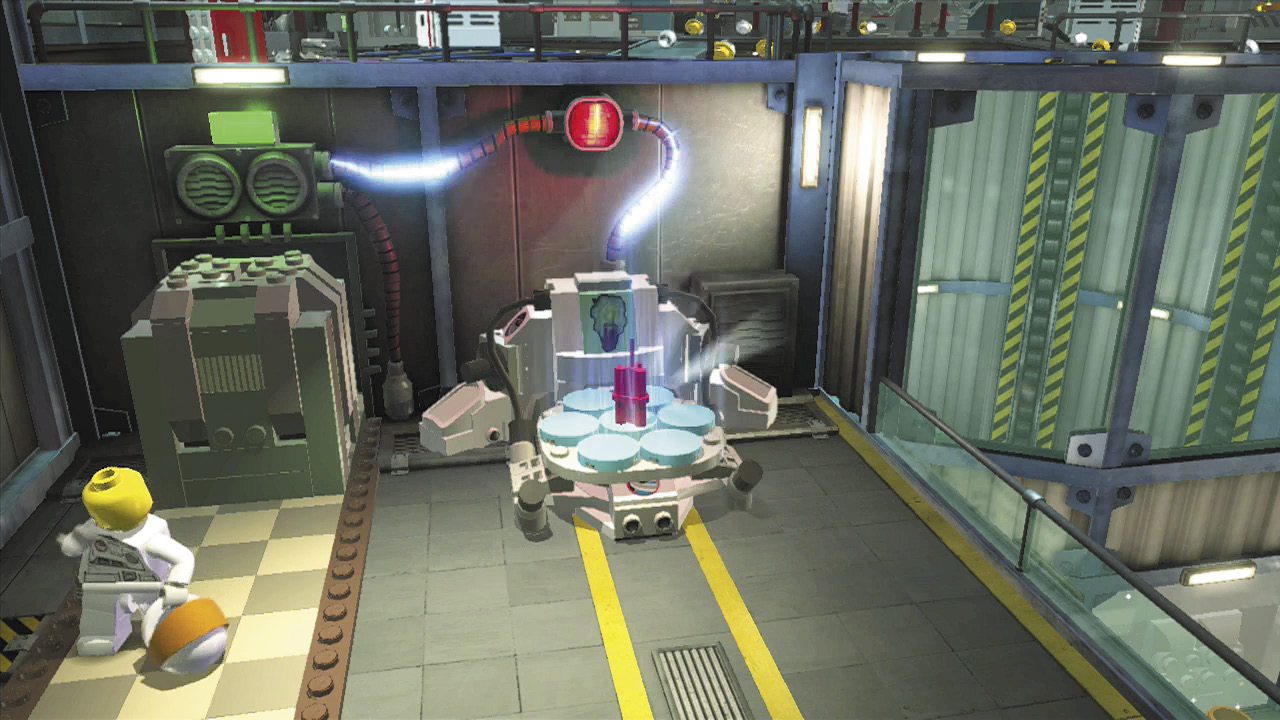
With the checkered track repaired, shove the giant battery along the track and into the recess in the background wall. Once the battery is in place, the nearby mechanism powers up, and some dynamite appears. Wild!
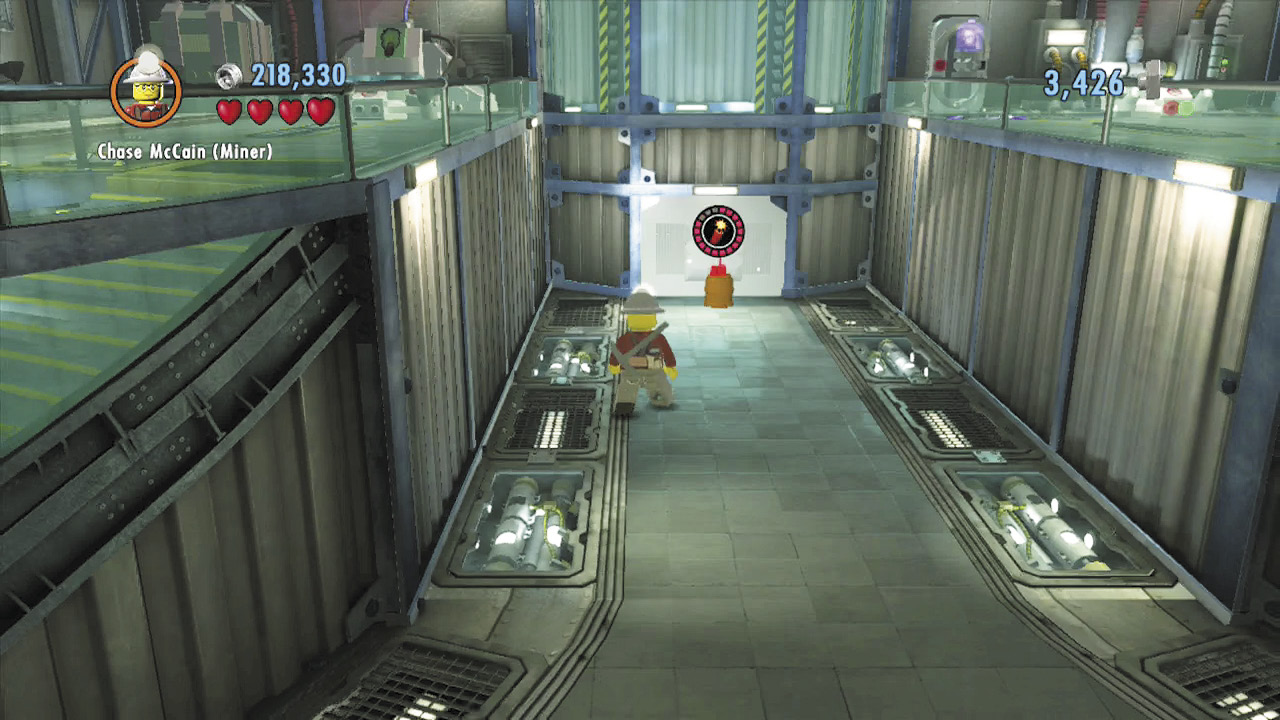
Grab the dynamite and head back downstairs. Place the dynamite in the barrel near the silver background wall to blast open the door to the elevator beyond. Stand on the elevator’s central button to ride up to the control room above.
Clearing the Control Room
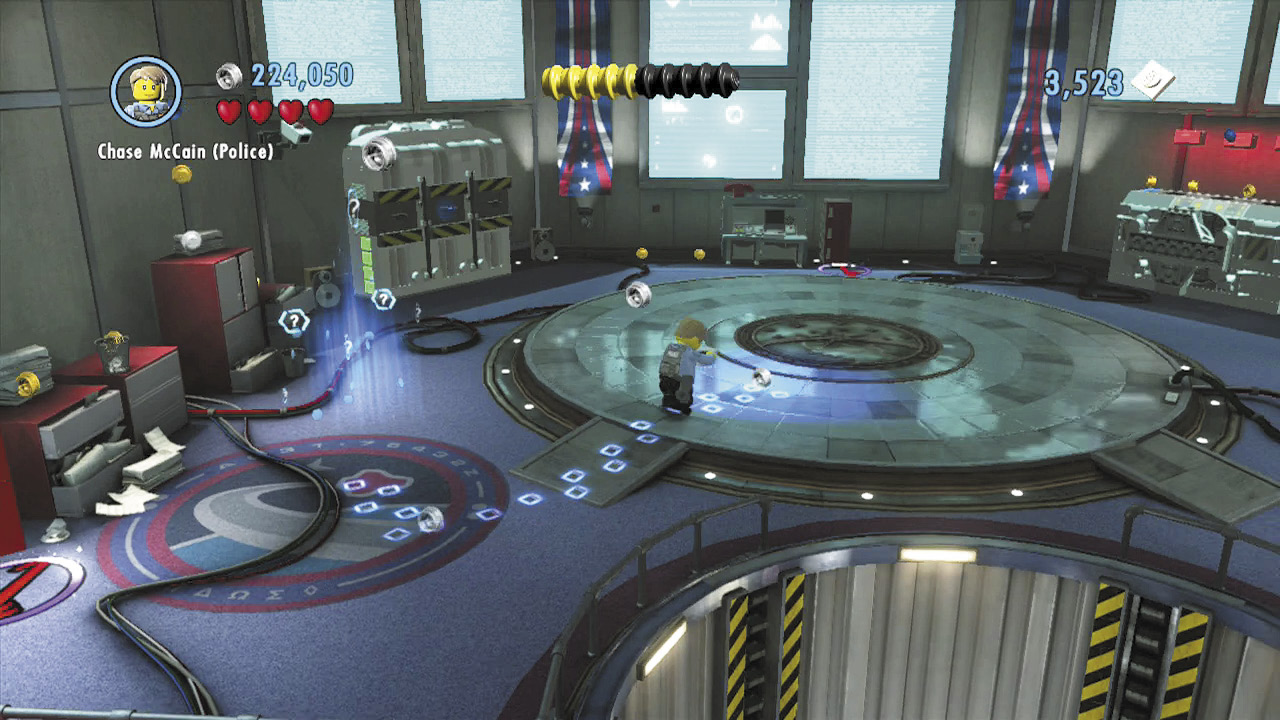
Subdue the security guards in the control room, then smash a white rolling cabinet to discover a scan spot. Follow the footprints over to a small cabinet on the other side of the room.
Free PlayCharacter Token 1:Space Villain 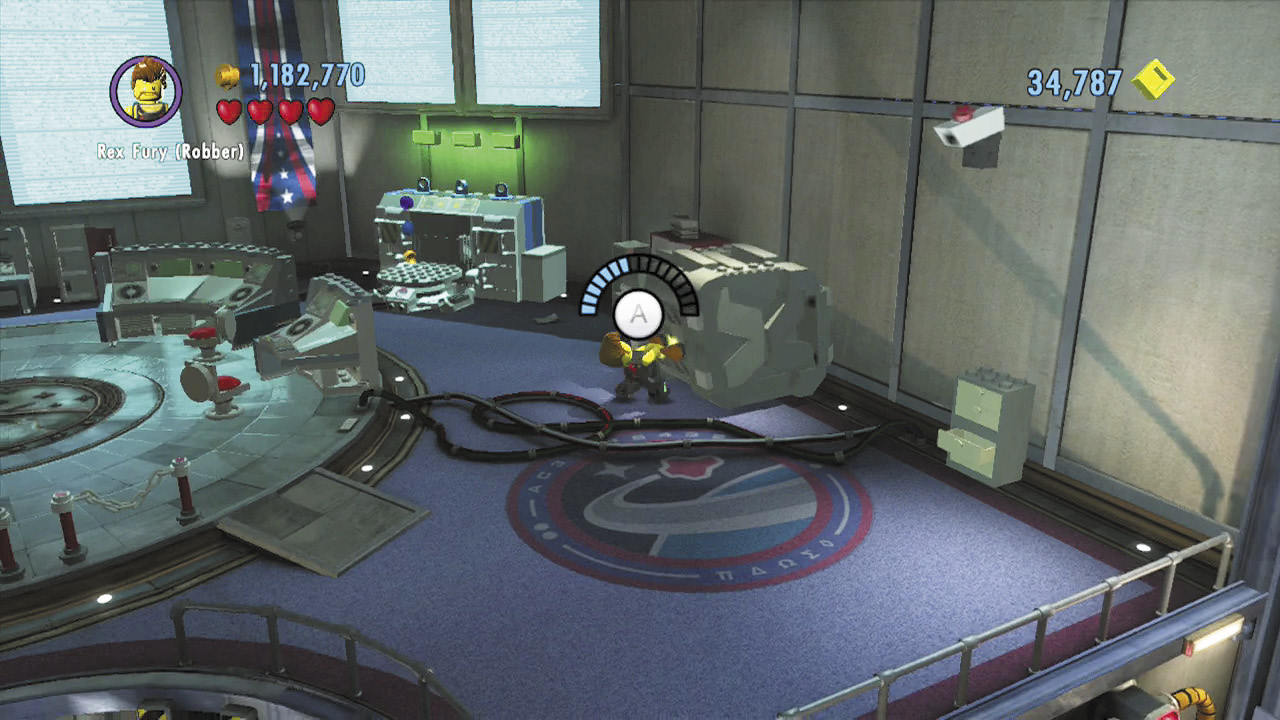 Use Rex Fury to rip apart the super-strength crate on the right side of the control room. You’ll find a character token inside! |
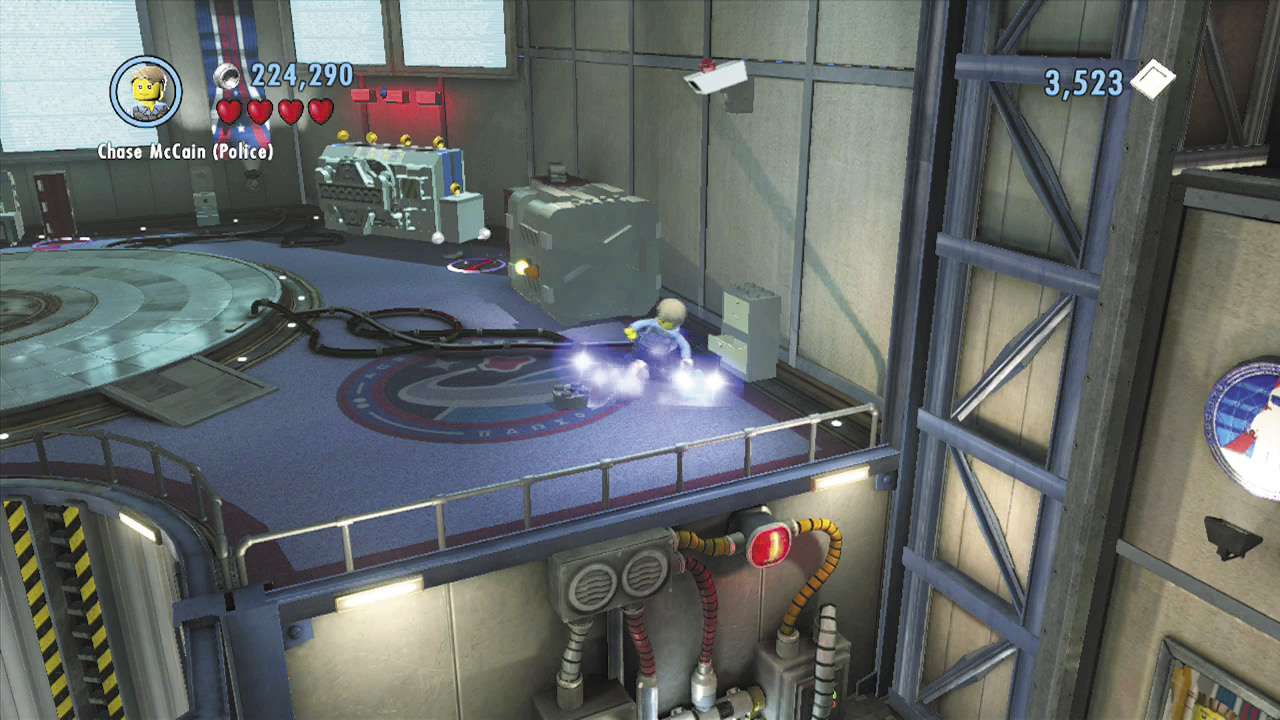
Open the cabinet to find some bricks. Build these into a grapple point that you can pick up and carry over to a nearby machine.
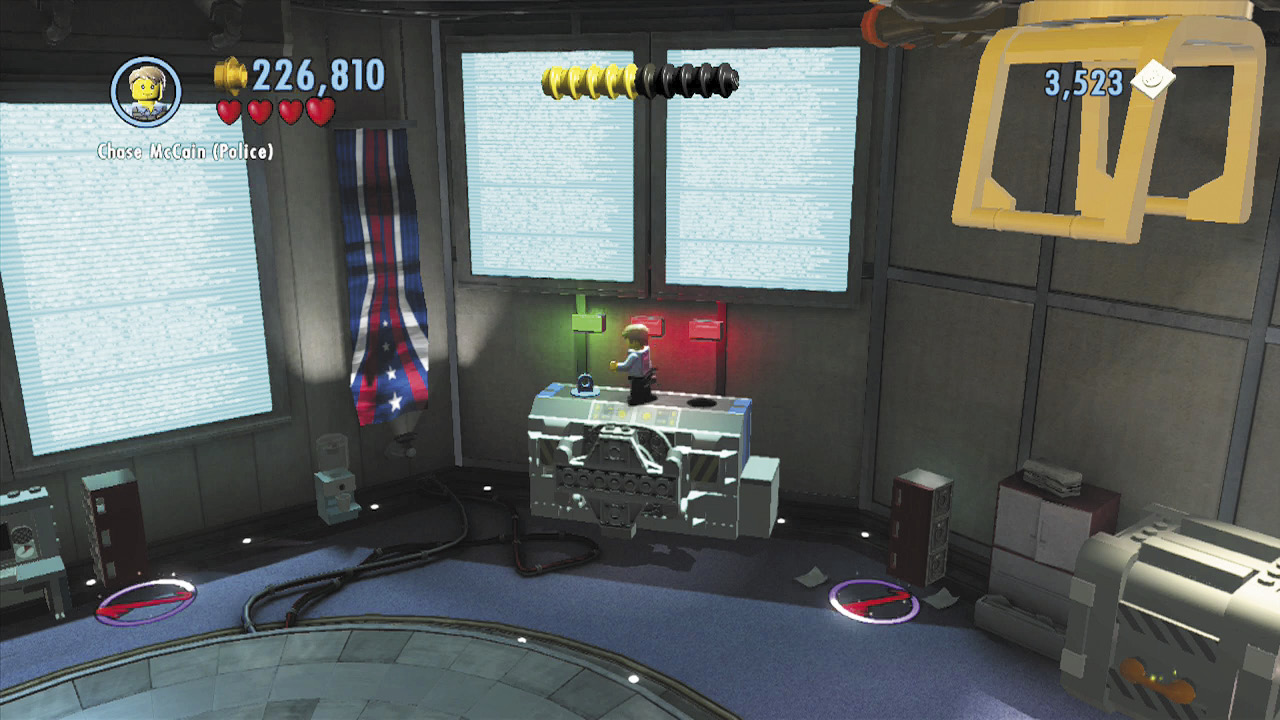
Jump onto the machine and insert the grapple point into one of the three slots on top. One of the three red lights on the wall above turns green. There must be two more grapple points around here!
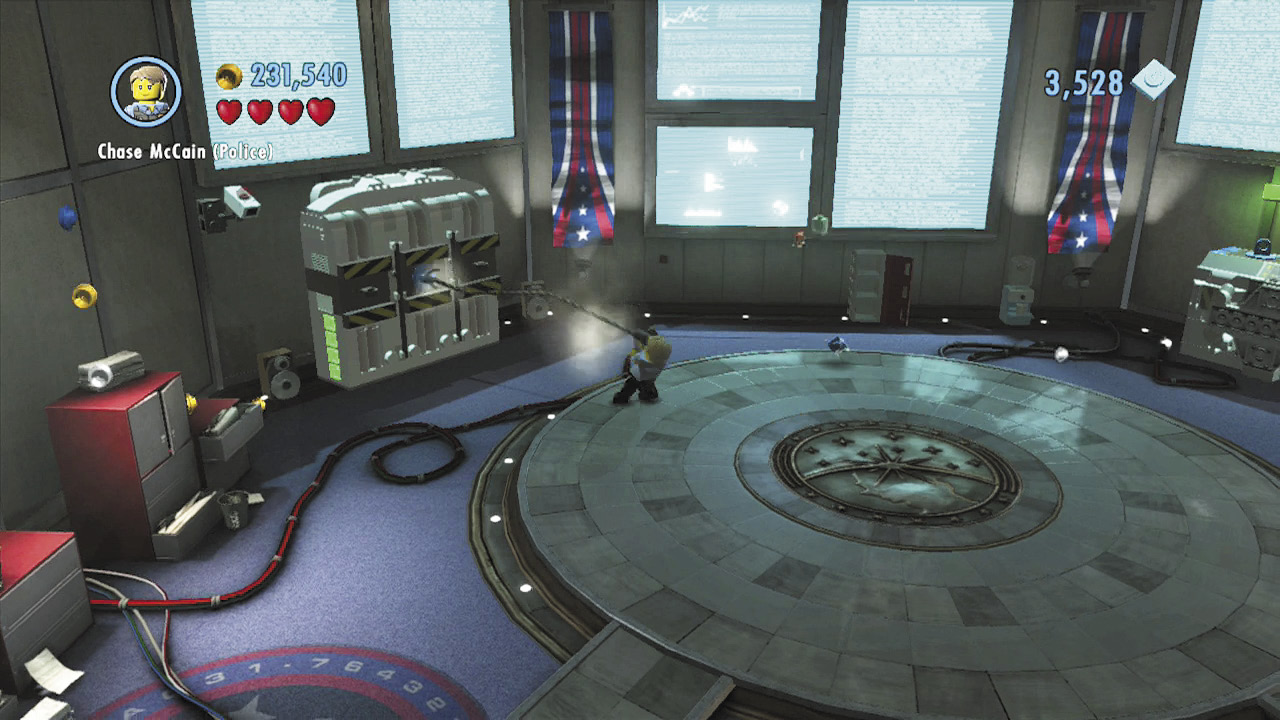
The second grapple point is visible on another machine to the left. Simply grapple it and pull it out. Carry it over to the machine on the right and insert it to turn another light green.
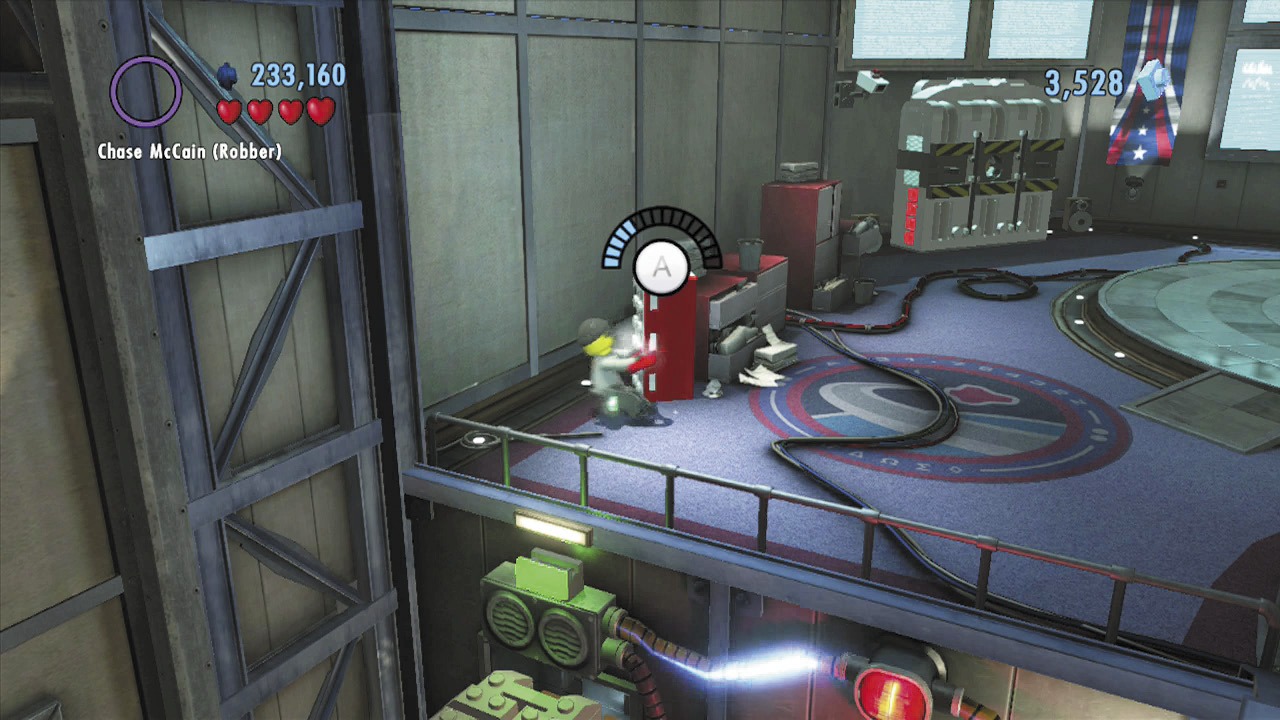
The final grapple point is hidden inside a locker. Pry open the lockers around the control room to find some bricks, then build them into the grapple point. Carry it over and insert it into the machine.
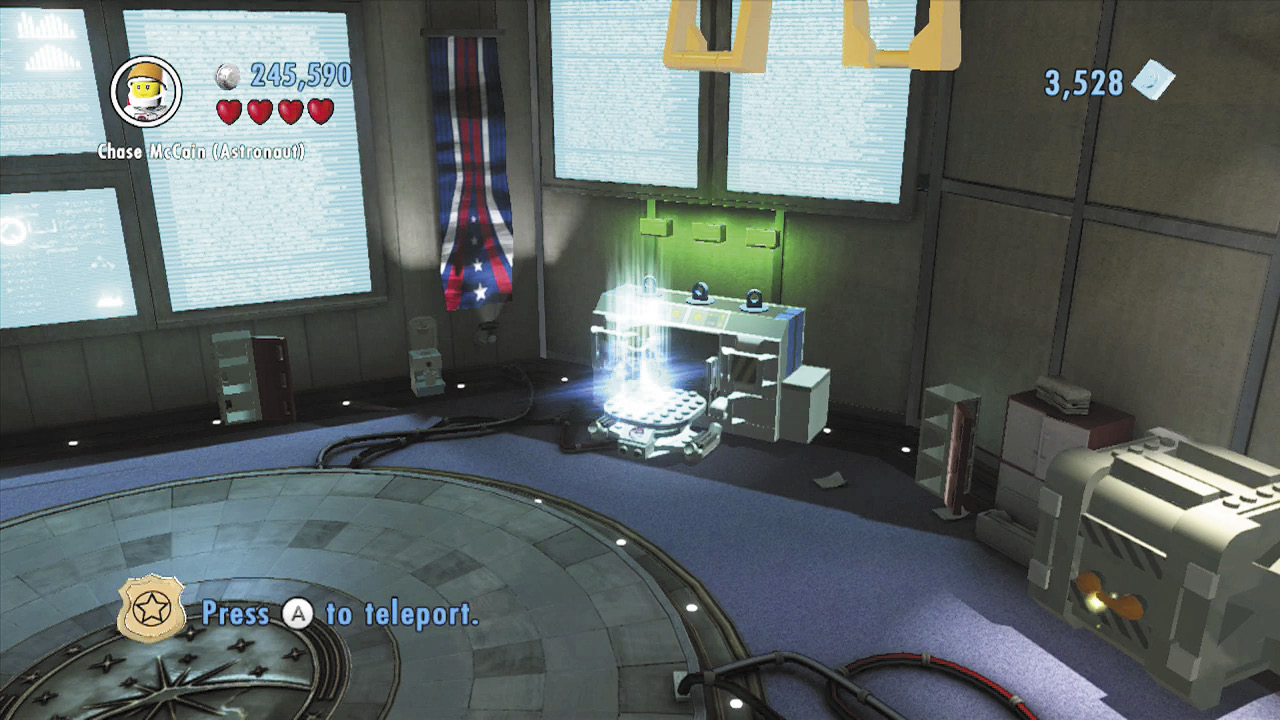
With all three grapple points inserted, the machine opens, exposing a transporter pad. Stand on the pad and beam up to a high platform.
Creating a Diversion
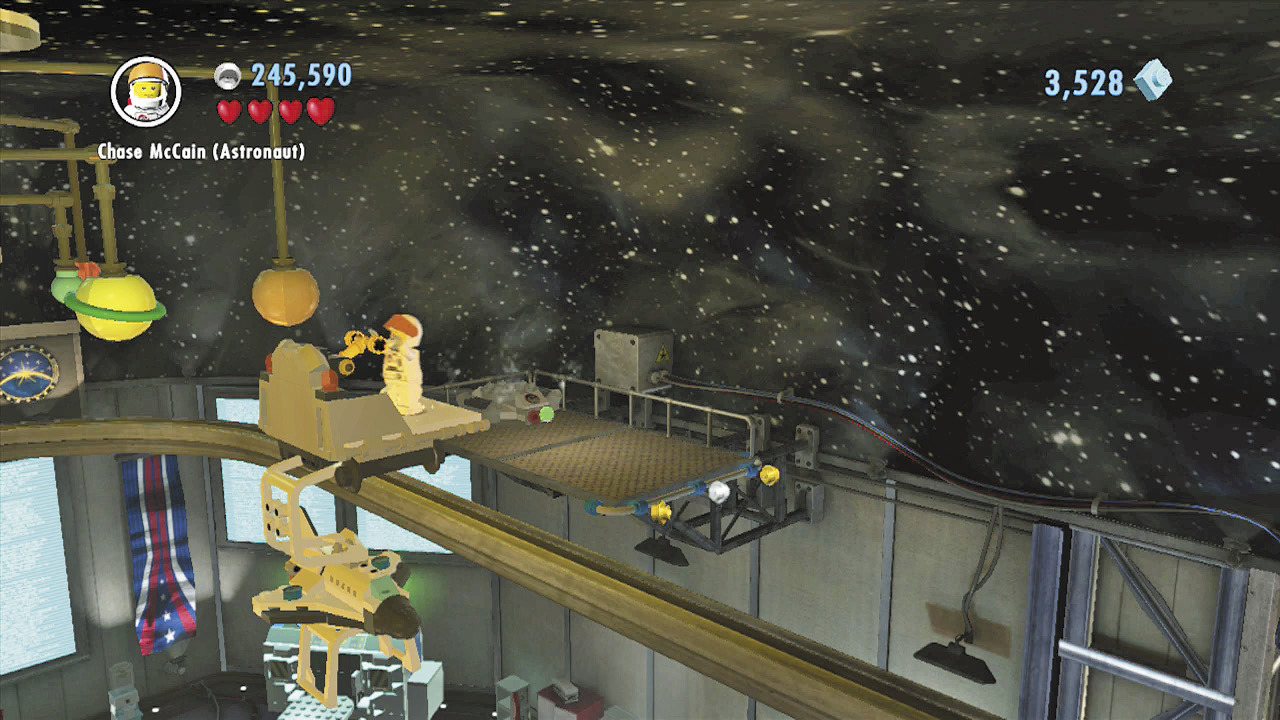
There’s another model shuttle up near the high platform. Jump over and pull the shuttle’s control lever to make it zip along its track. Enjoy the ride as the shuttle carries you over to another platform on the opposite side of the room.
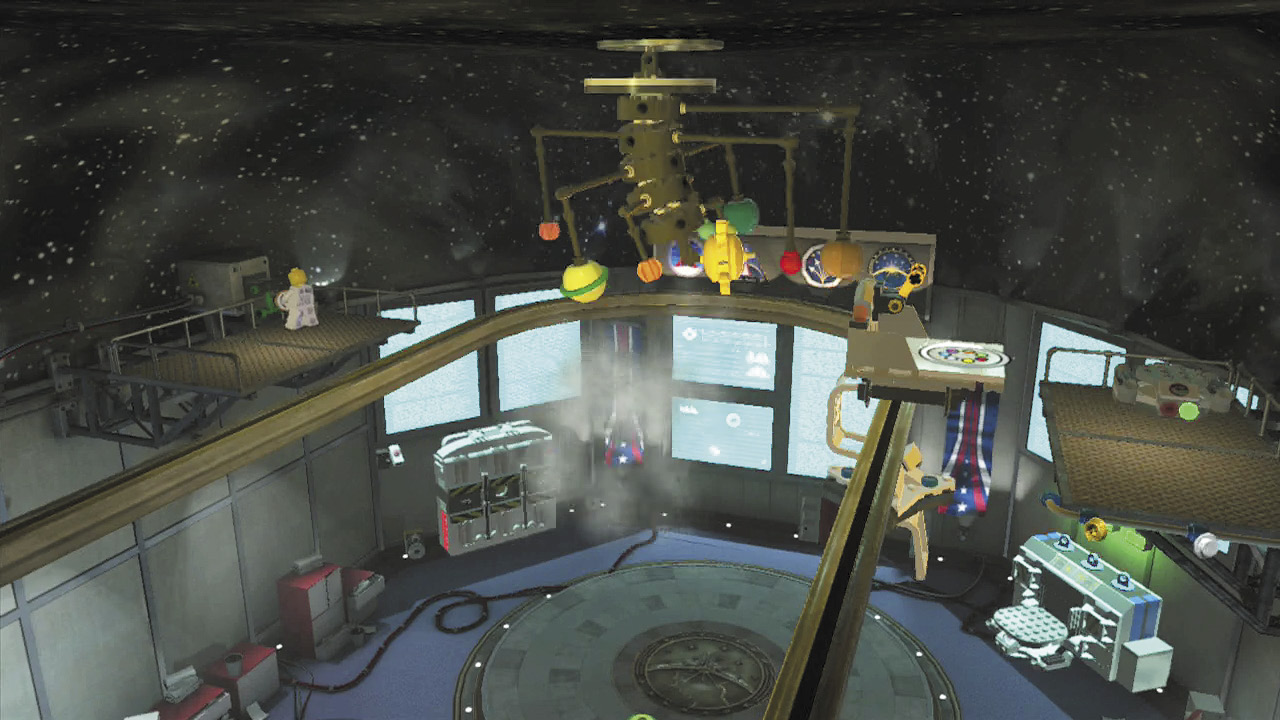
When you come to a stop, jump onto the nearby platform and pull its lever. This causes the hanging model of the solar system to drop from the ceiling, creating a loud racket. If that doesn’t distract the workers away from the moon buggy, nothing will!
Character Token 2:Space Scientist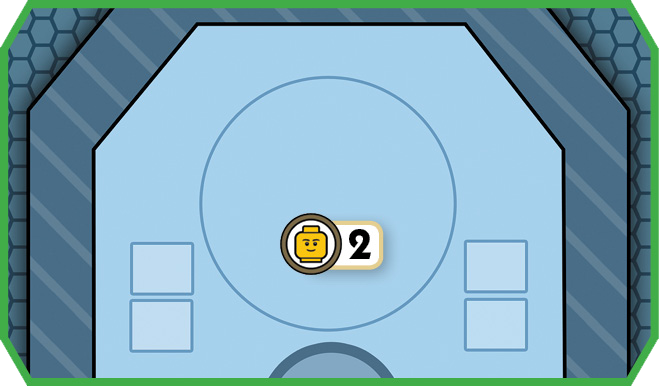 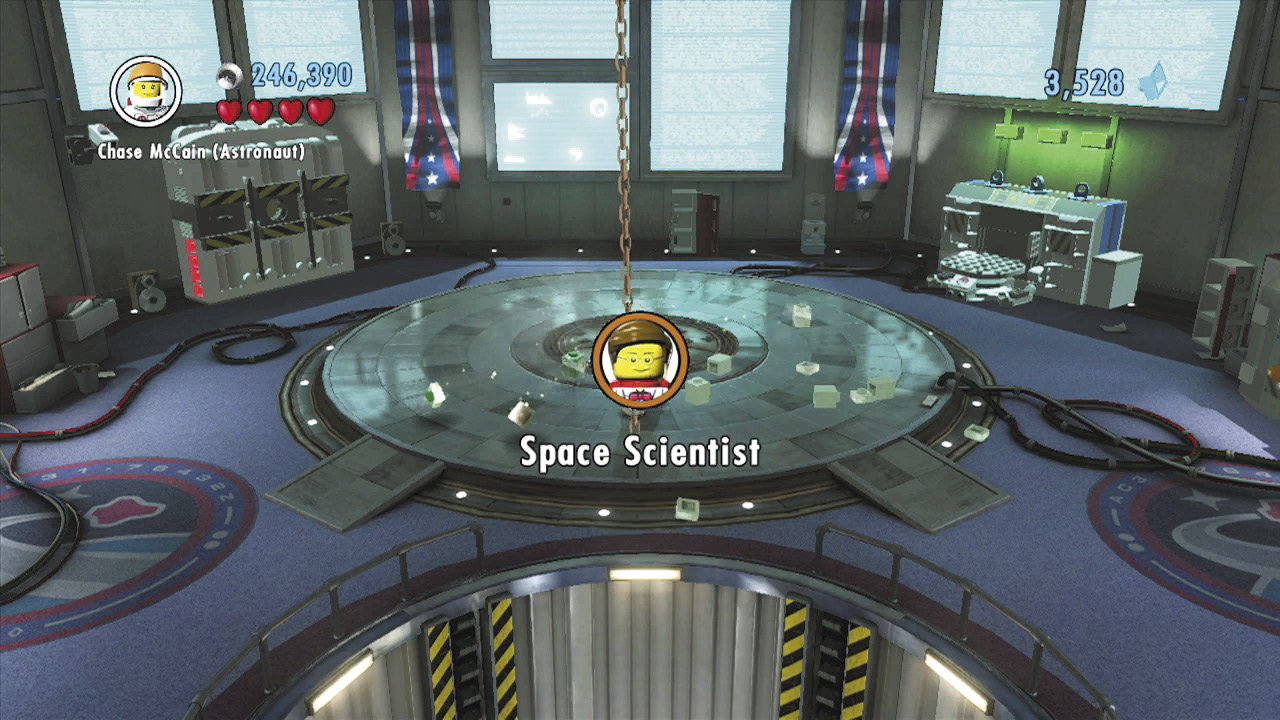 After bringing down the solar system diorama, smash the lone remaining “planet” that lies on the ground (we’re pretty sure it’s Saturn). Out pops a character token! |
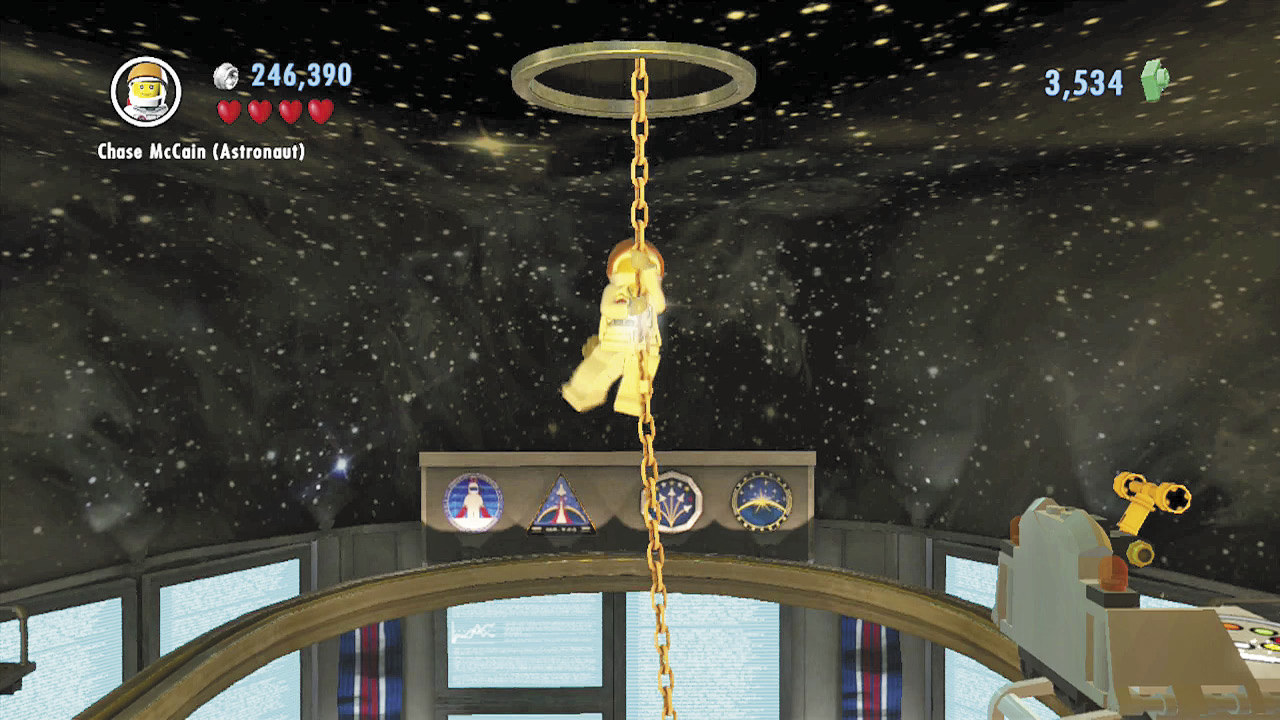
Good work! Drop from the high platform and climb the chain from which the model was hanging. Pass through a hole in the ceiling to reach the space center’s hangar.
Objective: Steal the Moon Buggy
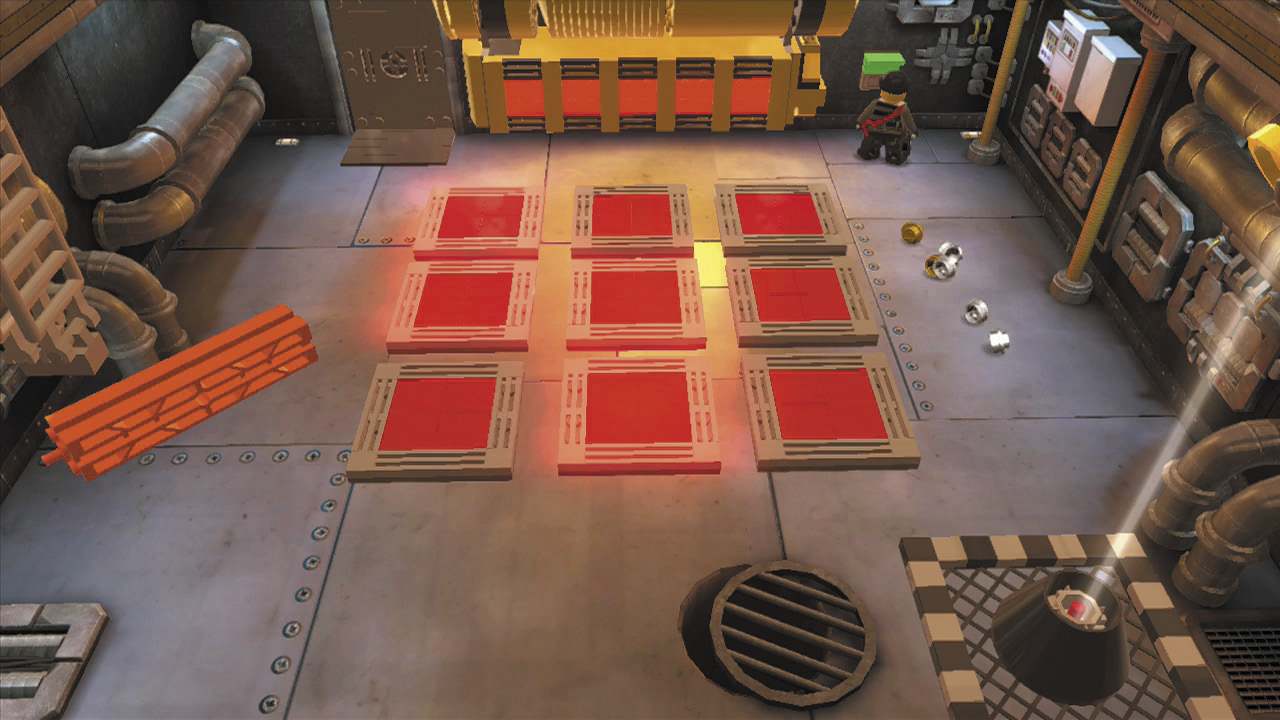
You’ve created a diversion and breached the hangar. Now you just need to steal the moon buggy! Unfortunately, the buggy is kept inside the space shuttle—you’ll need to open the shuttle somehow. Begin by using the nearby control panel to make the red squares on the floor light up in a special sequence.
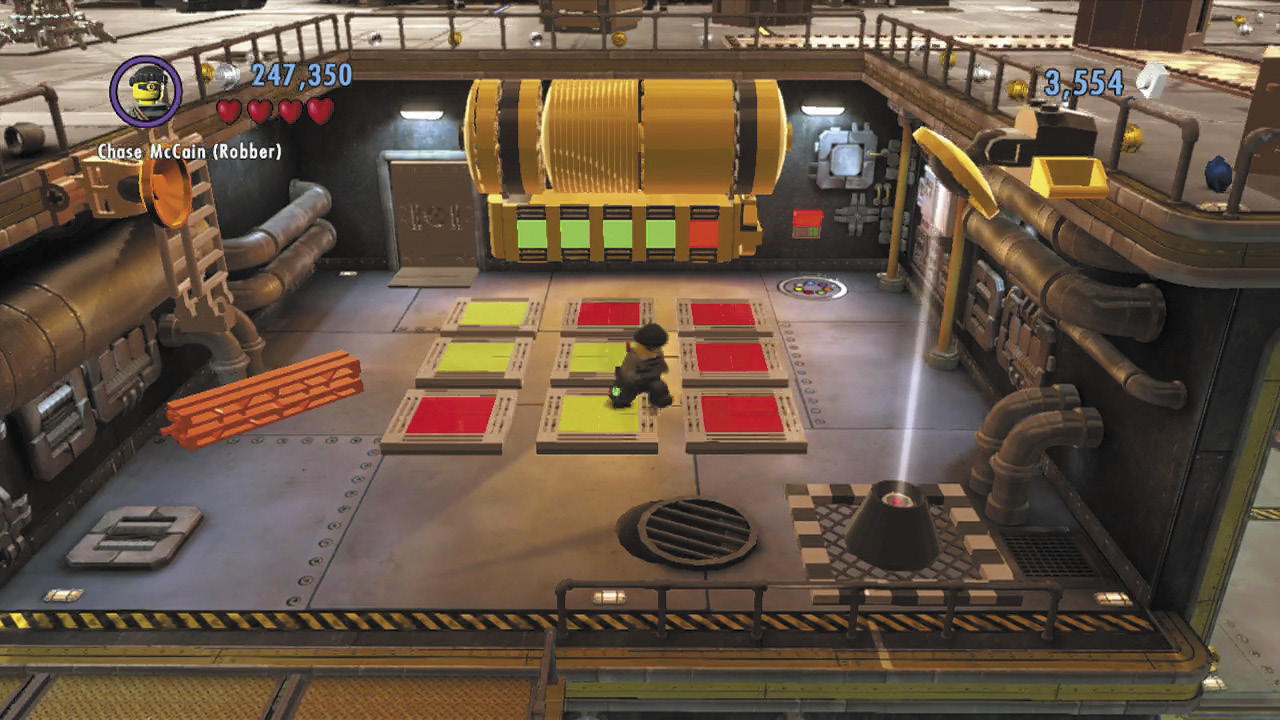
Do you remember the pattern? Good! Step on the red squares to make them light up in the same sequence that they did after you used the control panel. If you do it right, all of the squares will turn green, and a color swapper will pop out of the nearby wall.
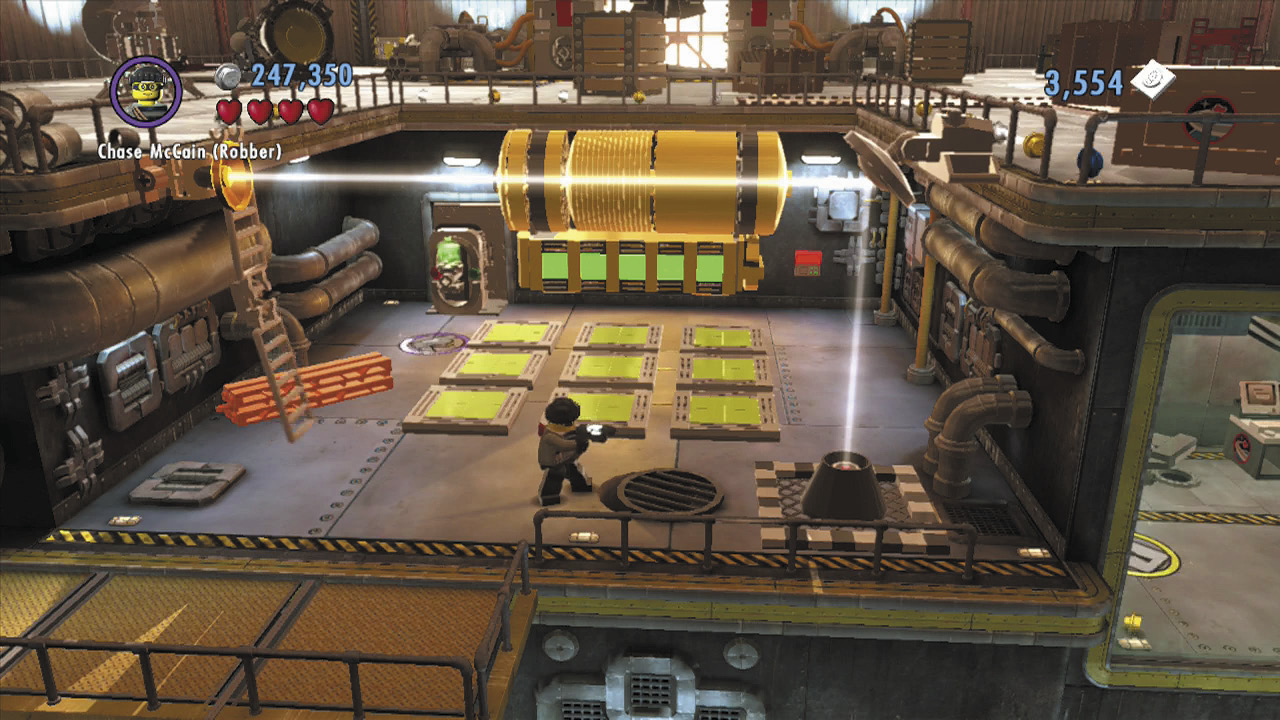
Fill your color gun with silver energy, then aim and blast the gold dish above the white laser that’s shining up from the floor. Paint the dish silver with the color gun, and the laser will be redirected to the left. Neat!
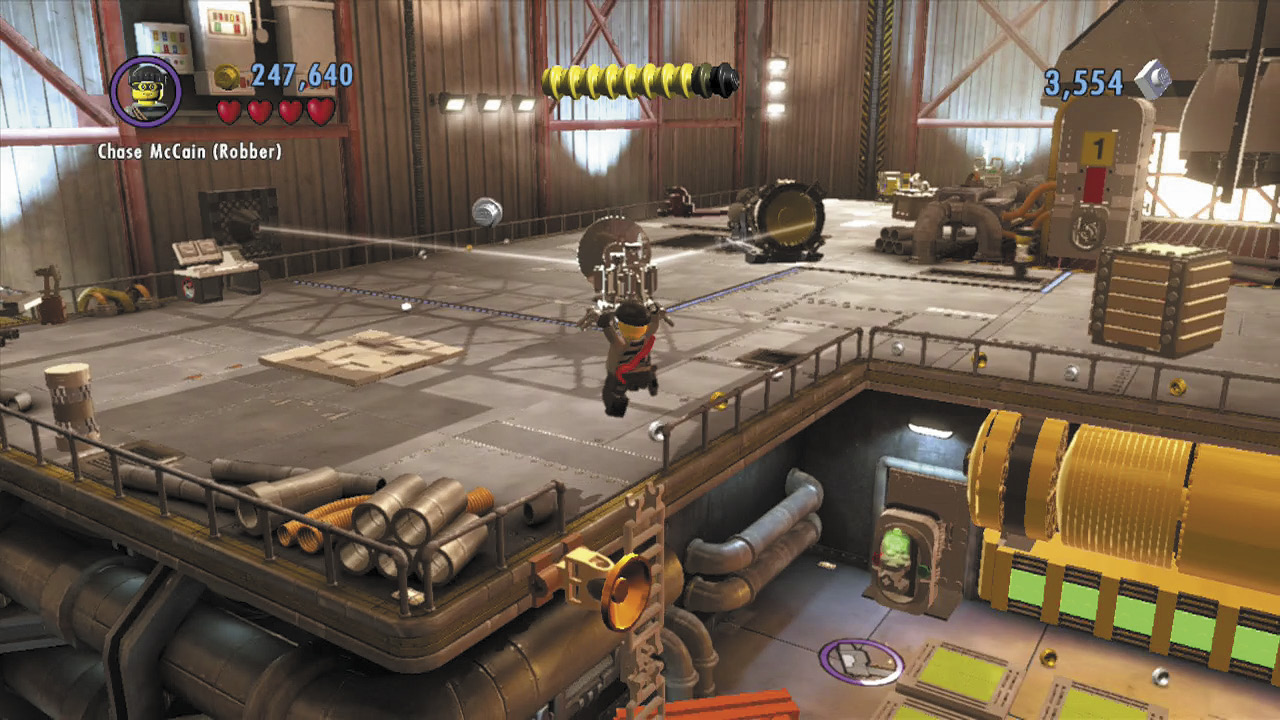
The laser strikes a switch, causing a ladder to lower nearby. Climb up and explore the rest of the hangar.
Free PlayVehicle Token 1: L.E.R.V.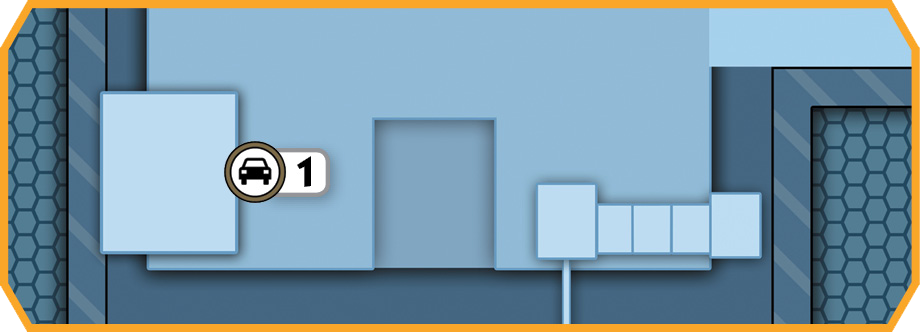 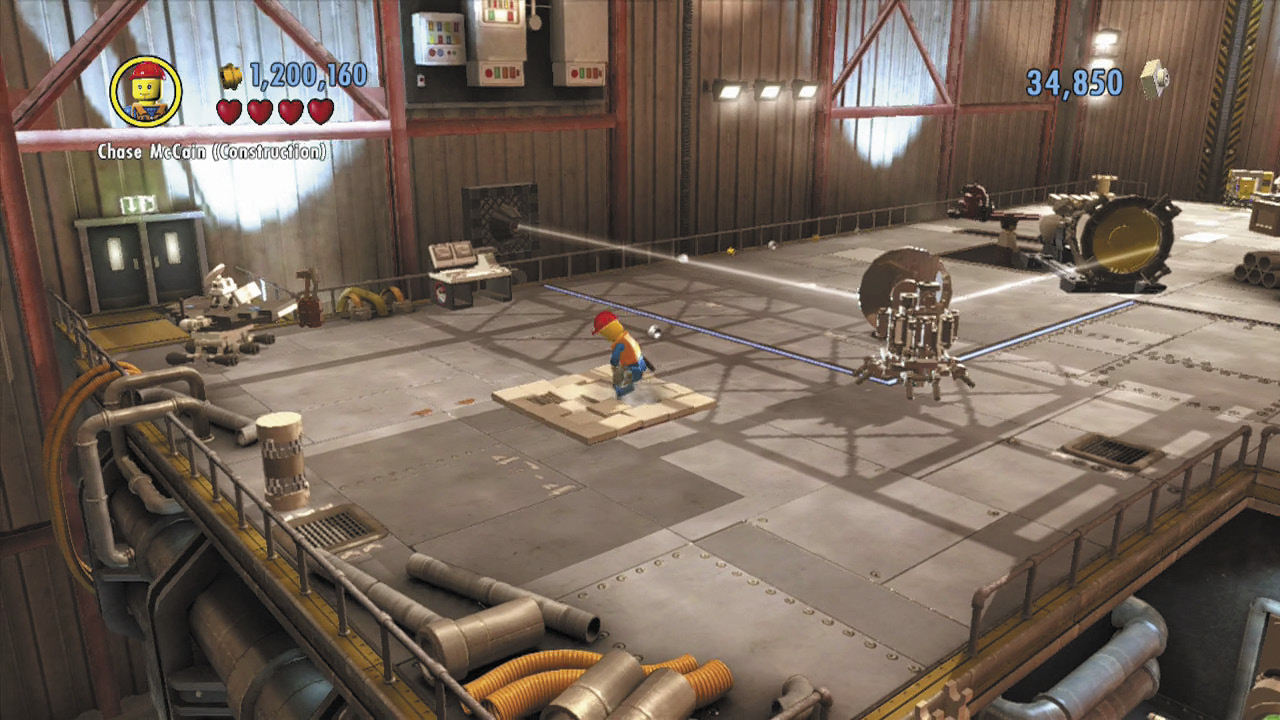 Use the construction worker to drill the shaky ground on the hangar’s left side. You’ll discover a vehicle token beneath the floor! |
Free PlayPolice Shield Piece 3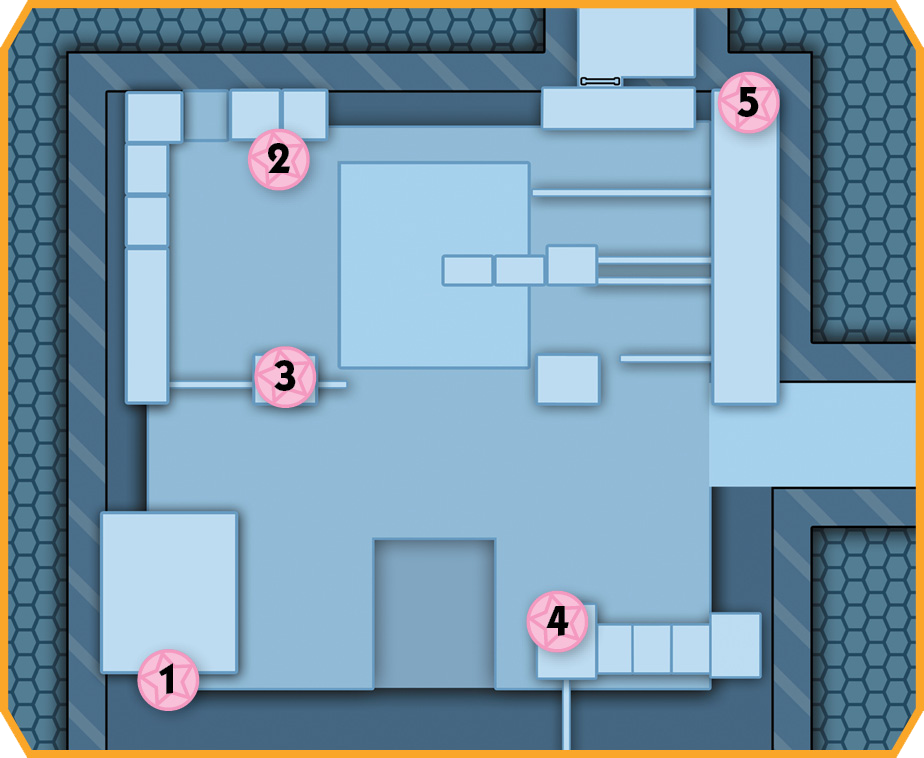 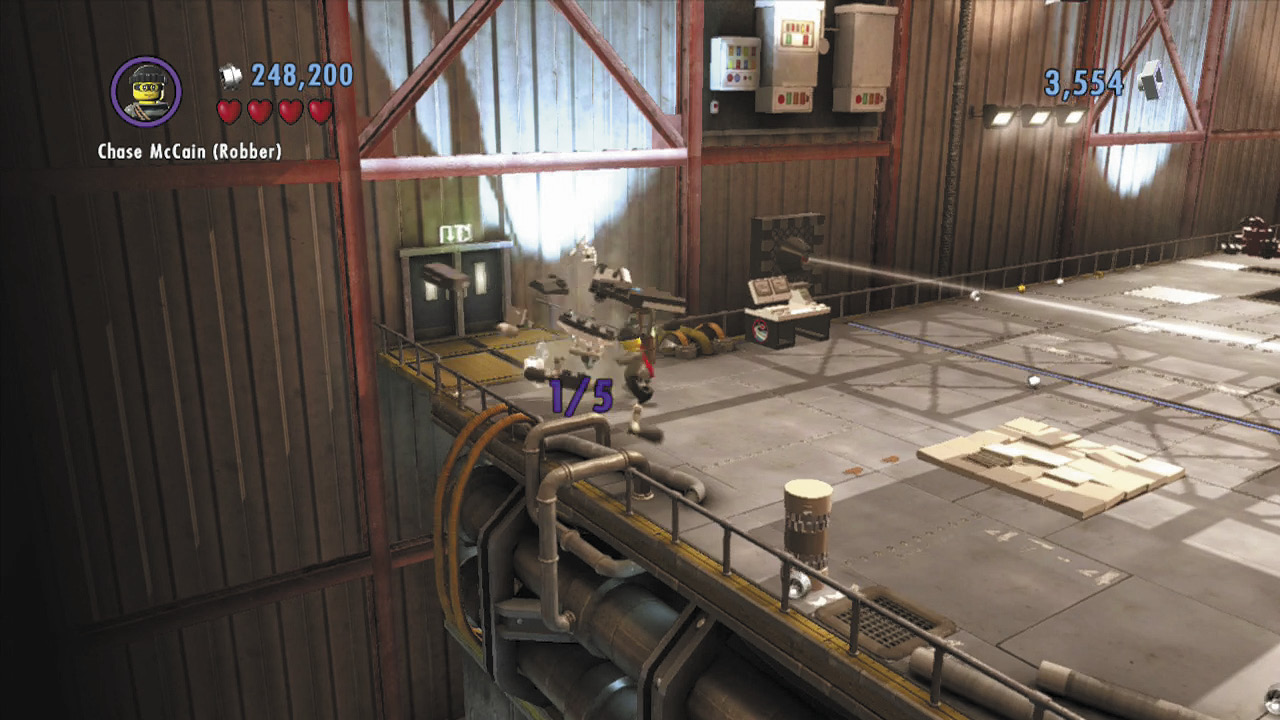 Smash five space probes around the hangar to earn a shield piece! Some are located on the hangar’s upper walkways; others are kept in areas you can reach only during Free Play. (You’ll need to use the astronaut’s jet pack jump to reach one of them.) Check the maps for their locations! |
Free PlayRed Brick: Super Astro Crate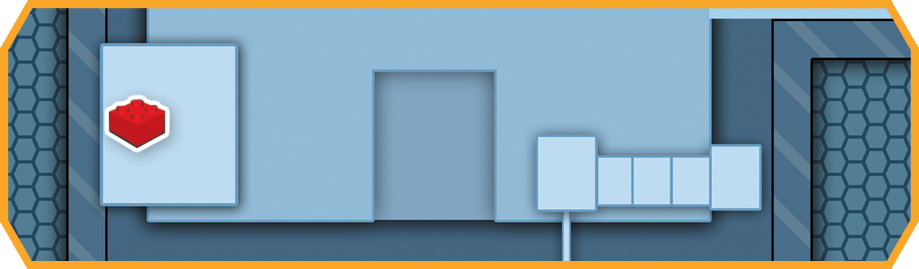 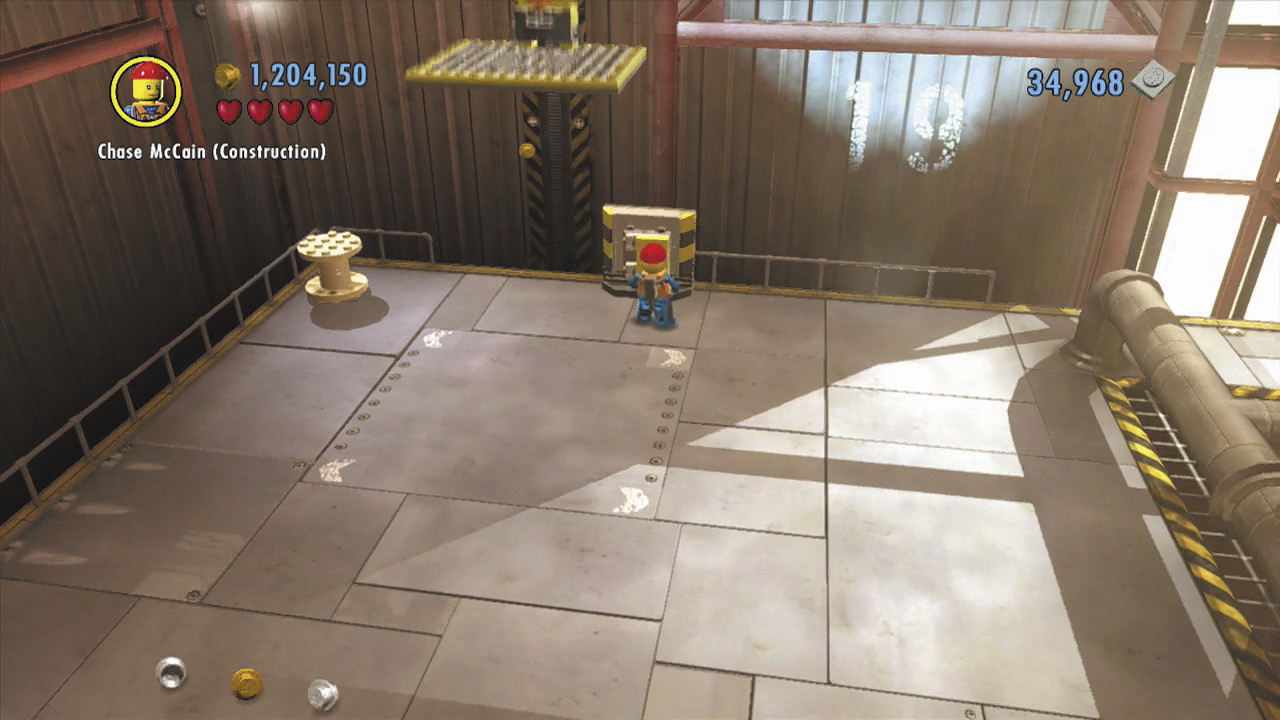 Fix the fuse box on the hangar’s left background wall to call an elevator. Ride up to the walkways high above. 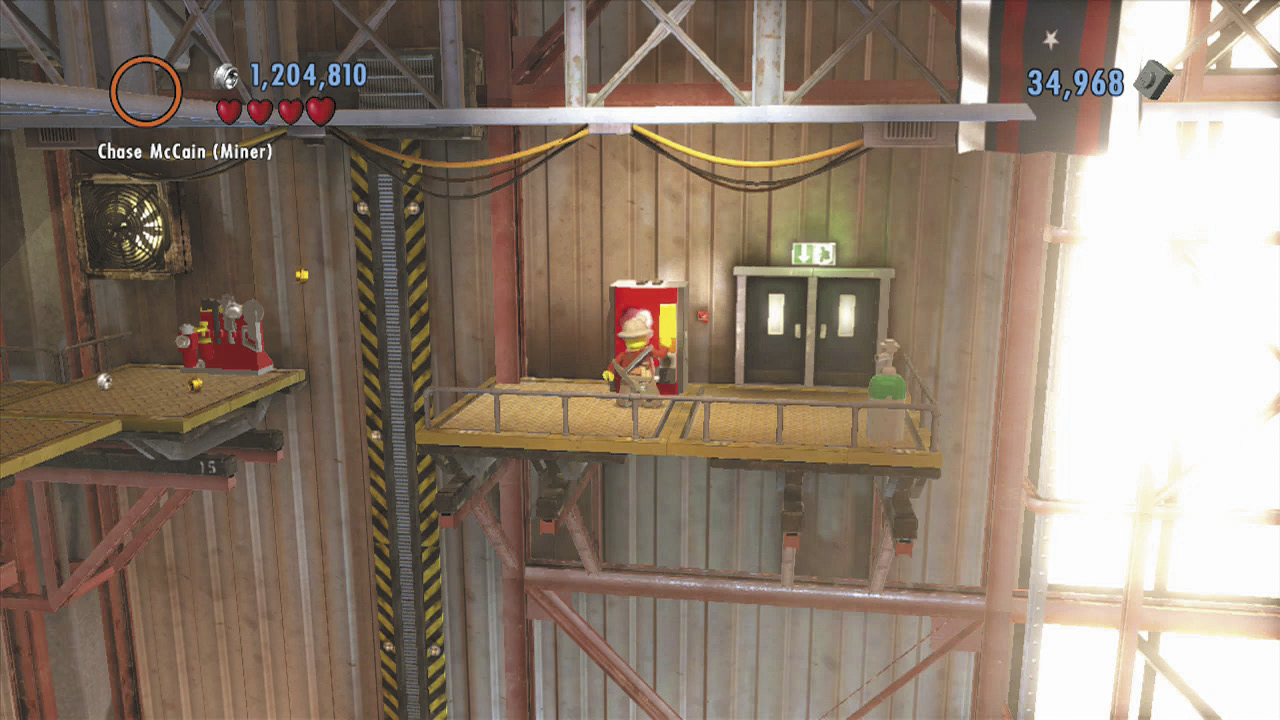 Obtain some dynamite from the dispenser above the elevator. Drop down to the hangar’s main floor. 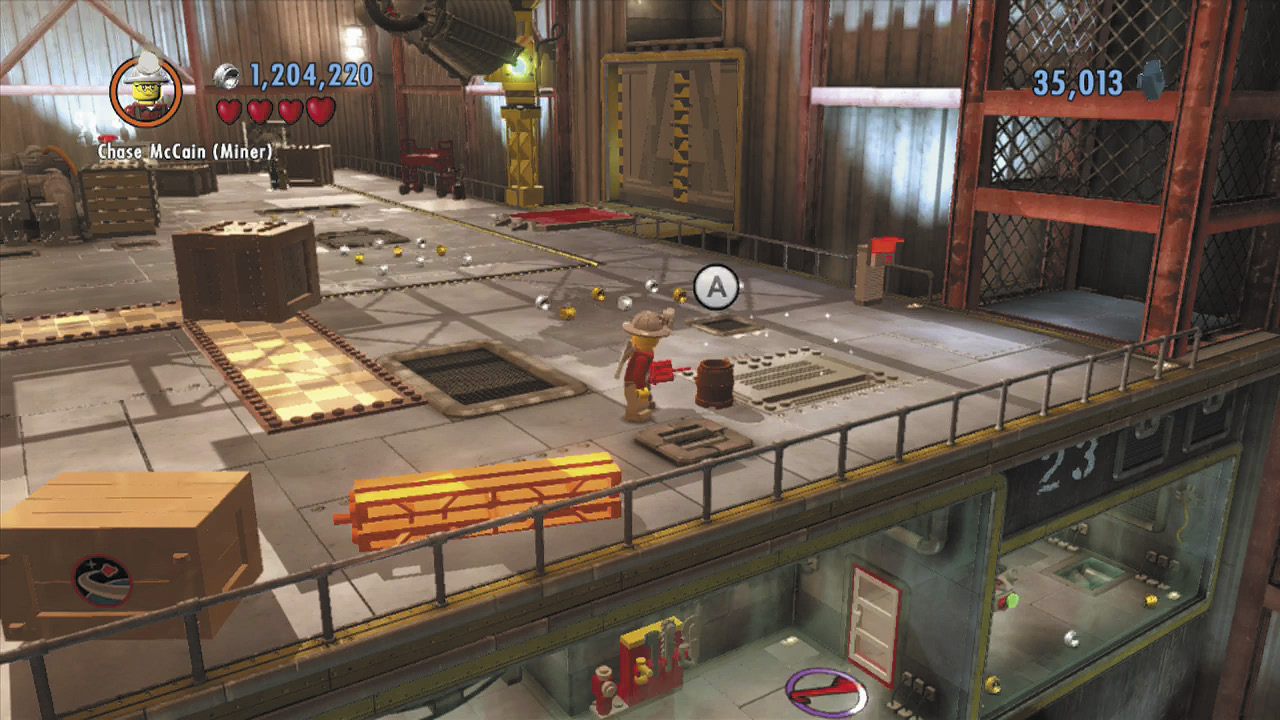 Use the dynamite to blast open a silver floor hatch on the hangar’s right side. Drop through to reach a small storage room. 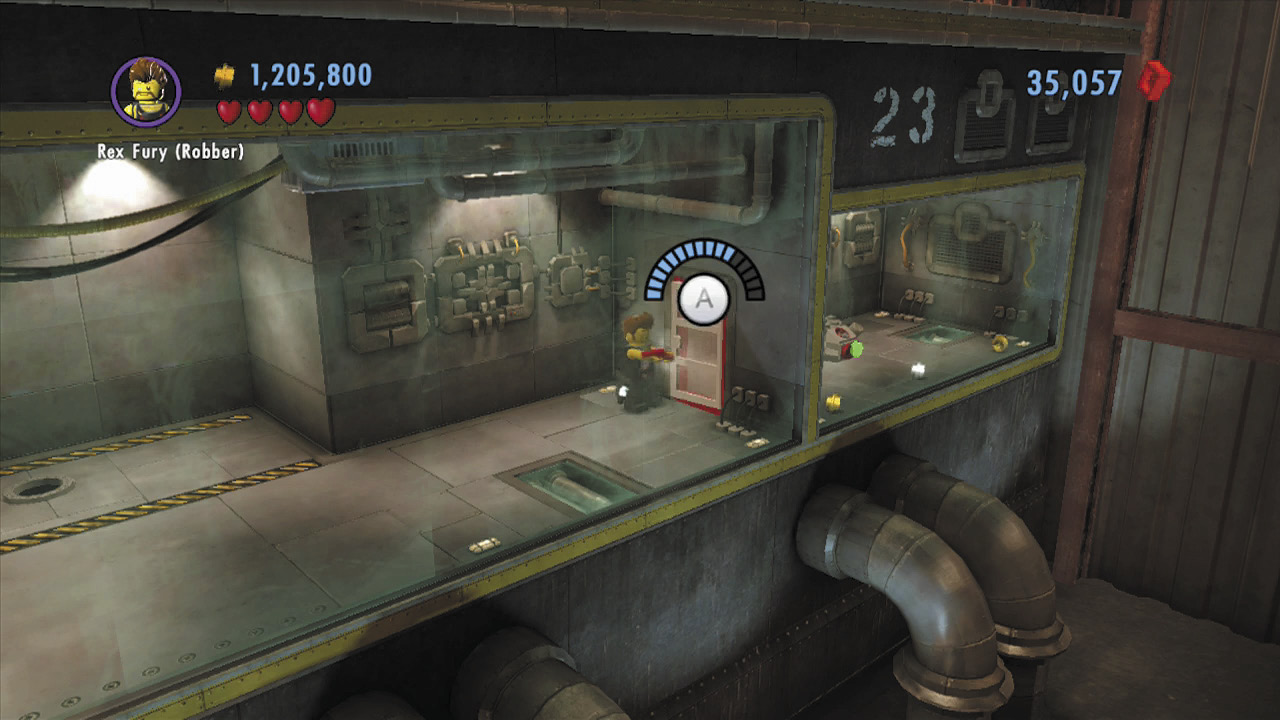 Pry open the storage room’s door to access a transporter pad. Use the pad to beam up to a higher storage room. 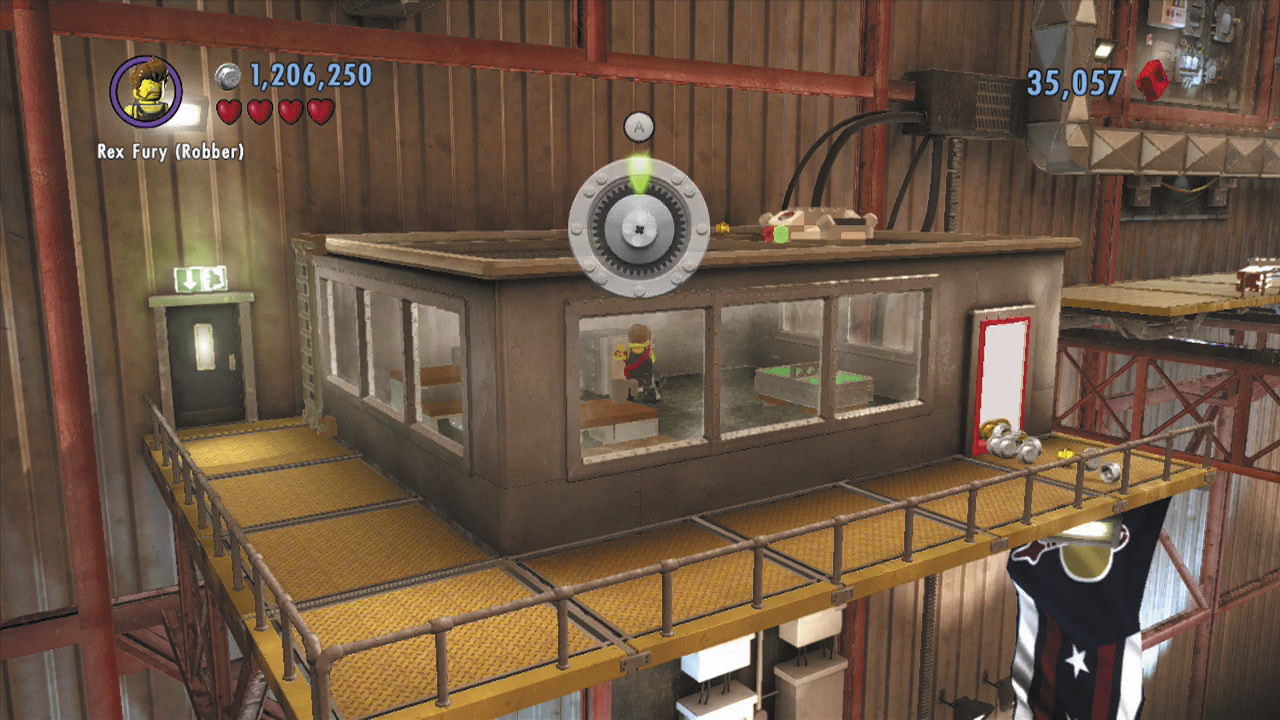 Chop through the higher room’s boarded door to enter it. Crack the safe inside the room to score this stage’s red brick. |
Free PlayPolice Shield Piece 4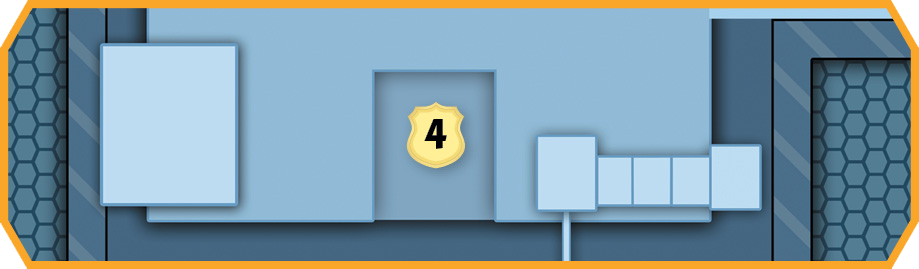 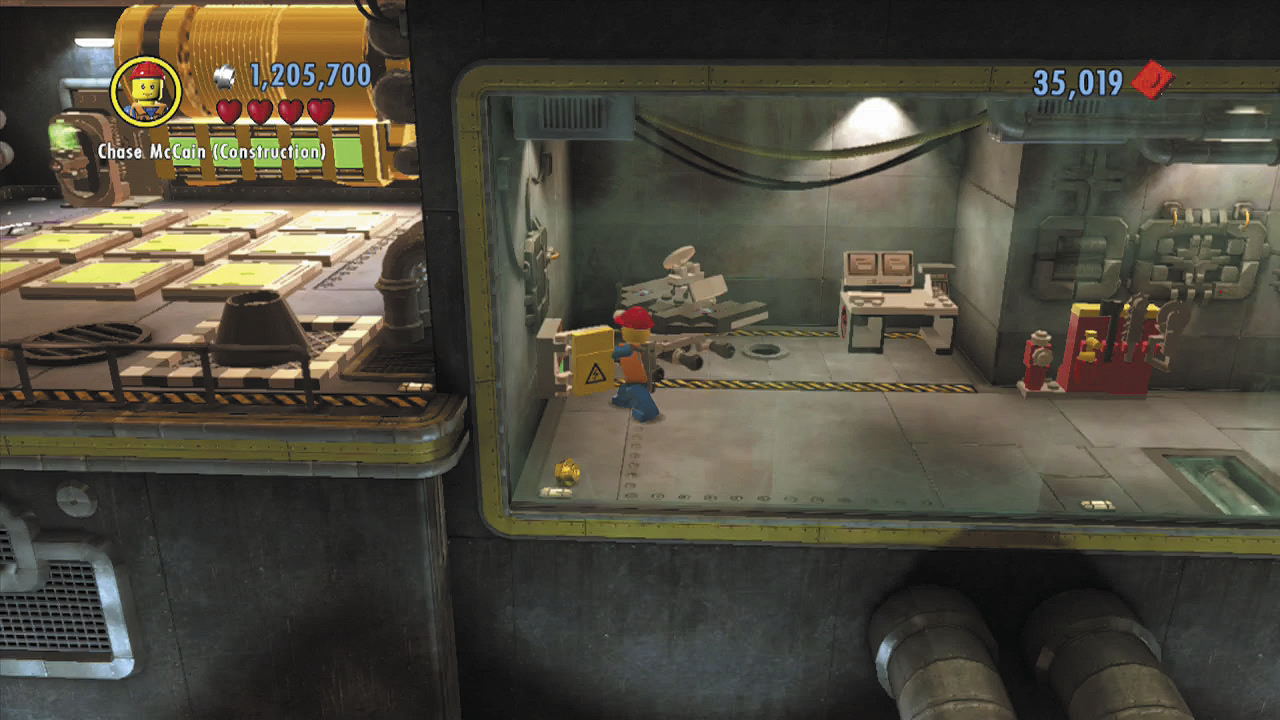 Return to the lower storage room—the one you entered by blasting the silver floor hatch. Fix the fuse box down here to reset the floor switch puzzle you solved when you first entered the hangar. |
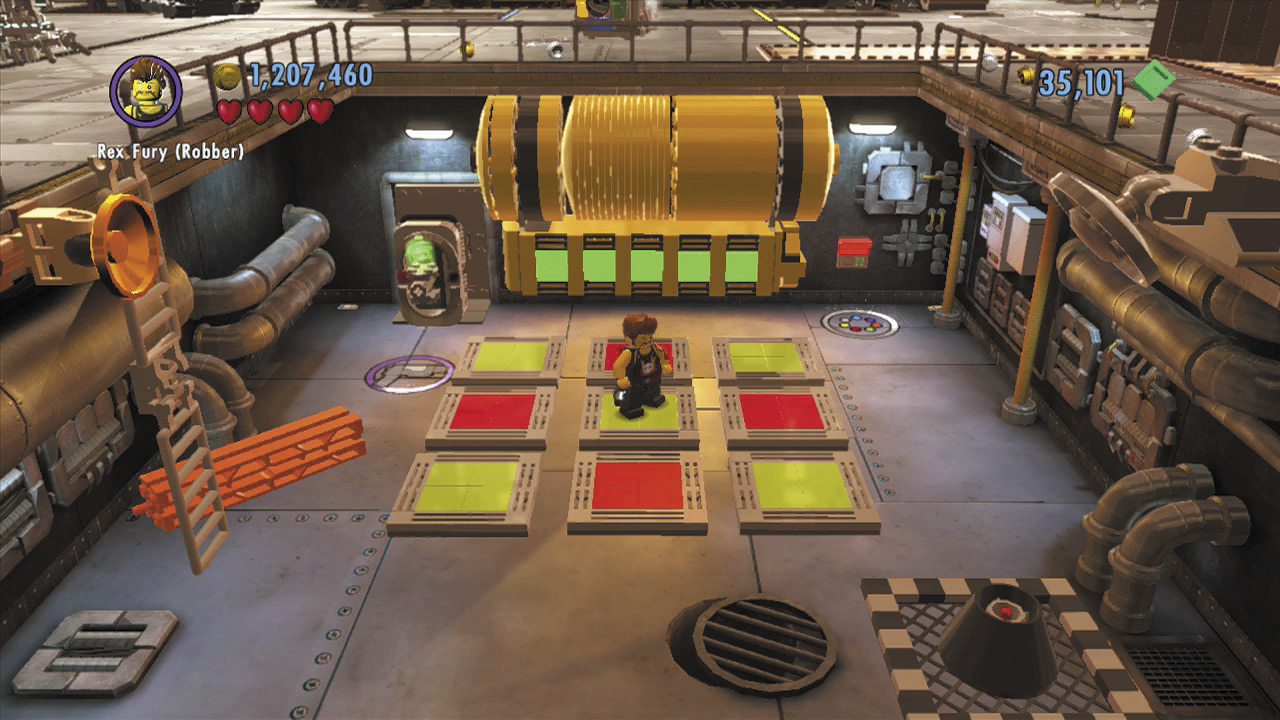
Return to the floor switch puzzle and use the control panel again. This time, the squares light up in a different pattern. Study the pattern carefully, then step onto the squares in the same order to turn them green. If you do it right, a shield piece will be your prize!
Aligning the Left Laser
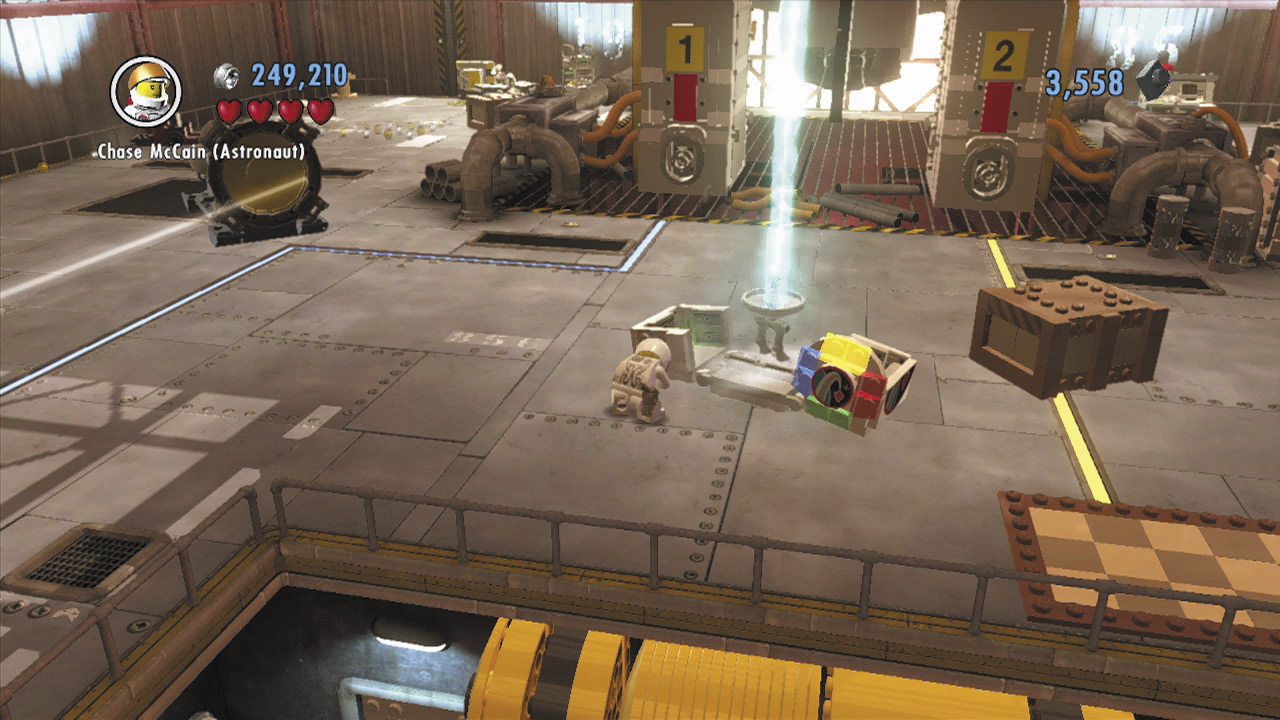
To open the shuttle and steal the moon buggy, you’ve got to restore power by directing two lasers toward the shuttle’s power cores. Take out the security guards, then smash the crates near the foreground to discover some bricks. Build these into a space crate, then activate the crate to warp in more bricks.
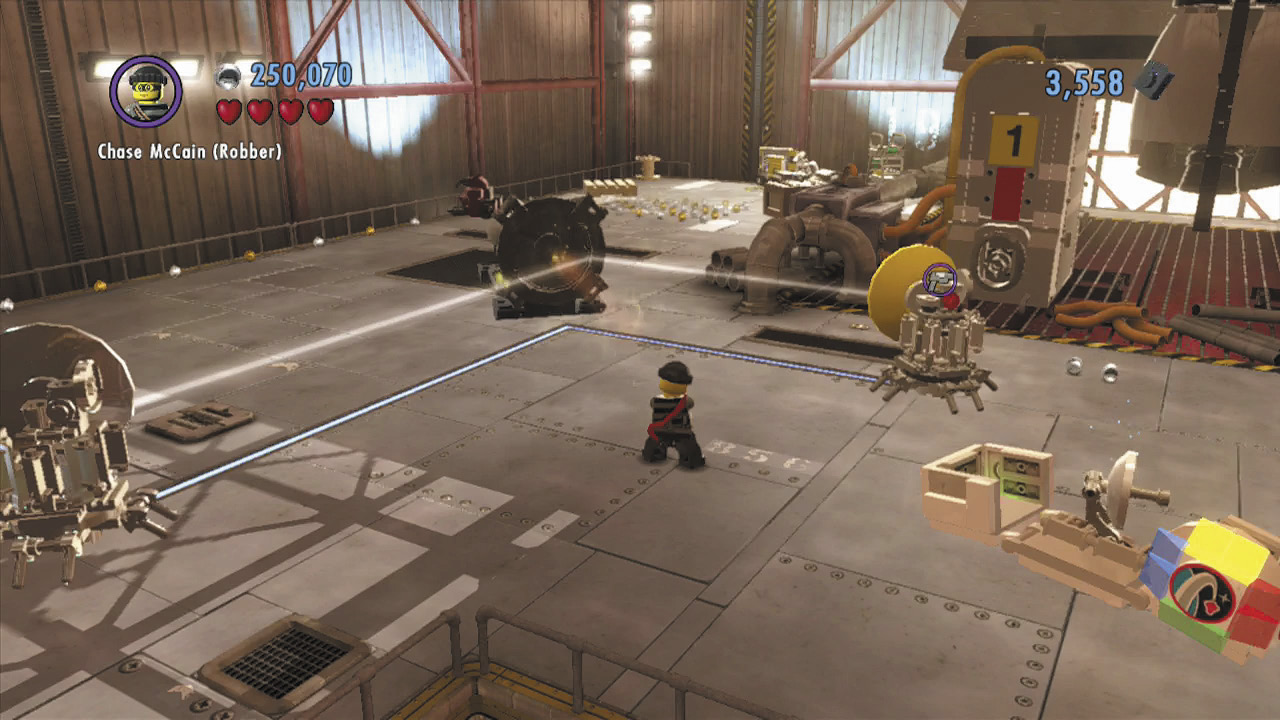
Build the bricks to assemble a relay dish. Aim and fire your energy gun at the dish to turn it silver.
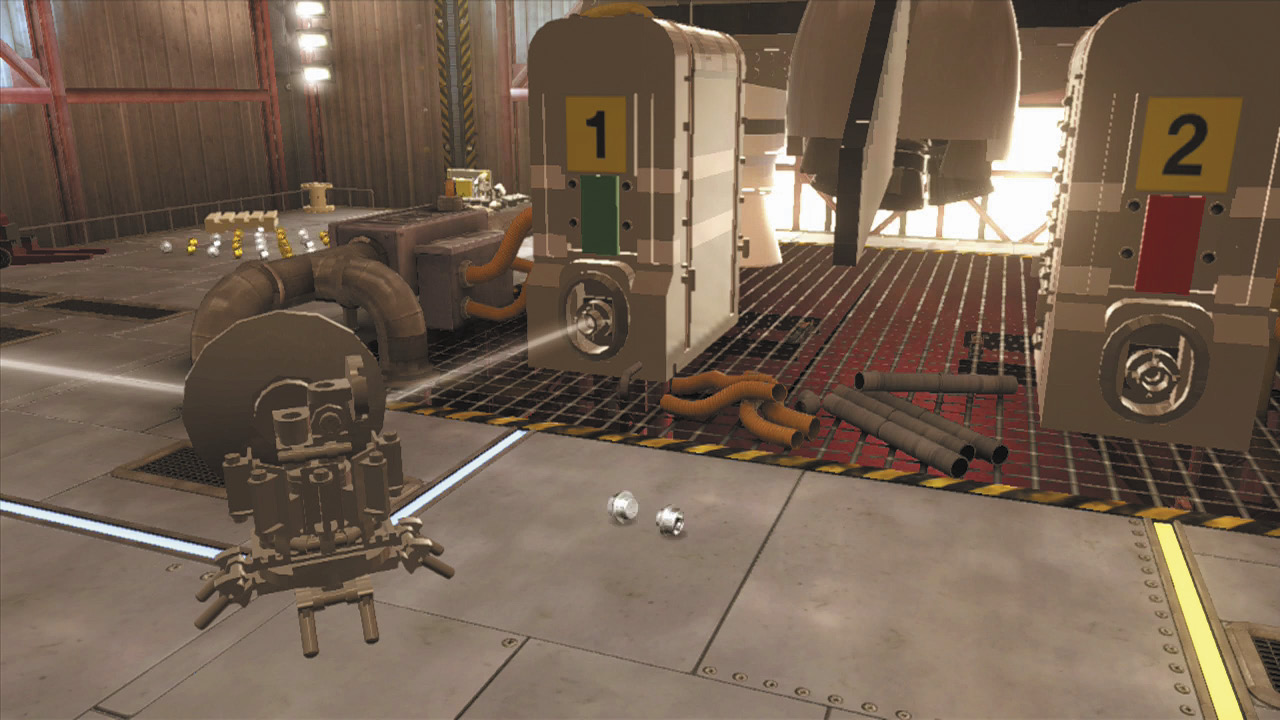
Blast the other nearby dish to paint it silver as well. With both dishes painted silver, the hangar’s left laser bounces along the dishes and strikes the shuttle’s first power generator. One more to go!
Aligning the Right Laser
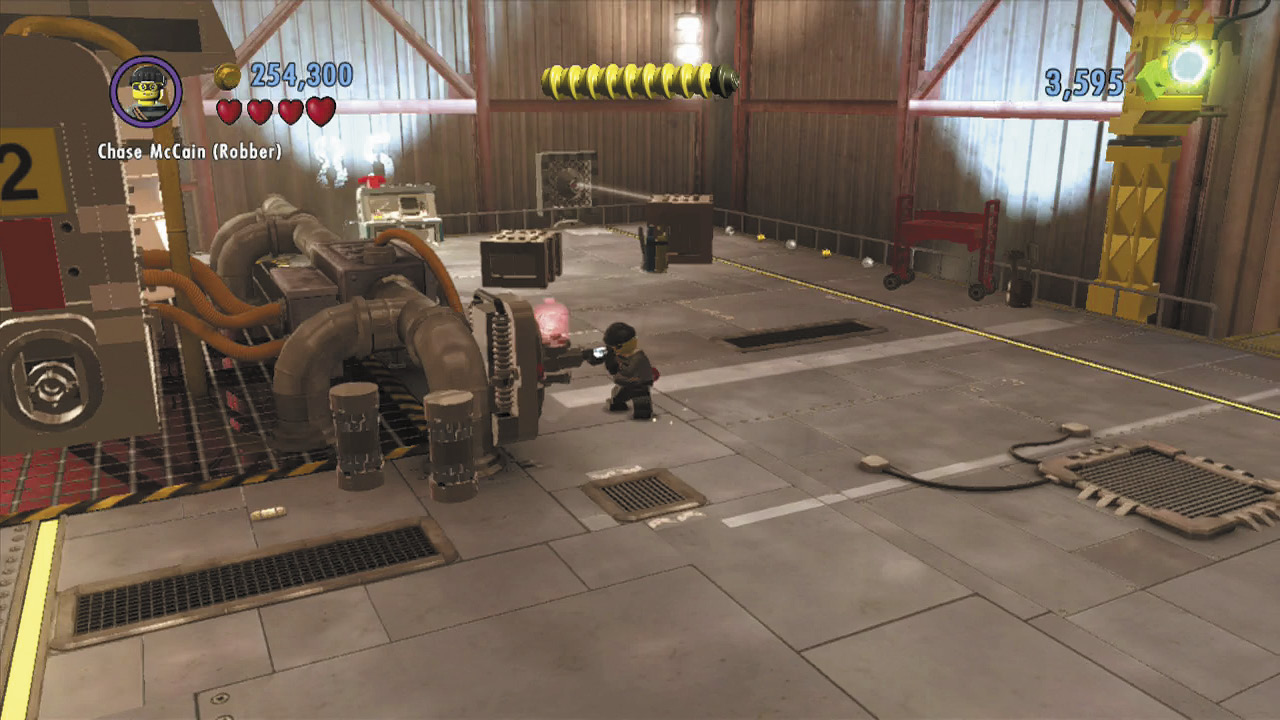
Run around the shuttle’s right side and smash a crate to discover some bricks. Build these into a color swapper, then trade your silver energy for red.
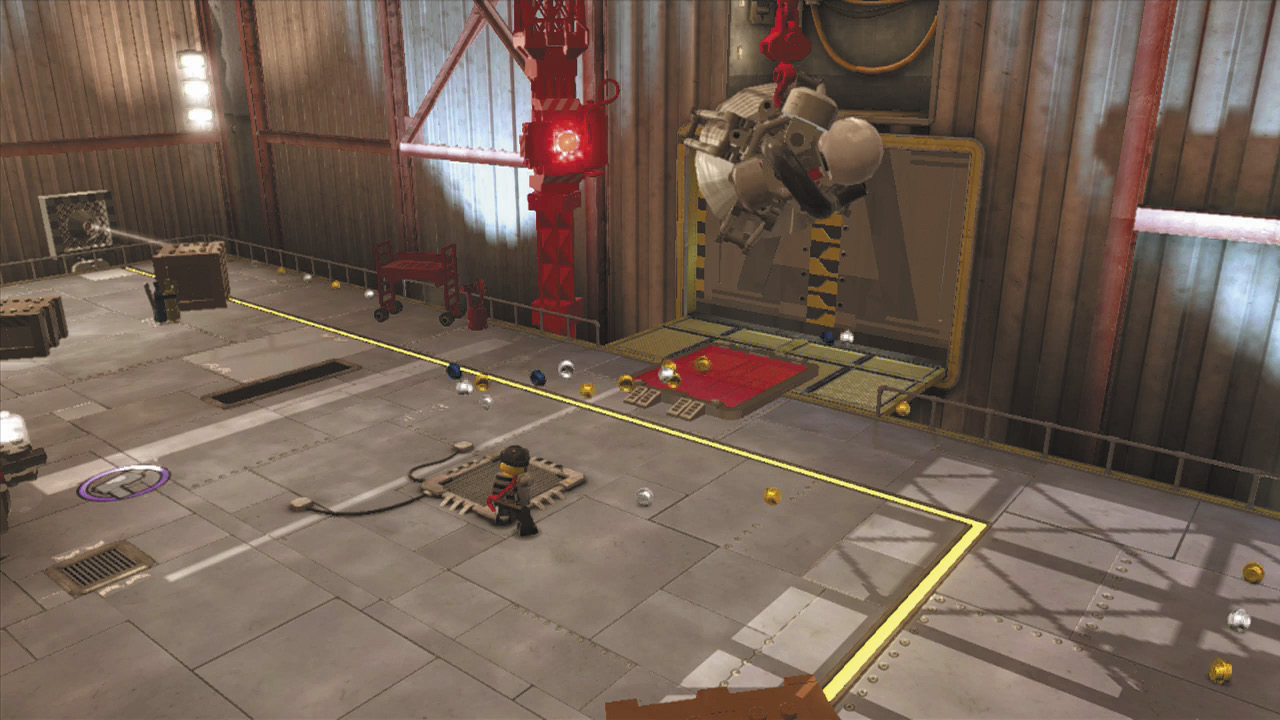
Look up and spy a nearby green switch. Blast it with your color gun to turn it red. This activates the switch, causing an object to fall from above and smash apart. Build the remains of the object into a relay dish.
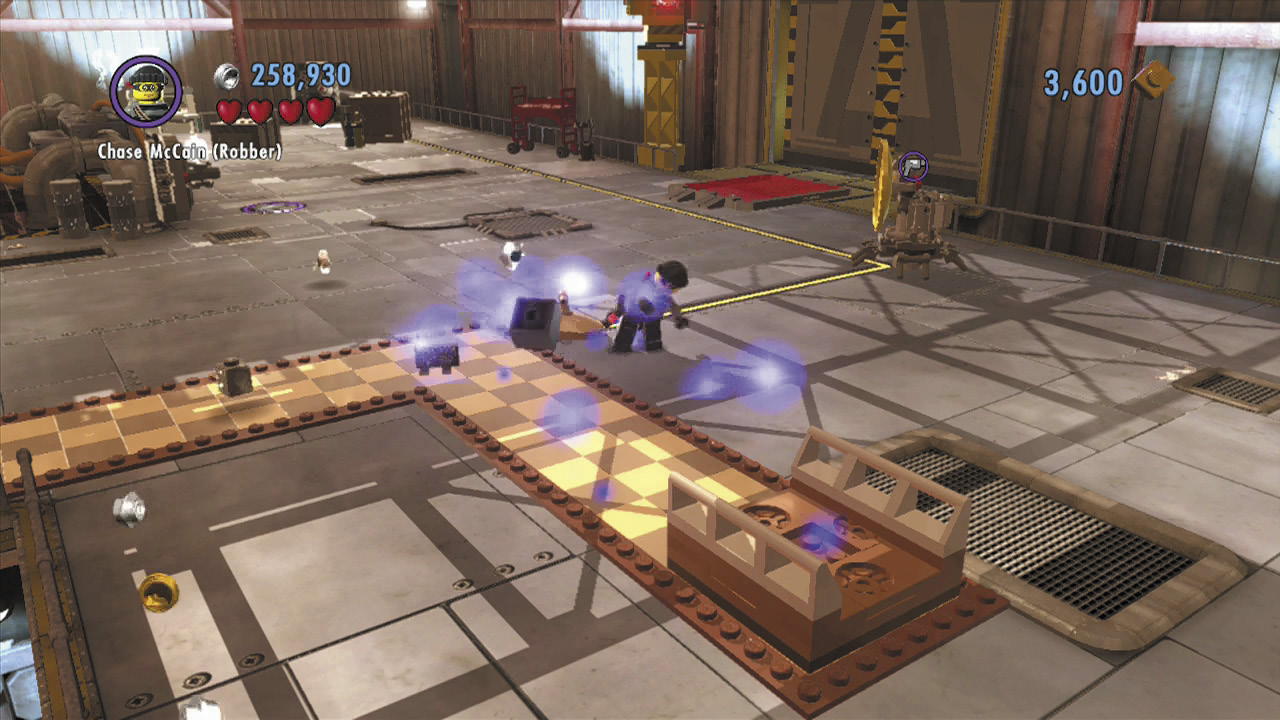
Run into the foreground and smash another large crate to discover more bricks. Build these into another relay dish, then shove the dish along the checkered track as far as it will go.
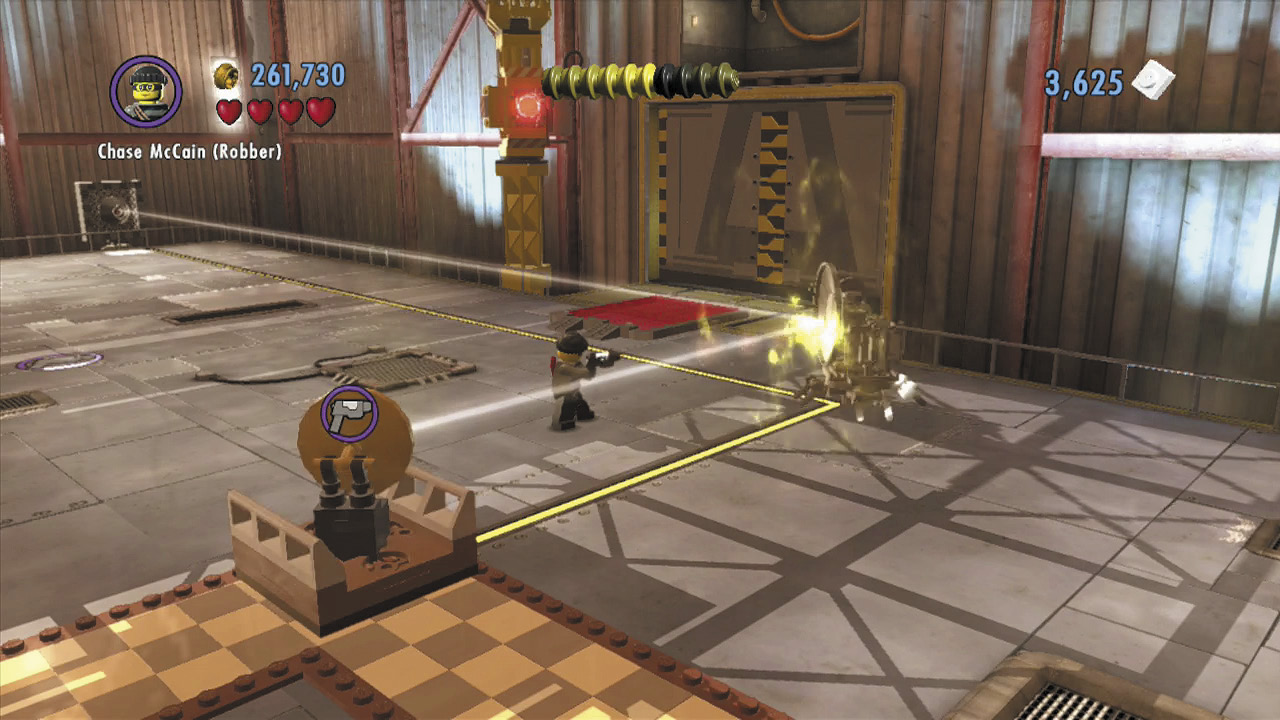
Return to the color swapper and reclaim your silver energy. Blast both of the relay dishes you’ve built to turn them silver.
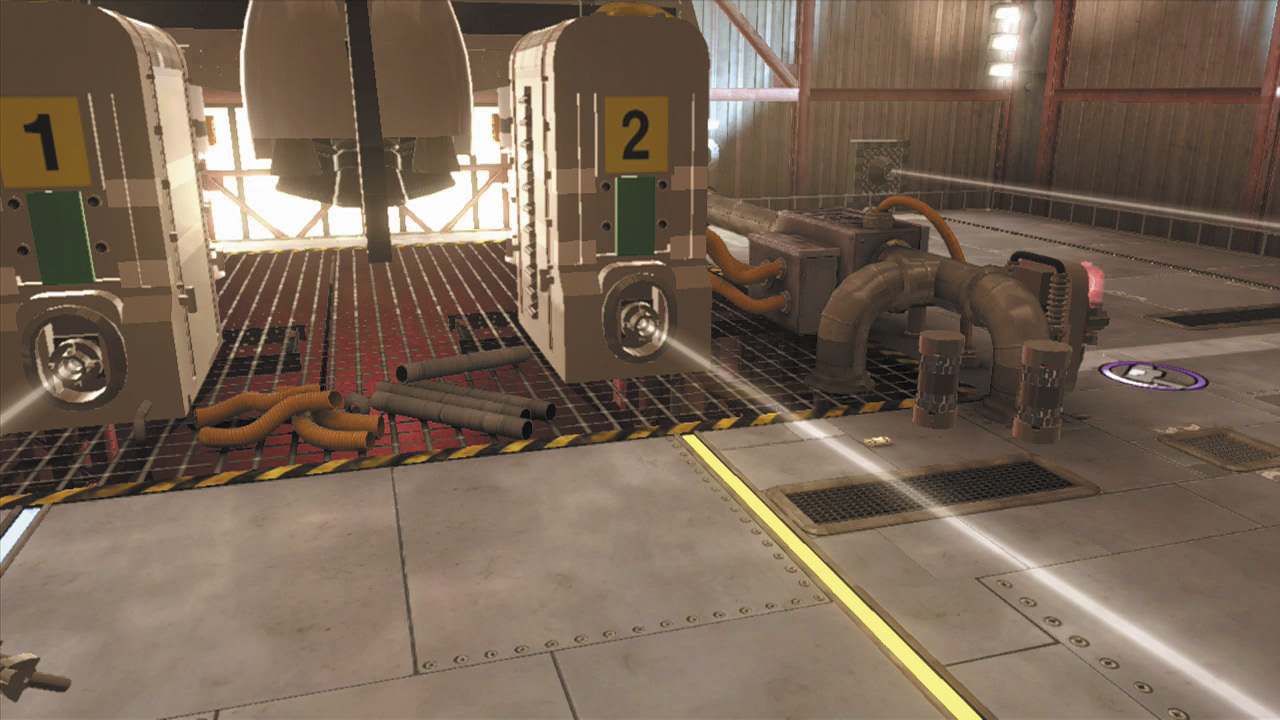
Run to the background and smash the remaining crates to unblock the laser that’s shining out from the background wall. The laser then bounces from the relay dishes and powers up the shuttle. Nice work!
Buggin’ Out
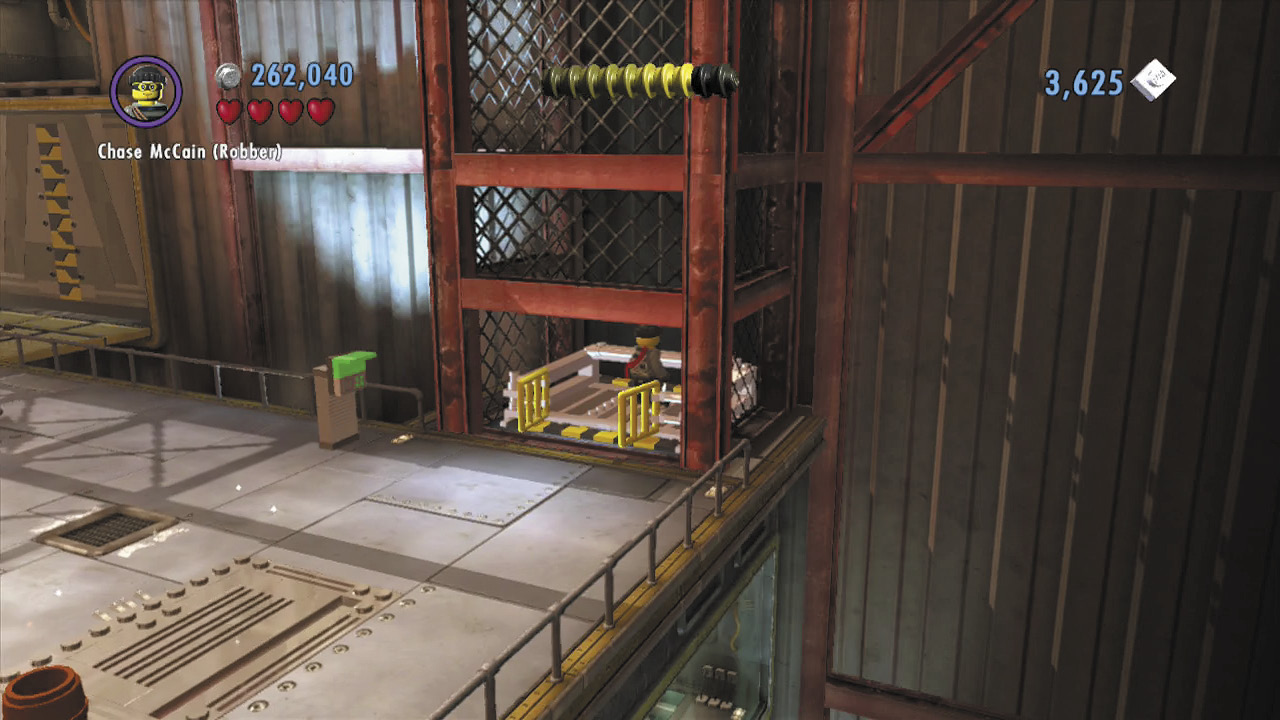
Powering the shuttle causes it to open, exposing the moon buggy. Now you just need to reach the crane controls and lower the buggy to the ground. Beat up the guards who ride down the elevator on the right, then use the nearby control panel to call the elevator and ride up to the hangar’s upper walkways.
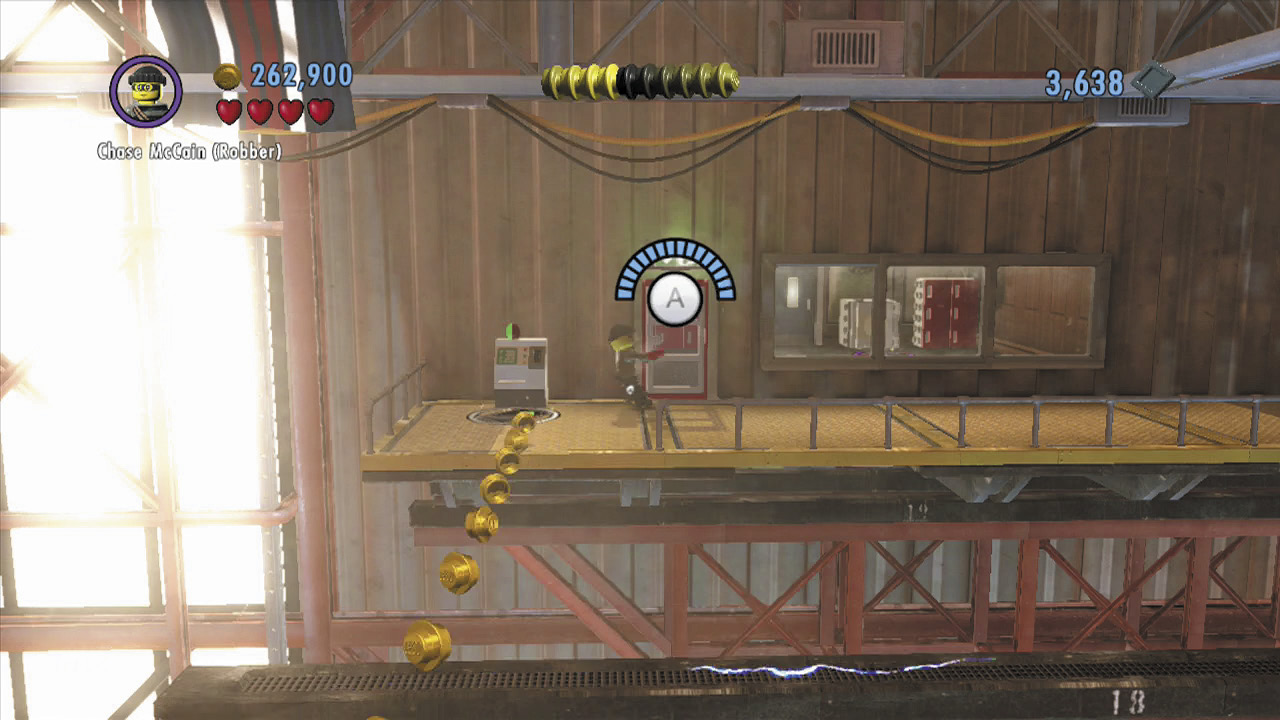
Cross the balance beam between the walkways and spring off a catapult pad. Keep going until you reach the door to the background office. Pry open the door with the crowbar and enter the storage room beyond.
Free PlayVehicle Token 2: Garrano 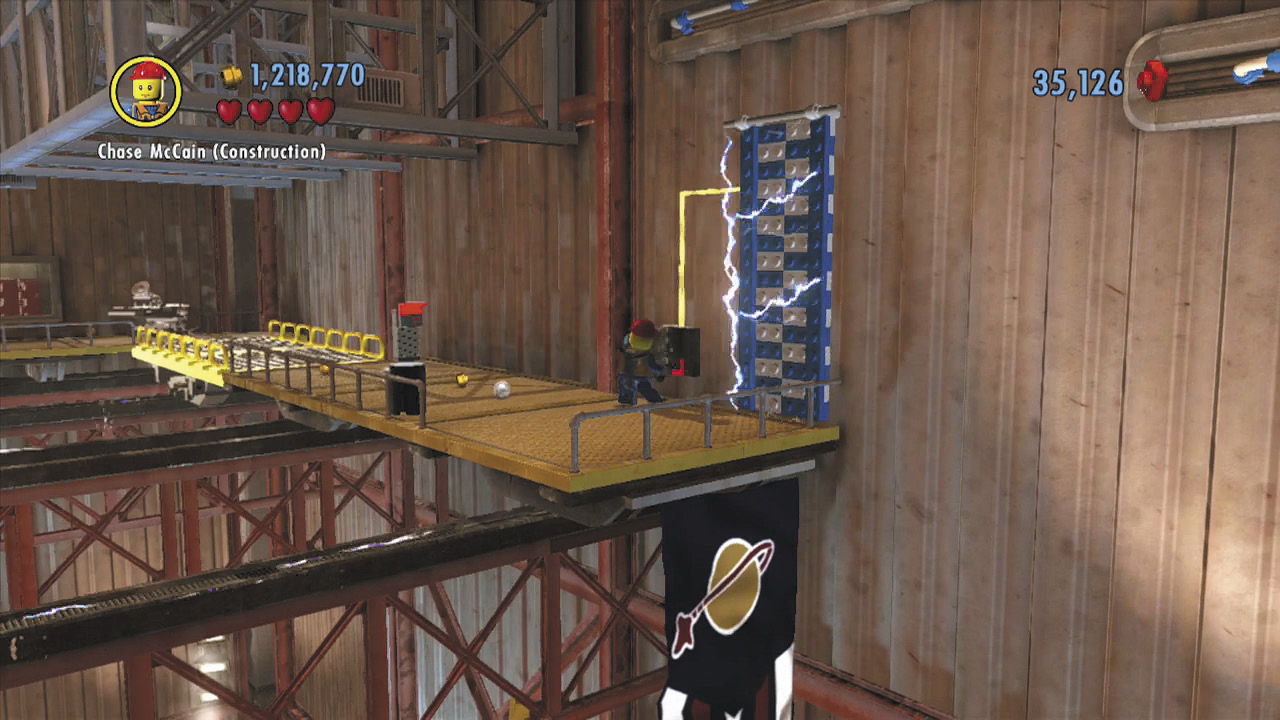 After springing off the catapult pad, fix a fuse box to shut off the electricity that’s zapping the nearby climbable wall. 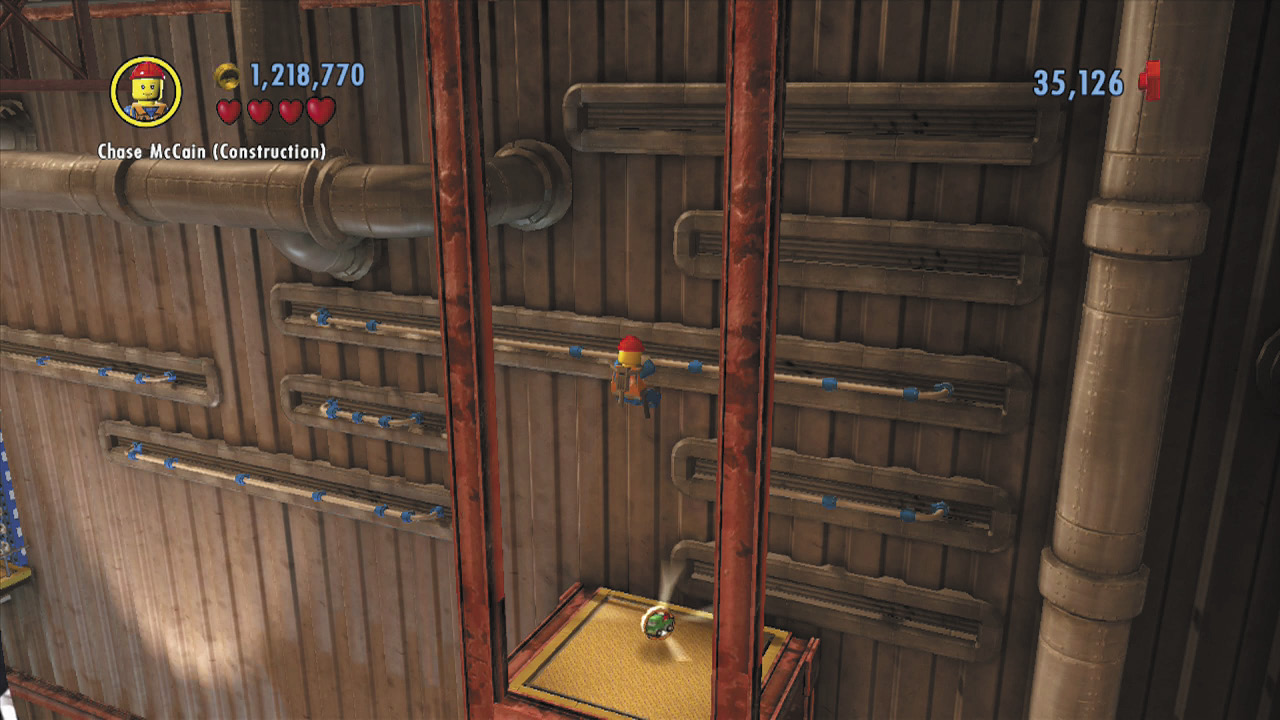 Climb the wall to reach some handholds. Navigate these on your way to a vehicle token that sits atop the elevator you used to get up here. |
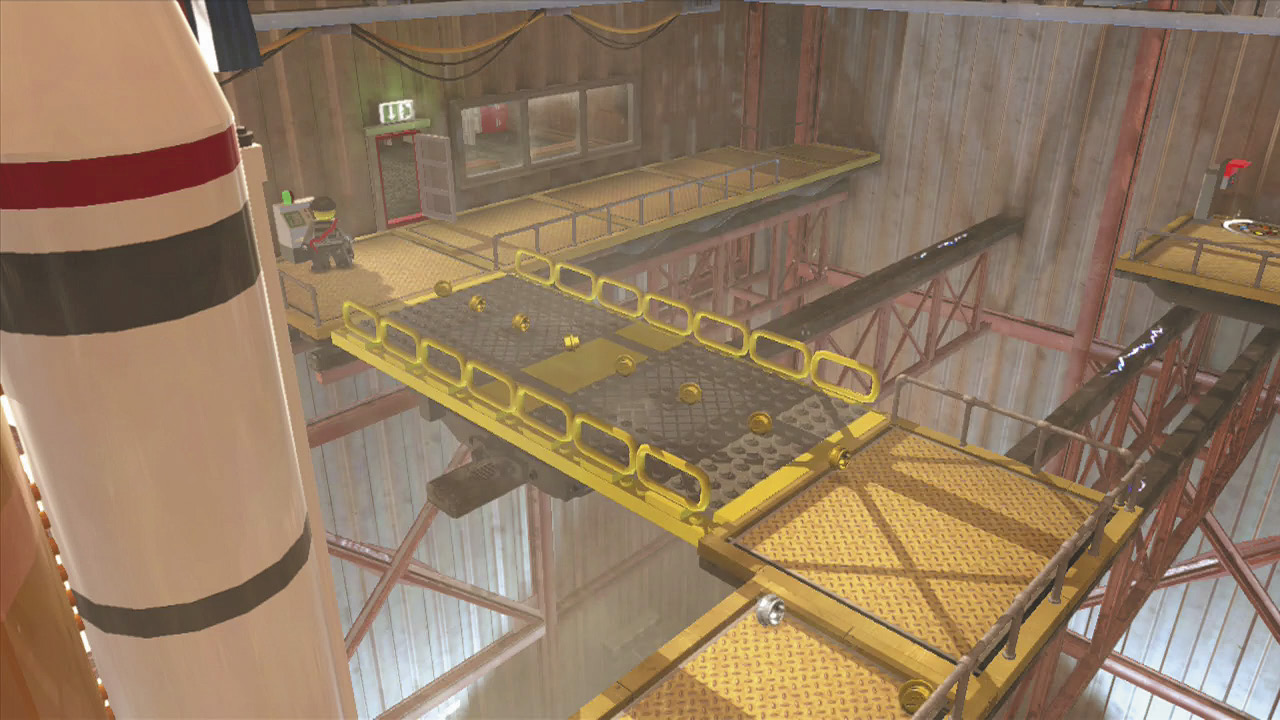
Crack the safe inside the storage room to discover a key card. Use this to activate the terminal just outside the room. A section of walkway shifts over, allowing you to reach the shuttle’s crane controls.
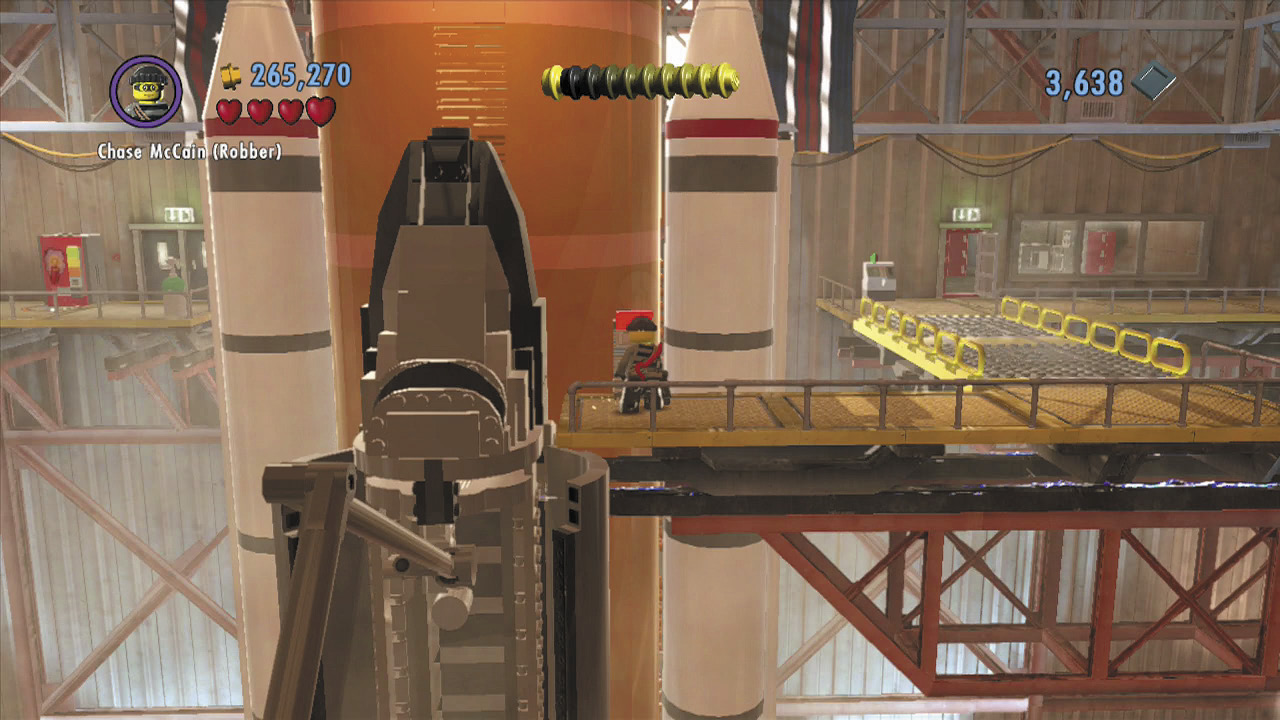
Cross the walkways and activate the crane controls to release the moon buggy. The buggy shatters on the floor, but at least it’s within your reach now!
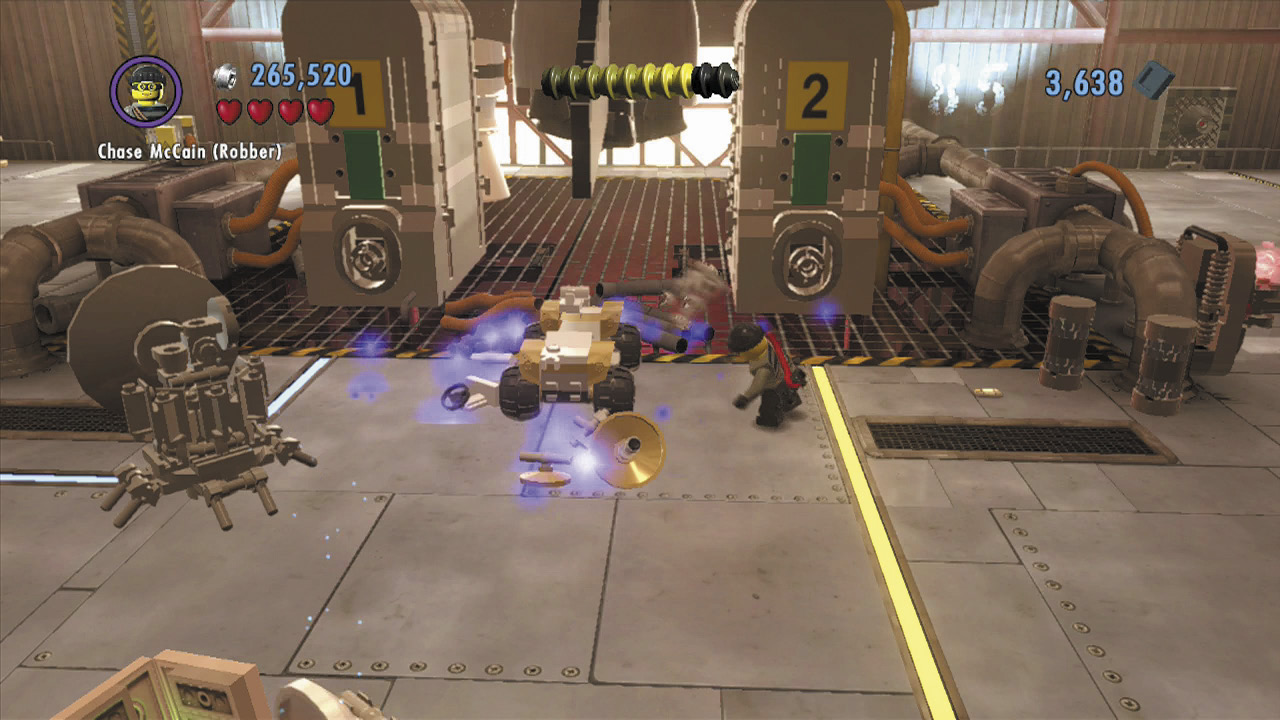
Make a daring leap and land down by the moon buggy’s remains. Rebuild the moon buggy, then hop into the driver’s seat.
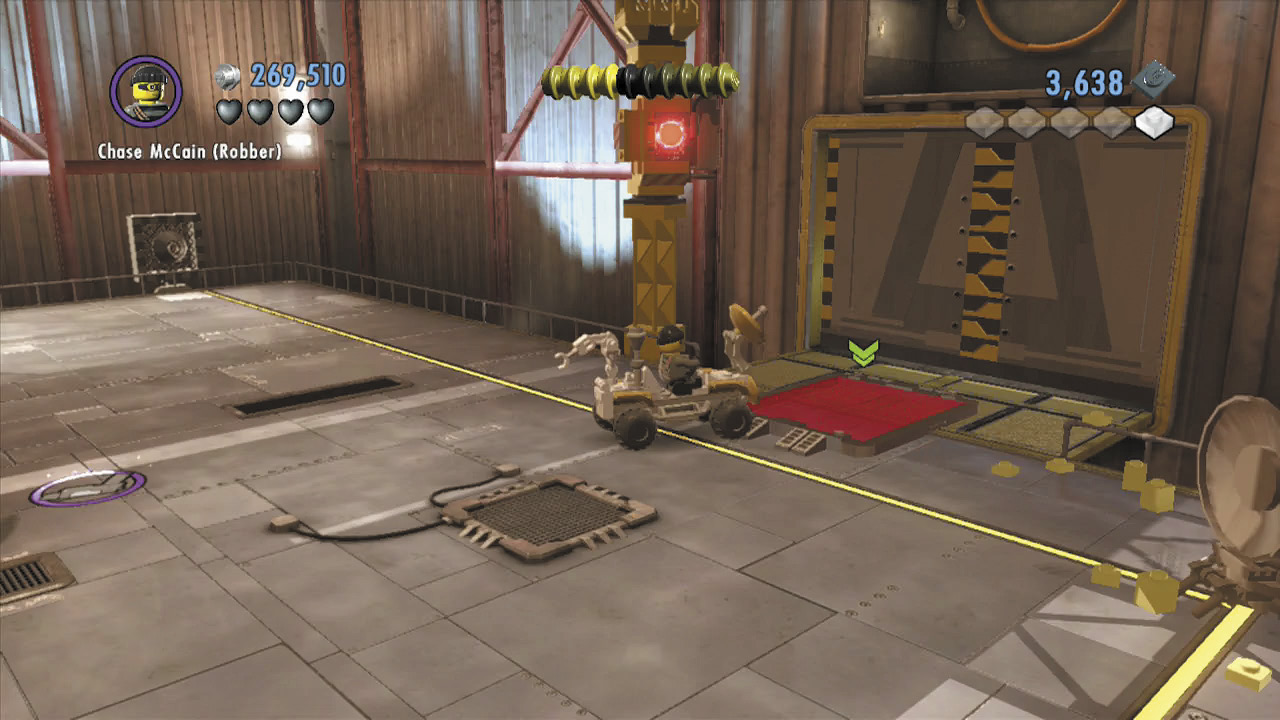
Driving the moon buggy takes a bit of practice. Just use  to reverse if you bump into anything. Drive over the red pad on the right to open the hangar door and escape!
Objective: Avoid Apollo Island Security
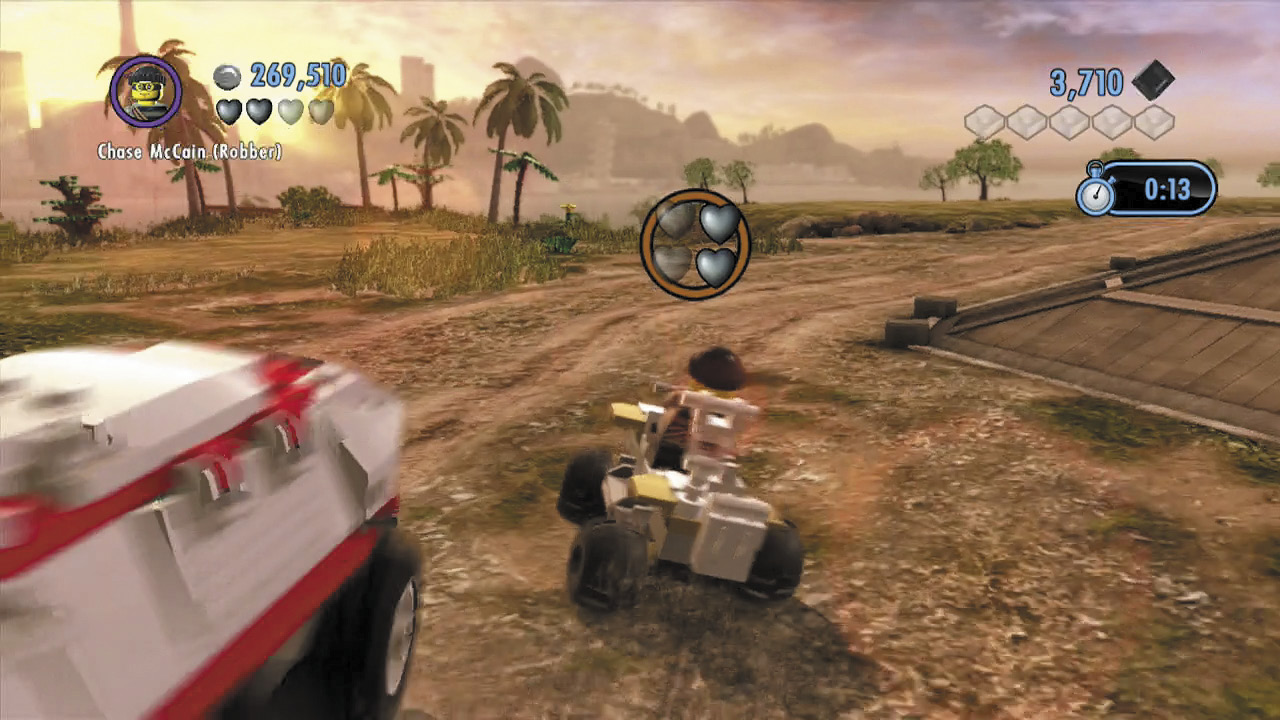
Great work! You’ve stolen the moon buggy—now you just need to avoid Apollo Island’s security force while you wait for Chan’s men to arrive with the getaway boat. Speed all around the island, struggling to keep away from the security vehicles that try to ram you.
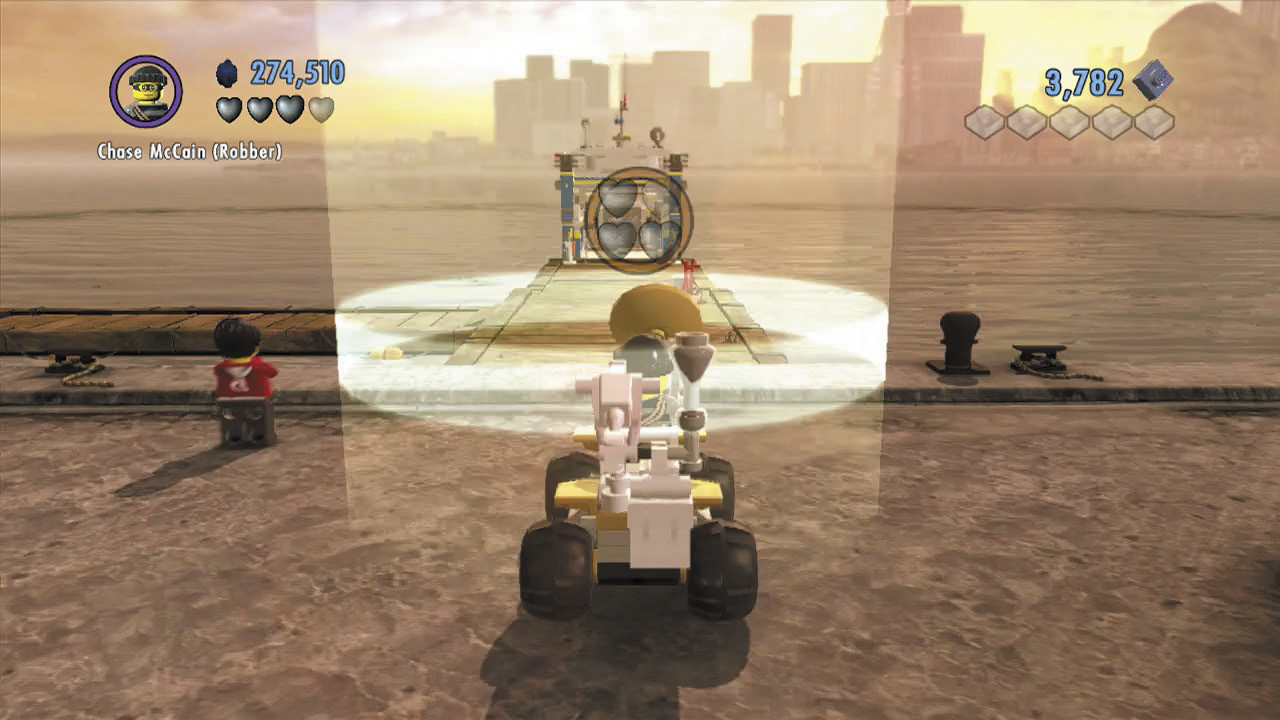
Survive for a whole minute, and Chan’s men will arrive at the docks. Hurry over there and drive into the objective beacon to make good your escape!