
LEGO CITY Undercover Guide Walkthrough
Chapter 10: Back on the Case
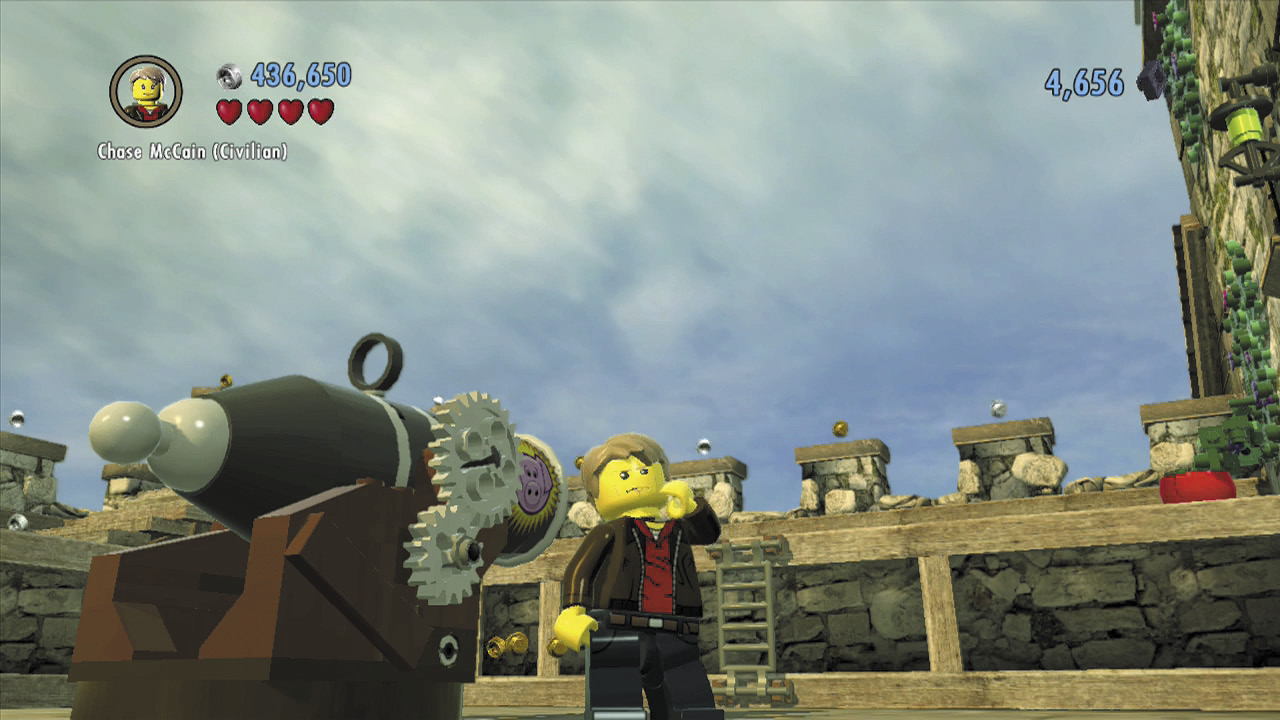
Chase has been sidetracked with some less-than-thrilling errands out in the countryside, but after a call from Vinnie Pappalardo, the Rex Fury case suddenly picks up again. Vinnie says he needs Chase to break into the LEGO City Museum and steal the mechanical T-Rex exhibit. Sounds wild!
City Exploration
Objective: Go to the Museum
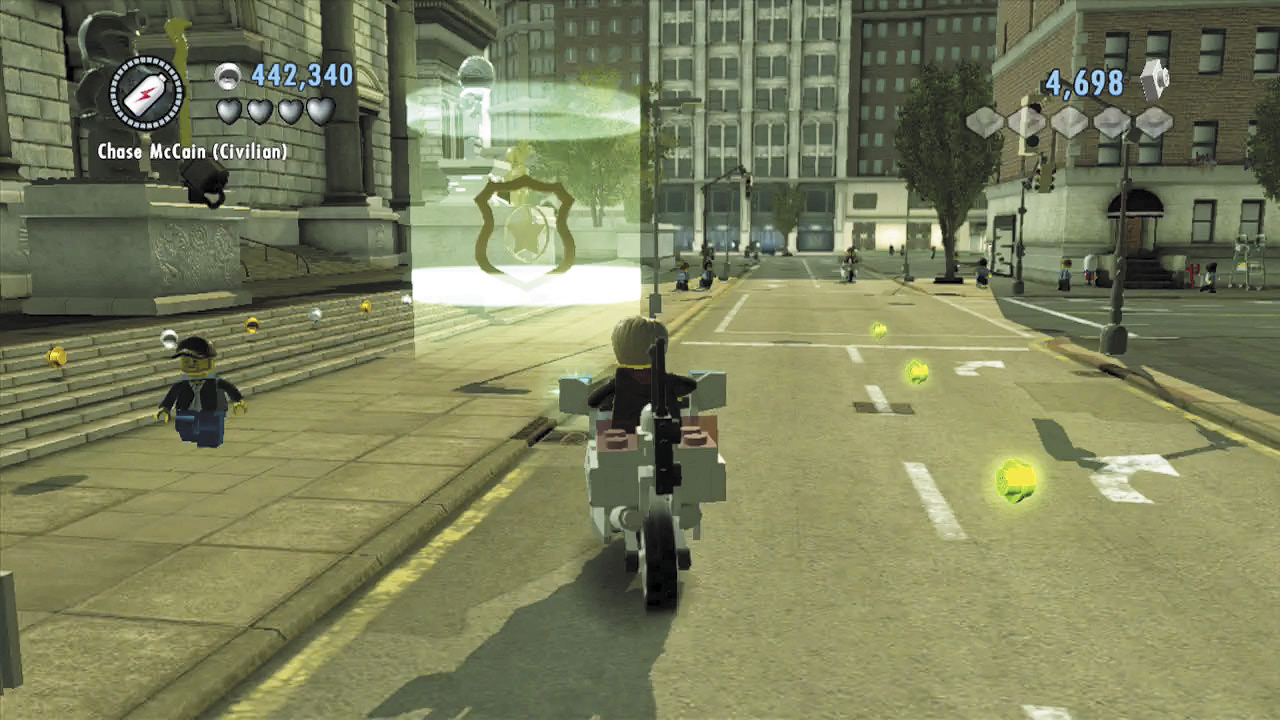
At last, you’re back on the Rex Fury case! Grab a vehicle and speed off toward the museum.
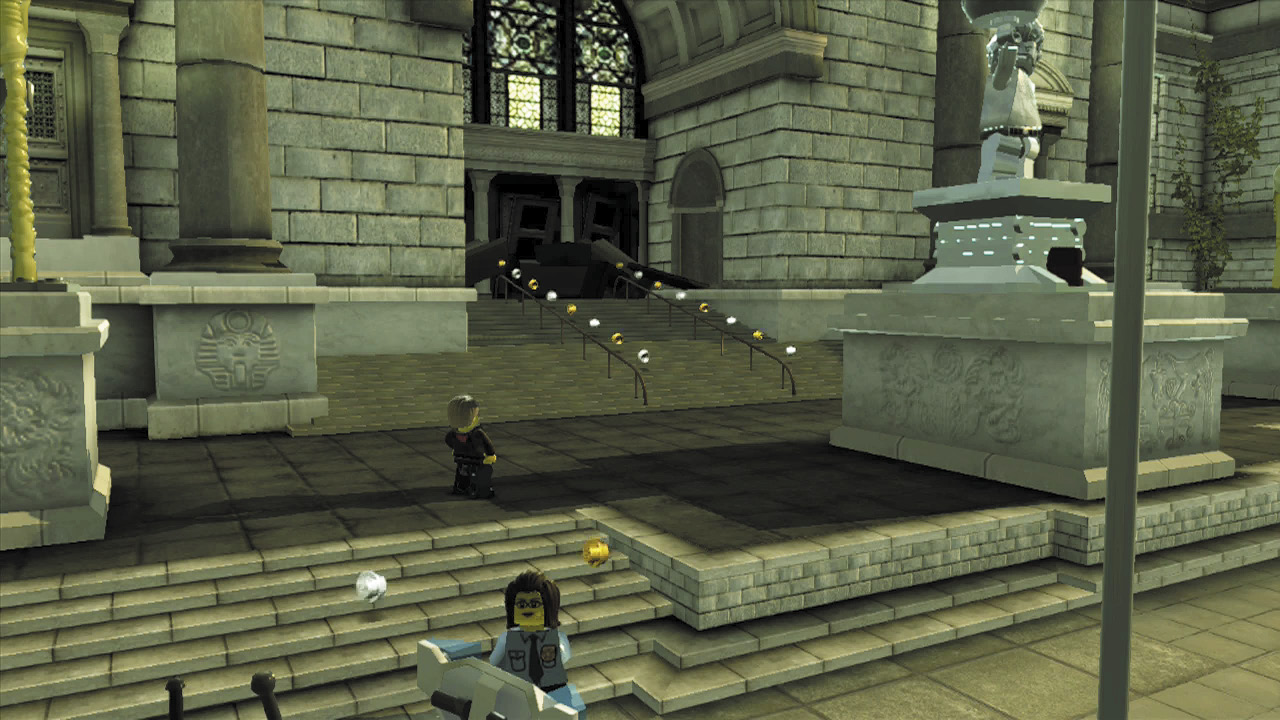
Chase finds the museum locked up tight—he’ll need to find another way inside. Ellie thinks he might be able to enter from the roof, but it will take some effort to get up there.
Objective: Chicken-Glide from the Art Gallery
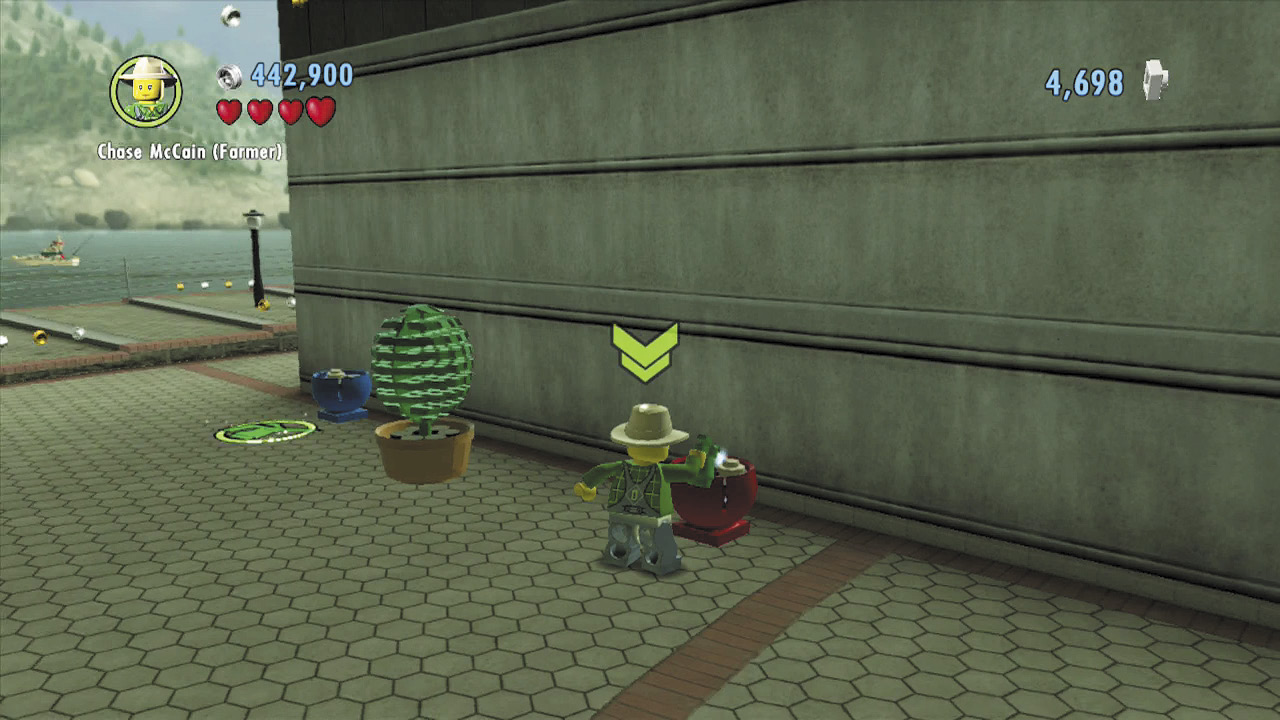
Mosey over to the art gallery building, which isn’t far. Change into the farmer disguise and water the plants along the side of the building to grow some vines. Climb up and shimmy along the overhead patch of LEGOs to reach a handhold.
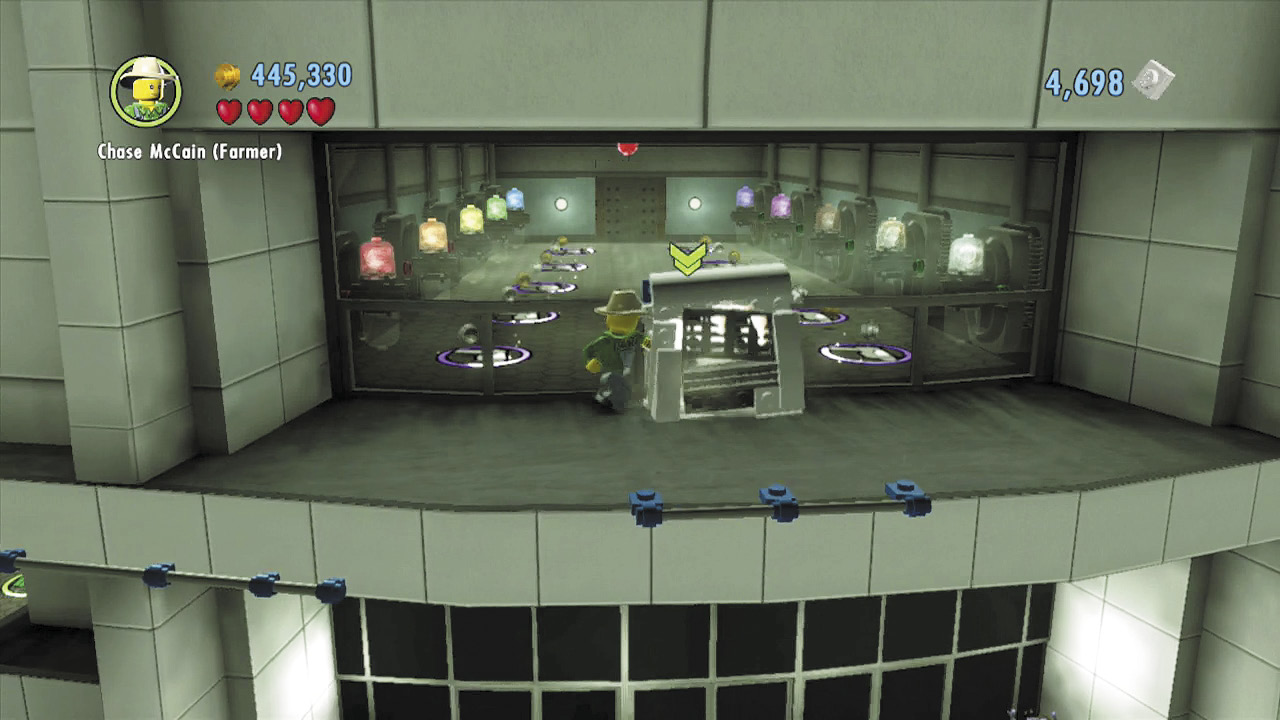
Shimmy across the handhold and climb up to a ledge. Smash an air conditioner to expose an opening in the side of the building, then press  to slide through the hole.
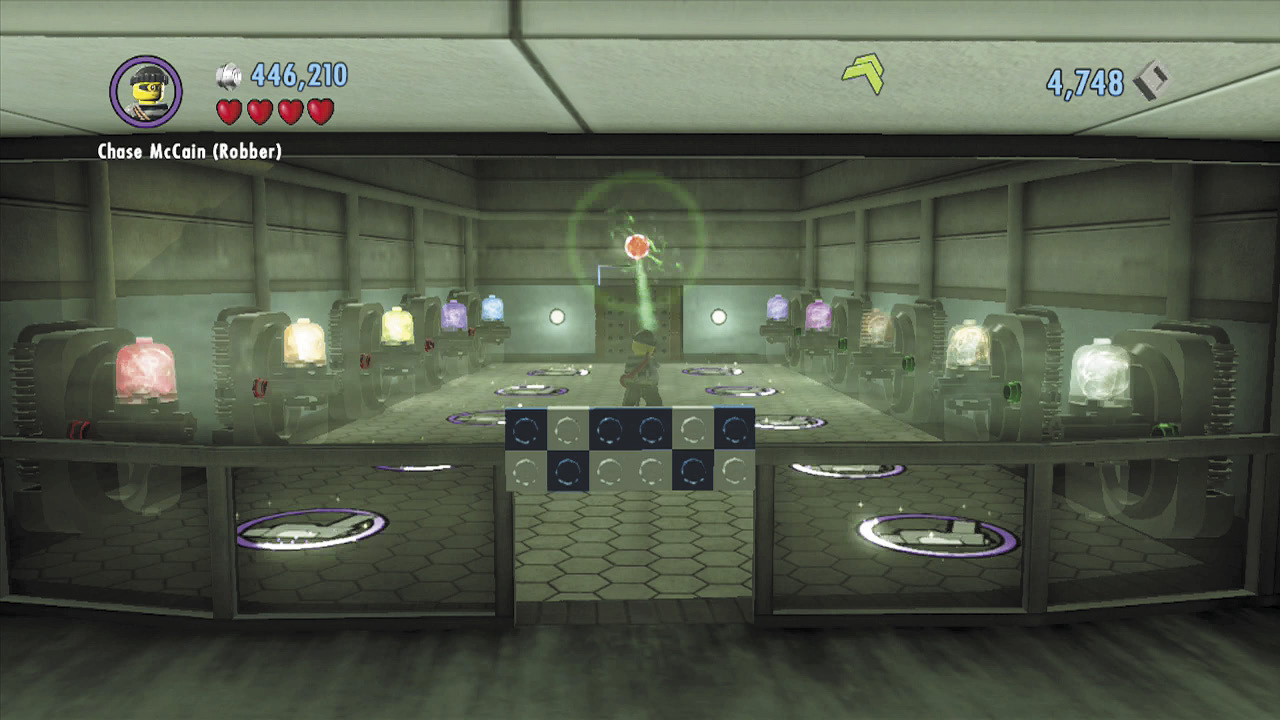
Chase finds several color swappers inside the building. Use one to fill your color gun with green energy, then blast the red switch on the background wall. This opens a door. Head on through!
Climbing the Art Gallery
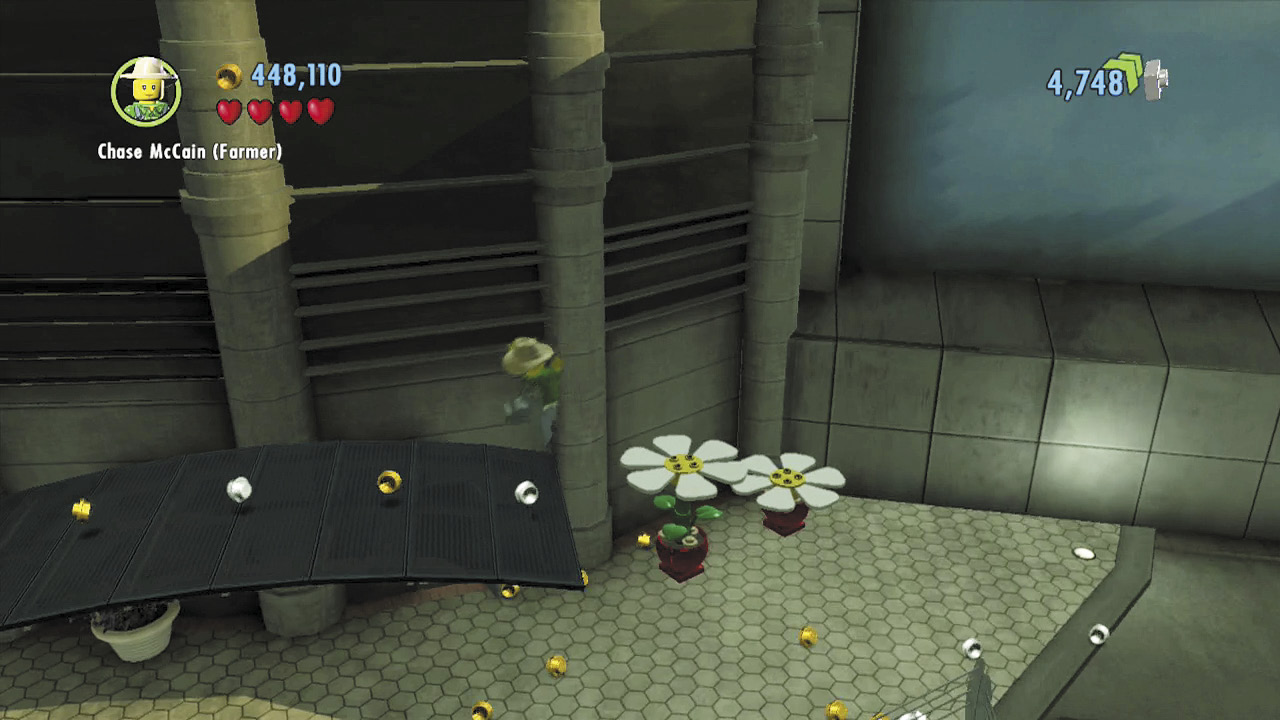
After you emerge from the door, water two planters to grow a pair of flowers. Jump across the flowers to land atop the curved awnings. Run and jump across the awnings to reach the art gallery’s roof.
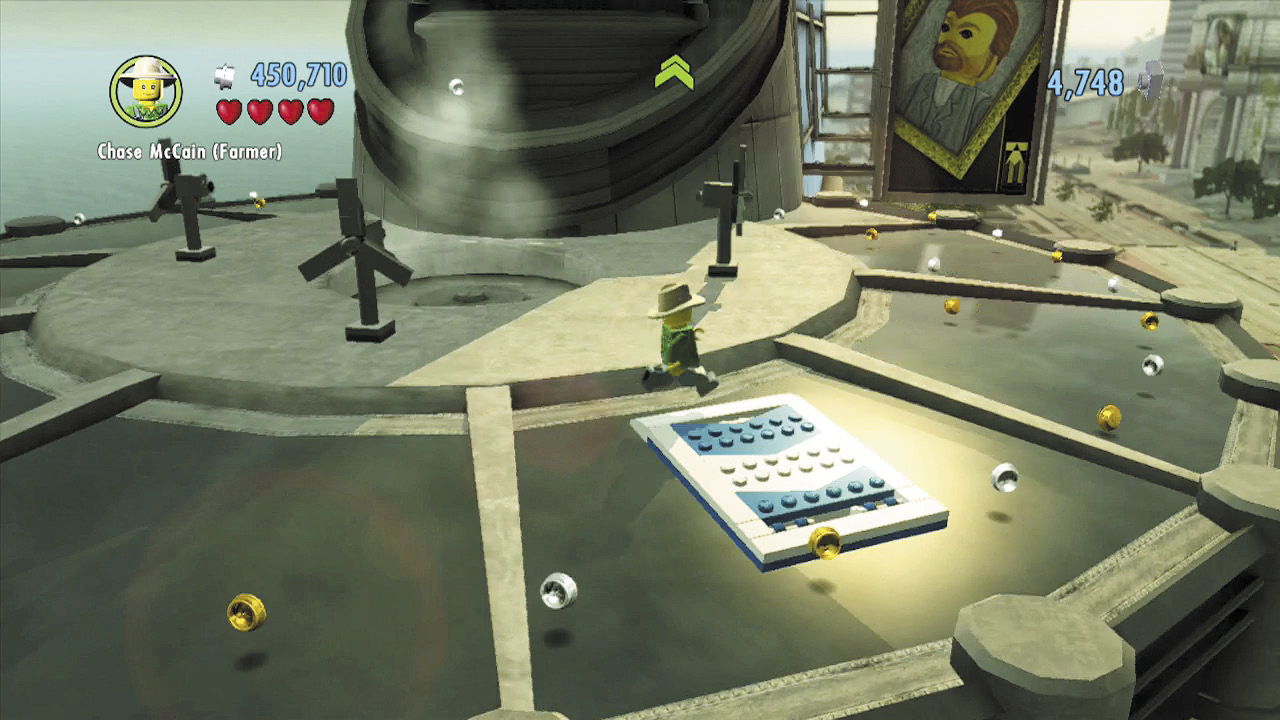
Smash the surrounding fans and build a giant fan out of their bricks. Use the updraft to reach a higher section of roof. Rapidly press  to run up the blue and white LEGO patches on the sloped roof and climb even higher.
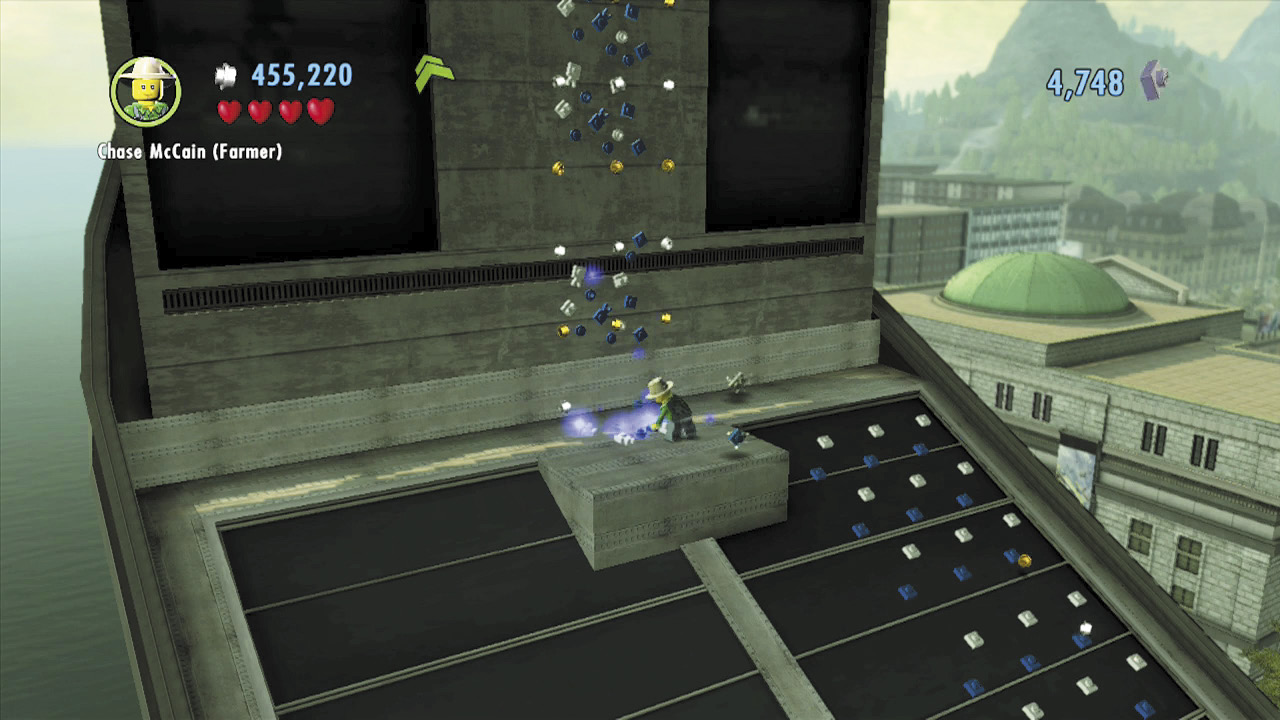
Smash another air conditioner after you scale the sloped roof, then build its bricks to add to the blue and white LEGO patch above. Now you can climb up to reach the highest portion of the art gallery’s roof.
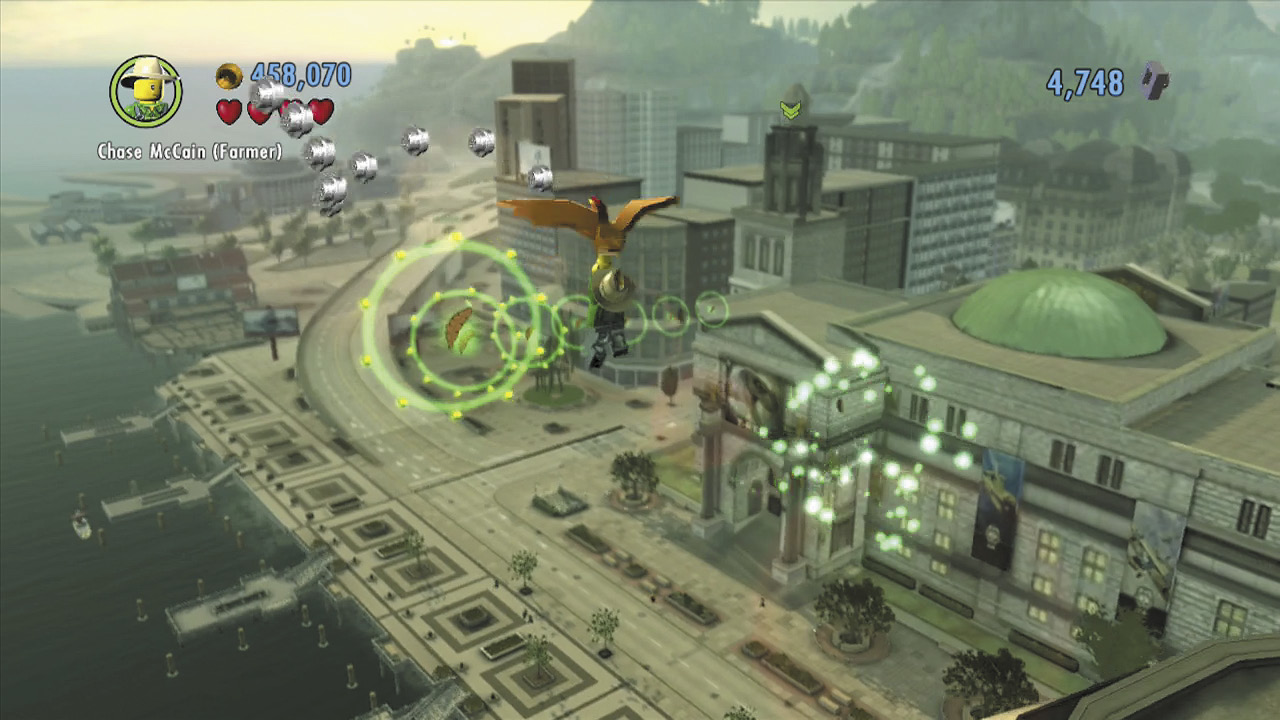
Good work! Now you just need to glide over to the museum. Stand on the chicken symbol and press  to activate it. Watch as several green stud rings appear, then jump and chicken-glide through the stud rings to sail all over to the museum’s roof.
Land on the museum’s roof, and climb a patch of blue and white LEGOs to reach a tower.
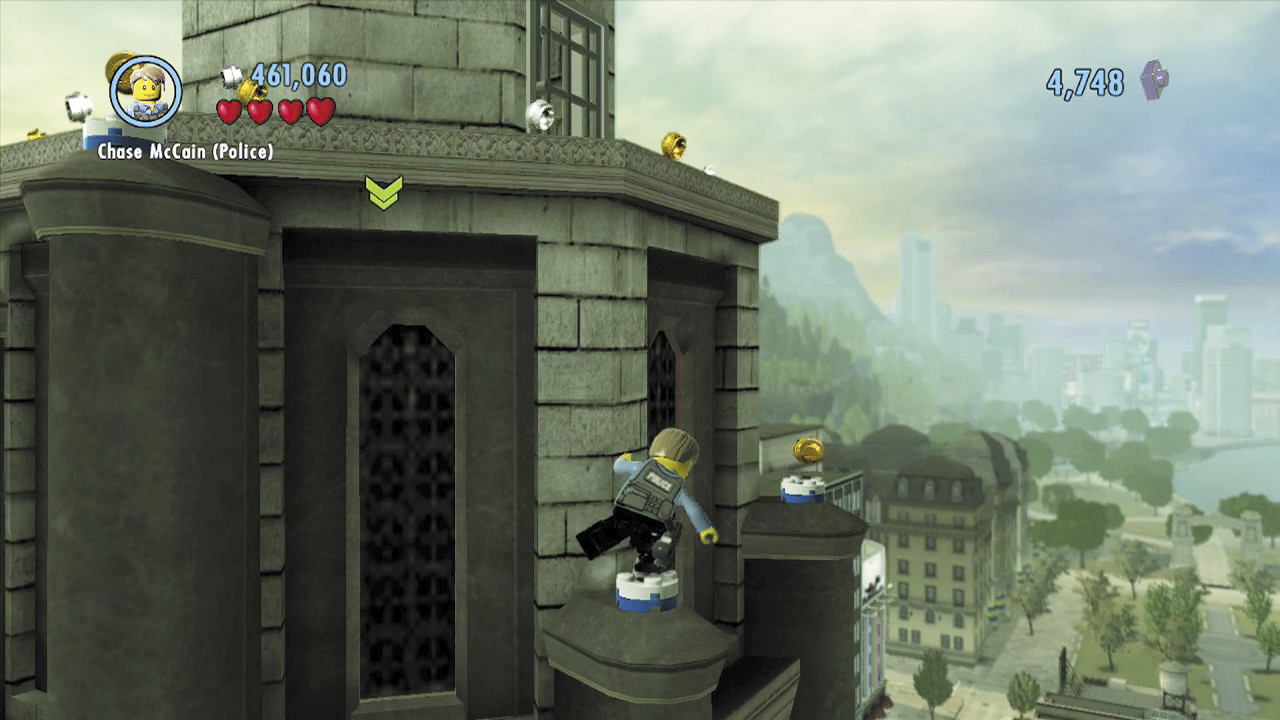
Use the grapple gun to zip up to a high grapple point. Jump across the blue and white LEGO disks to the right. Hop along them just as if they were thin poles.
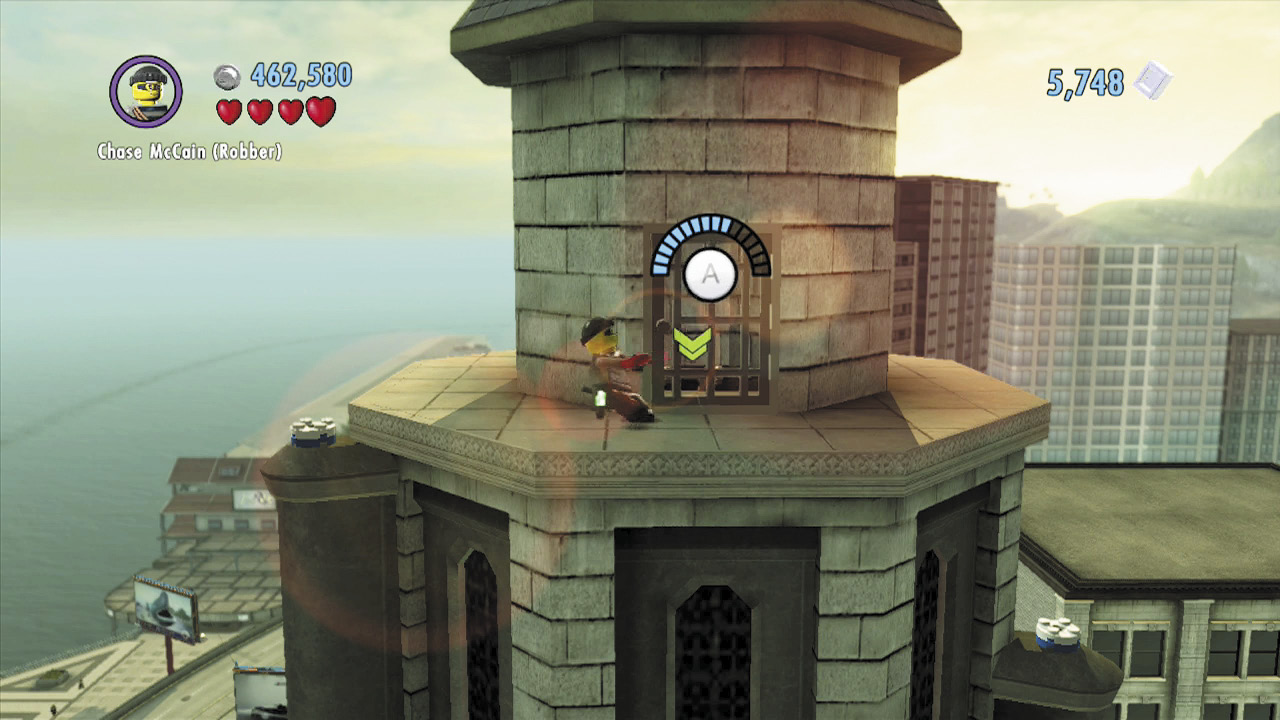
The disks lead up to a metal door atop the tower. Pry open the door with the crowbar, then head inside to at last enter the museum.
Special Assignment 8: The Colossal Fossil Hustle
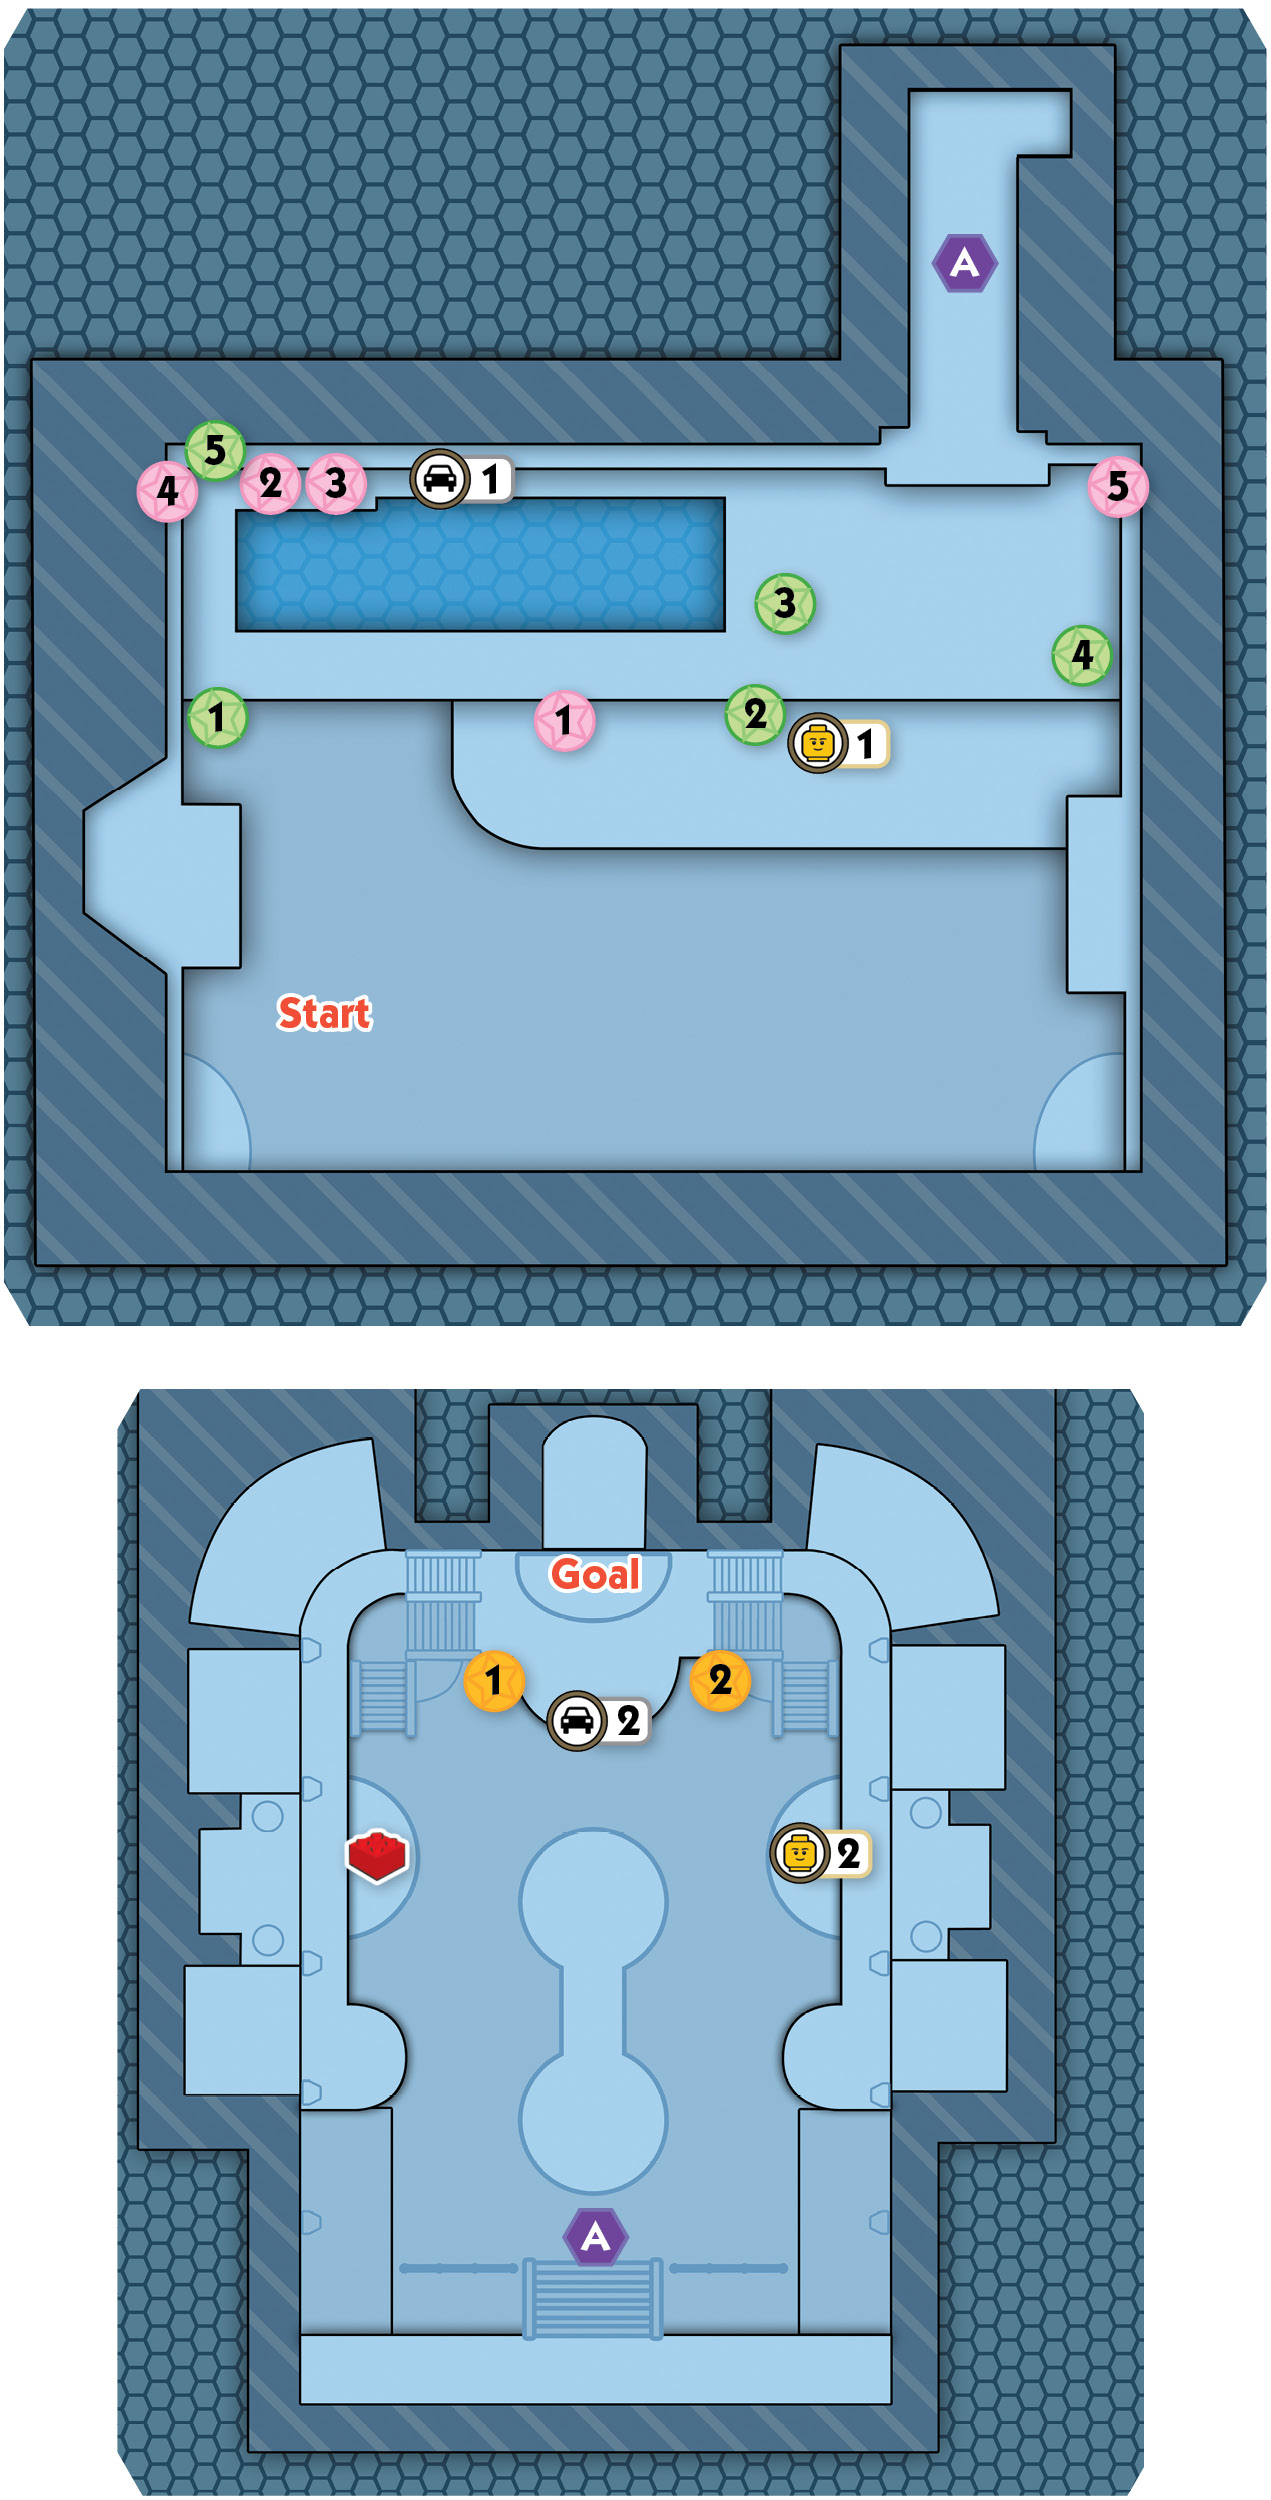
Stage Collectibles: ”The Colossal Fossil Hustle”
| Map Icon(s) | Type | Mode | Notes |
|---|---|---|---|
 |
Police Shield Piece 1 | Story | Water five green plant boxes around the museum’s first area. |
 |
Police Shield Piece 2 | Story | Smash five T-Rex posters around the museum’s first area. One is hidden in the gift shop. |
 |
“Mummy” character token | Free Play | Fix the fuse box near the upper trolly rail. |
 |
“Ancestor” vehicle token | Story | After building the plane, climb the pirate ship’s ladder and jump over to its cannon. Blast the background wall. |
 |
Police Shield Piece 3 | Free Play | Use Rex Fury to pull the two super-strength handles near the stairs in the second area. |
 |
“Caveman” character token | Free Play | Use Rex Fury to help you build the Dry Bones exhibit. |
 |
“Silversmith” vehicle token | Free Play | Fix the fuse box near the totem pole exhibit, beam down to the brontosaurus exhibit, climb the tail, grapple up to the pterodactyl, and pull the lever. |
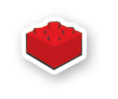 |
Red Brick—Super Break and Enter | Free Play | Use Rex Fury to rip apart the super-strength crate in the unfinished exhibit upstairs, then bring the object down to the triceratops exhibit. Pull the two strength handles near the stairs and bring the other two objects to the triceratops to complete it. |
 |
Police Shield Piece 4 | Story | Complete all four upstairs exhibit puzzles (totem, sphinx, archer, caveman) in any order. The first three give you superbricks; the final one gives you the shield piece. |
LEGO City Hero Stud Requirement:
 62,000
Objective: Find the T-Rex Exhibit
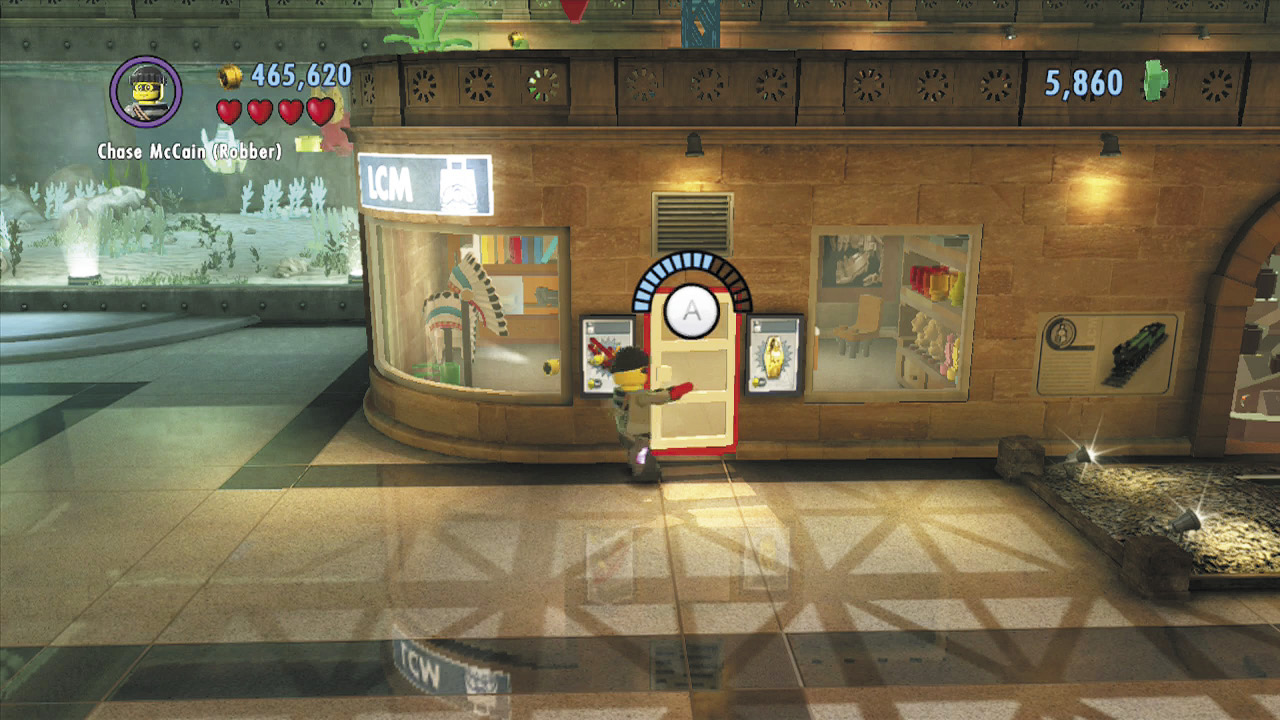
You’ve entered the museum. Now you need to find that mechanical T-Rex. Begin by prying open the door of the gift shop.
Police Shield Piece 1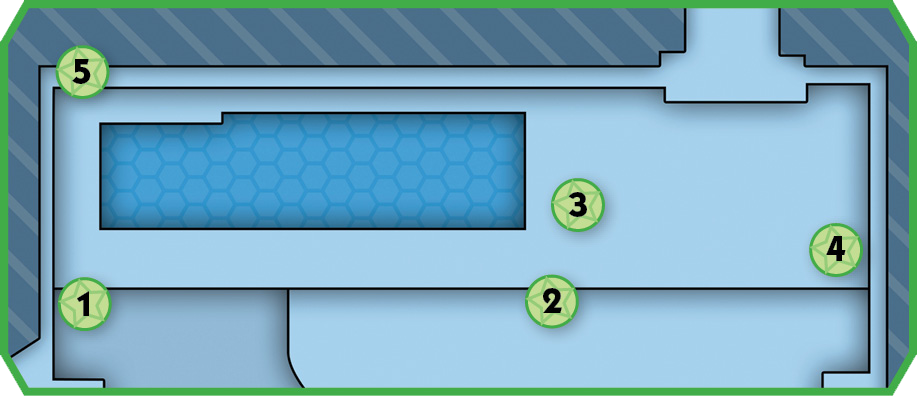 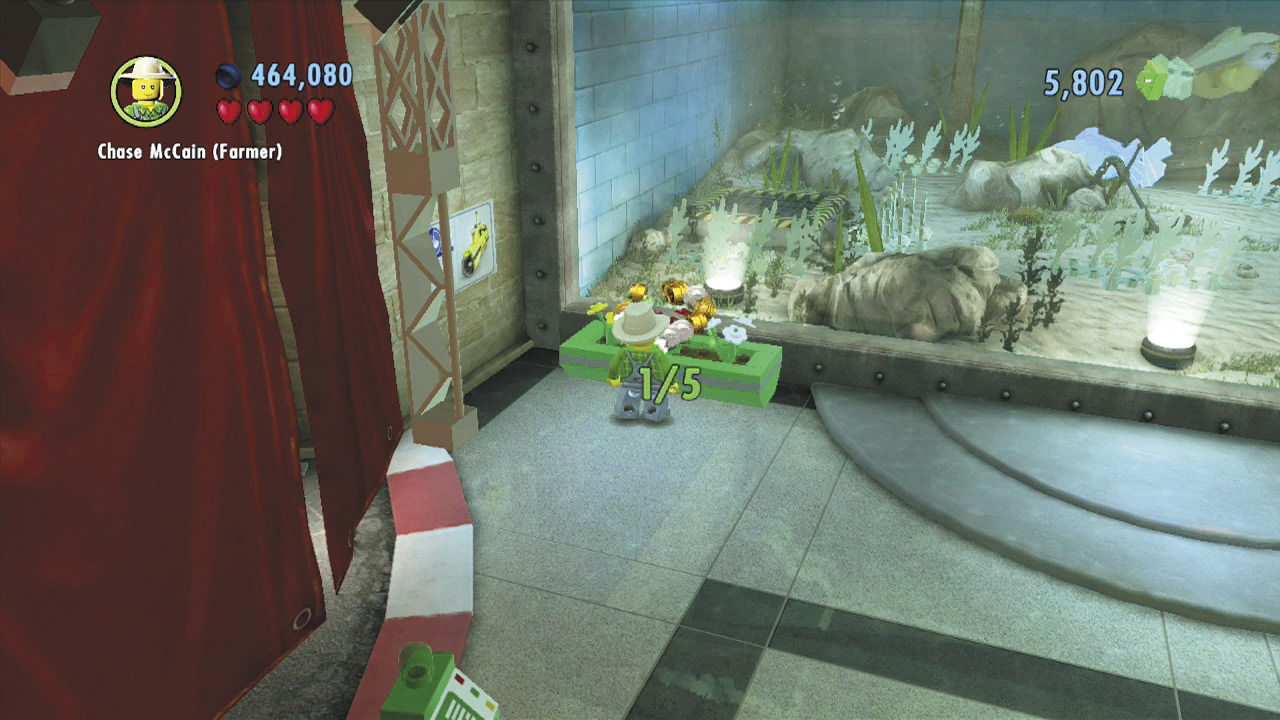 Find and water five green plant boxes in the museum’s first area to cultivate a shield piece! Check the map to see where the plant boxes are placed. |
Police Shield Piece 2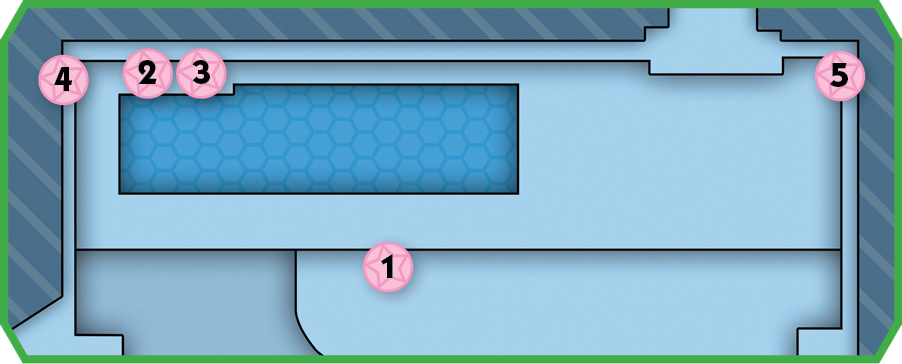 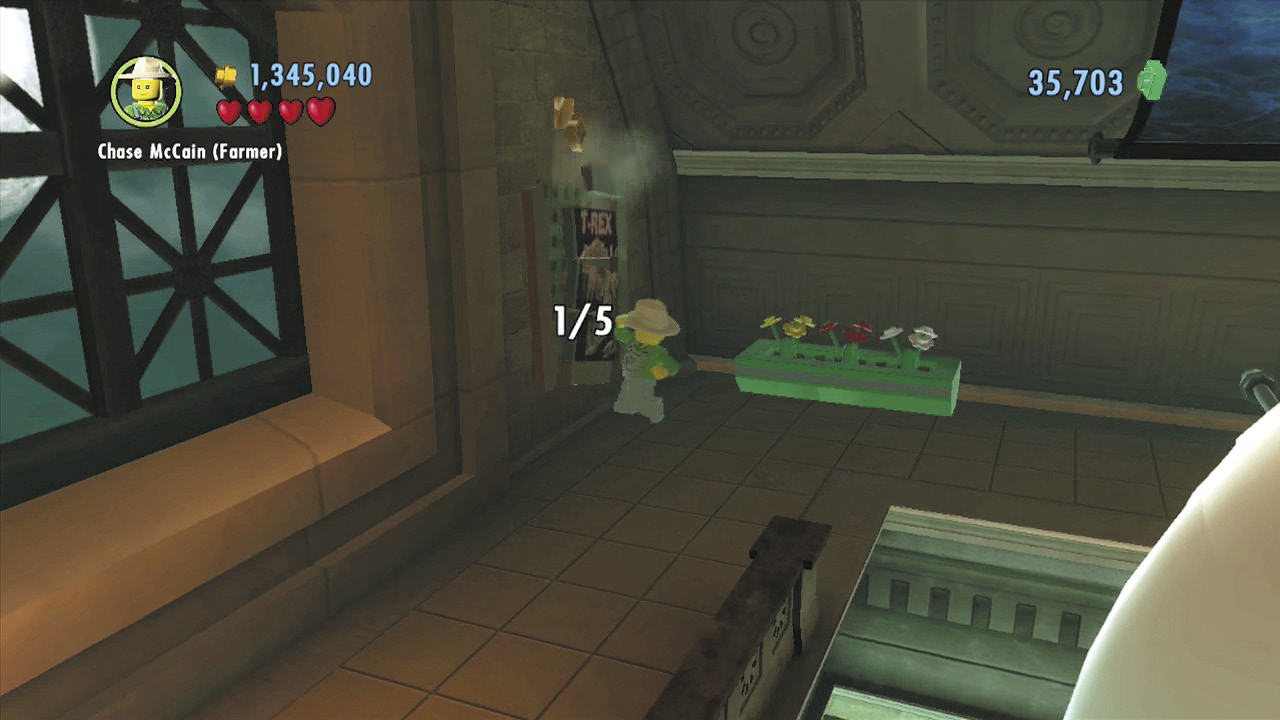 Find and smash five T-Rex posters around this first area of the museum to score another shield piece! One is hidden in the gift shop; the rest are on the walls in the main area. Check the maps to see where these five posters are affixed. |
Off to the Races
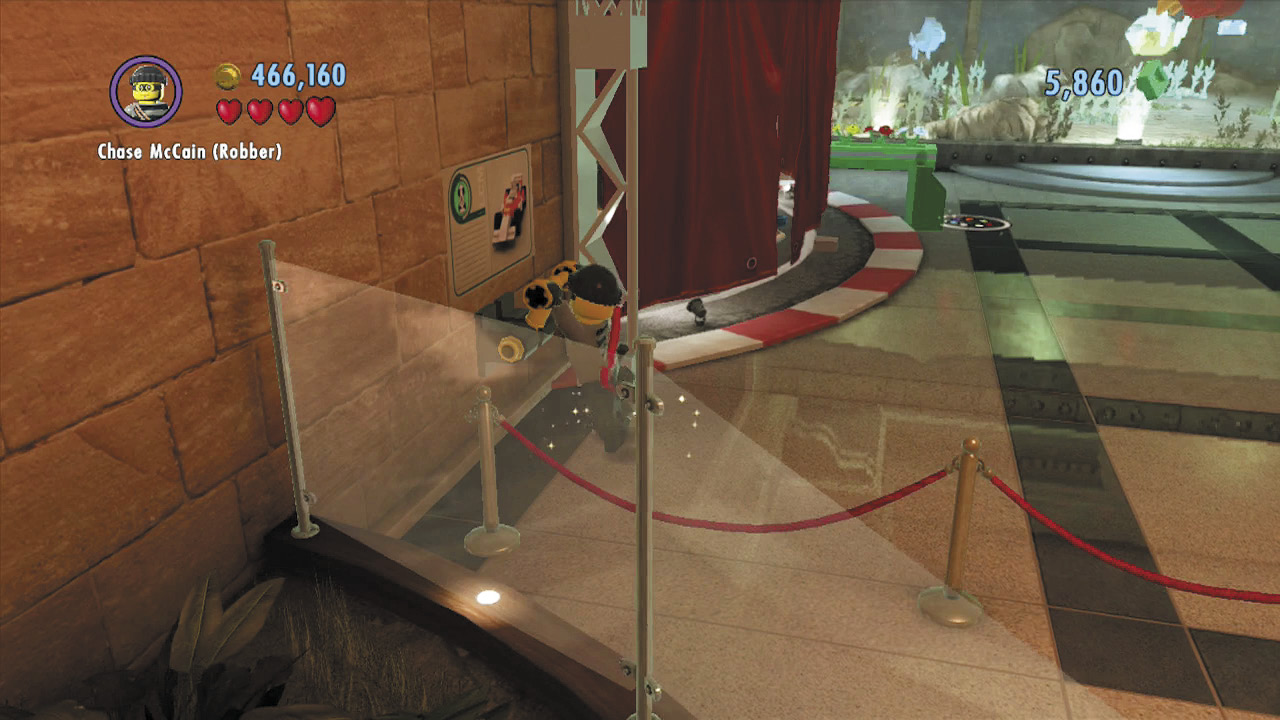
Collect the lever handle you find inside the gift shop, then carry it over to the curtained exhibit on the left. Insert the handle into the slot on the wall, then pull the lever to move the curtain and start the race car it was covering.
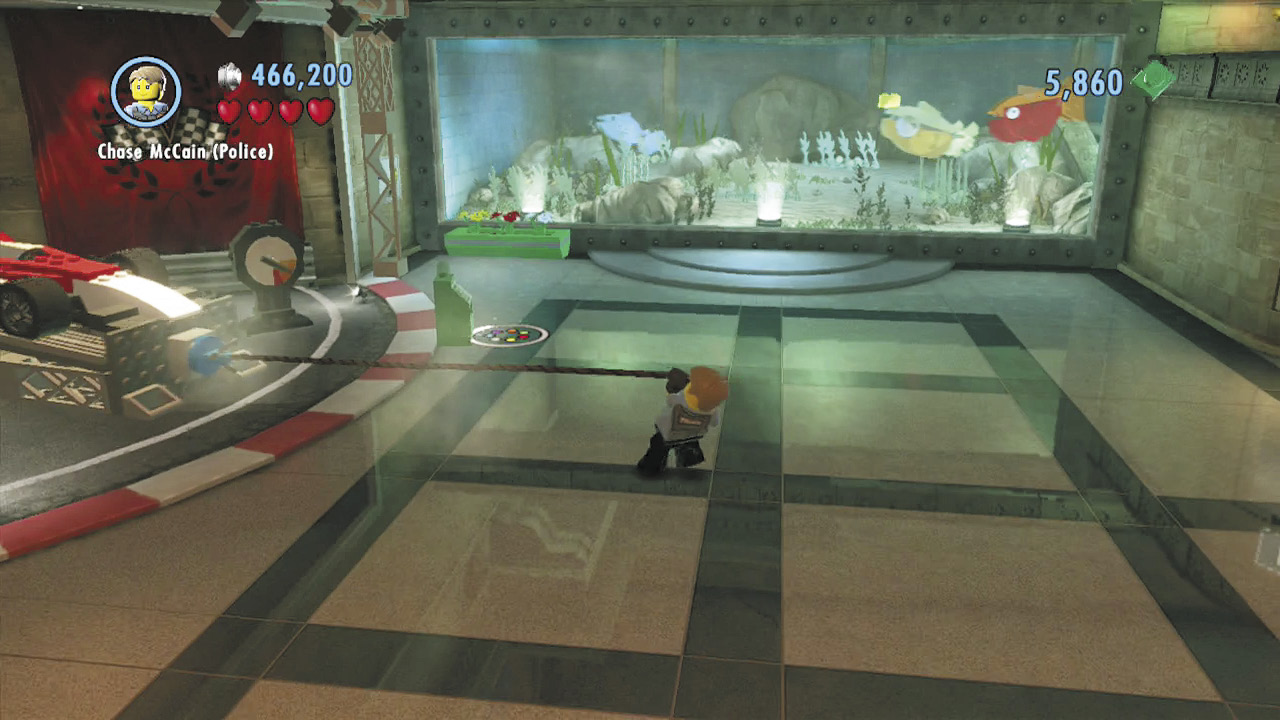
Latch on to the grapple point on the front of the race car, and give it a good tug. The race car comes loose from its mount and speeds to the right, eventually crashing near the train exhibit.
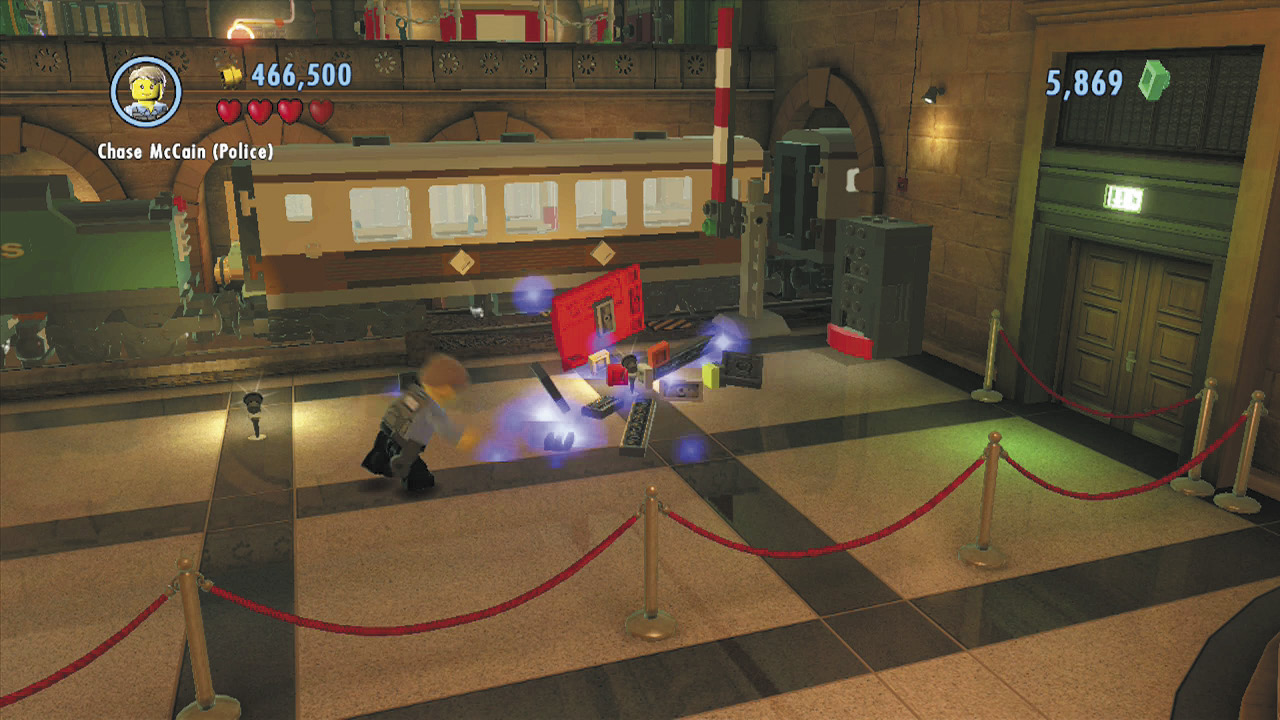
Take out the security guards who storm forth to investigate the disturbance. Run to the right afterward and build the race car’s remains into a dynamite dispenser.
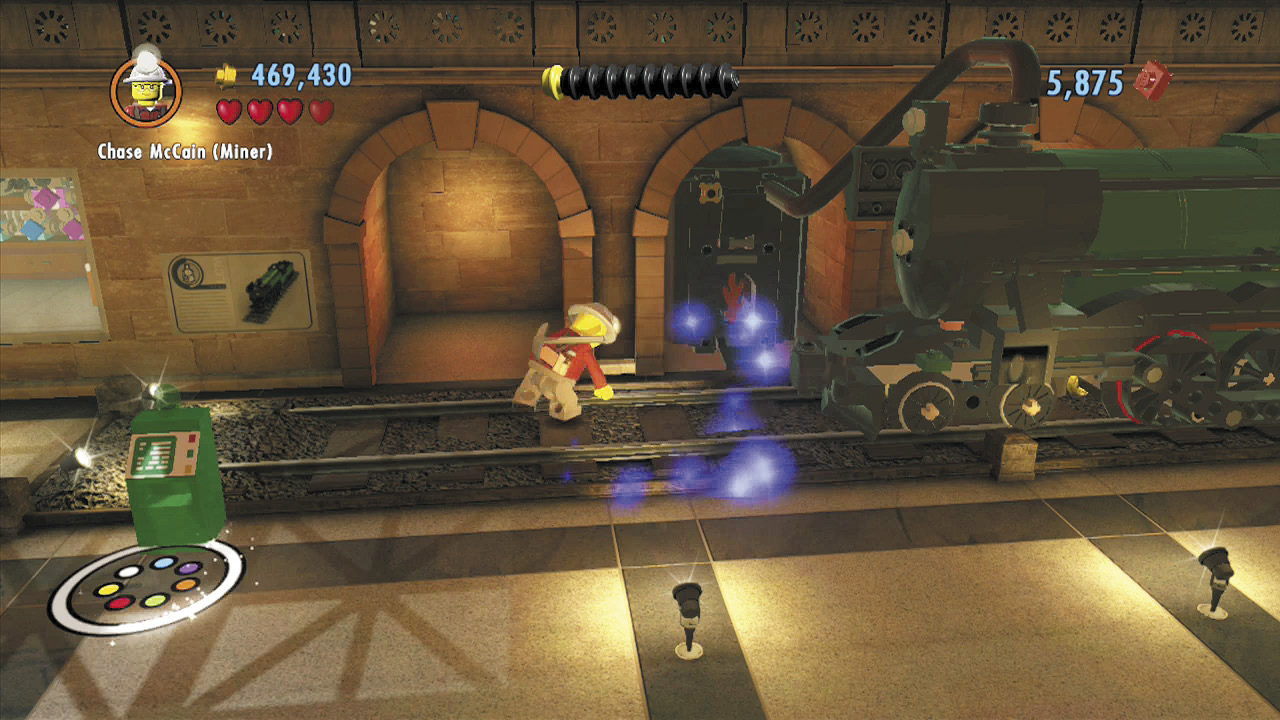
Collect some dynamite from the dispenser, and use it to destroy the nearby silver ingot exhibit. After the blast, build the ingot’s remaining bricks to complete the nearby furnace and cause the steam train to roll over to the right.
Crafty Cart
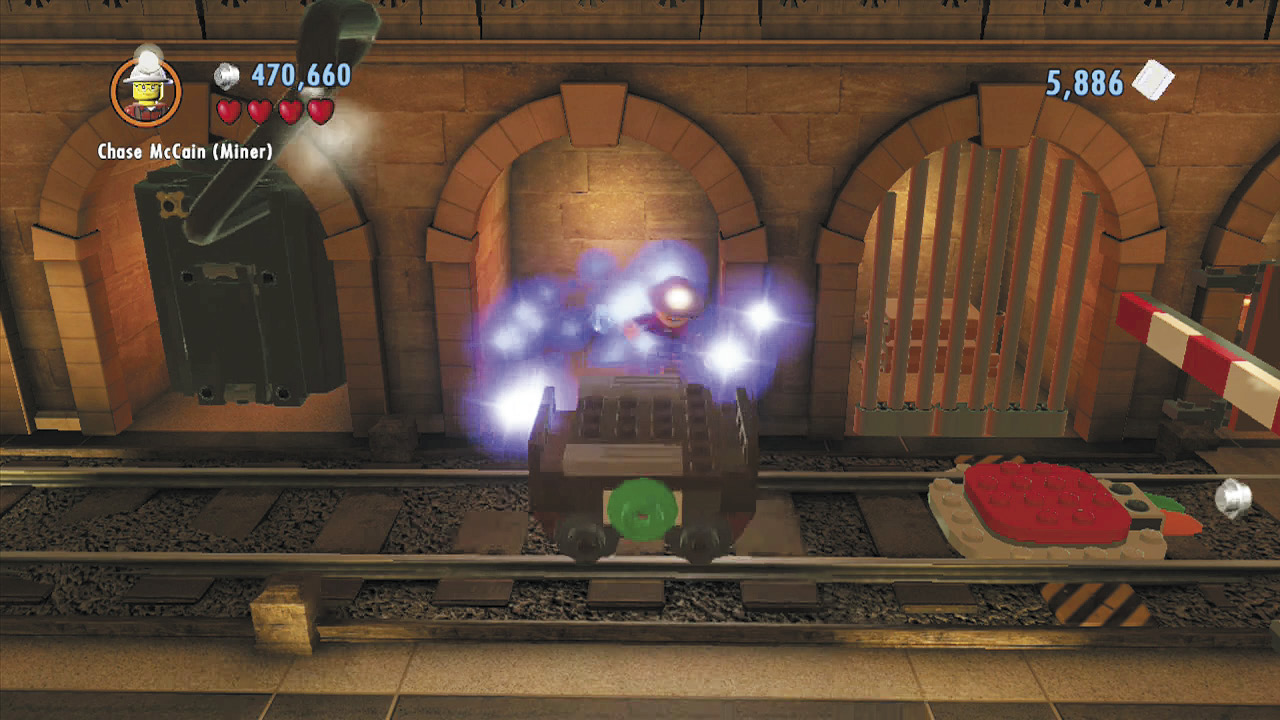
With the train out of the way, you can now explore several background nooks. Smash the machinery in the nook near the furnace to find more bricks; build these into a push cart.
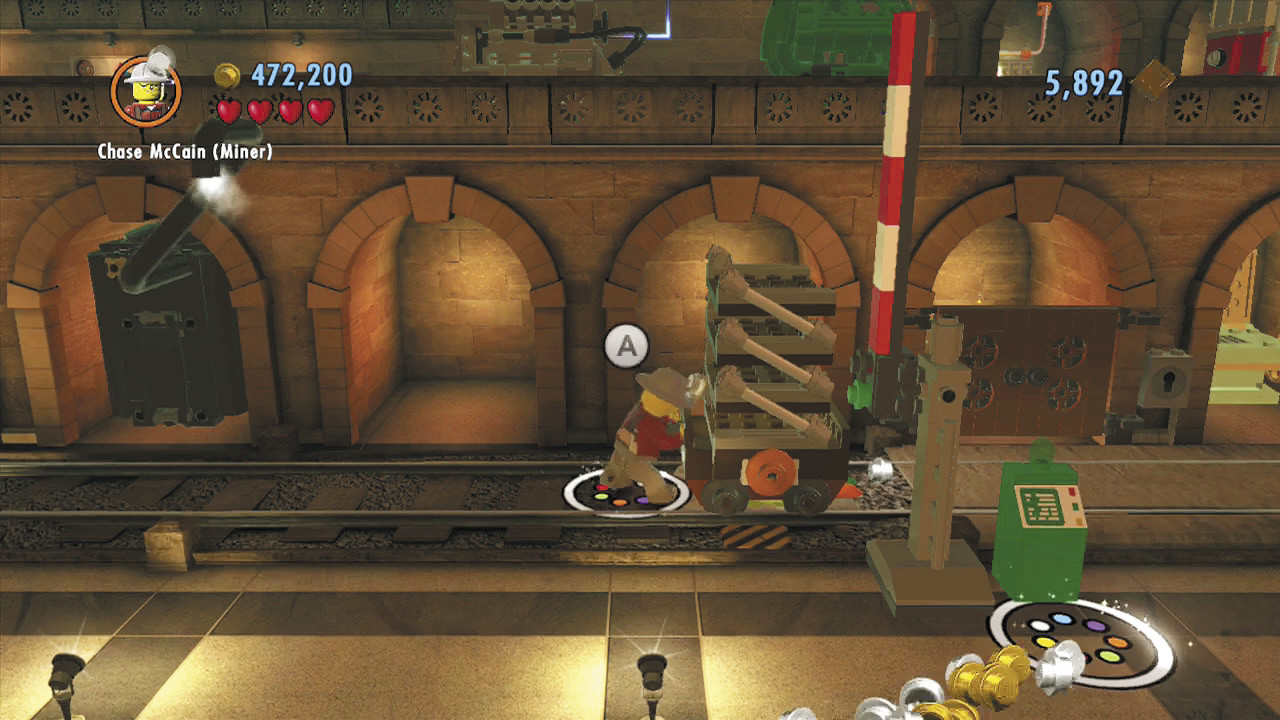
Shove the cart to the right so that it parks on a red button. This lowers some bars, letting you access another nook. Smash the object in the nook to find more bricks. Build these to add a platform to the cart’s top.
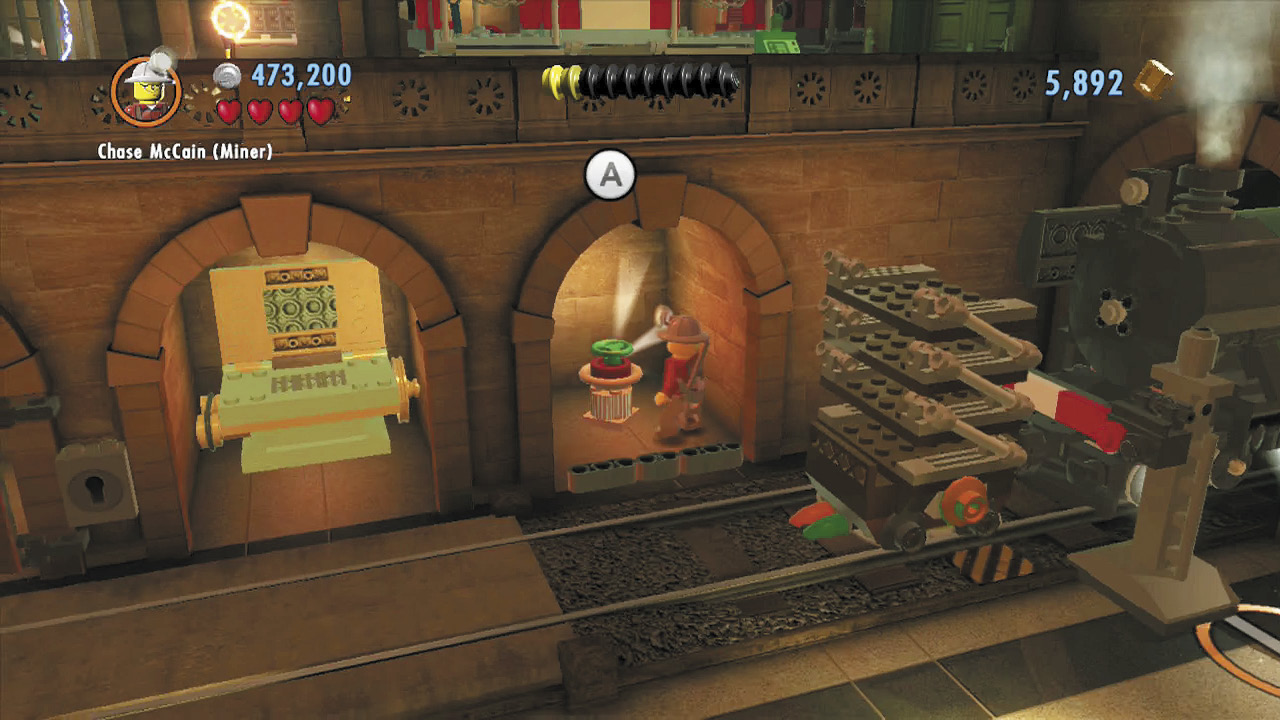
Push the cart to the right again, and it will park on another red button, unbarring another nook. Enter the nook and collect a valve wheel. Fit the wheel onto the front of the cart.
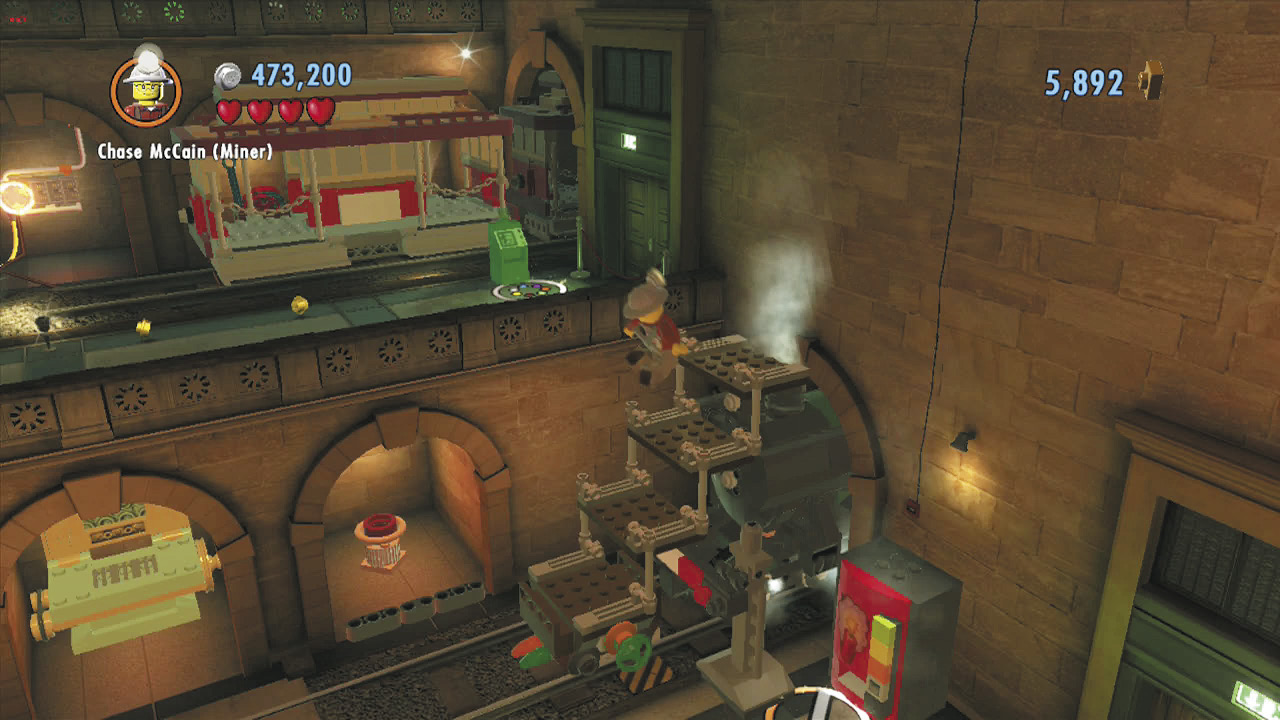
Turn the valve wheel to extend the platform you added to the cart over to the right, creating a set of stairs. Jump up these stairs to reach the balcony above.
Crafty Key
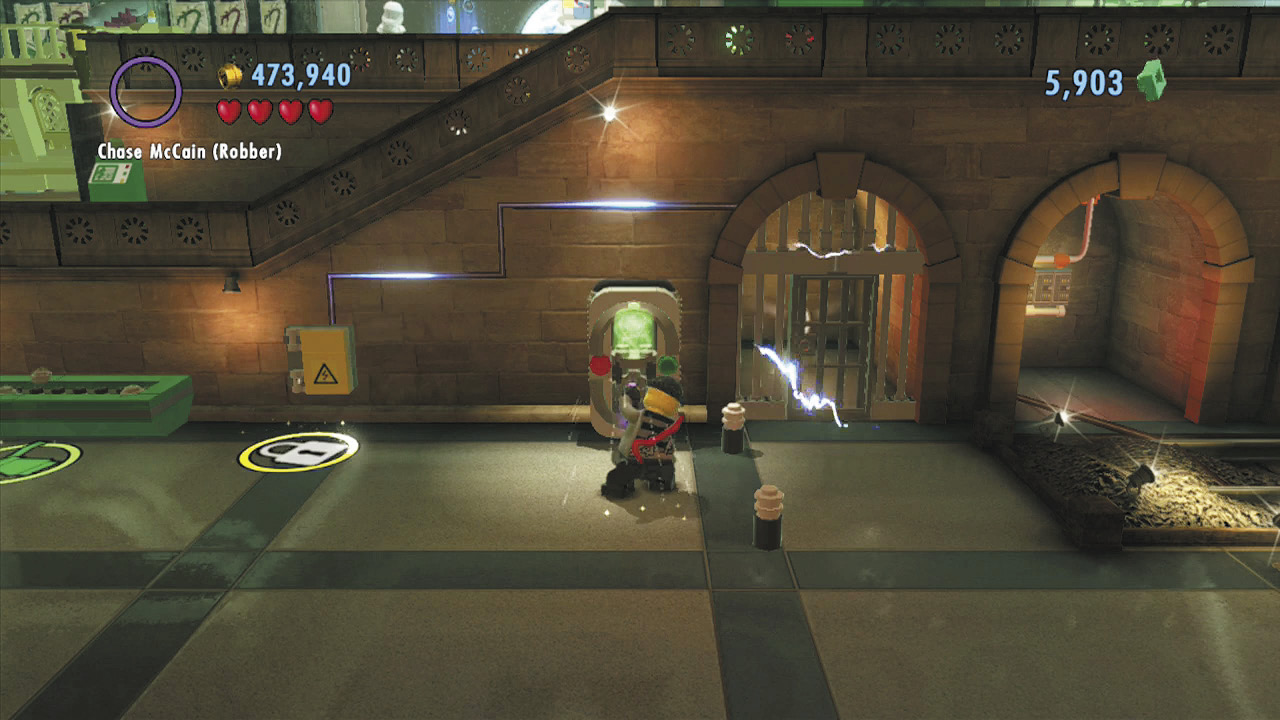
Smash the large machines you find on the balcony. This reveals some bricks; build these into a color swapper and use it to fill your color gun with green energy.
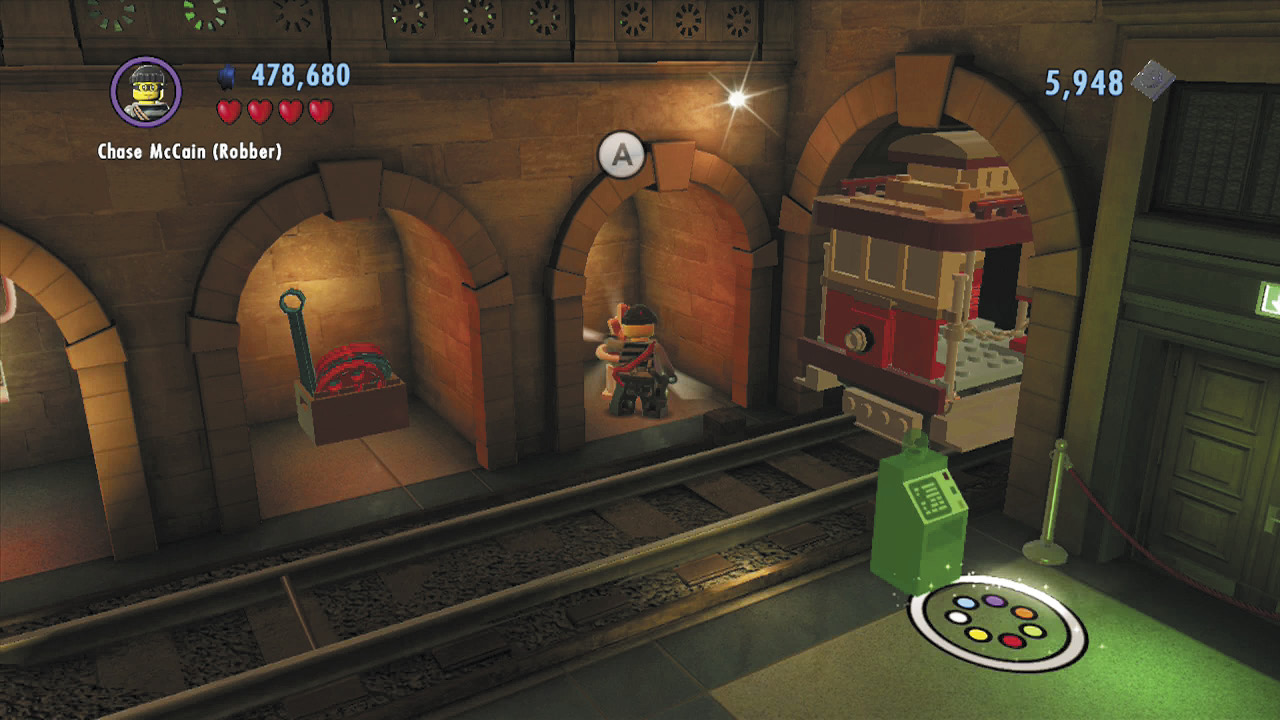
Blast the red switch in the background nook to activate it; this moves the nearby trolly to the right. Collect the curious crystal you find inside one of the nooks that the trolly had been blocking.
Character Token 1: Mummy  During Free Play, fix the fuse box near the upper track to open a nook that sports a character token. |
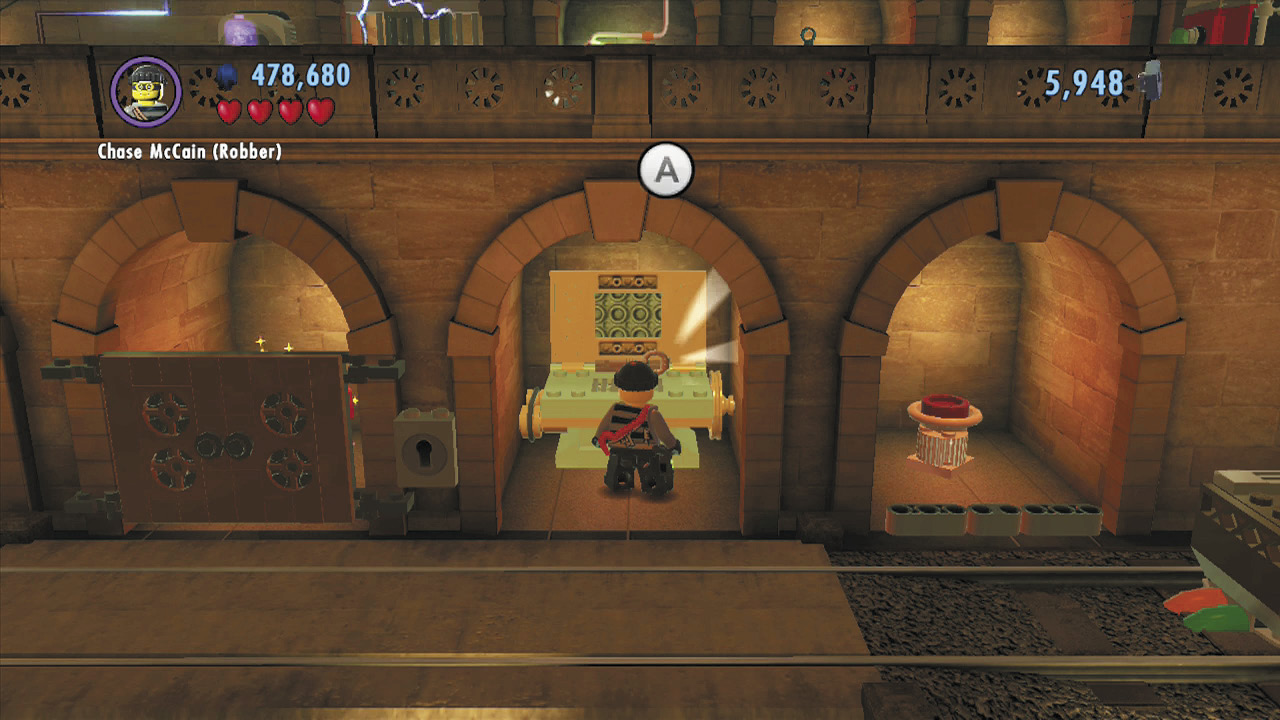
Bring the crystal back down to the main floor and place it into the fabrication machine in one of the lower nooks. The fabrication machine transforms the crystal into a key. Cool!
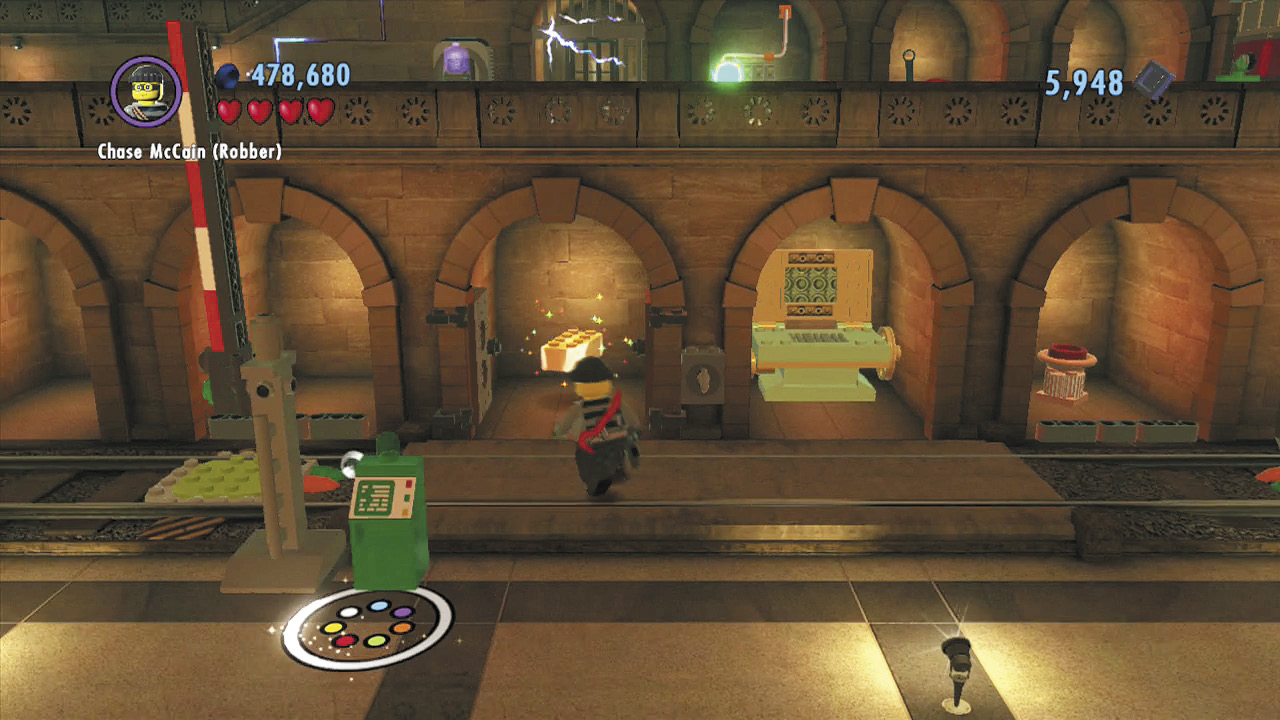
Insert your newfound key into the nearby lock, and give it a turn to open the final ground-floor nook. Hey, there’s a superbrick in there! Grab it and return to the balcony.
Drilling Upward
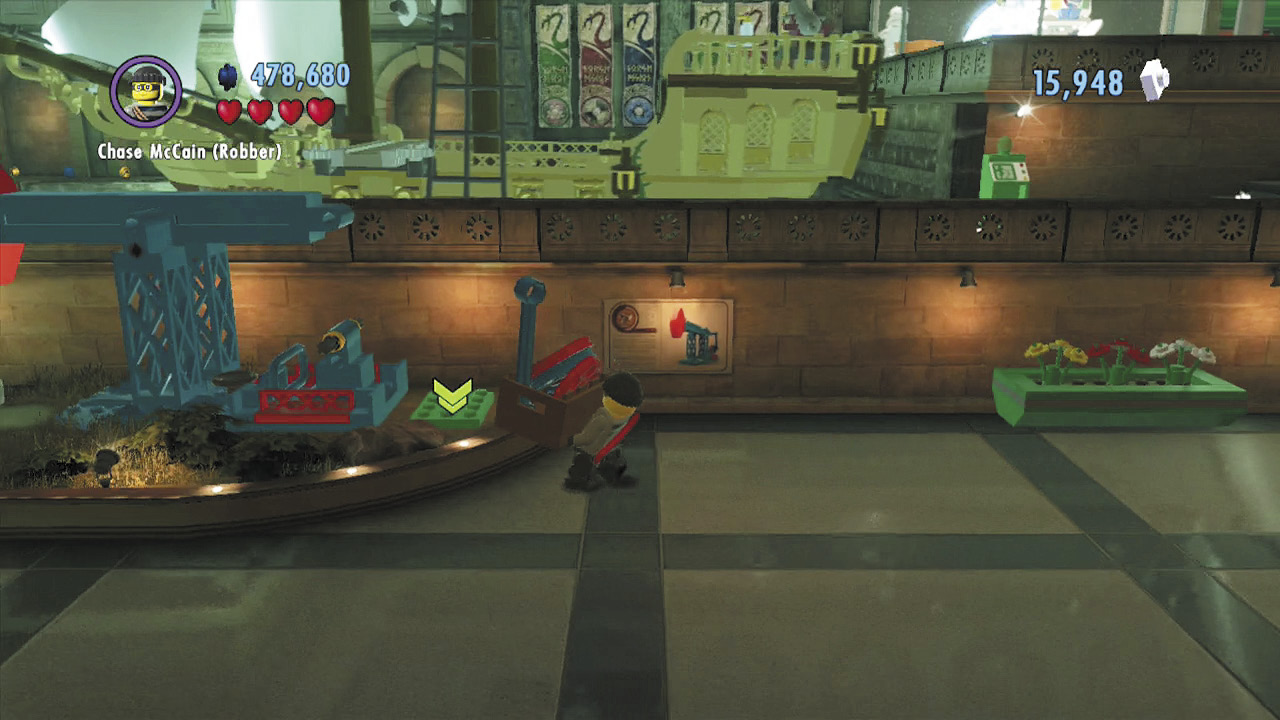
Next, pick up the box of bricks that sits inside one of the balcony nooks. Carry it over to the left and place the bricks down near the oil derrick exhibit. Build the bricks to add some gears to the oil derrick and start it up.
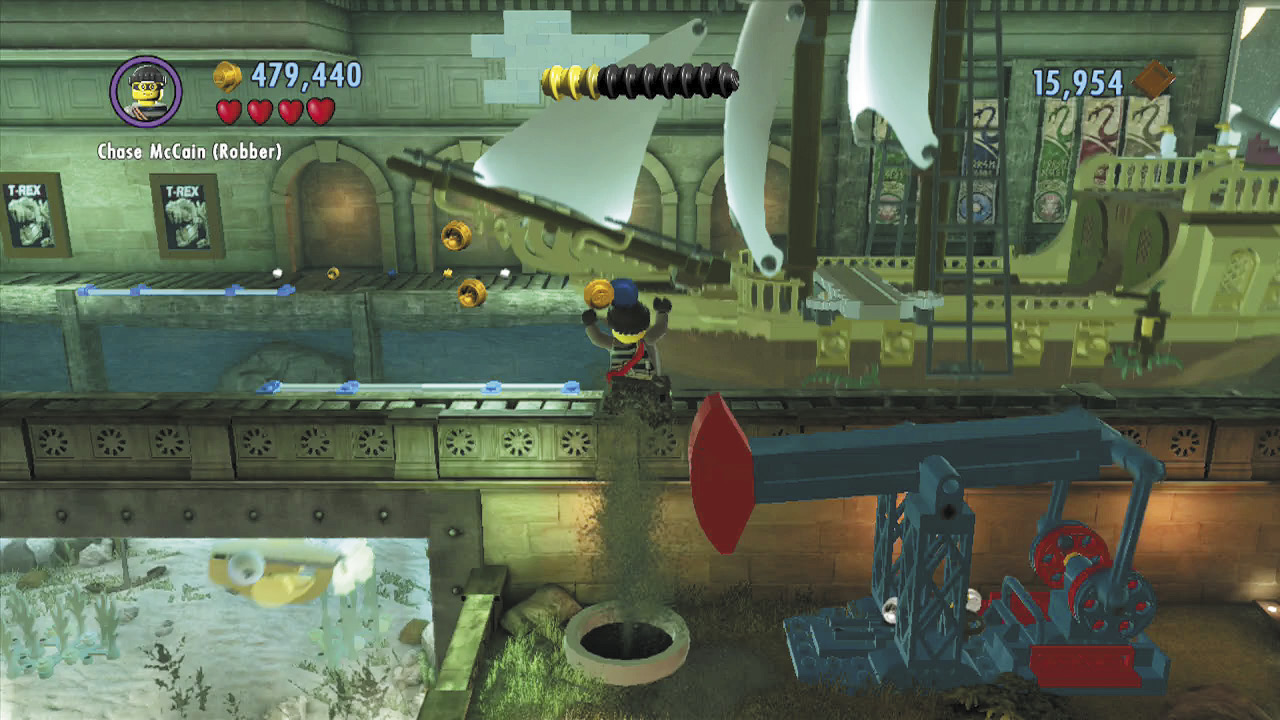
The oil derrick drills through the ground, causing a geyser of oil to gush up. Jump into the oil geyser to soar up to the walkway that surrounds the pirate ship exhibit.
Sunken Treasure
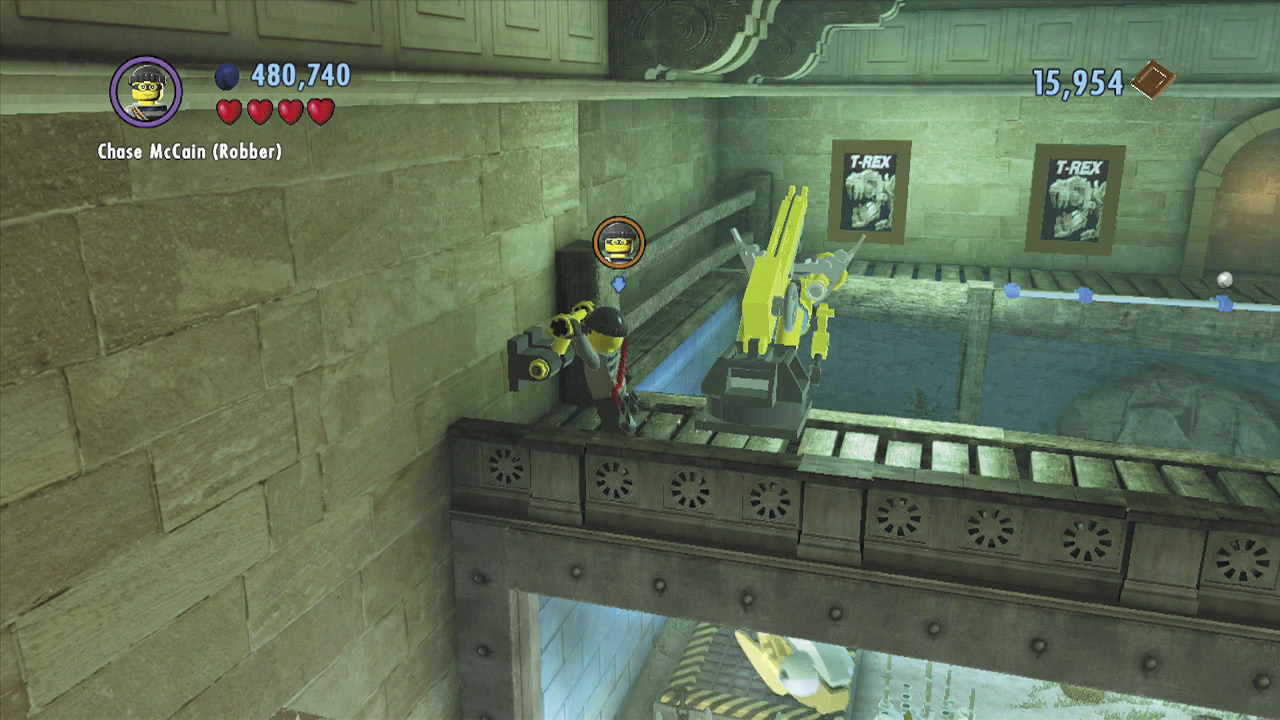
Run to the left and pull a lever to deploy a salvage craft into the large tank upon which the pirate ship is floating. The camera then pans over to show a sunken superbrick in the water.
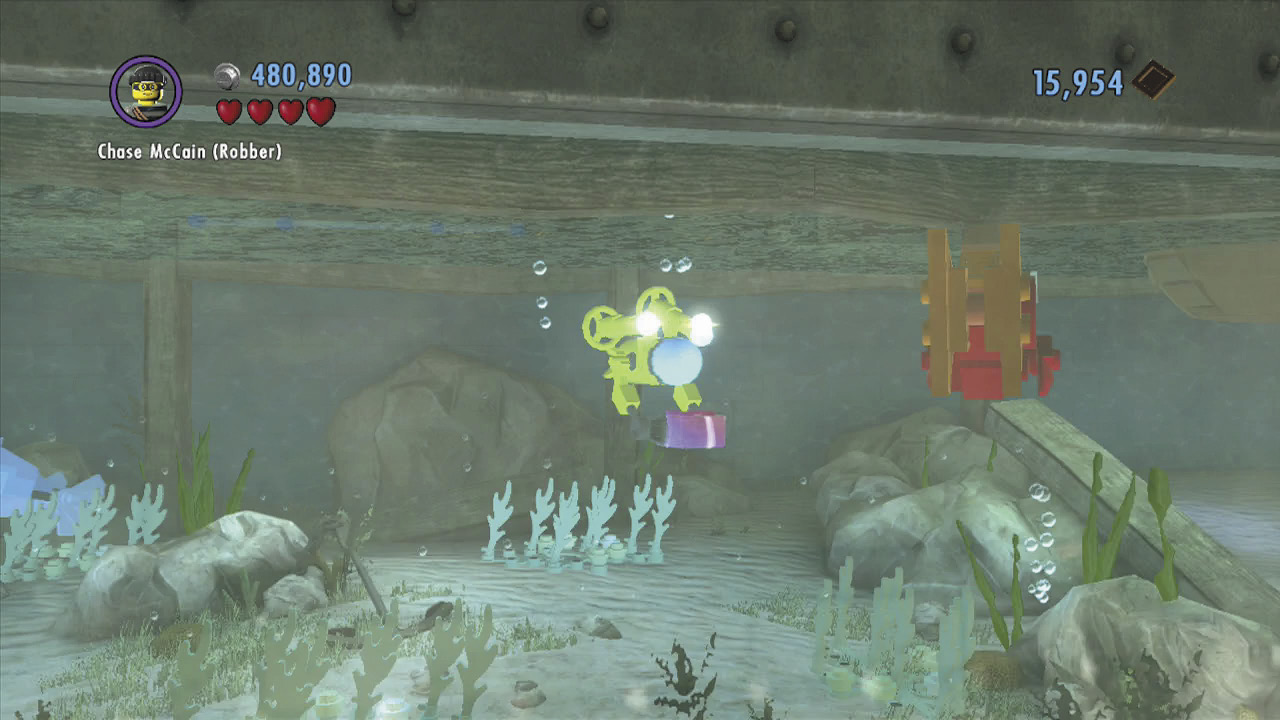
Stand on the nearby action symbol and press # to take control of the salvage craft. Direct it over to the superbrick, and the craft will automatically grab it with its mechanical arms.
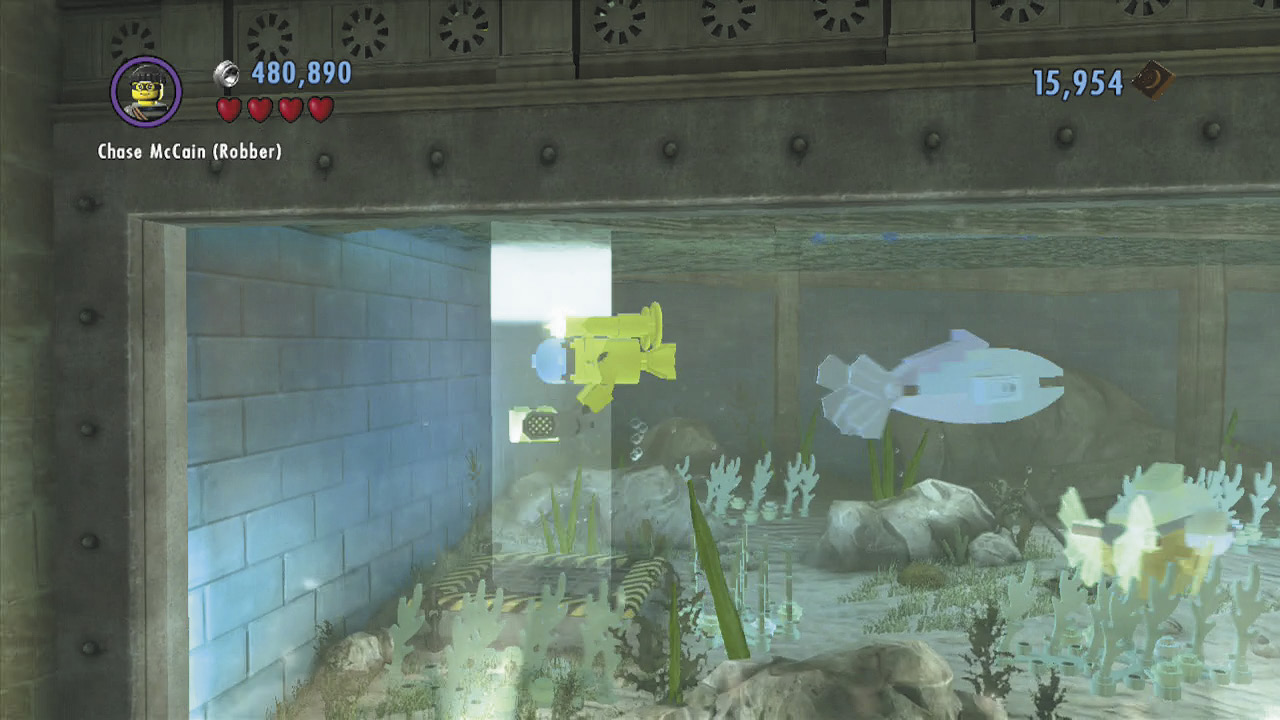
Bring the superbrick back over to the glowing beacon where the salvage craft was deployed. You will then regain control of Chase.
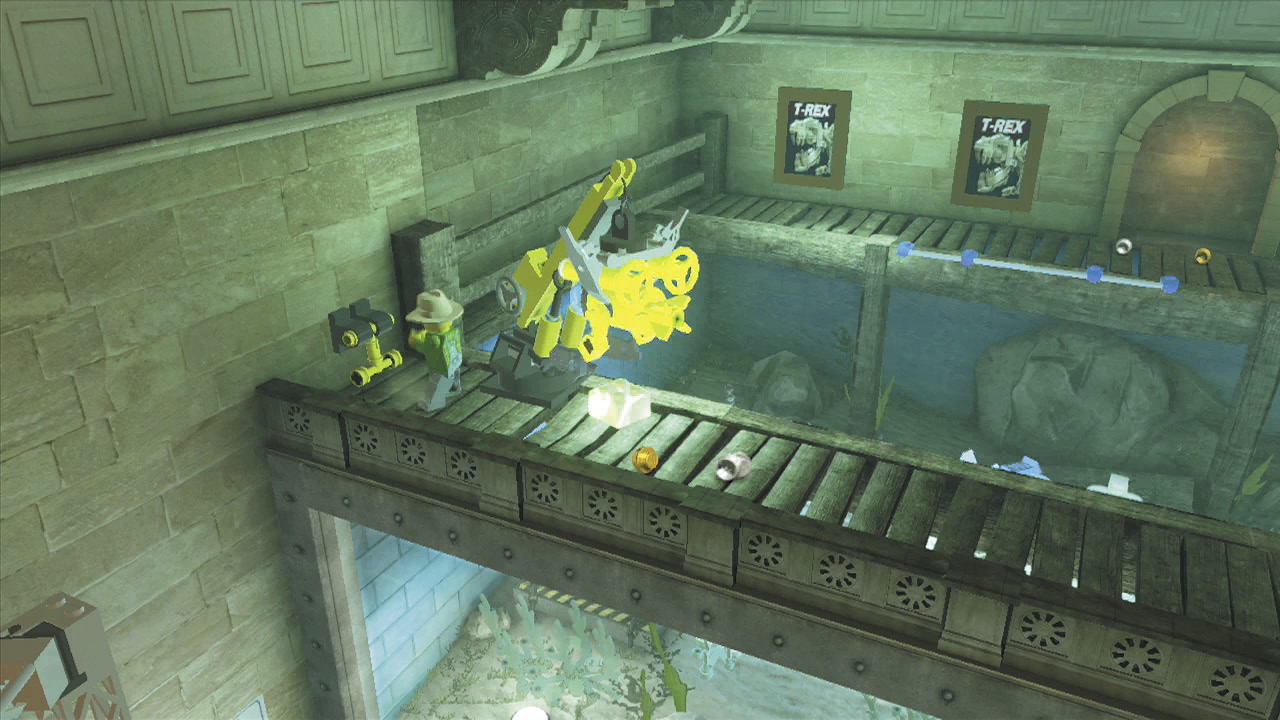
Pull the lever again to lower the crane, pick up the salvage craft, and drop the superbrick within your reach. Nice work!
Plane to See
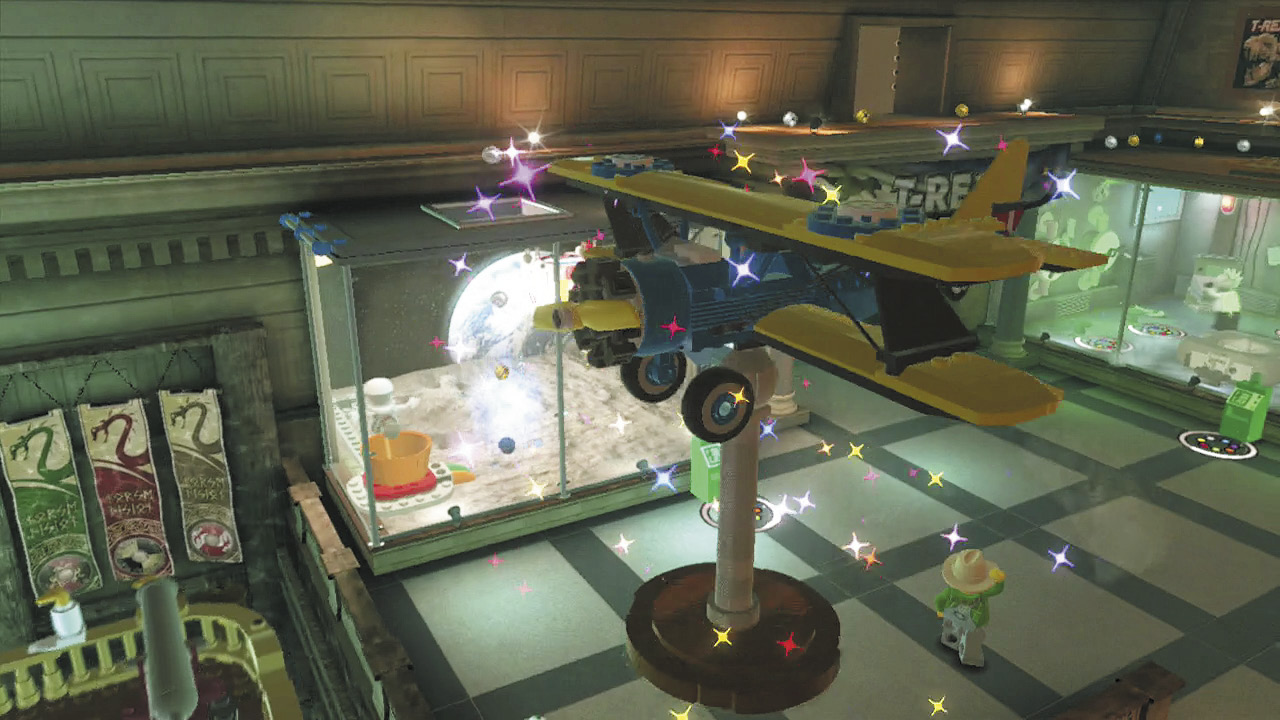
Sprint to the right and head upstairs. Collect the large superbrick near the security lasers. Step onto the nearby superbuild pad and press  to construct a model airplane—you should have 21,000 bricks by now. The airplane’s propeller starts spinning, creating a draft that blows the pirate ship over to the left.
Shipping Off
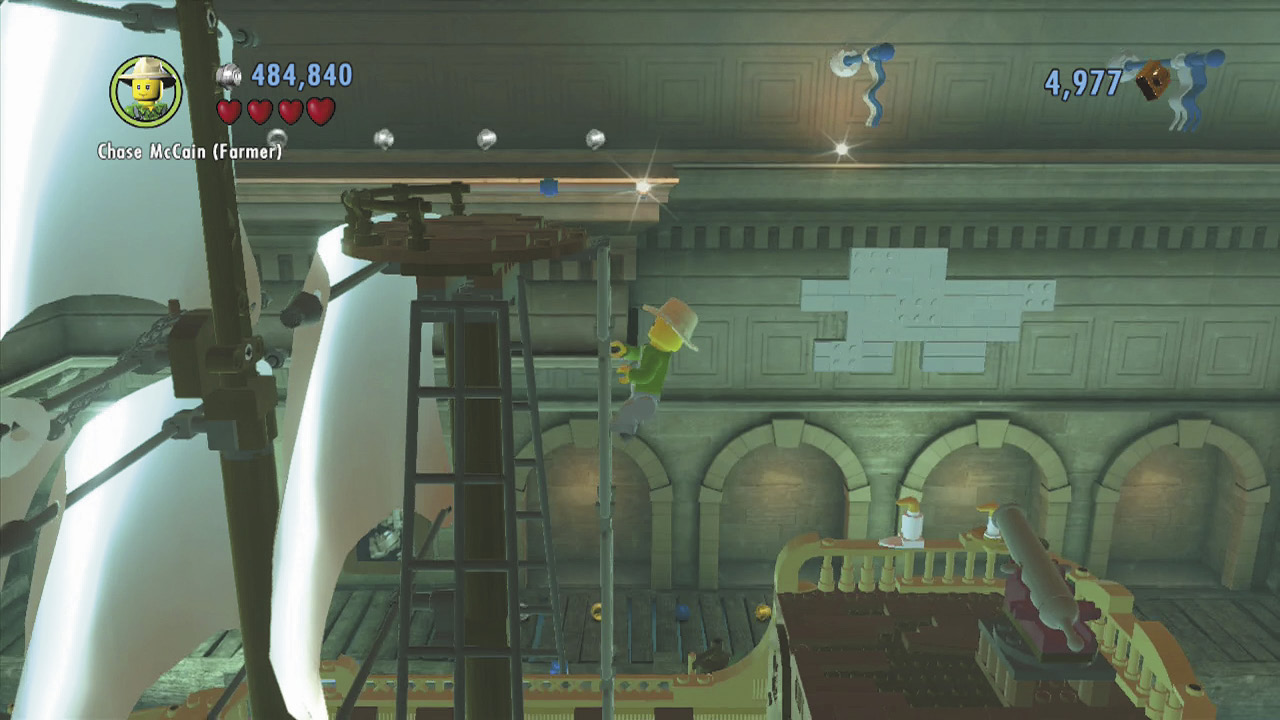
Return to the pirate ship exhibit and cross the gangplank to board the ship. Climb the ship’s ladder to reach the high lookout, then leap over to the background ledge.
Vehicle Token 1: Ancestor 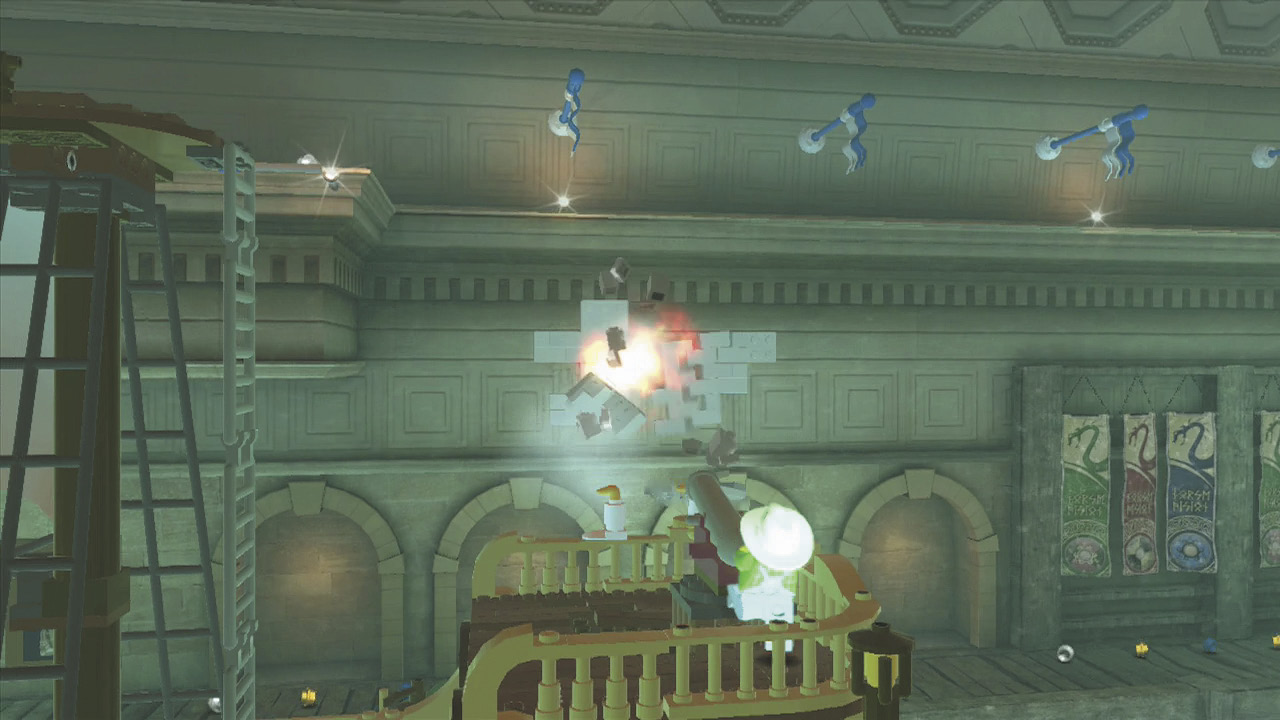 Jump off the pirate ship’s ladder to land near its cannon. Stand behind the cannon and press |
 to fire it at the background wall. You’ll blast free a vehicle token!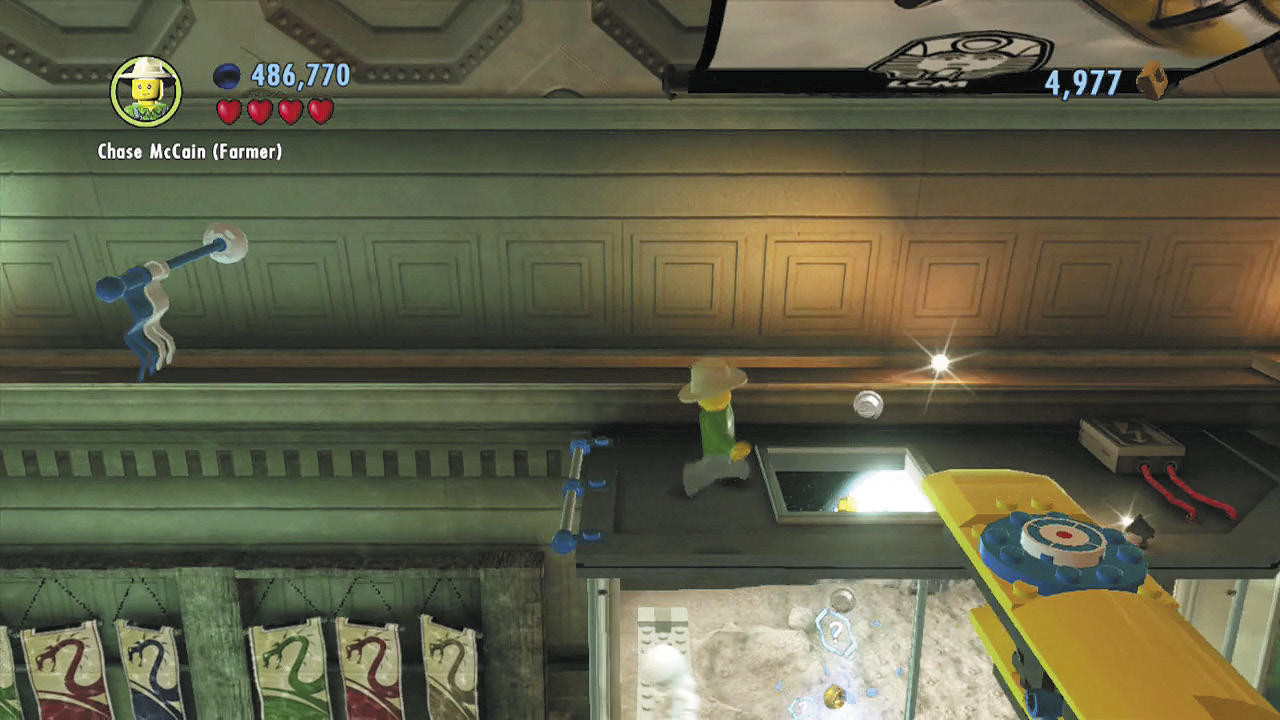
Swing along a series of flagpoles to the right and land atop the space exhibit. Drop through the hole in the roof to enter the exhibit.
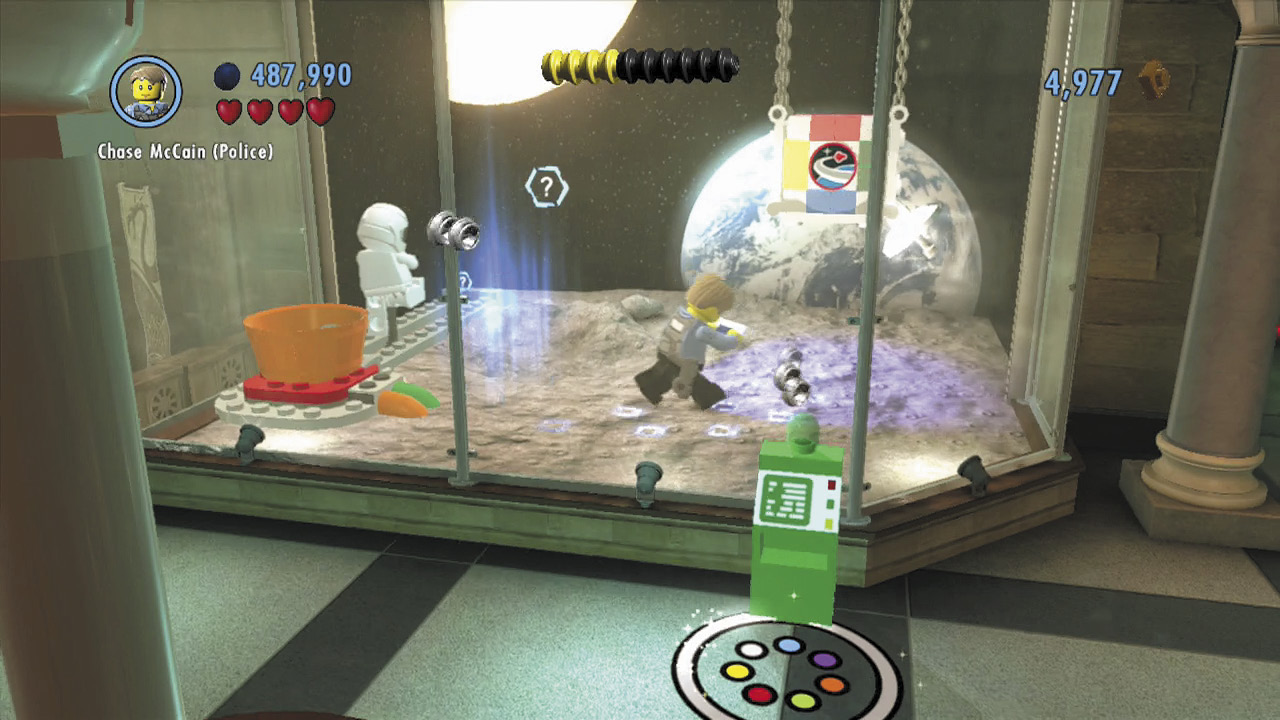
Use the scan spot inside the space exhibit to track down a buried moon rock. Pick up the rock and place it into the nearby basket. The added weight triggers the button beneath the basket, causing a crate to fall nearby.
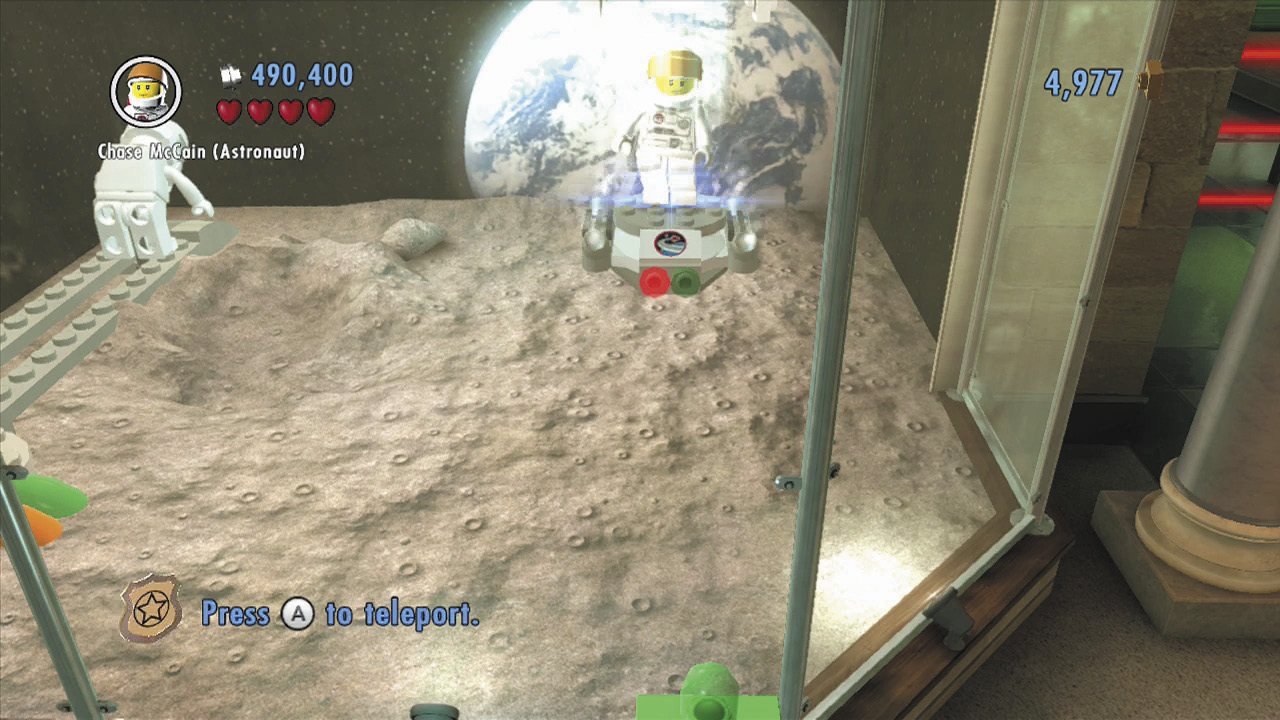
Build the crate’s remains into a transporter pad. Step onto the pad to beam over to the mad scientist exhibit.
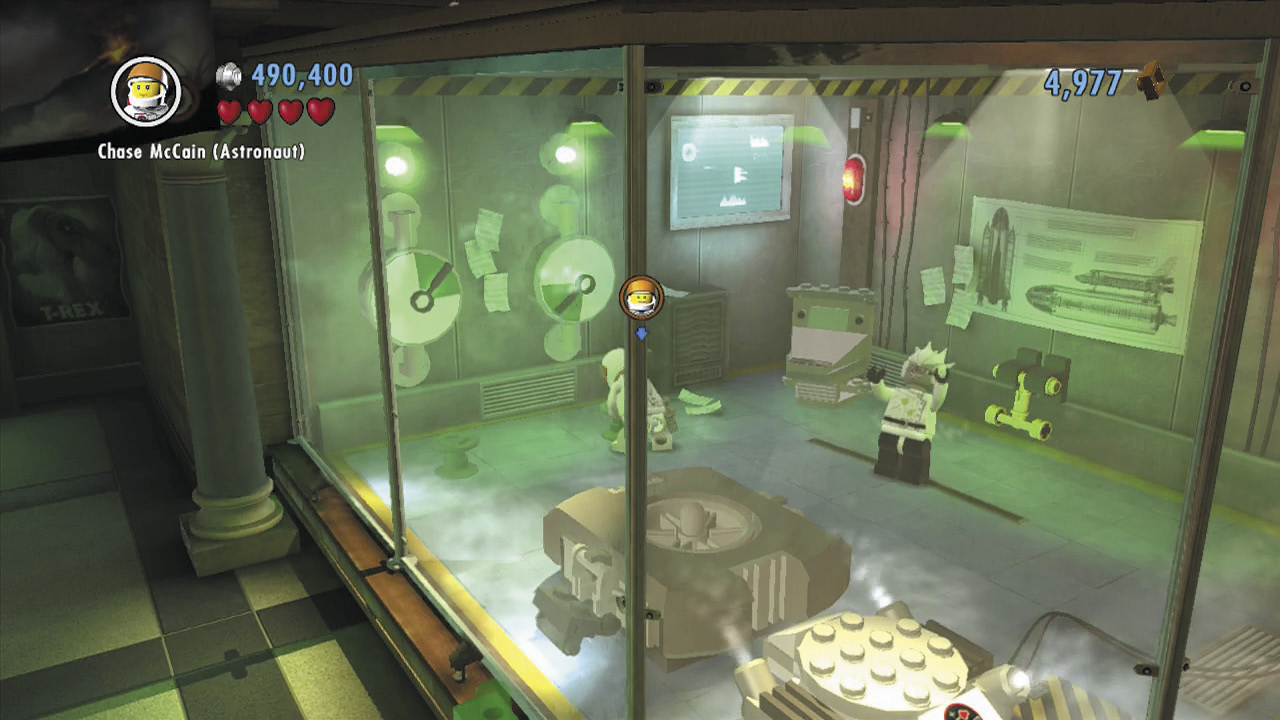
Turn two valves inside the mad scientist exhibit to align the gauges on the wall. Simply turn each valve so that both gauges’ needles land in the green.
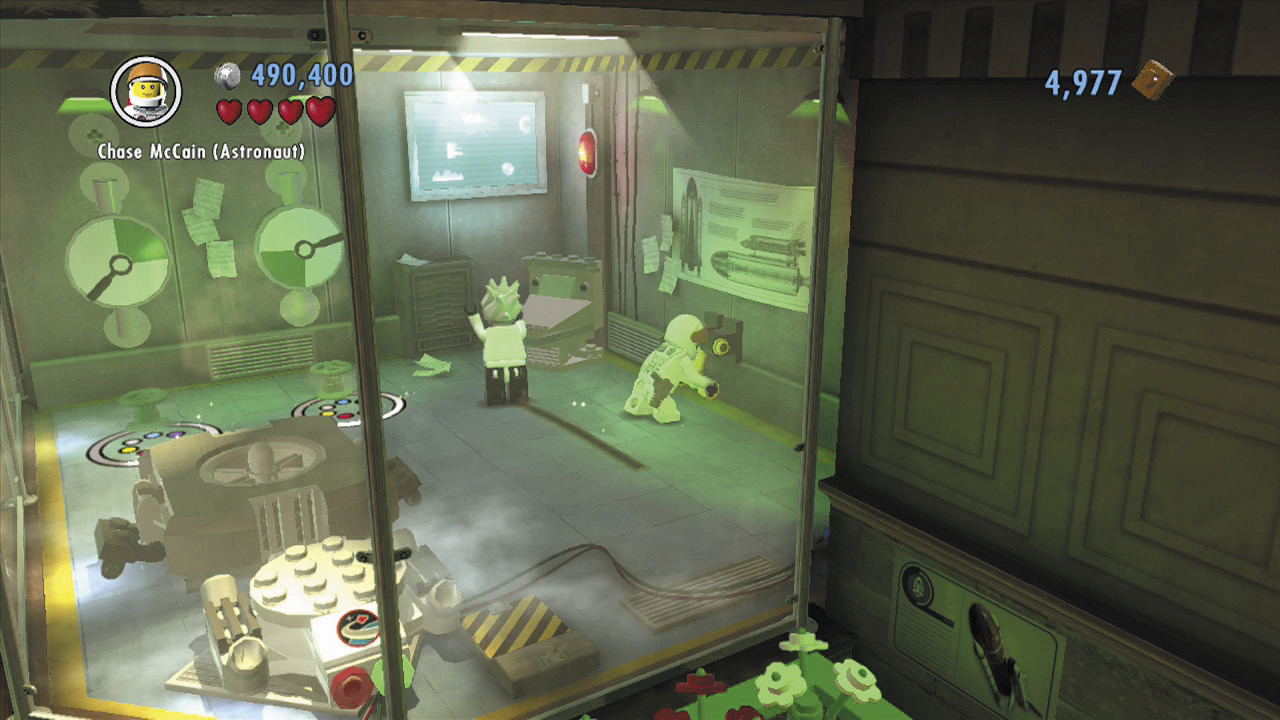
Aligning the gauges activates a nearby floor fan. Before jumping into the updraft, pull the lever on the wall near the mad scientist. This causes a color swapper to appear on a high ledge above you.
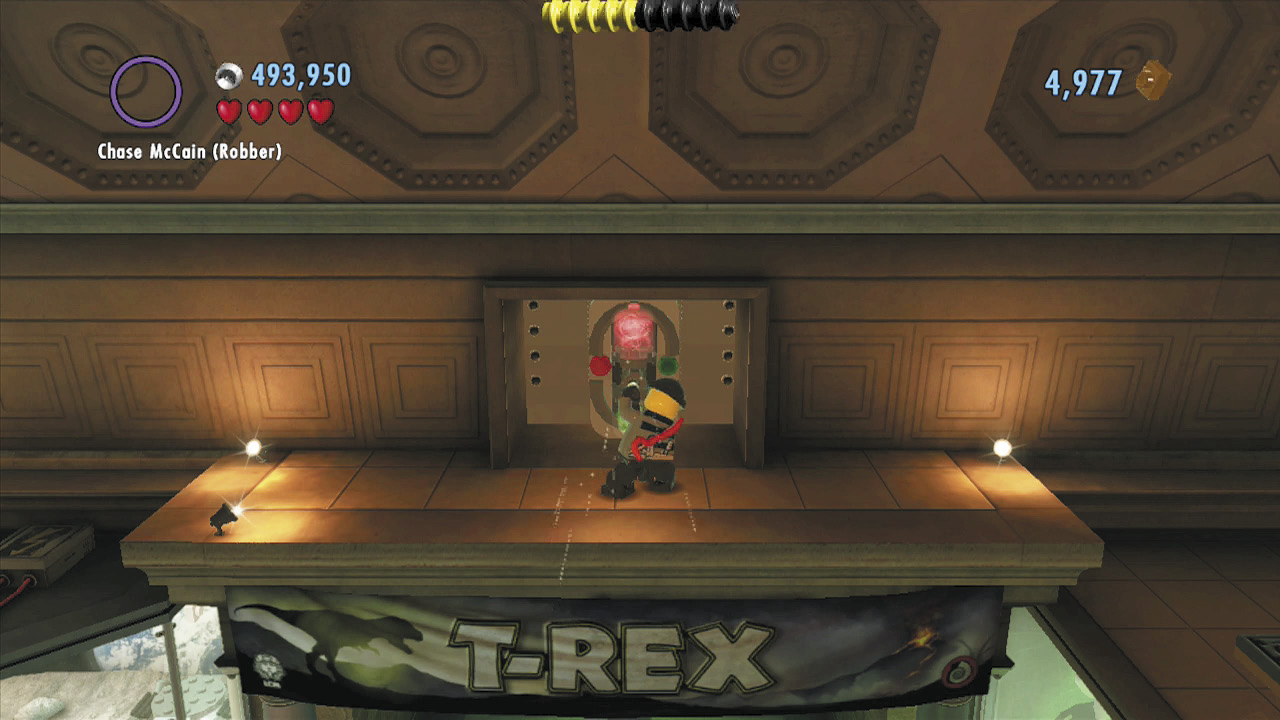
Now jump into the updraft to float through the mad scientist exhibit’s roof. Jump over to the color swapper here, and use it to fill your color gun with red energy.
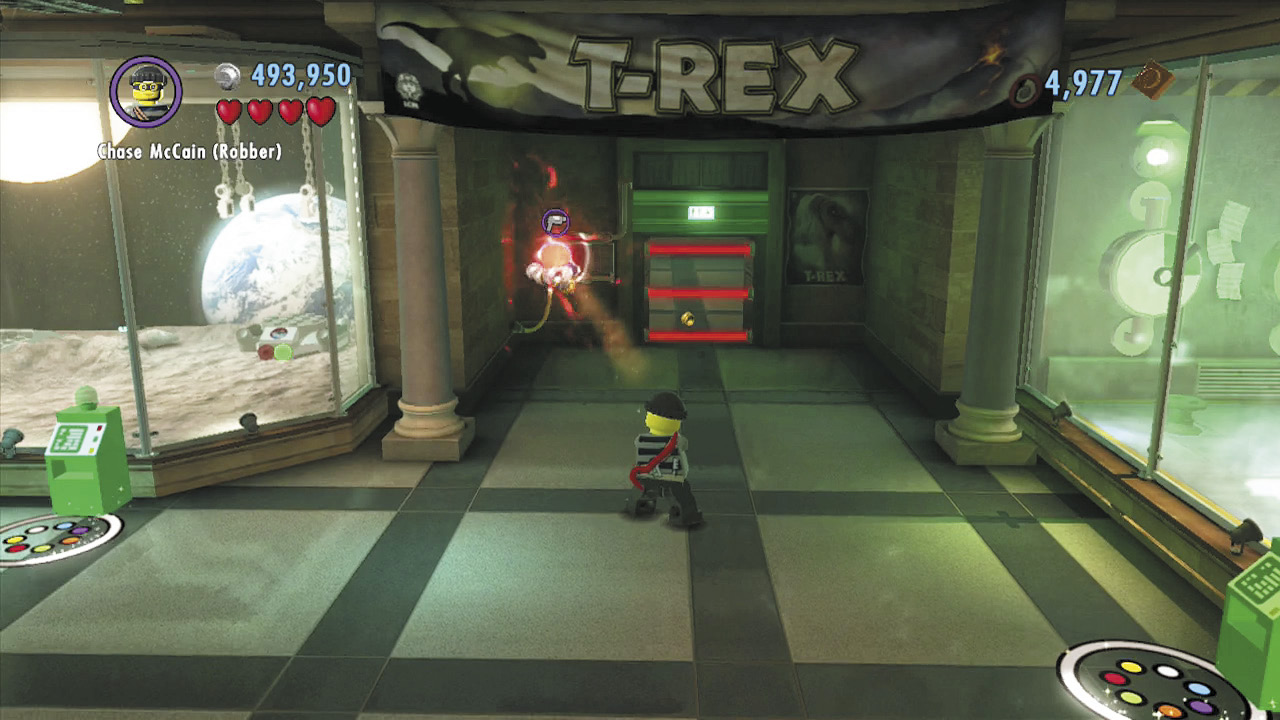
Good work! Now simply drop from the ledge and blast the green switch beyond the red security lasers. This shuts off the lasers, letting you dash through the background hall and enter the museum’s dinosaur exhibit.
Objective: Build the T-Rex
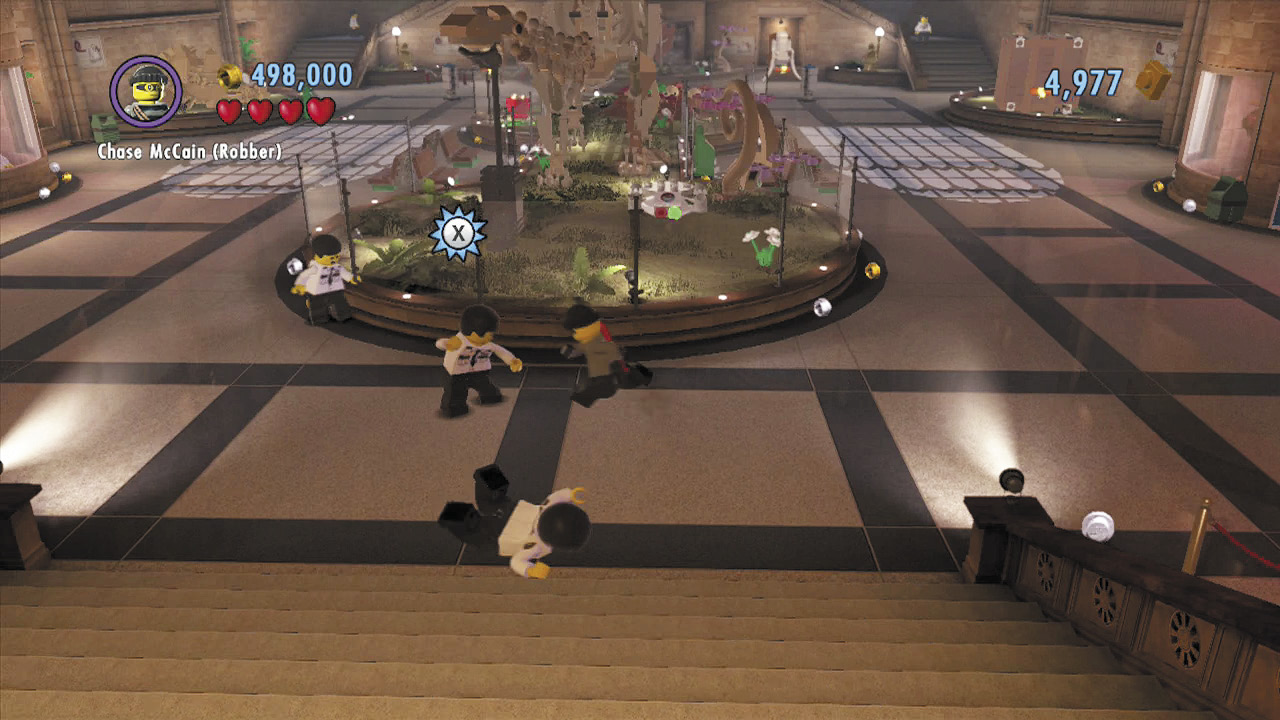
You’ve made it to the dinosaur exhibit, but you must build the T-Rex before you can steal it. This will require 30,000 bricks, and as luck would have it, there are several superbricks located here! Wipe out the first wave of security guards, then begin your search for superbricks.
Security Breach
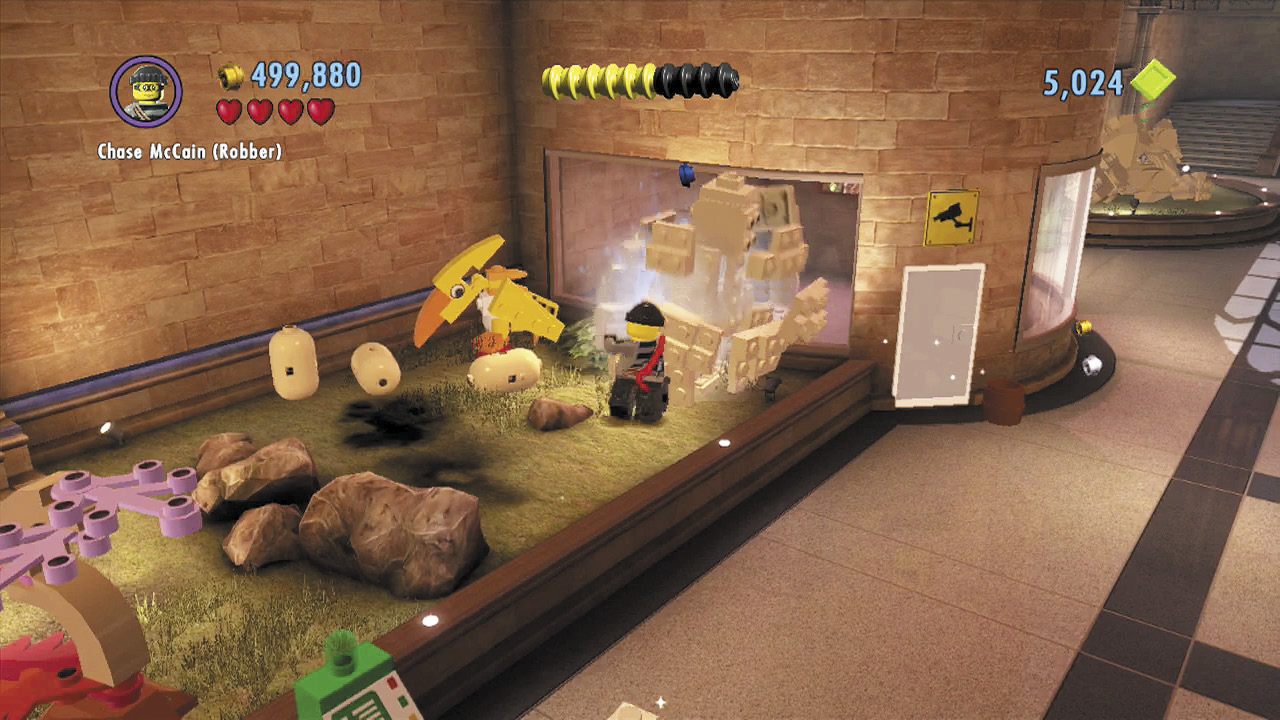
Run to the left and smash the pterodactyl exhibit’s large LEGO egg to discover a scan spot. Follow the footprints over to a patch of soil.
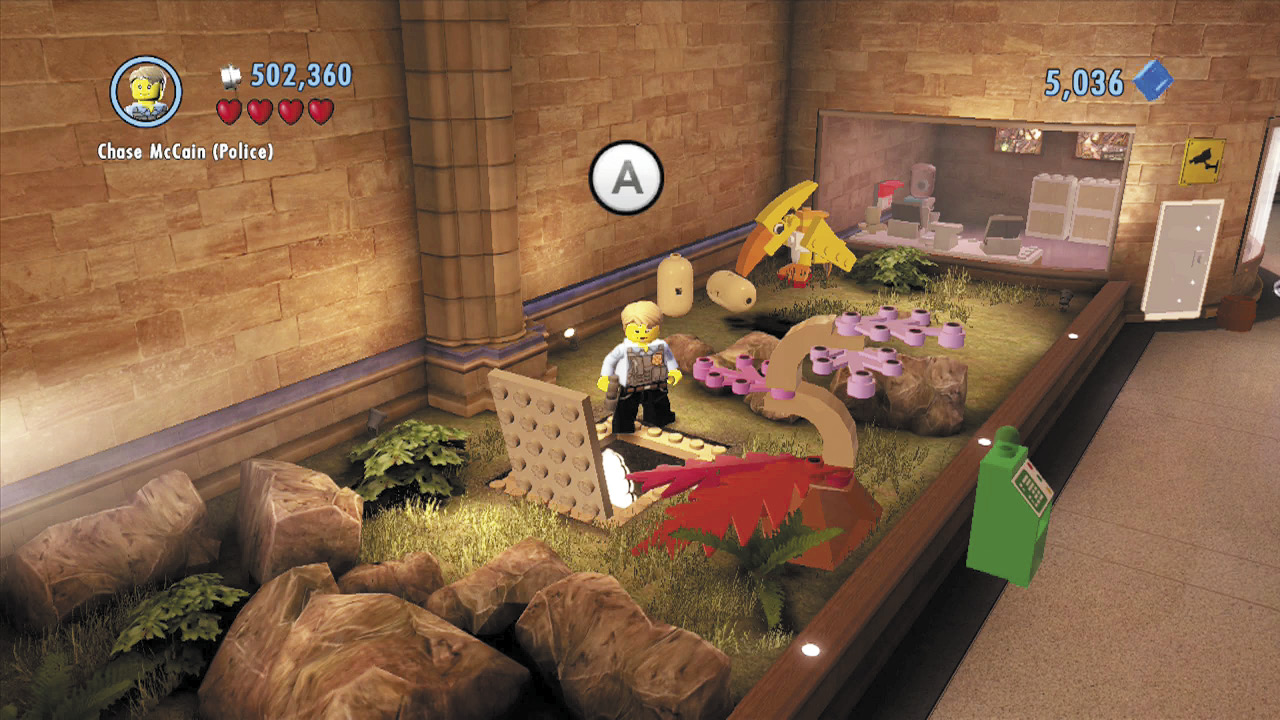
Search the soil to discover a large feather beneath a hatch. How strange!
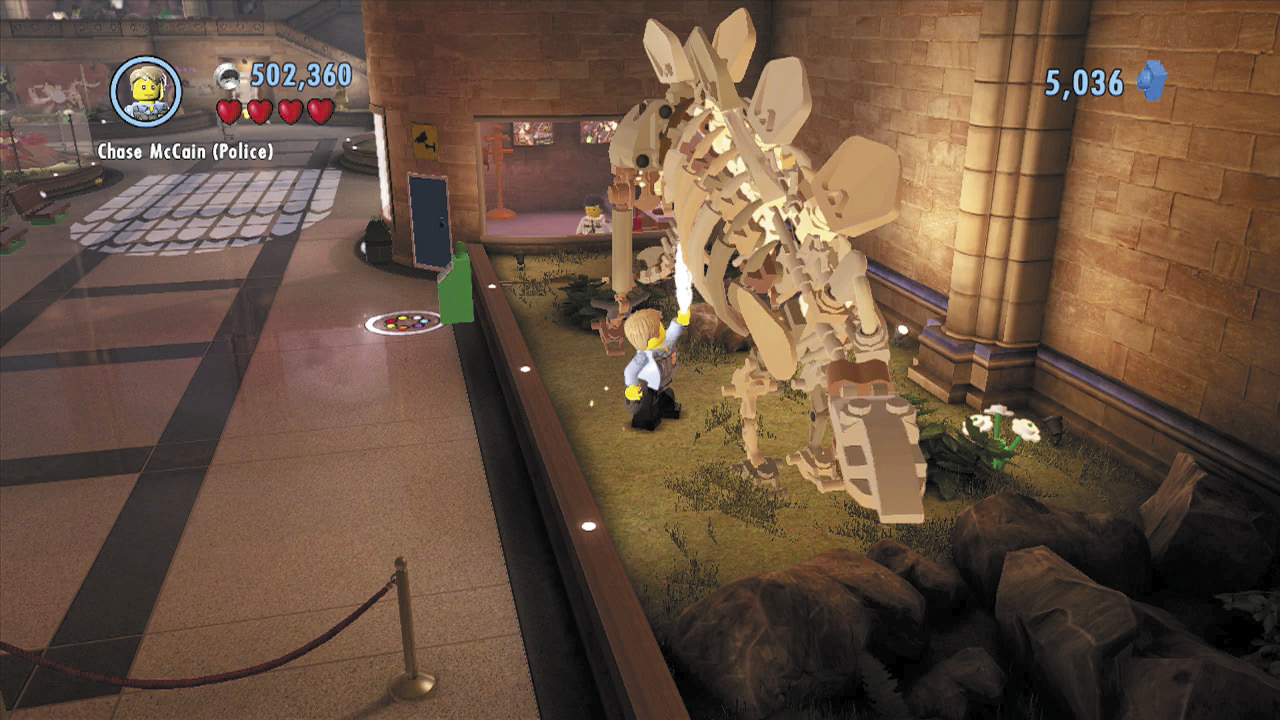
Pick up the feather and carry it over to the stegosaurus exhibit on the right. Stand on the feather symbol beneath the stegosaurus, and press  to tickle the dinosaur with the feather.
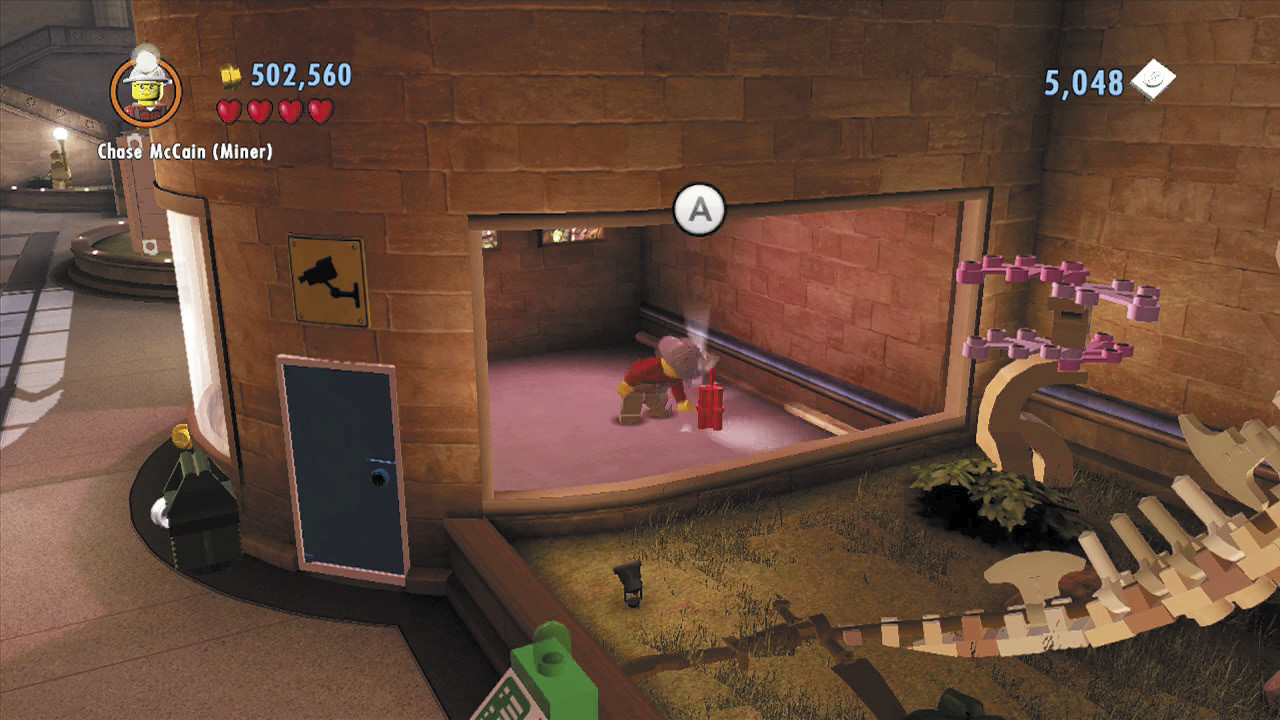
The stegosaurus comes to life, waving its tail and smashing the window of the nearby office. Subdue the security guard who storms out, and enter the office. Collect the dynamite you discover inside.
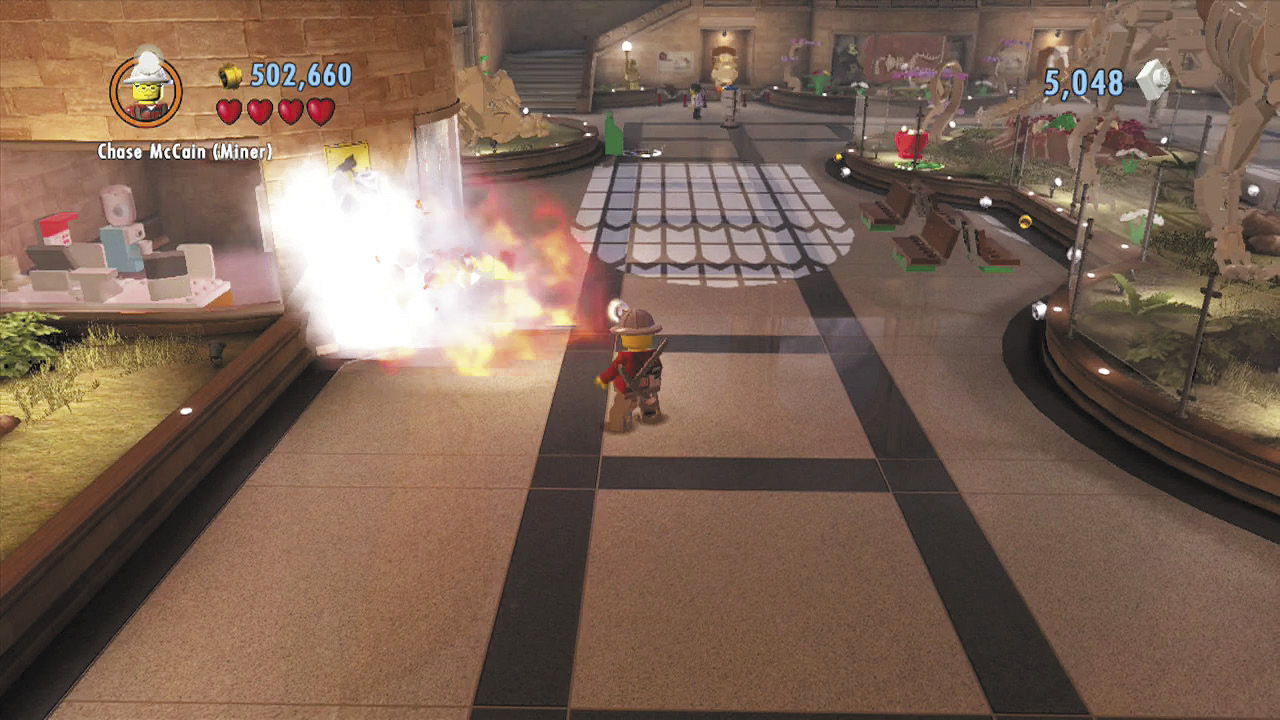
Carry the dynamite over to the right, and use it to blast the silver door of the security office near the pterodactyl exhibit. Defeat the guard and use the control panel to open all of the exhibits on the second floor.
Free PlayPolice Shield Piece 3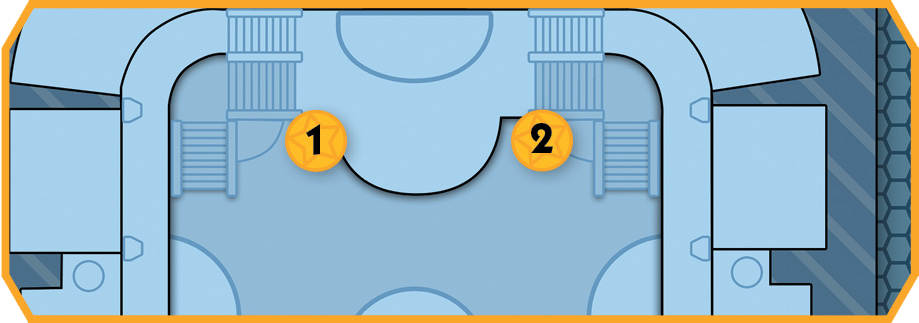 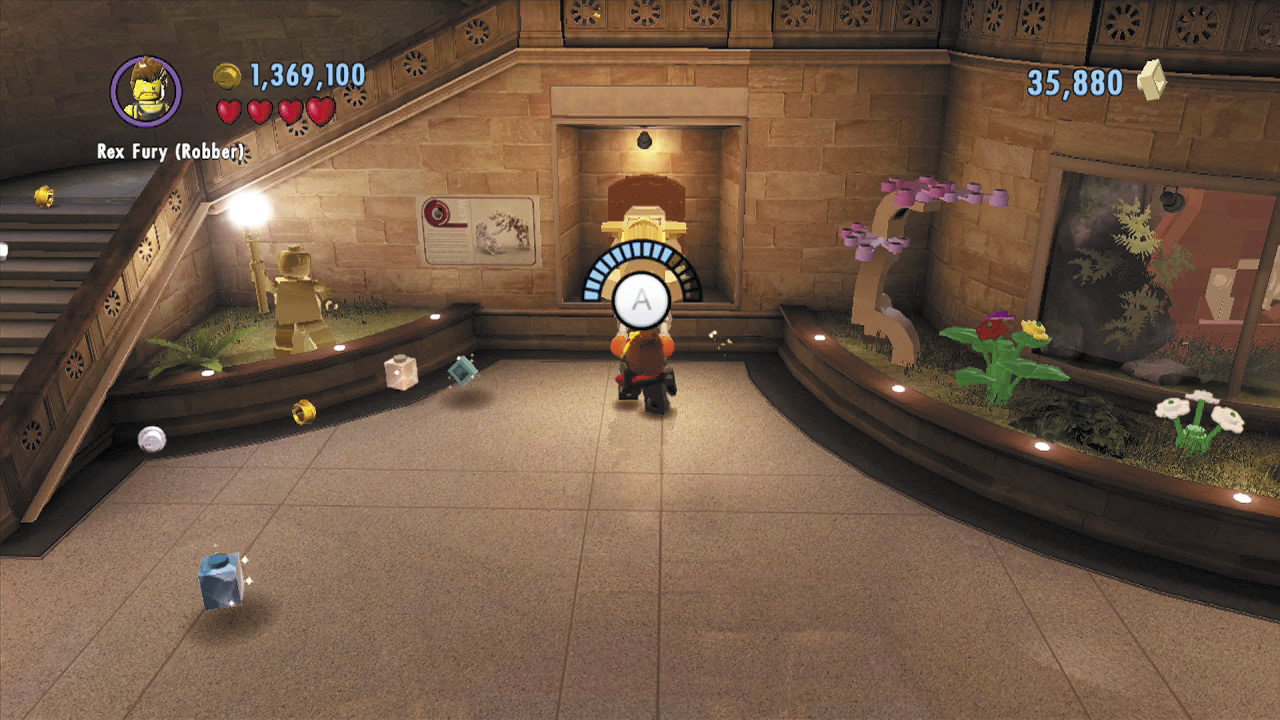 During Free Play, use Rex Fury to pull the two super-strength handles near the background stairs. Rip both handles from the wall to pull out a shield piece! |
Free PlayCharacter Token 2: Caveman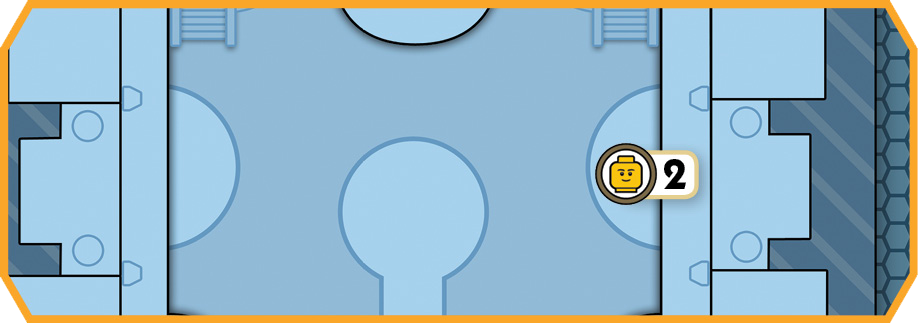 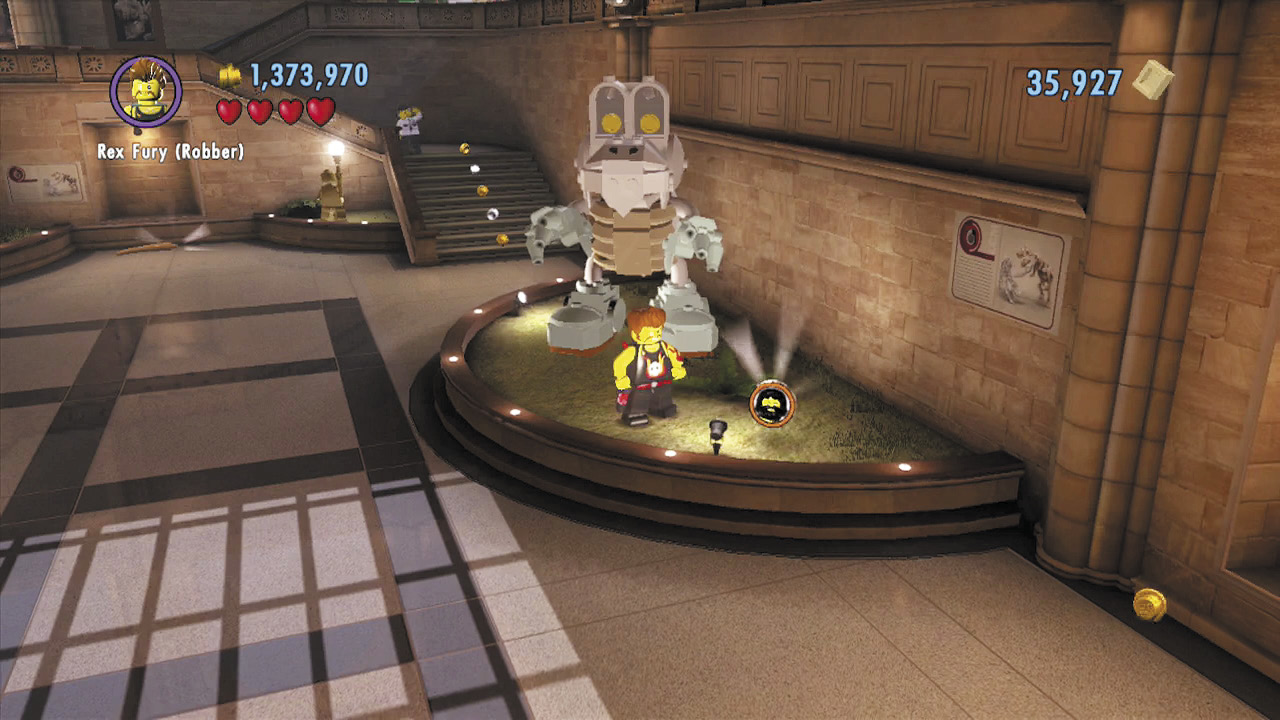 Put Rex Fury’s muscles to use again and rip apart the super-strength crate on the right. Build the bricks you discover into a model of Dry Bones, and a character token will appear nearby! |
Superbrick Roundup
Nice work! Now it’s time to hunt for superbricks. There are four interactive exhibits around the upper floor—the first three you solve will reward you with large superbricks, while the fourth exhibit you solve will reward you with a collectible shield piece. Good stuff!
Exhibit 1: Totem Poles
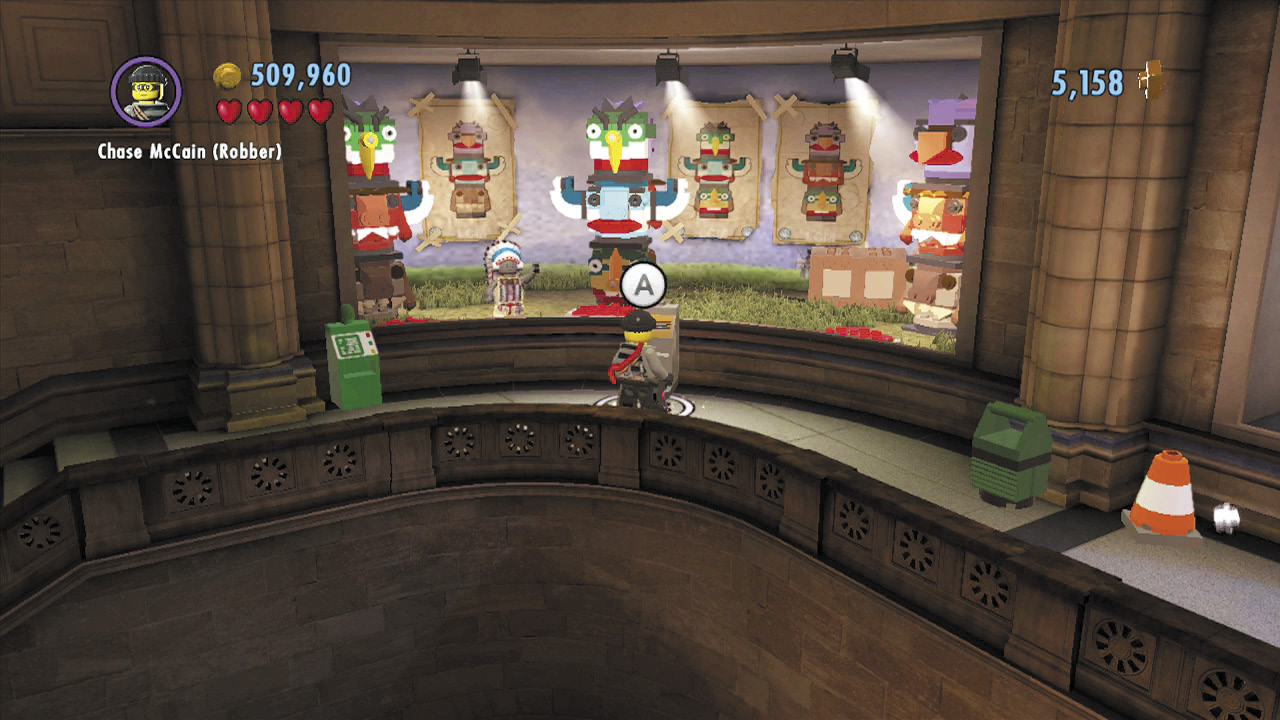
Let’s begin with the totem pole exhibit. Head upstairs and go right. Use the control panel in front of the totem pole exhibit to spin its three totem poles.
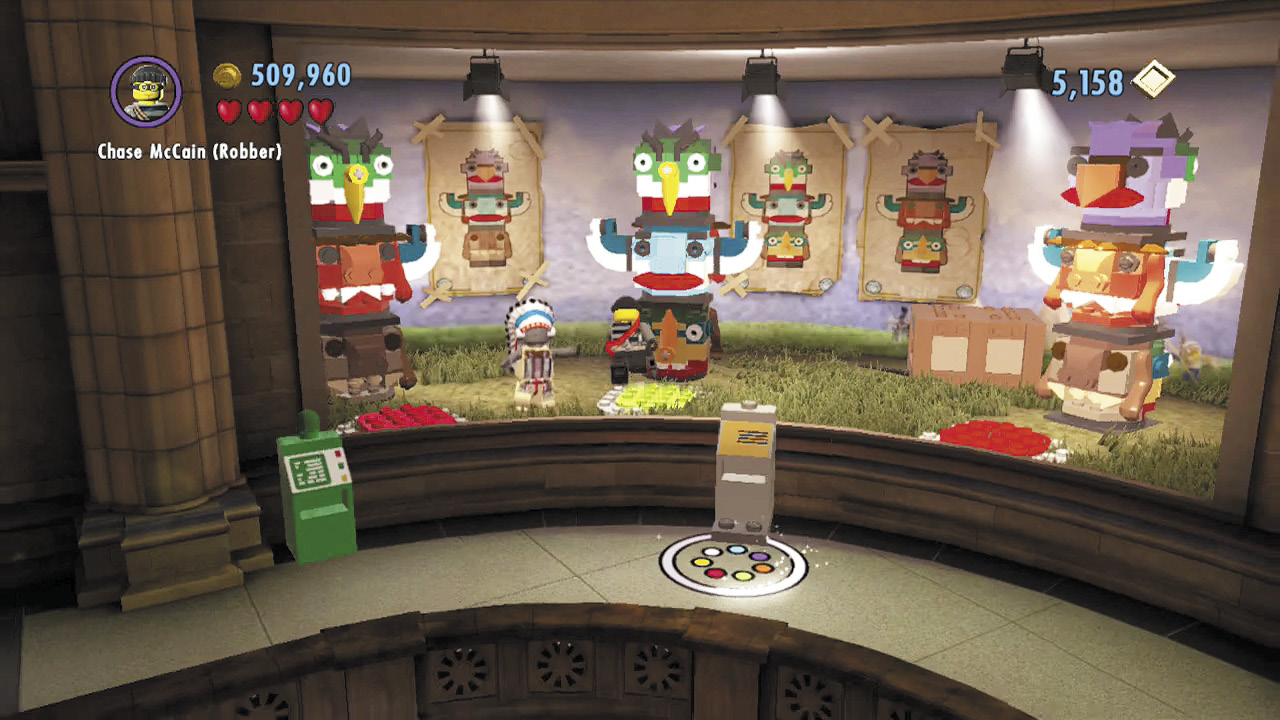
Pay attention to the posters on the background wall. Whenever a totem pole spins and matches the poster behind it, enter the exhibit and step on the red button in front of the totem pole to lock it in place. Now the totem pole won’t spin when you use the control panel again!
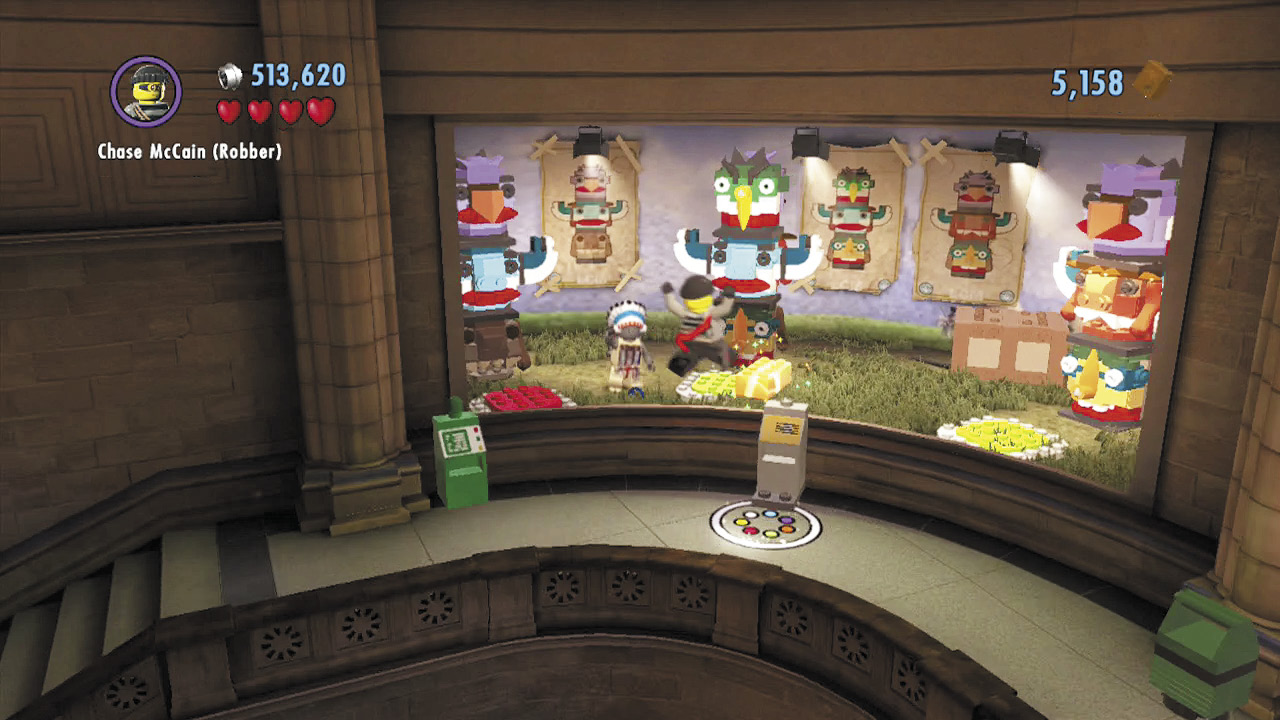
Just keep spinning the totem poles and locking them in place until you match all three up to the background posters. Once you properly align all three totem poles, your prize will appear! Enter the exhibit and grab it.
Free PlayVehicle Token 2: Silversmith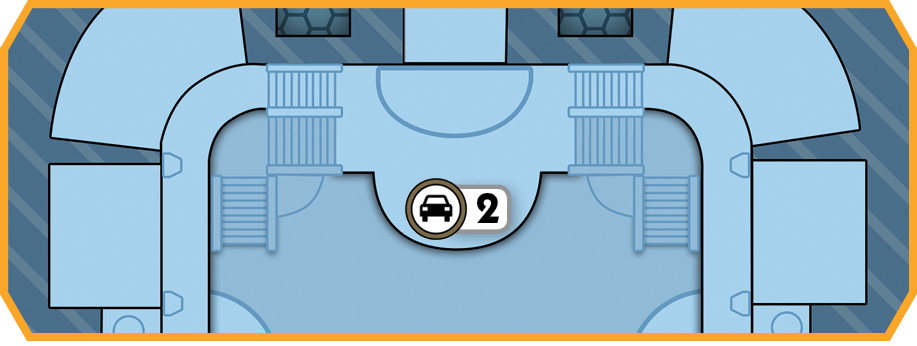 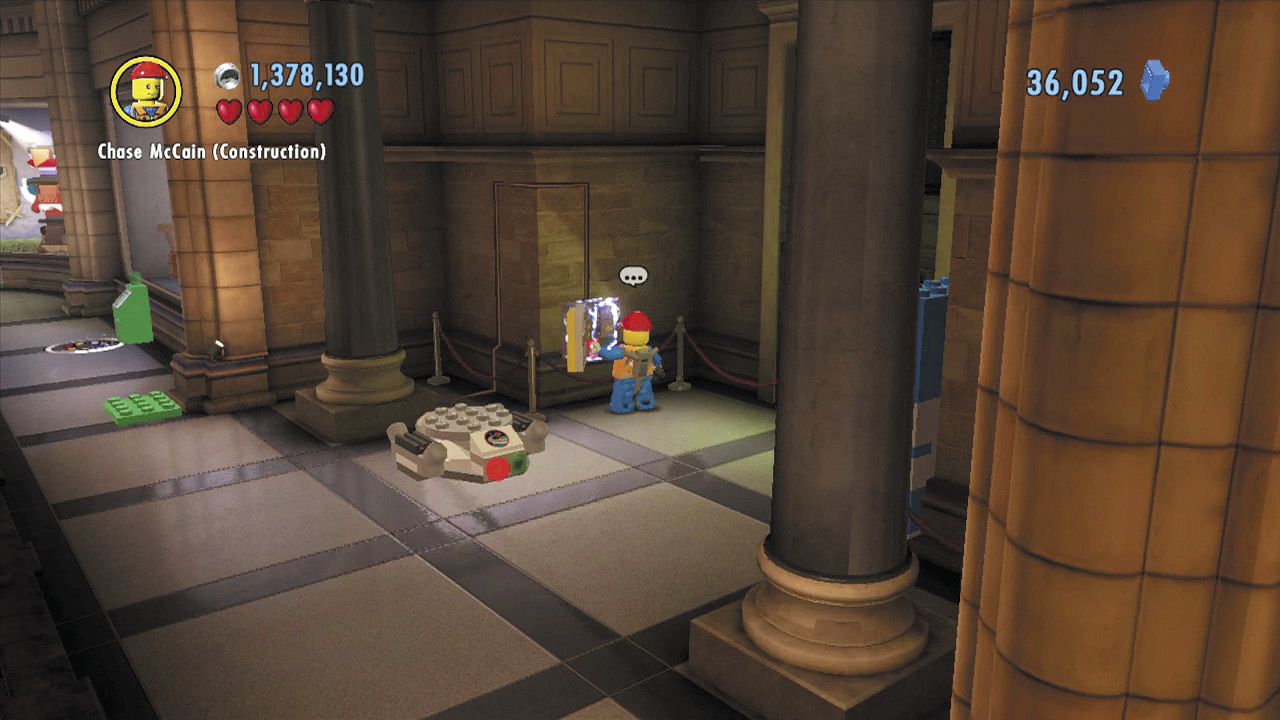 Toggle to the construction worker and fix the fuse box to the right of the totem pole exhibit. This powers up a nearby transporter pad. Use the pad to beam down to the central brontosaurus exhibit. 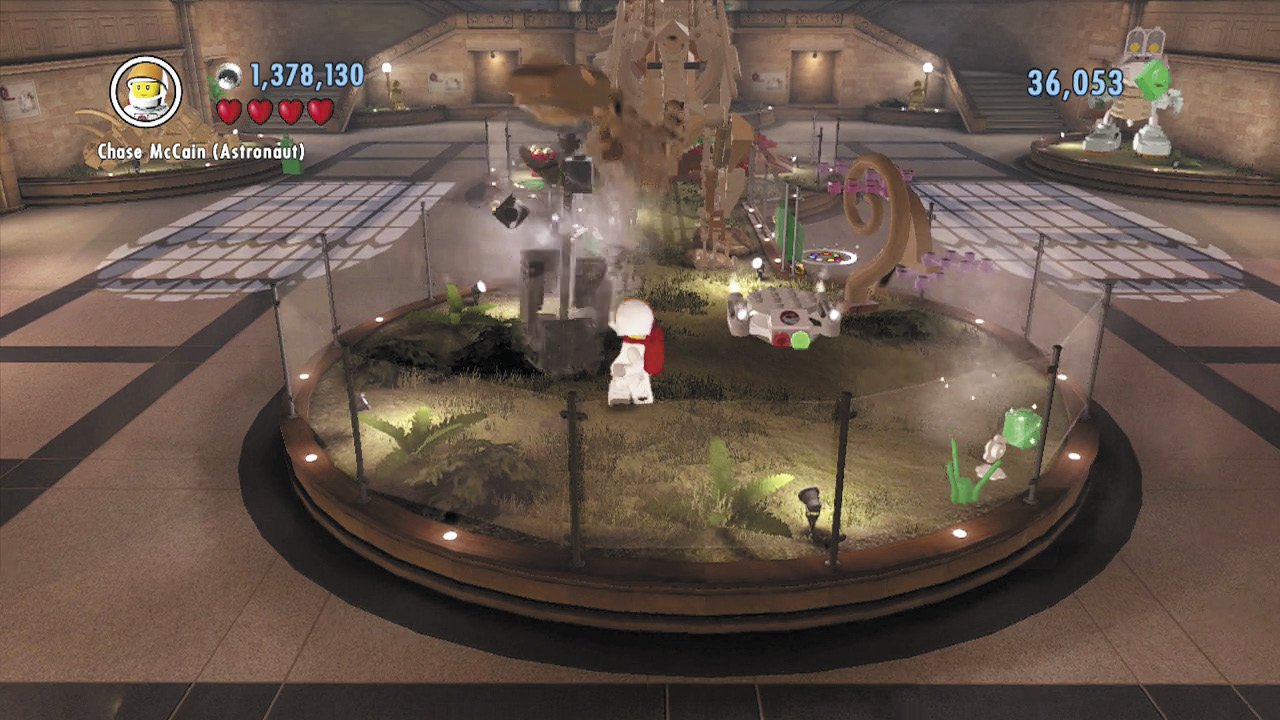 Smash the pole that’s supporting the brontosaurus’s mighty tail, and the tail will collapse to the floor. Now you can run up the tail and reach the brontosaurus’s back! 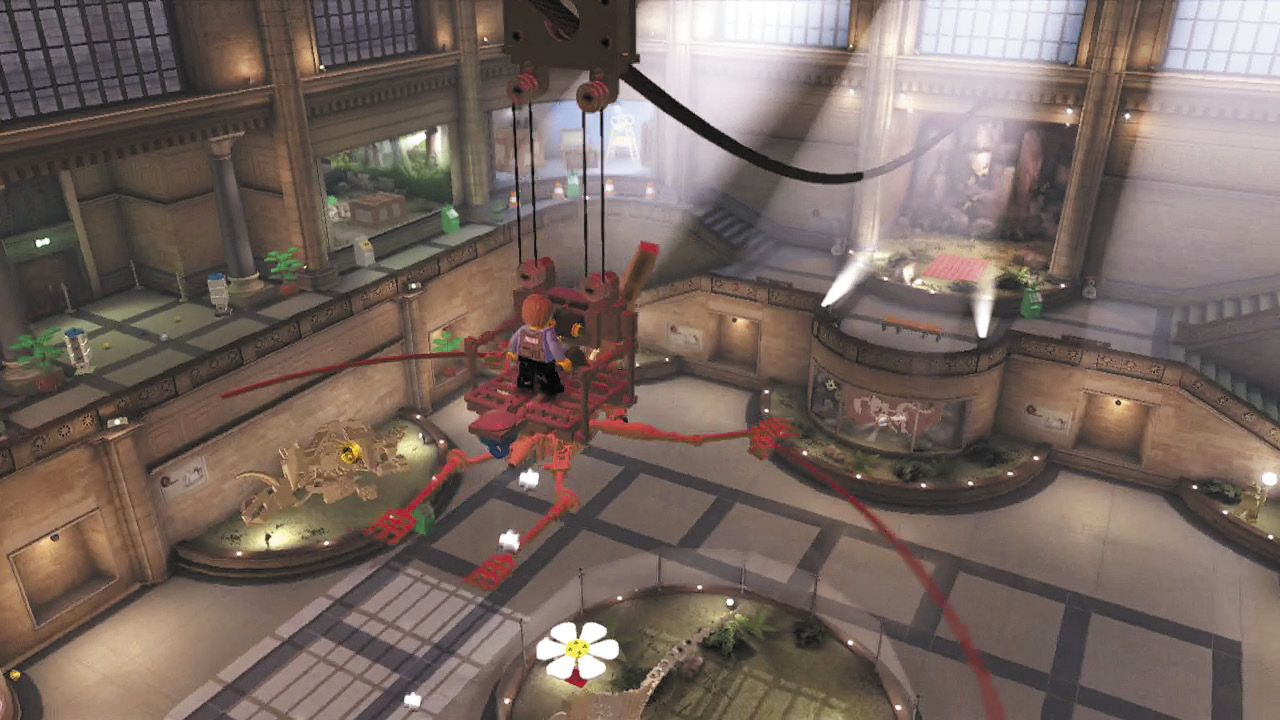 Run up the tail and grapple the overhead pterodactyl. Chase zips up onto the pterodactyl’s back. Press 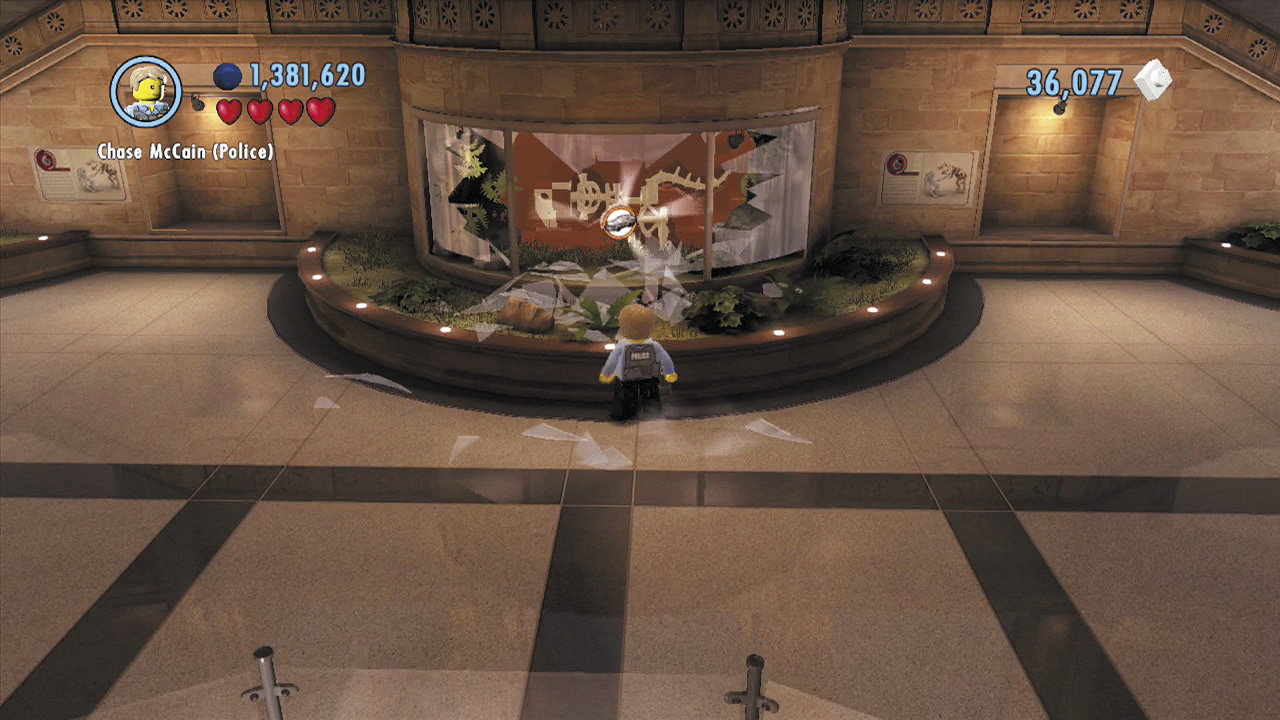 Drop down to the shattered display case and collect the vehicle token that’s now within your grasp. Sweet! |
 to pull a lever that sends the creature flying toward a glass display case below.
Exhibit 2: Sphinx
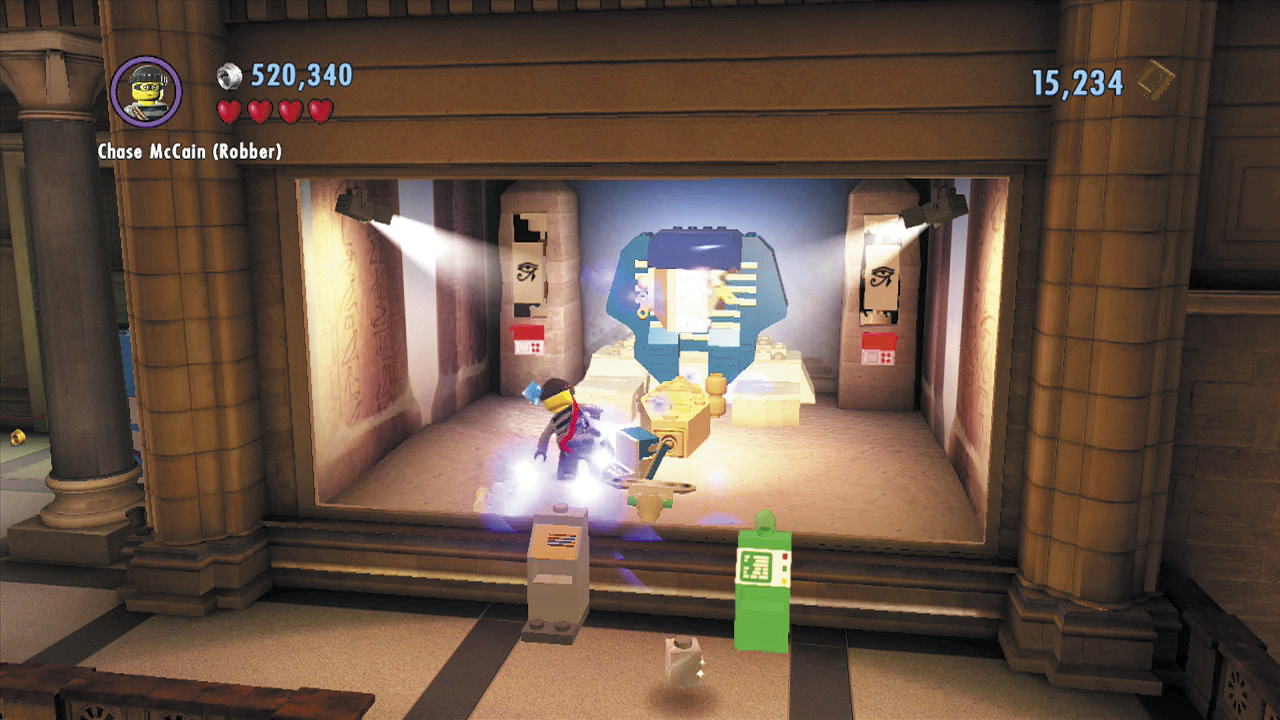
Follow the right balcony to its end to locate the sphinx exhibit. Smash the crate here to find some bricks. Build these to complete the sphinx.
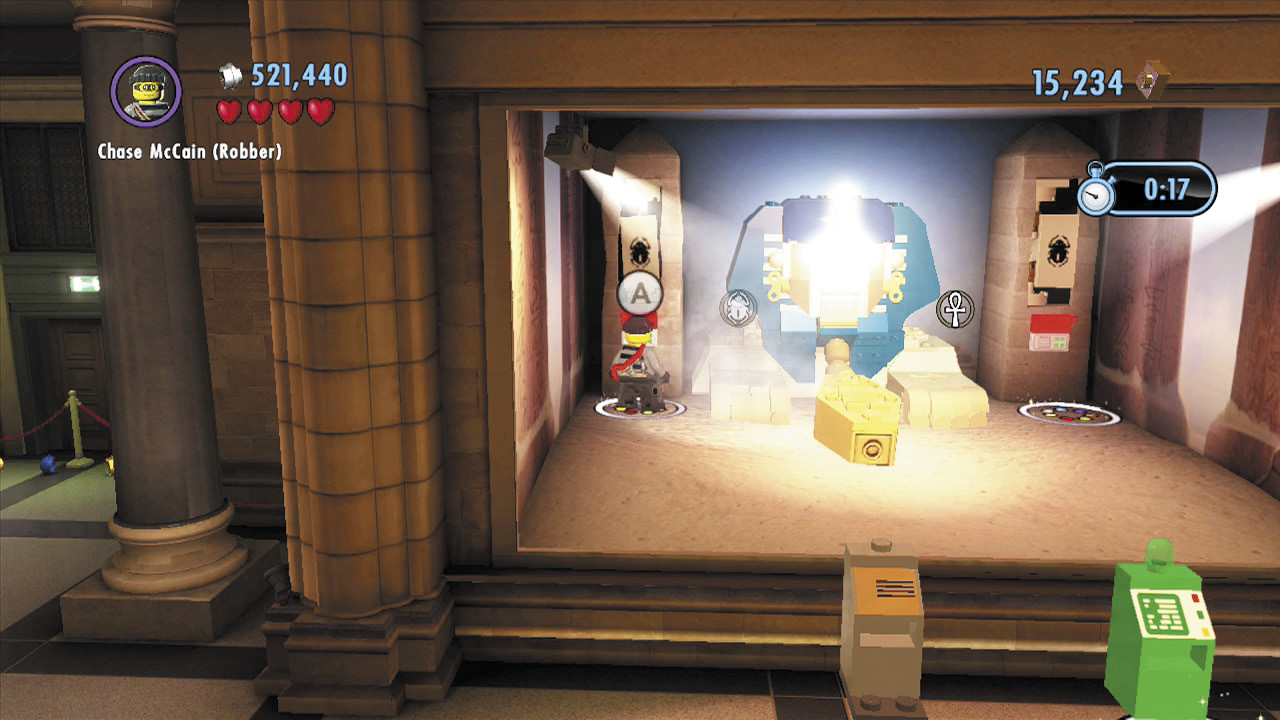
Step outside and use the control panel to activate the sphinx exhibit. Two hovering symbols appear over the sphinx’s paws, and a timer starts ticking down. Quickly enter the exhibit again and use the control panels on either side of the sphinx to cycle through the symbols on the walls. Match these symbols to the two above the sphinx’s paws to receive your reward!
Exhibit 3: The Archer
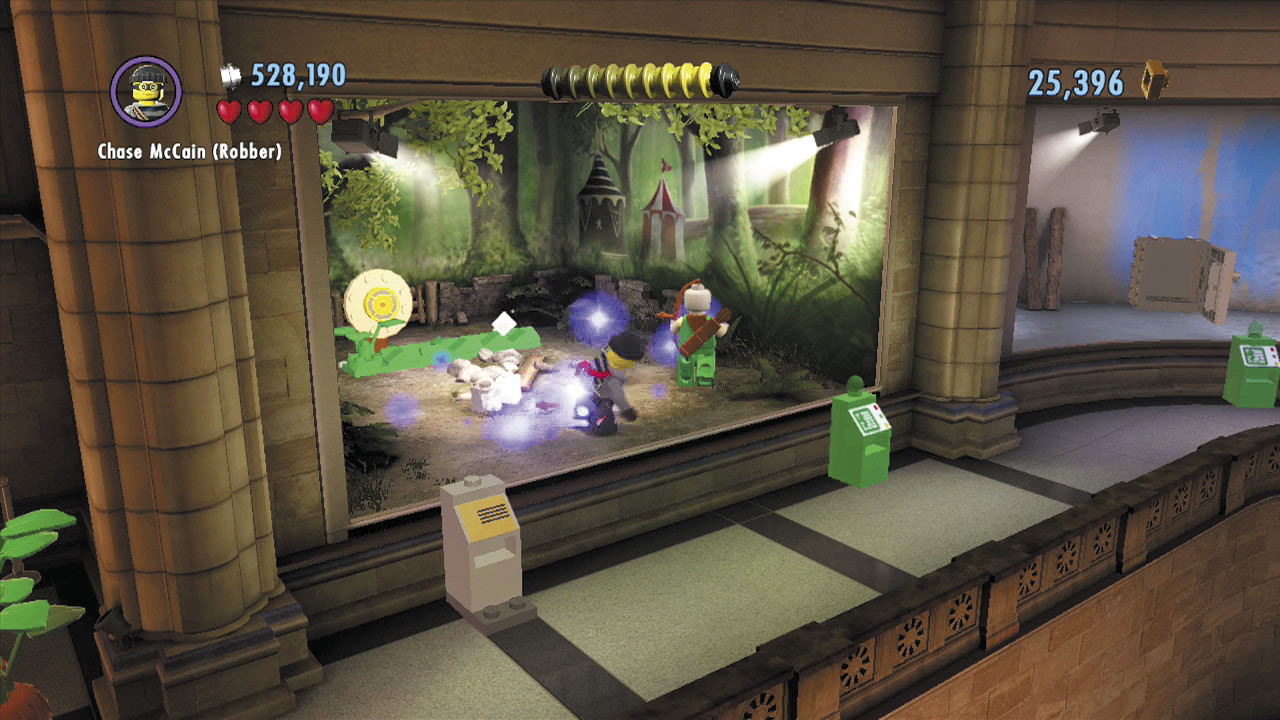
Backtrack and run past the T-Rex pad, heading for the exhibits on the left balcony. Ignore the first, unfinished exhibit and smash the crate in the next one to discover some bricks. Build these into a statue of an archer.
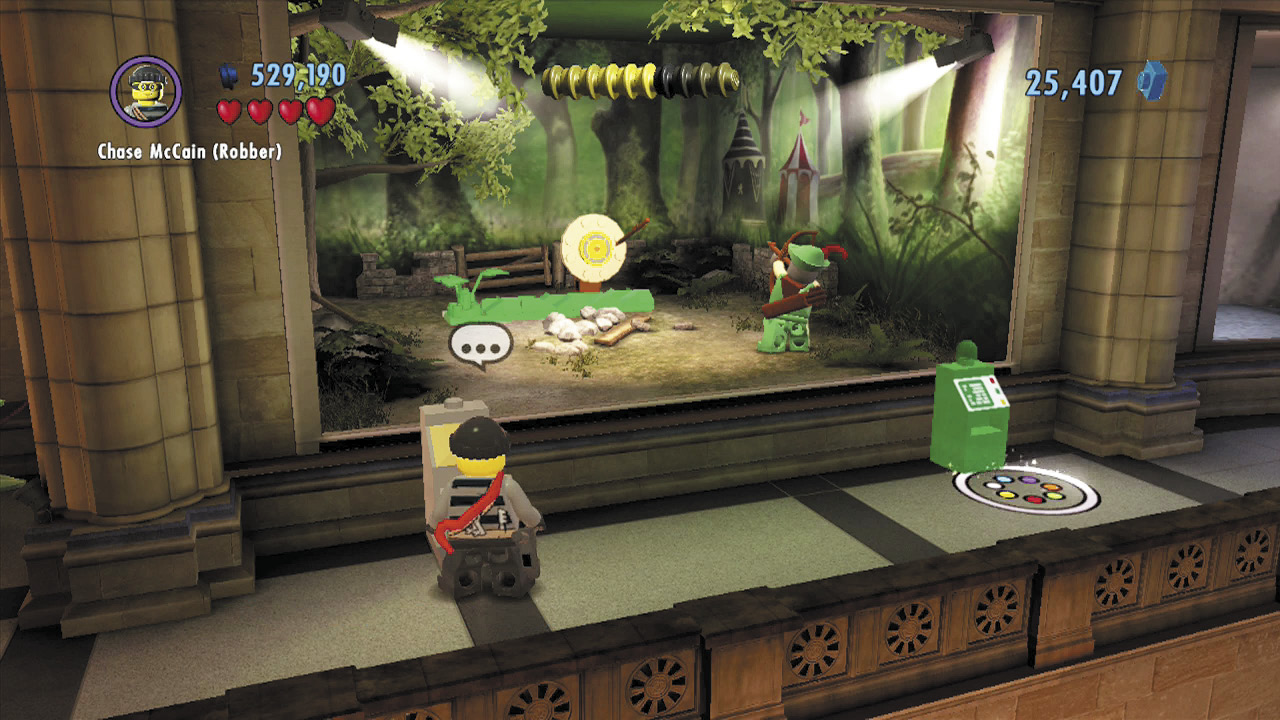
Once you build the archer, the exhibit’s background target begins moving back and forth along a track. Use the control panel to make the archer fire his arrow at the target while the target is over to the right. Score the bull’s-eye to make your prize materialize!
Free PlayRed Brick: Super Break and Enter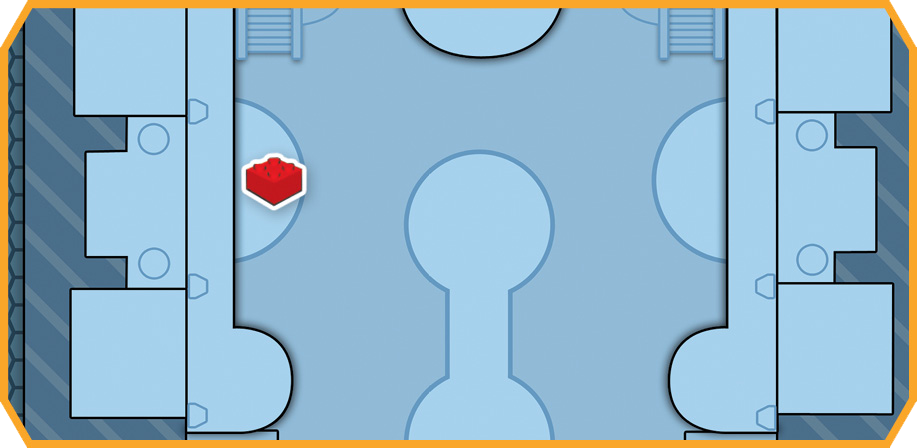 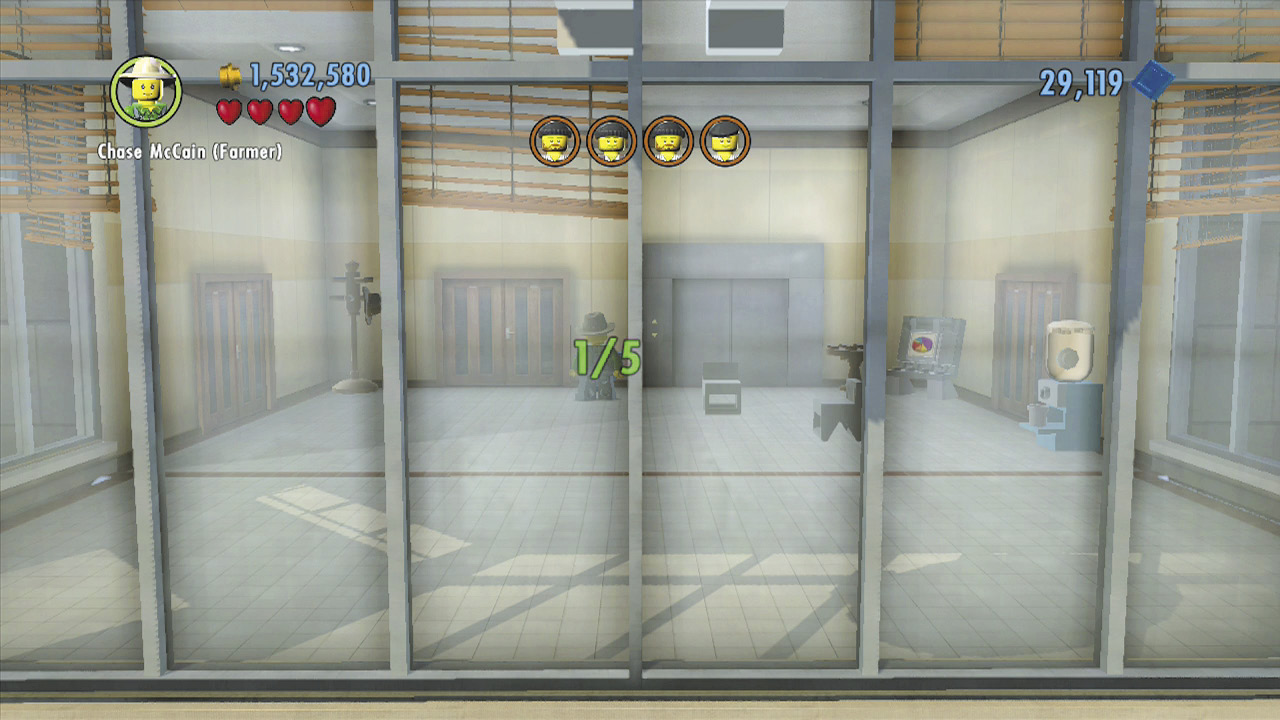 Use Rex Fury to rip apart the super-strength crates inside the unfinished exhibit to the left of the T-Rex pad. Pick up the curious object you discover and carry it downstairs, placing it onto the triceratops exhibit. Use Rex Fury again to pull the two background strength handles (if you haven’t already). You’ll discover another two pieces of the triceratops exhibit. Place all three missing pieces onto the triceratops to make it whole. The great beast roars to life, and you’re rewarded with a red brick! |
Exhibit 4: Cavemen
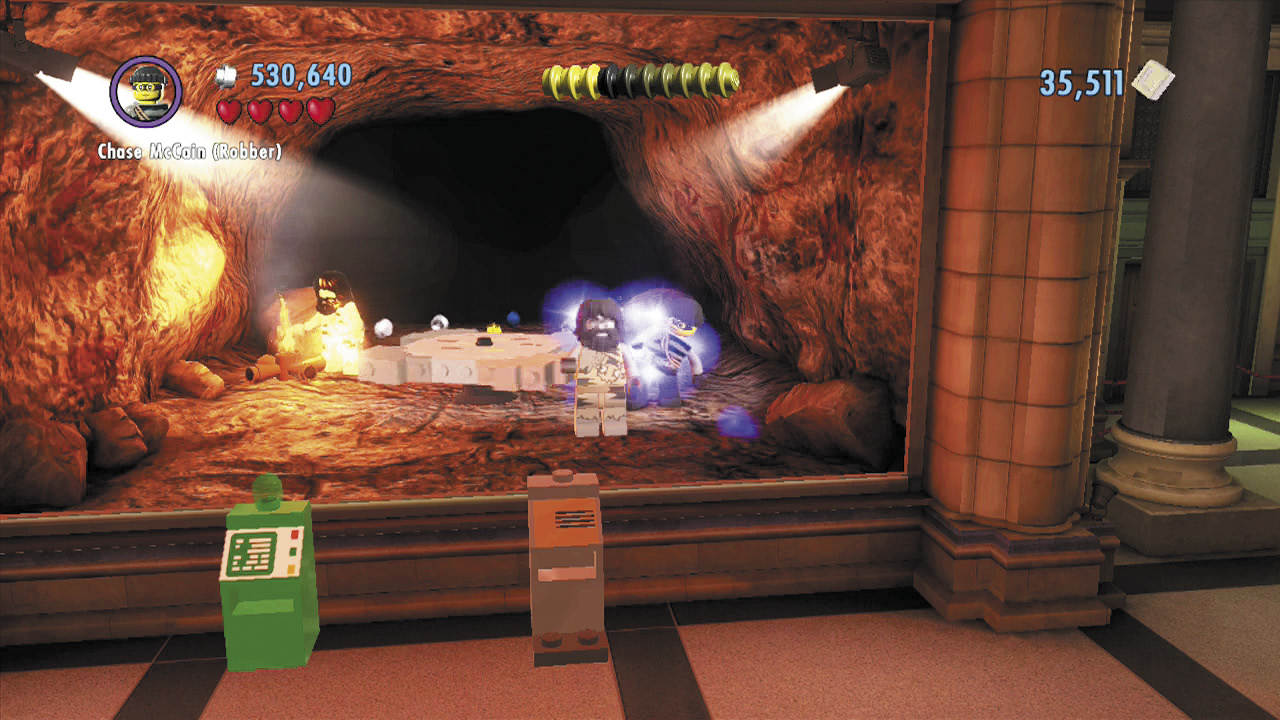
Head to the end of the left balcony to locate the caveman exhibit. Smash a crate here to find some bricks. Build these into a club-wielding caveman statue.
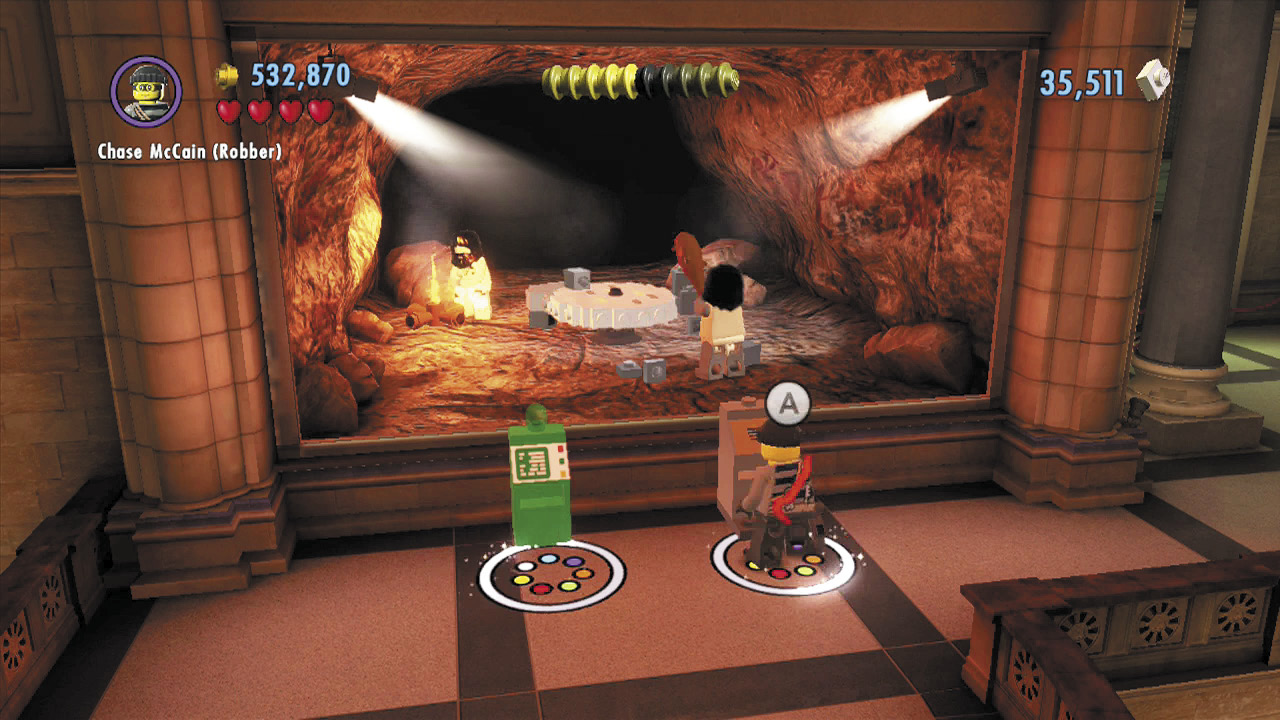
Use the exhibit’s control panel to make the caveman statue swing his club. Smash the four rough edges of the spinning wheel with the caveman’s club to help him “discover” the wheel. More importantly, you’ll discover a valuable prize!
Police Shield Piece 4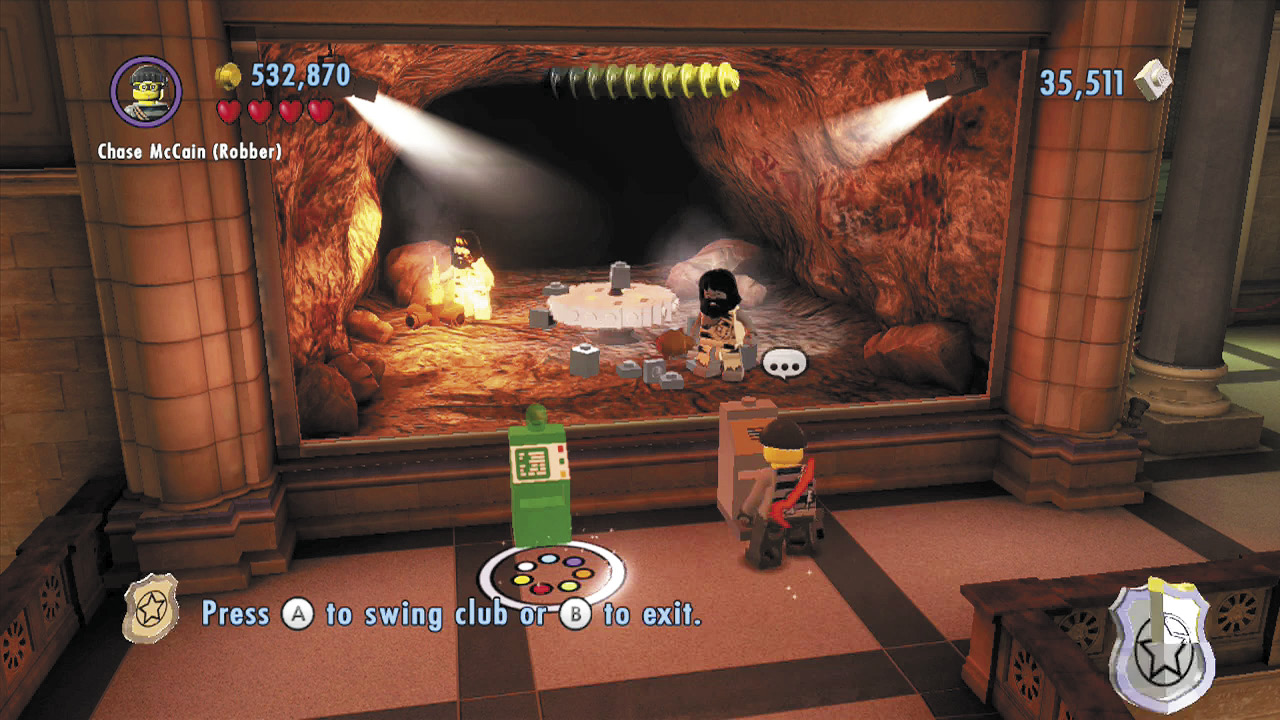 Find the final shield piece by solving all of the exhibits around the museum’s upper balcony. The first three exhibits you solve reward you with superbricks, but the final exhibit you solve gives you a shield piece! Because this shield piece could come from any exhibit, we haven’t labeled it on the maps. |
Do the Dinosaur
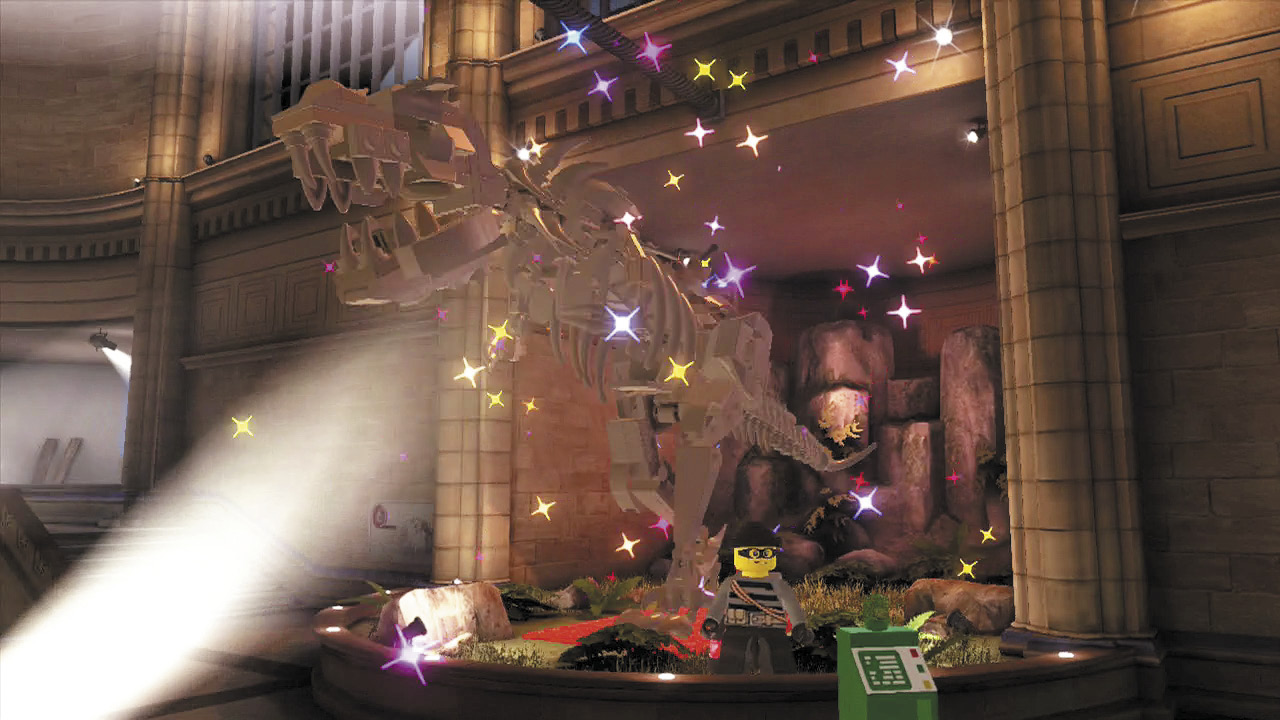
You should now have plenty of bricks, so head on over to the superbuild pad. Stand on the pad and spend 30,000 bricks to build the T-Rex. Chase then hops onto the mechanical monster and smashes his way out of the museum.
City Exploration
Objective: Deliver the T-Rex to the Airport
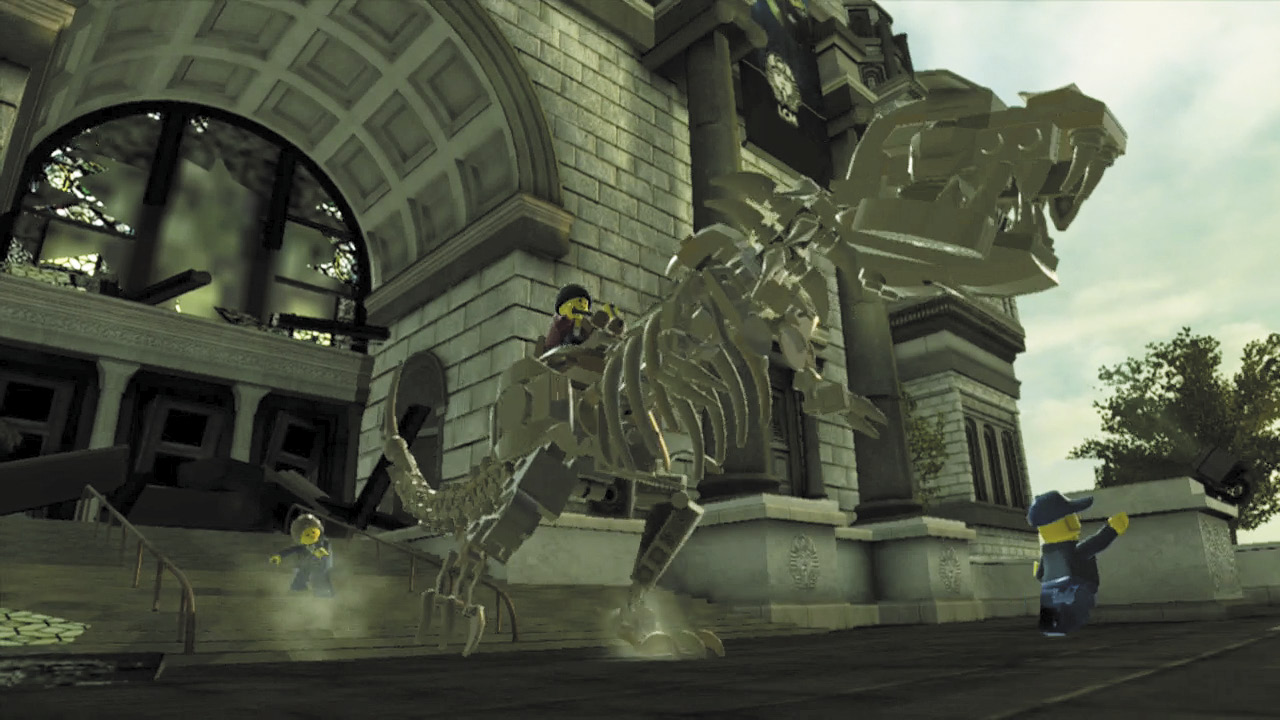
Chase has succeeded in stealing the T-Rex for Vinnie, but he still needs to deliver the mechanical monster to the drop-off point at the airport. Storm through the streets and follow those green studs without delay!
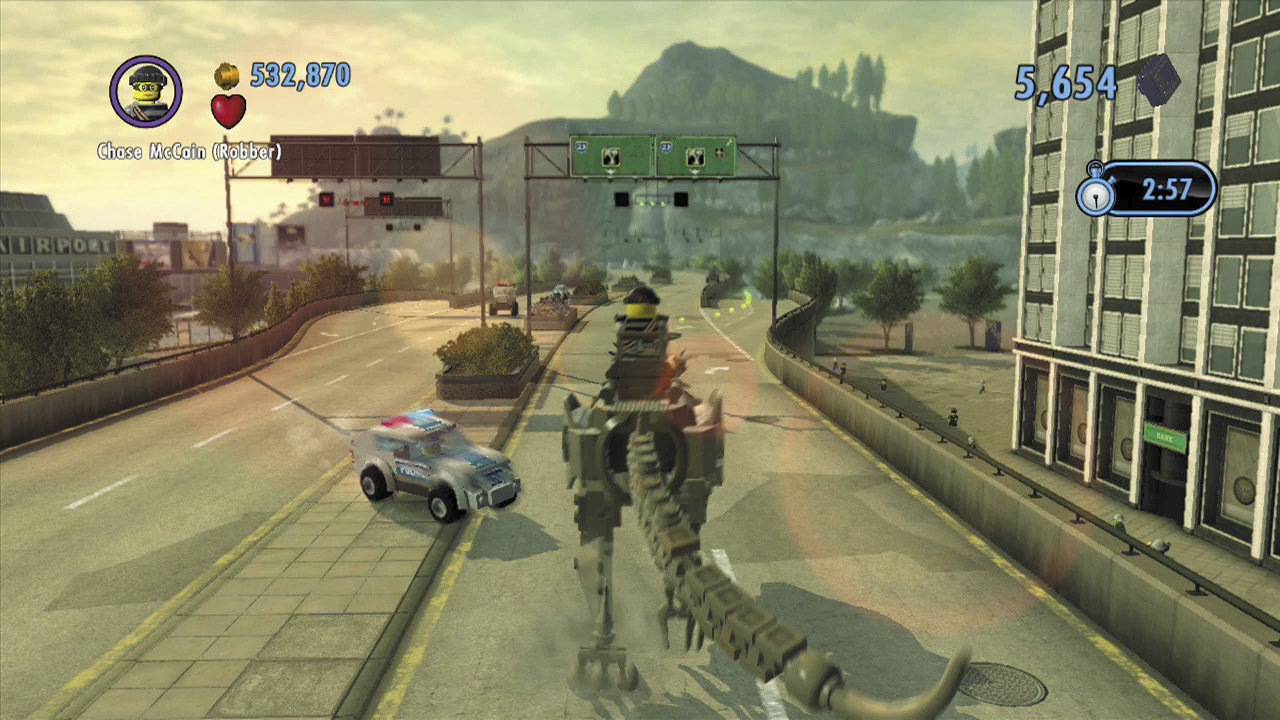
Police will try to stop you from reaching your destination, but they pose little threat to your mighty mechanical T-Rex. Press  to make the T-Rex roar and
  to make it stomp the ground. Both of these attacks are effective at repelling the cops—especially the stomp!
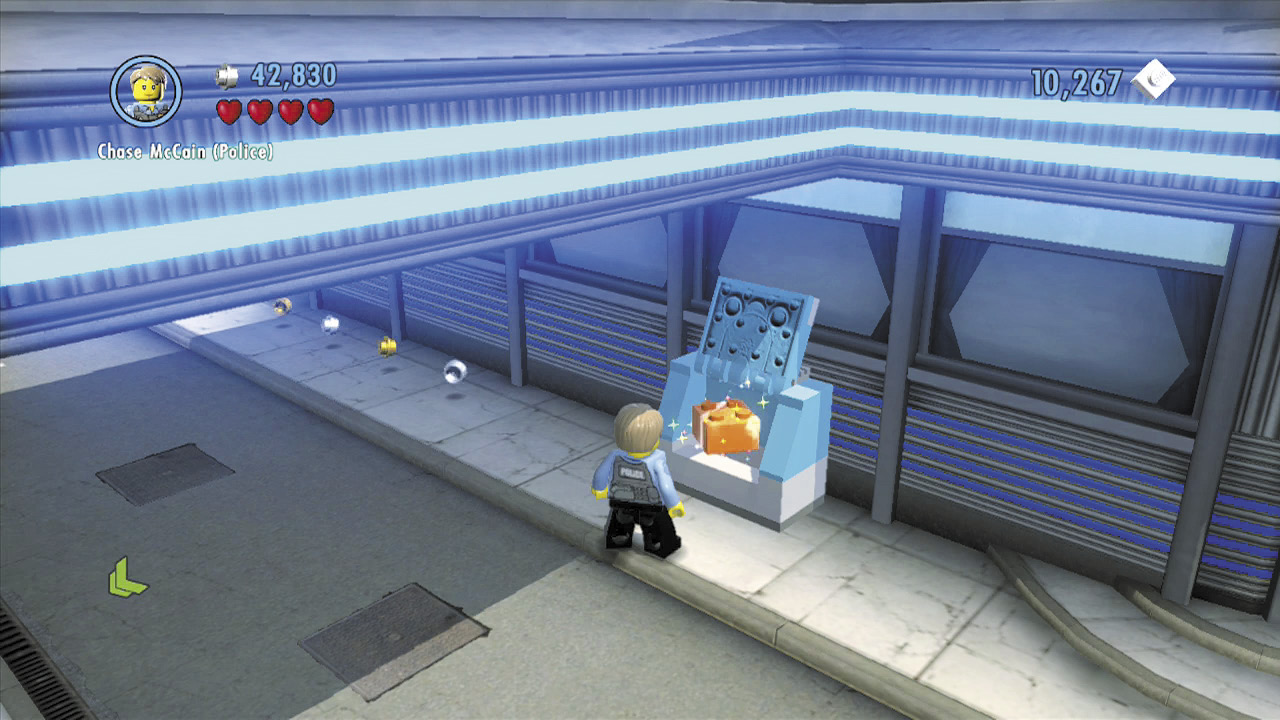
Keep going until you reach the objective beacon inside one of the airport’s hangars. This is the drop-off point. Vinnie calls shortly after you make the drop, pleased with your work. Now he can deliver the T-Rex to his mysterious buyer!
Objective: Go to the Fire Department
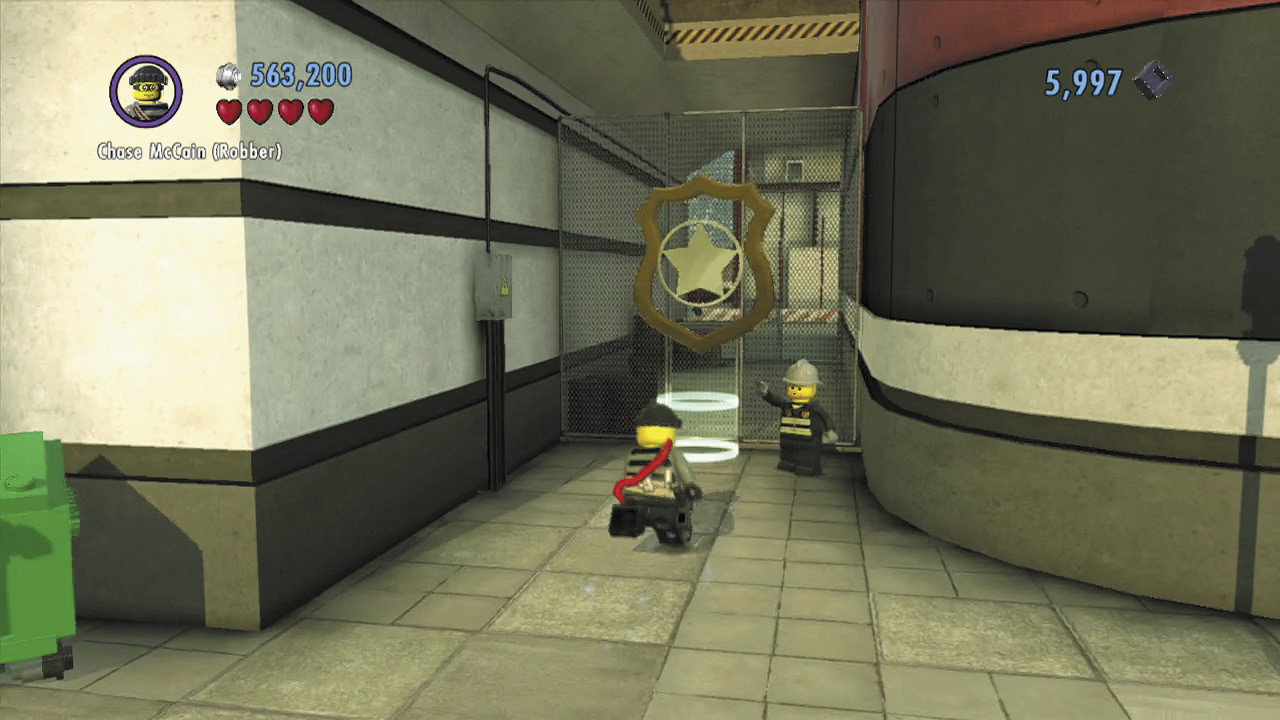
You’ve done well by Vinnie, but the crime boss isn’t done with you yet. In fact, he already has a new job for Chase—one that involves stealing a boat from the fire department! Find some wheels and head to the fire department to begin this new job.
Special Assignment 9: Hot Property
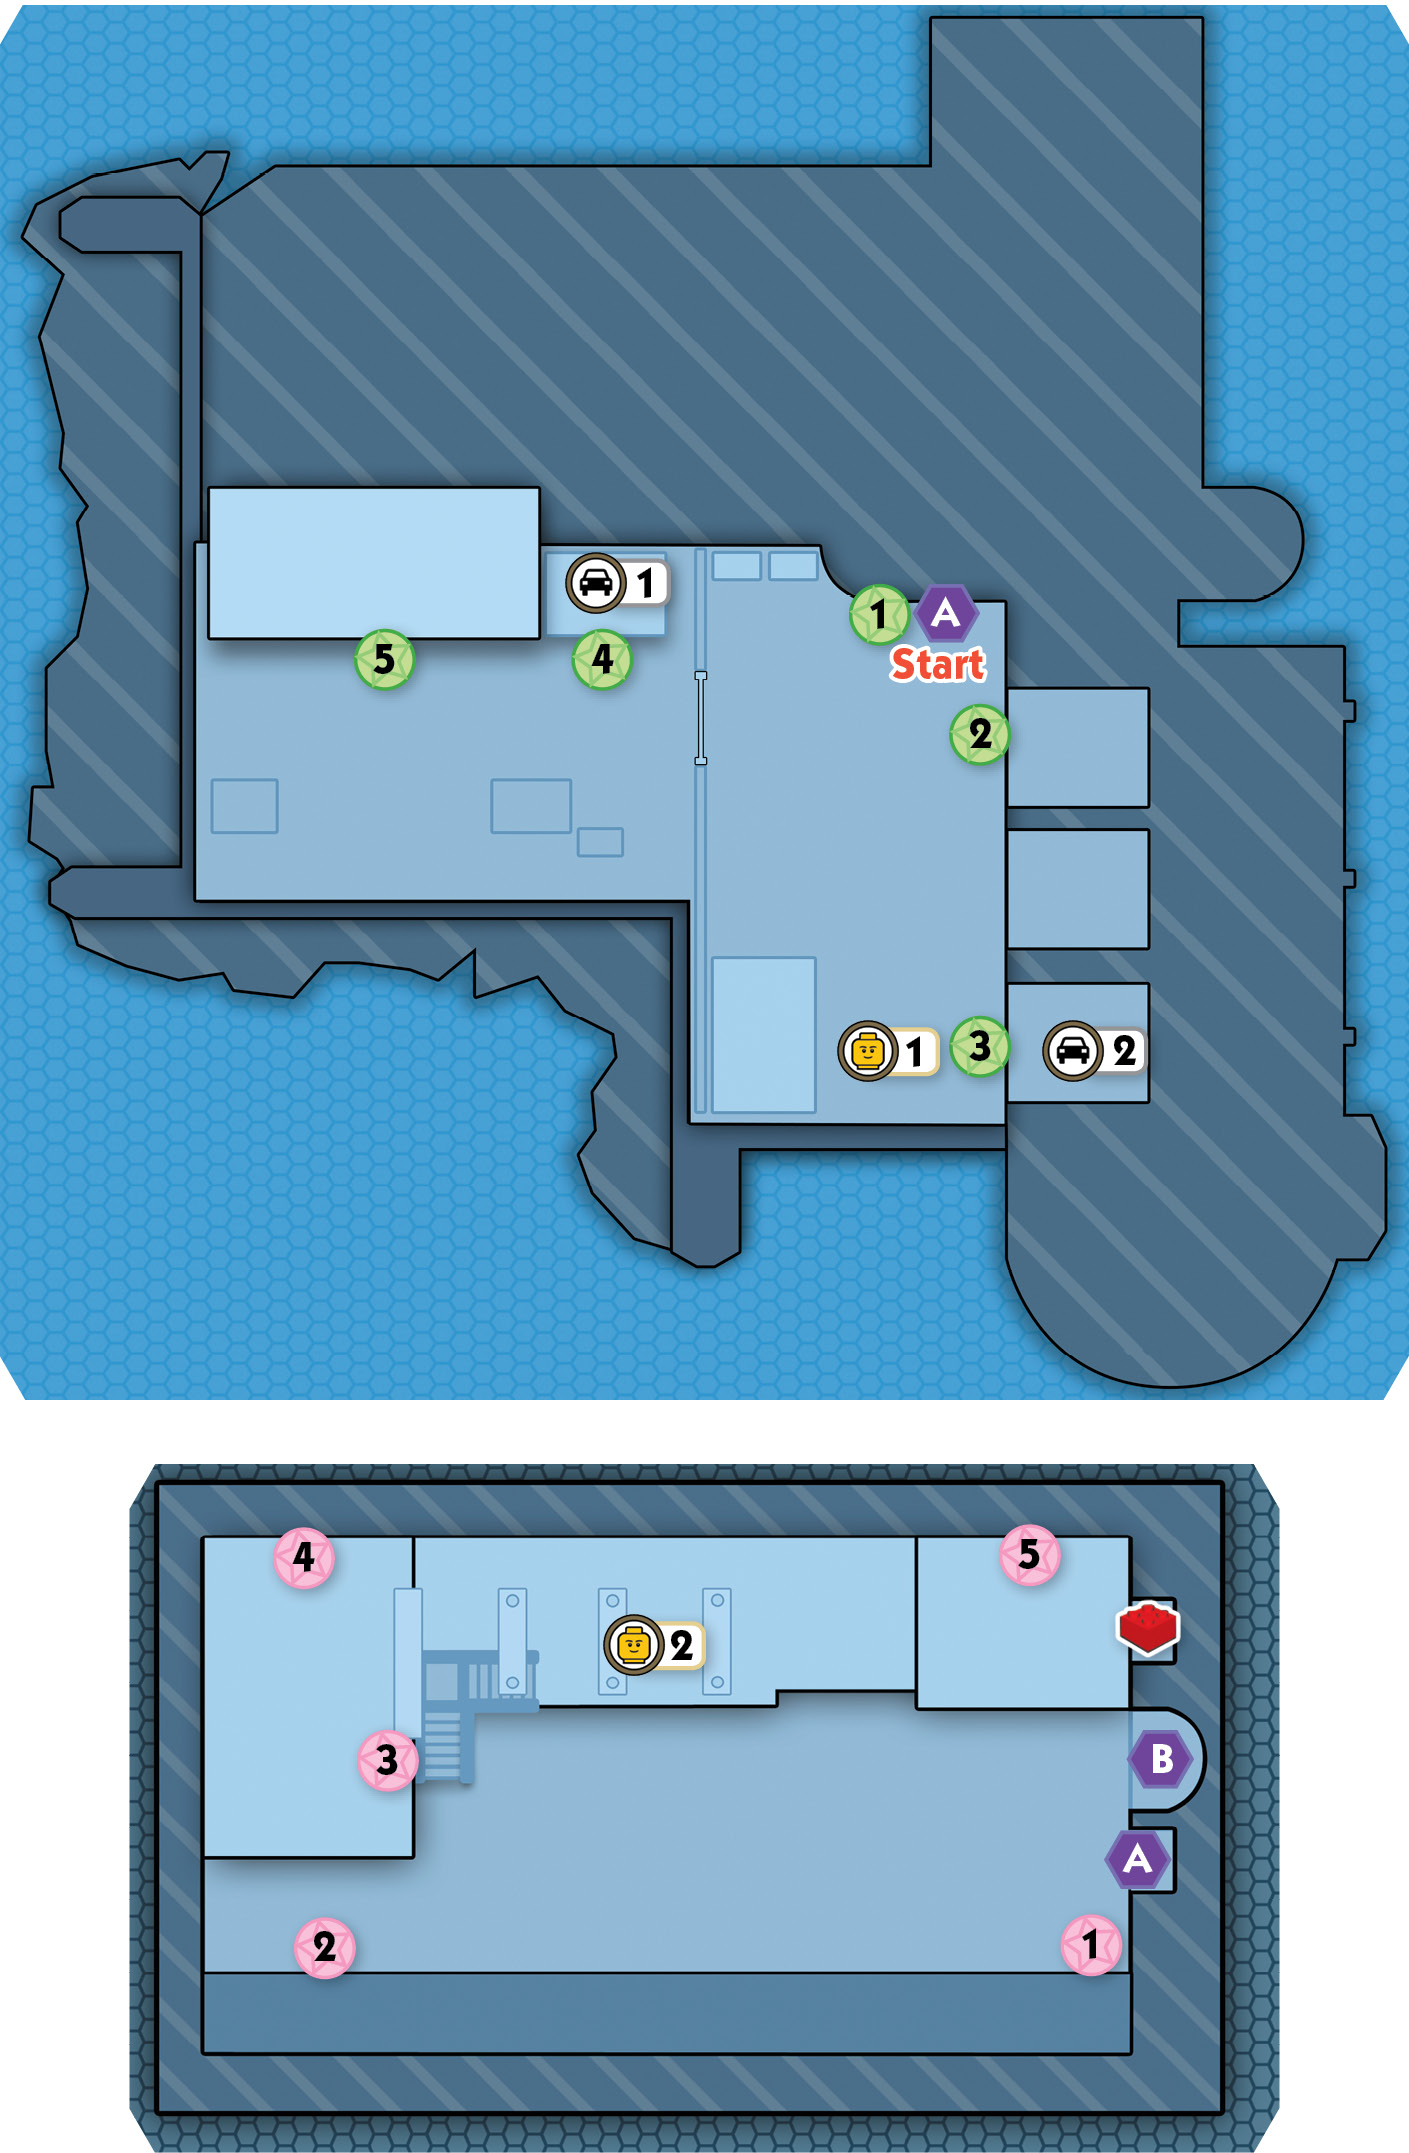
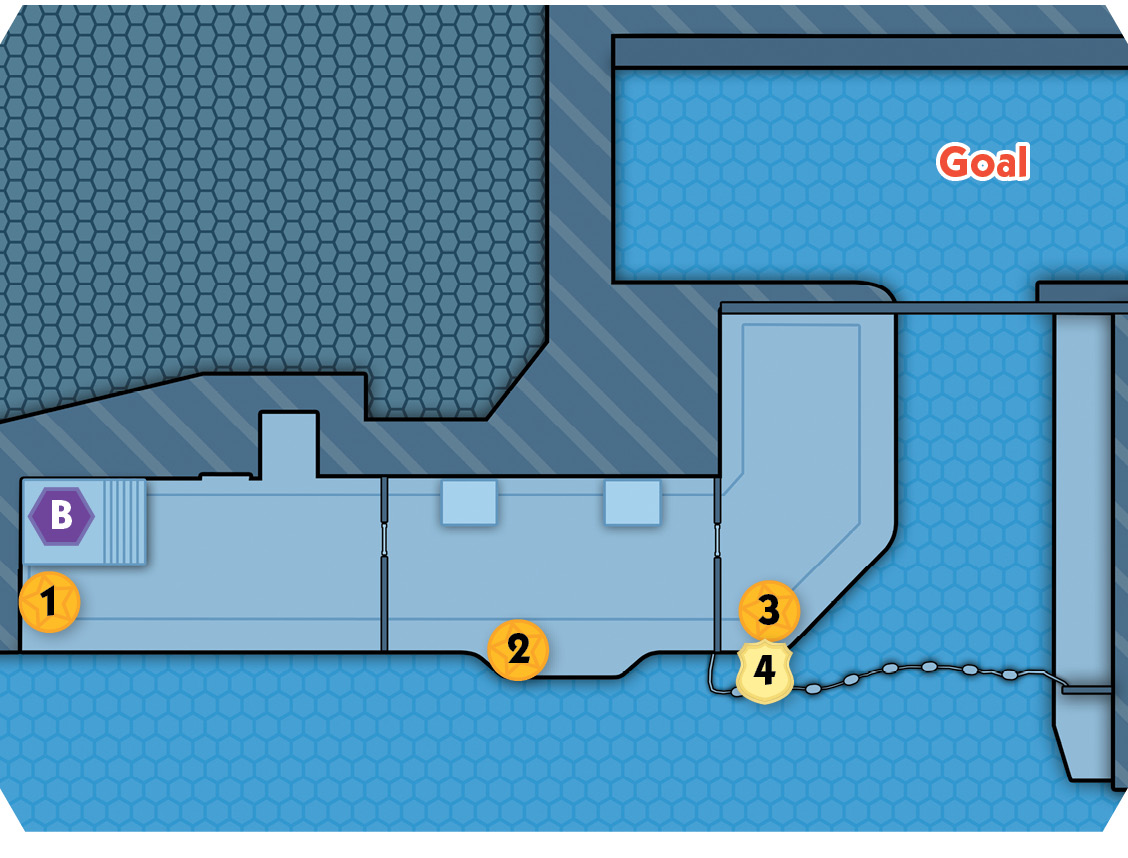
Stage Collectibles: “Hot Property”
| Map Icon(s) | Type | Mode | Notes |
|---|---|---|---|
 |
Police Shield Piece 1 | Story | Spray five alarm bells atop the garages around the training grounds. |
 |
“Ramon Lopez Delgado” character token | Story | Douse the barrel fire that the firemen are gathered around. |
 |
“Extender” vehicle token | Free Play | Use Rex Fury to rip apart the super-strength crate in the garage beyond the gate. |
 |
“Fire Tracker” vehicle token | Free Play | Use Rex Fury to rip apart the super-strength crate in the burning building. Carry the lever handle over to the garages and pull the lever, then enter the vehicle. |
 |
Police Shield Piece 2 | Story | Smash five piles of gifts around the fire station. |
 |
Red Brick—Fancy Dress | Story | Chop through the boarded door on the fire station’s right side. |
 |
“Charlotte Hannon” character token | Story | Run on either of the treadmills inside the station. |
 |
Police Shield Piece 3 | Story | Douse three barrel fires around the boathouse. |
 |
Police Shield Piece 4 | Story | Pull the lever after using the catapult pad, then ride the raft around the water, collecting the studs. |
LEGO City HeroStud Requirement:  50,000
Objective: Find a Uniform
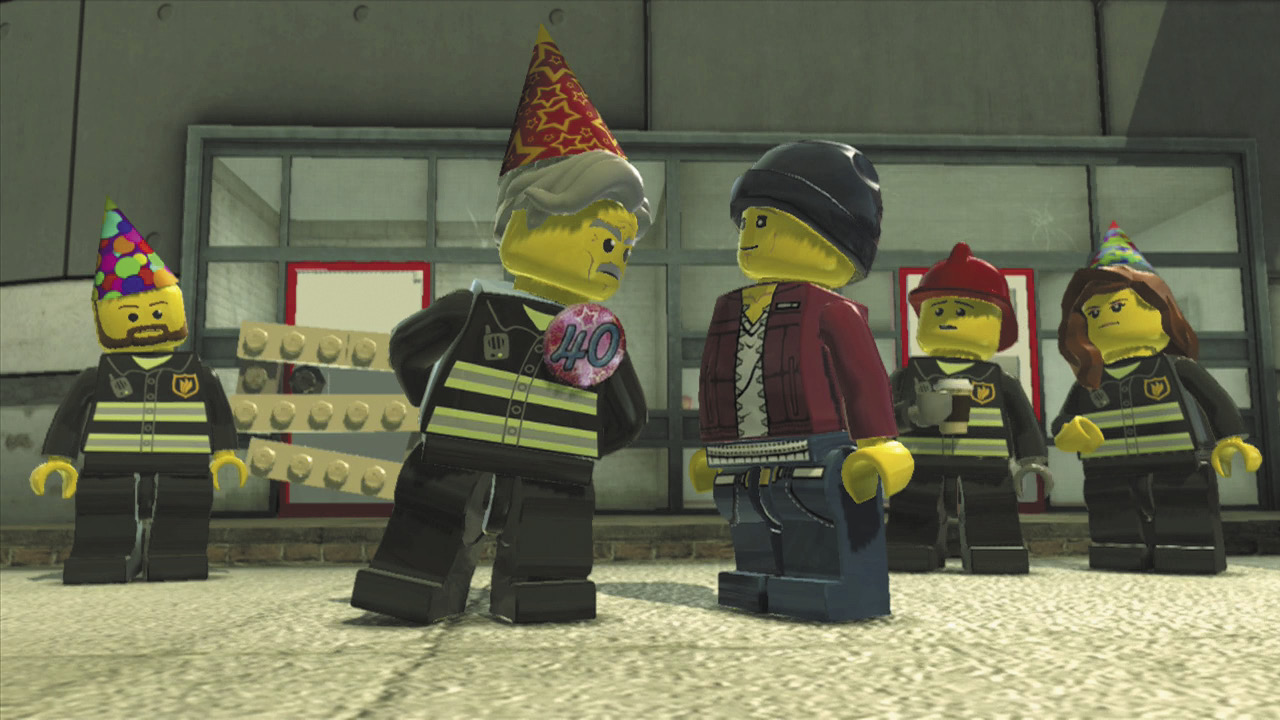
Chase arrives at the fire station just in time to join in the celebration of their chief’s 40th birthday. But before our hero can join in the festivities, he needs to complete his training!
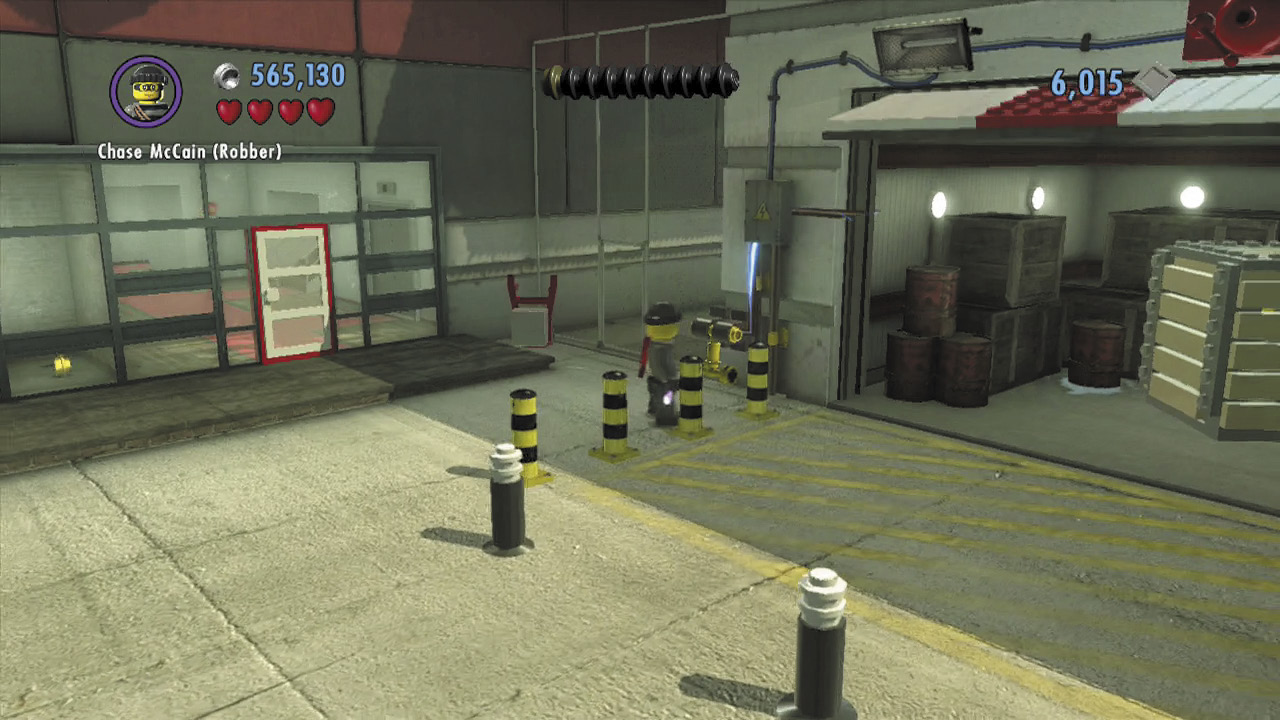
Officer Lopez Delgado will walk you through your training. Your first task: Open the garage and find a uniform! Pull the lever near the left garage to open it.
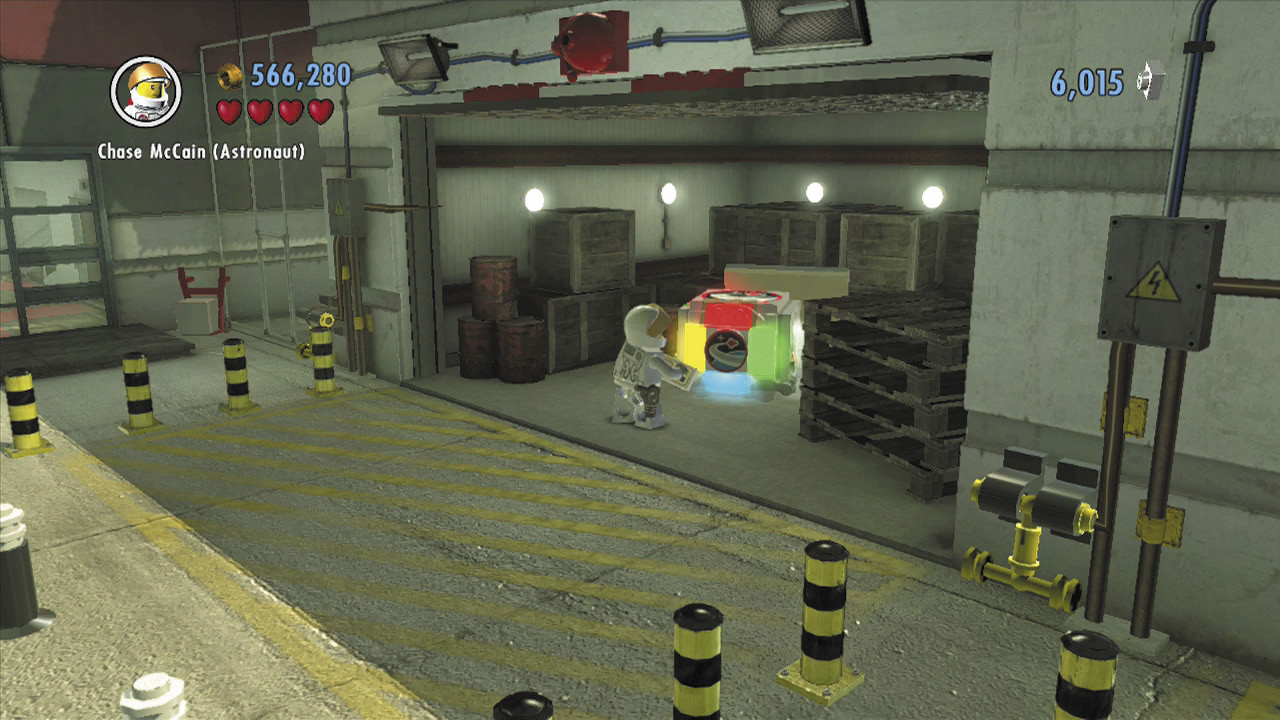
Smash the large crate inside the garage to find some bricks. Build these into a space crate, then solve the sequence to activate it and beam some bricks over to the garage on the right.
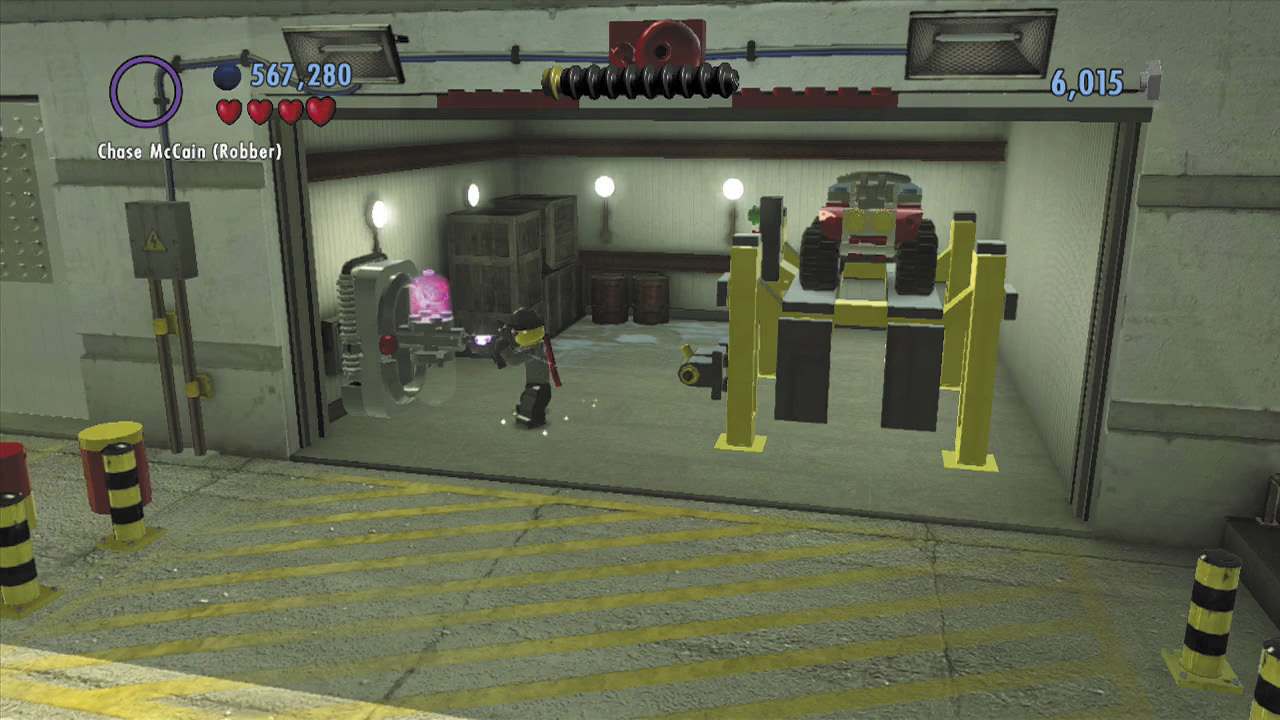
Enter the garage and build the bricks into a color swapper. Fill your color gun with red energy and head back outside.
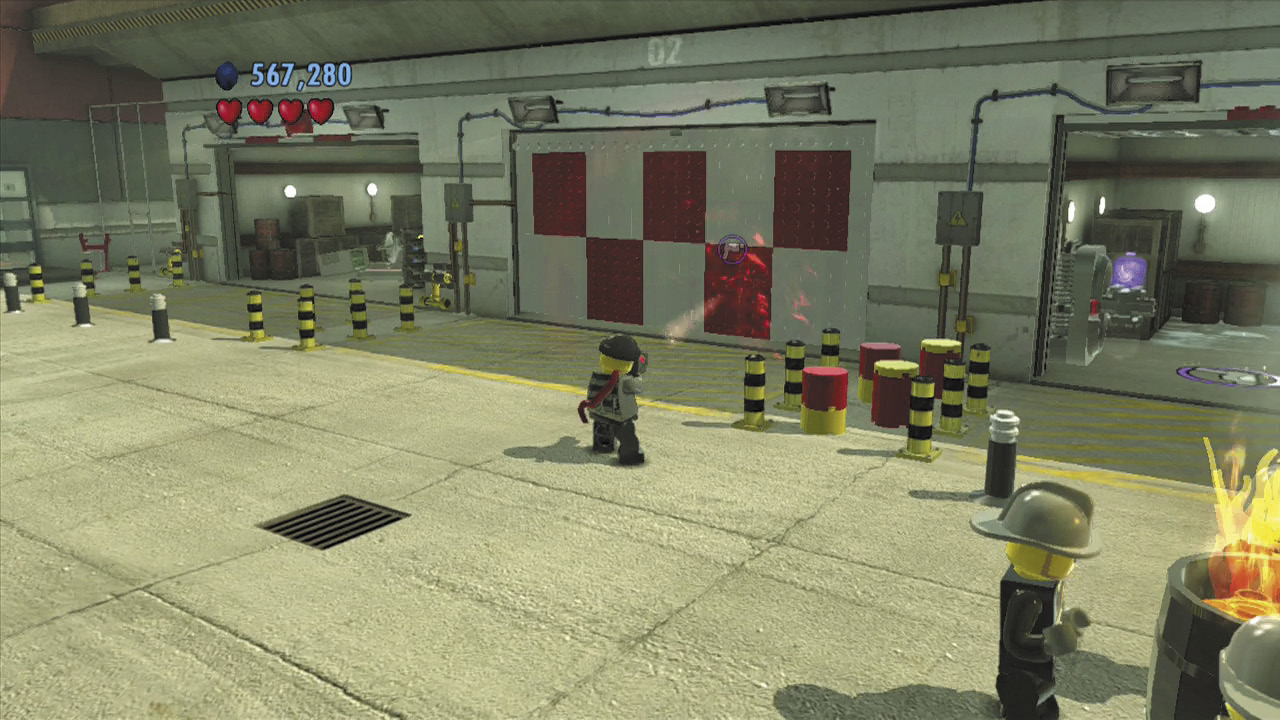
Aim the color gun at the central garage door, and target its four white panels. Fire the color gun to paint all four of its white panels red. Much better! Now simply pull the nearby lever to open the garage.
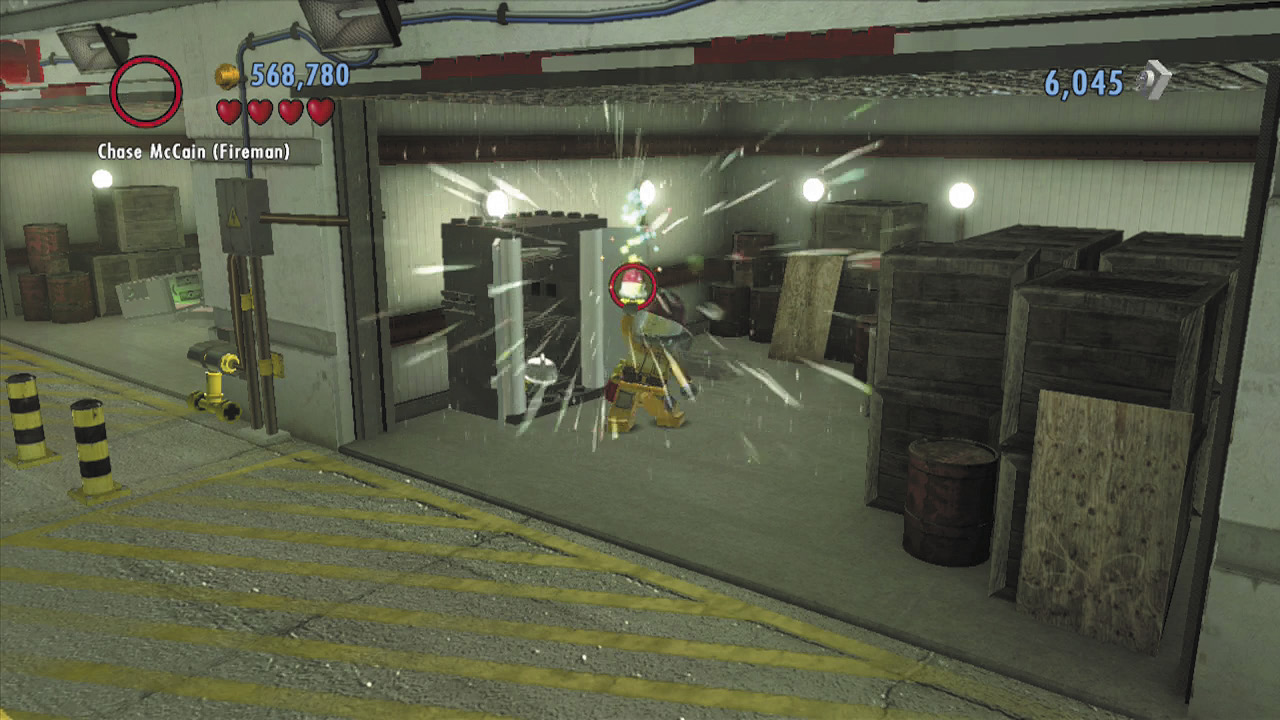
Enter the central garage and open the locker you find inside. Nice work—you’ve discovered the Chase McCain (Fireman) disguise!
Objective: Complete Fireman Training
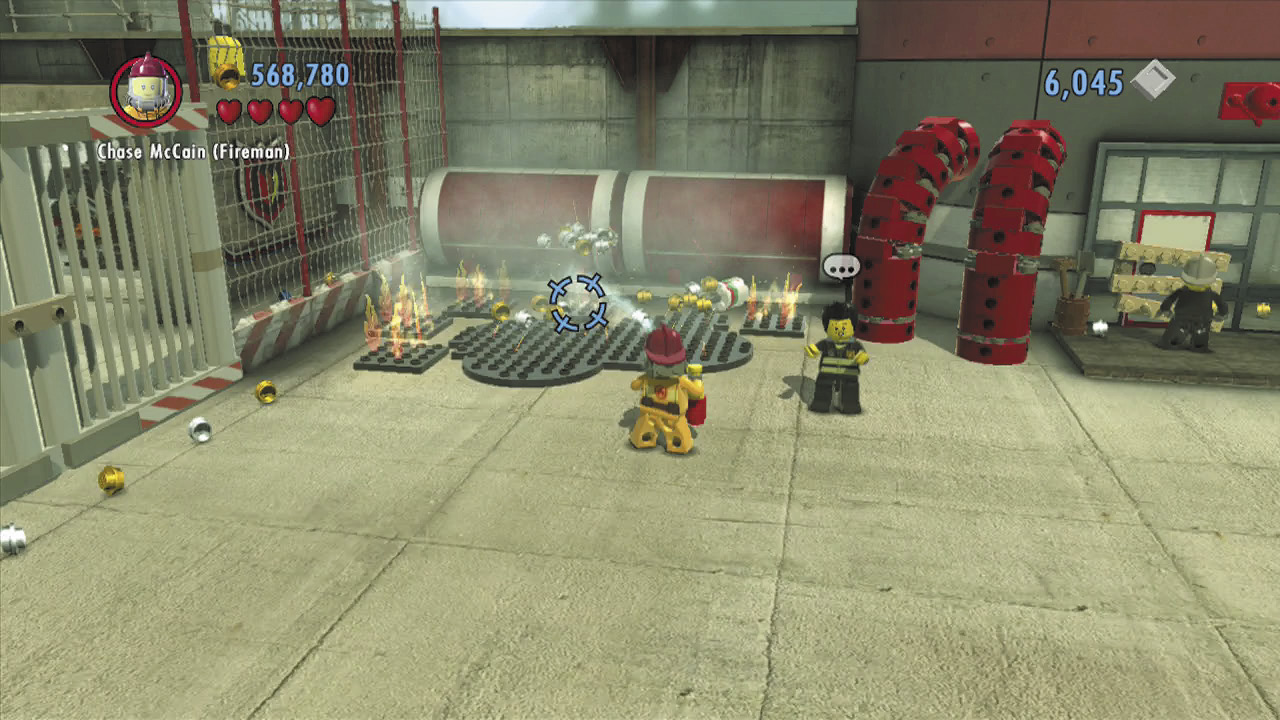
Now that you’ve found the proper attire, Officer Delgado asks you to extinguish the nearby fire. Approach the flames and hold  to douse them with your fire extinguisher. Cool!
Police Shield Piece 1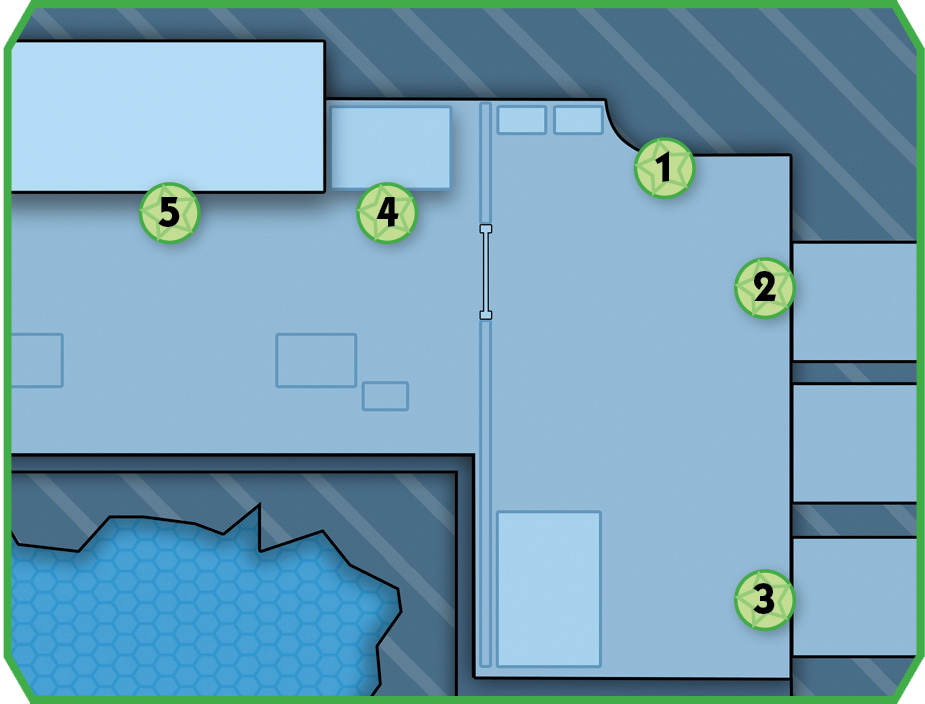 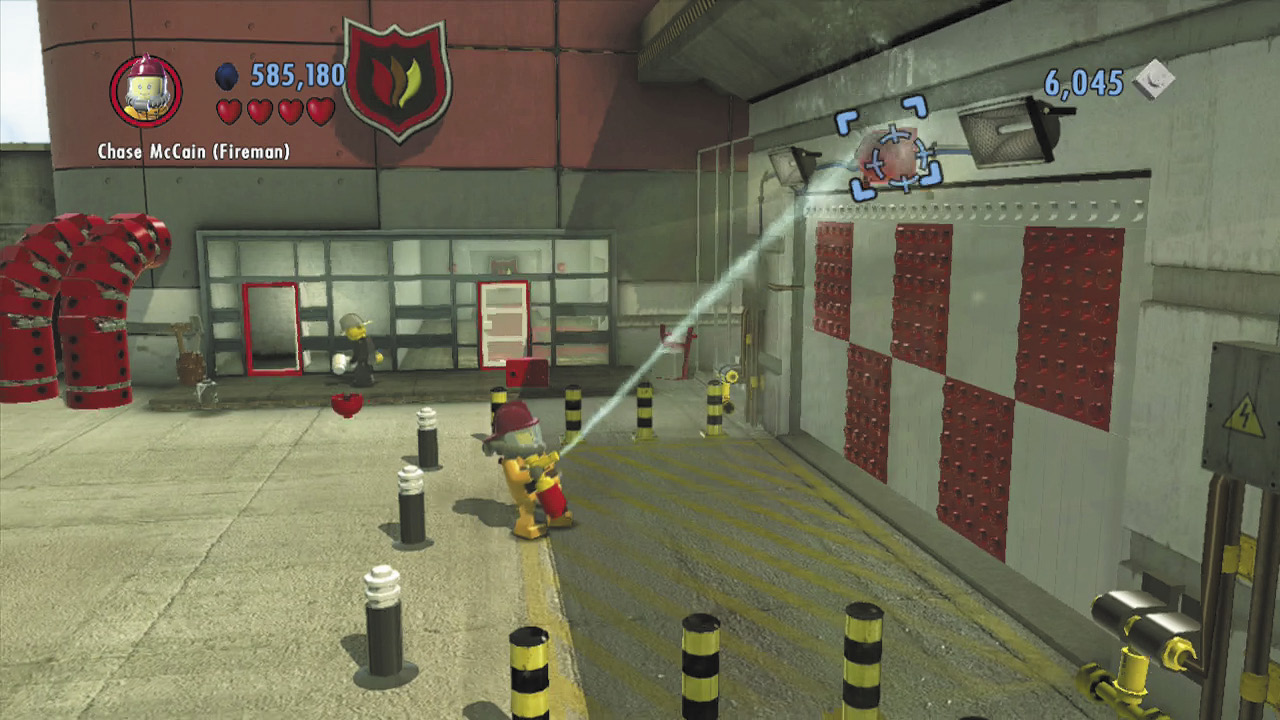 Hold |
 to spray water at the red alarm bells around the fire station’s grounds. Hit all five alarm bells to receive a shield piece! Some of the bells are located on the left side of the grounds, and you can’t reach them until Officer Delgado opens the gate.
Character Token 1:Ramon Lopez Delgado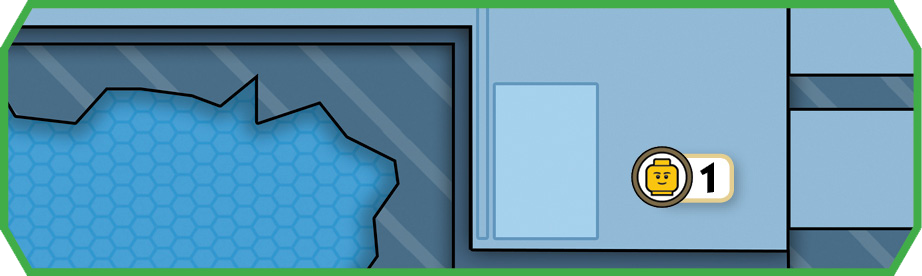 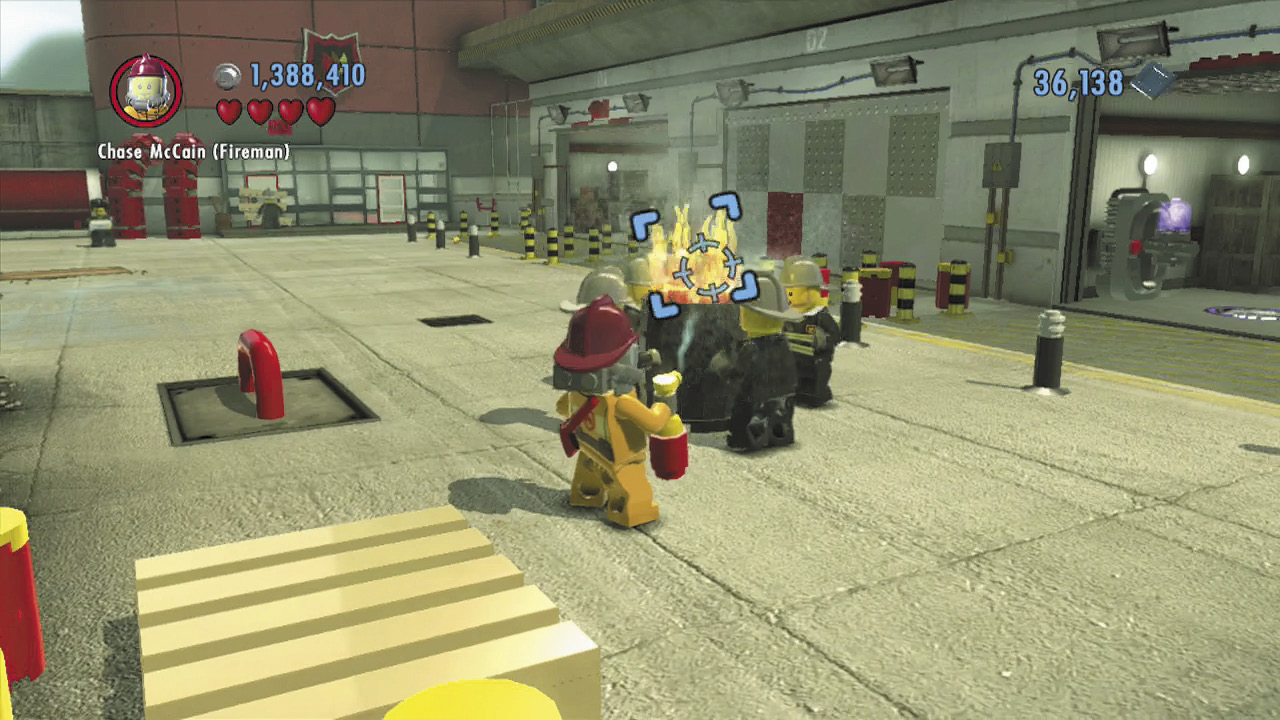 Douse the barrel fire near the garages, which a crew of firemen are standing around. This makes a secret character token appear! |
Chop Sticks
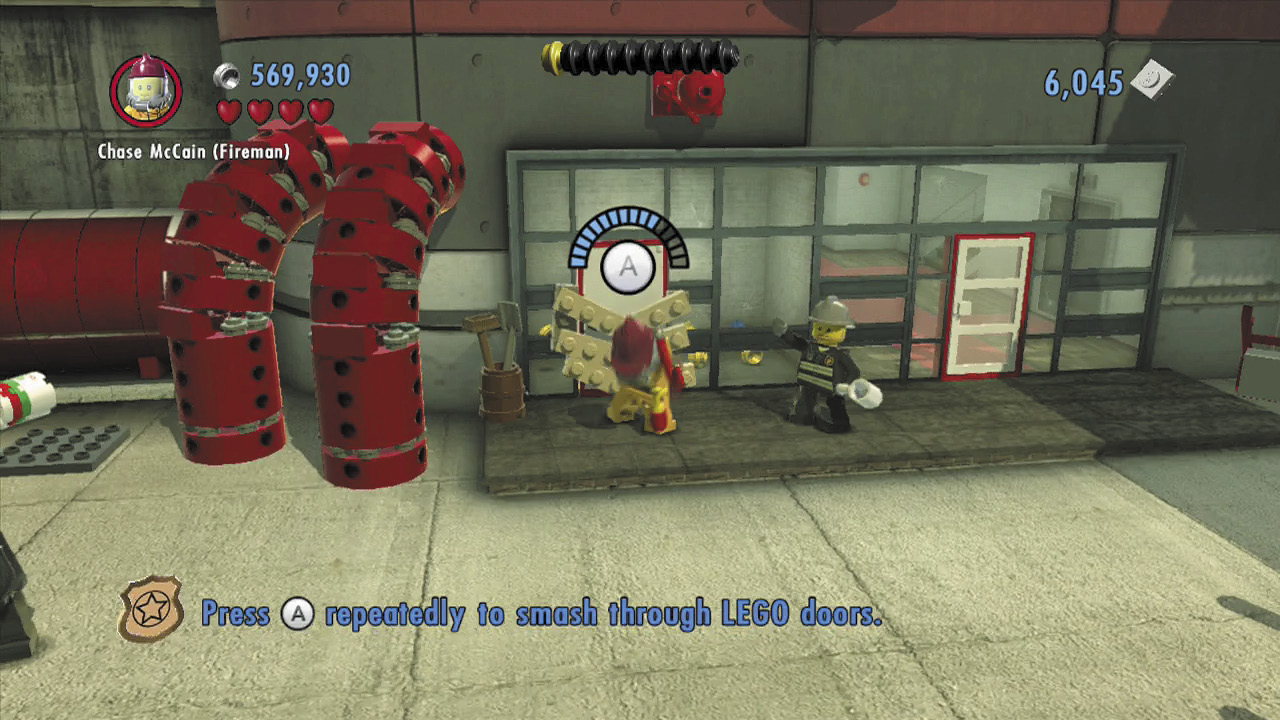
Next, Officer Delgado hands you a fire axe, and asks you to smash through the nearby door. Stand on the Axe symbol in front of the door, then rapidly press  to smash through the door’s wooden boards.
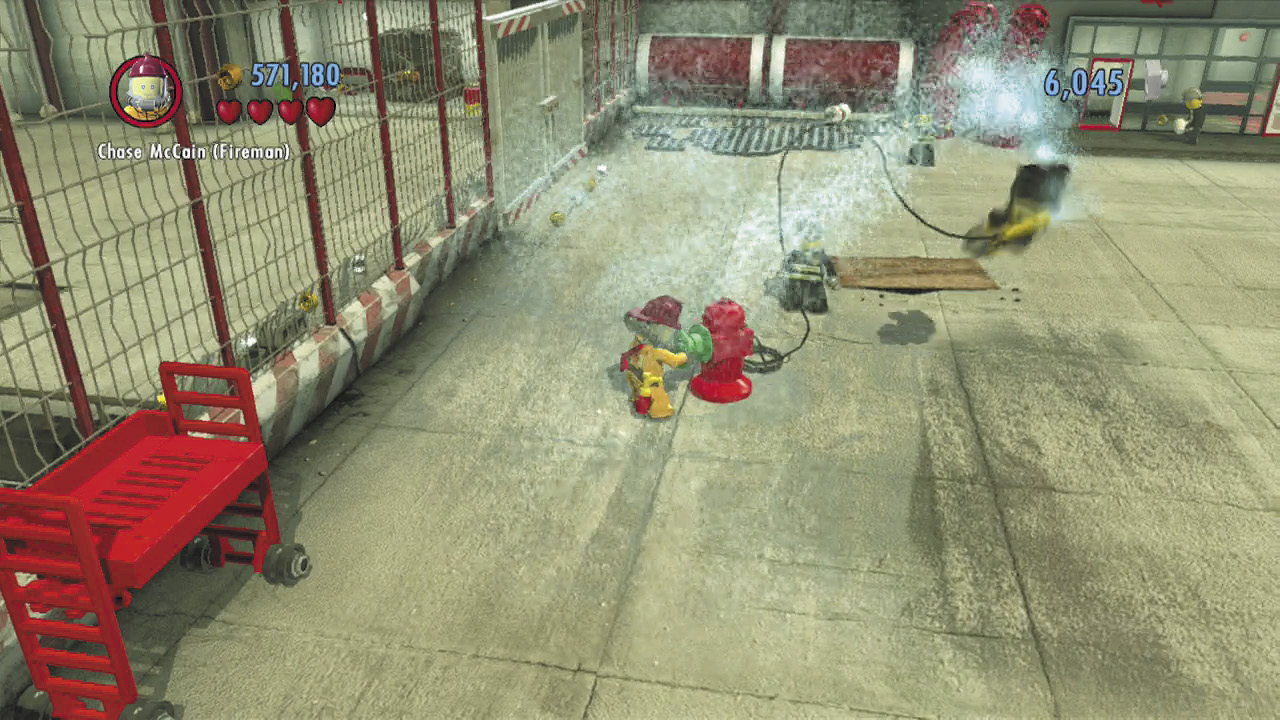
Nice work! Now collect the valve wheel in the room beyond the door. Carry the wheel over to the fireman who’s being tossed around by a squirting hose. Fit the valve wheel onto the fire hydrant, and turn it to shut off the water and rescue the fireman.
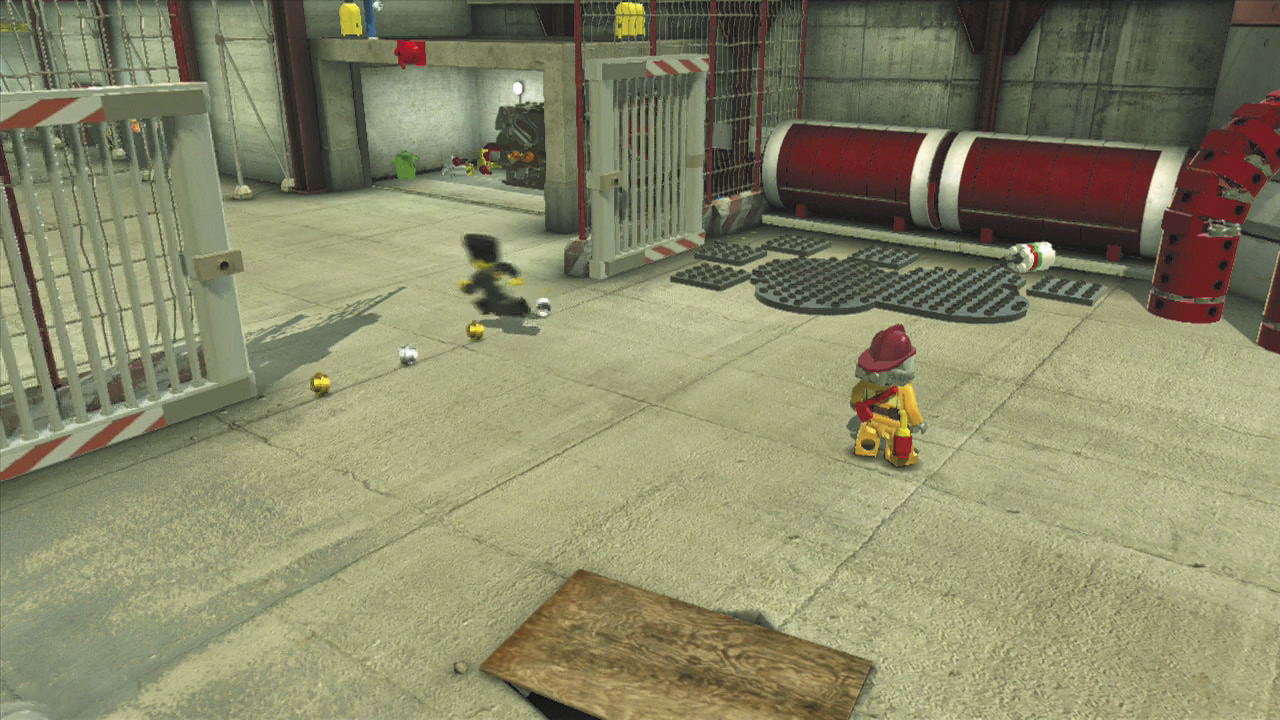
Officer Delgado is impressed by your performance and opens a gate that leads to the training area’s other half. Head through and step into the glowing objective beacon to begin your next challenge.
Free PlayVehicle Token 1: Extender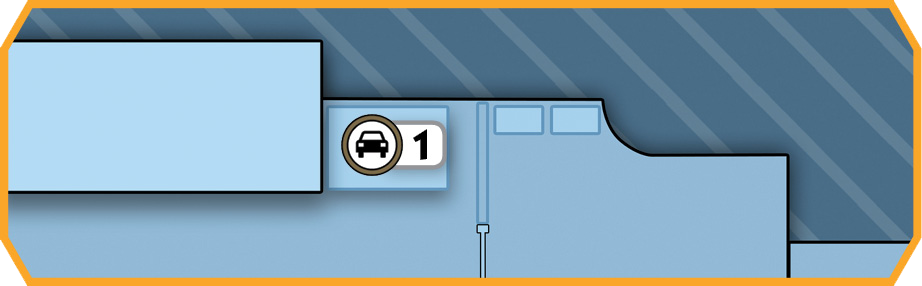 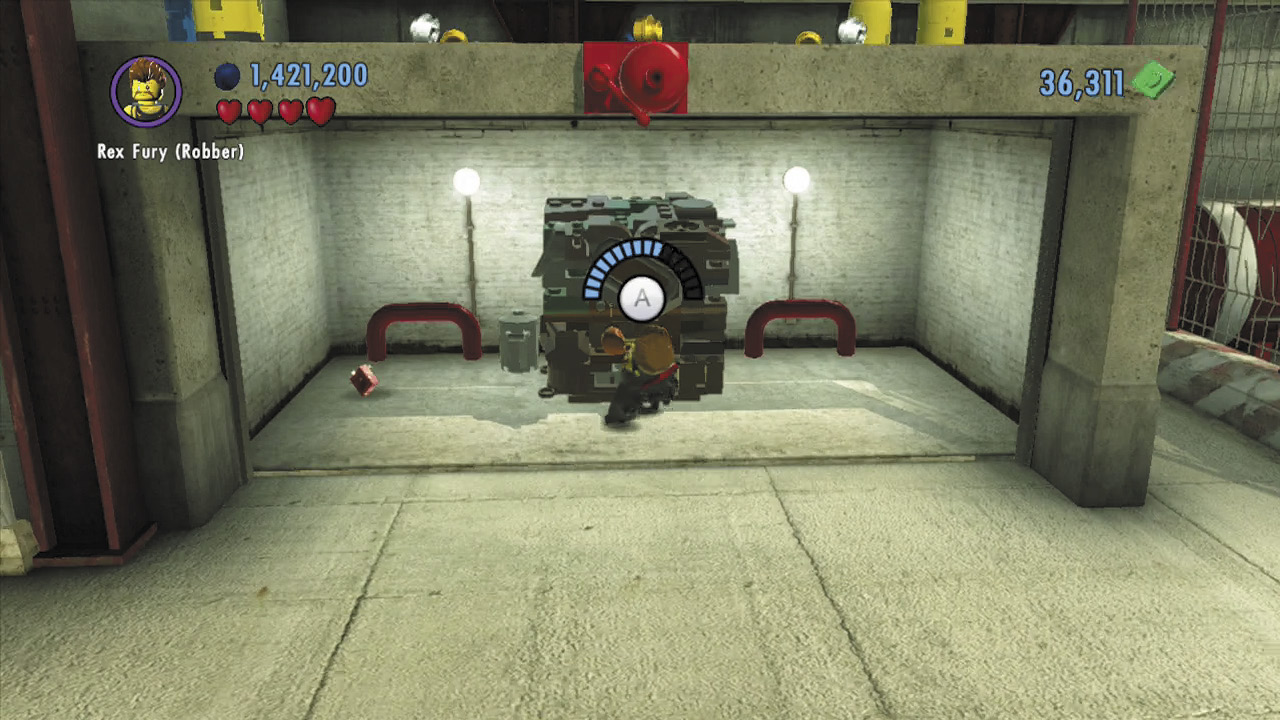 Use Rex Fury to rip apart the super-strength crate in the garage on the gate’s left side. A vehicle token will be your prize! |
Towering Inferno
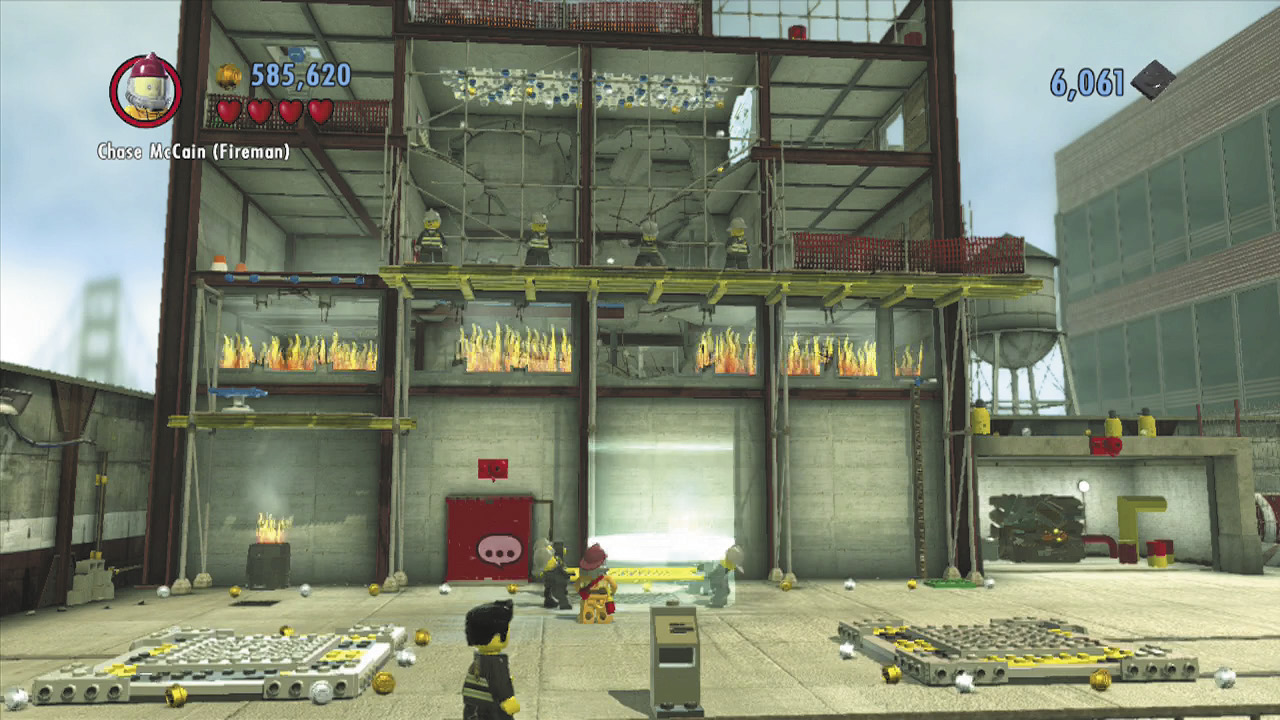
Oh no! Several firemen are trapped inside a burning building! Issue orders to the firemen on the ground, telling them to move either right or left so they can catch the trapped firemen with their net. Simply move the net into the objective beacons that appear, and the trapped firemen will leap down to safety.
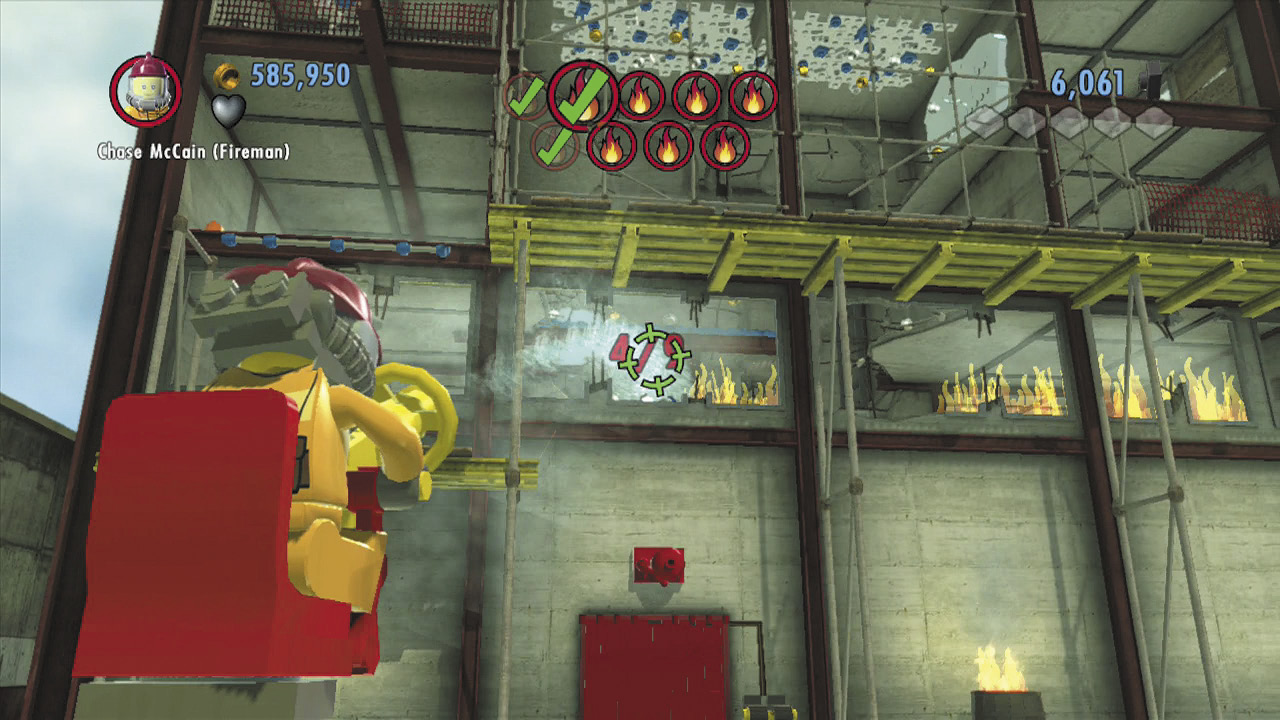
You’ve saved the firemen—now you must douse the building! Jump onto one of the water cannons that Officer Delgado activates for you, and hold  to spray water at the flames. Just keep spraying until you extinguish all nine flames.
Climbing Higher
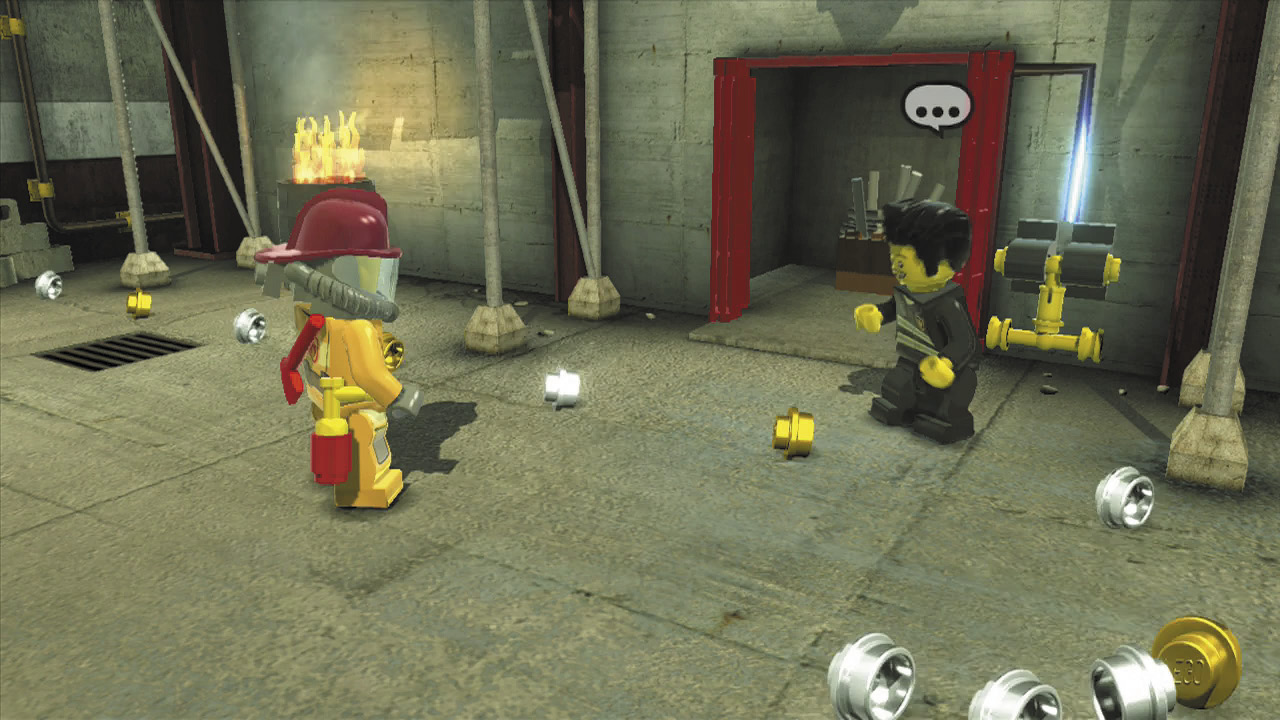
After you put out the building’s fires, Officer Delgado opens a door, revealing a box of bricks. Pick this up and carry it over to the pad on the right. Set the box down on the pad, then build the bricks into a ladder that lets you climb up and enter the building’s second floor.
Free PlayVehicle Token 2: Fire Tracker 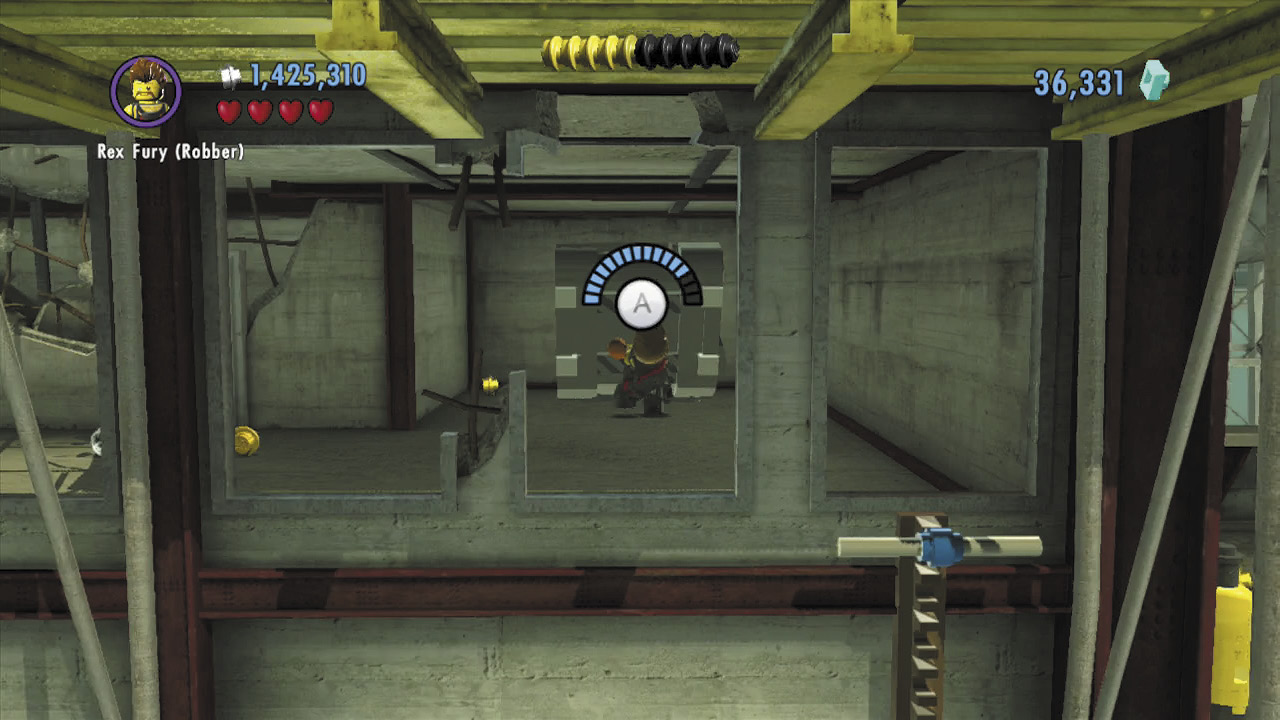 After climbing the ladder, toggle to Rex Fury and rip apart the super-strength crate you discover in the building. Pick up the lever handle you find and drop back down to the main grounds. 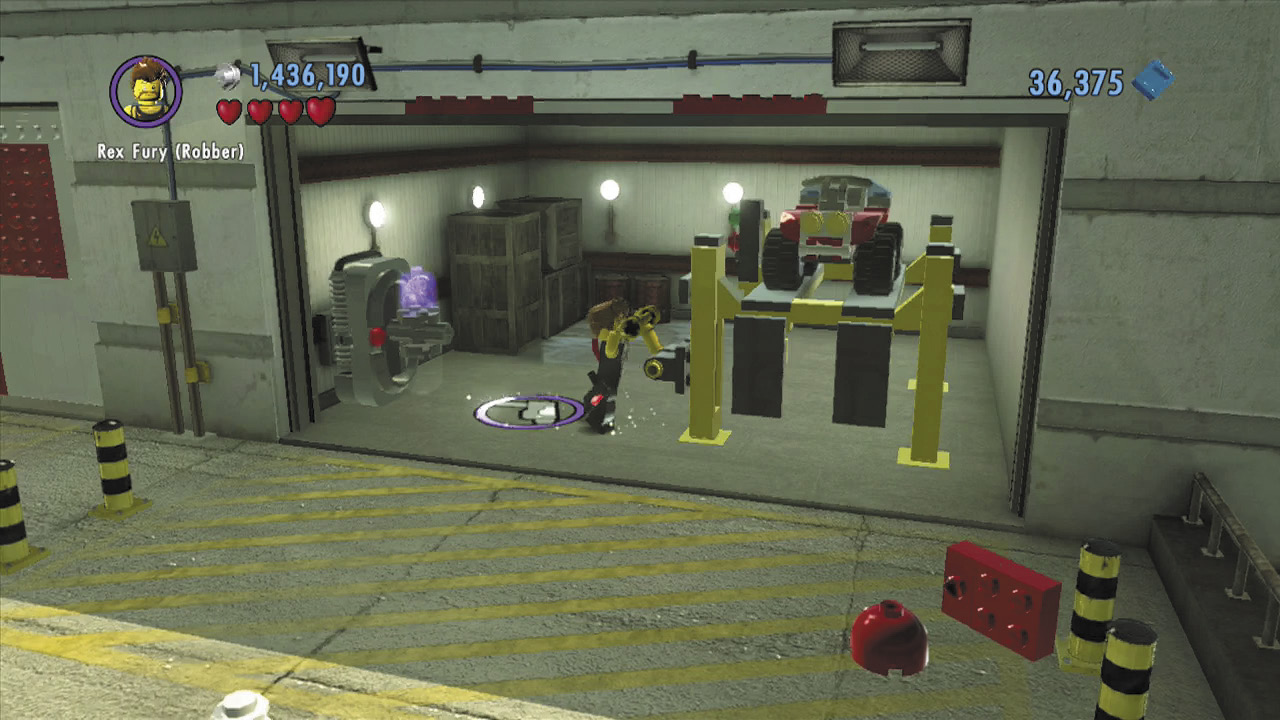 Run back over to the garages on the right and insert the lever handle into the indicated slot. Pull the lever to lower an emergency vehicle, and hop into the driver’s seat to discover a vehicle token! |
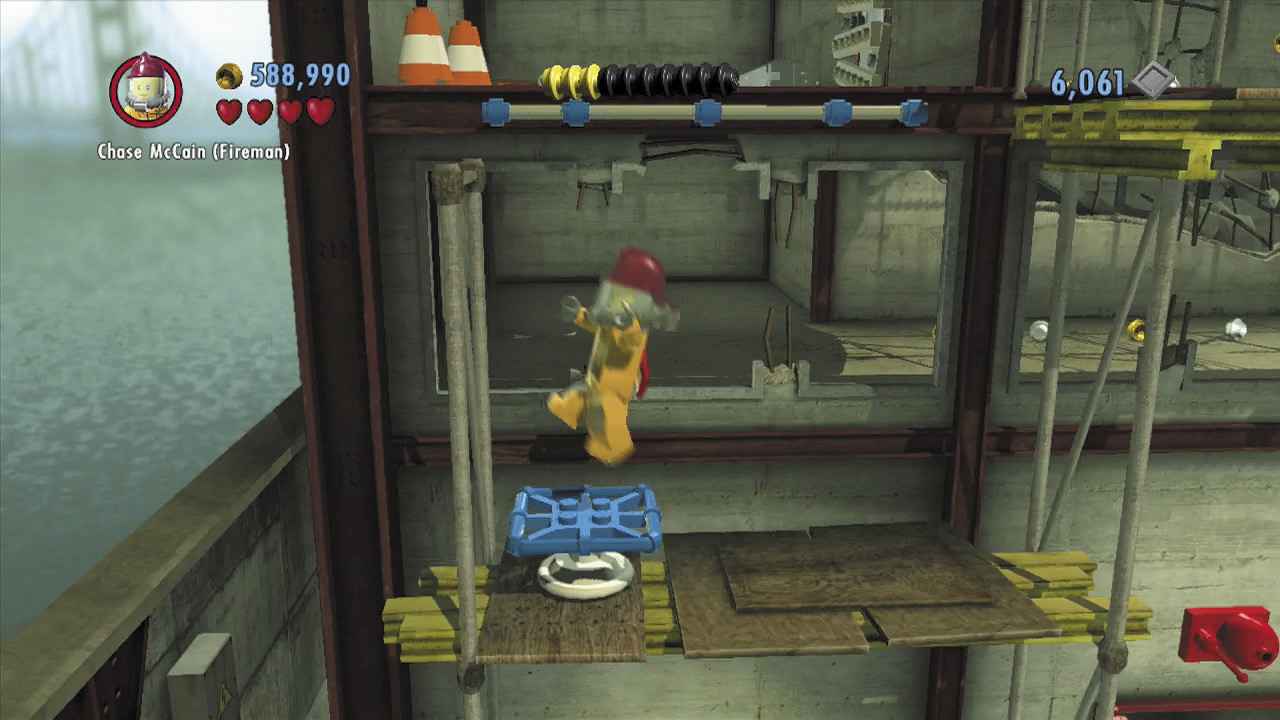
Cross the building’s second floor, and jump out to the exterior scaffolding. Bounce up from a trampoline to reach an overhead handhold, then enter the third floor above.
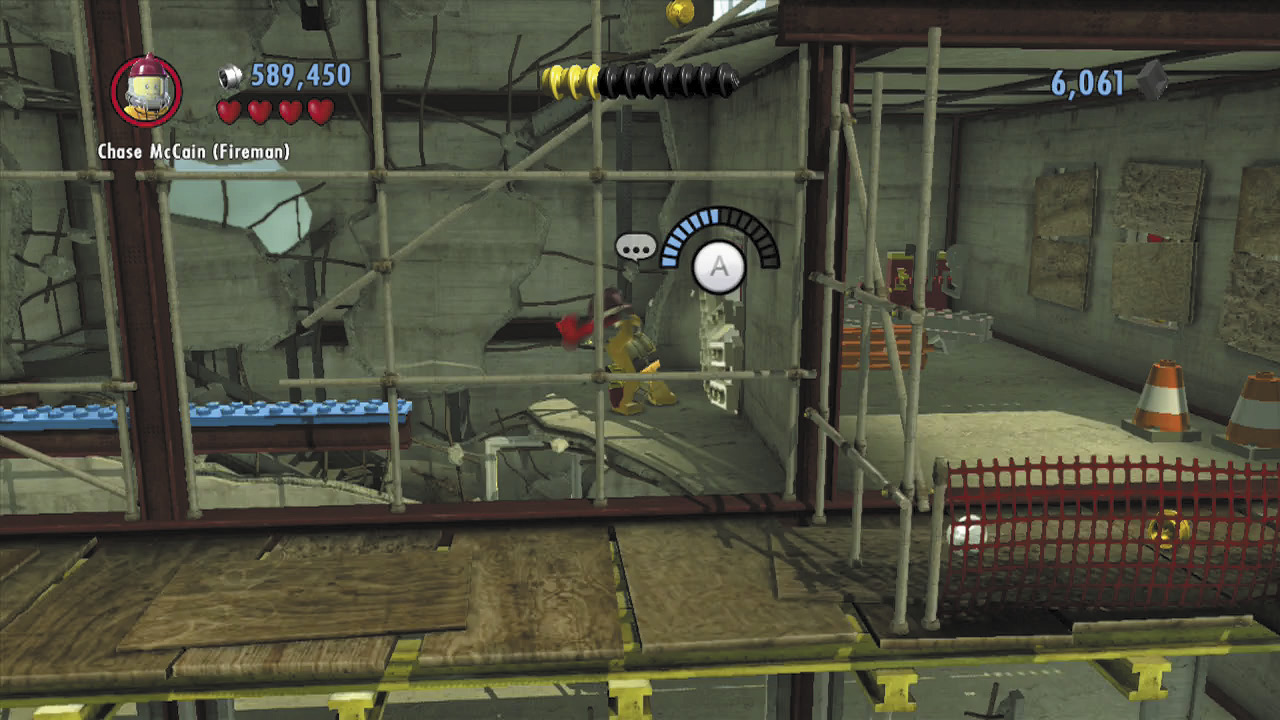
Use the fire axe to smash through the third floor’s boarded door, and carefully tiptoe across the balance beam beyond. Smash another door and head through it.
Step out onto the scaffolding and jump into the background to reach a lower roof below. Climb the blue pipe here to reach the building’s fourth floor.
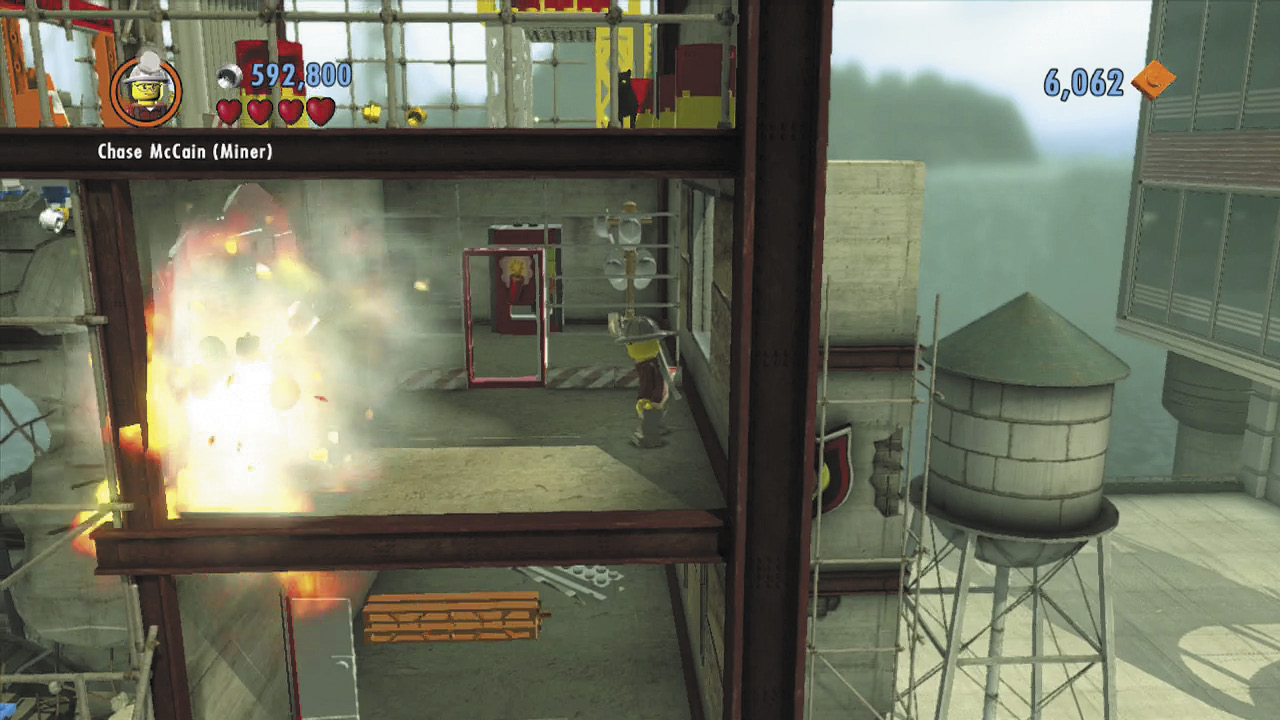
Chop your way through another boarded door to reach a dynamite dispenser. Switch to the miner disguise and collect some dynamite. Use it to blast through the silver wall on the left.
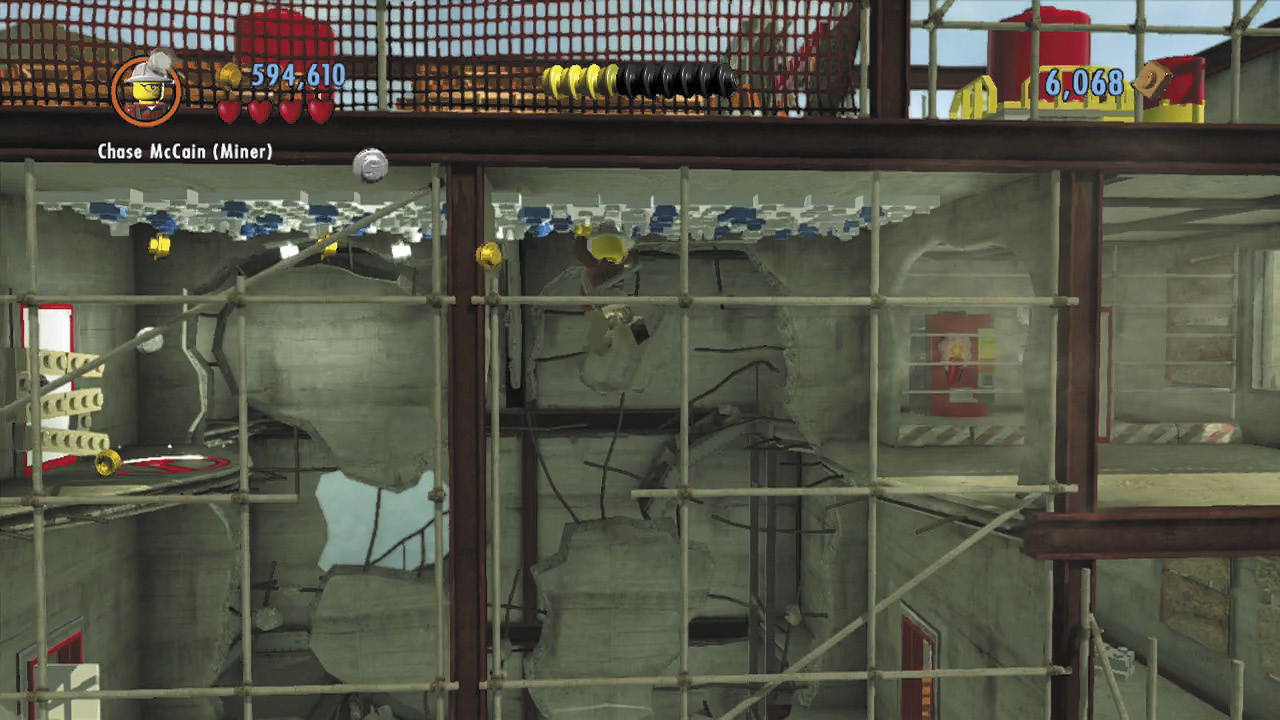
There’s no floor beyond the silver wall, so jump up and grab the overhead LEGO patch instead. Shimmy to the left and drop near another boarded door, then break through.
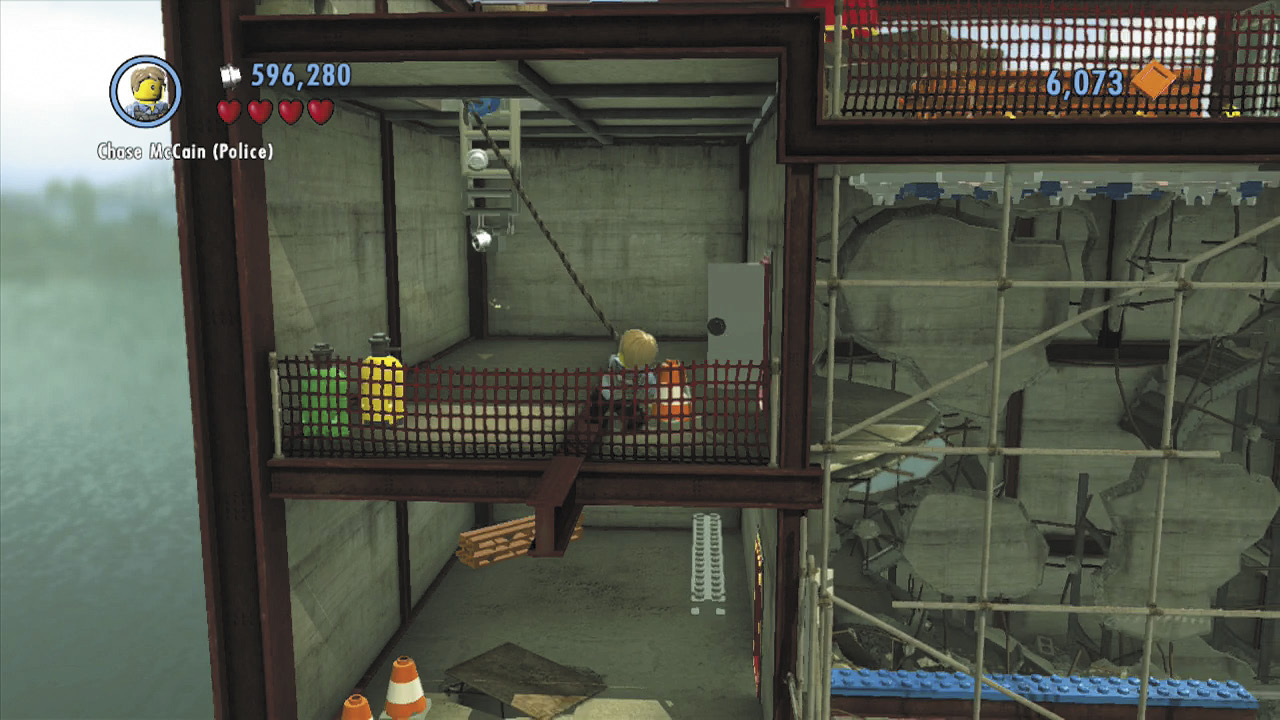
Use the grapple gun to pull down an overhead ladder beyond the boarded door. Climb the ladder to reach the building’s roof.
RC Action
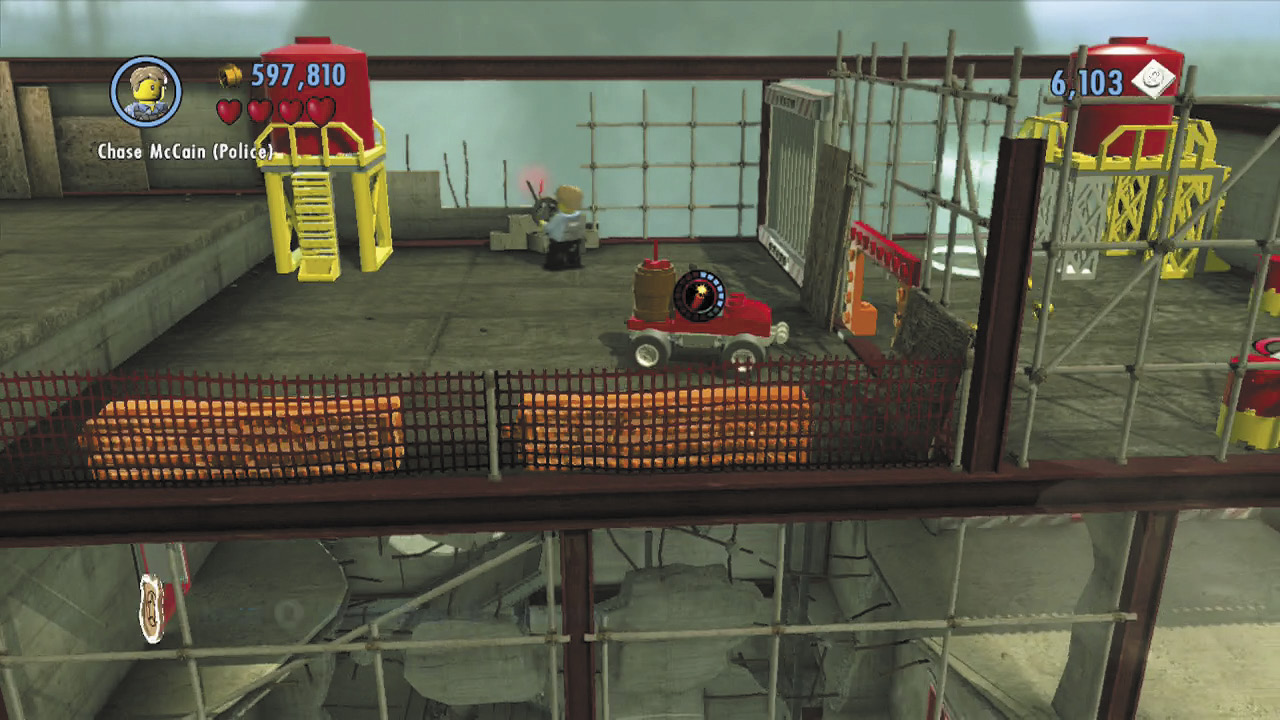
Smash the rooftop crates to discover an action symbol. Press  to whip out a controller and take over the nearby RC car. Carefully steer the car through the small opening in the wall on the right.
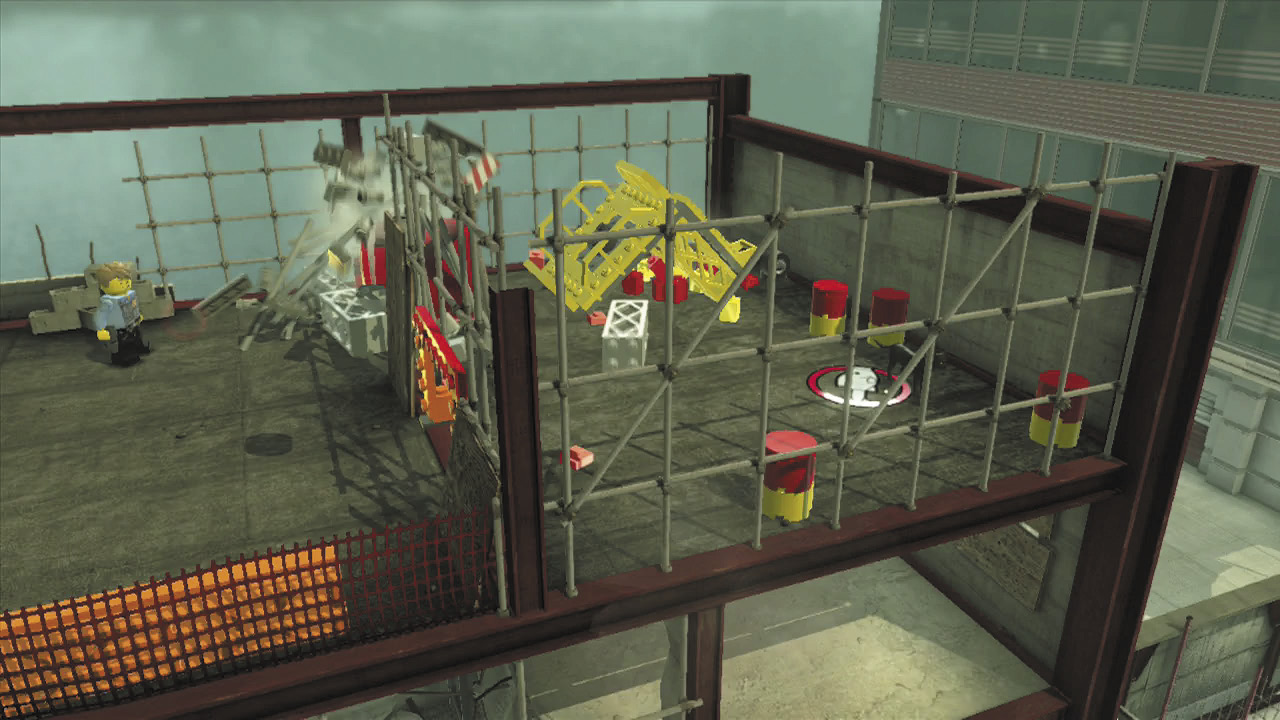
Drive the RC car into the glowing objective beacon, and it will explode, toppling a drum that smashes through the wall. Now you can run over to the little kitty on the right!
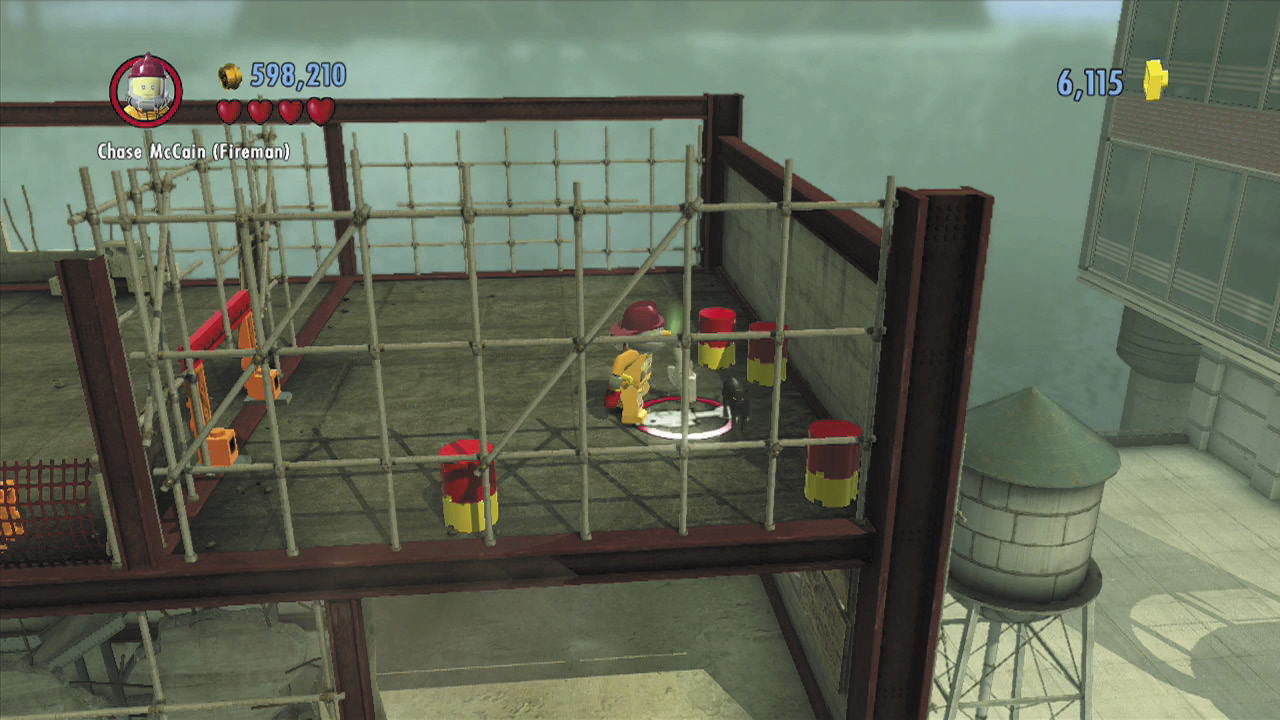
The cat is suspicious of you—feed it some fish to win its trust. Fortunately, all LEGO City firemen carry a healthy supply of fish for just such emergencies. Press  to present the cat with a fish that sends it leaping into your arms.
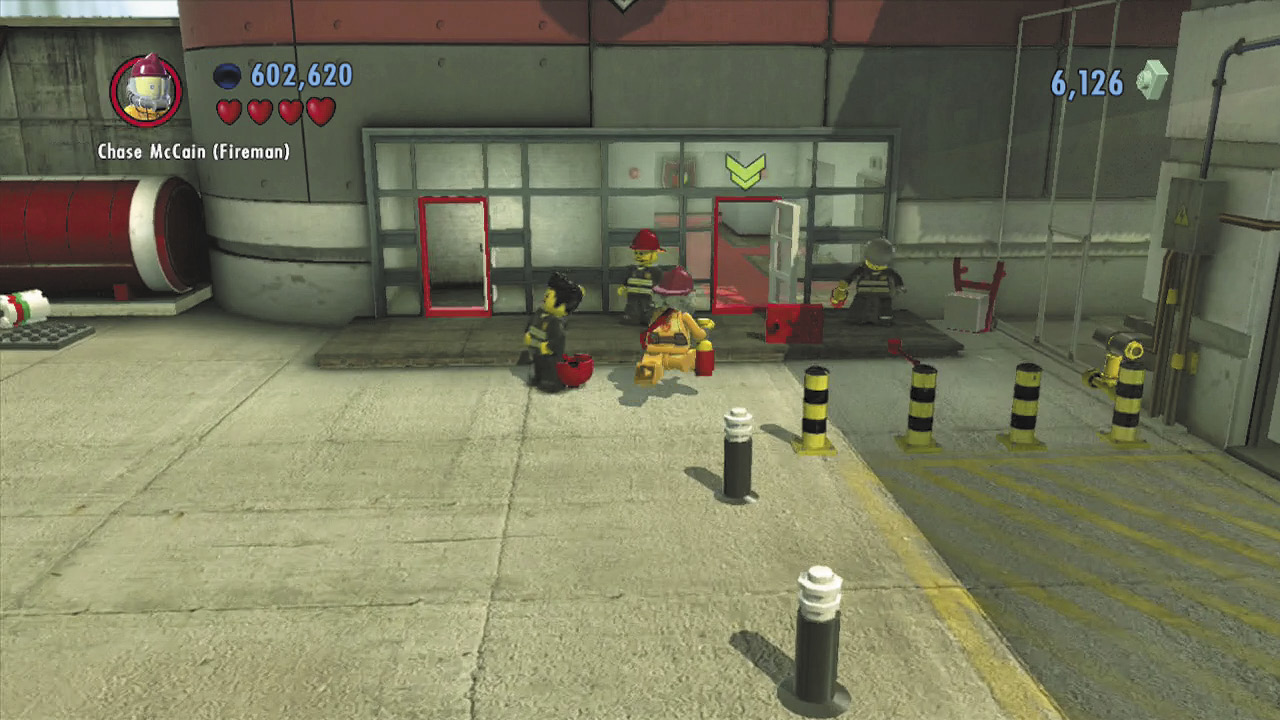
Well done! Ramon couldn’t be happier with your progress and invites you to join the rest of the crew inside. Head through the indicated door to advance to the next area.
Objective: Steal the Boathouse Key
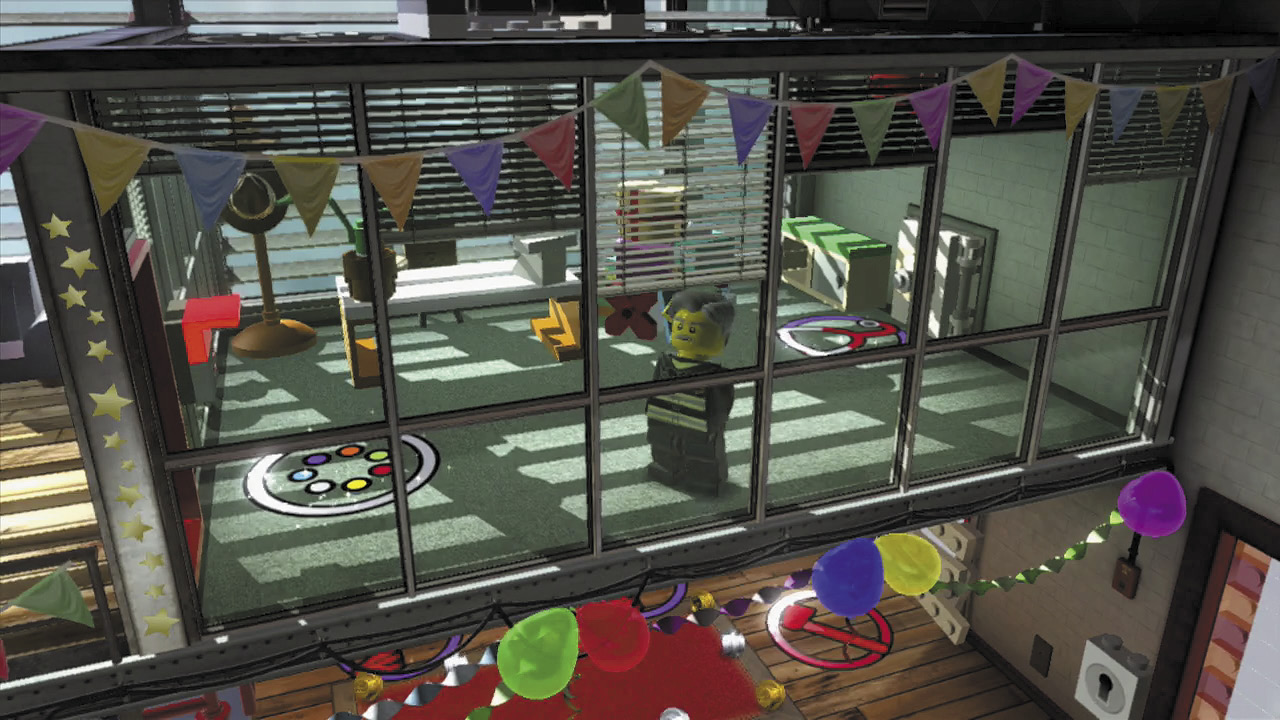
Your next objective is to steal the boathouse key from the fire chief’s office. This won’t be easy, because the chief has locked himself in his office—he’s really disappointed with the birthday party his fellow firefighters have thrown him!
Police Shield Piece 2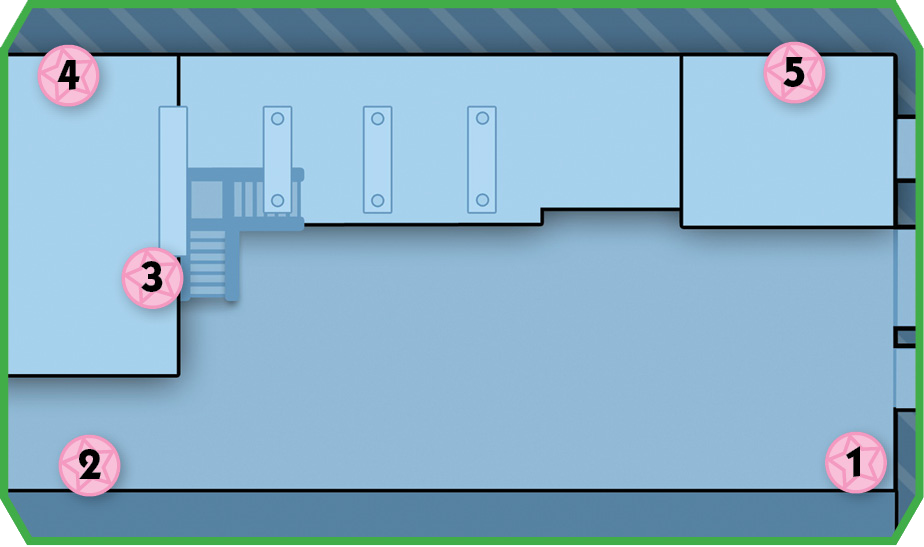 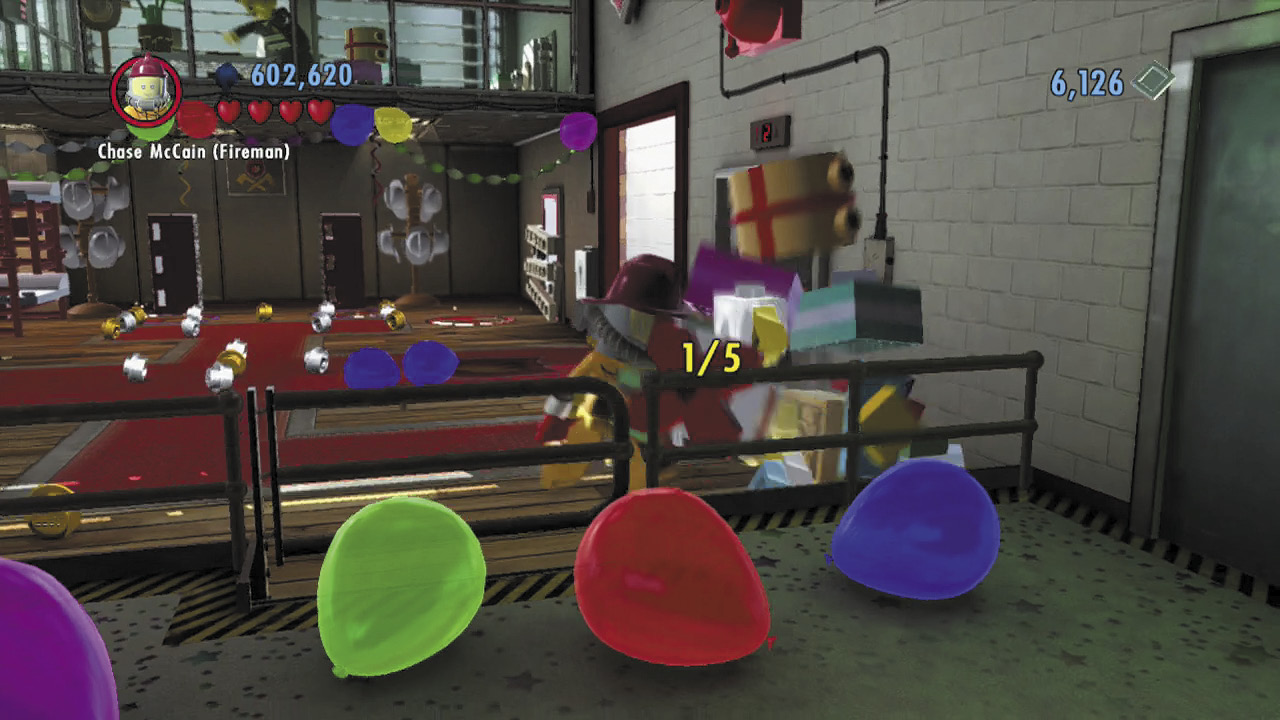 Smash five piles of gift boxes inside the fire station to unwrap a shiny shield piece. Check the maps for the gift boxes’ locations! |
Red Brick: Fancy Dress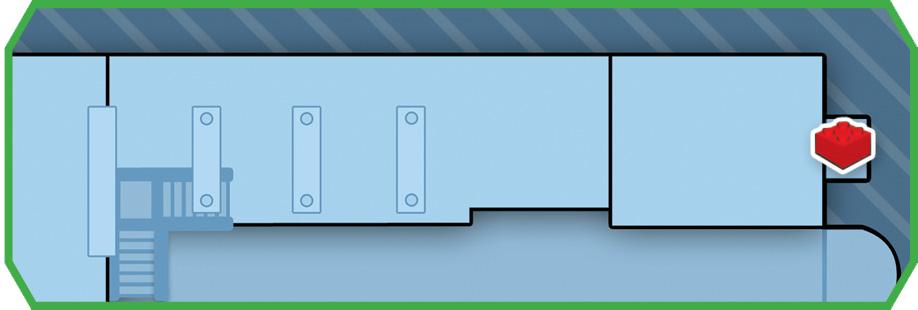 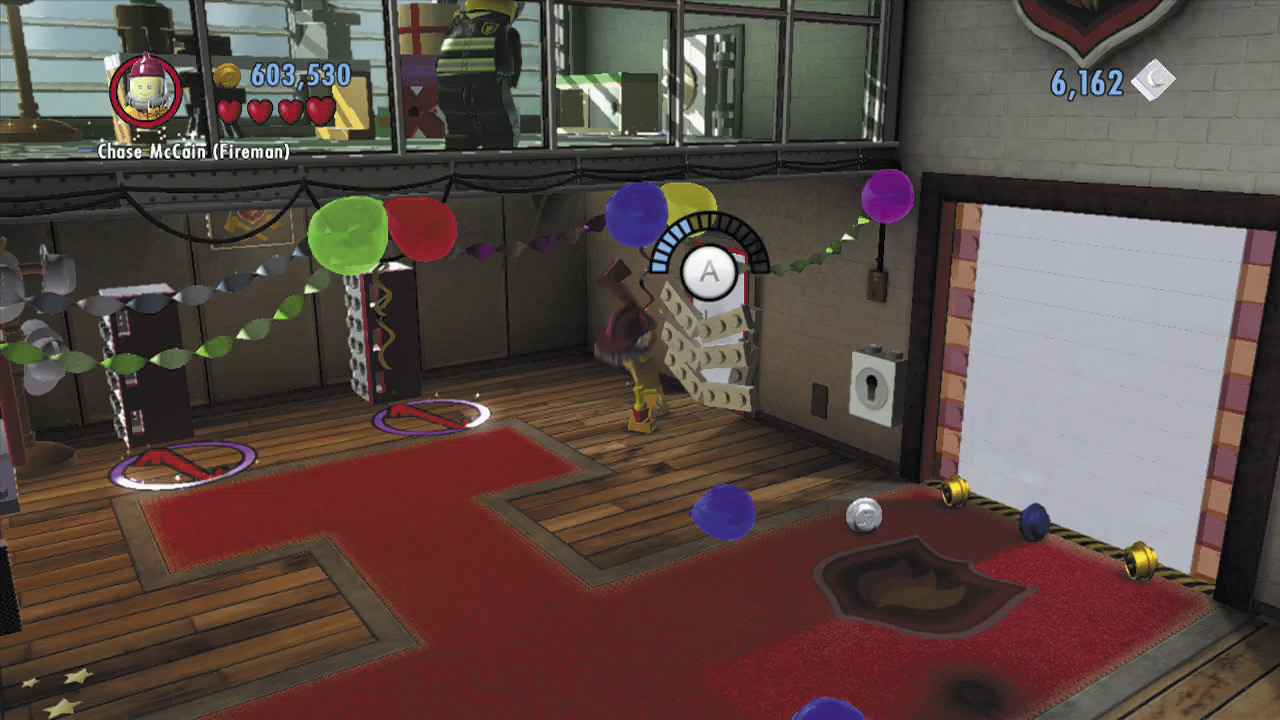 This stage’s red brick is an easy grab. Just smash through the boarded door on the fire station’s first floor, then step into the closet beyond to collect the red brick. Smokin’! |
Character Token 2:Charlotte Hannon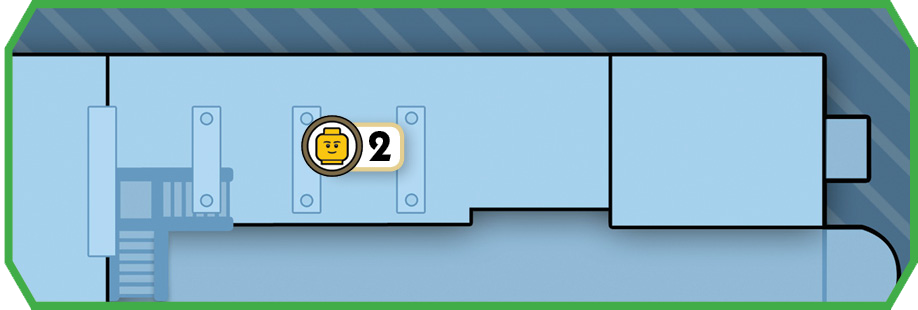 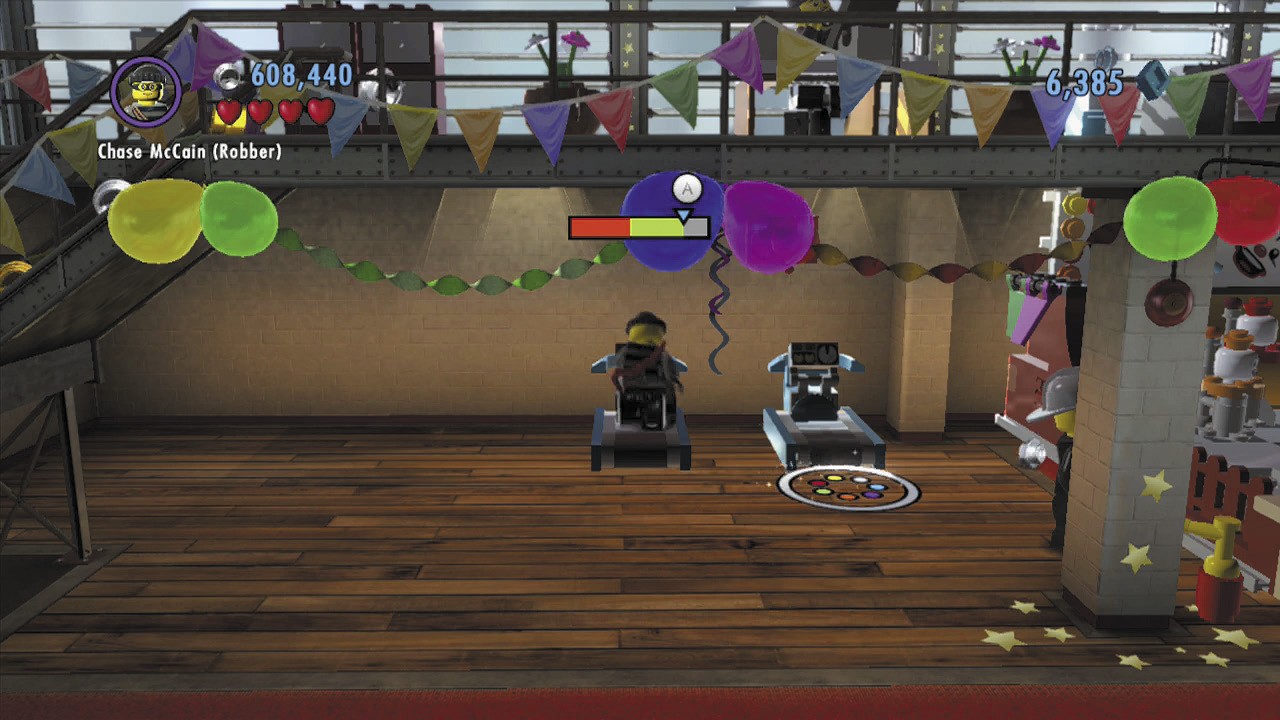 Run on the station’s treadmills to score some bonus studs. You’ll also reveal a hidden character token! |
Luring out the Chief

Approach the party game on the station’s ground floor and press  to play it. Spray water at the five clown heads, but only after they’ve spun around to face you. While a clown head is facing you, just keep spraying water at it until a balloon fills up above the clown head. Blow up all five balloons before time runs out to win the game!
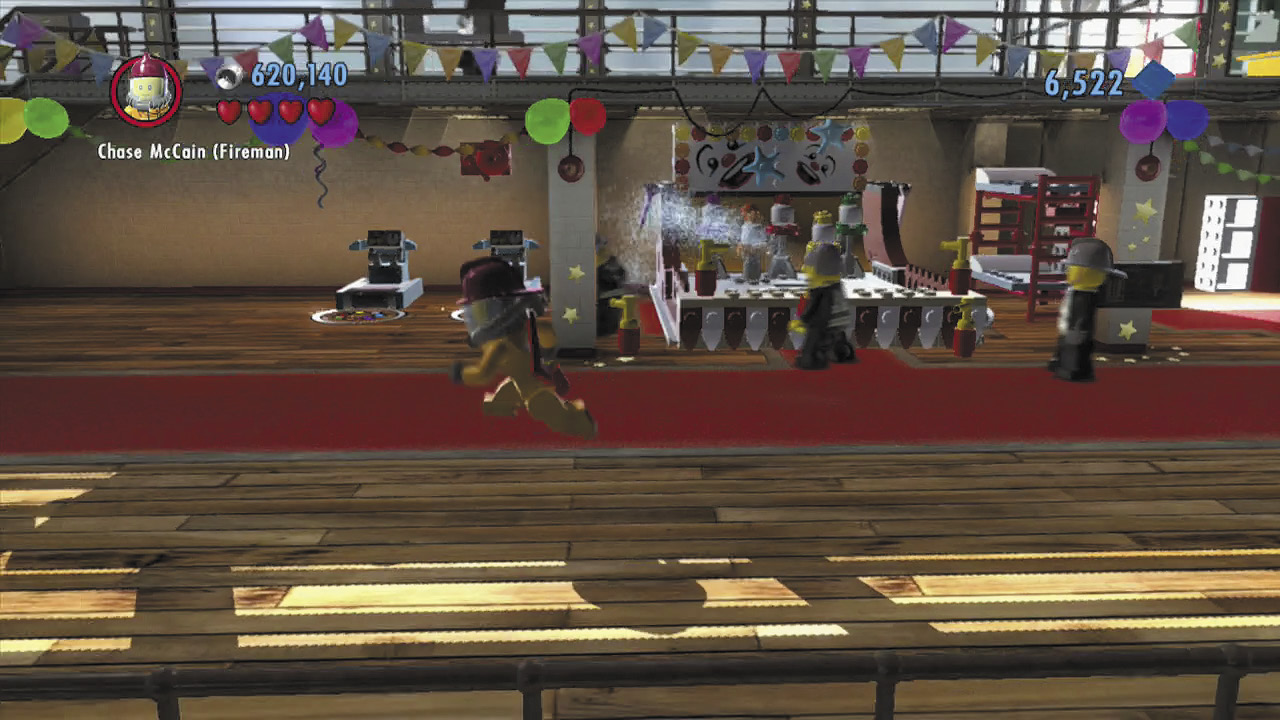
Hearing the commotion you’ve caused downstairs, Chief Burns finally leaves his office to join in the fun. Now’s your chance! Hurry upstairs and start searching for a way into the chief’s office, which he has locked behind him.
Entering the Office
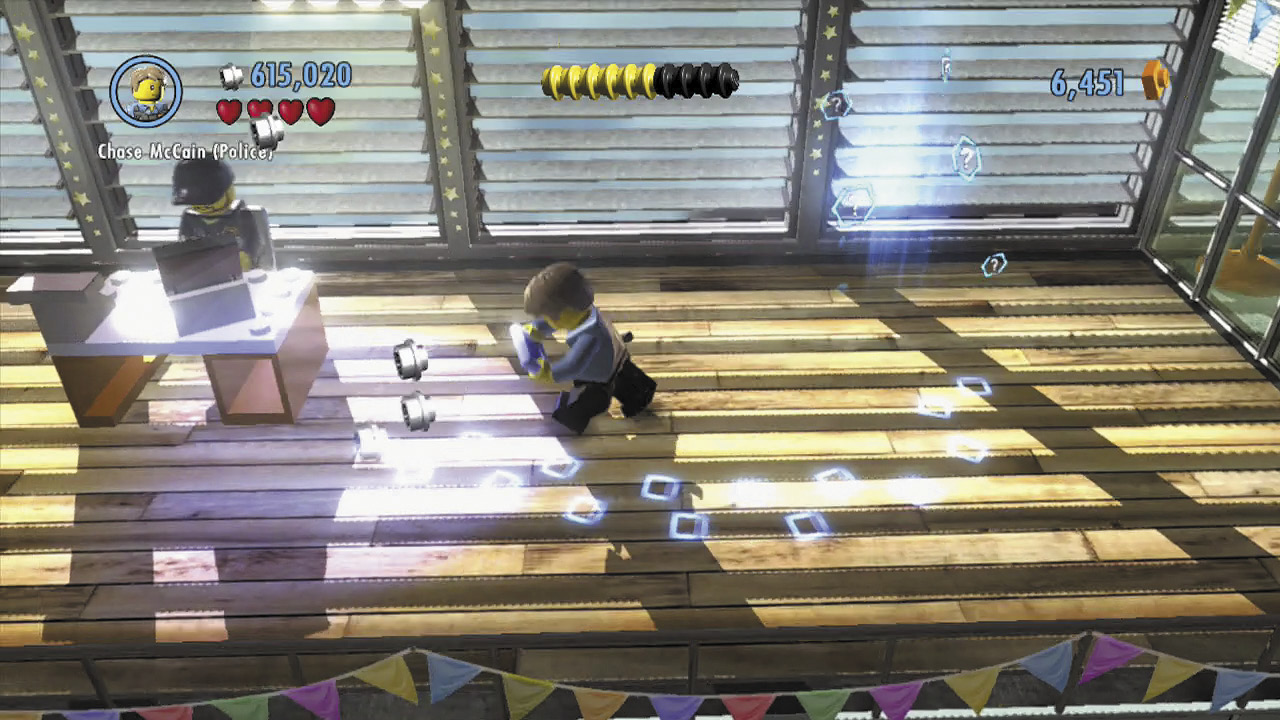
Smash the furniture near the chief’s office to discover a hidden scan spot. Follow the footprints from the scan spot to locate a cabinet that contains a key.
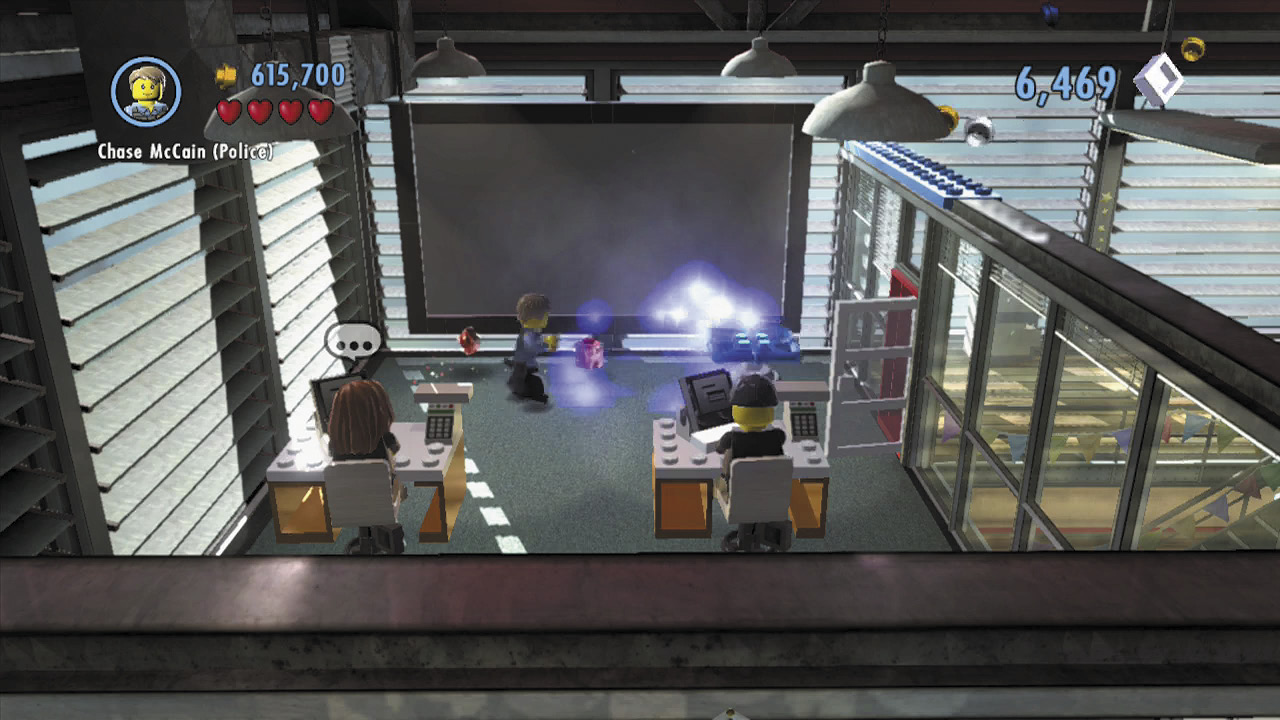
Collect the key from the cabinet and use it to open the nearby door. Enter the room beyond and smash the background objects to discover some bricks that you can build into a trampoline.
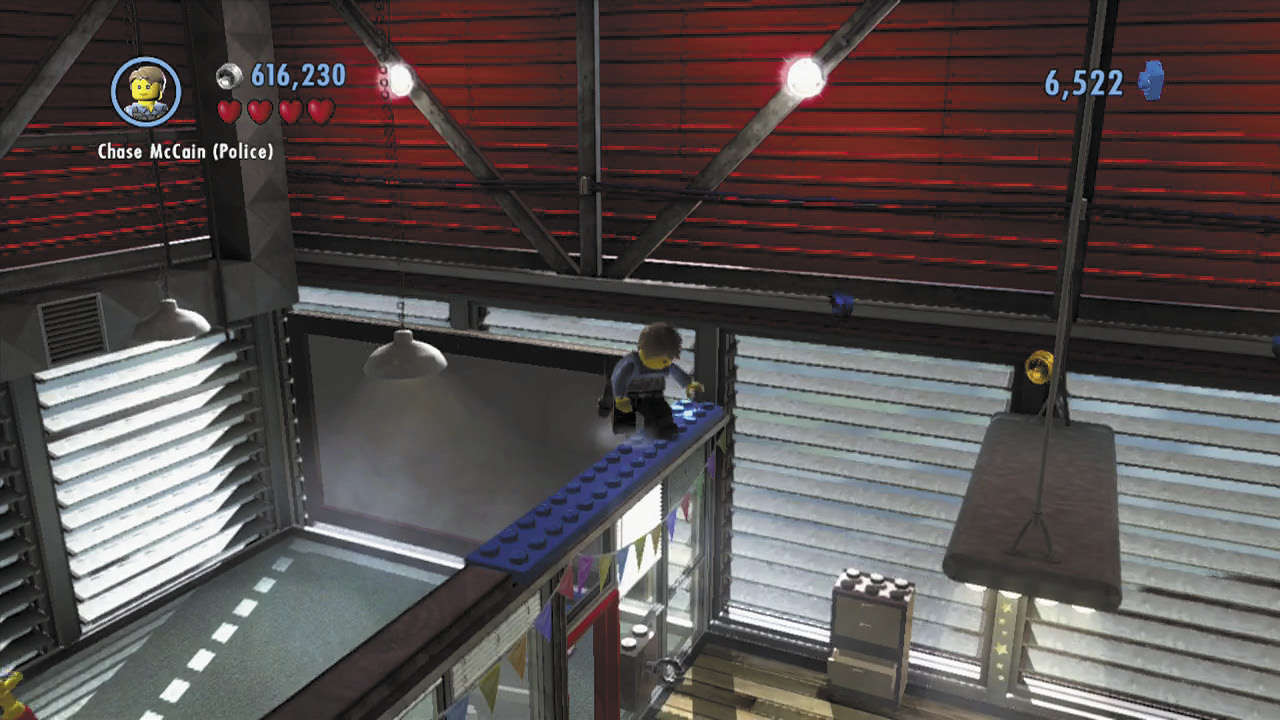
Bounce up from the trampoline and grab the overhead flagpole. Flip over to the narrow blue beam on the right, then hop across the overhead lights, heading toward the chief’s office.
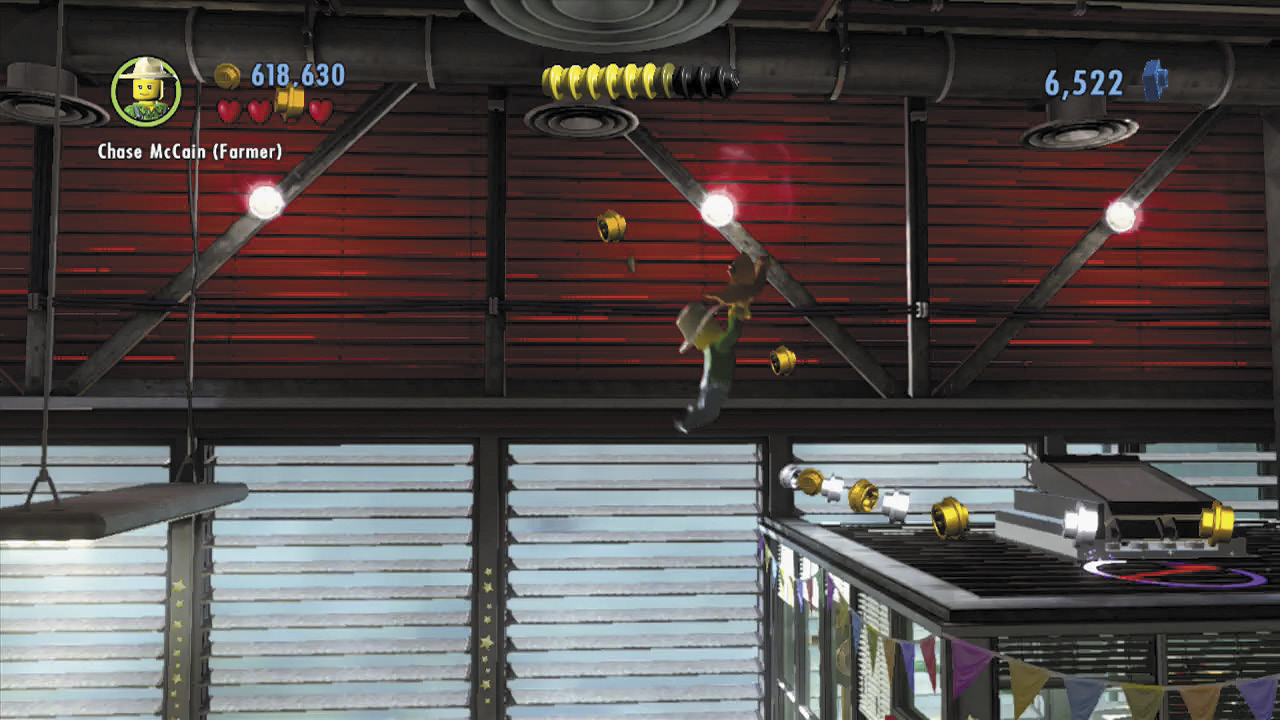
When you reach the final overhead light, switch to the farmer disguise and perform a chicken-glide to reach the top of the chief’s office. Pry open the skylight atop the office and drop inside.
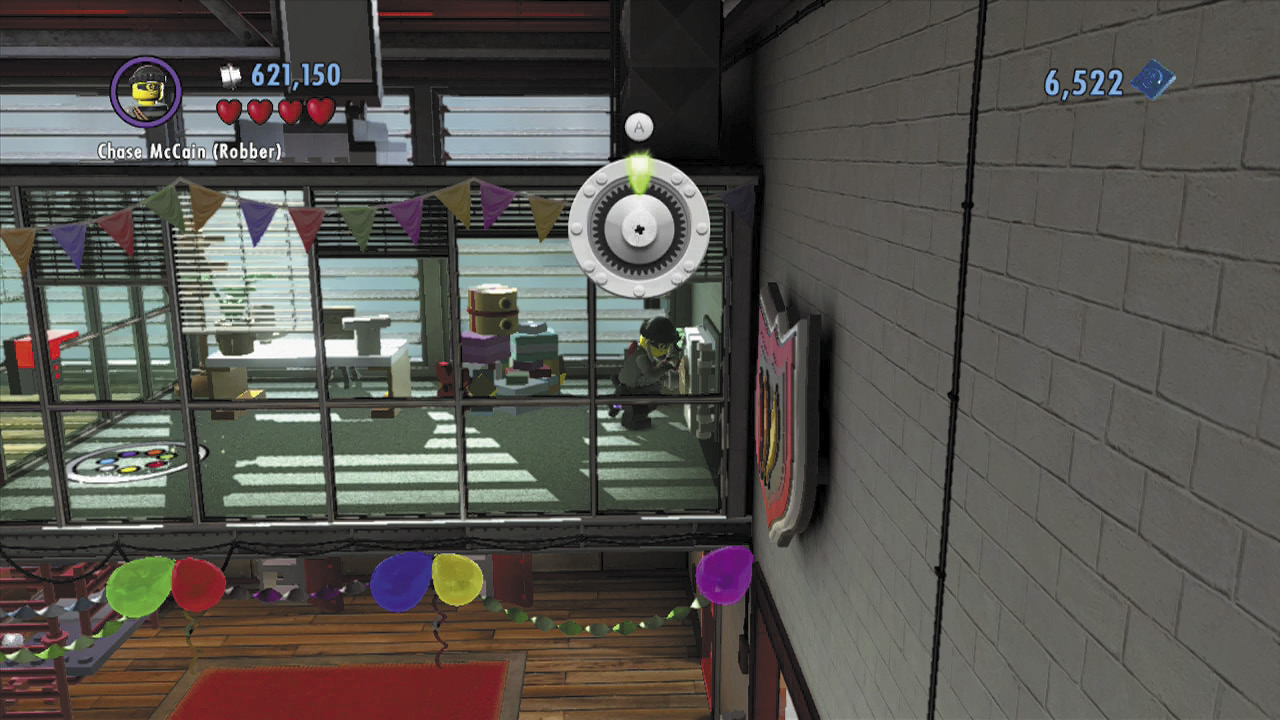
Crack the safe inside the chief’s office, then grab the key you discover inside. This must be the boathouse key!
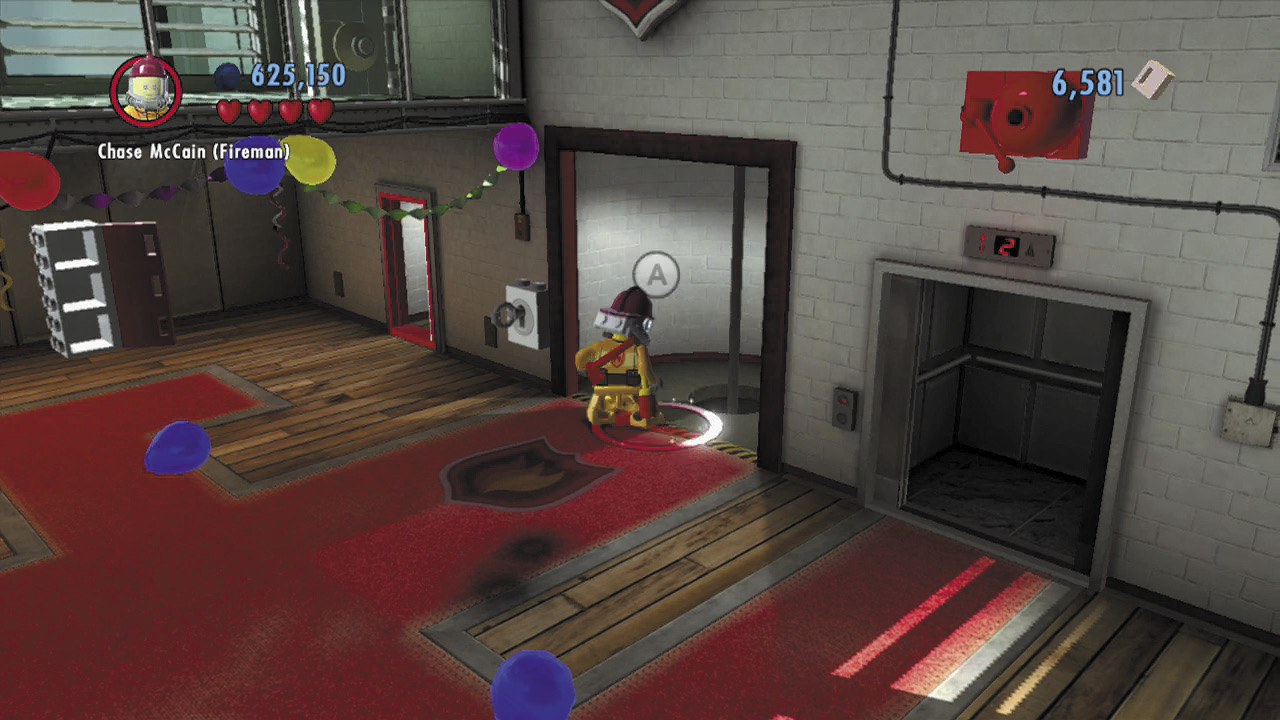
Use the control panel on the wall to open the office door, then hurry downstairs. Insert the key into the lock on the right wall. Turn it to open the nearby shutter. Slide down the fireman pole beyond to at last reach the boathouse.
Objective: Find the Docked Fire Boat
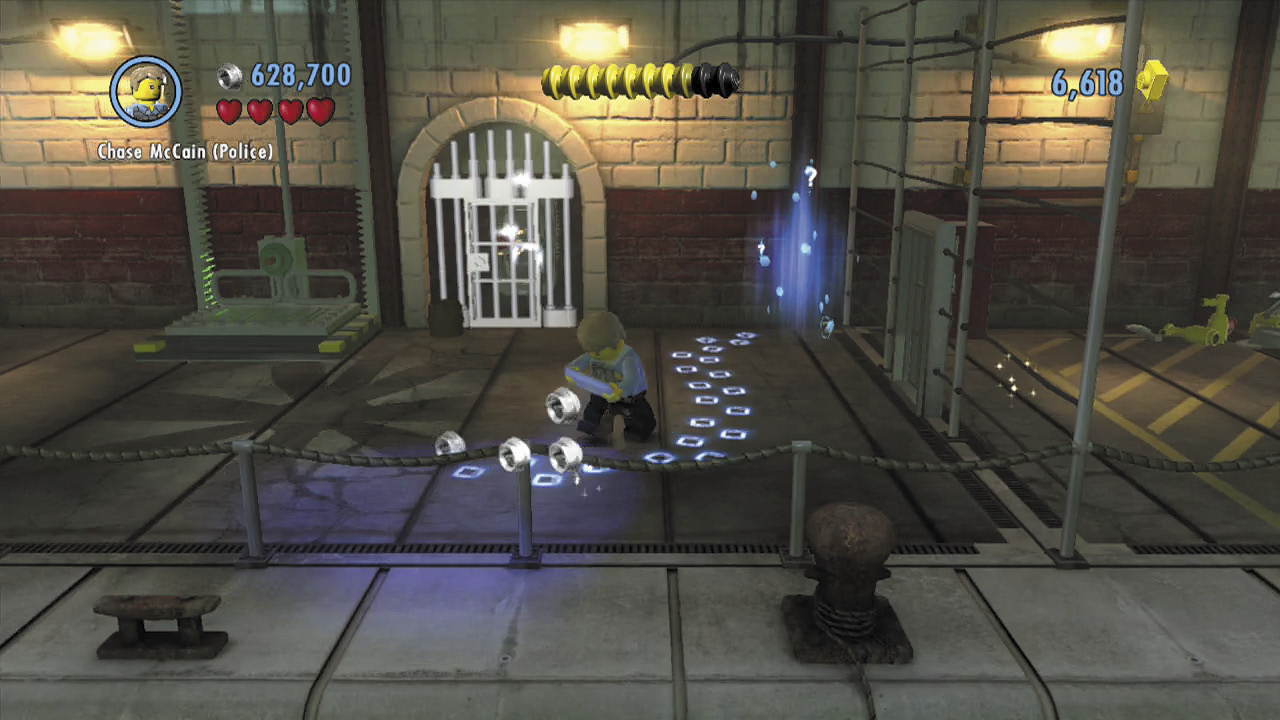
You’ve entered the boathouse—now you just need to steal that fire boat! Smash the hat rack in the entry area to discover a scan spot, then follow the footprints over to a blue bin. Search the bin to discover a valve wheel.
Police Shield Piece 3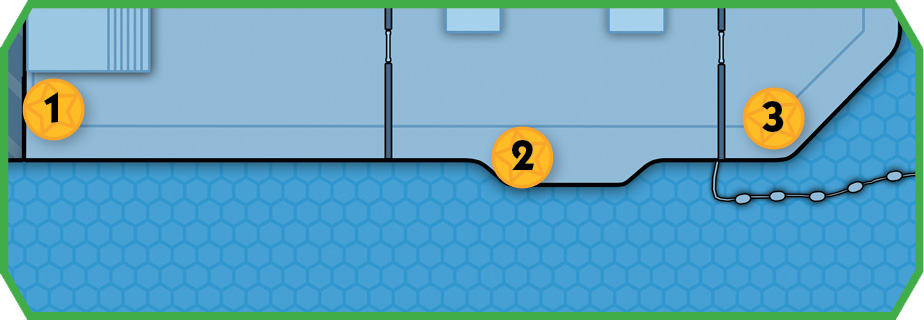 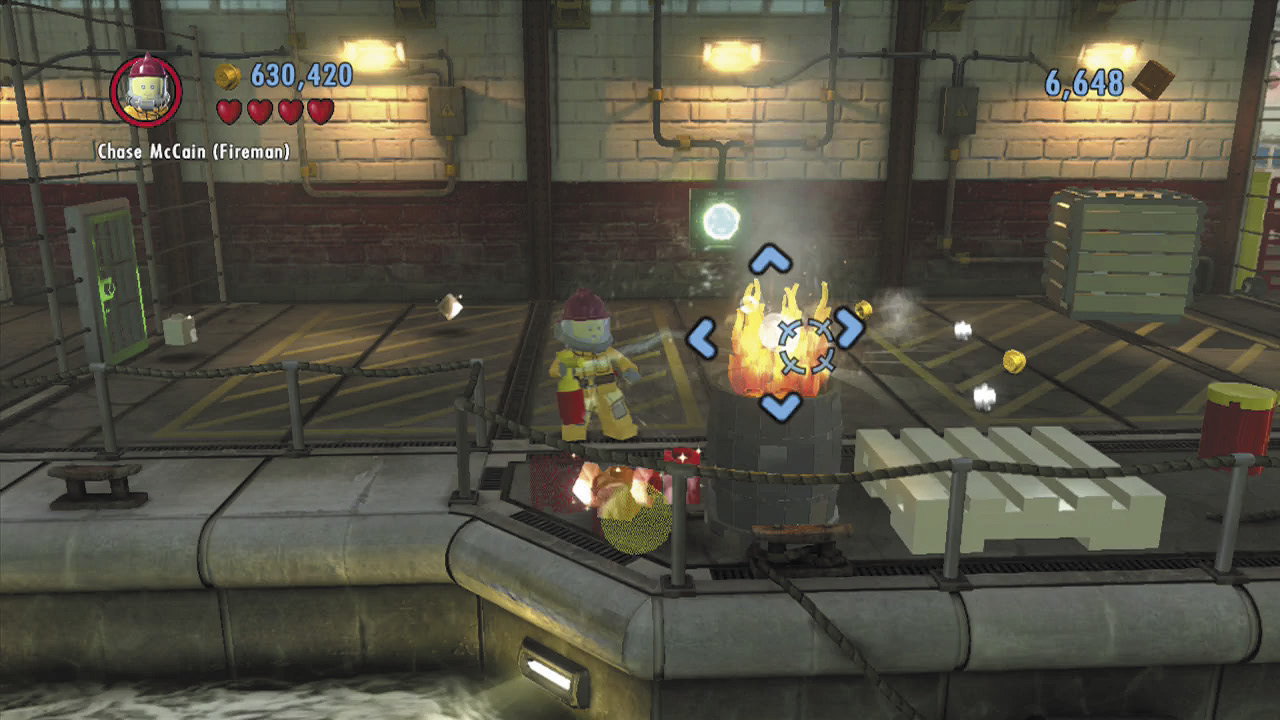 Douse three barrel fires around the boathouse to earn a shield piece. Check the maps for each barrel’s location. |
Great Gates
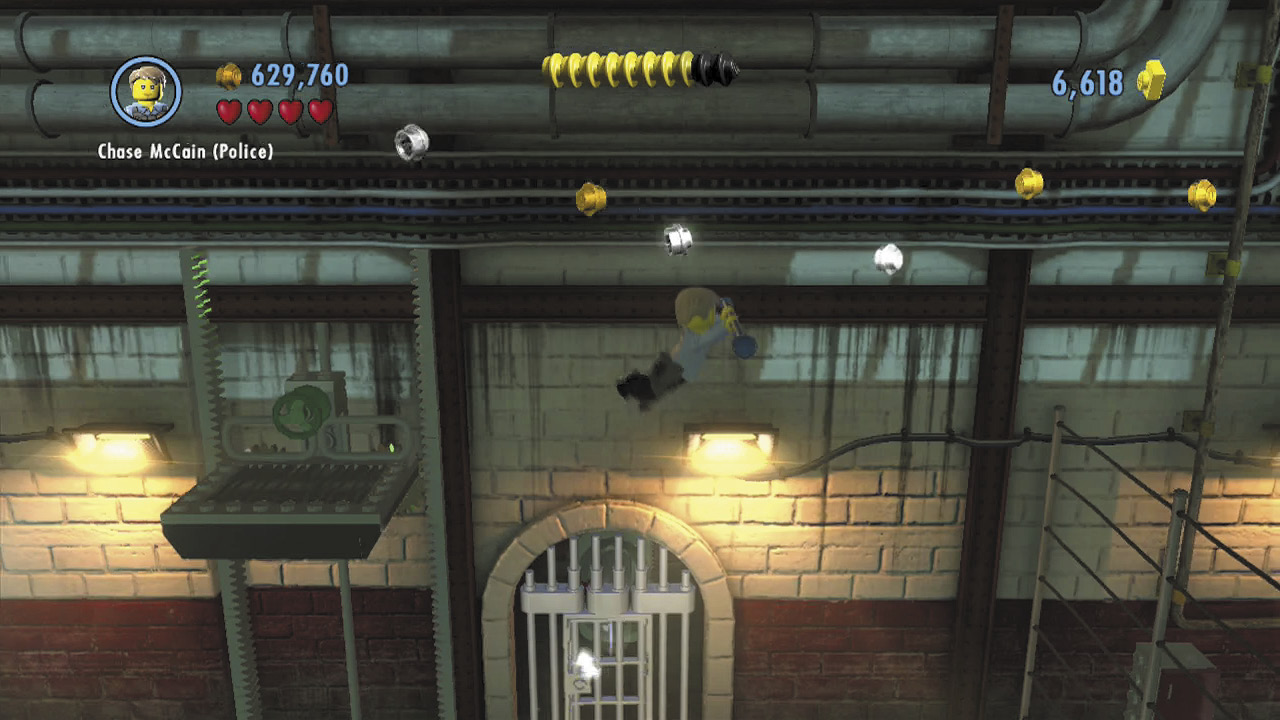
Insert the valve wheel into the notch near the lift, and turn the wheel to ride upward. Jump and flip across a pole to soar past the gate to the right.
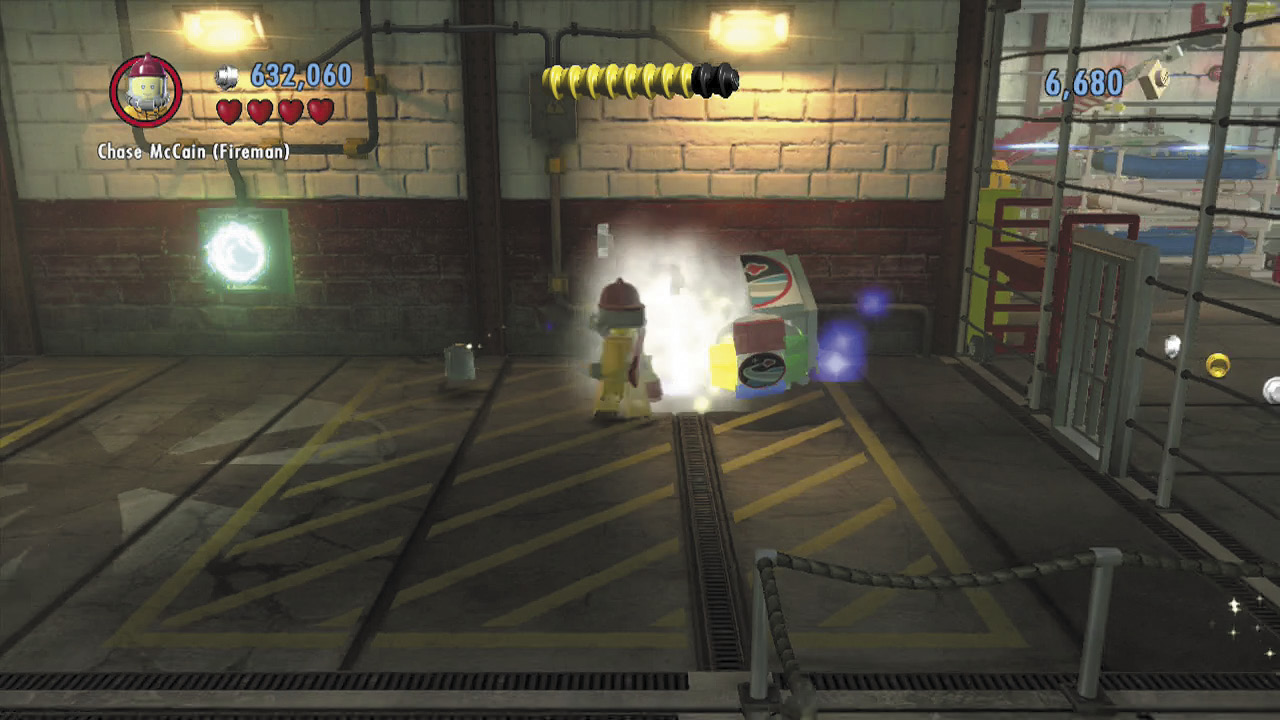
A trio of whirling fans prevents you from continuing any farther. Drop and smash a large crate to discover some bricks, then build these into a space crate.
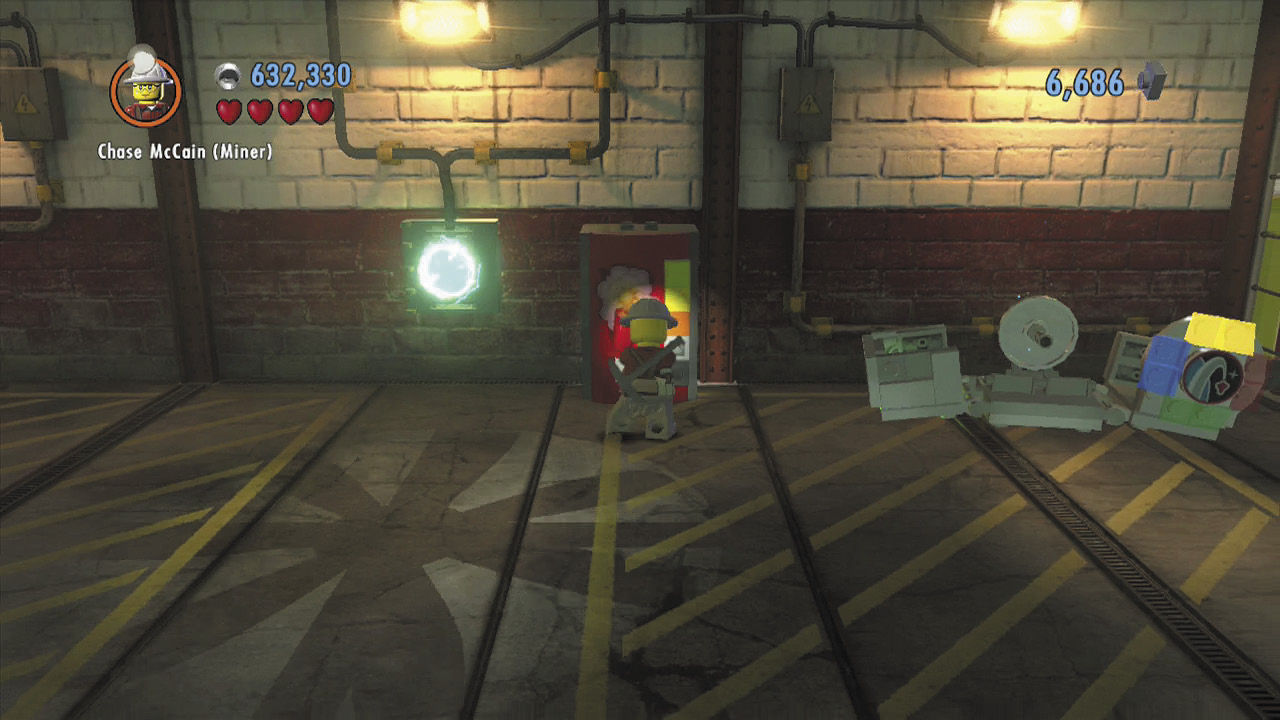
Activate the space crate to beam in a dynamite dispenser. Obtain some dynamite, and pry open the door on the left to return to the entry area.
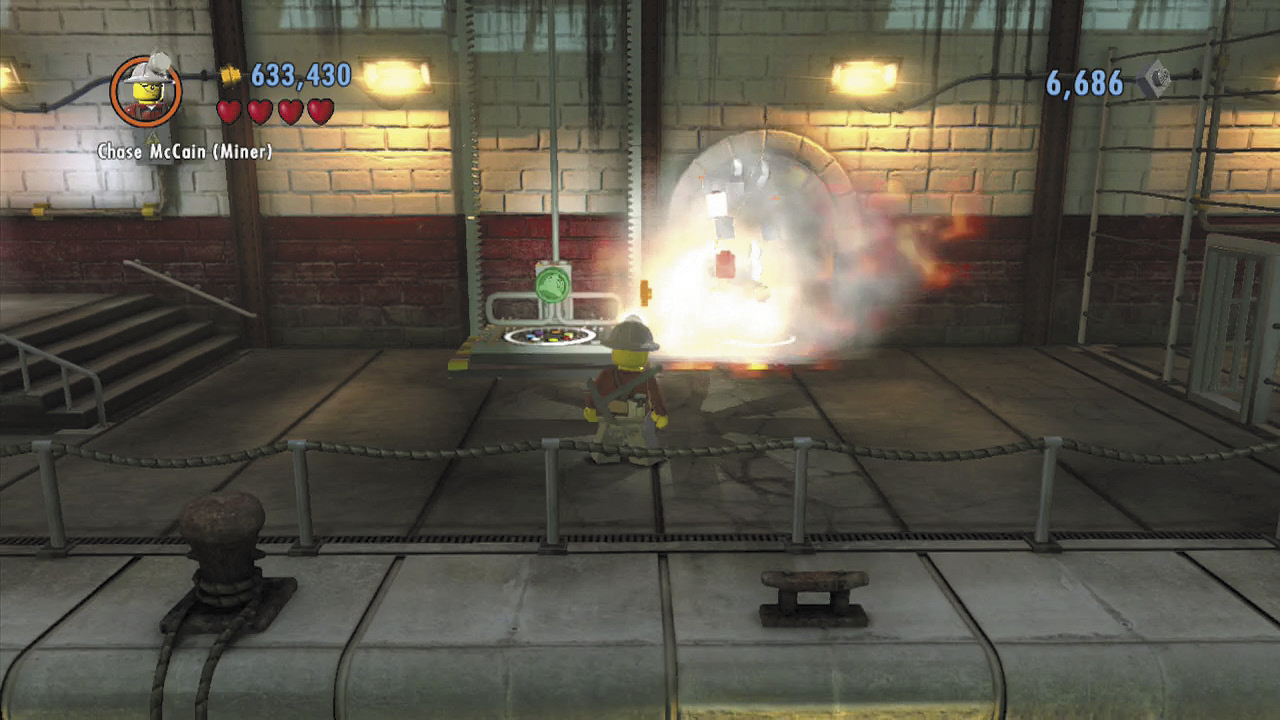
Use the dynamite to blast away the silver bars near the lift, exposing a color swapper. Fill your color gun with red energy.
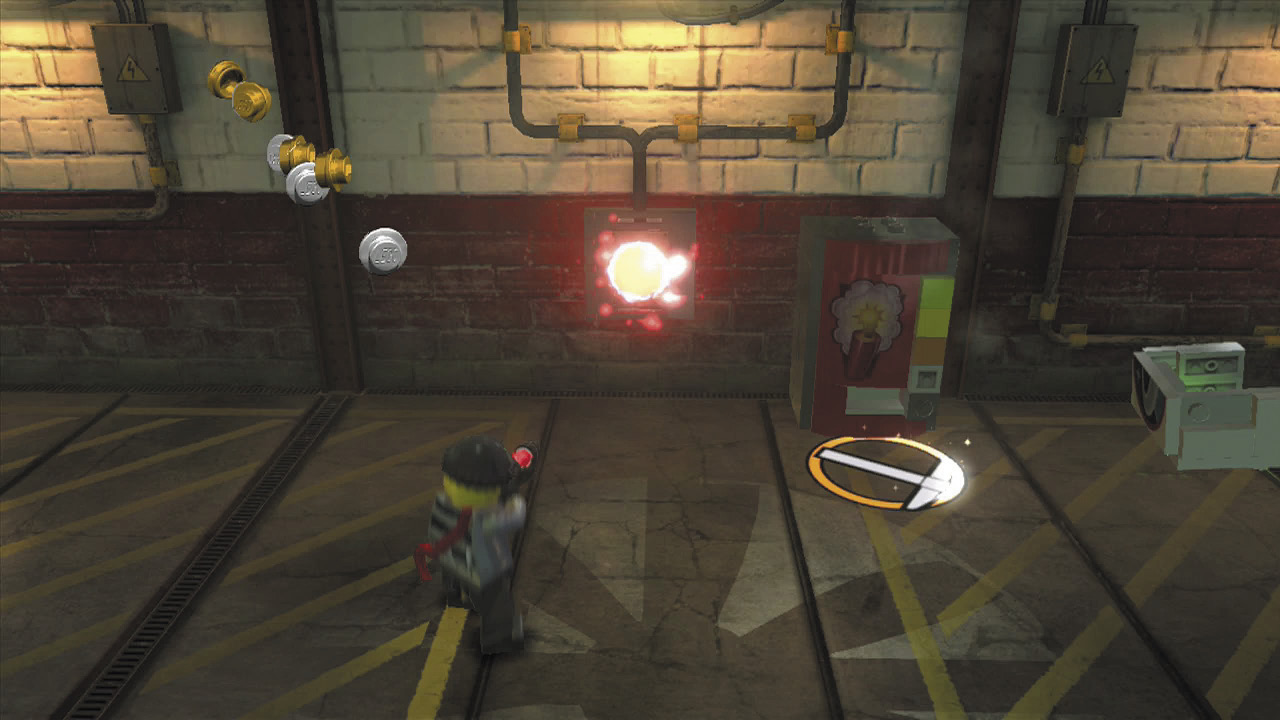
Run back to the right and blast the green switch on the background wall to deactivate the fans. Nice work! Now ride up the lift again and perform a chicken-glide to slip past the second gate.
Stealing the Fire Boat
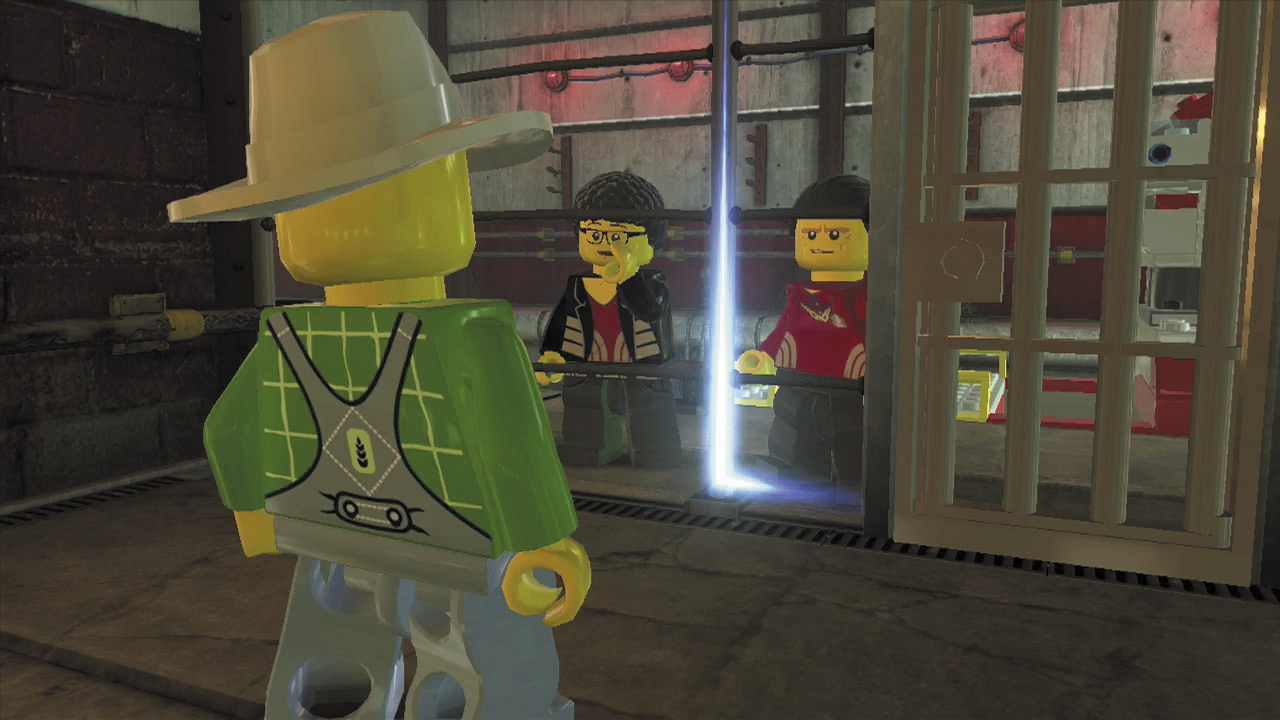
A couple of Vinnie’s goons await you on the gate’s other side. Chat with them, then smash the nearby blue and white object to reduce it to bricks.
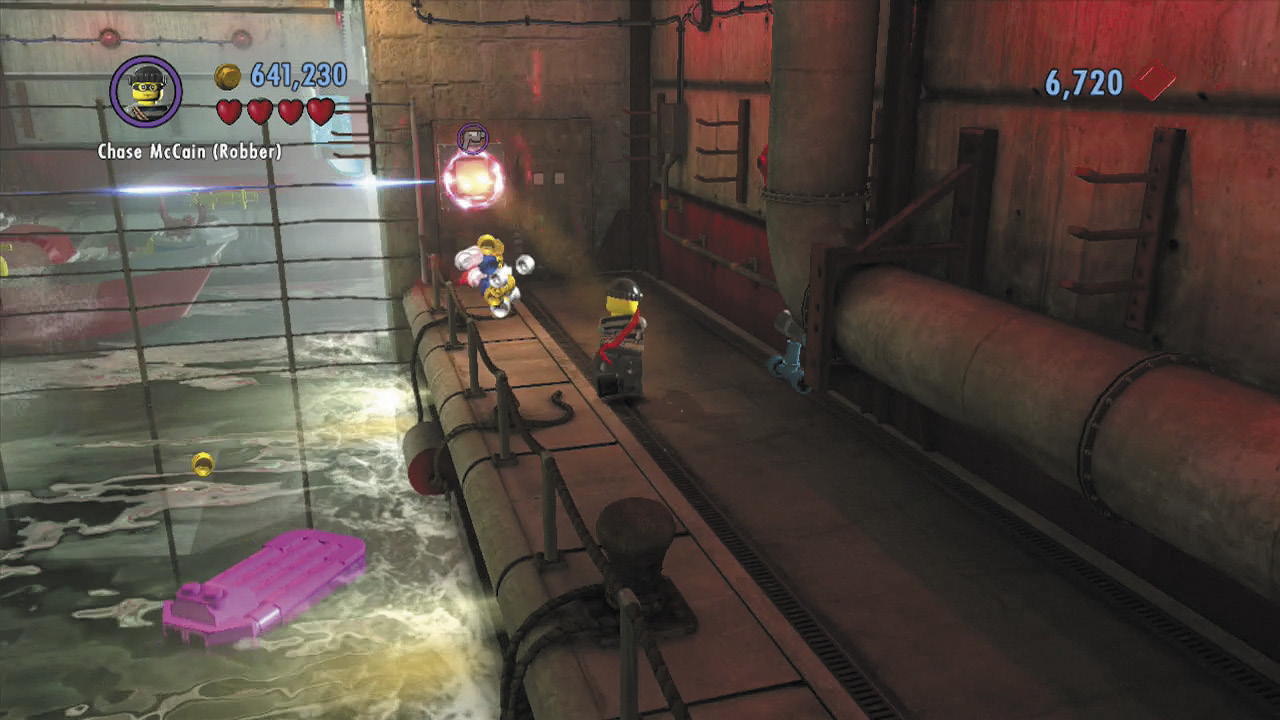
Build the bricks into a catapult pad, and use the pad to fly across the water. Blast the green switch on the wall with the color gun to deactivate the electric fence near the fire boat.
Police Shield Piece 4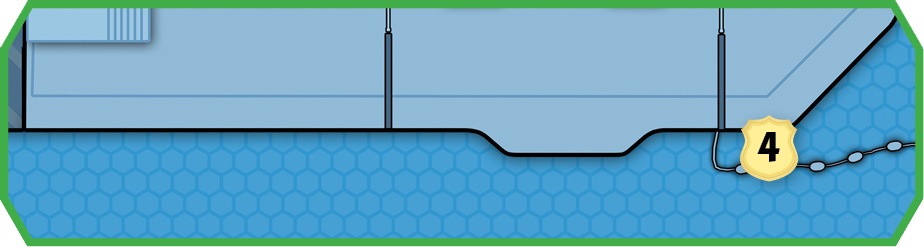 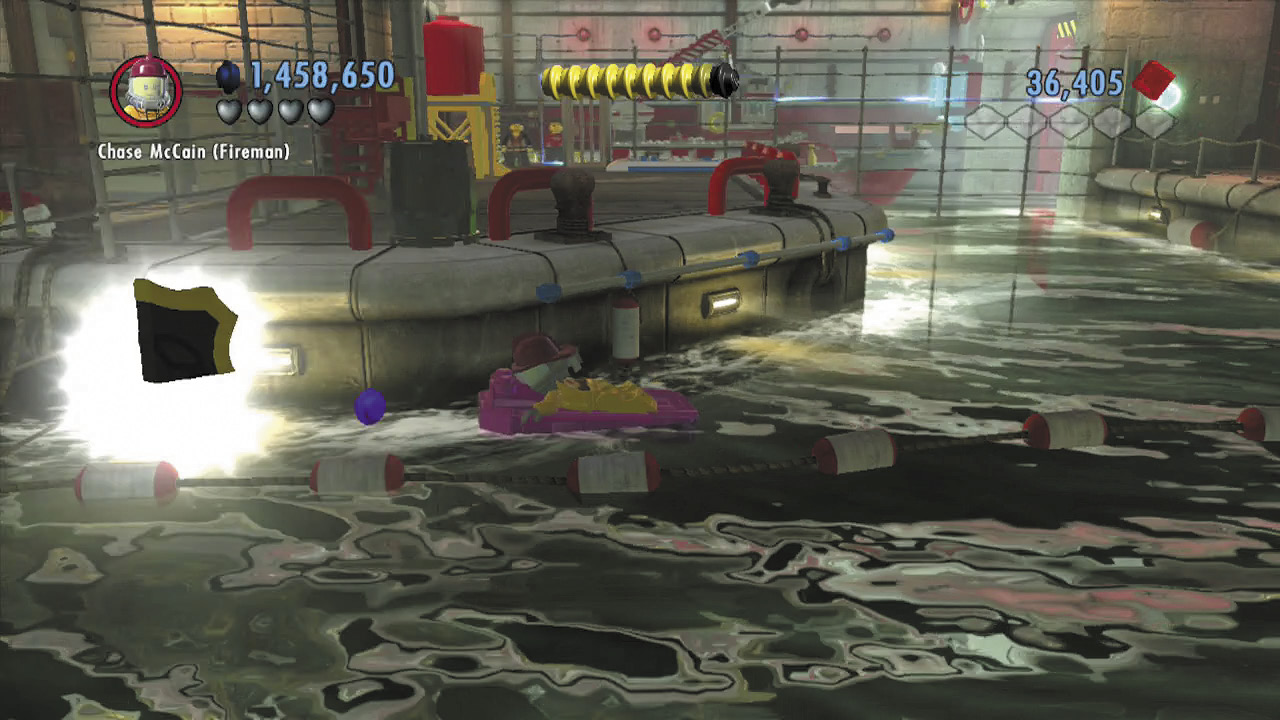 After launching across the catapult pad, pull the lever on the wall to make a raft fall from the ceiling. Hop onto the raft and follow a trail of studs around the water. Collect every stud to snag a shield piece when you reach the end of the trail! |
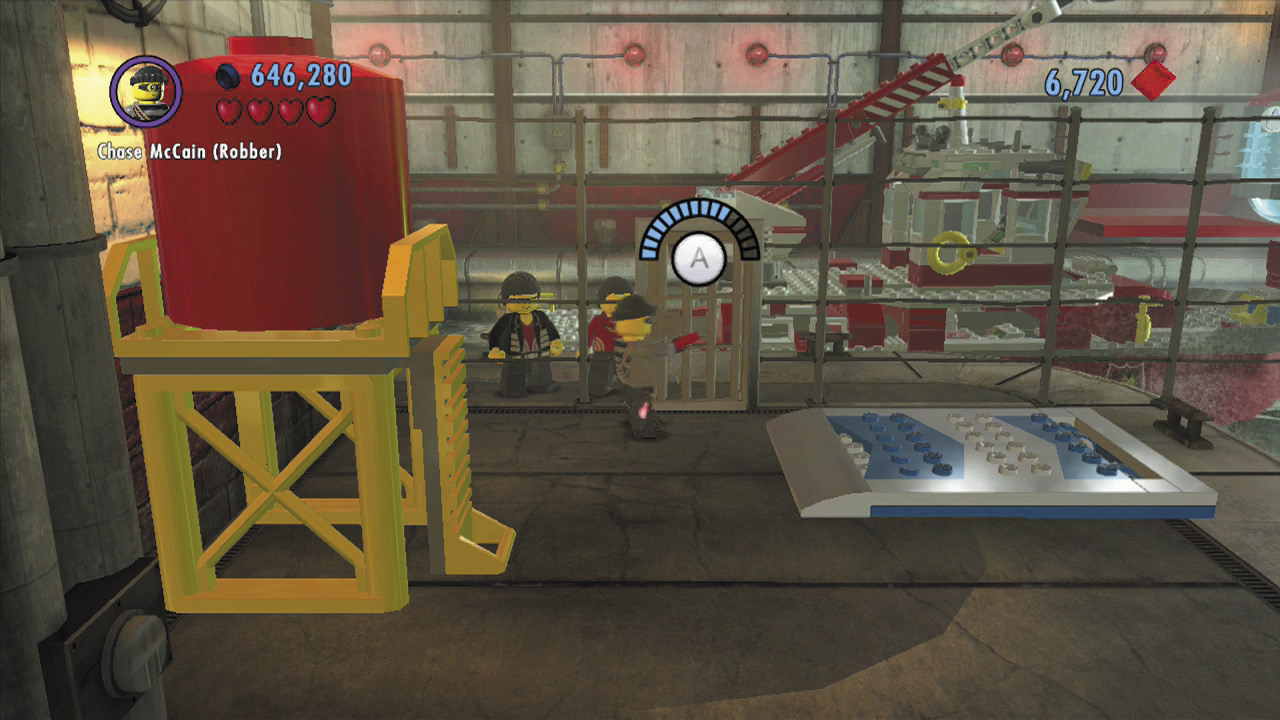
With the electric fence shut off, you can now safely pry open the metal door near Vinnie’s goons. Do so, then press  to pilot the fire boat.
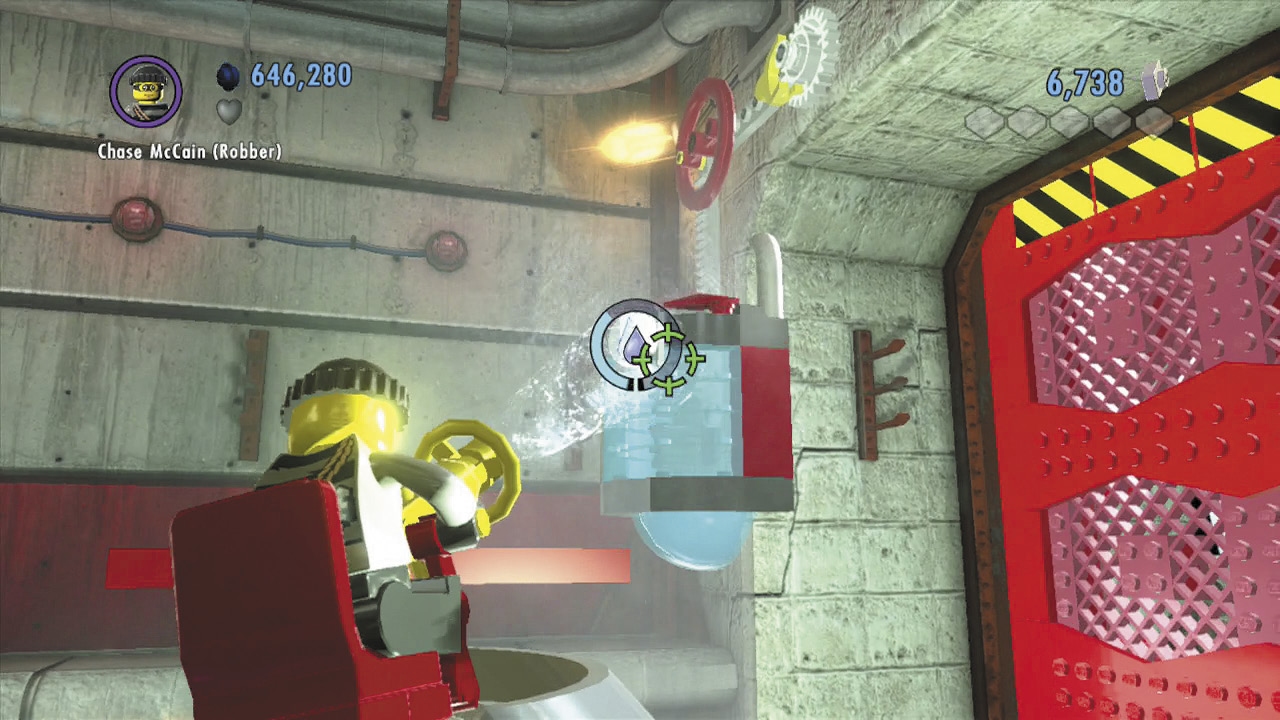
You’re almost out of here! To make good your escape, simply spray the nearby water switch on the wall with one of the fire boat’s water cannons. Just keep spraying the switch until it fills with water and the nearby gate opens, allowing Chase to drift off with the fire boat.
City Exploration
Objective: Go to Mercy Hearts Hospital
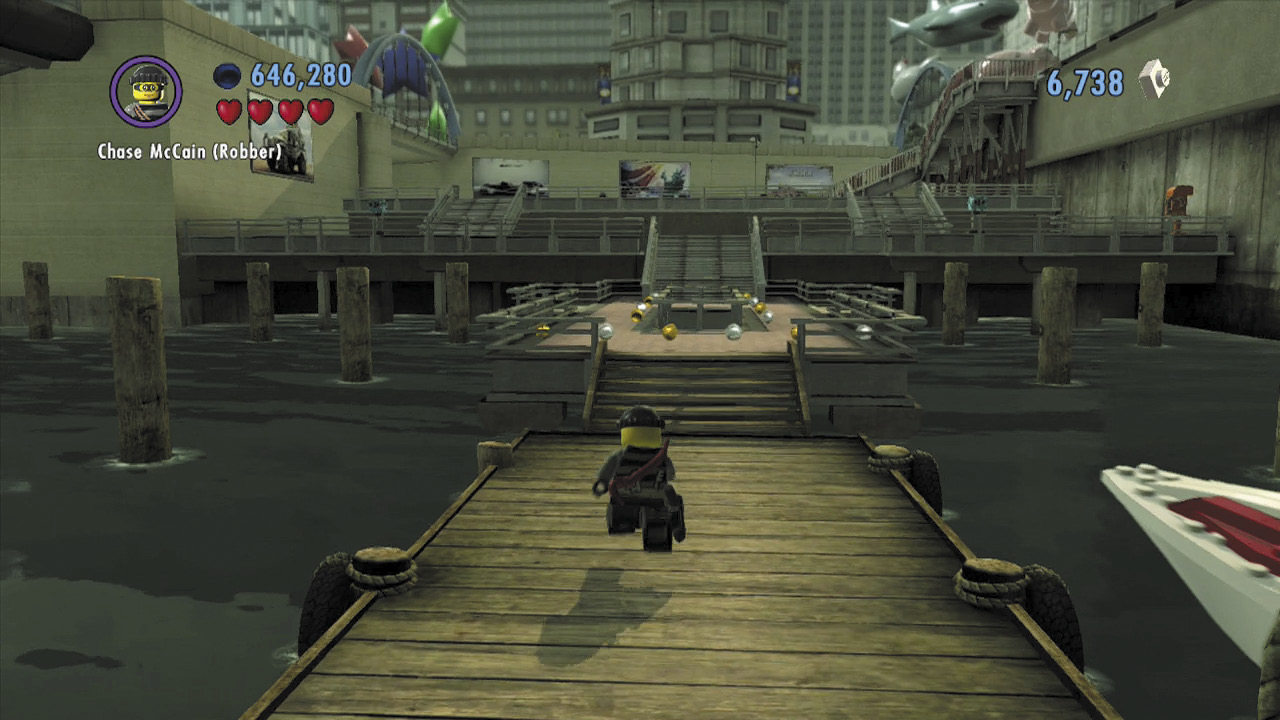
Chase has delivered the fire boat to Vinnie, pleasing the crime boss immensely. But before our hero can continue on with his mission, he gets a call from Natalia, who’s found herself in trouble again—this time at Mercy Hearts Hospital. Jump into the nearby speedboat and follow the green studs out of the water tunnel and over to the dock near the hospital. Park your speedboat at the dock and run up to the nearby hospital.
Objective: Rescue Natalia from the Hospital’s Roof
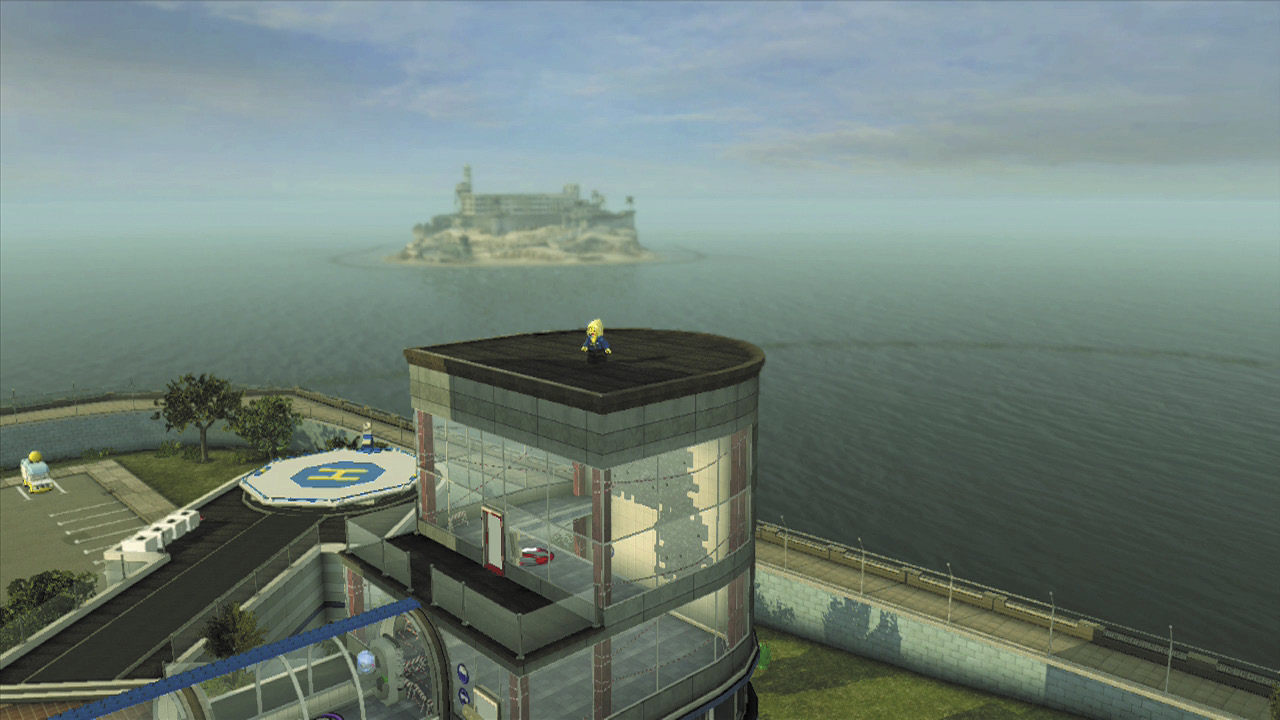
The hospital is being assaulted by suited goons, and Natalia is trapped on the roof. You’ve got to save her!
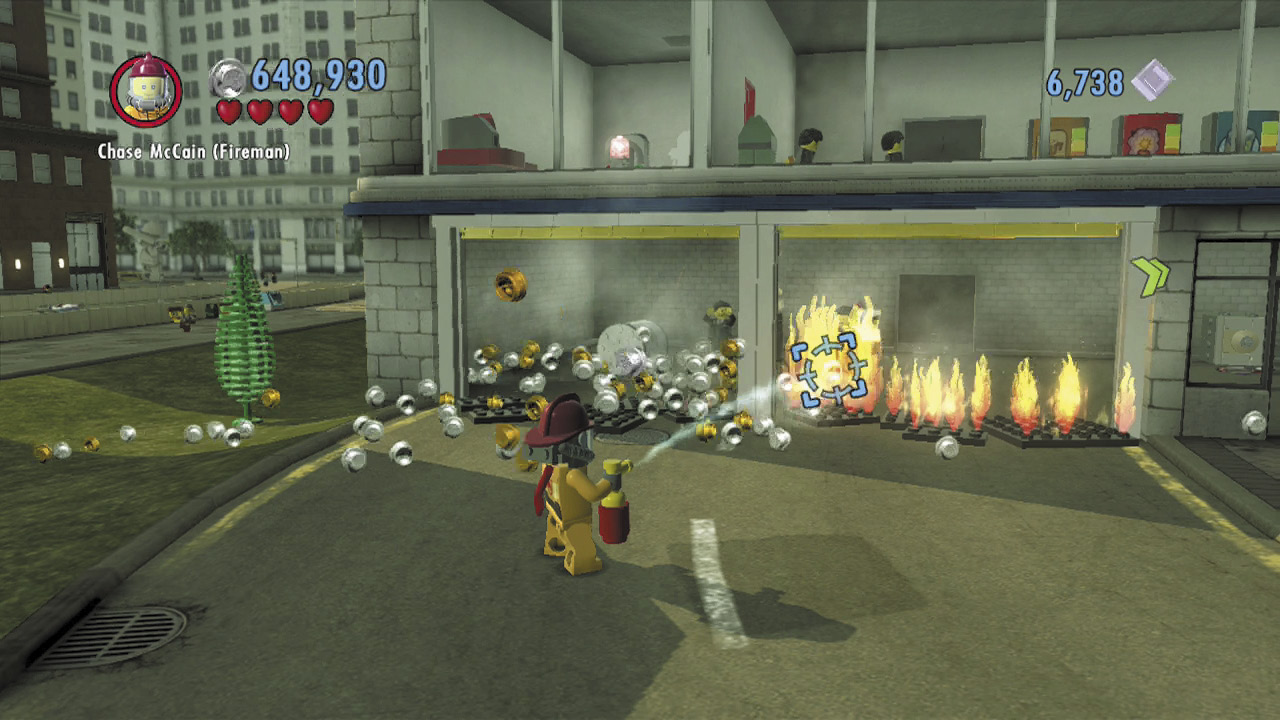
First things first: Use your fire extinguisher to douse the roaring flames near the hospital’s garage.
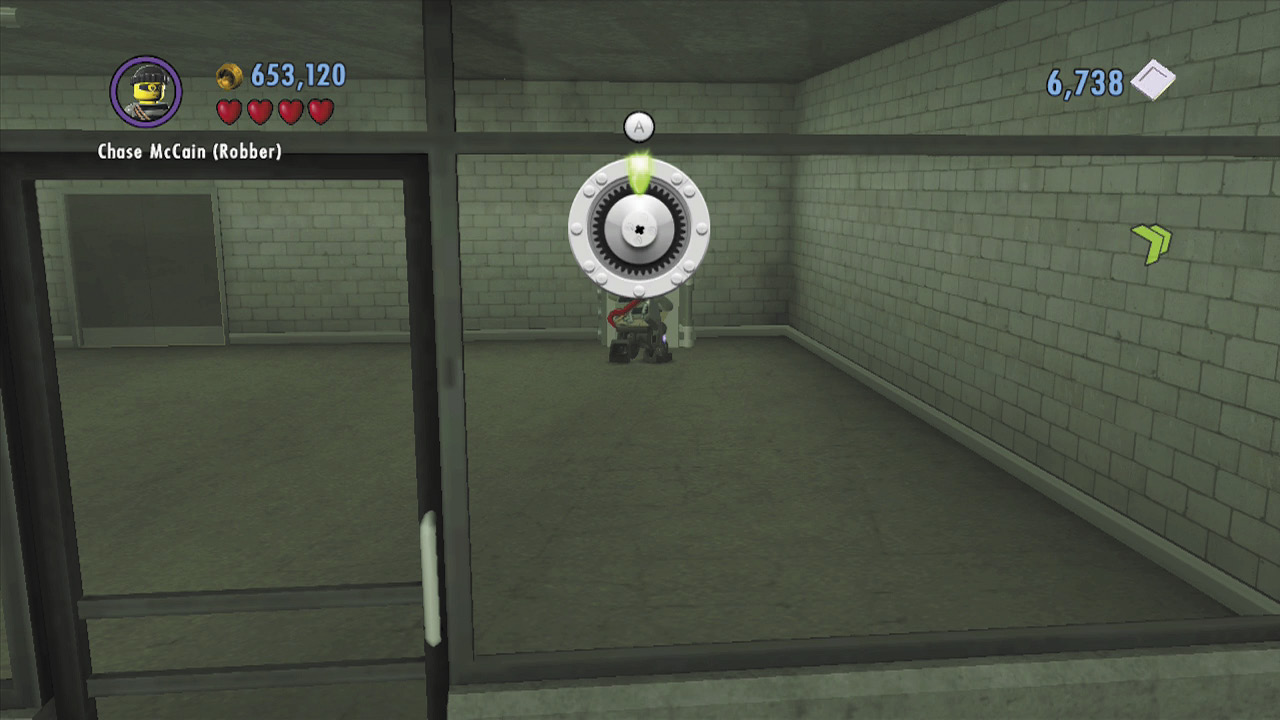
Enter the garage after putting out the fire and beat up the bad guys. Crack the safe inside the garage. Use the key card you find inside the safe to activate the nearby elevator. Collect a superbrick as you board the elevator and ride up to a higher floor.
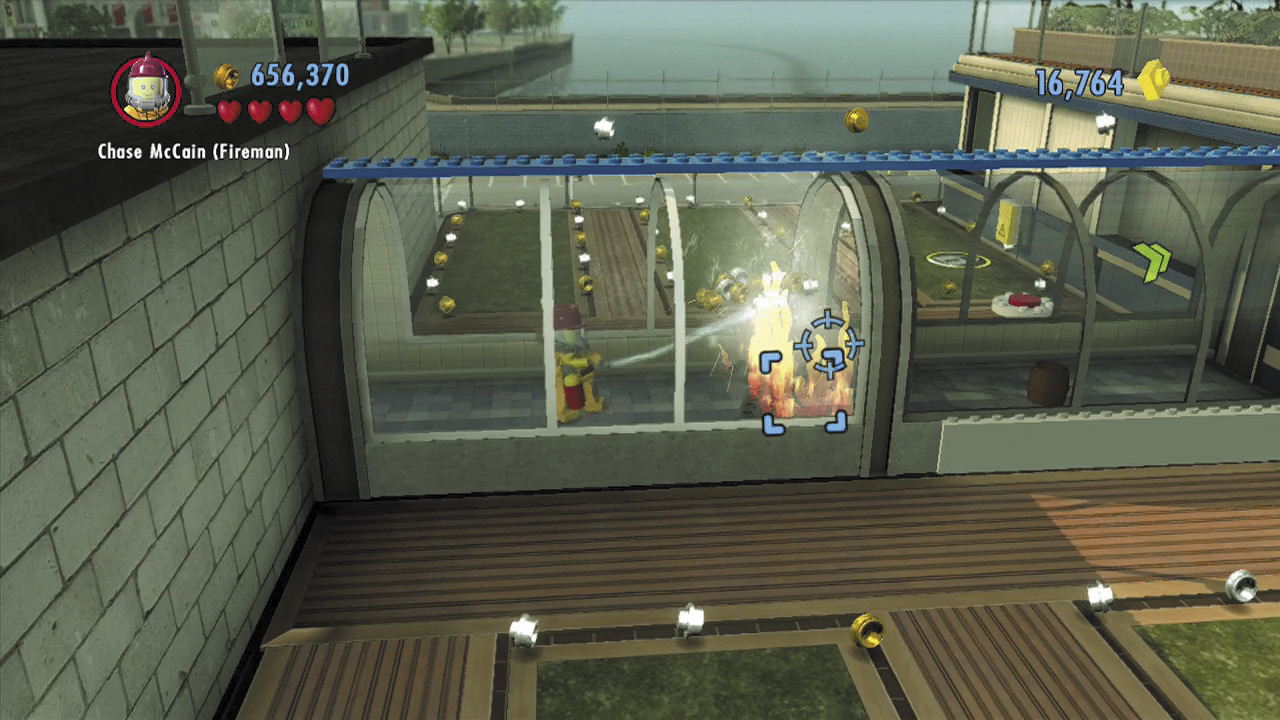
Subdue a few more goons after you step off the elevator. Collect some dynamite from the nearby dispenser afterward, then put out more flames in the enclosed walkway on the right.
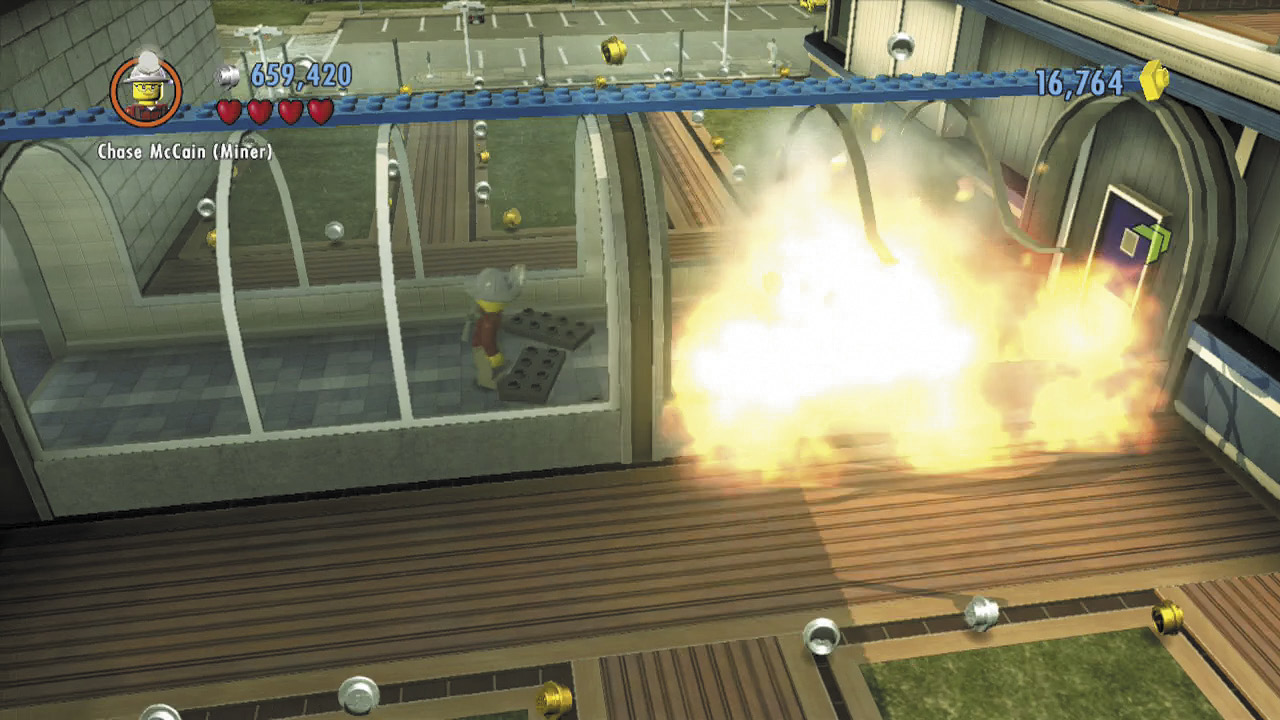
Place the dynamite in the small barrel inside the tunnel. The explosion blasts a hole through the walkway, letting you step out onto the roof.
Rooftop Ruckus
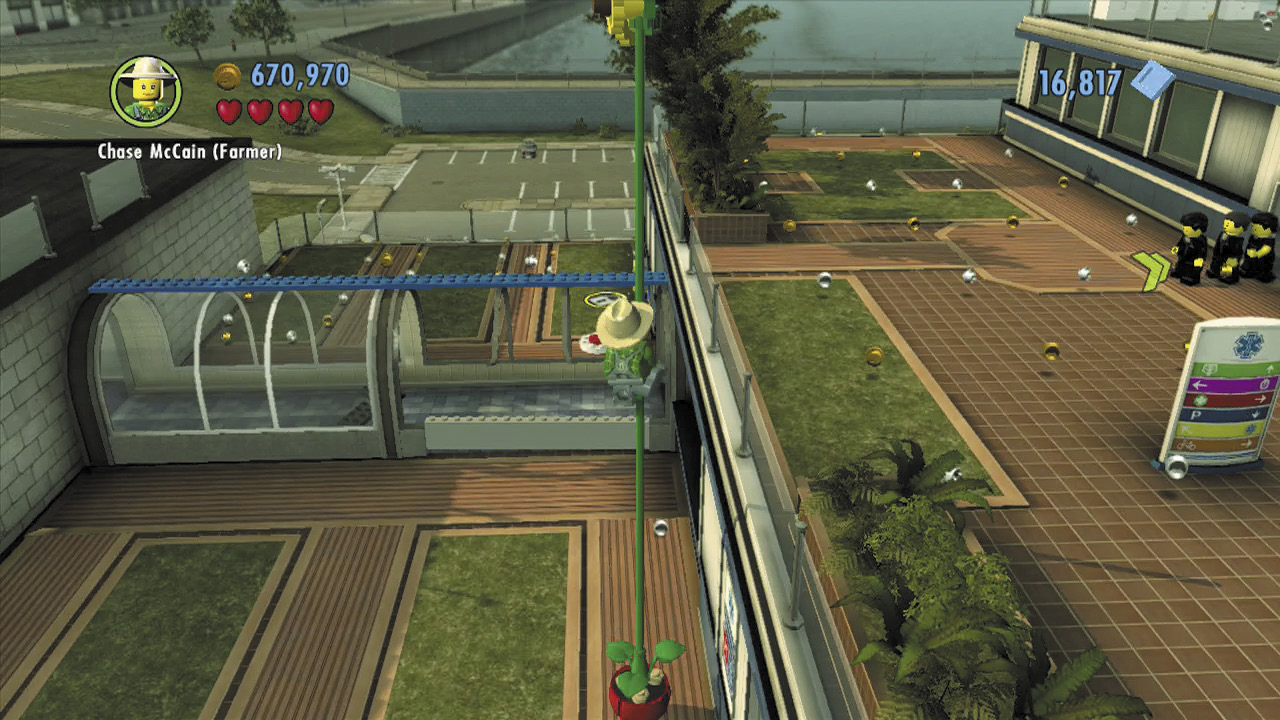
Run toward the foreground and extinguish more flames near some bouncing bricks. Build the bricks into a planter, then water the planter to grow a tall sunflower. Climb up to reach a higher section of roof.
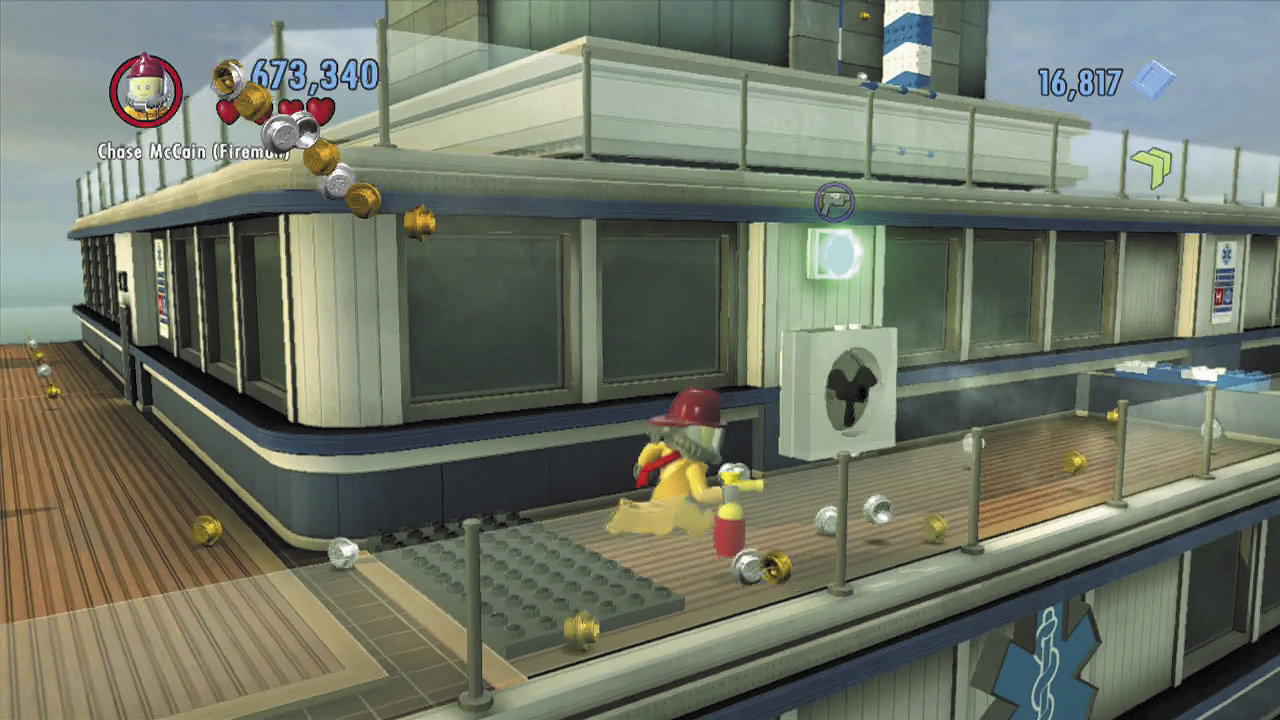
Beat up more goons on the higher roof, then douse the foreground fire so you may approach a green switch. Hang on, you need to find a red color swapper!
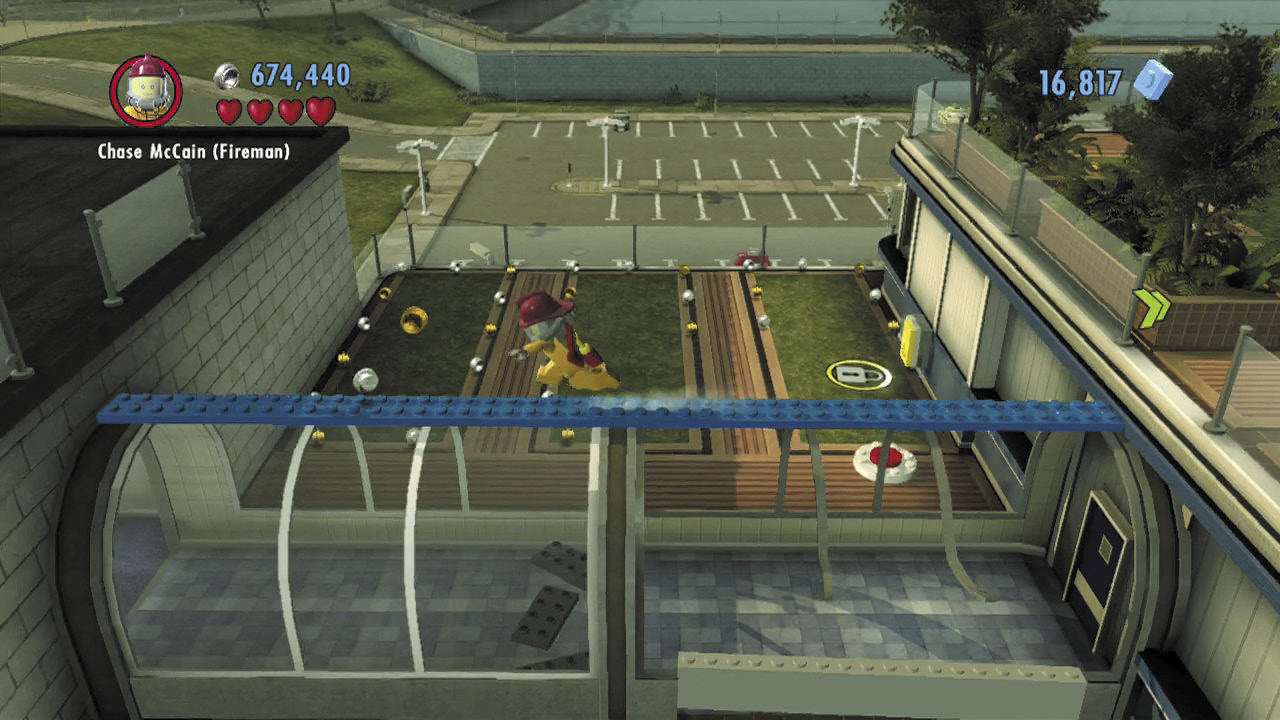
Run back toward the enclosed walkway and jump onto the blue balance beam that runs along its roof. Cross the balance beam to reach the roof on the left.
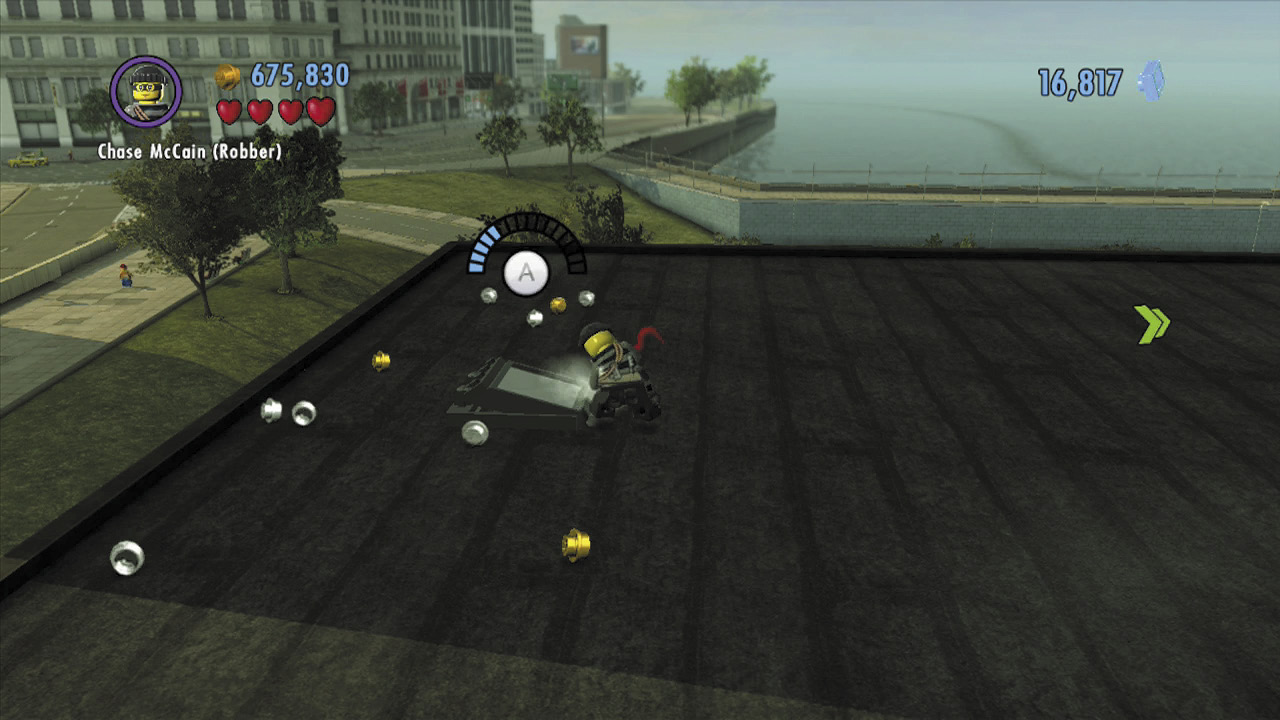
Spray the flames that surround the left roof’s skylight, then use the crowbar to pry open the skylight, and drop inside.
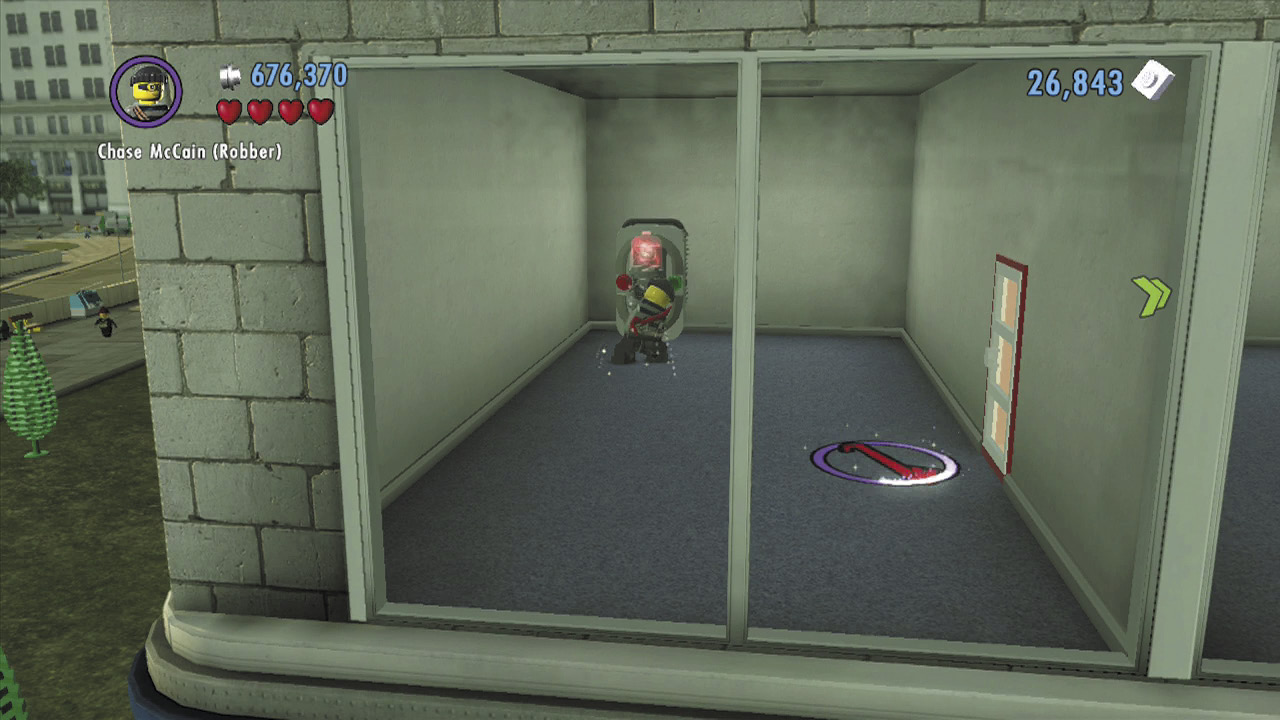
You land near a red color swapper. How convenient! Fill your color gun with red energy, then pry open the nearby door. Make your way back up to the green switch you noticed before.
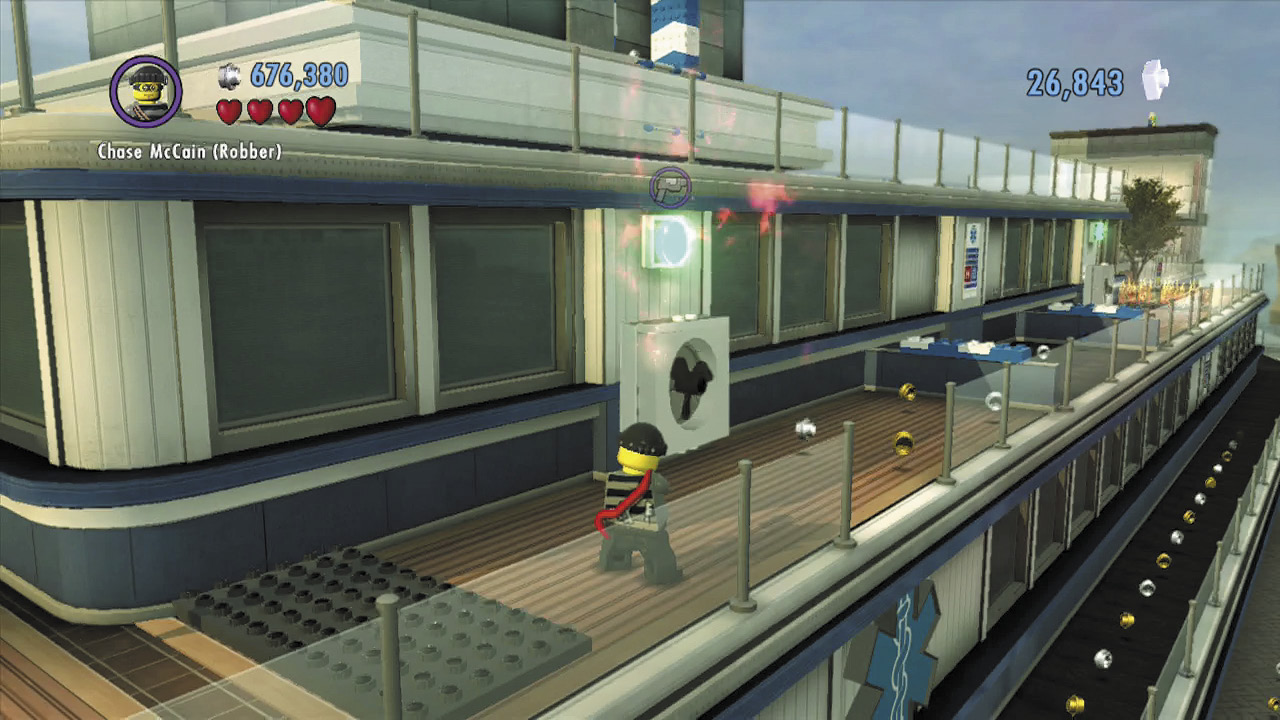
Blast the green switch with red energy to activate it and shut off the fan below. Run to the right and vault a pair of low walls to reach another green switch. Blast this one as well to shut off a second fan.
Gotta Keep Climbing
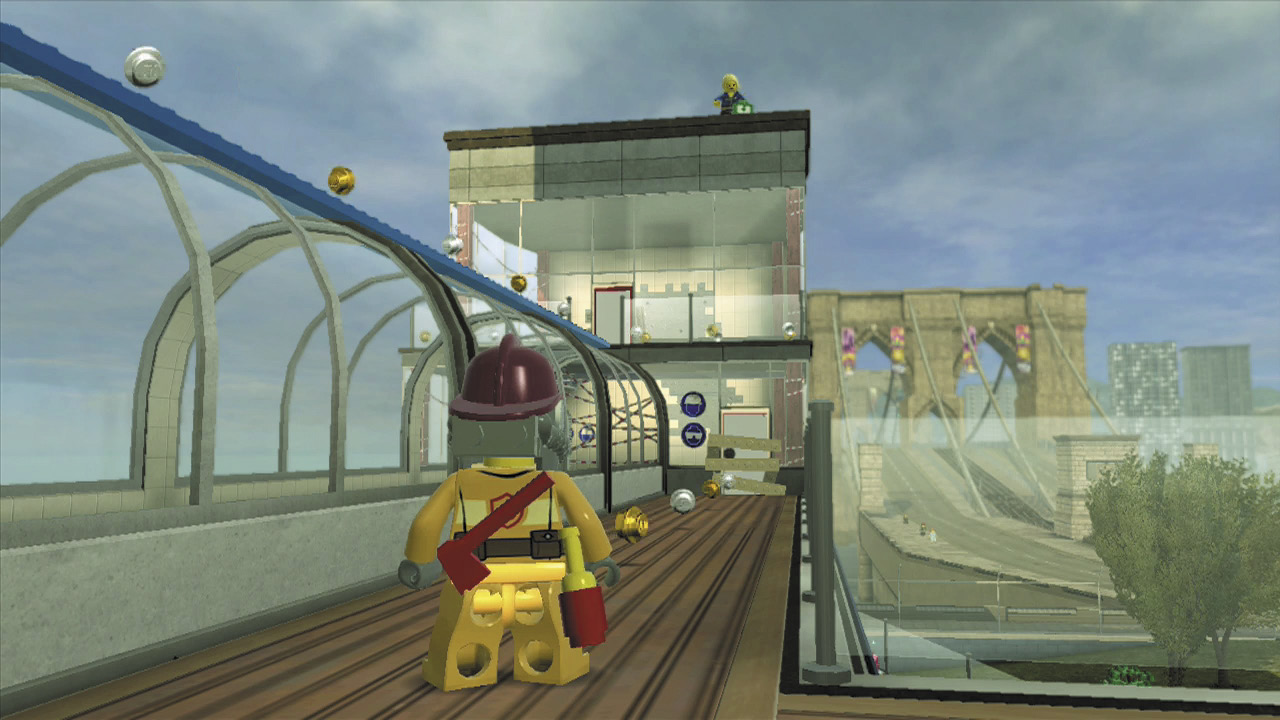
Chase can’t reach Natalia, but he thinks he might be able to glide over to her if he can climb all the way up the hospital’s tallest tower. Run to the right and bash open a boarded door with the fire axe.
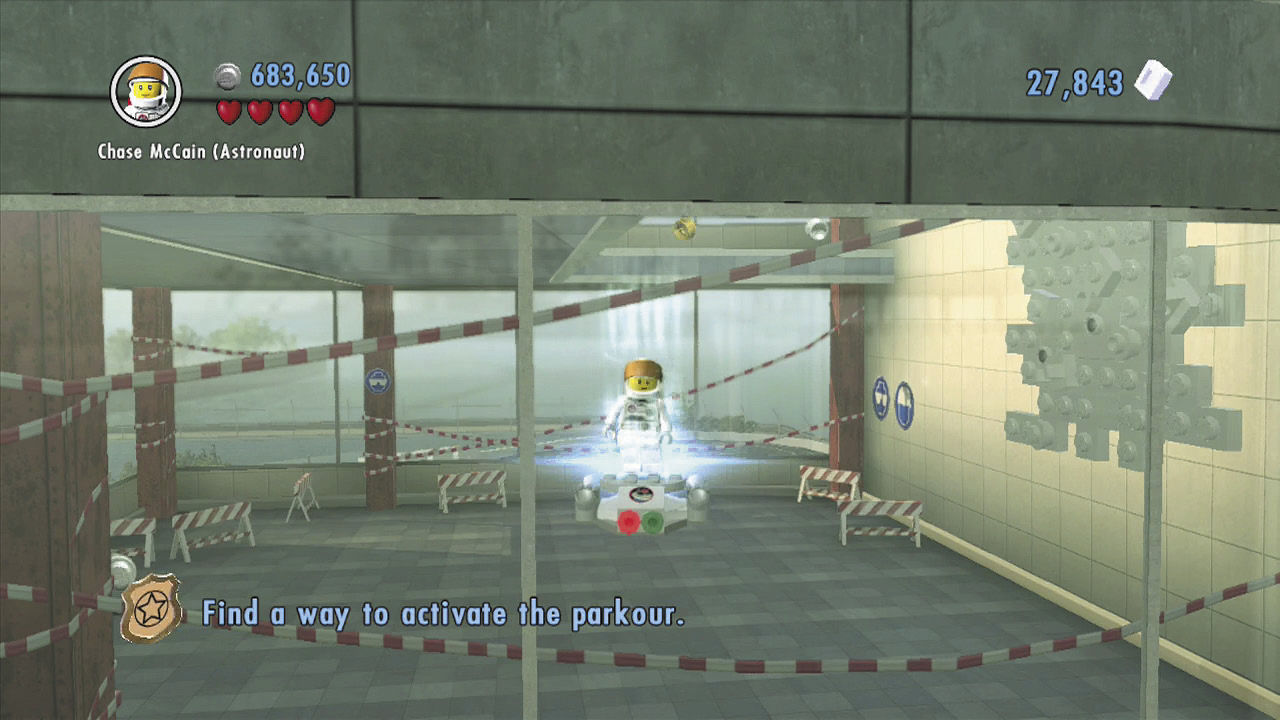
Enter the small room beyond the door and use a transporter pad to beam over to another enclosed walkway.
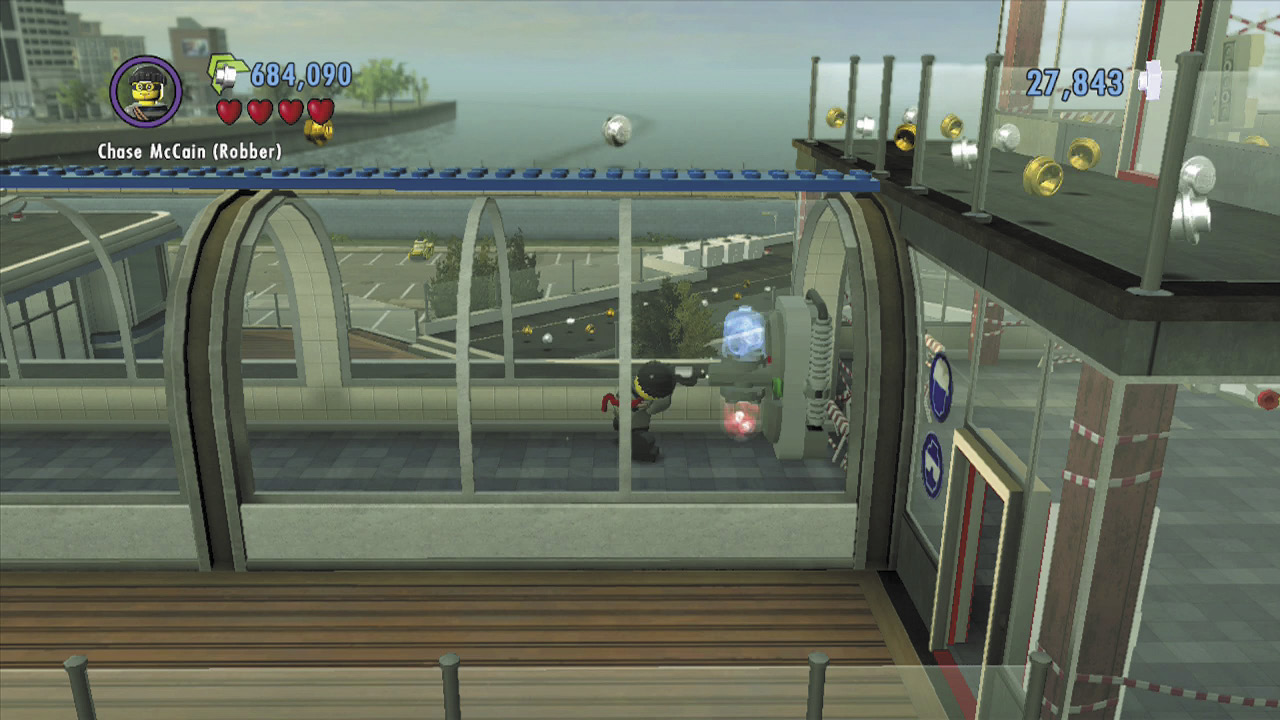
Run to the end of the enclosed walkway and use a color swapper to fill your color gun with blue energy. This will soon come in handy!
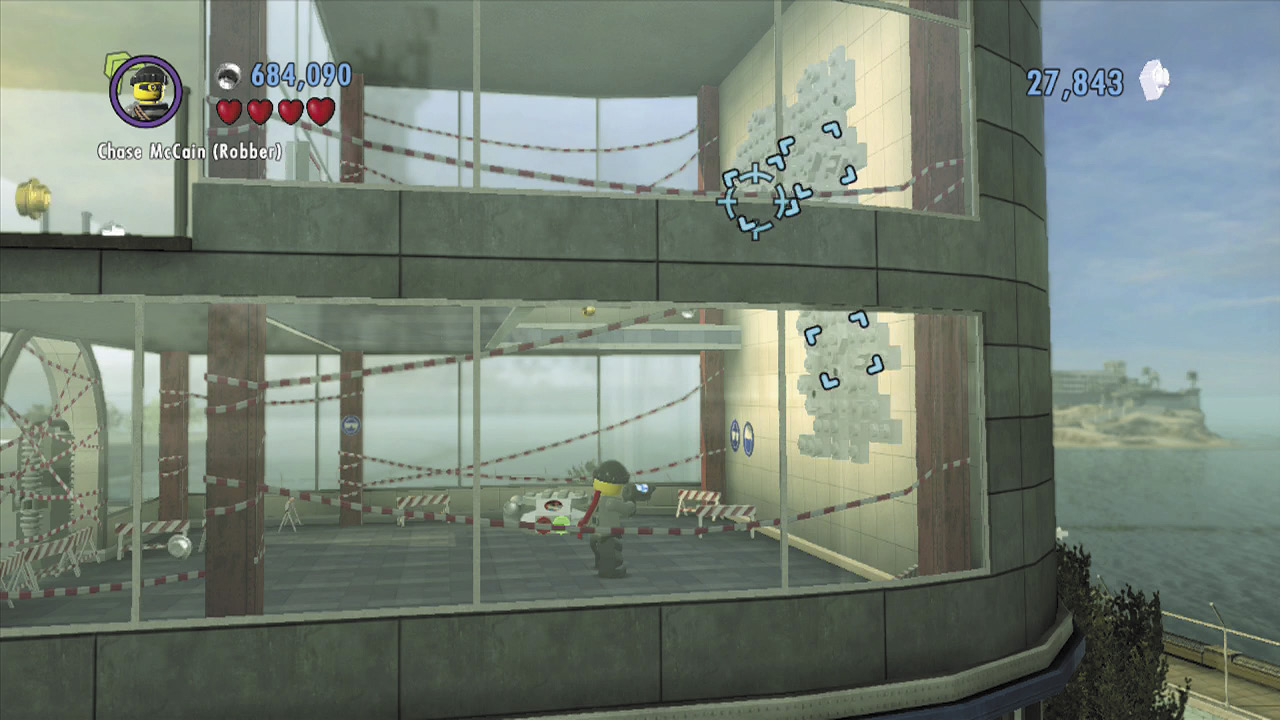
Beam back over to the small room and aim the color gun at the patch of white LEGOs on the wall. Blast the white LEGOs with blue energy in three places, and you’ll be able to climb up to the room above.
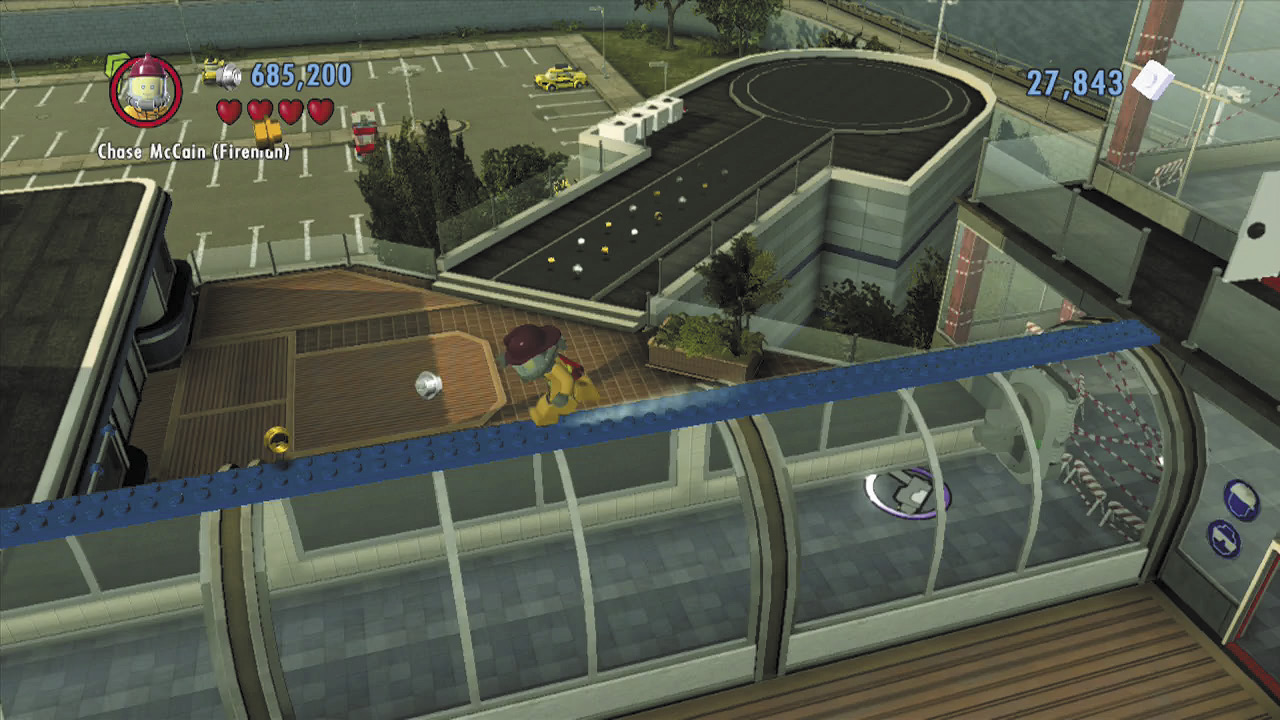
Chop through another boarded door, then cross the balance beam that runs along the enclosed walkway’s roof.
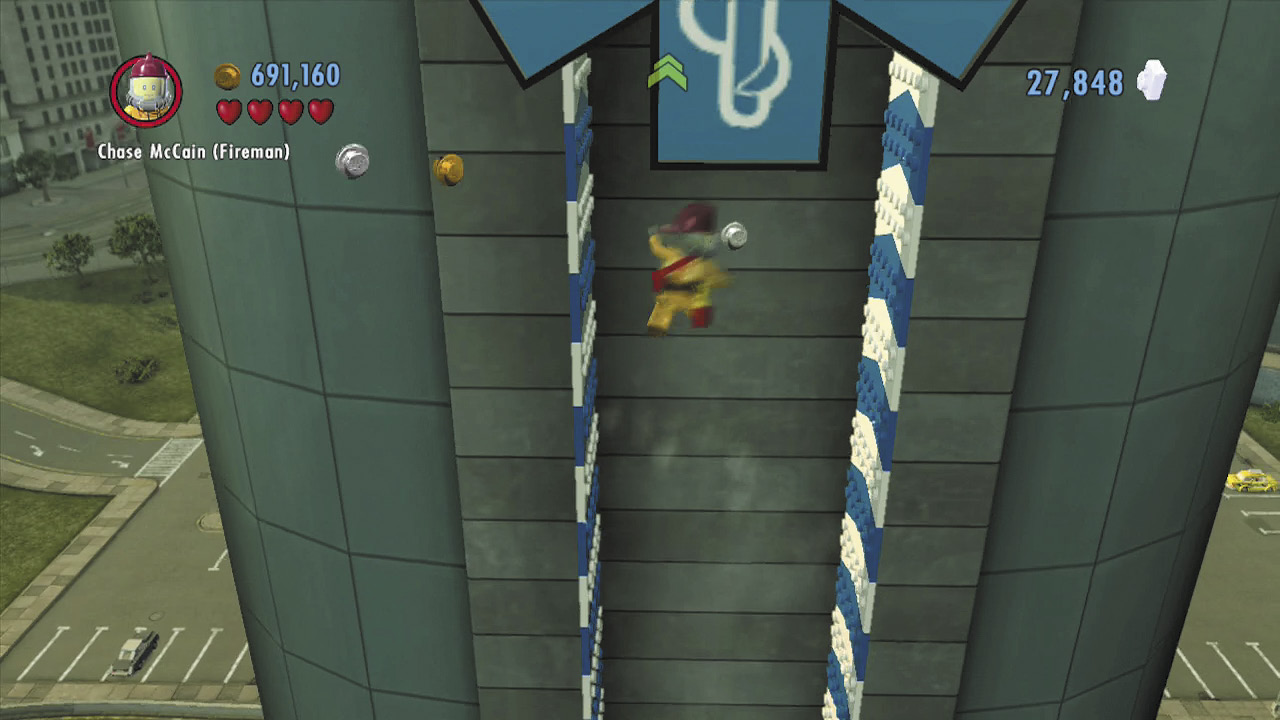
You’ve reached the base of the tall tower. Jump up the handholds, then wall-jump between the narrow Free Running walls. Just keep going until you reach the tower’s apex.
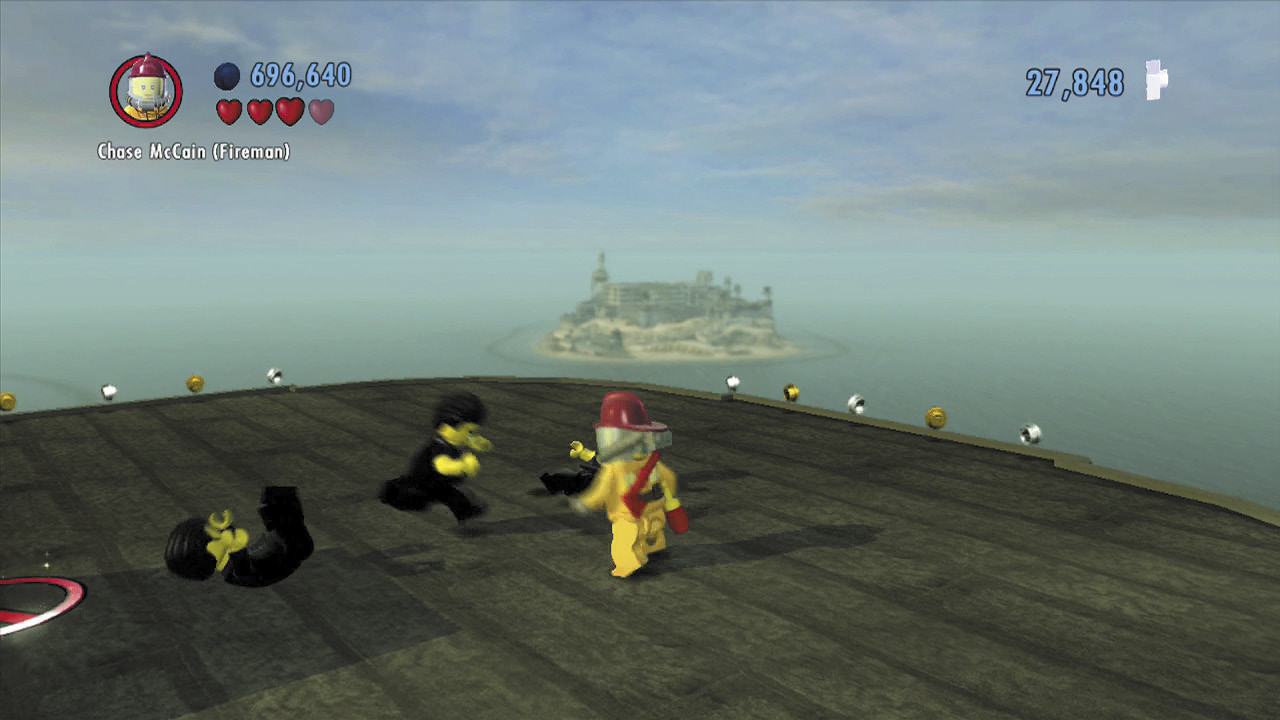
Wipe out the suited toughs on the roof, along with the reinforcements that arrive by way of helicopter. A chicken symbol will appear nearby.
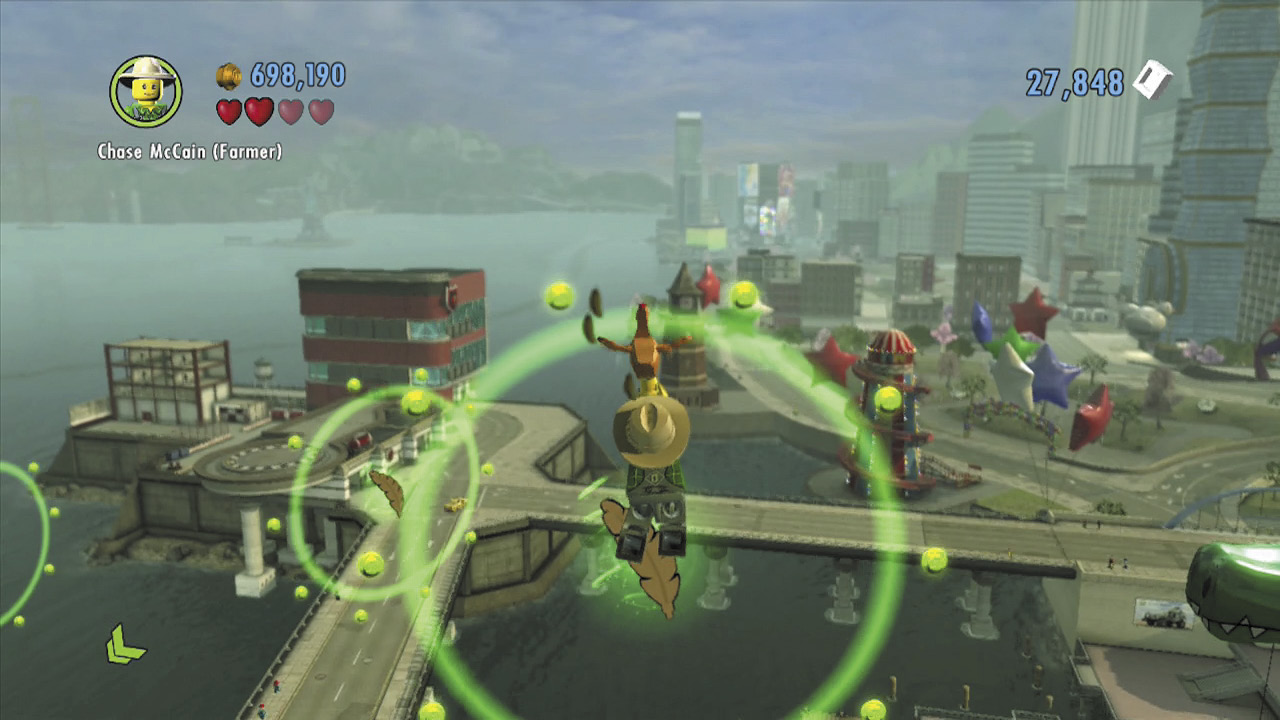
You know what to do! Activate the chicken symbol, then wait for the green stud rings to appear. Jump and chicken-glide through the rings to reach Natalia.
Hasty Escape
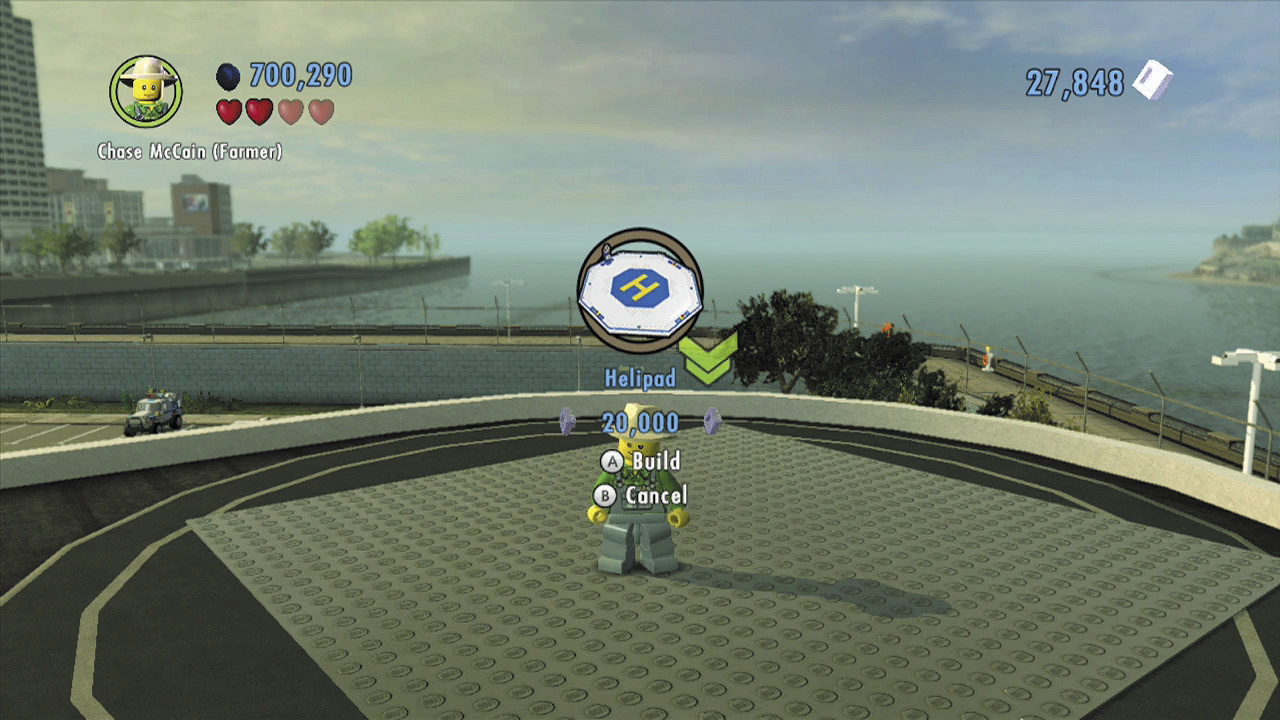
Chase swoops up Natalia during his glide, then swings around and lands near a LEGO pad. Spend 20,000 bricks to build a helipad here.
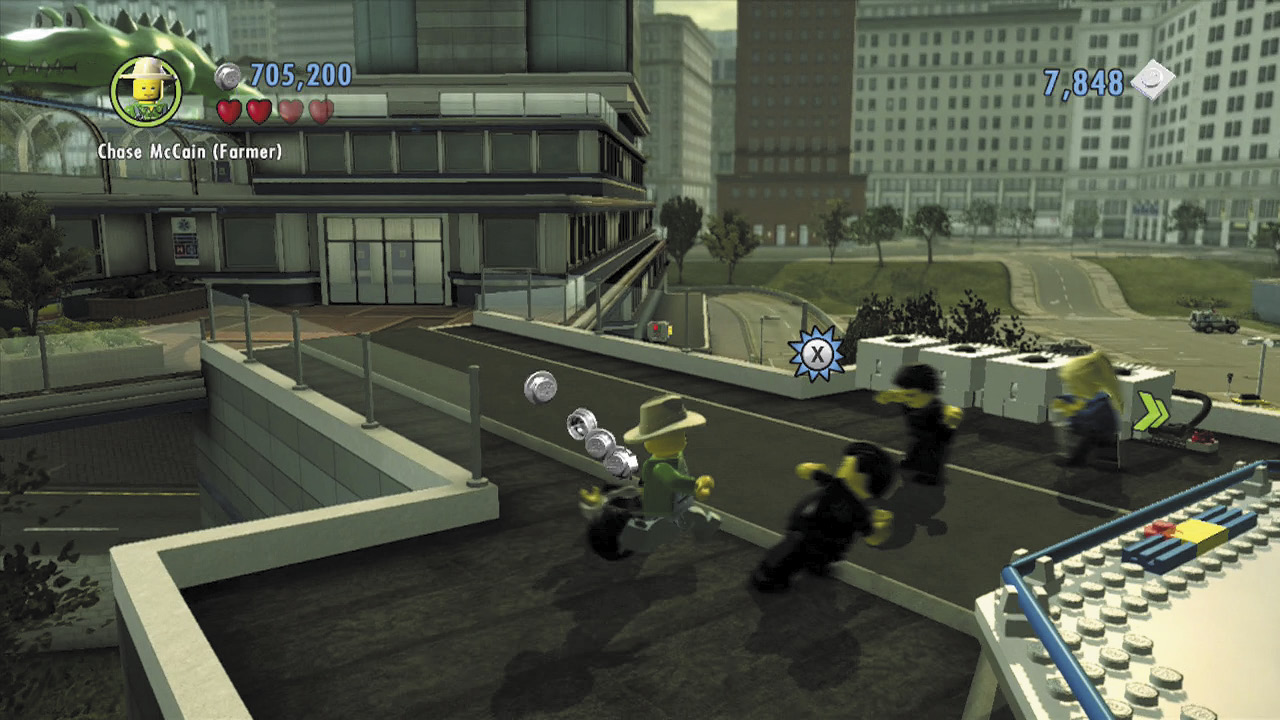
Oh no, more goons! Beat them up to secure the helipad, then use the helipad’s control panel to call for a helicopter.
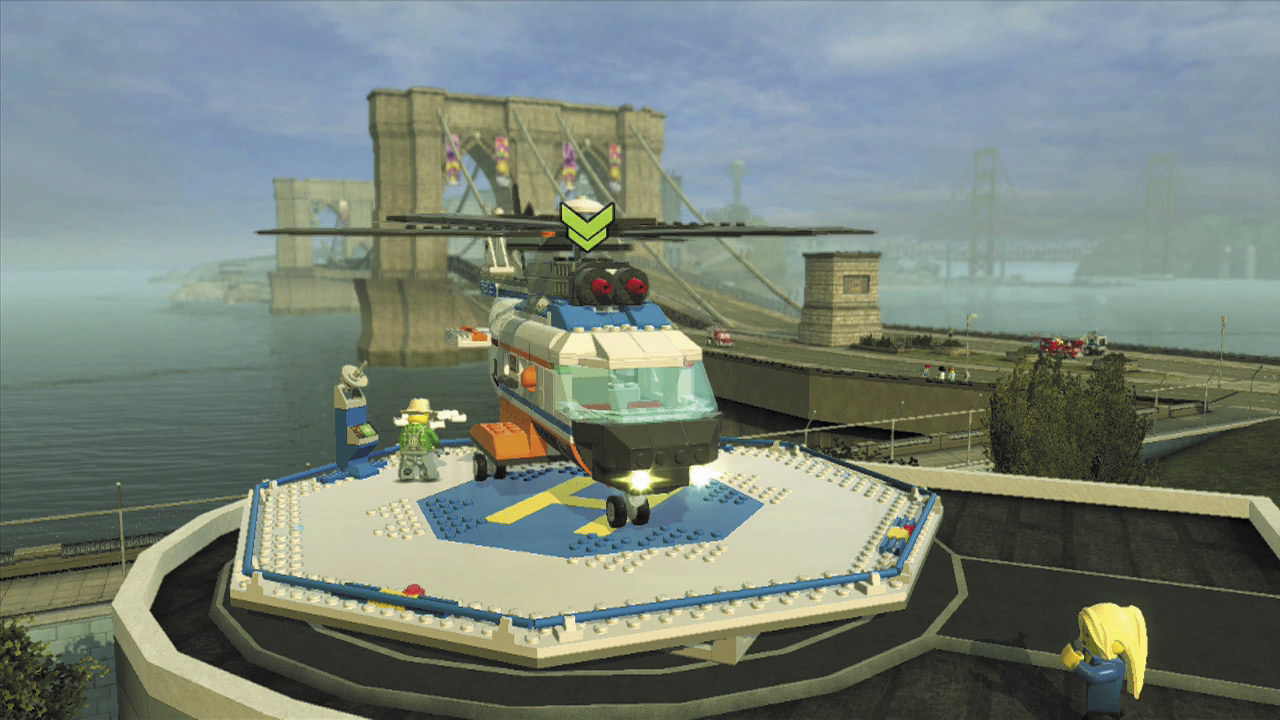
The helicopter arrives moments after you call for it. Press  to hop into the pilot’s seat, and Natalia will hop aboard as well. Now you just need to fly her over to Ellie’s apartment, where she’ll be safe from the goons.
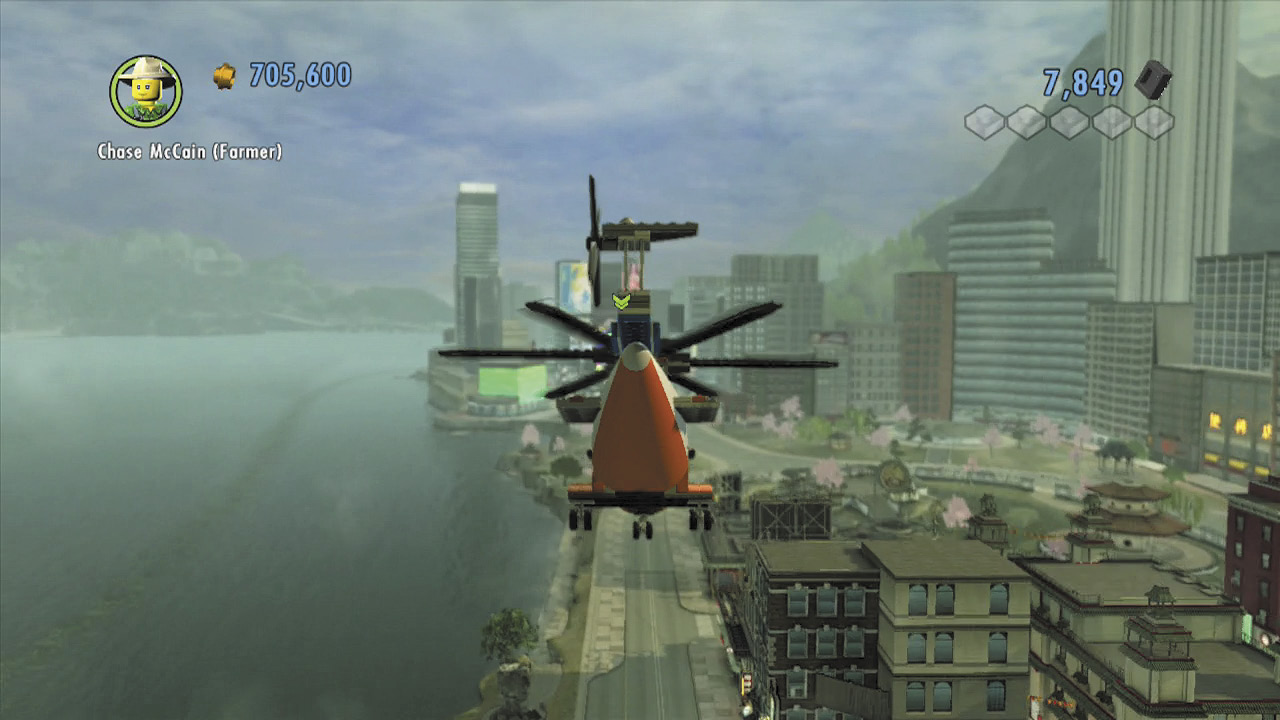
Piloting helicopters couldn’t be easier—just move around as you would on foot. Press  to fly upward, and press
  to descend. Refer to the GamePad map to see where Ellie’s apartment is located, and fly over there.
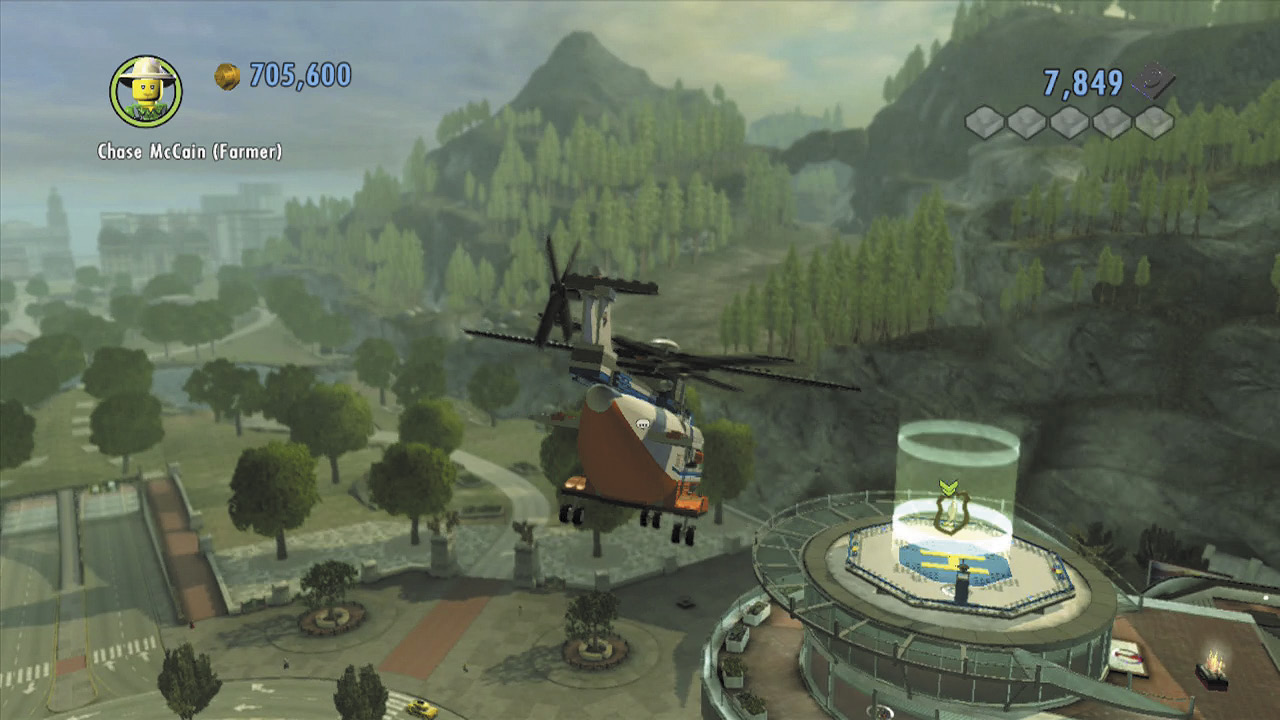
You’ll see an objective beacon atop Ellie’s apartment. Press and hold  to fly up to the objective beacon, then simply fly into the beacon to land.
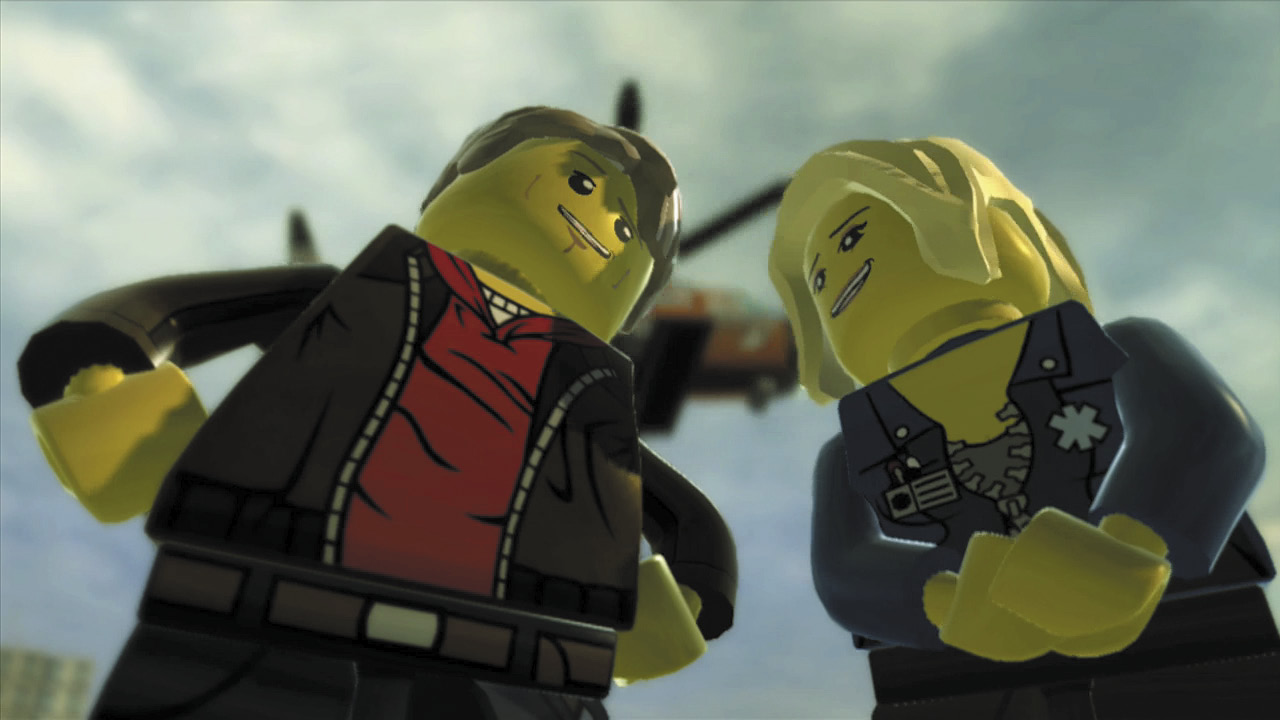
Chase and Natalia share a tender moment after they land. Way to go, hero!